
Tales and Revelations is Chapter 9 in A Plague Tale Requiem. This walkthrough will guide you through all objectives of Chapter 9: Tales and Revelations.
 Tales and Revelations
Sub-Chapters and Objectives:
- Exploration
- Explore the Island
- Follow the Bird Statues
- Find Out what the Ruins are Hiding
- Towards the Sanctuary
- Reach Las Madres
- On the Mountain
- Reach Las Madres
- Entering the Sanctuary
- Find a Way Around the Checkpoint
- Day & Night
- Follow the Ritual
- Reach the Sacred Quarters
- Phoenix
- Enter the Sacred Quarters
- Immersion
- Leave the Sanctuary
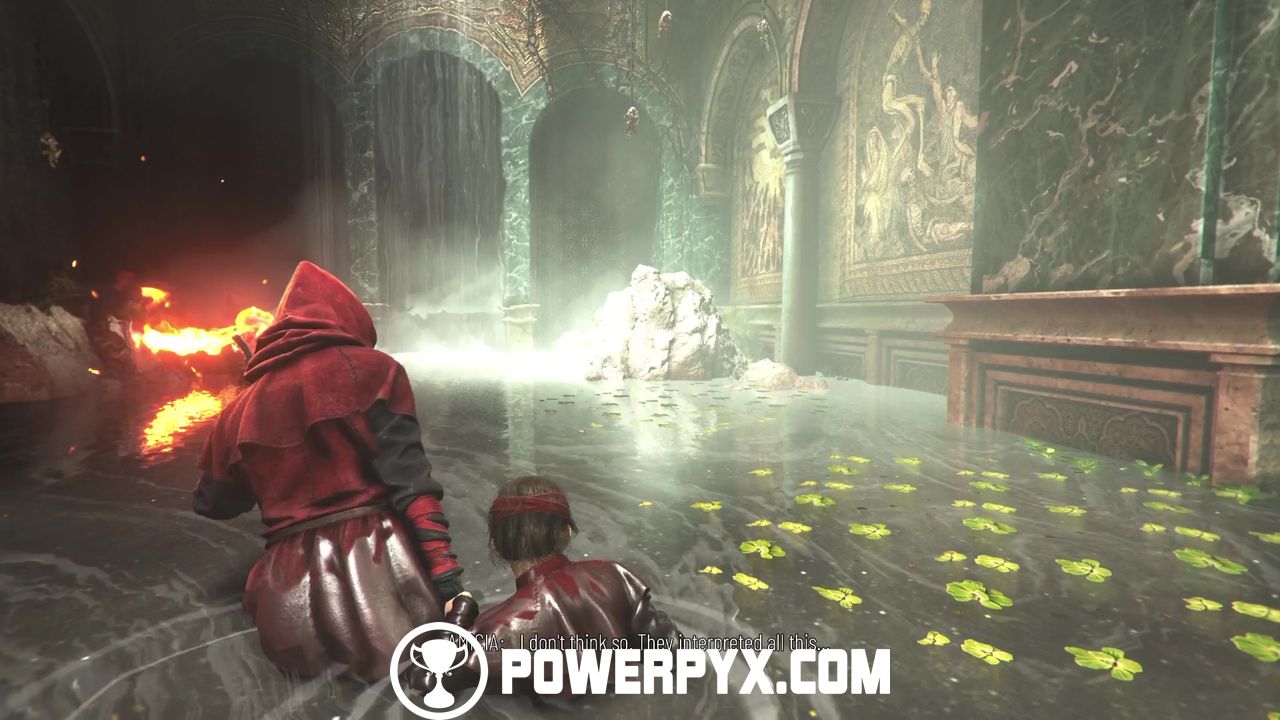
Exploration
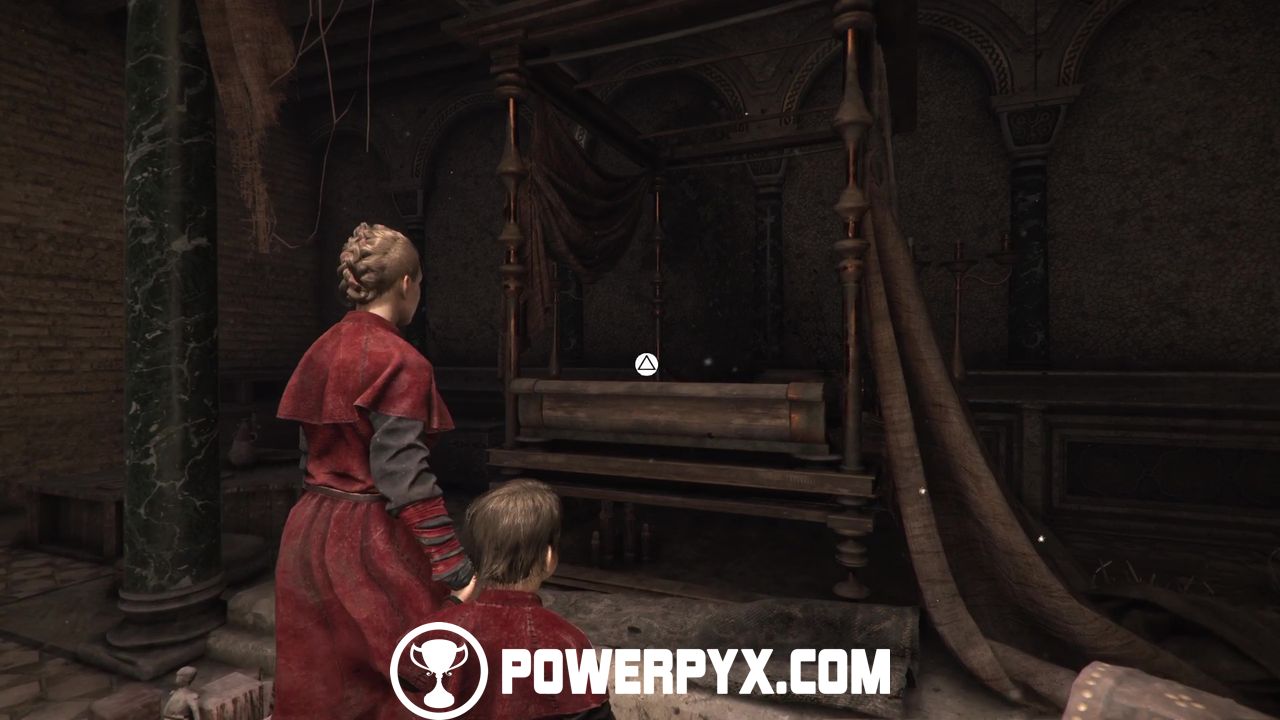
Hugo and Amicia are now guests at the sumptuous palace of the Count and the Countess of La Cuna. The duo cannot believe the amount of kindness and hospitality they’ve been extended and after a night of proper rest are ready to resume their search for the phoenix and the weeping willow in Hugo’s dreams.
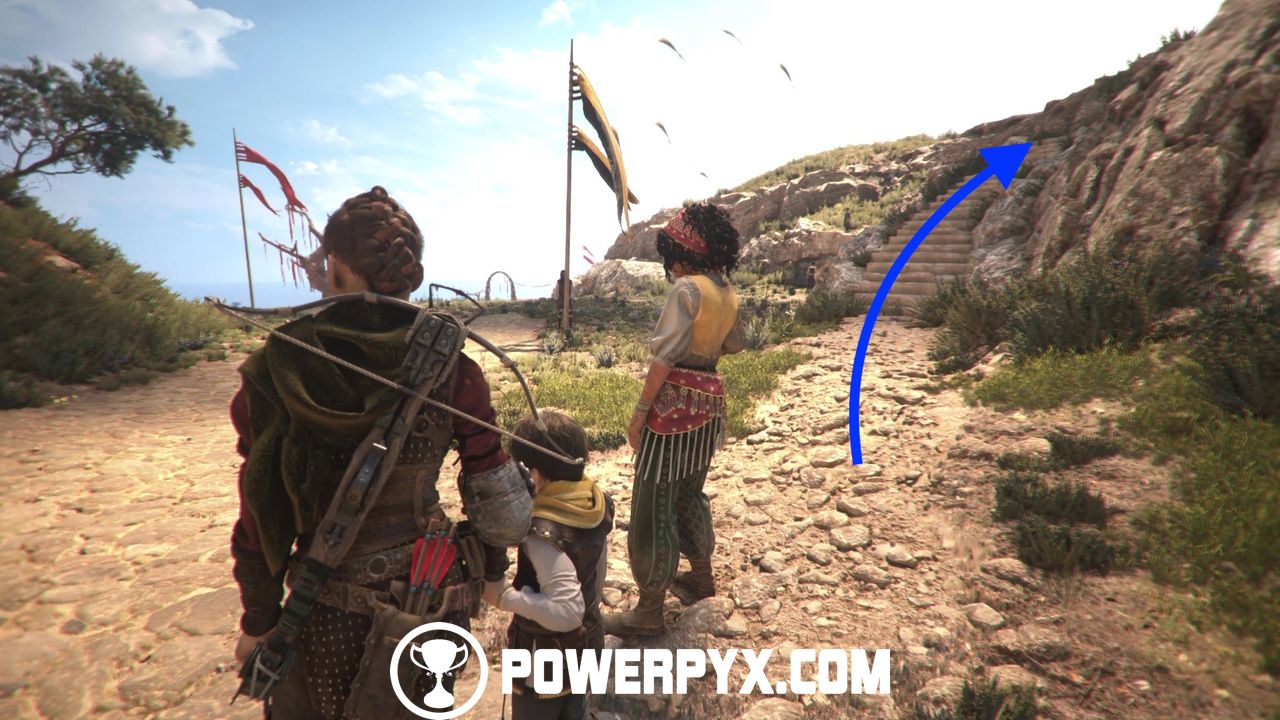
Explore the Island
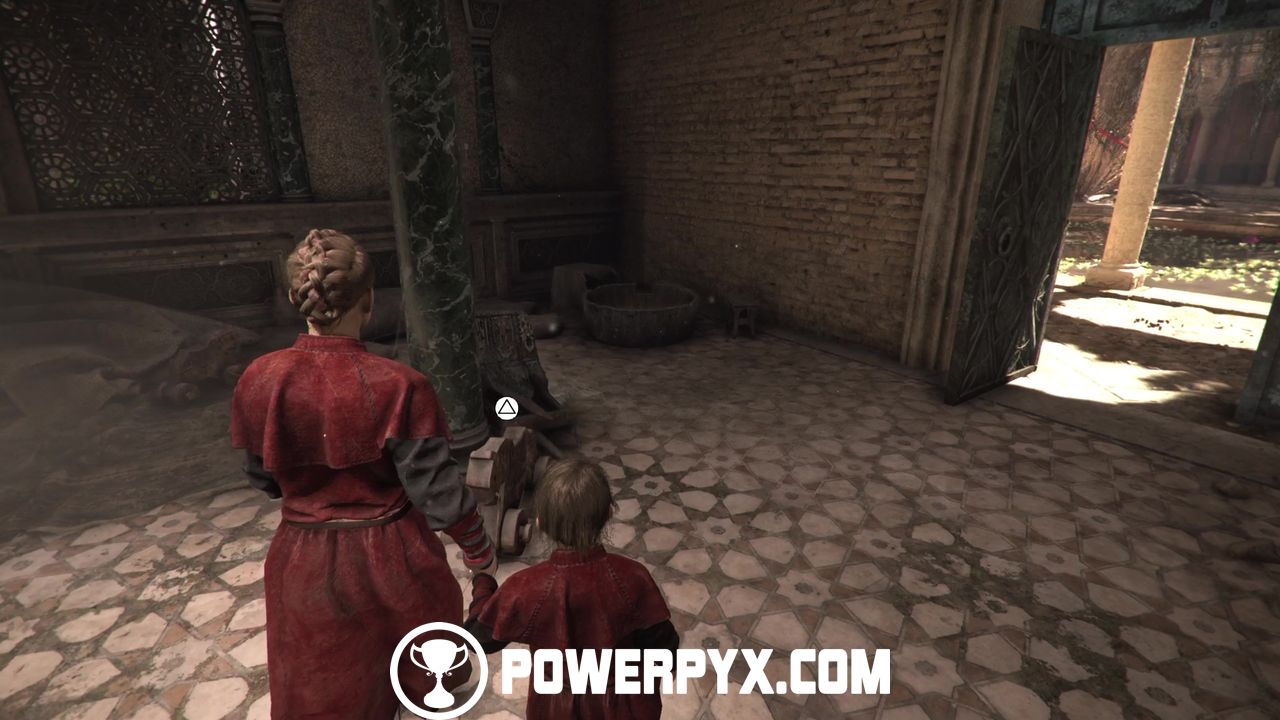
After regaining control of Amicia and Hugo, climb down the stairs on the right and keep going down the linear path until you reach a guarded door. Talk to the guard and he’ll let you out of the palace.
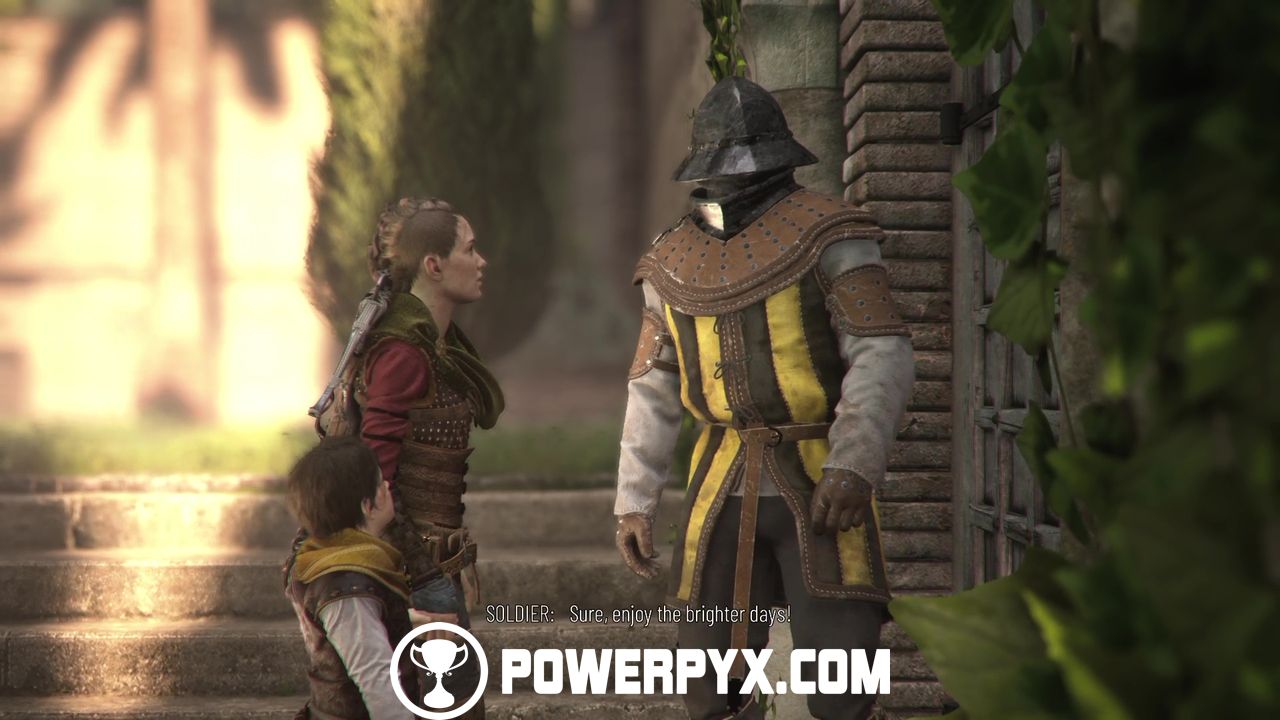
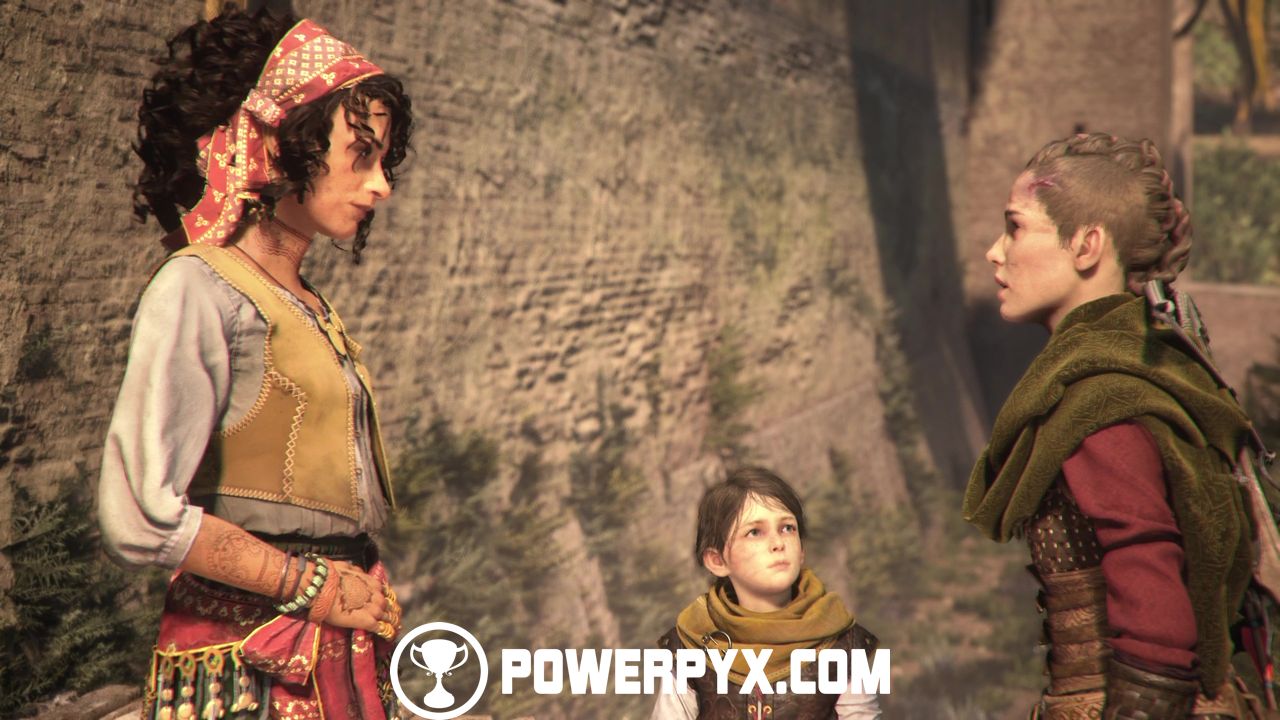
Outside, waiting for us, is Sophia. Amicia fills her in on what occurred with Arnaud.
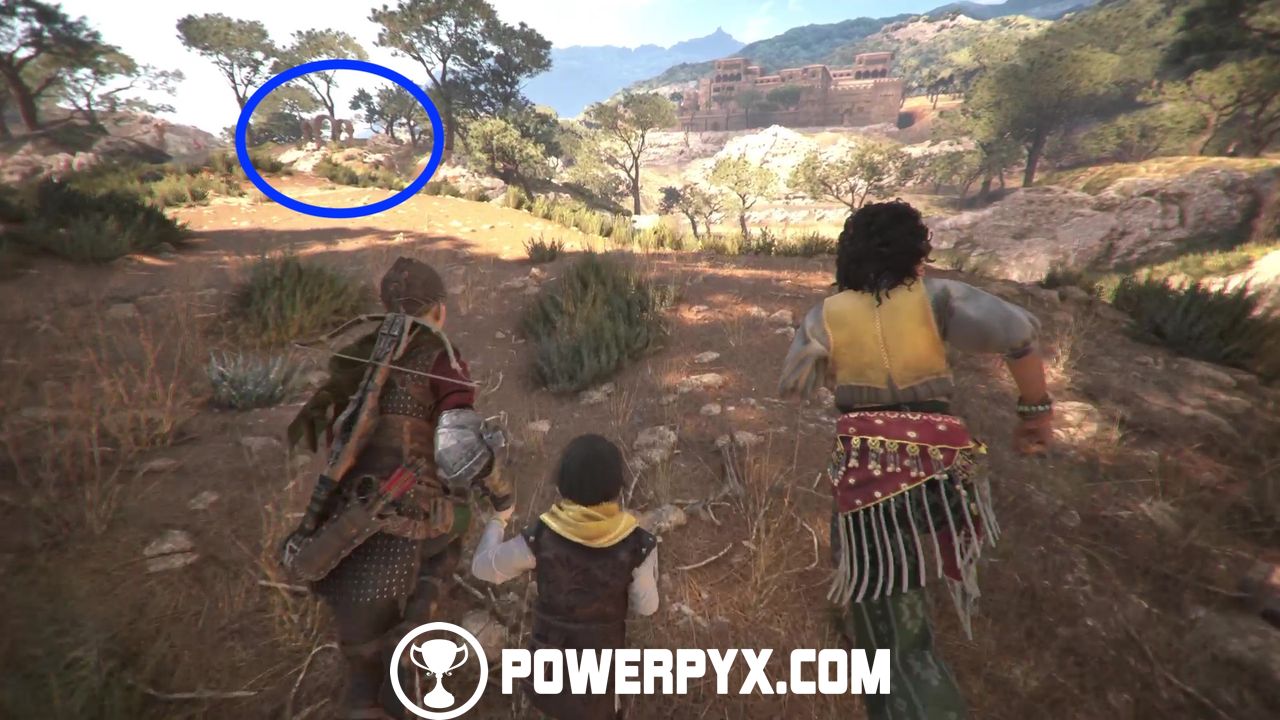
Run downhill and you’ll eventually come across a bird statue.
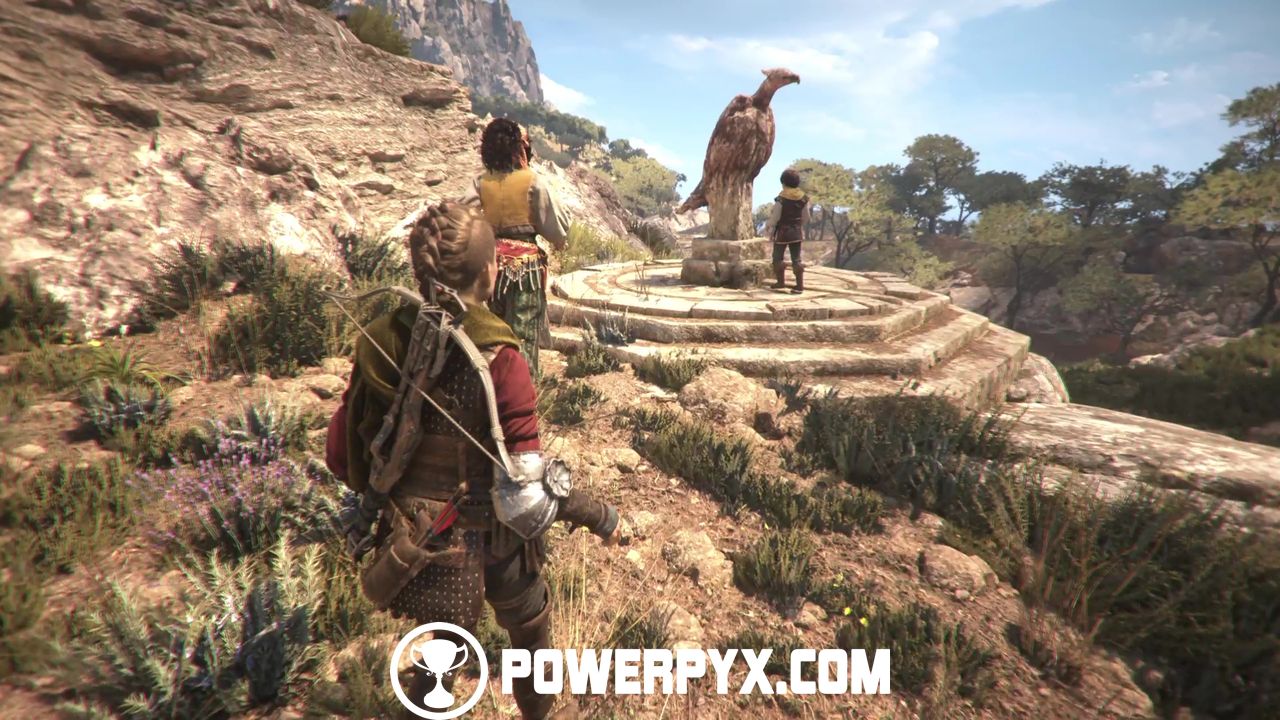
Follow the Bird Statues
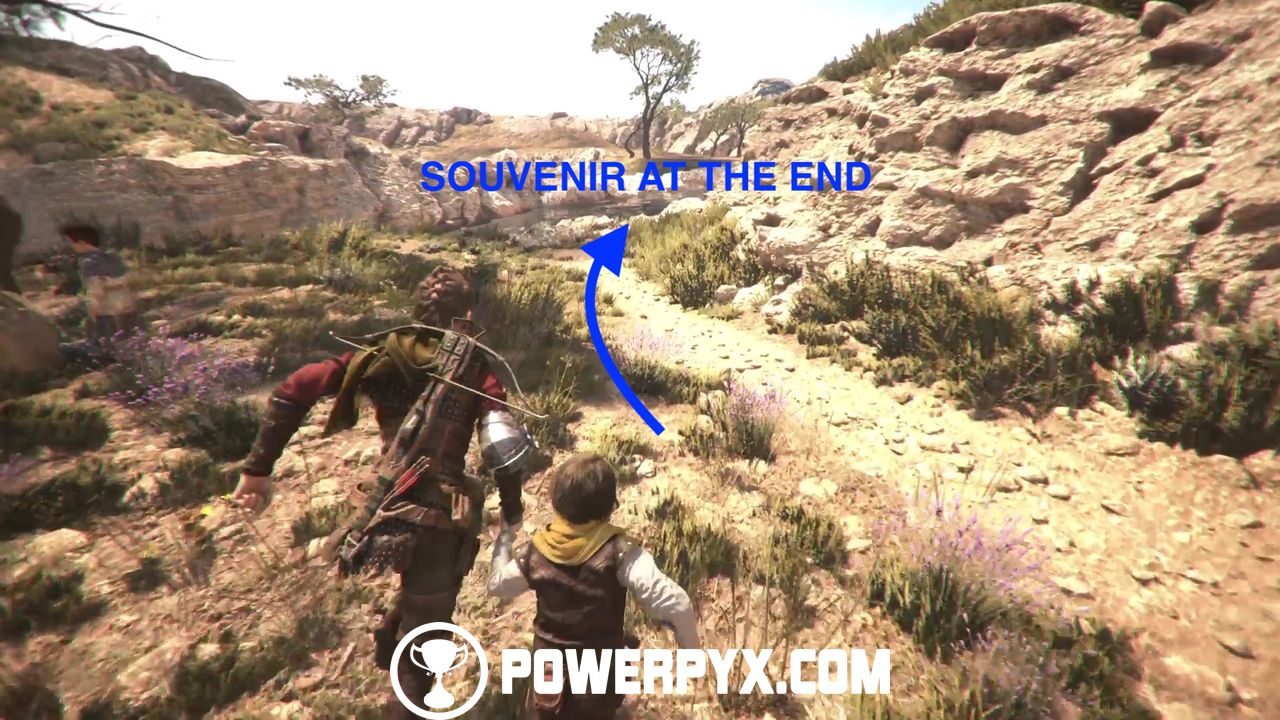
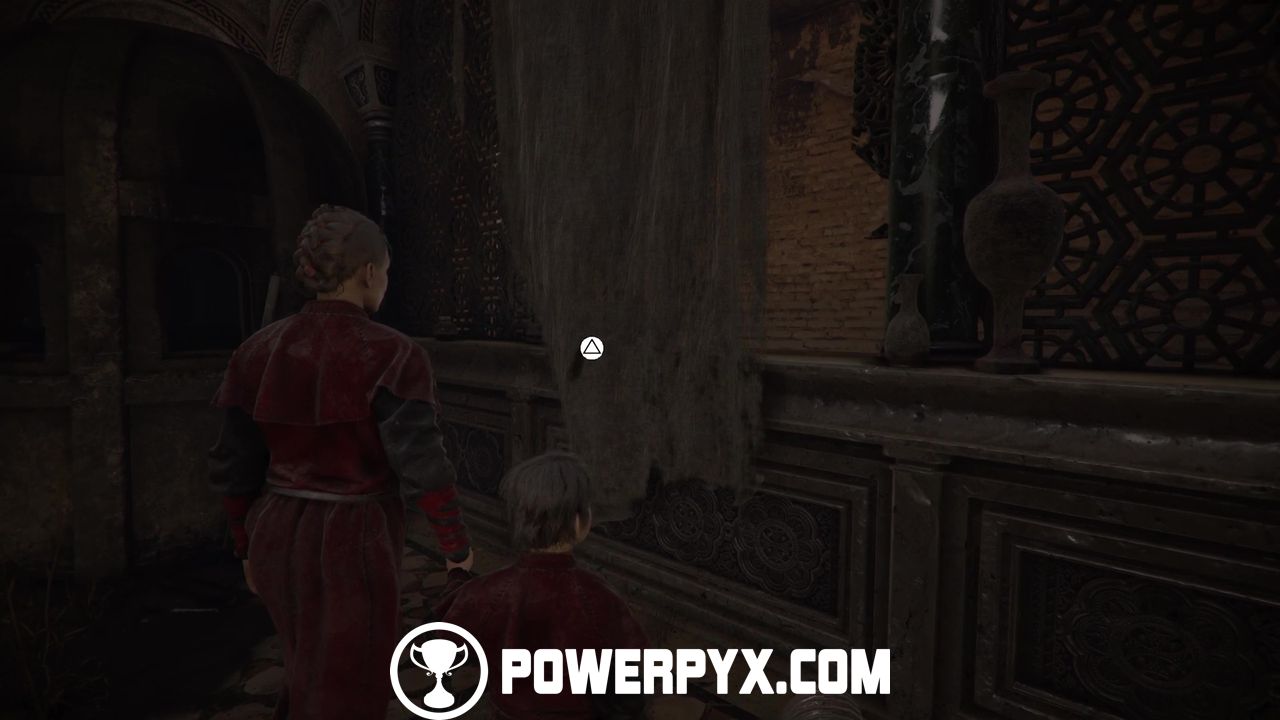
Continue down the same path until you see a second bird statue on your right. Shortly after the second bird statute, you should see a house with a woman leaning outside the open window in front of you, on the right. Enter the garden behind the house and go all the way to the end of the path, flanking the cliffside and you’ll find a big tree that when interacted with unlocks Souvenir #15/21 A Thousand More Years.
Return to the main path a cross the big bridge. When you reach the first yellow flagpole on your right, climb up the stairs and you’ll see four windmills.
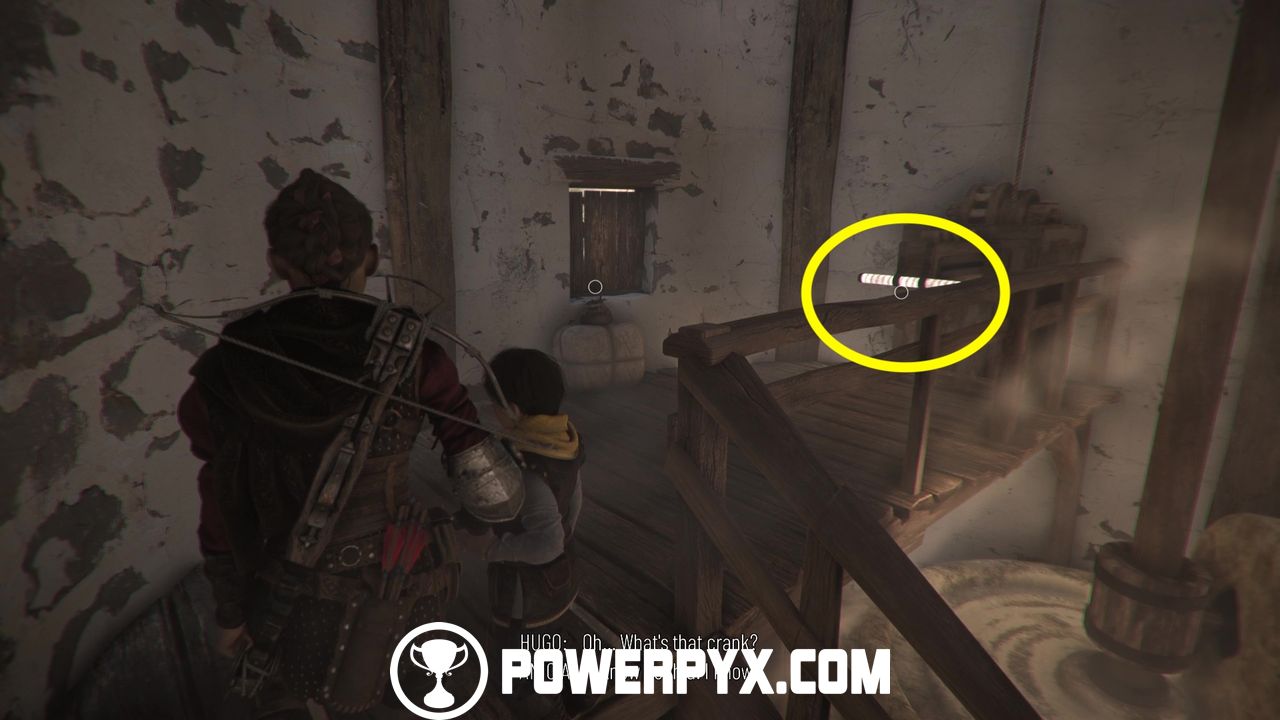
This is a puzzle that when solved will give you access to a Secret Bracer that allows you to sustain more damage before death which can turn out particularly useful in NG+. Each windmill has a lever inside that either turns the windmill on or off. We’ll number the windmills #1 to #4, with #1 being the one after the stairs and #4 being the one at the very end of the hill. To solve the puzzle, you need windmills #1 and #2 to be off and windmills #3 and #4 to be on.
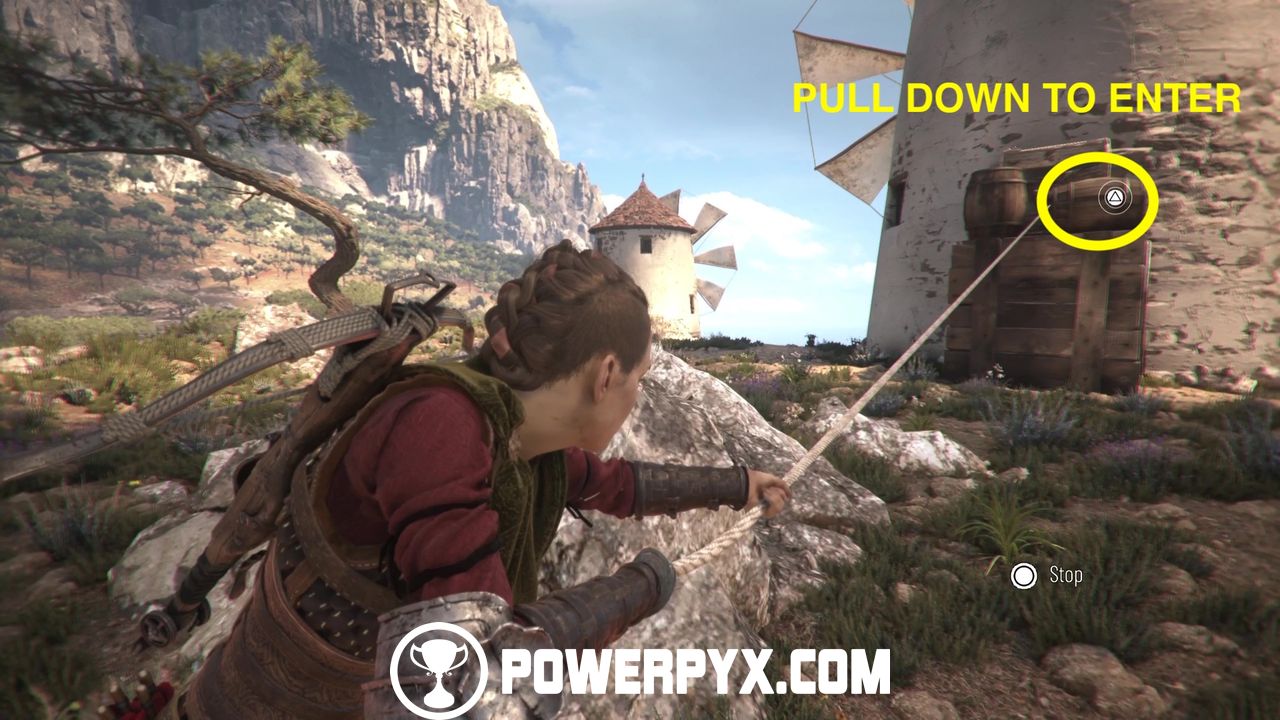
So, first off, access windmills #1 and #2 to turn them off. For windmill #1, you just need to unlock the front door, while for windmill #2 you need to pull the crate at the back using the rope. Then, climb up the bigger crate to crouch under the opening and deactivate this windmill.
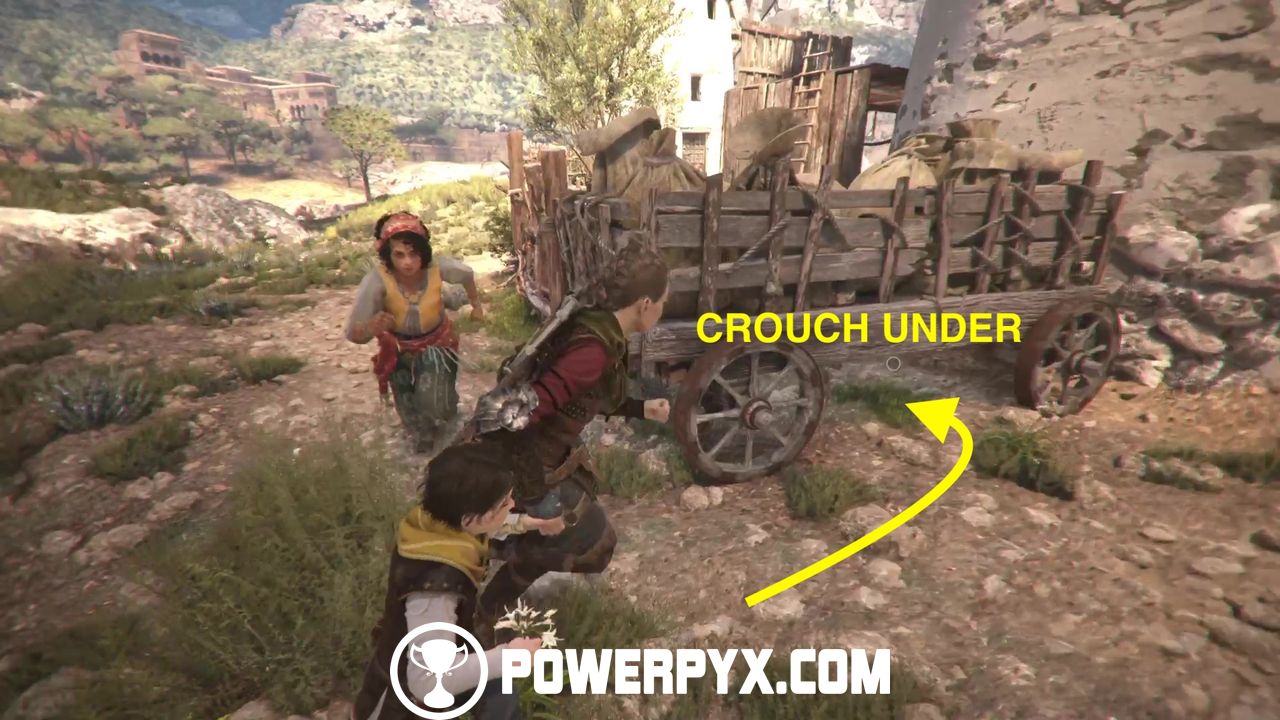
As for windmills #3 and #4, you just need to deal with #4 with #3 being already on. Go to the back of windmill #4 and crouch under the wooden cart, then up the ladder. Cast a rock at the door lock through the window to unlock the door, then drop back down and access the windmill to turn it on.
After doing this, go down the path between windmills #2 and #3 that has 3 stone arches and leads into a cave. The cave door should now be opened if you turned the correct windmills on and off.
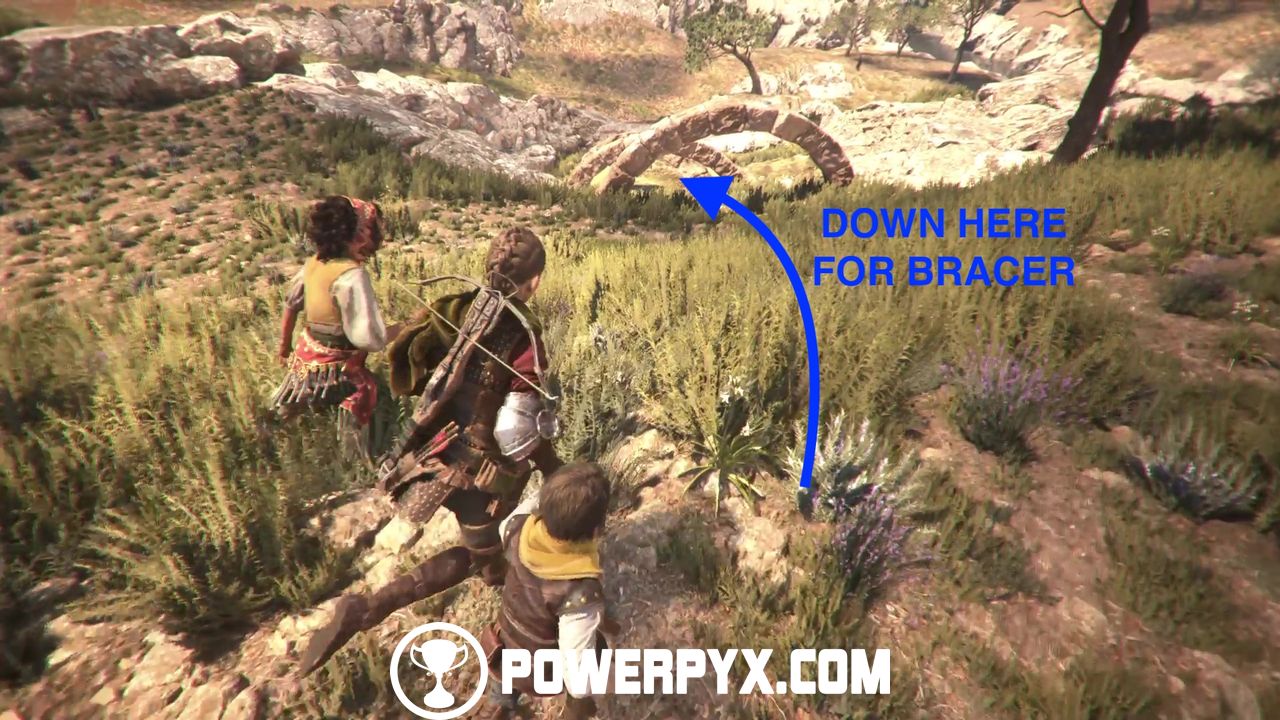
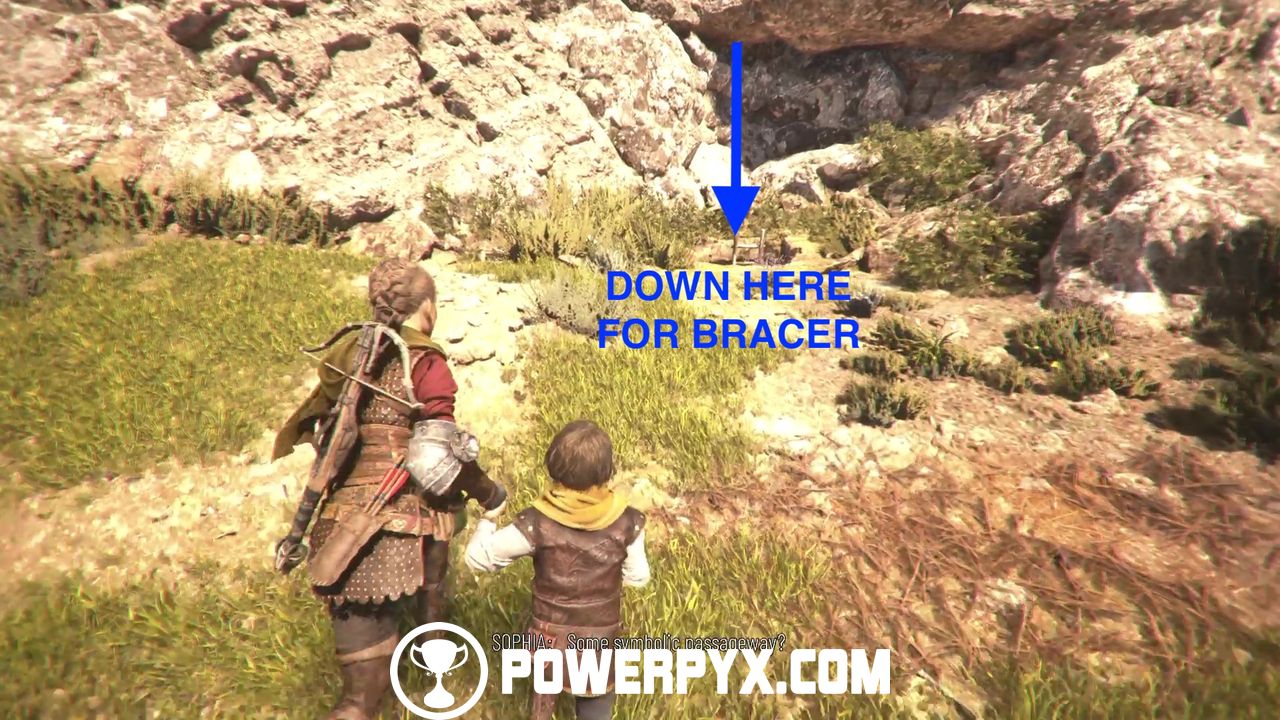
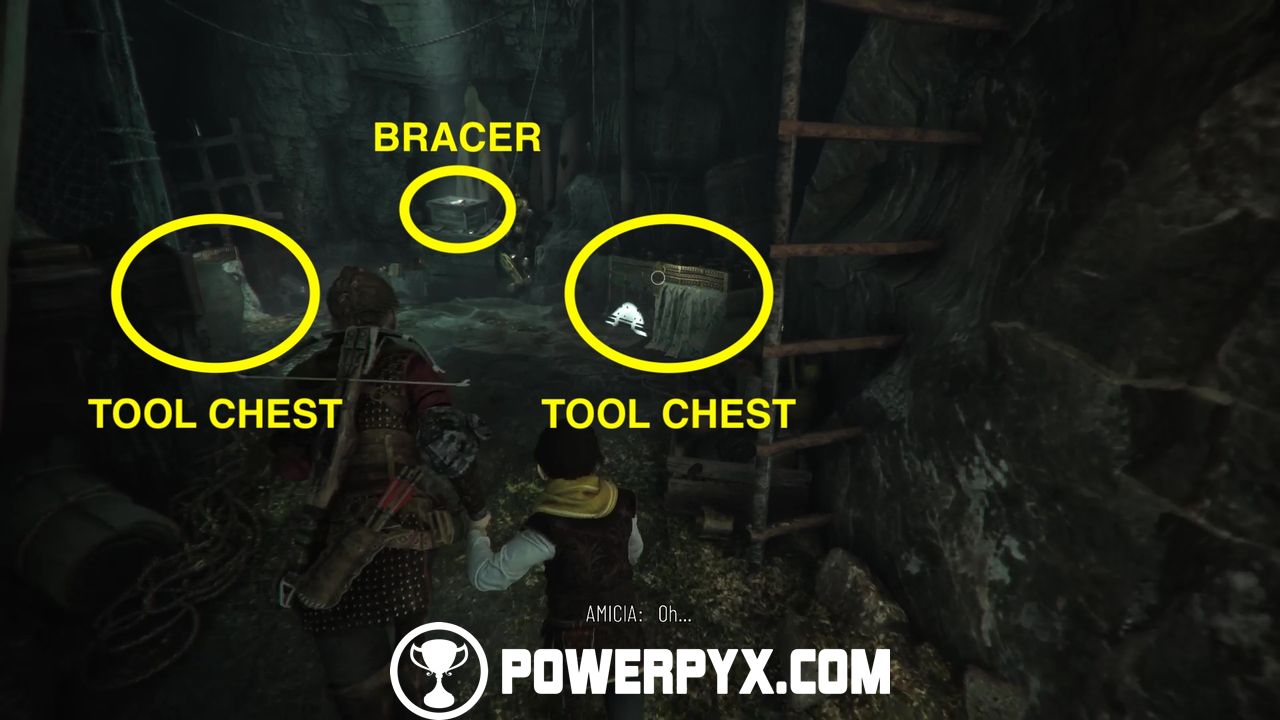
At the end of the cave is this secret bracer and also 2 tool chests.
Return to the windmills and if you look up into the sky, you should notice some kites.
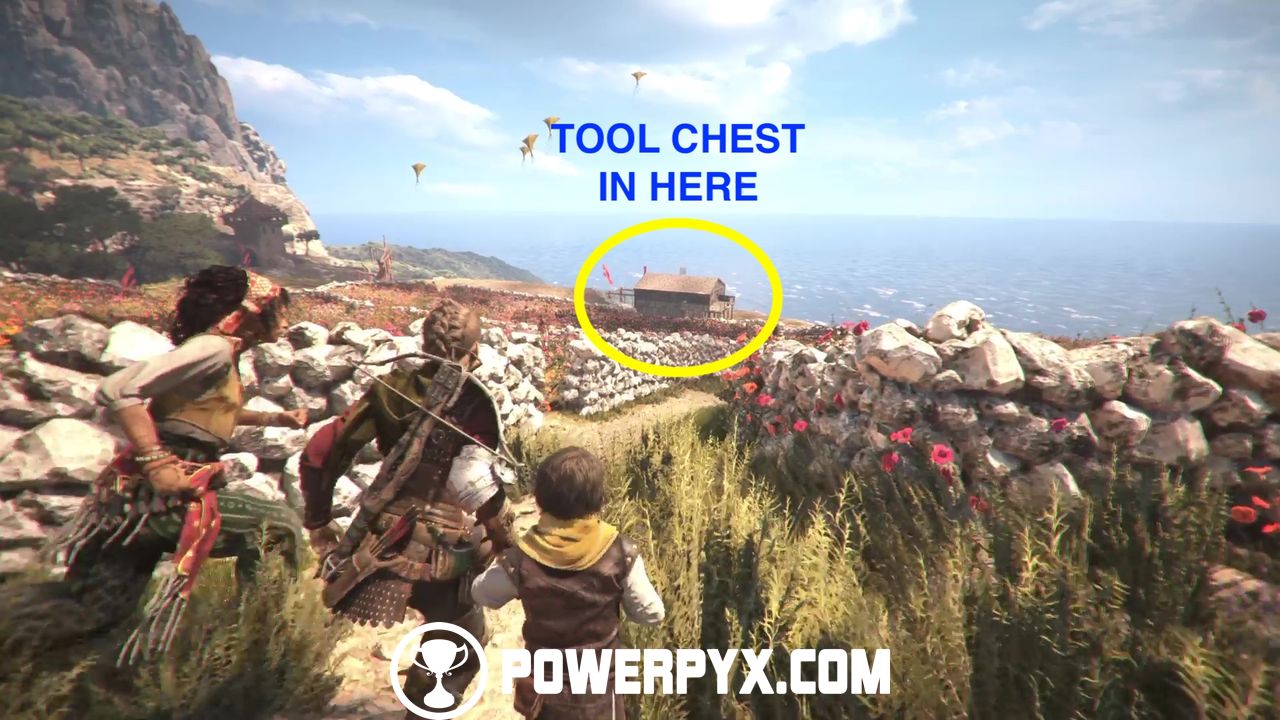
Go back down the stairs that gave you access to the windmills and head for the building the kites are attached to. Climb up the ladder at the back and access the roof.

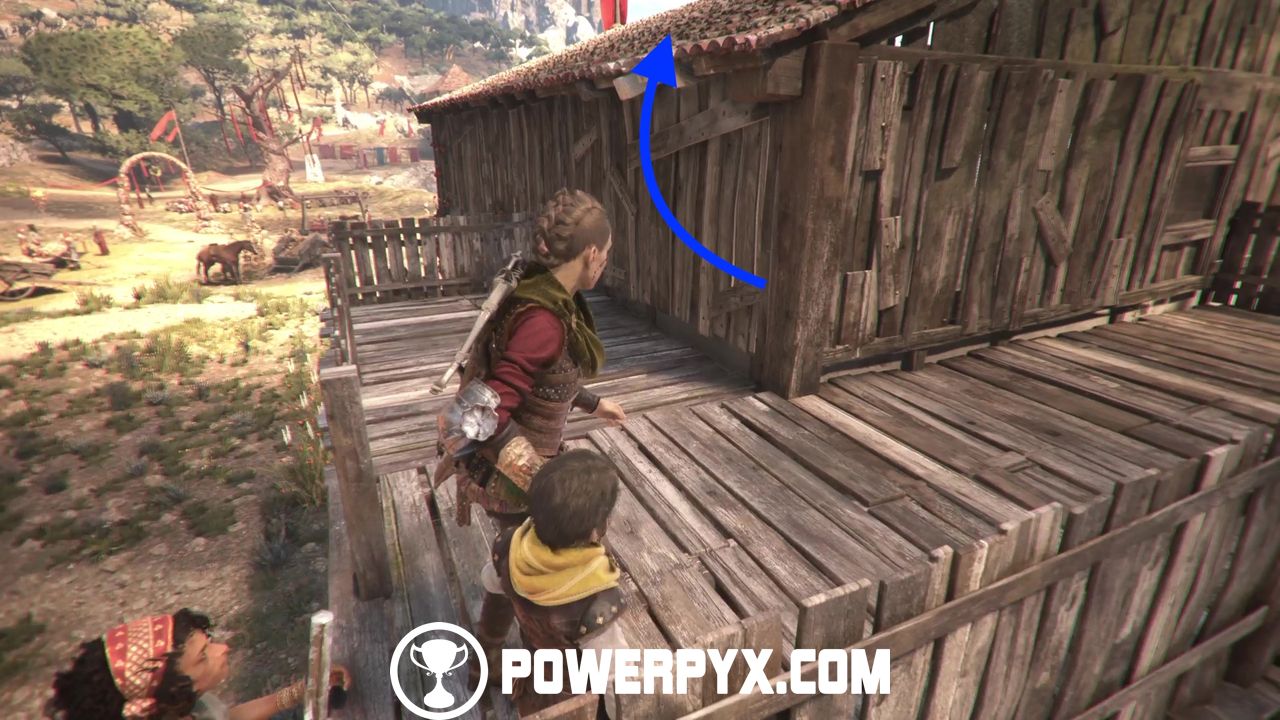
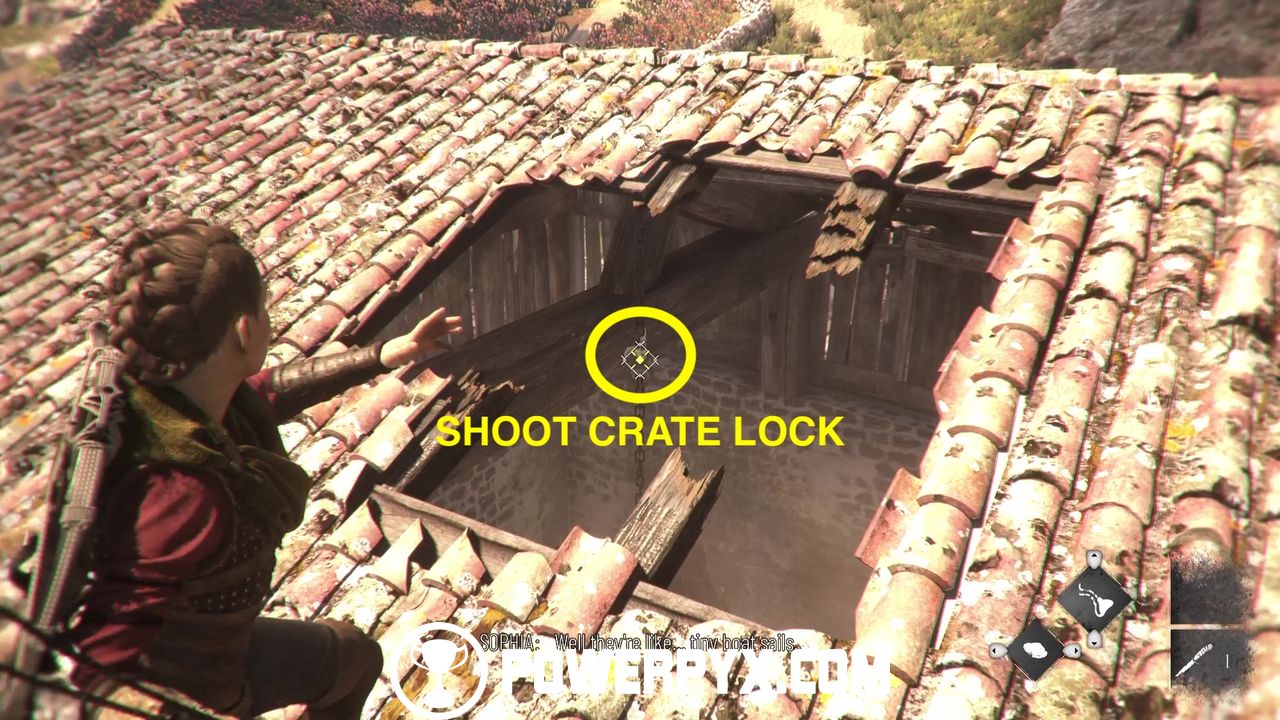
Using the hole in the roof, shoot a rock through it and at the chain that keeps the crate hanging.
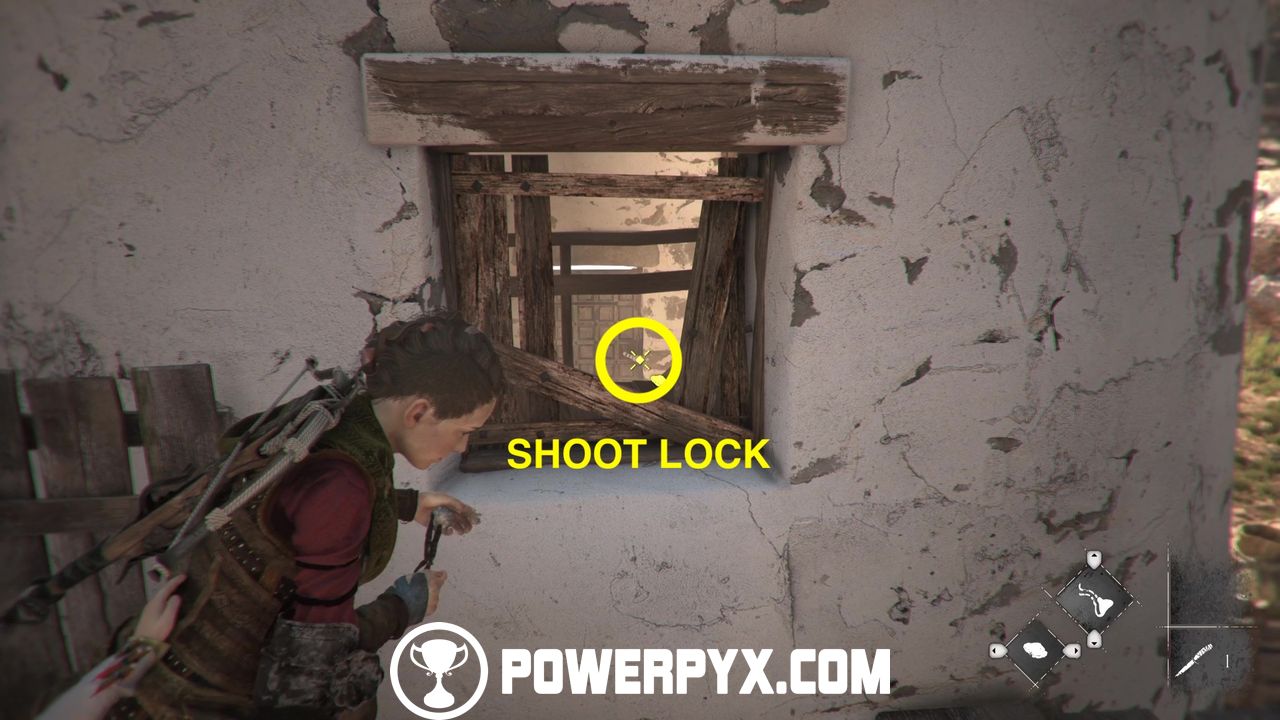
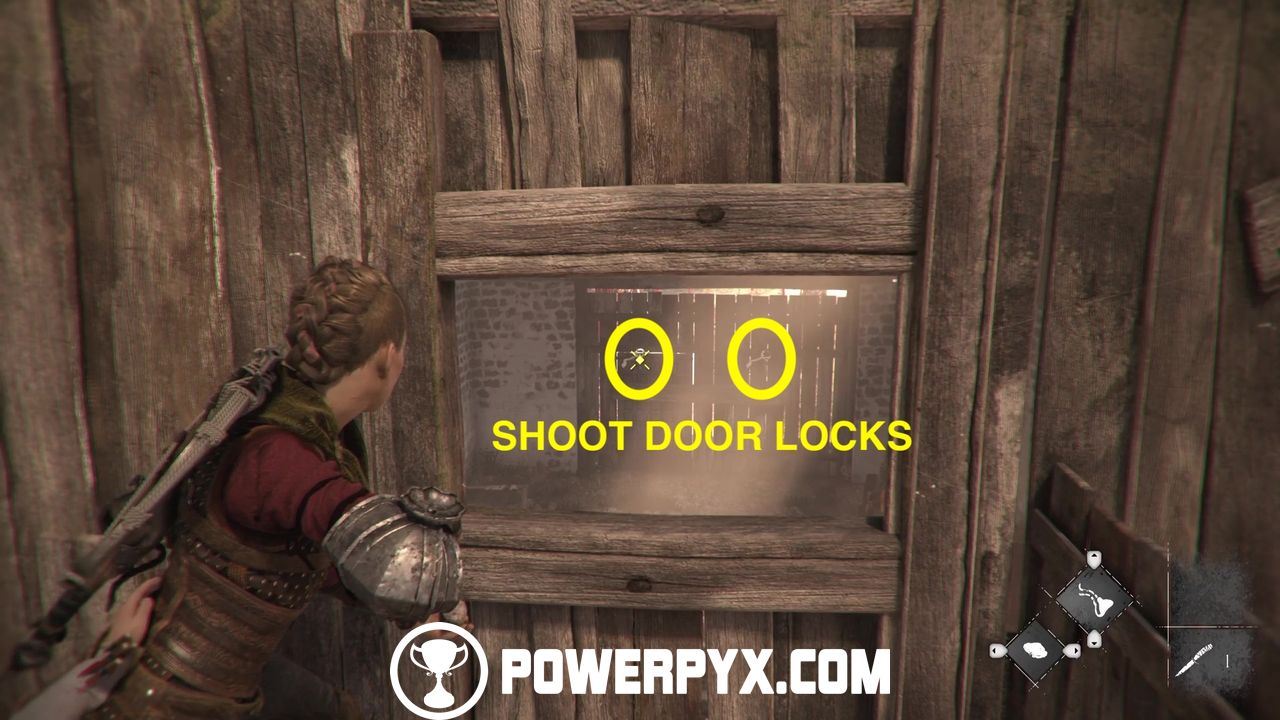
Now climb back down onto the balcony and look through the small window. From here, shoot two rocks at the chain locks in the distance to unlock the building.
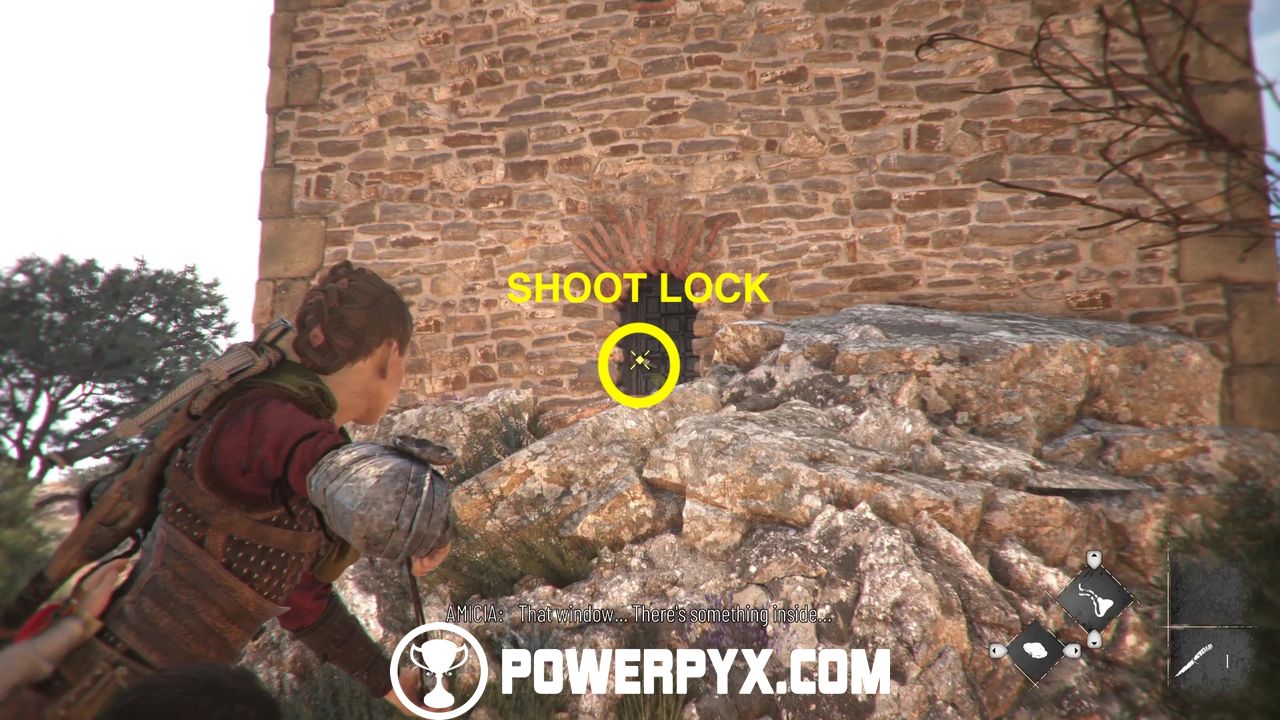
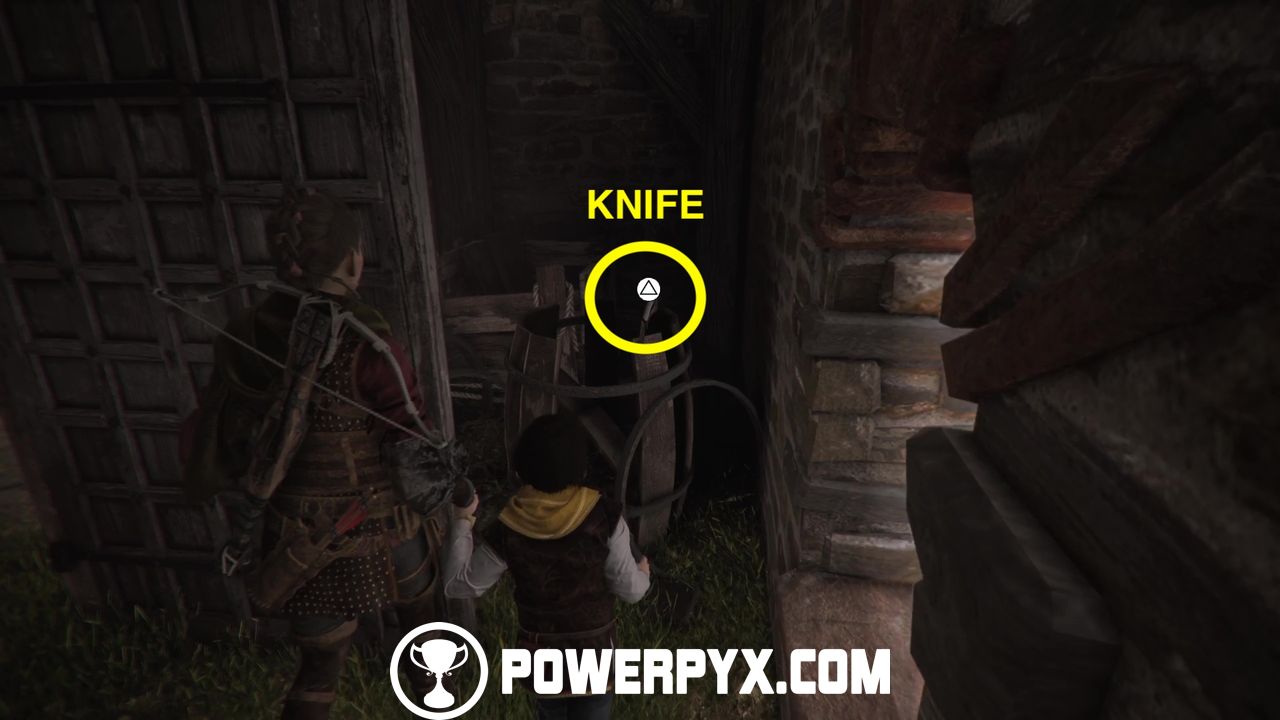
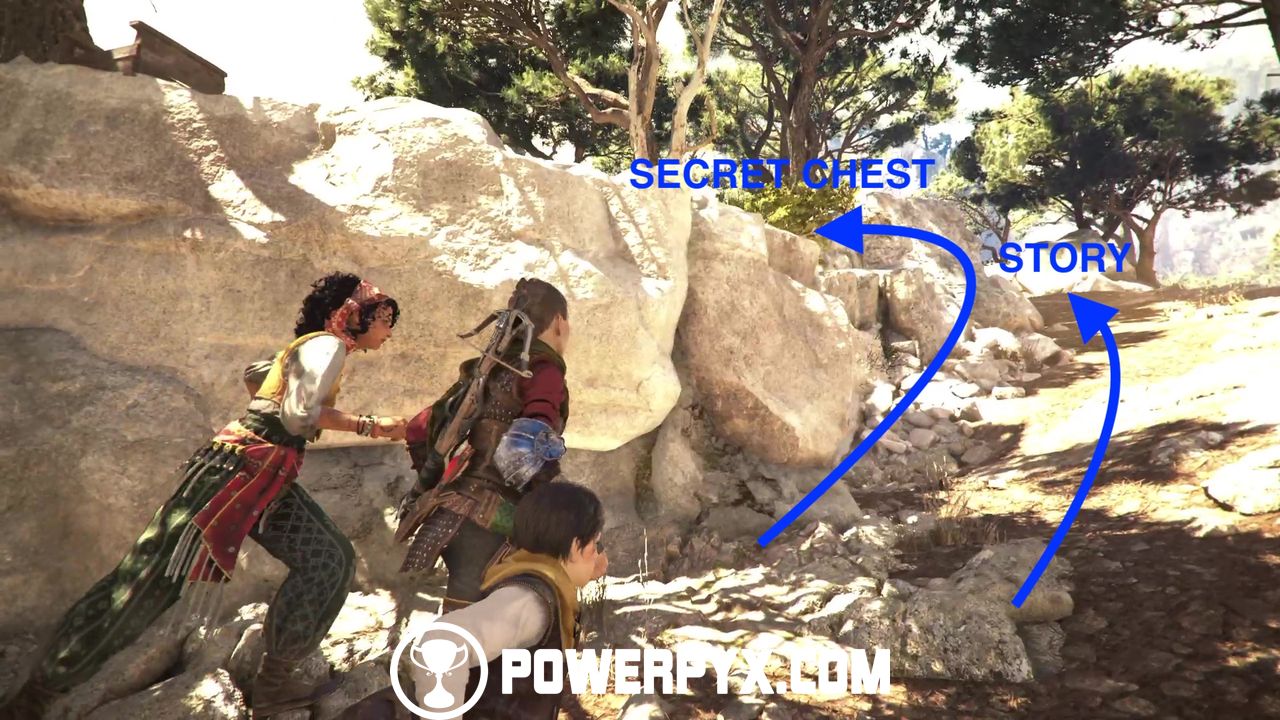
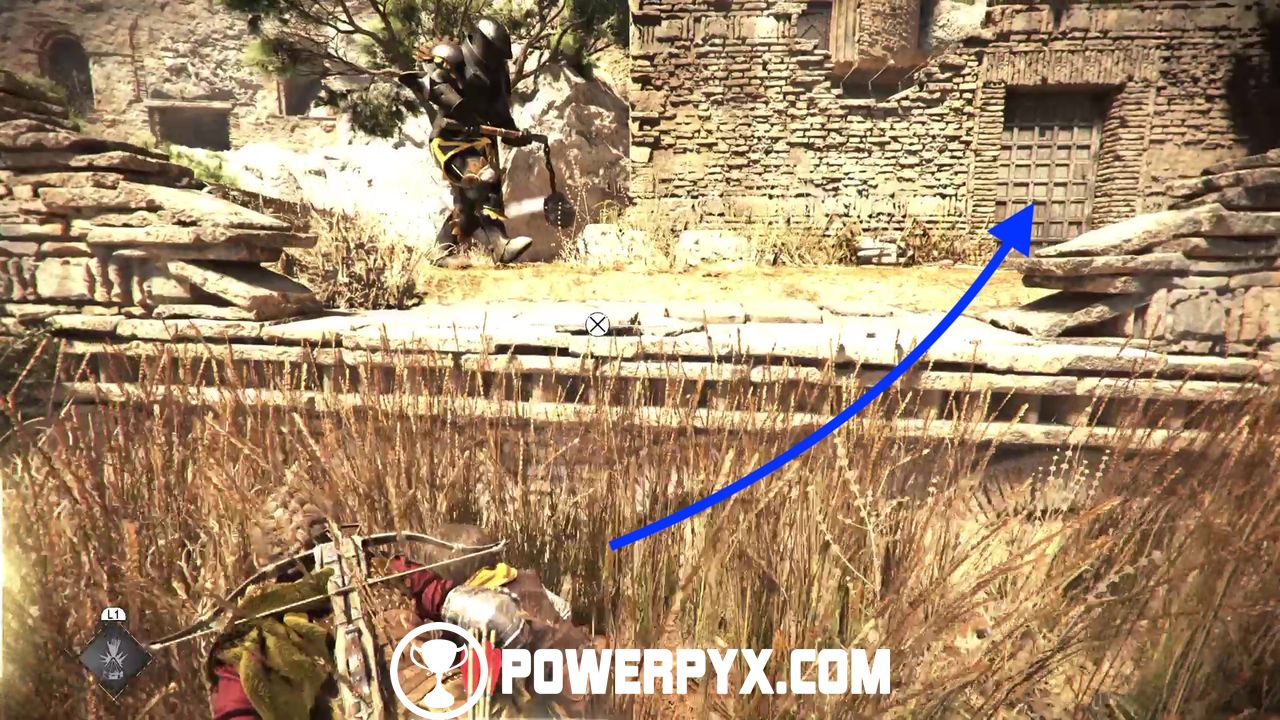
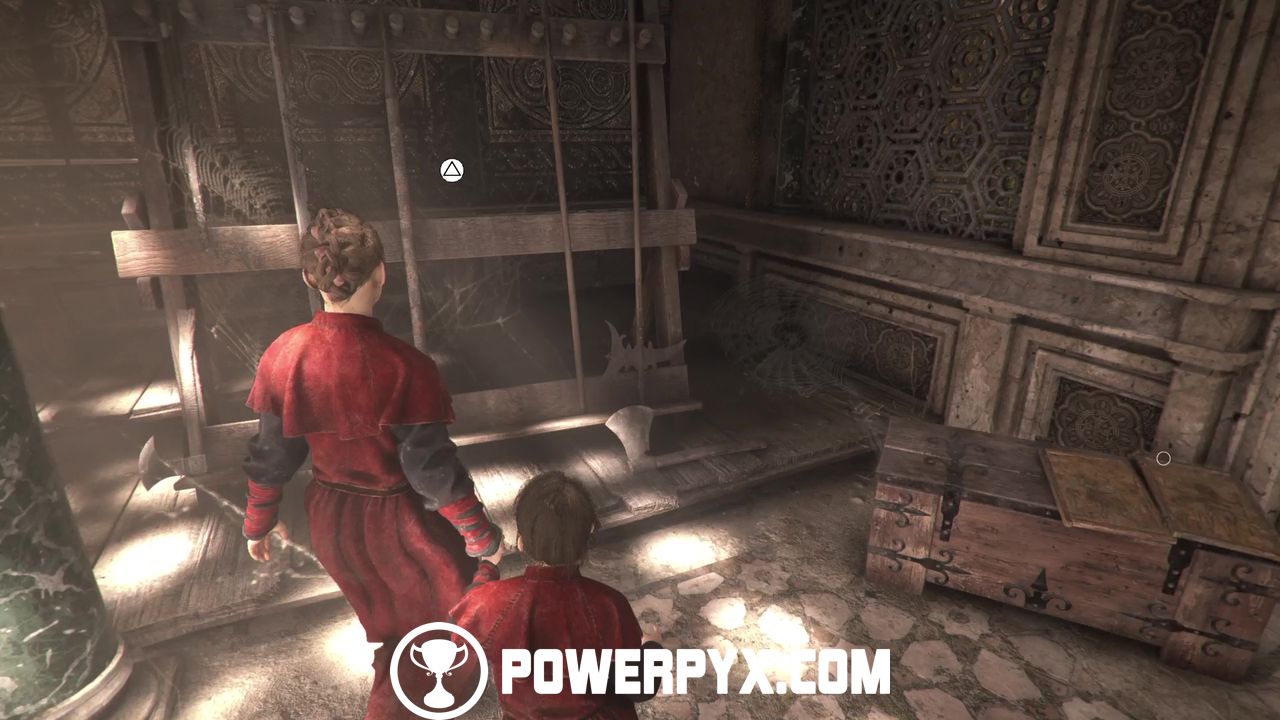
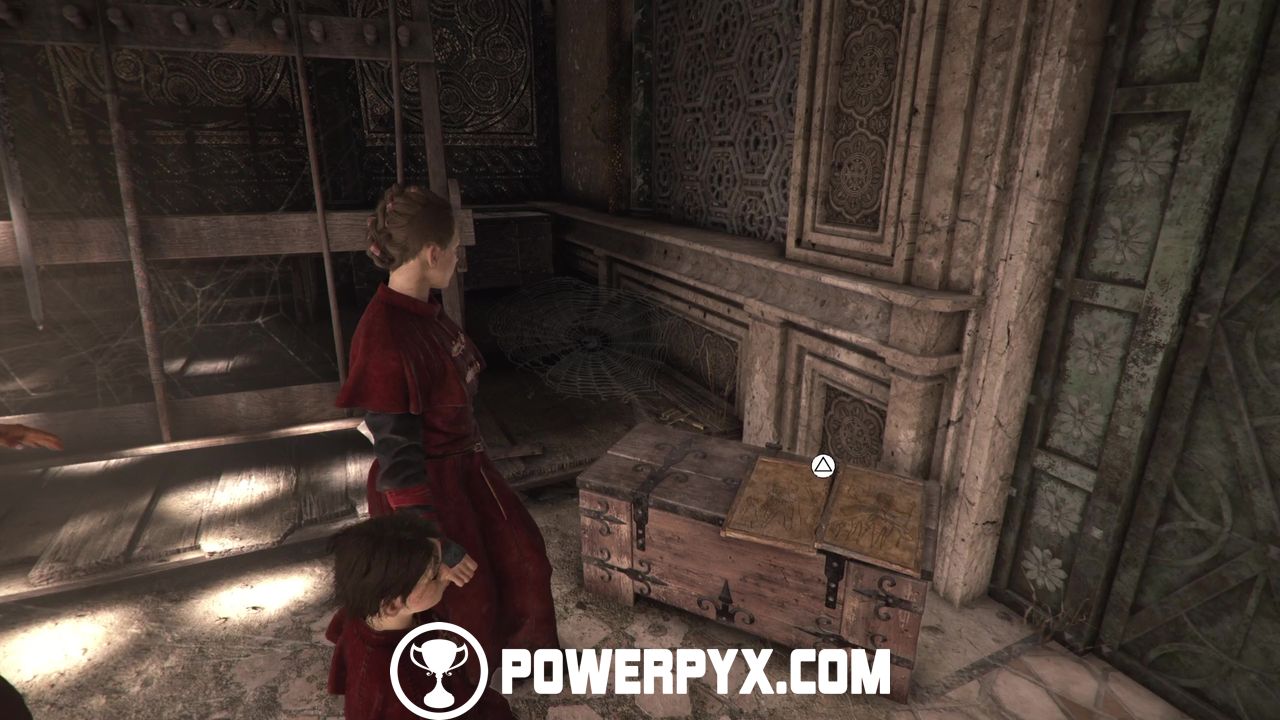
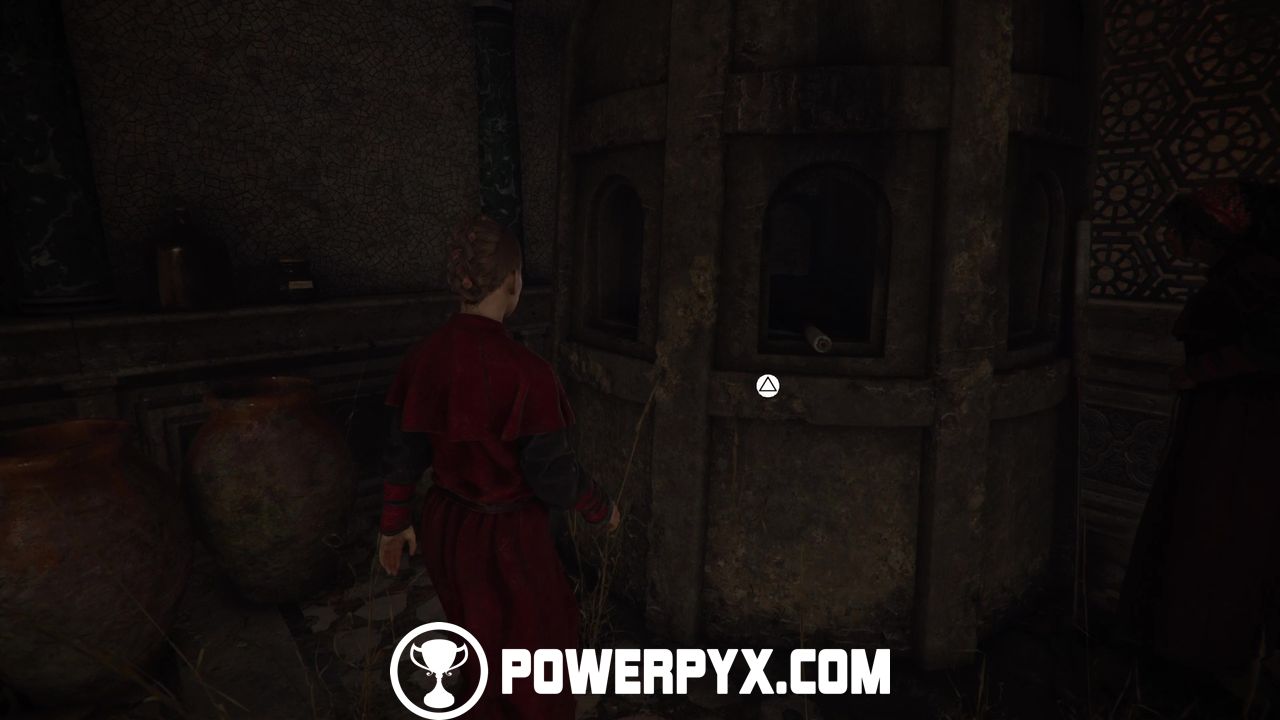
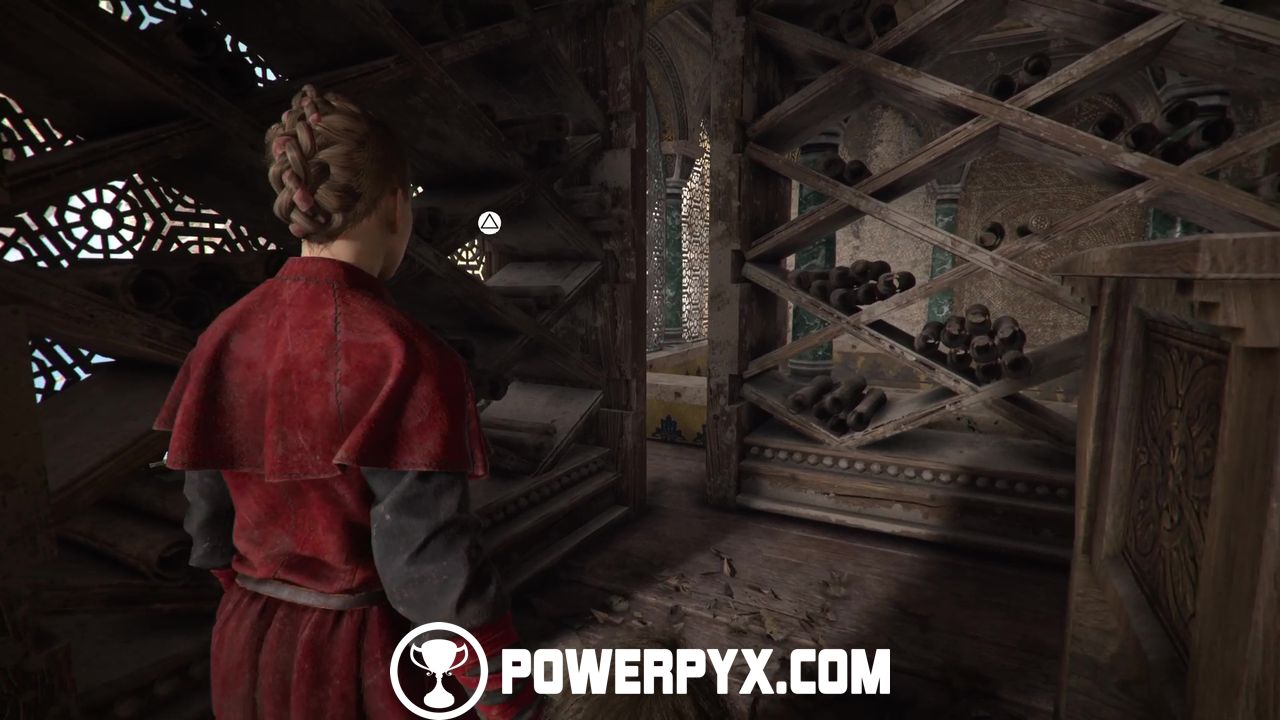
Now go back down and around the building to the front door to access it and find a tool chest with upgrade materials. Exit the building and go past the dead tree with all the people, then continue along the same path past a watchtower. Grab the tool chest inside the watchtower (access from the left ledge when facing it), then cross the bridge and you should see a ruined tower in front of you. Facing the tower from the bridge, access its right side and shoot the door lock from the window, then access the tower and enter the room you’ve just unlocked and grab the knife from a broken barrel. (Note: if you already have a knife in your inventory, make sure to grab it AFTER getting Secret Chest #6, see the paragraph below. Then you have a Knife for Secret Chest #7).
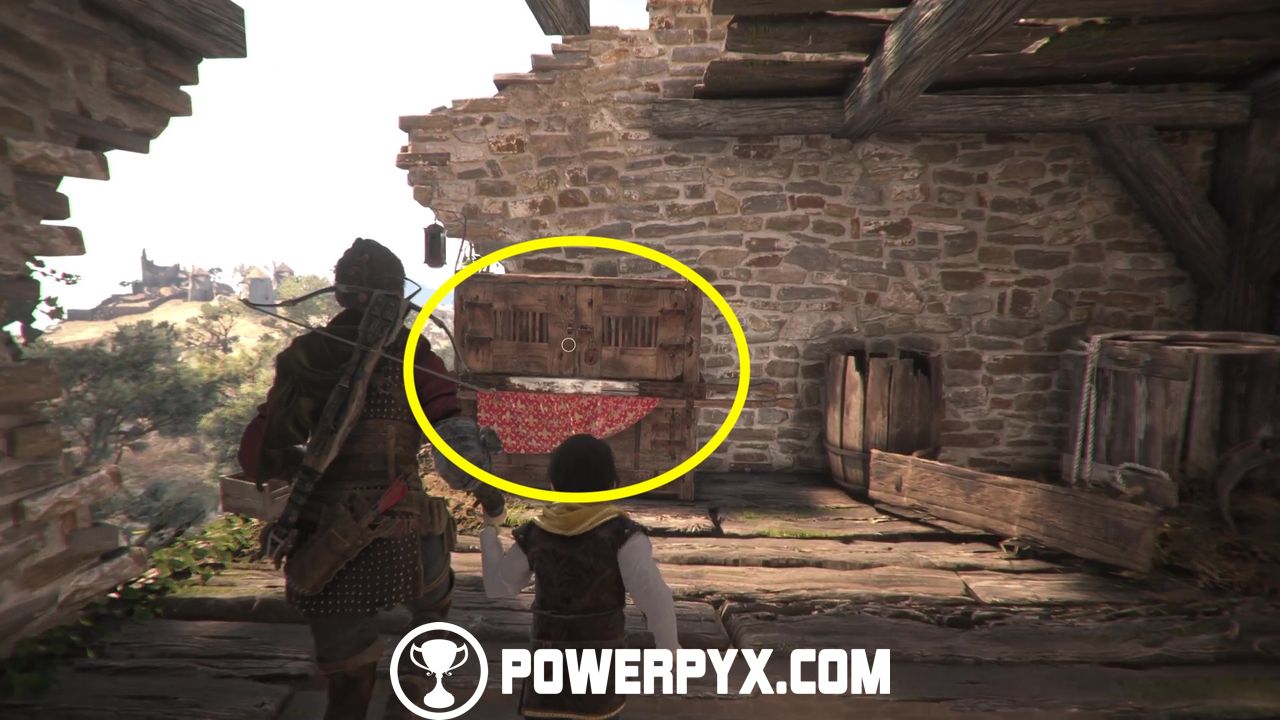
Now, climb up the next two ladders to find Secret Chest #6.
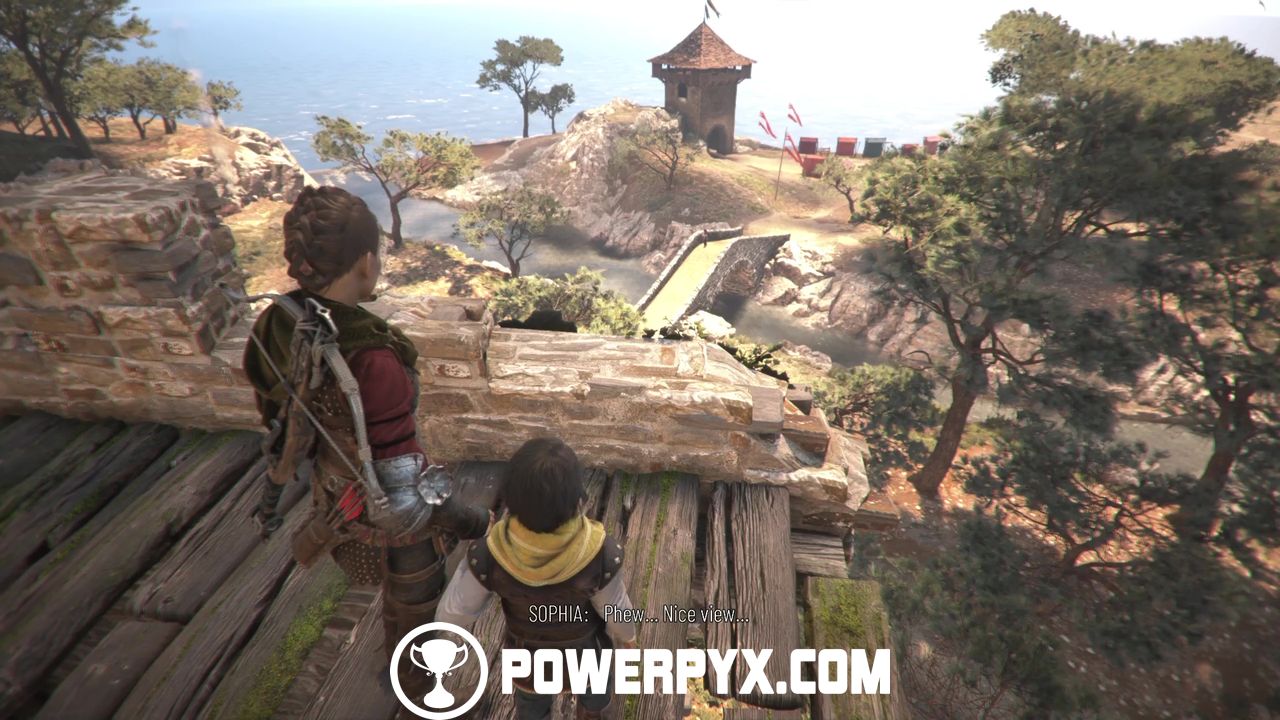
Continue climbing up and interact with the vista point to unlock Souvenir #16/21 Nice Screeching.
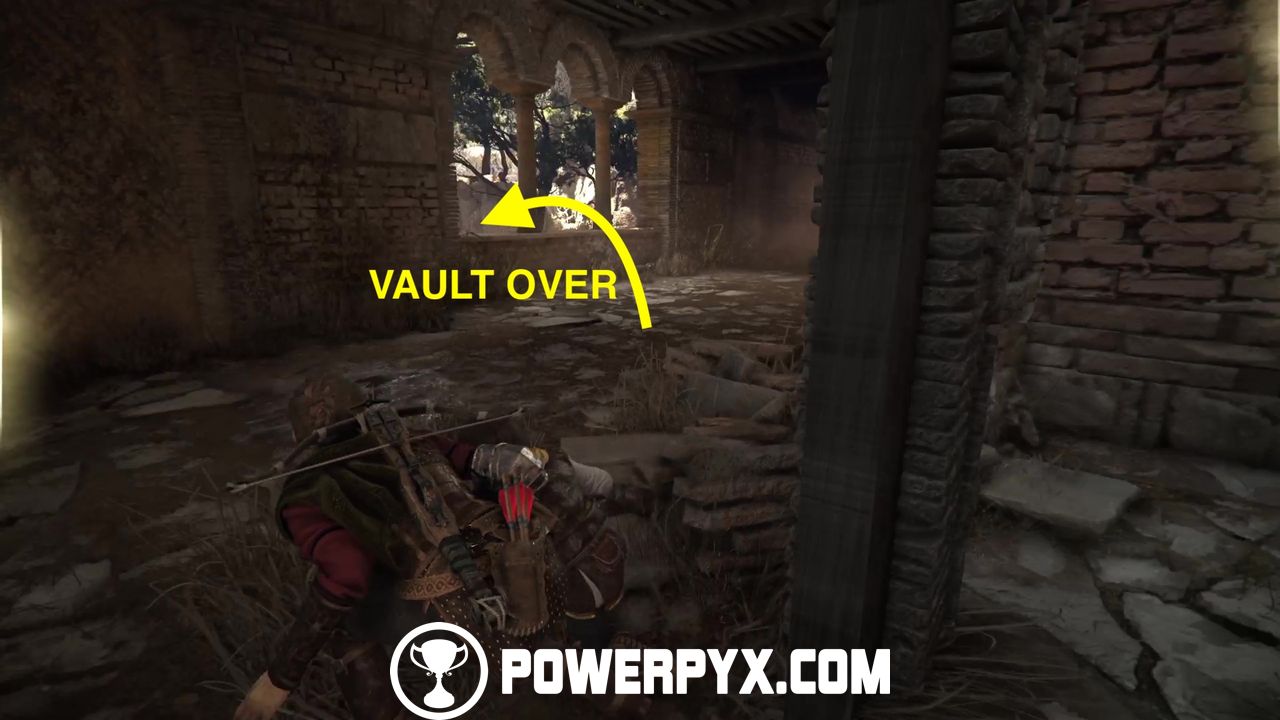
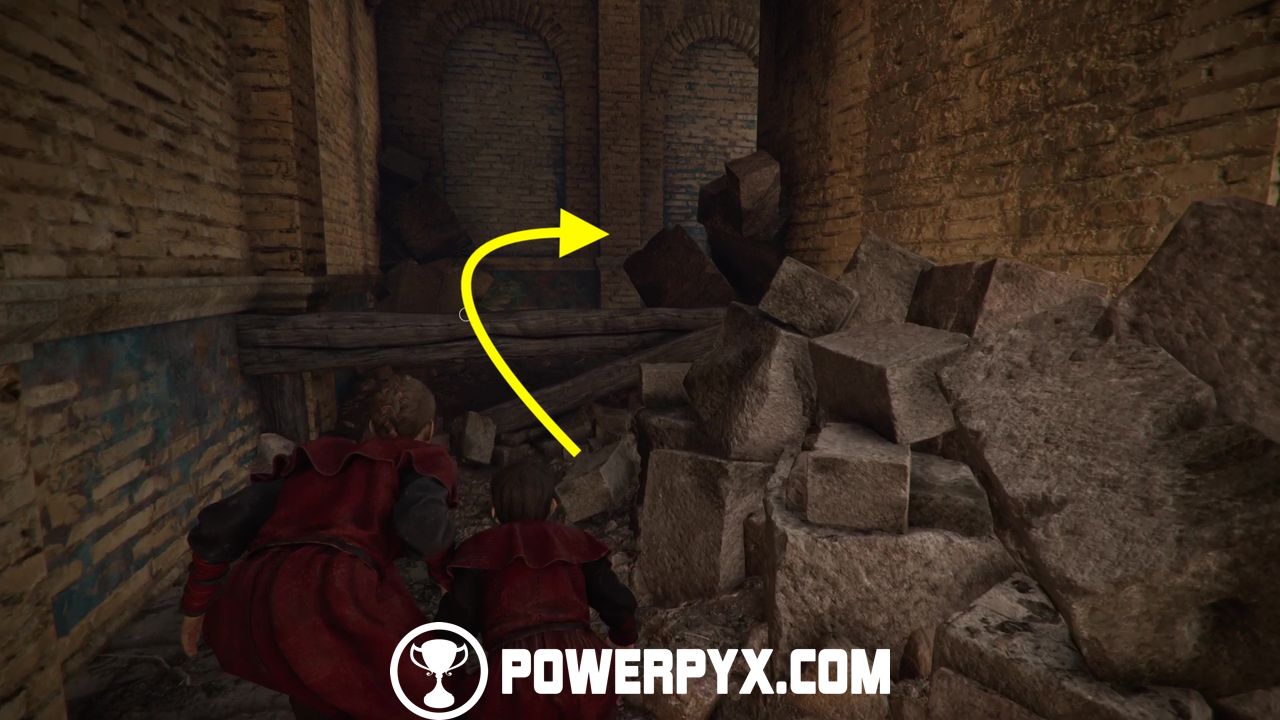
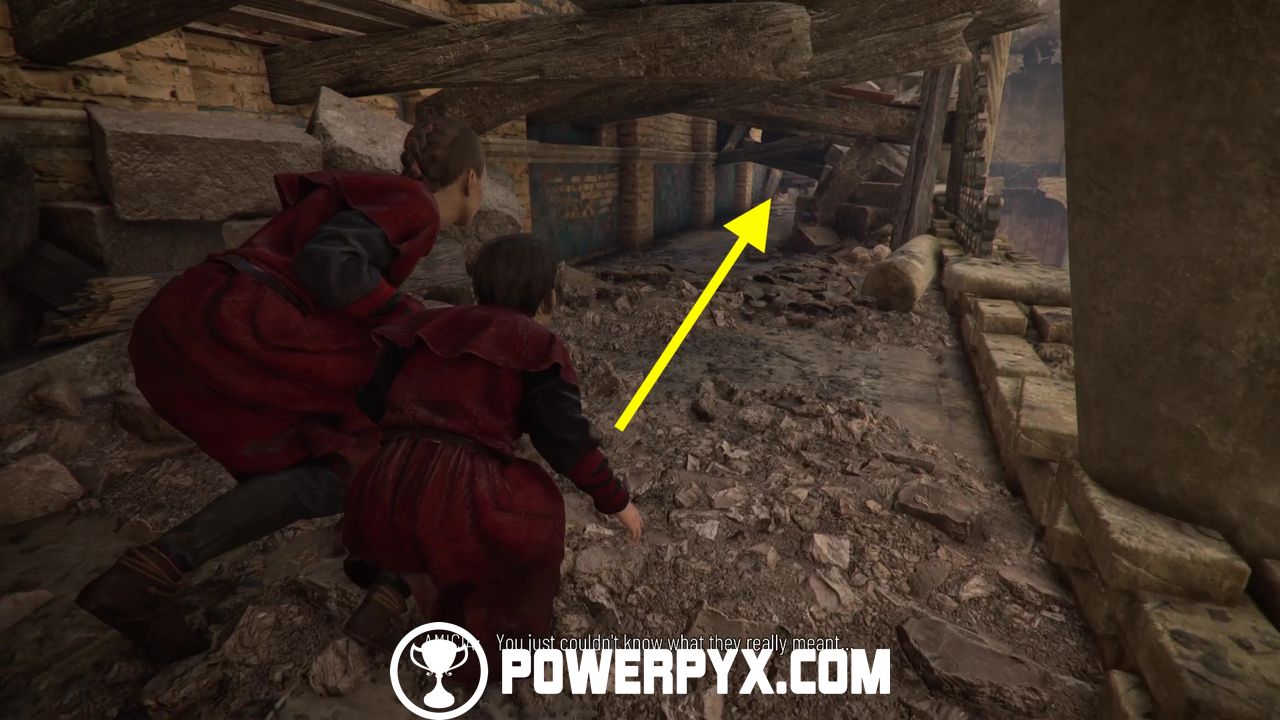
Now we can continue on with the story. Go back down and cross the bridge again. Now point your camera to your right and you should see some arch stones.
Go in their general direction and you should spot a coffin you can move and squeeze through some walls.
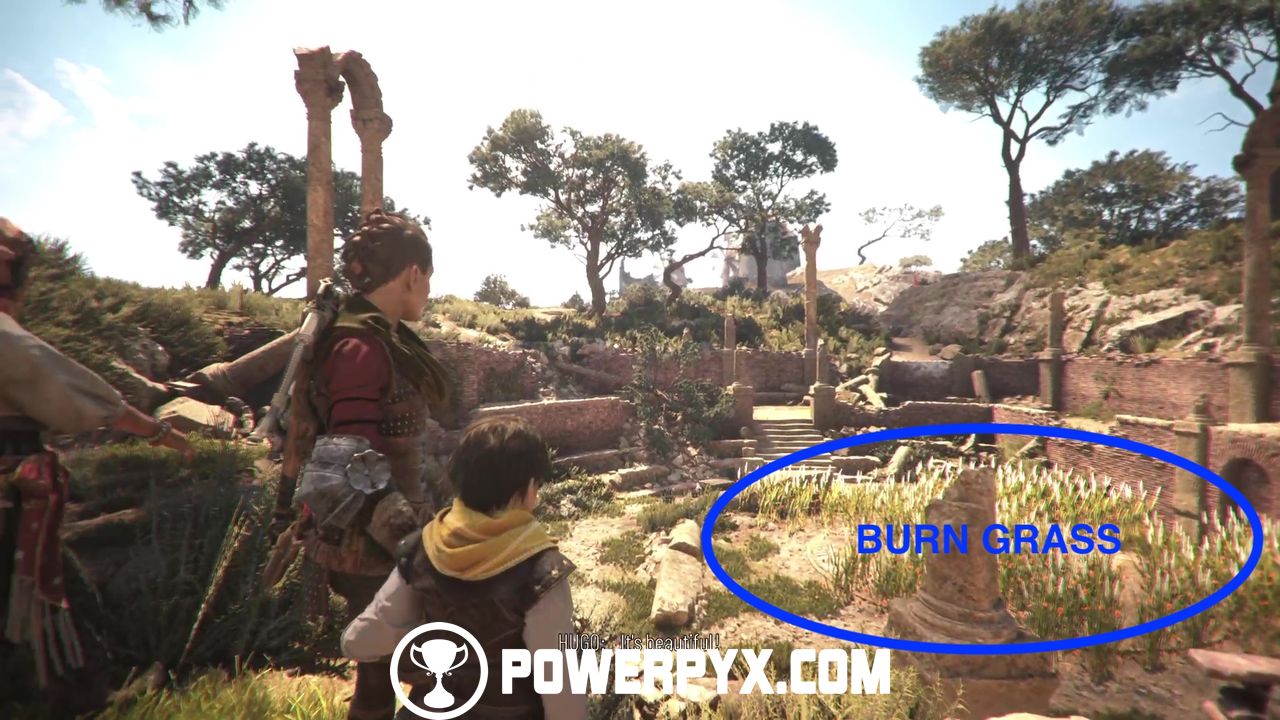
Find Out what the Ruins are Hiding
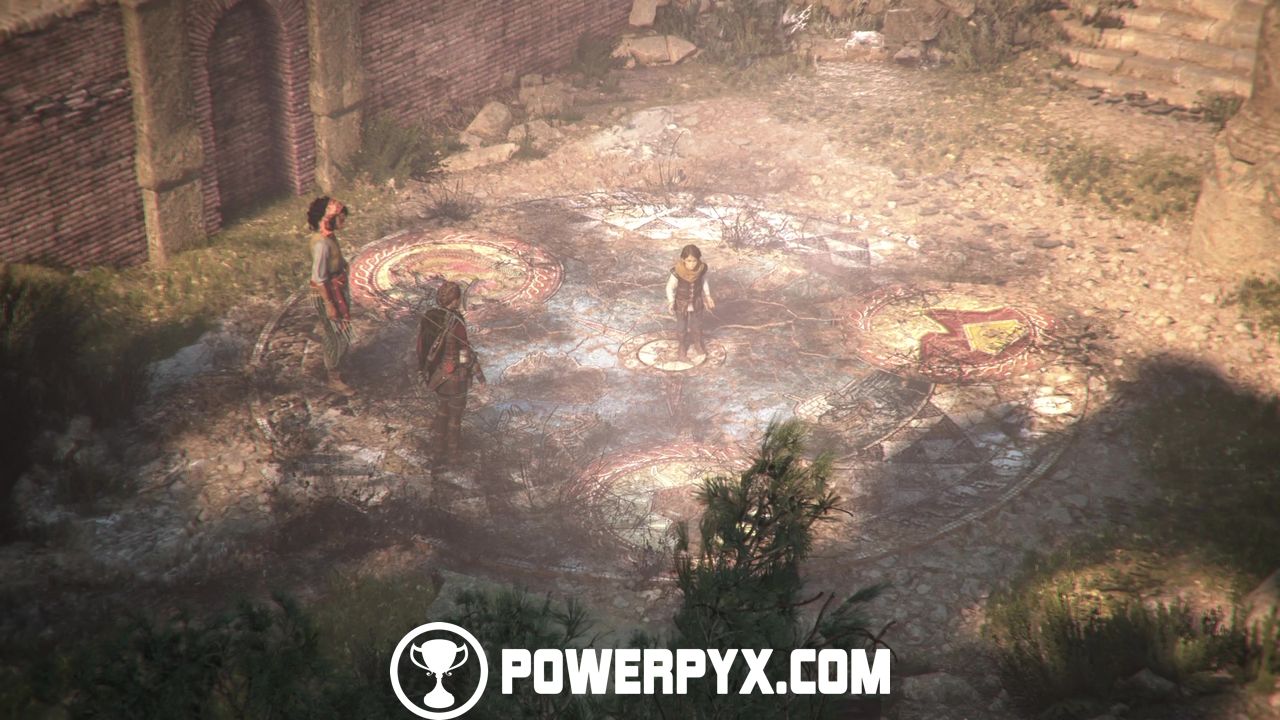
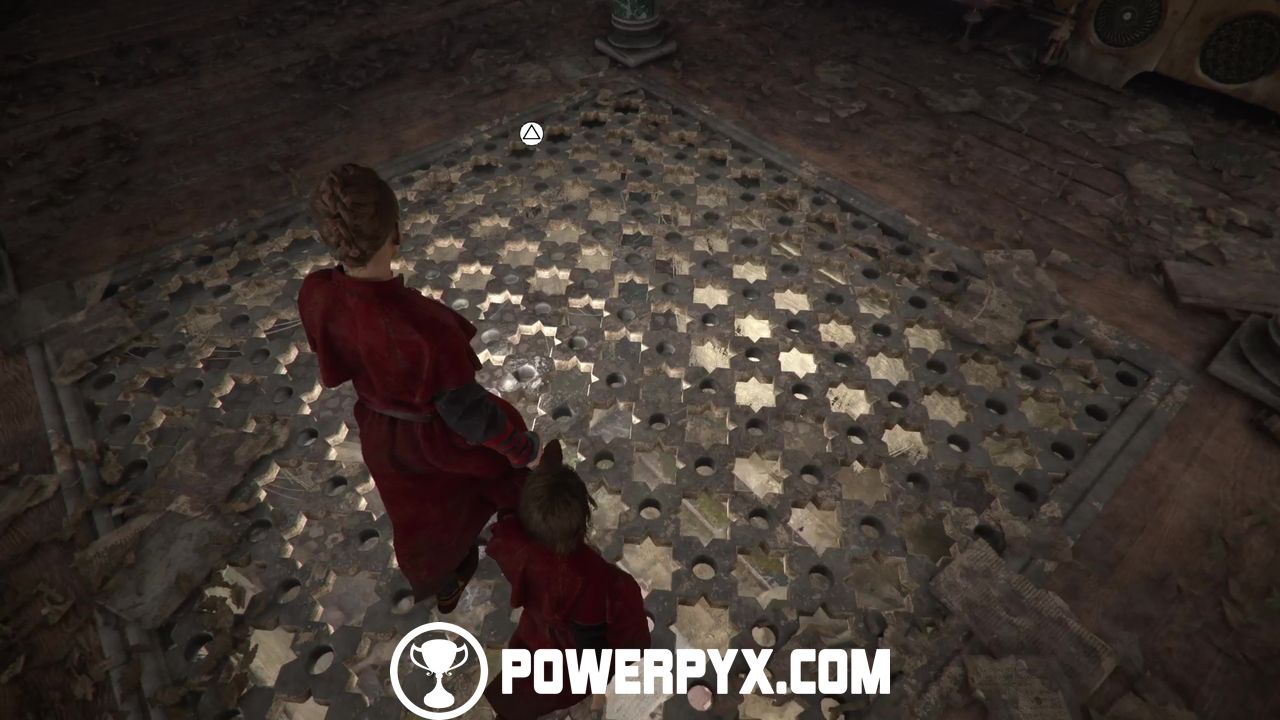
You’re now at the remnants of an amphitheater. Enter the stage with the patch of grass and set it on fire to reveal a fresco of the map of the island which reveals the direction we must now take: the mountains, called Las Madres.
Towards the Sanctuary
Reach Las Madres
Exit the amphitheater and cross the bridge again, going in the general direction of the mountain. Keep going uphill and you’ll eventually reach a gate. Interact with it to open it.
On the Mountain
Reach Las Madres
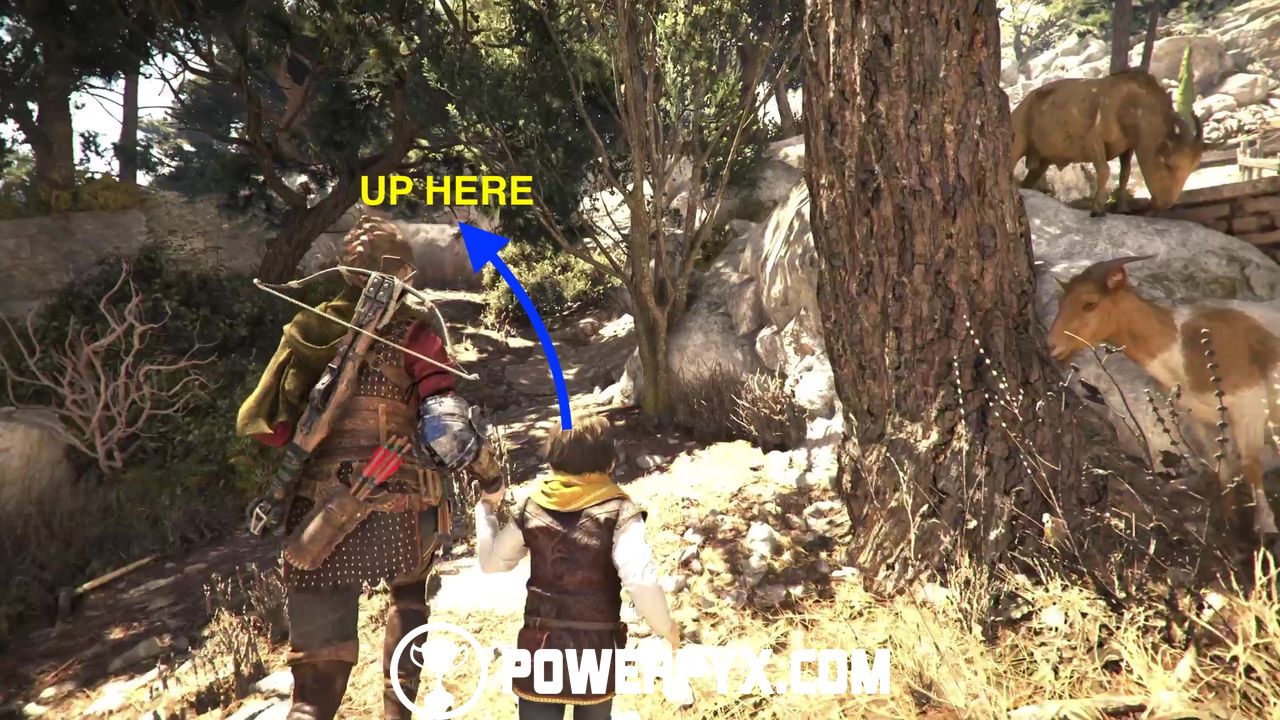
Continue up the trail until you see a fountain. Approach it to drink some water and then continue on until you’re blocked by a goat herd.

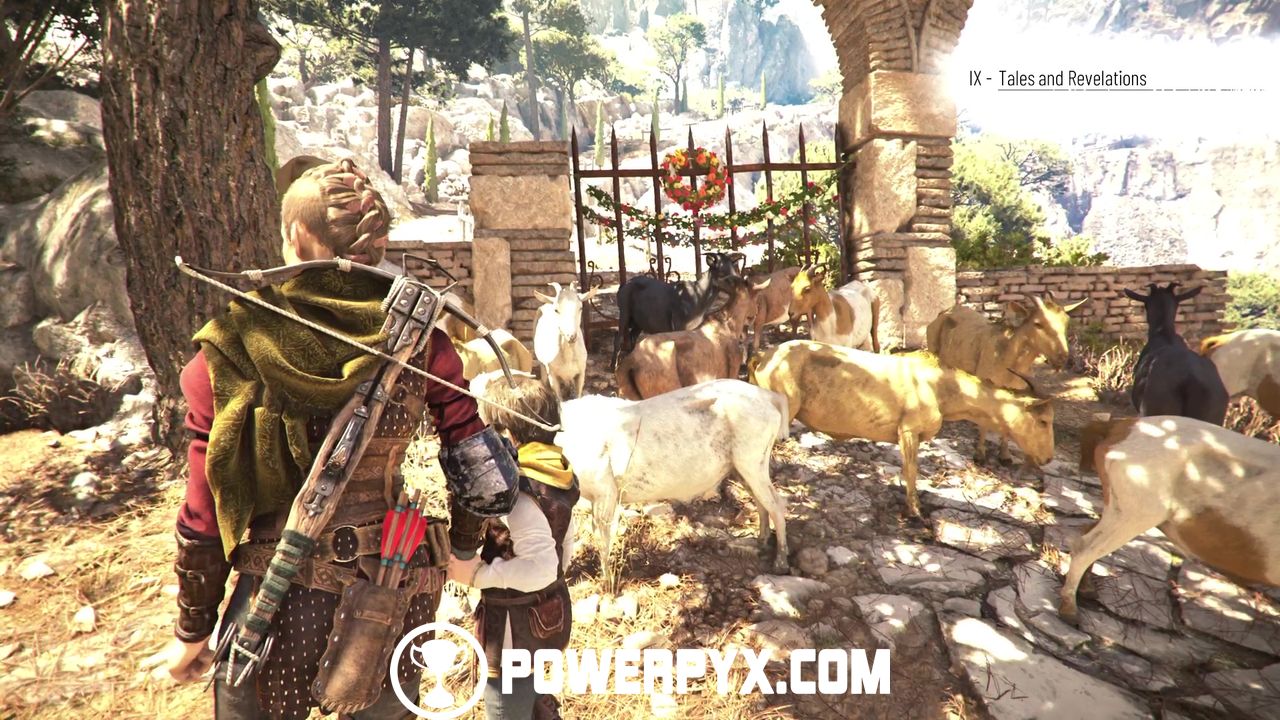
As the shepherd suggests, take the side path on the left and asks you to return a missing goat called Tramontane if you see her.
Entering the Sanctuary
Find a Way Around the Checkpoint
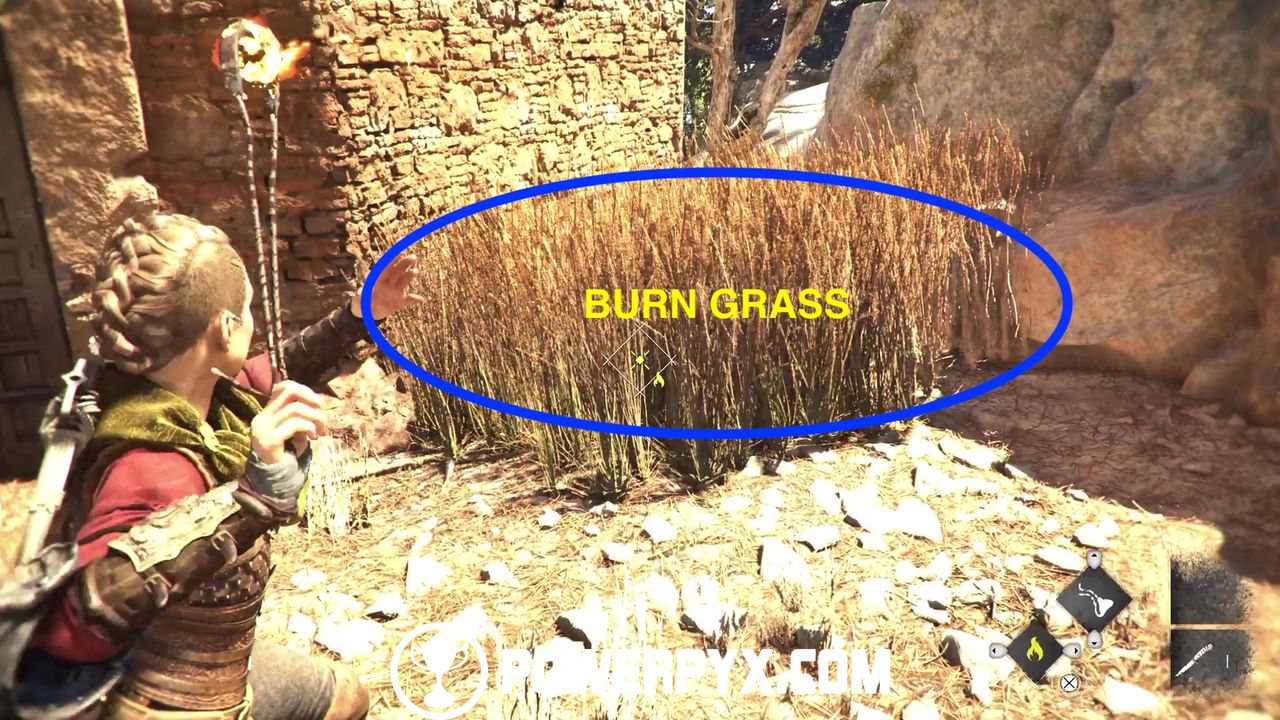
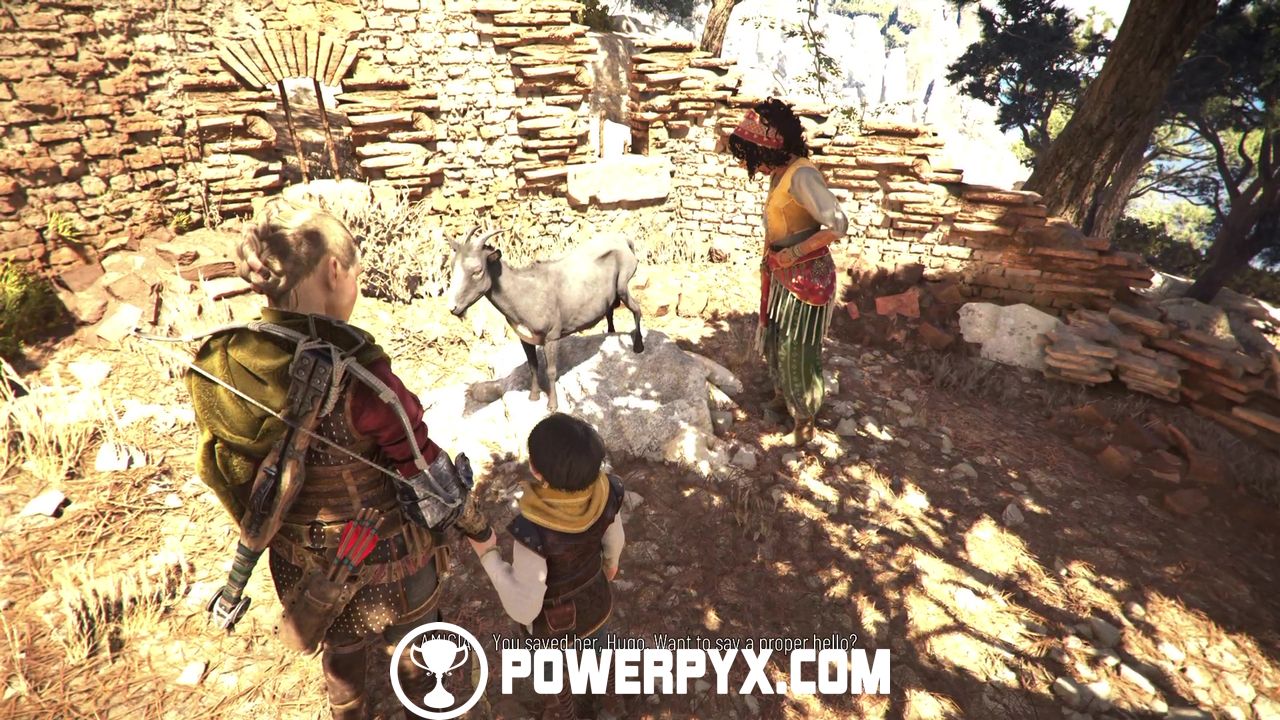
Go up the side path and climb the ledge. Keep going until you spot a ruined building on your left and you should hear some bleating. This is Tramontane, the missing goat, but she’s stuck inside. Burn the bush next to the door and instruct Hugo to crawl inside.
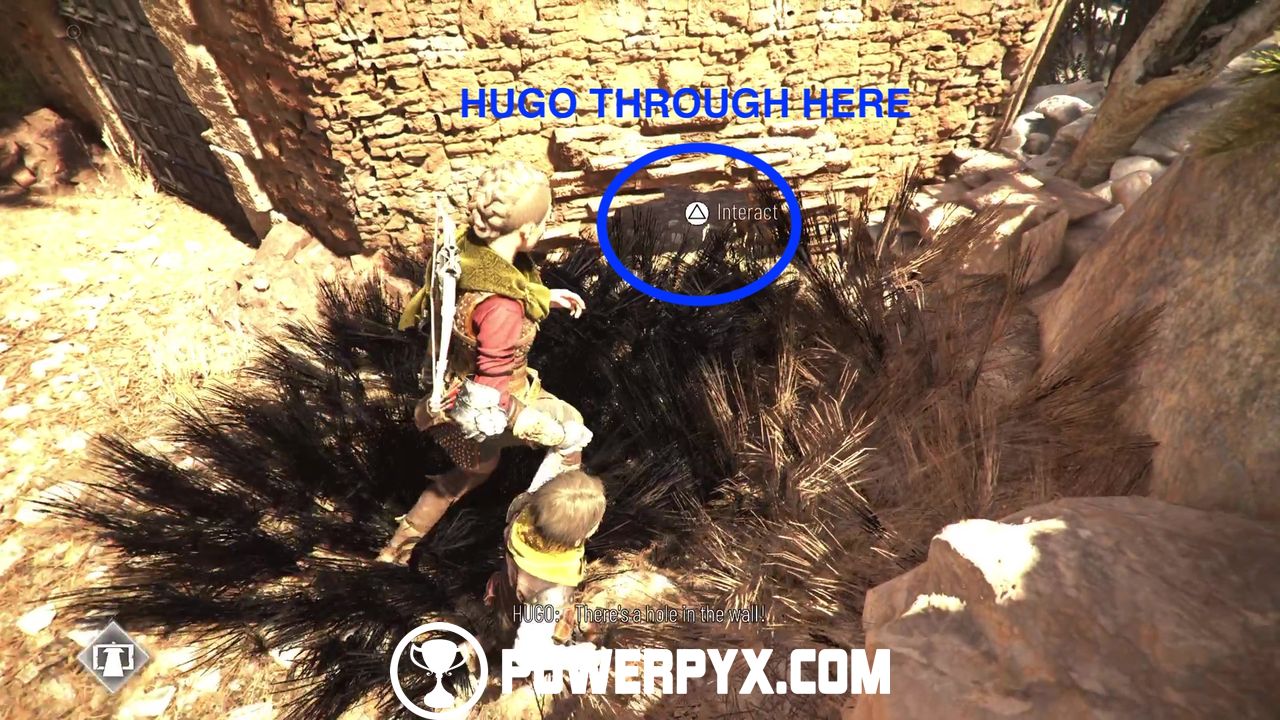
He’ll unlock the door for you, enter and interact with the goat to unlock Souvenir #17/21 Tramontane.
Inside the building is also a tool chest with upgrade materials. Go back to the main path and up the ledge. As you keep going up, flank the rocks and you should spot a hidden ledge. Climb up here and you’ll find Secret Chest #7. If you don’t have a knife, you can replay the Chapter later via Chapter Select to get the Knife where Secret Chest #6 was, it still counts for the trophy when you get it via Chapter Select.
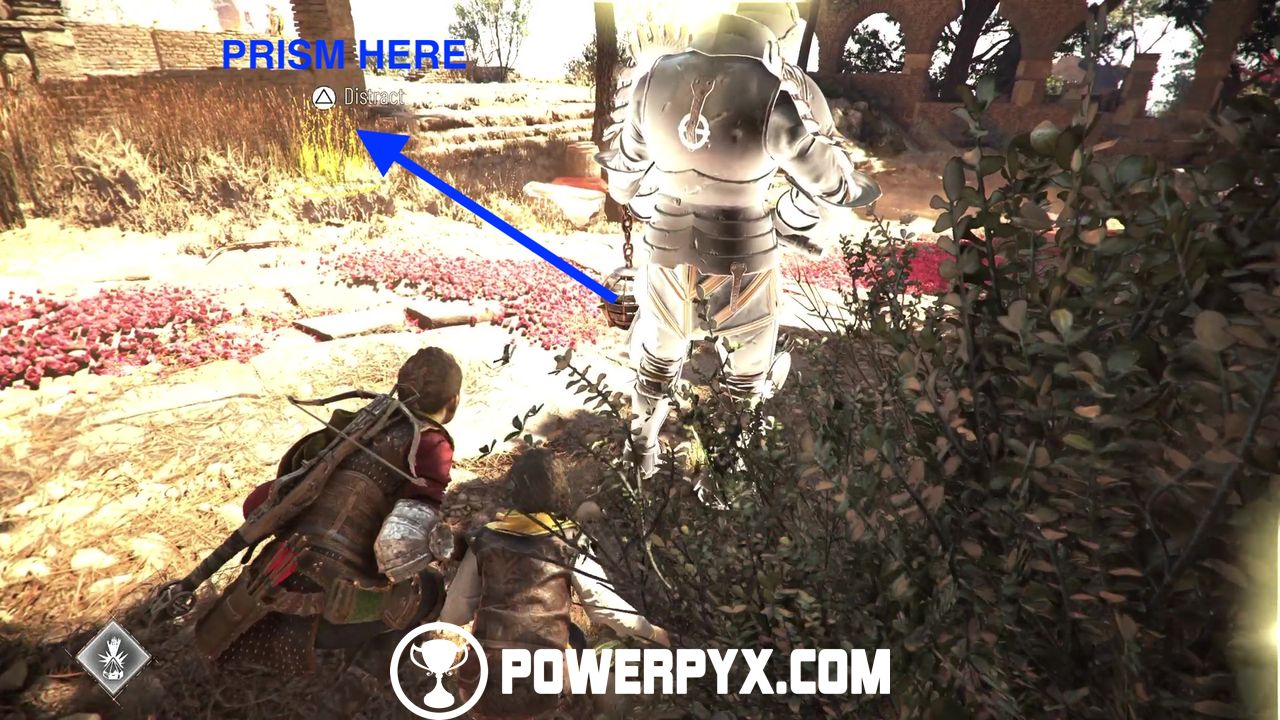
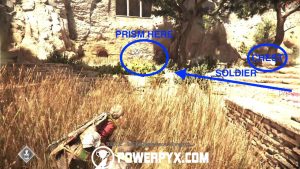
Return now to the main side path and you’ll eventually reach a patrolled area. In this area you cannot kill or be spotted by anyone. However, you can use Sophia’s prism to distract enemies to specific patches of tall grass.
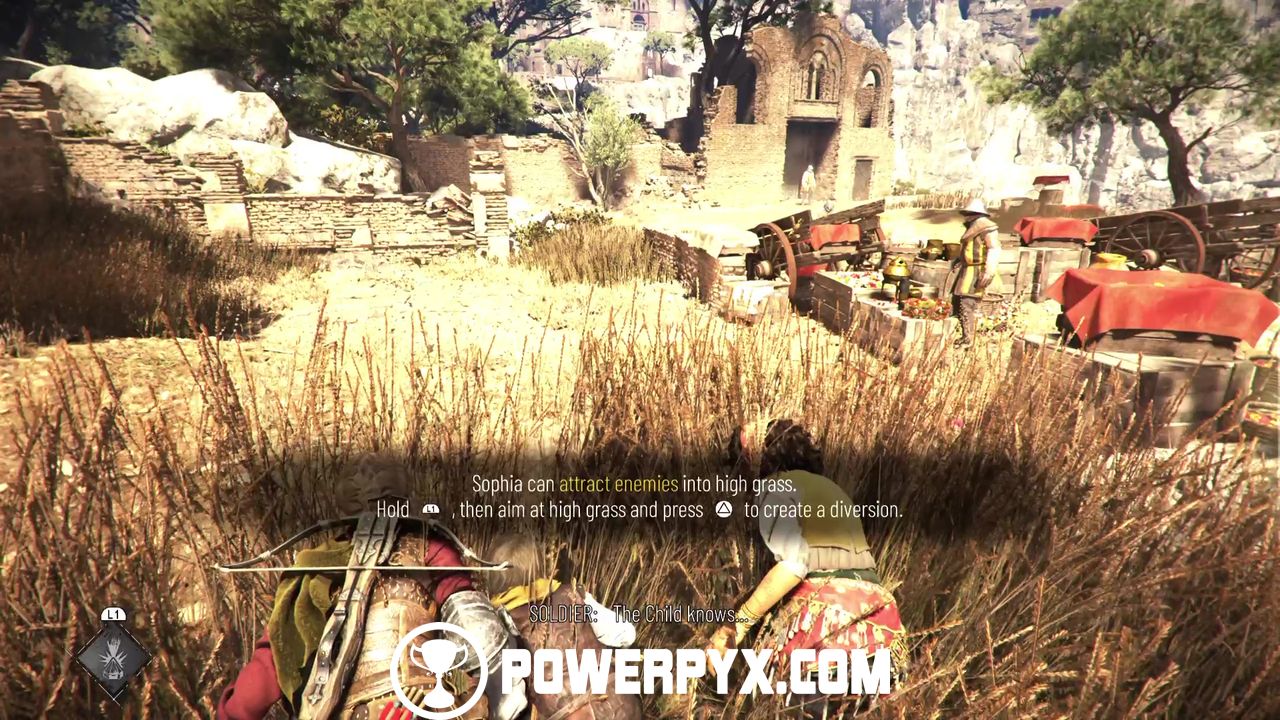
From the first patch of grass, instruct Sophia to use her prism on the grass by the ruins and then sneak past the guard to the patch of grass in front of you.

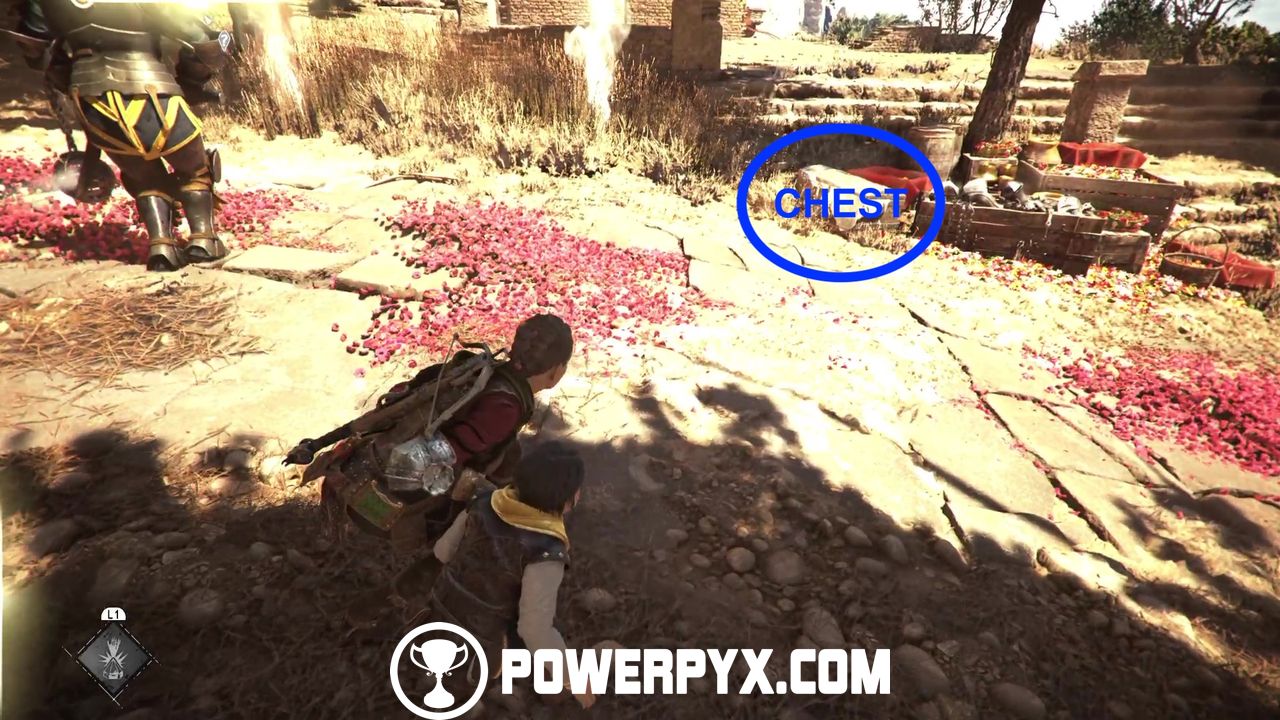
Continue on and when the guard in front of the broken facade moves, move on to the next patch of grass opposite you.
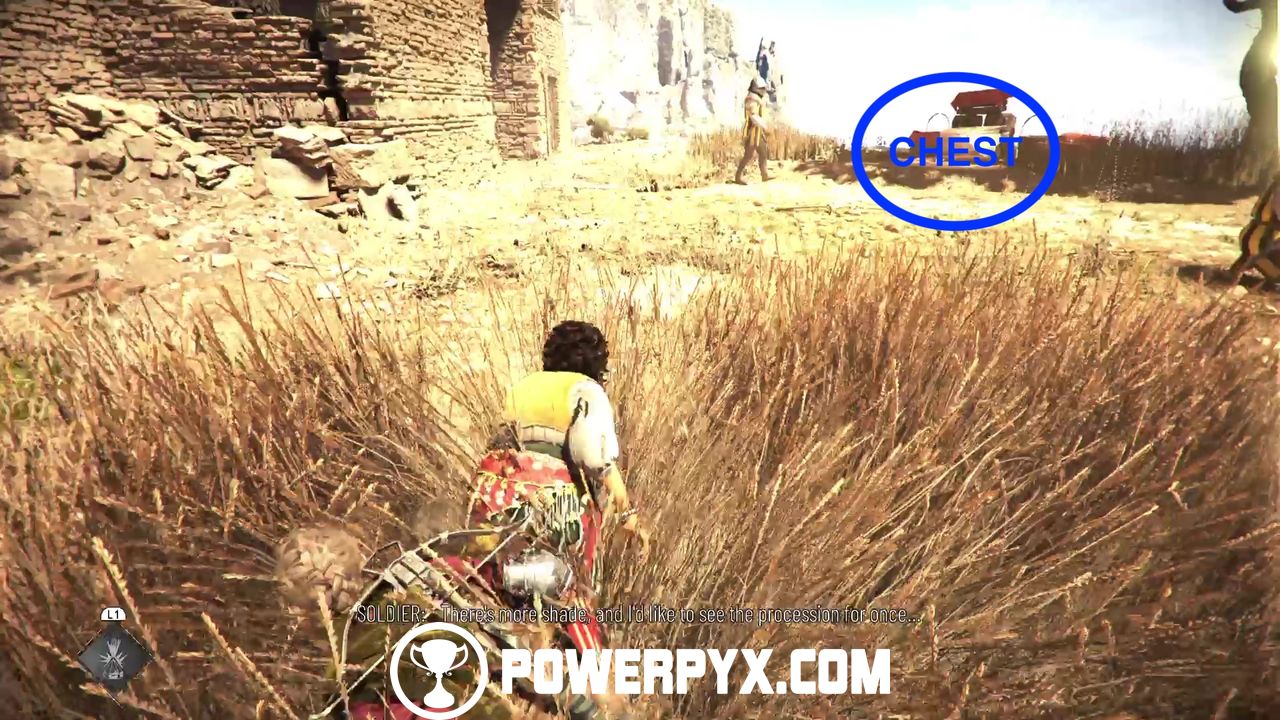
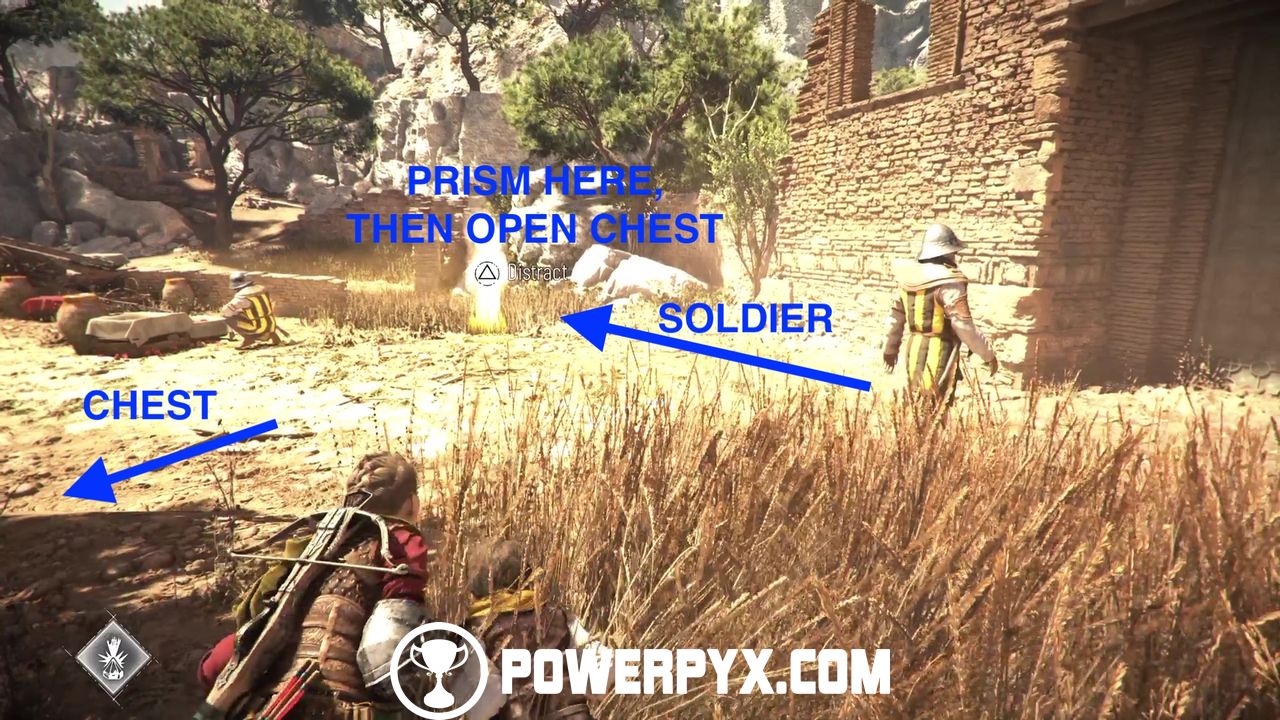
From here, when the same guard returns to his post, ask Sophia to distract him to the patch of grass you came from, then open the chest and lastly open the door.
Now continue through the crack and shimmy along the wall.

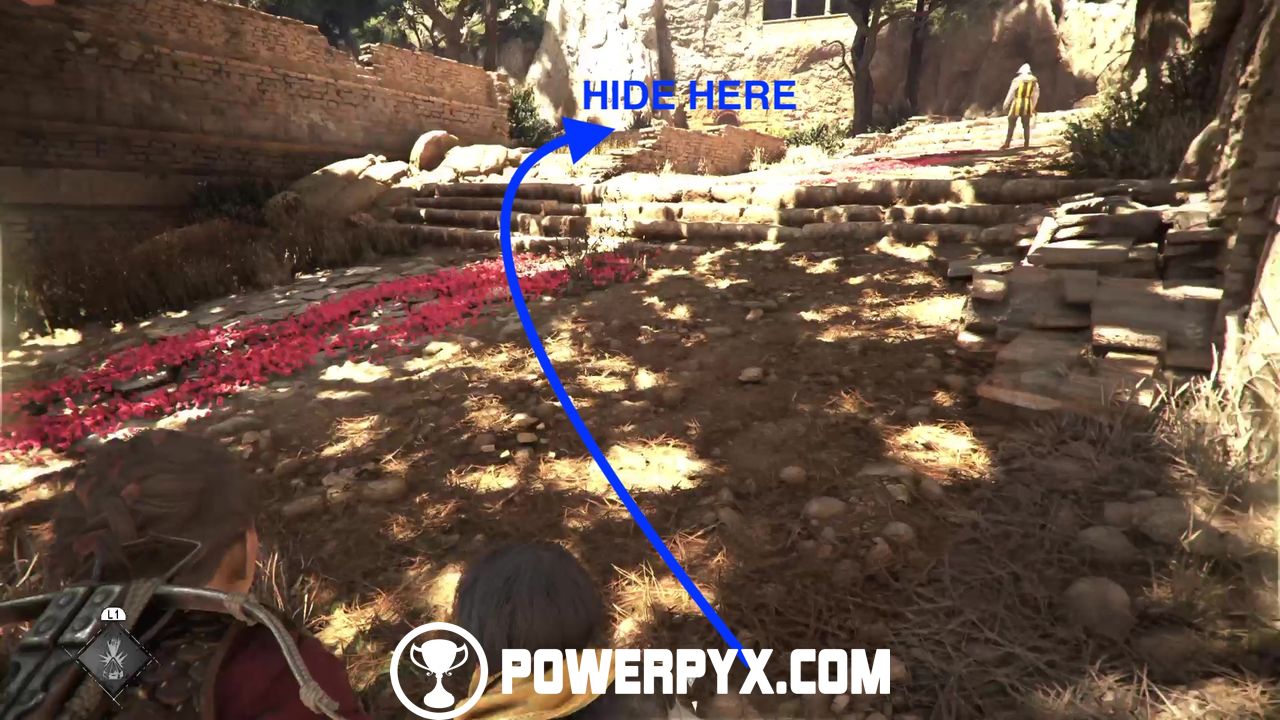
Reach Las Madres
Continue up the hill and when you reach a tree with a red ribbon around it, hide in the patch of grass left of it. When the guard to your left moves inside, go inside as well but hide behind the fence.
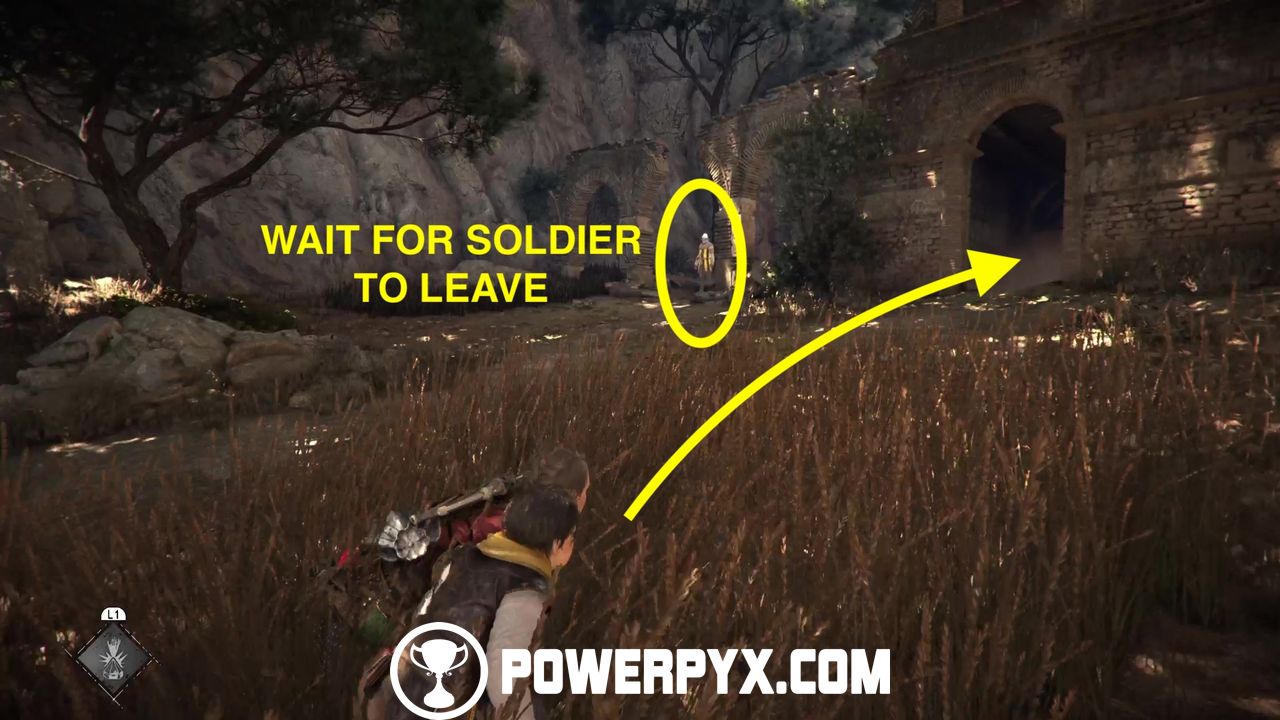
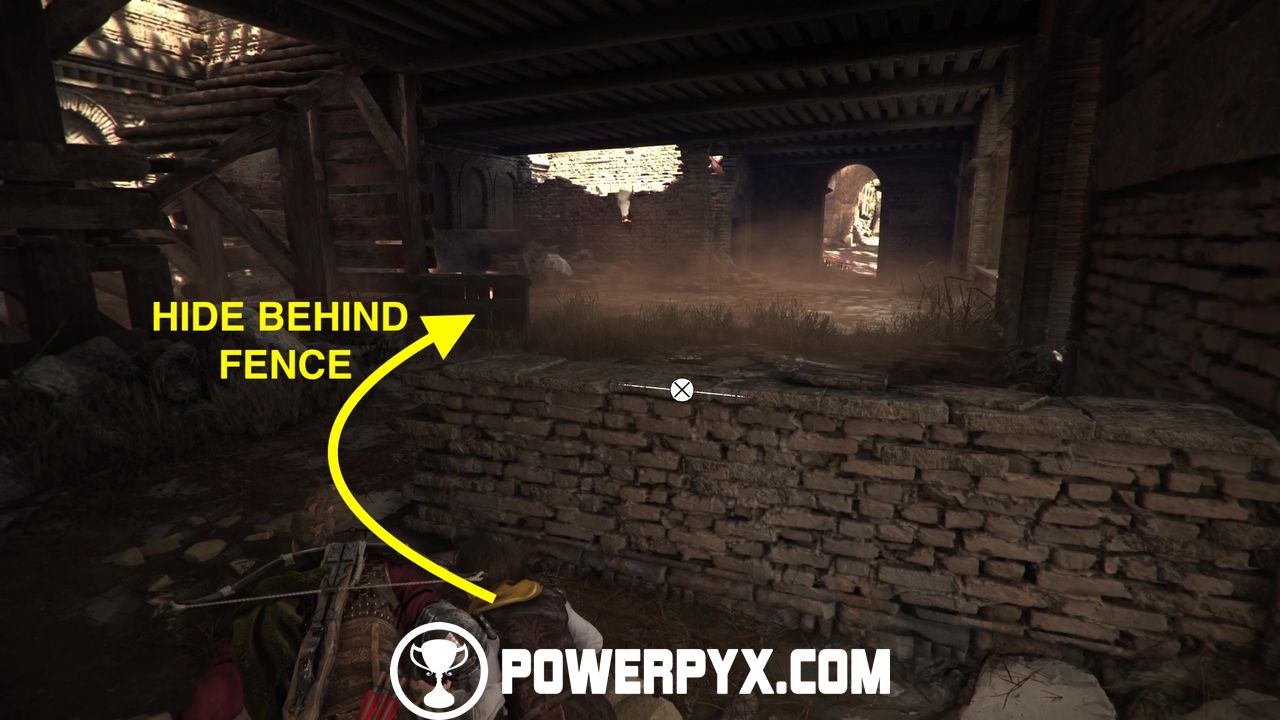
When he moves again, go around the fence and up the stairs.

Stay crouched and hide in the grass. From here, climb over the walls to the right and instruct Sophia to distract the standing guard in front of you to a near patch of tall grass to continue.
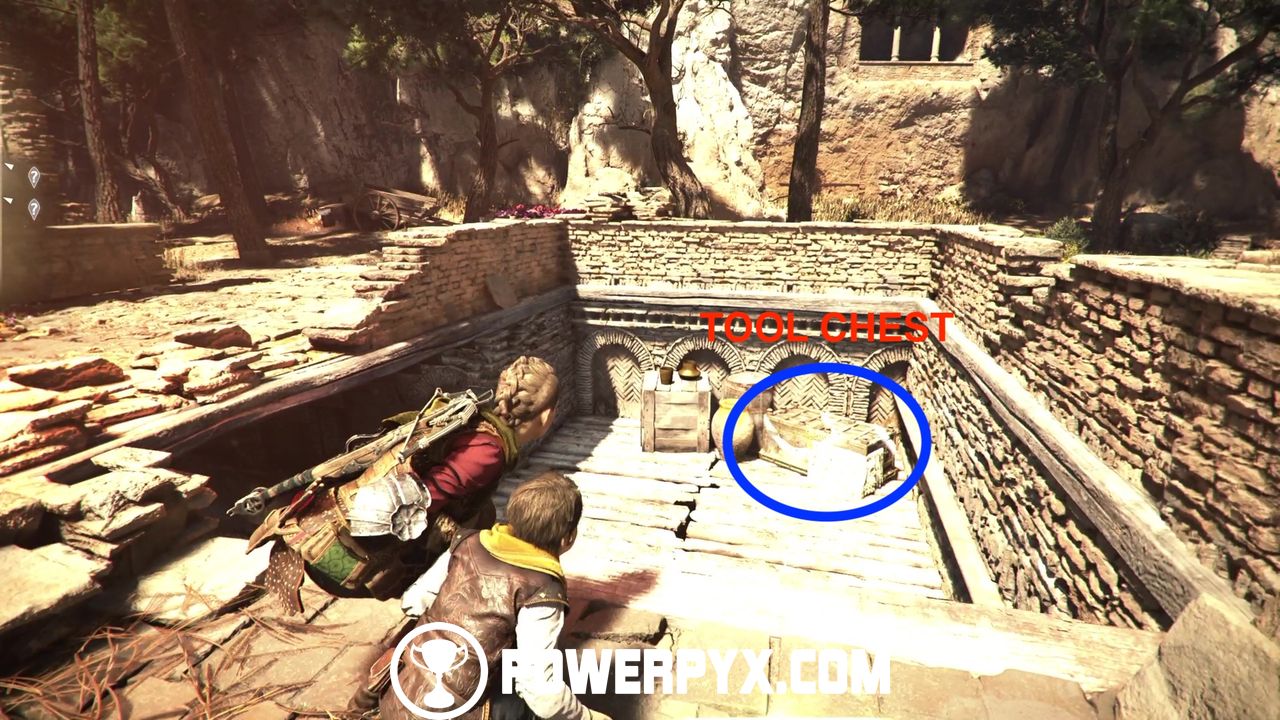
Crouch down the stairs and open the tool chest for some materials.
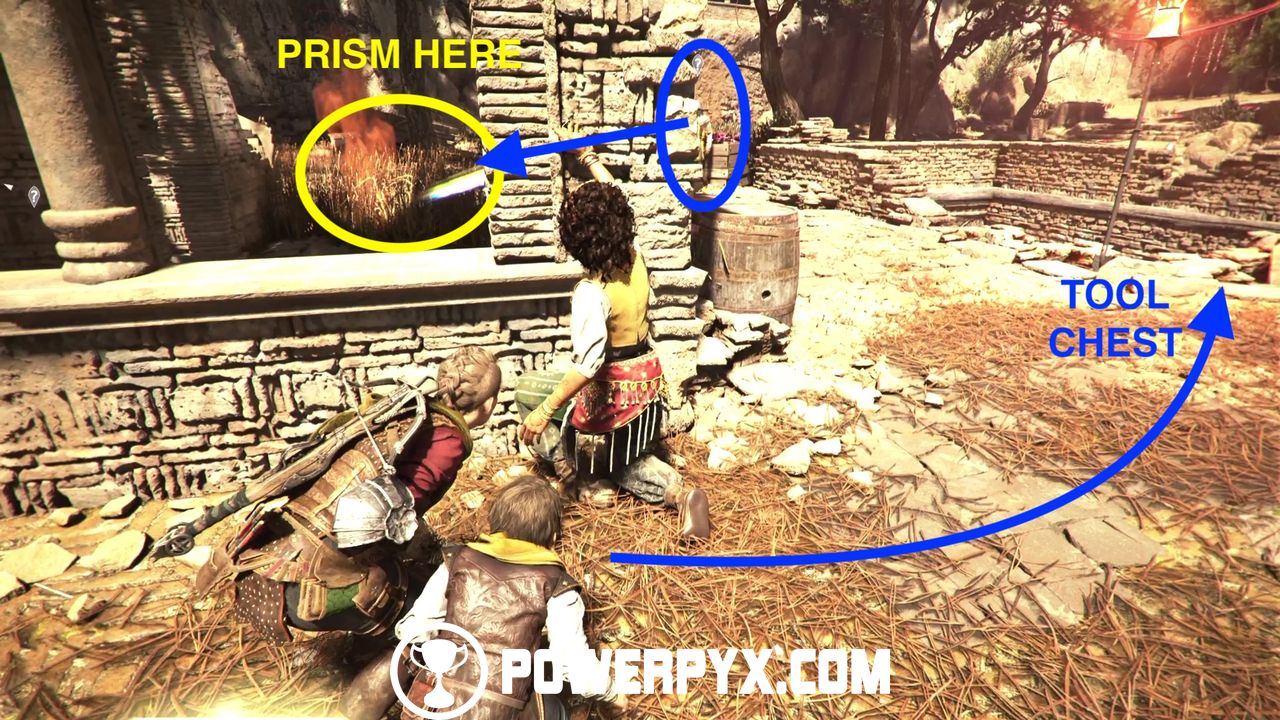
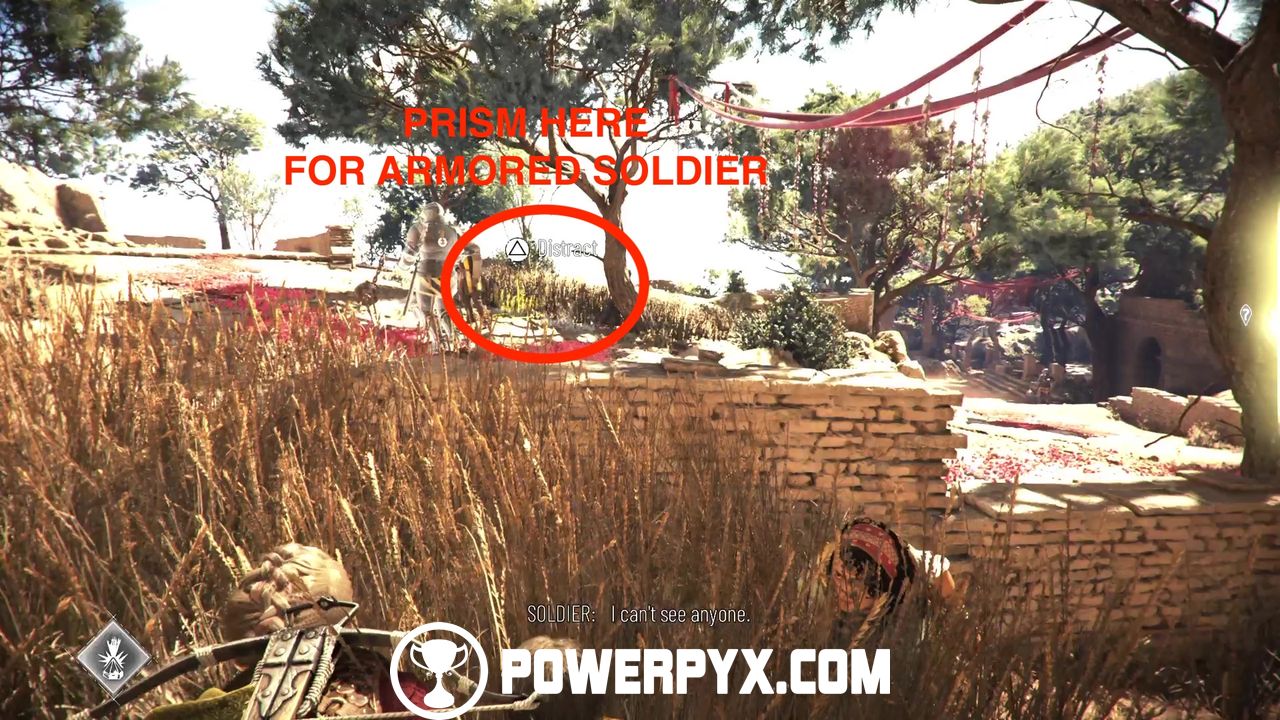
Now drop down and you should now be inside the room where the very first guard we met is in. While inside this room, climb over the wall to land in some grass near the tree with the red ribbon and from here go hide in the bush behind the big armored soldier.

While behind him, have Sophia burn the grass directly opposite him and access the chest and then immediately hide in the grass you’ve just instructed Sophia to burn.
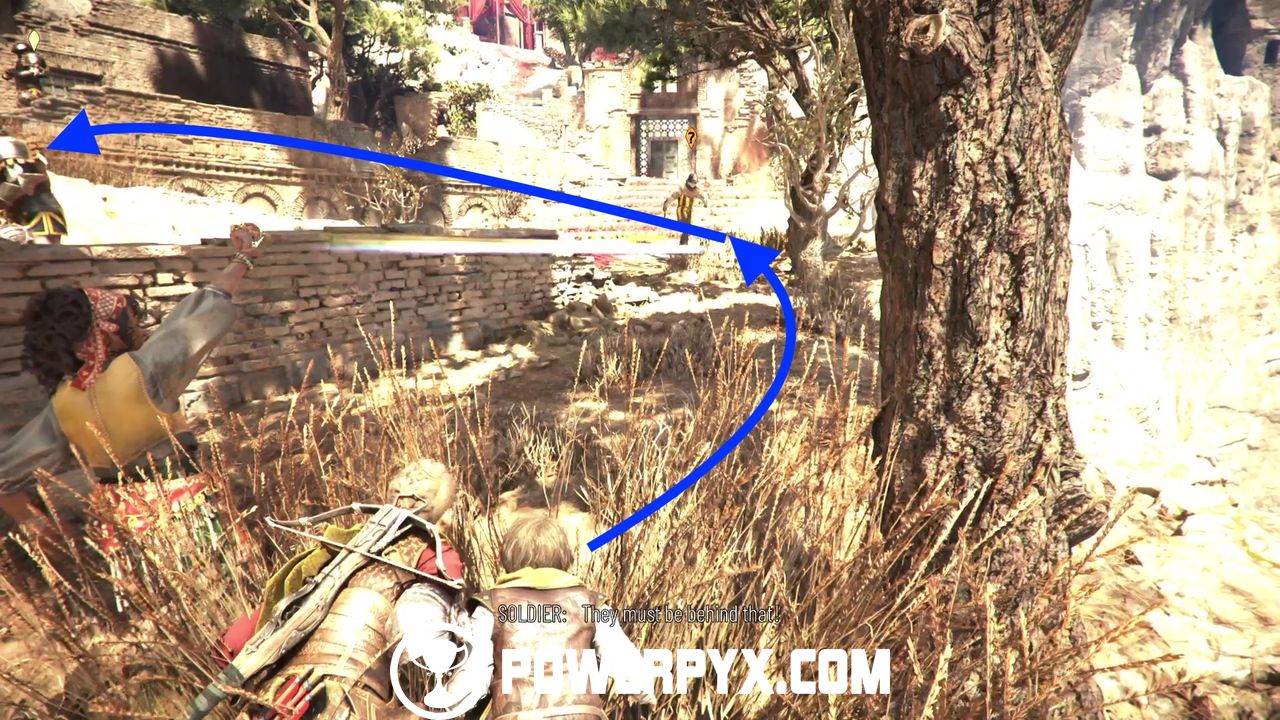
From here, wait for the big armored soldier to go back to his post and then, making sure no other guard is pointed in your general direction, continue uphill and hide in the grass on the left near the wall.
Use Sophia’s skill once again to distract the guard on the hill and continue to the patch behind the chest.
From this patch of grass, ask Sophia to burn the grass on the other side of the path to distract the big armored soldier.
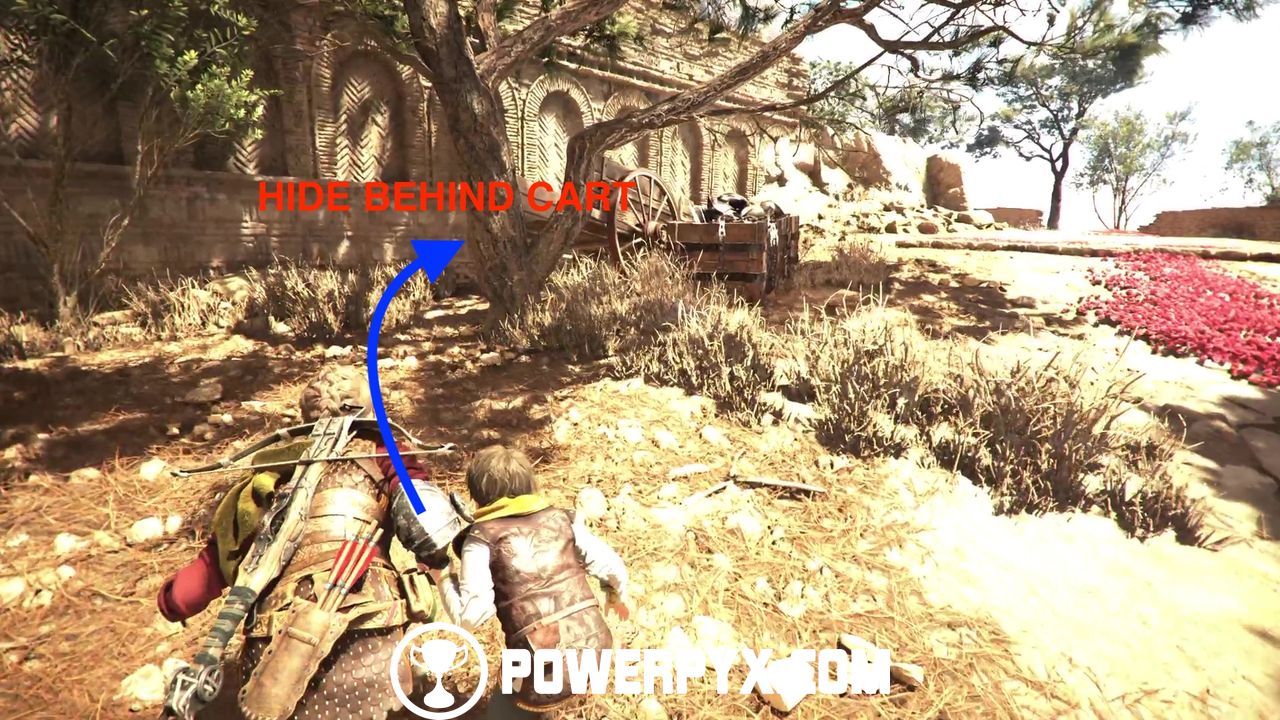
When no one’s looking, try to open the chest for some upgrade materials. Then, return to the same patch of grass and go up the hill and behind the cart.
Continue uphill, always be aware of your surroundings and make it to the building on the left hill. Open the door past a third big armored soldier and go up the stairs to access another door that leads you into a tower.
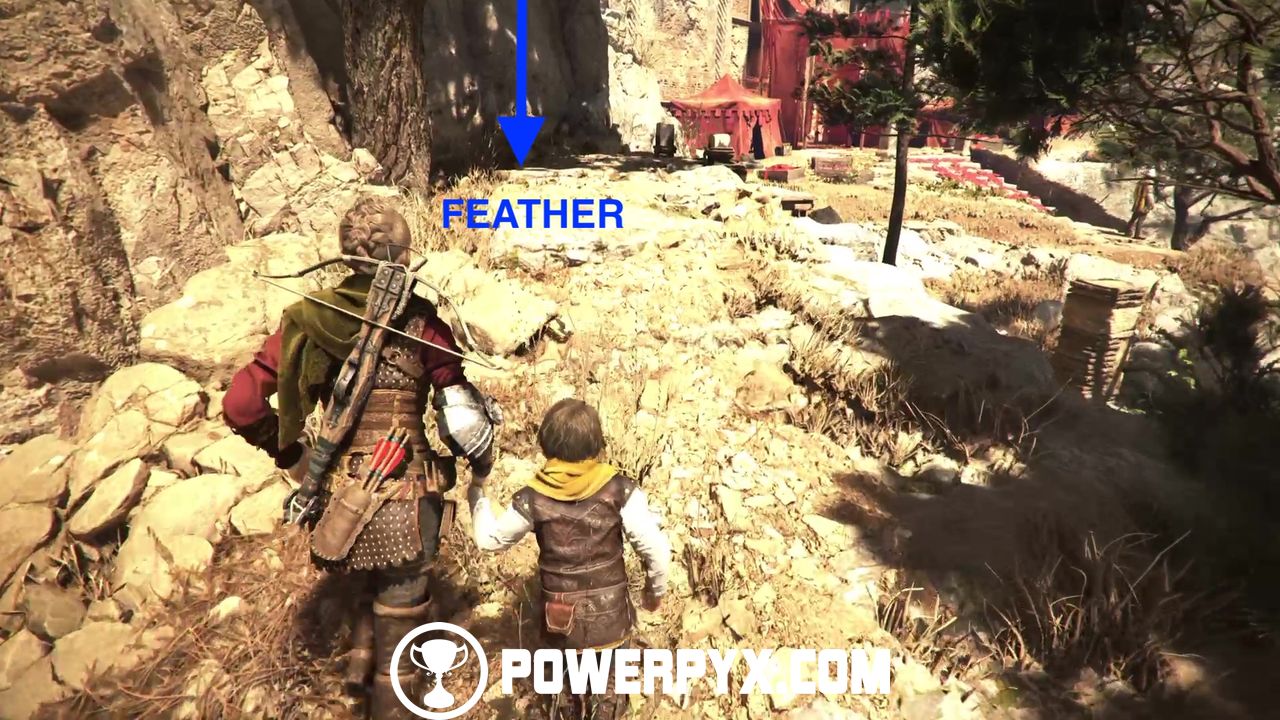
Go all the way up to tower until you can climb up on the left and go to the end of the path to find Hugo’s Herbarium #8/12 / Feather #4/7 Barn Owl on the ground by the tree.
Now drop down from the wooden ledge and continue on to trigger a new cutscene during which Hugo, Amicia, and Sophia will dress up to attend the ceremony.

Day & Night
Follow the Ritual
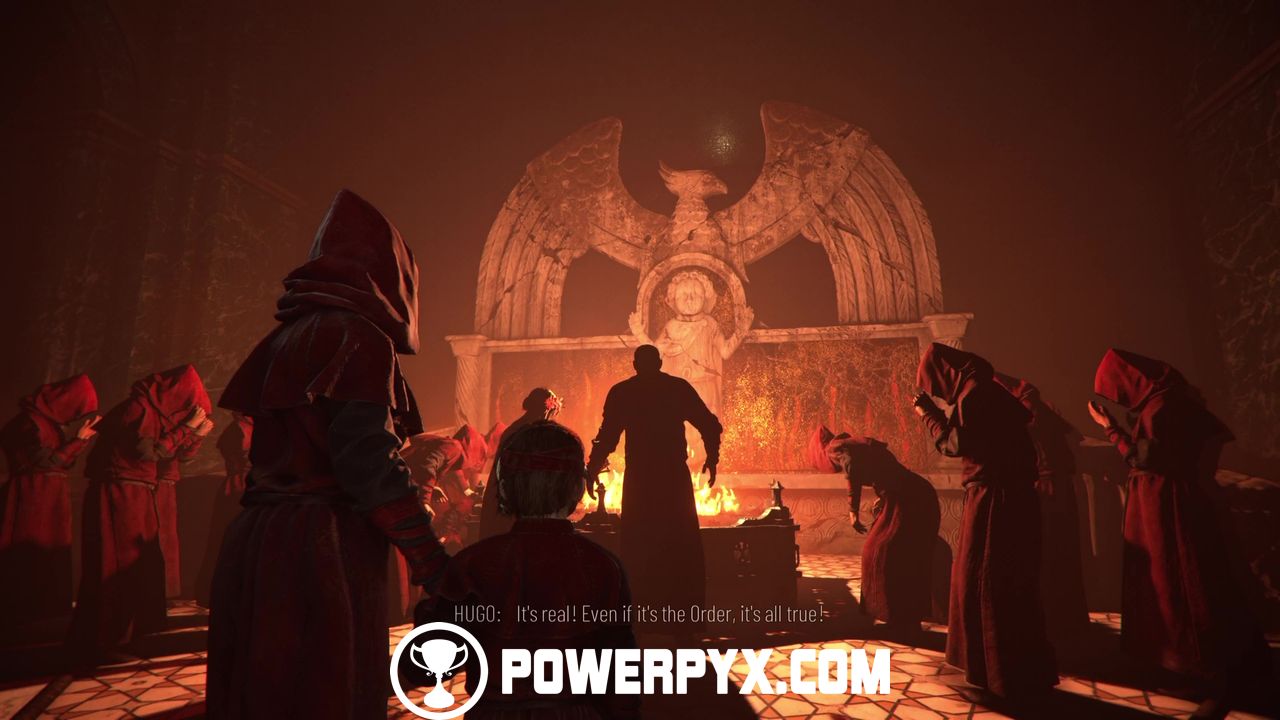
Follow the attendants inside the sanctuary.
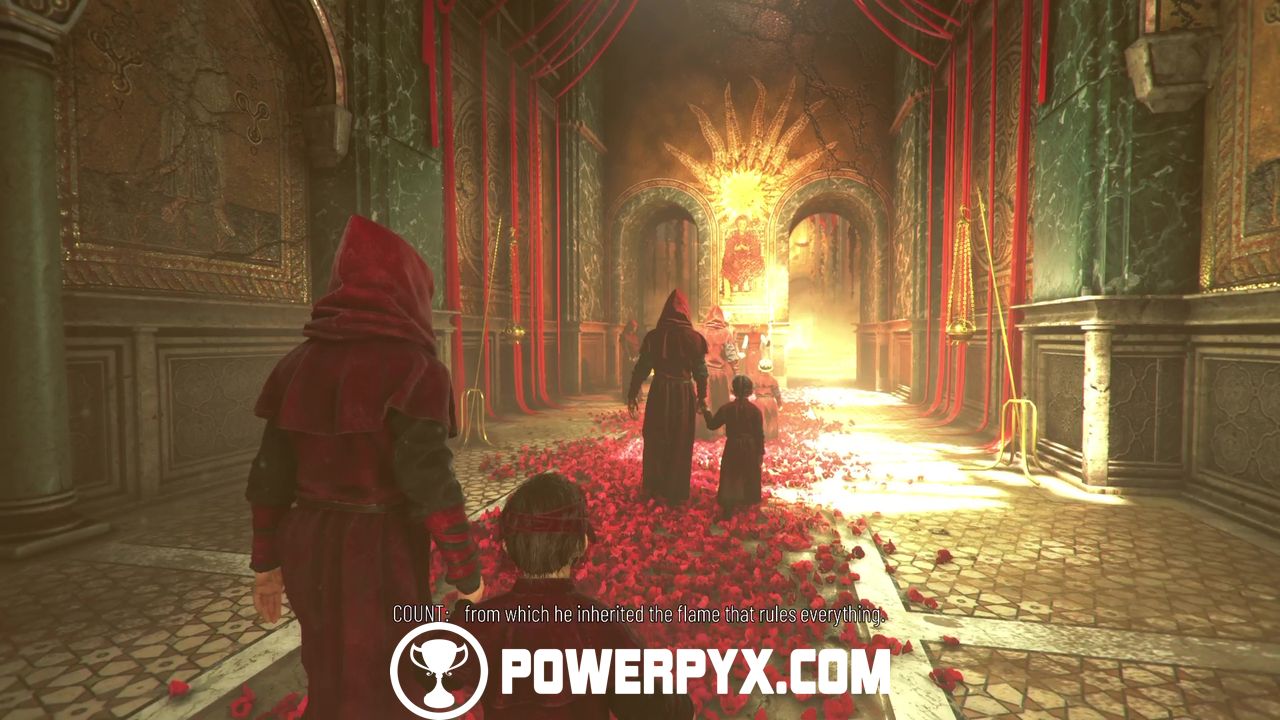
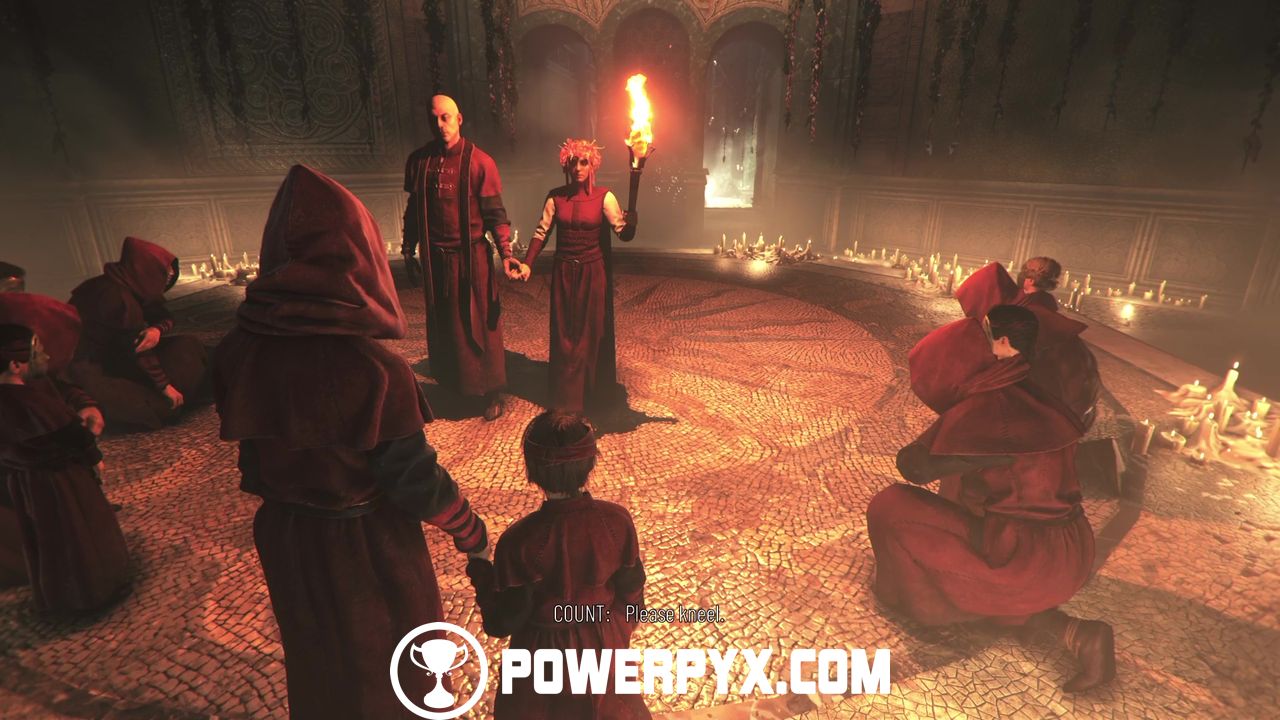
During the ceremony, the Count and the Countess recount the tale of the Child of Embers. Keep following the attendants and kneel when prompted to.
After being handed the torch, keep following the attendants and go into the back of the sanctuary, wading through the water.
Continue through the dark corridors and give the torch back to the Countess when prompted to.
Reach the Sacred Quarters
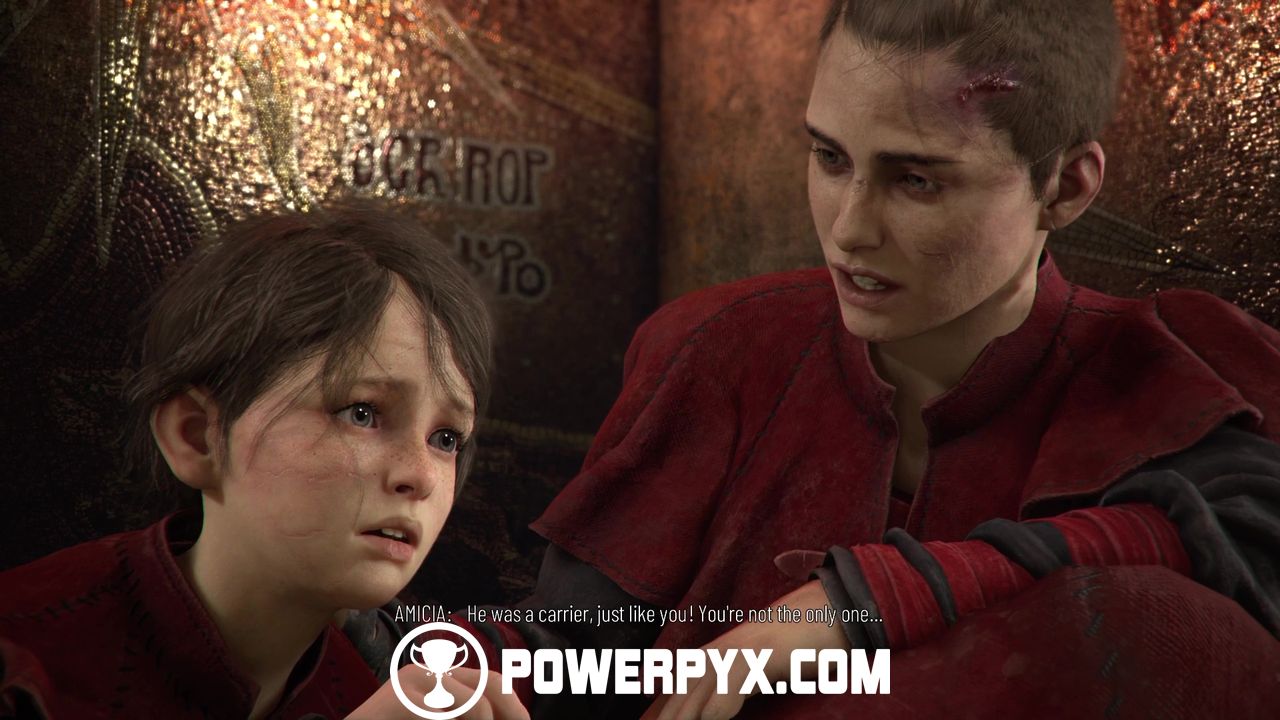
When Sophia reunites with you, follow her around to the door to open it, then interact with the windows. We’re now inside the actual sanctuary. In here, we find out how the mythical Child of Embers is just a fantasy based on a real kid called Basilius who was the first Carrier of the Prima Macula.
Phoenix
Explore the Sacred Quarters
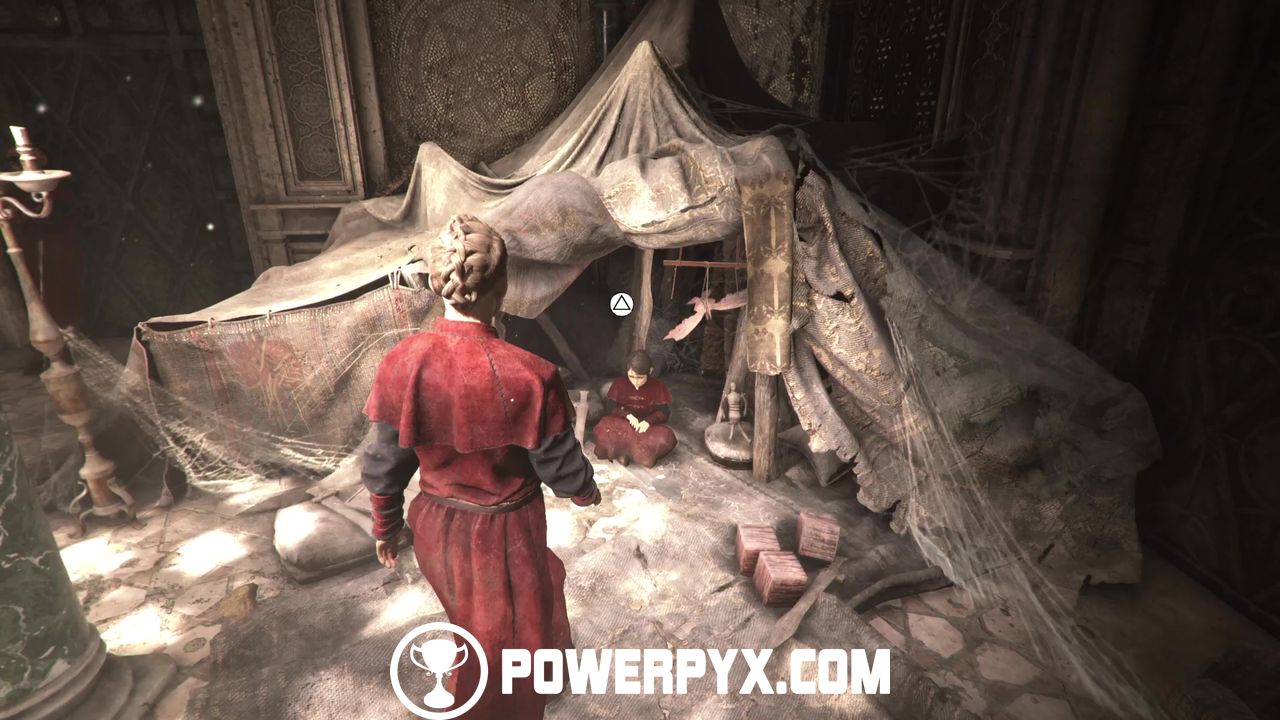
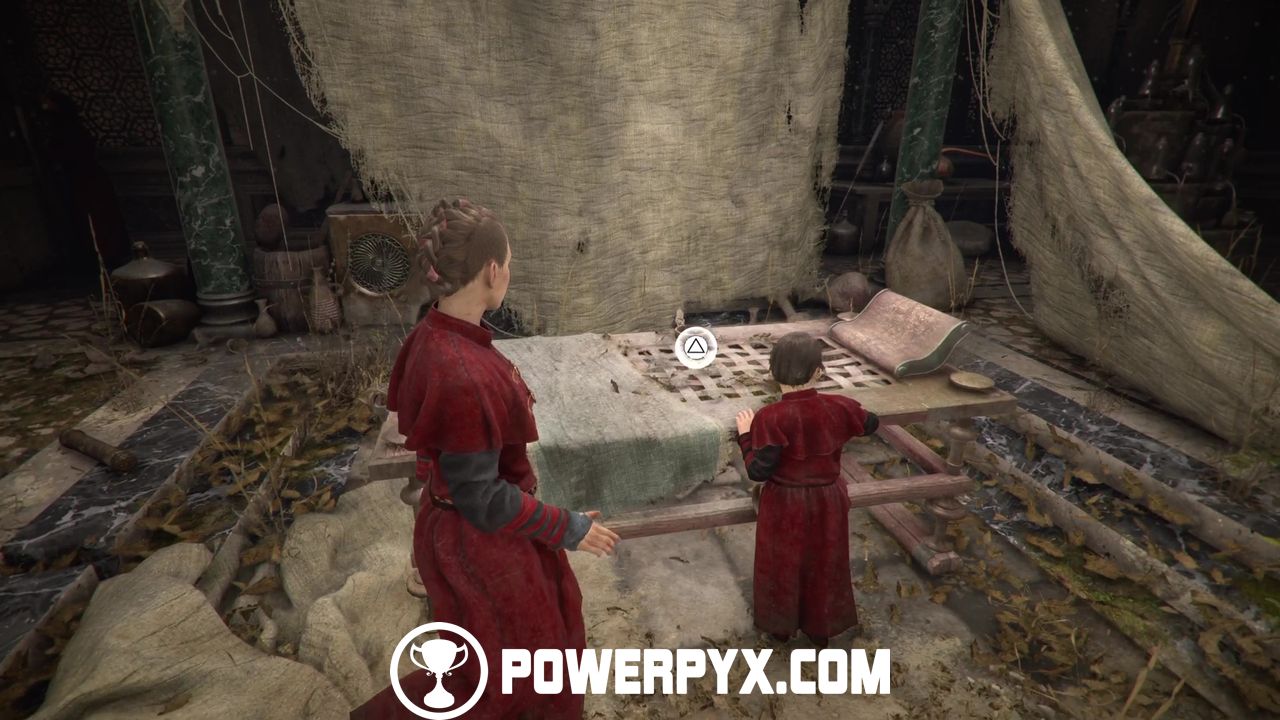
Follow Sophia downstairs and open the door. Inside this room the tracking for the trophy  Old Protectors starts which requires you to interact with specific items. In here, interact with the tent where Hugo is, with the small wooden statues on the table in the left corner, with the bed in the middle and the small horse toy by one of the pillars.

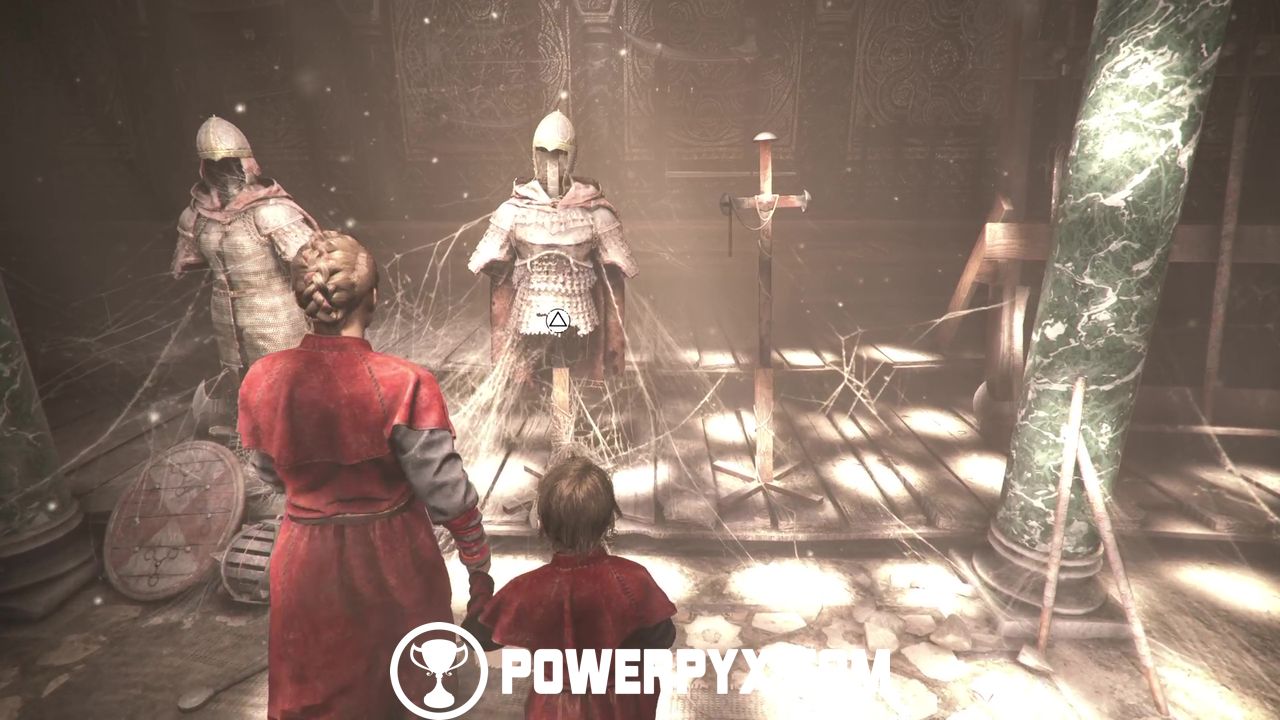
Now enter the second room and interact with the toy chest on the right, with the armor set across the entrance, the swords and spears right of the armor set, and the wax tablets on the chest by the door.
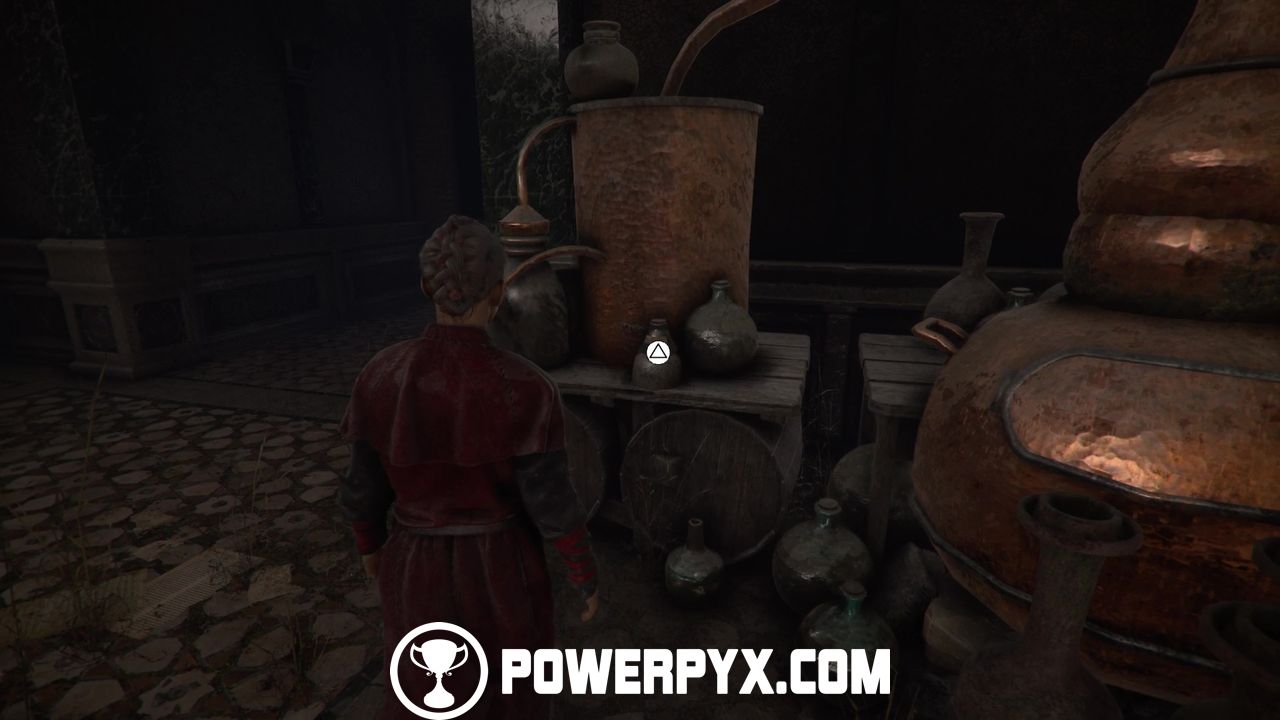
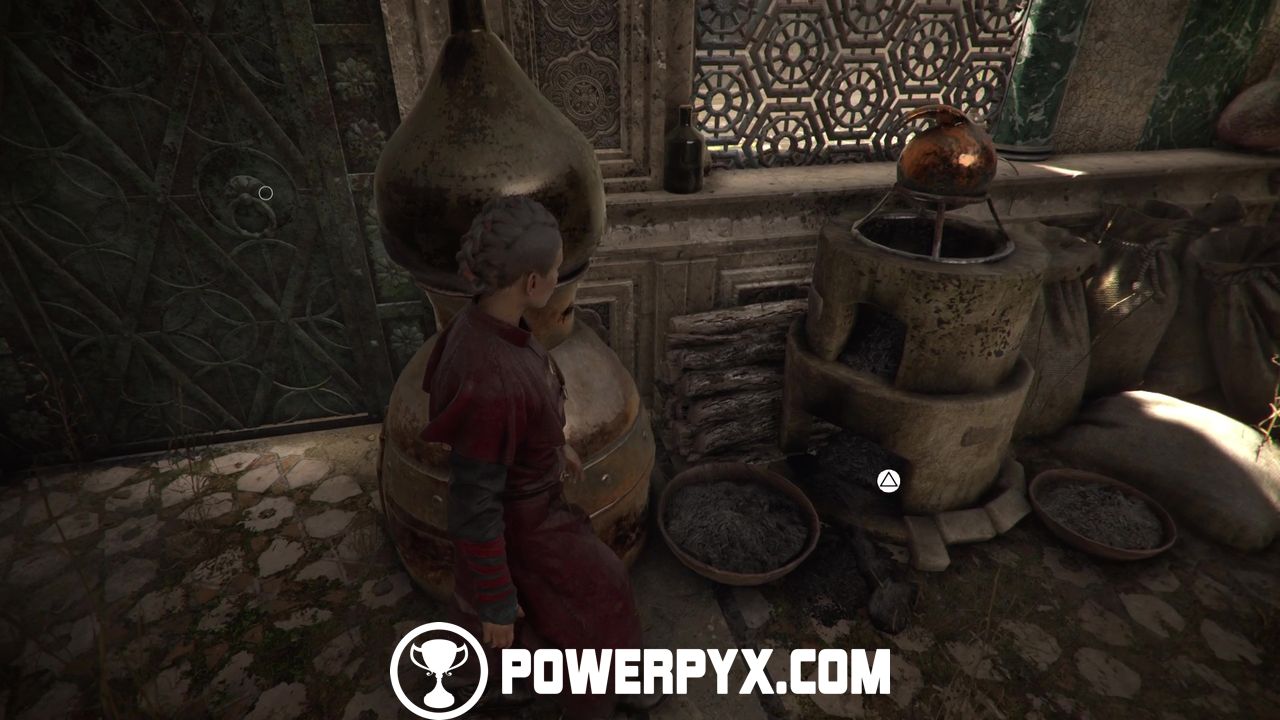
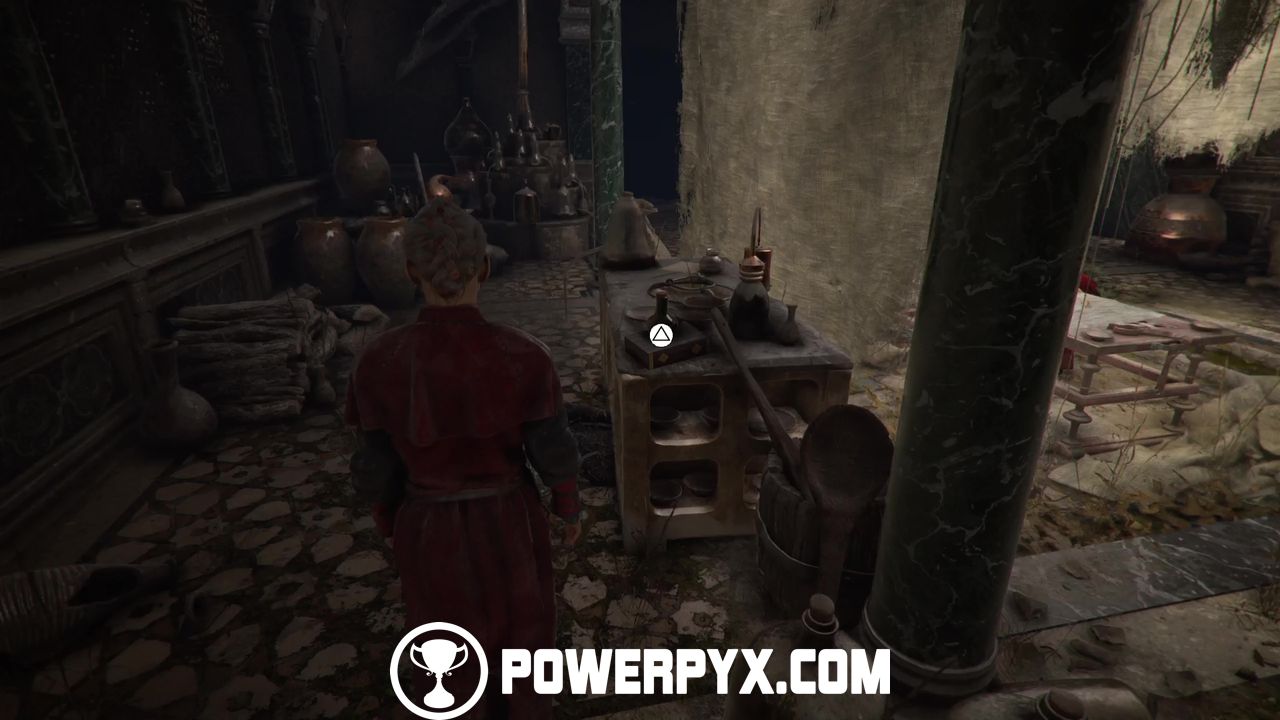
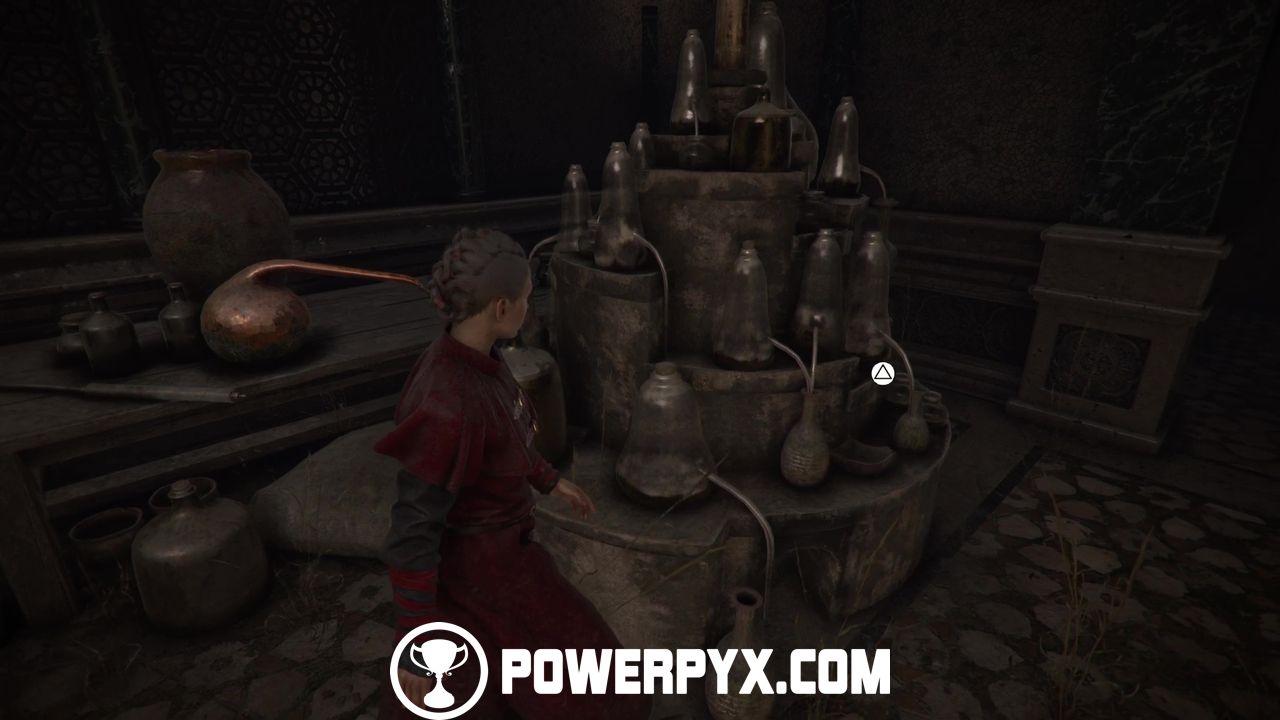
Now access the third room which is a yard. There’s nothing here to interact with, so you can proceed to the door when possible. In here, interact with flasks by the brass alchemical machine, the small cooking station across from the machine (left of the door), the athanor across the door you’ve just opened, the dark flask opposite the athanor on a wooden table, the stack of empty flasks in the corner, and finally the table where Hugo is waiting for you.
Now approach the ripped curtain by the athanor, climb through the window and go upstairs.
BEFORE talking to Sophia, interact with some scrolls in the left corner and the see-through floor grid in the middle. After interacting with these two points upstairs Old Protector should unlock.
When you’re done inspecting everything, talk to Sophia to proceed. We now have a new direction to go based on where Basilius was last seen centuries ago.
Immersion
Leave the Sanctuary
Continue along the walls, shimmying along the ledge and crouching down as needed and you’ll eventually reach the sewers.
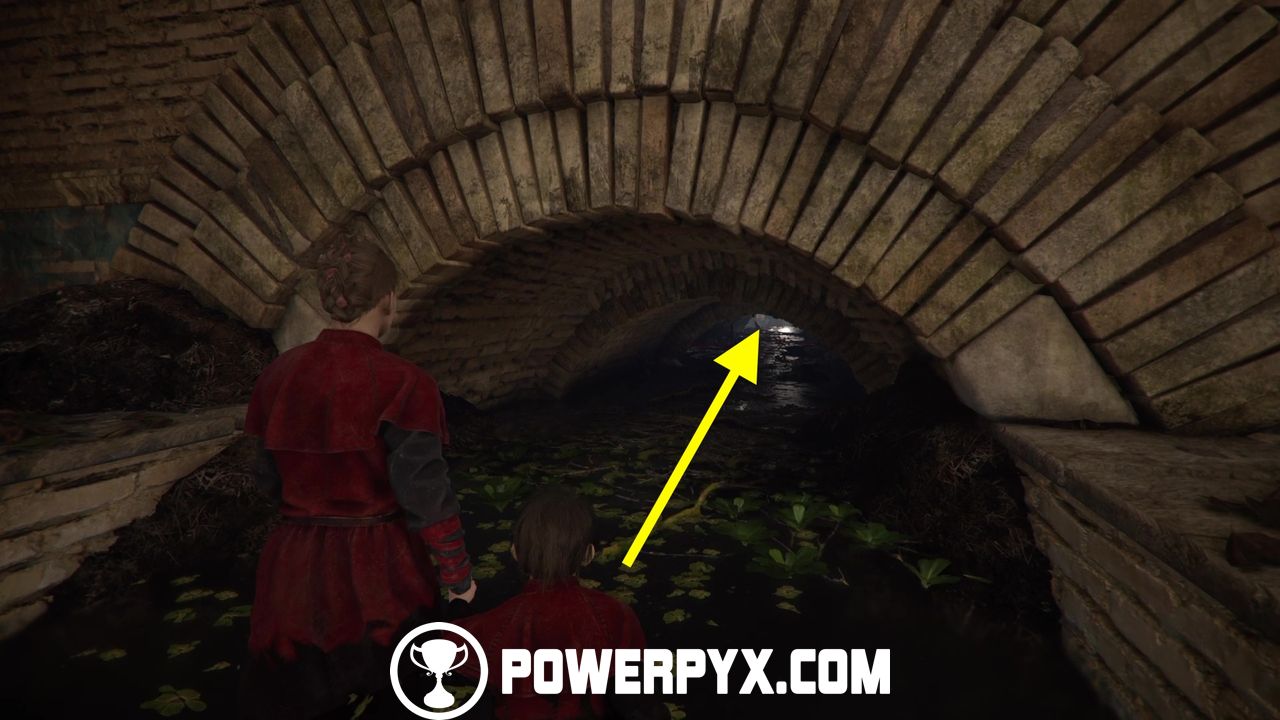
Keep crouching through the sewers until you’re out again.
This concludes Chapter 9 “Tales and Revelations” in A Plague Tale: Requiem. Now Chapter 10 “Bloodline” starts.
For all other chapters in A Plague Tale: Requiem check out the full A Plague Tale: Requiem Walkthrough.
Raine says
How do you get a knife for chest 6, having used one for chest 5 just a bit earlier?
PowerPyx says
Chapter Select (replay Chapter 9). That’s how I did it.
But if you had a knife in your inventory at start of Chapter 9, you could use that on the first secret chest, then grab the knife that’s in the same tower, then use that knife for the 2nd secret chest.
I’ve added in a note about this, thanks for bringing it up 🙂
Michael Cooney says
Trophy doesn’t pop for some reason
Abadeon2811 says
I had the same issue. When in the room with the bed in the middle, check all the other points in the room BEFORE talking to Hugo because that will lock the other points out ;-)
HorusDeathtouch says
Talking to Hugo first like the guide says works just fine. Some players may not have properly interacted with all items or encountered a rare bug.
BodyChipper says
It should be mentioned that you should presumably already have a knife when following this guide (assuming you haven’t used any for kills) at the tower for secret chest #6. Therefore you should open the secret chest and THEN grab the knife at the bottom on your way back out, and make sure not to recycle it, otherwise you won’t have a knife for secret chest #7.
BodyChipper says
duplicate comment due to page not being refreshed for a while
PowerPyx says
I already added this in (you were likely still seeing previous version of this page before it was refreshed) 🙂
Exploiter says
Is it possible that the skills are a bit glitchy? After several enemy encounters (around 30%) no skill advanced. That system is very stupidly made in general.
Stephen says
My first play through I had a knife at the start of Chapter 9, stupidly took the one from the barrel and recycled it, then opened the chest upstairs and couldn’t open the one on the hill.
I’ve used chapter select and the knife hasn’t respawned in the barrel, and I feel I may have collected every knife during the walkthrough.
Do any of them respawn? Or can you restart a whole level or possibly have to do the whole game again?
FranciRoosters says
Knives don’t respawn once collected. You will be able to open missed chests in NG+.
Stephen says
Thanks FranciRoosters, gives me a chance to complete all the upgrades and skill as well and should be able to play through to Chapter 9 pretty quickly.