
Gimme Danger is the 16th main story mission in Cyberpunk 2077 (CP77). This walkthrough will guide you through all objectives, paths, dialogues, choices and endings of the Gimme Danger Main Job.
Area: Westbrook (Japantown)
Quest Giver: Takemura
Requirement: Complete Down on the Street
Reward: XP / Street Cred, anything you loot inside the
Mission Info: Our crazed ronin shows no signs of slowing his roll. We barely get intel from Wakako about the parade and Takemura’s already hatching some hairbrained scheme in Japantown. He wants to meet at the market? Fine, let’s parley, but you already know where I stand. Don’t let him strong-arm you into anything. Who knows how many loose screws are bouncing around that skull at this point.
Objectives:
- Meet Takemura
- Go over the plan with Takemura
- Break into the security room
- Infect the security room
- Wait a day for Takemura to finish his reconnaissance > If you chose not to go on recon with him.
- Meet with Takemura
- Follow Takemura > If you chose to go on recon with him.
- Go over the plan with Takemura
- Scan the area
- Keep scanning [Optional]
- Talk to Takemura
- Return to street level
- Break into the Arasaka Industrial Park
- Get inside the warehouse
- Hack the float
- Leave Arasaka Industrial Park
Starting Location: Gimme Danger
 |
 |
Meet Takemura
When you want to start this mission, follow the objective to meet Takemura inside the Japantown market.
Go over the plan with Takemura
Go over to Takemura, who is speaking to some NCPD officers.

Dialogue:
- Not one to butt in, but… > Timed choice, optional.
- Need to steal your buddy for a second. > Timed choice, optional.
- What’re we doin’ here? > Both options have the same outcome.
- Good to see you, Goro.
Follow him down the walkway to where he stops at the railing.
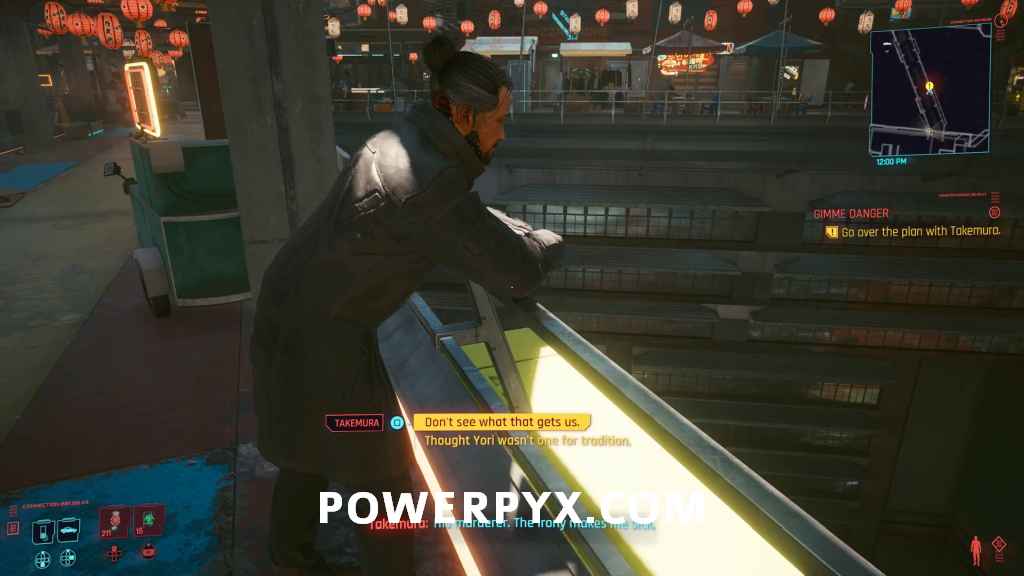
- Don’t see what that gets us. > Both options have the same outcome.
- Thought Yori wasn’t one for tradition.
- And how ya aim to do that? > All three options have the same outcome.
- In front of everyone? Think you might’ve lost it.
- 9 BODY: Impossible. Even with implants.
- And then? > Both options have the same outcome.
- 5 INTELLIGENCE: Hacking’s not my forte.
- [Take shard]
- 5 INTELLIGENCE: Shard – where’d you get it? > Optional
Keep following Takemura now to the other side of the walkway.
Break into the security room
You will now need to get into the marked security room to hack a computer. You can get in there either by climbing up to the left and going through a vent or by just forcing the door open if you have 6 BODY attribute.

Infect the security room
Go down to the lower level and interact with the computer to infect it.

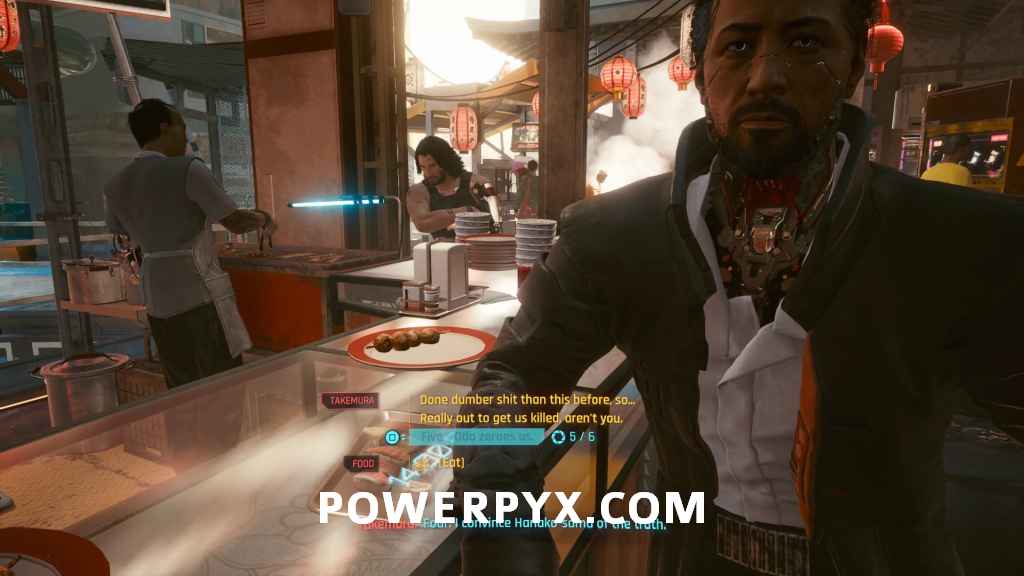
You can then go back up to talk more with Takemura, who will lead you over to a food booth for some more dialogue with him and Johnny.
Dialogue:
- System’s ours. > Both options have the same outcome.
- I’m a thief, ain’t I?
- [Sit]
- We’ll see about that. > All three options have the same outcome.
- Takemura’s not a bad guy.
- 9 BODY: Could still be dangerous.
- [Eat] > Optional, eat the yakitori. This option stays here the whole time during this dialogue, but you don’t need to eat and it doesn’t do anything.
- Done dumber shit than this before, so… > Both options have the same outcome.
- Really out to get us killed, aren’t you.
- 6 REFLEXES: Five. Oda zeroes us. > Optional
This next timed dialogue determines whether you go do the reconnaissance with Takemura or not. It’s not required at all for progression, but you get some more dialogue with him during this mission (including potentially some extra info about Jackie depending on what you did with his body) and then he will have more dialogue later during the story because of your better relationship.
- You don’t know this city. Lemme help. > Timed choice, go with Takemura on recon.
- OK, you handle that. > Timed choice, don’t go on recon, this is also what happens if you let the timer run out.
- Why’d Saburo allow it to happen?
- Yorinobu – where’d he get his rebellious streak? > Optional
- What are the factions? > Optional
- Might have a change of heart now. > Both options have the same outcome
- You blame Hanako for this, too.
- Might as well. > Reaffirming you want to go on recon.
- Not this time. > Turn down recon now.
- [Stand] / [Stand and start recon]
Wait a day for Takemura to finish his reconnaissance
If you chose not to go on recon, you will have to wait 24 hours for Takemura to finish his recon. You can skip time in the menu or do other things while you wait.
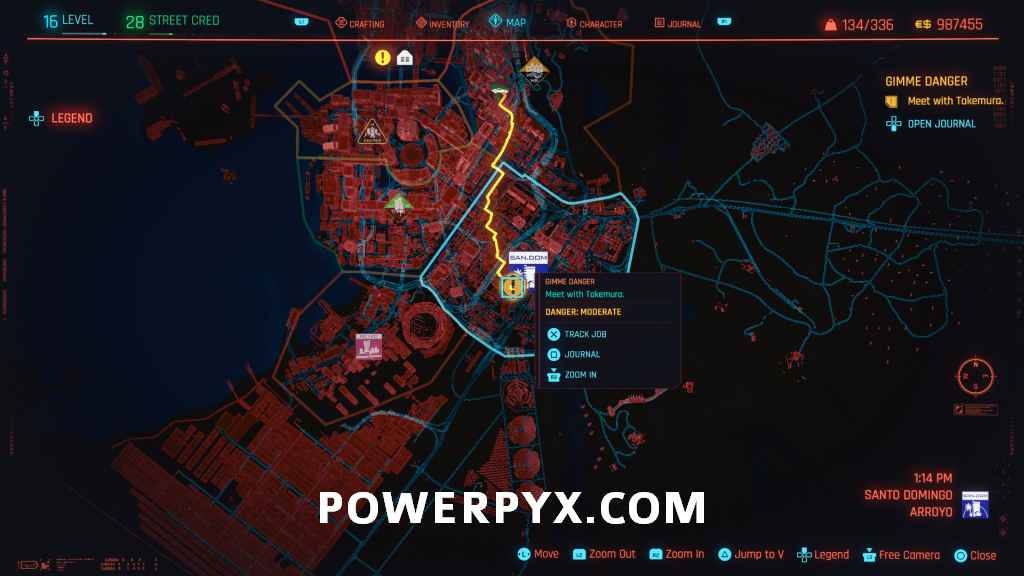
Meet with Takemura
Once Takemura is ready he will call you, and give you a new location to go to to meet up.
 |
 |
Follow Takemura
If you agreed to go on recon, you will automatically be transported to the recon area. Follow Takemura through the construction site and onto the roof of the building.
Go over the plan with Takemura
On the rooftop, interact with the railing to start.
Scan the area
Using your scanner, you will need to look at a few of the highlighted items. After scanning a couple you can stop if you want, or keep scanning until you have scanned everything.

Keep scanning [Optional]
Takemura will prompt you when he is satisfied, or you can keep scanning items. If you quit early, Takemura will point out some extra things if you didn’t scan items such as the communication dishes.
Talk to Takemura
You will wait a bit before going in, and this is where you get the unique dialogue with Takemura depending on some prior decisions, and depending on how you act he will act differently towards you in future story missions.

Dialogue:
- Thought they’d all disappeared from the city? > Both options have the same outcome.
- So? Just some stray.
- Nope, just a cat.
- Bakeneko? > Optional
- Believe in ghosts?
- Who knows – could be.
- Bakeneko? > Optional
- Miss home? > Both options have the same outcome.
- Where’d you grow up?
- Growin’ up in Chiba-11 – what was it like? >Both options have the same outcome.
- STREETKID: Remember when I was a kid…
- What’d they need kids for? > Both options have the same outcome.
- 9 BODY: They recruit you for military service?
- Military transporters? For a slum? > Optional
- All you had to do was kill Arasaka’s enemies. > Both options have the same outcome.
- Anything’s good that puts food on the table.
- How’d you come to be Saburo’s bodyguard? > Optional
- Slavin’ away for a corp’s not for everybody.
- I’m not judging you.
- Sayin’ you got no dirt on your hands? > Optional
- Let’s just drop it. > Both options have the same outcome.
- Peeps on the streets hate the corps.
- Never too late.
- Pff. Nomads aren’t anythin’ like that.
- You got not idea how I feel. > Both options have the same outcome.
- Huh, finally starting to make some sense.
Return to street level
After the dialogue, it will now be night and you can follow Takemura back down to ground level.
Break into Arasaka Industrial Park
Now will be when you actually carry out the mission and get inside the complex. Depending on what you feel like doing there are a few ways to go in. You can obviously always go for “shoot everyone” method, but this will suggest how to get in relatively stealthy.
If you have either of the jump-related cyberware you can climb up the transformer to the left and jump over the fence to get in, or if not there are two gates down the right side to go through.

Get inside the warehouse
Once you are inside the wall, your objective changes to getting inside the main warehouse. A fairly safe route is going into the smaller building near where you start that has the antenna on it. You can down downstairs, then go through a set of tunnels which put you right beside an entrance to the warehouse. There is one enemy on each floor of the building, then one enemy wandering the tunnel to watch for. When going out the other side of the tunnel watch for a group of three guards that might be walking in a group into the building that you can follow behind.
 |
 |
Hack the float
In the warehouse, you now need to reach the float at the far back to hack it. There are a few paths you can take to reach it. You can just rush it right down the middle if you want, or sneak down the far left side of the room. There are a limited number of enemies in this area and it’s not a huge deal if you’re spotted, so up to you have you reach it.

Leave Arasaka Industrial Park
After hacking the float, Takemura sets off his distraction so that you can get out. The roof of the building opens, which also gives you a direct path out of the building. A spot to climb up and out is marked for you, and you can follow that and then go out the back of the building to exit the area and complete this mission.

This finishes Gimme Danger main quest in Cyberpunk 2077 (CP77). Now the next quest Play It Safe becomes available if you have also finished Life During Wartime.
For all other Quest Walkthroughs, check out the complete Cyberpunk 2077 Walkthrough.
Phooey says
There’s a legendary prototype smart machine gun to be had in this mission. There’s a clue in a message on the terminal in the gatehouse, about crate 667 containing something special. It’s not in the warehouse but opened up in the parking lot, watch out though there’s a proximity mine in the back of the crate too!
alex says
Ah, thanks for this! I was looking all over for that container as I’d read the message, but it didn’t cross my mind to look in that one due to the mine being there.
pox67 says
Cool, thanks!
That is an exceptionally fun and explody gun 🙂
Promitix says
If you are corpo, you can persuade the guard to let you in. No one will attack you inside.
Q says
I don’t know if it was a glitch, but I highjacked the van and drove it inside, and nobody bothered me. I thought it was funny because guards would walk past me looking at their phones, and let me anywhere I wanted to go.
T says
It’s not a glitch. During recon you can scan the van. Takemura says it can be highjacked and used.
CRYSTAL WOLF says
I climb up the shipping containers and keep trying to jump onto the roof but I keep falling, any suggestions on how to run faster to get to the roof or is there another way to leave the industrial park?