
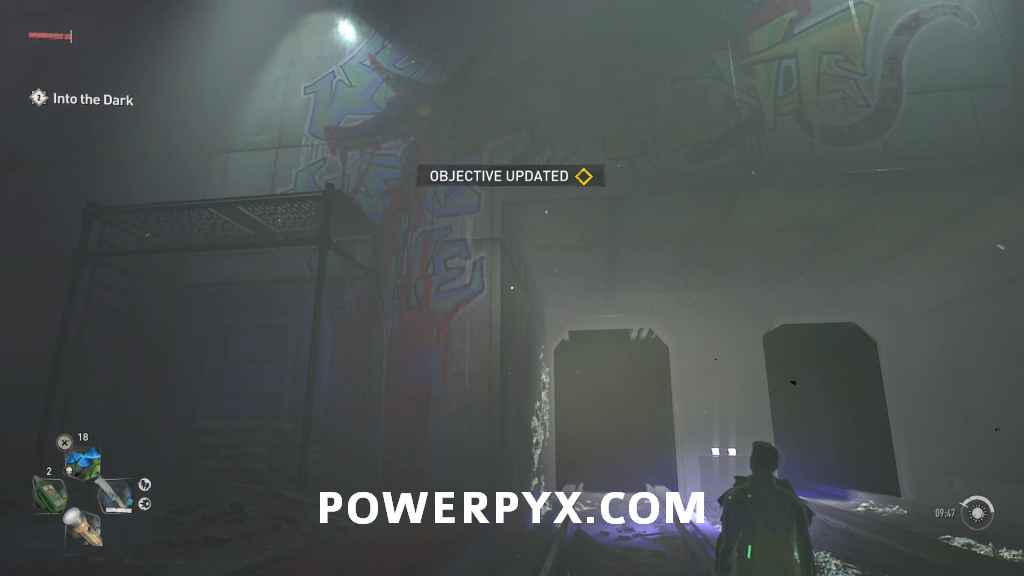
Into the Dark is a Story Quest (Main Mission) in Dying Light 2. This walkthrough will guide you through all objectives of the Into the Dark Story Mission. You get this quest if you sided with the Peacekeepers faction. If you sided with the Survivors Faction you will get a different quest called “Revolution” instead.
Region: Quarry End
Quest Giver: Aitor
Requirement: Complete Water Tower, assign the Water Tower to the Peacekeepers
Reward: 3000 Combat XP, 1000 Parkour XP. Bad Gal weapon
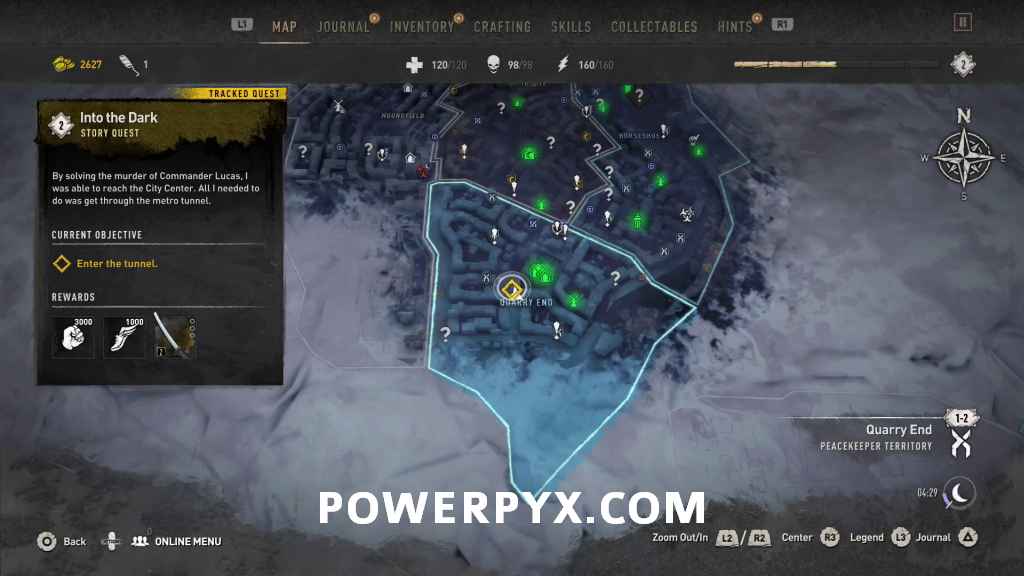
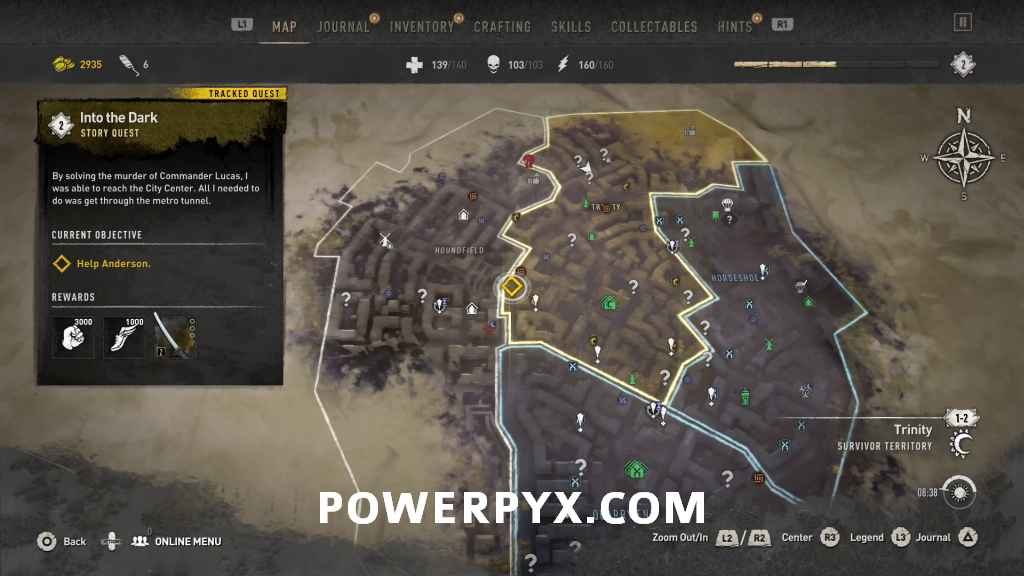
Mission Info: By solving the murder of Commander Lucas, I was able to reach the City Center. All I needed to do was get through the metro tunnel.
Objectives:
- Enter the tunnel
- Follow Hakon
- Talk to Hakon
- Turn on the ventilation system
- Turn on the backup power
- Run to Hakon!
- Keep going with Hakon
- Speak with Hakon
- Survive until Hakon returns
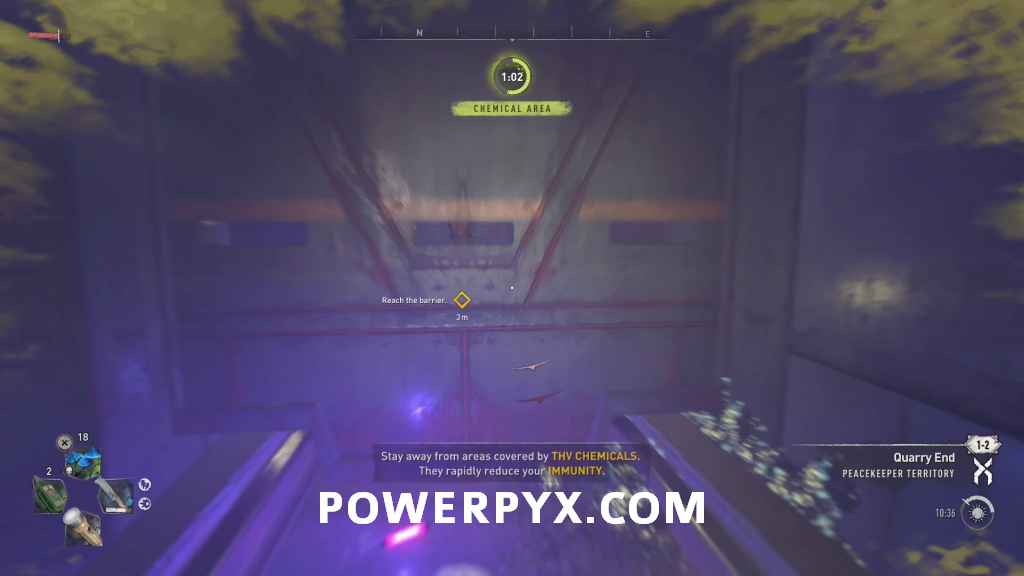
- Reach the barrier
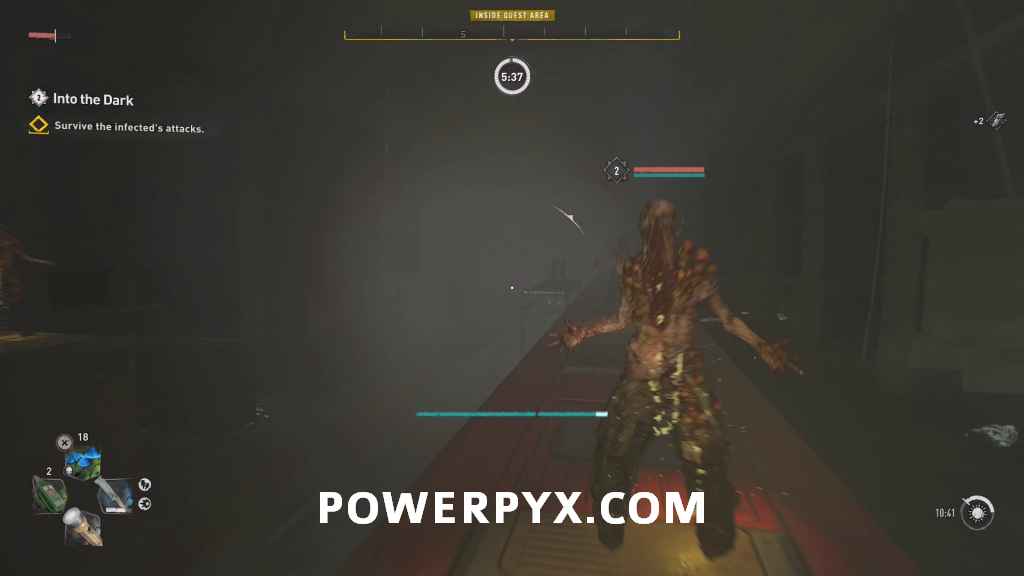
- Survive the infected’s attacks
- Get back to Anderson
- Set off the explosives
- Get outside
- Defeat Barnet
- Exit the building
If you choose to go help Anderson
- Help Anderson
- Secure the area
- Start the generators
- Get to the elevator
If you choose not to go help Anderson (or if you do and finish the events that occur)
- Find Hakon
Starting Location: Into the Dark
You get this quest if you sided with the Peacekeepers faction. If you sided with the Survivors Faction you will get a different quest called “Revolution” instead.
 |
 |
Enter the tunnel
With Lucas’ killer seemingly caught, Aitor is now allowing Aiden and Hakon to travel through the Metro tunnel to reach the Central Loop. When you’re ready to proceed, go down all the stairs in the Metro Station to the bottom and speak to the guard at the gate.

Follow Hakon
You will then need to follow Hakon through the tunnel for a while. He chats about stuff and walks slow, so this is a bit of a trek.
Talk to Hakon
The power will flicker off and Hakon will stop, interact with him to discuss.
Turn on the ventilation system
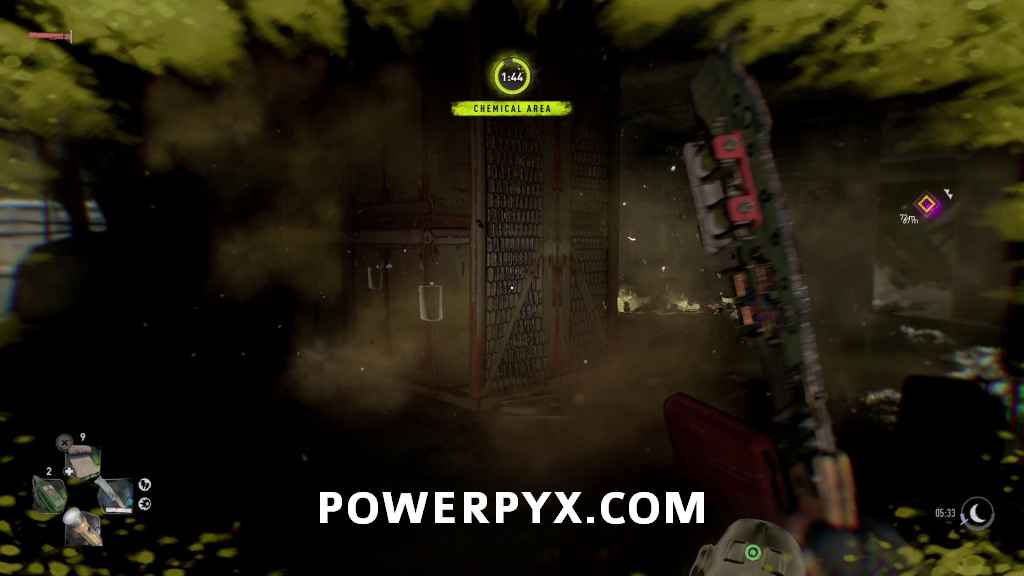
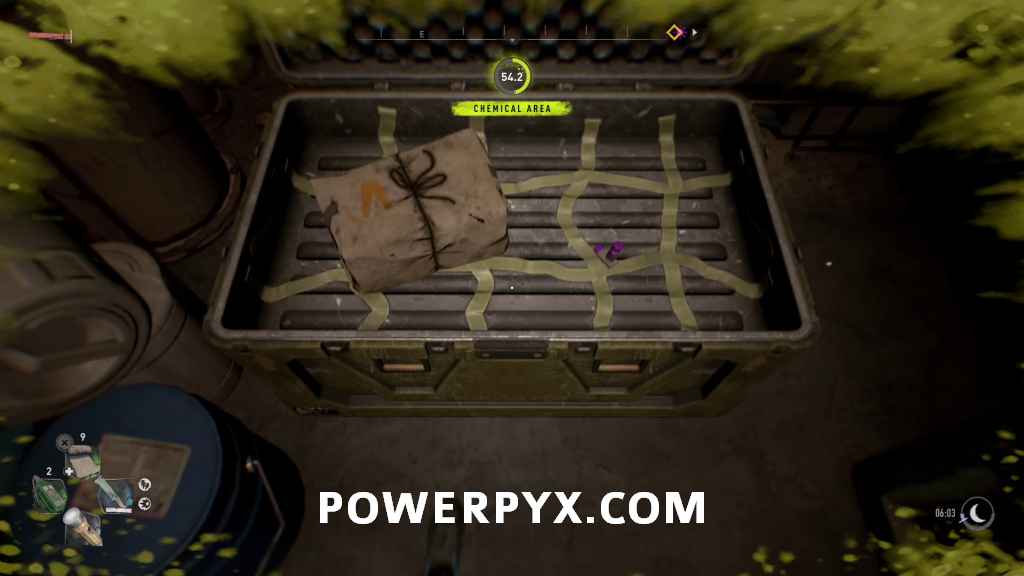
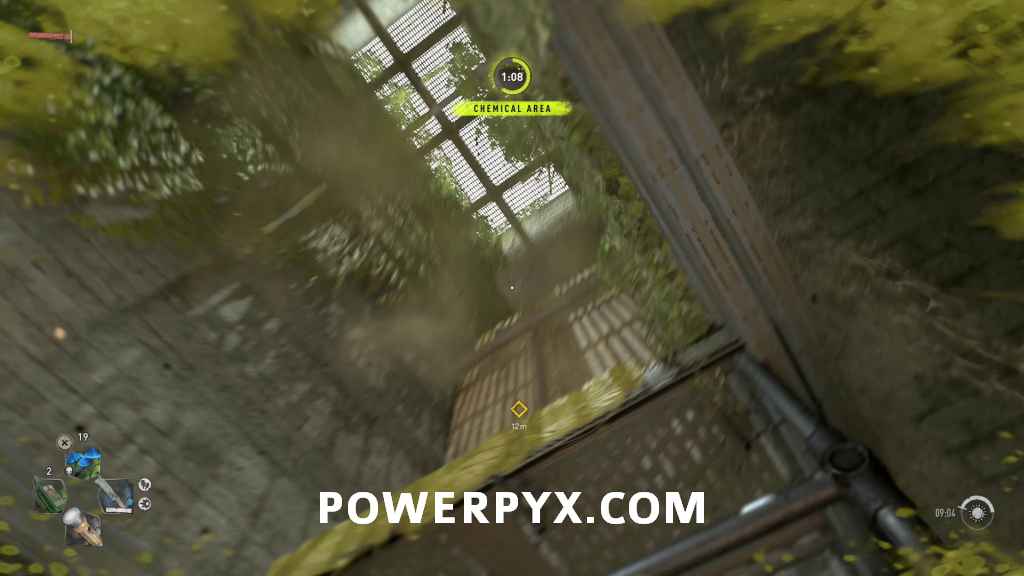
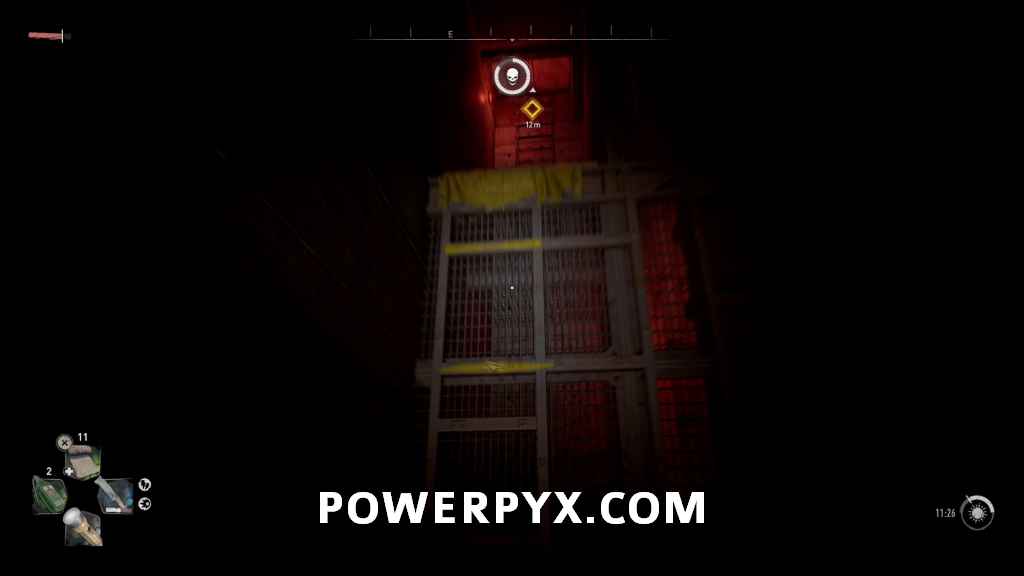
You’ll now need to make a trek back through a side area in the tunnel to go and get the ventilation system turned back on. The whole area becomes covered in THV chemical, so you’ll have a reduced immunity timer for most of this area. Make sure to have immunity boosters on hand and grab any UV Shrooms you see as you’re progressing.
This section does have some locked side rooms you can check out if you feel you have enough supplies to keep up your immunity timer, but nothing overly important other than possibly some Epic or Artifact clothing at your current rank, so up to you whether you want to spend time searching through the rooms and using up immunity supplies.
For this first section until you turn on the ventilation system just keep following the objective marker through the lower paths, don’t go off on side paths as they are where you end up coming back through so you’re just wasting time checking them early.
You’ll eventually reach a room with some pipes leading upward and ledges to jump on to reach the objective. Head up there and interact with the panel.

Turn on the backup power
Turning the ventilation system on doesn’t work, and Hakon suggests turning on the backup power. You then need to follow the yellow pipe down lower into the area, lower than where you came in. You’ll go right to the bottom of the area where there’s water covering the ground, and need to proceed through a tunnel following the yellow pipe.
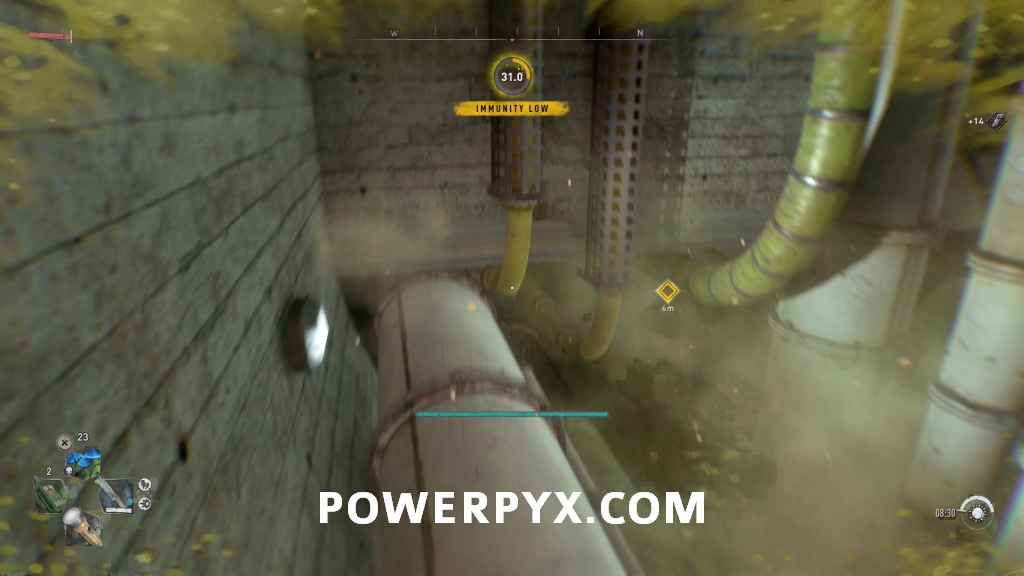
Climb back out and open the next door with the GRE key, then interact with the switch to turn on the backup power.

Run to Hakon!
You then need to get back to Hakon in the main tunnel. Follow the objective marker back the way you came, and when going through the tunnel with the fans the second one will now be on, blocking your path. You now need to jump upwards to the upper area (the side path you should have ignored before) and follow that to get back to where Hakon is.
When you get back out into the main train tunnel, speak with Hakon who is sitting in the train waiting for you.

Keep going with Hakon
Now you’ll be heading further into the tunnel with Hakon while he talks some more. You’ll eventually head through a large open station area where he stops.
Speak with Hakon
When Hakon stops to look at the graffiti don’t interact with him yet. Climb up on the scaffolding to the left where there is actually a collectible for the graffiti on the wall. If you miss this here you can get back to it later through a hatch.
Graffiti – Red Rat Run

You can then interact with Hakon to continue.
After he is done speaking there is a loud rumbling and the tunnel doors start closing. Hakon makes it through, but you are stuck in the station. Hakon asks you to give him the GRE key, which you will end up agreeing to whichever dialogue options you pick.

Survive until Hakon returns
Hakon runs off to try getting the doors open, and you’re stuck waiting in the train station with infected now attacking you. A number of spitters will have appeared on the scaffolding in midway into the station. You can deal with them now or leave them till later, but you will more or less need to deal with them eventually. If you feel like waiting, you can camp in the front of the train car and infected will only walk into the door from the station itself, so you can just face that direction and wait.

Reach the barrier
After a few minutes, Anderson will call on the radio. You then need to run to the opposite end of the station where you first came in to find her waiting at the other set of closed doors.
Survive the infected’s attacks
She says she’s working on a way out, and you need to keep waiting and dealing with the infected. There is now a goliath walking around the lower platform area, so if you haven’t already now would be a good time to deal with the spitters on top of the train, so that you’re not worried about them shooting at you while you try to deal with a goliath.
Get back to Anderson
Eventually, Anderson will call you back over to the barrier (whether you’ve actually dealt with the goliath or not). Interact with her again and she’ll give you some explosives to use to blow up the station wall and escape the area.
Set off the explosives
Go back down the station and interact with the metal door to place the explosives on it.

Back up from it to make sure you aren’t caught in the explosion.
Get outside
After the wall is blown up, run down the hallway avoiding the fire to get outside. You’ll know you’re just about out when you have to climb a ledge to reach a ladder to a hatch.
Defeat Barney
Barney appears and captures Aiden, and you wake up in a crumbling building being interrogated by Barney.

Responses here don’t matter, so respond how you want. Eventually, Barney and the two other men will attack you, initiating a boss fight.

All three are just normal one-handed wielding, so the classic parry and light them on fire works well enough. Barney fights basically the same as when you fought him before, thought this fight doesn’t get stopped partway through.
Exit the building
Before leaving search the area, and make sure to grab the inhibitors out of the GRE crate from the corner of the room.

Once you’re outside Aiden will call Anderson, who is stuck in an elevator out of the tunnels. You now have a timed choice on what you can do.

If you choose “I’ll help you.”, then you will proceed to the next objective and help Anderson.
If you choose “Thanks for the help.”, then you won’t go to help Anderson, and will just proceed directly to the objective “Find Hakon” immediately.
Help Anderson
If you say you will help Anderson, you will need to head over to an area south from you along the edge of Houndfield and Trinity.
Secure the area
Once you reach the marked area, it will be full of infected, including a couple goliaths. Deal with the large crowd of infected and the goliaths first before worrying about the generators.

Start the generators
To turn on the generators you will first need to interact with the two unplugged cords that are marked in the area. The first one is easy, it’s just on the ground near the elevator.

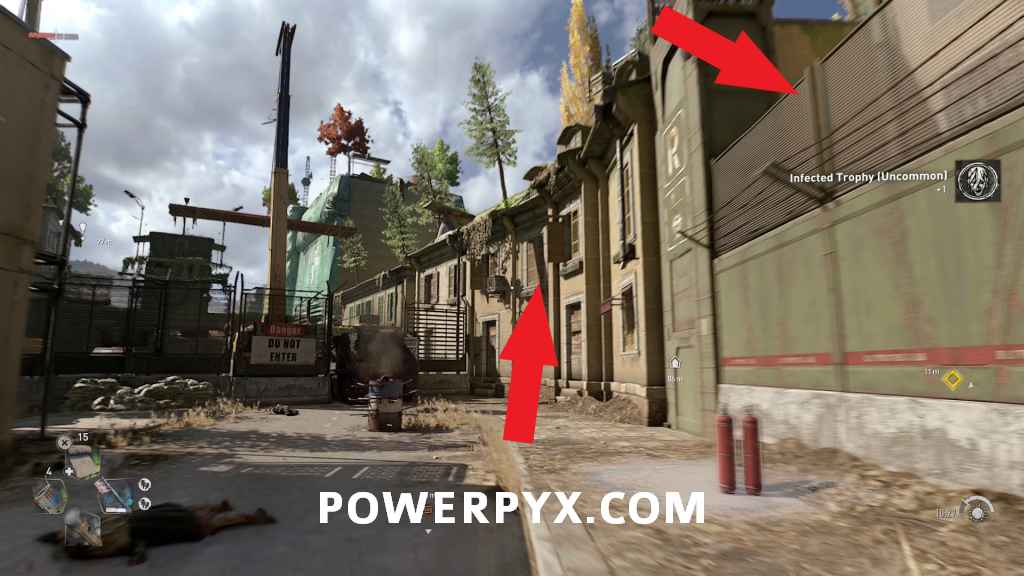
The second is a little harder to get to as the military fence in front of the building is closed so you can’t enter from ground level. The easiest way in is by climbing the building to the left of the green fence, then jumping from the pipe to the top of the fence, or dropping in from off the rooftop.
Climb back out of the fenced area, then you can interact with the main generator beside the elevator building.

Get to the elevator
Some more infected will appear after you activate the generator, so deal with them then interact with the elevator button.
Find Hakon
Now the last thing to do in this story quest is meet Hakon at his hideout.

Once there Hakon is shot with an arrow, and Aiden finds out that he was actually responsible for killing Lucas under the order of Waltz. You then have a timed choice on whether to help Hakon or not.

This choice determines whether you play an extra side quest immediately after, or just go straight to the next story quest.
If you choose “Leave Hakon to die.” Aiden walks out without helping, and you immediately start the next quest “Let’s Waltz!”
If you choose “Help Hakon.” then Aiden agrees to help, and you start the side quest “Sniper’s Alley”.
This finishes Into the Dark story quest in Dying Light 2 Stay Human.
For all other Main Quests and Side Quests, check out the complete Dying Light 2 Walkthrough.
Leave a Reply