
Markers of the Plague is a Story Quest (Main Mission) in Dying Light 2. This walkthrough will guide you through all objectives of the Markers of the Plague Story Mission.
Region: Trinity
Quest Giver: Hakon
Requirement: Complete Getting Stronger
Reward: 250 Combat XP, 1000 Parkour XP, Binoculars, Billhook, Throwing Knife blueprint, Inhibitors Pack weapon charm, 5 Scraps, 1 Rags
Mission Info: Hakon said biomarkers could be found at a nearby hospital. It was going to be dangerous. Could I really trust him?
Objectives:
- Meet Hakon at the hospital
- Follow Hakon
- Search the trashcans for lockpick crafting parts
- Craft lockpicks
- Unlock the doors
- Follow Hakon
- Go deeper into the hospital
- Follow Hakon
- Find a white and green GRE crate
- Take an Inhibitor
- Return to the elevator shaft
- Regroup with Hakon
- Run outside to the sun!
- Talk to Hakon
- Use the binoculars to mark a windmill
- Use the binoculars to mark the Church
Meet Hakon at the hospital
When you start this story quest you will be at Cillian’s Safezone, and need to make your way to the hospital to meet up with Hakon. You can run around and do whatever you want at this point, but you can’t really find any locations so there’s not much point in free-roaming currently.
At the hospital, you first need to try the marked door on the ground level, which won’t work.
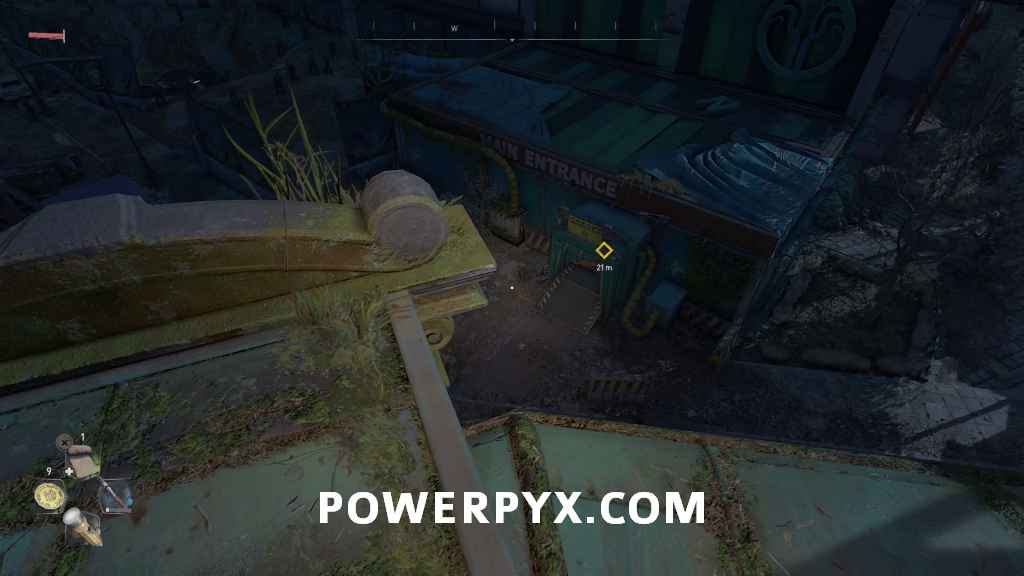
Go around the side of the building and there will be a bus you can go into, then force the door open to get inside the hospital.

Follow Hakon
In the first room, Hakon will be above you. Before climbing up to him, jump the barrier and move towards the wall with all the paper attached where you can find a Memento collectible.
Memento: Letter – Harsh Goodbye

Climb up the structure in the middle of the room, then walk across the hanging lights, following Hakon to the next area.

Search the trashcans for lockpick crafting parts
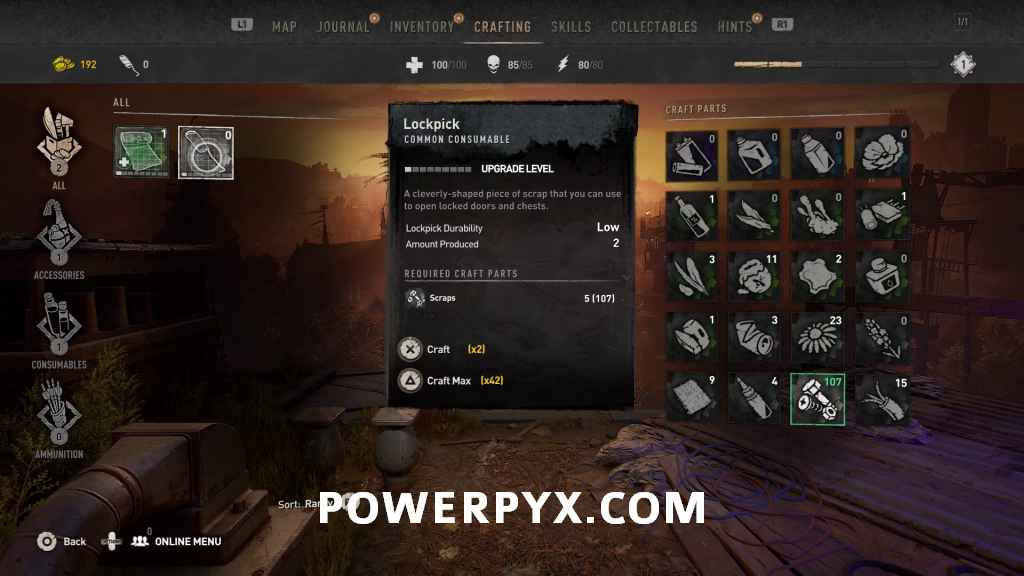
The door in the next room is locked, so you need to make some lockpicks to get through it. There are two sets of trash cans in the room you can search, which will give Scraps when searched through.

Craft lockpicks
Interact with Hakon, and after he is done speaking you will gain the Lockpicks blueprint. Go into your crafting inventory and craft some lockpicks out of the Scraps you have obtained.
Unlock the doors
After crafting some lockpicks, you can open the door. Lockpicking works the same as the first game, where you select the pick position with the left stick and try turning the lock with the right stuck, with the lock opening when you have the pick in the correct position.

Follow Hakon
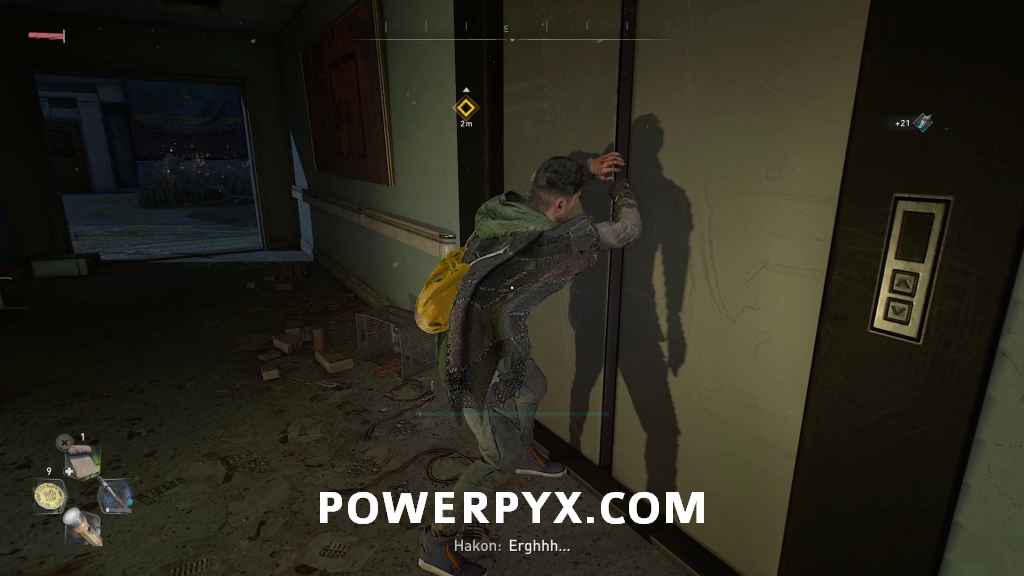
After unlocking the door, continue following Hakon. You’ll climb up the walls and go back in and out of the building a bit, and eventually reach an elevator that you need to help Hakon try to open.
Go deeper into the hospital
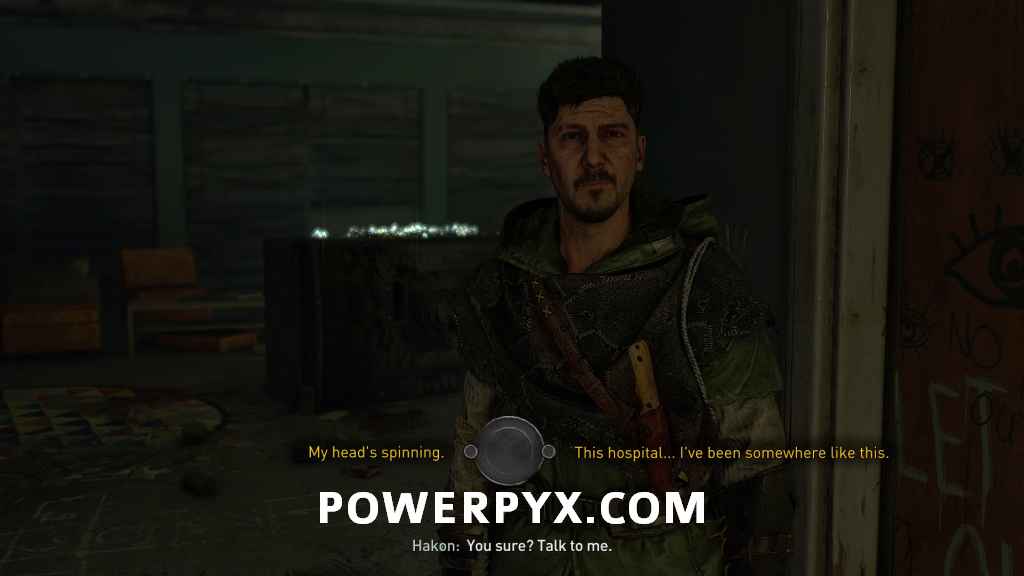
Continue following Hakon through the next doors, where Aiden will have another flashback. You can respond to Hakon however you want after.
Follow Hakon
Continue following Hakon down to the lower area. The next area will be full of sleeping infected that you need to sneak by. When sleeping, infected won’t notice as you by them if crouched. They will have a yellow bar below them that fills up the more they start to notice, with this filling faster if you move in front of them or move faster. You can use Survivor Sense to show where the infected around you are, with them being highlighted with red through objects.

Continue through the area crouching to avoid alerting the infected. You will move out into a hallway, then need to continue left into a side room again to avoid the infected blocking the hallway.
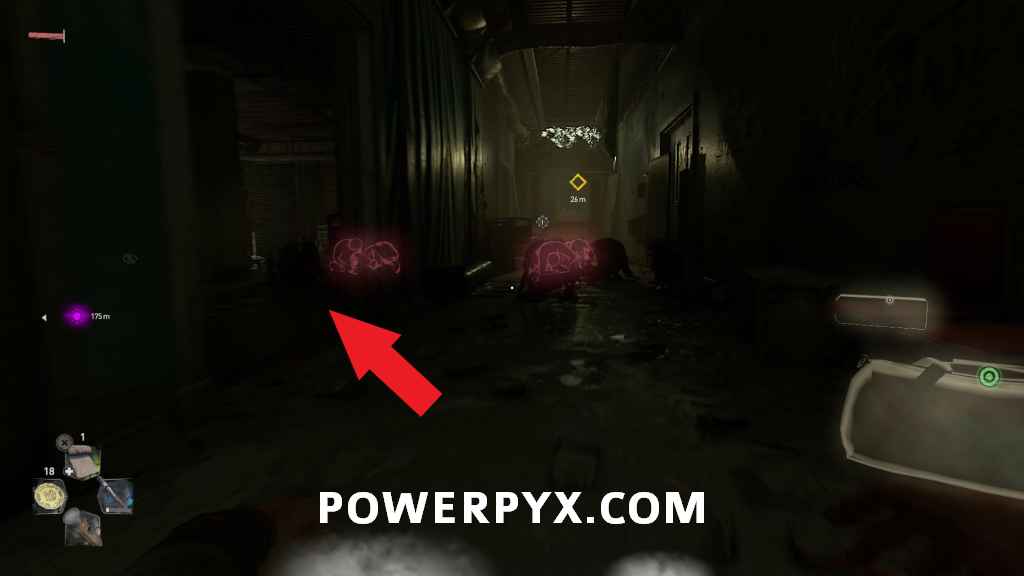
You will need to move under the tables to avoid the infected, which also stops them from spotting you.

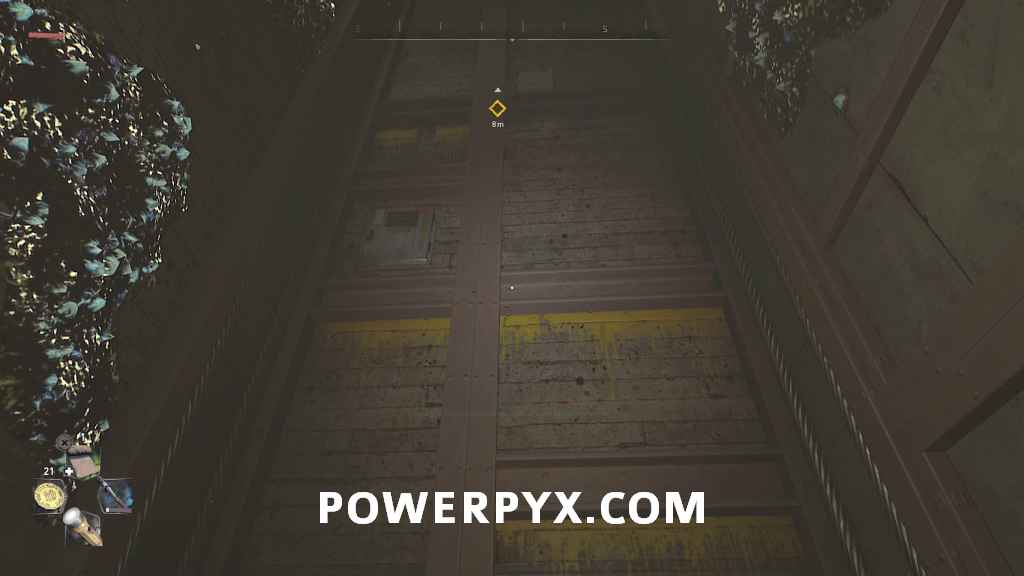
After sneaking through the area with the infected, continue following Hakon into the next area. Eventually, you will go down into an elevator shaft and get stuck at the bottom. You first need to try climbing up the wall, but won’t have enough stamina so will fall down.
Find a white and green GRE crate
Hakon suggests looking for a GRE crate to find more inhibitors, so you need to interact with the hatch on the top of the elevator to move down to the lower level.

You’ll need to sneak through the next area avoiding more infected. This time there is one that walks around the farther area you need to avoid. It will walk clockwise in a circle around the middle area, so you can wait for it to be on the opposite side before moving to the end of the area. To continue you need to crouch through the opening under the blocked door on the far wall.
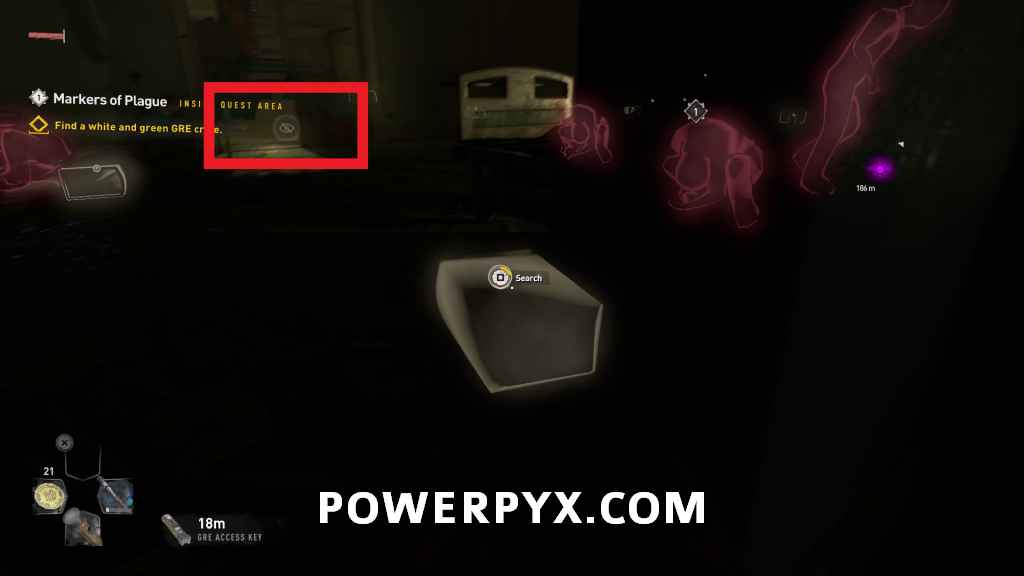
Aiden will have another flashback, then you’ll be in the room where the GRE crate is located.

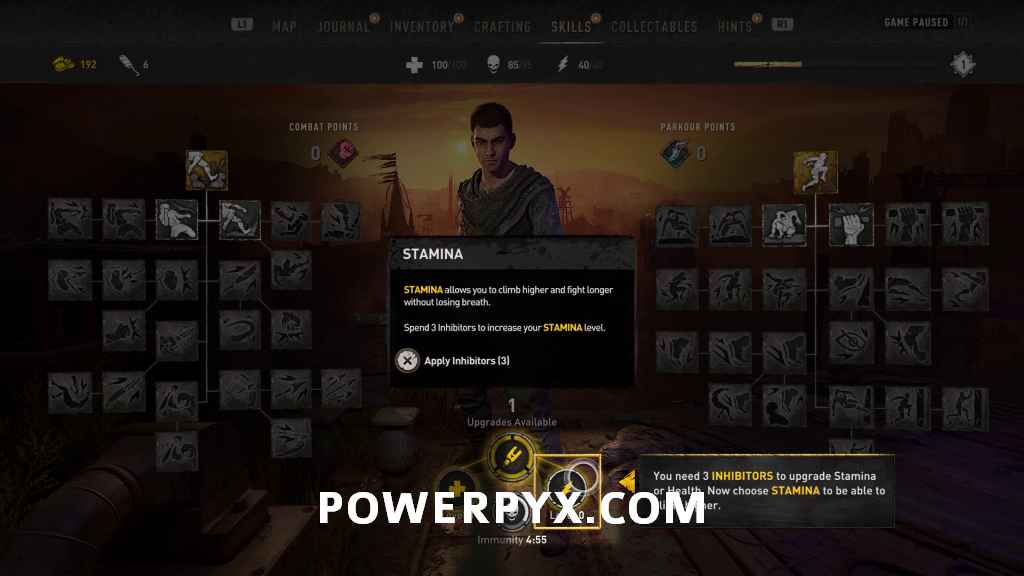
Take an Inhibitor
After picking up the inhibitor from the crate, go into the Skills menu and use the inhibitors to upgrade your stamina like prompted by the game.
Return to the elevator shaft
Interact with the door to unlock it, and end up back in the room with the elevator.
Regroup with Hakon
You can now climb up the elevator shaft and reach Hakon. You can search around this area for supplies if you want, but there’s nothing major to be found. When you’re ready to progress go over and interact with Hakon.

Run outside to the sun!
Hakon sets you up with a Biomarker, but turns out Aiden is just about to turn, so you need to run outside. Follow the marker through the hallways until you eventually are back out into the sun.

Talk to Hakon
Once outside you have another conversation with Hakon, choices are up to you. After he walks away the first time, go meet him over by the railing on the north side of the building.

Use the binoculars to mark a windmill
Hakon gives you a pair of binoculars, which you can use to mark points of interest in the environment. First, you need to mark the location of one of the windmills you can see from this spot. The easiest one to mark is the Alder windmill directly to the east (marking the giant windmill to the southeast doesn’t count, as it’s not counted as a windmill like the windmills you climb to help factions in the area).

Use the binoculars to mark the Church
Next, mark the church to the northeast. This is the Bazaar, an important location in this part of Villedor, and where you’ll be headed next.

Hakon heads off for now, and you now have the ability to zoom out farther on the map. You also now basically have full freeroam access (at least for this northern part of the game world) so can run around and find locations and items or continue with the story.
This finishes Markers of the Plague story quest in Dying Light 2 Stay Human.
For all other Main Quests and Side Quests, check out the complete Dying Light 2 Walkthrough.
Leave a Reply