
Chapter 5: Blood in the Water is the 5th story mission in Final Fantasy 7 (VII) Rebirth. This walkthrough will guide you through all objectives of the Blood in the Water Main Mission.
Area: Shinra-8 Cruise Ship
Objectives:
- A Seaborne Soiree
- King of Queen’s Blood
- Chat with Aerith
- Chat with Tifa
- Chat with Barret
- Chat with Red XIII
- Round 1
- The Results are In
- Round 2
- The Results are In
- Round 3
- The Results are In
- Round 4
- The Final Round
- A Little Shut-eye
- Maritime Emergency
- Stowaways
- All Hands on Deck
- Passengers in Peril
- What Lurks Beyond
- To Catch a Fiend
- In His Footsteps
- Poor, Unfortunate Souls
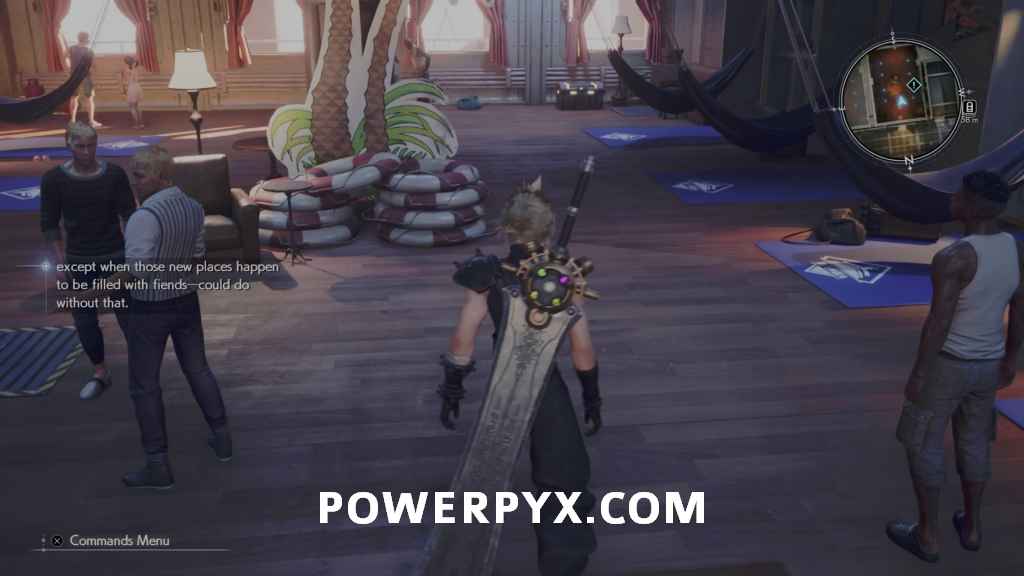
A Seaborne Soiree
After the initial scenes, you’ll be on the lower level of the ship. Follow the path up and to the main floor where the objective is.
King of Queen’s Blood
The ship has a Queen’s Blood tournament to pass the time. This is optional on repeat playthroughs, but you are required to win it all at least once for the  Card Royalty trophy.
Chat with Aerith/Tifa/Barret/Red XIII
To start, you need to speak with each of your party members at the counter, then the attendant in the center once Red gets out of the way.

Before progressing further you can also go out the door to the south (where Barret walks after you speak with him) to pick up a Fortification Materia.

After the tournament has started if you’re looking to skip it you can speak with the attendant marked with the Forfeit discovery point, which skips to the final round, which you can then immediately forfeit.

Queen’s Blood Tournament
The Queen’s Blood Tournament consists of 5 rounds with an additional 6th opponent at the end. In each round you get to pick who you want to play against, and if you lose you can retry until you win. After winning return to the counter to hand in your result.
Refer to the dedicated Queen’s Blood Guide for best strategies and decks. Make a manual save after each round. If you played against all previous Queen’s Blood players you will already have a good deck. If not, you can buy 4 card packs from the receptionist on the left if you haven’t bought them in earlier chapters. Winning the tournament also unlocks the card 095 Ifrit which is one of the best in the game.
A Little Shut-eye
After the whole tournament is complete, head back downstairs to the sleeping quarters. Before resting you can also open a chest in the same room which contains 2 x Antidotes.
Maritime Emergency
After waking, head out of the room into the hallway, then upstairs where directed by the crew member.
Stowaways
Run out to the front deck where several enemies will start appearing. These will be all new ones, starting with the Scrutineye which you can’t attack unless they are in the process of attacking you, making them a minor annoyance. Next will be Experimental Varghidpolis, which don’t have specific weaknesses, so you want to just try and take them out quickly before they can perform their shriek attack. Triple Slash is good for both enemies here.

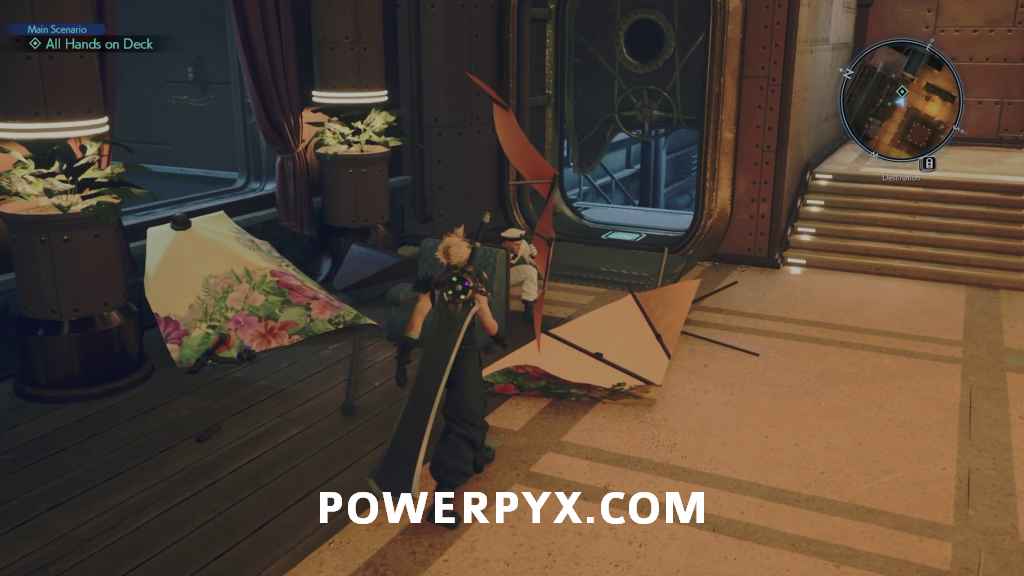
All Hands on Deck
After the groups outside are defeated, head back inside where Red and Aerith will stay behind. Deal with the other couple other enemies then go near the crew member who will point you to crawl through the door to back to the lower area.
Passengers in Peril
On the lower floor TIfa will join your party for the rest of the chapter, so take out the couple of enemies here with her. You can use the rest spot here if needed and get Tifa set up if she wasn’t already.
What Lurks Beyond
When you’re ready, head through the hole in the door back into the lower quarters. You’ll encounter another new enemy here, the Necrotic Entity. These also have no specific weakness, but you can pressure them by hitting them with powerful attacks while they are casting magic or during their attack Subastral Fury. You can also dodge their unblockable Onslaught attack to cause them to be pressured.

To Catch a Fiend
When these enemies are dealt with, head through the door to the next area and down the stairs.
In His Footsteps
You’ll automatically spot Barret across the room and need to follow him, so jump down into the next lower area. You’ll encounter another new enemy here, the Daemonic Entity. Unlike the Necrotic these are specifically weak to Ice, so you can more immediately pressure them using magic if needed. They are weaker overall though so don’t require as much focus in general as the Necrotic do.

Once both enemies are defeated you can jump up the small ledge on the left for a purple chest containing the Kaiser Knuckles weapon for Tifa.

Continue along the path through the cargo hold past the next group of enemies. When you are meant to turn right to drop down into the next area you can instead go up the stairs to the left to find a chest containing a Mega-potion.

In the next encounter, you’ll find the final new enemy for this area called a Shrieker. These are effectively the same as the Screamer enemy you encountered in Chapter 1, except they can randomly warp around to attack you. You can block their swinging arm in the same way though, so they are similarly easy to fight.

Poor, Unfortunate Souls
Once the enemies in the cargo hold are defeated, head up the stairs to another rest spot. Make sure to prepare yourself then head through the door.
Boss: Jenova Emergent

Jenova Emergent is quite tricky as this batle has a lot of moving parts. You’re stuck with a team of Cloud, Tifa and Barret for this. Initially, Jenova will be stationary at one end of the battlefield and getting up close will usually result in you taking a lot of damage, partcularly from the laser ray she likes to use. Therefore, use Barret’s physical attacks and Overcharge as much as you can from range and use spells with the other two. However, unless you have a lot of Ethers, try and save some of your MP to heal. Once you pressure Jenova, its Head will become a target, at which point you should focus your attacks on that to boost the Stagger bar greatly when it is disabled. Jenova’s Stagger bar lasts quite a while so you should be able to use Tifa’s Unbridled Strength abilities to raise the % significantly and do a lot of damage with abilities.
When she loses a third of her health, Jenova will start bouncing around the map so be vigilant. She’ll also spawn more parts than the Head, included Left and Right Shoulders. However, the main strategy remains the same, focus on those parts as they build the Stagger phase significantly when destroyed and as mentioned, she has a long Stagger phase where you can use Tifa to your advantage.
When two-thirds of her health is gone, Jenova will spawn tentacles around the arena. Whilst they don’t have much health, they can get annoying and interrupt your attacks. If you have AoE attacks, they will clear a lot of them but try and use your ATB charges to focus on Jenova and the body parts which respawn. Just make sure to keep on top of your health as she does hit quite hard, and eventually she’ll go down.
Hard Tips: This is the first boss where Elemental won’t really help at all, as Jenova isn’t weak to any element nor does she use any elemental attacks. She can be poisoned, but beyond this there aren’t really any special tactics to keep in mind. If you have a Ribbon, equip this on Cloud or Tifa to eliminate the risk of status ailments while fighting in close range. Be very careful of the homing gas and lasers she can use in the first phase as these can immediately kill you.
After the boss is defeated there will be some more scenes and the Chapter will be complete.
This finishes Chapter 5: Blood in the Water in Final Fantasy VII Rebirth.
Next Up: Chapter 6: Fool’s Paradise
For all other Mission Walkthroughs, check out our complete Final Fantasy 7 (VII) Rebirth Walkthrough.
Leave a Reply