
A Dynamite Body is a side quest in Final Fantasy 7 (VII) Remake. This walkthrough will guide you through all objectives of the A Dynamite Body Side Mission (Odd Job).
A Dynamite Body becomes available in Chapter 9 when you complete ‘The Party Never Stops‘ side quest AND made the choices listed in the requirements below.
Side Quest: A Dynamite Body
Chapter: 9
Area: Sector 6 Slums – Wall Market
Quest Giver: Sam
Requirement:
Make the following choices in Chapter 9:
- Sam Dialogue (Chocobo Cowboy): When describing Tifa to him pick “She’s in great Shape”.
- In Wall Market, complete the Johnny Discovery Event (where he runs away from you). After catching him pick his first dialogue “Yeah”.
- In Wall Market, talk to the guy standing in front of the hotel, select dialogue “How much?” (back at the start of Wall Market)
- In Wall Market, talk to hotel receptionist, select dialogue “Yes”.
- After this head to the next main objective at Corneo’s mansion where you meet the Trio.
- When Sam does the coin flip, pick “No deal.”.
- Pick the cheapest massage “Poor Man’s Course – 100G”
- When Aerith asks how you like her outfit “It’s alright”.
- Complete ‘The Underground Colosseum’ main objective.
- Complete The Party Never Stops side quest
- Complete Burning Thighs side quest
- Now A Dynamite Body side quest becomes available..
Reward: Arcane Scepter, HP and MP restored, Manuscript: The Art of Swordplay Vol. X (Hard Difficulty Only)
Mission Info: Sam asks Cloud to go to the Colosseum. This, apparently, will help save Tifa…?
Objectives:
- Head to the Colosseum and select the ‘Special Match’
- Defeat the two Bombs and claim your reward
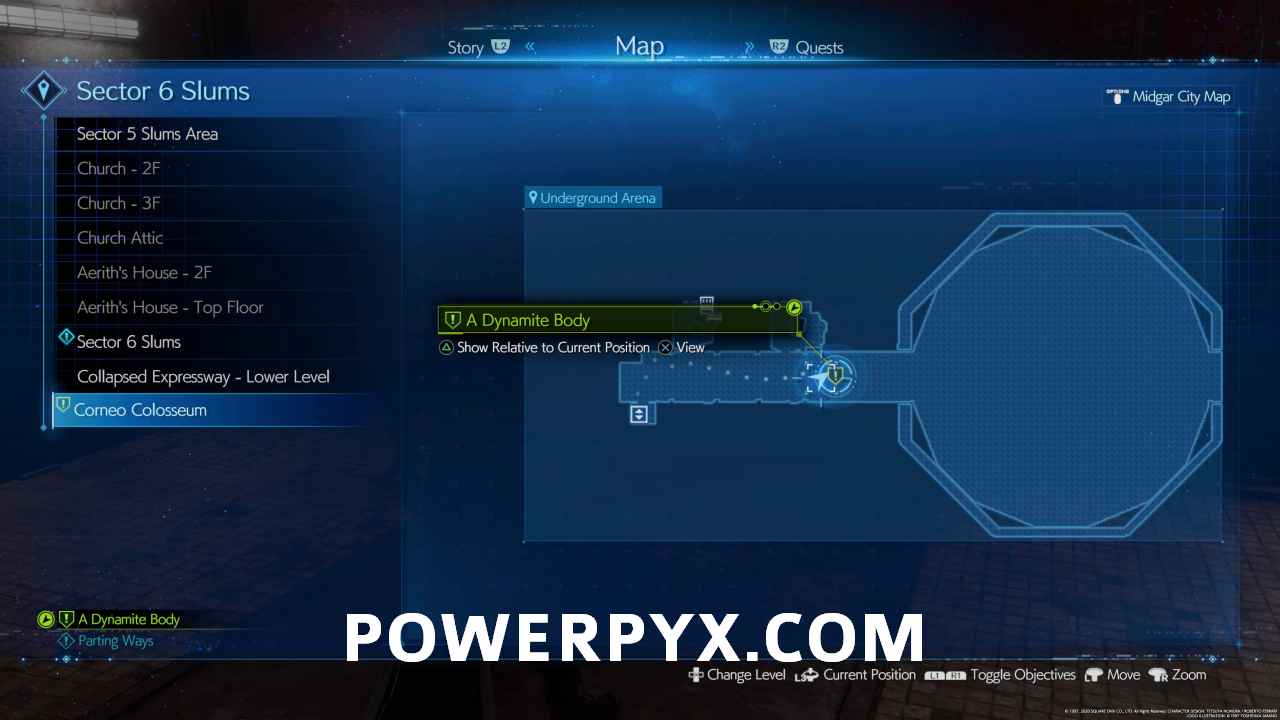
Starting Location: A Dynamite Body
Warning: This Side Quest requires specific choices in Chapter 9, see the requirements listed above and replicate them exactly. If you make different choices you get two alternate quests instead The Price of Thievery, Shears’ Counterattack (click on them for their requirements). These optional quests are also needed for the “Best in the Business” trophy, which you can do after the story in chapter select. Since they cancel out the alternate Chapter 9 quests you can only do one or the other on the 1st playthrough.


Head to the Colosseum and select the ‘Special Match’
Head over to the Colosseum and speak to the Gatekeeper. Select ‘Special Match’ and you’ll be taken to the arena.


Defeat the two Bombs and claim your reward
You’ll have to fight two Bombs, a new enemy at this stage. They are are not weak against any type of element, but resistant against fire magic. Use ice, wind or lightning between physical attacks to defeat them quickly.

After winning the battle, a short cutscene will play and Sam will meet you at the exit of the arena. He’ll reward you with an Arcane Scepter (if this is your first playthrough of Chapter 9) or simply just restore your HP/MP if you completed the other branch of Chapter 9 side quests on a previous playthrough.
This finishes A Dynamite Body side quest in Final Fantasy VII Remake.
Important for Best in the Business Trophy: To get this quest you must complete the Johnny Discovery Event in Chapter 9 Wall Market which locks you out of the 2 alternate Side Quests The Price of Thievery, Shears’ Counterattack. After the story you unlock Chapter Select and can get these 2 alternate quests via chapter select without having to replay the entire game. Once you did all 26 side quests you get trophy “Best in the Business”. You can’t get all 26 side quests in a single playthrough.
For all other Side Quest Walkthroughs, check out our complete Final Fantasy 7 (VII) Walkthrough.
naterd says
I chose the luxury hand massage and still got this quest.
Enrique says
I chose “Heads”, “Luxury Massage”, did not talk to Hotel Receptionist and chose “It’s comfortable. And still got this quest. I’m guessing it’s really only based on how you describe Tifa first.
Ohm says
My choices are totally different but still got this.
PowerPyx says
There are definitely multiple paths of choices to get this. What is in the Requirements is just what I did and what worked for me. Some of the choices may not have any impact at all but it’s hard to narrow down which choice exactly matters and which doesn’t. That’s why it’s best to copy the steps outlined at the top of the page.
Kehlric says
Hi! You should add that Burning Thighs must be done for this one to appear ;)
PowerPyx says
Indeed! Updated that, thanks 🙂
HoG0317 says
Chose tails, luxury massage, “it matter what I think”
Johnny: “yeah” in front of honey bee inn, drank item on table before Colosseum battle
Asaomar says
I did things very different from what you listed as requirements and I still got the quest.
Nate says
FYI, this quest still showed up for me even if I went for the most excitement massage, skipped the hotel conversations, and picked heads.
Jason says
The bomb mission is a bigger on hard definitely if u ain’t got much MP left from hell house fight
Phillip says
Nope. A level 2 or 3 Elemental materia junctioned with a Fire materia and put into connected armor slots will let you win this even if you go in with 1 hp and 0 mp.
Evan says
made the mistake doing this on hard mode, now I’m stuck beating two bombs with 65 MP more damage and more health.
Ov3rwatch says
Equip elemental fire on clouds armour and if it is at level 2 you will not really take any damage from this fight if it’s at level 3 you will walk away with full health
Satorukun says
The most important thing is the coin toss, and nothing else matters except completing the other two quests first. Picking heads or tails determines which quests you get, but I’m not sure if saying you don’t care and then having Aerith pick heads has the same effect as Cloud picking heads.
Aen1022 says
This might be a necro-post, but I’ve picked a different choice every single time and gotten the other set of quests. The only thing I can think of is the hand massage or it’s a combination where the sum of your choices matter rather than a single one.