
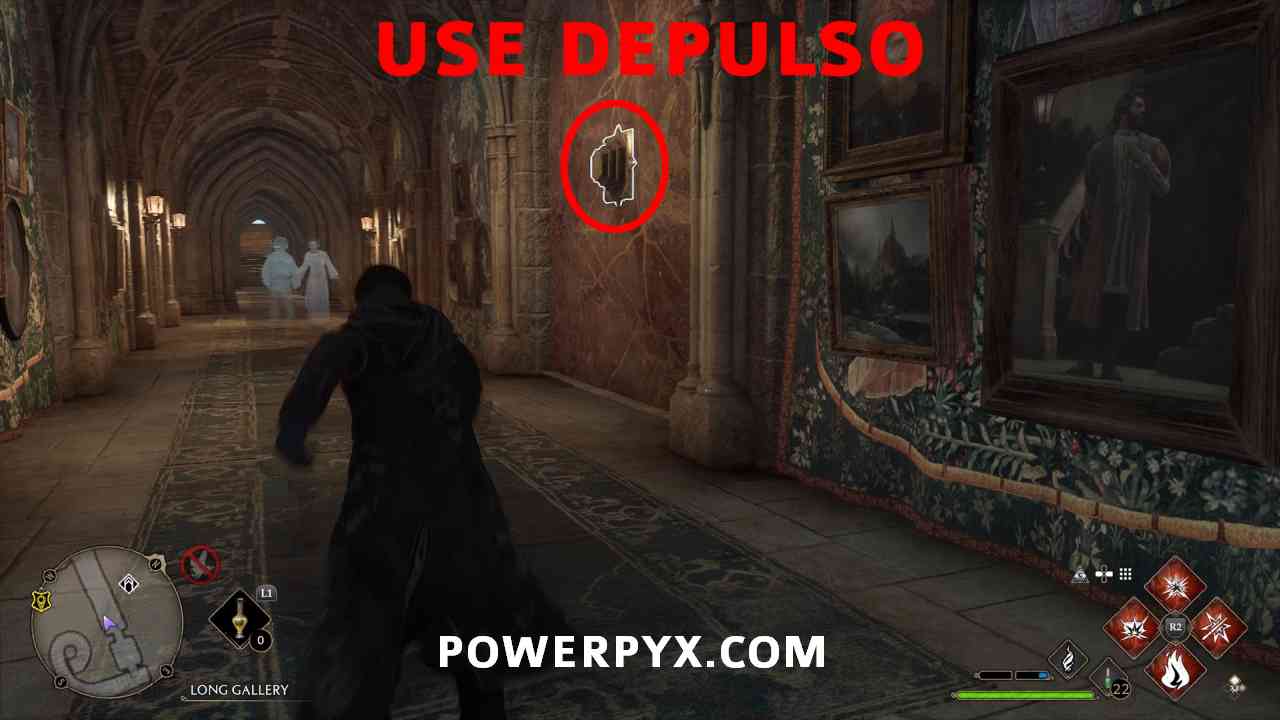
Depulso Puzzle Room 1 is a secret Room in Hogwarts Legacy. It contains a hidden Collection Chest that unlocks a random Conjuration, needed to complete all Collections for “Collector’s Edition” trophy & achievement.
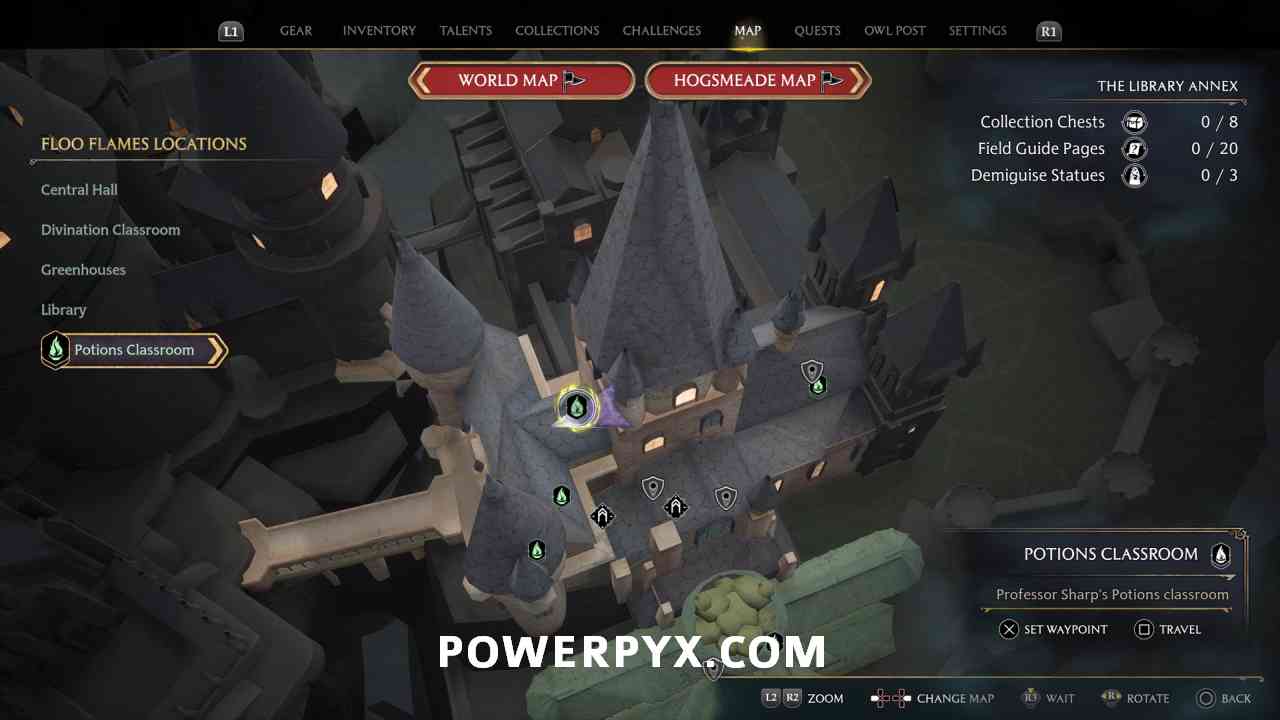
For this room to become available you must first have finished Side Quest: The Hall of Herodiana. You can still do this at any point later in the game, it’s still available after the story. This puzzle room is located in Library Annex of Hogwarts Castle.
Related Guides:
Unlock Requirements of Depulso Puzzle Room 1
To unlock this you must have finished Side Quest: The Hall of Herodiana. You do a similar puzzle room during that quest, then other puzzle rooms around Hogwarts Castle can be entered. Until then the wall to the room can’t be opened.
Where to find Location of Depulso Puzzle Room 1
Fast travel to Hogwarts > The Library Annex > Potions Classroom. From where you spawn, go through the door in front of you, turn left and go down the stairs. At the end is a door on the left, open it (has a Level 1 Lock, you need Alohomora Spell which is unlocked from Main Quest: The Caretaker’s Lunar Lament). After going through the door check the first wall on the right side. Cast Depulso on the little anchor in the wall. This opens the wall and you can step through it to enter Depulso Puzzle Room 1.


Video Walkthrough

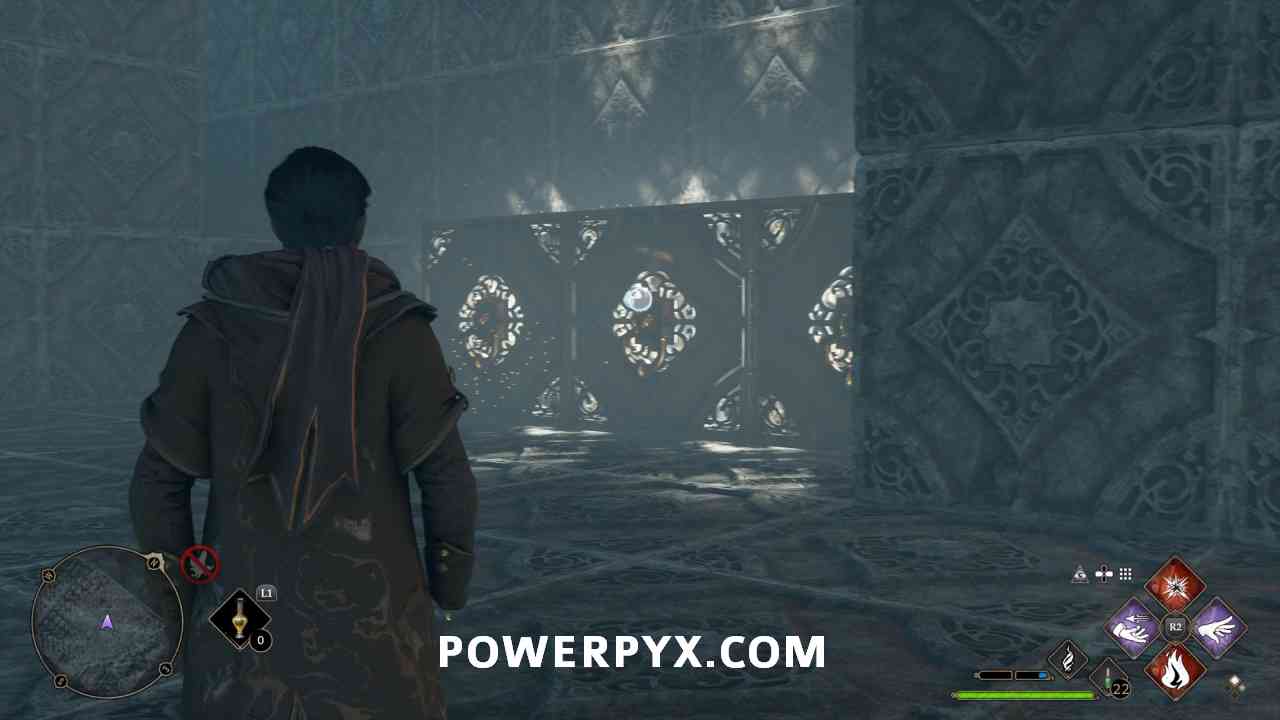
Depulso Puzzle Room 1 Solution
If at any point you feel like you made a mistake you can reset the room by shooting the yellow light at the top of the room with your standard attack spell (  /
/  ). When you stack wrong cubes together or moved wrong cubes you may need to reset the room. Also make sure you don’t stand in the way when pulling cubes with Accio, if you hit yourself it resets the room and respawns you at the start.
Chest #1 (Pillar on Right Side)
- Accio on the floating cube on the right to pull it in the direction of the entrance where you entered.

- Depulso on the two cubes in the middle to push them to the right pillar.

- You can now climb up those two cubes to the pillar, open the chest on top. It contains a random gear piece.


Chest #2 (Pillar on Left Side)
- Reset the room by casting your standard attack ( / ) on the yellow light at the top of the room. All cubes will go back to their starting position.

- Accio on the floating cube on the right to pull it to the left side.

- Accio on the same cube again to pull it towards the entrance.

- Depulso on same cube to again push it all the way to the left side of the room.

- Accio on same cube again to pull it towards the pillar on the left, above the two cubes.

- Accio on the floating cube in the middle to pull it towards the entrance, above a single cube. This stacks the two cubes above each other so they will move together.

- Depulso on the two stacked cubes to push them to the left side of the room.

- Accio on the two stacked cubes to pull them closer towards the other cubes at the left pillar.

- You can now climb cubes on the left. From the double-stacked cubes you can jump up to the floating cube, from there climb the pillar.


Chest #3 (Pillar at End of Room, Across from Entrance)
- Reset the room by casting your standard attack ( / ) on the yellow light at the top of the room. All cubes will go back to their starting position.

- Depulso on the single cube on the floor closest to the entrance, push it to the left side of the room where two cubes are connected together.

- Accio same cube again to pull it into the other two floor-cubes. This connects all 3 cubes together into a long line-formation.

- Accio on the 3 connected cubes to pull them to the right side of the room.

- Depulso on the same 3 cubes to push them forward, below the floating cube on the right side of the room.

- Depulso on the 2 cubes in the middle of the room to push them forward to the very end of the room where the third pillar is. The two blocks will now be stacked on top of each other.

- Accio on the 3 cubes to pull them to the middle where the 2 cubes just were.

- Depulso the 2 stacked cubes again (same ones from Step 7) to push them slightly left to the pillar (you need to stand at the gap, right side of the 2 stacked cubes).

- Accio on the 3 cubes to pull them over the gap to the end of the room.

- Depulso on the 3 cubes to push them next to the 2 stacked cubes.

- Climb the black block in front of the gap. From there you can jump over to the 3 connected cubes. Land on them. Don’t fall down here.

- From there climb the 2 stacked cubes, climb up the pillar and open the chest.


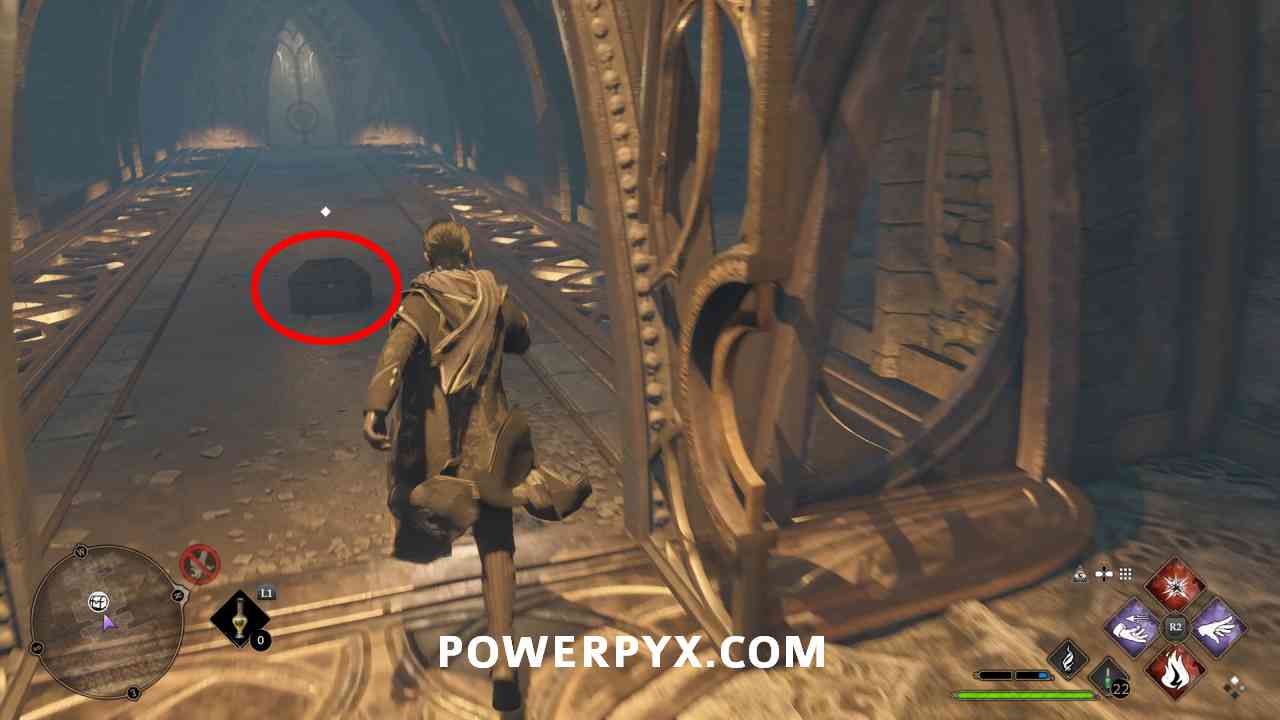
Chest #4 (At Room’s Exit)
- After opening the third chest some stones will get pushed out the left side. You can run across them to get back to the entrance. Climb back up to the entrance.

- The Collection Chest will be on the way out the room, in the middle of the path. It unlocks a random Conjuration Collectible. Just like with all other Collection Chests in the game the reward is random but it will always be a Conjuration-type Collectible.


Now you can exit the room. This finishes Depulso Puzzle Room 1 in Harry Potter: Hogwarts Legacy.
For the other Depulso Puzzle refer to Depulso Puzzle Room 2 Walkthrough. For all other secrets and 100% completion guides check out Hogwarts Legacy 100% Completion Wiki.
lyhi says
Thank you! Text and Pictures is so much better than a video!!
Adam says
The collection chest is bugged for me.
AJGrifdog says
Chest 3 #11 go ahead and accio that piece toward you and then cast depulso on the step, riding across instead of jumping. Takes the stress out of platforms for those of us who really can’t get the jump to work.
Maaalllfroy Jienkenss says
From step 11 after instead of jumping 30 times action to pull he pieces to you the depulso them to the right side of the room. They will get caught and you can depulso them whilst standing on them to ride them across the gap. Much safer.