
Senpou Temple, Mt. Kongo is the 6th area in Sekiro Shadows Die Twice. This walkthrough will guide you through the Senpou Temple, Mt. Kongo region.
- Senpou Temple, Mt. Kongo
- Shugendo
- Temple Grounds
- Main Hall
- Inner Sanctum
- Sunken Valley Cavern
- Bell Demon’s Temple
How to reach Senpou Temple, Mt. Kongo
You can reach Senpou Temple through the Abandoned Dungeon area. In that area you simply swim to the end of a dark cave and use an elevator then you reach the first idol of this region simply called Senpou Temple, Mt. Kongo idol. See Sekiro Shadows Die Twice – Abandoned Dungeon Walkthrough.
Senpou Temple – Shugendo
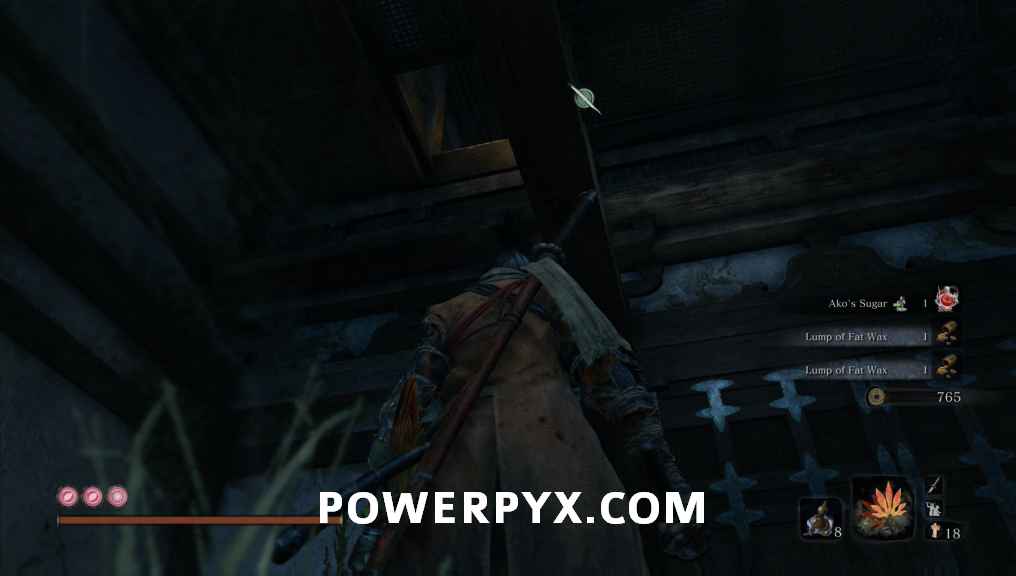
From the Senpou Temple, Mt. Kongo idol, drop down and go through the monk-infested forest. You will shortly reach a temple with a door you can’t enter but instead you can grapple up to a wooden beam and wall-jump up through a hole in the ceiling (see 2nd screenshot below). So remember, when you reach this dead-end just look up and you’ll see it. Do this and inside you will find a group of praying monks and a Gourd Seed.

After the room with the praying monks, head through the window outside and reach a two jumping spear enemies and a broken bridge. To the left of the broken bridge you can grapple on to a tree branch to reach the Shugendo Idol.


Senpou Temple – Temple Grounds
Now keep grappling up until you reach a bridge where another mini-boss awaits: Armored Warrior. He won’t take physical damage so you have to deplete his posture, then you can grab him to throw him off the bridge. The Temple Grounds Idol awaits right after that.

Senpou Temple – Main Hall
After the Temple Grounds idol keep following the path up or drop down to the lower rooftops on the right side to find a mini-boss in one of the buildings: Long-arm Gentipede Sen’un. Stay on the wooden grappling points near the ceiling and kill the small enemies first and you can drop down on the boss for a stealth kill of the first health bar. This boss requires you to deflect its attacks perfectly so you can break its posture. Deflecting two of its attack chains and landing a few hits will suffice to break posture and execute it. Alternatively, grapple up and down the wooden beams to land single sword strikes.
After going up the mountain you will reach some stairs and a temple at the top. You could have reached this area earlier but you wouldn’t be able to interact with the altar here before talking to Kuro and Isshin first in Ashina Castle. Grab the Main Hall Idol here as well. Once you have interacted with the altar you will reach the next main boss: Folding Screen Monkeys.
In case it doesn’t let you progress in Main Hall: If you are instead seeing an old man sitting there who doesn’t talk to you and can’t interact with the altar (depicted on 1st screenshot below), then that means you haven’t finished things up in Ashina Castle. You have to defeat Genichiro Ashina in Ashina Castle first, then talk to the Divine Heir in Kuro’s Room 5 times in a row so he tells you to find Isshin. Then you must head out the window in Kuro’s Room and follow the smoke signals on the rooftops. If you haven’t done this yet, refer to the Ashina Castle Walkthrough for help.

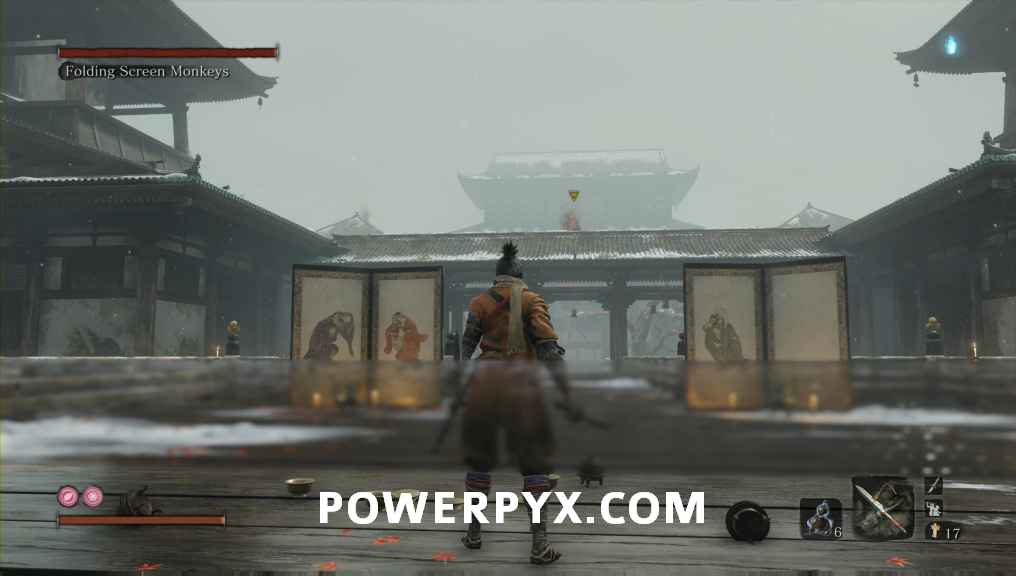
You will have to kill 4 monkeys here in order to defeat the boss, while taking advantage of their weaknesses: sight, hearing or both. Check the video on how to do it easily and quickly.
Once the monkeys are defeated you will reach the Inner Sanctum Idol and after a cutscene you will receive the Mortal Blade which is needed to progress the game. Head back to Kuro for some talking and now you will have the choice between going to the Ashina Depths or the Sunken Valley. We’ll go to the Ashina Depths first.


This concludes the “Senpout Temple, Mt. Kongo” area.
Next up: Ashina Depths
For all other areas check out the full Sekiro Shadows Die Twice Walkthrough.
Wolf says
its helpful but you didnt mention to the Suken Valley Cavern idol’s and the Bell Demon’s Temple idol’s dude ?
PowerPyx says
The secret side areas will be added shortly.
bronson mckenzie says
where is that im at the ape gaurdian and i dont think i have enough health i have 6 flask but he hits hard and hems back to life so any advice?
bronson mckenzie says
im at sunken valley and im having a really difficult time with the ape guardian any advice?
RD says
Unlike other bosses i beat him by being passive, always deflecting and attacking only if the window is big. He will eventually lose his posture himself. Also make sure you maintain some distance between you and the ape. Second phase is actually easier for me. The attack window is way bigger than the first phase.
Ghostie says
How do you unlock that shortcut door in the mail hall?
Frank says
You need to kill the folding screen monkeys first, and then you’ll be transported to the inner sanctum and the door will be there for you to open; the shortcut to the main hall.