
The Last of Us 2 has 286 Collectible Locations. This collectibles guide shows all locations in chronological order for 100% game completion and all trophies.
- 127 Artifacts
- 20 Journal Entries
- 48 Trading Cards
- 32 Coins
- 14 Safes
- 8 Training Manuals
- 25 Workbenches
- 12 Weapons
- Supplements (Player Upgrades)
- Parts (Weapon Upgrades)
The Artifacts are mostly text documents. Journal Entries require you to interact with certain places in the world. Trading Cards are mostly found in the first half of the game and Coins mostly in the second half. Safes require codes that you get from reading Artifact documents but are also shown in this guide. Training Manuals unlock new Skill Trees (2 unlocked automatically, 8 unlocked from Manuals). There are actually more possible Training Manual spawns than you need, if you miss one they will keep respawning in some extra spots. Workbenches allow you to craft weapon upgrades. Some weapons are found in the world while others come automatically. Supplements are used to buy new Skills (Player Upgrades). Scrap Parts are used as a material to upgrade all Weapons at Workbenches.
None of the Collectibles are missable! You can get them via Chapter Select at any time. They also carry over into New Game+. You can keep track of your progress via Chapter Select in the Title Screen.
To get missing items via Chapter Select: go to Title Screen > Chapter Select > find the missing item (no need to reach next checkpoint or finish chapter) > Load Main Save with furthest Story Progress (important to not lose access to chapter select) > Quit to Main Menu and it will have updated the Collectible Counter. If the Parts & Supplements stop spawning for you, it means you’ve fully upgraded Ellie (not a glitch).
When you die you don’t need to pick up the Collectibles again. There’s also no need to have all Collectibles in your Backpack or Manual Save at the same time. They are stored in your Profile Save and count across all playthroughs and saves. All that matters is that the Collectibles show as found in Chapter Select.
If you have trouble finding a Collectible, go to Options > Accessibility > Magnification and Visual Aids > High Contrast Display = Setting 1. This marks all collectibles and items in yellow color from far away and makes them super easy to spot.
Also go to Options > Accessibility > Navigation and Traversal > Enhanced Listening Mode = ON, Scan Range = 30M, Scan Time = 1S. Now you can press  +
+  in listening mode to highlight all collectibles in a 30 meter radius around you. This is particularly helpful for Supplements and Parts.
Combining both of these accessibility options makes the collectibles much easier to locate.
WARNING: Be sure to make a Manual Save in the last Chapter (Chapter 45) and DO NOT ever overwrite this save! The chapters you have available in Chapter Select are based on your last autosave. When you replay an earlier chapter, it will lock you out of chapters past your autosave. The only way around this is to reload the Manual Save from the last chapter each time, then quit to the Main Menu. Doing so updates your Autosave to the last chapter, making everything available in Chapter Select again. Example: You completed the story and go to replay Chapter 4, it will lock you out of everything past Chapter 4. But if you have a save from the end of the game, you load it and all Chapters are unlocked again.
To get missing Collectibles via Chapter Select:
- Load up the Manual Save from the Last Chapter (this unlocks all Chapters via Chapter Select).
- Quit to Main Menu (Title Screen)
- Via Chapter Select, replay the Chapter you need.
- Get your missing Collectible.
- Load your Manual Save from the Last Chapter (Chapter 45) again and repeat Steps 2-4. No need to reach the next Checkpoint or finish the Chapter. The Collectibles are saved instantly. You don’t need them on the same Manual Save or in the Backpack at the same time. They just need to show up in Chapter Select to unlock the trophies.
Trophies unlocked from Collectibles:
- Survival Expert

- Arms Master
- Archivist
- Master Set
- Numismatist
- Prepared For the Worst
- Mechanist

- Specialist
- Safecracker
- Sightseer
- Journeyman
- Survival Training
- High Caliber
- In the Field
- Tools of the Trade

- Starter Set
- Mint Condition
- Relic of the Sages
- So Great and Small


Useful Links:
Chapters:
- Prologue –> NO COLLECTIBLES
- Waking Up
- The Overlook
- Patrol
- The Horde –> NO COLLECTIBLES
- The Chalet –> NO COLLECTIBLES
- Packing Up
- The Gate
- Downtown
- Eastbrook Elementary
- Capitol Hill
- Channel 13
- The Tunnels
- The Theater
- The Birthday Gift
- Hillcrest
- Finding Strings
- The Seraphites
- St. Mary’s Hospital –> NO COLLECTIBLES
- Road to the Aquarium
- The Flooded City
- Infiltration
- Tracking Lesson
- The Stadium
- On Foot
- The Forward Base
- The Aquarium –> NO COLLECTIBLES
- Hostile Territory
- Winter Visit –> NO COLLECTIBLES
- The Forest
- The Coast
- Return to the Coast –> NO COLLECTIBLES
- The Shortcut
- The Descent
- Ground Zero
- Return to the Aquarium –> NO COLLECTIBLES
- The Marina
- The Island
- The Escape
- The Confrontation –> NO COLLECTIBLES
- The Farm –> NO COLLECTIBLES
- 2425 Constance
- Pushing Inland
- The Resort
- The Beach –> NO COLLECTIBLES
- Epilogue –> NO COLLECTIBLES
Chapter 1: Prologue

- No Collectibles / Supplements / Parts in this Chapter (it’s only a short horse ride with Joel).
Chapter 2: Waking Up
» Waking Up Collectibles Text Guide

- Artifacts: 1
- Trading Cards: 2

#1 – Trading Card 1/2 – 0:10
#2 – Artifact 1/1 – 0:36
#3 – Trading Card 2/2 – 1:04
Chapter 3: The Overlook
» The Overlook Collectibles Text Guide

- Artifacts: 1
#1 – Artifact 1/1 – 0:05
Chapter 4: Patrol
» Patrol Collectibles Text Guide

- Artifacts: 6
- Trading Cards: 2
- Journal Entries: 2
- Workbenches: 1
- Safes: 1
#1 – Journal Entry 1/1 – 0:05
#2 – Artifact 1/6 – 1:02
#3 – Trading Card 1/2 – 1:37
#4 – Artifact 2/6 – 2:00
#5 – Artifact 3/6 – 2:35
#6 – Safe 1/1 – 3:00
#7 – Artifact 4/6 – 3:32
#8 – Journal Entry 2/2 – 4:13
#9 – Trading Card 2/2 – 4:29
#10 – Artifact 5/6 – 4:42
#11 – Artifact 6/6 – 5:06
#12 – Workbench 1/1 – 5:22
Chapter 5: The Horde

- No Collectibles / Supplements / Parts in this Chapter!
Chapter 6: The Chalet

- No Collectibles / Supplements / Parts in this Chapter!
Chapter 7: Packing Up
» Packing Up Collectibles Text Guide

- Artifacts: 1
- Journal Entries: 2
#1 – Journal Entry 1/2 – 0:05
#2 – Journal Entry 2/2 – 0:33
#3 – Artifact 1/1 – 1:05
Chapter 8: The Gate
» The Gate Collectibles Text Guide

- Artifacts: 6
- Trading Cards: 4
- Journal Entries: 1
#1 – Trading Card 1/4 – 0:05
#2 – Trading Card 2/4 – 0:45
#3 – Artifact 1/6 – 1:42
#4 – Journal Entry 1/1 – 1:55
#5 – Artifact 2/6 – 2:18
#6 – Artifact 3/6 – 2:45
#7 – Trading Card 3/4 – 3:01
#8 – Artifact 4/6 – 3:39
#9 – Artifact 5/6 – 3:48
#10 – Artifact 6/6 – 4:15
#11 – Trading Card 4/4 – 5:09
Chapter 9: Downtown
» Downtown Collectibles Text Guide
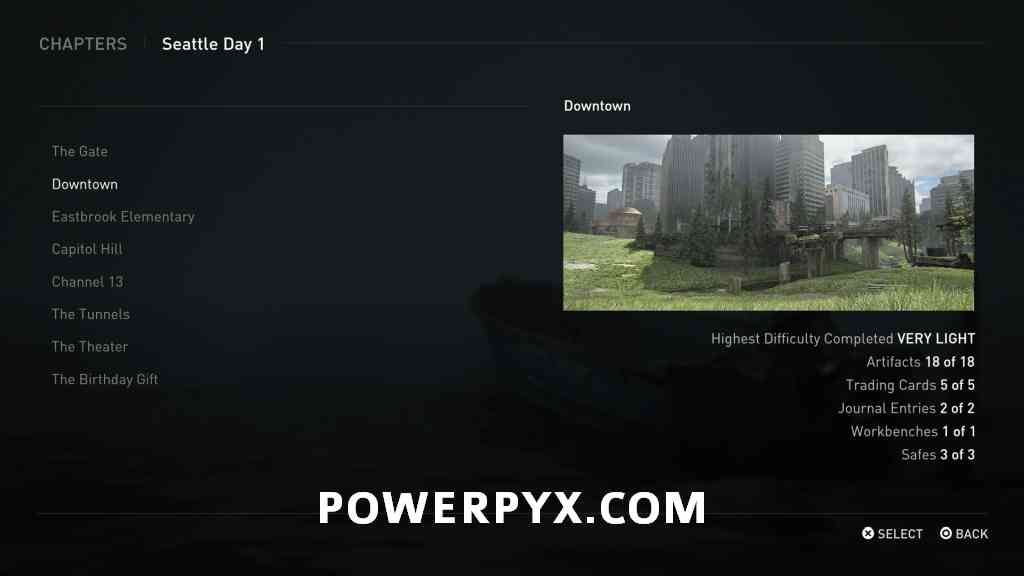
- Artifacts: 18
- Trading Cards: 5
- Journal Entries: 2
- Workbenches: 1
- Safes: 3
- Training Manuals: 1
- Weapons: 2
#1 – Artifact 1/18 – 0:05
#2 – Artifact 2/18 – 0:34
#3 – Safe 1/3 – 1:30
#4 – Weapon: Shotgun – 2:00
#5 – Artifact 3/18 – 2:24
#6 – Artifact 4/18 – 2:36
#7 – Artifact 5/18 – 2:54
#8 – Artifact 6/18 – 3:13
#9 – Training Manual: Crafting – 3:36
#10 – Trading Card 1/5 – 4:56
#11 – Trading Card 2/5 – 5:45
#12 – Artifact 7/18 – 6:11
#13 – Artifact 8/18 – 6:42
#14 – Journal Entry 1/2 – 7:10
#15 – Workbench 1/1 – 7:23
#16 – Safe 2/3 – 7:45
#17 – Trading Card 3/5 – 7:45
#18 – Artifact 9/18 – 8:39
#19 – Trading Card 4/5 – 8:57
#20 – Artifact 10/18 – 9:07
#21 – Artifact 11/18 – 9:23
#22 – Gun Holster – 9:58
#23 – Weapon: Stun Bomb – 10:16
#24 – Artifact 12/18 – 10:41
#25 – Artifact 13/18 – 11:18
#26 – Artifact 14/18 – 11:47
#27 – Journal Entry 2/2 – 11:47
#28 – Artifact 15/18 – 12:50
#29 – Artifact 16/18 – 13:15
#30 – Artifact 17/18 – 13:39
#31 – Safe 3/3 – 13:52
#32 – Artifact 18/18 – 14:45
#33 – Trading Card 5/5 – 15:26
Chapter 10: Eastbrook Elementary
» Eastbrook Elementary Collectibles Text Guide

- Artifacts: 3
- Trading Cards: 1
#1 – Artifact 1/3 – 0:05
#2 – Artifact 2/3 – 0:05
#3 – Artifact 3/3 – 0:33
#4 – Trading Card 1/1 – 0:54
Chapter 11: Capitol Hill
» Capitol Hill Collectibles Text Guide
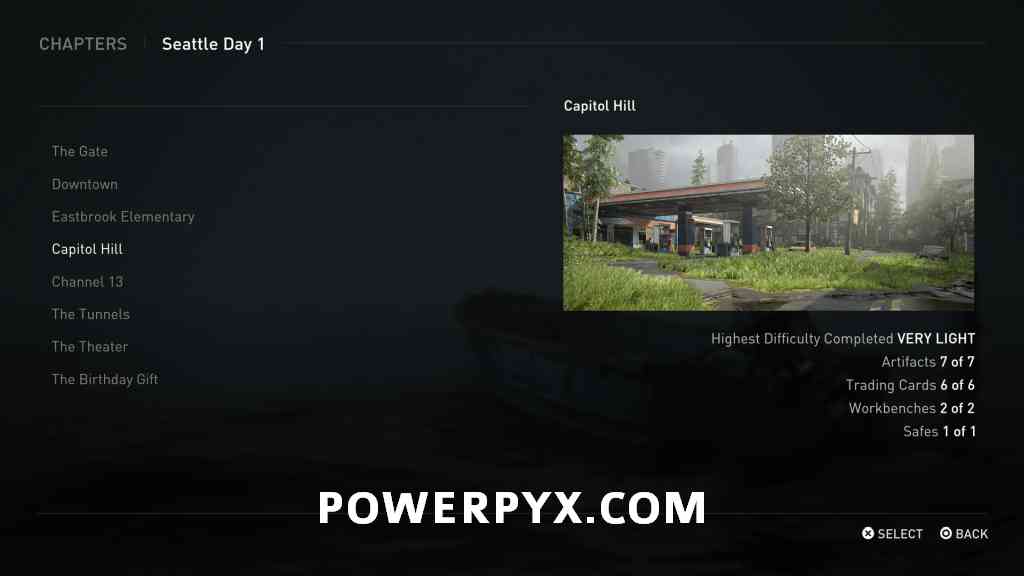
- Artifacts: 7
- Trading Cards: 6
- Workbenches: 2
- Safes: 1
- Training Manuals: 1
- Weapons: 1
#1 – Trading Card 1/6 – 0:05
#2 – Artifact 1/7 – 0:33
#3 – Trading Card 2/6 – 1:10
#4 – Artifact 2/7 – 1:50
#5 – Weapon: Trap Mine – 2:43
#6 – Workbench 1/2 – 2:58
#7 – Artifact 3/7 – 3:44
#8 – Training Manual: Stealth – 4:15
#9 – Trading Card 3/6 – 4:25
#10 – Trading Card 4/6 – 4:38
#11 – Trading Card 5/6 – 5:22
#12 – Artifact 4/7 – 5:43
#13 – Artifact 5/7 – 6:16
#14 – Artifact 6/7 – 7:01
#15 – Workbench 2/2 – 7:25
#16 – Trading Card 6/6 – 7:36
#17 – Artifact 7/7 – 7:55
#18 – Safe 1/1 – 8:09
Chapter 12: Channel 13
» Channel 13 Collectibles Text Guide

- Artifacts: 1
- Trading Cards: 1
#1 – Trading Card 1/1 – 0:05
#2 – Artifact 1/1 – 0:29
Chapter 13: The Tunnels
» The Tunnels Collectibles Text Guide

- Artifacts: 5
- Trading Cards: 3
- Journal Entries: 1
- Workbenches: 1
#1 – Artifact 1/5 – 0:05
#2 – Trading Card 1/3 – 0:46
#3 – Workbench 1/1 – 1:15
#4 – Journal Entry 1/1 – 1:40
#5 – Trading Card 2/3 – 2:34
#6 – Artifact 2/5 – 3:29
#7 – Artifact 3/5 – 3:54
#8 – Artifact 4/5 – 4:10
#9 – Trading Card 3/3 – 4:20
#10 – Artifact 5/5 – 4:46
Chapter 14: The Theater
» The Theater Collectibles Text Guide

- Artifacts: 4
- Trading Cards: 2
#1 – Trading Card 1/2 – 0:05
#2 – Artifact 1/4 – 0:20
#3 – Artifact 2/4 – 0:30
#4 – Trading Card 2/2 – 0:52
#5 – Artifact 3/4 – 1:07
#6 – Artifact 4/4 – 1:30
Chapter 15: The Birthday Gift
» The Birthday Gift Collectibles Text Guide

- Artifacts: 1
- Trading Cards: 2
- Journal Entries: 2
- Trophy: Looks Good on You
#1 – Journal Entry 1/2 – 0:05
#2 – Trading Card 1/2 – 0:24
#3 – Journal Entry 2/2 – 0:43
#4 – Trading Card 2/2 – 1:05
#5 – Artifact 1/1 – 1:43
Chapter 16: Hillcrest
» Hillcrest Collectibles Text Guide

- Artifacts: 10
- Trading Cards: 5
- Journal Entries: 1
- Workbenches: 2
- Safes: 1
- Training Manuals: 1
- Weapons: 1
#1 – Trading Card 1/5 – 0:05
#2 – Artifact 1/10 – 0:26
#3 – Workbench 1/2 – 0:51
#4 – Artifact 2/10 – 1:21
#5 – Journal Entry 1/1 – 1:31
#6 – Artifact 3/10 – 2:00
#7 – Artifact 4/10 – 2:19
#8 – Trading Card 2/5 – 2:49
#9 – Workbench 2/2 – 3:00
#10 – Trading Card 3/5 – 3:25
#11 – Artifact 5/10 – 3:34
#12 – Artifact 6/10 – 3:45
#13 – Safe 1/1 – 4:13
#14 – Weapon: Gun Holster – 4:13
#15 – Training Manual: Precision – 5:17
#16 – Artifact 7/10 – 6:13
#17 – Artifact 8/10 – 6:41
#18 – Trading Card 4/5 – 7:00
#19 – Artifact 9/10 – 7:24
#20 – Artifact 10/10 – 7:39
#21 – Weapon: Bow – 7:50
#22 – Trading Card 5/5 – 8:27
Chapter 17: Finding Strings
» Finding Strings Collectibles Text Guide

- Artifacts: 1
- Trading Cards: 1
- Journal Entries: 1
#1 – Journal Entry 1/1 – 0:05
#2 – Trading Card 1/1 – 0:28
#3 – Artifact 1/1 – 0:57
Chapter 18: The Seraphites
» The Seraphites Collectibles Text Guide
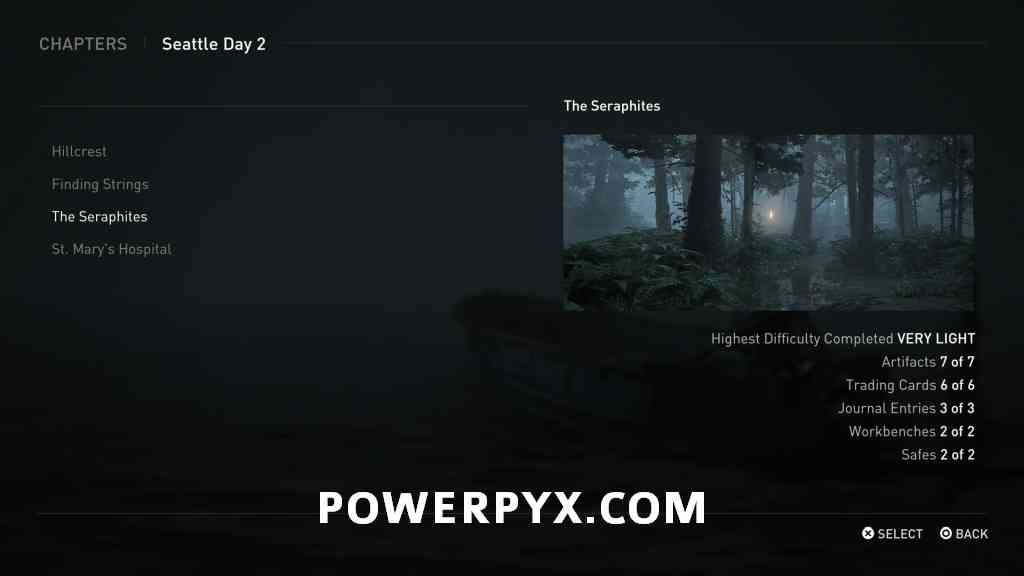
- Artifacts: 7
- Trading Cards: 6
- Journal Entries: 3
- Workbenches: 2
- Safes: 2
- Training Manuals: 1
#1 – Trading Card 1/6 – 0:05
#2 – Artifact 1/7 – 0:44
#3 – Journal Entry 1/3 – 1:42
#4 – Trading Card 2/6 – 2:03
#5 – Artifact 2/7 – 3:21
#6 – Artifact 3/7 – 3:32
#7 – Safe 1/2 – 4:32
#8 – Trading Card 3/6 – 5:04
#9 – Workbench 1/2 – 5:14
#10 – Training Manual: Explosives – 5:40
#11 – Artifact 4/7 – 6:13
#12 – Journal Entry 2/3 – 6:24
#13 – Trading Card 4/6 – 6:47
#14 – Journal Entry 3/3 – 7:27
#15 – Trading Card 5/6 – 7:53
#16 – Artifact 5/7 – 8:22
#17 – Trading Card 6/6 – 8:53
#18 – Artifact 6/7 – 9:39
#19 – Safe 2/2 – 9:50
#20 – Workbench 2/2 – 10:28
#21 – Artifact 7/7 – 10:41
#22 – Bonus Document (doesn’t count as Artifact) – 11:17
Chapter 19: St. Mary’s Hospital

- No Collectibles in this Chapter (there is an Artifact document in front of the first door you enter, but it doesn’t count as a Collectible).
Chapter 20: Road to the Aquarium
» Road to the Aquarium Collectibles Text Guide
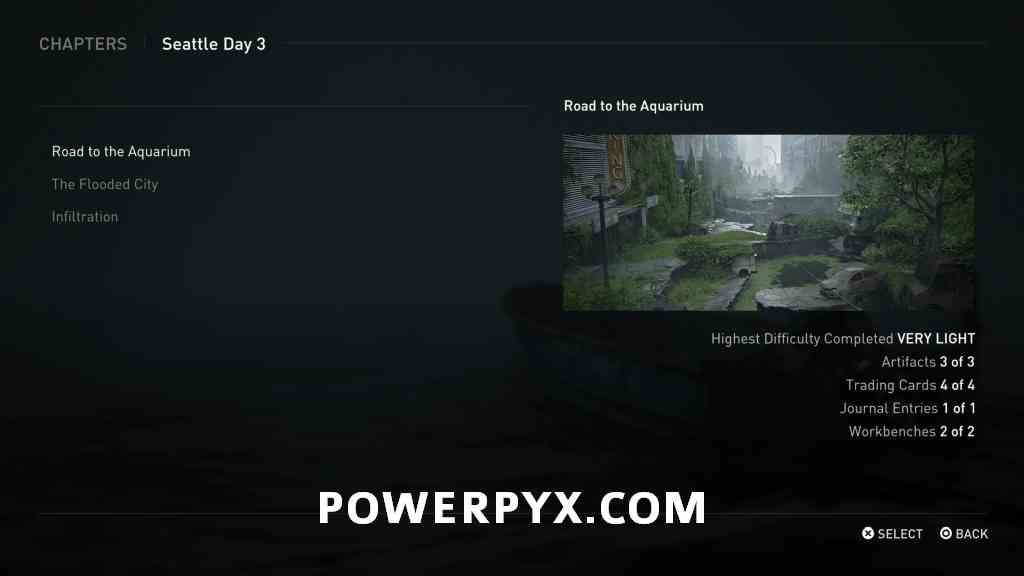
- Artifacts: 3
- Trading Cards: 4
- Journal Entries: 1
- Workbenches: 2
#1 – Trading Card 1/4 – 0:05
#2 – Trading Card 2/4 – 0:30
#3 – Workbench 1/2 – 1:02
#4 – Artifact 1/3 – 1:09
#5 – Trading Card 3/4 – 1:57
#6 – Artifact 2/3 – 2:35
#7 – Journal Entry 1/1 – 2:54
#8 – Artifact 3/3 – 3:07
#9 – Workbench 2/2 – 3:48
#10 – Trading Card 4/4 – 4:19
Chapter 21: The Flooded City
» The Flooded City Collectibles Text Guide
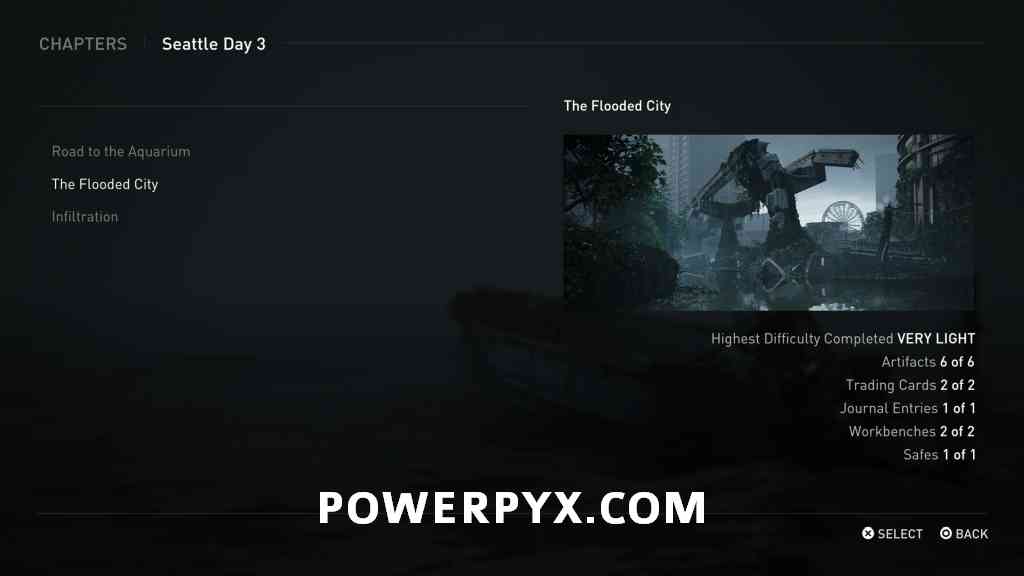
- Artifacts: 6
- Trading Cards: 2
- Journal Entries: 1
- Workbenches: 2
- Safes: 1
#1 – Trading Card 1/2 – 0:05
#2 – Journal Entry 1/1 – 0:48
#3 – Artifact 1/6 – 1:14
#4 – Safe 1/1 – 1:25
#5 – Workbench 1/2 – 2:18
#6 – Artifact 2/6 – 3:48
#7 – Artifact 3/6 – 4:26
#8 – Artifact 4/6 – 5:45
#9 – Artifact 5/6 – 6:46
#10 – Workbench 2/2 – 7:12
#11 – Trading Card 2/2 – 7:30
#12 – Artifact 6/6 – 8:46
Chapter 22: Infiltration
» Infiltration Collectibles Text Guide

- Journal Entries: 1
#1 – Journal Entry 1/1 – 0:05
Chapter 23: Tracking Lesson
» Tracking Lesson Collectibles Text Guide
![]()
- Artifacts: 3
- Coins: 1
#1 – Artifact 1/3 – 0:05
#2 – Artifact 2/3 – 0:05
#3 – Artifact 3/3 – 0:26
#4 – Coin 1/1 – 1:07
Chapter 24: The Stadium
» The Stadium Collectibles Text Guide

- Coins: 4
- Trophy: Sharpshooter
#1 – Coin 1/4 – 0:05
#2 – Coin 2/4 – 0:32
#3 – Coin 3/4 – 1:29
#4 – Coin 4/4 – 2:46
Chapter 25: On Foot
» The Foot Collectibles Text Guide

- Artifacts: 1
- Coins: 4
- Workbenches: 1
- Safes: 1
- Training Manual: 1
- Weapons: 1
#1 – Coin 1/4 – 0:05
#2 – Coin 2/4 – 0:23
#3 – Workbench 1/1 – 1:01
#4 – Coin 3/4 – 1:31
#5 – Training Manual: Covert Ops – 2:07
#6 – Coin 4/4 – 2:45
#7 – Artifact 1/1 – 3:10
#8 – Safe 1/1 – 3:18
#9 – Weapon: Hunting Pistol – 3:18
Chapter 26: The Forward Base
» The Forward Base Collectibles Text Guide

- Artifacts: 1
- Coins: 3
- Workbenches: 1
#1 – Coin 1/3 – 0:05
#2 – Coin 2/3 – 0:25
#3 – Workbench 1/1 – 1:13
#4 – Coin 3/3 – 1:30
#5 – Artifact 1/1 – 1:58
Chapter 27: The Aquarium

- No Collectibles in this Chapter (there are 3 documents scattered around the Aquarium, but they don’t count as a “Collectibles”).
Chapter 28: Hostile Territory
» Hostile Territory Collectibles Text Guide
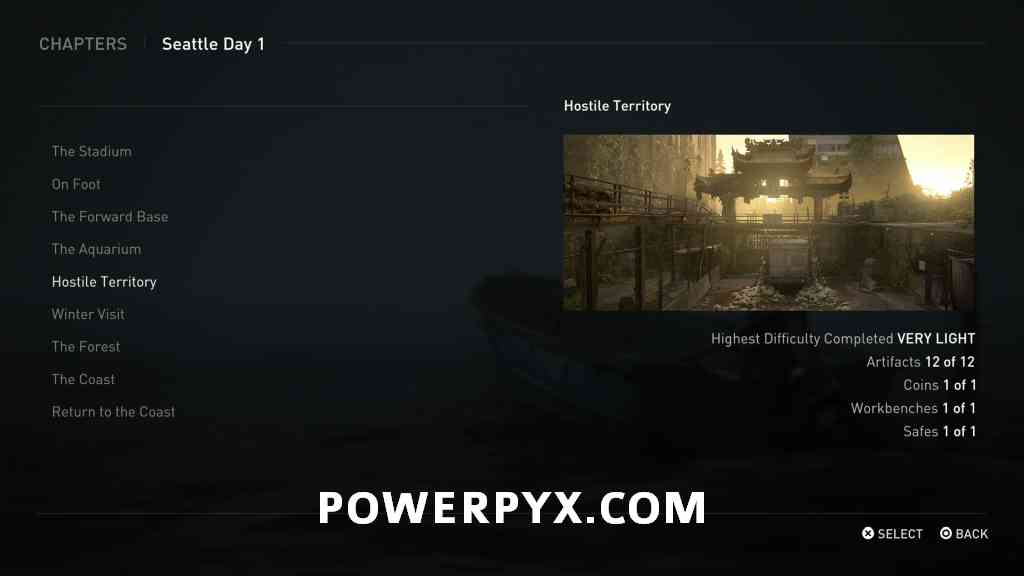
- Artifacts: 12
- Coins: 1
- Workbenches: 1
- Safes: 1
- Training Manuals: 1
- Weapons: 1
#1 – Bonus Document (doesn’t count as Colletible) – 0:05
#2 – Training Manual: Close Quarters – 0:56
#3 – Artifact 1/12 – 1:22
#4 – Coin 1/1 – 1:32
#5 – Safe 1/1 – 2:02
#6 – Artifact 2/12 – 2:47
#7 – Artifact 3/12 – 3:29
#8 – Artifact 4/12 – 3:46
#9 – Weapon: Double Barrel Shotgun – 4:00
#10 – Artifact 5/12 – 4:19
#11 – Artifact 6/12 – 4:55
#12 – Artifact 7/12 – 5:11
#13 – Artifact 8/12 – 5:21
#14 – Artifact 9/12 – 5:32
#15 – Artifact 10/12 – 5:46
#16 – Artifact 11/12 – 5:57
#17 – Upgrade: Gun Holster – 6:11
#18 – Artifact 12/12 – 6:29
#19 – Workbench 1/1 – 7:11
Chapter 29: Winter Visit

- No Collectibles in this Chapter
- You can earn Trophy “Put My Name Up” in this chapter (get more than 10 points during the bow minigame at the start of the chapter).
Chapter 30: The Forest
» The Forest Collectibles Text Guide
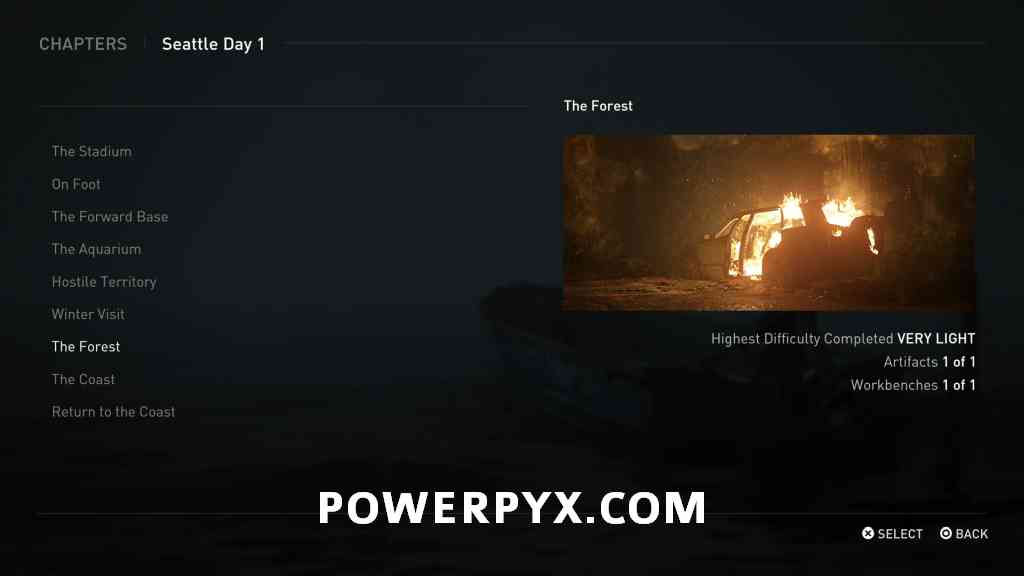
- Artifacts: 1
- Workbenches: 1
- Training Manuals: 1
#1 – Workbench 1/1 – 0:05
#2 – Training Manual: Firearms – 0:40
#3 – Artifact 1/1 – 1:00
Chapter 31: The Coast
» The Coast Collectibles Text Guide
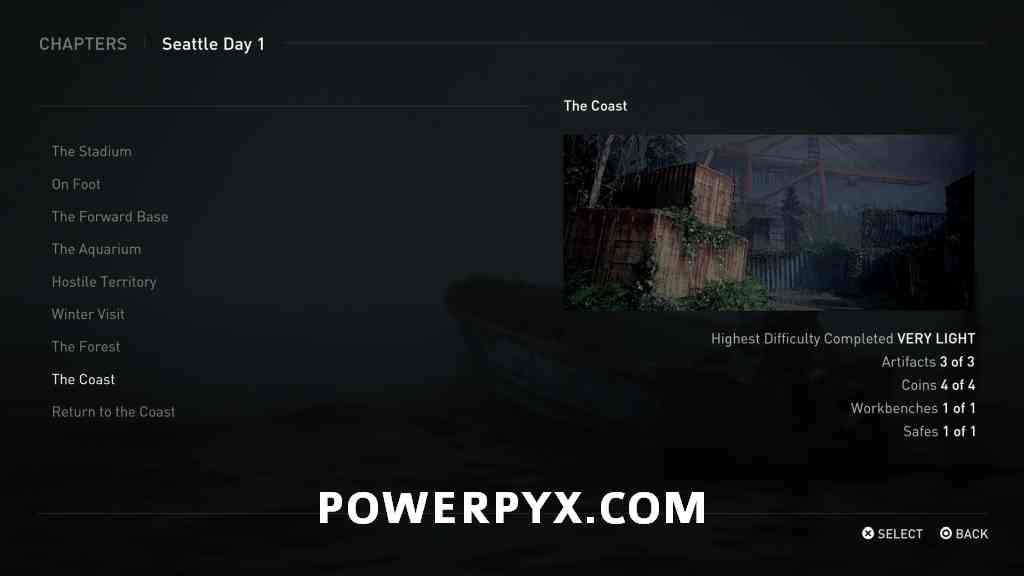
- Artifacts: 3
- Coins: 4
- Workbenches: 1
- Safes: 1
- Training Manuals: 1
- Weapons: 1
#1 – Workbench 1/1 – 0:05
#2 – Upgrade: Gun Holster – 0:34
#3 – Coin 1/4 – 0:59
#4 – Artifact 1/3 – 1:21
#5 – Weapon: Crossbow – 1:41
#6 – Artifact 2/3 – 2:12
#7 – Coin 2/4 – 2:32
#8 – Safe 1/1 – 2:54
#9 – Training Manual: Ordnance – 2:54
#10 – Artifact 3/3 – 4:05
#11 – Coin 3/4 – 4:39
#12 – Coin 4/4 – 4:57
Chapter 32: Return to the Coast

- No Collectibles / Supplements / Parts in this Chapter!
Chapter 33: The Shortcut
» The Shortcut Collectibles Text Guide
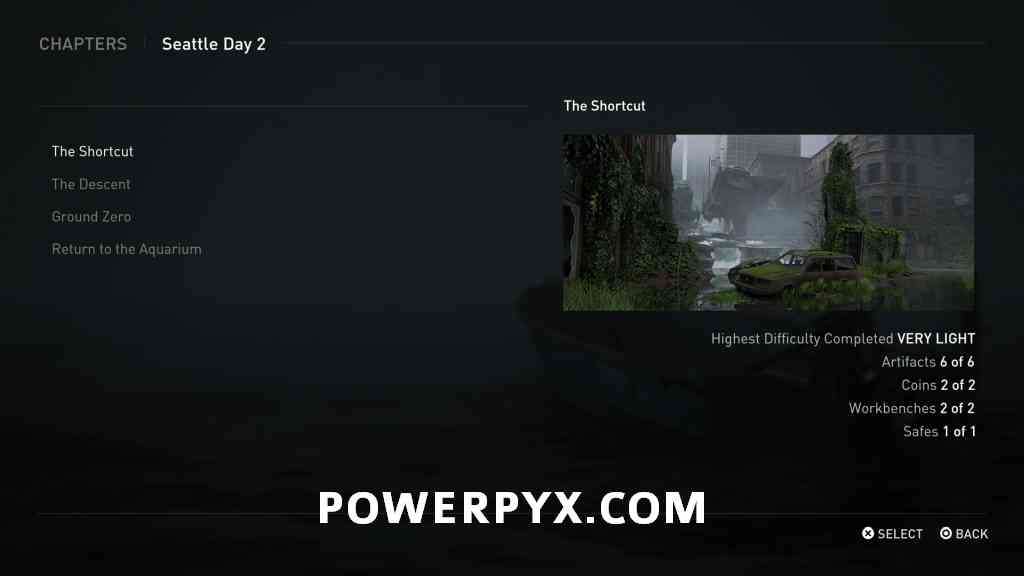
- Artifacts: 6
- Coins: 2
- Workbenches: 2
- Safes: 1
#1 – Artifact 1/6 – 0:05
#2 – Coin 1/2 – 0:29
#3 – Artifact 2/6 – 0:56
#4 – Artifactz 3/6 – 1:24
#5 – Safe 1/1 – 1:43
#6 – Artifact 4/6 – 2:17
#7 – Workbench 1/2 – 2:36
#8 – Coin 2/2 – 2:49
#9 – Artifact 5/6 – 3:18
#10 – Workbench 2/2 – 3:45
#11 – Artifact 6/6 – 4:06
Chapter 34: The Descent
» The Descent Collectibles Text Guide

- Artifacts: 3
- Coins: 5
- Safes: 1
- Weapons: 1
#1 – Coin 1/5 – 0:05
#2 – Artifact 1/3 – 0:31
#3 – Safe 1/1 – 1:10
#4 – Artifact 2/3 – 1:50
#5 – Artifact 3/3 – 2:30
#6 – Weapon: Flamethrower – 2:56
#7 – Coin 2/5 – 3:23
#8 – Coin 3/5 – 4:06
#9 – Coin 4/5 – 4:42
#10 – Coin 5/5 – 5:18
Chapter 35: Ground Zero
» Ground Zero Collectibles Text Guide
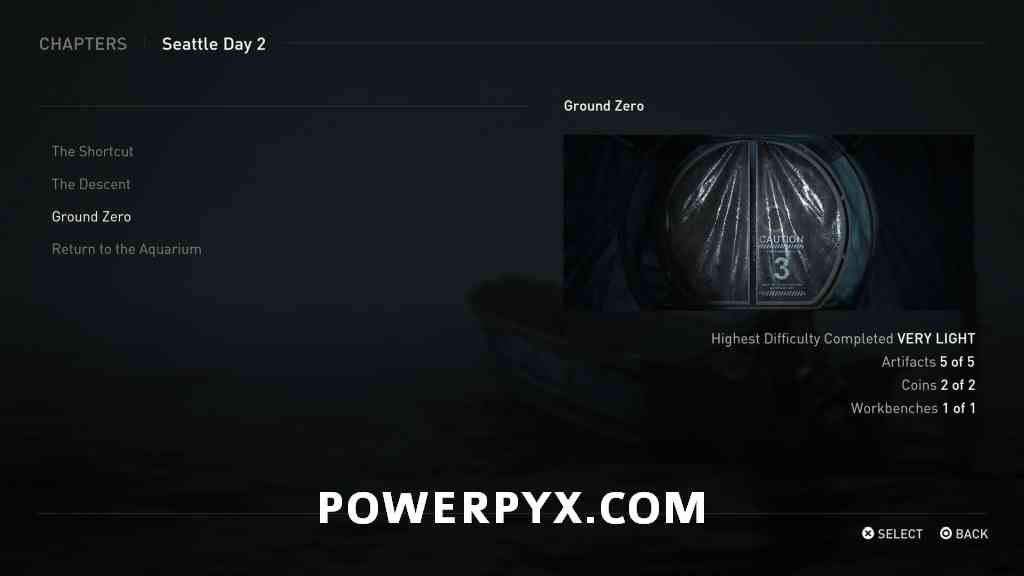
- Artifacts: 5
- Coins: 2
- Workbenches: 1
#1 – Coin 1/2 – 0:05
#2 – Artifact 1/5 – 0:28
#3 – Artifact 2/5 – 1:04
#4 – Artifact 3/5 – 1:34
#5 – Artifact 4/5 – 1:51
#6 – Artifact 5/5 – 2:40
#7 – Workbench 1/1 – 3:08
#8 – Coin 2/2 – 3:25
Chapter 36: Return to the Aquarium

- No Collectibles / Supplements / Parts in this Chapter!
Chapter 37: The Marina
» The Marina Collectibles Text Guide

- Artifacts: 1
- Coins: 2
#1 – Coin 1/2 – 0:05
#2 – Coin 2/2 – 0:34
#3 – Artifact 1/1 – 0:54
Chapter 38: The Island
» The Island Collectibles Text Guide
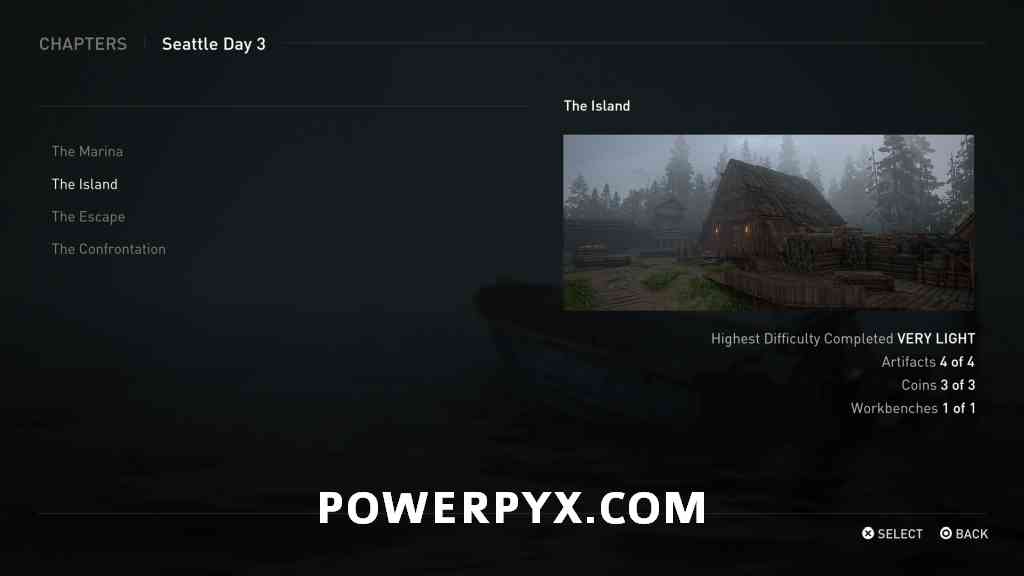
- Artifacts: 4
- Coins: 3
- Workbenches: 1
#1 – Coin 1/3 – 0:05
#2 – Artifact 1/4 – 0:32
#3 – Coin 2/3 – 0:47
#4 – Artifact 2/4 – 1:27
#5 – Coin 3/3 – 2:06
#6 – Artifact 3/4 – 2:33
#7 – Artifact 4/4 – 2:56
#8 – Workbench 1/1 – 3:16
Chapter 39: The Escape
» The Escape Collectibles Text Guide
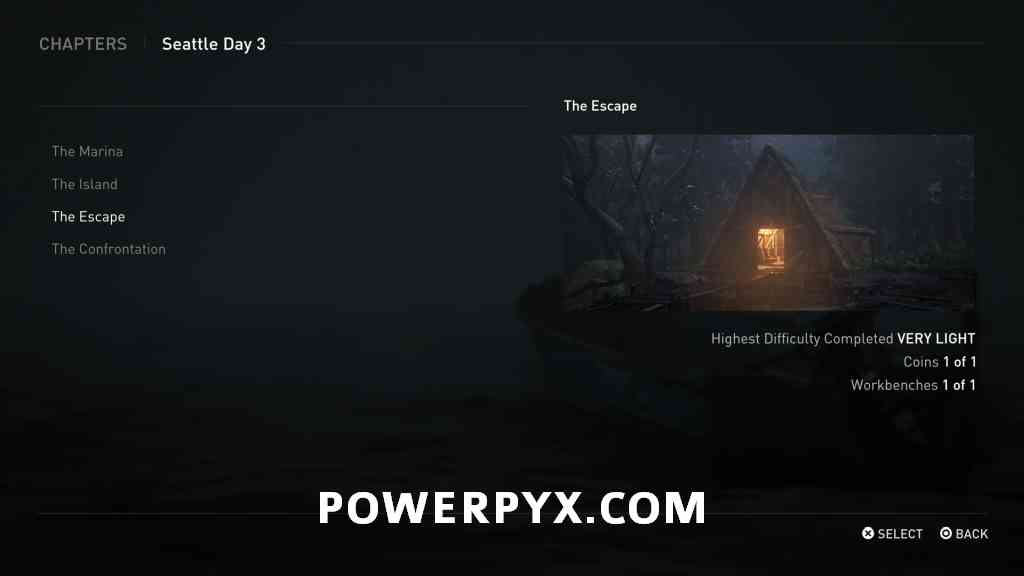
- Coins: 1
- Workbenches: 1
#1 – Coin 1/1 – 0:05
#2 – Workbench 1/1 – 0:39
Chapter 40: The Confrontation

- No Collectibles / Supplements / Parts in this Chapter!
Chapter 41: The Farm

- No Collectibles / Supplements / Parts in this Chapter!
Chapter 42: 2425 Constance
» 2425 Constance Collectibles Text Guide

- Artifacts: 1
#1 – Artifact 1/1 – 0:05
Chapter 43: Pushing Inland
» Pushing Inland Collectibles Text Guide

- Artifacts: 3
- Trading Cards: 1
- Journal Entries: 1
- Workbenches: 1
#1 – Artifact 1/3 – 0:05
#2 – Artifact 2/3 – 0:19
#3 – Trading Card 1/1 – 0:58
#4 – Artifact 3/3 – 1:19
#5 – Workbench 1/1 – 1:46
#6 – Journal Entry 1/1 – 1:58
Chapter 44: The Resort
» The Resort Collectibles Text Guide
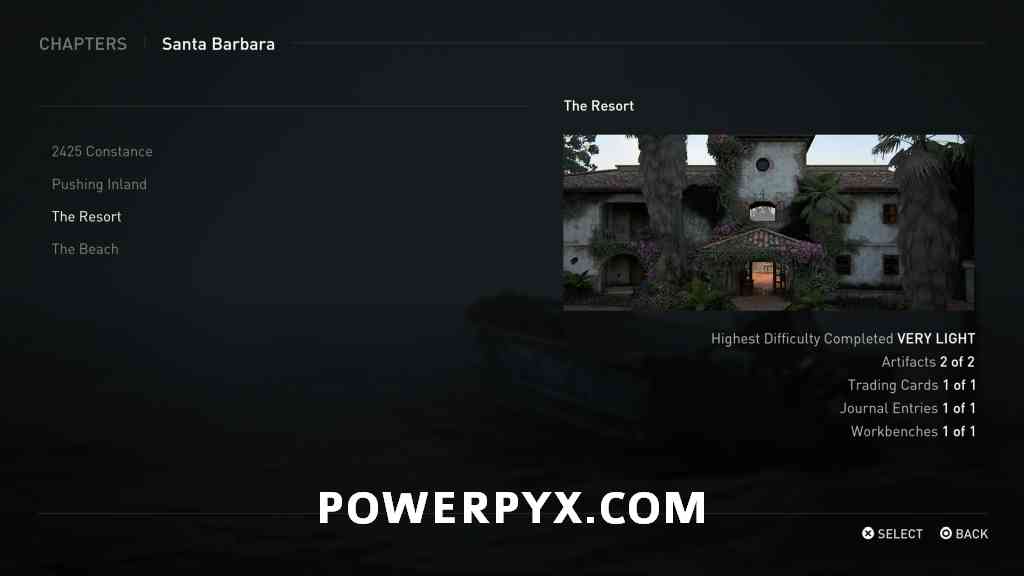
- Artifacts: 2
- Trading Cards: 1
- Journal Entries: 1
- Workbenches: 1
- Weapons: 1
#1 – Weapon: Silenced Submachine Gun – 0:05
#2 – Journal Entry 1/1 – 0:23
#3 – Artifact 1/2 – 1:01
#4 – Workbench 1/1 – 1:36
#5 – Trading Card 1/1 – 1:56
#6 – Artifact 2/2 – 2:12
Chapter 45: The Beach

- No Collectibles / Supplements / Parts in this Chapter!
Special Thanks / Credits: Massive thanks to the following people for sending tips and helping with the search – dalailama1989, DK, NicoFantasy, LiquifySolid.
JL says
Great as always PowerPyx! Definitely following this on first playthrough.
Andrea says
Hello, I’d like to try to get all the collectibles in the first run without a guide, and I read about the accessibility options to highlight them with R1 + circle. Is that enough for finding them all or are there difficult ones which makes useless this method?
PowerPyx says
Some of the ones in large open-worldish chapters can still be easy to overlook. I also encountered a few collectibles that wouldn’t get marked with the +
+  trick (particularly the last few in Chapter 8 come to mind).
Anthoogle says
Great guide, but is something missing? Parts and supplements are not in this guide?
PowerPyx says
Not sure what you mean, they are all here. Click the chapter pages 🙂
Dogga says
I’m with you. Parts and supplements are not in the videos.
It’s in the individual pages in the text only but definetly not in the videos for all in one.
Amazing work with the rest though. Always very helpful
PowerPyx says
The parts & supplements are exclusive for the text guide.
The videos show the “real” collectibles only (technically, parts and supplements don’t count as collectibles in chapter select). The parts and supplements don’t have any tracker, it’s too risky to miss some in the video and would turn it from 286 collectible locations into 500+. In text that’s easy to update but on video it would require reuploading videos each time. I also think most people will just want to see the actual collectibles in the video, the parts and supplements would make it too long. In text you can easily skip over them but on video it would be annoying to jump around the timeline or watch hours of extra stuff. There are also infinite parts as you can keep replaying the game as often as you want to get upgrades and it’s really easy to find enough in 2 playthroughs. For all the above reasons, the compromise I came up with was to keep videos related to the collectibles only, but include them in the texts as a compromise. This way people can choose what’s better for them.
If you just follow the videos, you can A) use the text guide in conjuction, or B) don’t worry about the parts / supplements – you only need to find around 30% of them on the 1st playthrough and you’re good. You can’t fully upgrade everything in one playthrough anyway. Then on 2nd run in New Game+ you can follow the dedicated supplements & parts guide and just go for those.
4ipuxa says
All collectibles in one video. Please and thank you for your work.
We all appreciate it.
Floyd_2020 says
Will there be an alternative collectibles text guide later like you did one for Resident Evil 3? I still can’t get used to the idea of replaying of what someone else has played.
PowerPyx says
Click on the linked chapters for the text guides to each chapter 🙂
The text guides are all linked here and completely done.
Kaikyuu says
Awesome guide, I’m having a problem after getting the collectibles in chapter 2 and loading my current save file the cards nor the artefact appear in my current collectibles page, what am I doing wrong do I need to save the chapter select game file so it updates on my current save file?
vasyndrom says
Great guide as always but but it looks like you omitted survival guide (stealth one) in chapter nine in serevena hotel. It’s just before artifact 18 (collectible no 32) on the bedside chest drawer in adjoining room where last 2 collectibles are found.
PowerPyx says
It’s only there if you have the pre-order DLC that gives you an extra Training Manual. It’s not there without the Pre-Order DLC. In the video I will pick up the Stealth Manual in Chapter 11 instead 🙂
KennethNielsen says
Hey, Is it wise to go back to between chapter 1 – 3 before i have completed the Story? Because i missed a bit collectibles.
I don’t want to F**k myself over.
Should i wait til stoey is over or can i do it now? Im at chapter 20 right now.
Hmanj says
I can’t pick up the oozer trading card. It’s on the rooftop, but i cant press triangle to pick it up.
PowerPyx says
This sounds like a bug. Try restarting the chapter. To do so, open the Pause Menu, Quit to Main Menu, go to Chapter Select, replay the Chapter. I’ve also had a few similar bugs and Chapter Select always fixed it for me.
Hmanj says
Restarted the chapter. Still the same. It’s there but can’t pick it up.
Joshua says
Hi PowerPyx, Great guide!!
You have probably answered this question in some way or another.
I have entered the hotel (Seattle) and rather than going into the room on the left for 2 collectibles, I have accidentally gone into the room on the right, thus triggering a cut scene and eventually locking me out of that room.
What would be the right way to tackle this? Should I save, go to chapter select, select Seattle, and go JUST for the 2 collectibles I missed, quit, and then reload my previous save in which I had collected all but the 2?
Thank you again for all that you do.
PowerPyx says
There are 2 Options 🙂
1) Make a Manual Save of your current progress. Quit to Main Menu, use Chapter Select to get missing 2 Collectibles, reload your Manual Save. The reloading of Save is to get your parts & supplements back (since you’ll skip them during chapter replay).
2) Get the missing 2 collectibles during New Game+ run.
I would recommend getting those missing collectibles in NG+ to minimize replays.
Joshua says
Tried reloading the first (main) manual save after collecting the missing 2 from chapter select.
Can confirm it does not carry over unfortunately.
I_Am_Dan says
I’m currently on my collectable run-through and have come across a bug with the trading card “Beyond”.
When I pick this card up in chapter select(Theatre) and go back to menu, it shows 1 out of 2 cards for Theatre. I load my completed save and the counter still shows 1 out of 2.
I’ve loaded back in to retry multiple times and the same thing continues to happen.
Is anybody else having this issue?
Cyber says
I did not manual save before finishing the game, Is selecting the last chapter and doing a manual save there will do the trick? or I screwed up?
PowerPyx says
You can use Chapter Select (Chapter 45: Beach) to make the Manual Save.
Cyber says
Thank you so much! Much appreciate your content. <3.
Kaikyuu says
The trophy is bugged, I got all the collectibles and didn’t get the trophy. What can I do? In chapter select everything is 100%, I got all other trophies saves, manuals, coins, trading cards, etc everything except archivist, why?
Slayer3k says
Just a little hint for people with no manual save… You can also just re-visit every chapter backwards, that way you don’t have to worry about loosing all progress for the chapter-select.
PowerPyx says
Or just load up the Beach Chapter via Chapter Select and make a Manual Save there 🙂
Ali says
Can we all fucking appreciate how awesome this person is? Thank you for your amazing hard work.
LBoerner says
Upgrading the late game weapons first is an essential information. Gotta play the entire thing again bc I don’t upgrade the final weapon in the game and I’m already in Chapter 8 of NG+…please add this at the beginning of this guide. Otherwise great as always man.
xxx says
You get all your weapons without having to search for them again..
Lan says
Can’t manual save when completing the game instead of chapter 45? The game lets you save game upon completion. Thx.
Lieko says
Tip: Find your missing collectibles backwards, so you don’t need to load the final chapter everytime.
RamboSi says
This was a great idea. Thanks!! However, the last artifact glitched on me!! No trophy!!
RagnarsDisciple says
Any plans to convert this to a written guide?
PowerPyx says
Click the links to each chapter. There are written guides for each chapter ;)
Floyd_2020 says
Hi,
using your text guide as always and it’s fabulous as always, thx a lot.
Be that as it may I think you overlooked that Chapter 29: Return to the Coast features a workbench. Near the end of chapter in the container area after the fight against the scars where you are forced to pass a narrow garage, it stands there.
So I don’t know if it’s important, since it’s unmissable and I don’t know if it counts towards Platinum since I already got “Prepared For The Worst”, but I still think it’s worth to be mentioned.
PowerPyx says
Hey 🙂
Return to the Coast is actually Chapter 32, not 29.
The workbench you mention was already shown one chapter earlier in Chapter 31: The Coast. It’s the exact same one, you just backtrack through the container area and garage. In the Chapter 31 video it’s the workbench at 0:21.
It only counts in Chapter 31, however. There’s also a note in the Chapter 31 text guide informing of this duplicate bench, no need to get it again (only counts once in Chapter 31 where it’s shown in the guide).
RamboSi says
Hi, is there a way to track which actual collecible I need to get? As I see the list in chapter select but when I load the chapter they obviously aren’t in my backpack. Even though I know I’ve already collected them. So I’m having to go through the chapter and collect everything again to make sure.
Thanks.
I’m using my manual save from the Beach too.
kratos says
Would like to know this as well. One way I can think of is playing NG+.
Gotrek Fabian says
Yes but only per chapter. When you have finished the game you can see how many collectibles you require of each type by viewing the chapter select menu.
I guess that you could cross-check which collectibles you have against the list but that could be quite tedious.
Darran Hewlett says
They don’t show in your inventory on chapter select but if you find a collectable before you pick it up there is a small tick on it if you have already collected it
Leonardo Miguel says
How reloading the manual saving don’t override the item picked up previously? Is there a separate user save file that keeps the collectibles?
Amazing guide!
Dylan Richmond says
Hey, thanks for the awesome guide, I have found a trophy bug in regards to the journeyman trophy. I’ve got all 10 training manuals, but the trophy isn’t popping up on my account. Just wondering if anyone else has experienced this problem and if I am able to fix this bug.
RamboSi says
Goddamn glitched on my last artifact!! Trophy didn’t pop!! Now what? Anyone else had this happen?
Mehdium says
Why don’t you just finish the game, and start by collecting everything backwards from the last chapter to the very first, this will only lock the chapter you just cleared and so on. You win some precious Load/QuitMenu lost time.
PowerPyx says
Sure, that works too, you can replay the chapters in any order. Either way you should make a backup save though :p
Ryan Brimhall says
I missed the sharp shooter trophy so I replayed the chapter via chapter select. Then 3 hours later I realized I didn’t revert back to my original save and had been playing on my chapter select save. Does all of my previous weapon and character upgrades save with my play through or do they reset each time you play chapter select? It makes more sense that it saves up to each chapter but I am away from my game to check.
Geoffrey Baumgartner says
Did you find an answer to this?
I did the exact same thing and now I’m at the chapter The Descent with Abby and it says I’ve only been playing for 6 hours. I got the trophy for the final safe, and the collectibles are there still, but are all of Ellie’s weapon and skill upgrades going to be gone in new game plus?
I noticed the game made an autosave backup at The Stadium, so I’m wondering whether to start over from there or am I good to keep going and not lose Ellie’s stuff?
D-007 says
Well, first of all, thanks a lot for that awesome guide.
However, I did collect every single collectible, including coins, but the Numismatist trophy for getting them all glitched on me. Missed two coins from my first playthrough, got them via chapter select but no trophy.
That was the last trophy before the platinum 🙁
Wendy says
Hi, I’m sure you’ve mentioned it somewhere in your guides (I try not to use them unless I get stuck…and you’re a savior when this happens!) but you do not need combinations to open safes. If you turn your volume up, the is a distinct, higher pitched “click” when you’ve selected the correct number. Do this for each number & the safe will open.
Dave says
Thanks for the guide ;)
Just a few remarks, to avoid making the same mistakes as I did + advices :
– grab yourself a cheap-ass usb3 pen, and at the end, before starting a 2nd playthrough or ng+, copy all your files, ps4 hd–> usb3 pen
You never know… and wouldn’t want to lose those 30-40 hours
– make a save file once every hour… or 20 minutes (use 3 or 4 save files… save slot 1… then, slot 2…3…4… and back to slot 1). There were times, where I opened a door… and a cgi sequence started,… and i could no longer access to some stuff (eg, the beginning, ellie and dina, snow level, at a store… almost missed the safe, this way)
– don’t forget, on ng+, you will need to upgrade Ellie SUPPLEMENTS AND PARTS… and also Abby SUPPLEMENTS AND PARTS. Which means you will have to play at least 50% of the game with Ellie, + a few extra chapters WITH ABBY.
Currently I’m on my ng+, heading to the tv station with Ellie.
– I took 60 hours on survivor difficulty, but I tried to find as many collectibles as I could. It may look a lot, but at the end, I was only missing 3 or 4 cards, 2 or 3 coins, 1 safe and 1 worldbench.
– on ng+, pick the easiest difficulty: you will find many more parts and supplements, much faster.
– if you are playing the chapters, for the collectibles, check the videos and the exact location, and run, run, run…. and avoid all combats and encounters… those make you spend a ton of time.
Dan says
Brilliant guide as usual. One question I did have. Sorry if I’m missed the answer. But I did miss one of the training Manuals. When I go back on chapter select collect the manual then quit and reload the last save then select whatever chapter is needed next I am still missing that manual. More concerned about the new game plus upgrading everything if missing a manual
Adam says
This does not work.
Getting the missed collectibles through chapter select accomplishes nothing. It’s all overwritten and erased once I load my last manual save again. What gives? What’s the point?
PowerPyx says
They are stored in your profile save, nothing gets deleted when reloading the Manual Save. Check chapter select (after reloading the manual save), the new-found Collectibles will be added there.
Geoffrey Baumgartner says
Like another commenter, I restarted The Stadium to get the Sharpshooter trophy and didn’t go back to my original save. I’m now at The Descent and it says I’m only 6 hours in. It made an autosave backup at the stadium 25 hours in, I don’t know if I should go back or not, because I’m worried about losing all of Ellie’s weapon and skill upgrades. It still says I’ve got all the collectibles and everything else from earlier…
What to do? Thanks in advance!
castle says
hi i do not know you but i want to thank you for your hard work. this makes getting the plat so much easier 🙂
Frankie says
Thank you for taking the time to make this guide. It’s greatly appreciated.
Dzvezdan says
I collected all of the trading cards via chapter select and my trophy didn’t unlock. Please respond.
Tesl says
I have a bug with Archivist… I did chapter 3 the flooded city close to 100 times, I collected everything, worked closely with a guide. Still says 5/6 certificates and the trophy never popped. This is really frustrating.
John says
I’ve played through the game twice collecting them twice but the game still says I’m missing a journal entry in Jackson. I tried getting it via chapter select as well, but it still won’t count.
John says
Never mind. I was missing the first journal entry where Ellie and Dina look over the balcony. You can press Triangle to have a conversation with Dina. I thought this was collectible. You must go near the balcony again to collect the journal entry. I feel stupid. lol
Matthew Kirby says
What about the collectibles you already have!? When you go through each section will you have to recollect each or what?
Spyx says
Hello! I’m really sorry if this has been asked before or it’s mentioned somewhere, but let me still ask this as I’m currently on a plat run:
It’s about bout the safes and workbenches.
If I were to miss like…1-2 safes or workbenches, do I have to replay the whole game again to find all workbenches/missing safes? since I can’t see WHICH workbench or safe I’ve missed…it’s not the same like if you look at chapters you can see which items you’re missing.