
Watch Dogs Legion has 6 Photograph Evidence locations. This guide shows how to complete these oppression challenges (borough activities). They are marked by red icons on the map. Completing all of the red activities in a borough / district is required to liberate it for the Take Back London trophy or achievement. Each of these you increase the DedSec support in the borough. This in turn makes people easier to recruit. When a district becomes defiant it also marks all Tech Points on the map and unlocks a unique Skilled Recruit.
It’s highly recommended you play as a Construction Worker. You recruit one automatically early in the story during “Reporting for Duty”. The Construction Worker’s Cargo Drone allows you to fly everywhere and get to hard-to-reach places with ease. Simply select it from the item wheel, hijack it, park it on the street, climb on it and fly up.
This guide includes both the “Photograph Evidence” and the “Collect Evidence” activities. The Photograph Evidences require you to take a picture (either yourself or with a news drone) and the Collect Evidences require you to physically pick up something (either yourself or with spiderbot).
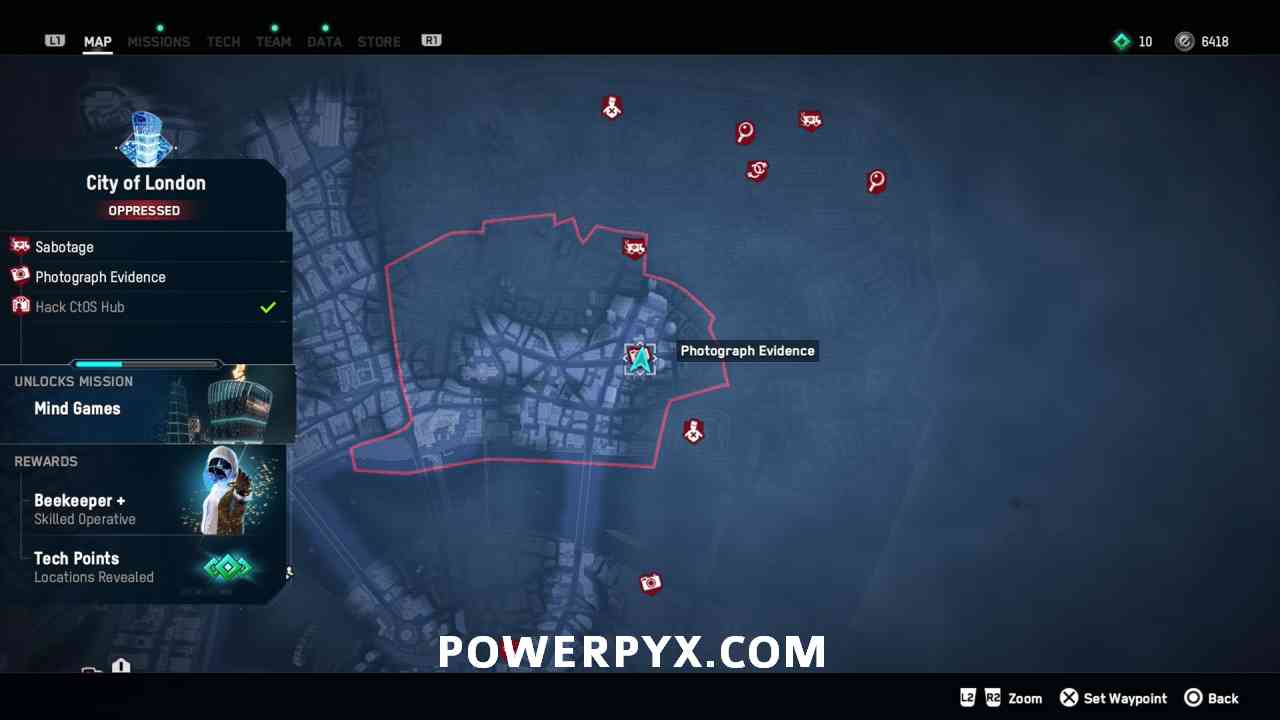
Photograph Evidence #1 – City of London
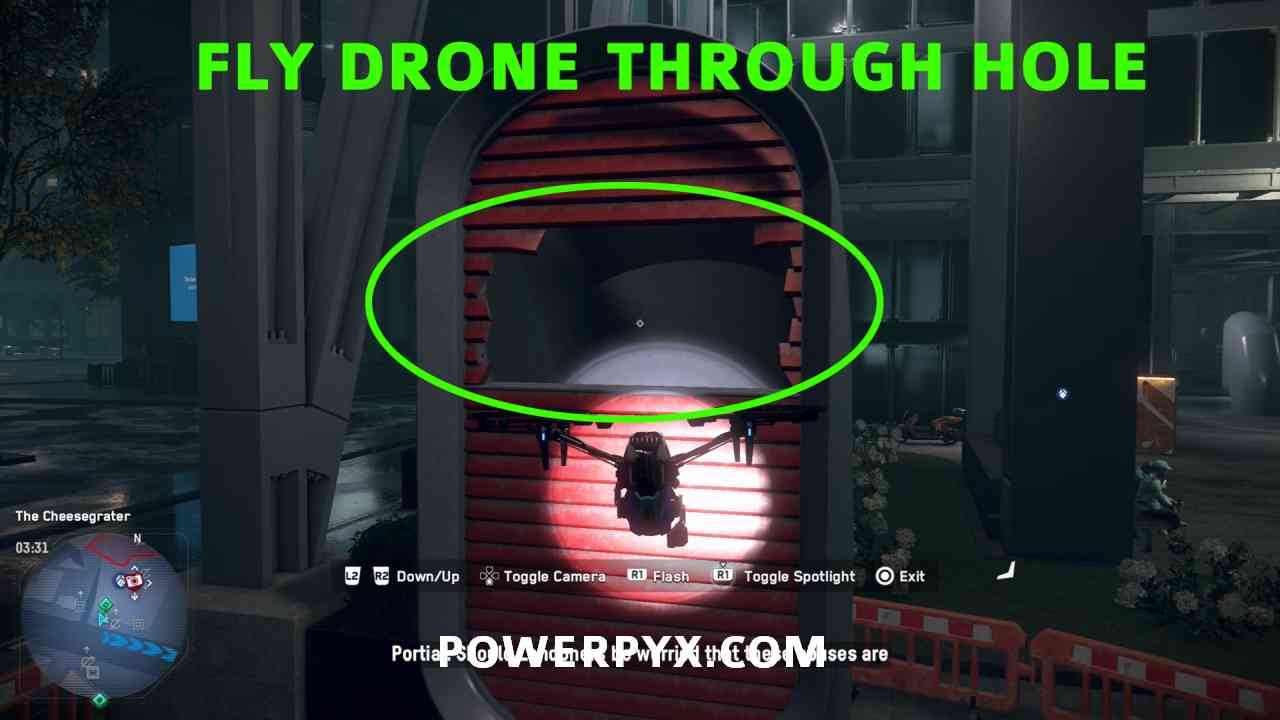
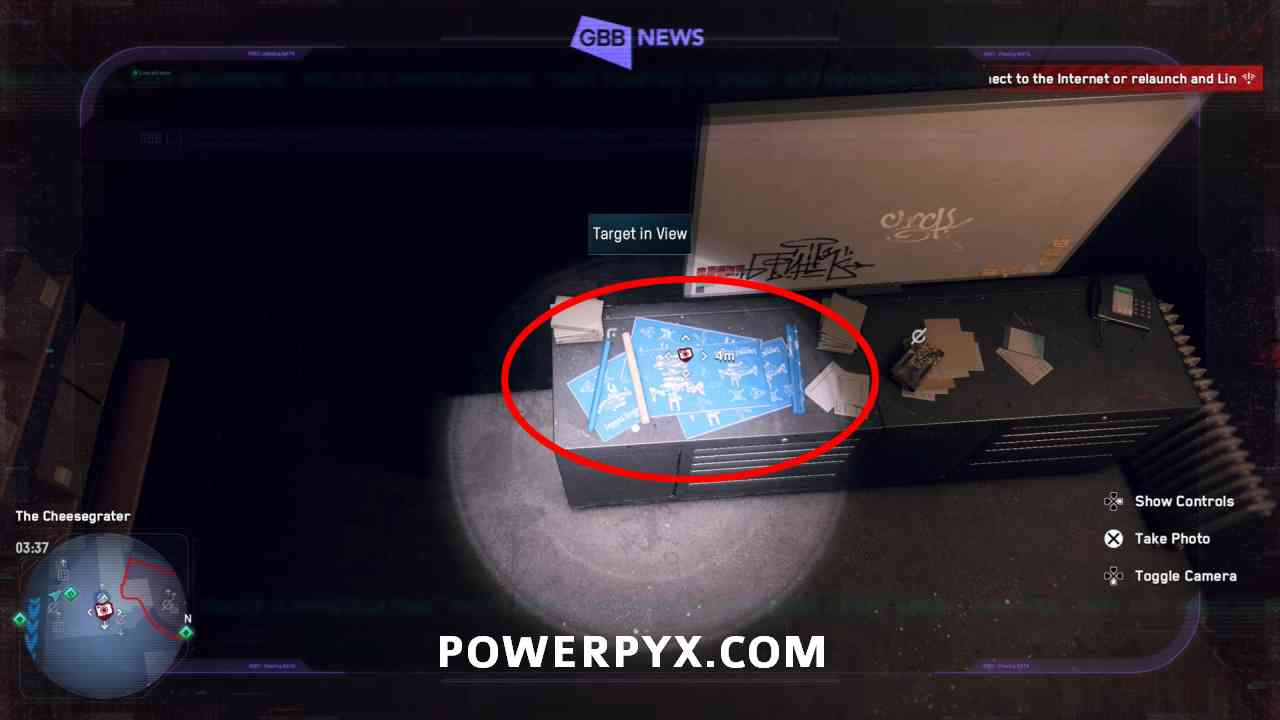
Go to the red Photograph Evidence marker on the map you will find 2 Journalists standing next to each other by a white news van. Next to the journalists is a News Drone (Screenshot #2). Hijack it and directly where the news drone is (behind the 2 journalists) there’s some red wooden planks on the side of a pod-like structure. There’s a hole between the red wooden planks. You can fly through it with your drone (Screenshot #3). This leads you to a very dark underground tunnel. Luckily, your drone has a flashlight on it. Navigate through the tunnel. You will reach a room with the evidence to take a picture of. You must press  to toggle the camera.

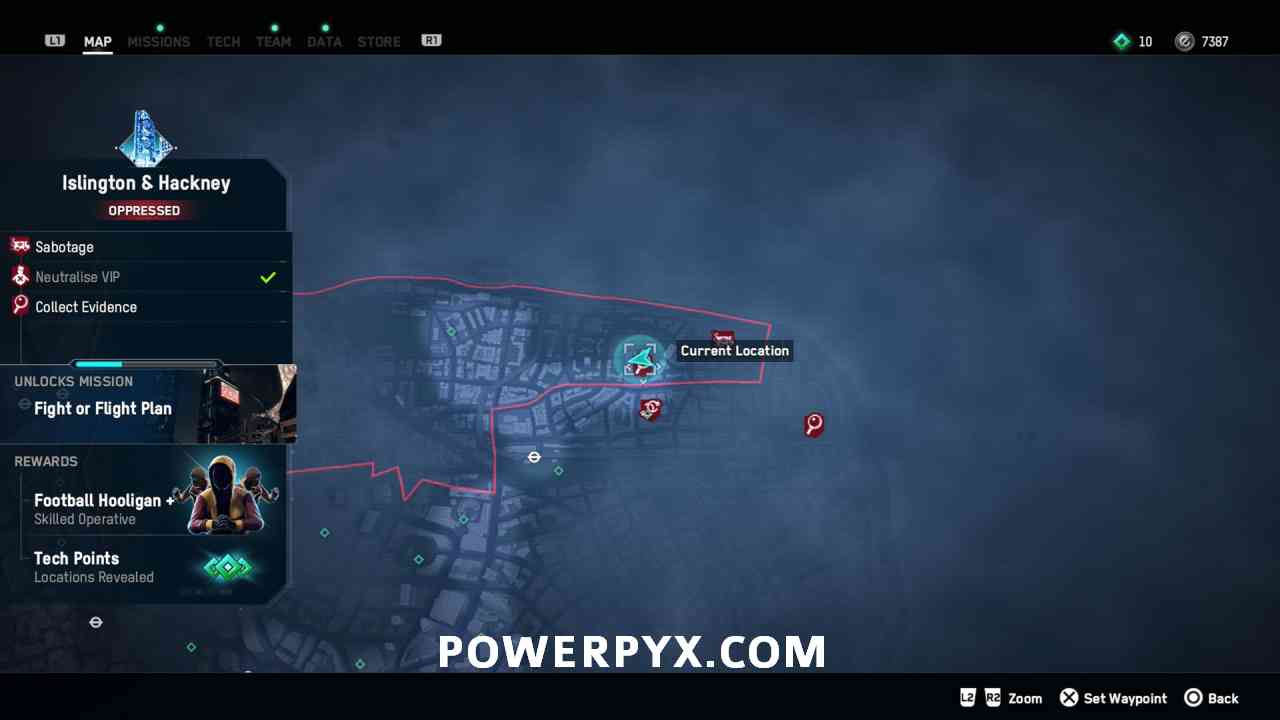
Collect Evidence #2 – Islington & Hackney
The evidence is inside a garage but it’s blocked by some wood with a red “X” on it. Climb on the roof of the garage (via the garden in the back) to find a Cargo Drone pad. Call in a Cargo Drone and pick up the explosive containers in the garden behind the garage (Screenshot #2). Then drop the explosive near the wooden barricade (marked by a red X) at the garage entrance. This will blow up the barricade and you can now enter the garage.


Collect Evidence #3 – Tower Hamlets
Go to the graveyard north of the challenge icon (a hostile area) and find a tall white tower in the middle (Screenshot #2). It’s best you clear out the enemies in the graveyard first. At the tall white tower you can summon a spiderbot. There’s a vent at the foot of the tall white tower that your spiderbot can crawl through (Screenshot #2/#3). It leads underground to a tunnel section. Follow the tunnels all the way to the end to reach a laptop with the evidence for pickup. Avoid the water along the way, if your spiderbot falls in it will be destroyed but you can summon a new one any time.


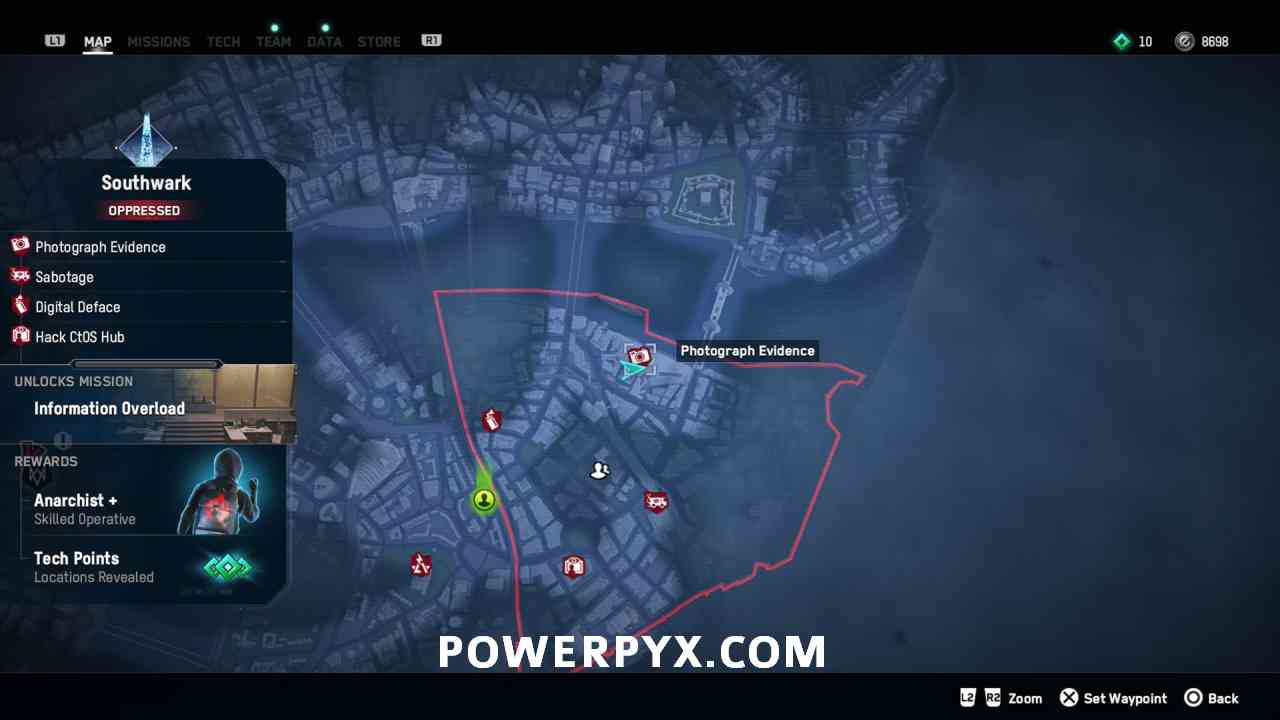
Photograph Evidence #4 – Southwark
There are two ways to complete this (be sure you have a spiderbot equipped in your gadgets). The first method is to enter the hostile area where the marker for the Photograph Evidence is. In the lobby you can hack a datapad (Screenshot #2). Then go to the photograph evidence, summon a spiderbot, run it through the floor vent and open the door from the other side (Screenshot #3 – requires the hacked datapad from lobby). The second way is to come from the marina/harbor, it has a side tunnel that connects to the hostile area and you can also use a spiderbot here to interact with a circuit box and open the doors that way. Regardless of what method you pick, once you’re in the room with the photo evidence hold  to open your item wheel and press
  (PlayStation) /
  (Xbox) to take a picture.


Photograph Evidence #5 – Lambeth
This Evidence location is on the top floor of the restricted area “Albian Station Kennington”. Either fly up there with your Construction Worker’s Cargo Drone or climb up. At the back of the rooftop (south-side) you can walk through a red security laser and enter an office. Here open your item wheel and press (PlayStation) / (Xbox) to photograph the evidence on the large screen.


Photograph Evidence #6 – Nine Elms
This Photograph Evidence Location is in the hostile area “Parcel Fox Distribution Center”. The easiest method is to enter the building from the south-west (bottom left) corner. There’s a floor vent you can put a spiderbot through (Screenshot #2). Then use the spiderbot to interact with the circuit box in the evidence room, thus opening the door to it (Screenshot #3). The 2nd method is to hijack the camera in the evidence room, download the password from the laptop, and use the password to open the door. Regardless of your method, once inside the evidence room press to open the item wheel and (PlayStation) / (Xbox) to take the photo.


That’s all of the Photograph Evidence solutions in Watch Dogs Legion to liberate the different boroughs / districts.
For all other Red Icon Challenges, refer to this complete Watch Dogs Legion All Oppression Defiance Challenges Guide (Red Map Icons).
For other Collectibles check out the Watch Dogs Legion Wiki & Strategy Guide.
Leave a Reply