Stride on Rainbows, Split the Waves is a World Quest in Genshin Impact. This walkthrough will guide you through all objectives of the Stride on Rainbows, Split the Waves World Quest.
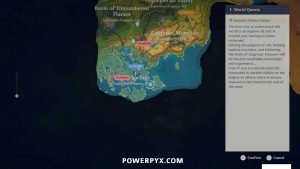
Stride on Rainbows, Split the Waves begins after talking to Rongo in the Ameyalco Waters.
Region: Natlan
Area: Ameyalco Waters
Quest Giver: Rongo
Requirement: Automatically available when you reach the Natlan region
Recommended Level: 45
Reward: 300 Adventure EXP, 40 Primogems, 30,000 Mora, 2 Hero’s Wit, 3 Mystic Enhancement Ore; *If you are Adventure Rank 60, you do not get Adventure EXP. Instead, you receive 3,000 extra Mora.
Mission Description: Help Rongo create a training ground for surfing
Objectives:
- Talk to Rongo
- Help Rongo chase the Flowcurrent Birds away (6)
- Particles collected (25)
- Look around nearby for a way to repair the Spiritdoors
- Talk to Rongo
- Wait until the following day
- Check on the Great Training Arena of the Springs
- Complete the Spiritway Test
Starting Location: Ameyalco Waters
Find Rongo standing by the dock on the easternmost island of the Toyac Springs region.
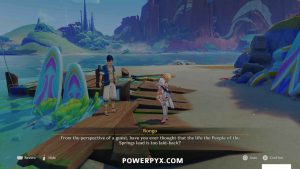
Talk to Rongo
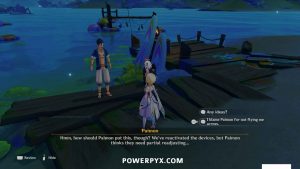
Rongo hates that the People of the Springs are known more for relaxing than combat. So, he asks you to help him put together a training grounds for surfing.
Help Rongo chase the Flowcurrent Birds away (6)
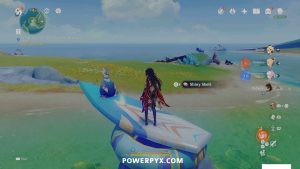
Flowcurrent Bird #1: Before leaving Rongo, look west to see a Flowcurrent Bird sitting on a surfboard on top of a rock.
Attack it until it falls off the board. Don’t worry, you cannot kill these birds this way.
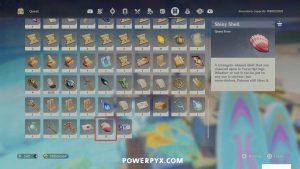
While you’re up here, pick up the Shiny Shell sitting on the board.
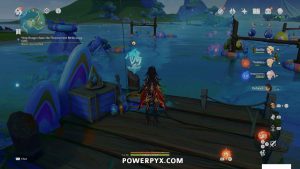
Flowcurrent Bird #2 & #3: Next, go back to the dock and activate the Koholasaur Spiritsconce to turn into a Koholasaur.
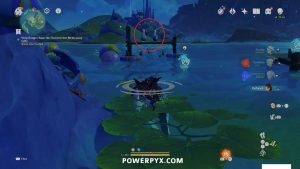
Then, look northwest to see two birds standing on a wooden fence in the water. Notice that two flotation devices sit around the posts. These keep you from climbing onto the fence.
So, face the birds, then jump and attack to hit them off the fence.
Flowcurrent Bird #4: Straight south from those two is another bird sitting on a second fence in the water.
When facing it, jump and attack it to get it back into the water.
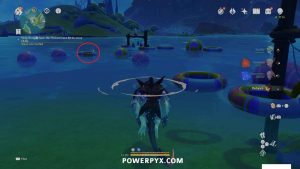
Flowcurrent Bird #5: Look north to see another Flowcurrent Bird lounging in a flotation device.
Simply attack this one. It won’t count for the quest with just that. So, hit it again further out into the water until the quest counts it.
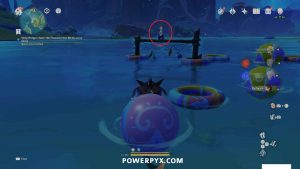
Flowcurrent Bird #6: Just north of the flotation device where the last bird relaxed is the sixth and final bird, sitting on another fence in the water.
Jump and attack it to kick it off the fence. It likely won’t count with just the one hit. So, hit it further out into the water.
You’ll know it counted when you get automatically returned to the dock and talk to Rondo.
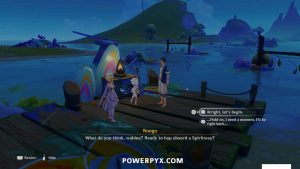
In order to continue with the quest, select the dialogue option “Alright, let’s begin.” You can step away from the quest and come back if needed by choosing the second option.
Particles collected (25)
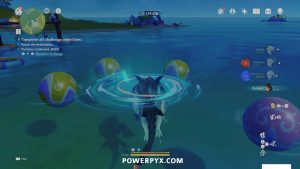
You must collect 25 particles in 600 seconds, or 10 minutes. This is more than enough time.
Just take a lap counterclockwise around the short track you just navigated and grab all of the particles.
Rongo rewards you for collecting all of the particles by giving you a shiny shell.
Look around nearby for a way to repair the Spiritdoors
Before going too far, walk to the section of the beach right behind Rongo and open the chest that just appeared.
Next, climb up the hill just east of you.
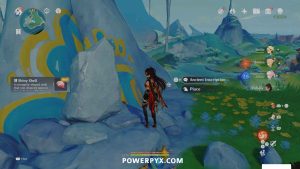
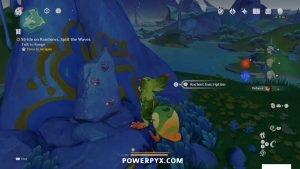
At the base of a tall stalagmite-like rock is an Ancient Inscription. You also find the third and final Shiny Shell here.
If you were here already, it’s possible you may have already picked up this Shiny Shell.
Place the Shiny Shells on the Ancient Inscription.
Talk to Rongo
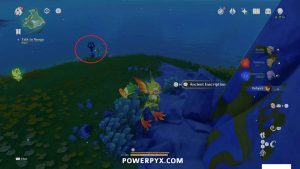
Before going back to Rongo, go east just a bit and unlock the Teleport Waypoint while you’re here.
Head back down to the west beach and talk to Rongo.
Wait until the following day
Open the Paimon menu and navigate to the Time button on the left.
Rotate the clock just enough so that it indicates that you will wait until tomorrow.
Check on the Great Training Arena of the Springs
Talk to Rongo, who now stands on the dock.
He asks you to run the arena again now that he’s improved it. Select the dialogue option “Alright, let’s begin” to start. Use the other dialogue option if you need to step away from the quest for a bit.
Complete the Spiritway Test
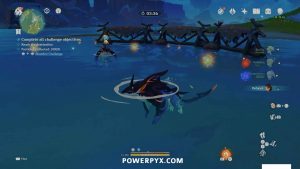
This time, you get 5 minutes to complete the run, and you also need to collect 120 particles.
Use the Spiritsconse on the dock to transform into a Koholasaur.
This is a general map of the path you take. The red sections are when you are in control, and the orange ones are the paths that Spiritways take you.
Take a lap around the small course you ran earlier.
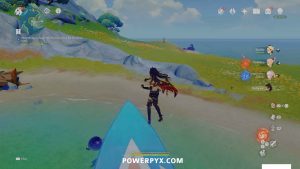
At the surfboard on the rock, jump into the first Spiritway. The Spiritway takes you northeast a little ways, collecting particles automatically as you go.
Follow along two curved barriers and then head north to another Spiritway.
Jump onto it to ride to the next area.
Then, head westerly in a zigzag pattern, collecting particles along the way, until you reach another Spiritway.
Jump into it to proceed to the next area.
Jump over a few hurdles until you reach another Spiritway.
Head east to the ripples. Jump while in it to go up into the air, which connects you to the next Spiritway.
Head easterly toward the dock. You finish when you jump in the small ripples next to the dock.
Rongo then congratulates you on a job well done.
Complete the cutscene to finish the Stride on Rainbows, Split the Waves World Quest.






















Leave a Reply