
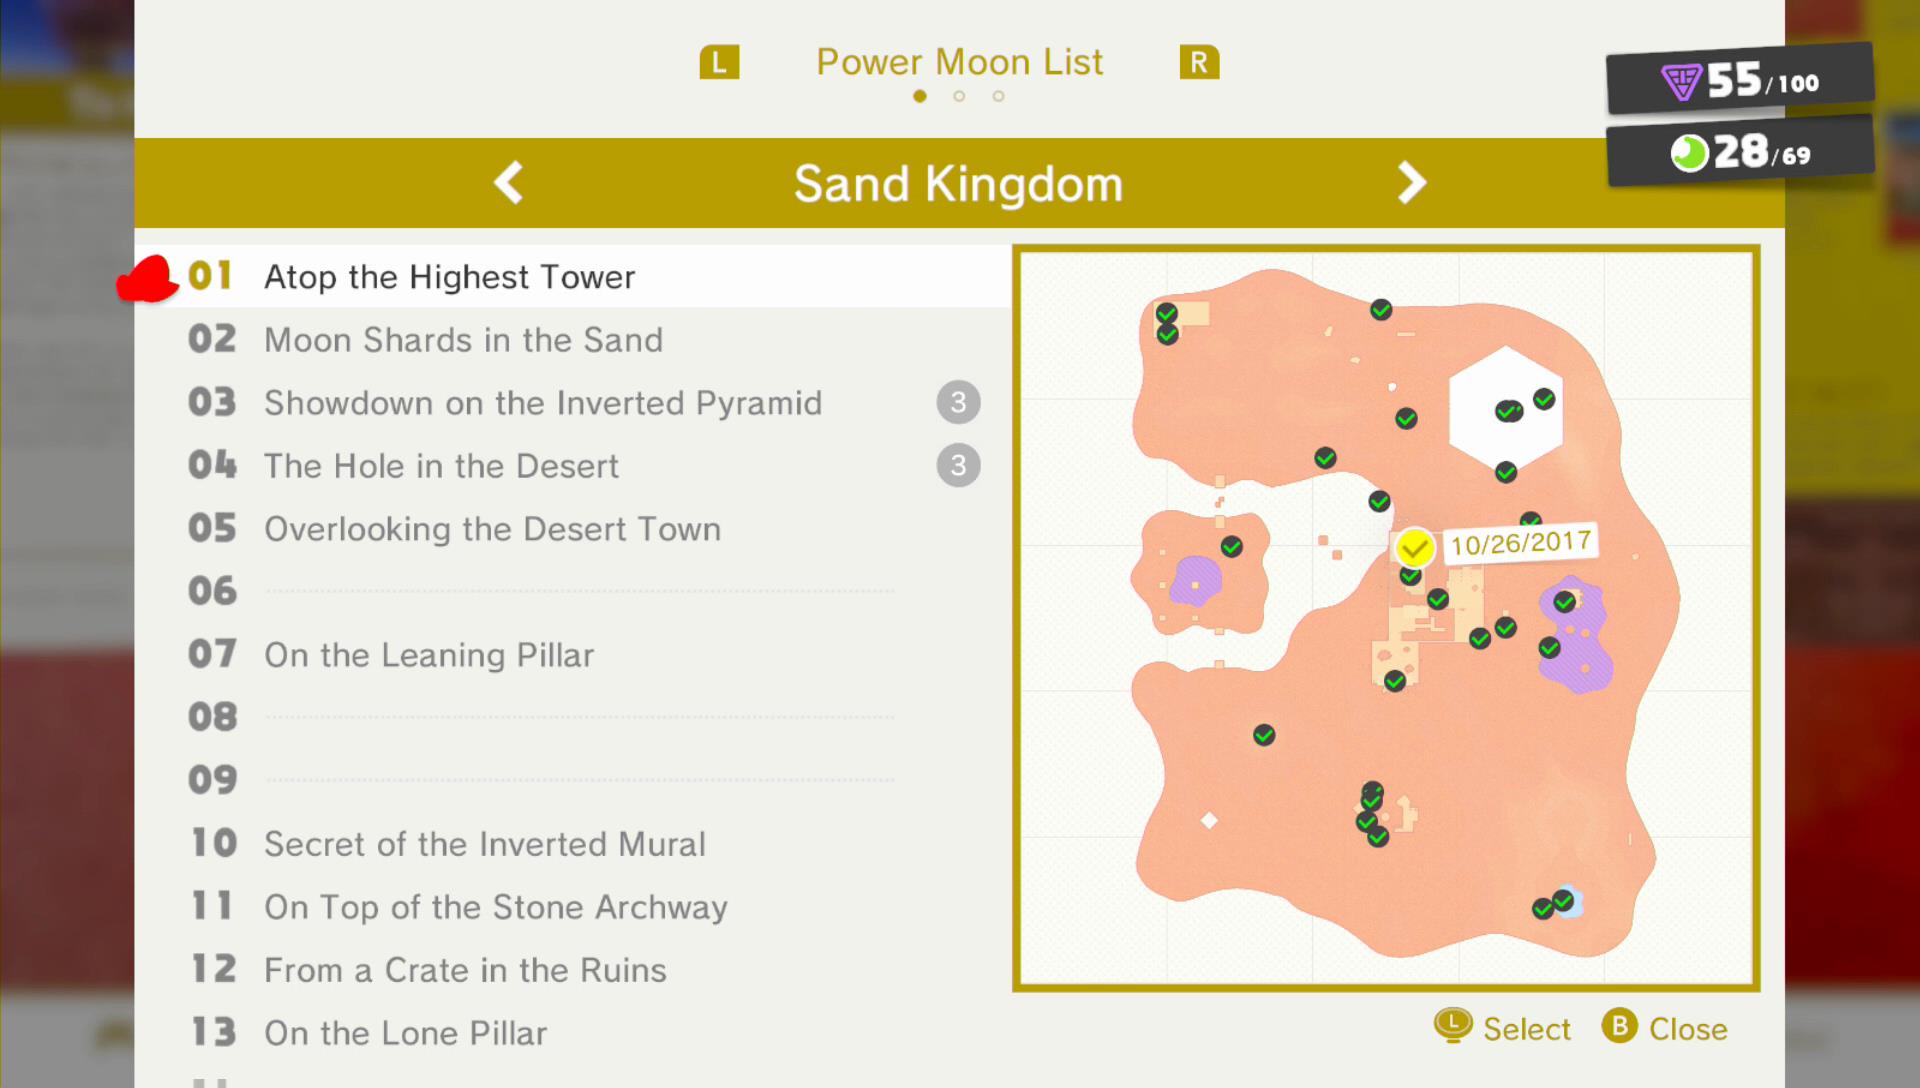
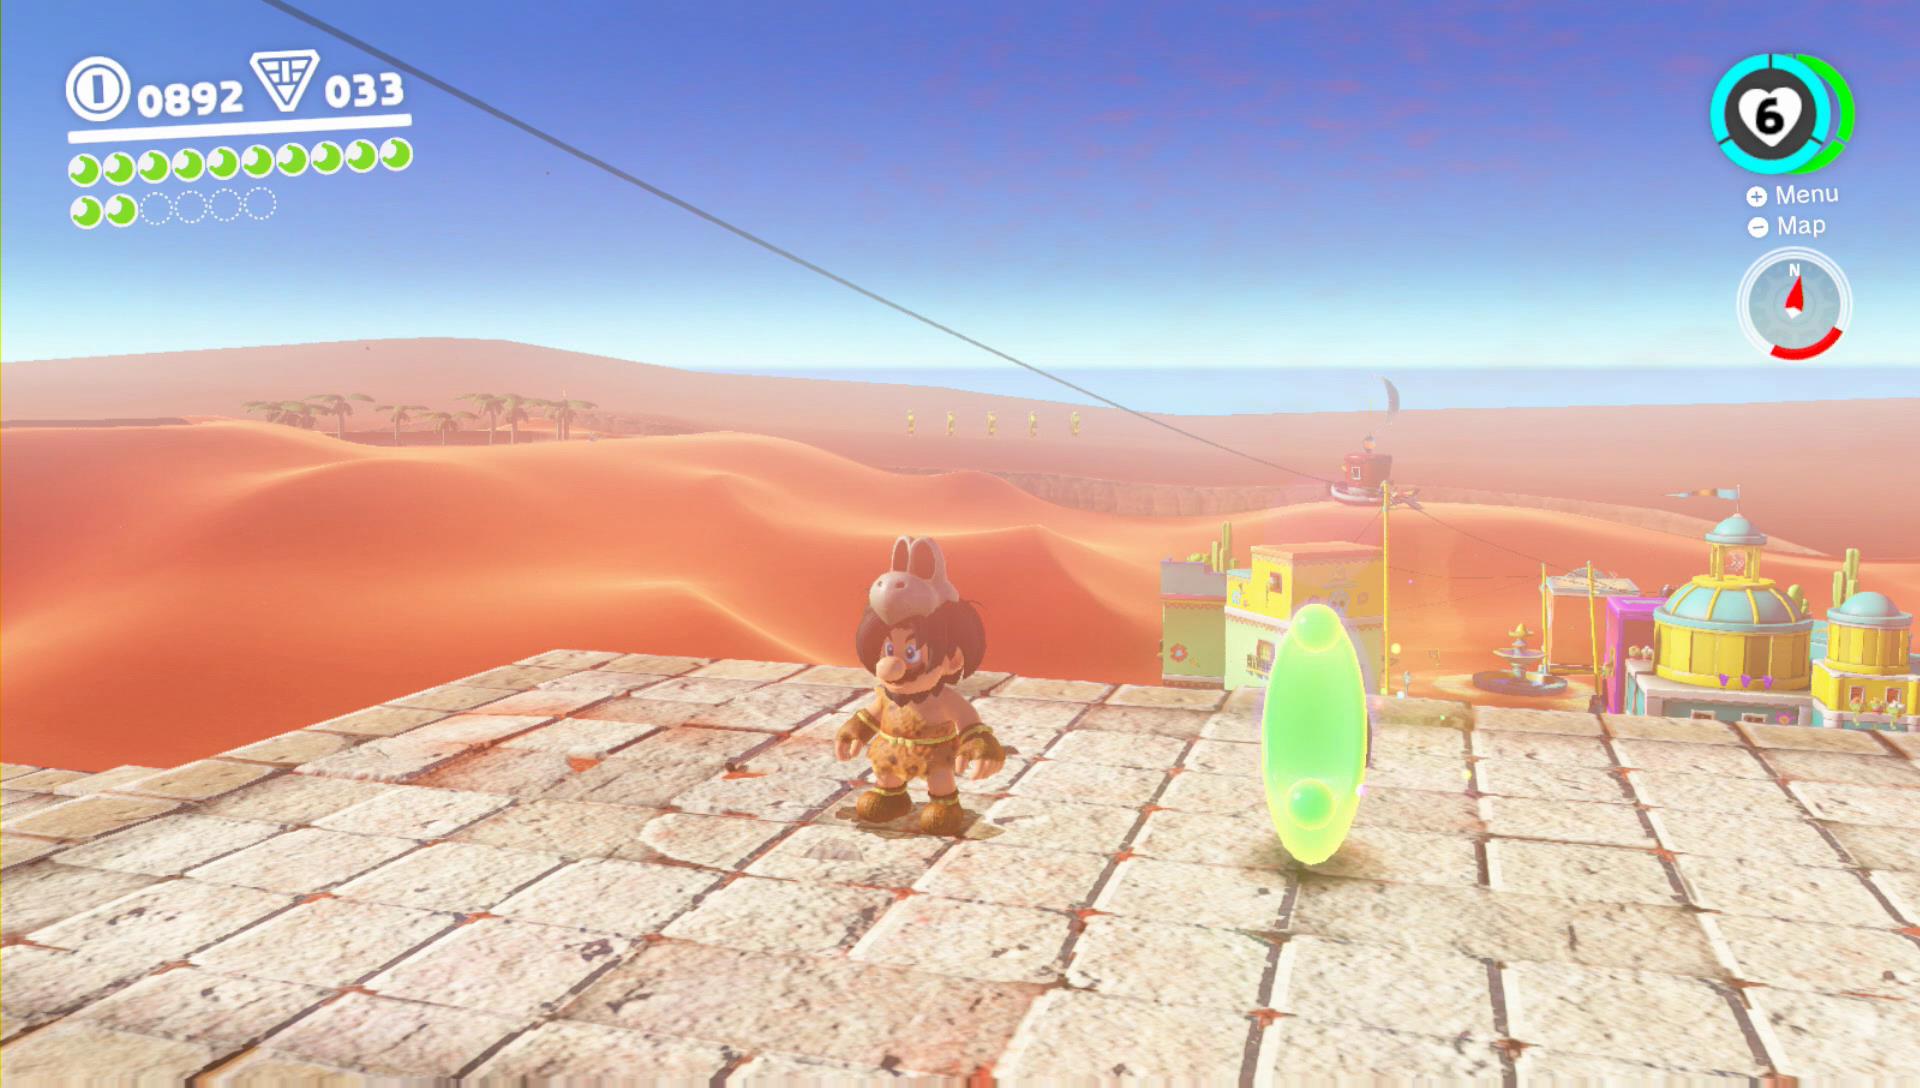
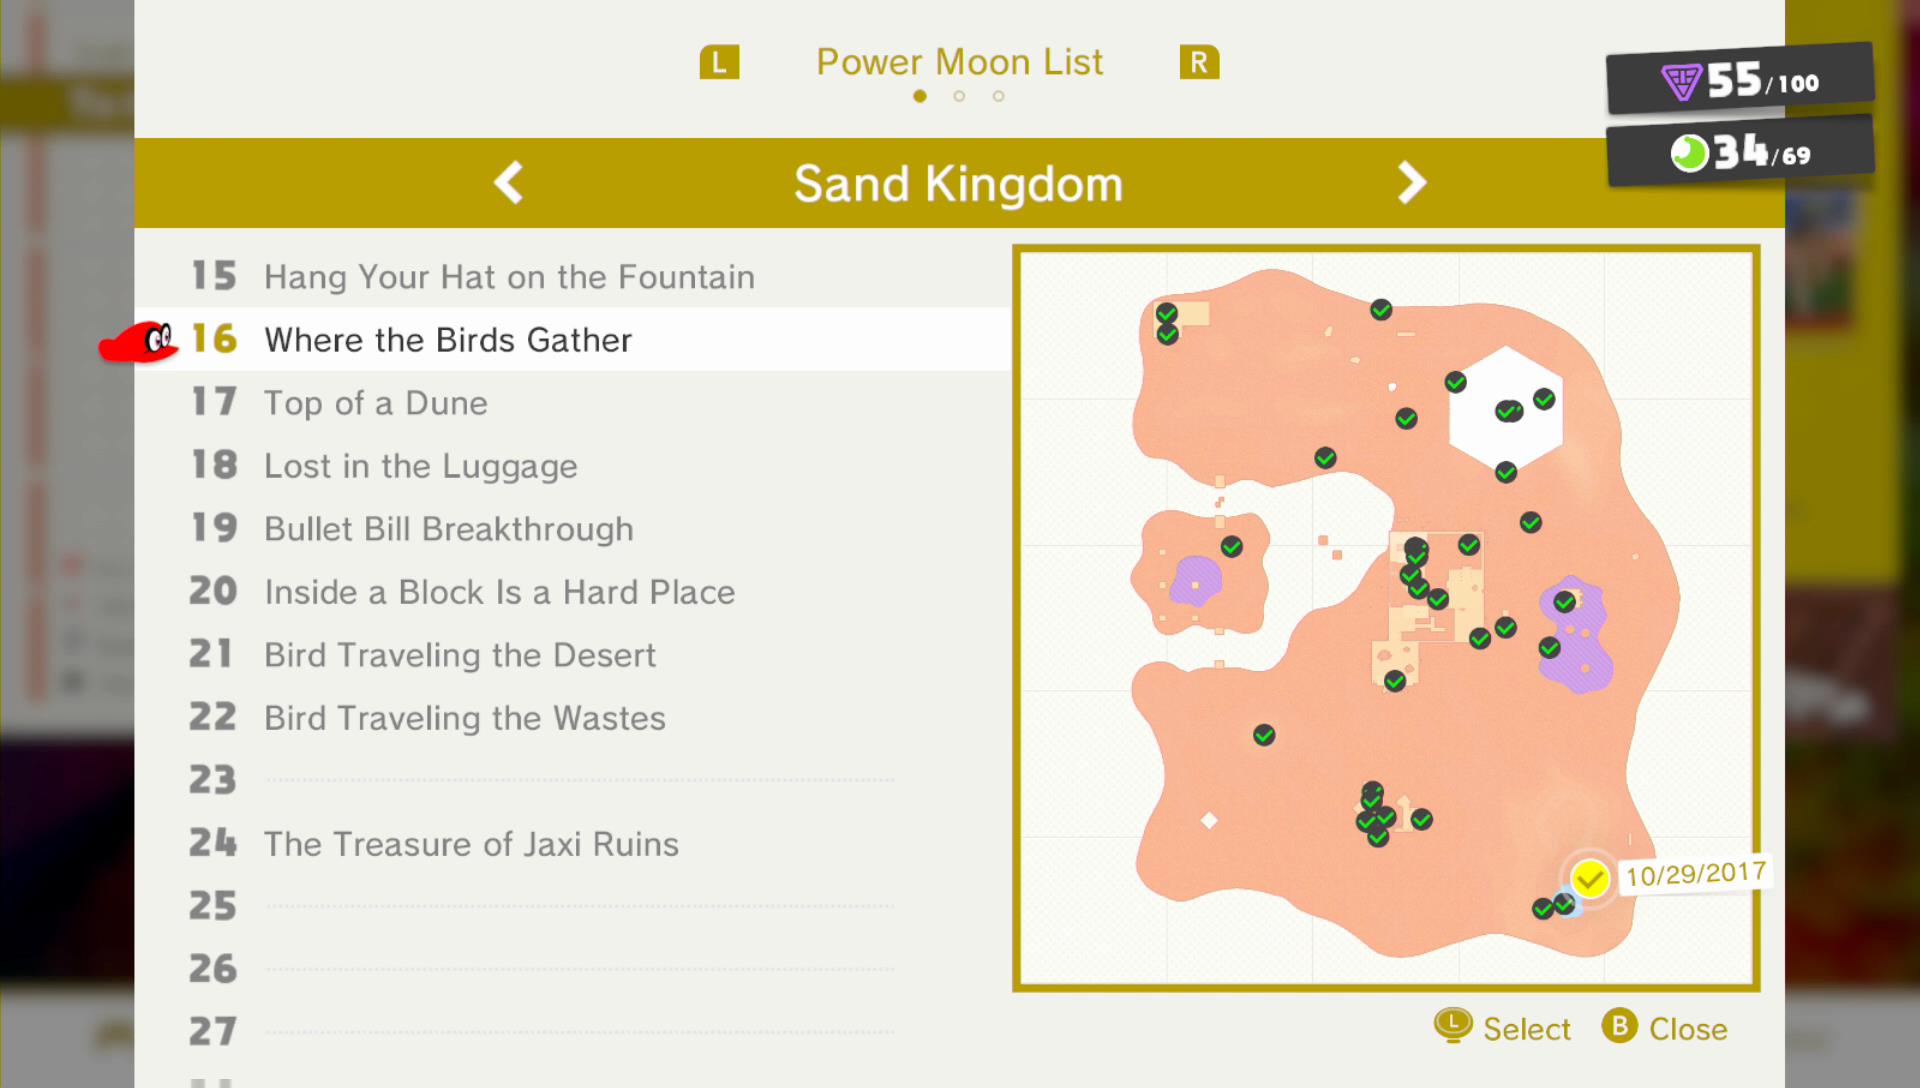
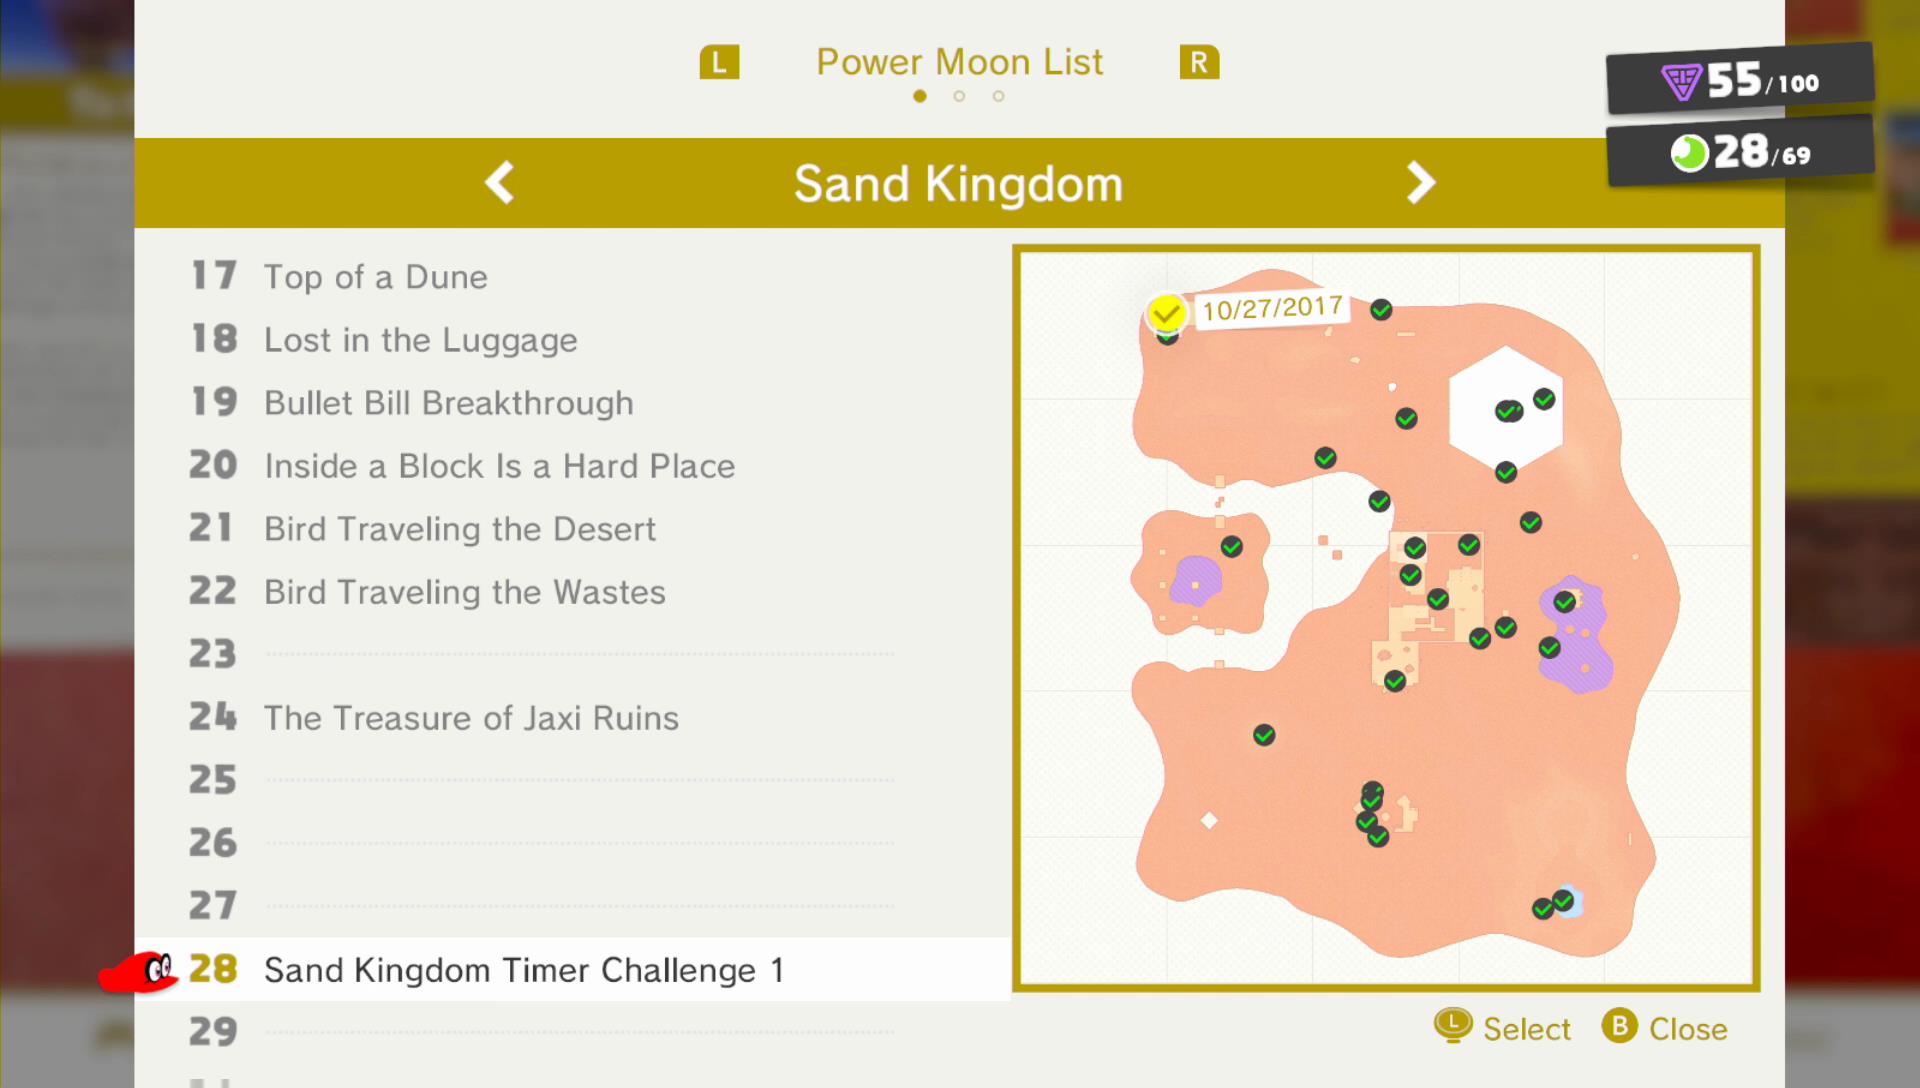
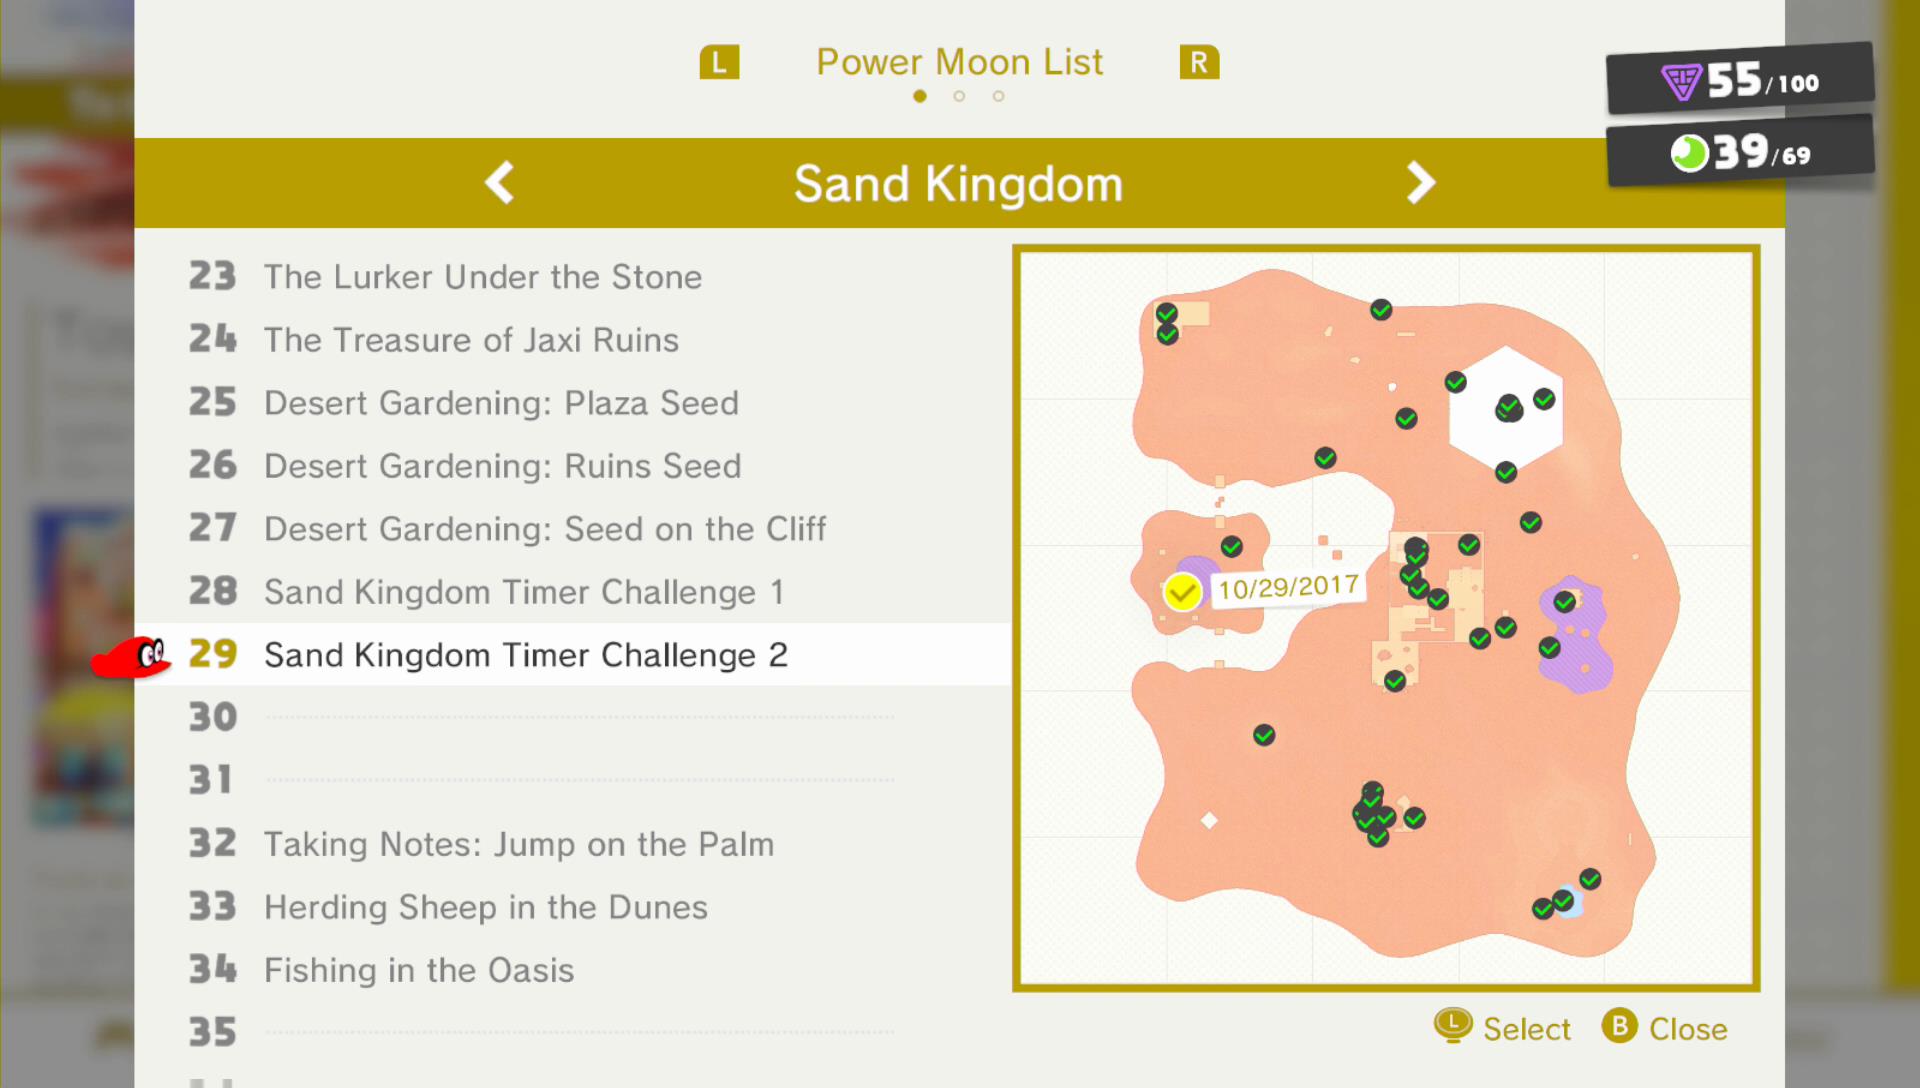
The Sand Kingdom in Super Mario Odyssey has 69 Power Moon Locations. It’s the third kingdom you will visit while playing the game. This guide will show you the locations of the Power Moons 1-30 out of 69 in this kingdom.
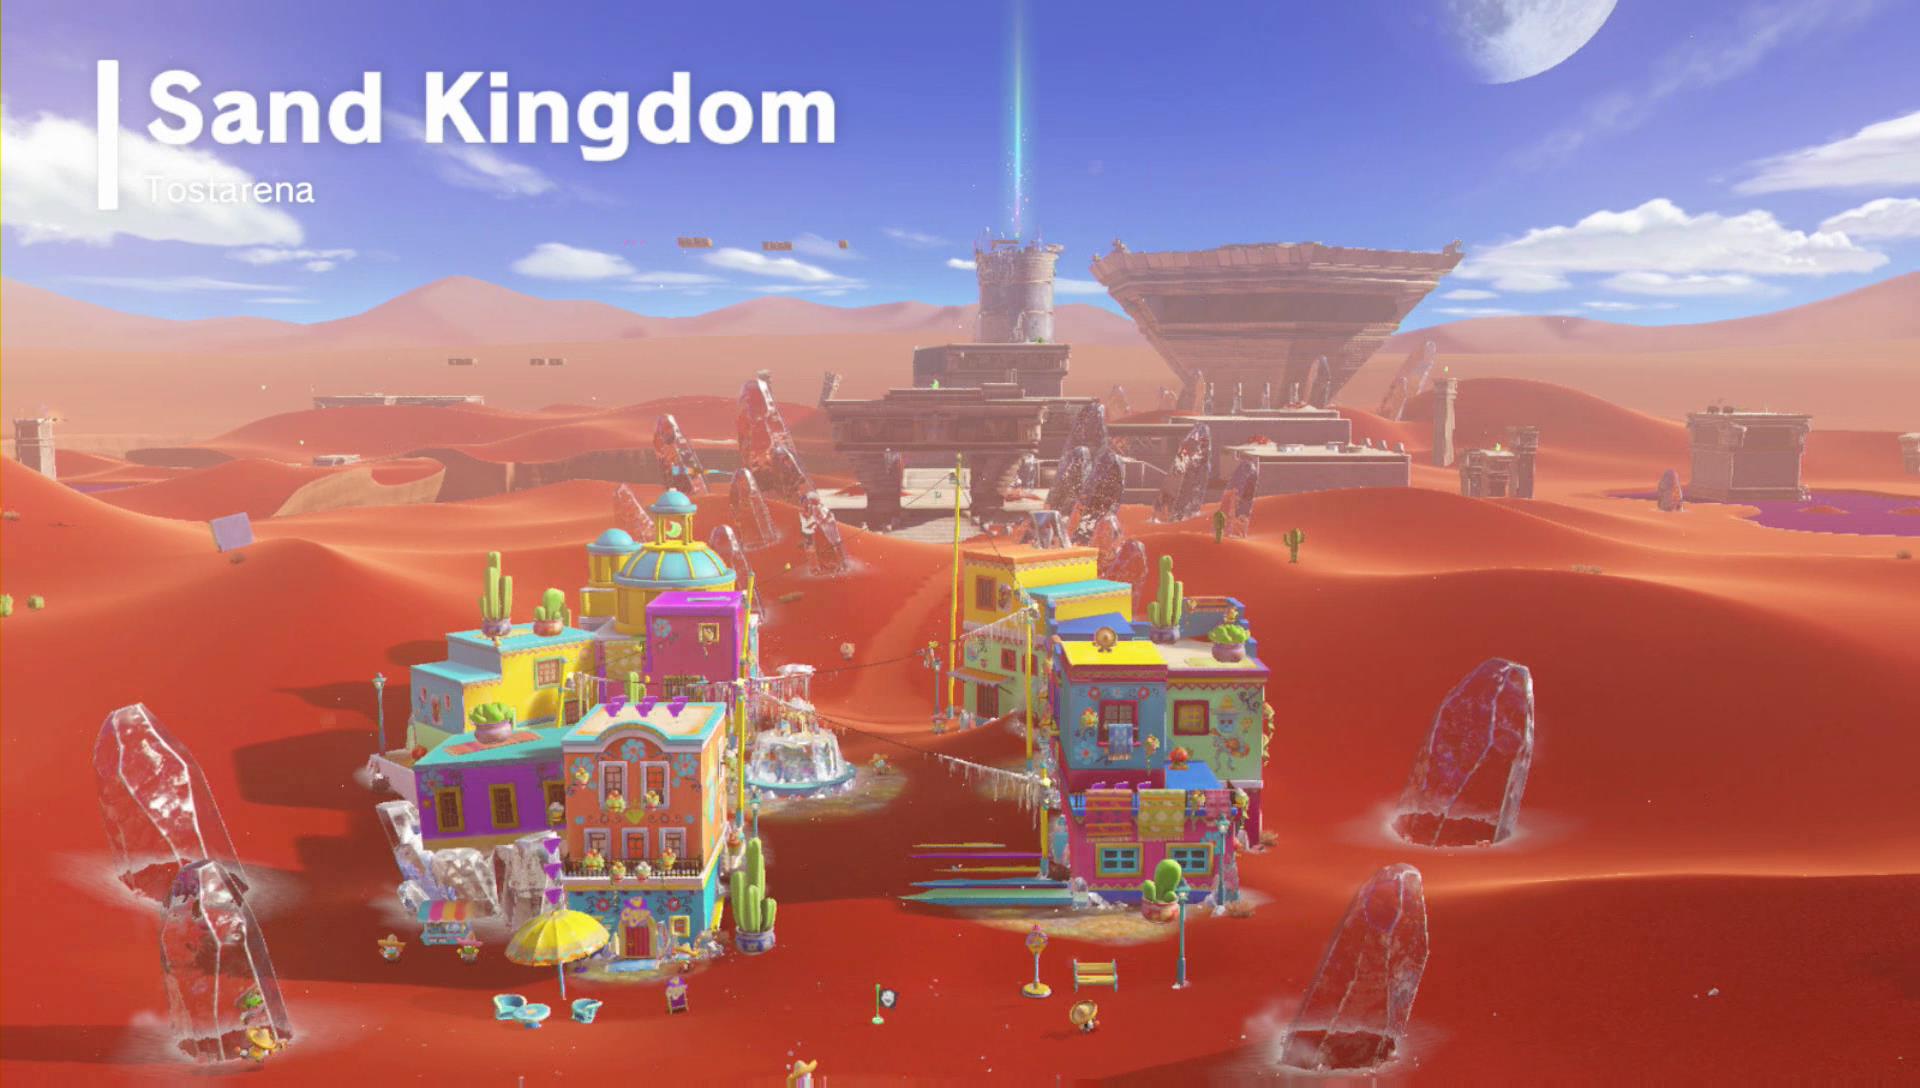
This kingdom is designed to look like a mixture of a desert and Mexico during Días de los Muertos holidays. You will encounter a lot of skeletons and colorful houses. You will be able to control multiple enemies in this area, your main enemy to use your cap on, however, will be a bullet-like enemy called Bullet Bill. Be sure to pay 30 coins in order to use Jaxi service, since a Jaxi will help you get some of the Power Moons.
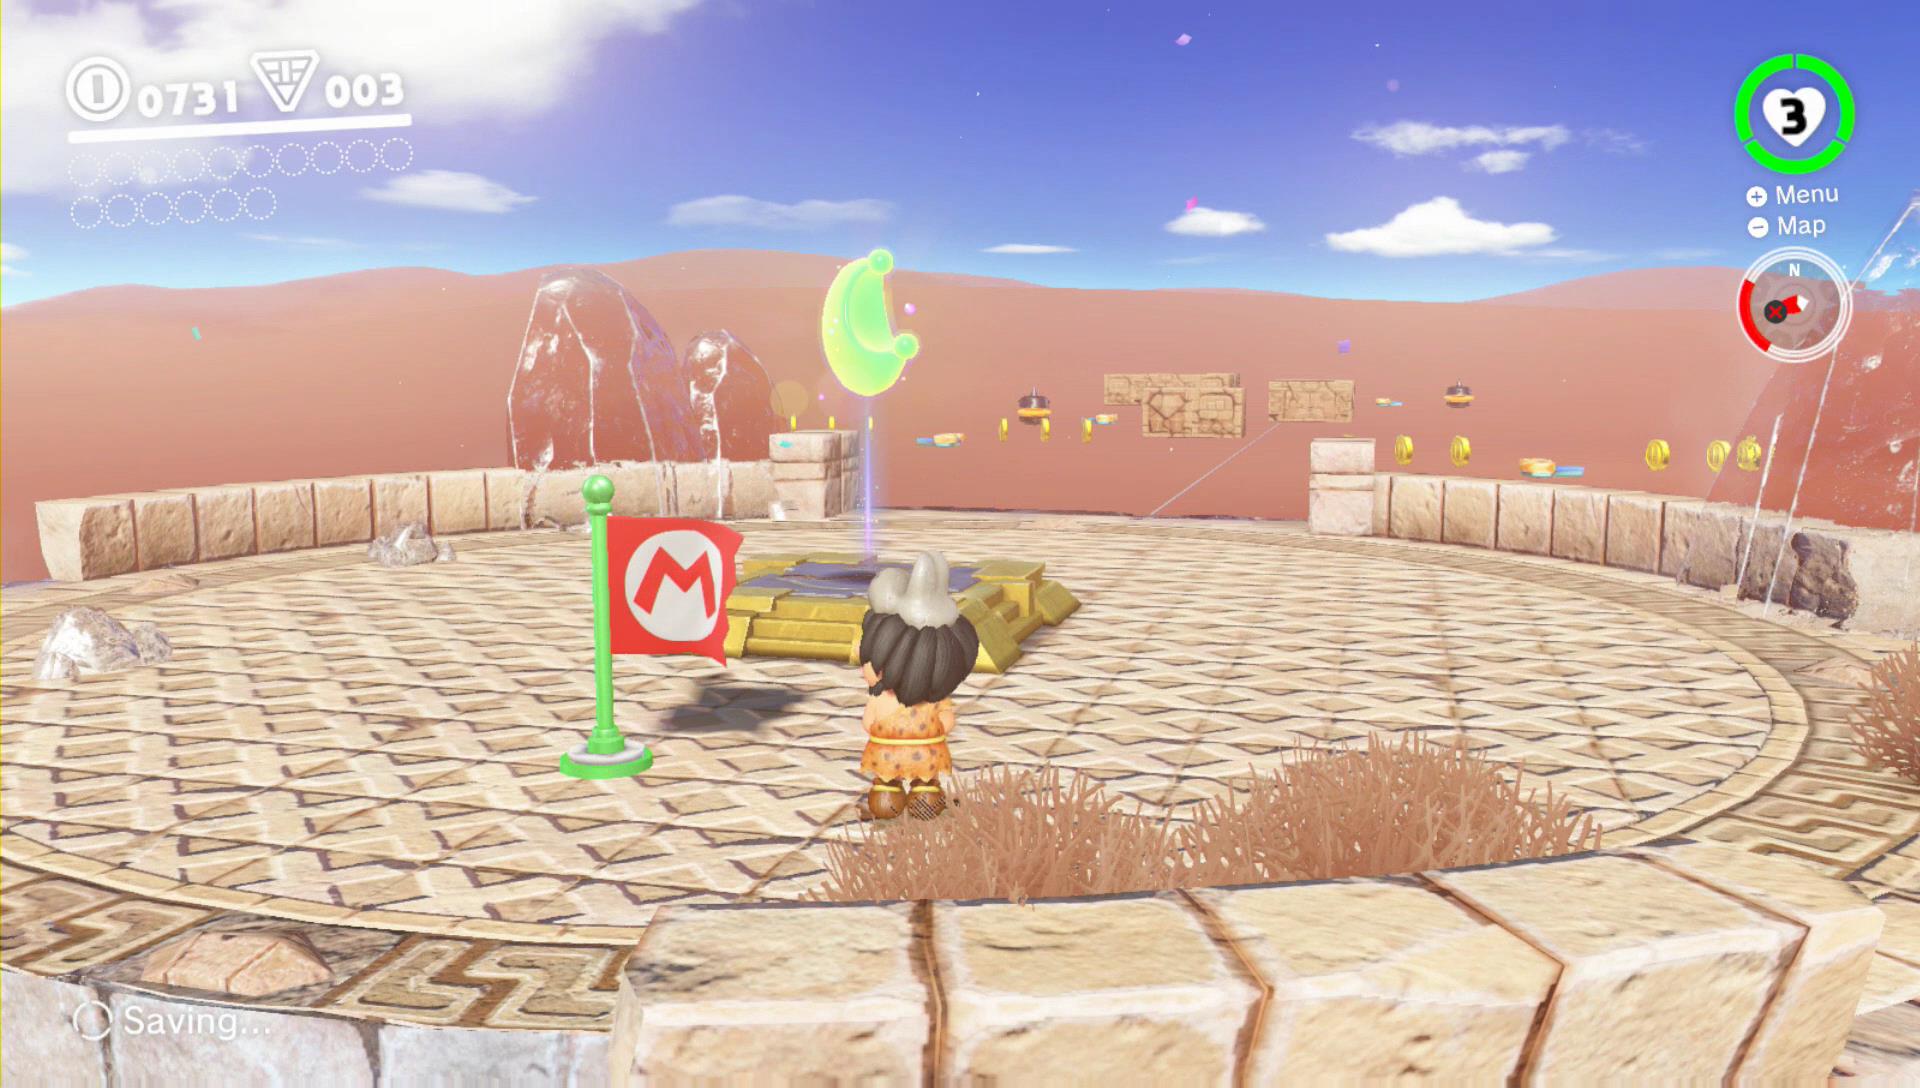
Power Moon 1 – Atop the Highest Tower
The first Power Moon in this kingdom will be your first main story task to fulfil. Simply follow the path and get your Moon from the top of the tower highlighted in the intro.
 |
 |
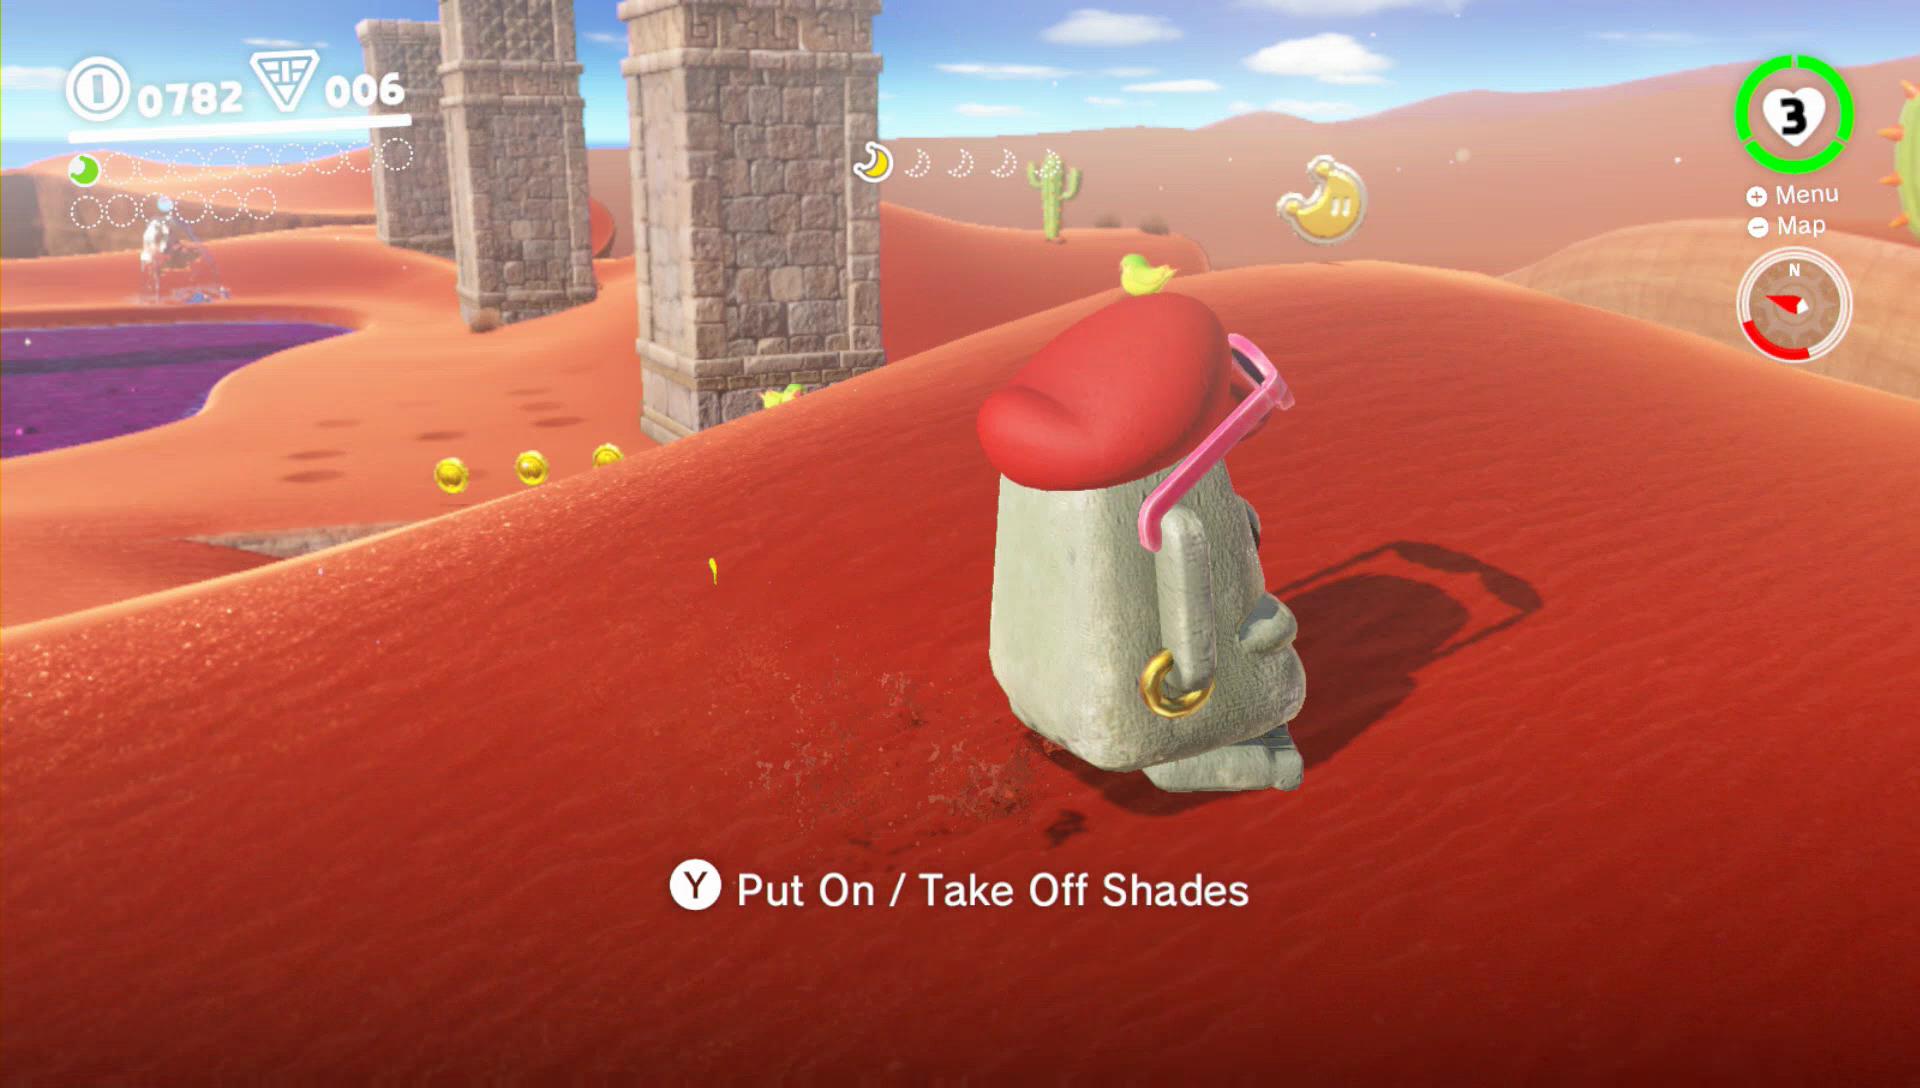
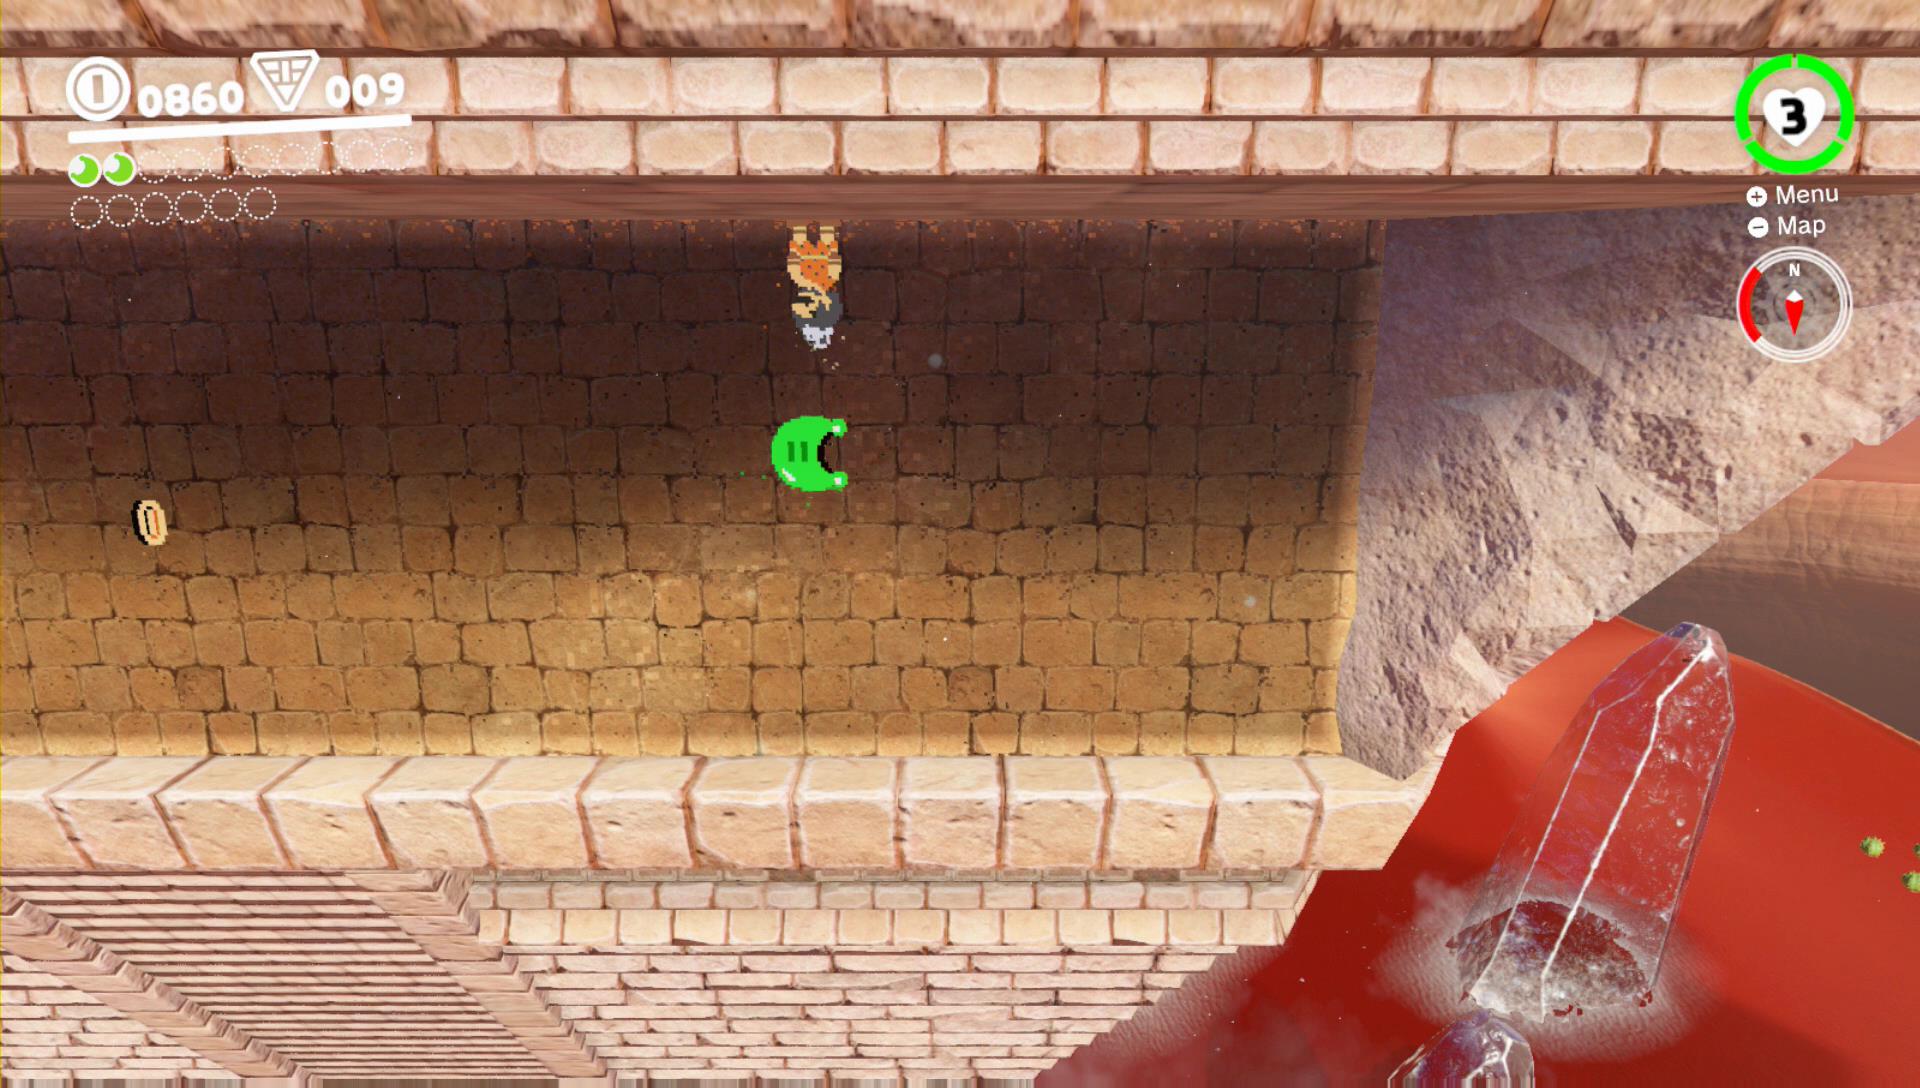
Power Moon 2 – Moon Shards in the Sand

The second Power Moon in this area will also be highlighted in a cutscene. You will have to throw your cap at a Moe-Eye enemy and use his shades to see invisible platforms in order to collect all 5 shards of a Power Moon.
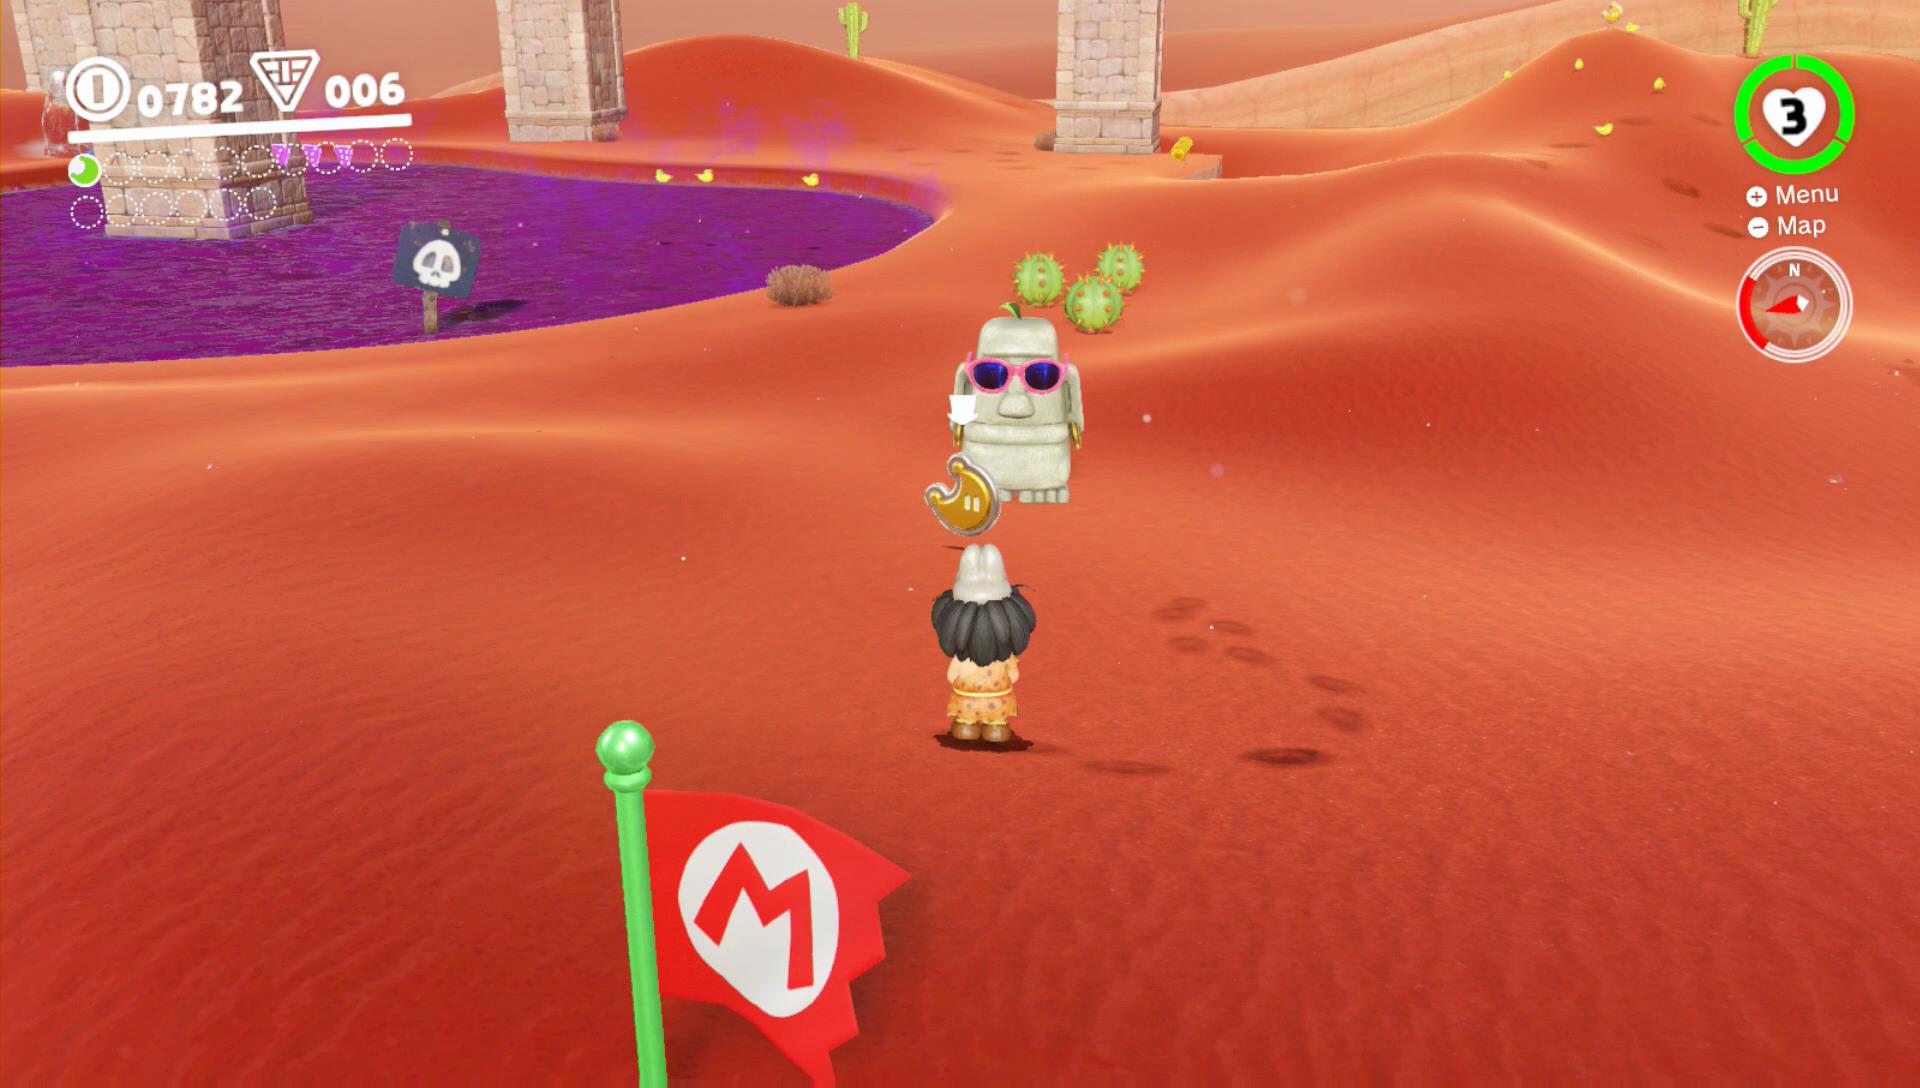
You can find 2 more pieces just lying a round in the desert.
 |
 |
For the final 2 pieces you will have to use your shades to see invisible platforms in the area.
 |
 |
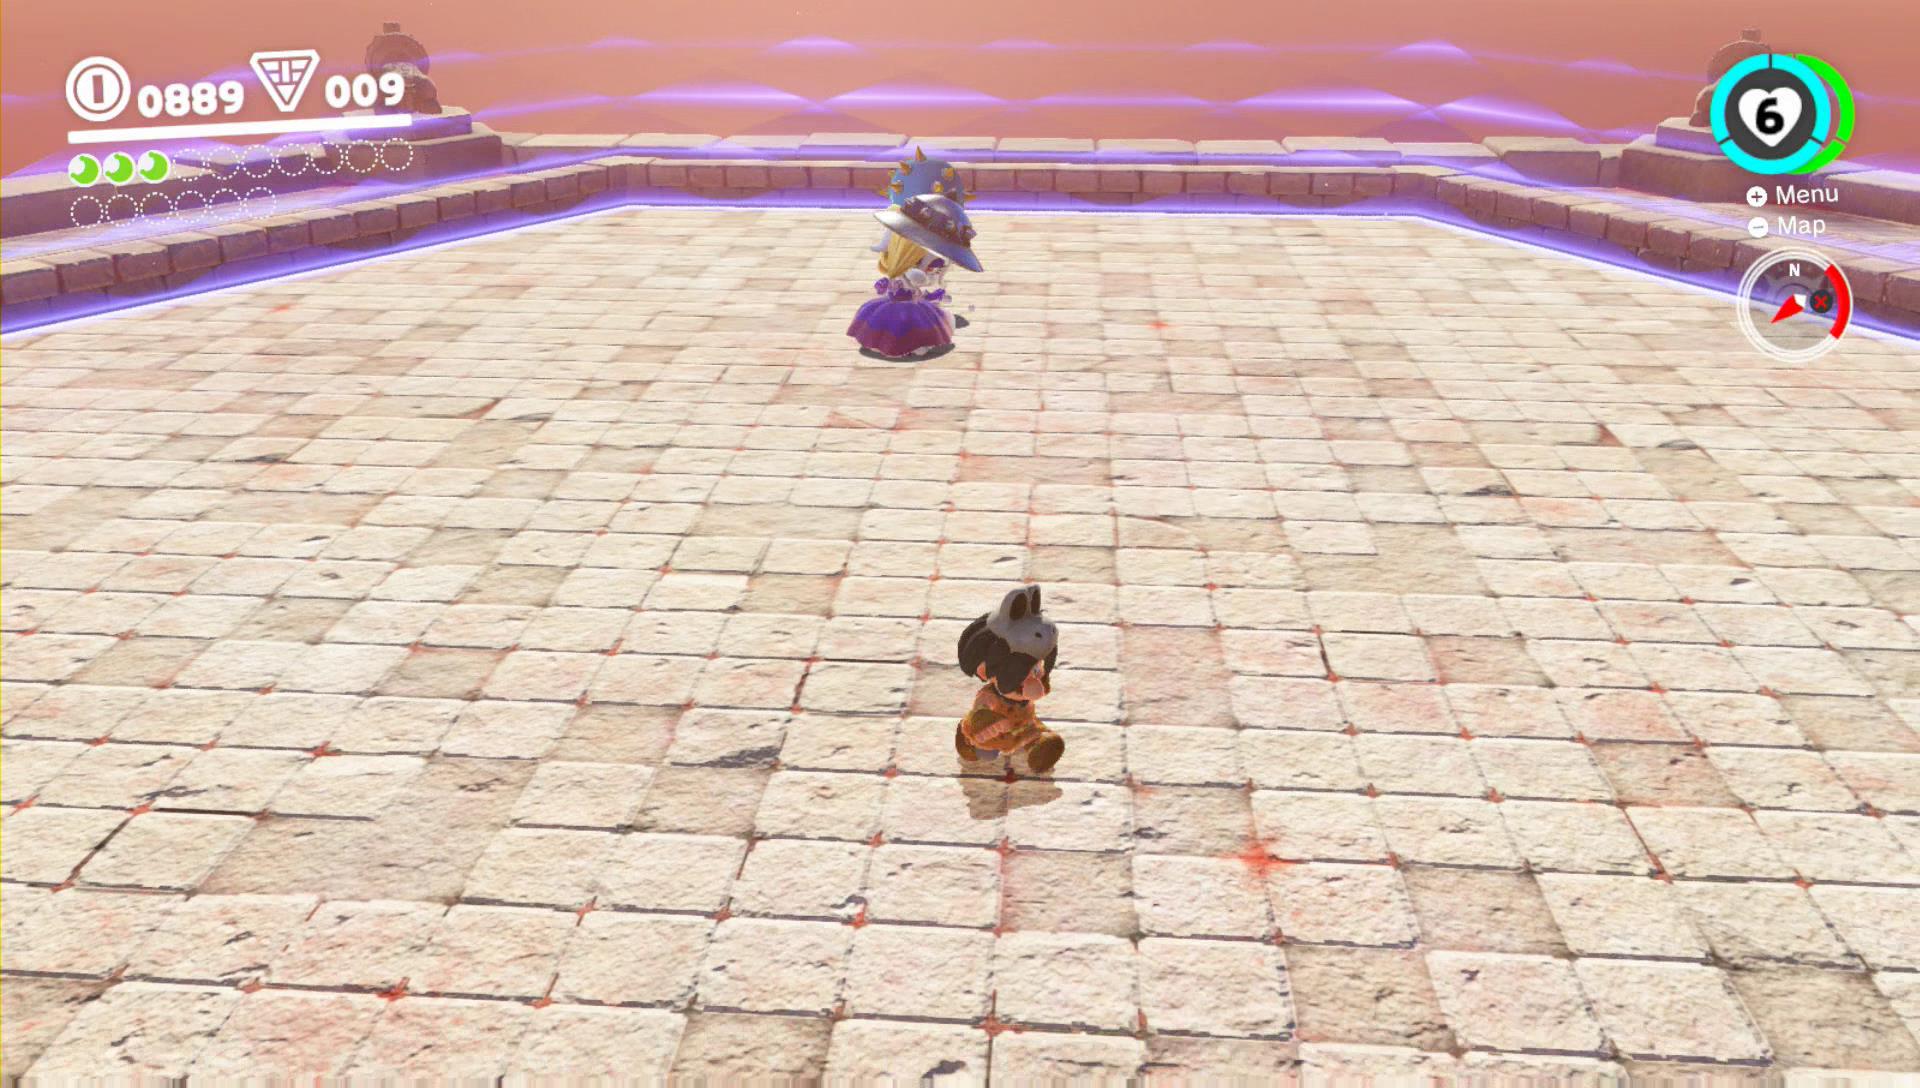
Power Moon 3 – Showdown on the Inverted Pyramid
The third Power Moon which is also a Multi Moon (grants you 3 Moons) will be unlocked for beating the first boss of the area. Follow the main story path into the pyramid and defeat the boss. The boss happens to be another one of the rabbit squad. Simply hit the bomb she is throwing at you with your hat back at her. Once she is stunned jump on her head. Repeat 3 times to beat her.
 |
 |
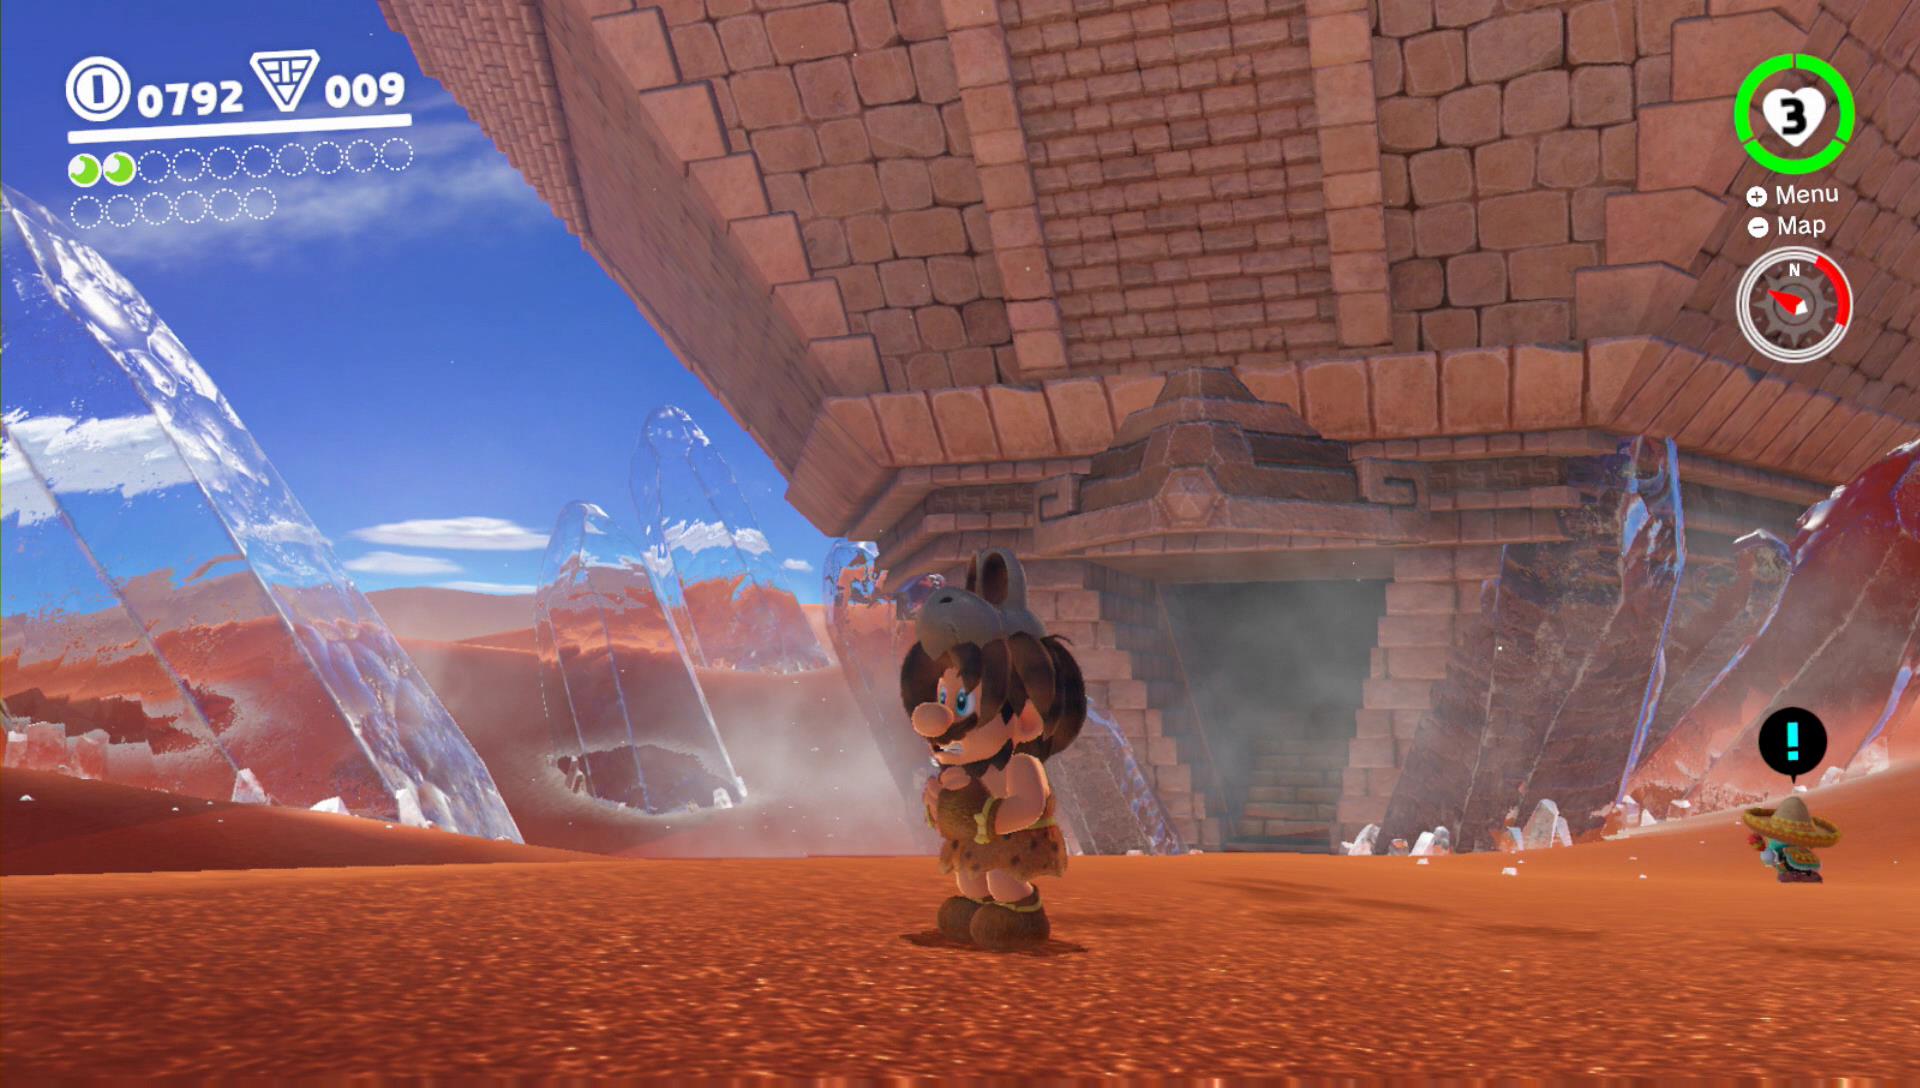
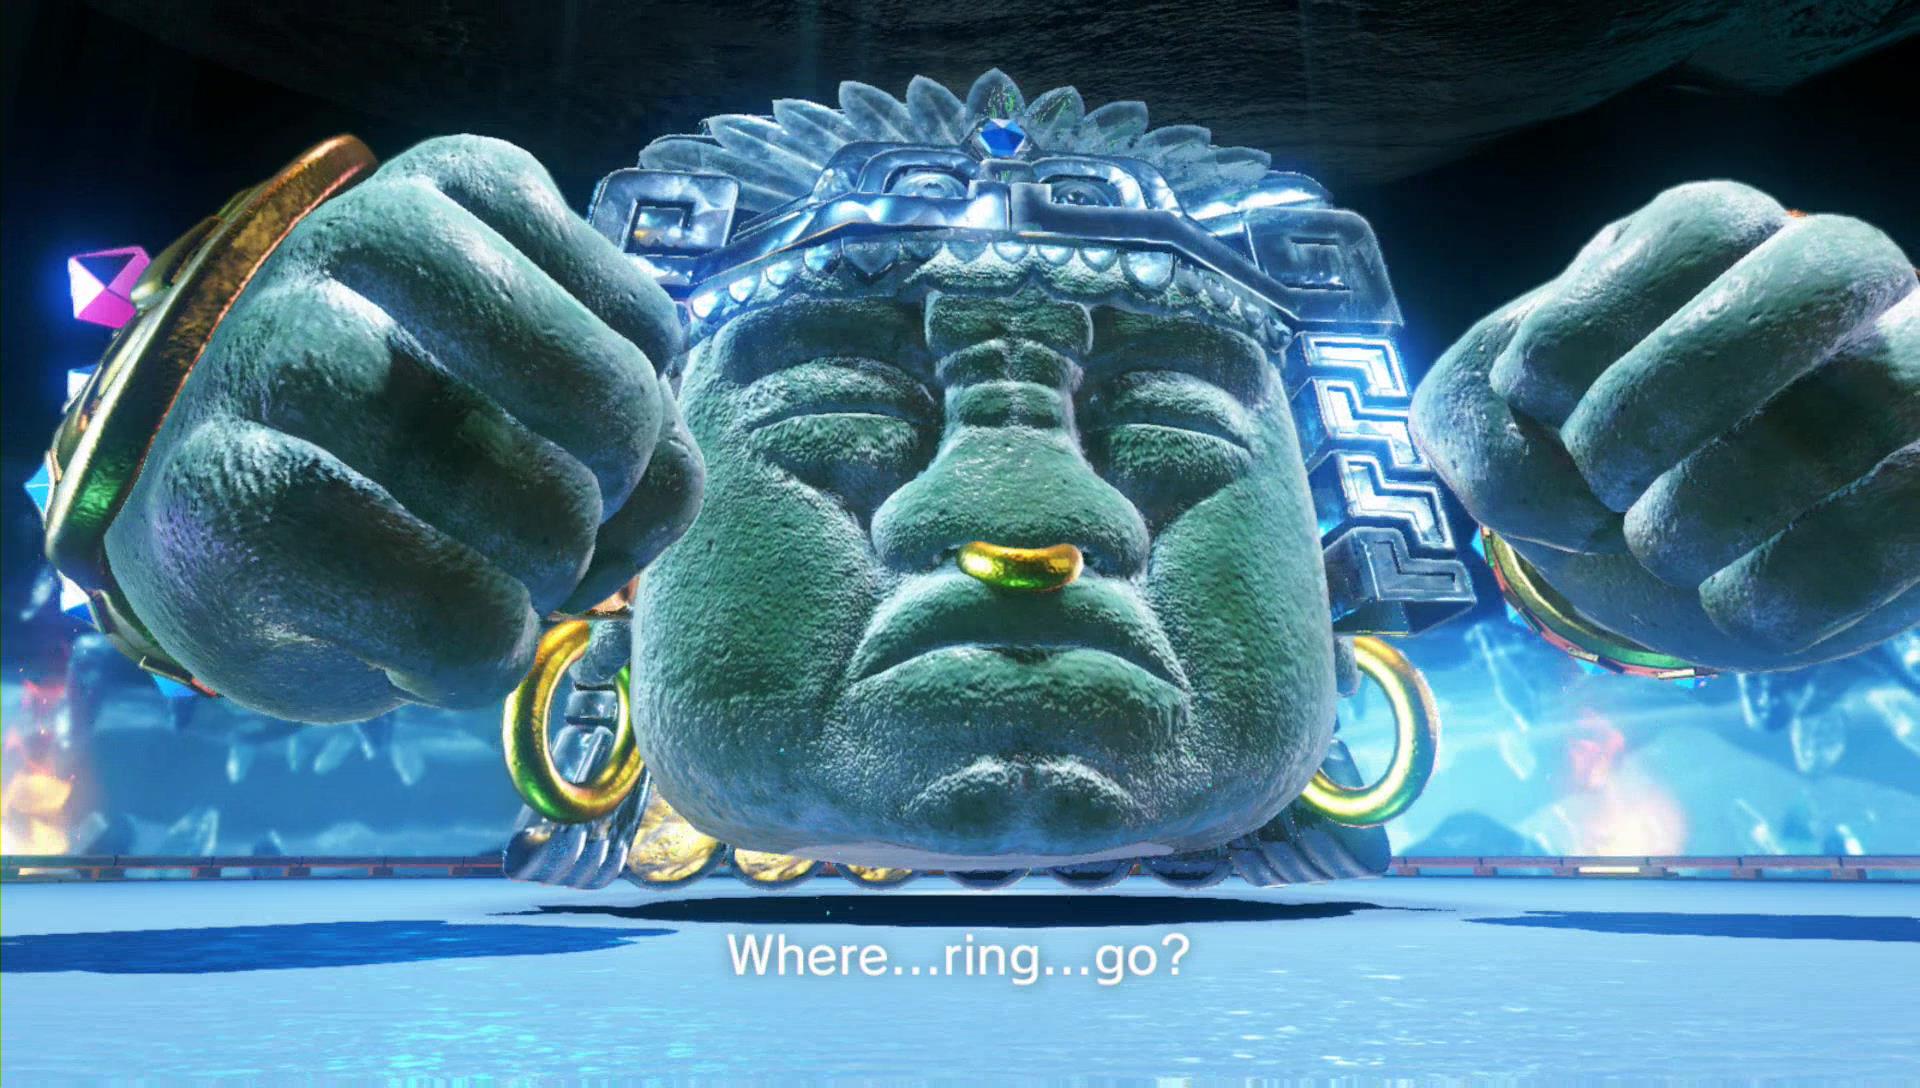
Power Moon 4 – The Hole in the Desert

Another Multi Moon granted for a boss fight. Folow the main story path by jumping into the hole in the desert where the pyramid once stood. Finish the small area and defeat the Olmec-like boss by letting him hit the grounded icicles with his hand, capturing it with your cap and using his own fist to hit the boss right in the face.
 |
 |
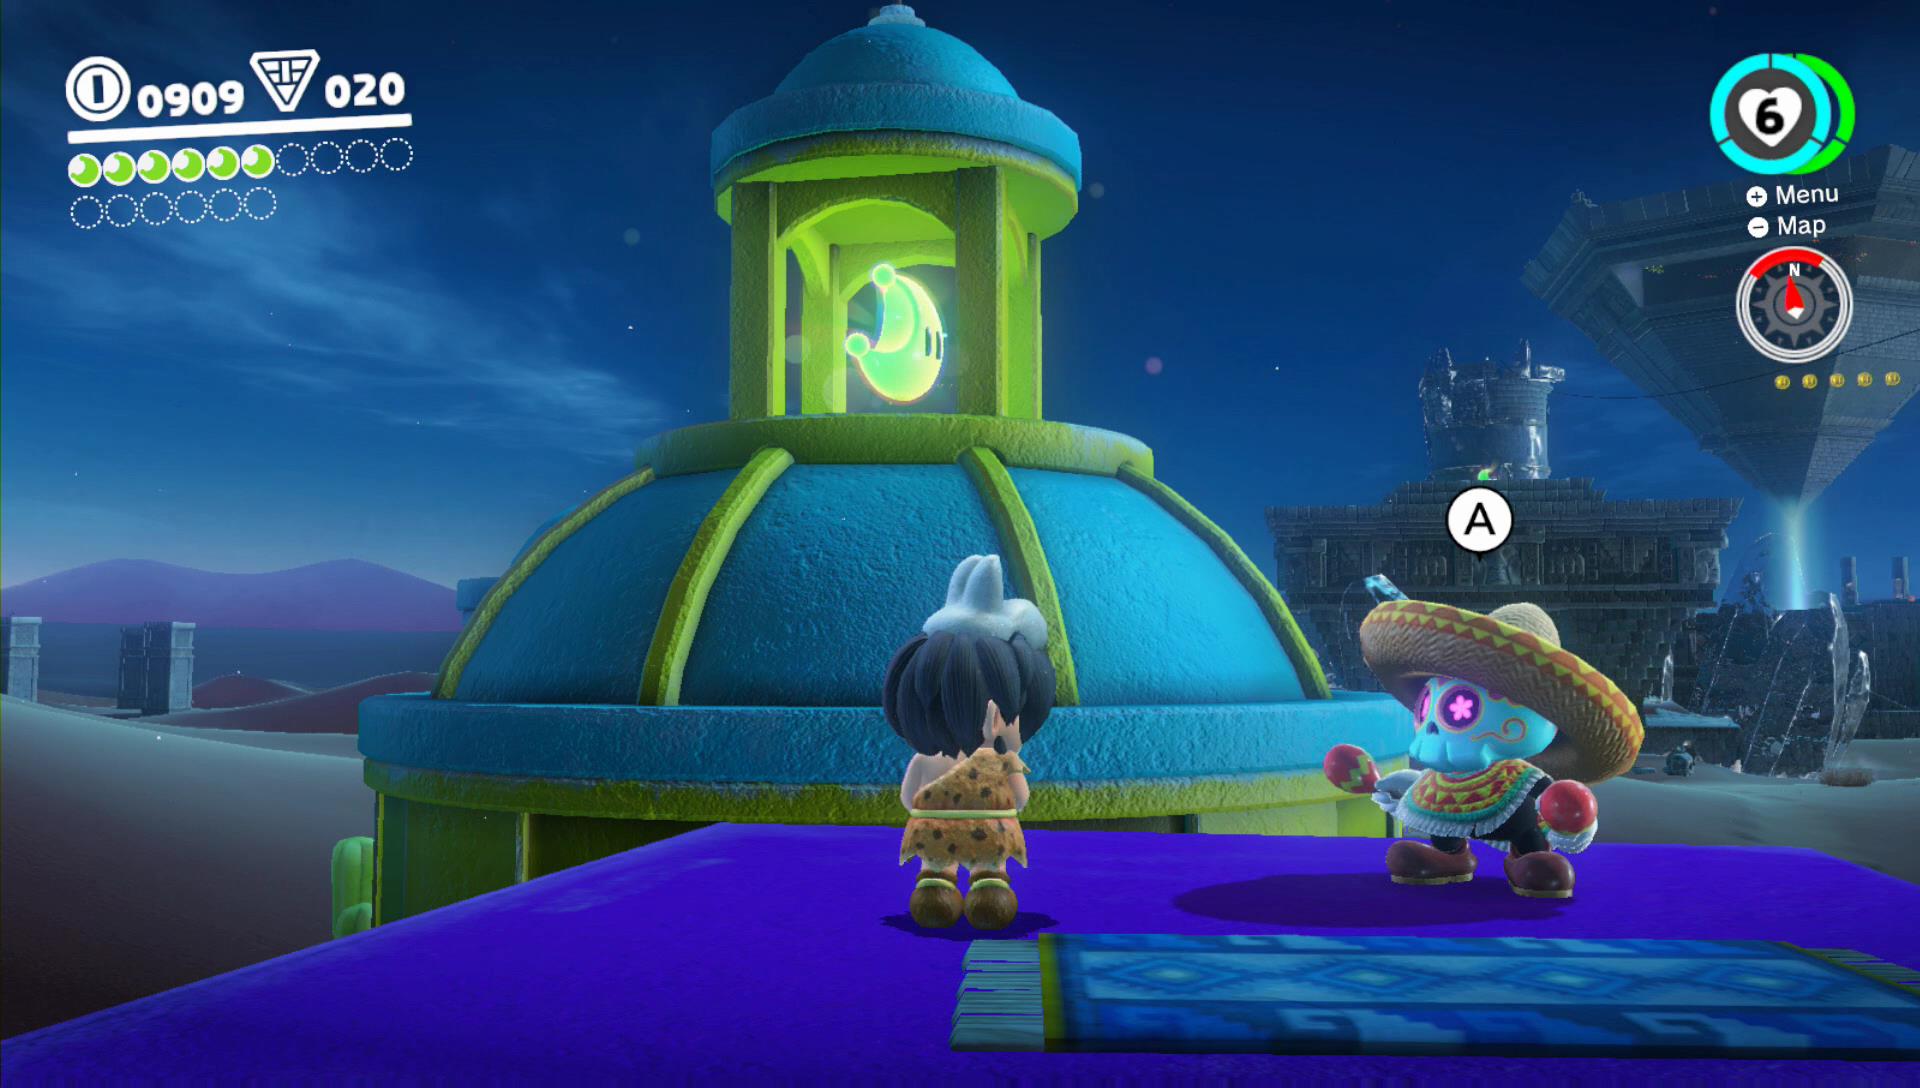
Power Moon 5 – Overlooking the Desert Town
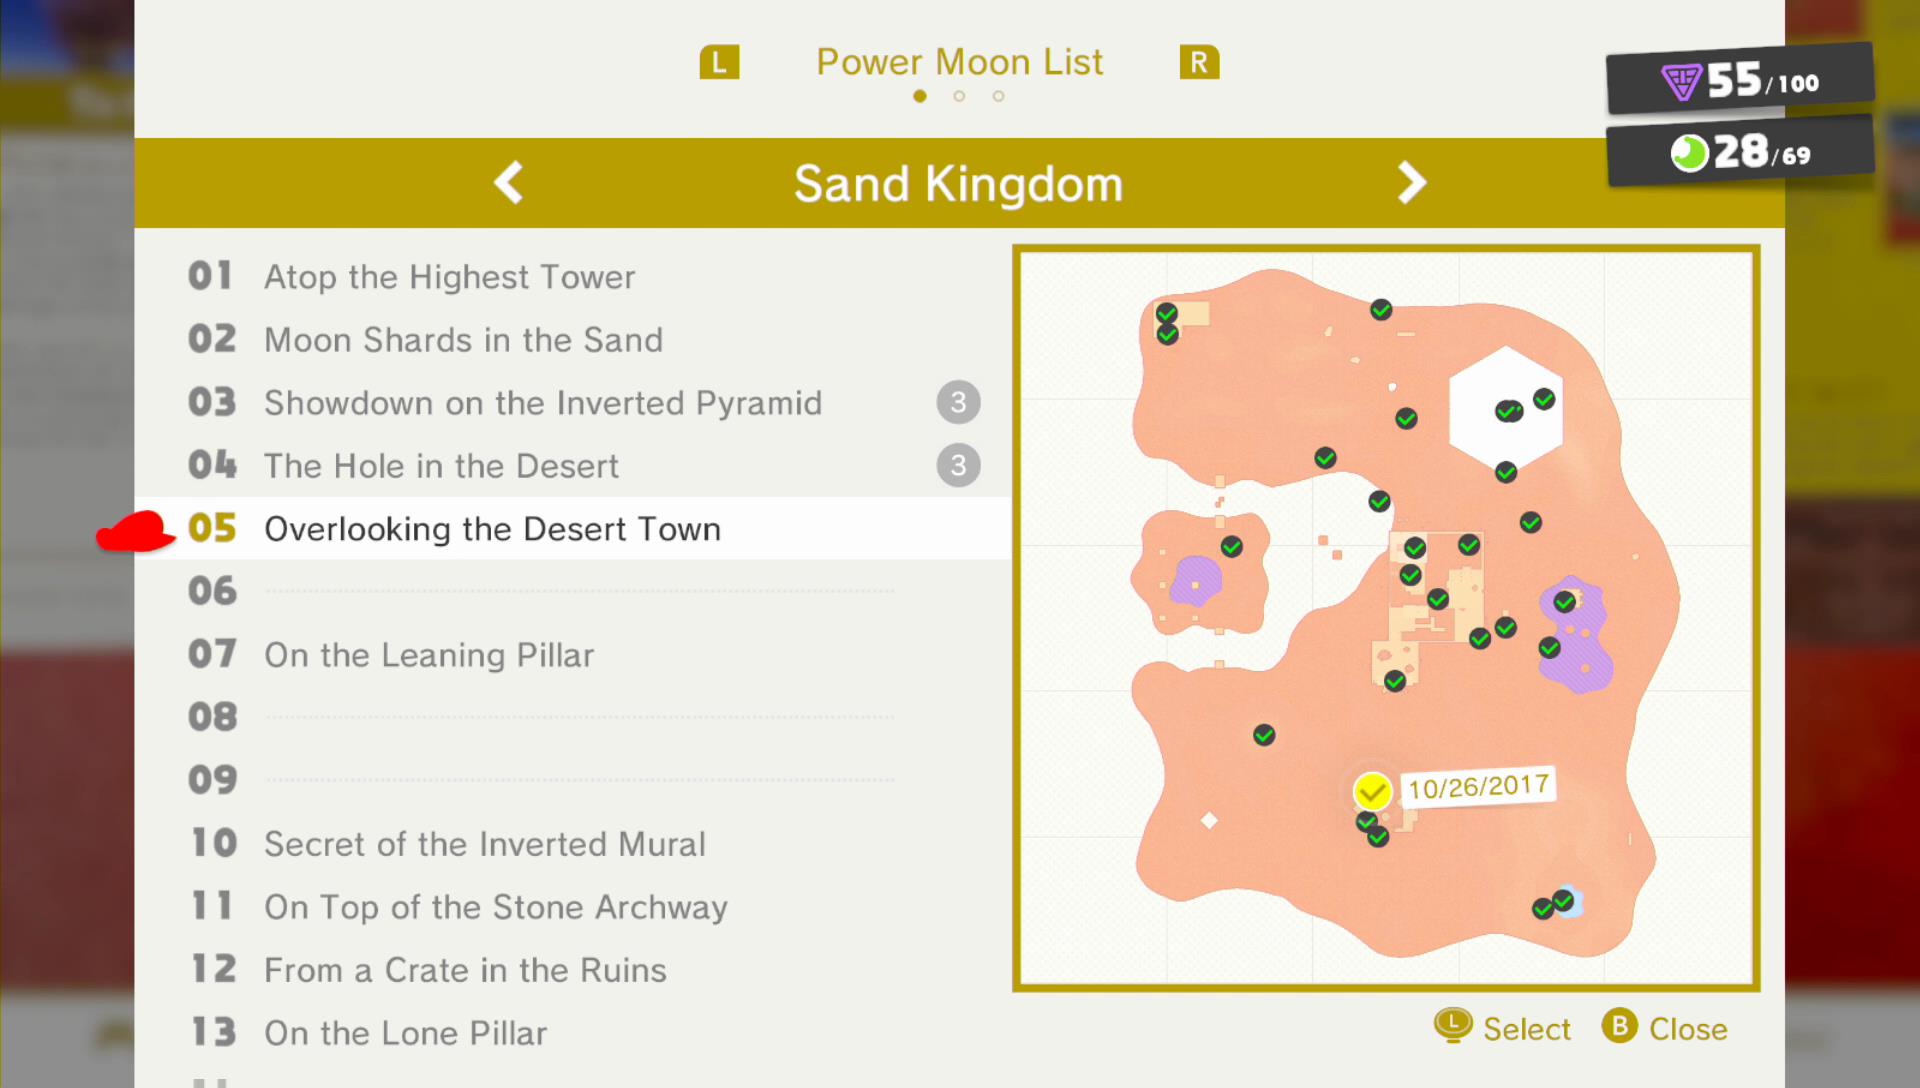
Climb on some roofs in the city to reach this Power Moon on top of the church-like tower.
Power Moon 6 – Alcove in the Ruins
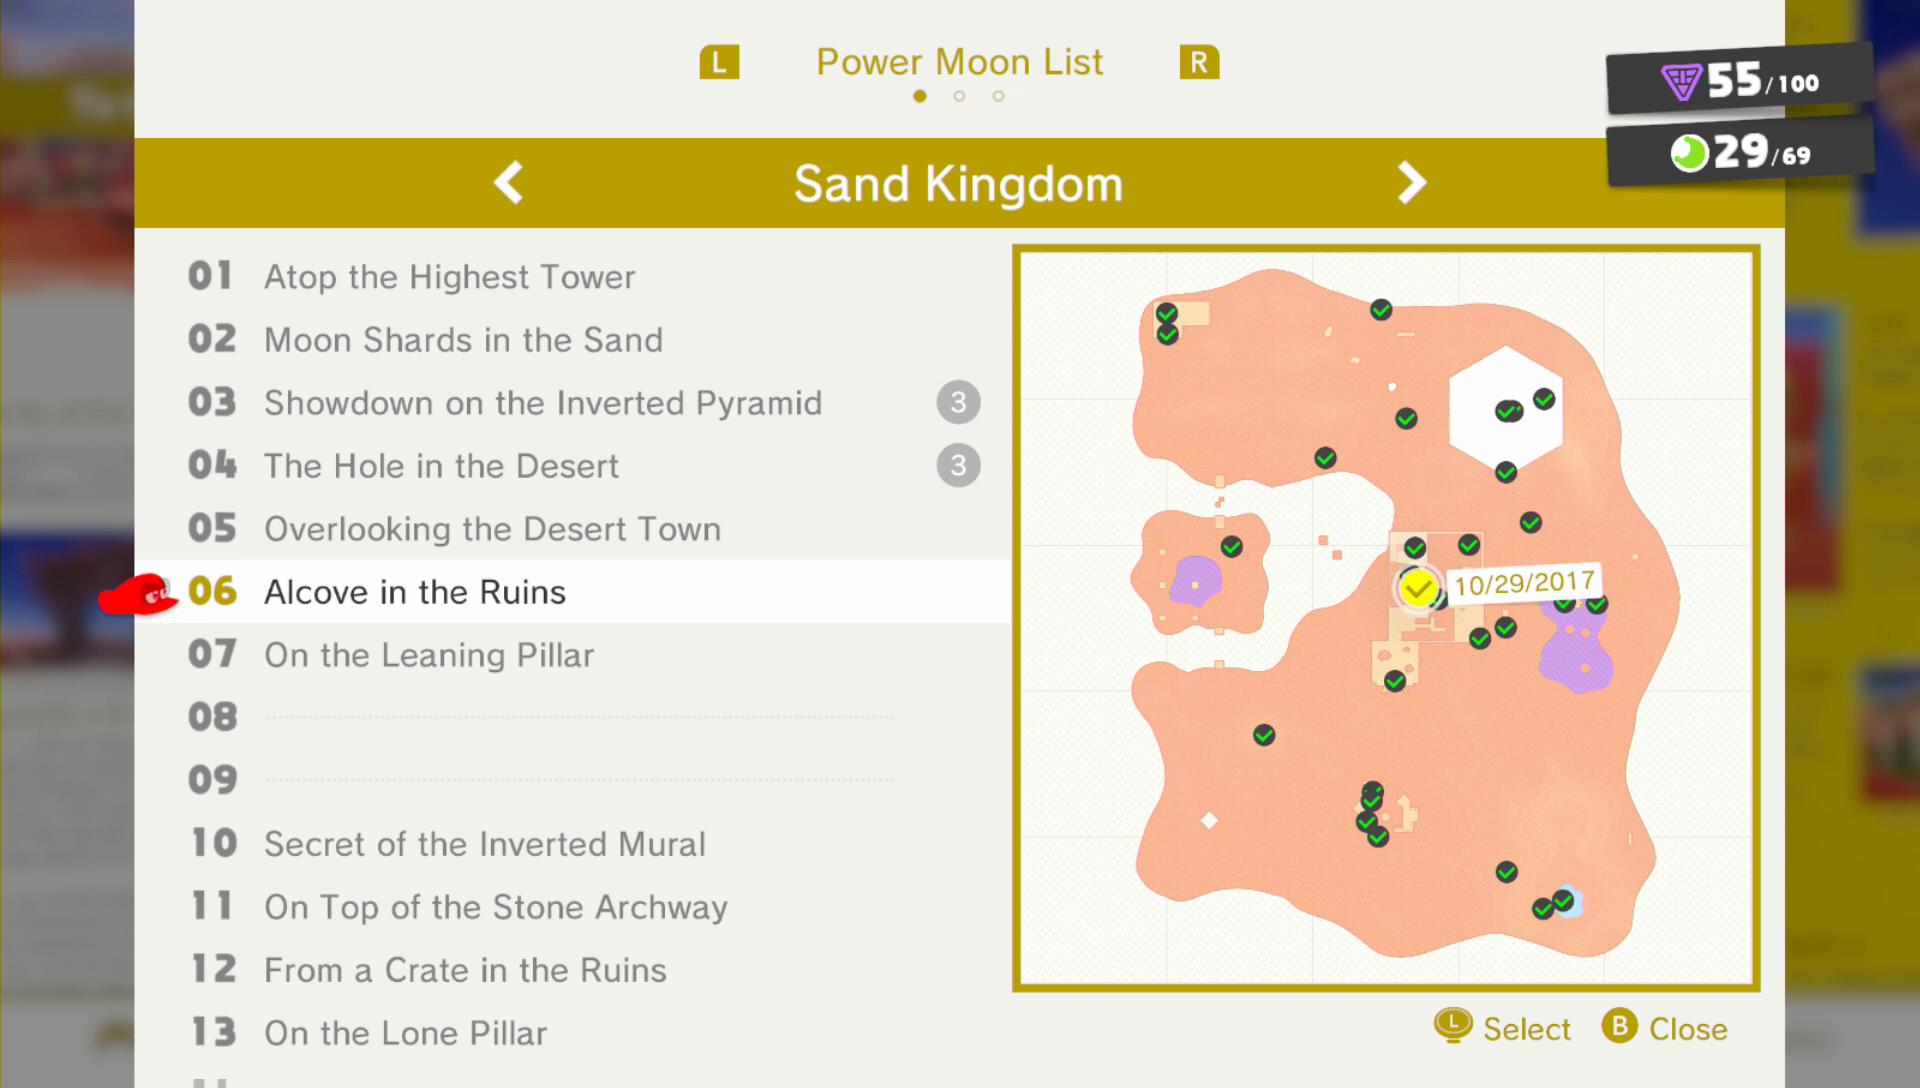
Take a look around the corner and you will find the Power Moon in the alcove in the quick sand area.
Power Moon 7 – On the Leaning Pillar

Capture a Bullet Bill to travel across to the Power Moon in the location marked on the map above.
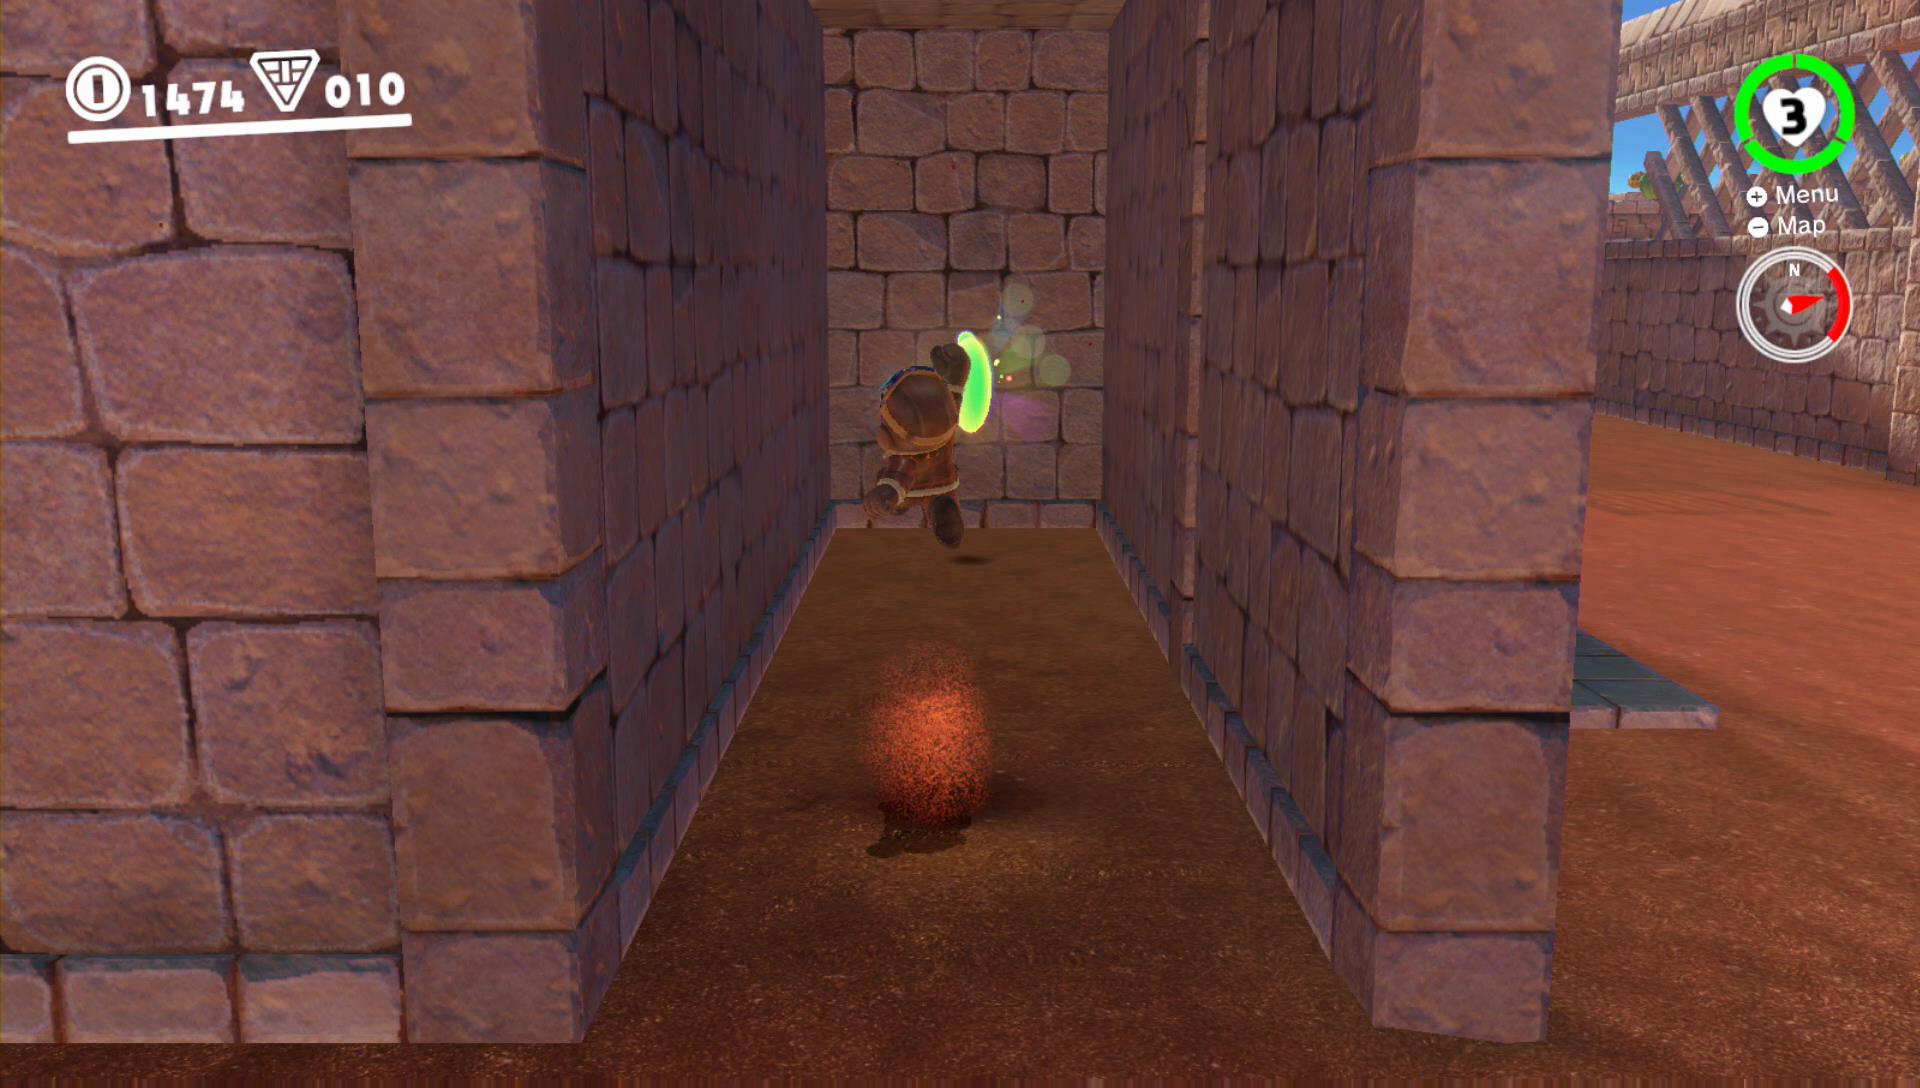
Power Moon 8 – Hidden Room in the Flowing Sands

Head to the quick sand area and check the rear wall. You will notice there is some space under the wall at some point. Drop a bit in the quick sand and jump up again after you crossed under the wall to find a hidden room.
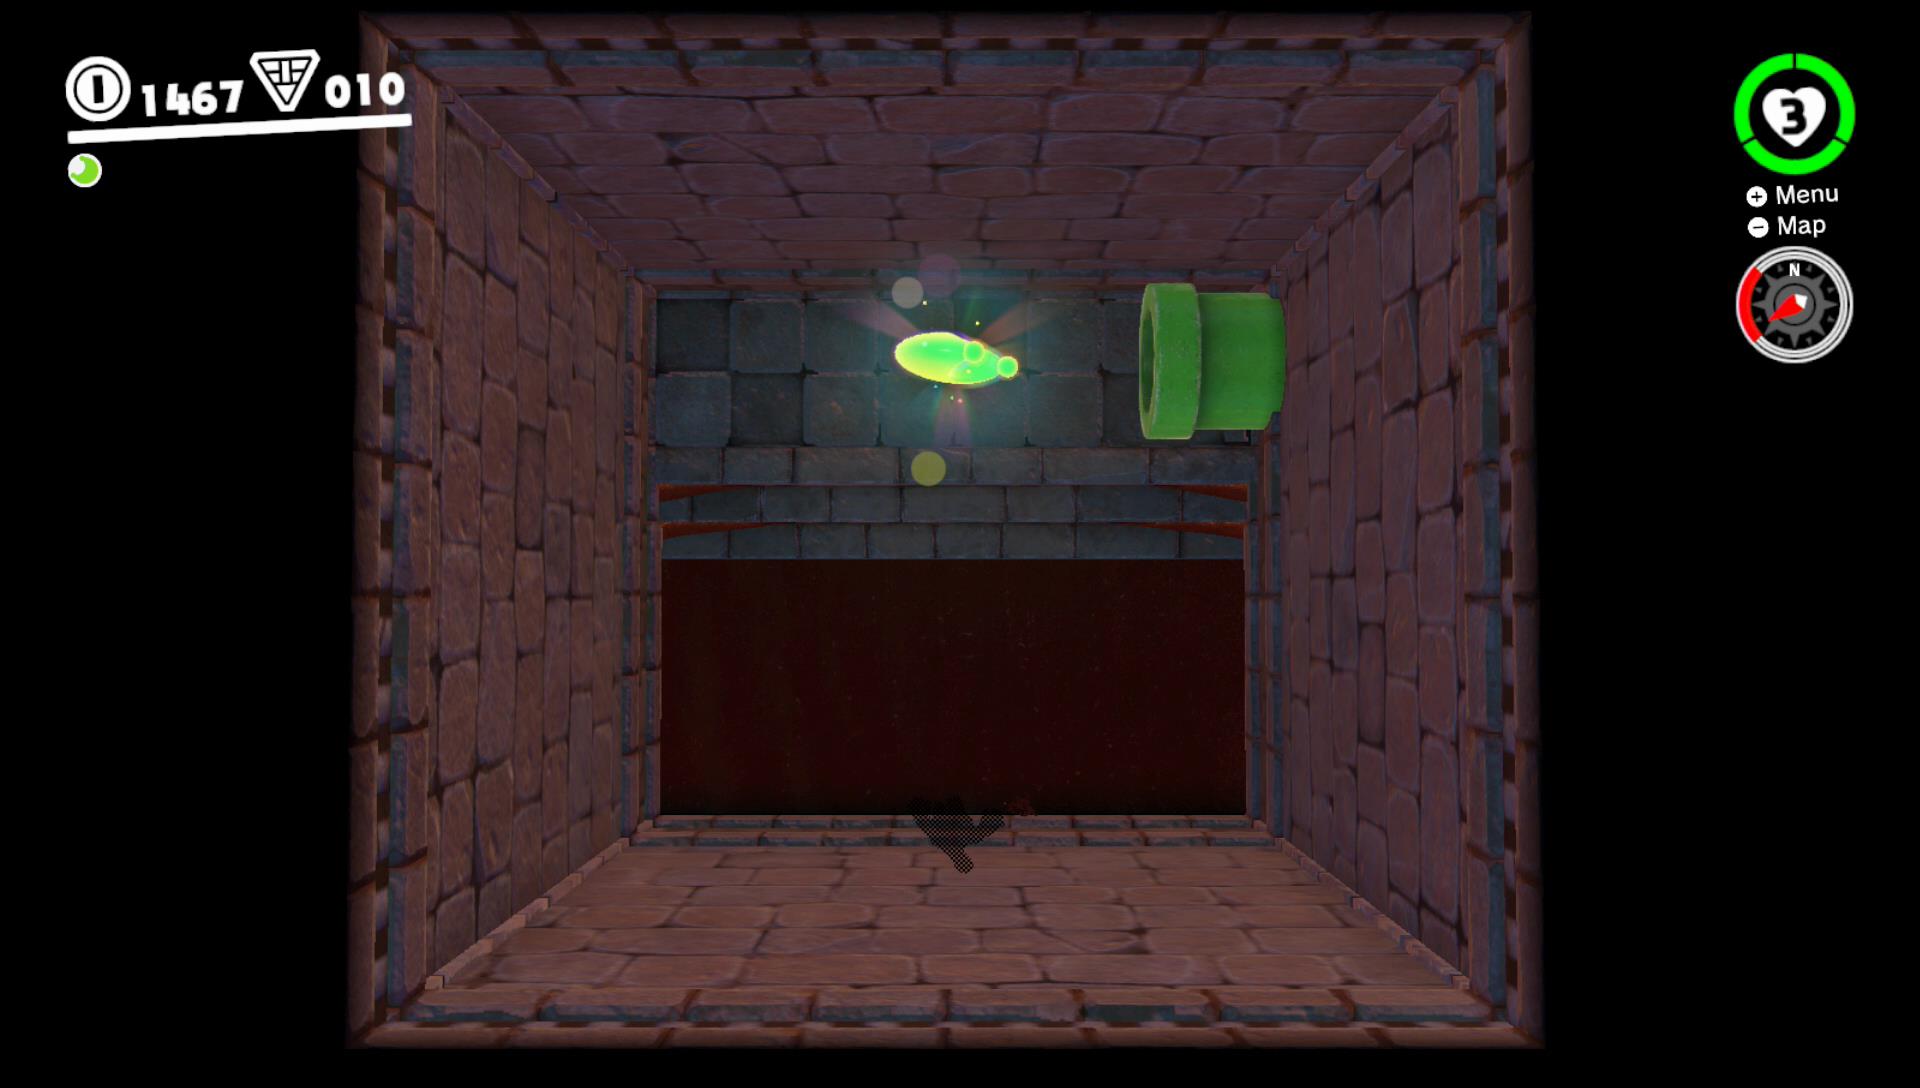
Power Moon 9 – Secret of the Mural
In the 2D tower area shortly before the end you can get behind a fake wall to find a Power Moon hidden there.
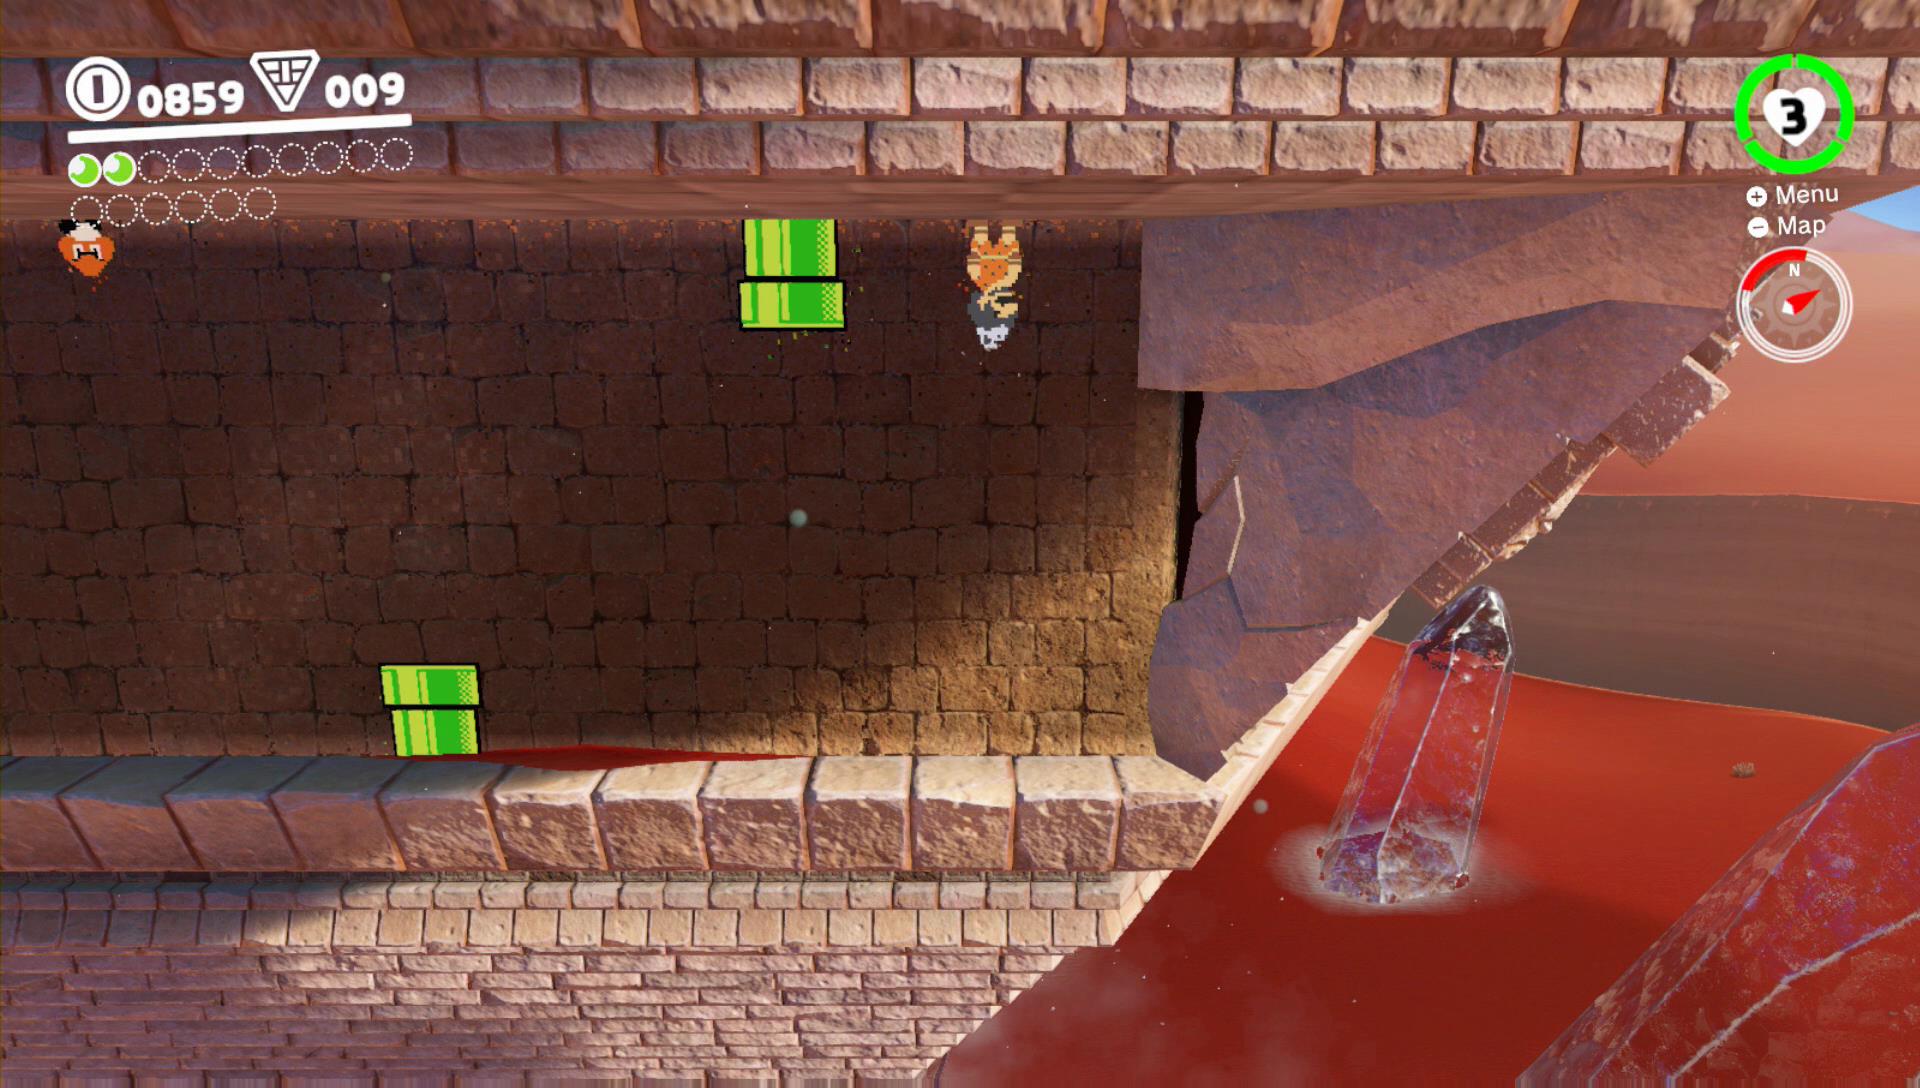
Power Moon 10 – Secret of the Inverted Mural

In the 2D-area of the inverted pyramid, instead of jumping into the green tube, keep going right and jump through the whole in the wall to find a Power Moon at the end.
 |
 |
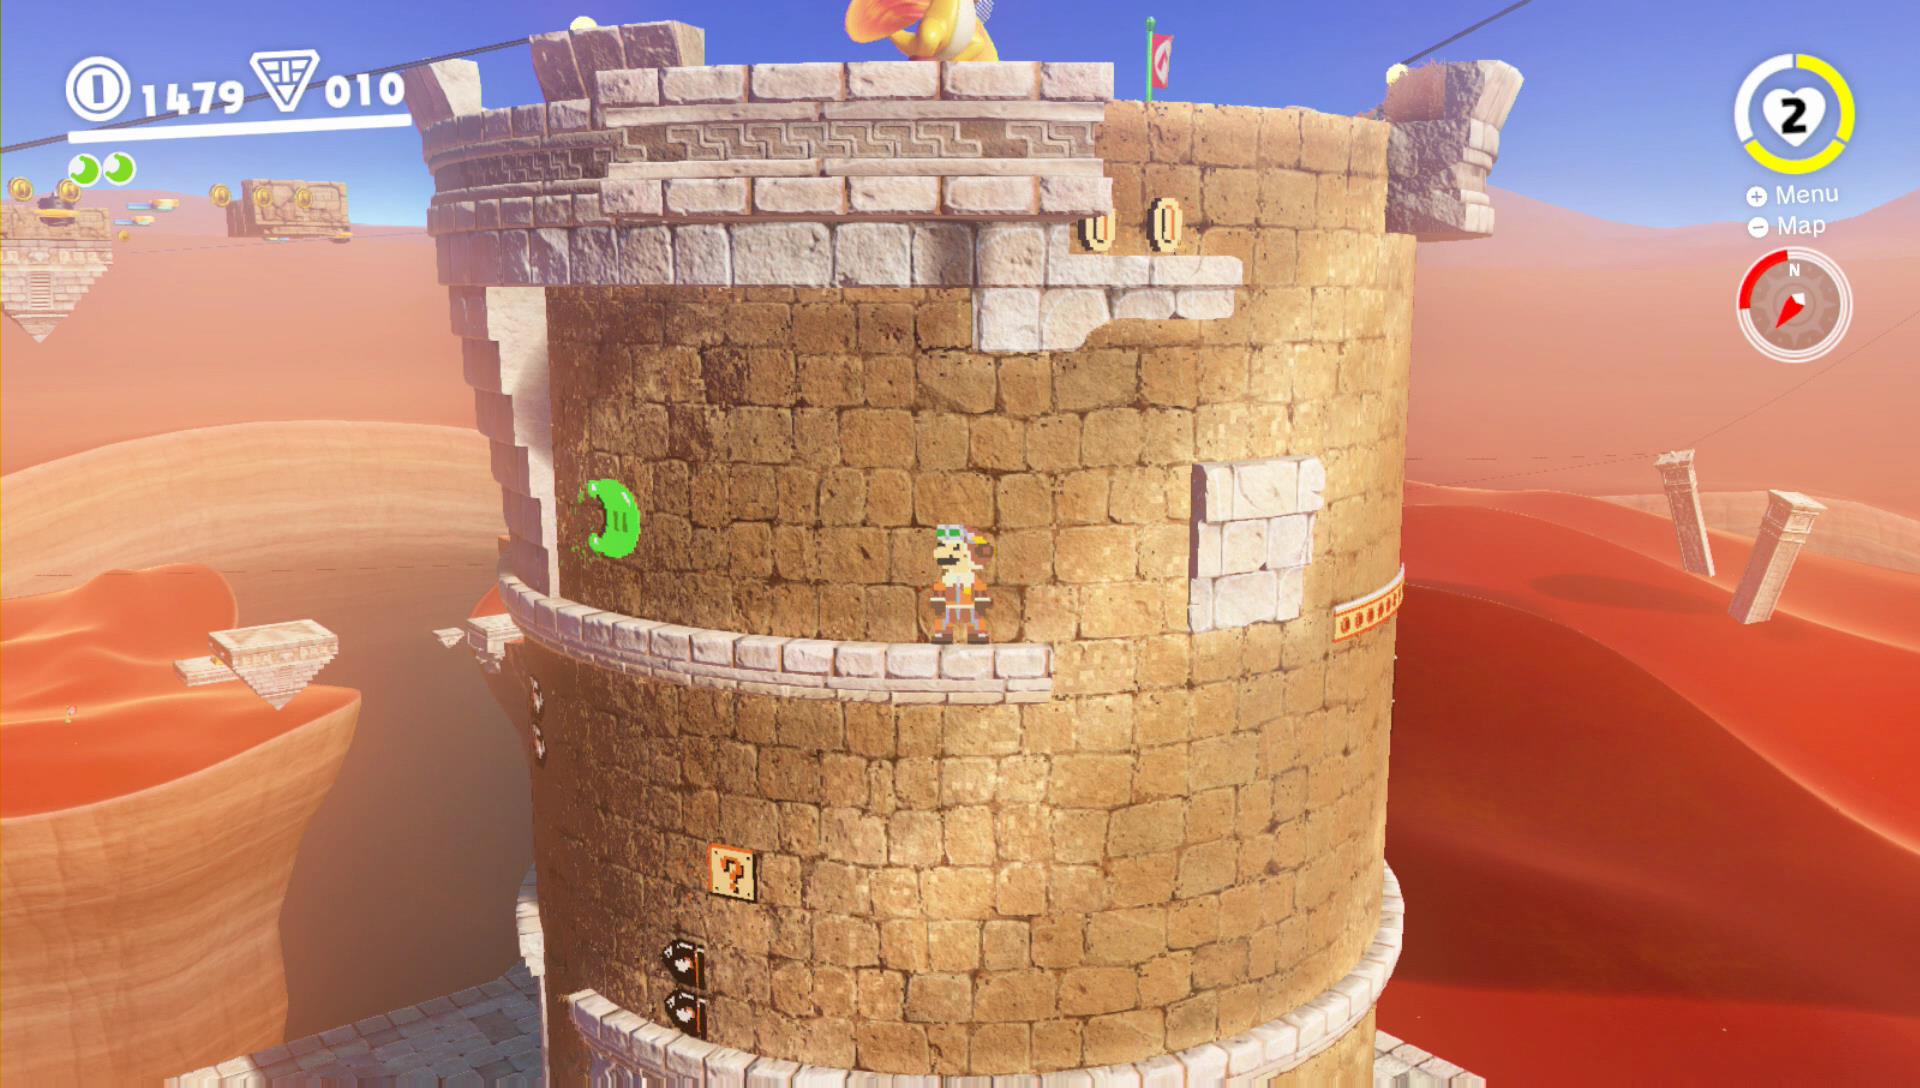
Power Moon 11 – On Top of the Stone Archway

Throw your cap at the power cables to turn Mario into electricity and travel toward the ruins. Shortly before ariving at the ruins press ZL button to cancel the transformation above the archway.
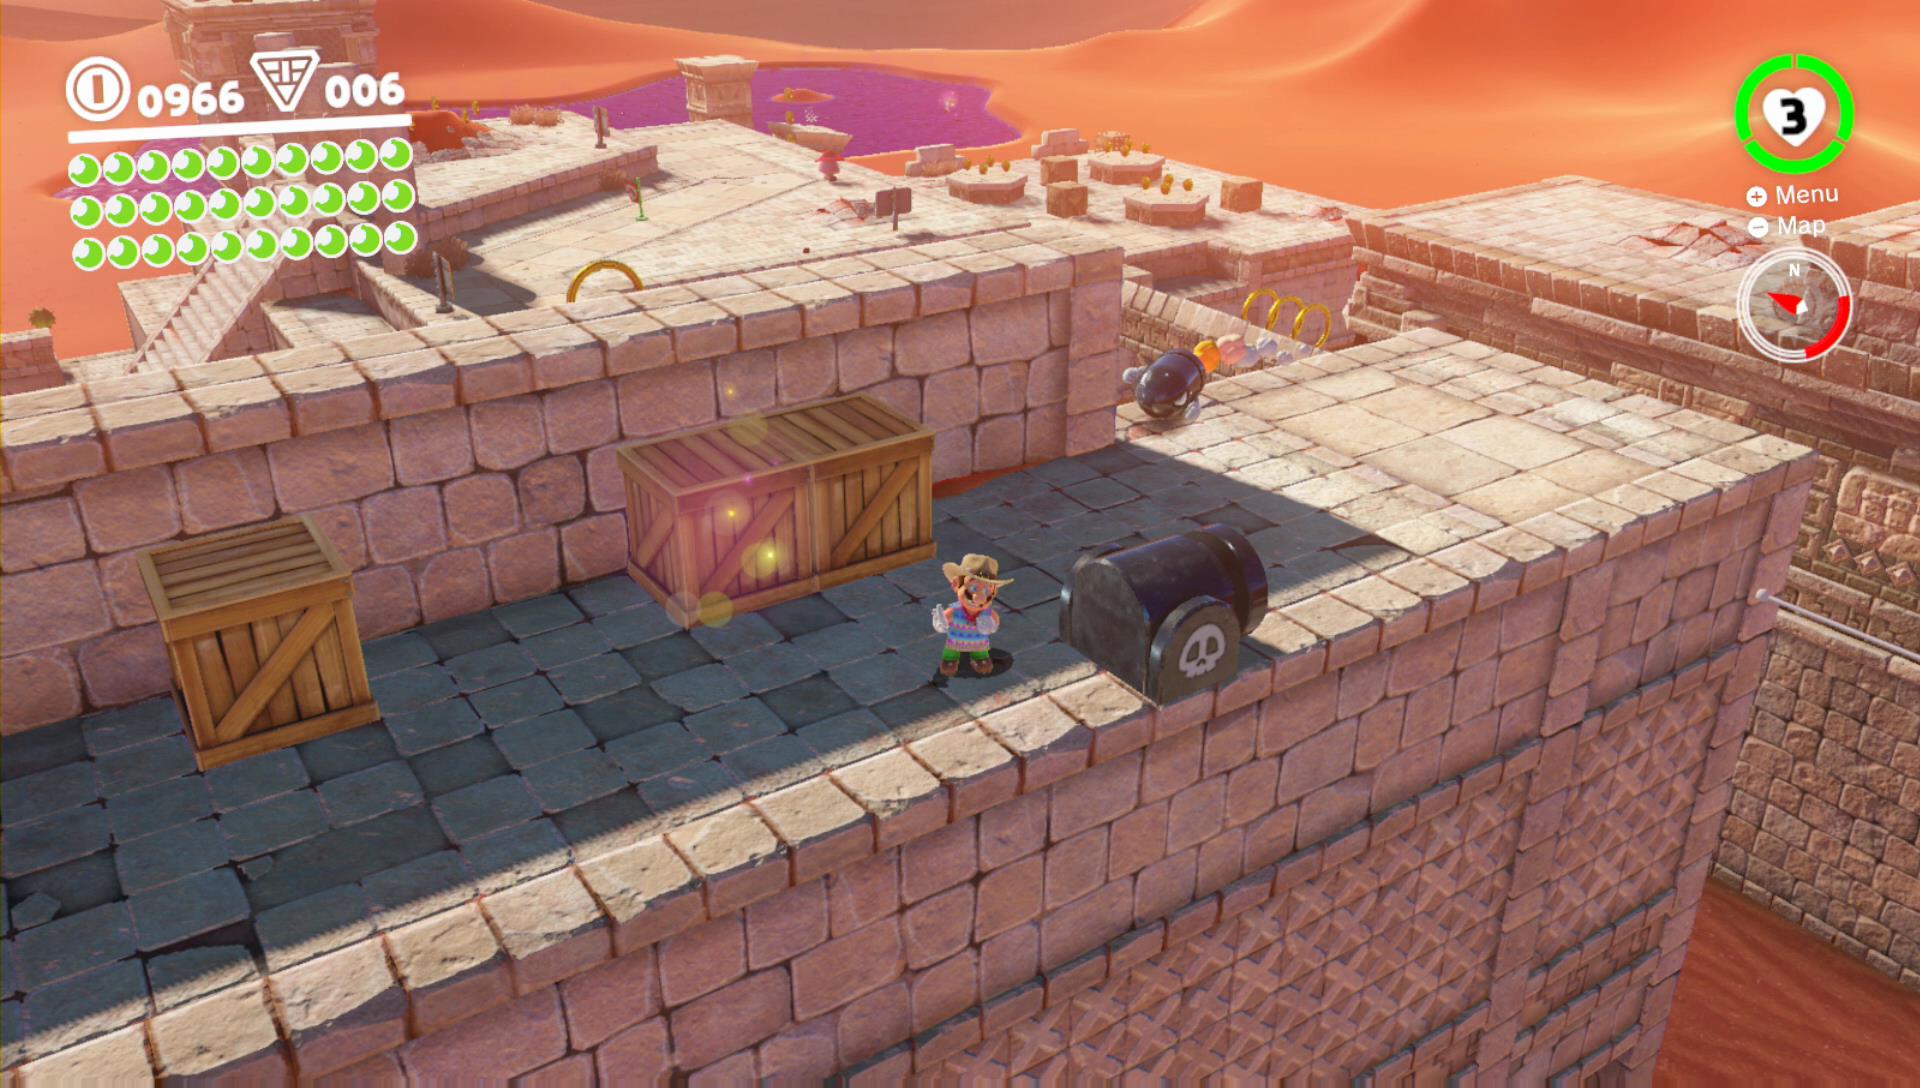
Power Moon 12 – From a Crate in the Ruins
You can see the Power Moon shining through the crate. Use your cap on a Bullet Bill and destroy the crate. The Power Moon will spawn on the ledge across the gap. Once again use Bullet Bill to travel there.
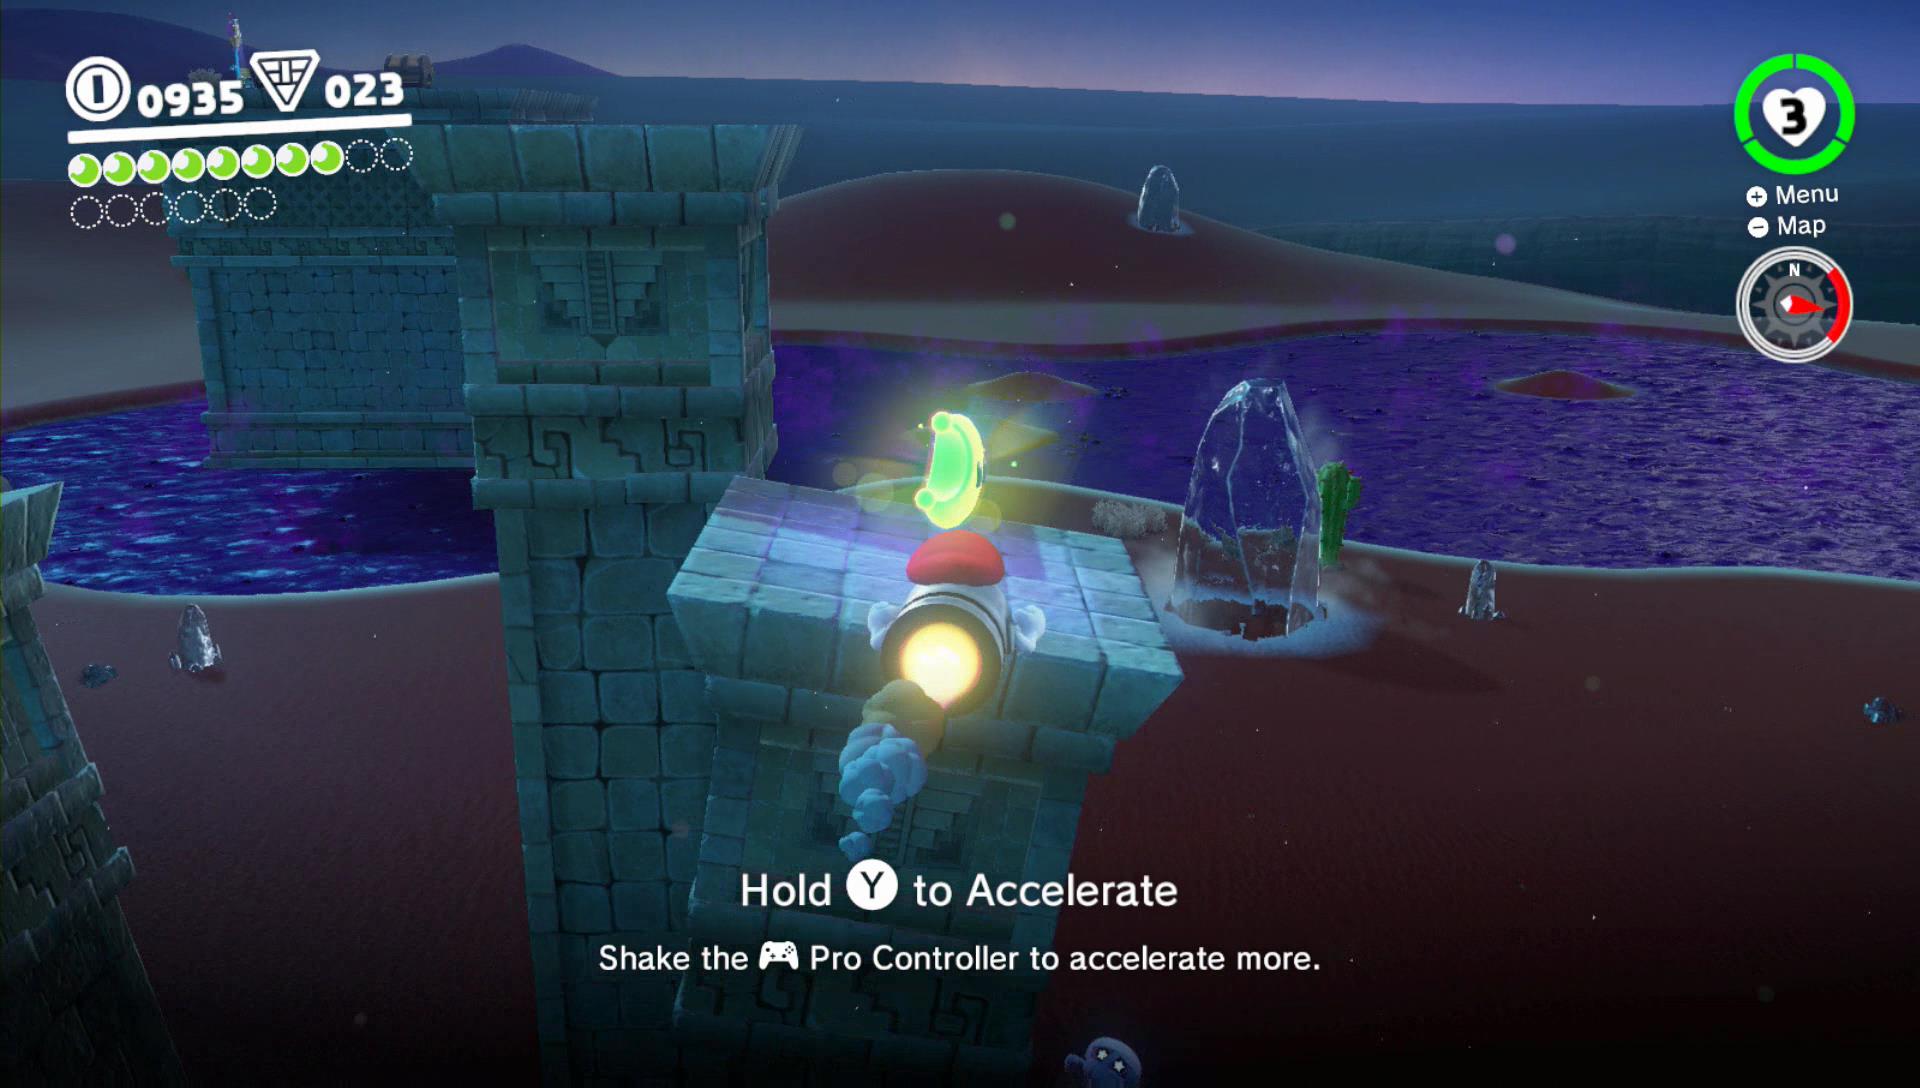
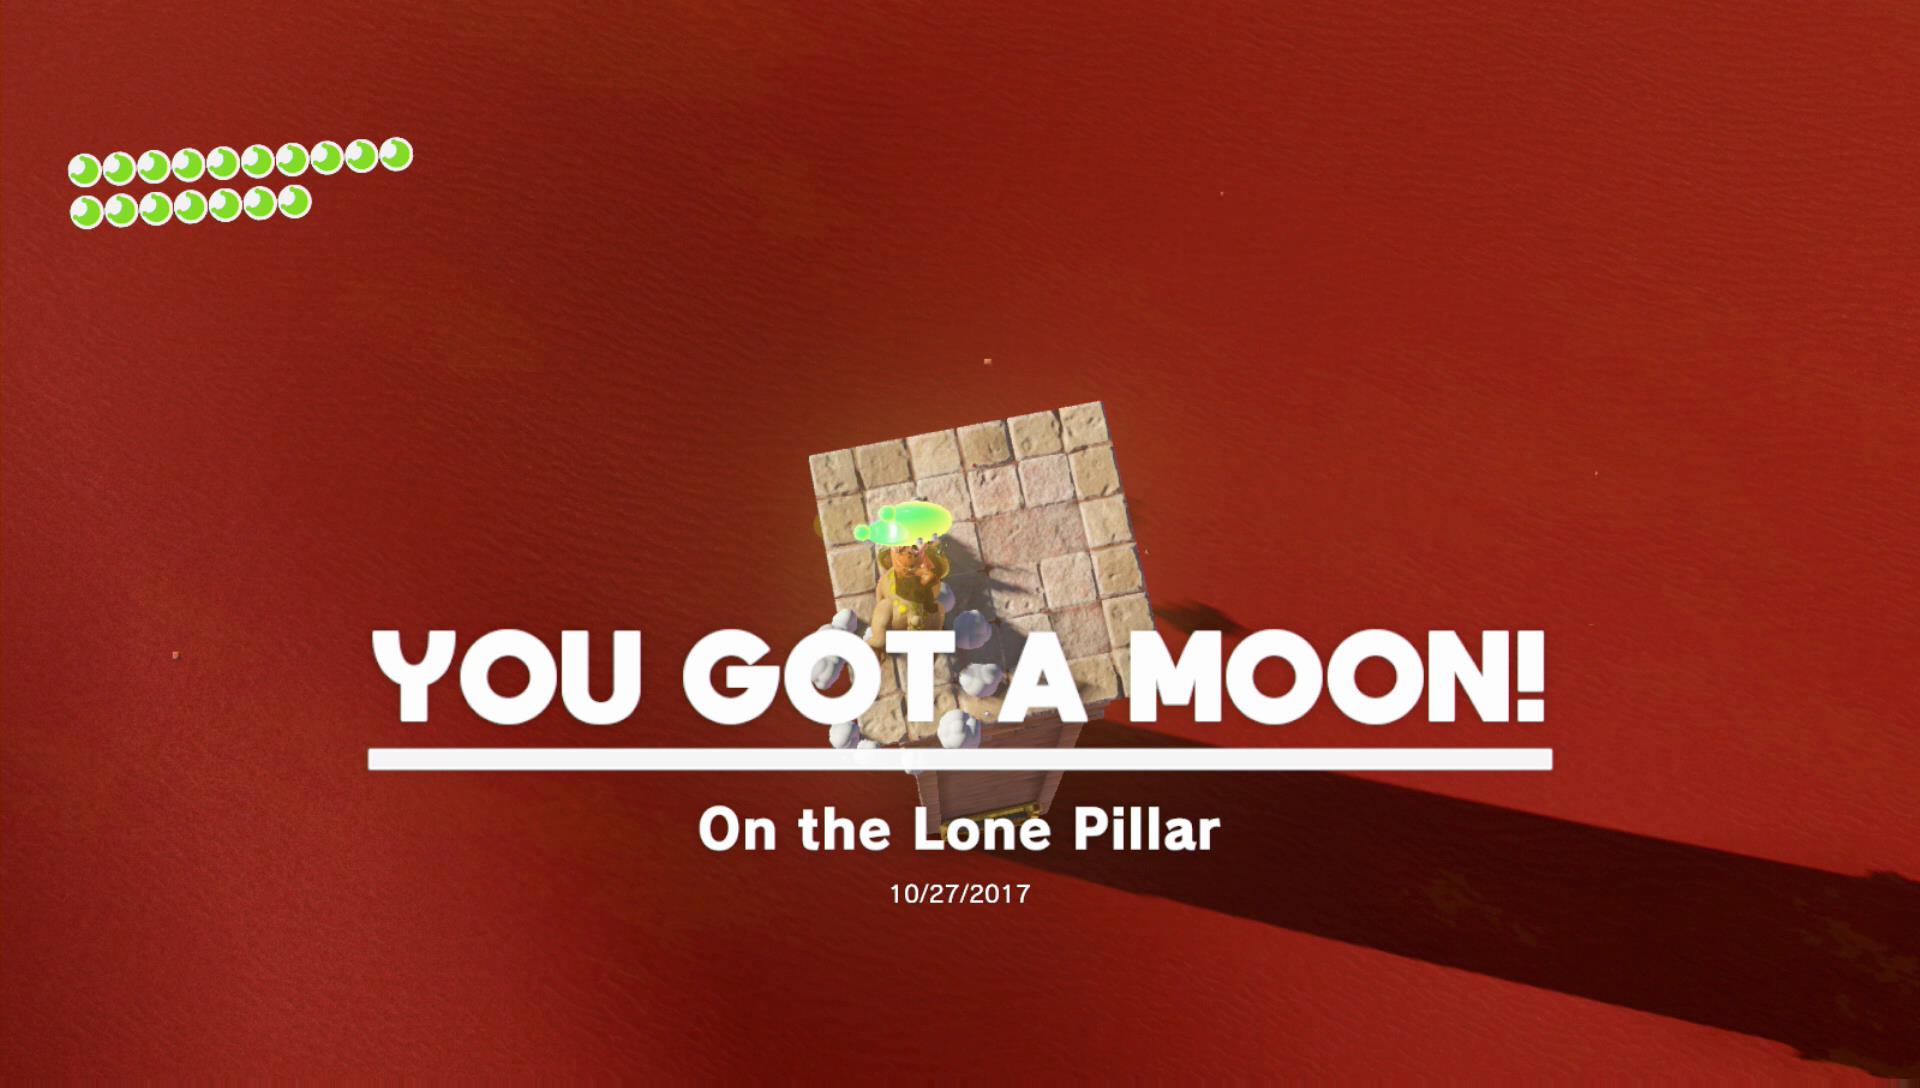
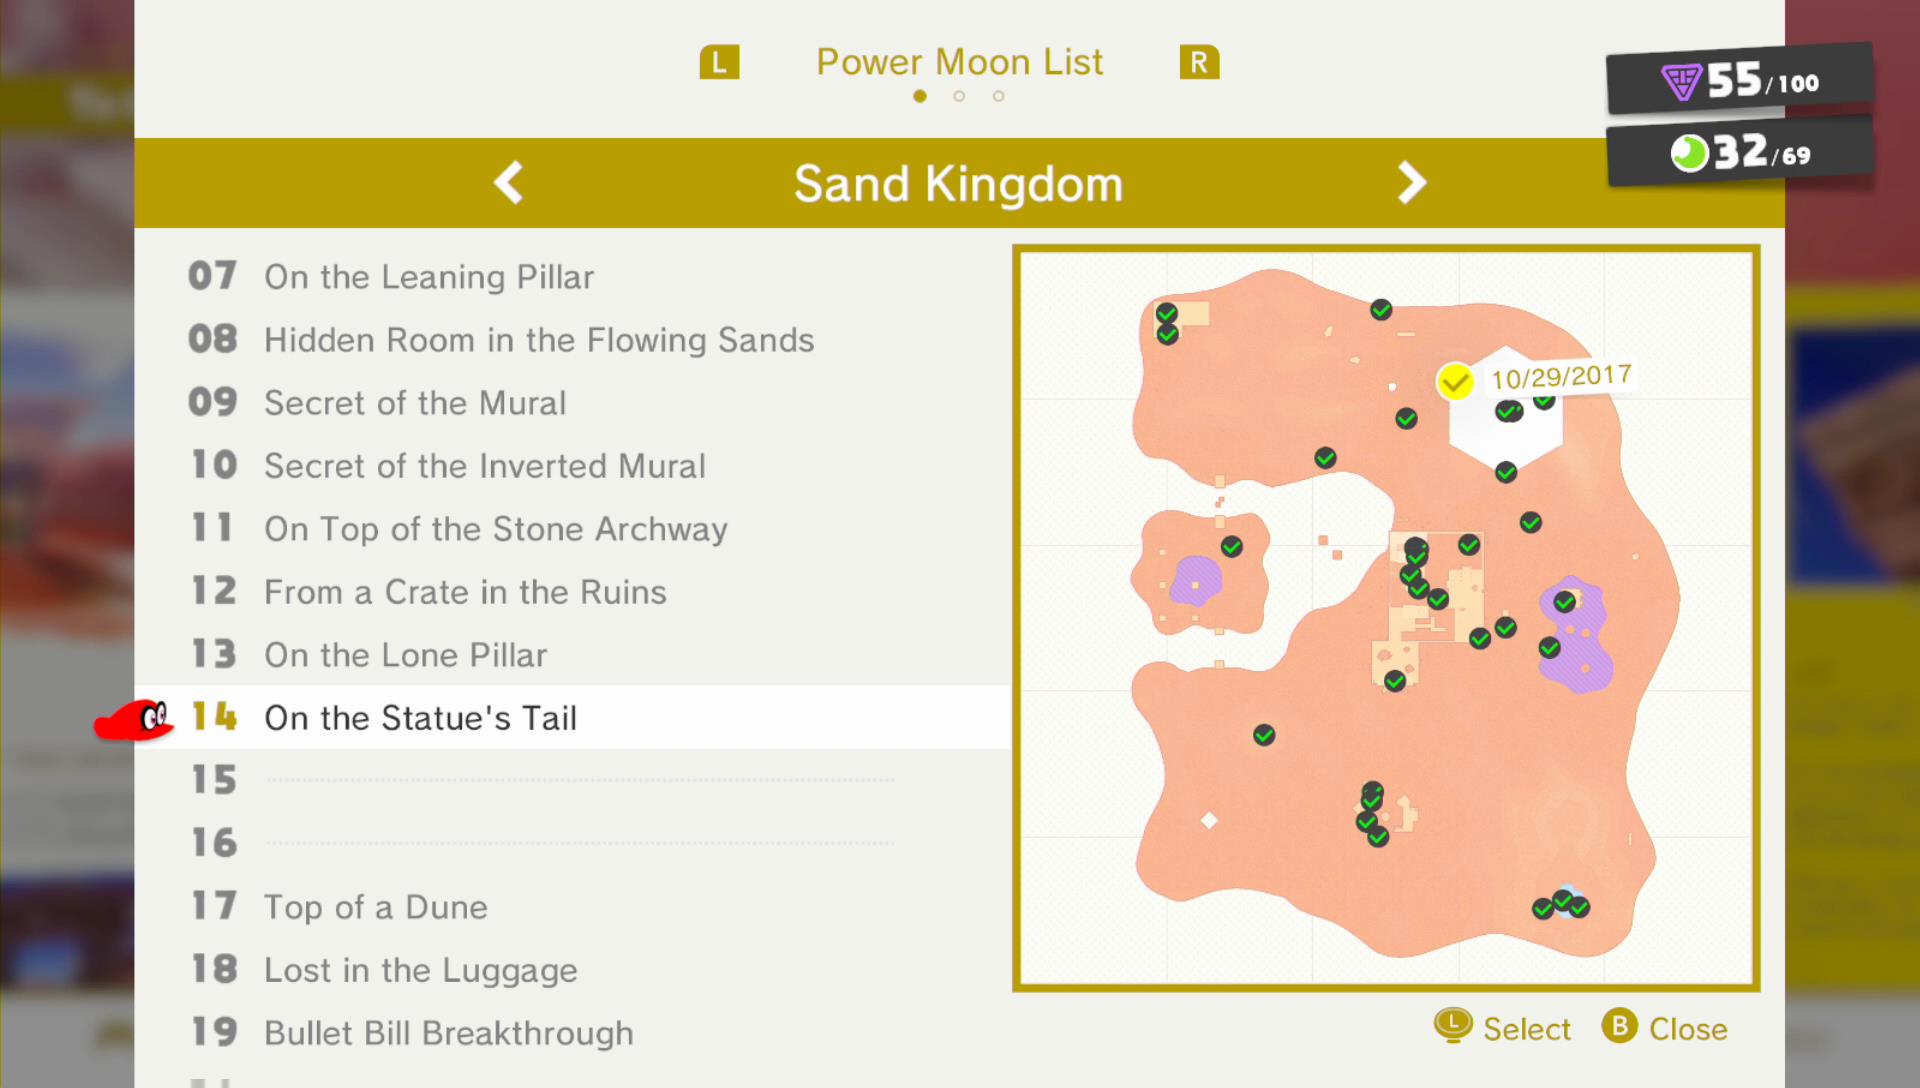
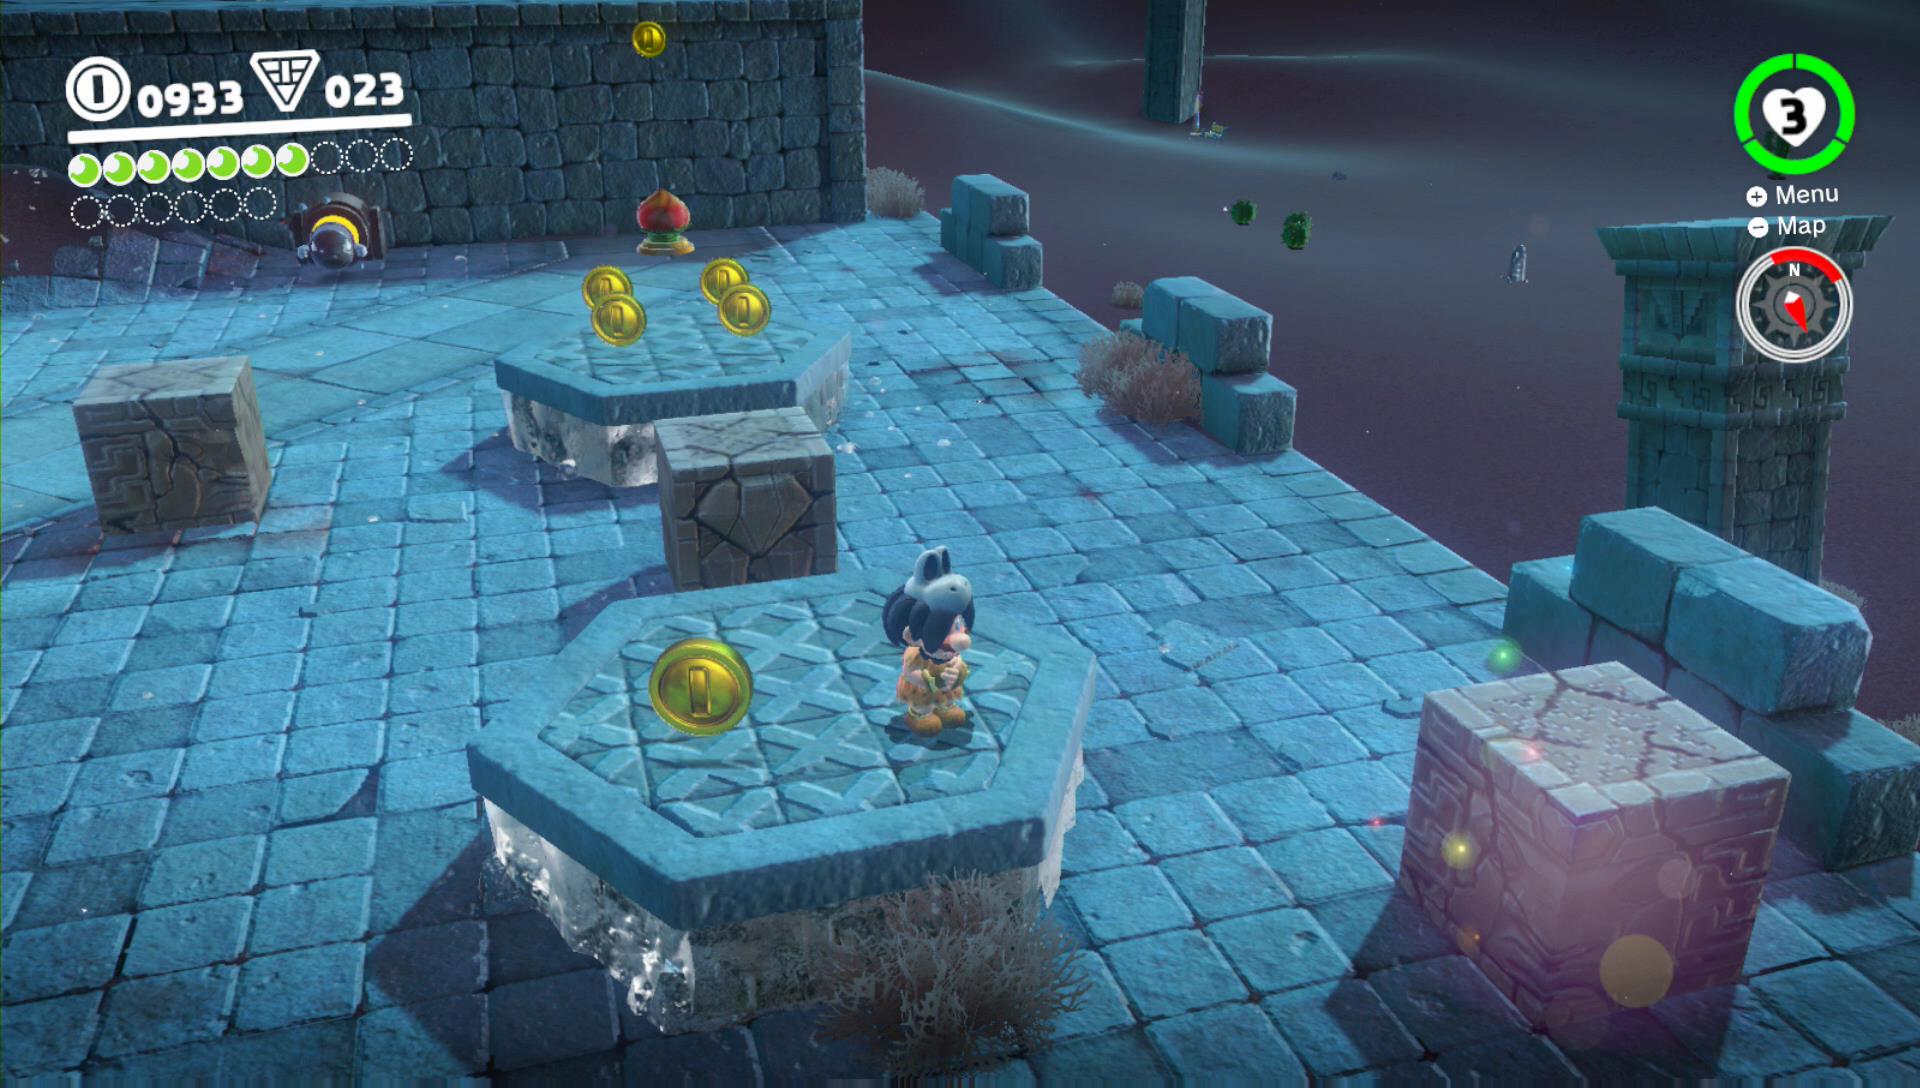
Power Moon 13 – On the Lone Pillar

This one will be on top a pillar in the desert. There are 2 ways to collect it there. The regular way is to capture a Glydon sitting on top of the ruins and glide across to the pillar. The second, more stylish, however, extremely stupid way is to use a Jaxi and dash to the pillar from top of the pyramid. Both way work as you can see in the picture below but i wouldn’t recommend using Jaxi for it.
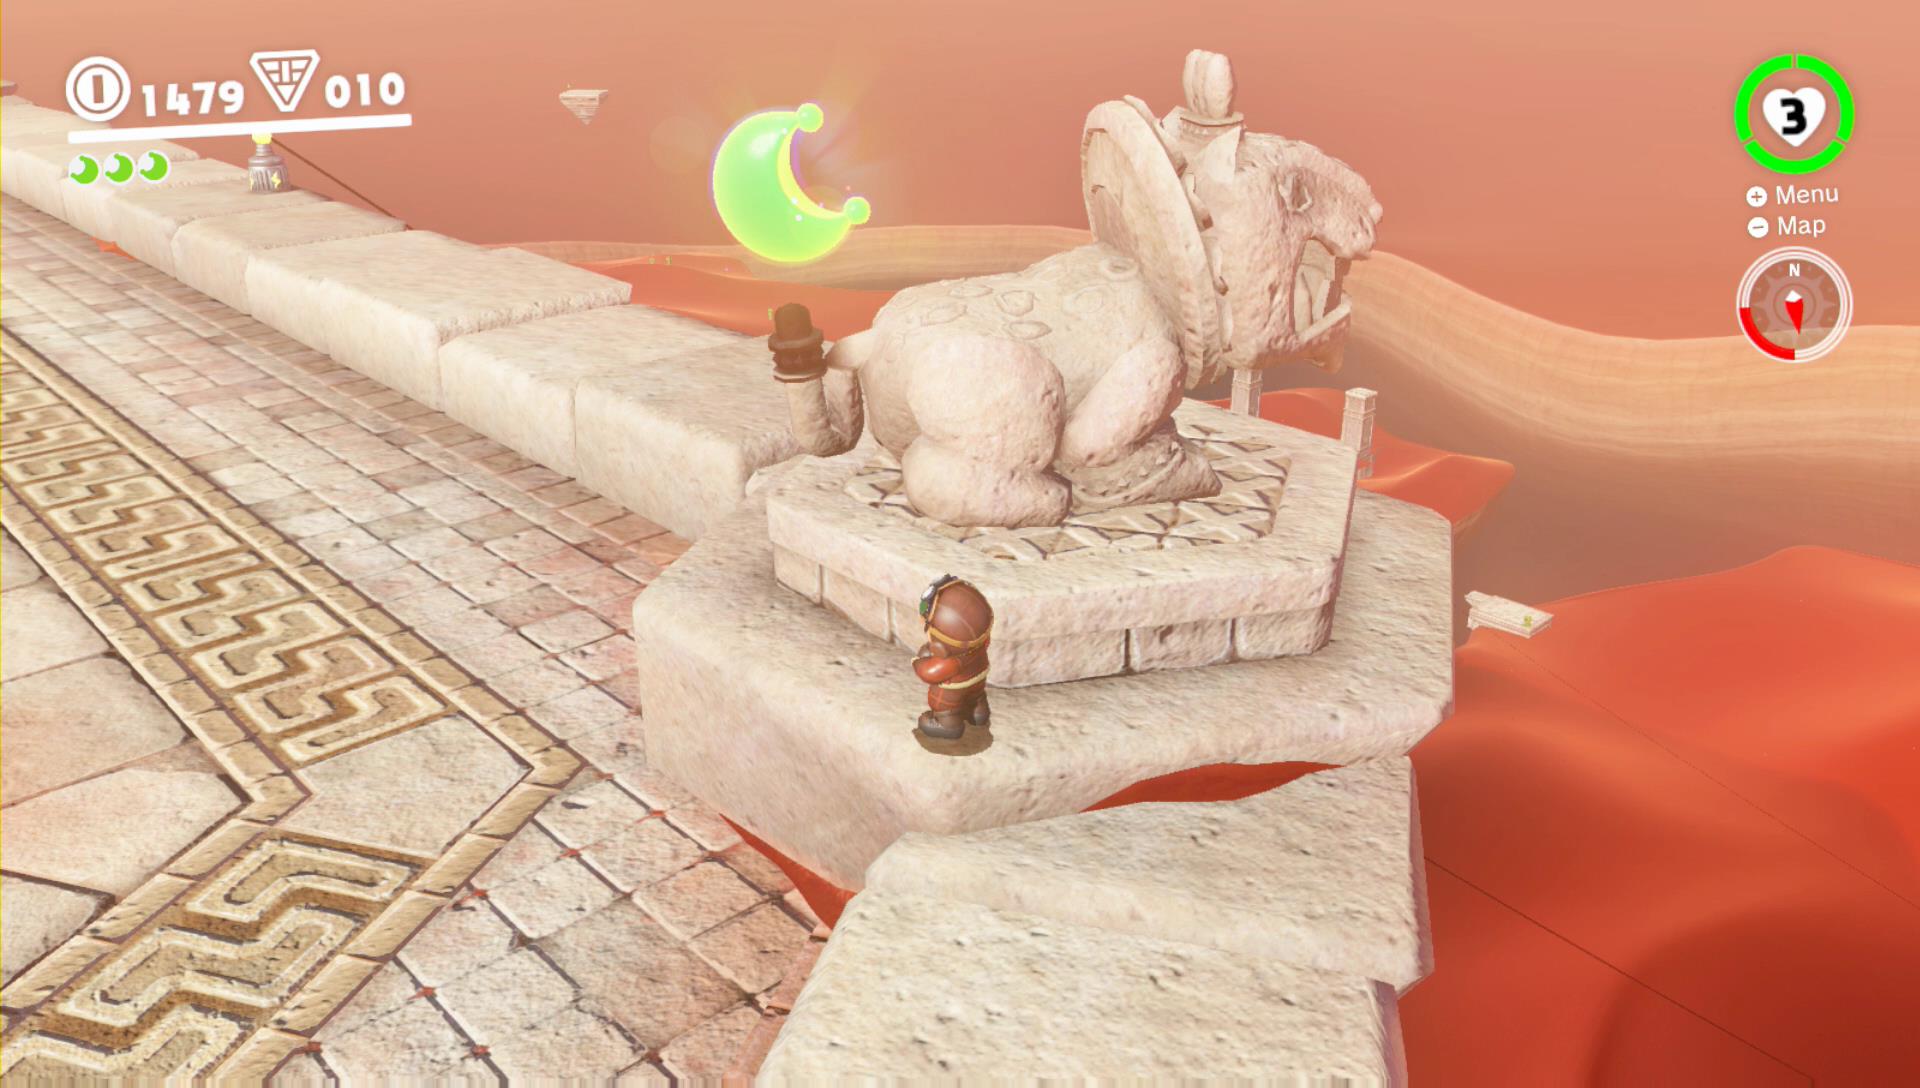
Power Moon 14 – On the Leaning Pillar
On top of the inverted pyramid throw your cap at the shining Jaxi tail and keep holding the cap button. Your cap will start spinning on th etail and a Power Moon will appear.
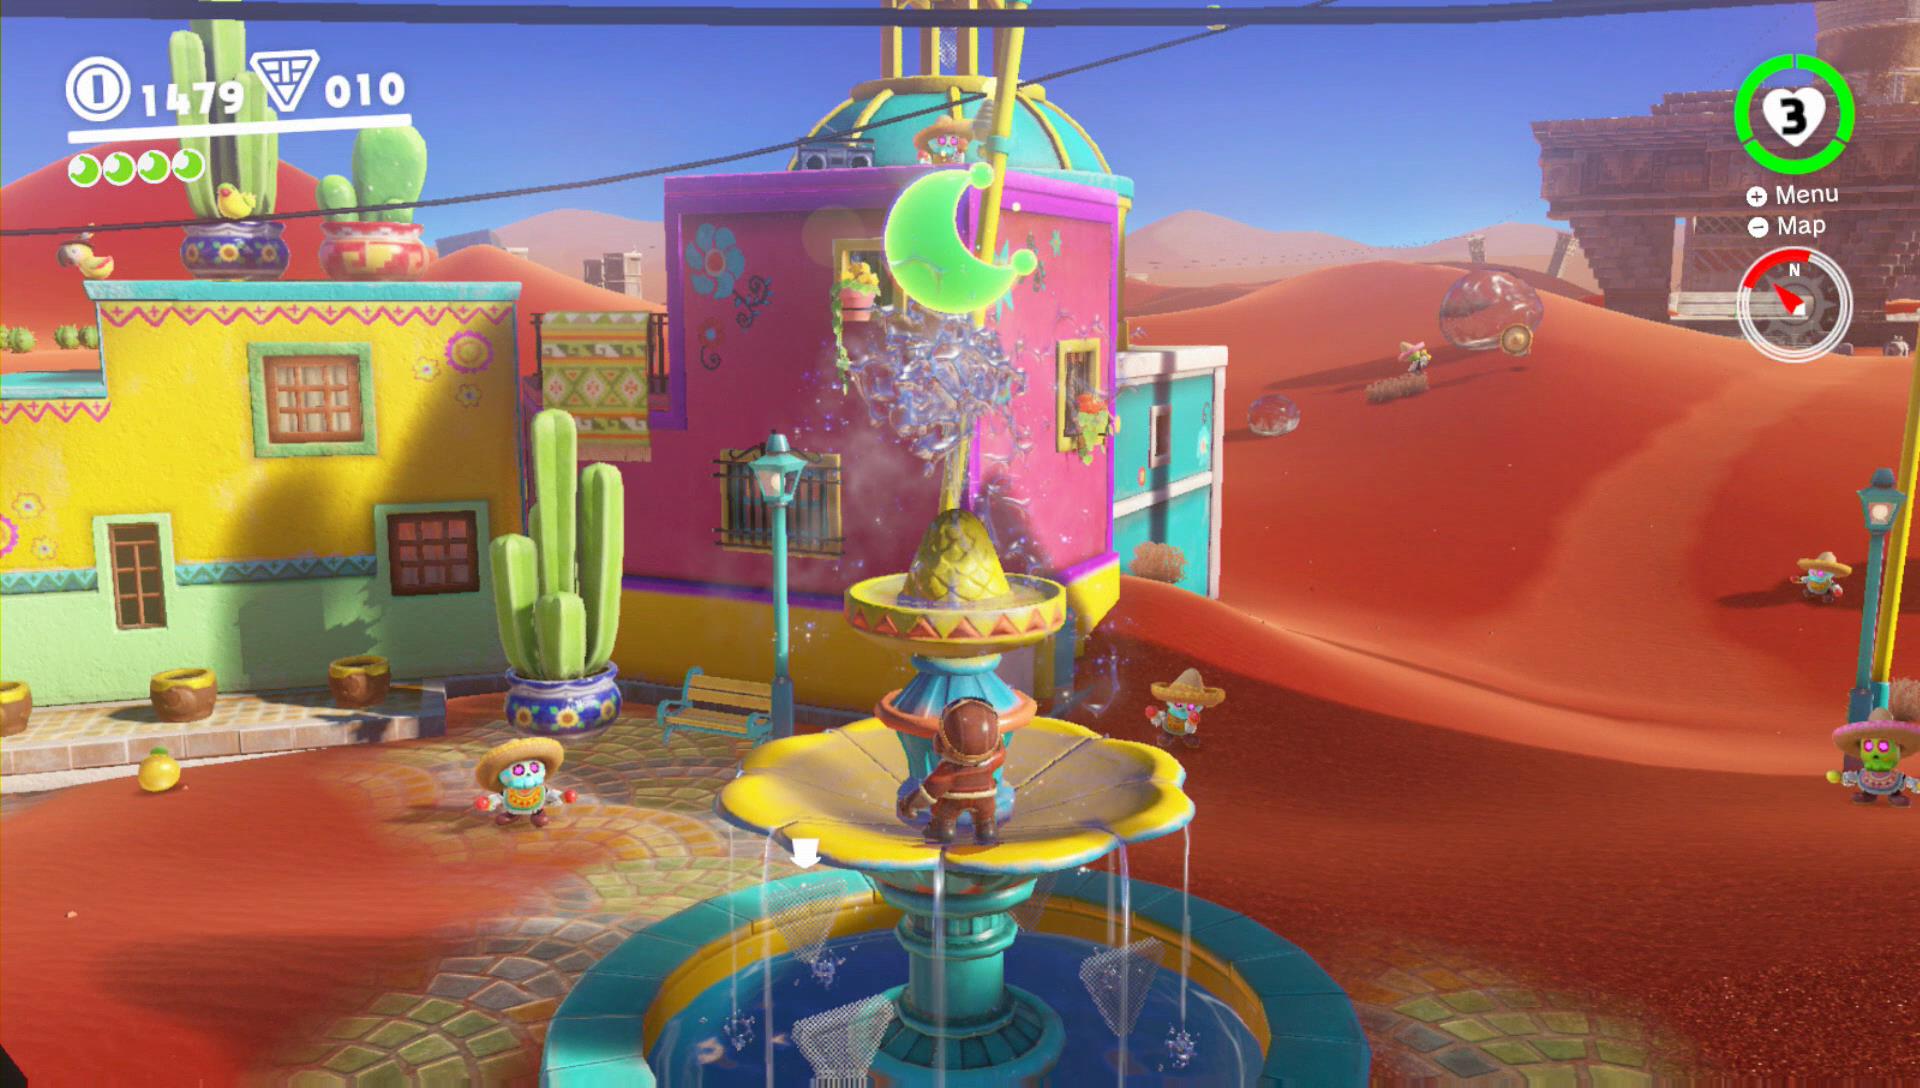
Power Moon 15 – Hand Your Hat on the Fountain
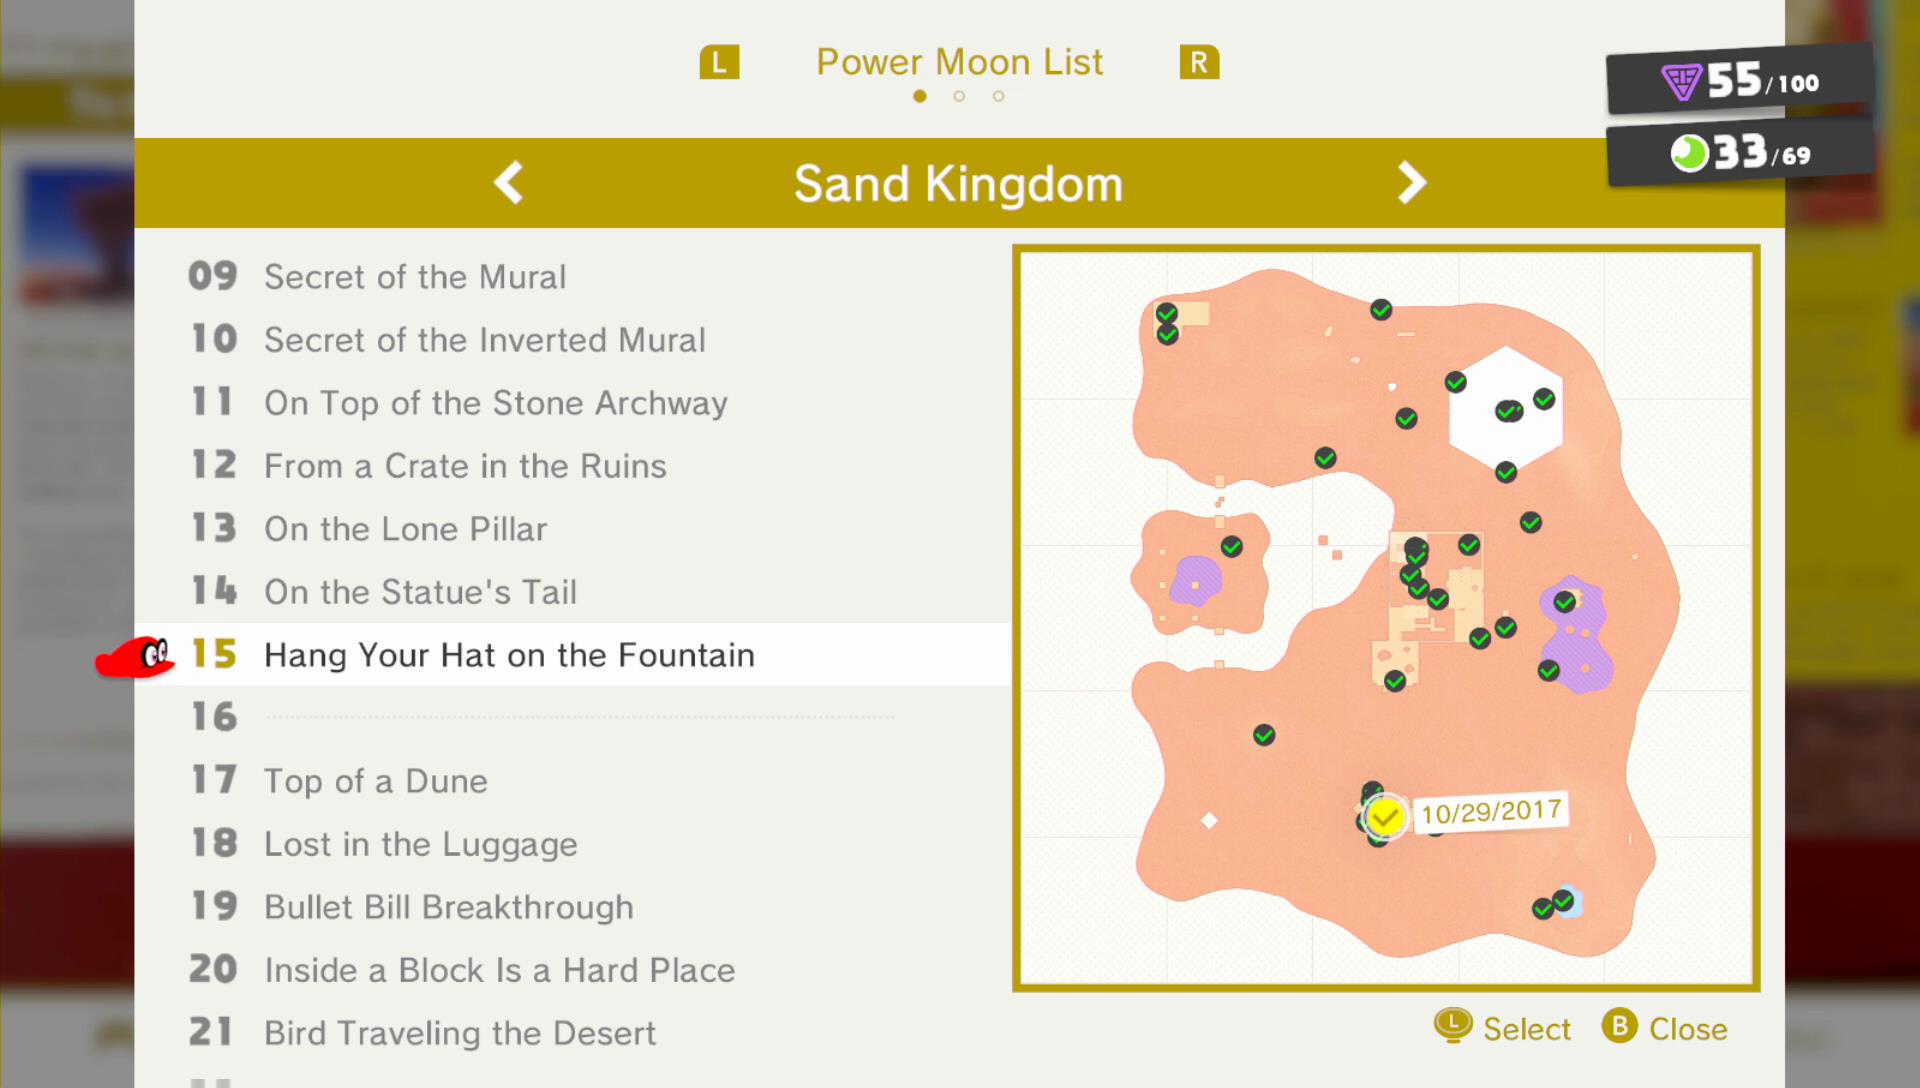
Just like with the previous one. Spin your hat on top the fountain in the town area and a Power Moon will appear.
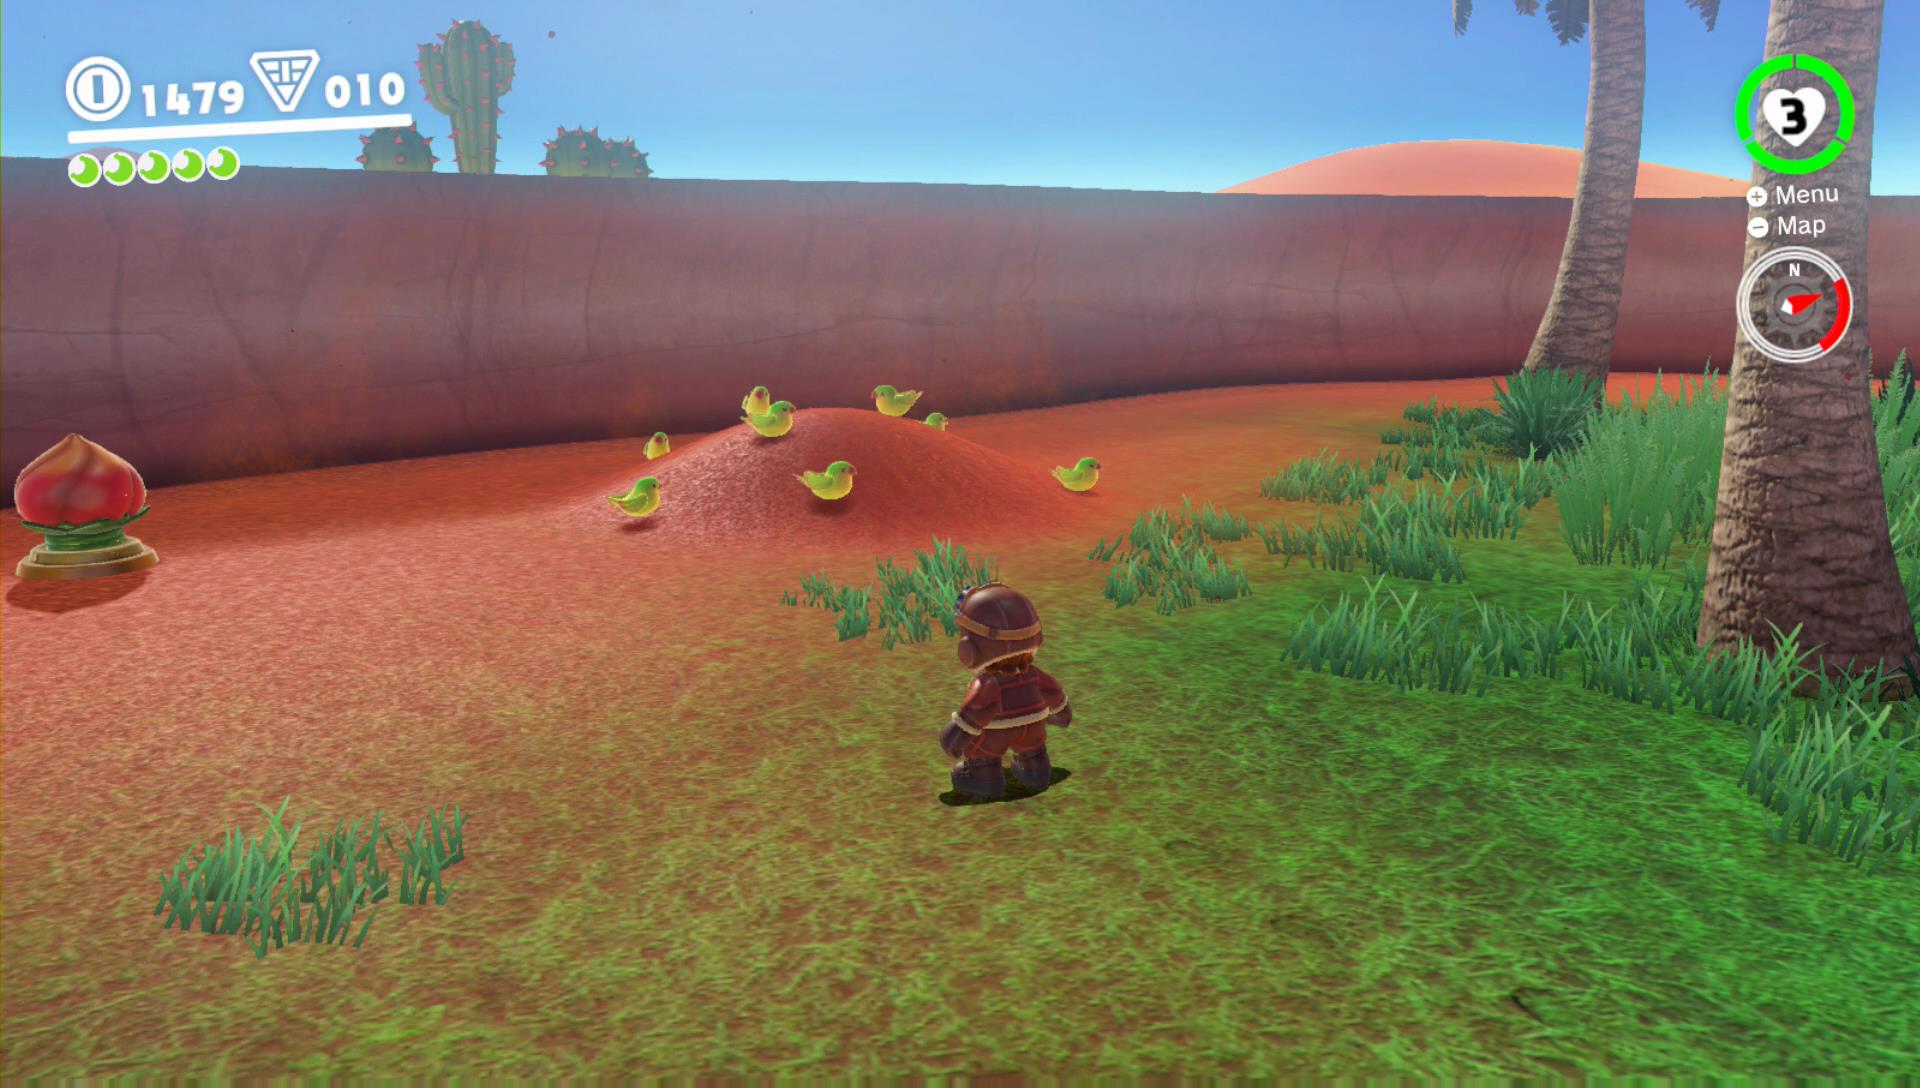
Power Moon 16 – Where the Birds Gather
In the oasis area use your butt-slam on the sand dune where the birds are gathered to reveal the Power Moon.
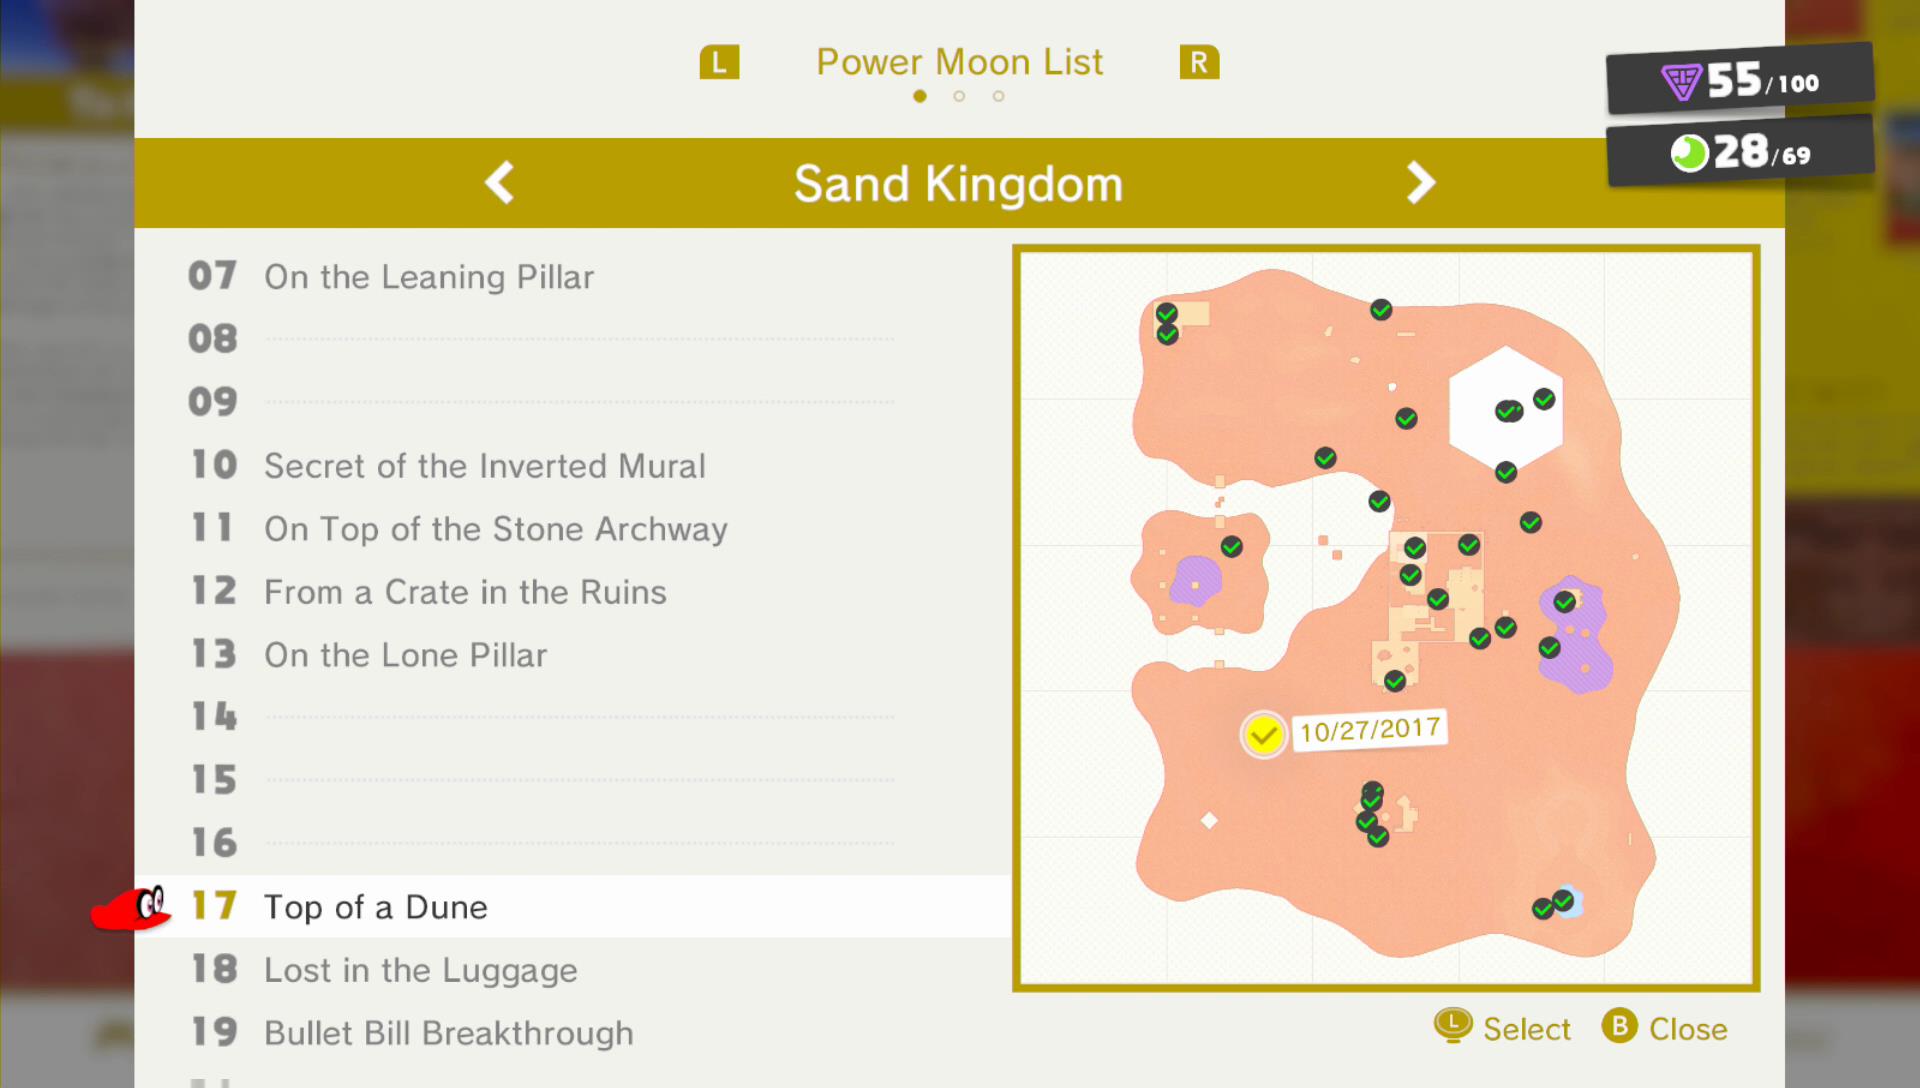
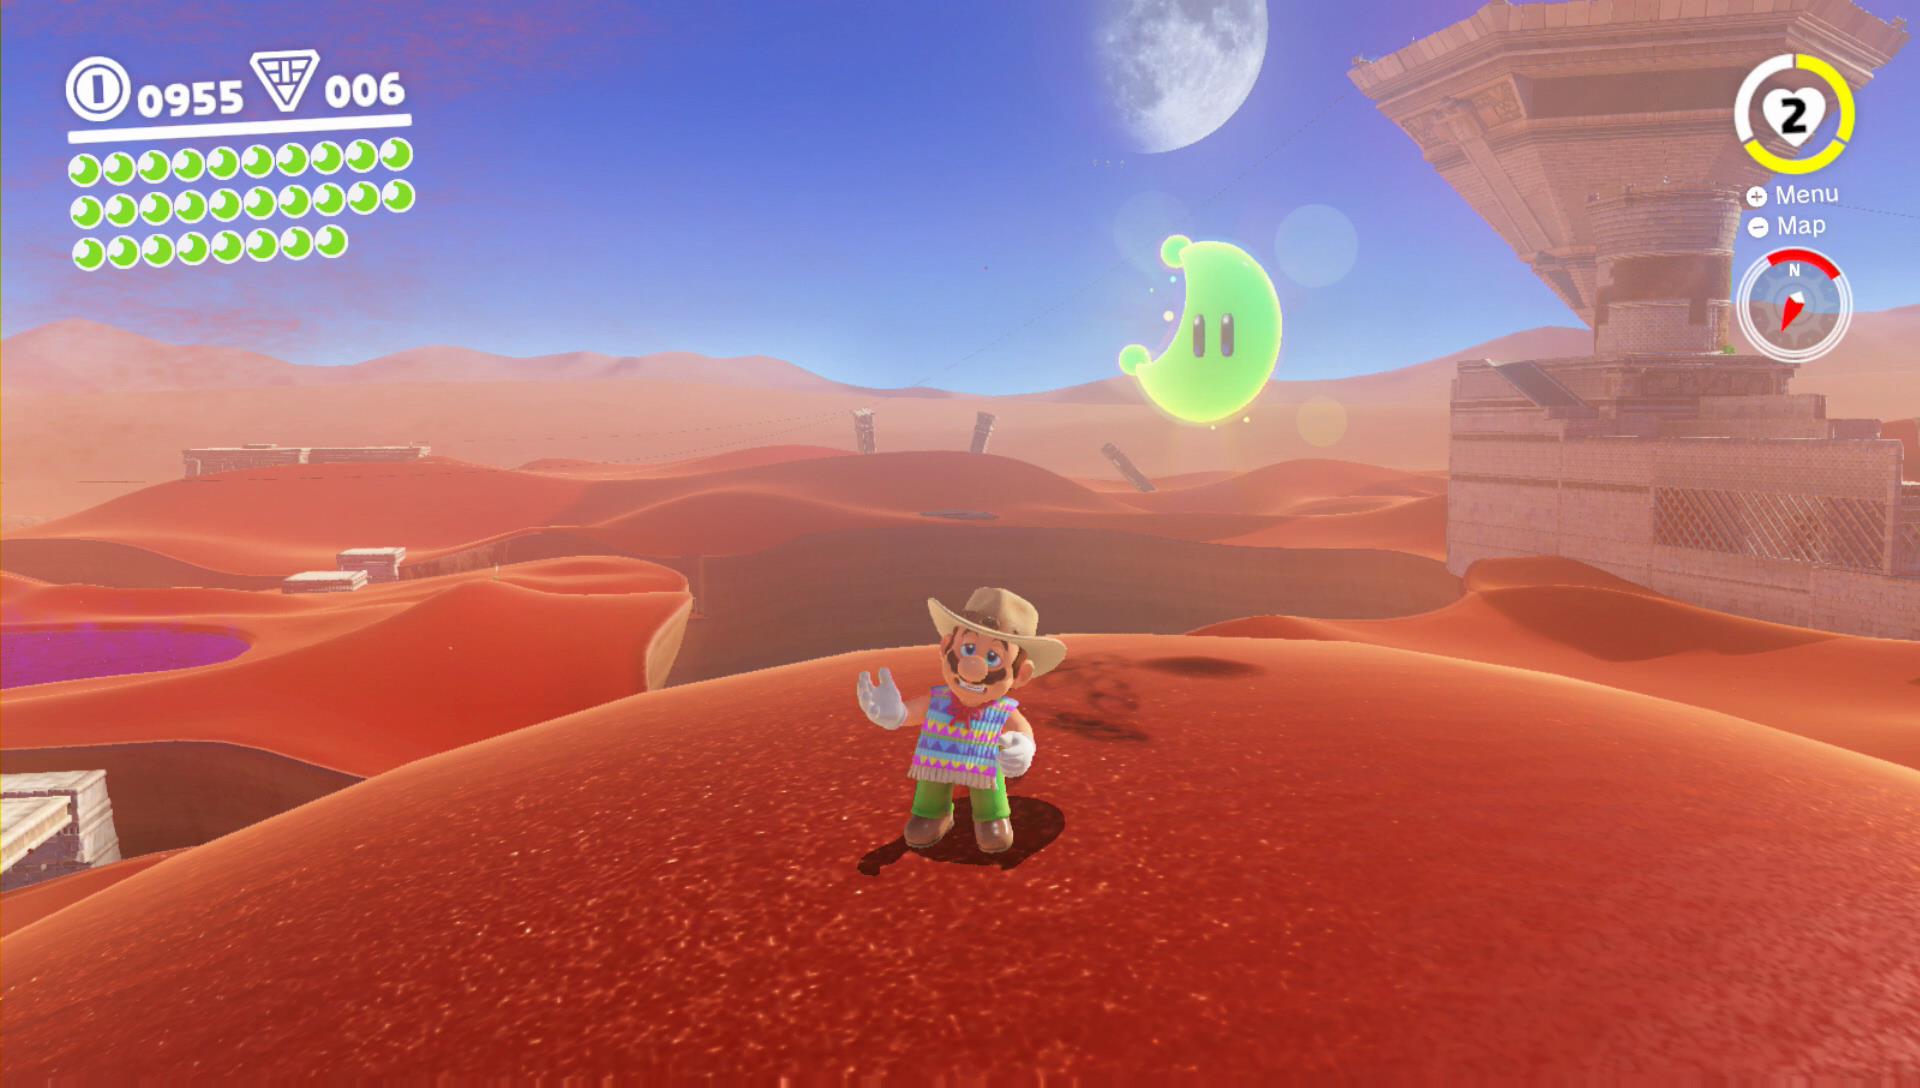
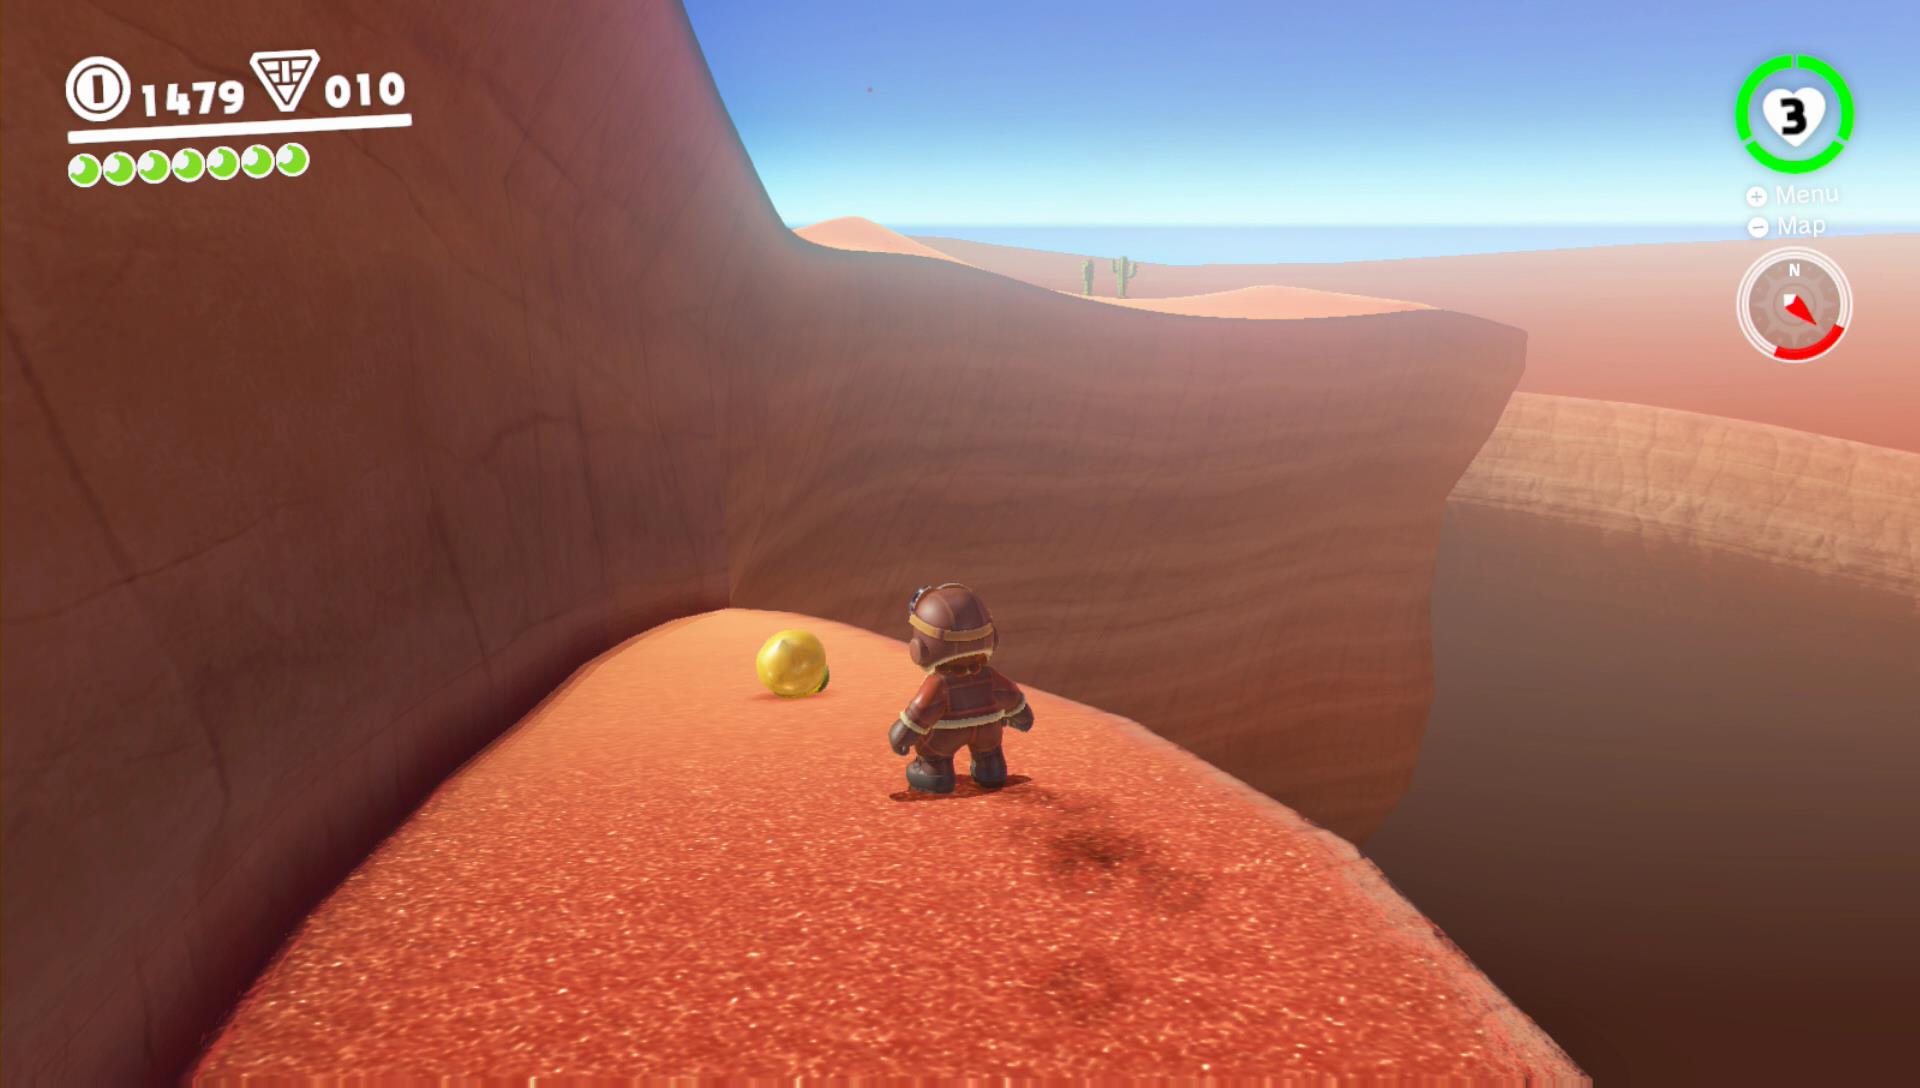
Power Moon 17 – Top of a Dune
Head to the location marked on the map above and use your butt-slam on the dune to uncover the Power Moon. You can feel your controller vibrating faster, the closer you are to the Power Moon.
Power Moon 18 – Lost in the Luggage
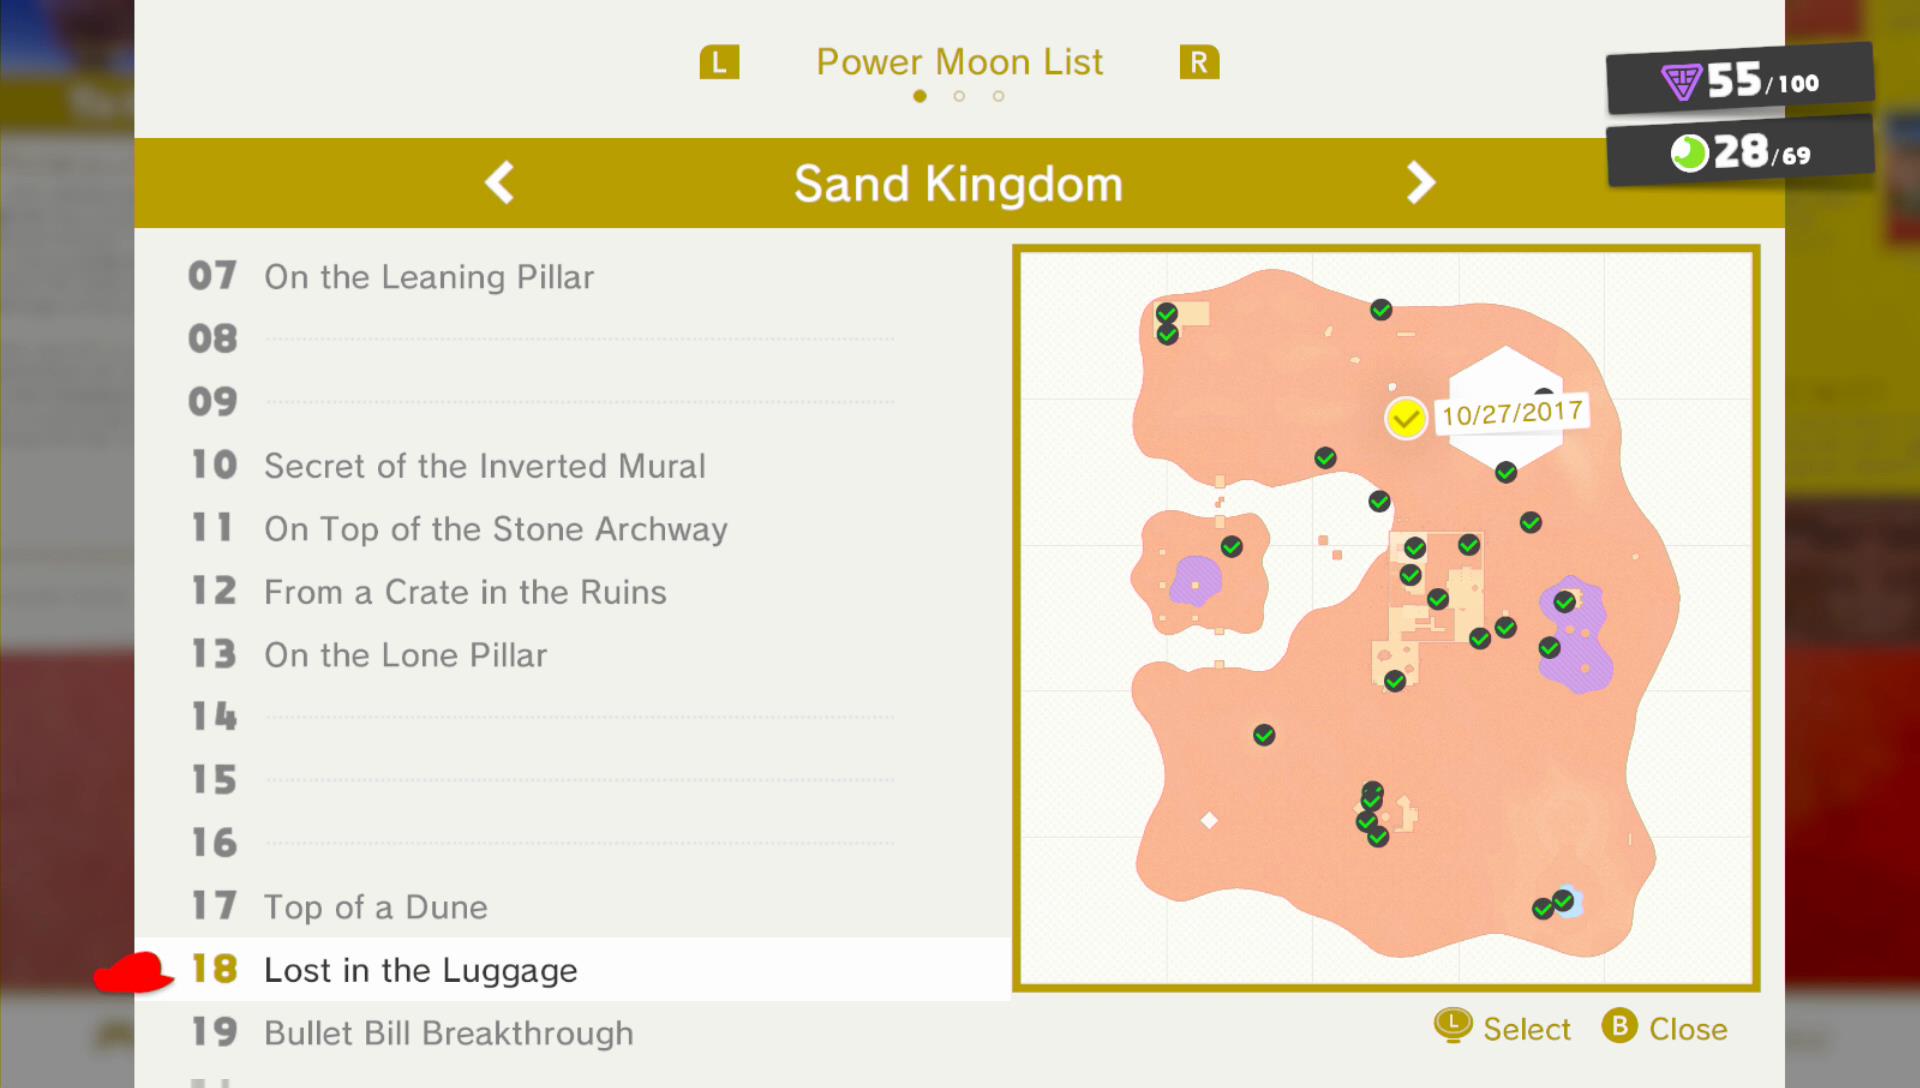
Once again use your butt-slam on the spot you see in the picture below.
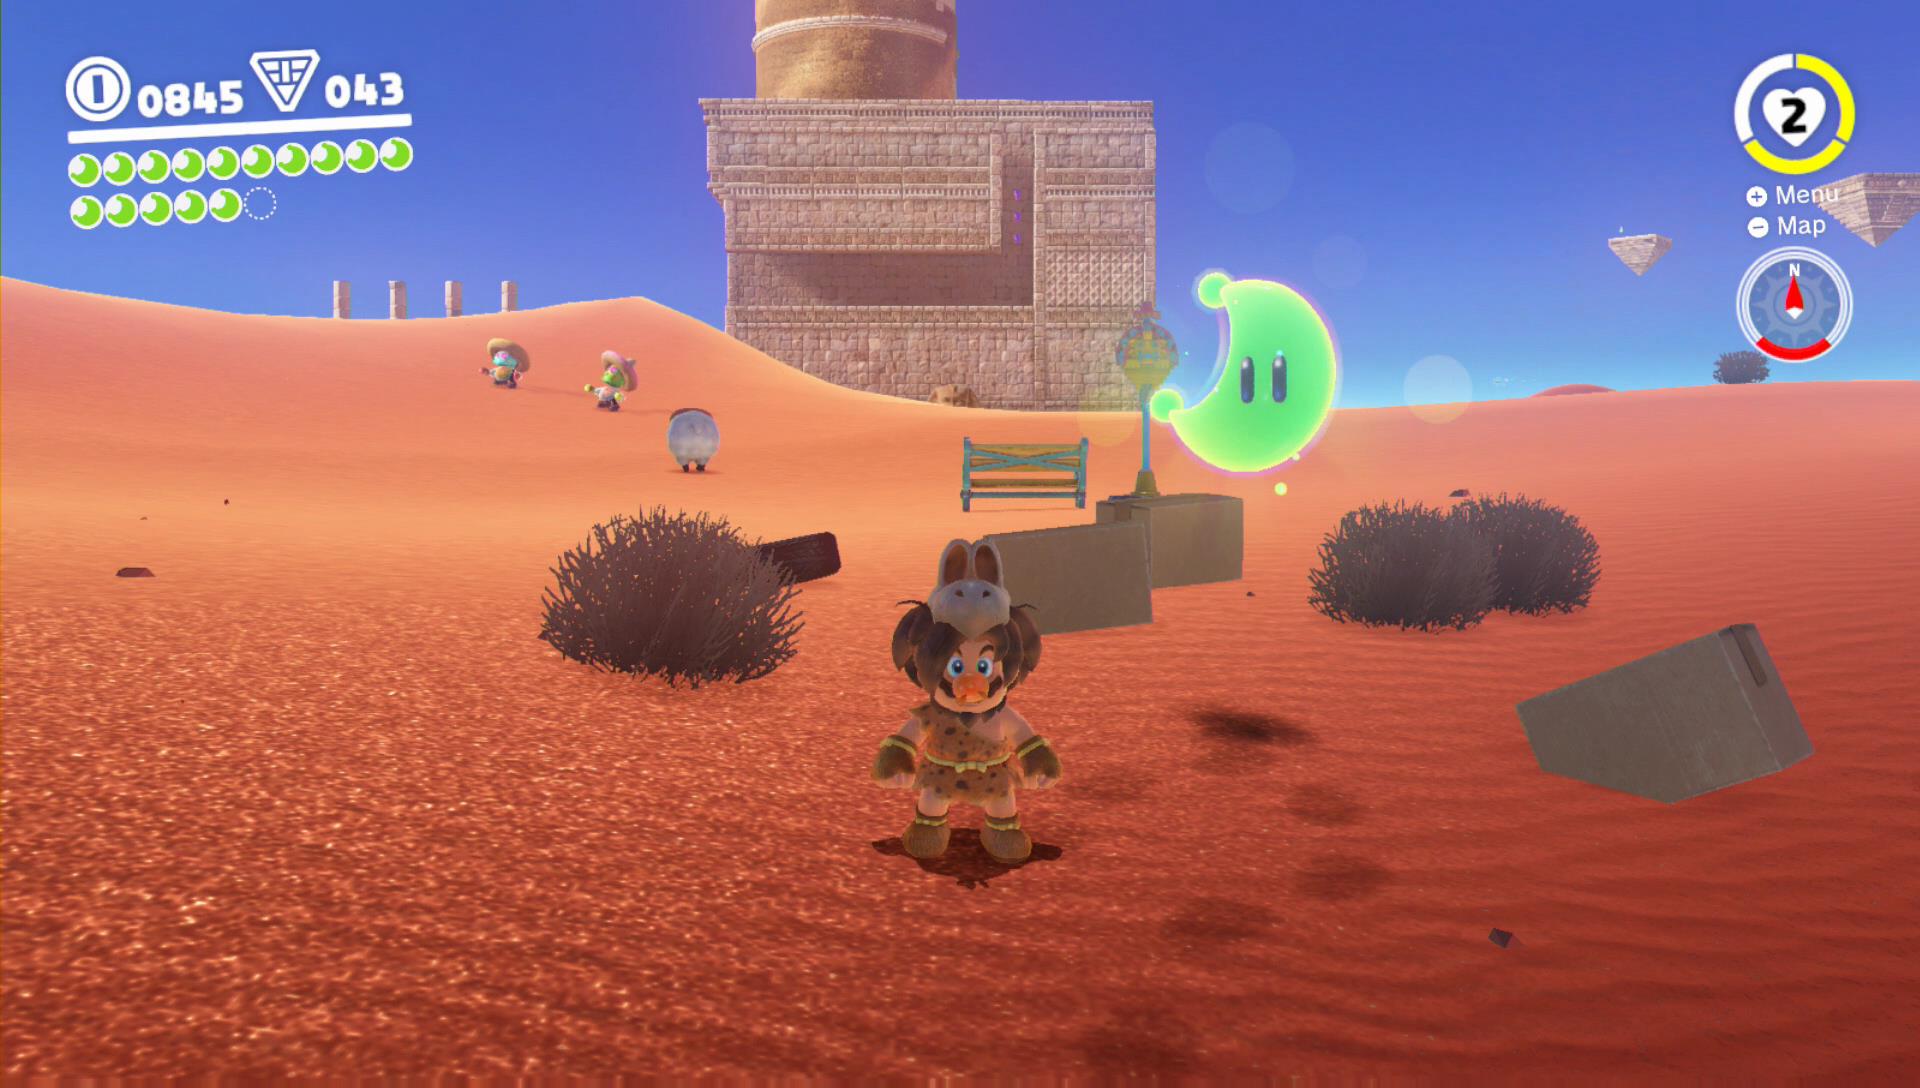
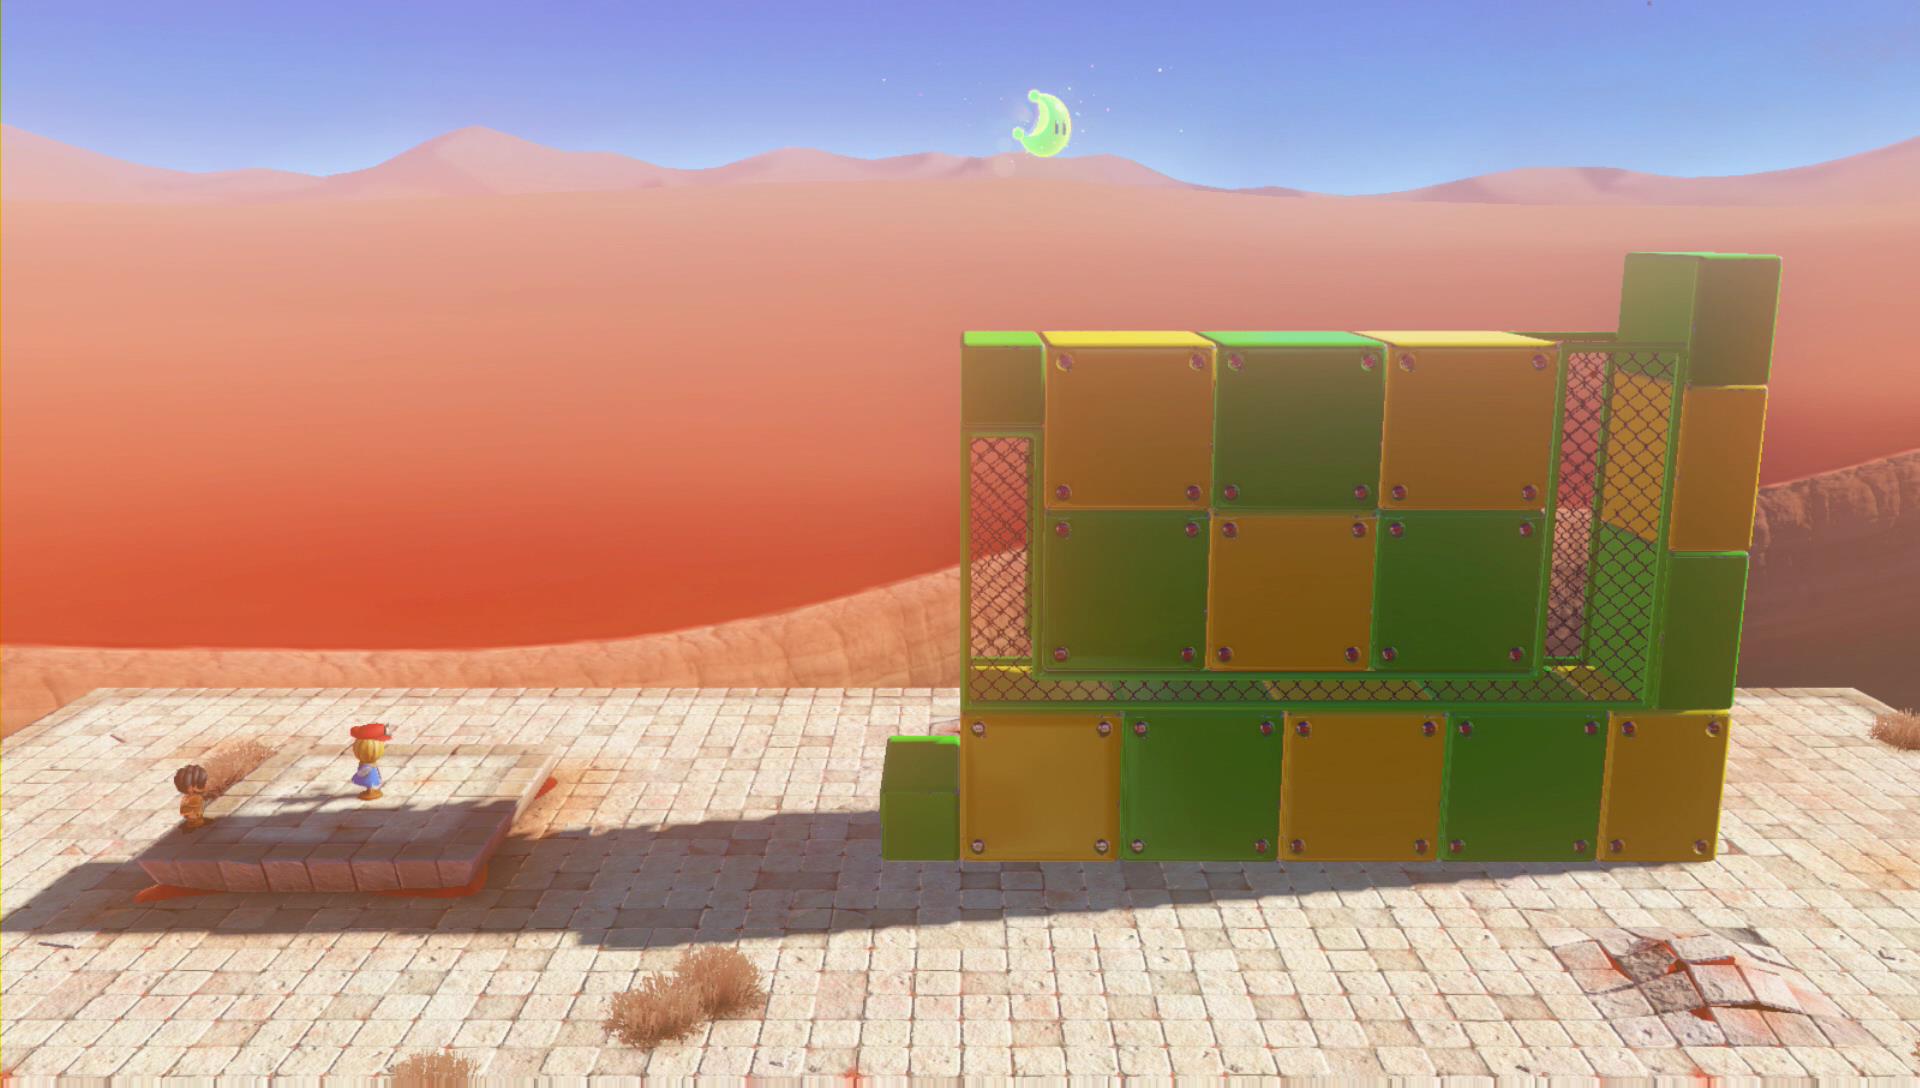
Power Moon 19 – Bullet Bill Breakthrough
Use Bullet Bill to fly through the hole in the wall and break the cage with the Power Moon in it.

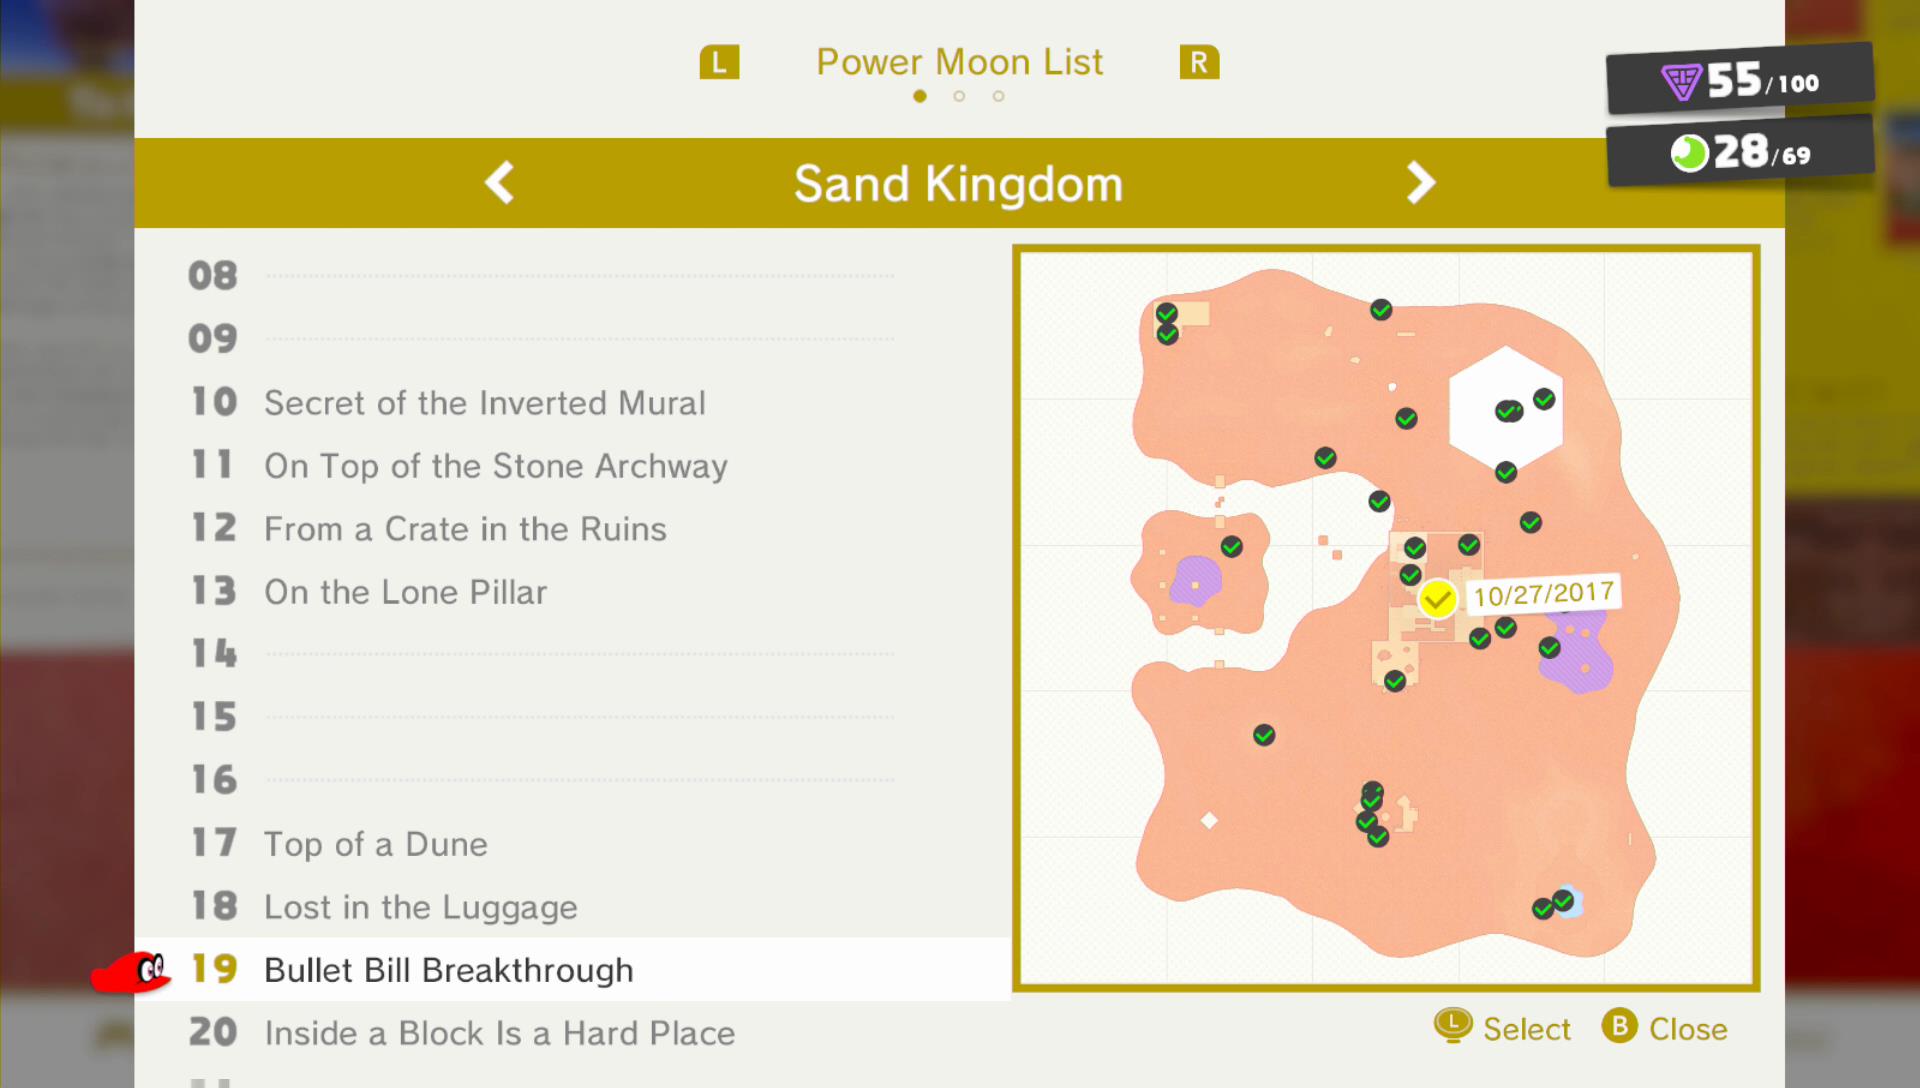
Power Moon 20 – Inside a Block Is a Hard Place

Once again you can see the Power Moon shining though an object you can destroy. Use Bullet Bill once again and the Power Moon is yours to capture.
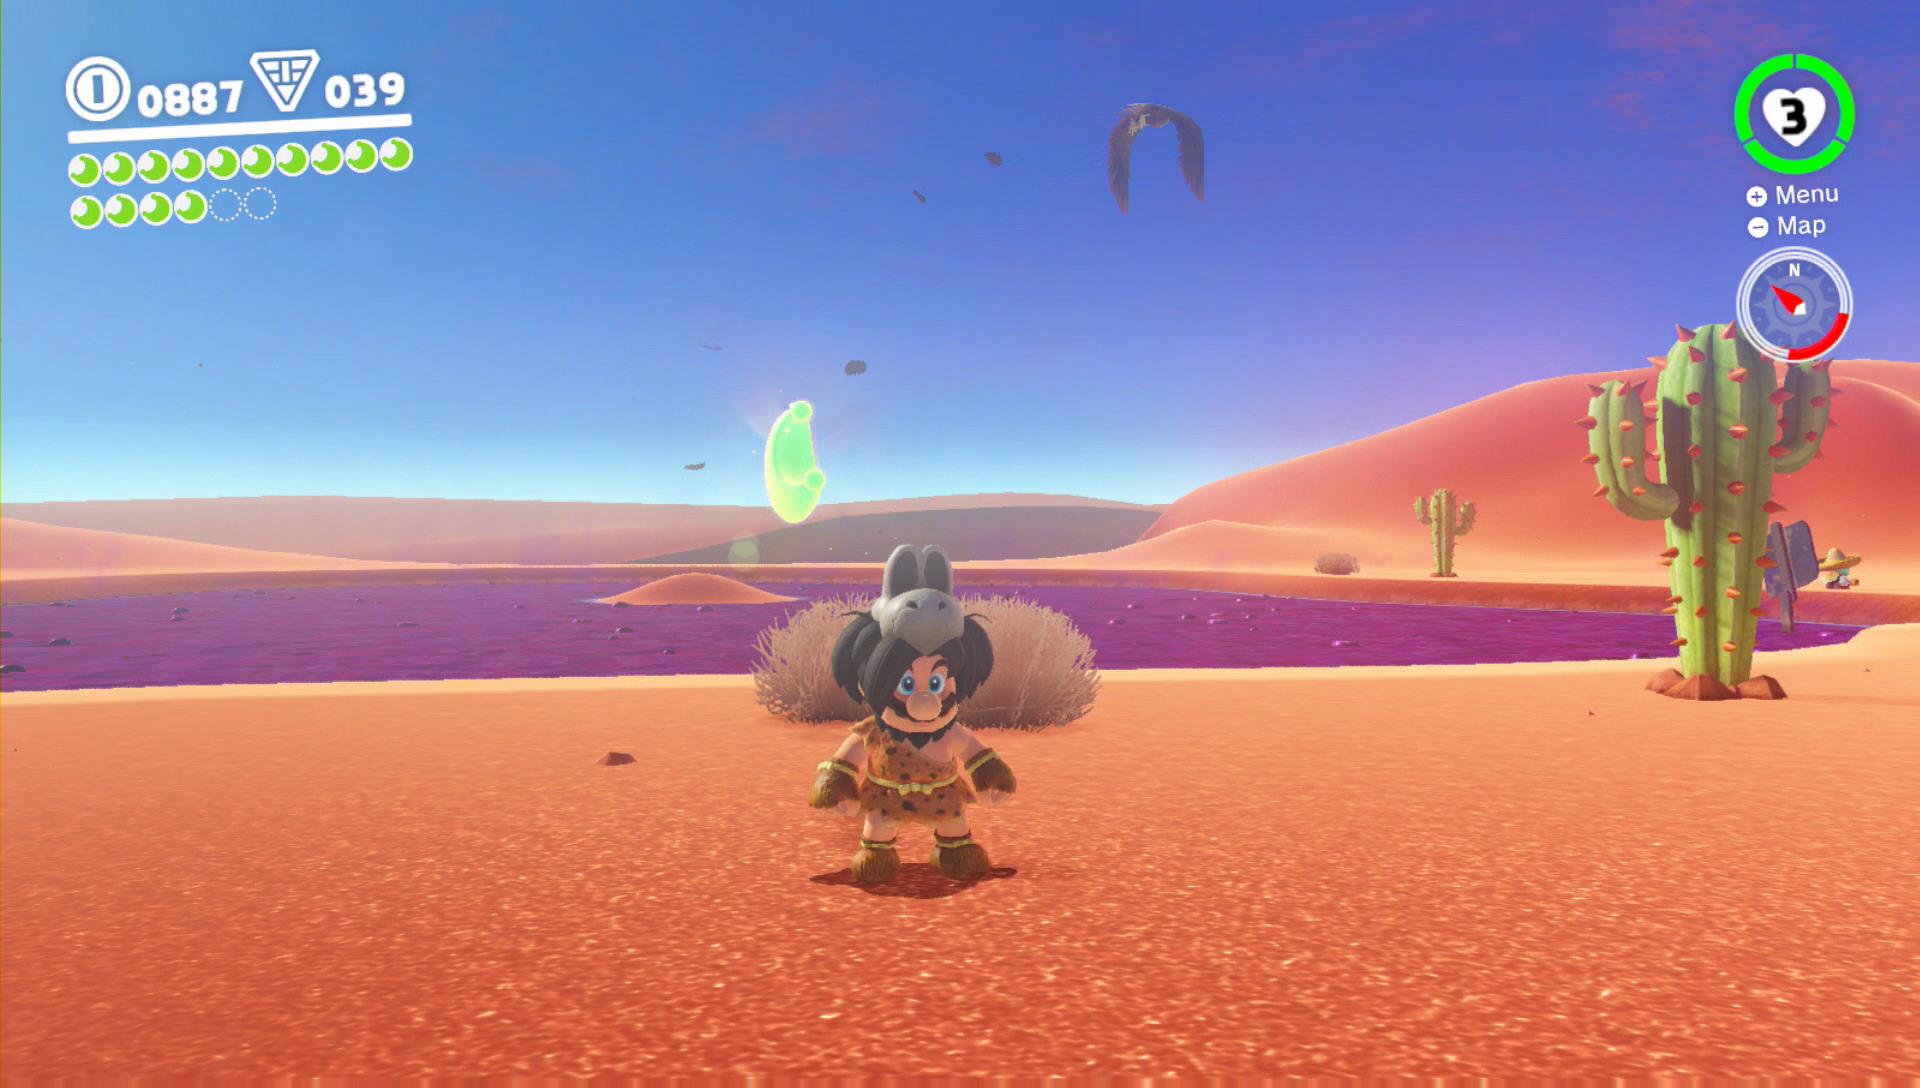
Power Moon 21 – BIrd Travelling the Desert
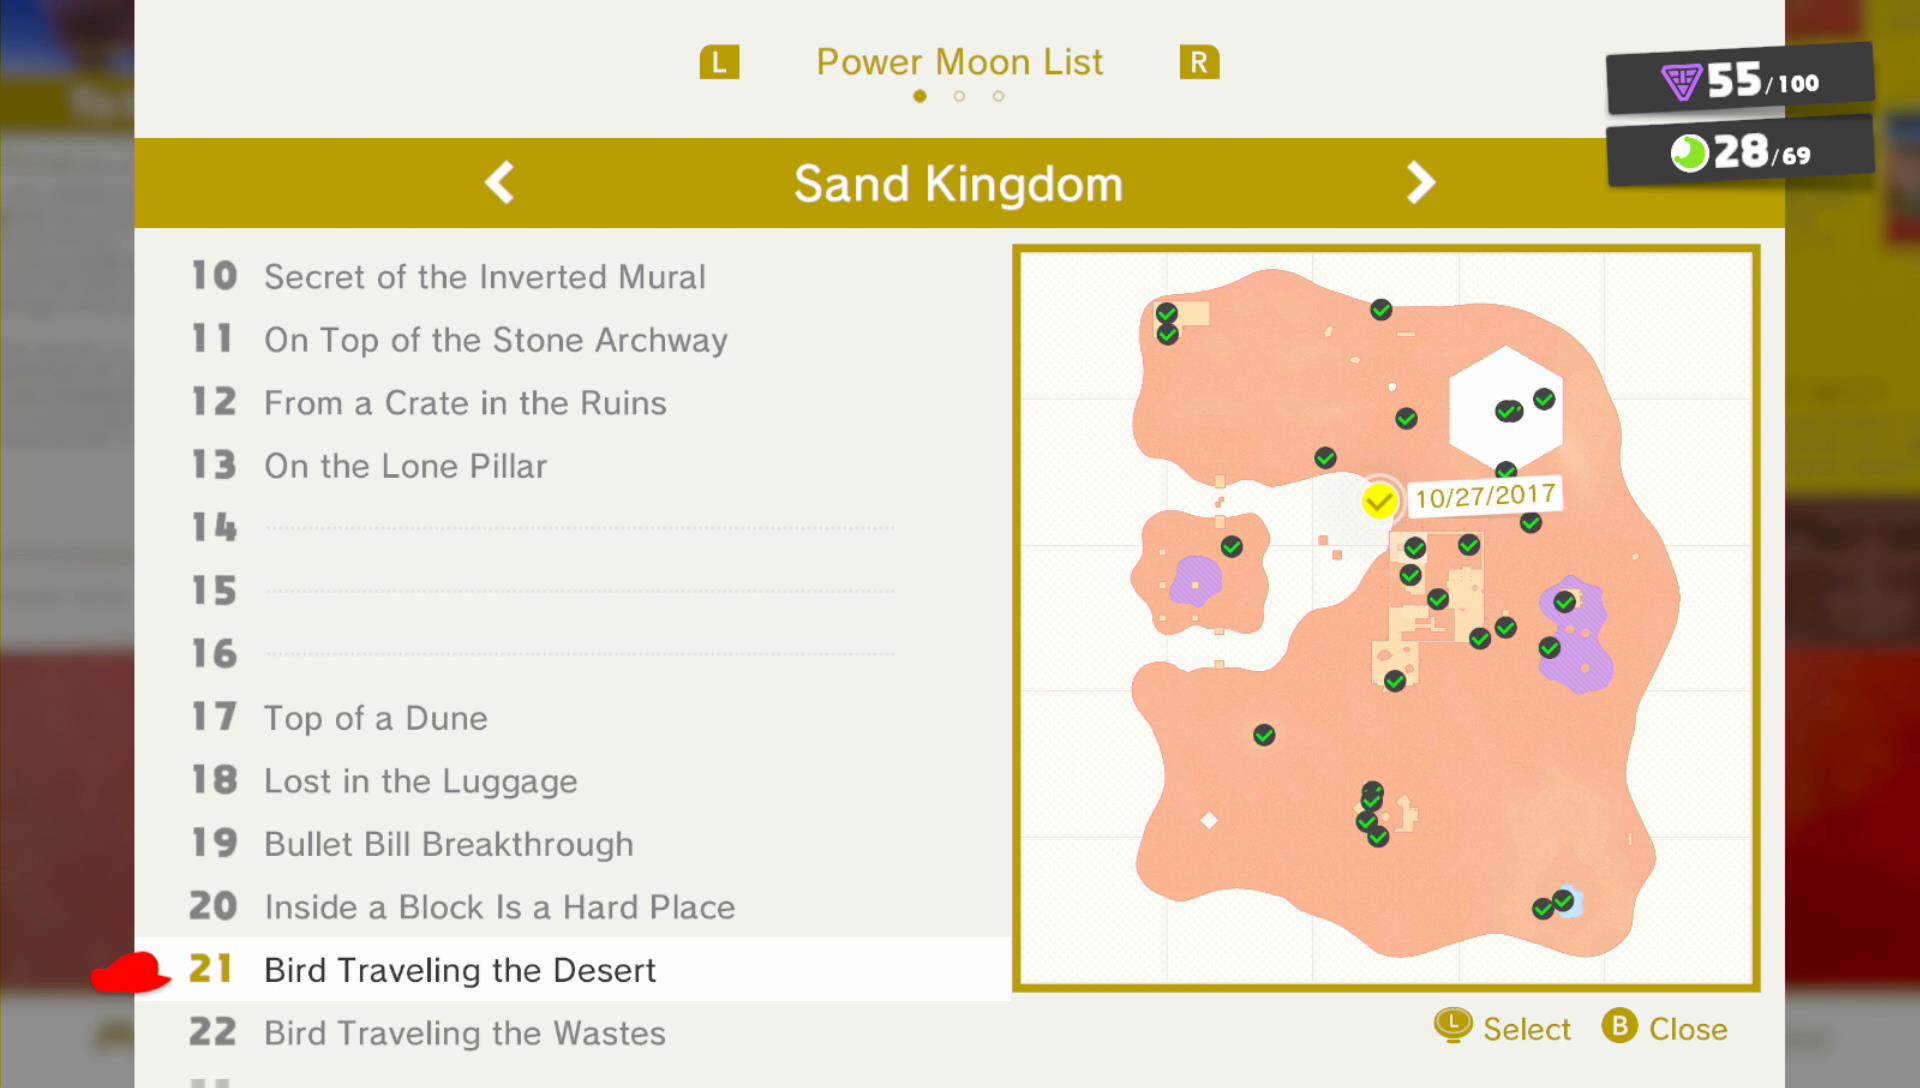
There will be 2 birds flying around the kingdom carying a Power Moon. The first one flies all around the desert and you can basically hit it with your cap everywhere on the map. An easy area to hit it is the Oasis, where it tends to fly pretty low.
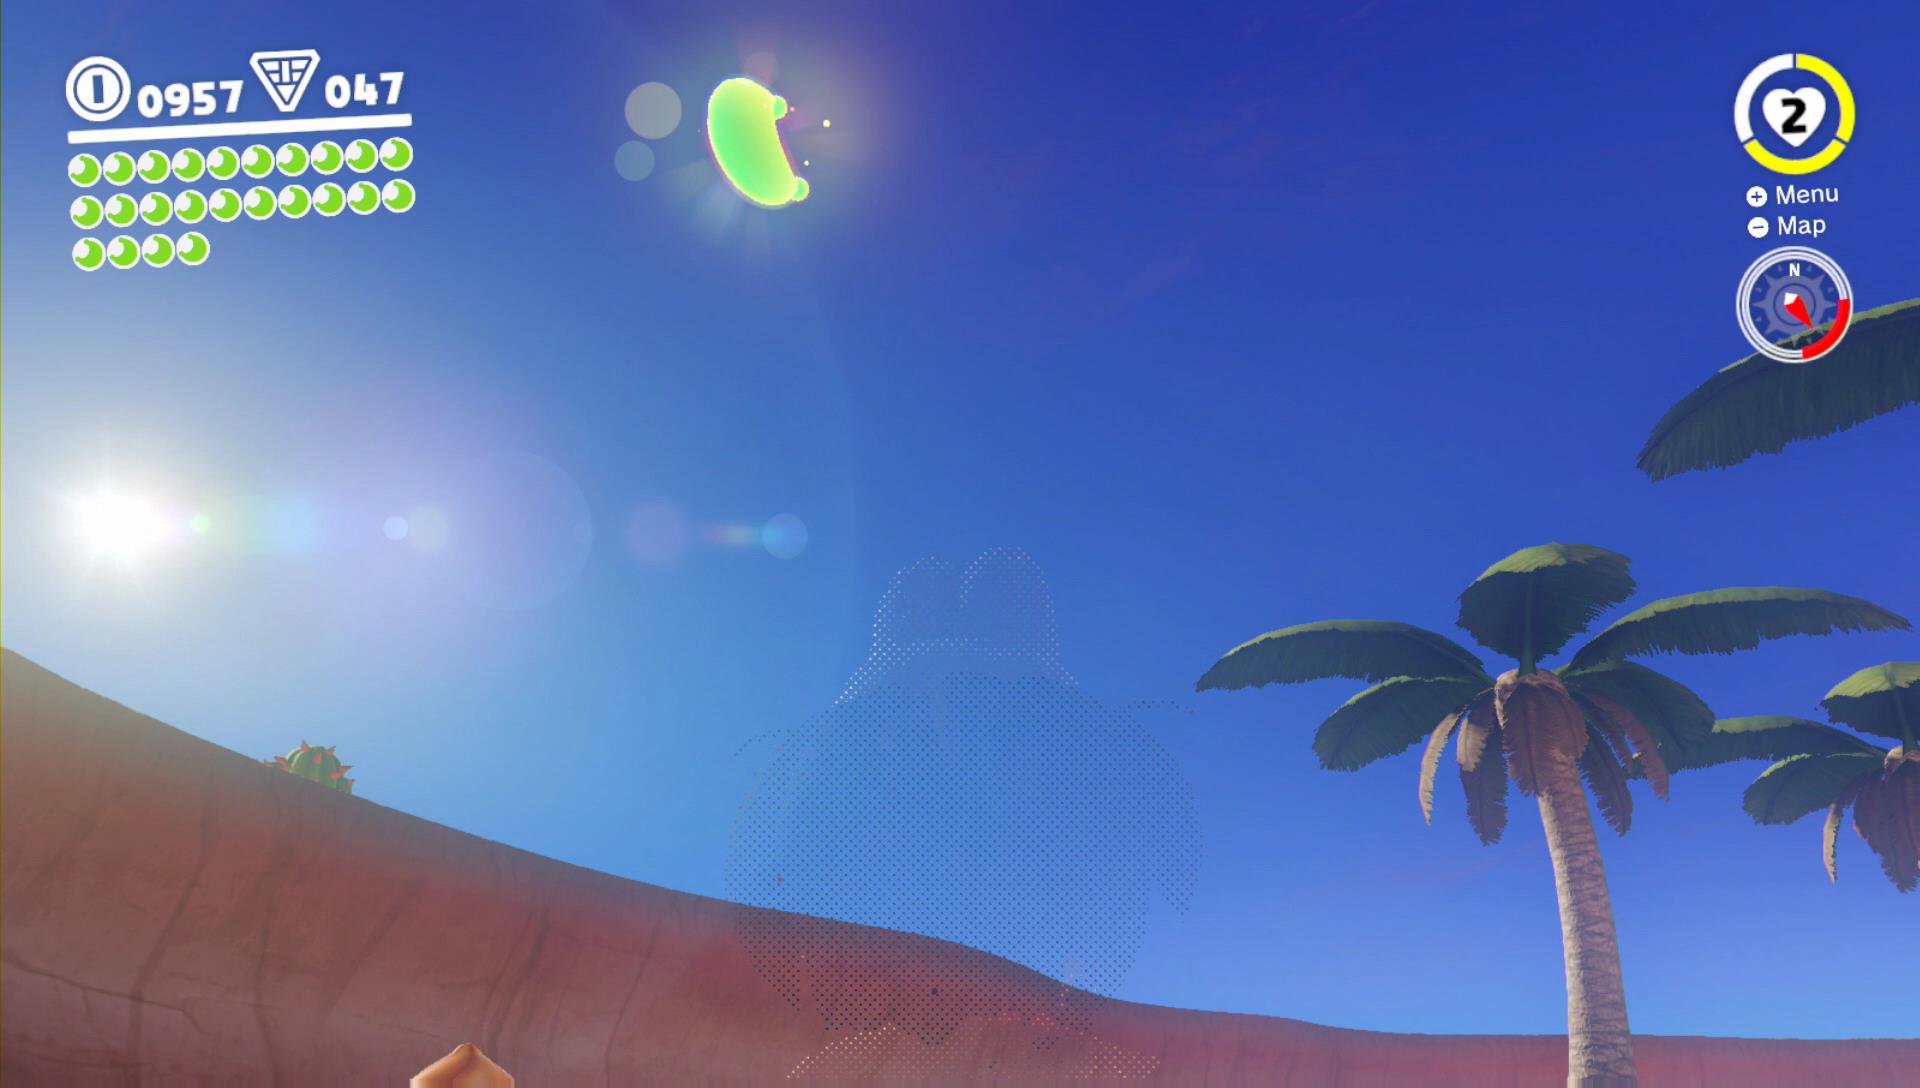
Power Moon 22 – Bird Traveling the Wastes
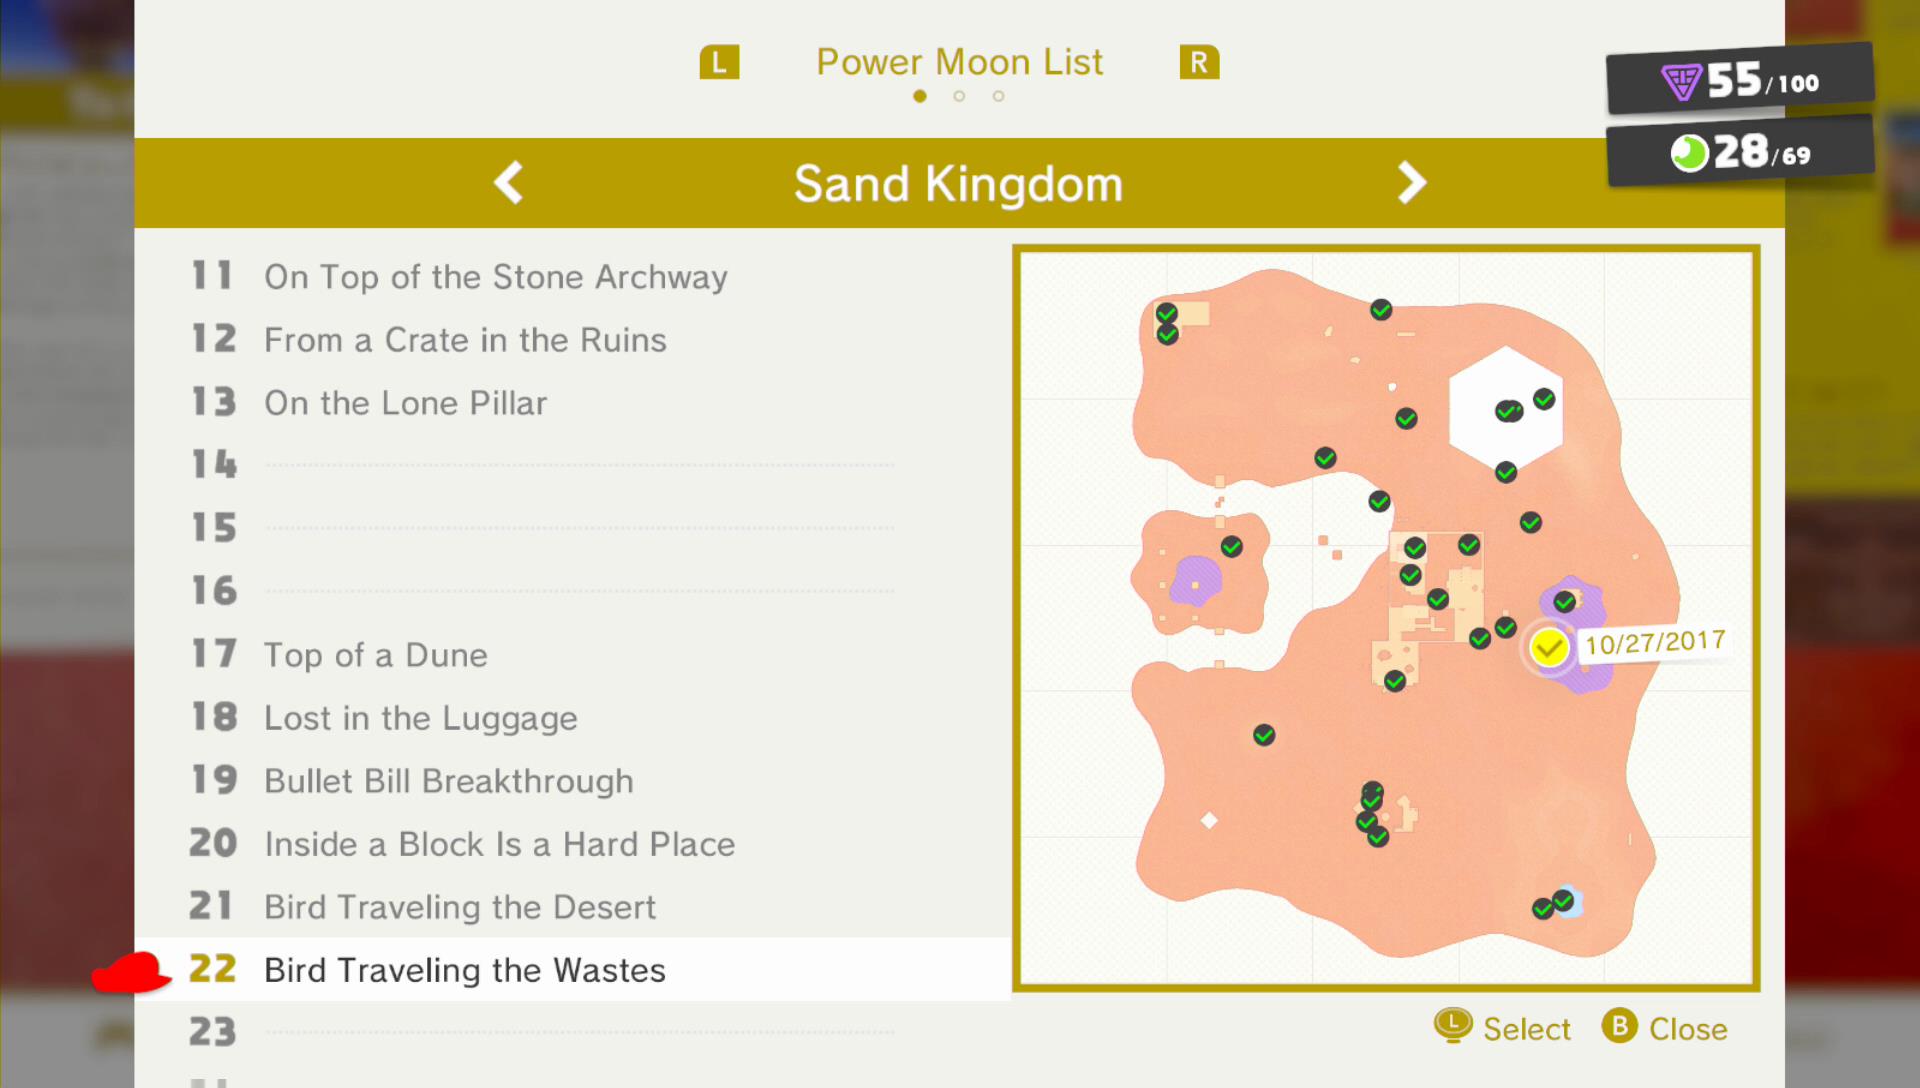
The second one flies around the swamp area in the east. This one prefers to fly low at any time, which makes it easier to hit him compared to the first one.
Power Moon 23 – The Lurker Under the Stone
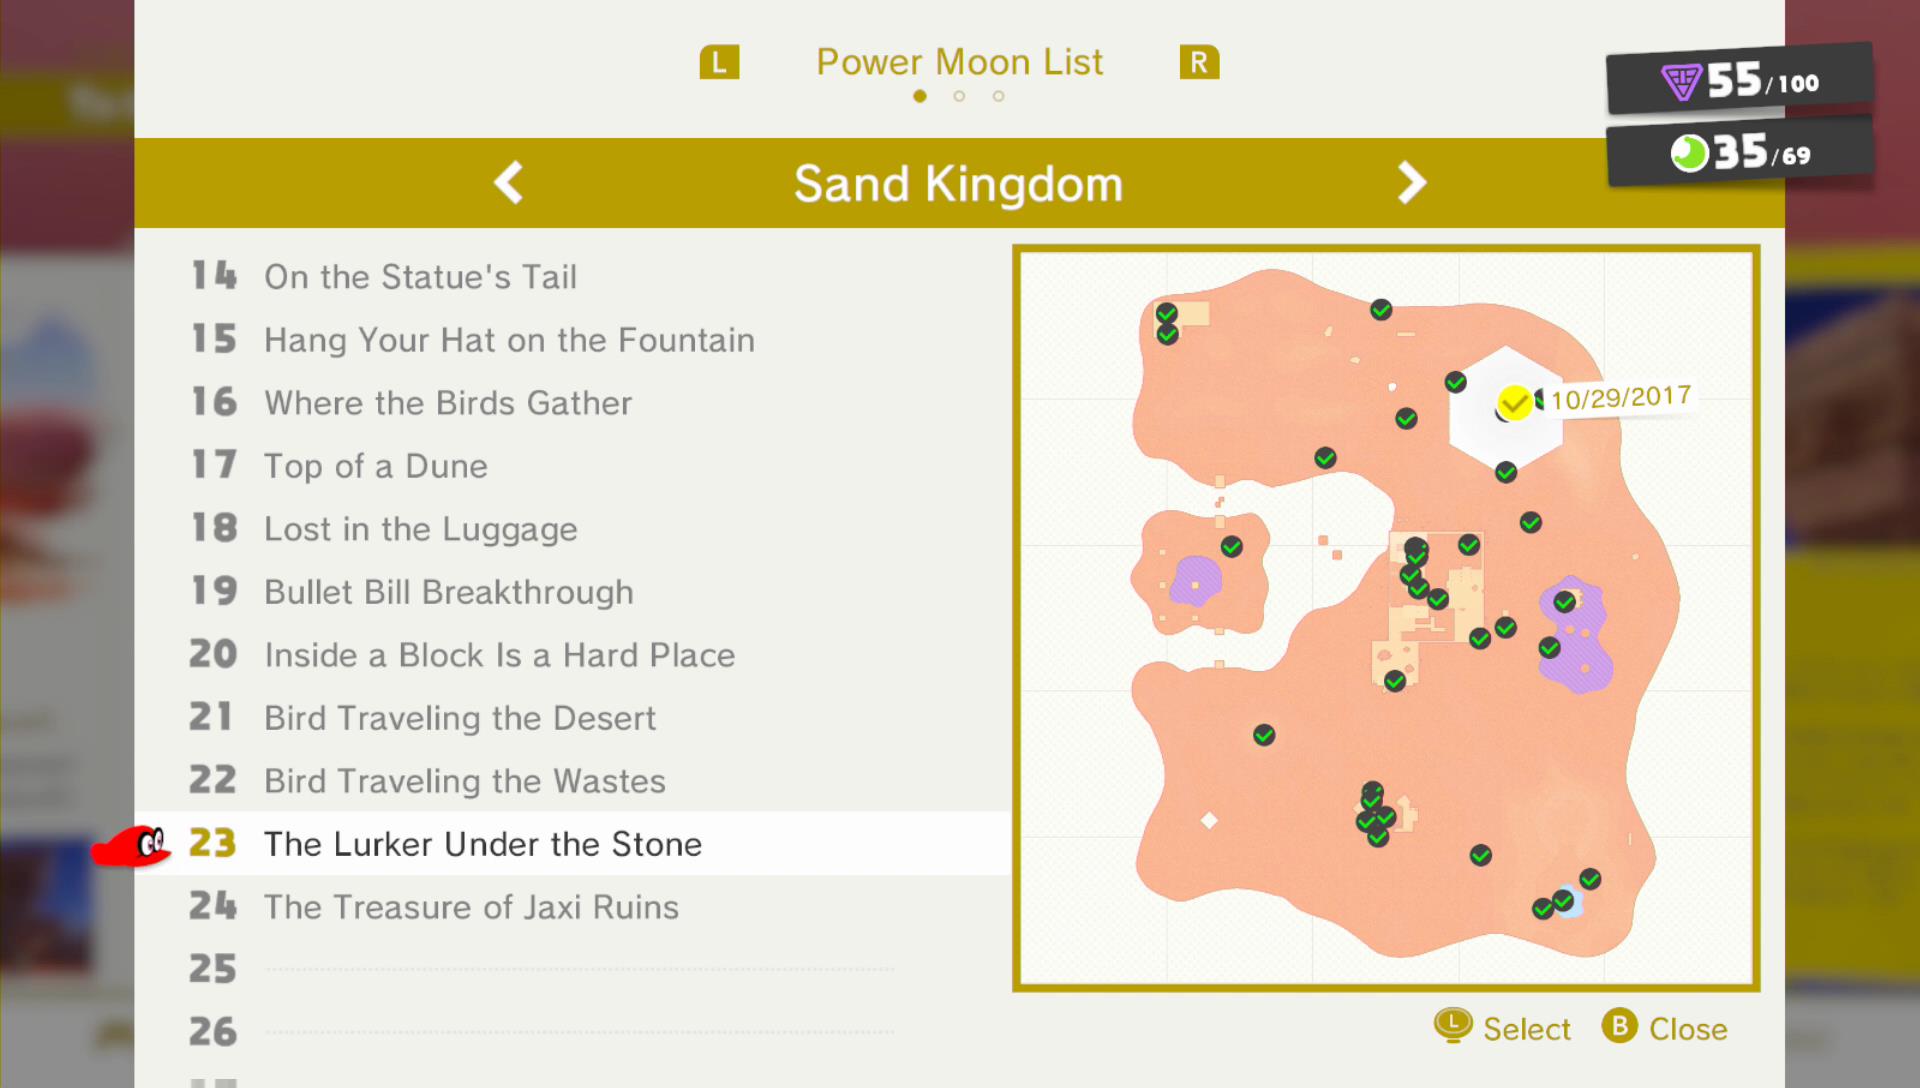
On top of the inverted Pyramid you will see something moving underneath the stone floor. Follow it and throw your cap at it to stun it, followed by a butt-slam. It was a Power Moon all the time.
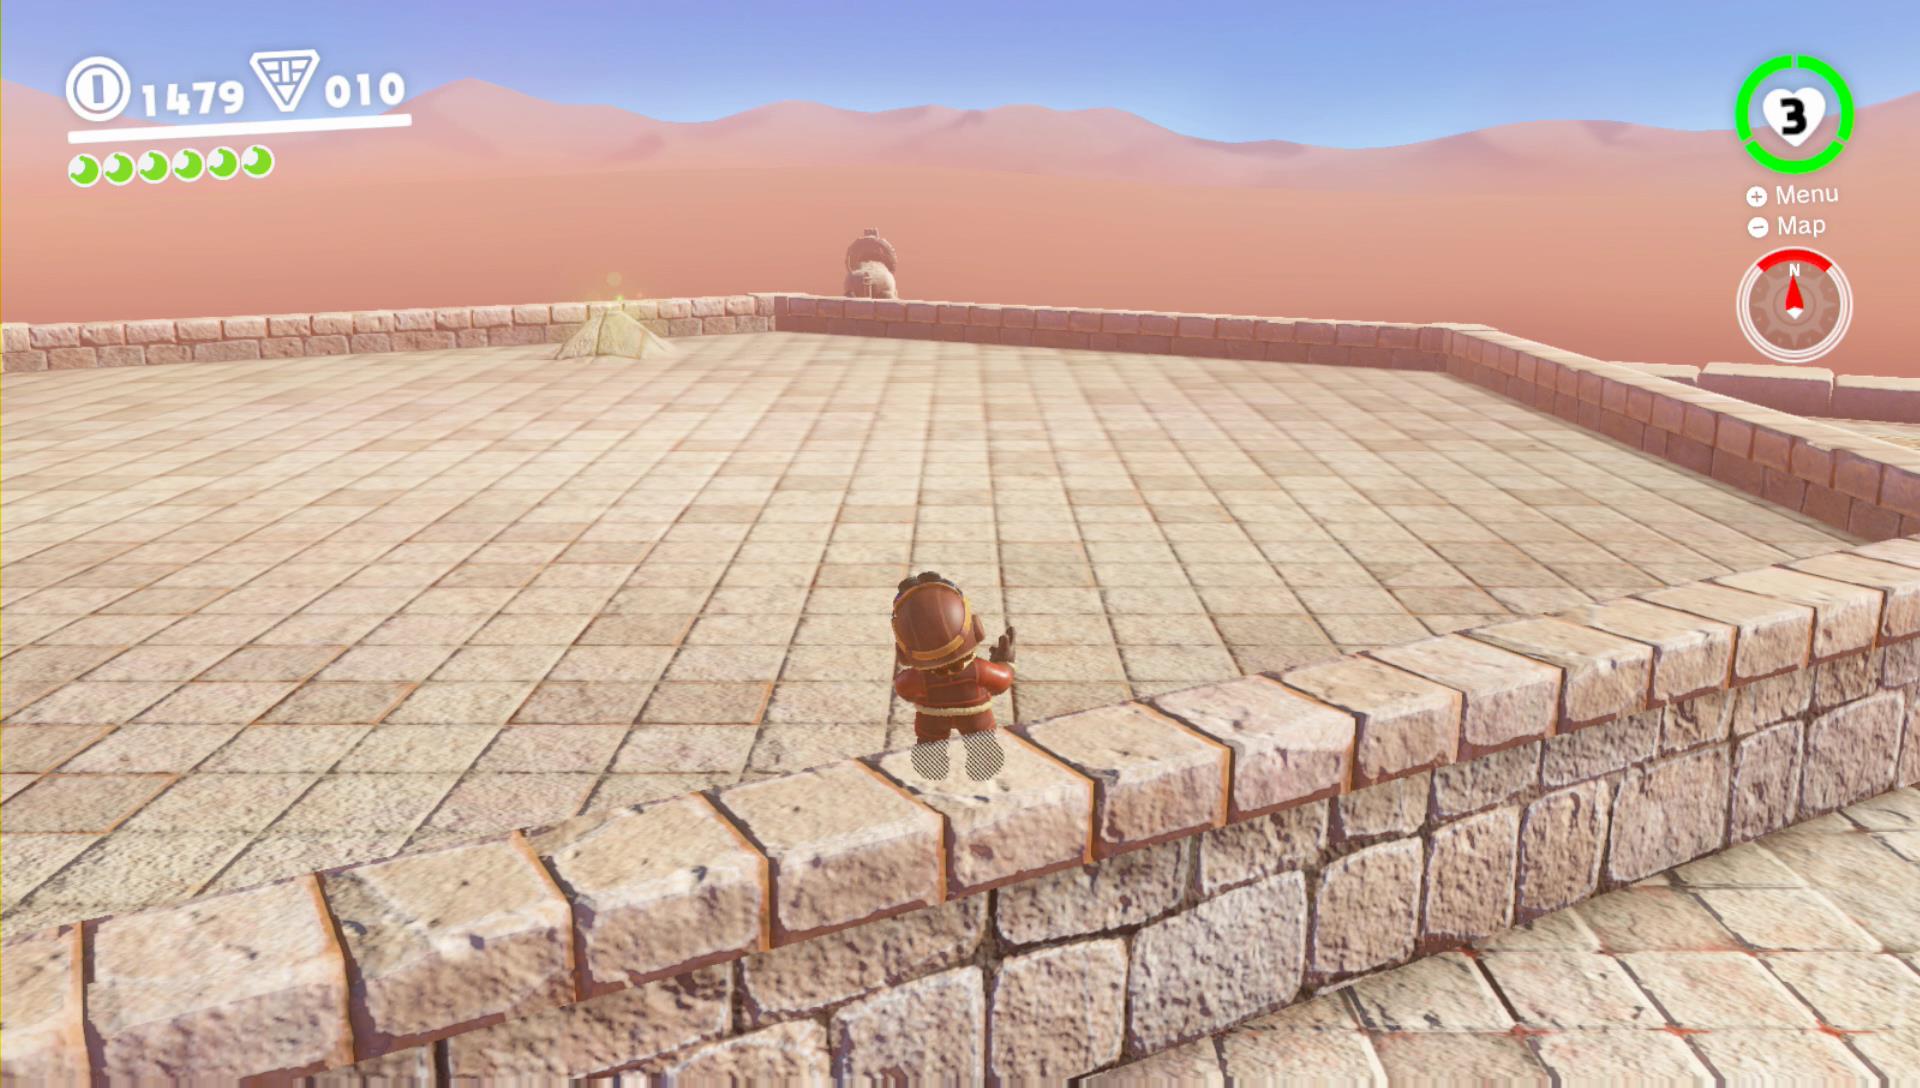
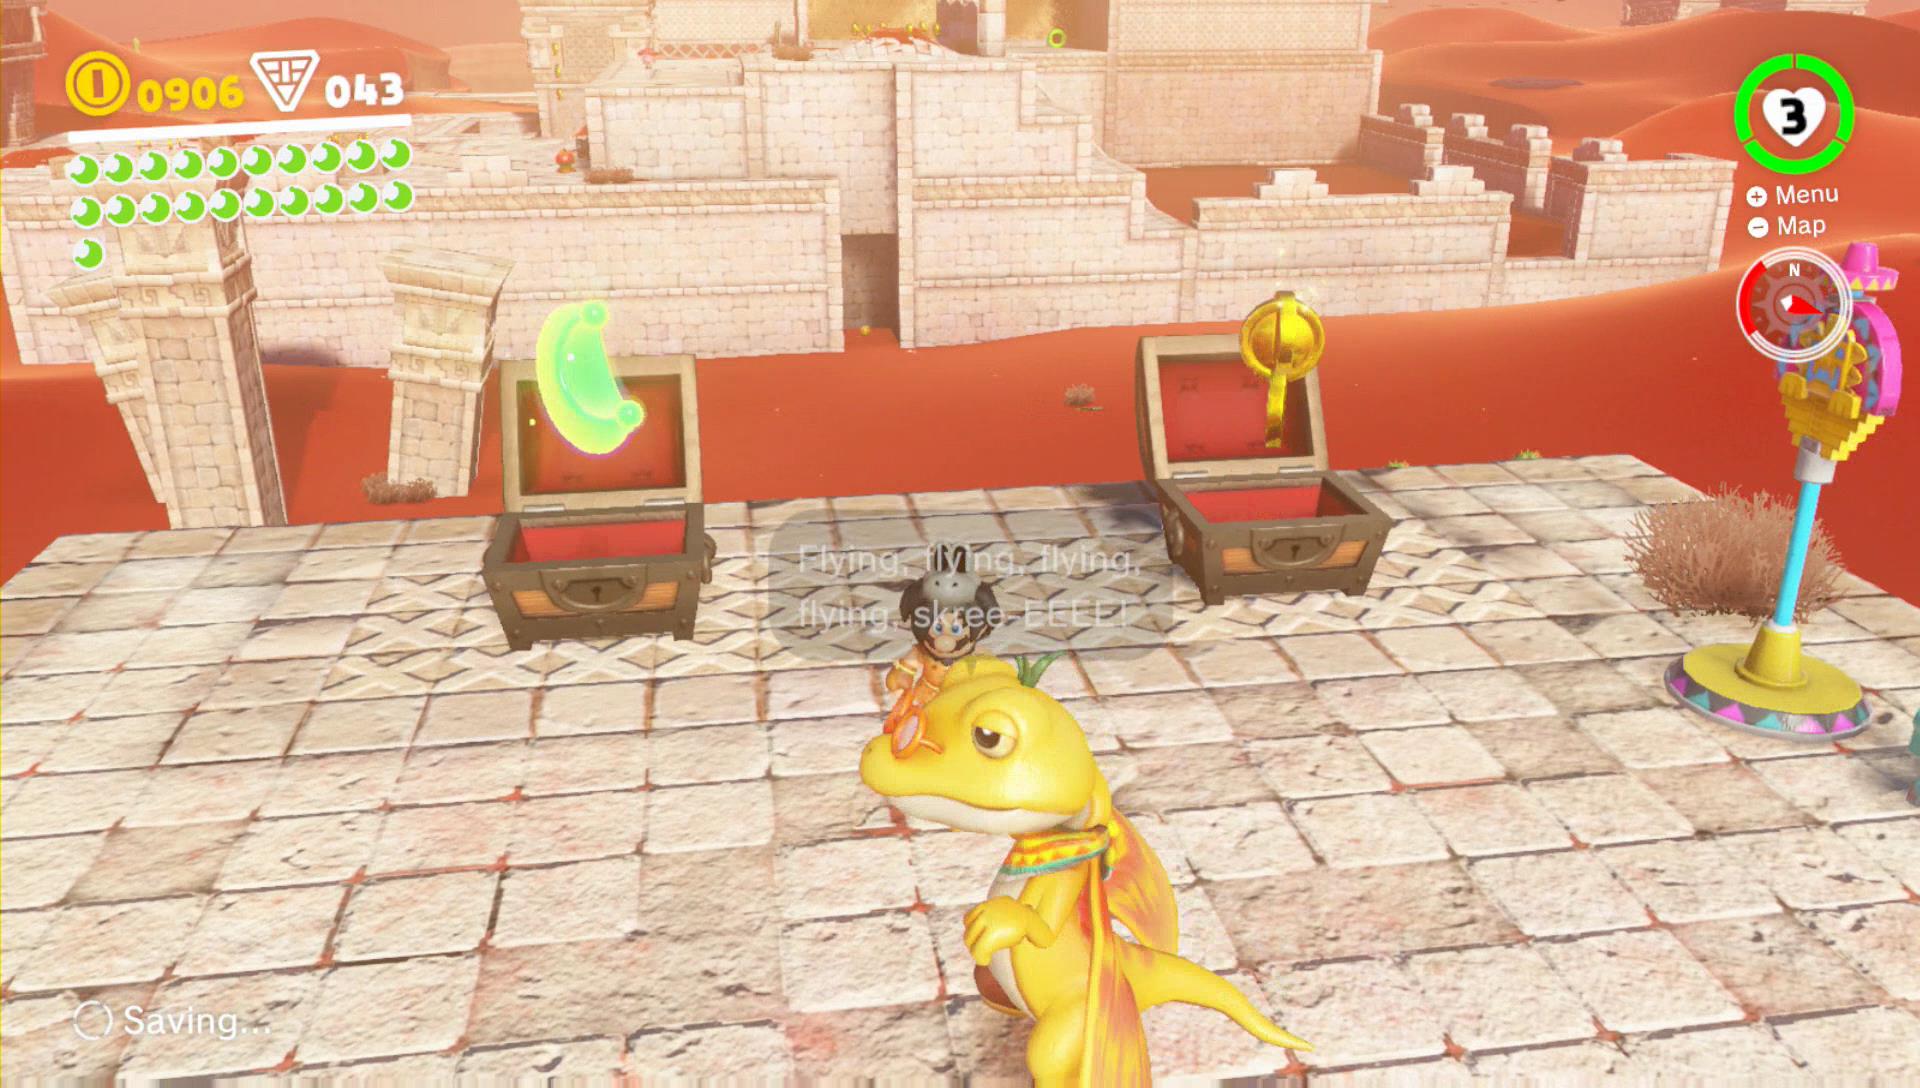
Power Moon 24 – The Treasure of Jaxi Ruins
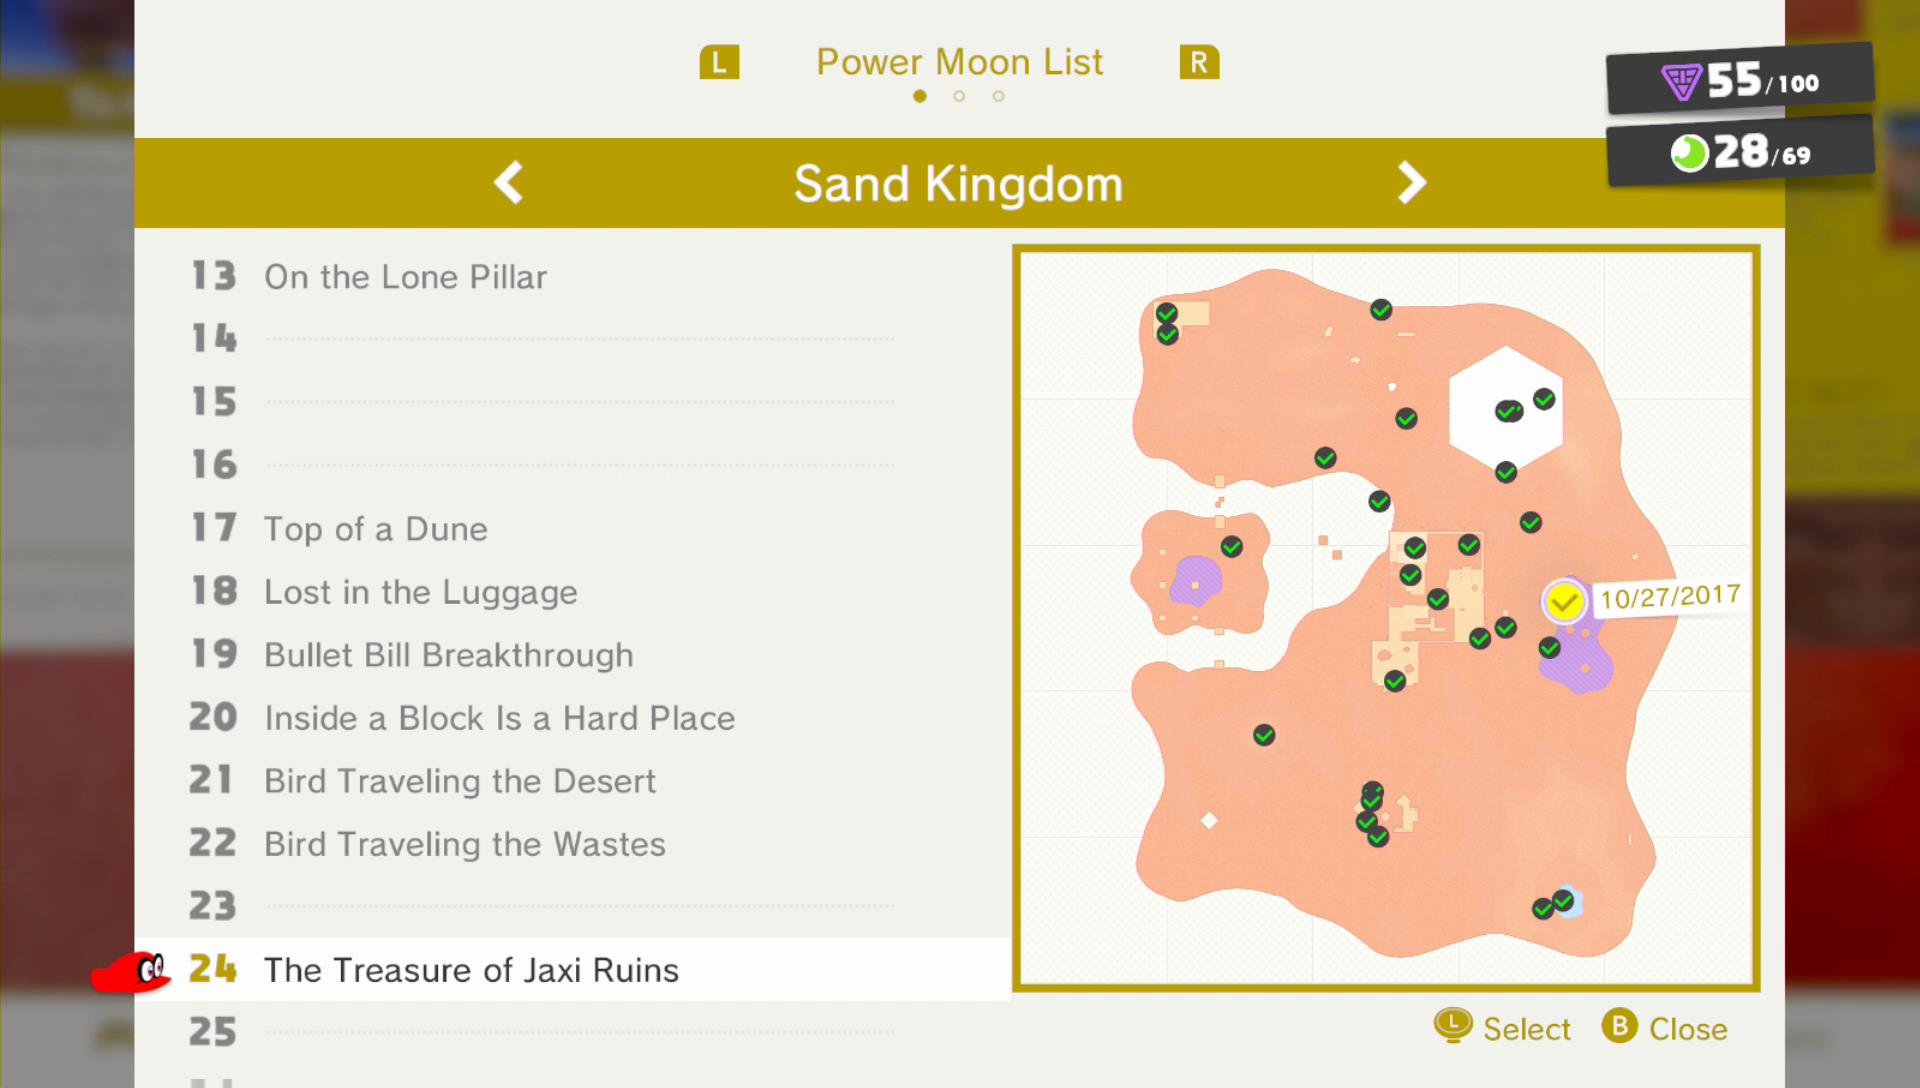
Use the Glydon to glide across to the platforms with 2 chests. The Power Moon will be in the left chest.
 |
 |
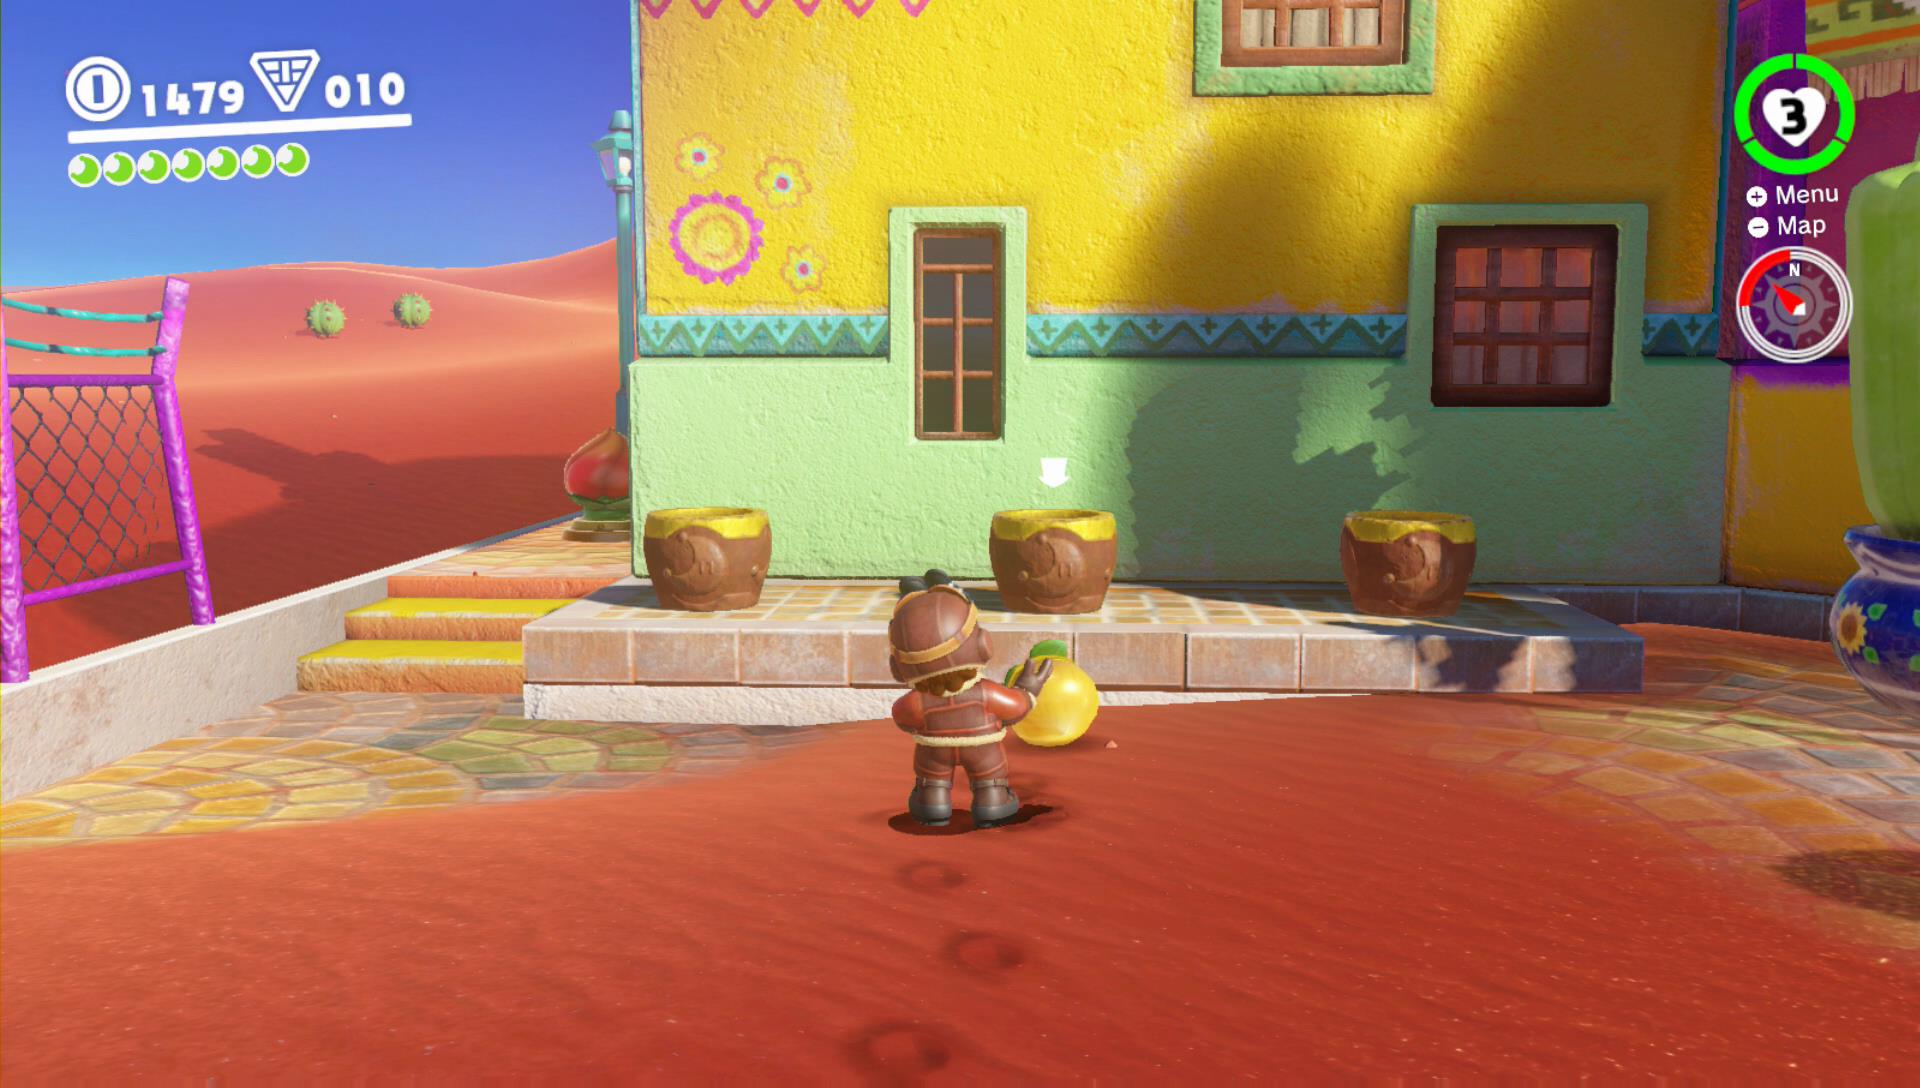
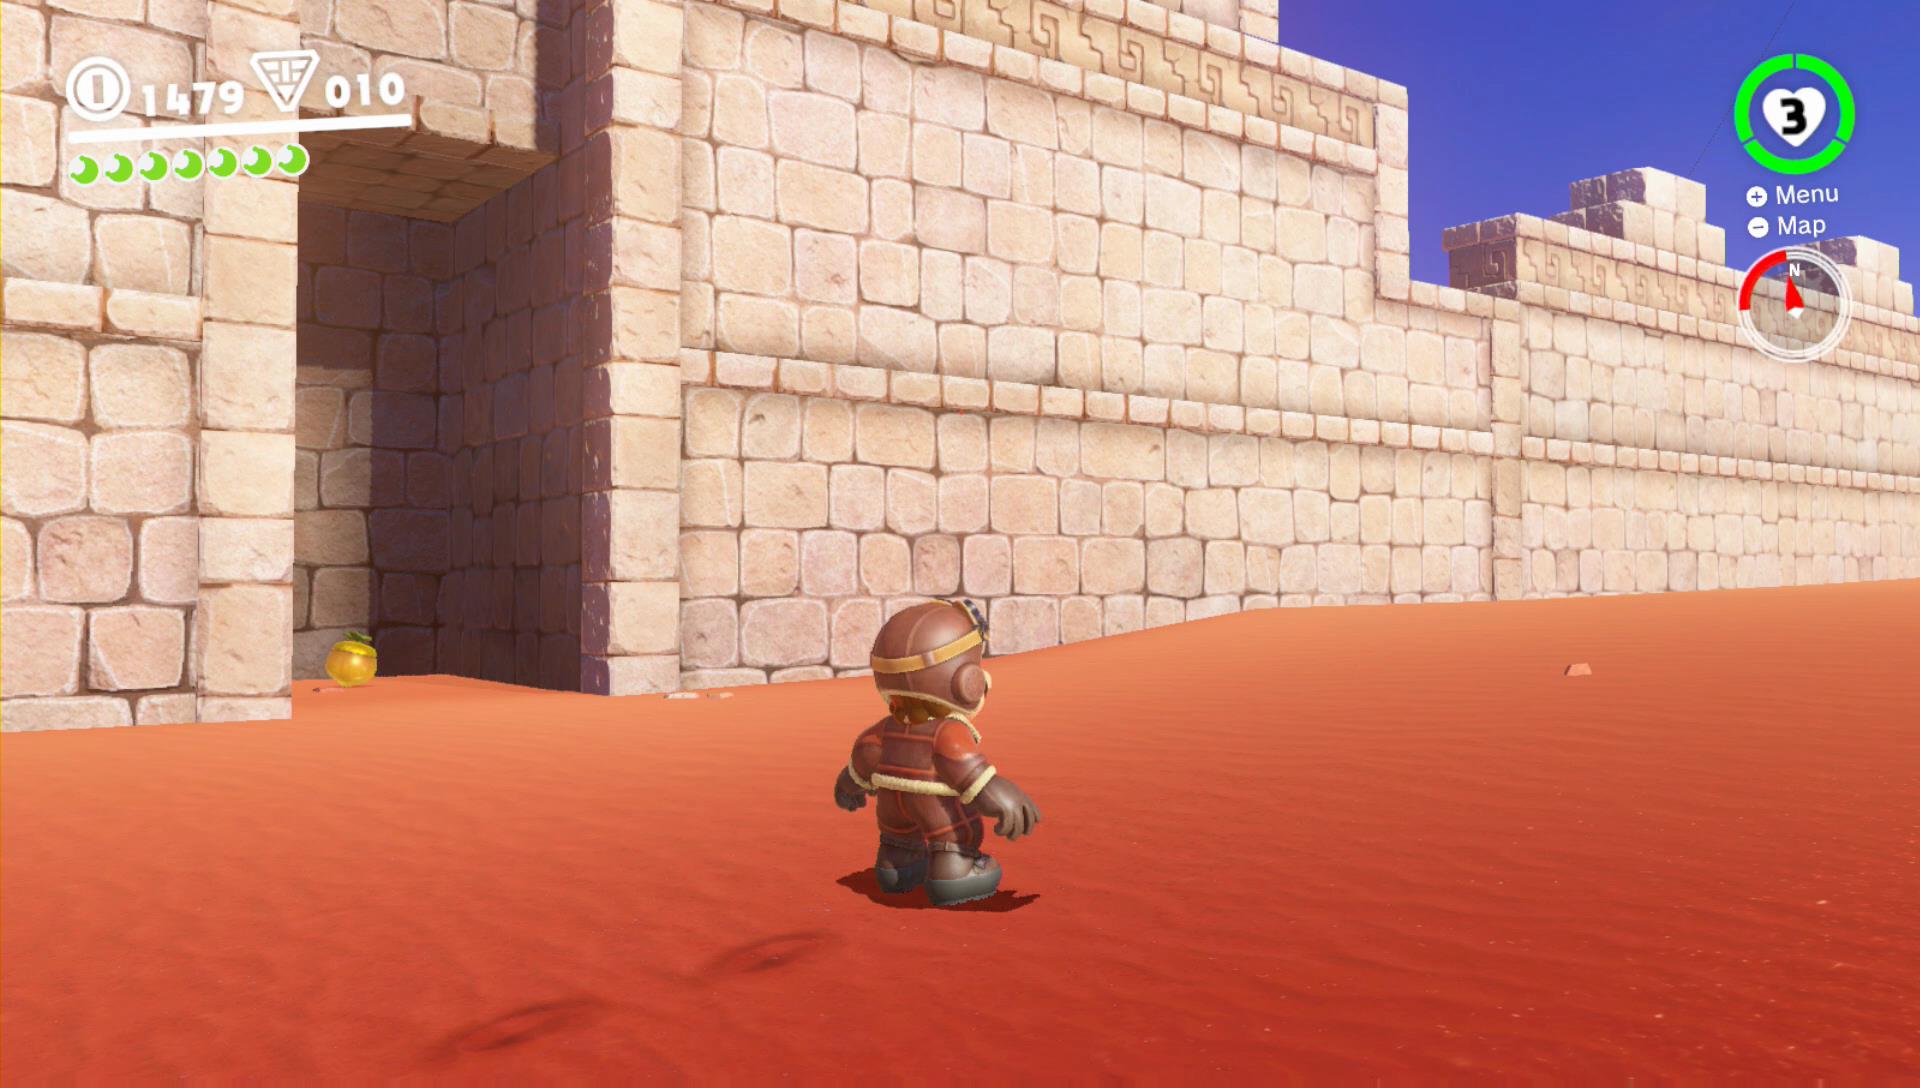
Power Moons 25, 26 & 27 – Desert Gardening: Plaza seed, Ruins Seed & Seed on the Cliff
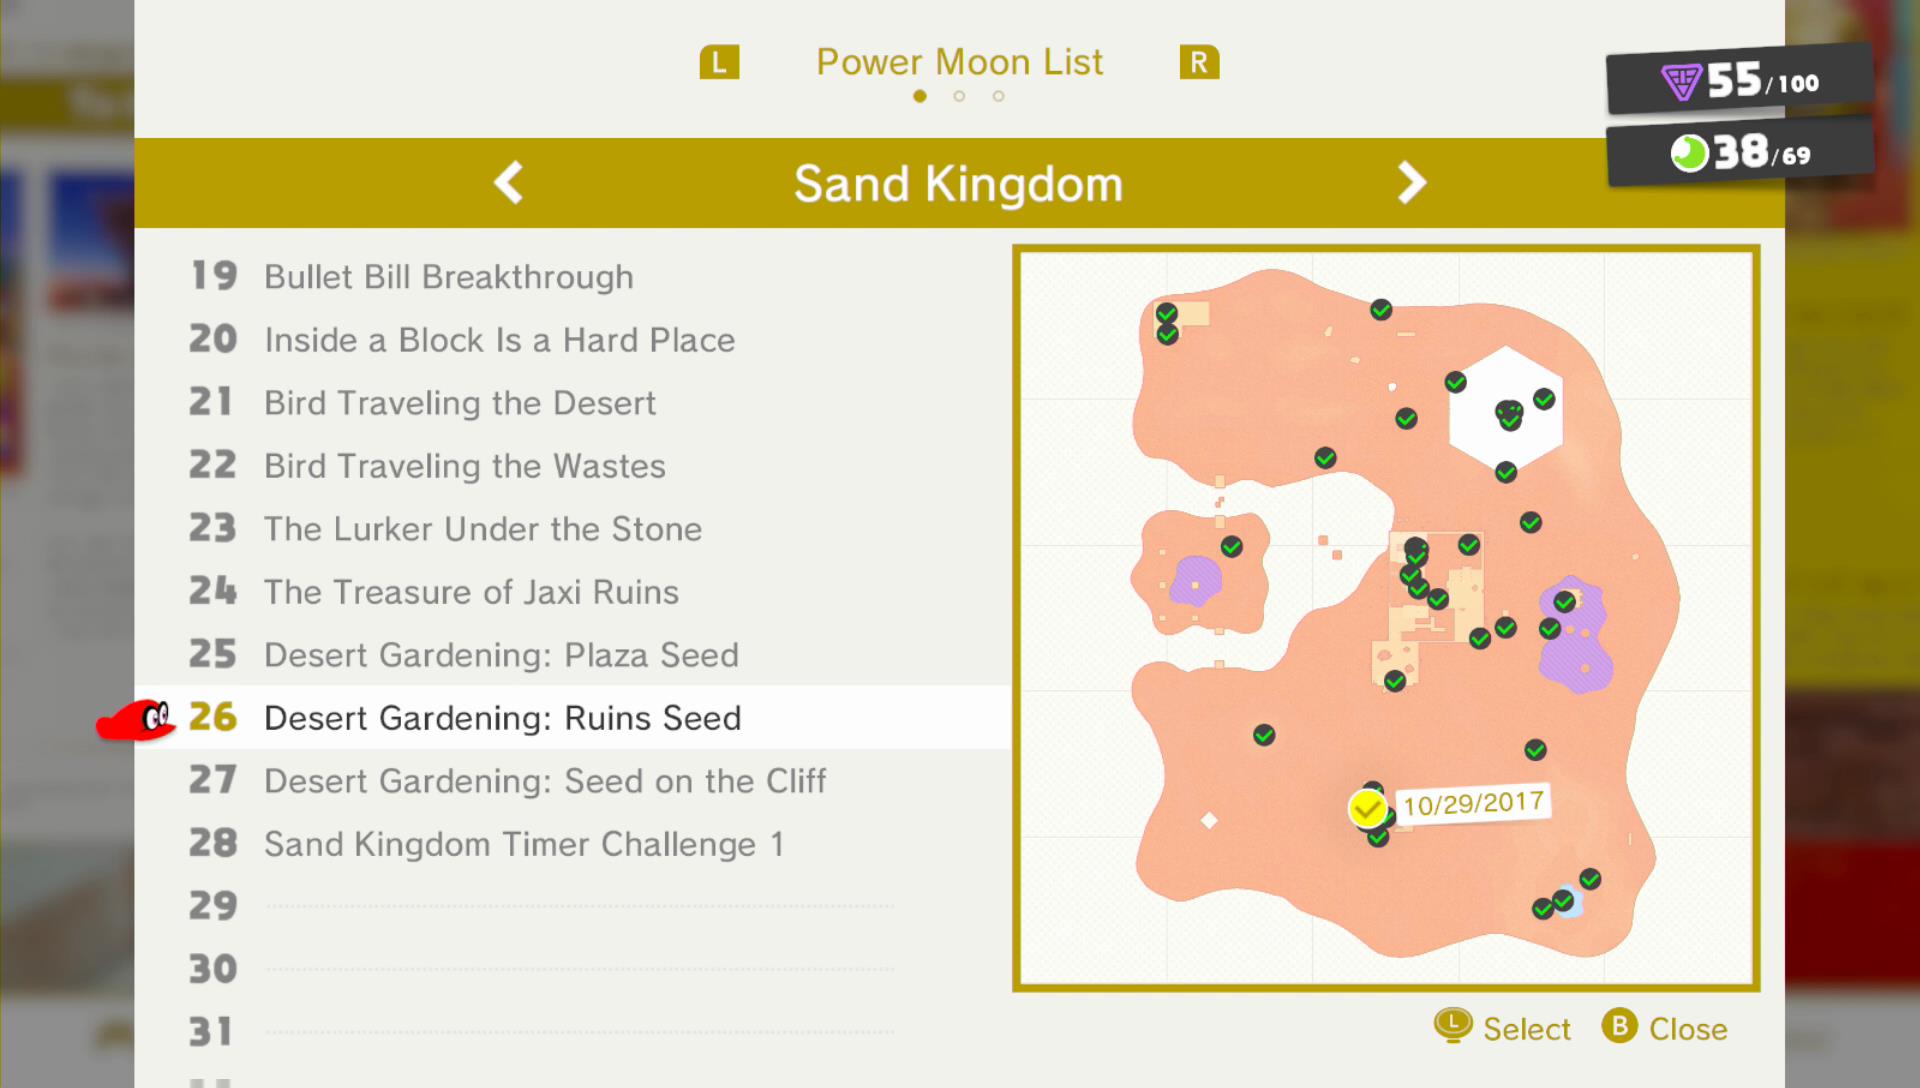
On the left side of the main plaza you will find 3 flower pots. You will need to find 3 seeds across the kingdom and plant them there by throwing them at the pots. You will have to travel across different kingdoms a few times in order for some time to pass. The 3 seeds will grow into flowers and each one of them will have a Power Moon in it.
The first one is located directly next to the flower pots.
The second one is in an alcove on the east wall of the ruins in the center of the map.
The third and final seed is located on a cliff in the western part of the map. Keep hugging the edge of the desert after seeing the bridge south of the smaller swamp area and you will find a lower cliff with the seed on it.
Power Moon 28 – Sand Kingdom Timer Challenge 1
On the roof of the Bullet Bill Maze activate the scarecrow to start the time challenge. Use your roll and wall jumping to get the Power Moon in time.
Power Moon 29 – Sand Kingdom Timer Challenge 2
Capture a Moe-Eye and use the P-Button in the western swamp area to reveal an invisible path, which you will have to complete in time. Use your shads to see the path and memorize it. Without your shades you will run faster so don’t keep your shades on the whole time.
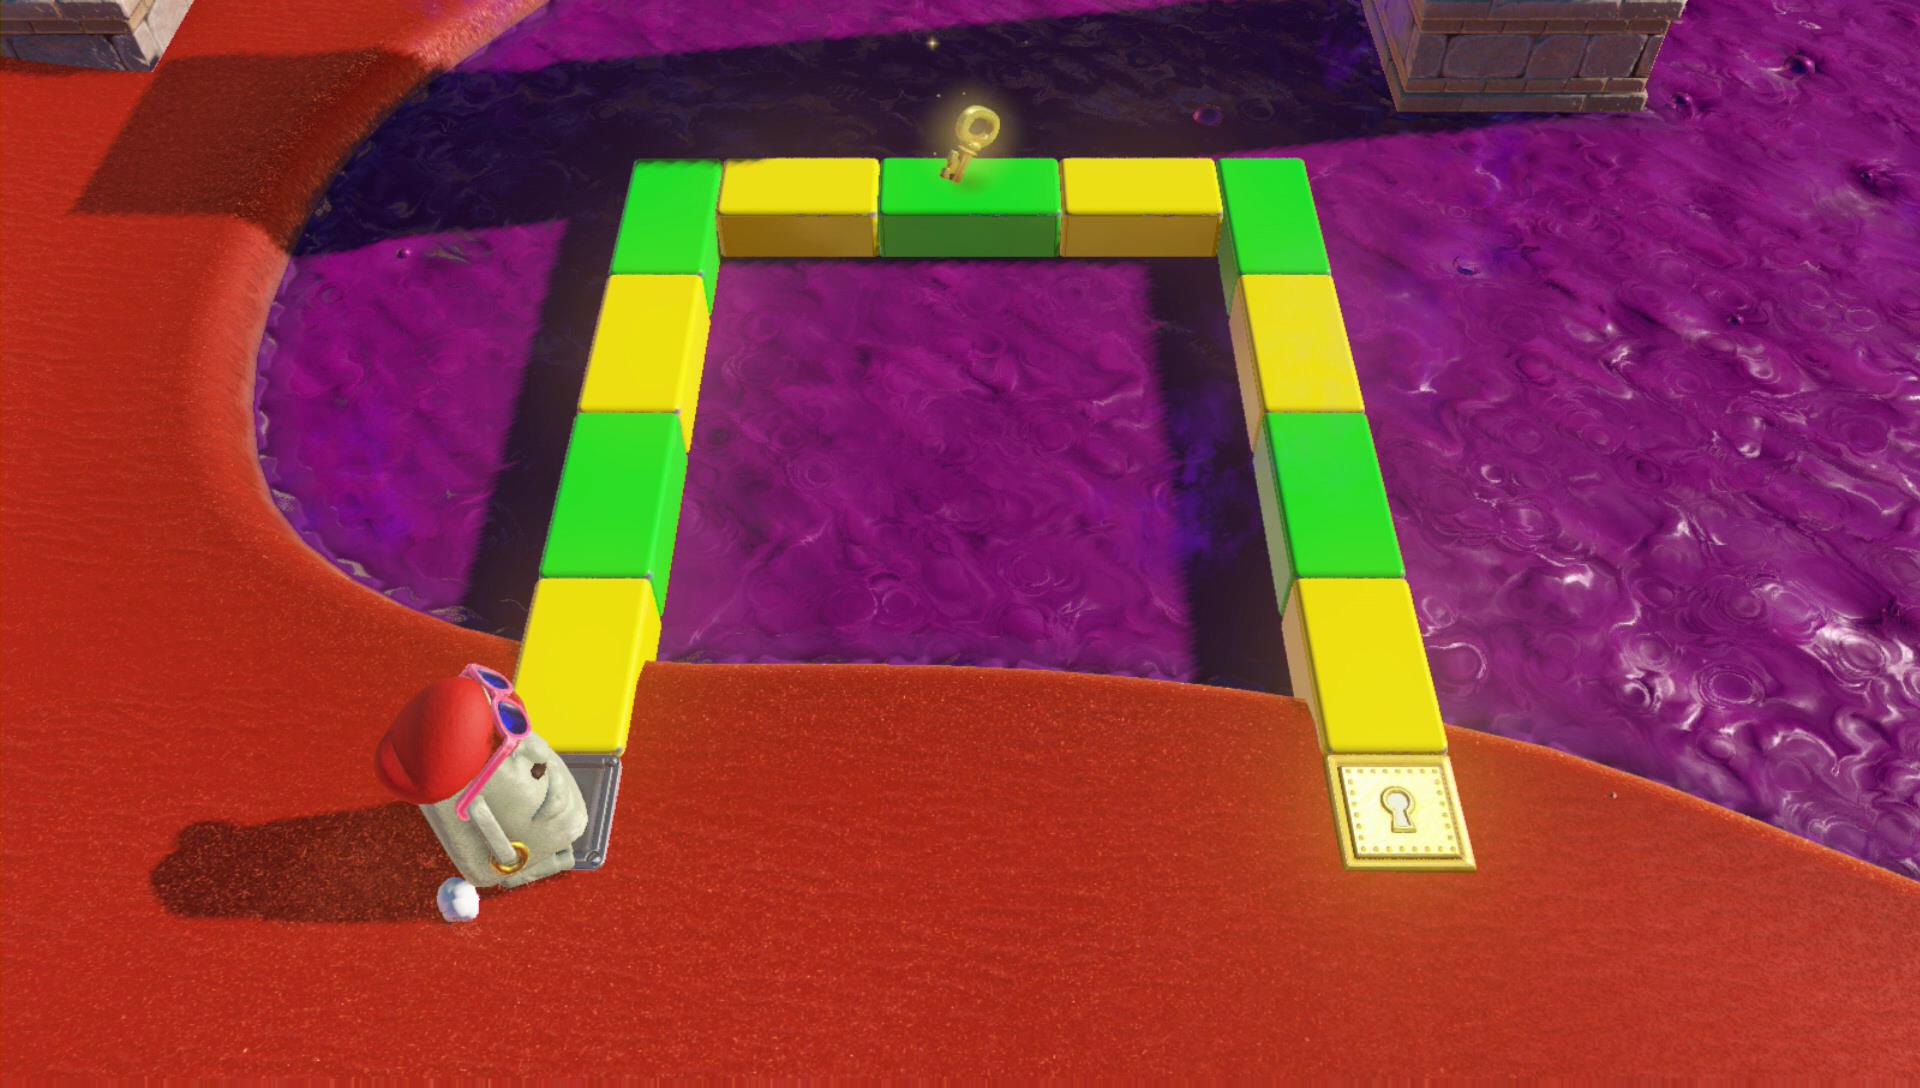
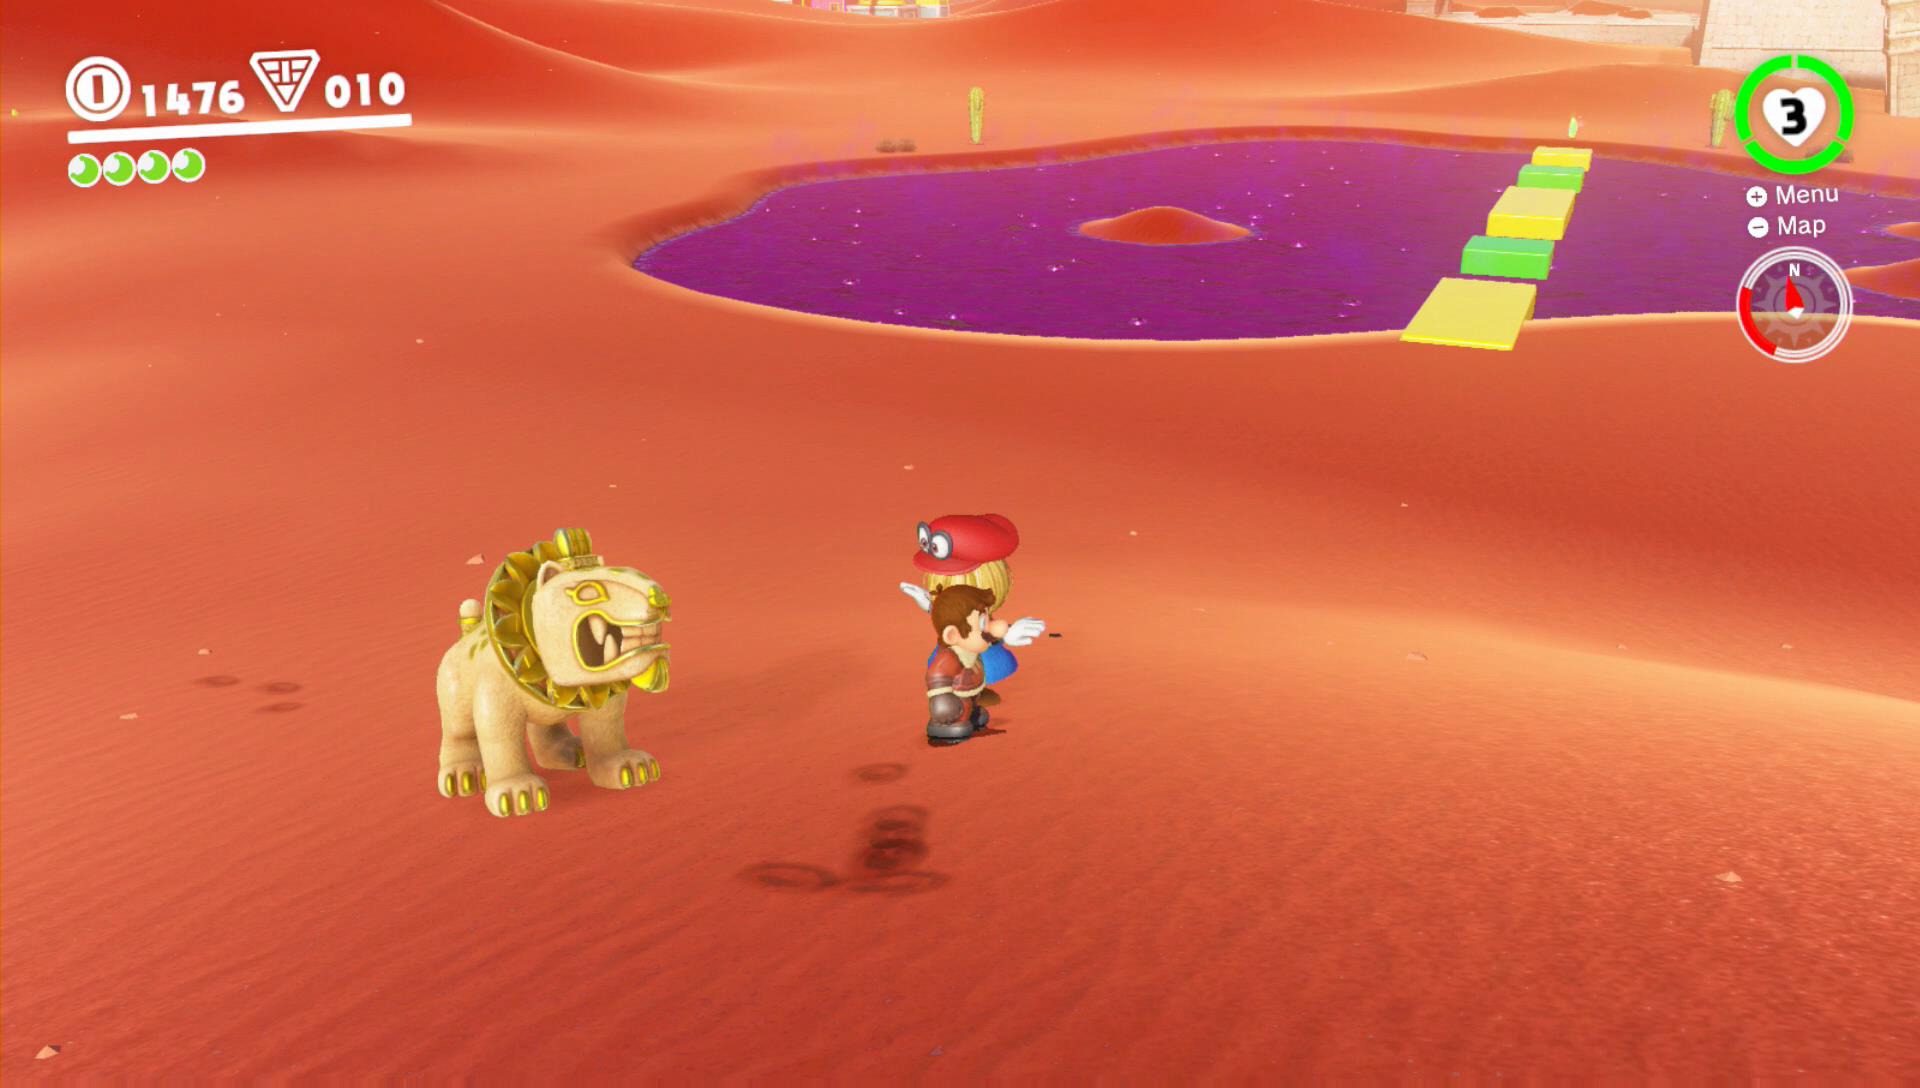
Power Moon 30 – Sand Kingdom Timer Challenge 3
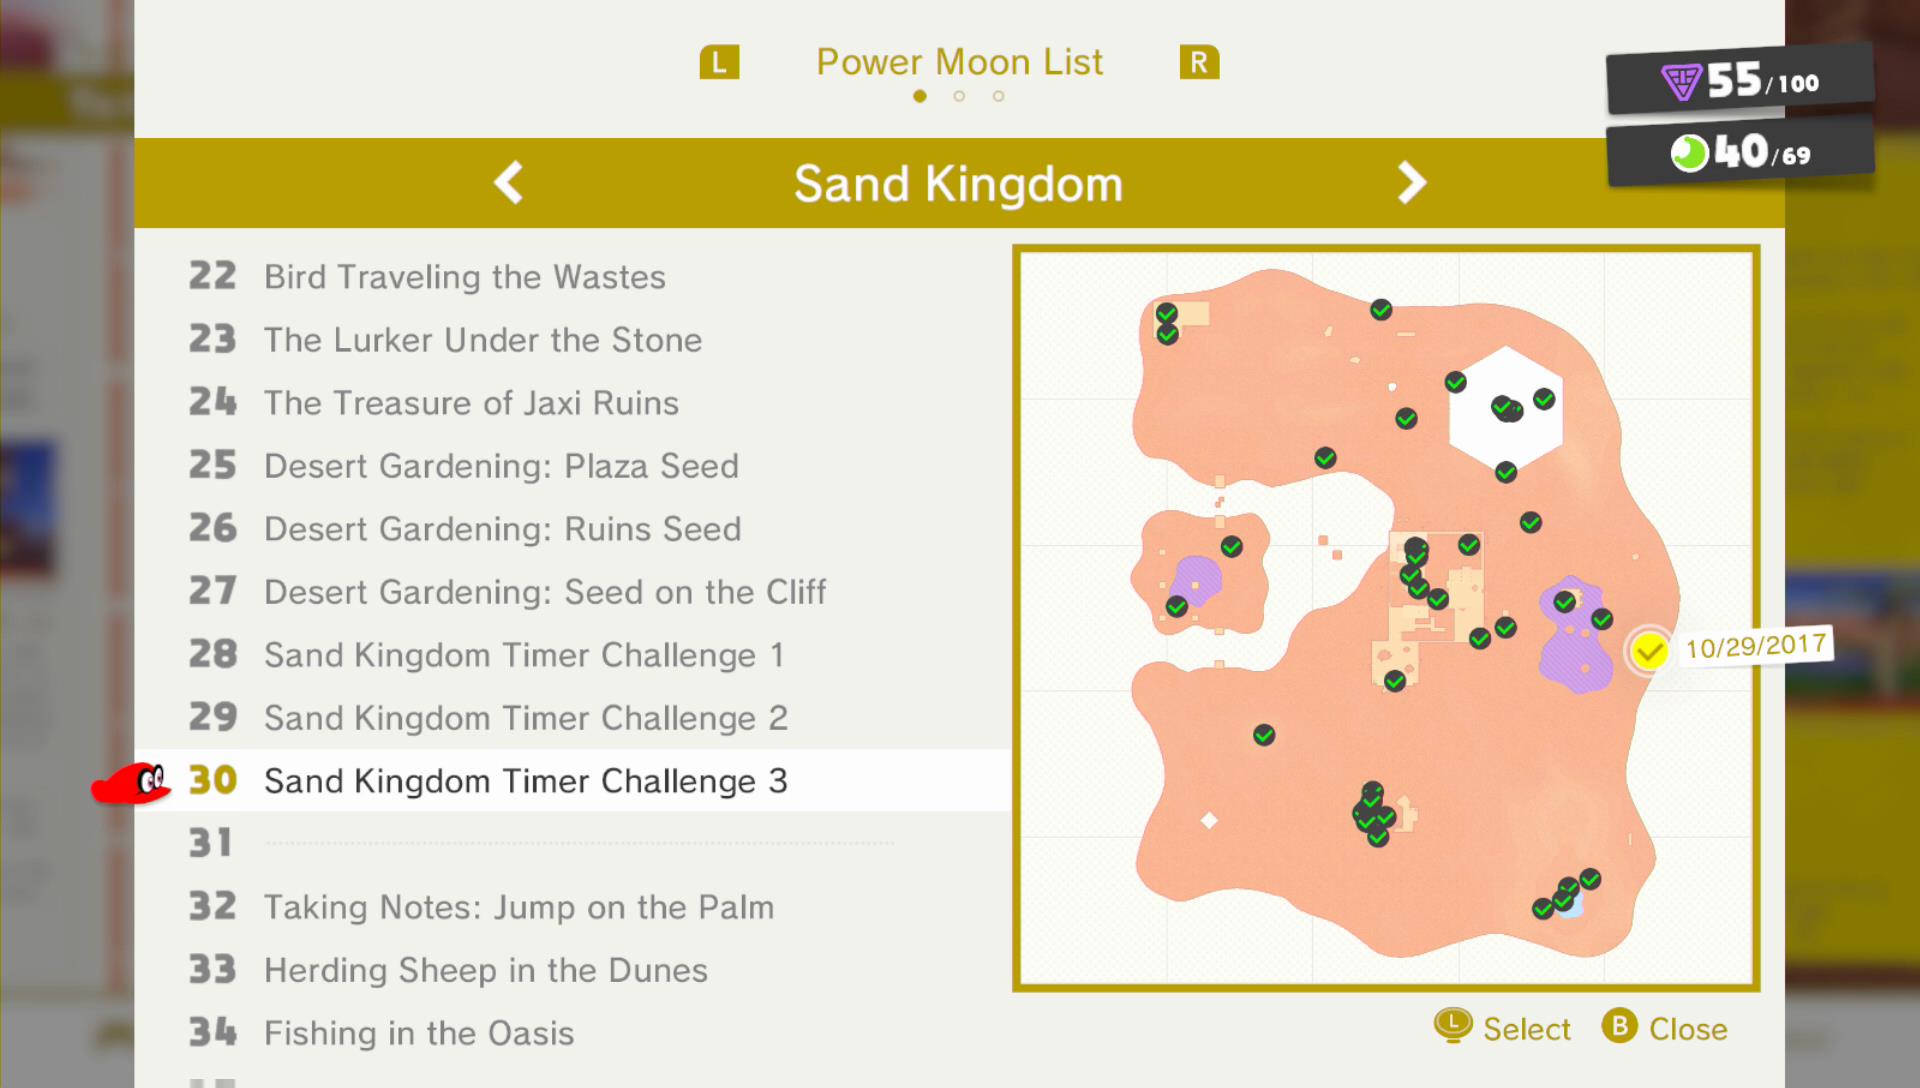
Grab a Jaxi and head to the scarecrow located east of the eastern, bigger swamp area. Place your Jaxi near the scarecrow and activate it. As soon as the Power Moon appears jump on your Jaxi and dash across the swamp to capture the Power Moon.
Up Next: Sand Kingdom Power Moons 31-60
More Super Mario Odyssey Power Moon Locations:
- Cascade Kingdom Power Moon Locations
- Sand Kingdom Power Moon Locations 1-30
- Sand Kingdom Power Moon Locations 31-60
Super Mario Odyssey, Assassin's Creed Origins and Wolfenstein 2 says
Awesome I am glad you doing guide for SMO. I got this game, AC Origins and Wolfenstein 2. Awesome week for gaming. 🙂
Look forward you continue and get all done for Super Mario Odyssey guide. 🙂
DK says
One day i will be done with it, but it may take while. The game is huge.
Sand Kingdom is finished, be sure to check out part 2 as well. 🙂