
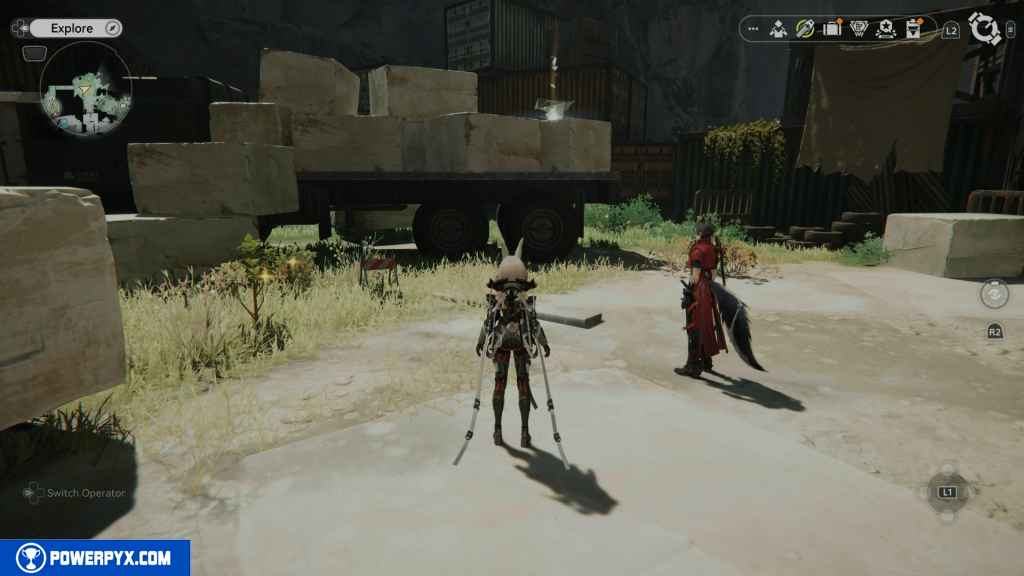
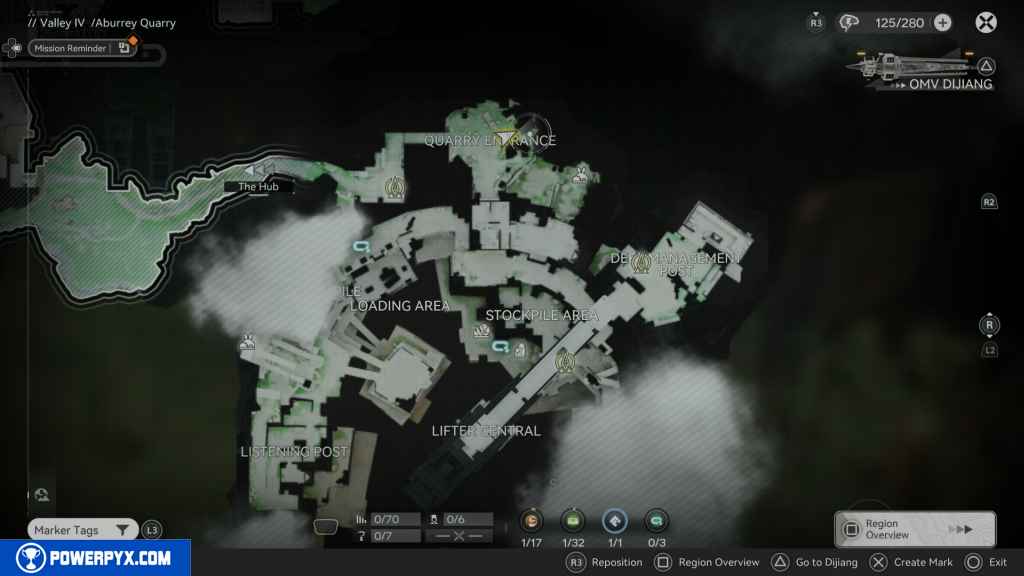
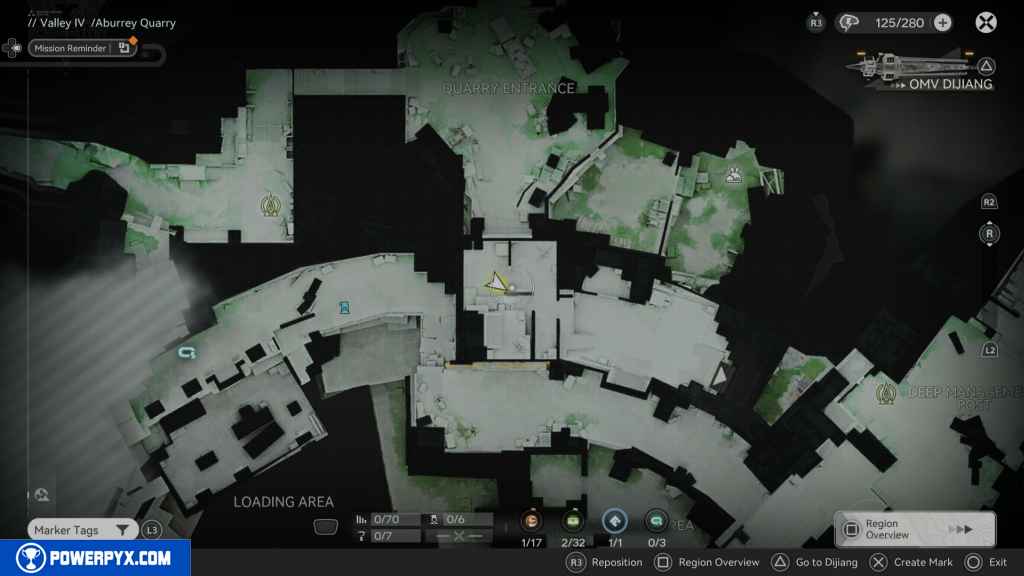
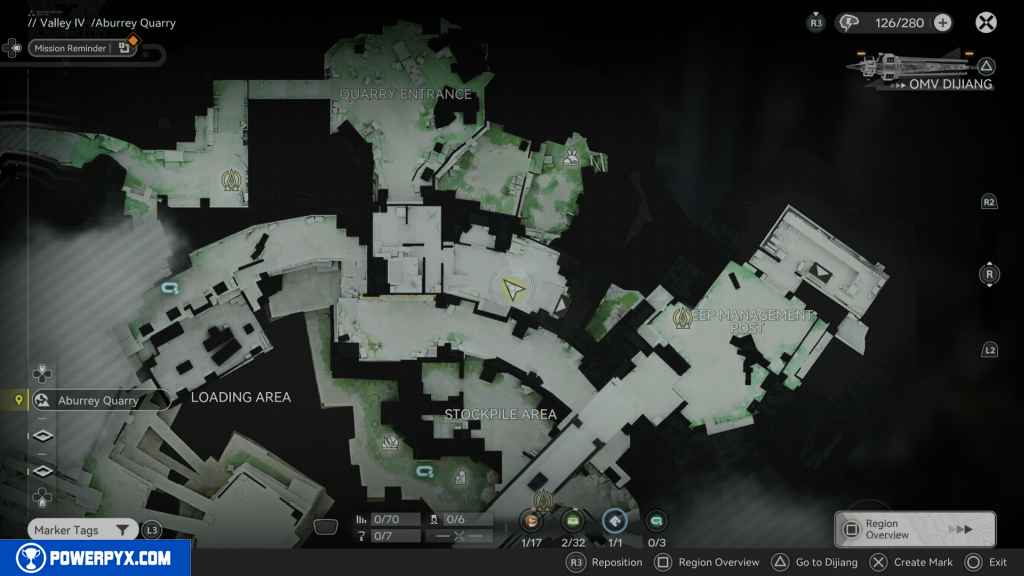
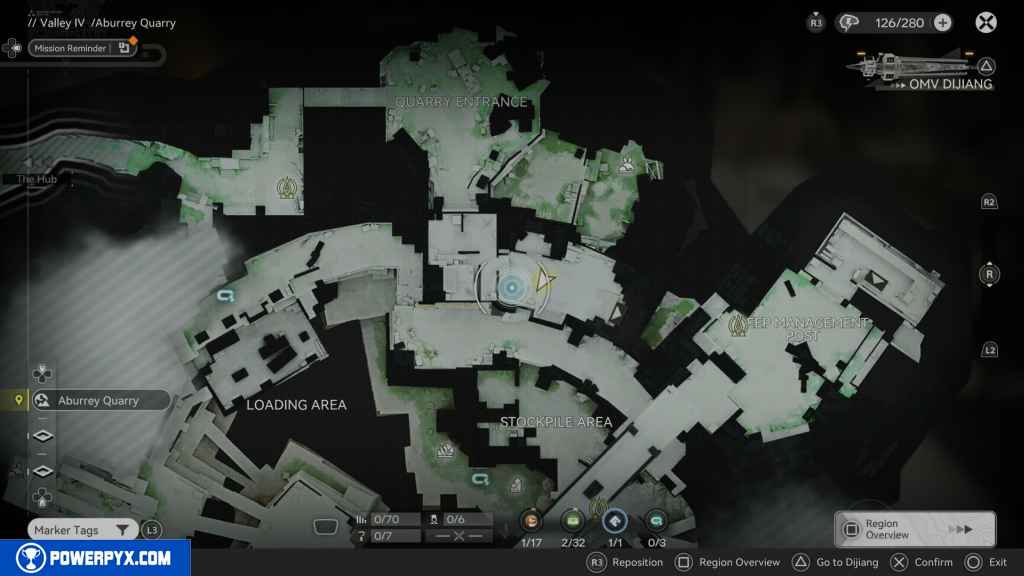
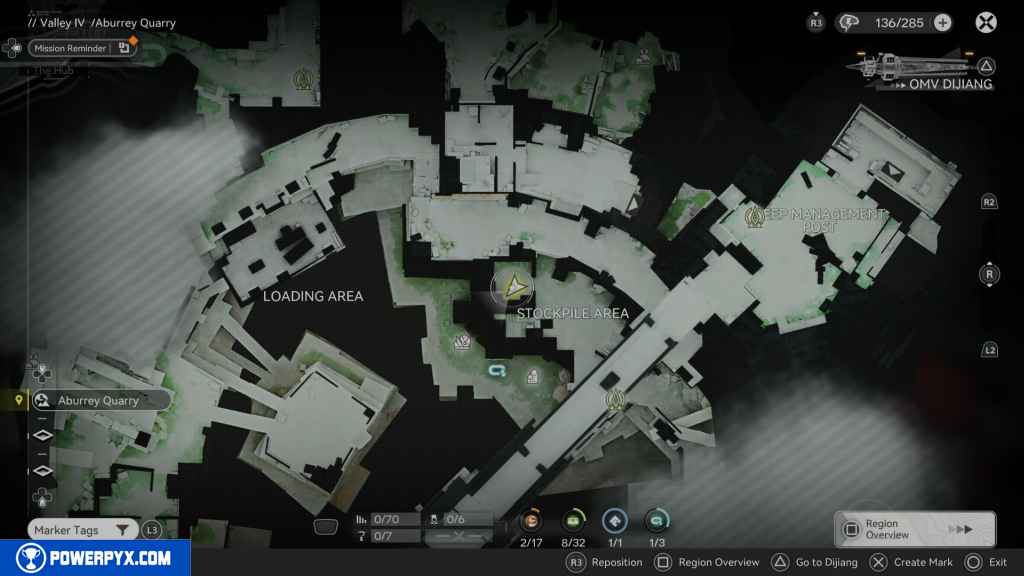
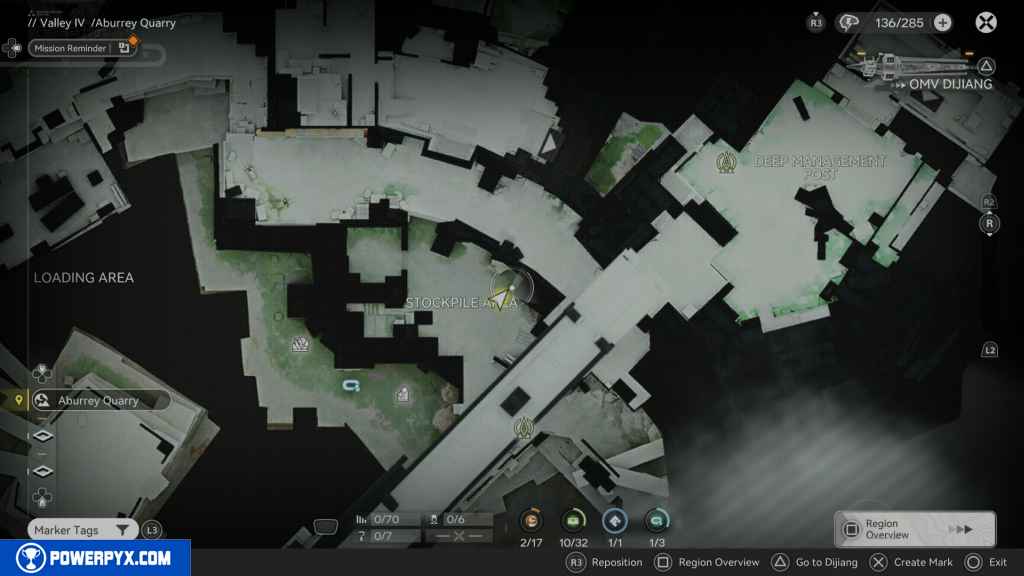
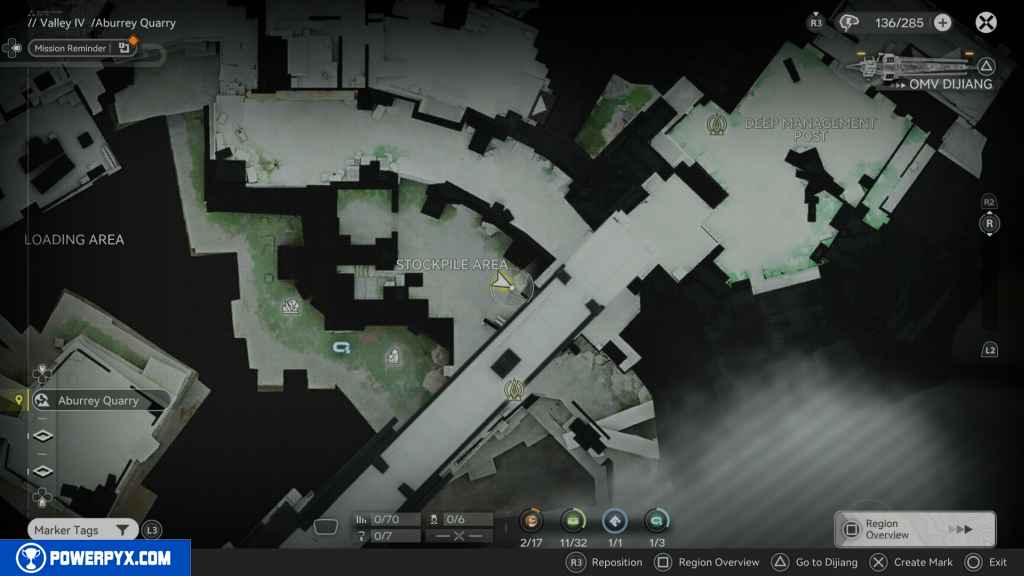
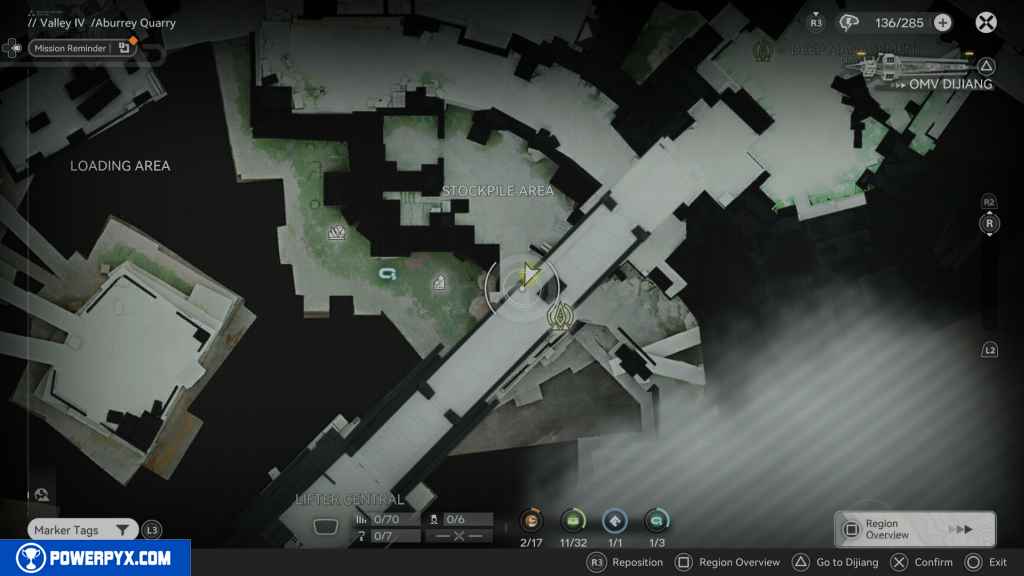
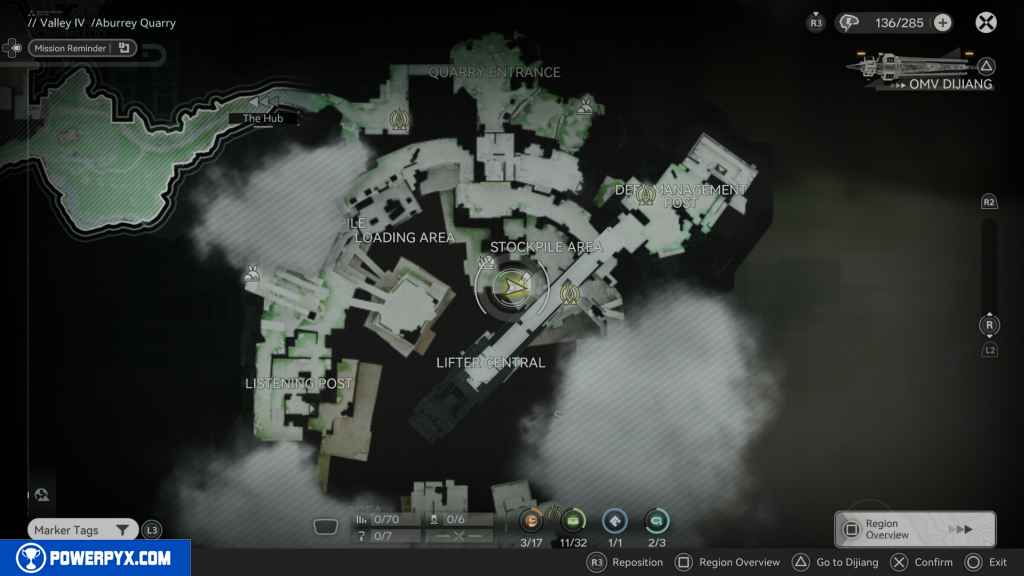
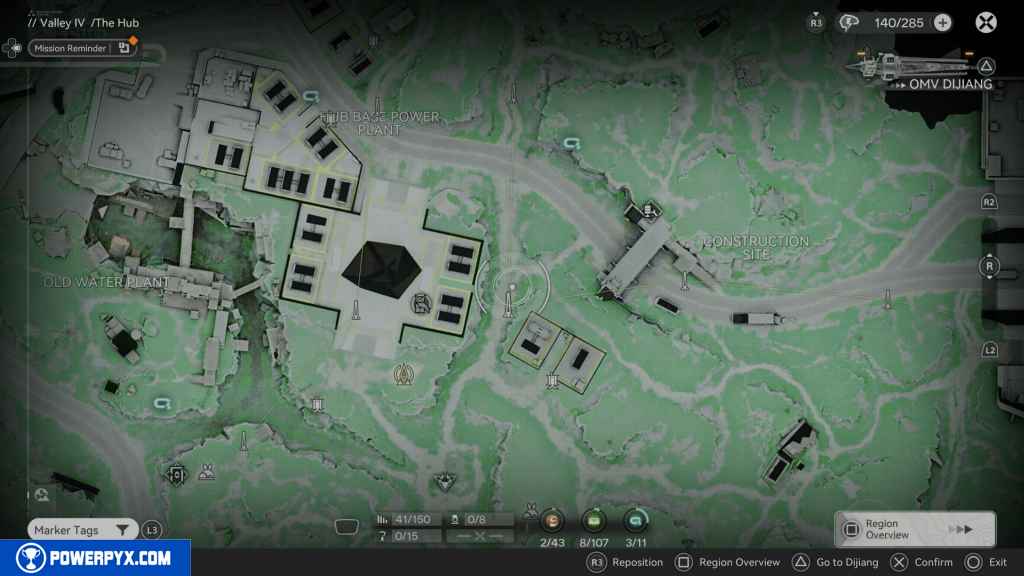
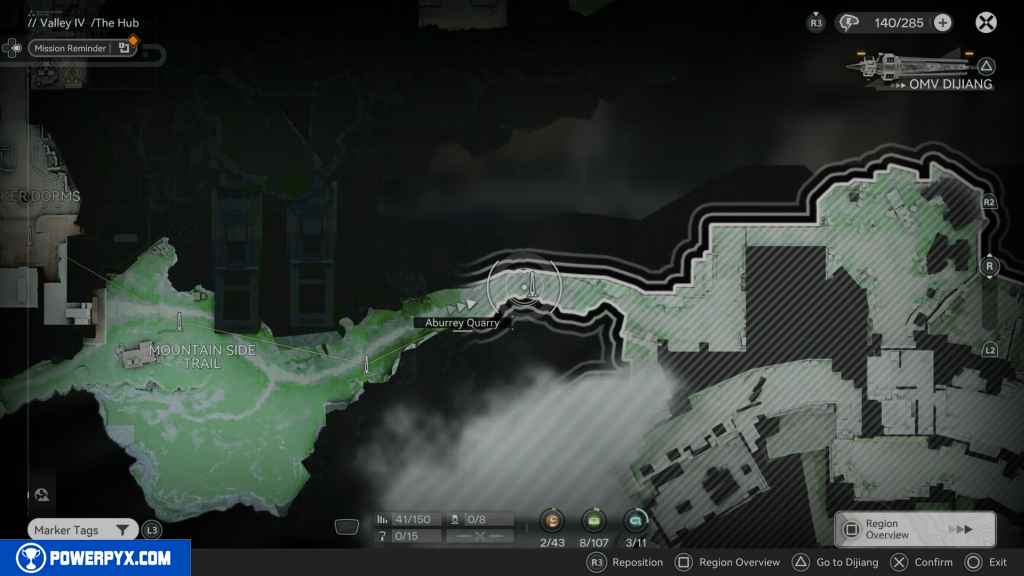
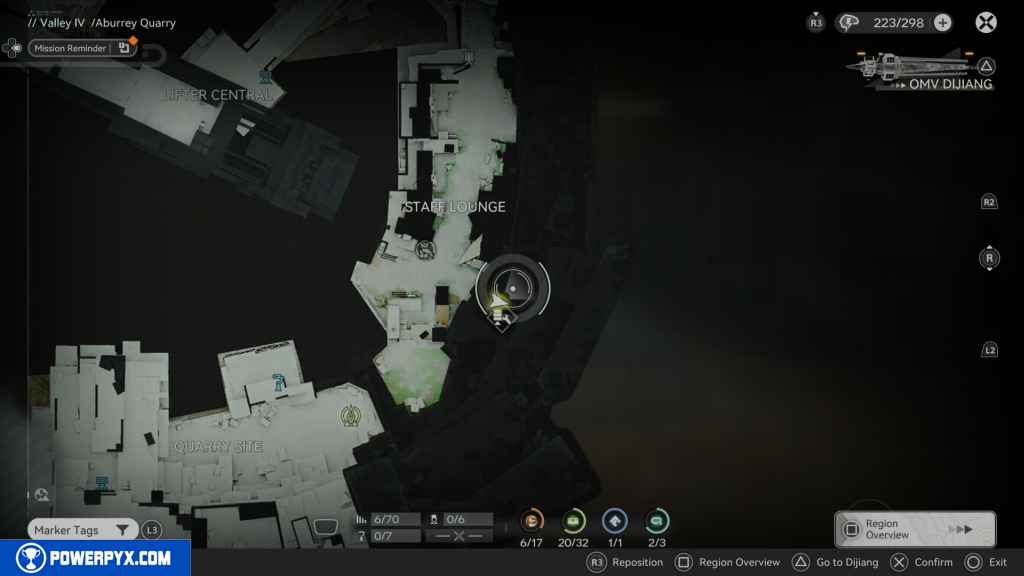
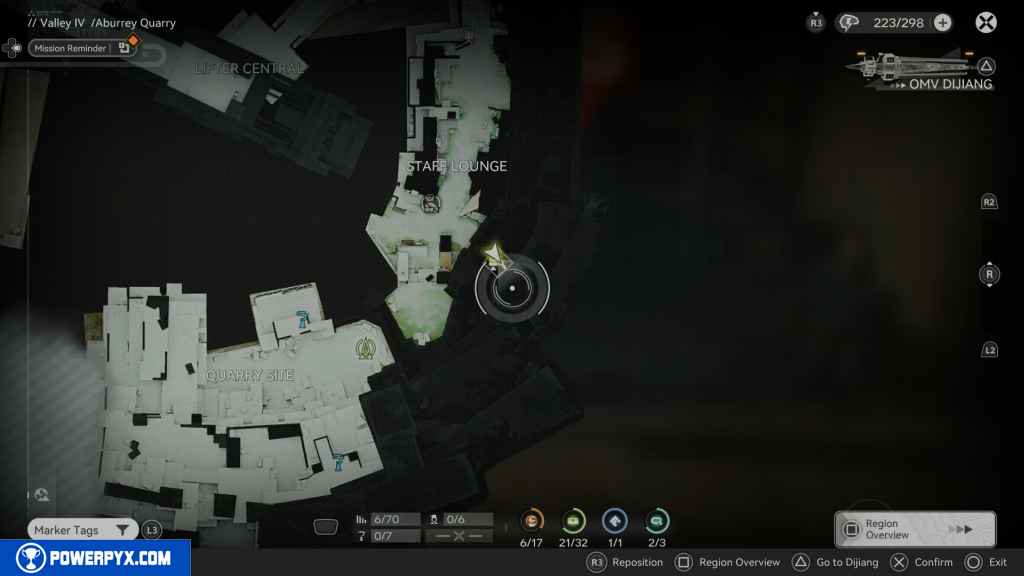
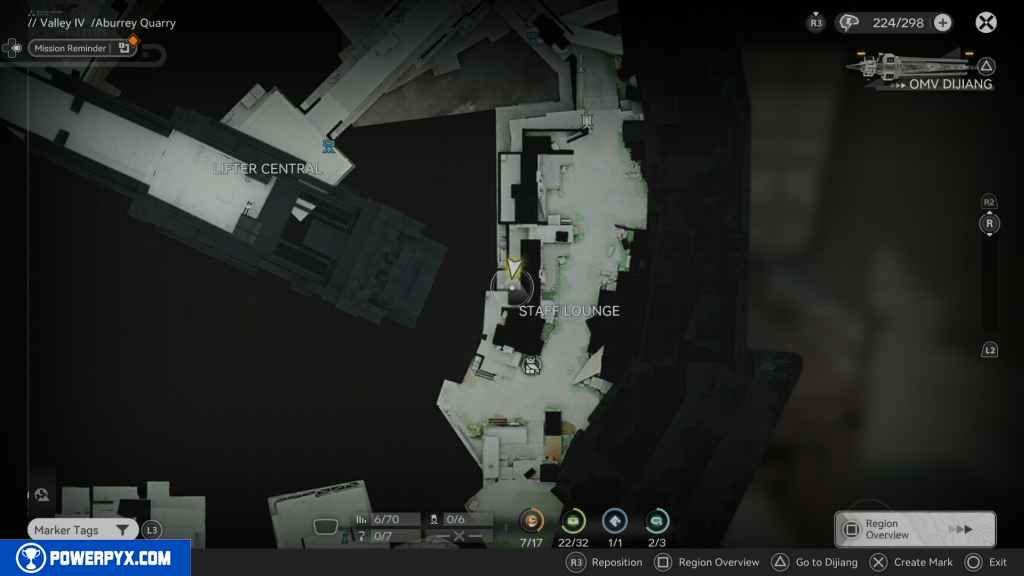
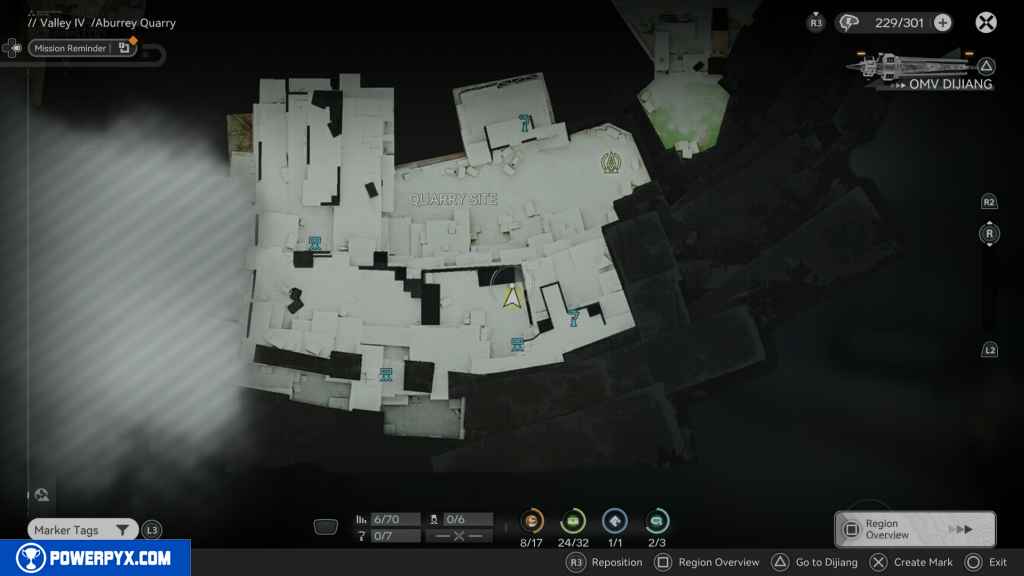
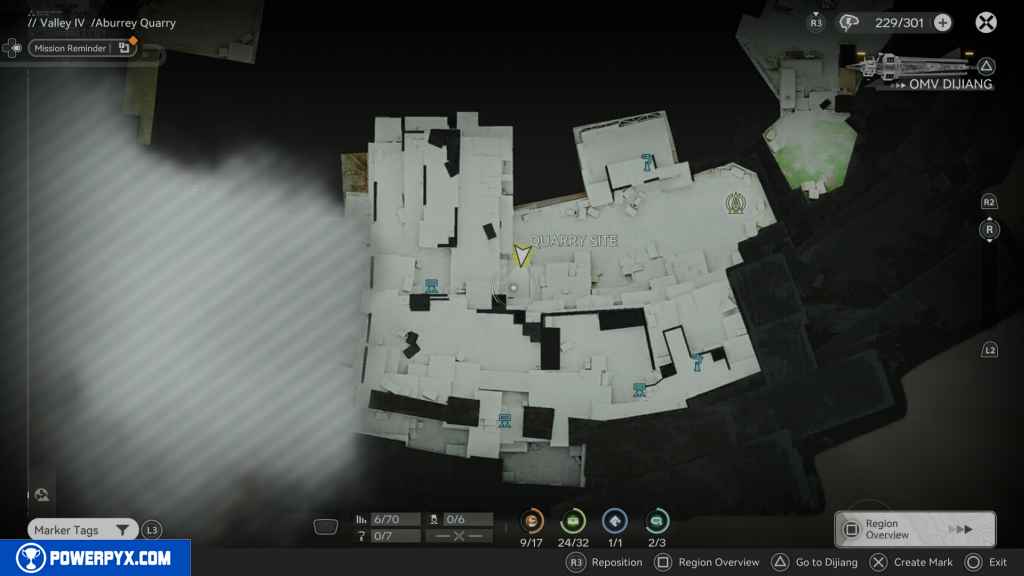
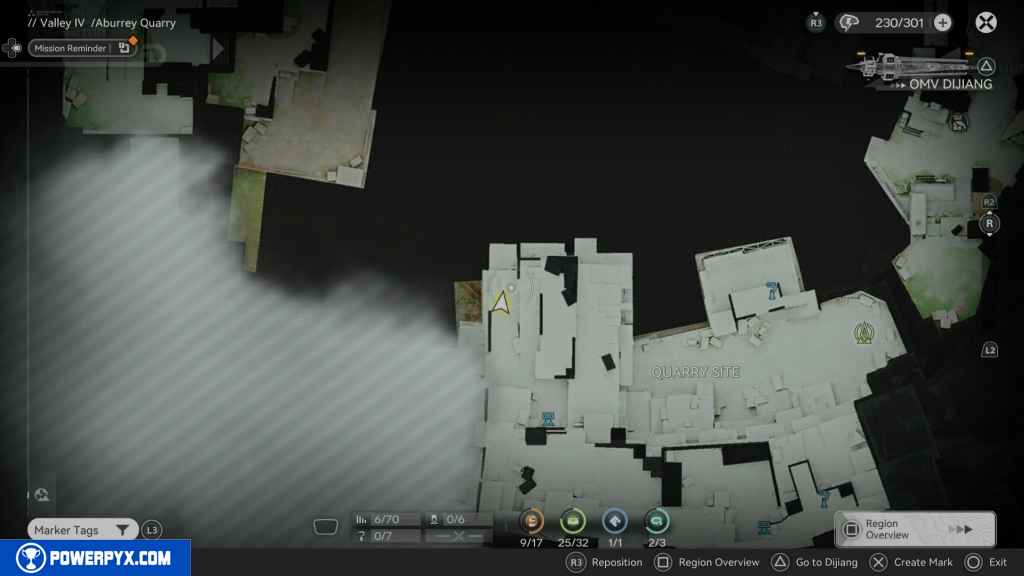
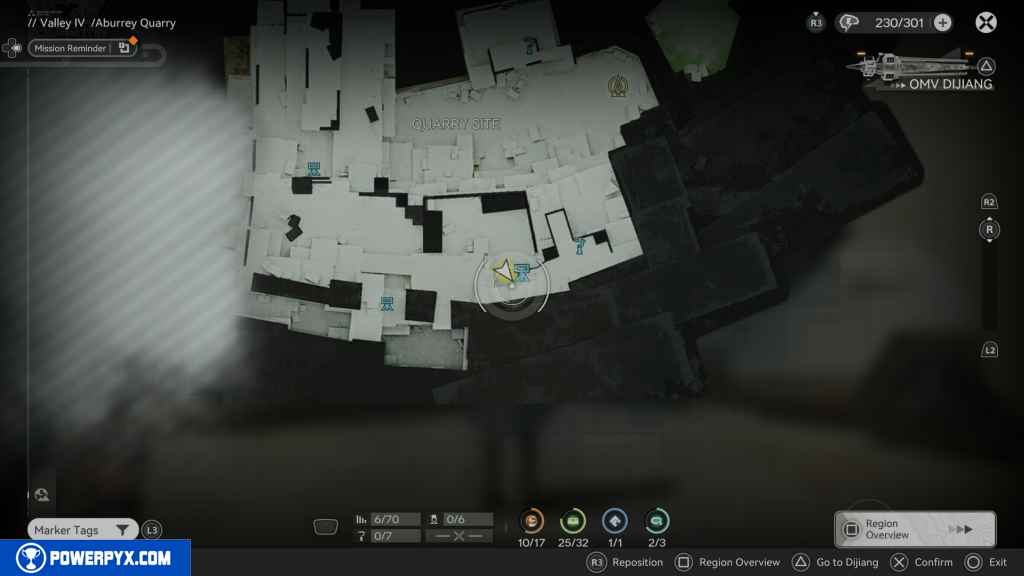
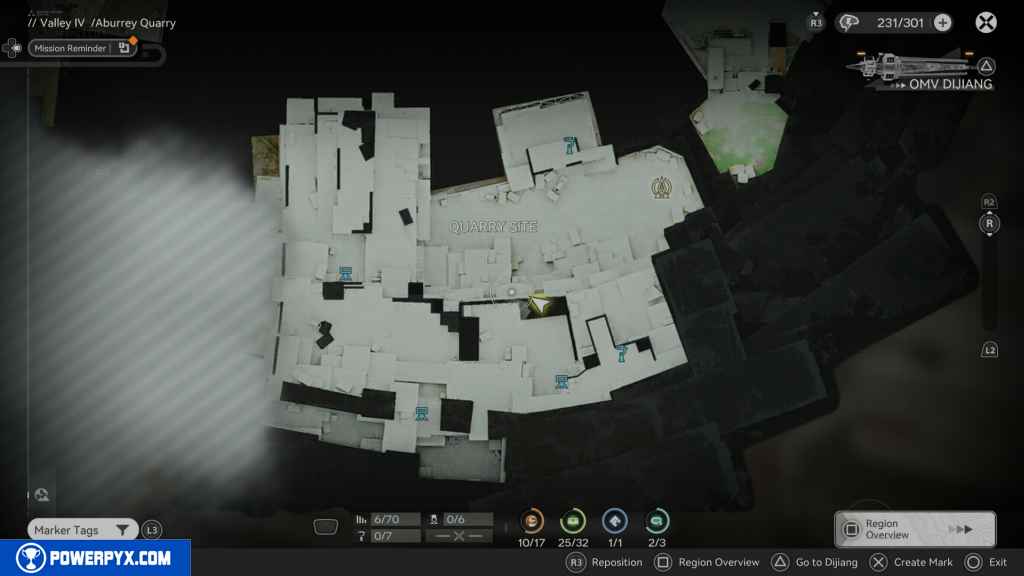
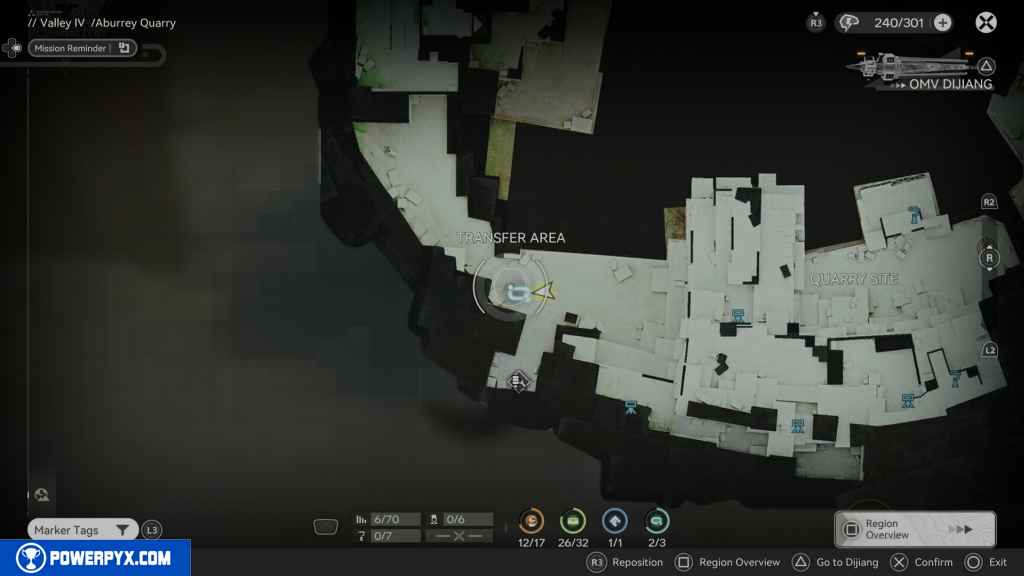
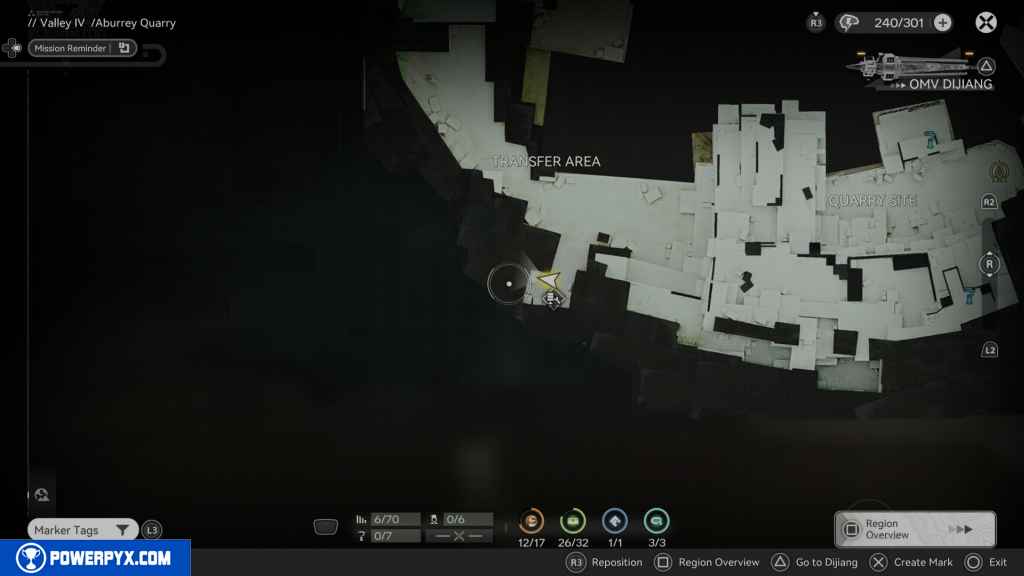
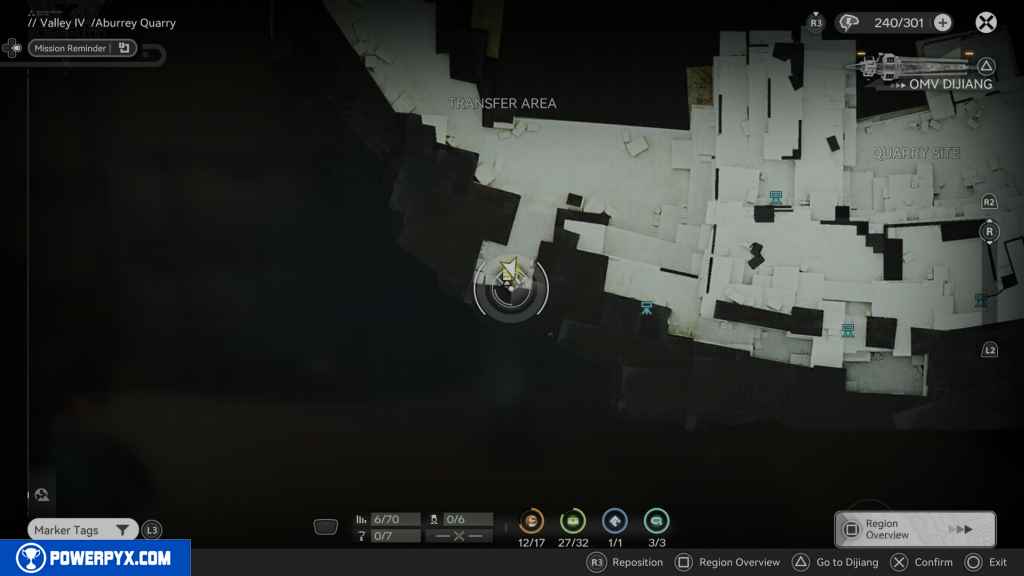
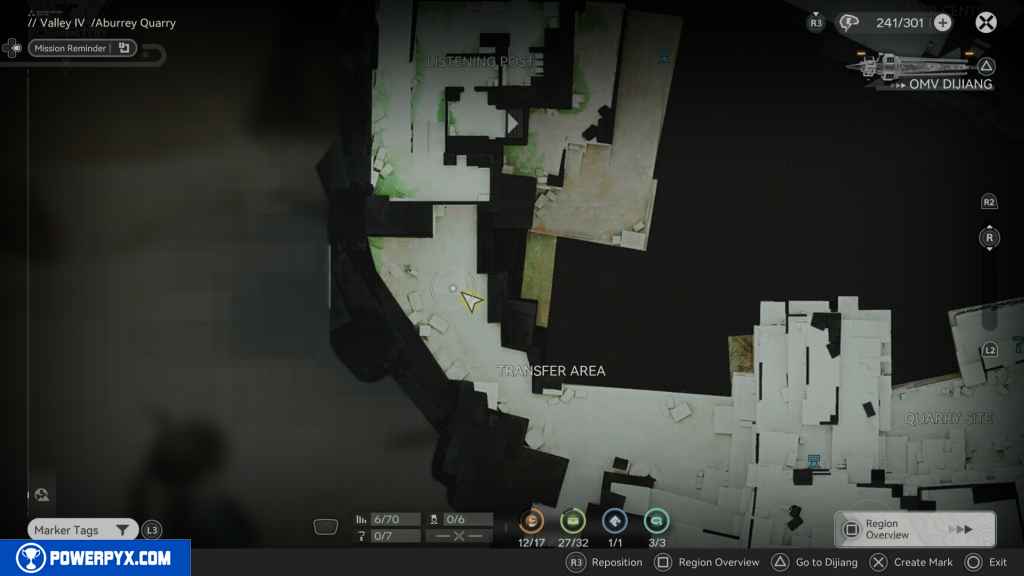
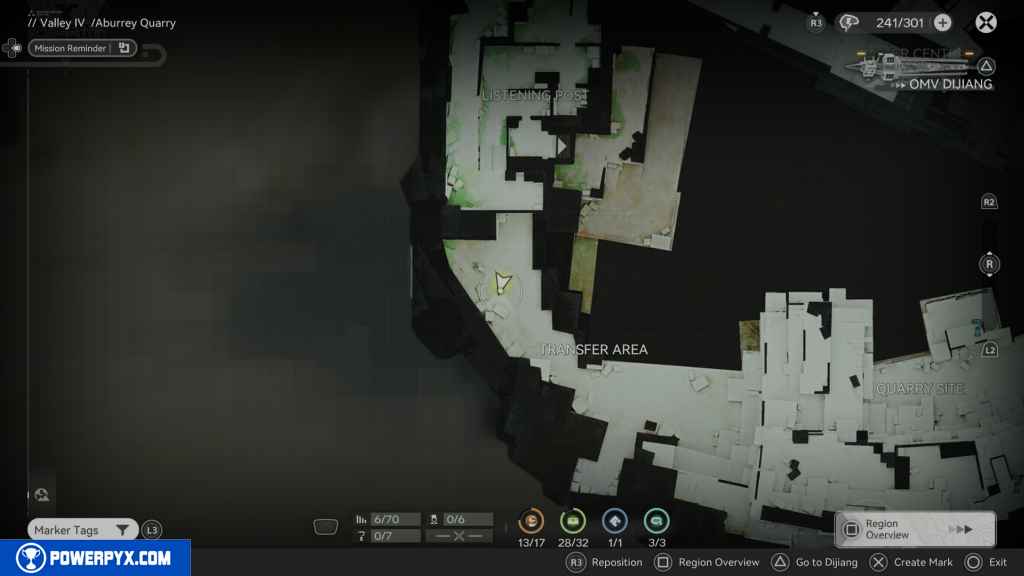
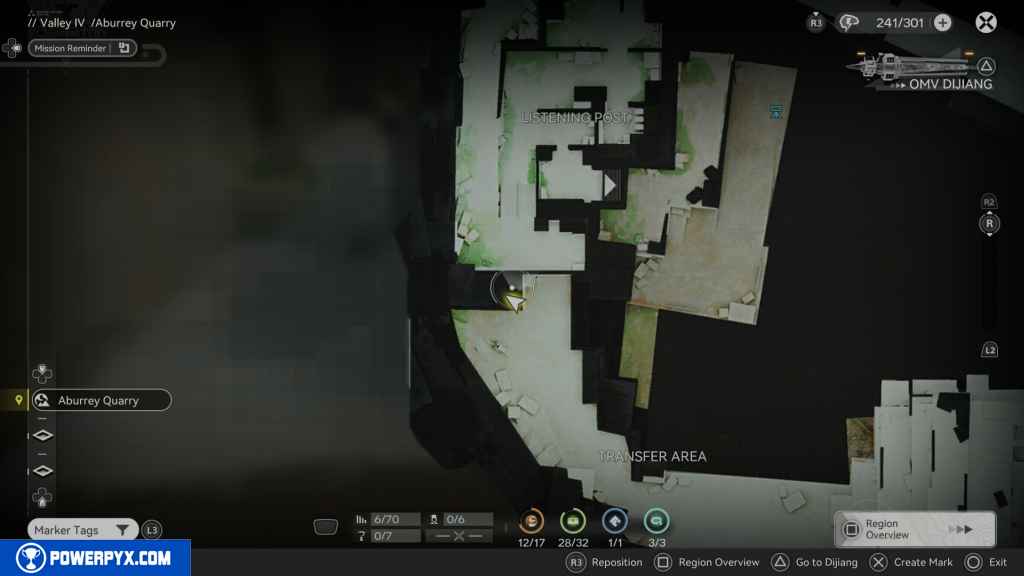
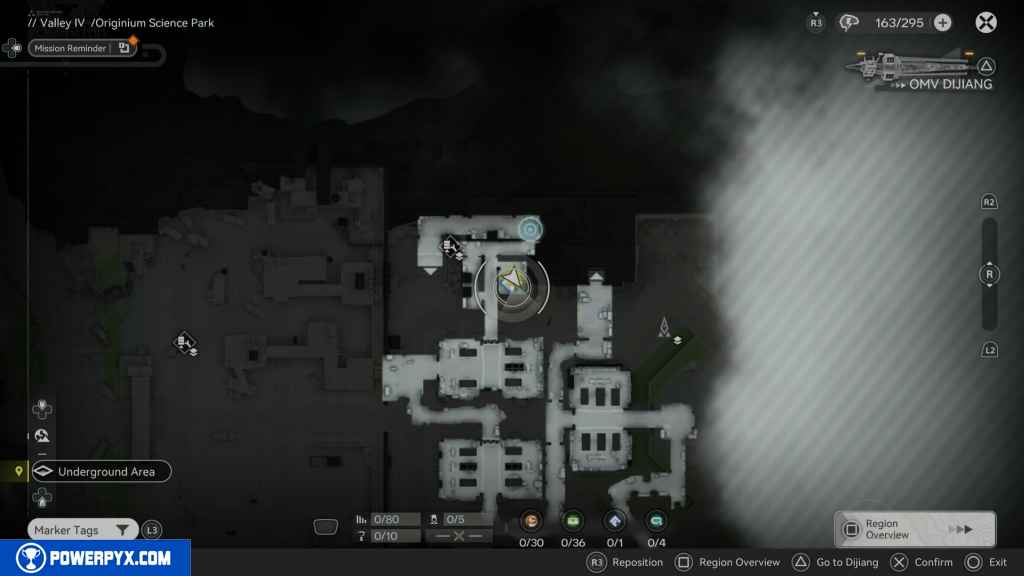
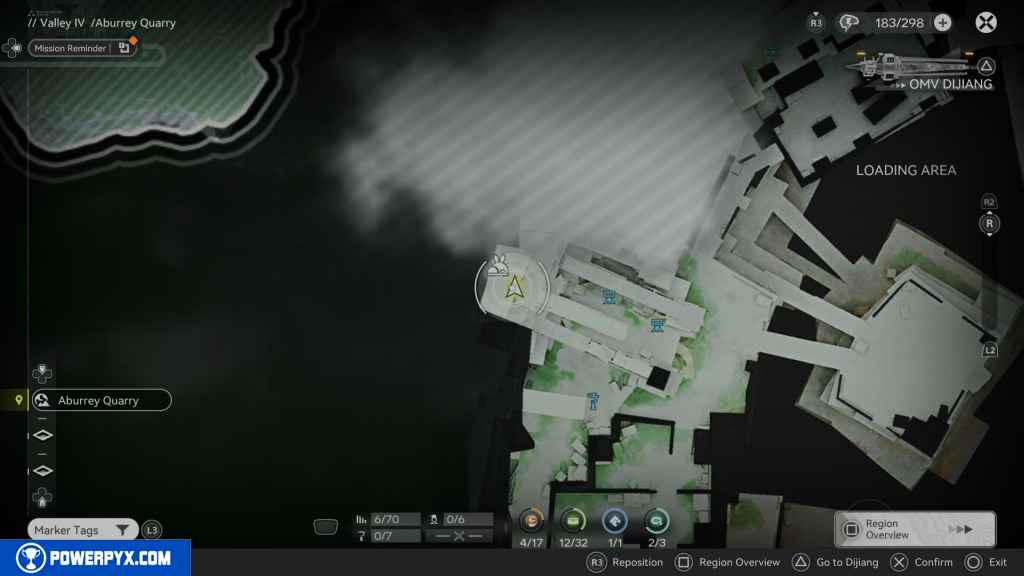
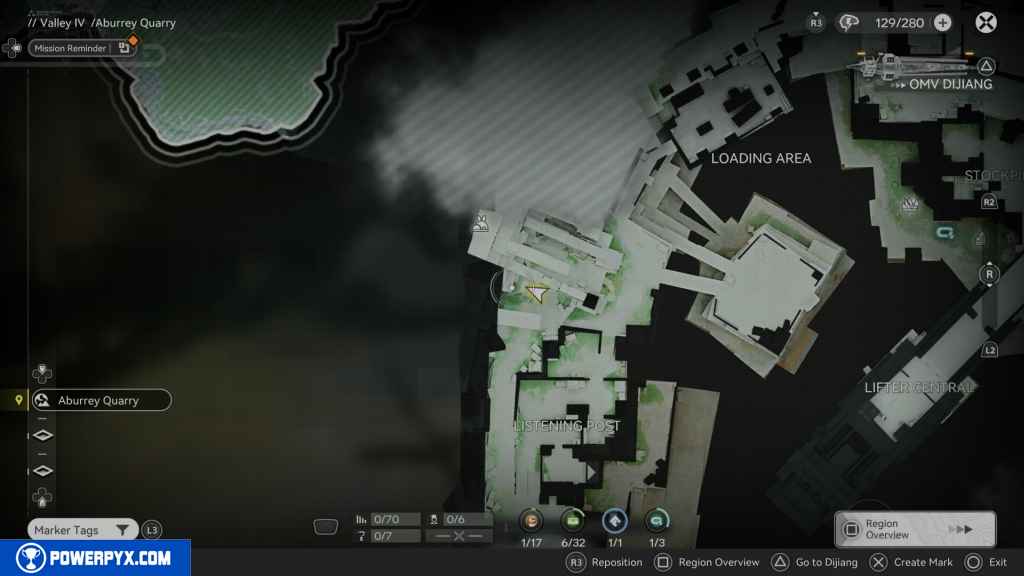
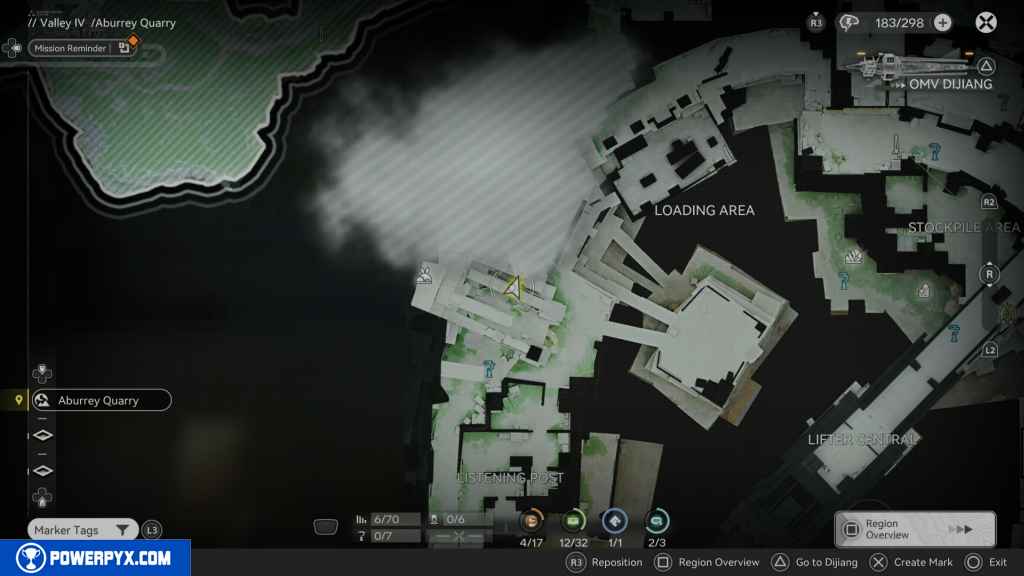
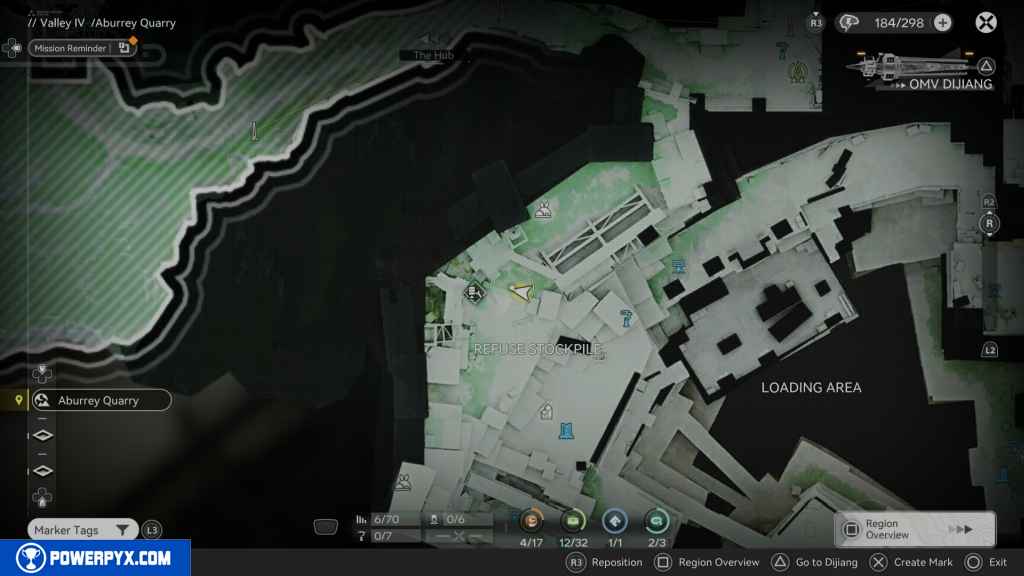
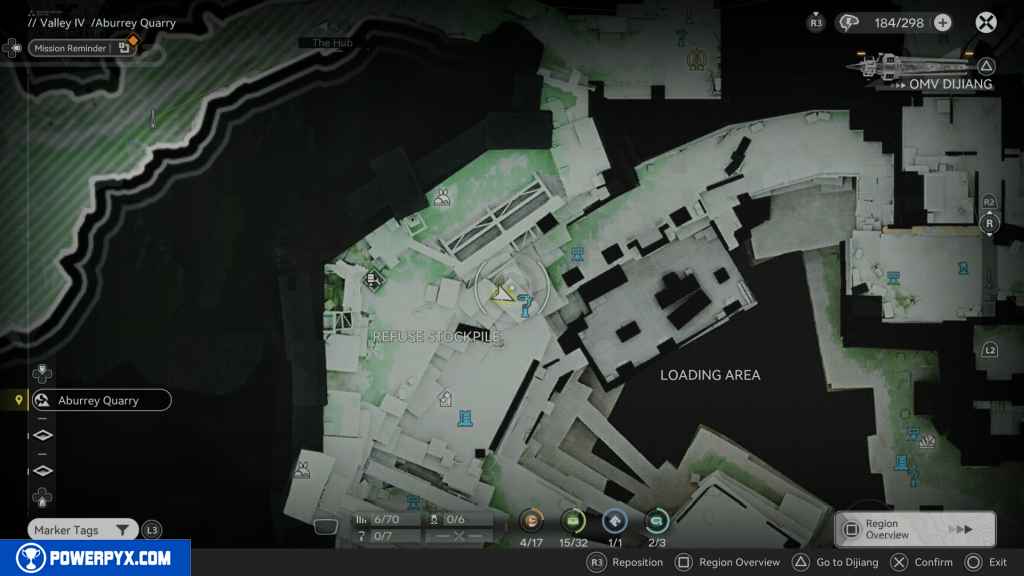
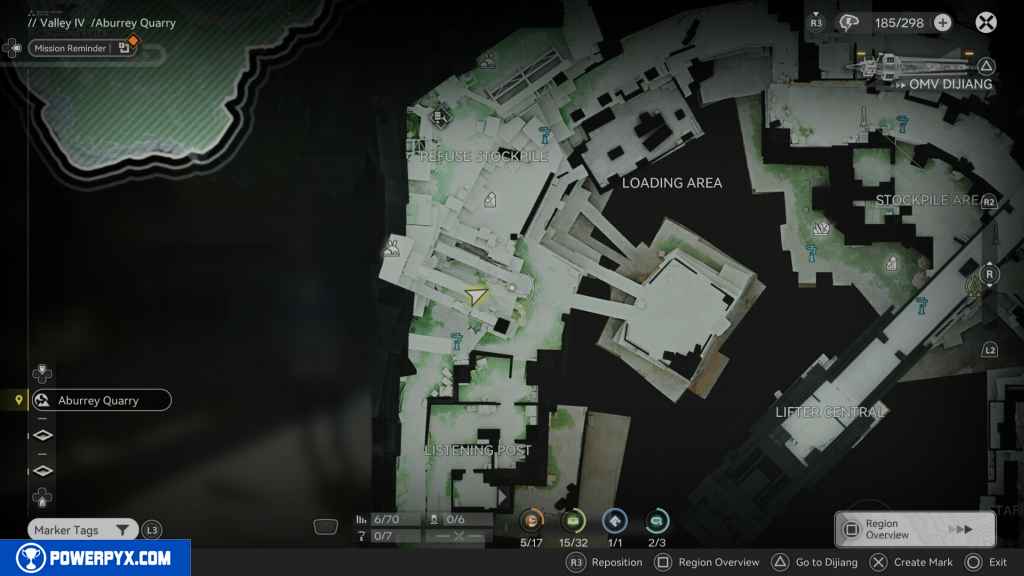
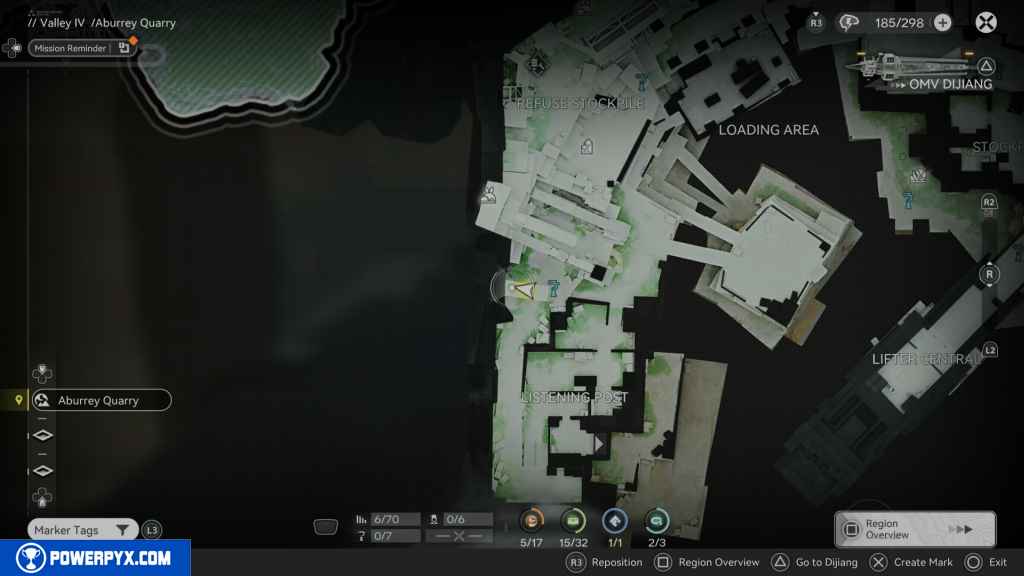
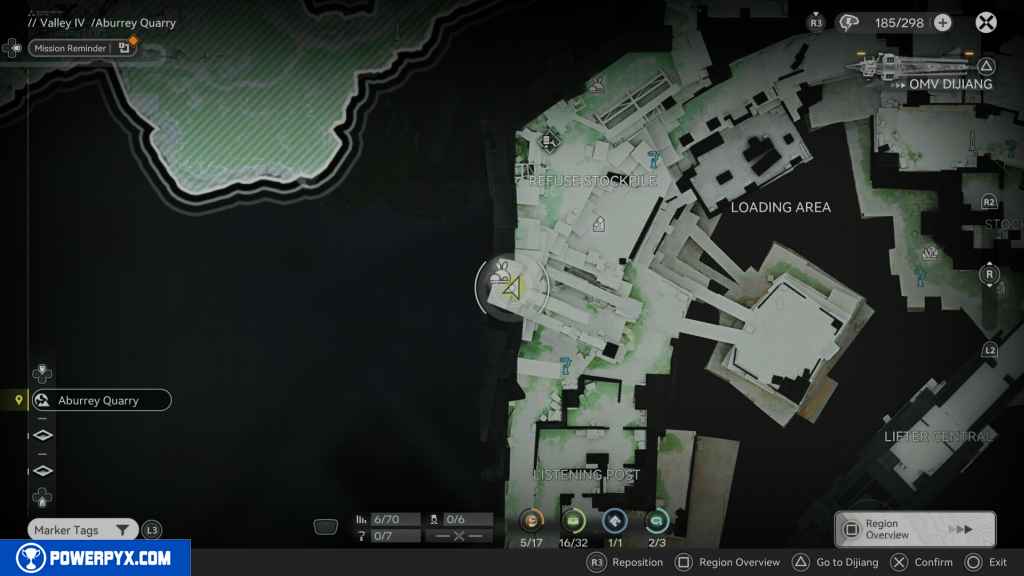
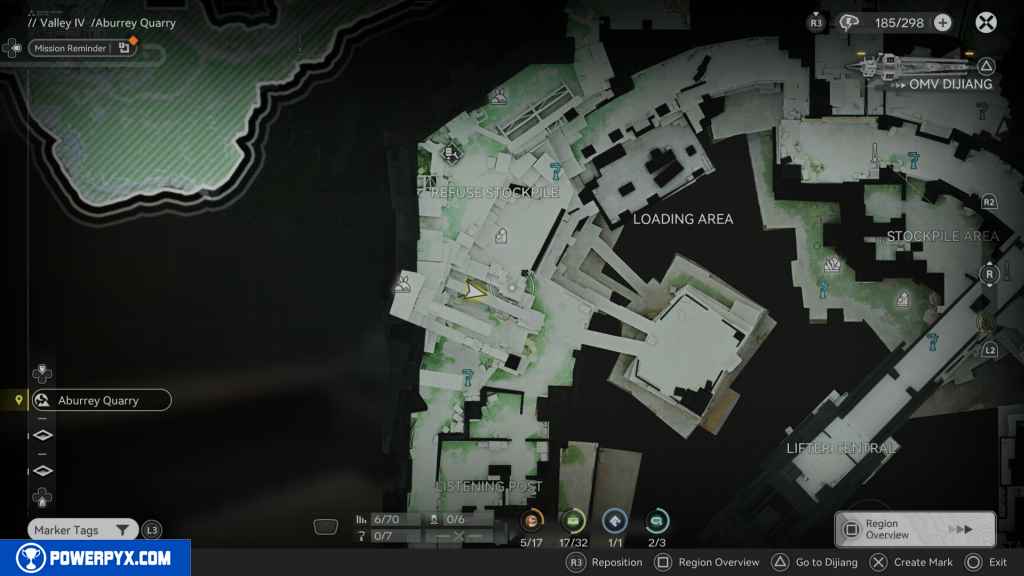
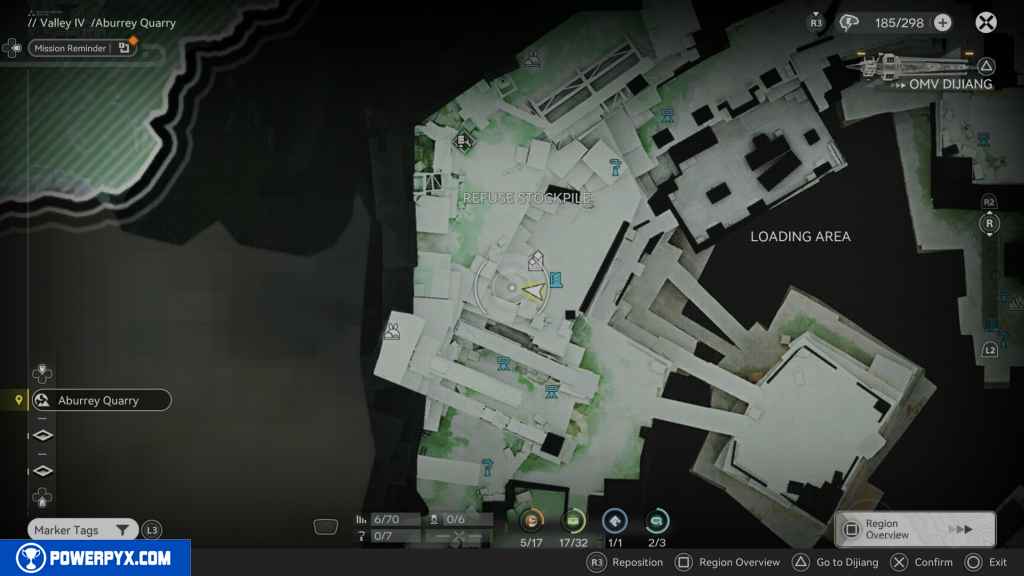
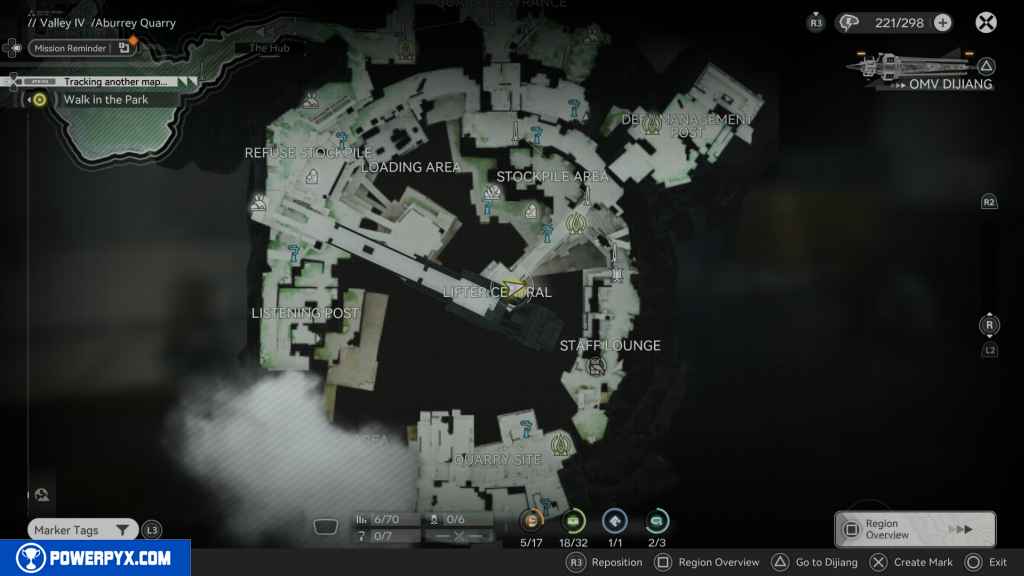
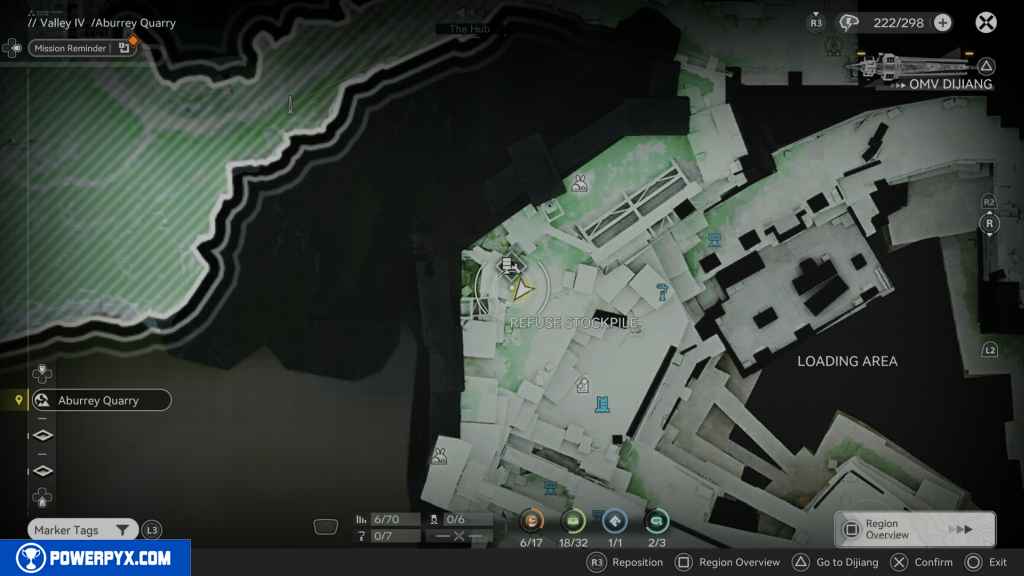
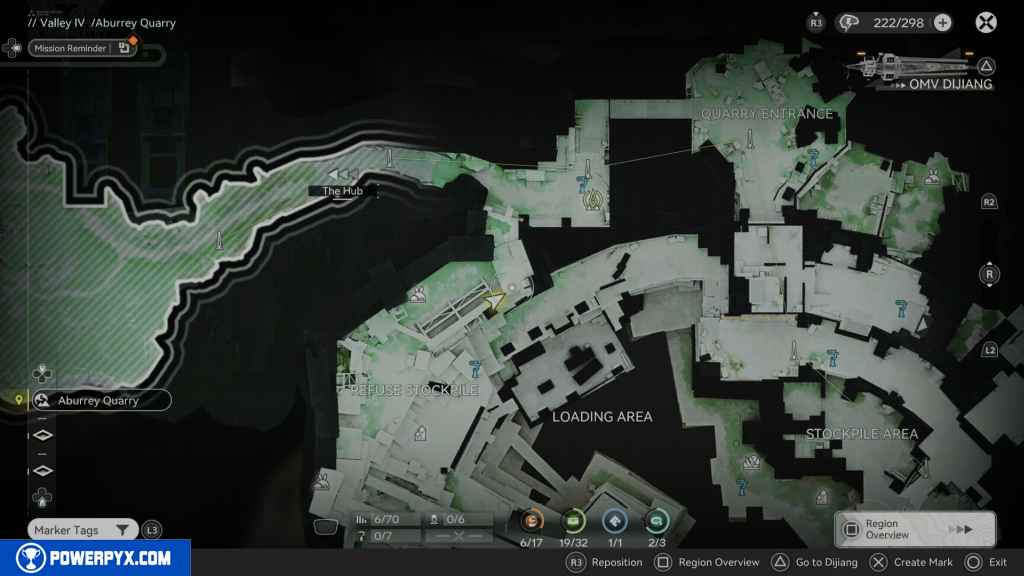
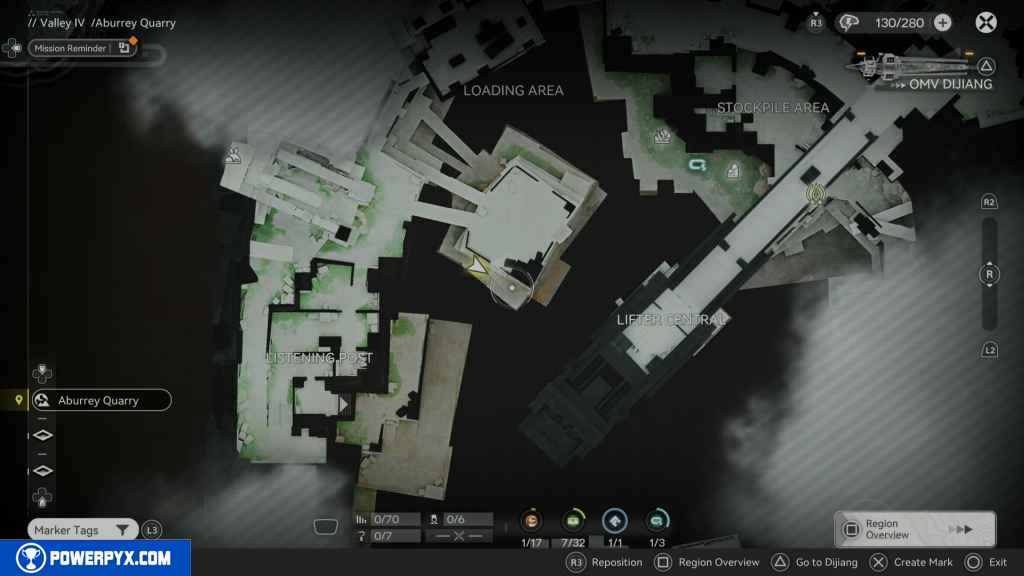
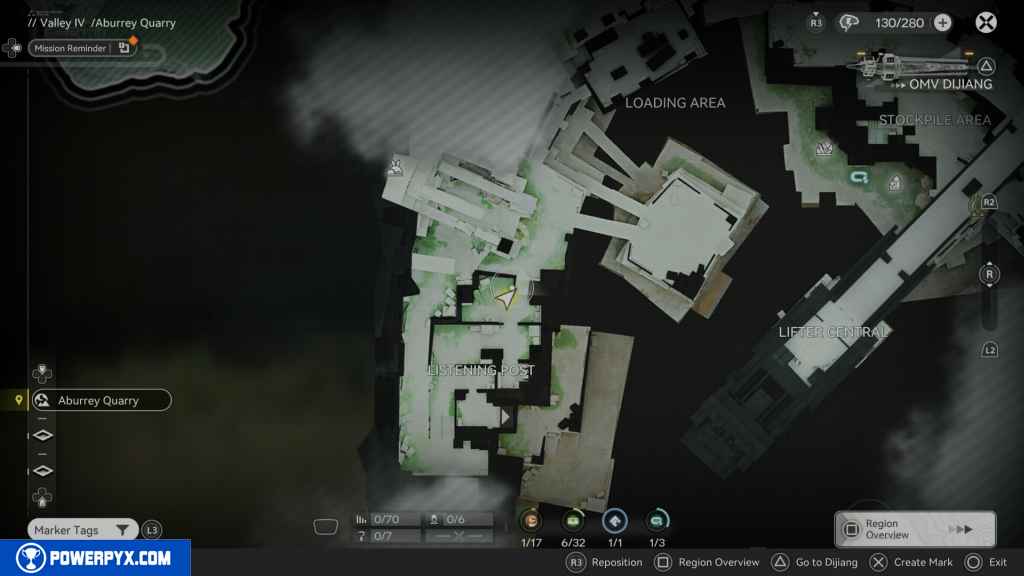
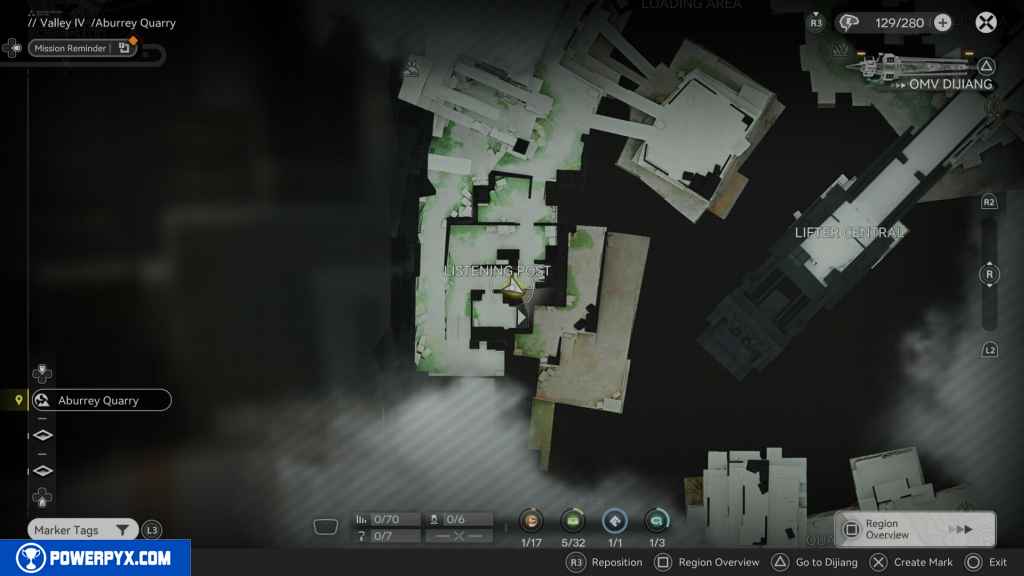
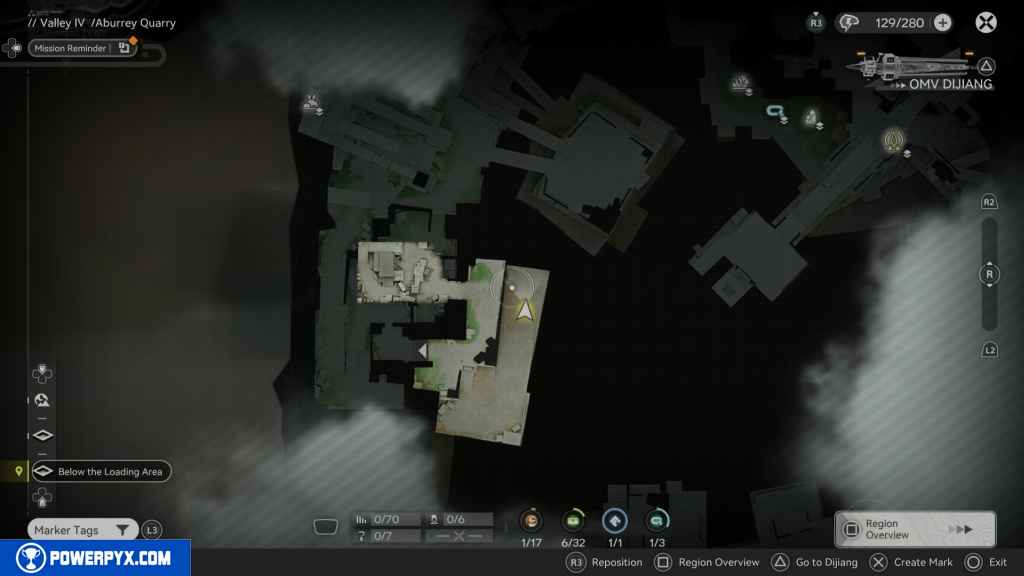
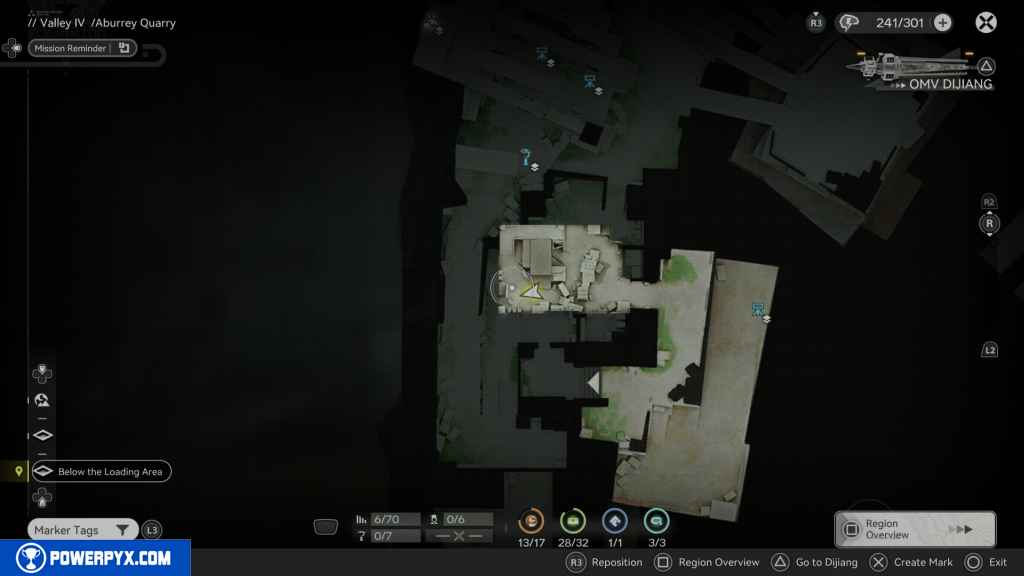
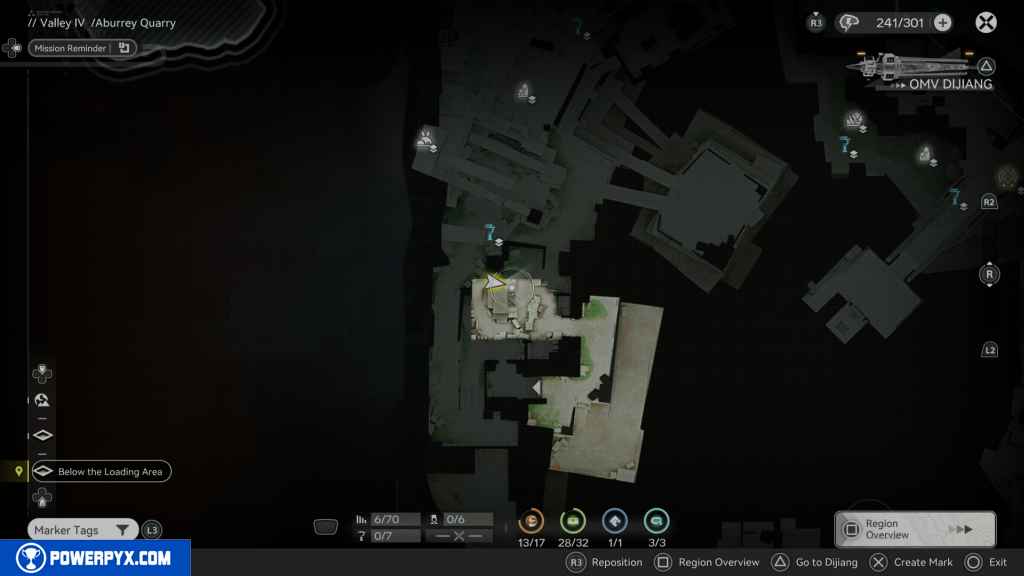
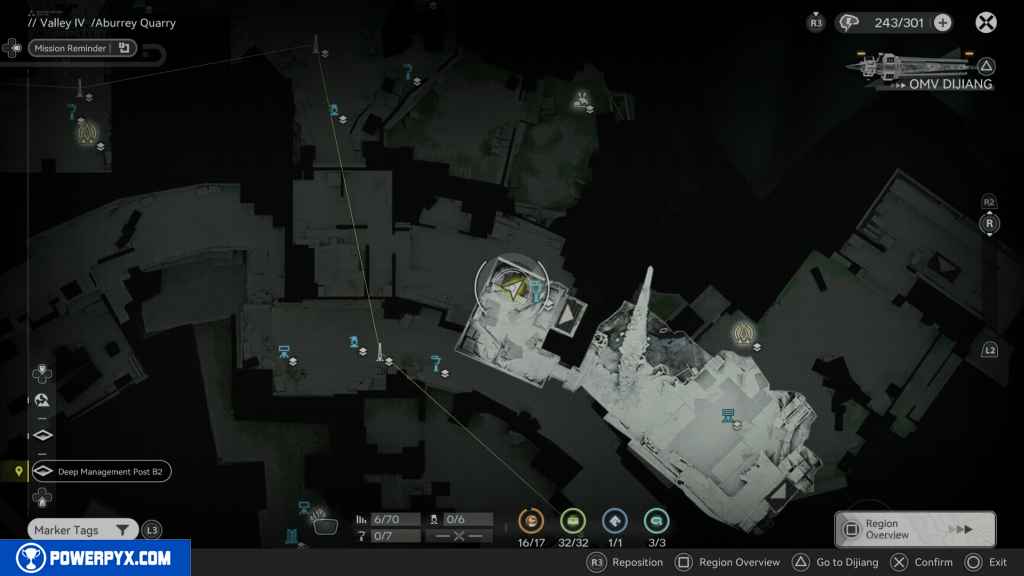
Aburrey Quarry contains 88 Collectible Locations in Arknights Endfield. This walkthrough will guide you to all the collectibles in the Aburrey Quarry Region. Everything that’s needed for 100% completion is included.
- Aurylene: 17
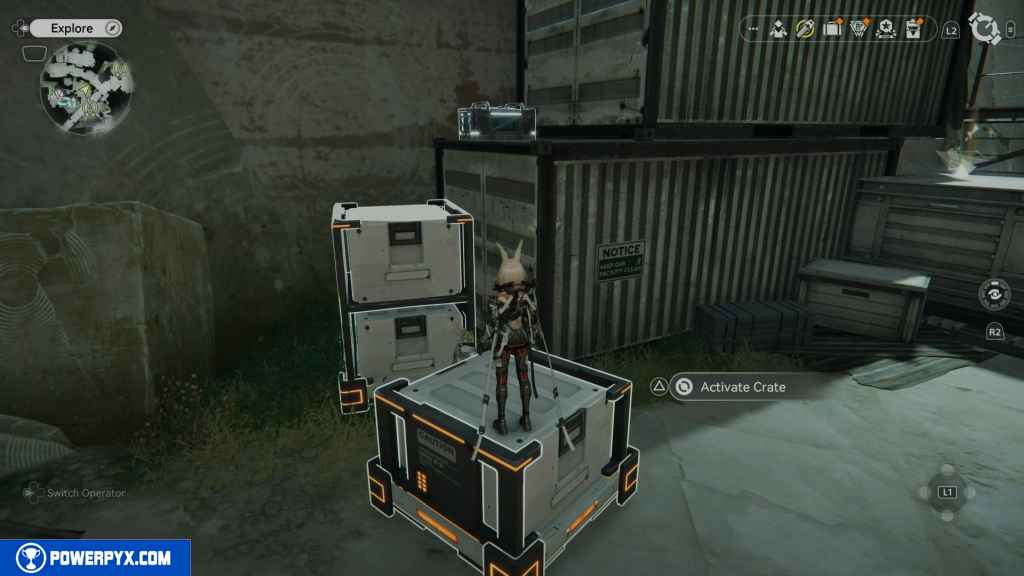
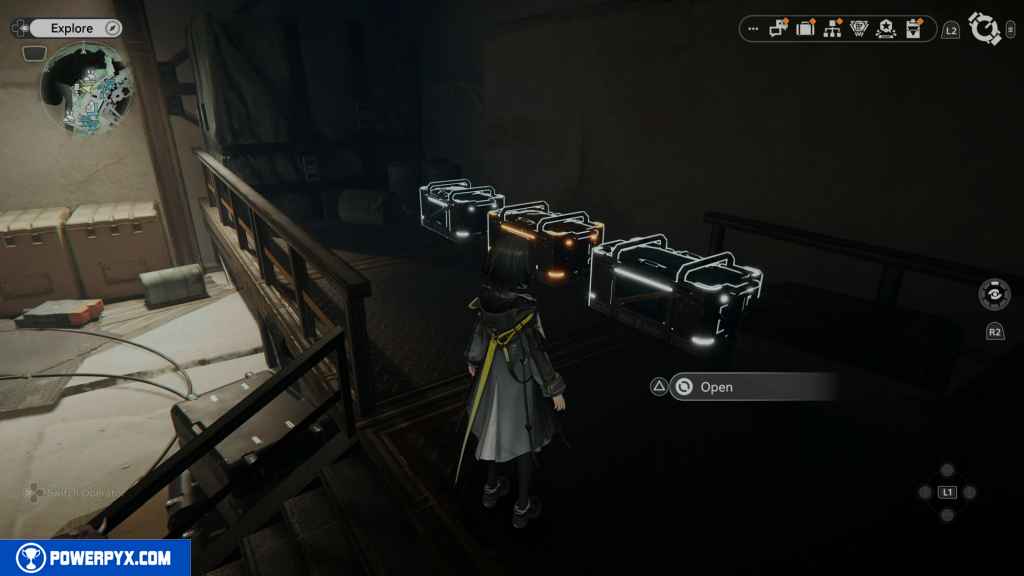
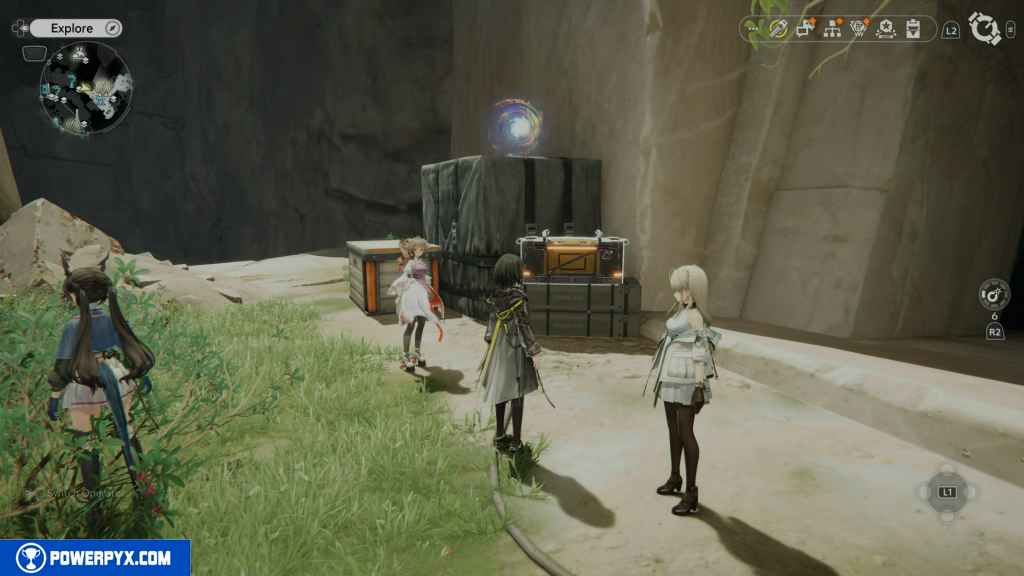
- Crates: 32
- Protocol Dataloggers: 3
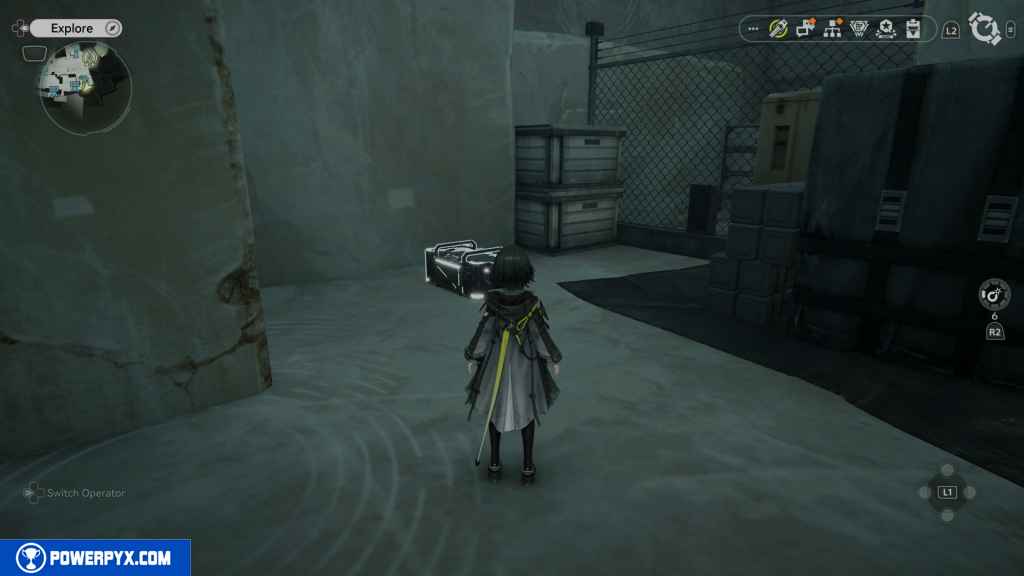
- SOS Repair Bots: 3
- Repair Logic: 1 (Automatically acquired by completing Side Mission – Quarry Rescue)
- Collectable Points: 33
Complete These Quests To Unlock All Areas In The Aburrey Quarry
- Side Mission – Quarry Rescue
- Side Mission – Fix The Super Craine
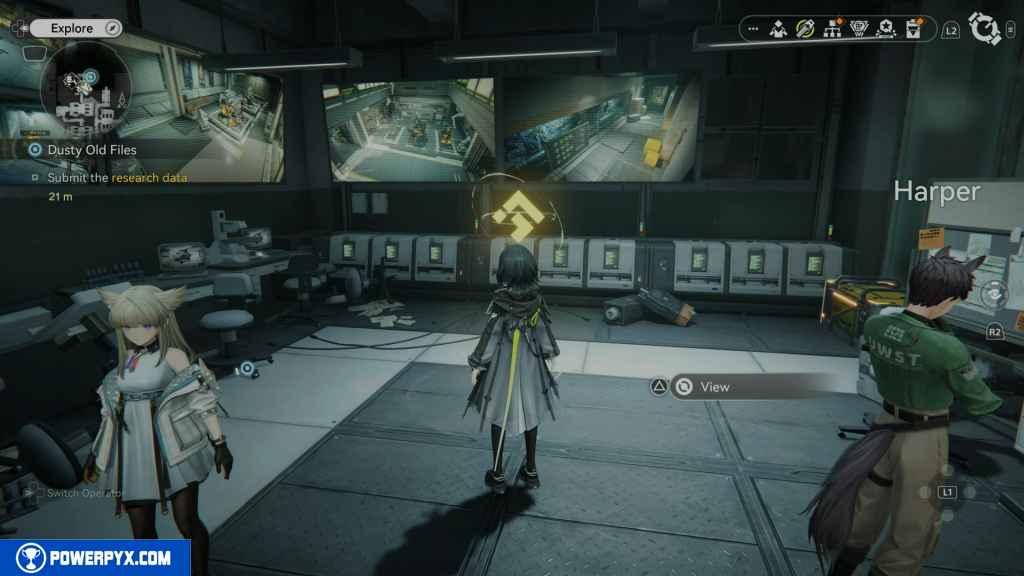
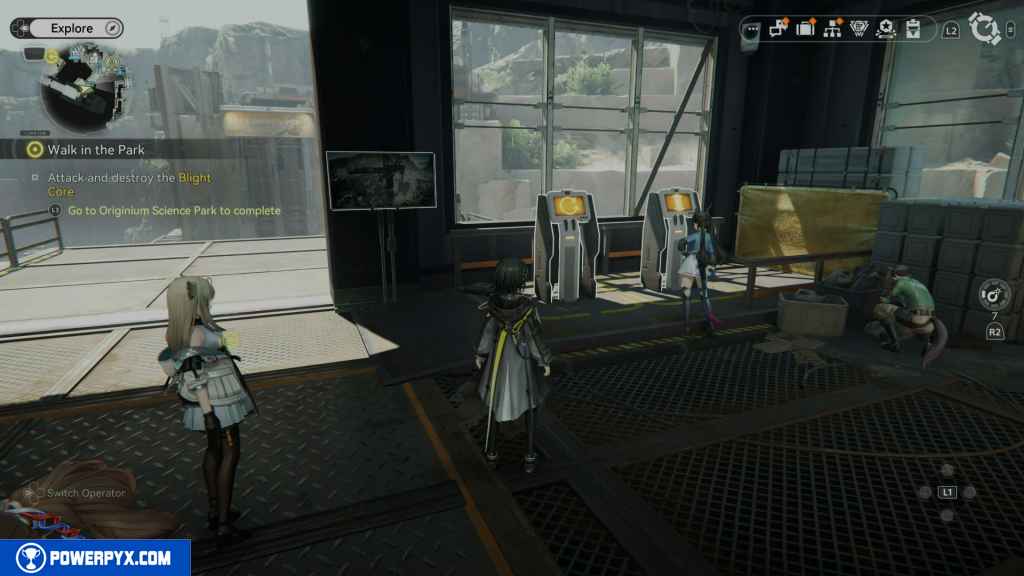
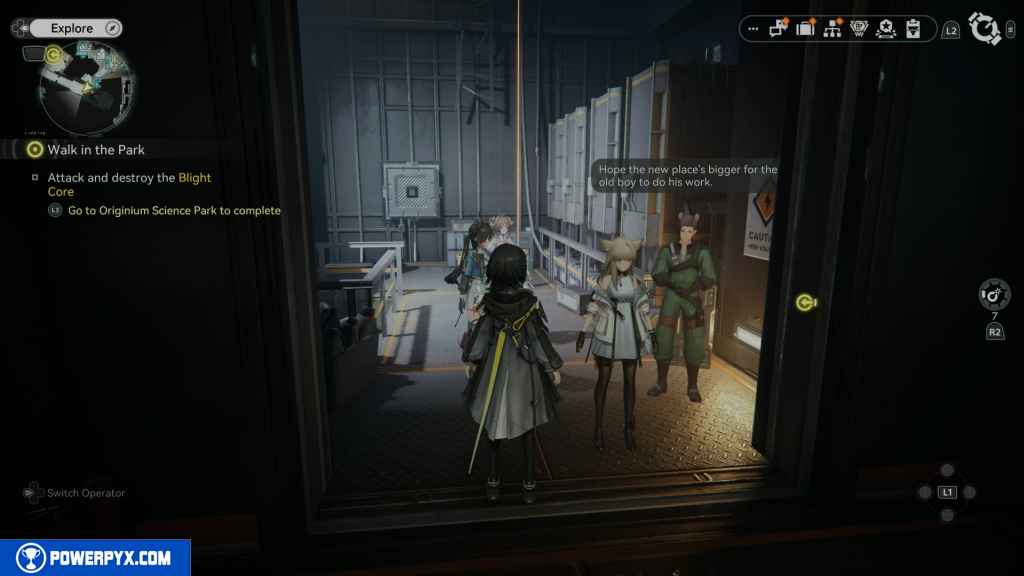
- Begin Main Mission 16 – Walk in the Park until you unlock the ability to destroy the Blight Cores. You’ll be able to pick up the Side Mission Dusty – Old Files after encountering Thurstan through the main quest. Playing through this side mission, you’ll eventually reach the Repair Logic.
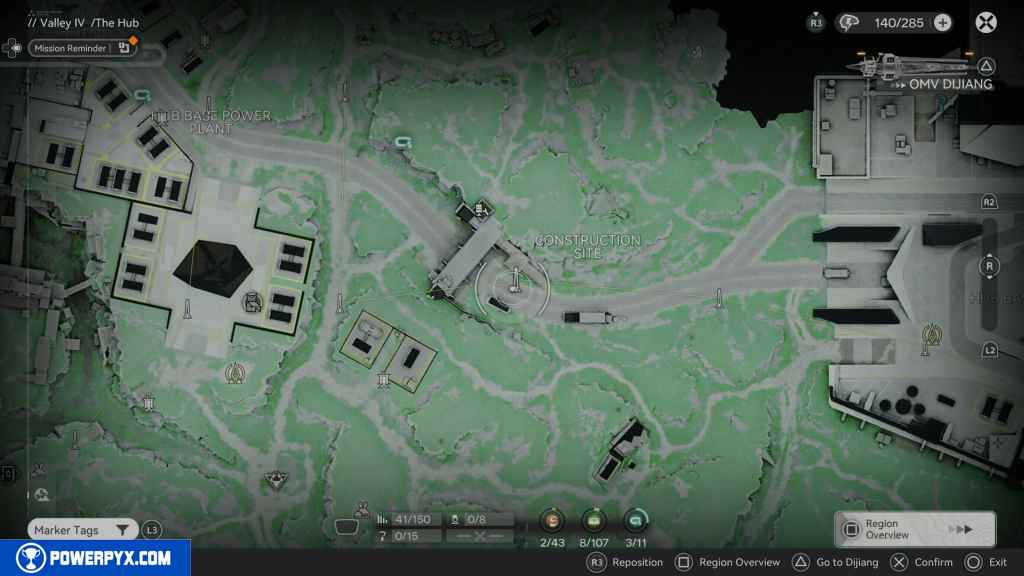
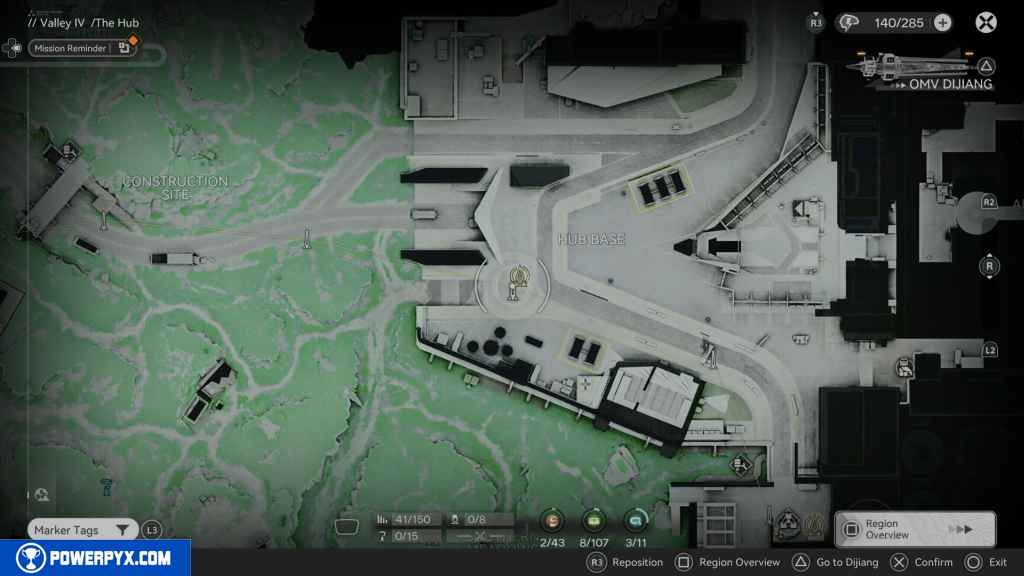
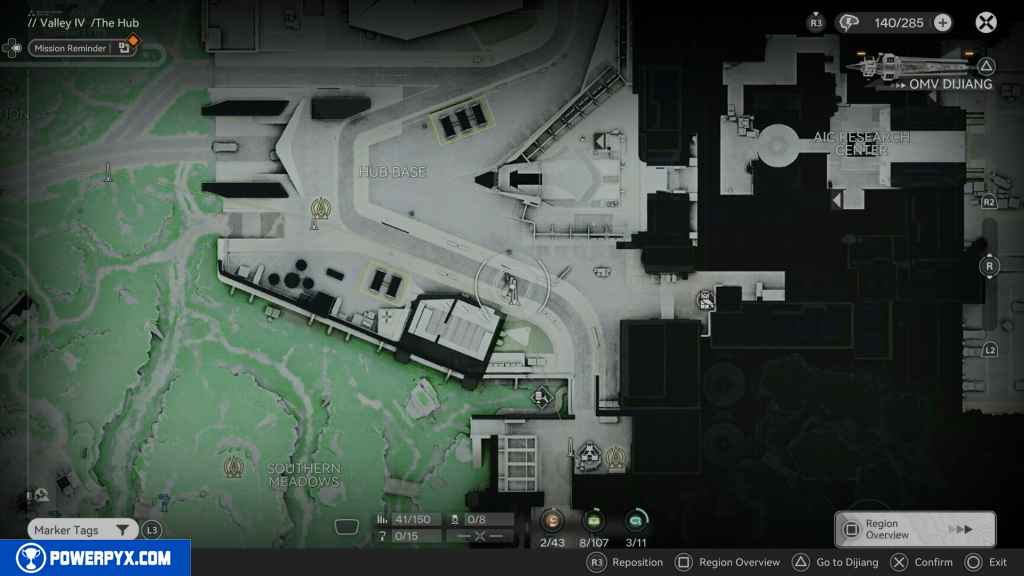
Collectibles Overview:
Collectables
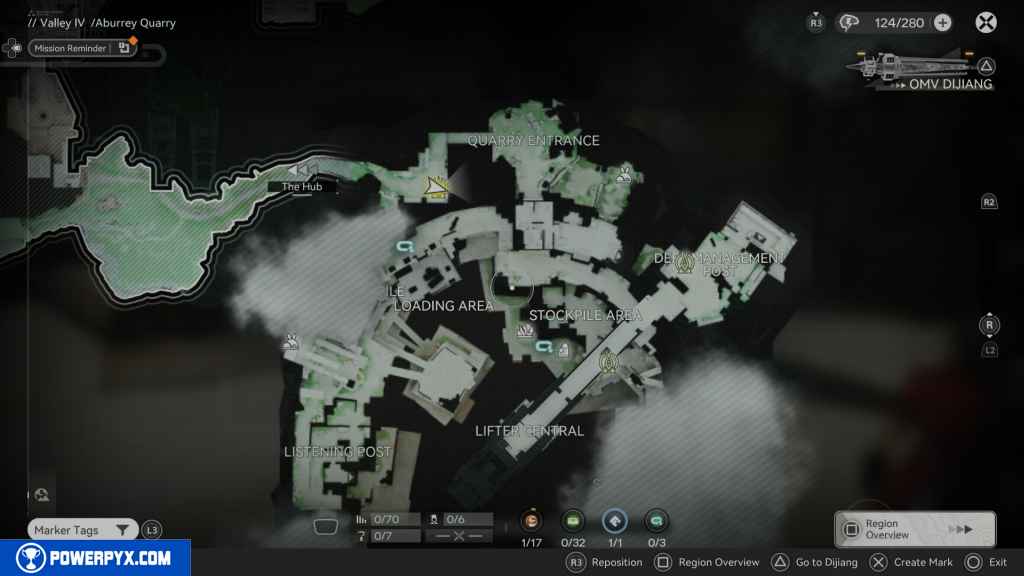
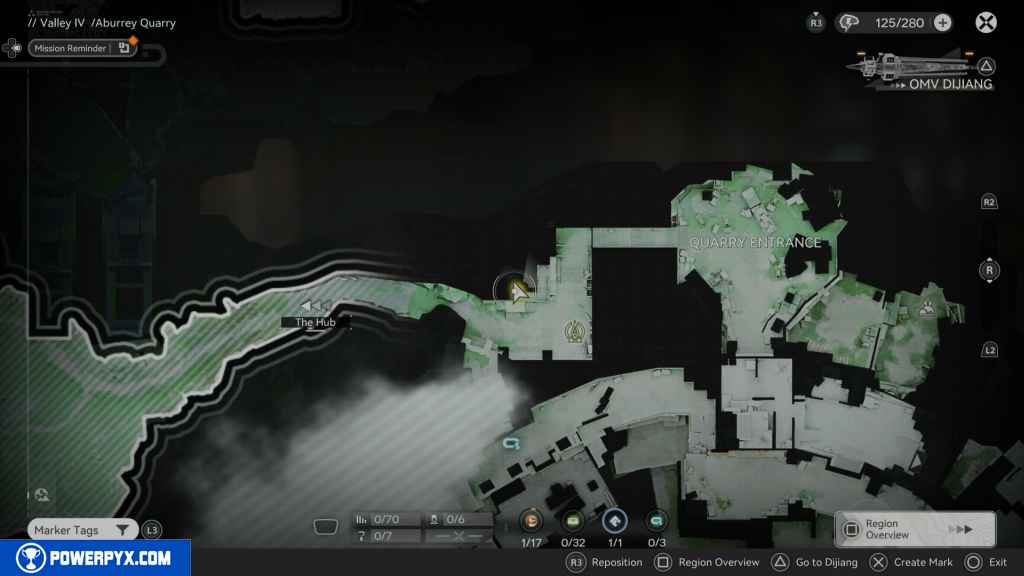
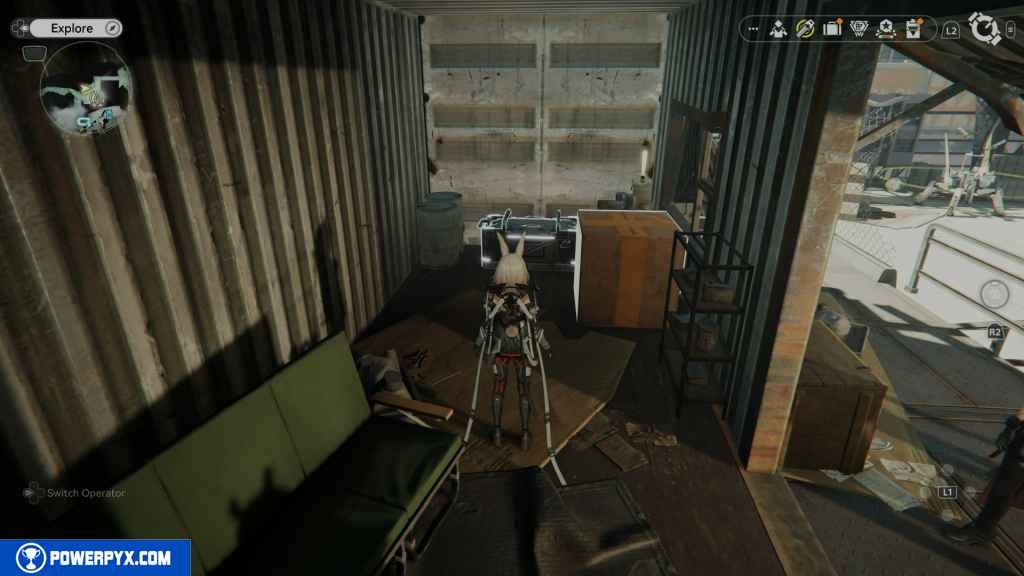
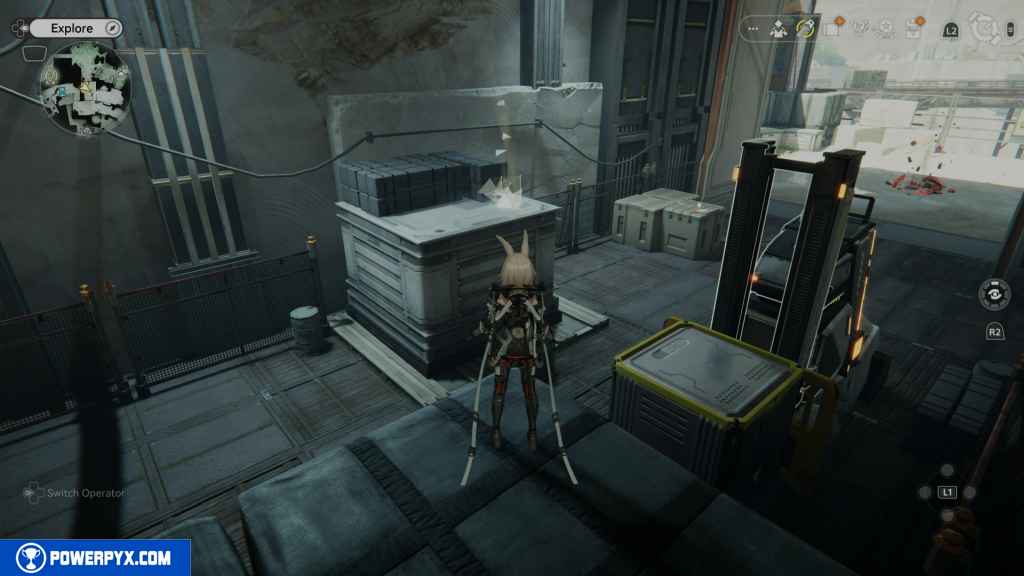
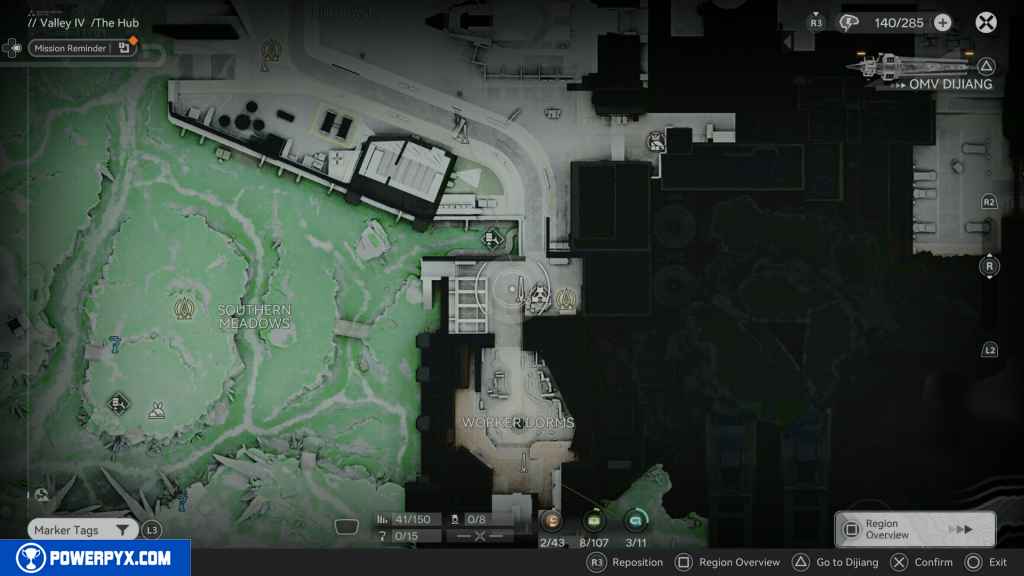
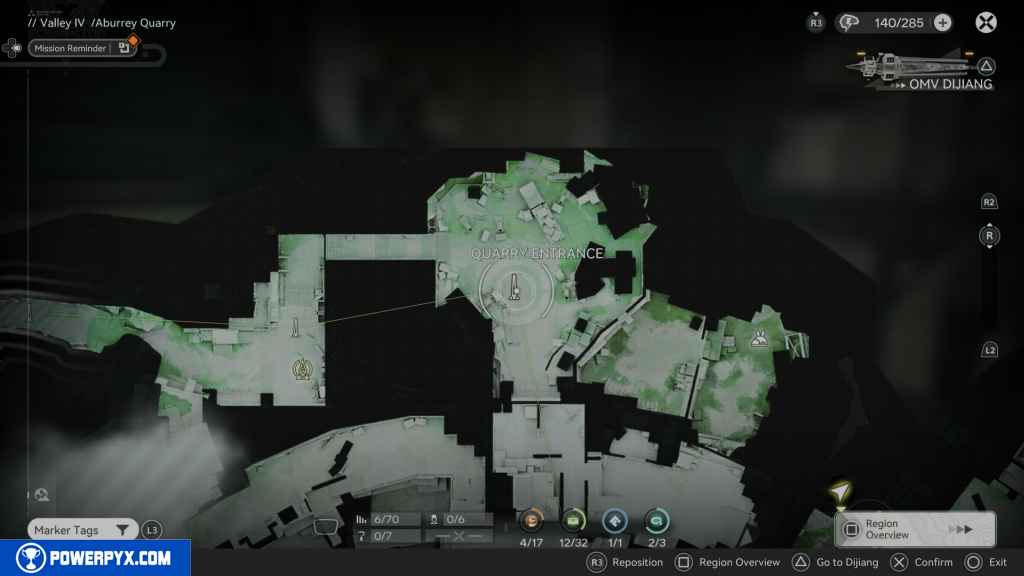
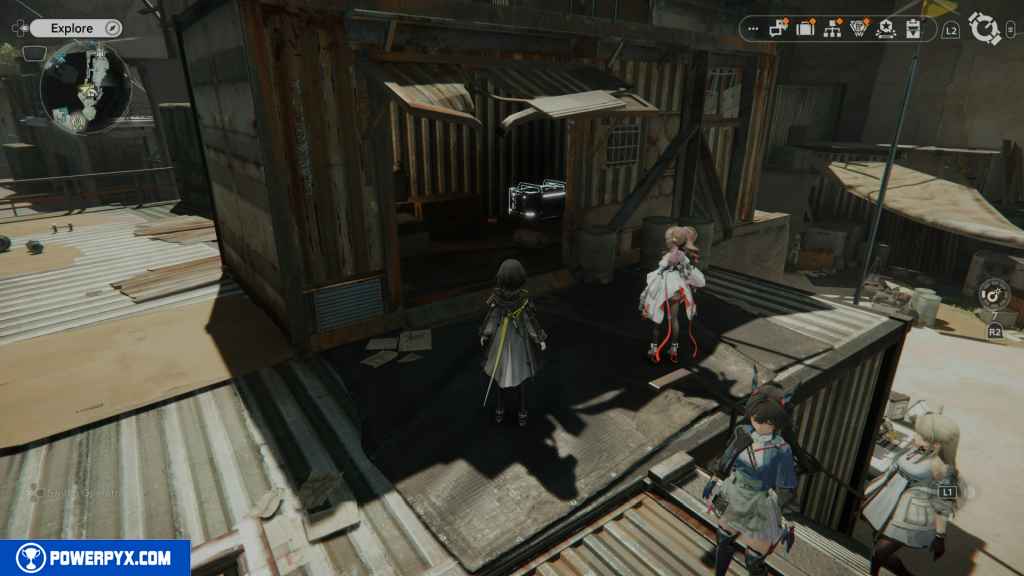
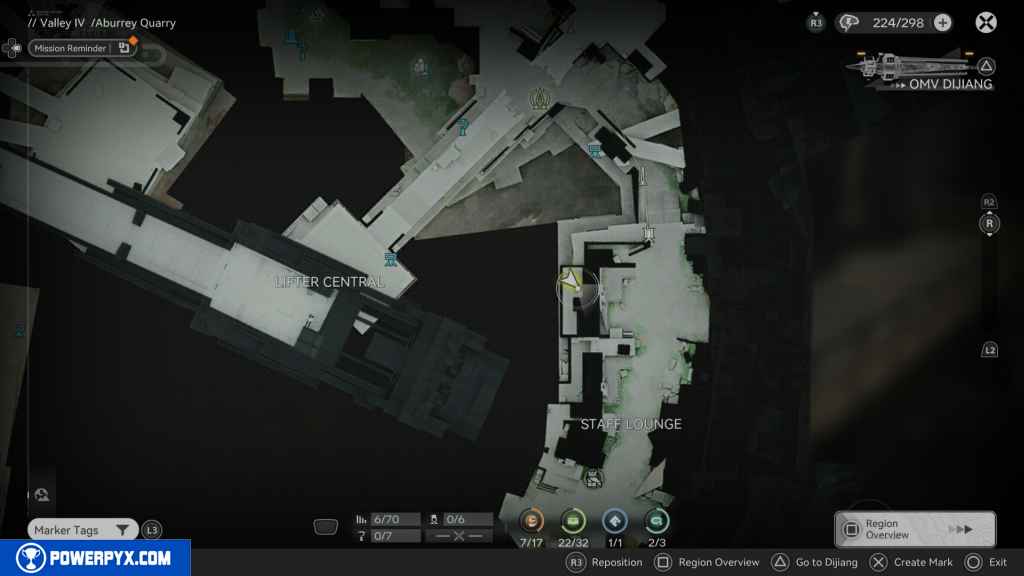
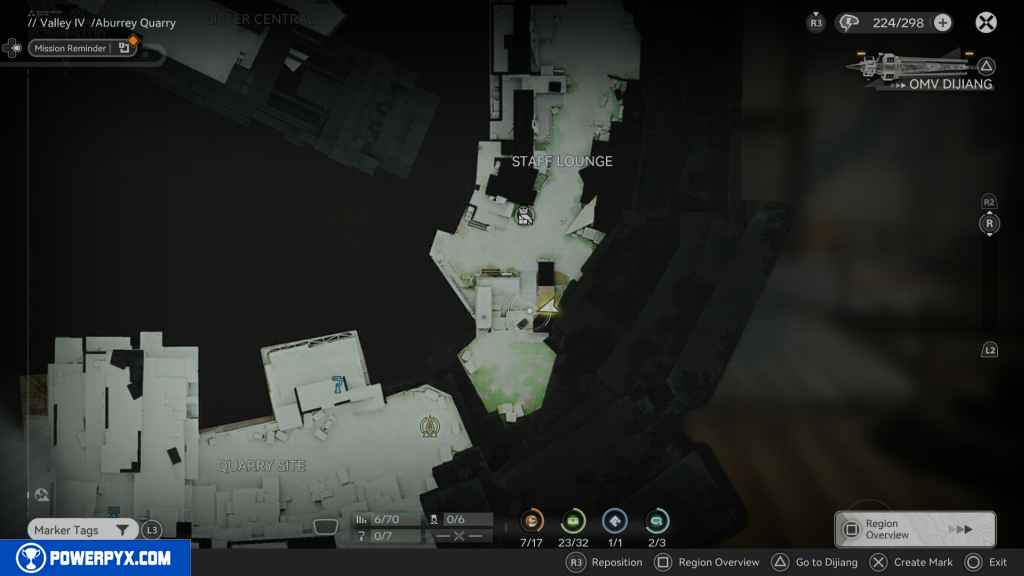
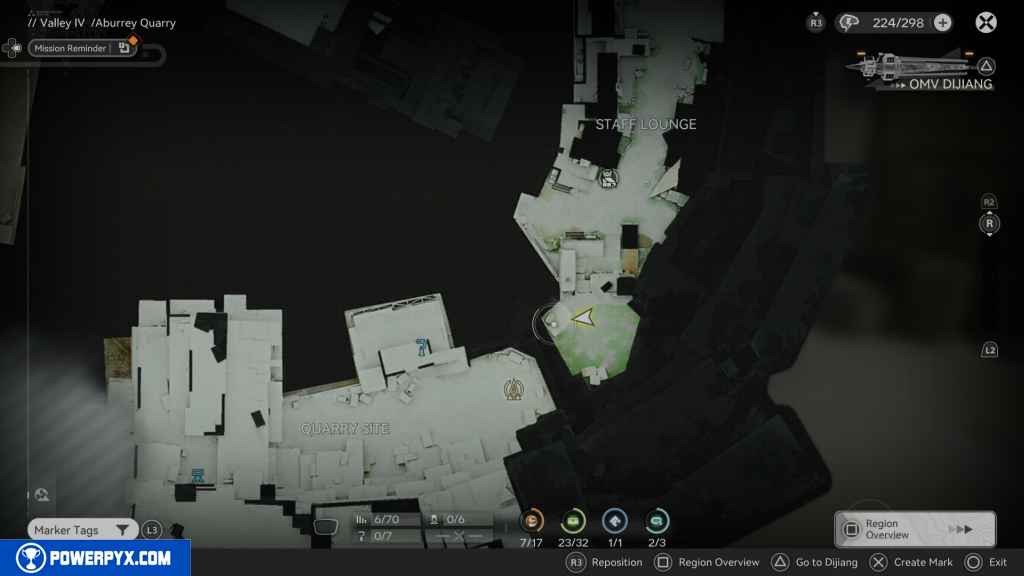
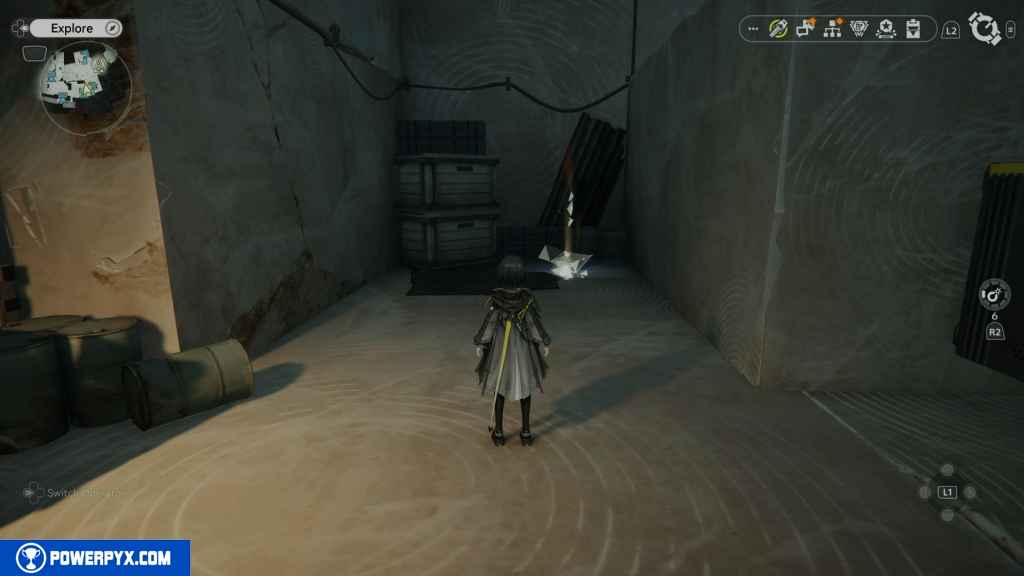
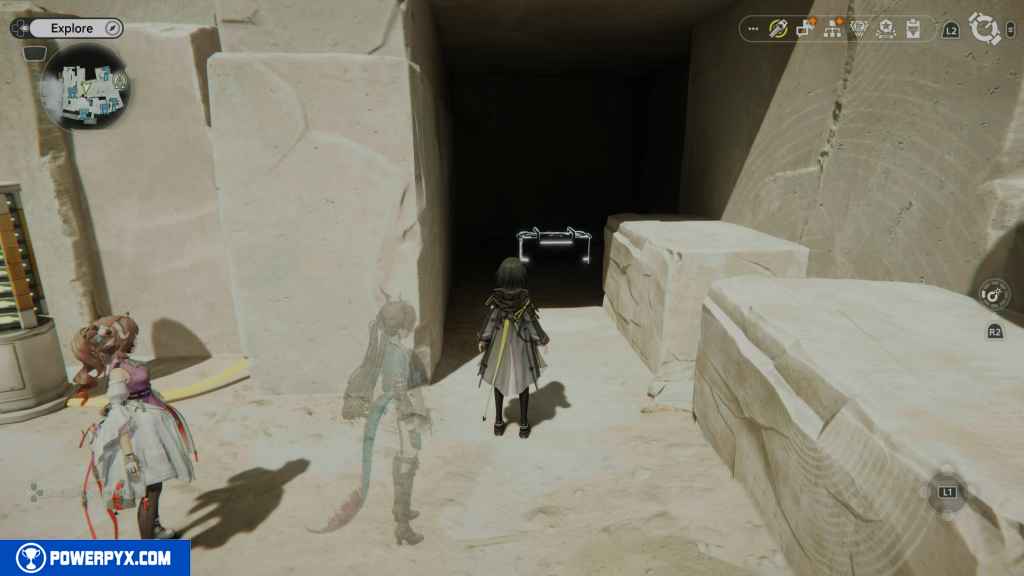
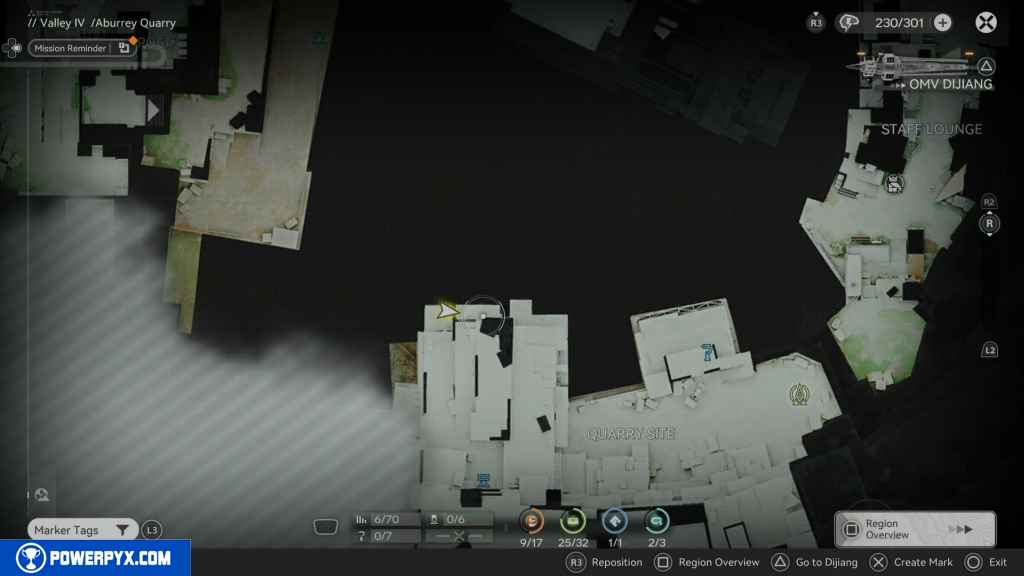
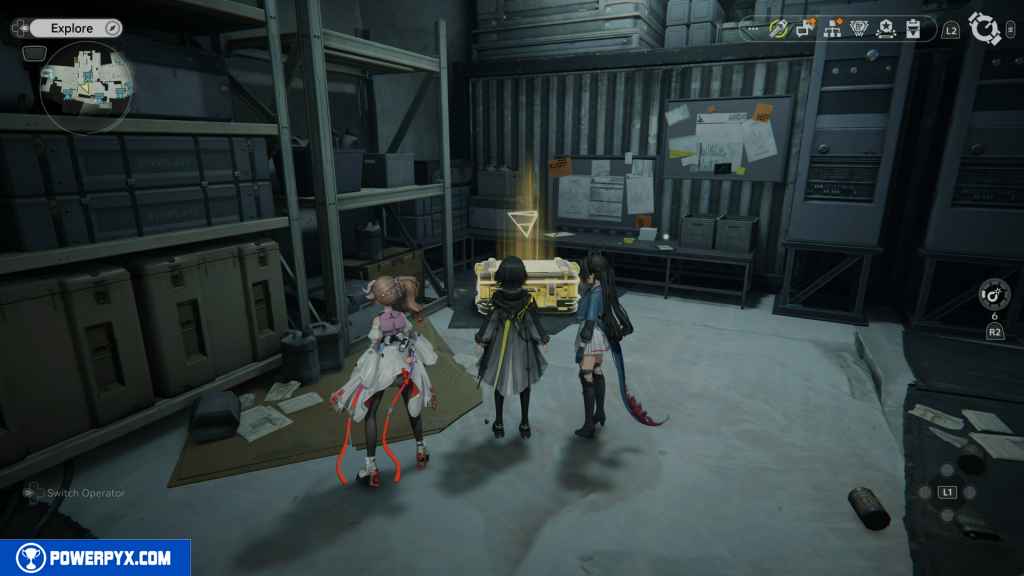
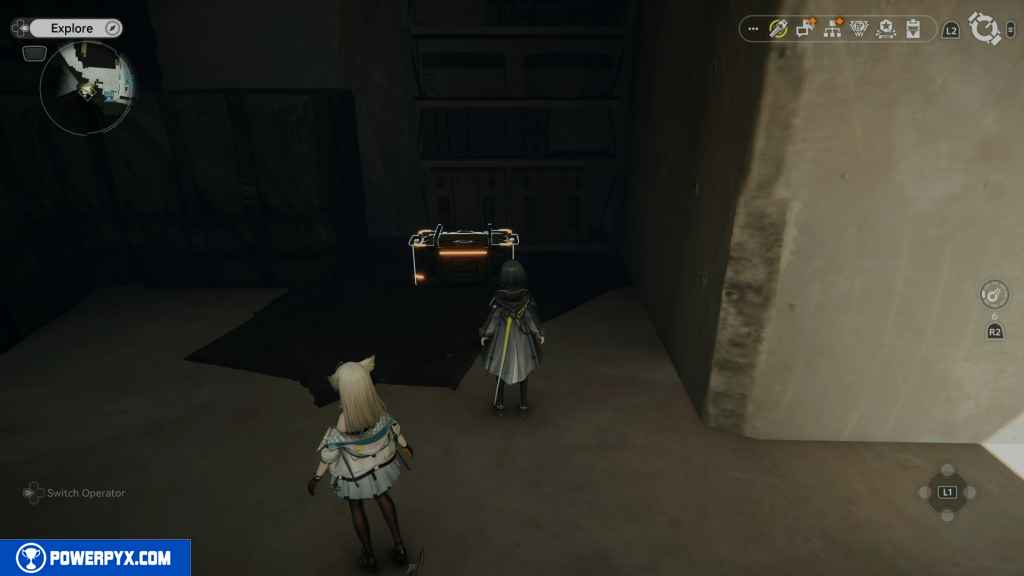
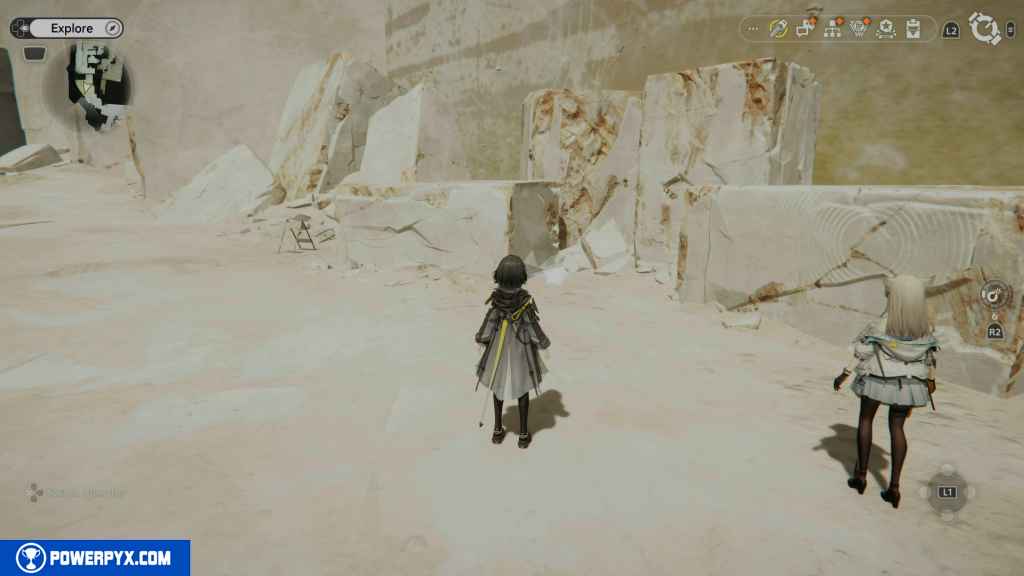
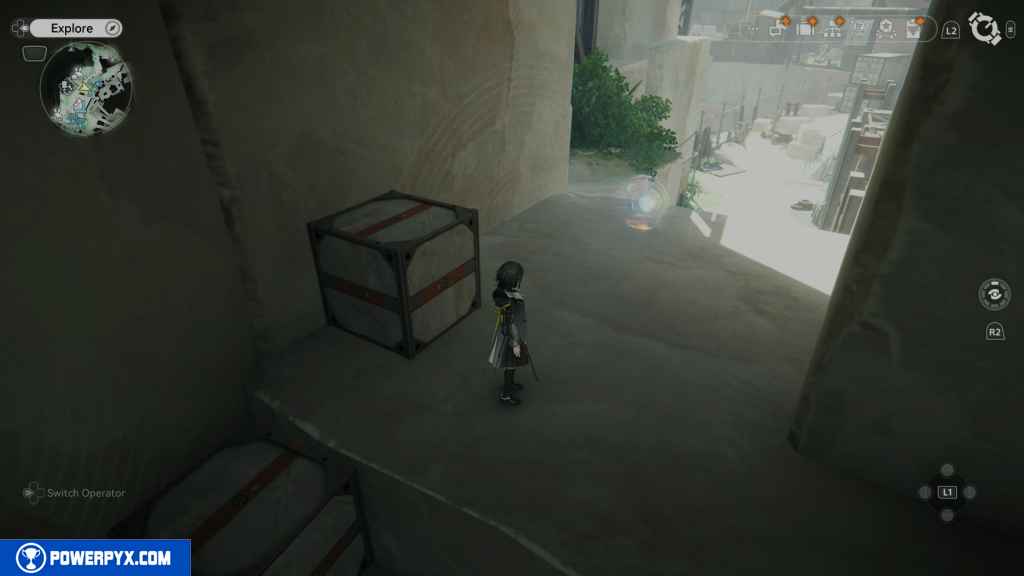
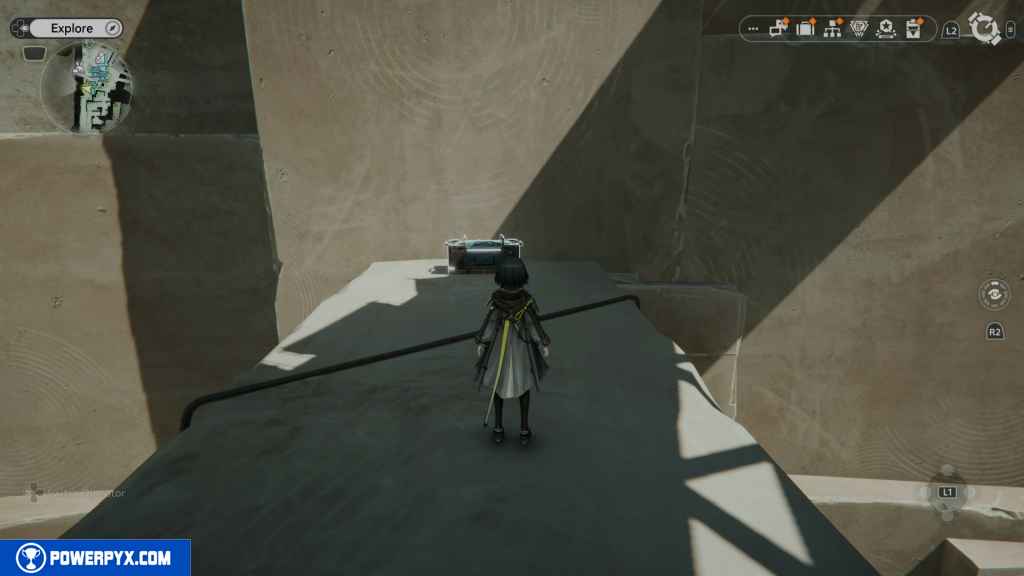
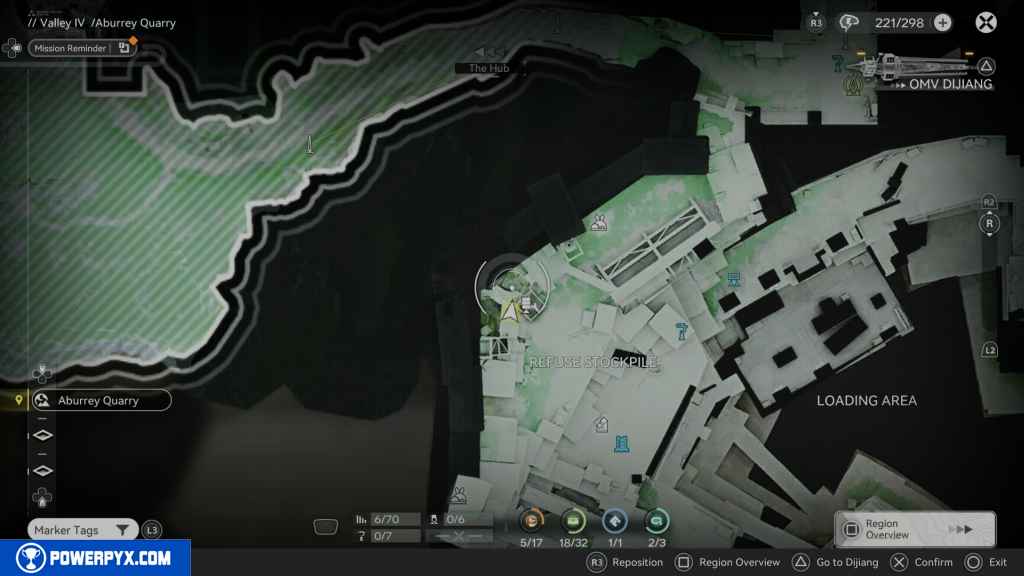
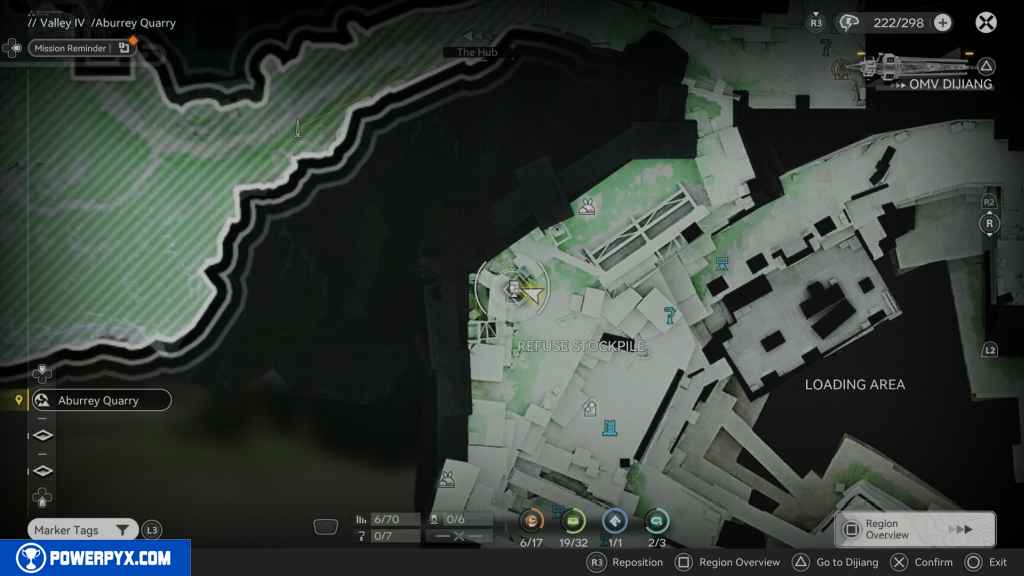
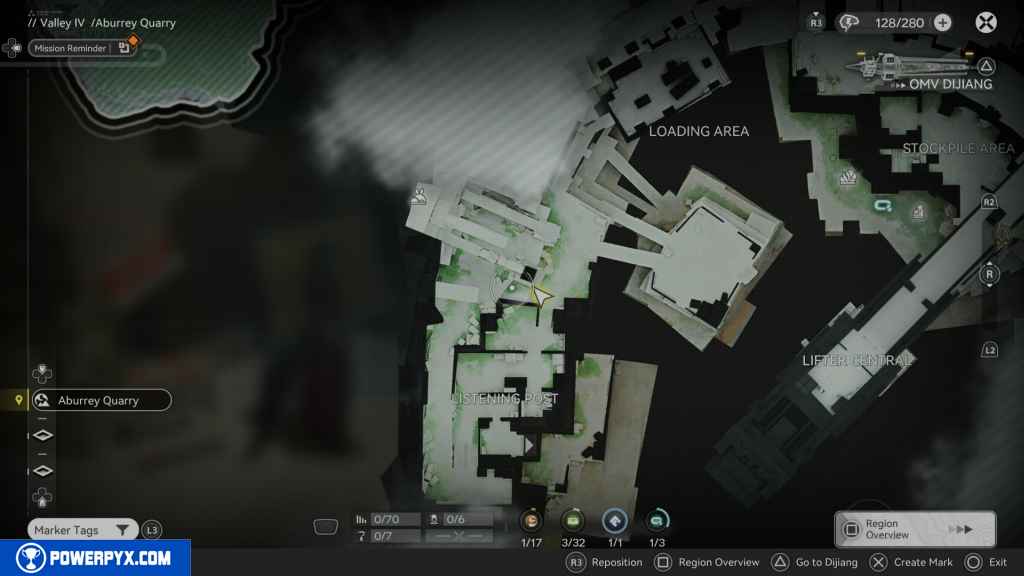
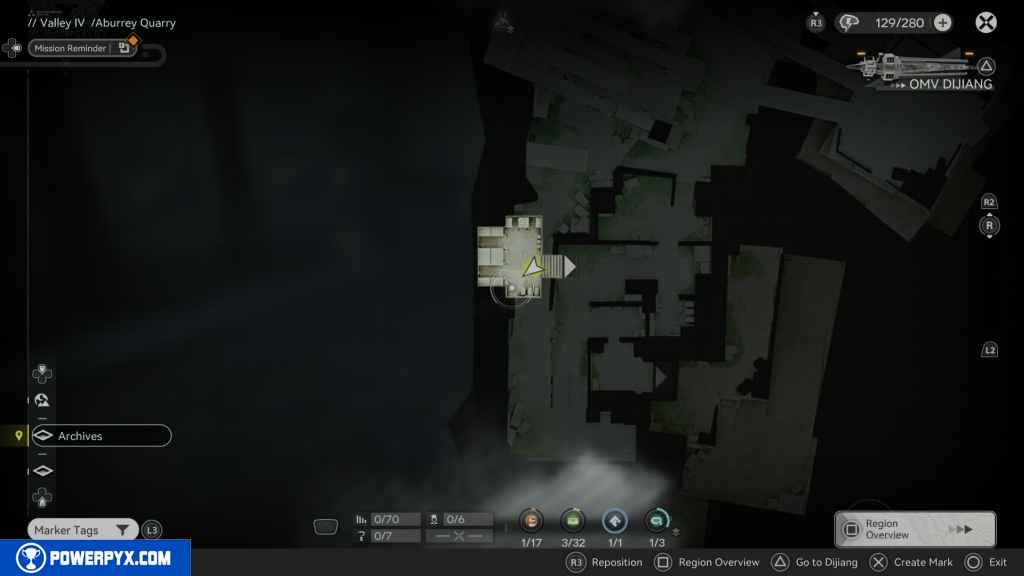
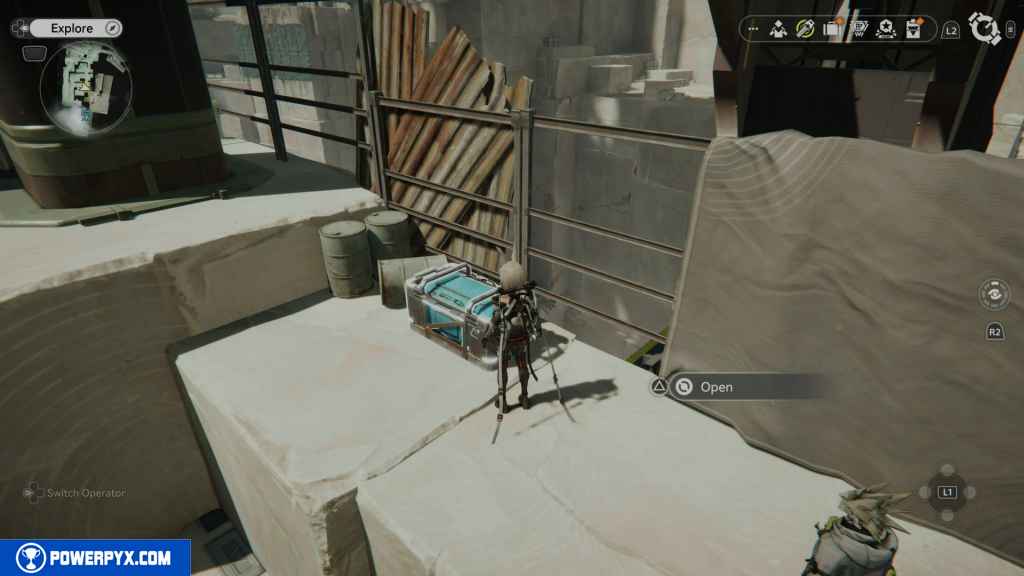
1 – Chest 1
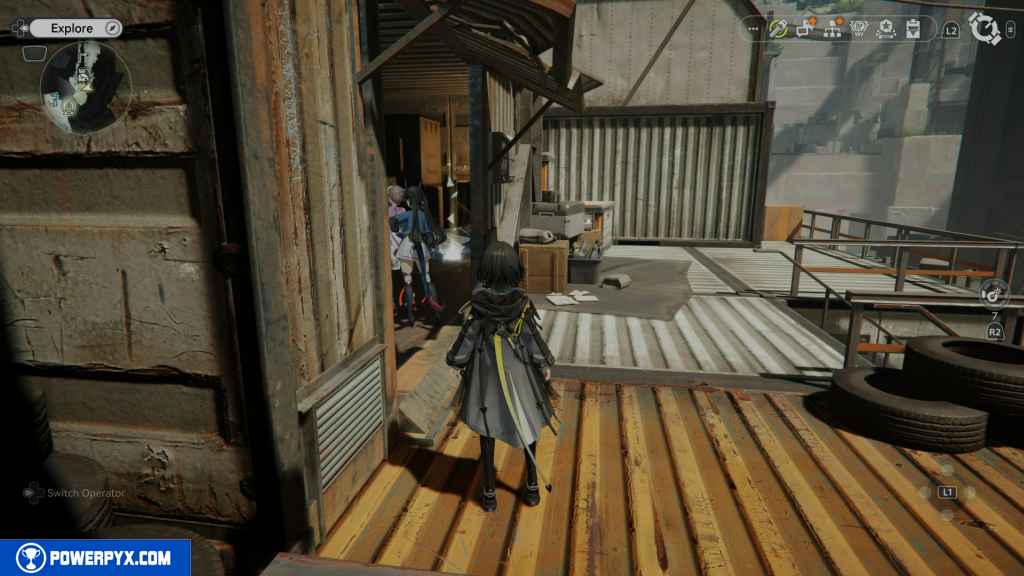
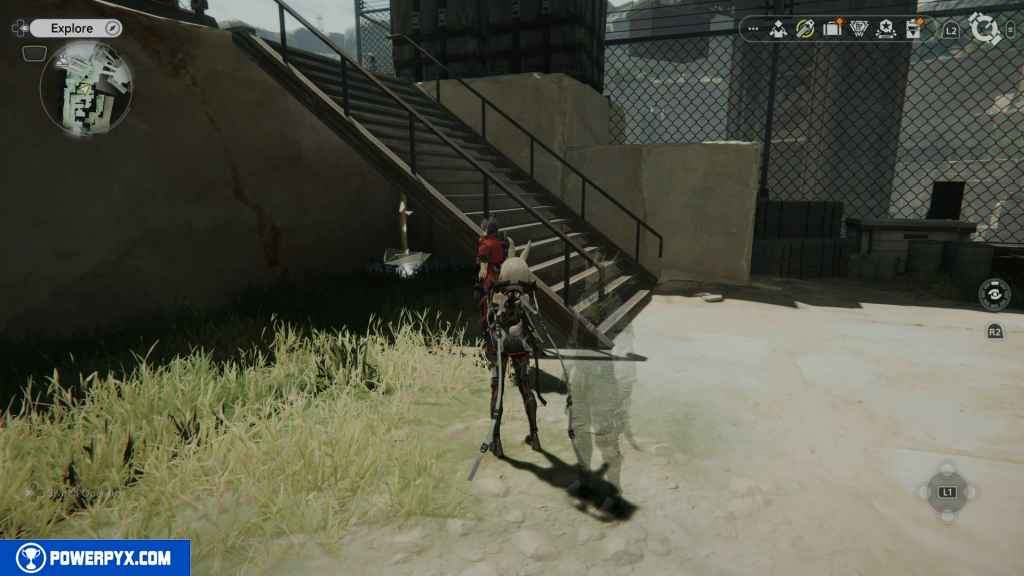
From the first TP point as you enter the Aburrey Quarry. Look northwest for the shed. Walk up the stairs and find this chest inside the shed.
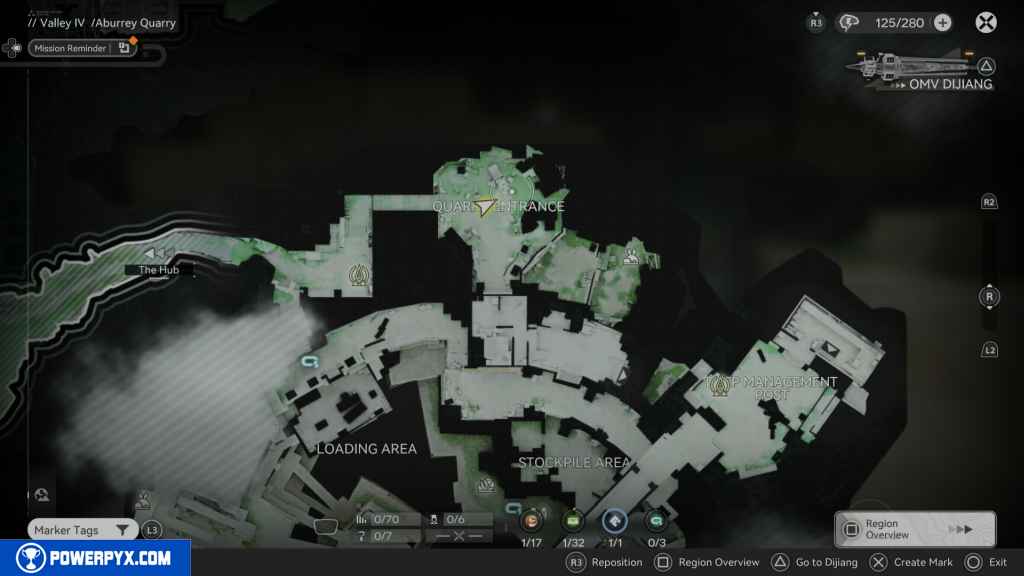
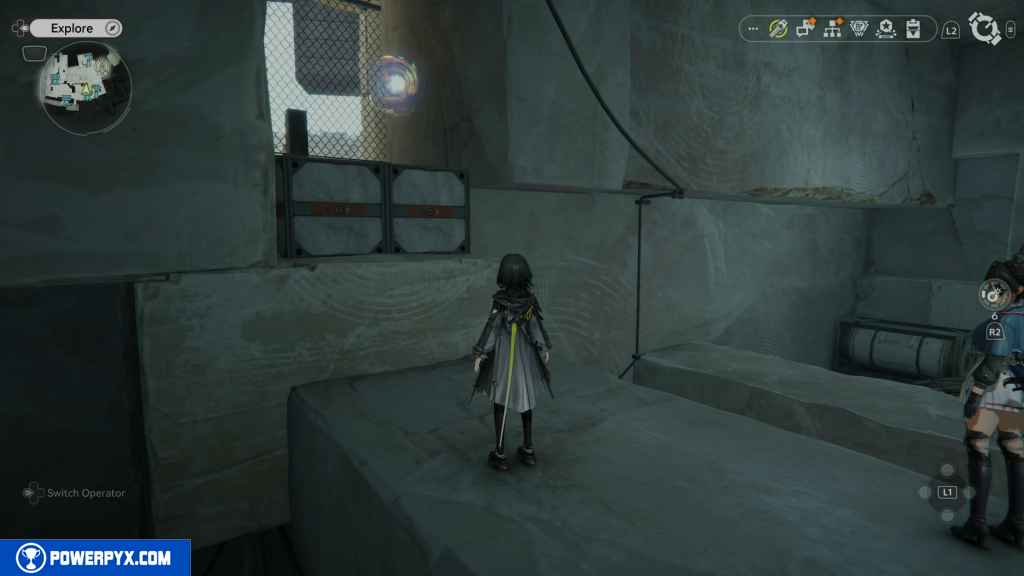
2 – Gathering Point 1
Continue down the path, and you should see this Gathering Point on a large brick on your left. Climb up the bricks to reach it.
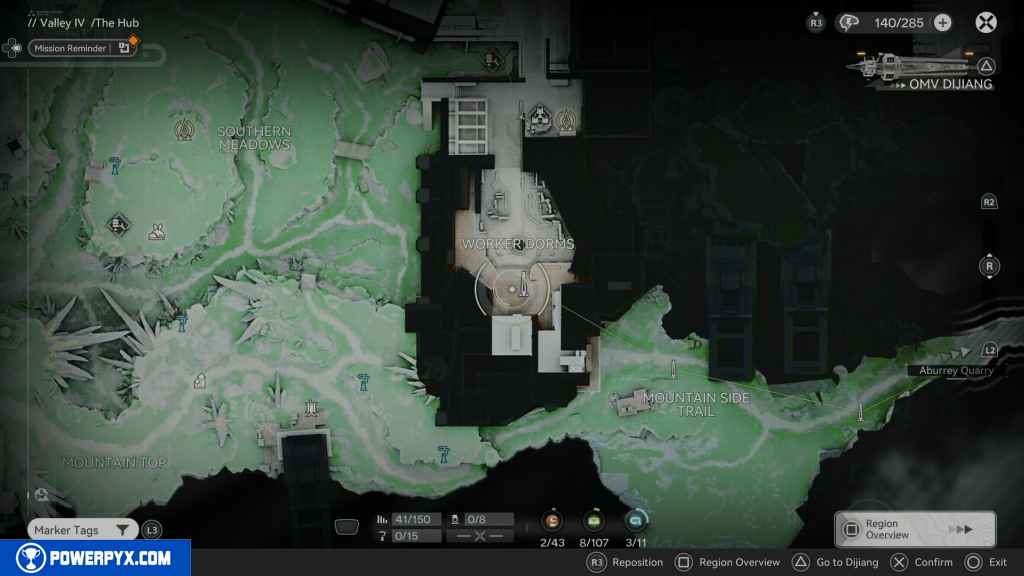
3 – Chest 2
On the right of the Gathering Point, head northeast to the containers. Behind them is the next chest.
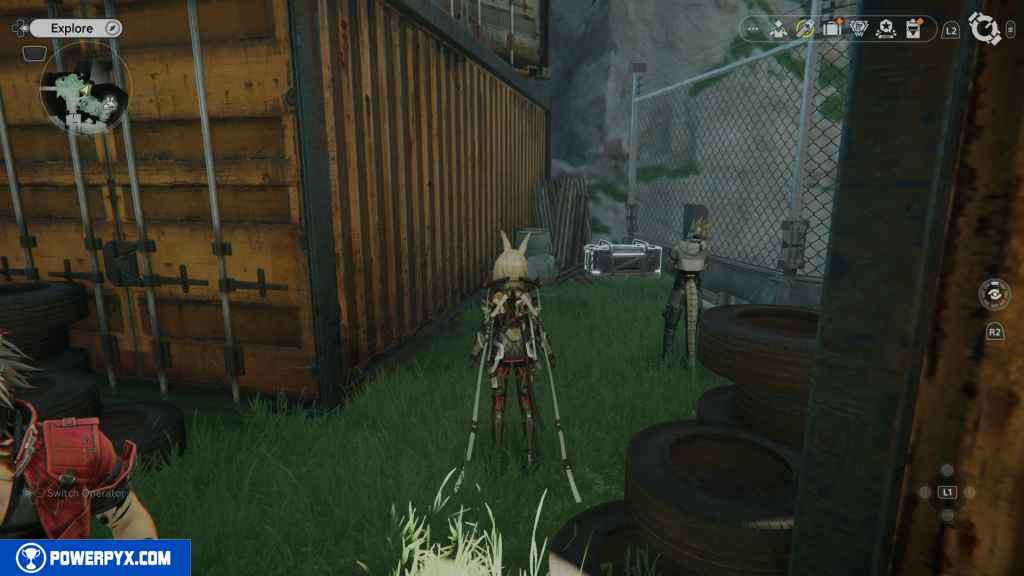
4 – Gathering Point 2
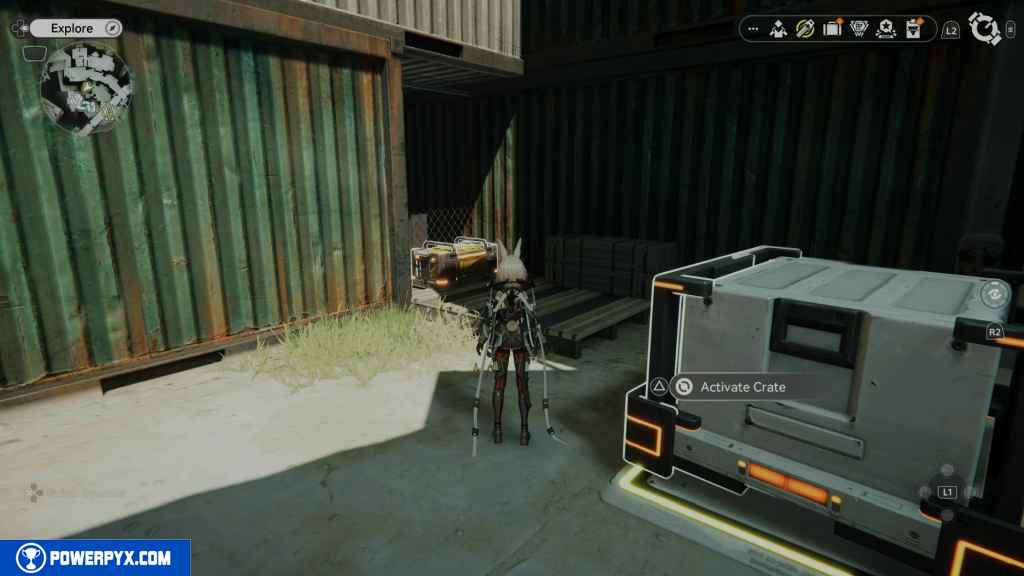
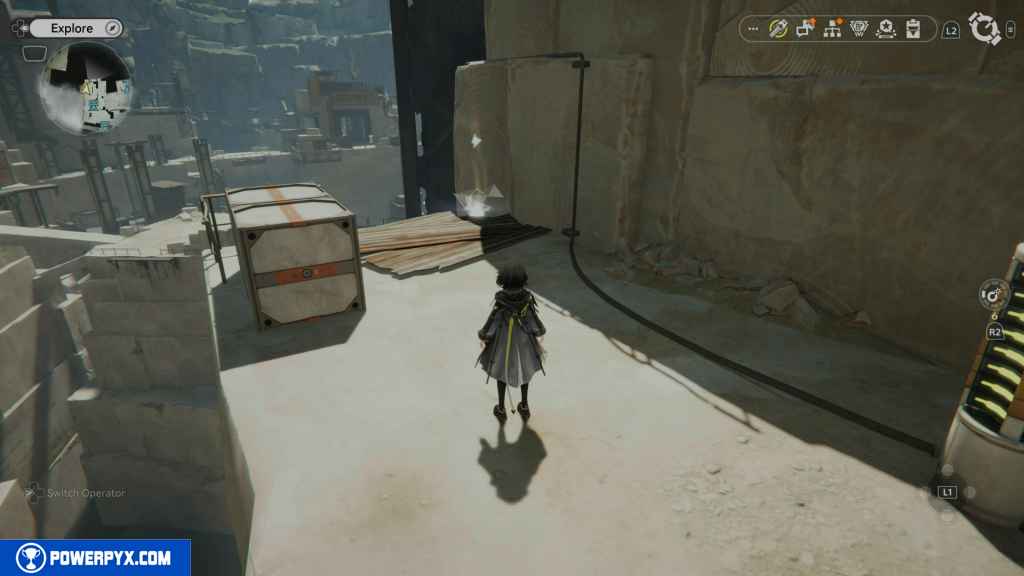
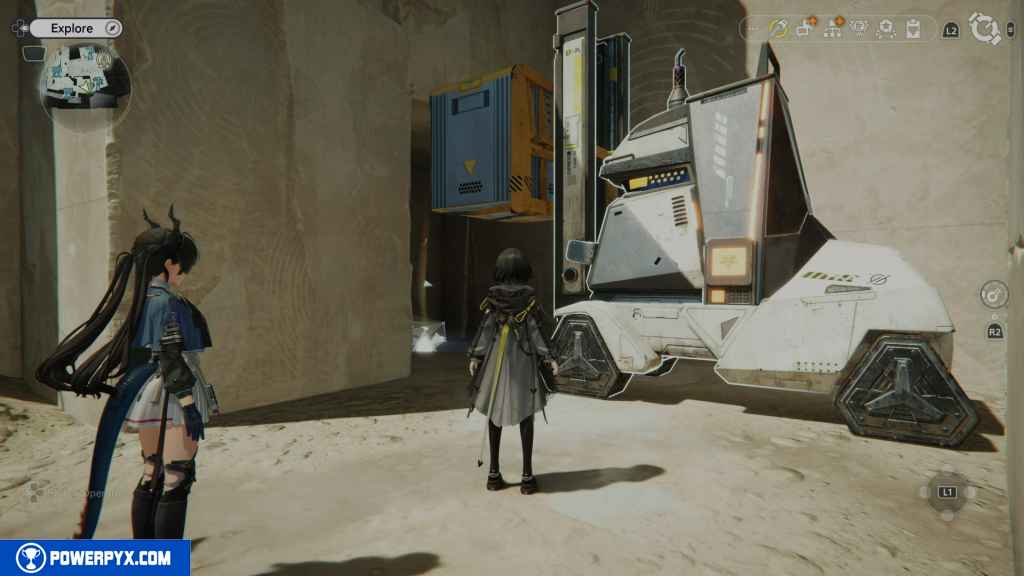
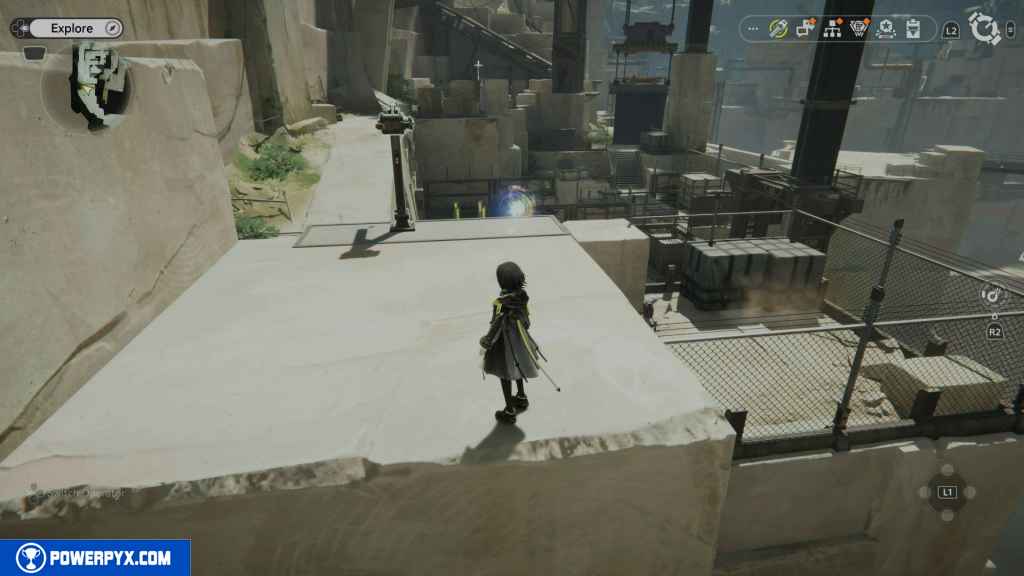
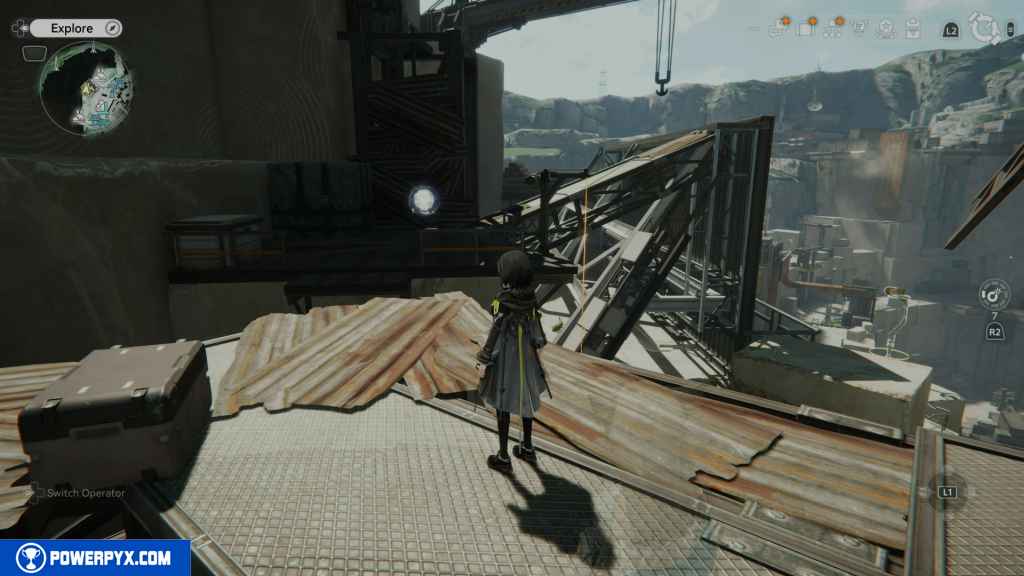
Head down the tunnel in the same area and activate the forklift to raise the crate. Climb up the crates behind the forklift and jump your way to the Gathering Point.
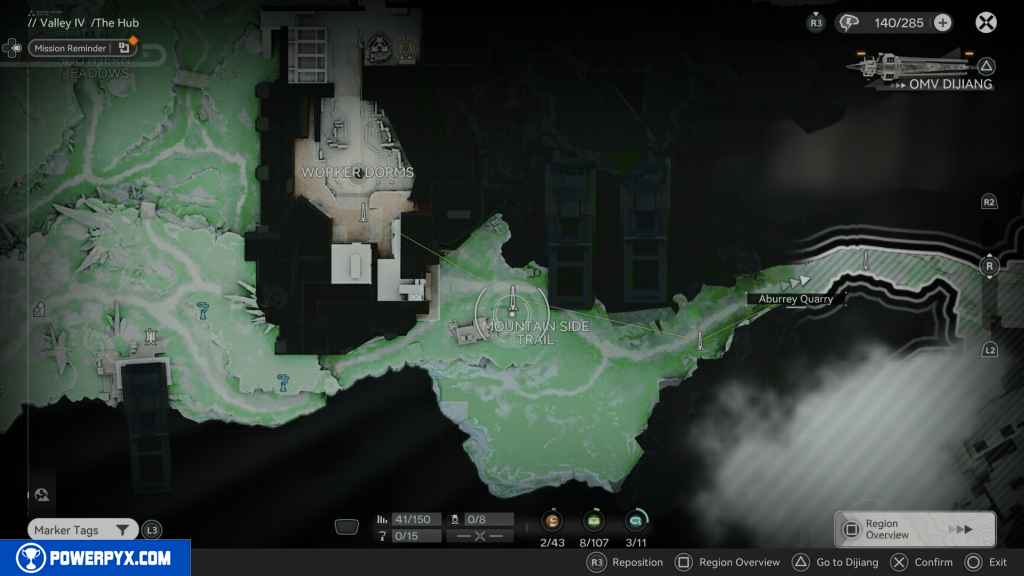
5 – Gathering Point 3
Turn around and head back down the tunnel, and hang a right. Go down the rope and enter the next tunnel. Head down until you can turn right into a small area. Turn right again, and you should see this point.
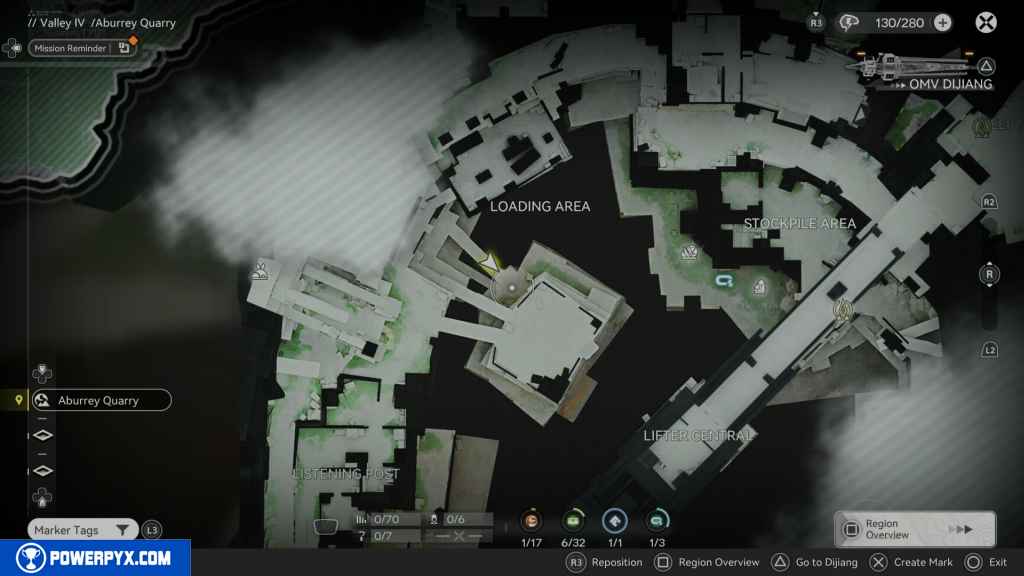
6 – Gathering Point 4
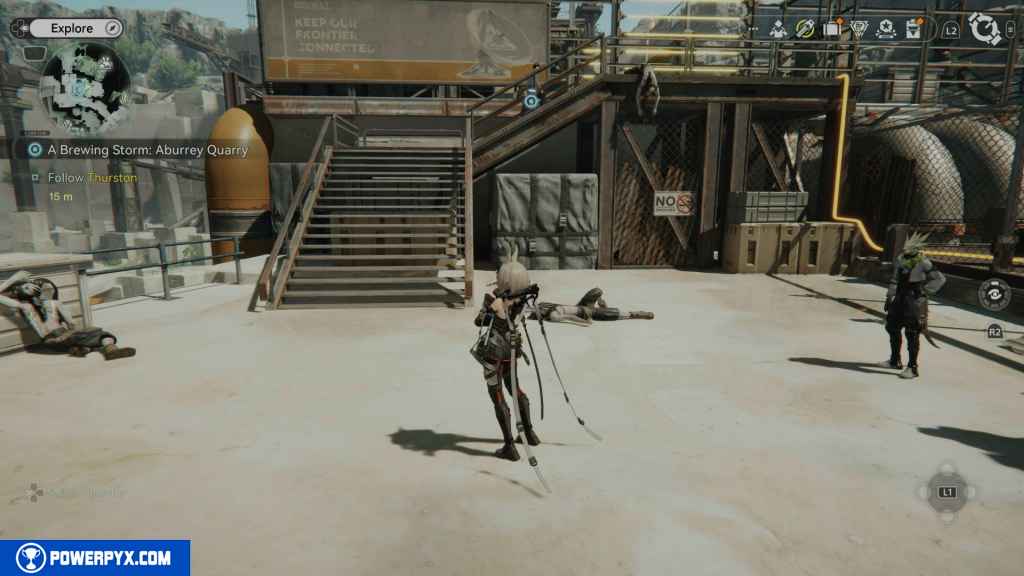
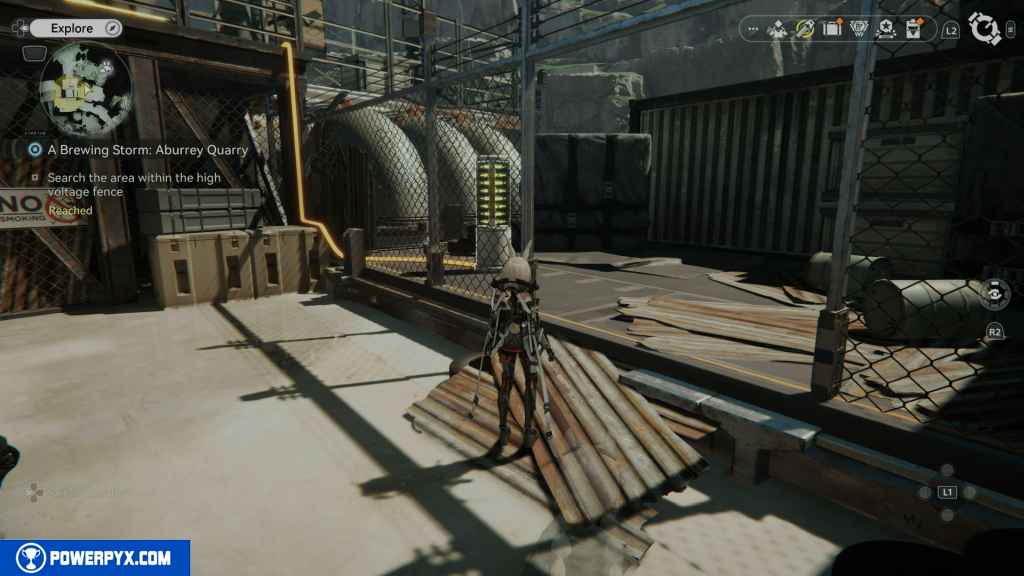
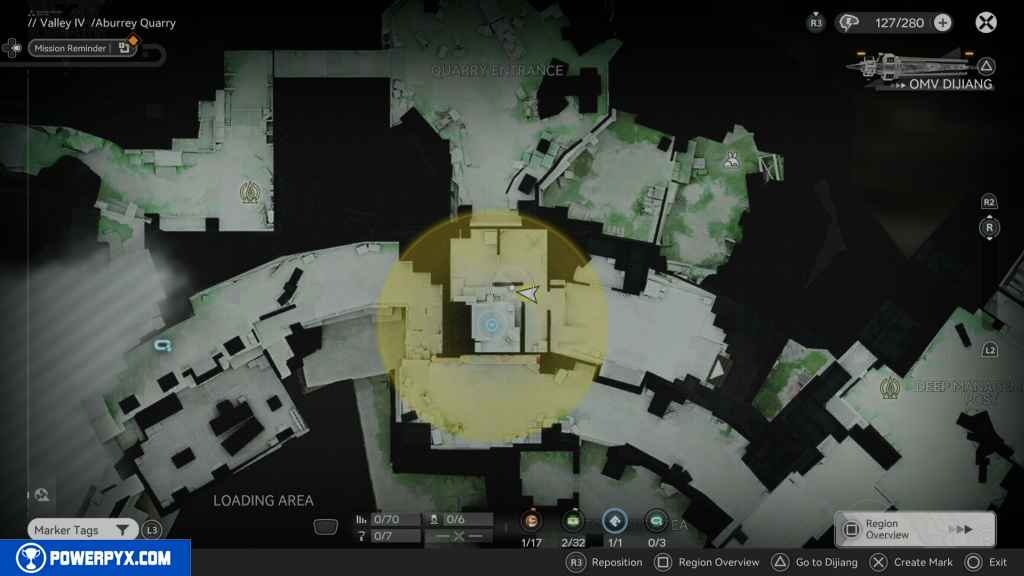
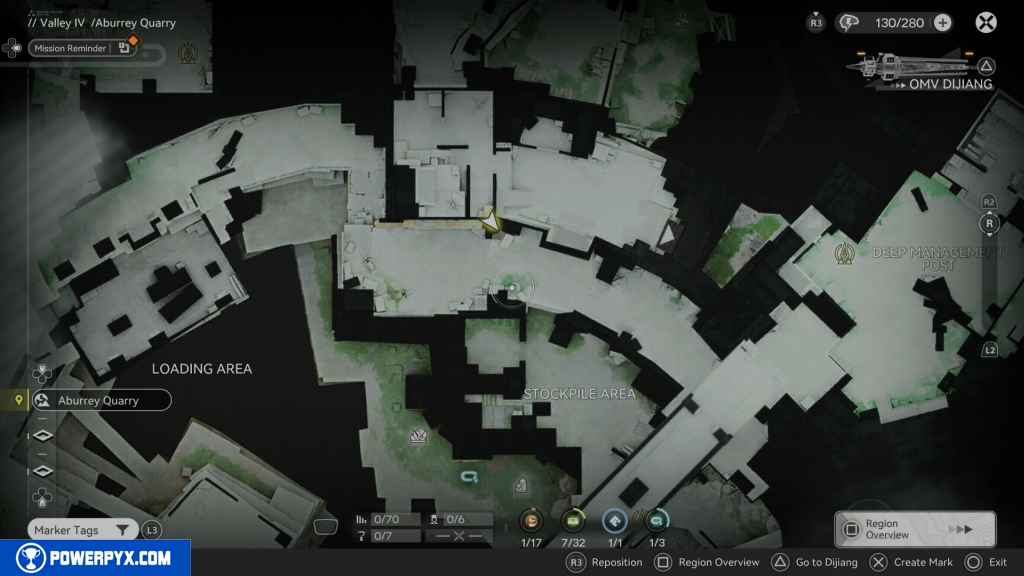
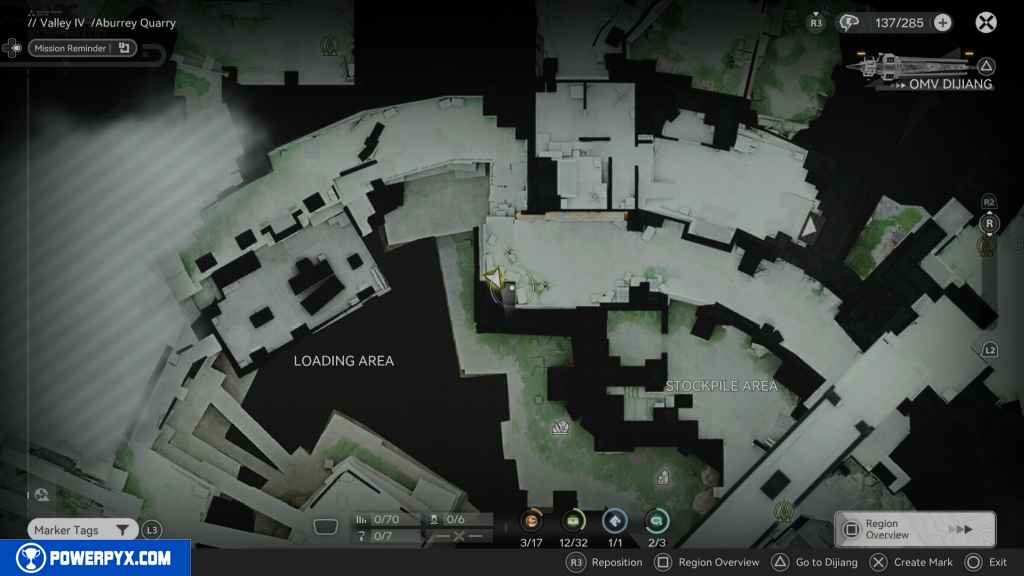
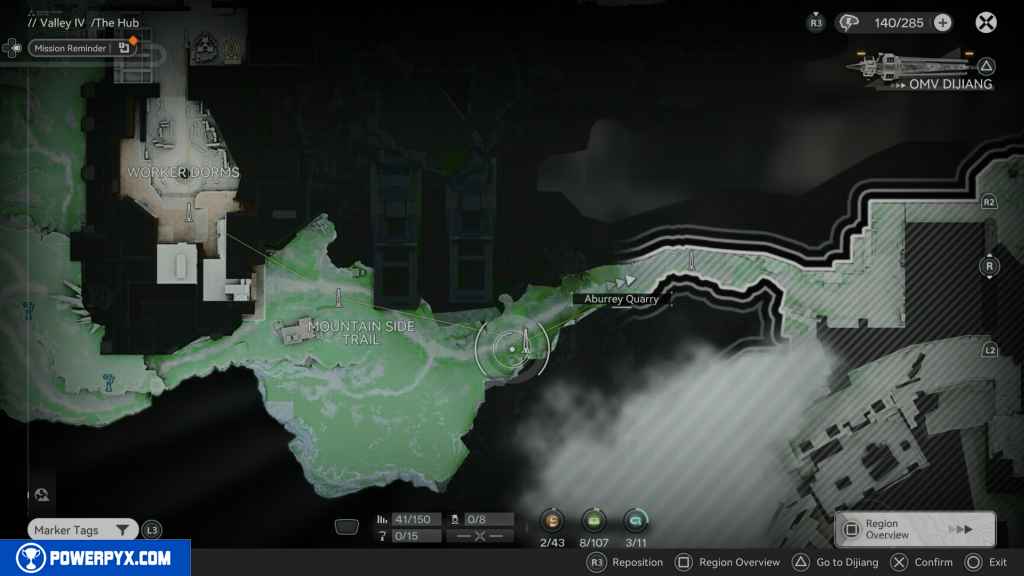
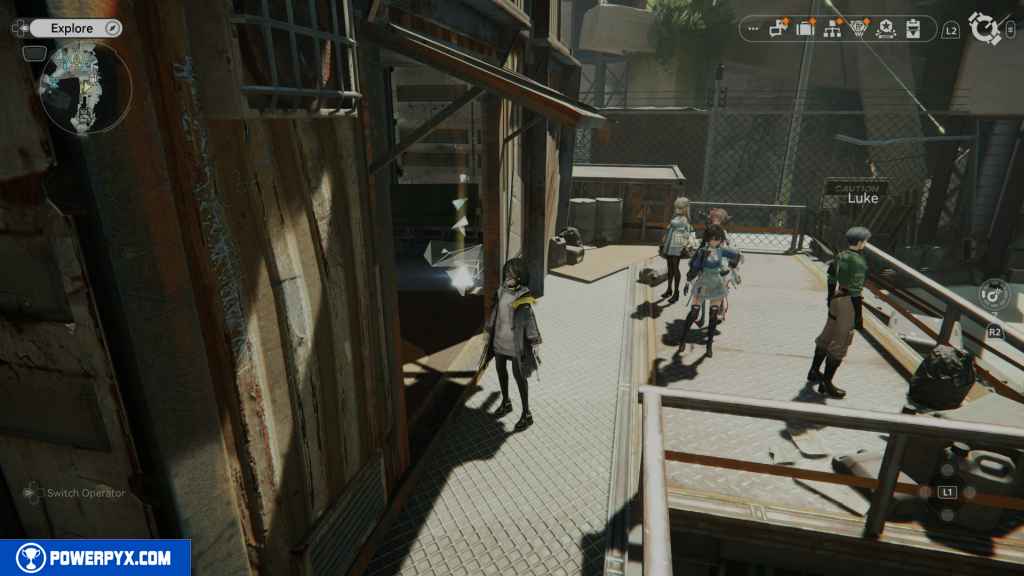
Turn around, and you should see an elevator button. Activate it and take the elevator up to the ground floor. When you reach the top, approach the man standing in front of you to trigger Side Mission – A Brewing Storm: Aburrey Quarry. To get the next few collectables, you must start this quest.
After the quest starts, turn to your right, and you should see the next Gathering Point.
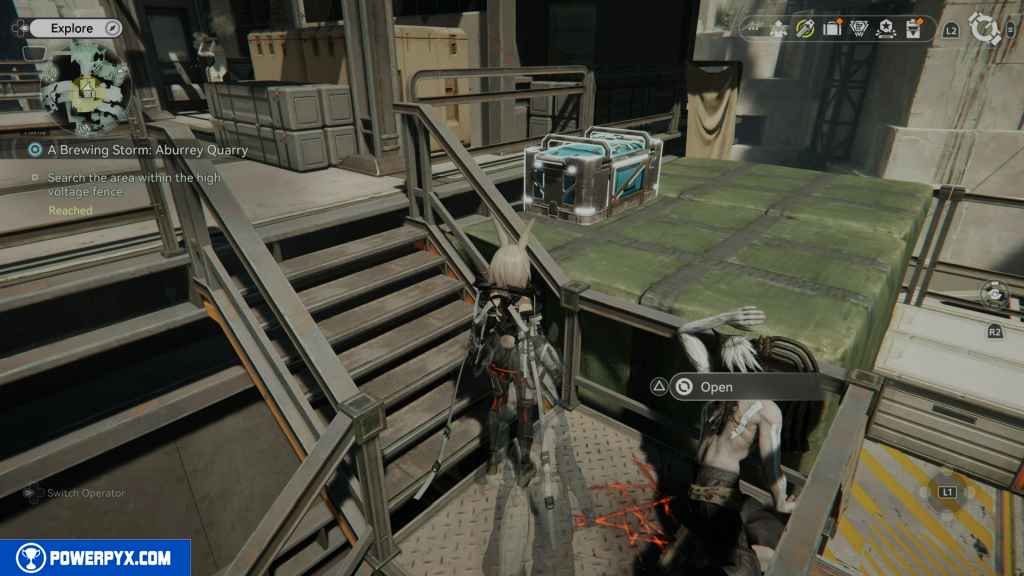
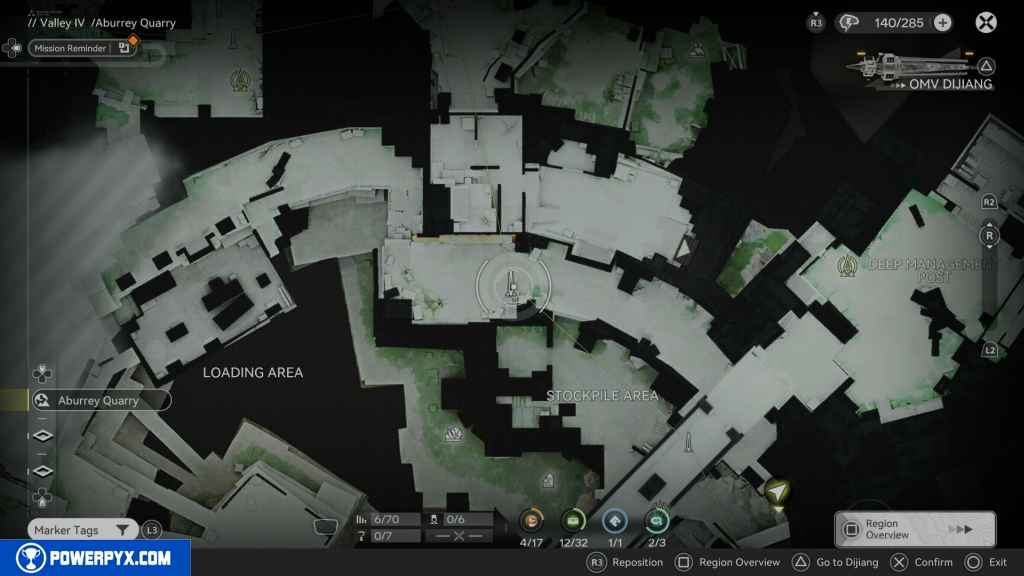
7 – Chest 3
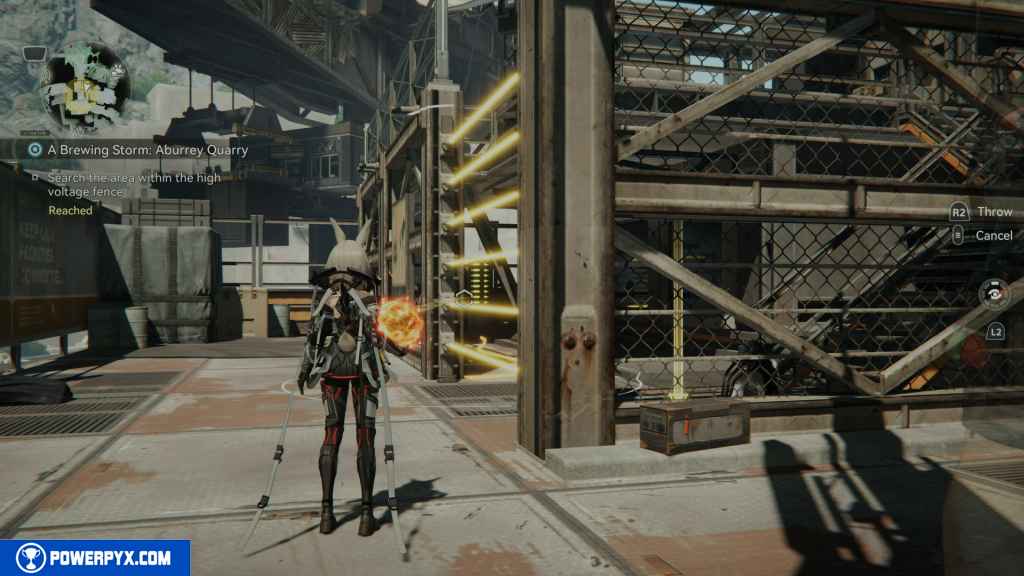
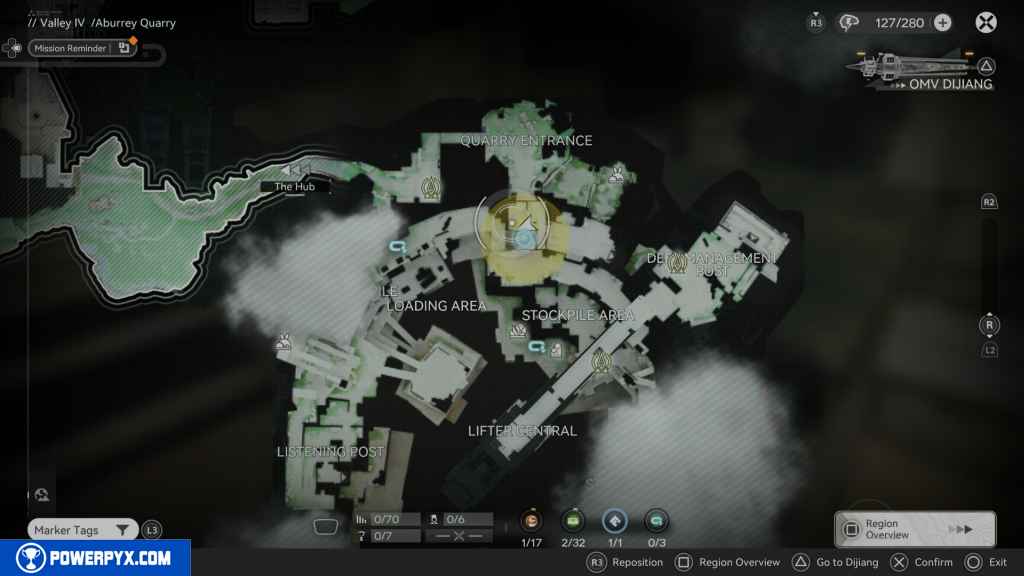
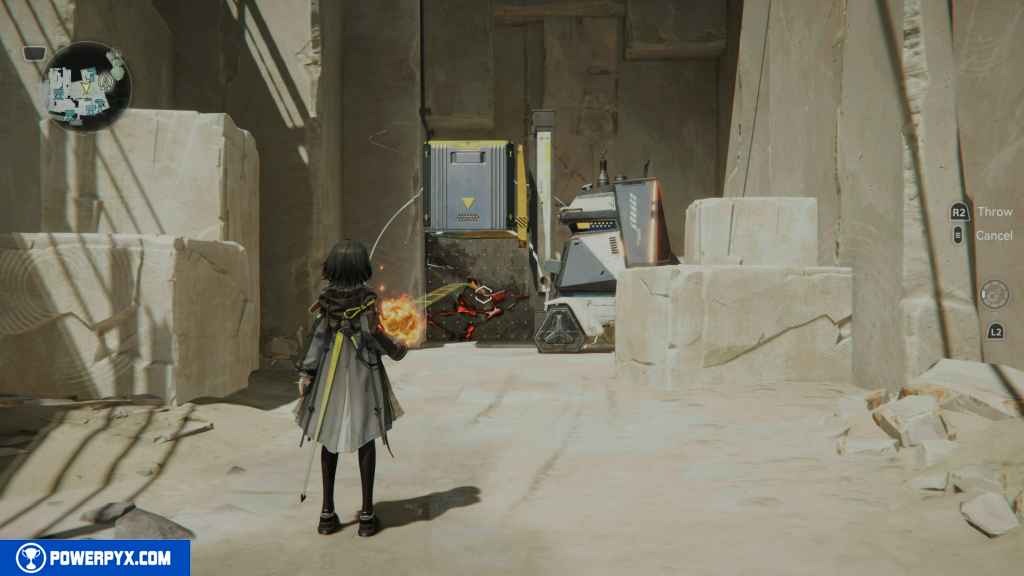
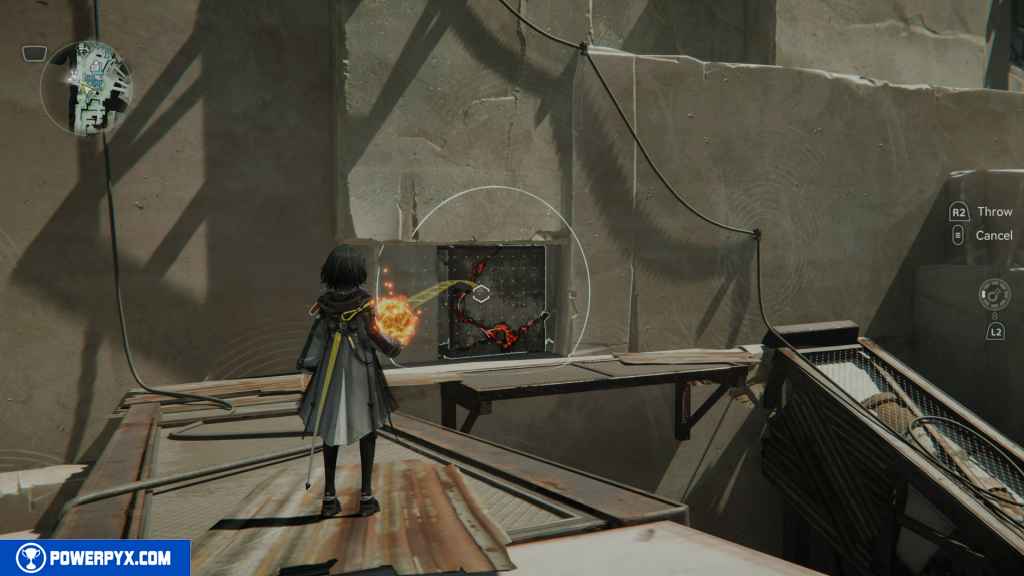
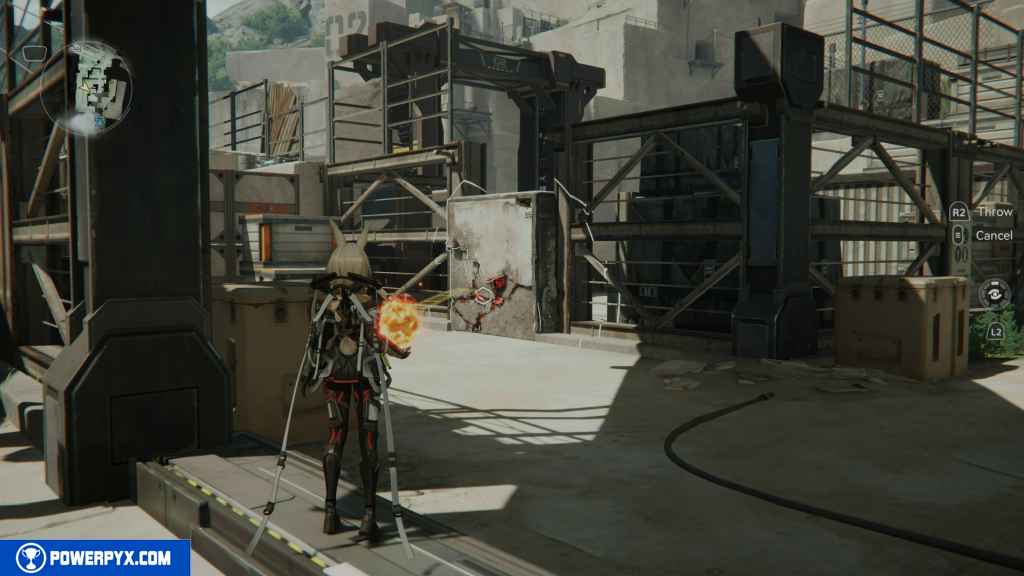
Turn off the first electric barrier by striking the pylon where you found the Gathing Point. Head up the stairs and throw an Incendiary Grenade. You’ll have to learn to craft these by completing the Exploration Mission – Produce Industrial Explosives, at the pylone behind the fence with the stairs leading up.
Head up the stairs, and collect both the files as part of the Side- Mission A Brewing Storm: Abureey Quarry. These files start another investigation that spans other parts of Valley IV. At the top of the stairs, you should see this chest in front of you.
8 – Gathering Point 5
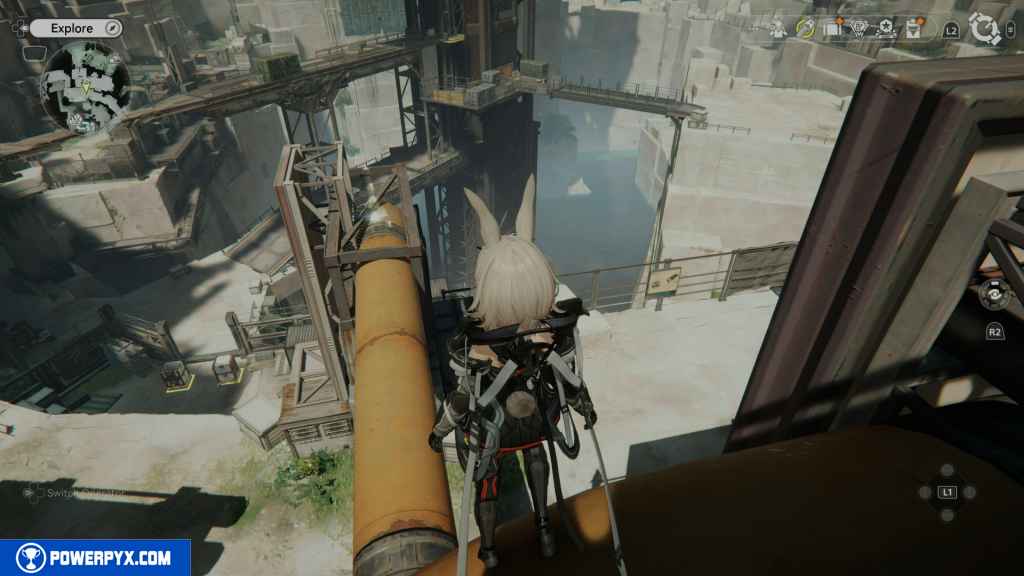
Head back down to where you turned off the second electric barrier. Head south, then jump onto the containers and onto the orange pipe. Follow the pipe down until you see the Gathering Point at the end of the path.
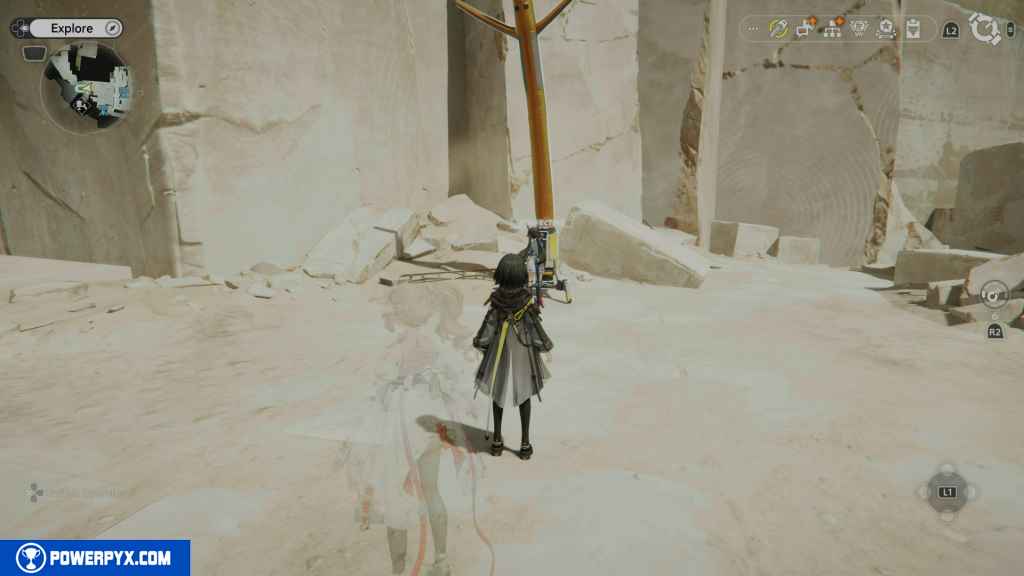
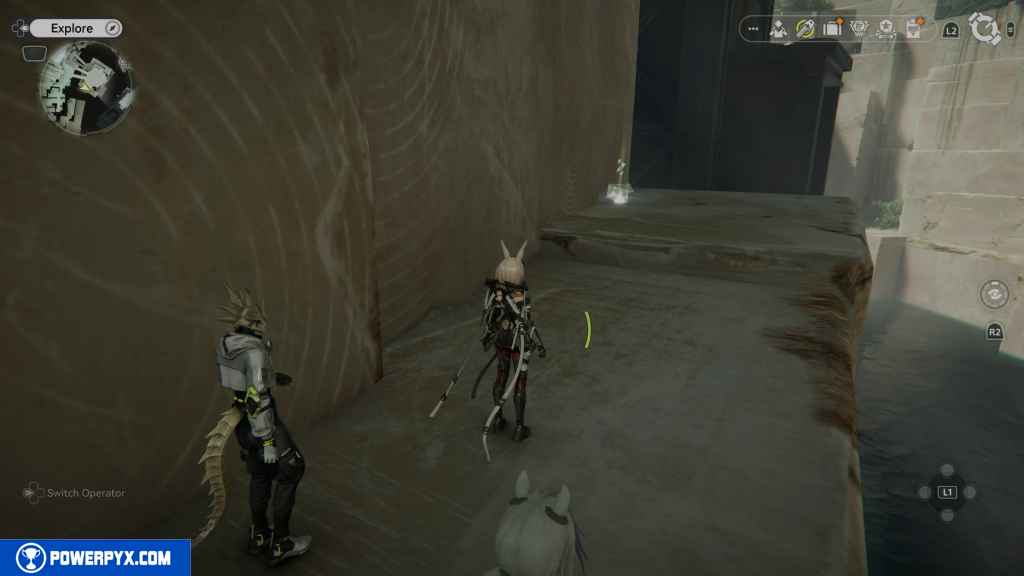
9 – Aurylene 1
From the top of the Grand Floor. Look for the elevator in the south. Taking this elevator down should put you in the open area where the forklift tunnel is located. From the elevator, turn right and run to the end. Turn left and climb the bricks. The first Aurylene is situated at the top behind one of the bricks.
10 – Gathering Point 6
Head east past the yellow pipe, and a little further down, look left to find the next Gathering Point.
11 – Chest 4
Continue down the path east, and you should see the chest in front of you.
12 – Aurylene 2
From the chest look to the Super Craine, and you should see the Aurylene on your right side next to the crate heading down the path to the craine.
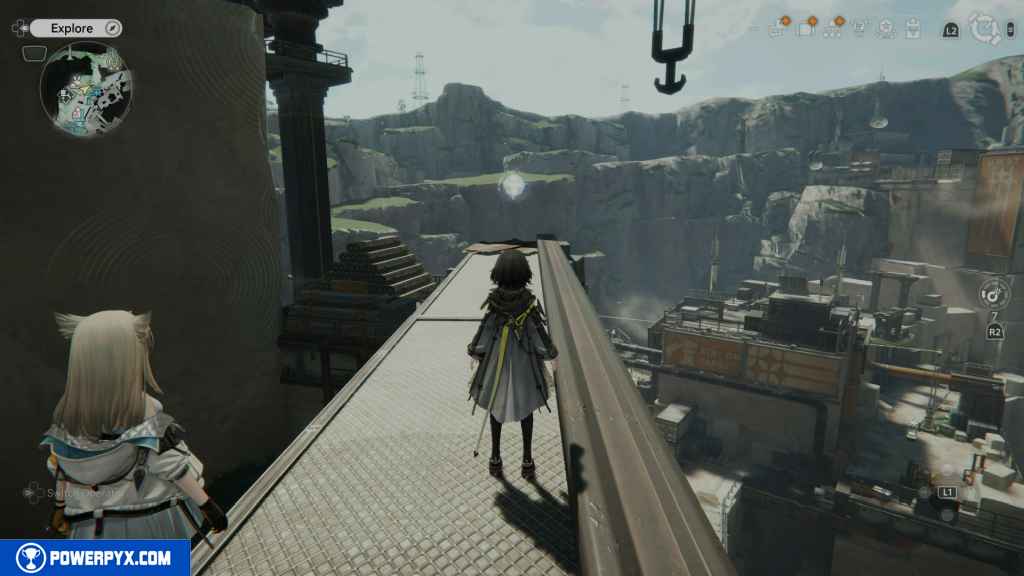
13 – Gathering Point 7
Continue forward on the bridge, and to your right, next to the big crate, is the next gathering point.
14 – Gathering Point 8
Either jump down to the floor below, where you used the two double crates on the pressure plates, or make your way down to the tunnel that we used to take the elevator up to the Ground Floor. Head into the tunnel and come out in this area. Grab one of the double crates and place it in the area where the Aurylene is. Jump up to the top of the containers, and you should see this Gathering Point inside the container on the south.

15 – Aurylene 3
Jump down into the area with the forklift and grab the Aurylene.
16 – Chest 5
Head back to the main area and go to the west, where there is a single crate on a pressure plate. Here you should find the next chest.
17 – Chest 6
Grab the single crate and move it out of the area to the first container you find on your left. You should see a chest on top of it. Drop it off next to the container and grab one of the double crates. Move it over to the container with the chest, then jump up the crates and onto the container.

18 – Chest 7
East of the last chest, you should see another chest on another container. Do the same thing by moving both crates over to it and jumping up to grab it.
19 – Gathering Point 9
From the chest, look to the east, and you should see this Gathering Point on top of some crates. Jump up to it and pick it up.
20 – Aurylene 4
Head south through the open gate, and you should see the Aurylene in front of you. As you approach it, it will fly away to the west. Follow it by taking the rope or jumping down. Grab it where it stops.
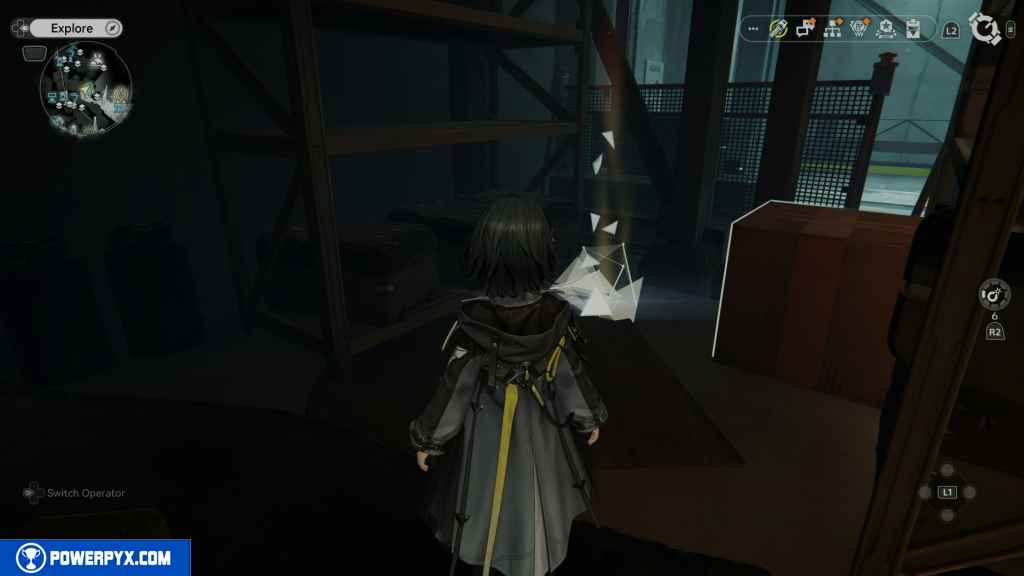
21 – Protocall Datalogger 1
From where you picked up the Aurylene, impossible to miss.
22 – Gathering Point 10
From the Dataalogger, continue northwest to the end of the path to find this Gathering Point.

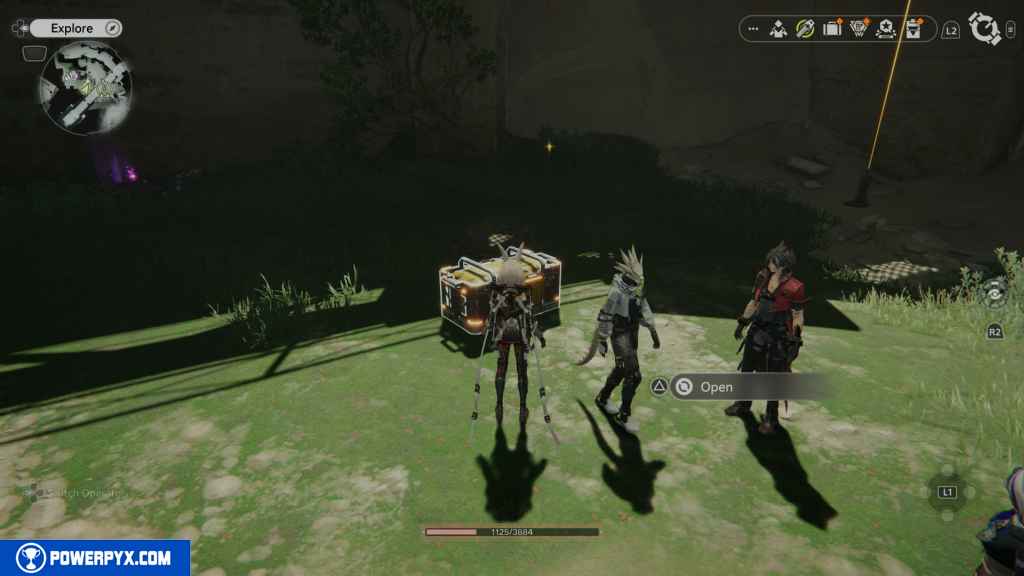
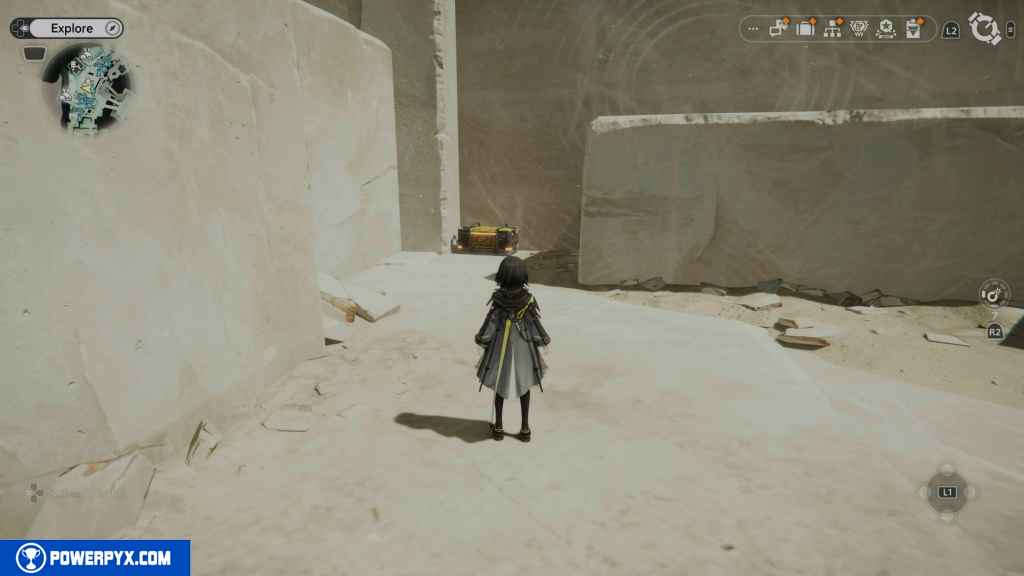
23 – Chest 8
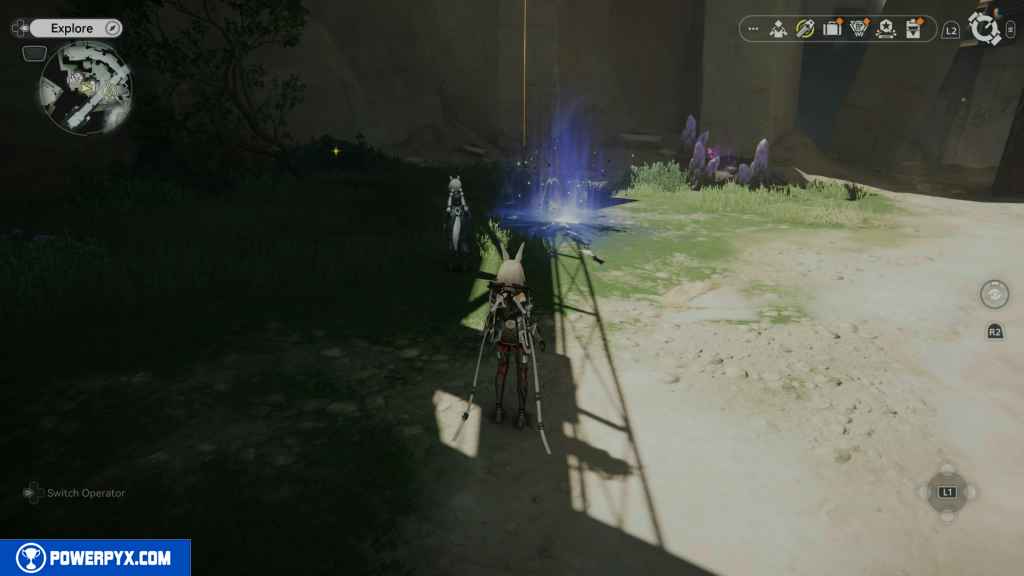
Head all the way back to where the Datalogger was, and you’ll find a glowing blue light on the flow. Activate the Energy Alluvium on the ground. This will spawn some enemies. Defeat them to unlock the chest.
This next part requires us to head east. From the Energy Alluvium, head east and up the rope. Continue east, and you will run into a large locked gate with a man in front of it and an Electric Nexus. We must now power the Nexus to open the gate. Open your map and head back to the Hub. From there, head north and fast-travel to the PAC.
We have to build at least 17 Relay Towers. Begin placing them from the PAC down to as close to the Power Nexus as possible to provide power to the Electric Nexus. Once connected, restore power to the gate and open it using the control panel.
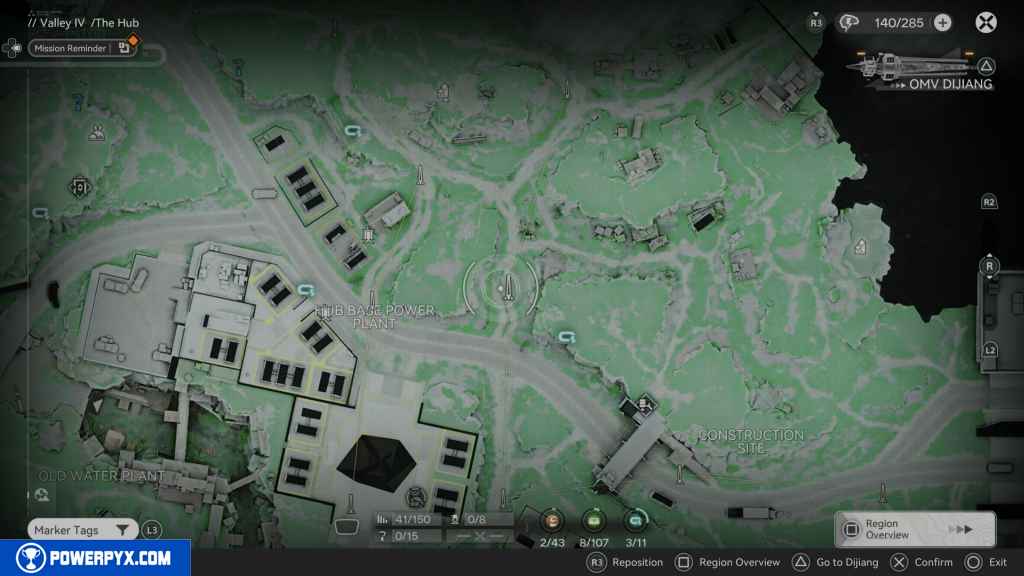

Build up to the Hub Base, then place them and connect them through the Hub, heading into the Worker Rooms.
From there, build to the opening heading east and into the tunnel and out into the Quarry.
Head through the tunnel with the forklift and build out east until you reach the bridge. Jump down, build the last Relay Tower, and connect power to the Nexus.
24 – Gathering Point 11
Pass through the gate, turn right, and head up the stairs. Inside the shed is another Gathering Point.

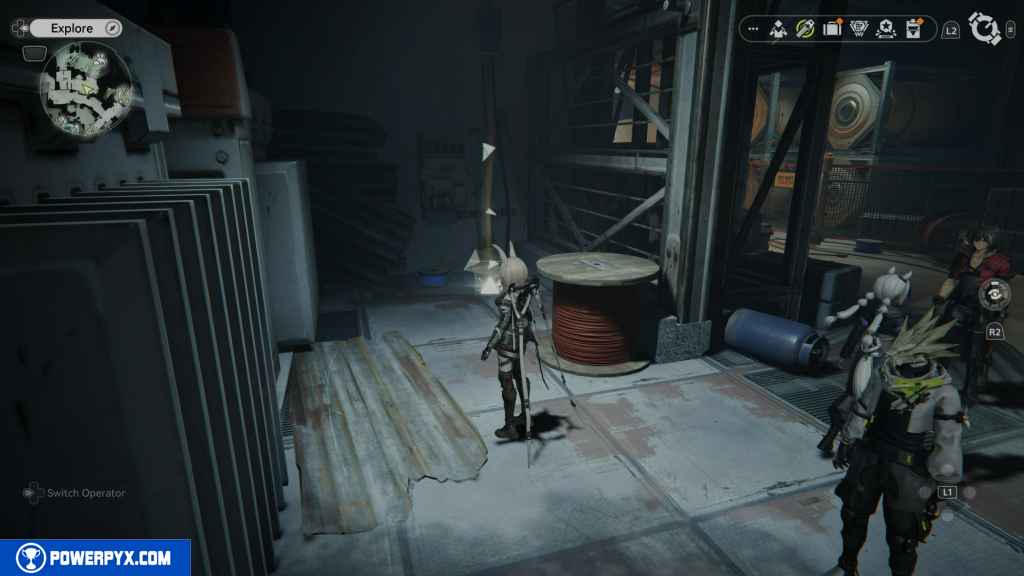
25 – Chest 9
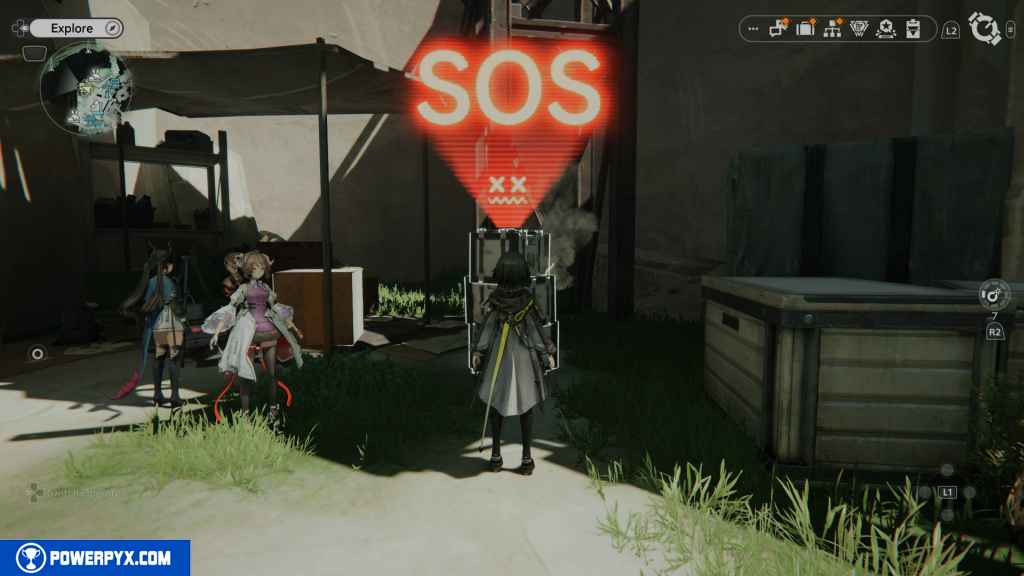
Continue all the way down the path until you can turn left. You should see an SOS Repair Bot inside a small cave-like opening. Head in and look to your left to find this chest.
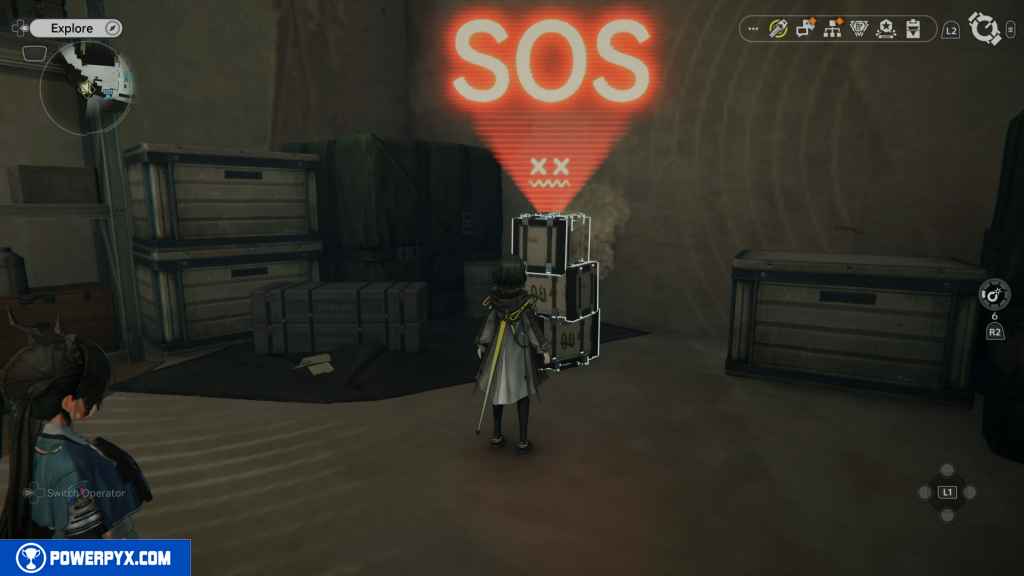
26 – SOS Repair Bot
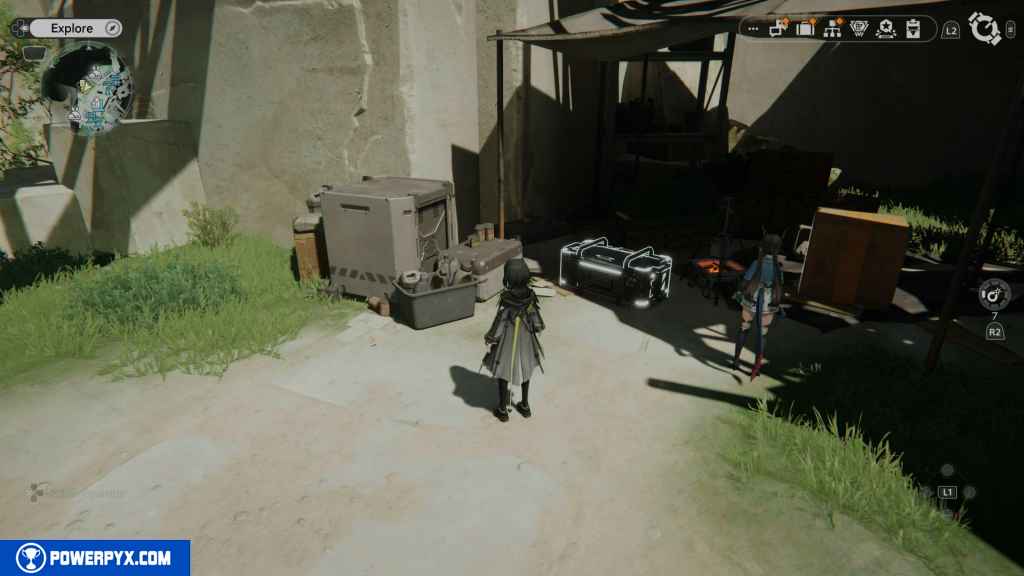
Turn right from the chest and repair the SOS Repair bot.
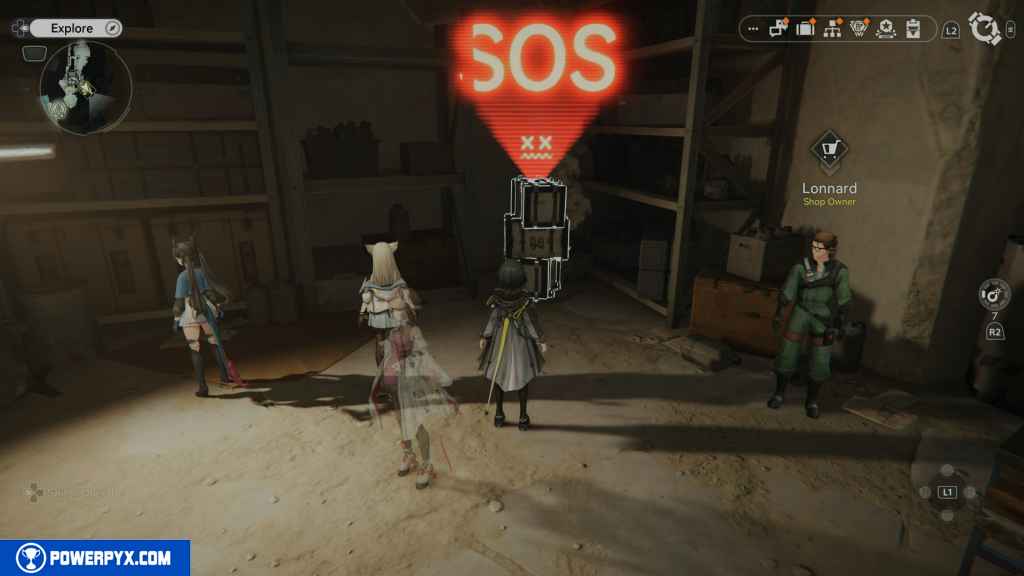
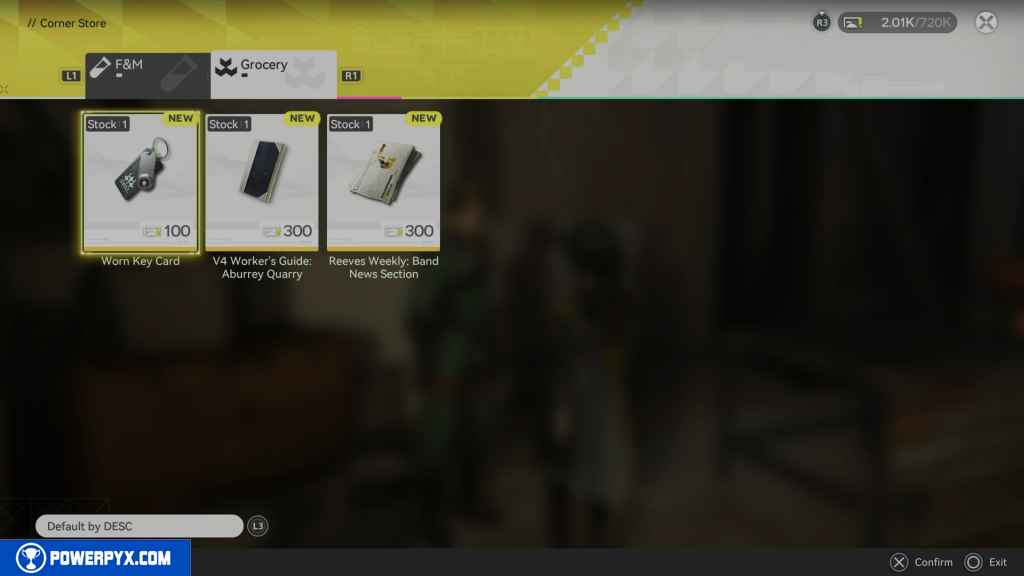
Right next to the SOS Repair Bot is a vendor. Speak to him and make sure you buy the Worn Key Card. You need this key to access another part of the Quarry.
27 – Chest 10
Turn around and head up the stairs next to the Recycling Station. At the top of the stairs, look inside the container shed for the chest.
28 – Gathering Point 12
From the chest container on the second floor, head north. When you reach the end of the path, you should see an Aurylene. Jump over the rail, but before grabbing the Aurylene, there should be another Gathering Point south of the Aurylene.
29 – Aurylene 5
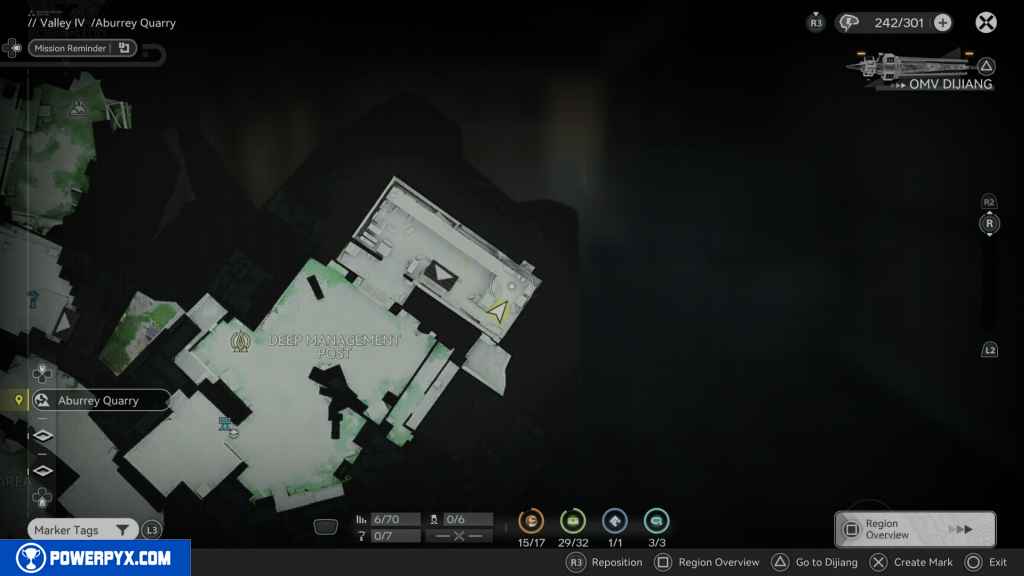
Now turn around and grab the Aurylene.

30 – Chest 11
Continue north, then jump onto the container and over the guardrail. Keep moving north until you see the chest on your right side behind some crates.

31 – Gathering Point 13
Return to the settlement. This time, head south of the Recycling Station and go up the stairs. In front of you is a shack. Head inside, and on your right is the Gathering Point.
32 – Aurylene 6
From the shack, turn left, and you should see some crates you can jump up to reach the next point. At the top, you should see the Aurylene on top of the large brick.
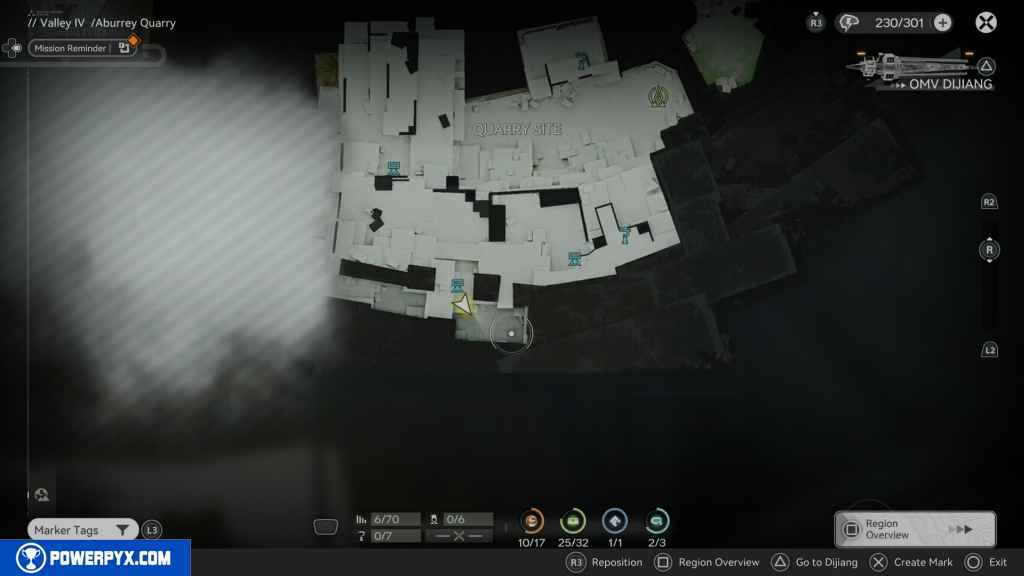
33 – Gathering Point 14
Head to the Quarry Site using the AP Teleporter and head west. You should see a forklift on your left. Activate it, and it will expose a blast wall. Use your Incinderary Granades to blow the wall down.
Head inside and around the corner. Jump over the boxes and head south. You should see the next Gathering Point.
34 – Chest 12
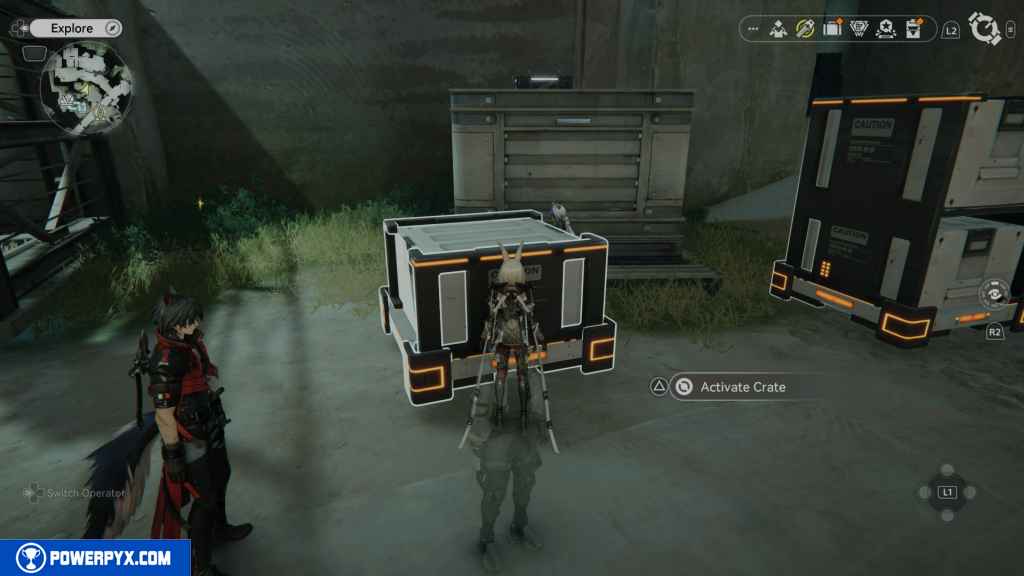
Turn around and use the forklift to raise the crate. Pass through the next area and activate another forklift. The chest should be in front of you.

35 – Aurylene 7
From the chest, climb up the boxes to the top of the rocks. Move around them until you see the Aurylene in front of the fenced grate.
36 – Chest 13
Leave the area and turn left. Continue west to the dead end and turn left to find the chest.
37 – Gathering Point 15
Head to where you first encountered the Granny. From her camp, head west to where you struck the pylons to activate the jump pads. In front of one of the pylons is the Gathering Point.
38 – Aurylene 8
From the Gathering Point. Head north and drop down on the scaffolding. Turn right, and you should see the Aurylene on another scaffolding below you. Jump down to grab it.
39 – Gathering Point 16
Use the jump pads to reach the southern part of the Quarry. You’ll know you’re in the right place if you see a disabled forklift land at the correct spot. Head east from there, and look to your right under the bridge, where there is an opening into a cave. Jump down for the Gathering Point.
40 – Gathering Point 17
Use the rope to get back outside. You’ll notice you are now on the top level of the bridge you went under to reach the last Gathering Point. Turn right and instead of using the Jump Pad, run down to the next area, and you should see another forklift on your right. Activate it to reveal another Gathering Point.
41 – Aurylene 9
From the last point, turn around and activate the other forklift in the area. From there, move west and around the corner to climb up some crates and up to the large brick. Jump on the crate lifted by the forklift and jump onto the container. Look over the fence to see the Aurylene. Jump over the fence to grab it.
42 – Aurylene 10
Return to the area with the bridge. Climb up the bricks and cross the bridge. Take the jump pad up to the next brick. Keep moving forward until you find a crate you can jump on. Jump up the crate, and on your right is a slight path against the wall. Take this path back west until you reach the end before having to jump. Look down, and you should see the Aurylene. Drop down and grab it.
43 – Gathering Point 18
Turn around from the Aurylene and go into the cave. Fall all the way to the ground, and you should find the next Gathering Point.
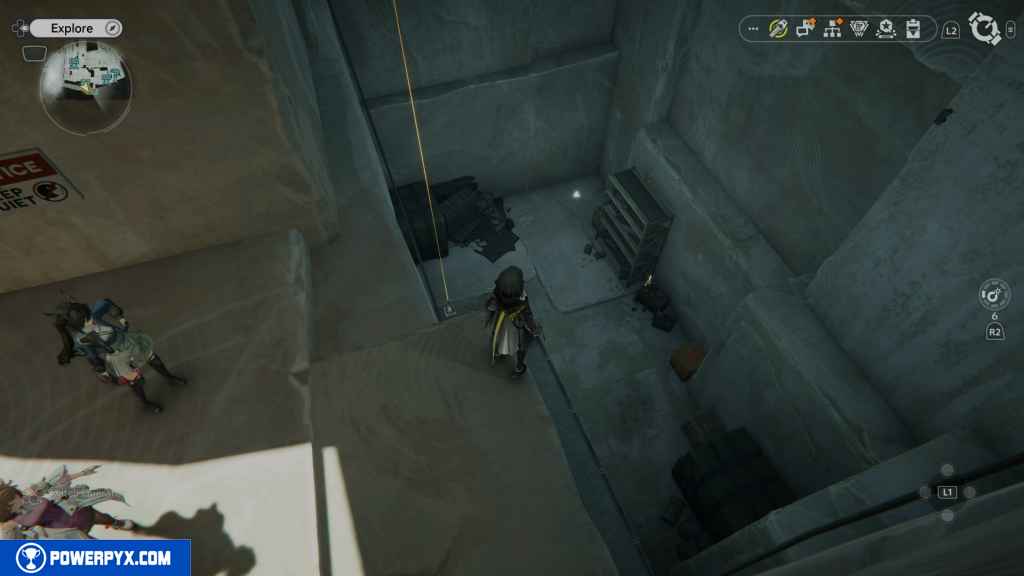
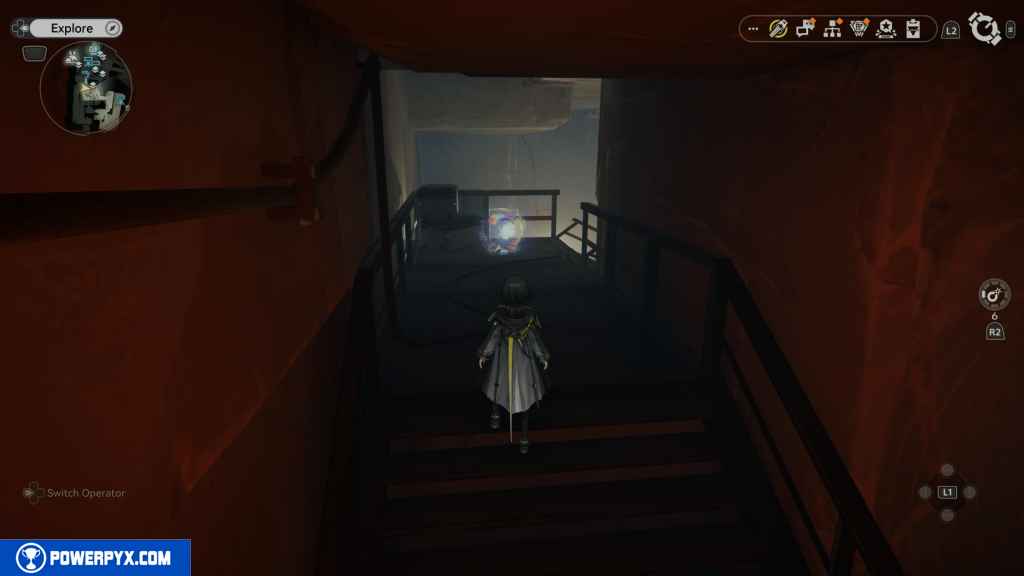
44 – Chest 14
Move through the cave past the jump pad until you get back outside. Immediately look to your right, and you should see an entrance into a small workshop. Inside is the next chest.
45 – Protocol Datalogger 2
Return up the stairs and back outside. Continue down the path by falling down the Quarry rocks. You should see the next Protocol Datalogger in front of you.
46 – Chest 15
Left of the Datalogger is a cave area where you can find the next chest. Look to the right of the SOS Repair Bot.
47 – SOS Repair Bot 2
Turn left from the chest and repair the SOS bot.
48 – Chest 16
Move up the path until you see the blue glow on the ground. Activate the Energy Alluvium and defeat the enemies to unlock the next chest.
49 – Gathering Point 19
On the west part of the map, right, the Quarry rocks are where the next Gathering Point is.
50 – Aurylene 11
Use the jump pad in front of the forklift, and you will land right in front of the next Aurylene.
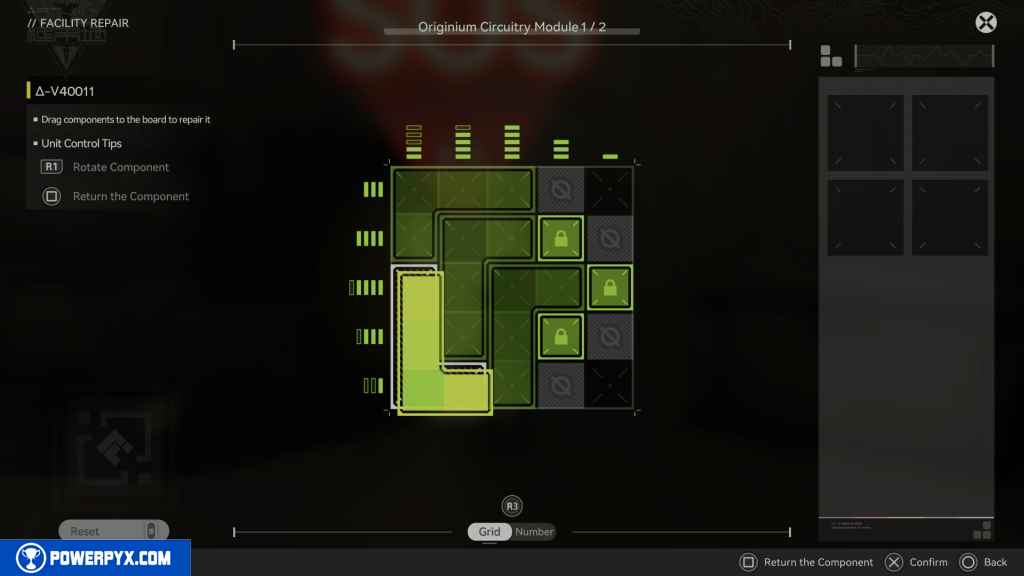
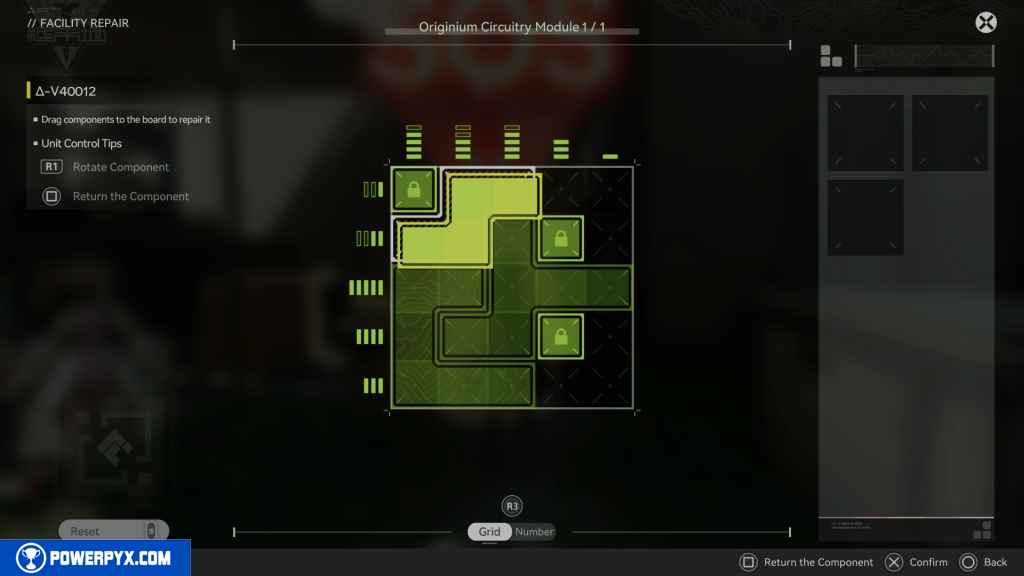
To move on in the Quarry, you need to acquire a Repair Logic located in the Originium Science Park. Begin Main Mission 16 – Walk in the Park until you unlock the ability to destroy the Blight Cores. From there begin the Side Mission Dusty – Old Files. Playing through this side mission, you’ll eventually reach the Repair Logic.
51 – Gathering Point 20
From the last Aurylene, jump down and head down the left path up the large path. Continue going up until you reach a gate. Turn left and enter the small tunnel where materials are being gathered. Look to the right as you enter to find the Gathering Point.
52 – Gathering Point 21
Leave the material area and head back around to the right. Look for the forklift against the wall and activate it to reveal the next Gathering Point.
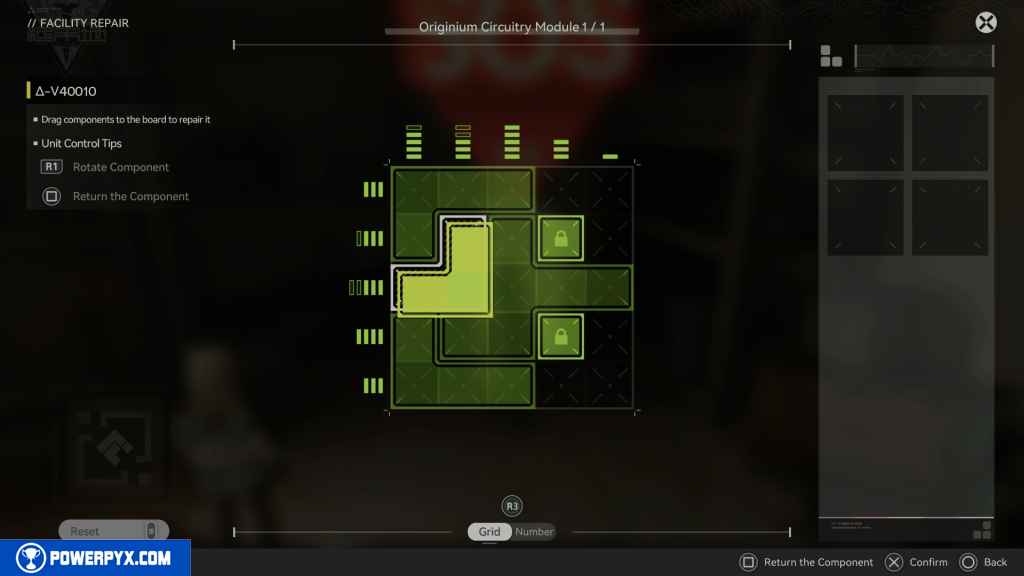
53 – Chest 17
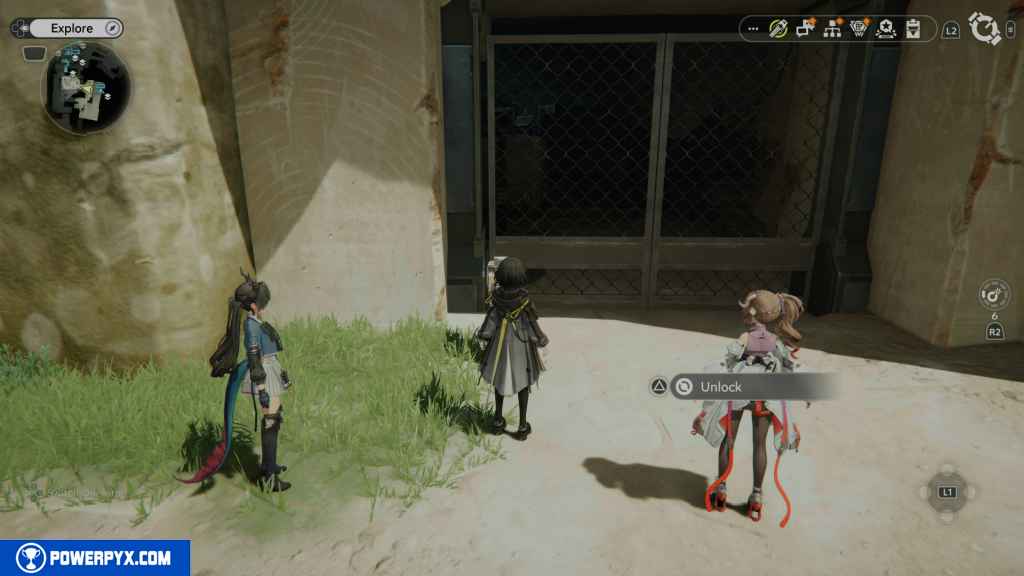
Head back north to the locked gate. This is the gate that required the Repair Logic from the Originium Science Park. Open the gate by repairing it.

Once opened, you’ll find many minerals to farm. Move past this point until you see an opening on your left. Head inside the room to find the next three chests next to each other.
54 – Chest 18
Same room as the last chest.
55 – Chest 19
Same room as the last two chests.
56 – Aurylene 12
Head out of the room with the three chests and turn left. Look for the opening in the wall, and the Aurylene is in that opening.
57 – Chest 20
Head back the way you came, where you unlocked the gate. Turn left and look at the large metal structure that looks collapsed, with a path leading up to the west. Jump up on the metal structure on the left side and then run and jump on the rock.
From the rock, turn around and run up the path. Follow the path past the destructible wall, jump onto the seesaw platform, and on the right side is the chest.
58 – Chest 21
Go to where you saw the destructible wall. Use an incendiary grenade and blow it up.

Head inside and look in the bottom-right corner. You see a chest. Drop down and grab it.
59 – Gathering Point 22
Climb back up the large metal structure and head halfway up. On the north side, toward the Quarry rocks, you should see the next Gathering Point. Jump to the rocks to reach it.
60 – Chest 22
Continue north from the Gathering Point and make a left turn to find the next chest.
61 – Aurylene 13
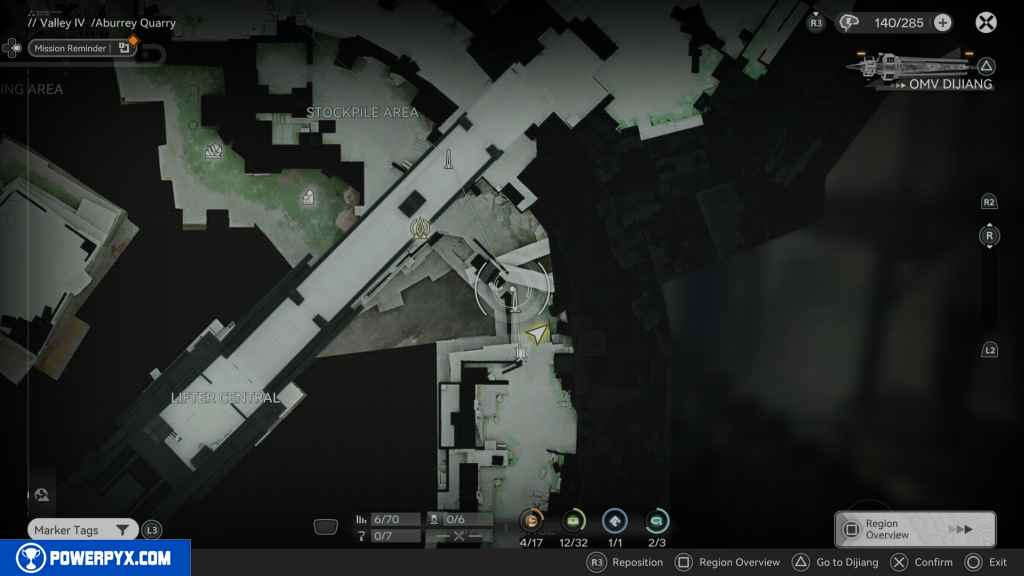
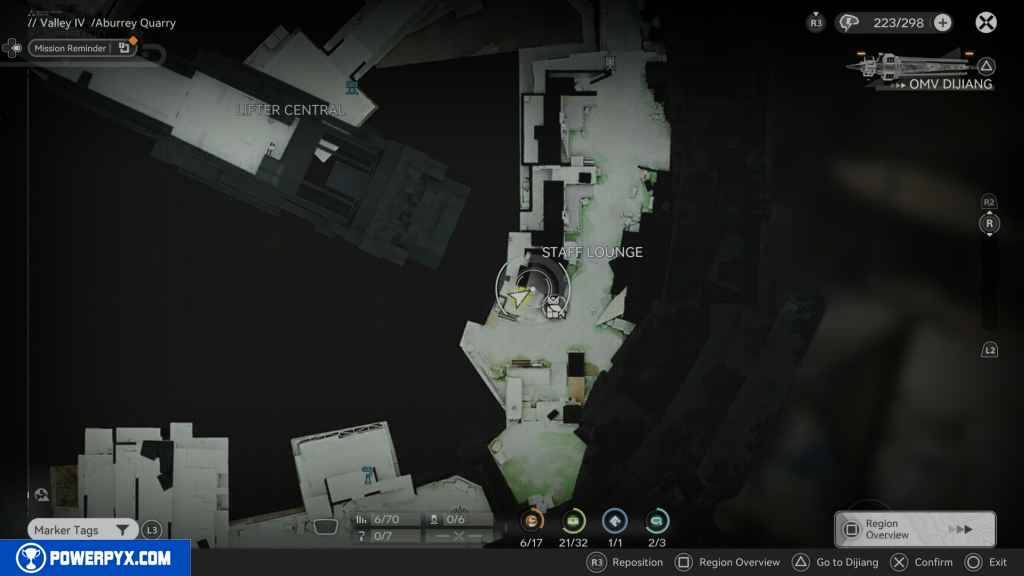
To get to the next set of collectables, we need to head back to the Lifter Central control room. In the control room, find the two buttons that move the Super Crain. Select the one on the left until it rotates to face the Refuse Stockpile area on the west.
Once it’s in position, turn around and use the rope in the next room to head to the top of the Crain. Run all the way to the end, and you should see a new rope position to lower down a new rope.

Drop down and look north. The next Aurylene will be on the opposite platform. Jump across, and the Aurylene will fly away. Follow it to the end of the platform and grab it.
62 – Chest 23
Turn around and look down. You should see a small camp with an SOS Repair Bot. Drop down and open the chest next to the Bot.
63 – SOS Repair Bot 3
On the right side of the chest, repair the SOS Bot.
64 – Chest 24
Find the rope in the area and take it back up the scaffolding. Go to where you grabbed the Aurylene and jump across to the next platform, where there is another chest.

65 – Protocall Datalogger 3
Head back down to where you opened the gate using the Repair Logic. Go through the gate with all the minerals and up to the open path in the wall. Jump down, and you should see the Protocall Datalogger.
66 – Gathering Point 23
East of the Datalogger is an elevator. Take it down and run around the containers to find this Gathering Point.
67 – Gathering Point 24
Head back up the elevator, then across the platforms using the switches. On the other side, head all the way down the path south until you reach the stairs leading down. Before the stairs turn right, you should see the Gathering Point.
68 – Chest 25
Turn around and look for the rope leading down on the east side. Take this rope down, and you should see the chest in the distance down the long Quarry rock.
69 – Gathering Point 25
From the chest, head right around the corner until you see the Gathering Point.
70 – Gathering Point 26
Return up the rope and turn right to go down the path where you solved the pylon puzzle for the Side Mission – Quarry Rescue. As you run down the stairs, turn around and find this Gathering Point right under the stairs.
71 – Gathering Point 27
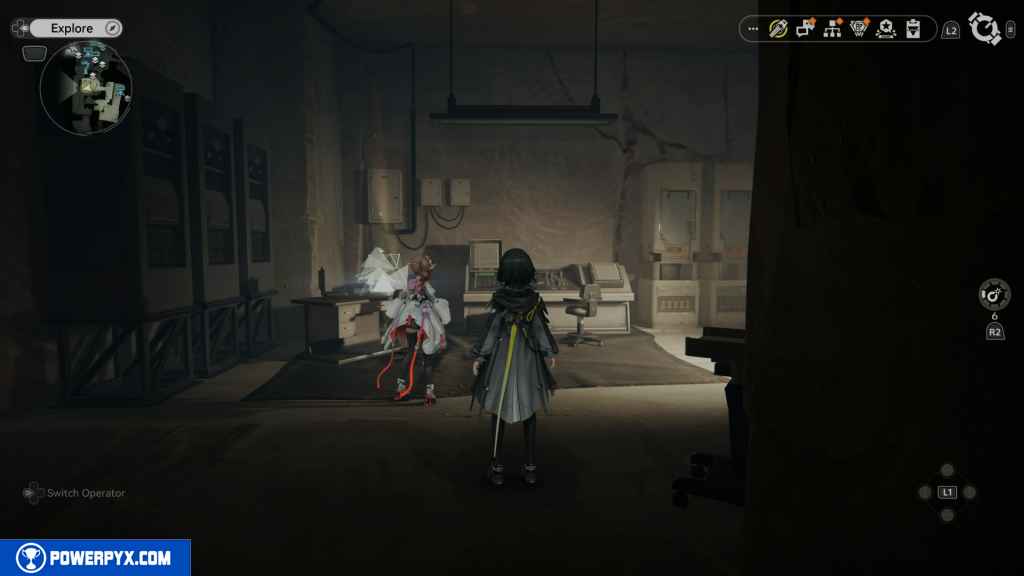
Head into the lab that you unlocked in the Side Mission – Quarry Rescue. Look to the left to find this Gathering Point.
72 – Chest 26
In the same room, you’ll find this chest between the first two cabinets.
73 – Chest 27
Same room between the last two cabinets.
74 – Chest 28
Leave the room and repair the console to open the path forward. Look for the crates you can jump up next to the destructible wall. Climb the crates for the chest.
75 – Gathering Point 28
Use an Incendiary Grenade or grab one from the area at the bomb dispenser. Use it to destroy the wall in front of the newly opened gate.
Head through the opening and take the elevator down. At the bottom, continue heading east until you see the Gathering Point.
76 – Gathering Point 29
Head back up and turn right. You’ll see a gate with a control panel. Activate it and use the Worn Key Card you bought from the vendor.
Open the gate and head inside to find this Gathering Point.
77 – Aurylene 14
Inside this new area, keep moving through the cave, and eventually you’ll find yourself looking at another Aurylene.
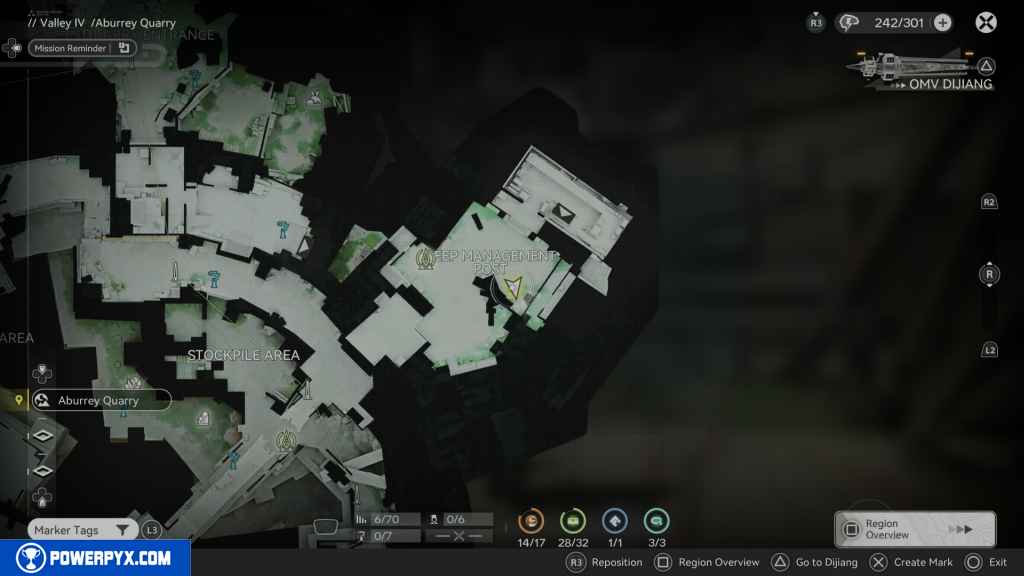
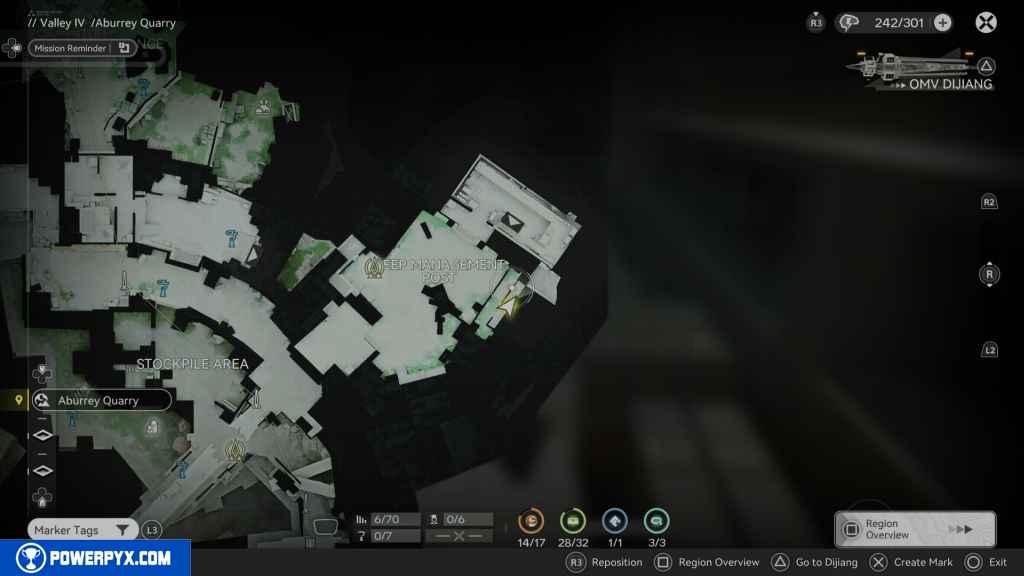
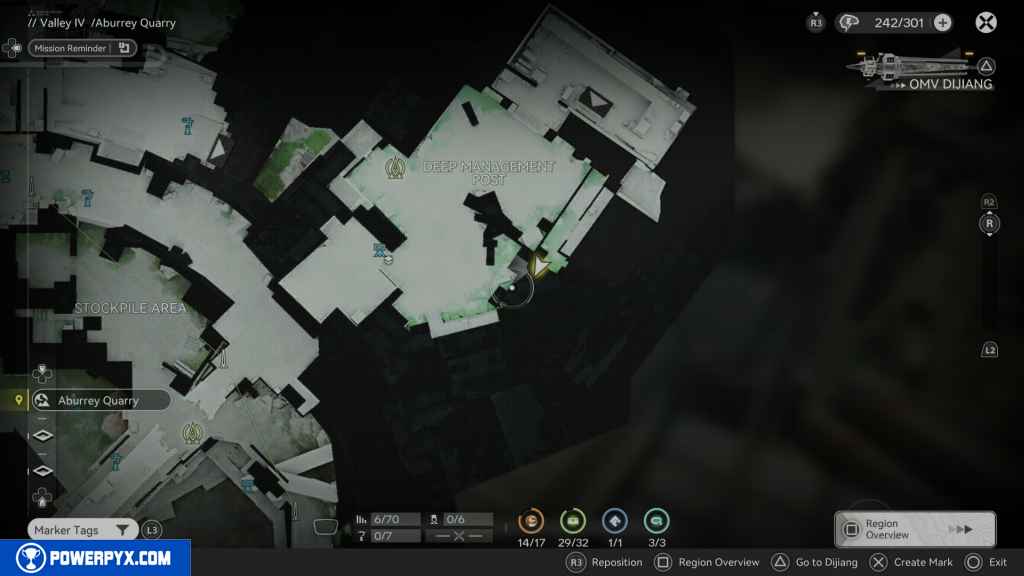
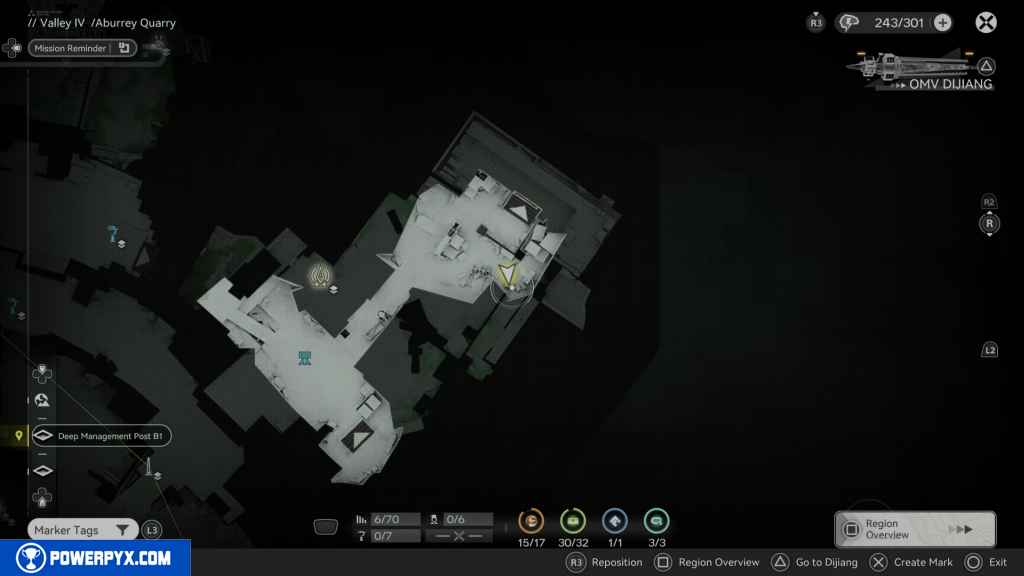
78 – Gathering Point 30
Teleport to the northeast TP Point at the Deep Management Post. Looking north from where you spawn, jump up the platform and look to the left. Inside the container is the Gathering Point.

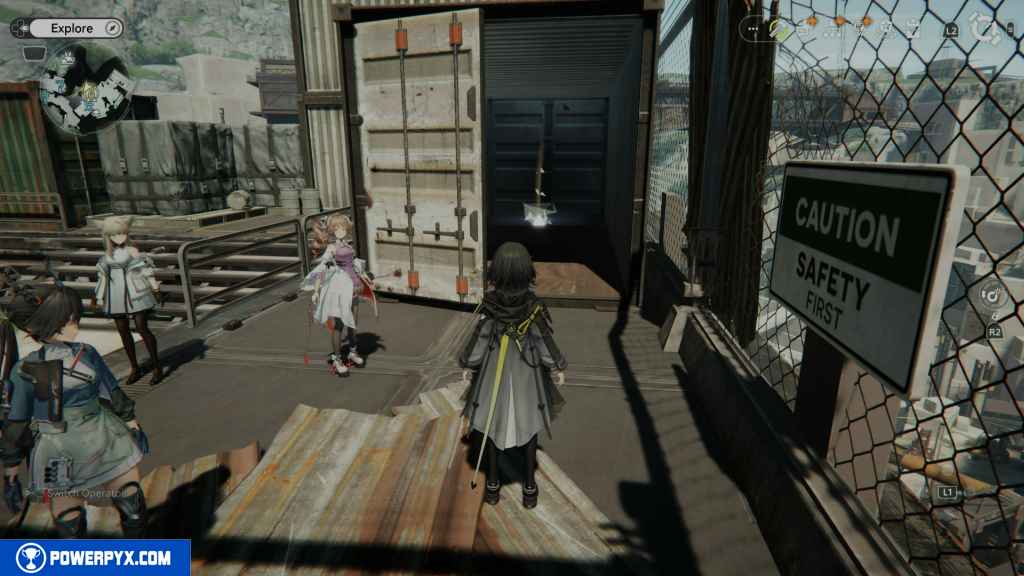
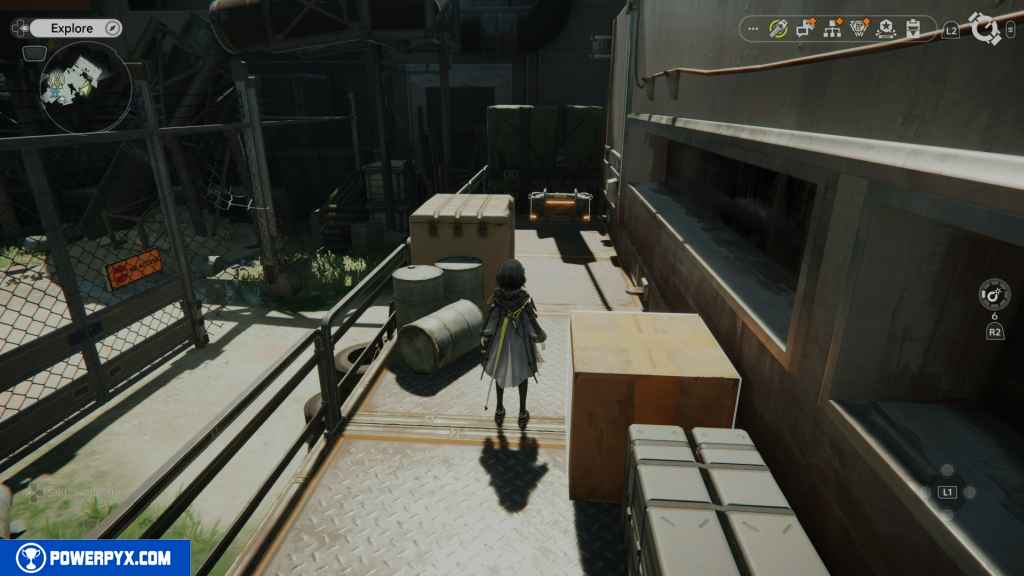
79 – Chest 29
Turn around and head east. You’ll see a closed-off fence and the chest on the other side of it.

Climb up the debris and the green crate and jump over the fence to reach it.
80 – Aurylene 15
From the chest, turn around and head south. You’ll find two crates to jump up and a container. On the other side of the fence is the Aurylene.

81 – Chest 30
Head inside the building and go to the right. Run to the stairs and go up to the second floor. The chest is on your right.
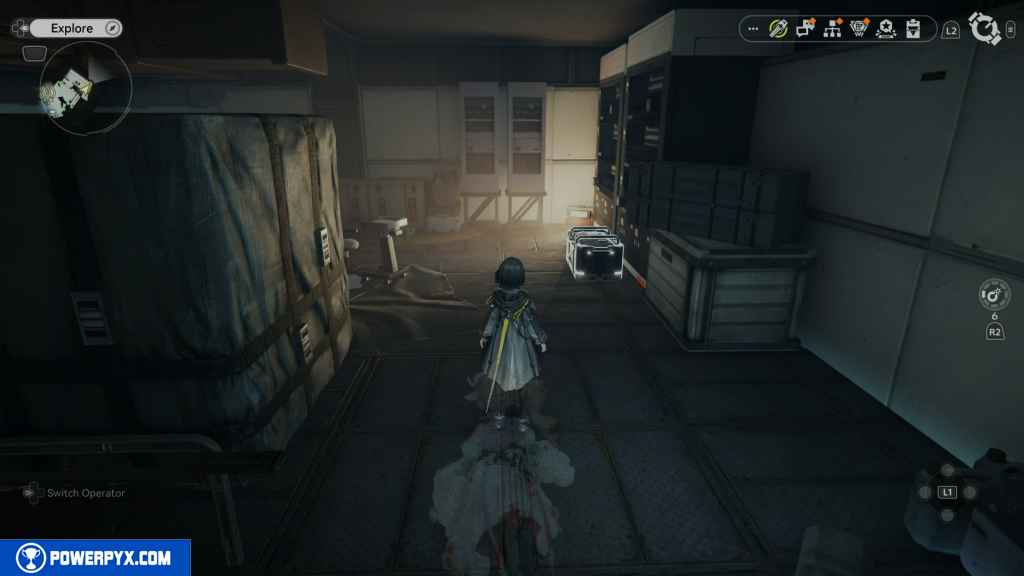
82 – Gathering Point 31
Move along the second floor, and you should see the next Gathering Point.
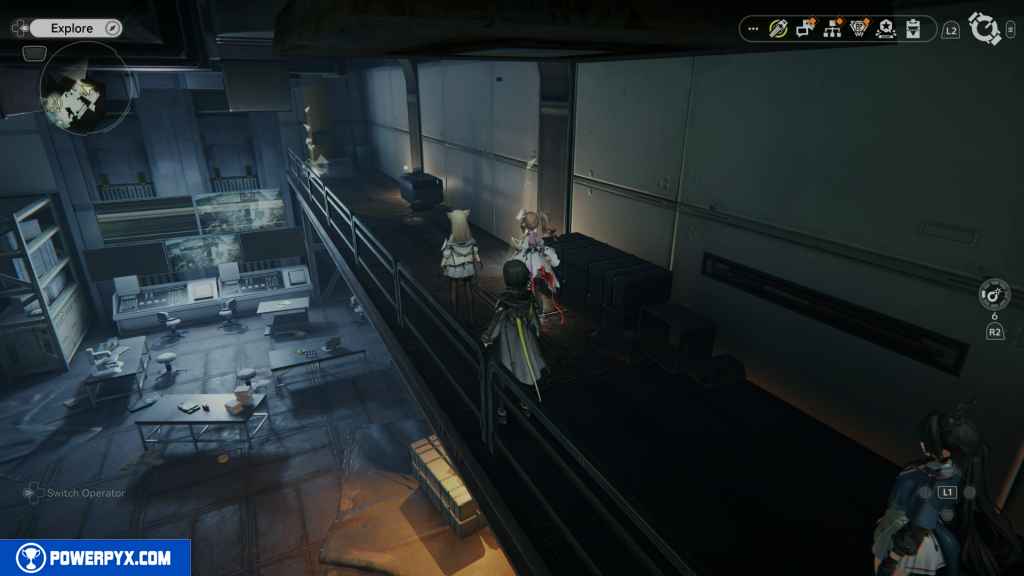
83 – Gathering Point 32
Just a few feet away from the last Gathering Point is the next one.
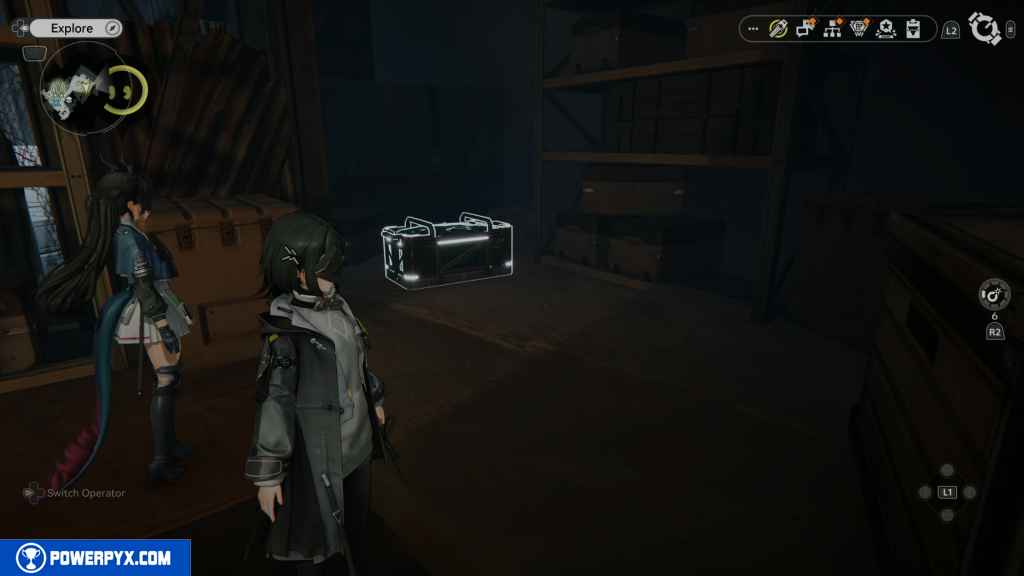
84 – Chest 31
Go back downstairs and take the elevator down to B1. When you arrive, follow the path. Instead of turning right, go straight, and the chest is yours.
85 – Aurylene 16
Continue down the cave system until you reach an opening. Take the path to the right and go up the long Quarry rock back outside. Turn right, and you will see the Aurylene.
86 – Chest 32
The final chest in the Aburrey Quarry is right next to the Aurylene.
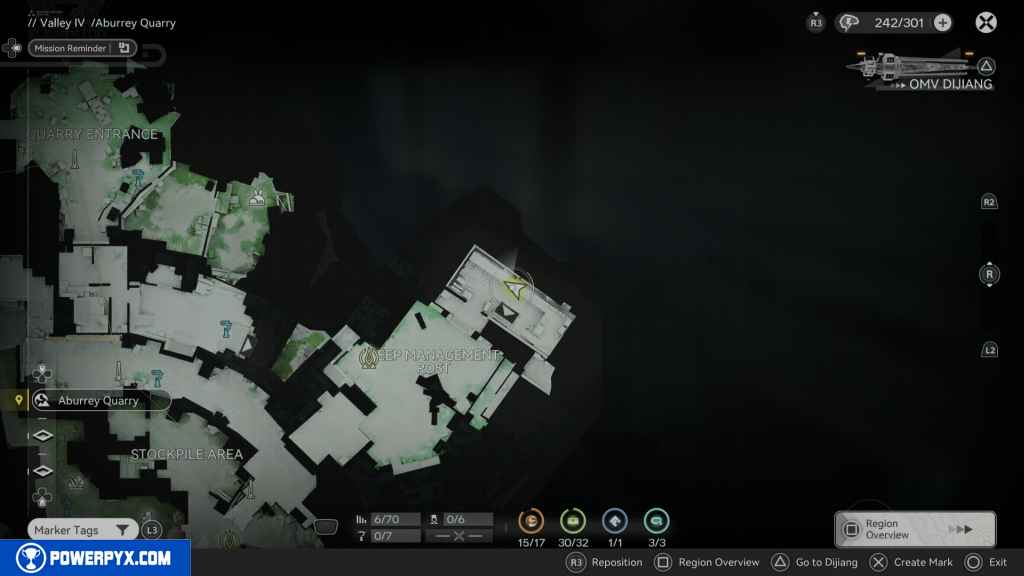
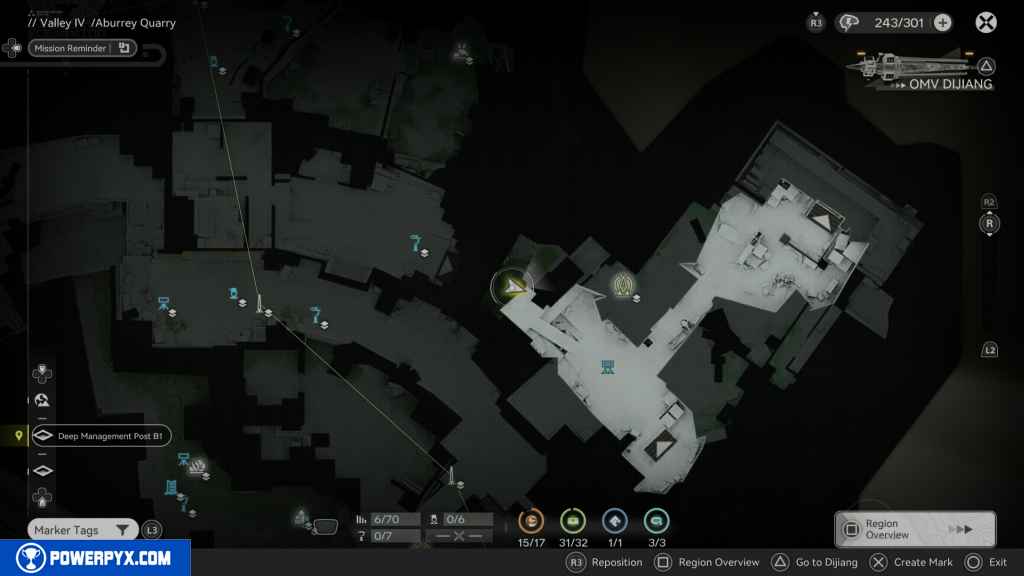
87 – Gathering Point 33
Head back to the last area, run around until you reach the elevator, and take it down to B2. At the bottom, continue along the path into the small opening with several shelves and supplies. Look for the gathering point between four shelves to the north.
88 – Aurylene 17
Teleport back to the TP Point at the Deep Management Post, from that point head to the southeast corner.
Use the supplies on the right by the stairs to jump up onto the containers. From the containers, look down and head to the corner container with the tiars next to it. Look down and slowly make your way down the cliff wall.
Keep going down until you reach the area that’s completely fenced off. Look over the fence and make your way down to the Quarry rock with the Aurylene moving around the rock.
That’s 100% of the collectibles you can find in the Aburrey Quarry area in Arknights Endfield.
For all other regions, refer to the Arknights Endfield Collectible Guide.
Leave a Reply