
Lodespring Crossing is the 20th main mission in Arknights Endfield. This walkthrough will guide you through all objectives of the Lodespring Crossing main quest.
- Starting Location: Origin Lodespring
- Quest Giver: Automatically begins after completing Main Mission 19 – Shattered Veins
- Chapter: 1 – Process 3
- Requirement: Complete Main Mission 19 – Shattered Veins
- Reward: Origeometry x2, T-Creds x6,500, Intermediate Combat Record x19, Protoprism x11, Arms INSP Kit x15,Valley Regional Development Metric x200, EXP x400
- Quest Description: To counter the danger in the Origin Lodespring, you need to destroy all Ankhors and eliminate the shockwave threat.

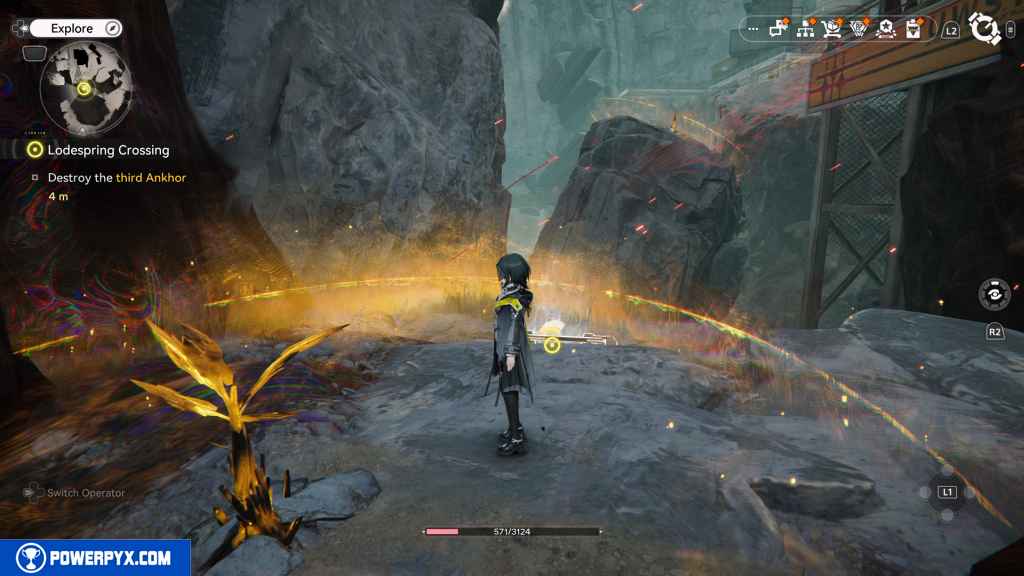
Destroy the first Ankhor
In this section, you need to avoid massive pulses of energy or else you die. To do this, stand next to the Originium Saplings along the path. You have about six seconds between pulses.


There are two Originium Saplings you can approach between you and the core. They are technically close enough where you can just walk to each one, but sprinting with Circle makes things less stressful here.
When you reach the Ankhor, the pulses will no longer hit you. So you can take your time and attack the Ankhor. This triggers a cutscene.

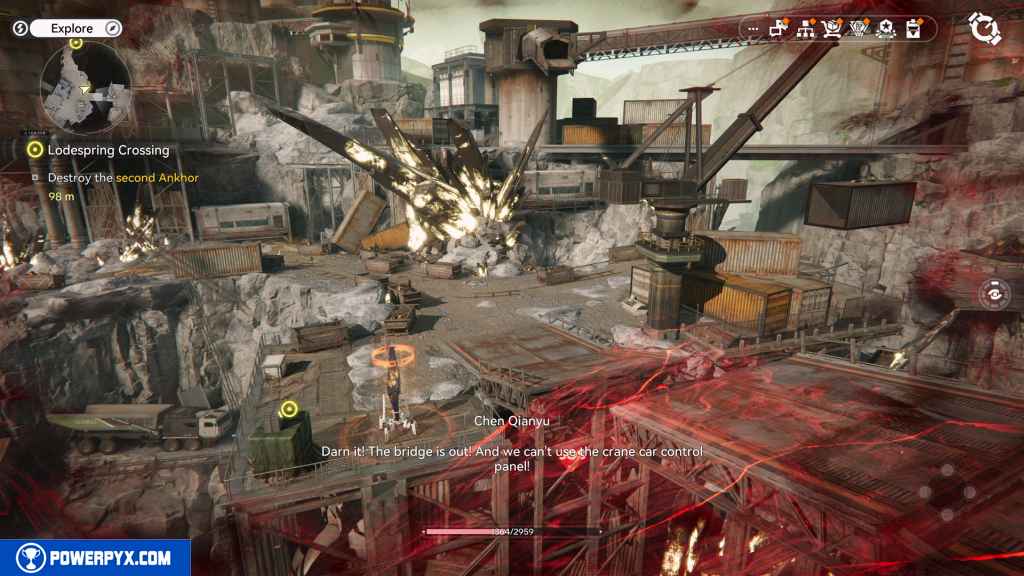
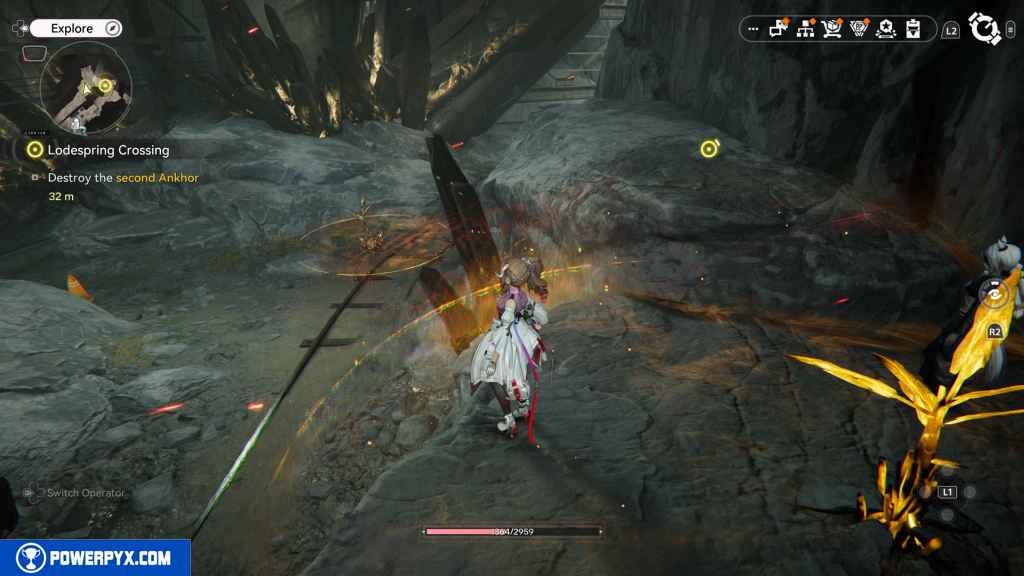
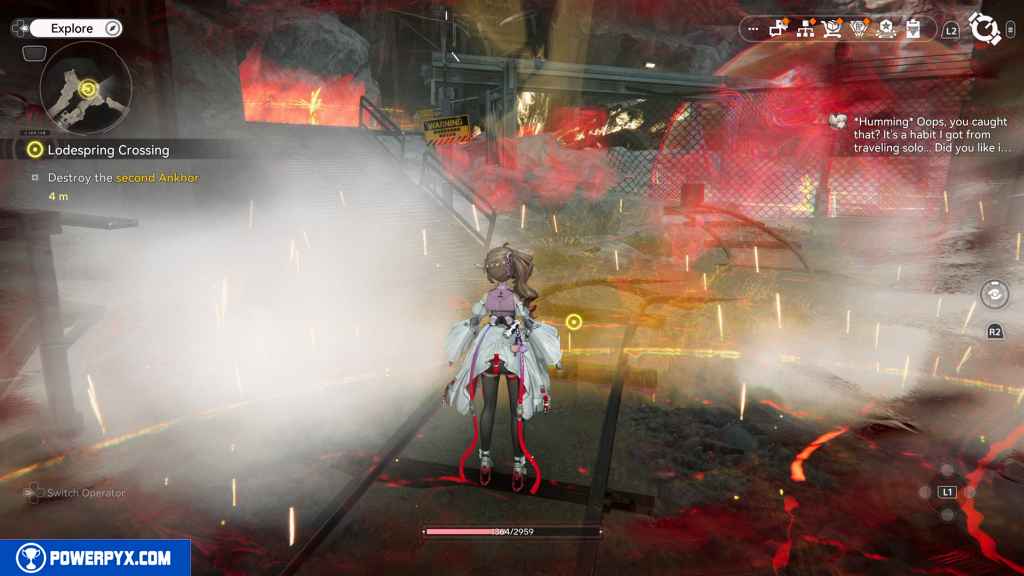
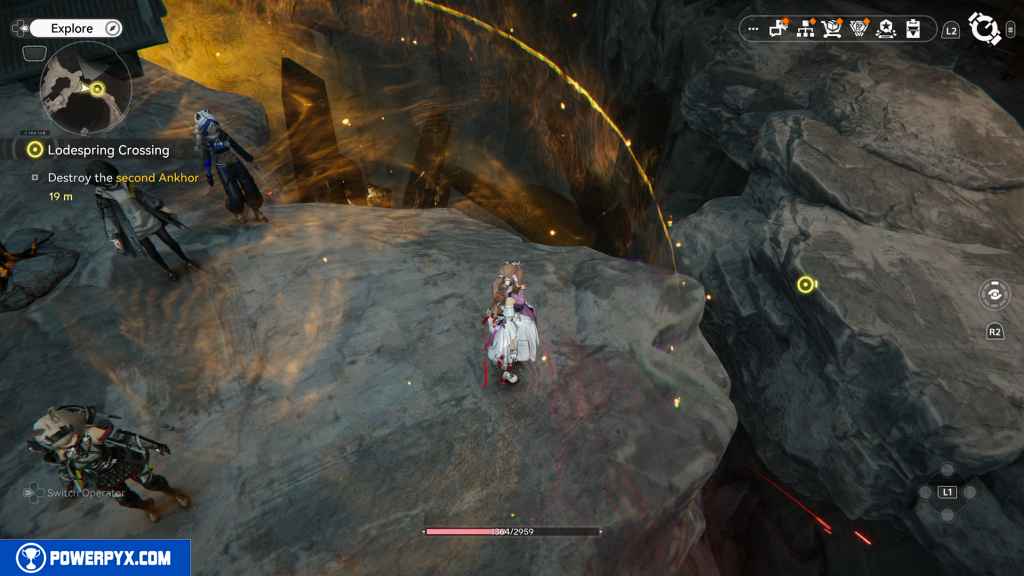
Destroy the second Ankhor
When you regain control, interact with the control panel in front of you to open the path east.

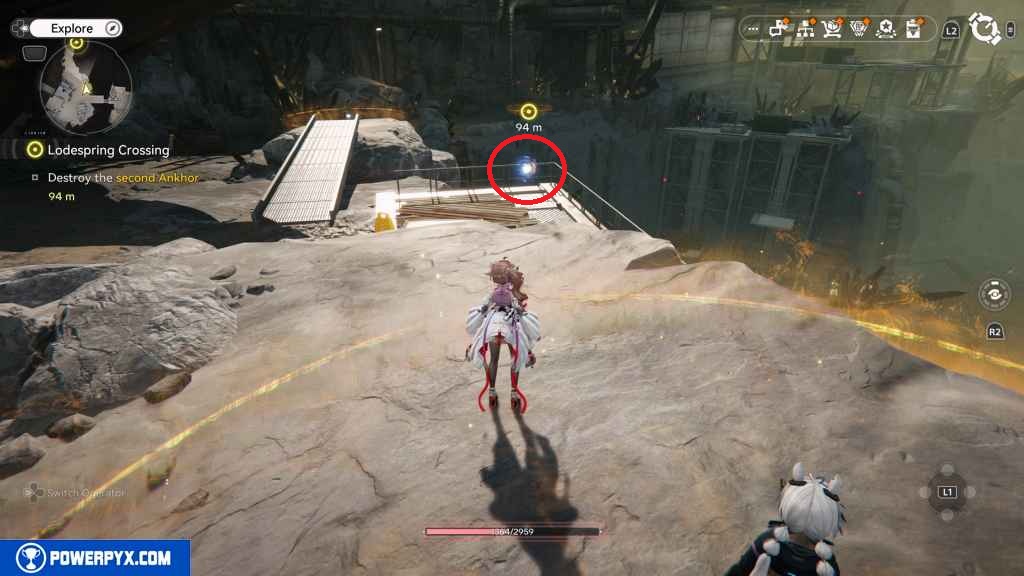
Follow the path upward until you reach another Originium Sapling.
Between pulses, run to the Originium Sapling in front of you to trigger a short scene.

Look north to see the next series of Originium Saplings. While you’re here, run to the Aurylene and then across the metal ramp to reach the next Originium Sapling.
Between this Originium Sapling and the next one is another Aurylene. Grab it as you move forward.
This next part has Twiggy Originium Slugs, which move around. They embed themselves in the ground when the next pulse is about to hit. Just stay within their circles and move north between the pulses.

Continue northeast along the path. Even inside this enclosed path, the pulses go through the walls.

Near the end of the path, be careful. The Originium Sapling is up a small ramp instead of directly in front of you.

While here, grab the chest to your right by the wall just outside of the Originium Sapling’s shield radius.

You’ll see below you a Slug wandering around like the other one. You can use this one as a shield if you wish. With that said, you can just run straight to the next Originium Sapling just east around the corner.

Head up the grated ramp to your left.
Then go down the ramp that conveniently dropped to your right.
Just outside this shield is a gap in the rock. Jump over it and approach the next Originium Sapling.
While here, you can somewhat make out the Slug that’s wandering around behind some rocks in front of you. Use it to continue southeast.
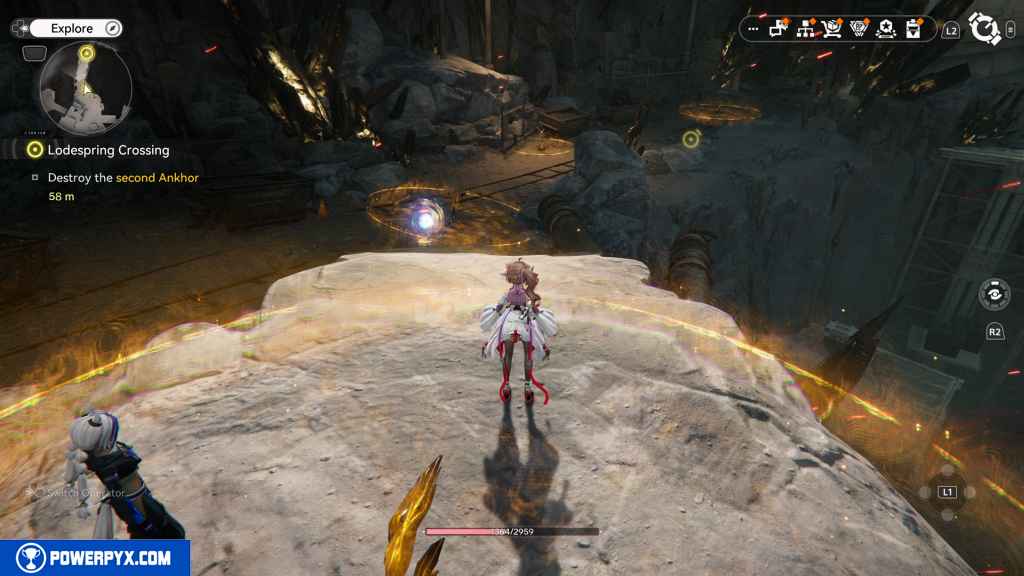
Keep following this path as it turns south.
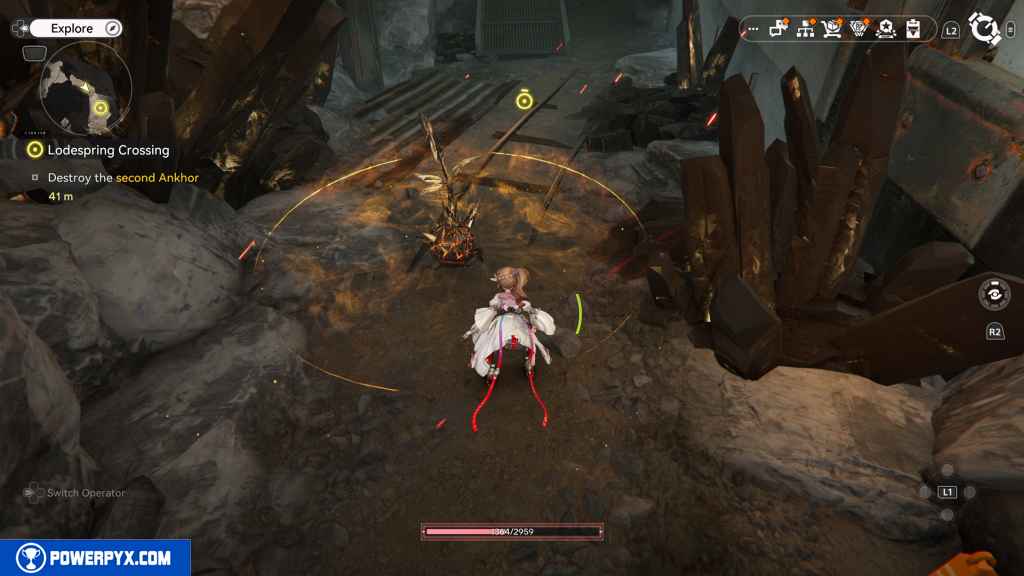
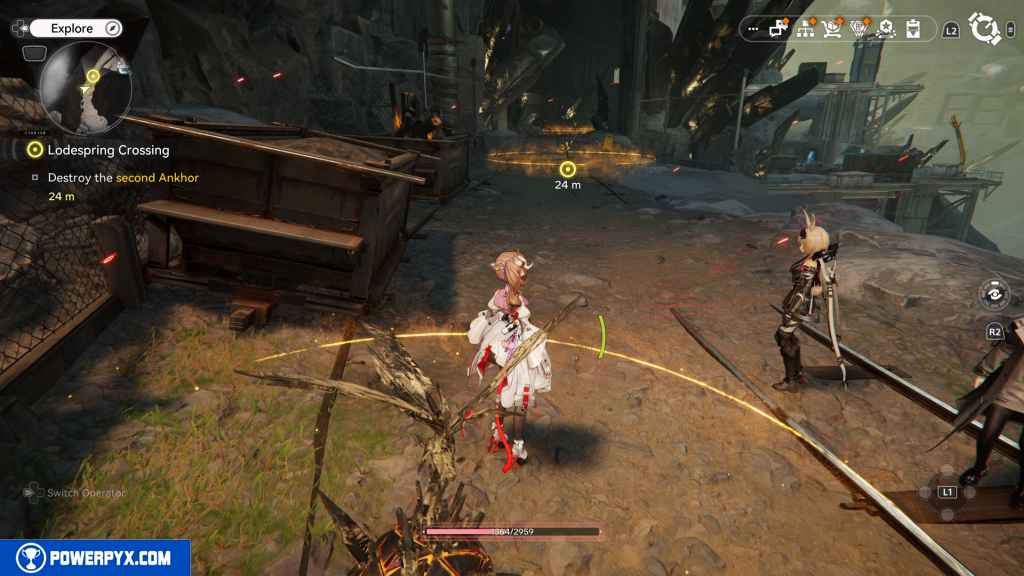
Soon, you make it outside, with the Second Ankhor in your line of sight. Reach it and take it out.


Remember that you are safe around the Ankhor if you get inside of the circular pattern around it.

Talk to the survey team member
When you regain control, head southwest.

The survey team member is on your left, but go right to unlock the depot first.
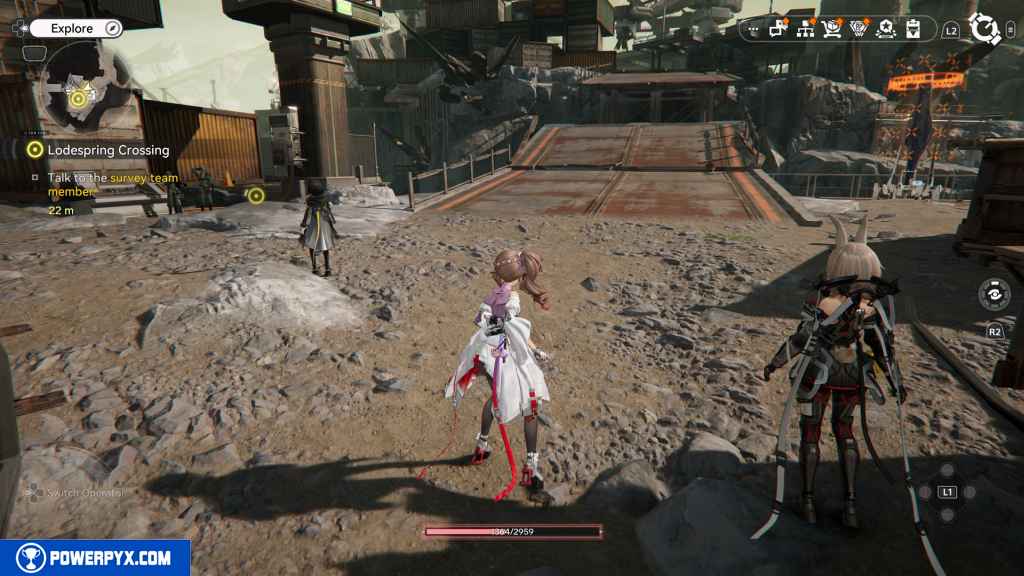

Interact with the Panicked Survey Team Member to trigger a scene.

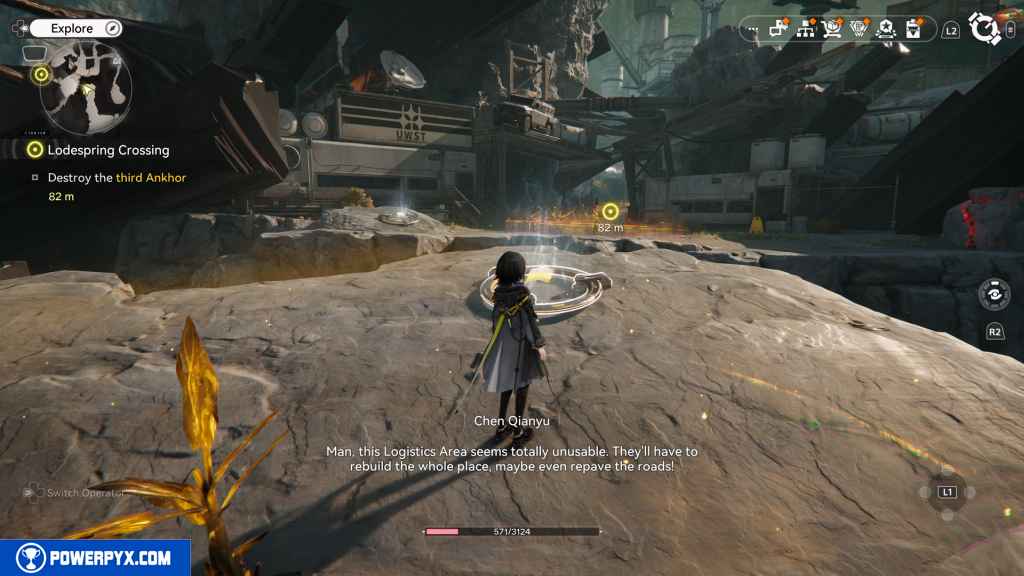
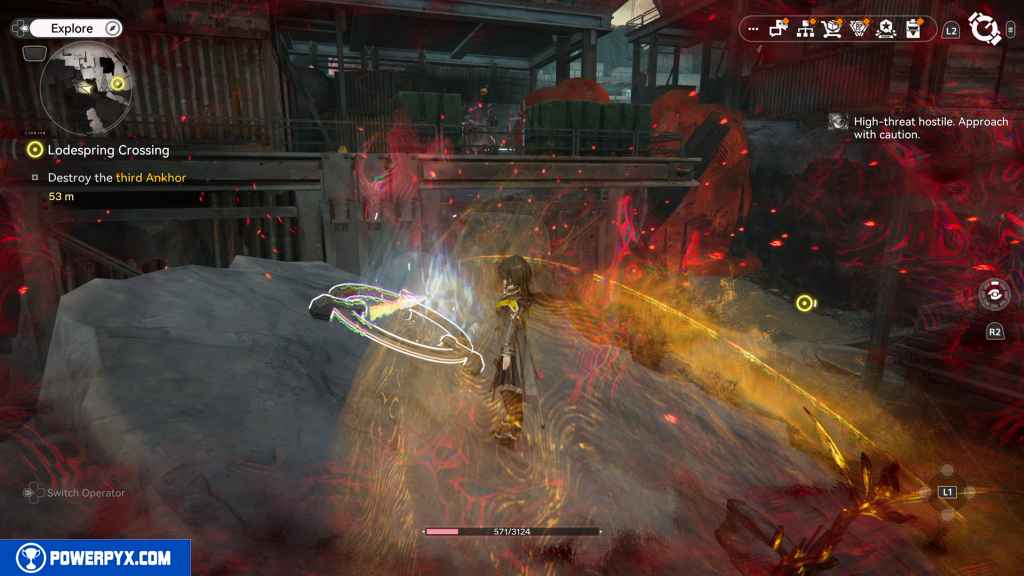
Destroy the third Ankhor
Continue west across the new bridge.
Follow the path down through the slope you climbed reaching the previous Ankhor.

Head southwest to a survey team member standing next to Tata. Approach them to start a cutscene.

Take the newly-opened path west.
Defeat the Aggeloi
You soon approach a boss, the Walking Chrysopolis.
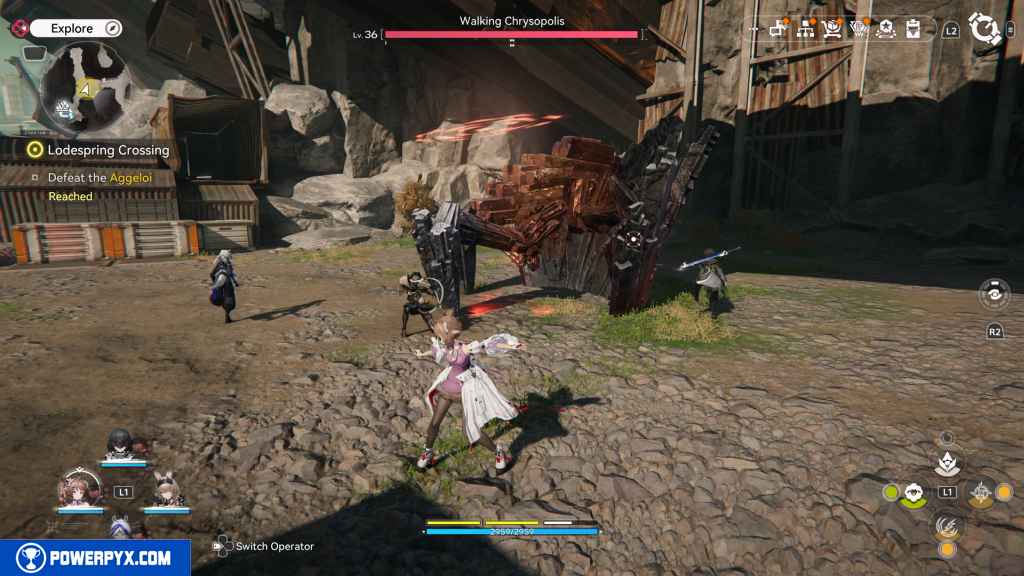
This fight is rather frustrating. It’s not necessarily hard, because the boss repeats the same pattern over and over. However, all of the break points are so quick that you have almost no time to trigger the break. These appear just before the boss jumps into the air, but the break window lasts a second before it disappears.

Otherwise, the Walking Chrysopolis jumps high into the air, plunges the shield walls into the ground, and then pulsing energy waves out of the shield walls. Here, stay behind him and chisel away at his health. Every once in a while, it either slams its back legs down or sends a sweep straight back. Just avoid the red areas on the ground.

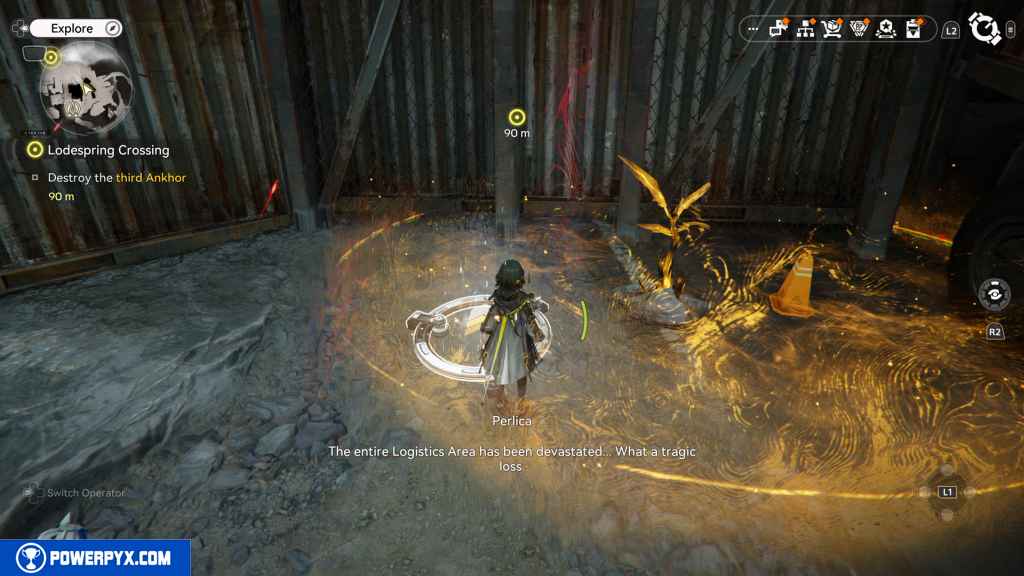
Destroy the third Ankhor
After the fight, continue north. Approach the nearest Originium Sapling to trigger a cutscene.
The Ankhor waves start here again. At the second Originium Sapling, use the jump boost to get across the gap.
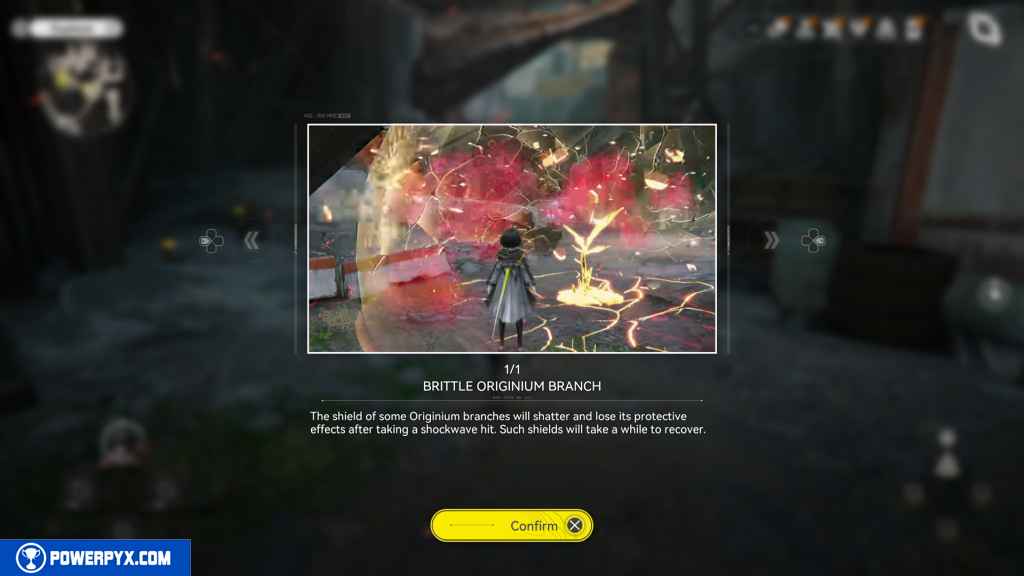
In this section, the next couple of Originium Saplings are fragile. So, they only take a couple hits before they completely break. Move through these quickly.
Make your way to the jump boosts and use them to reach another depot to unlock.
Head east. Here, an Originium Slug patrols up the path. Follow along with it until you get closer to the next Originium Sapling.


At this sapling, use the jump boost to reach another Slug.

Straight ahead is another fragile Originium Slug. Use it to avoid one pulse and then sprint to the Ankhor. This triggers a cutscene.

This finishes Lodespring Crossing main quest in Arknights Endfield.
NEXT: Lodespring Crossing
For all other Quests refer to Arknights Endfield Walkthrough.
Leave a Reply