
Crop Fields contains 10 Collectible Locations in Blades of Fire. This walkthrough will guide you to all the collectibles in Crop Fields in chronological order. Everything that’s needed for trophies and 100% completion is included. Nothing is missable, everything can be collected after the story. Remember that in order to collect weapon parts from Seneschals, you will have to equip a weapon of the same type as they are holding, that still has parts you haven’t learned how to make yet.
- Health Gems: 5
- Stamina Gems: 3
- Trolls: 0
- Weapon Parts: 1
- Dyes: 0
- Forge Cryptexes: 0
- Life Cryptexes: 0
- Nerea’s Tears / Blue Gems: 1
- Fragmented Tablet Piece: 0
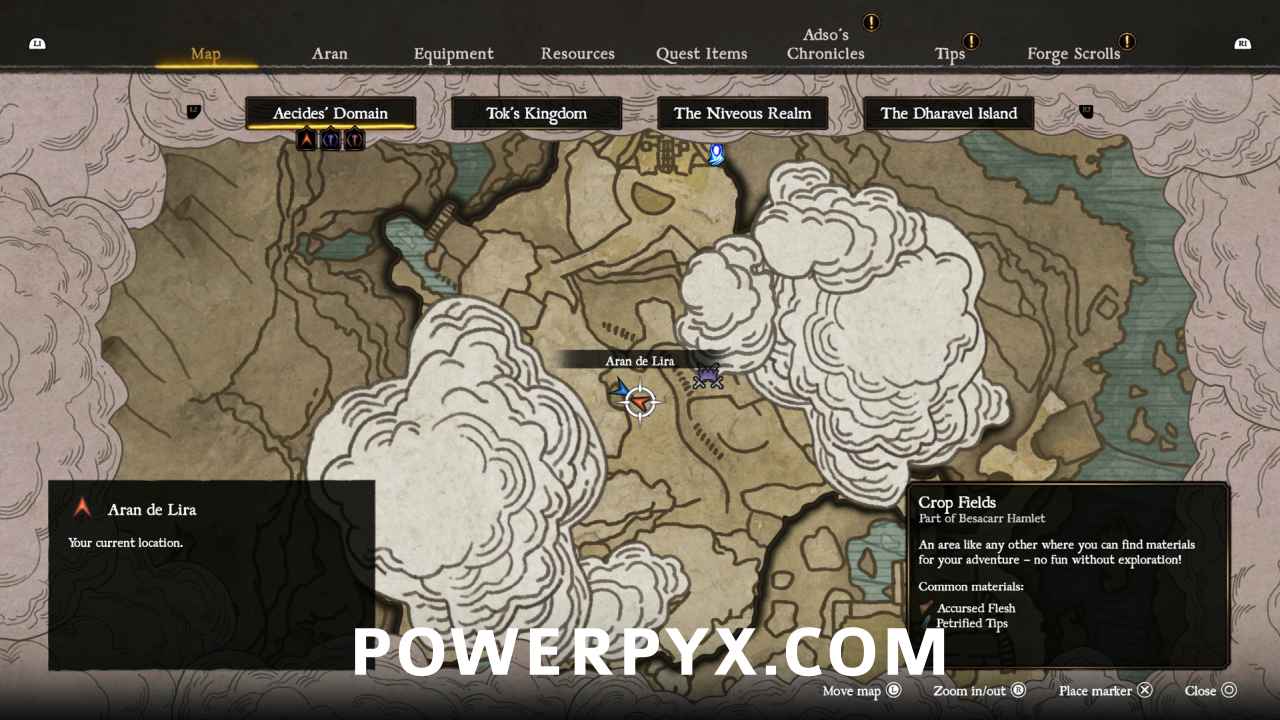
Collectibles Overview:
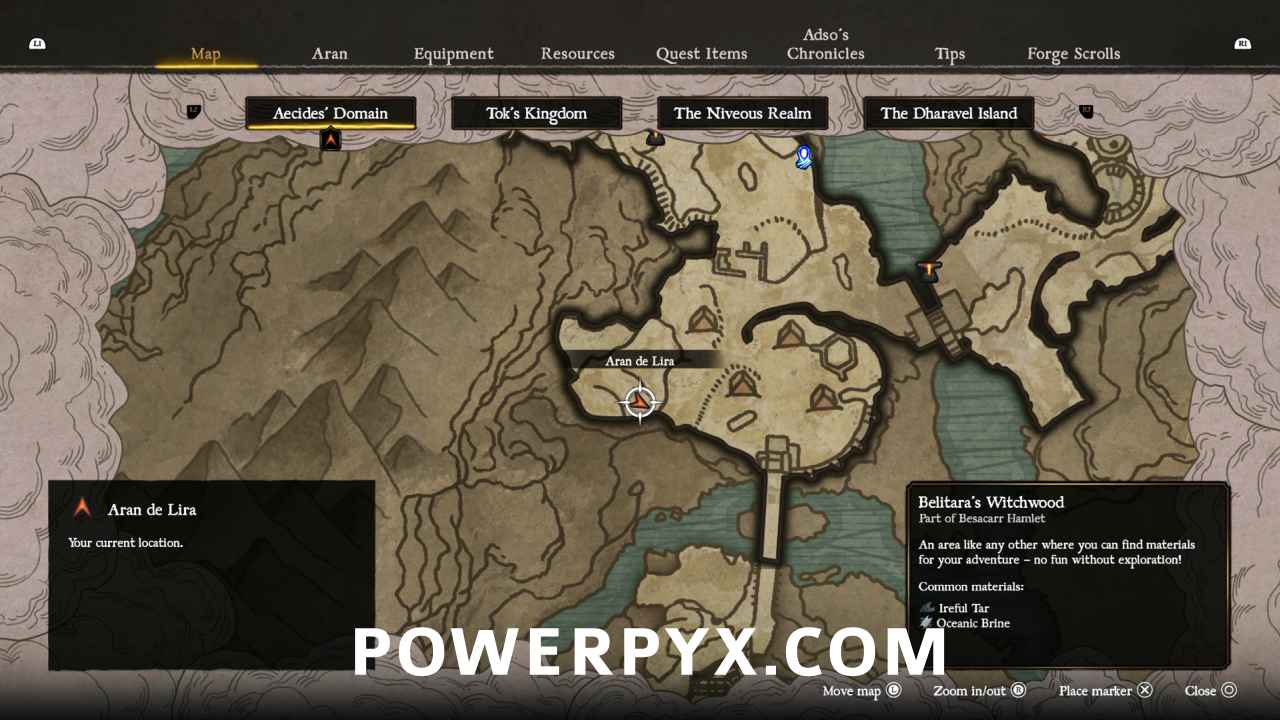
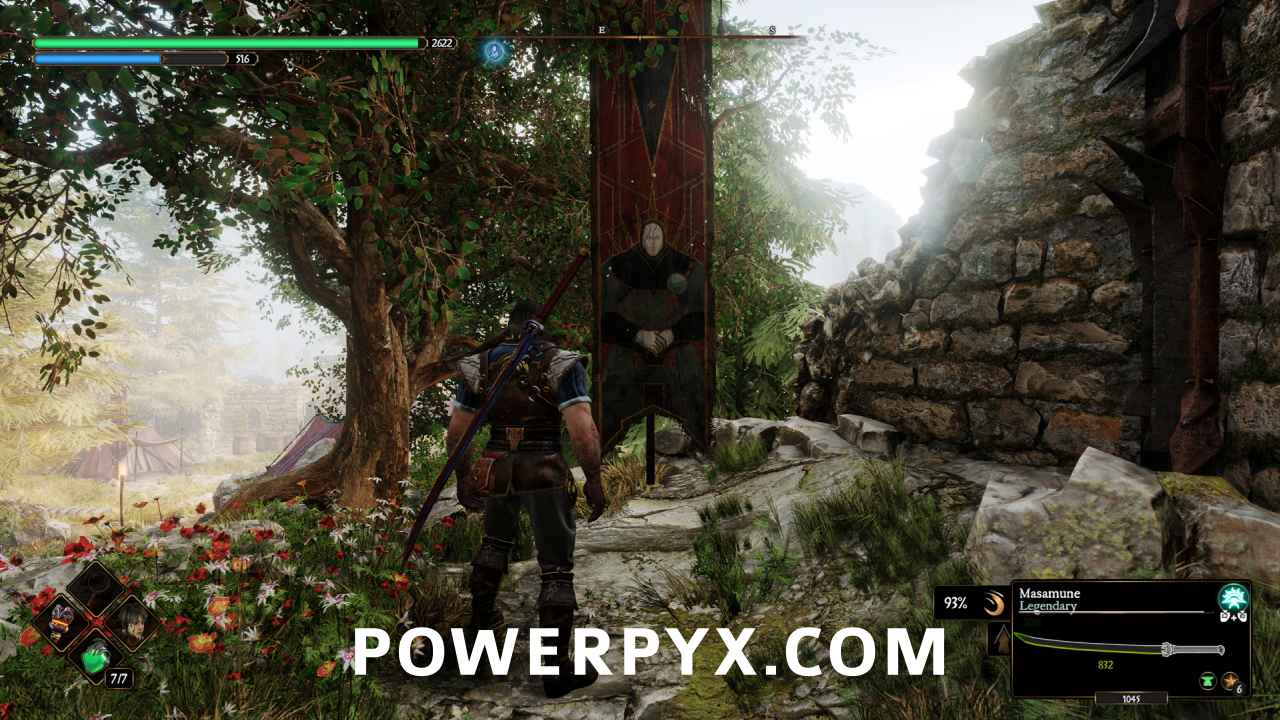
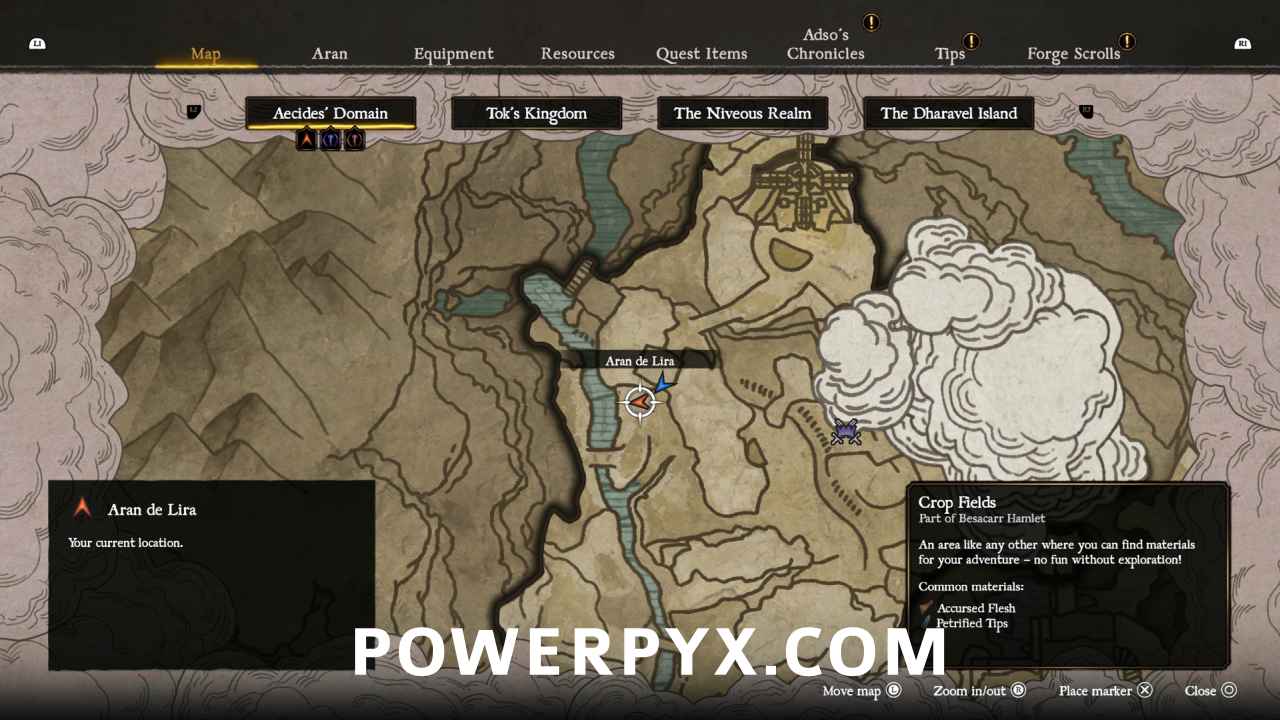
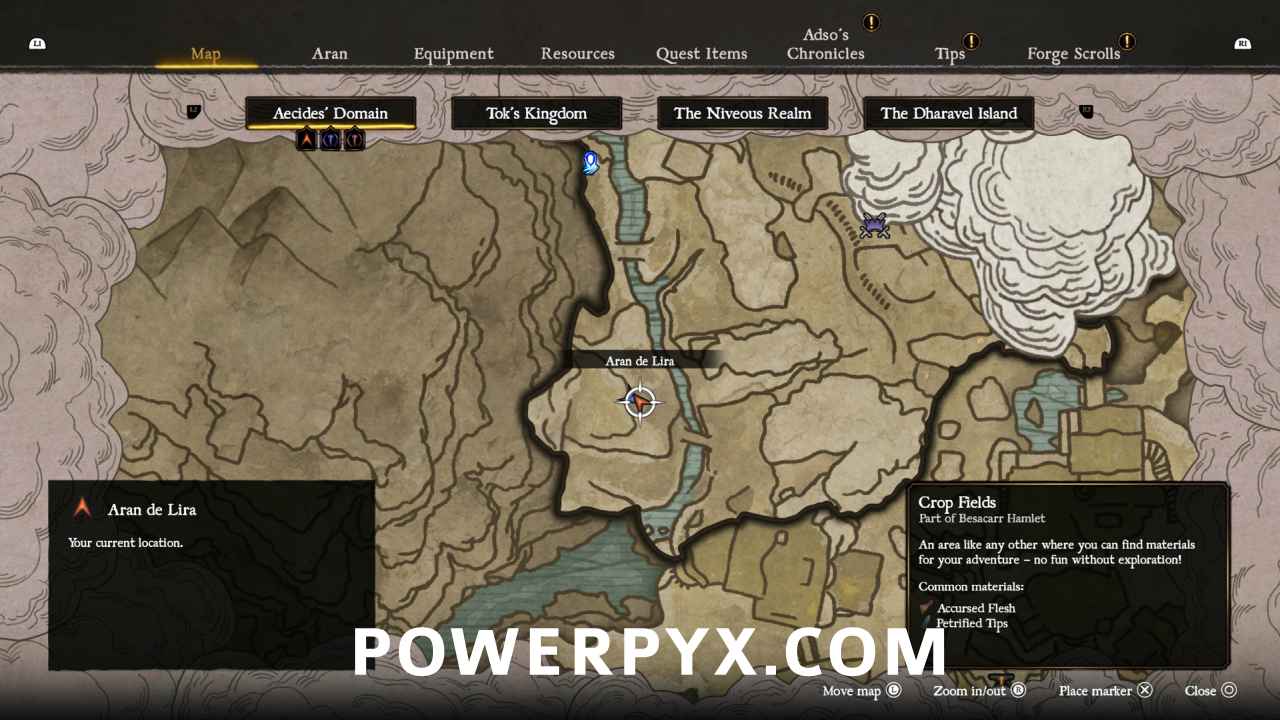
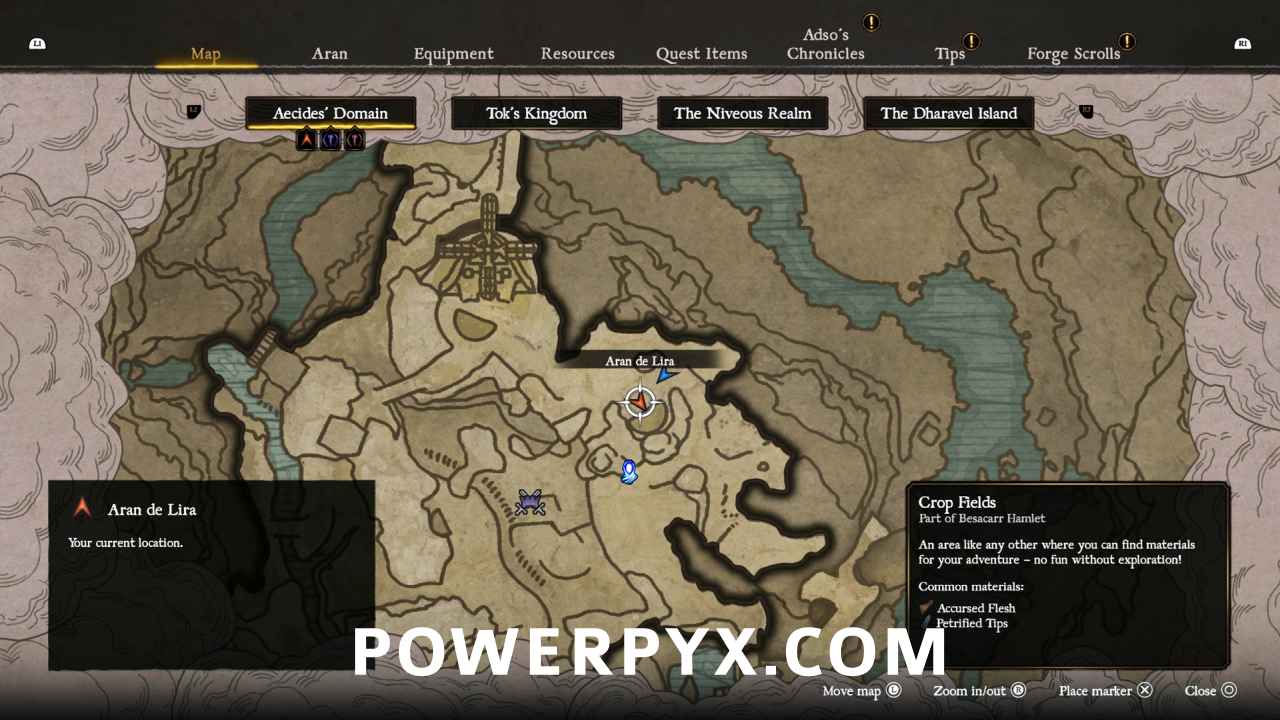
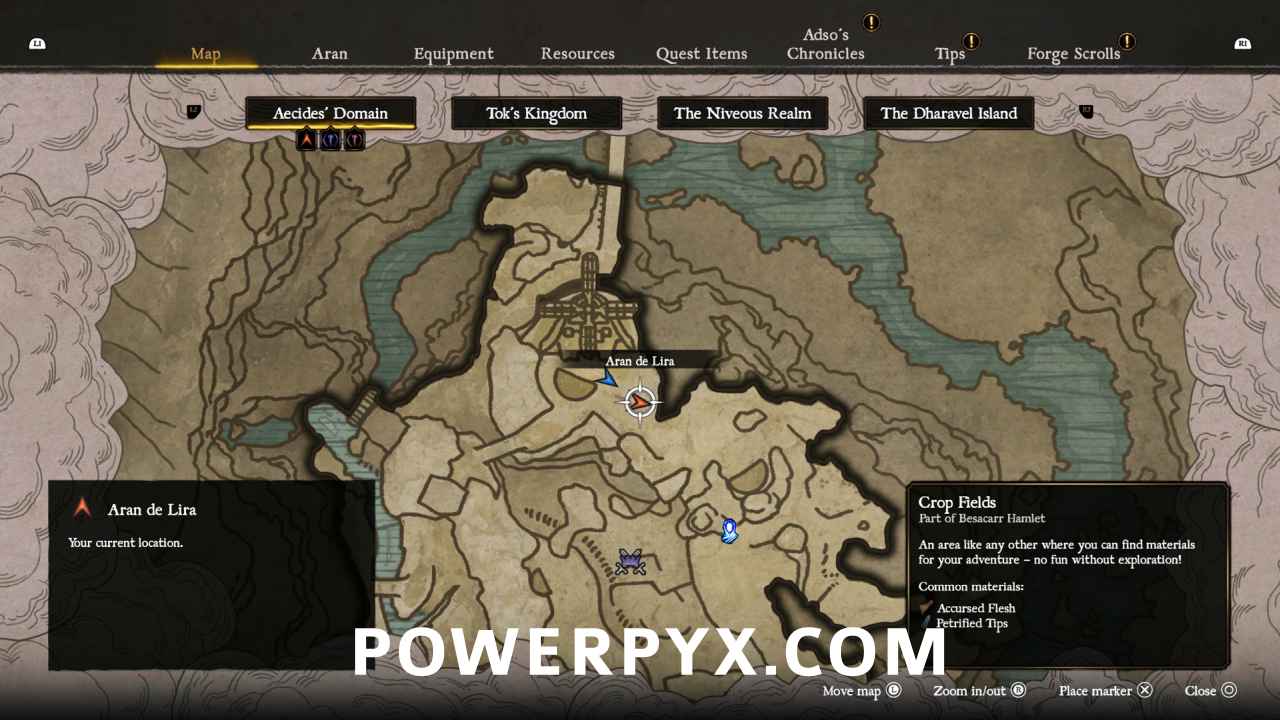
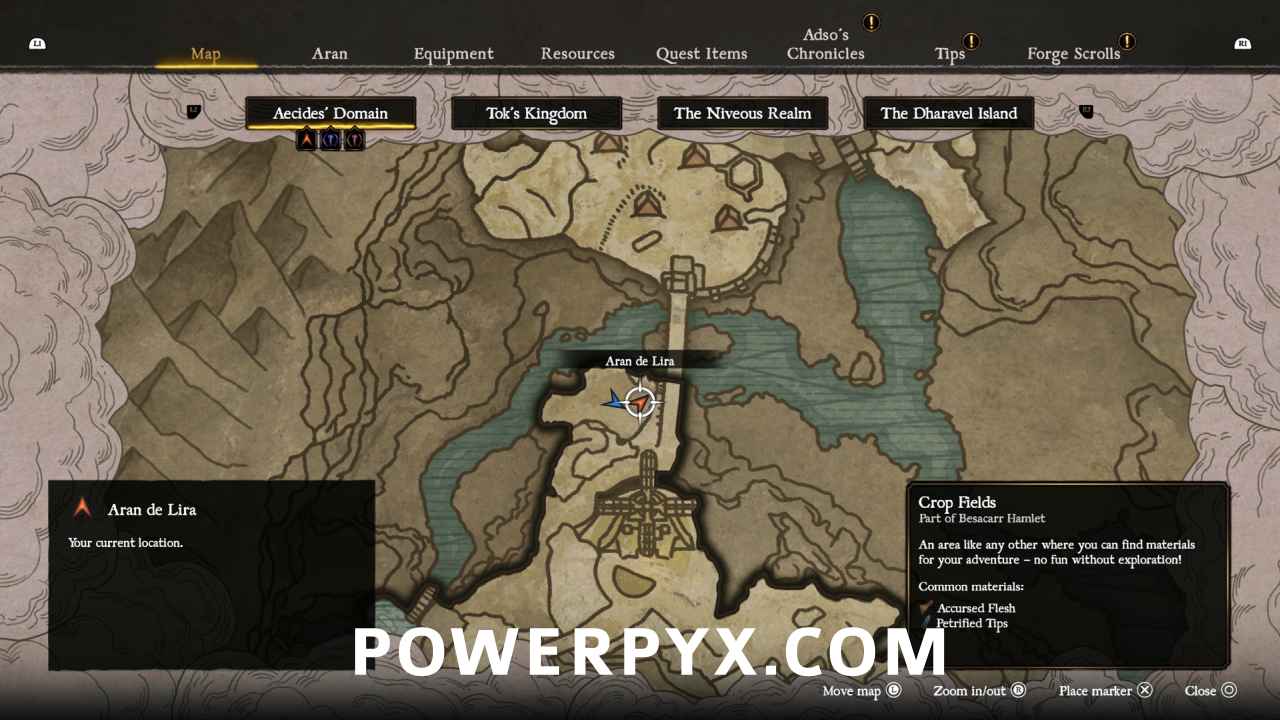
NOTE: You need a Soul Rune to even access the Crop Fields area, accessing it by using the soul rune on a banner in the Queen’s Hound’s camp in the south of Belitara’s Witchwood, then using the handle on the mechanism.
#1 – Stamina Gem
From the bridge at the start of the Crop Fields head down the path, and through the gate. Follow the rocks as they curve until you can head south. You will emerge on a raised crop field next to another raised crop field to the west, with a path between them. Head south down the path until you can get up onto the raised crop field to the west. The chest is under a shelter on the west side of the field.
#2 – Health Gem
Head west to the river, then follow it north till you see a wooden structure. The chest will be inside.
#3 – Health Gem
Walk down the nearby path to the west that slopes down to the river.
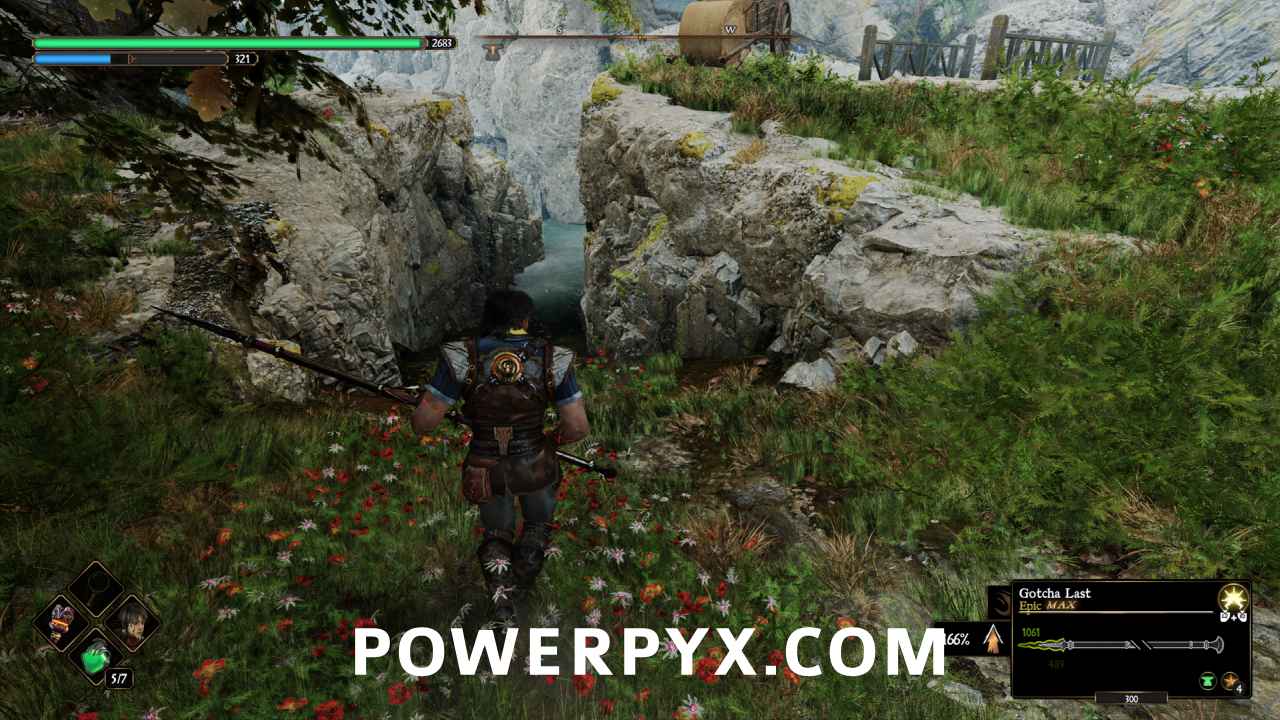

Follow the river all the way south until it stops, and then look down on the west side and you’ll see a place where you can drop to a lower level.
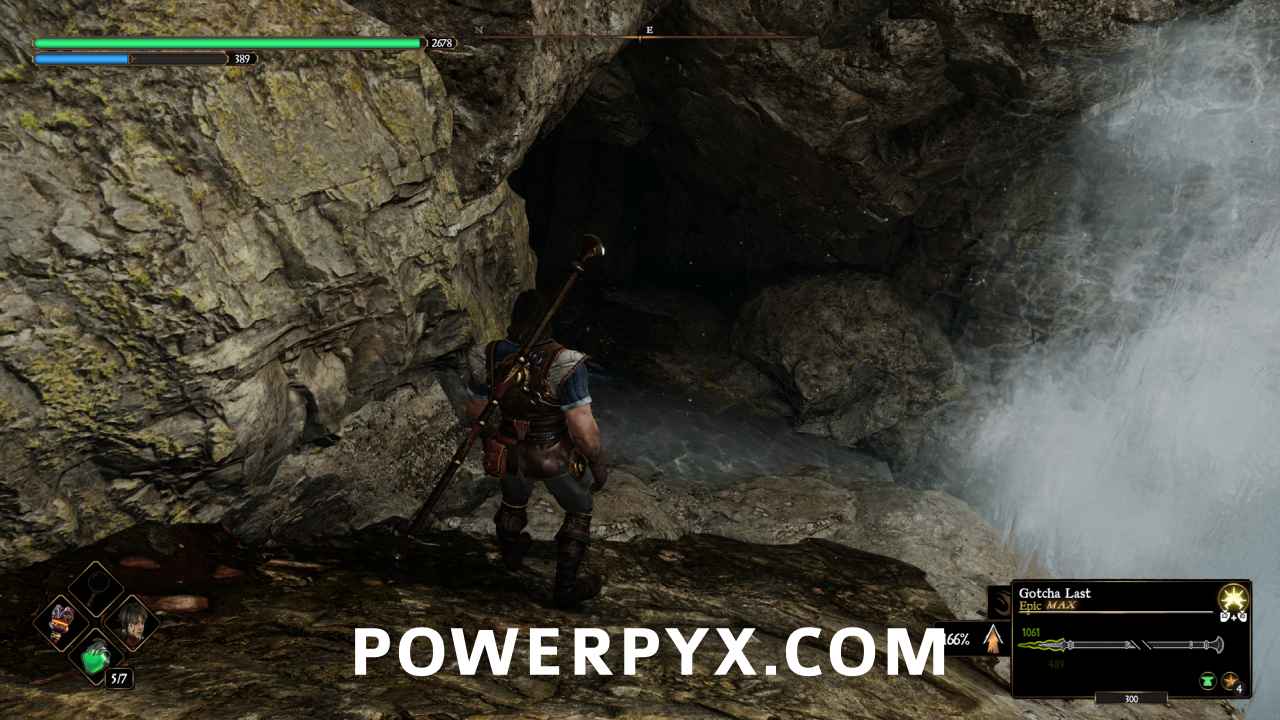

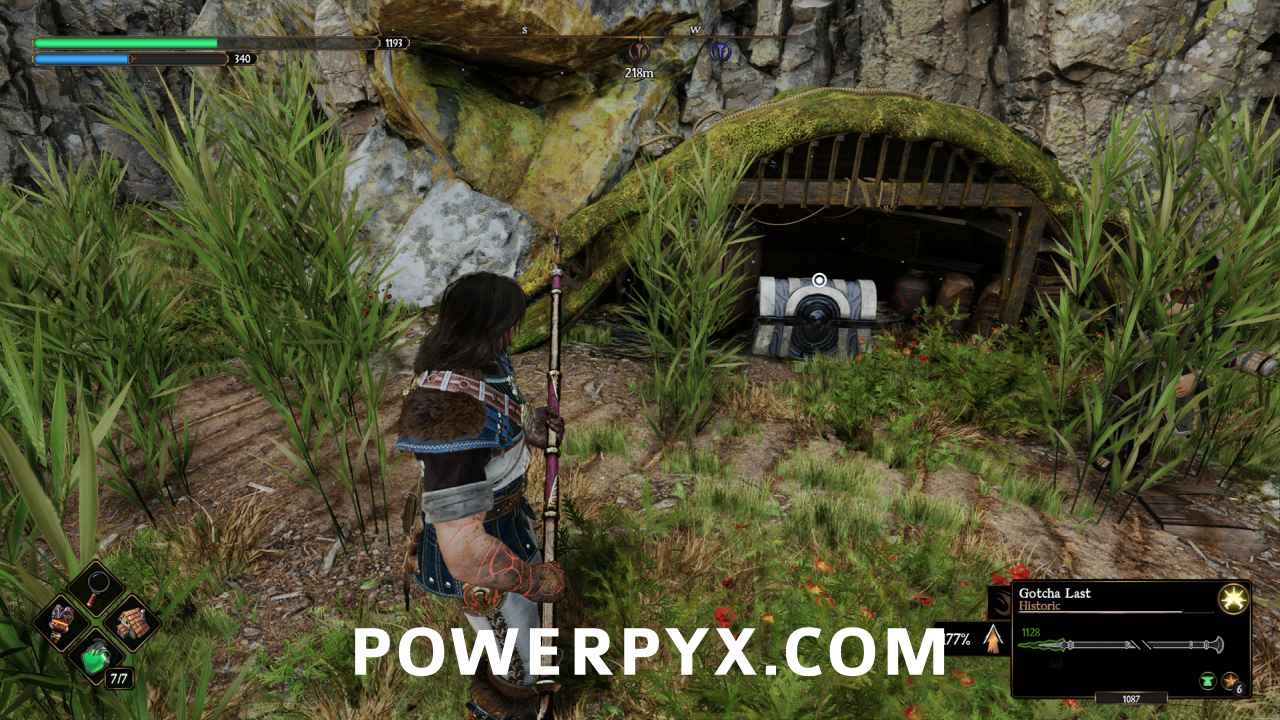
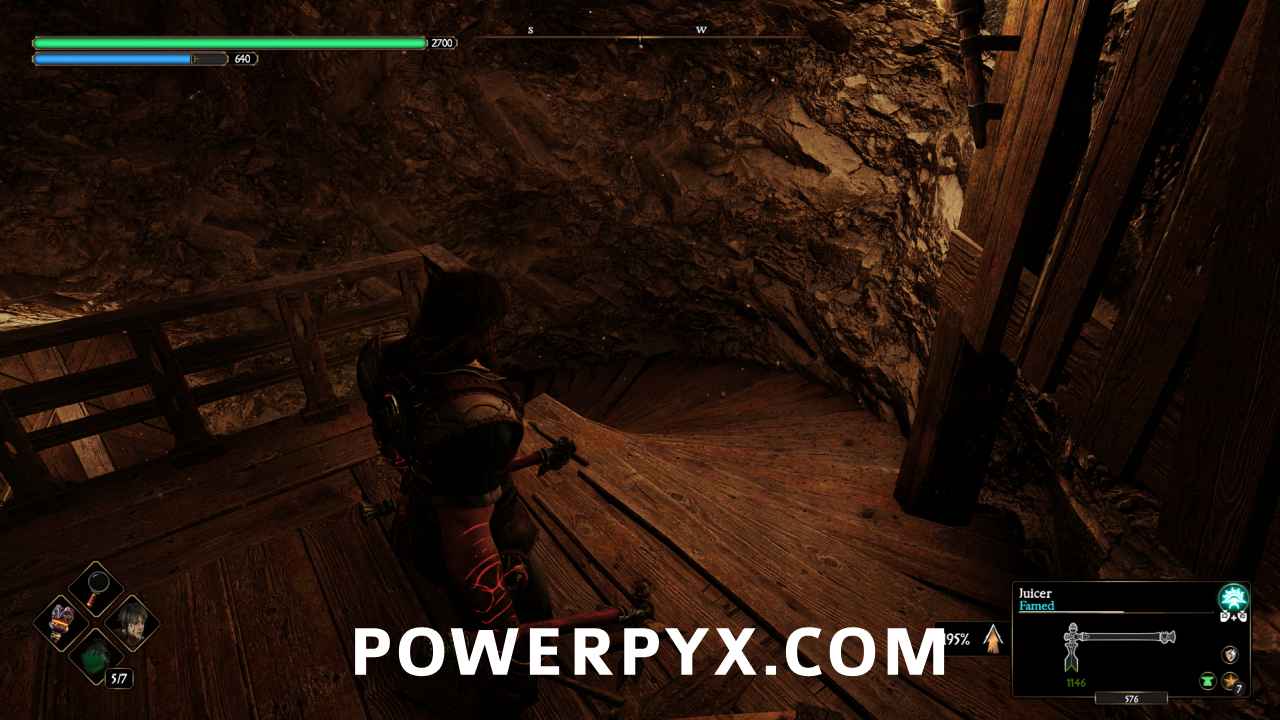
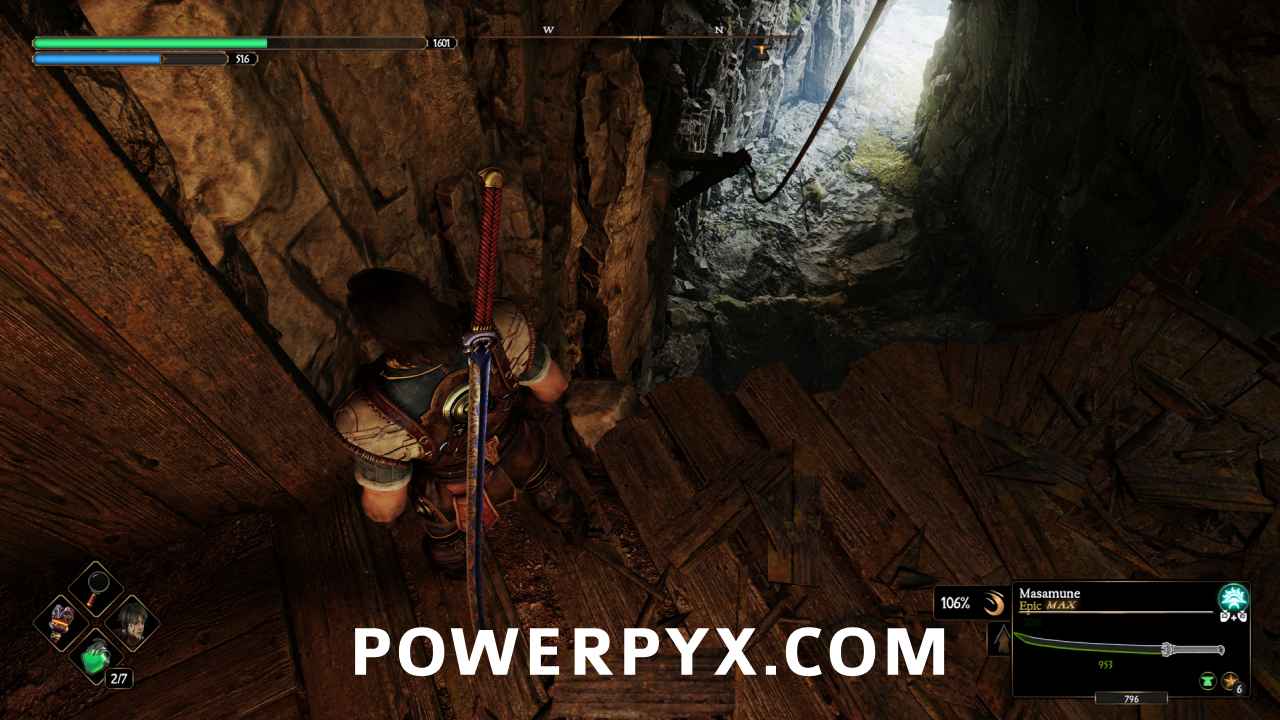
Once down, turn around and you’ll see a cave beneath the waterfall. Go inside and follow it to the end and you’ll find a chest.

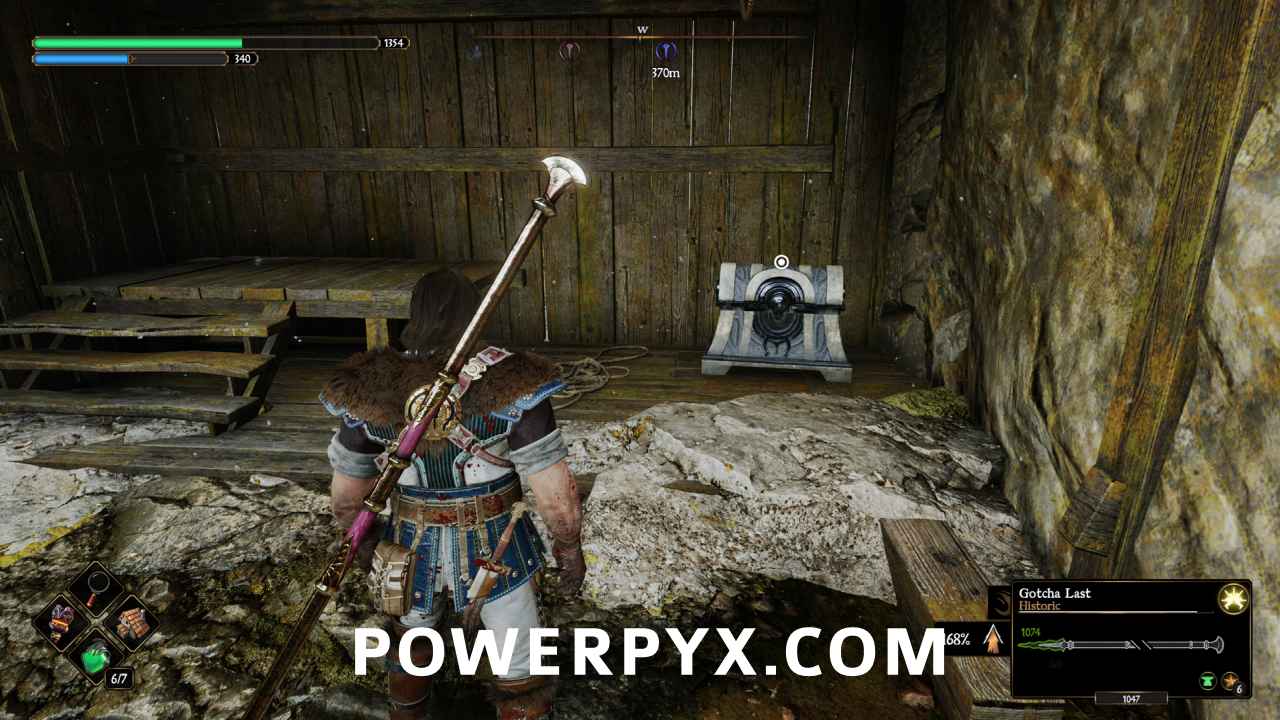
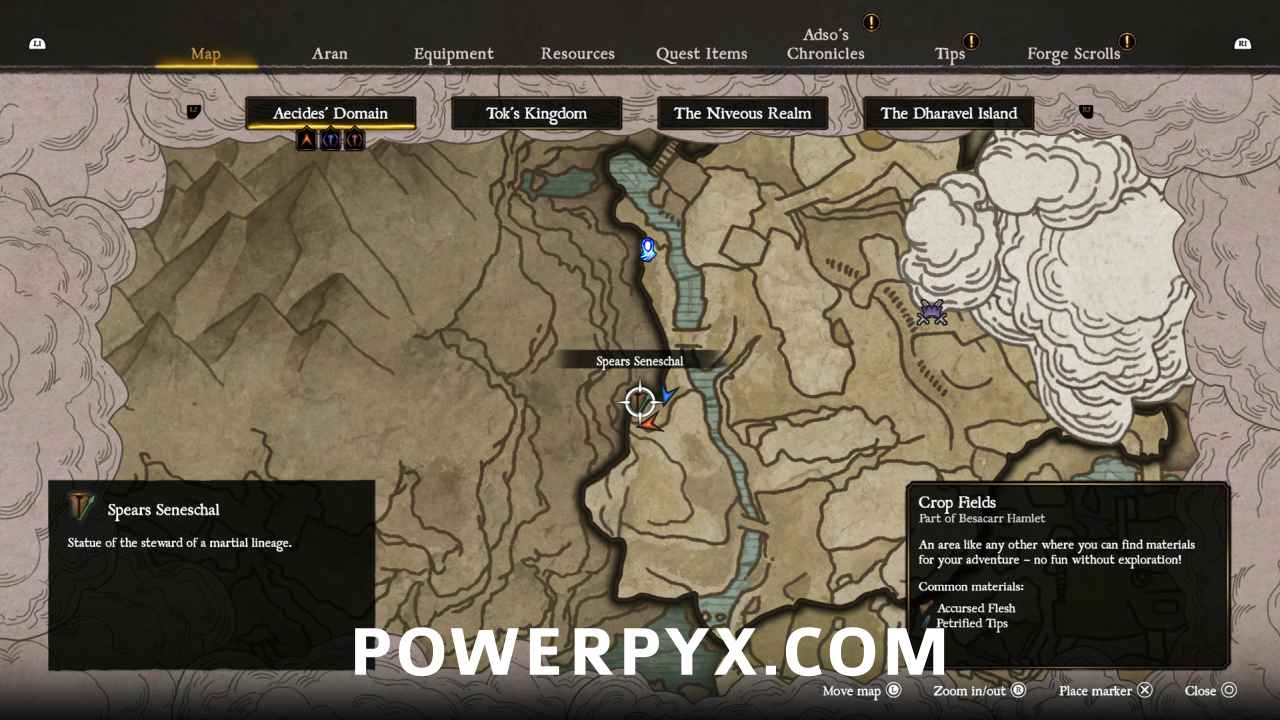
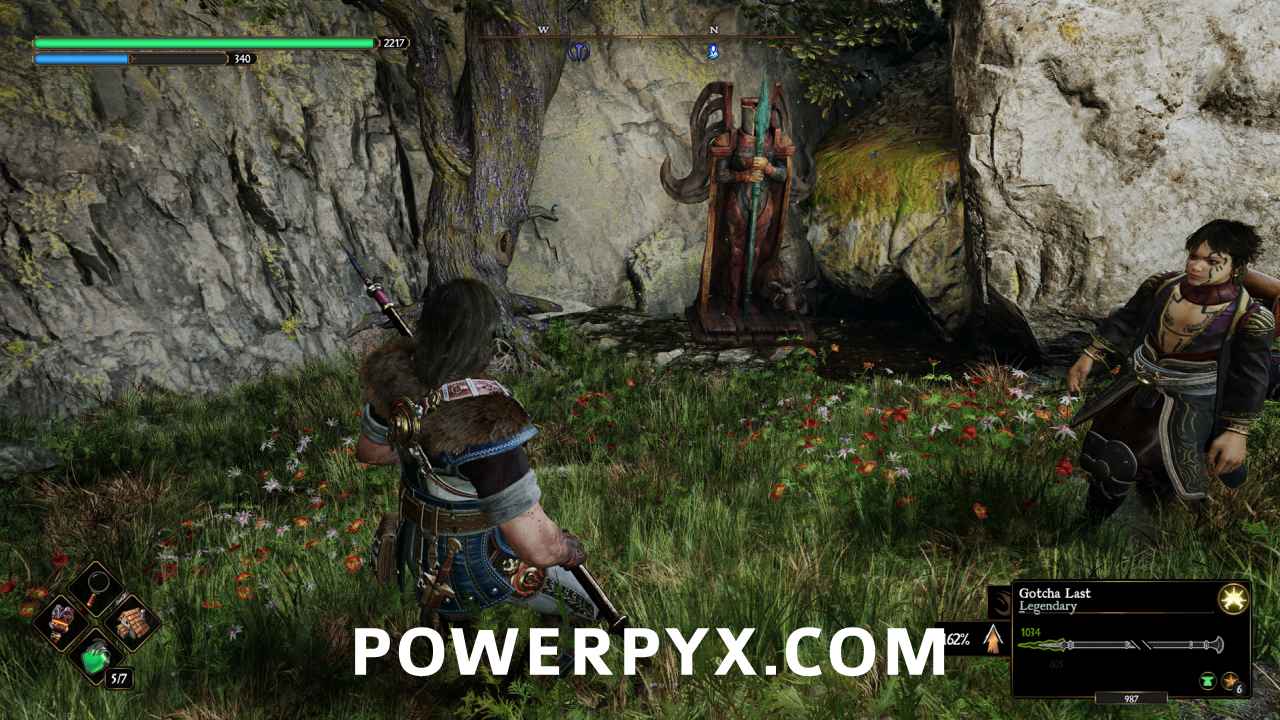
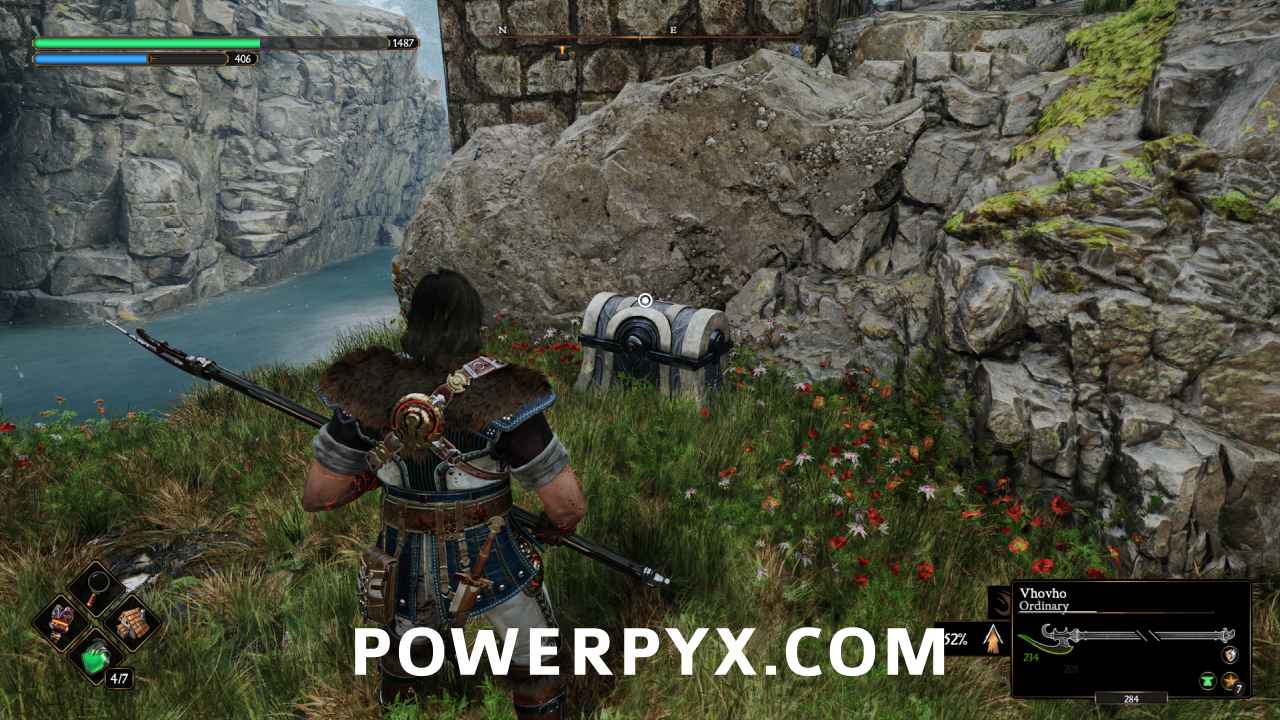
#4 – Spears Seneschal
Head back to where you entered the water and climb to the top of that path, then go west across the bridge there. On the other side, head south to find the seneschal.
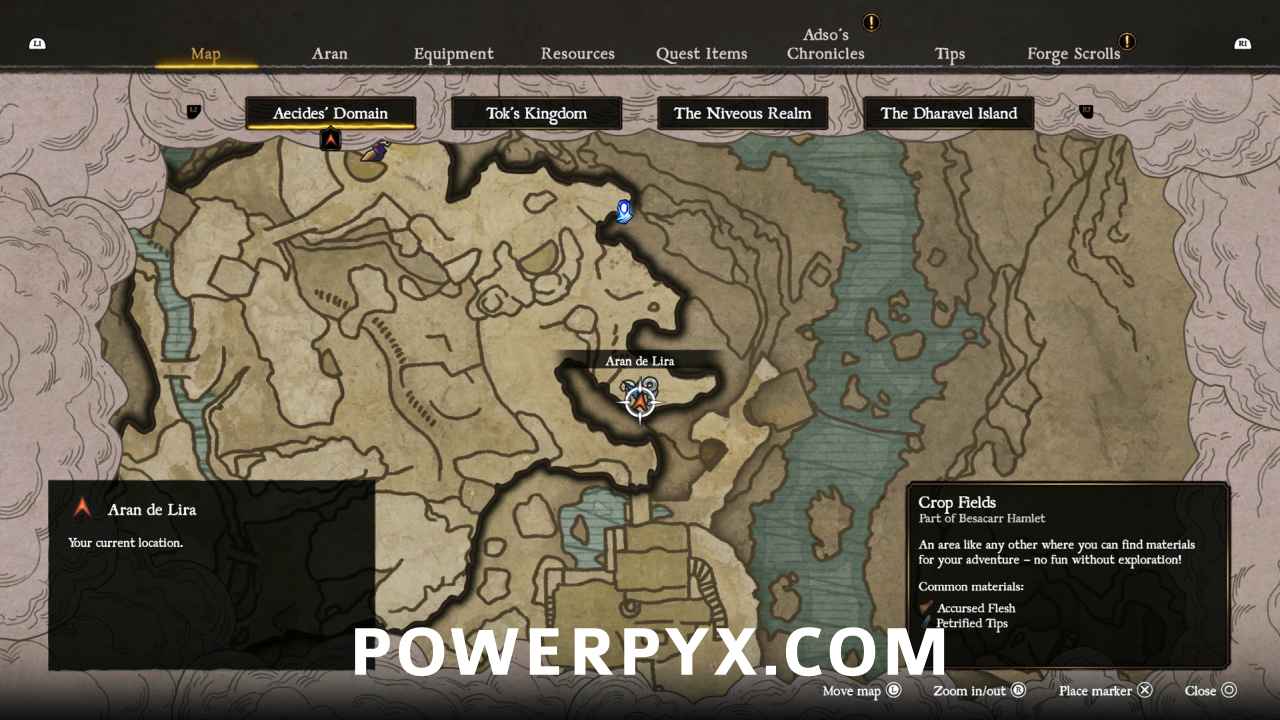
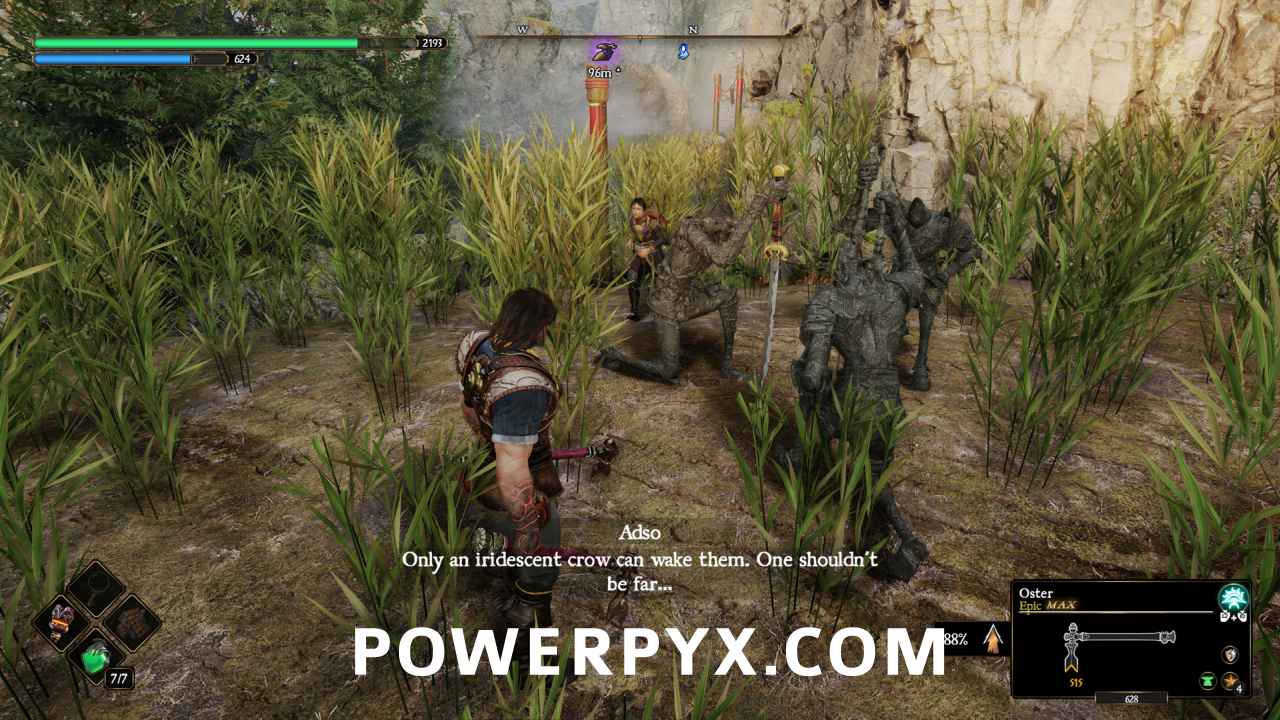
#5, #6, & #7 – Stamina (2) & Nerea’s Tear
Head back to the path between the two raised crop fields at the beginning of the area, and follow that path until you reach the end of a wooden fence to the east. If you follow the stone wall on the east side of the path, it will curve away to the east and end at a staircase. Head up the staircase, go north till you hit a huge rock, then look to the east. There will be a field to the east, and a boulder to the southeast. Go east around that boulder, then head south to find three Templars of the Sacred Steel, holding two Stamina Gems and a Nerea’s Tear. If you hit their petrified form, the location of the Iridescent Crow that will free them will appear on your compass and mini-map. Head to that location and approach the crow, and he will fly off in the direction of the Templar. You will have to approach the crow multiple times to get them to finally perch on the Templar and trigger the fight.
#8 – Health Gem
Now head back to the north, past the boulder and huge rock and keep heading north. The huge rock that was north of the boulder, follow it as it curves around to the west and you’ll find a little shelter built into the back of the rock.
#9 – Health Gem
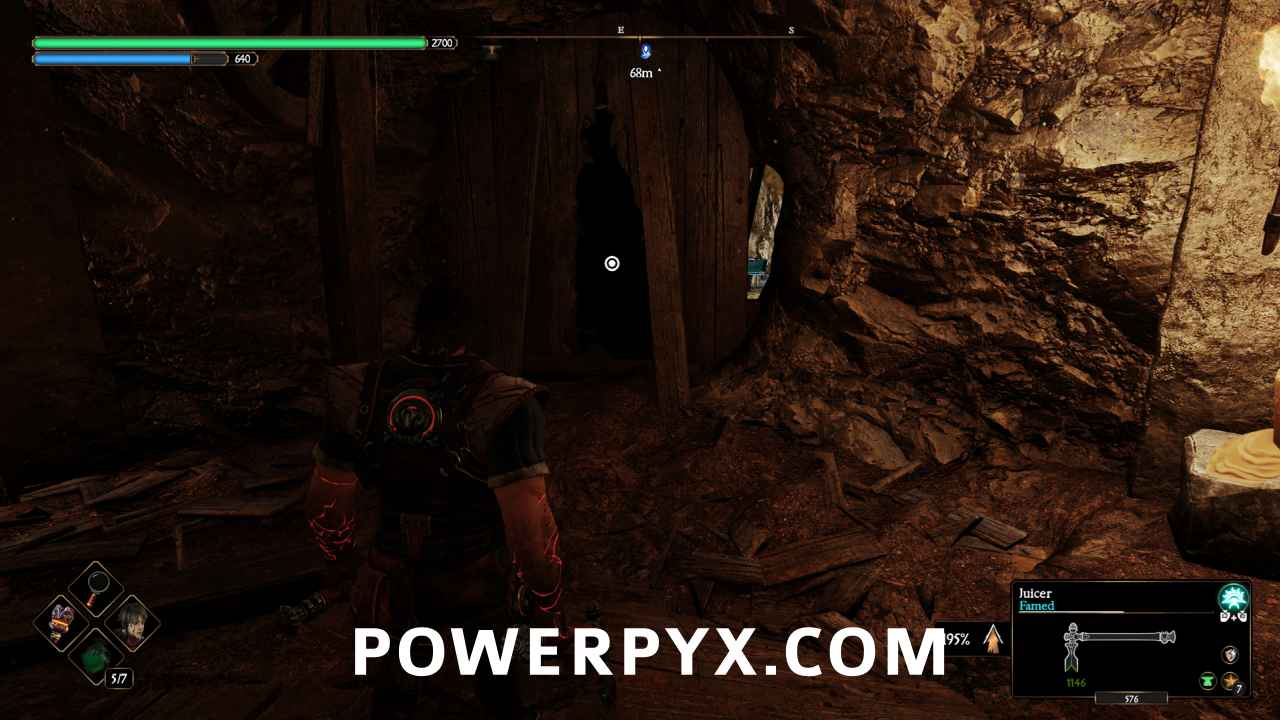
Look to the northwest and you’ll see a windmill that is on fire. Head to that windmill, and go around the back of the building to find an open cellar door.

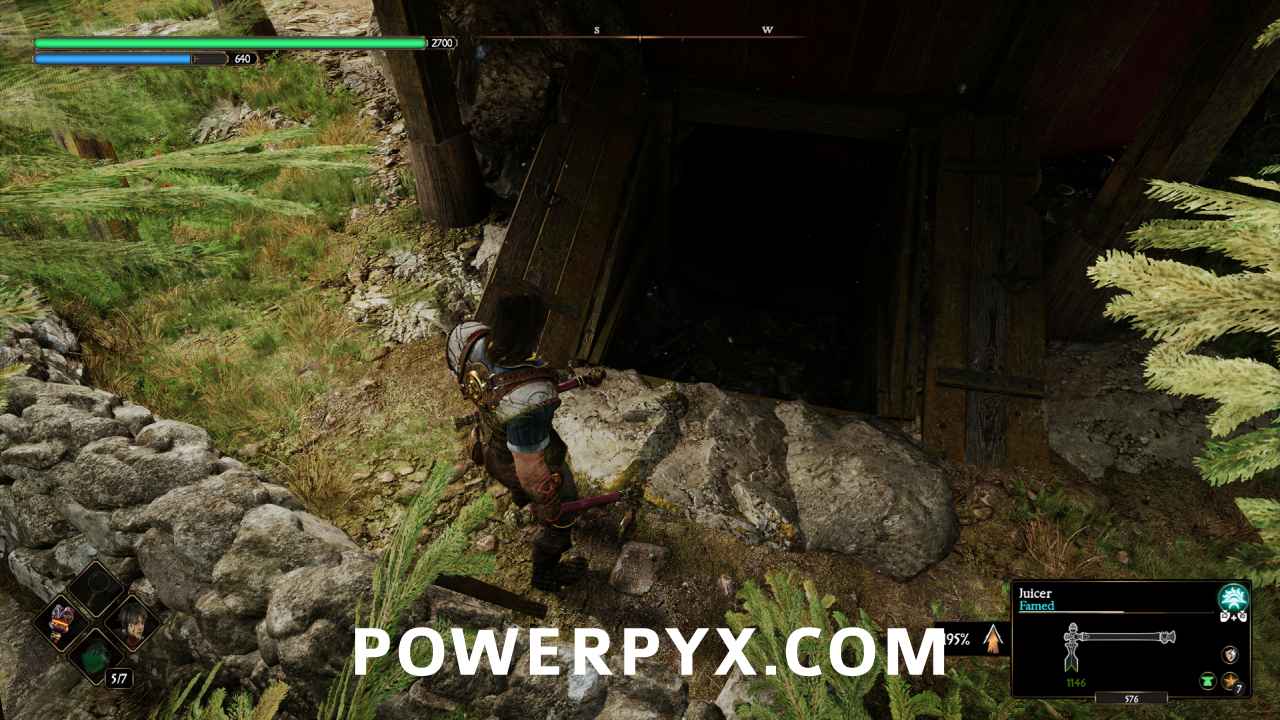
Go inside and down the stairs to the bottom. On the east wall will be a weak point where you can bust through to a cave on the other side.
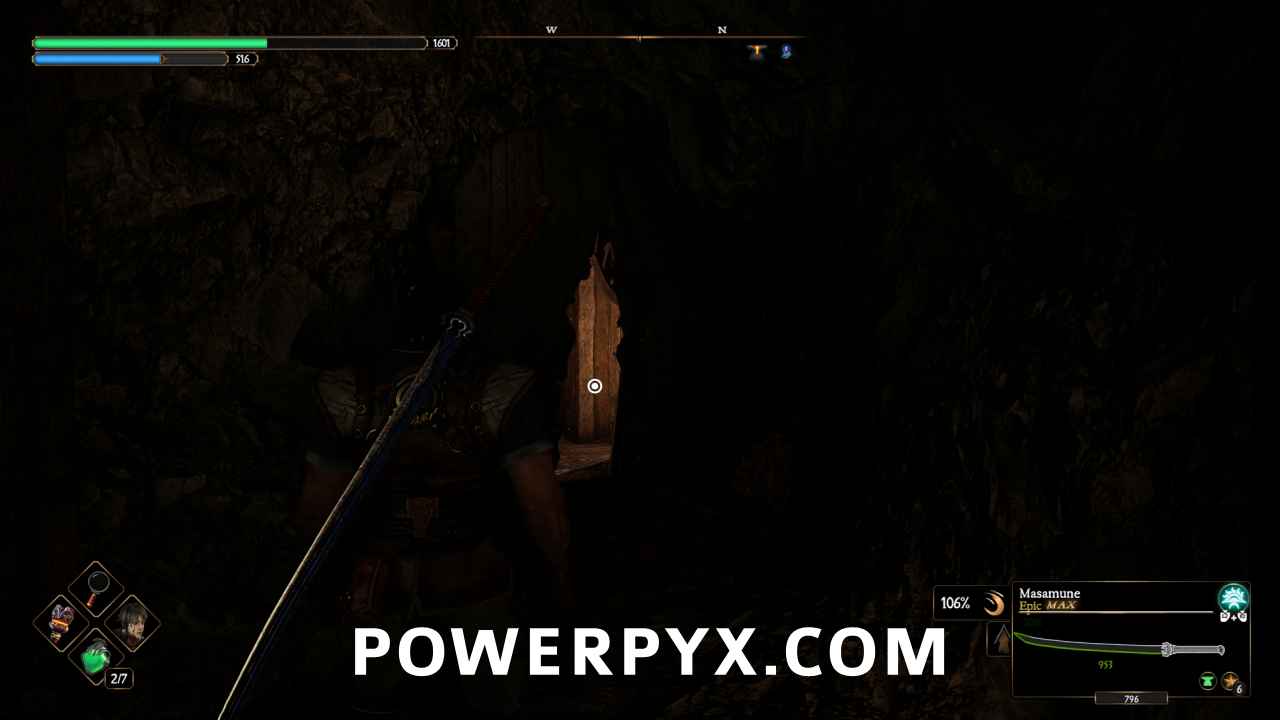
Once in the cave, the chest will be straight ahead of you.

#10 – Health Gem
From the last chest, go back into the house to the west, then turn to the north and use a zip-line down to the bottom.
Once down at the bottom find a chest near the bridge supports. There’s a rope near the cliff to climb back up when you’re done.
That’s 100% of the collectibles you can find in the Crop Fields area in Blades of Fire.
Next Up: The Royal Palace
For all other Regions, check out the complete Blades of Fire Collectibles Guide.
Kevin says
My game must be glitched because it won’t give me the input to bust the wall down in the cave
Jack McBastard says
You know what, I went back and checked my video capture and I busted through that wall from the other side. Sorry about that, that one was a victim of trying to put the collectibles in the easiest order. I’ll correct the guide, but what you’re looking for is the windmill to the northwest of that cave on the hill above. In the back of that building is a cellar door that leads down to a place you can bust through the wall from the other side.