
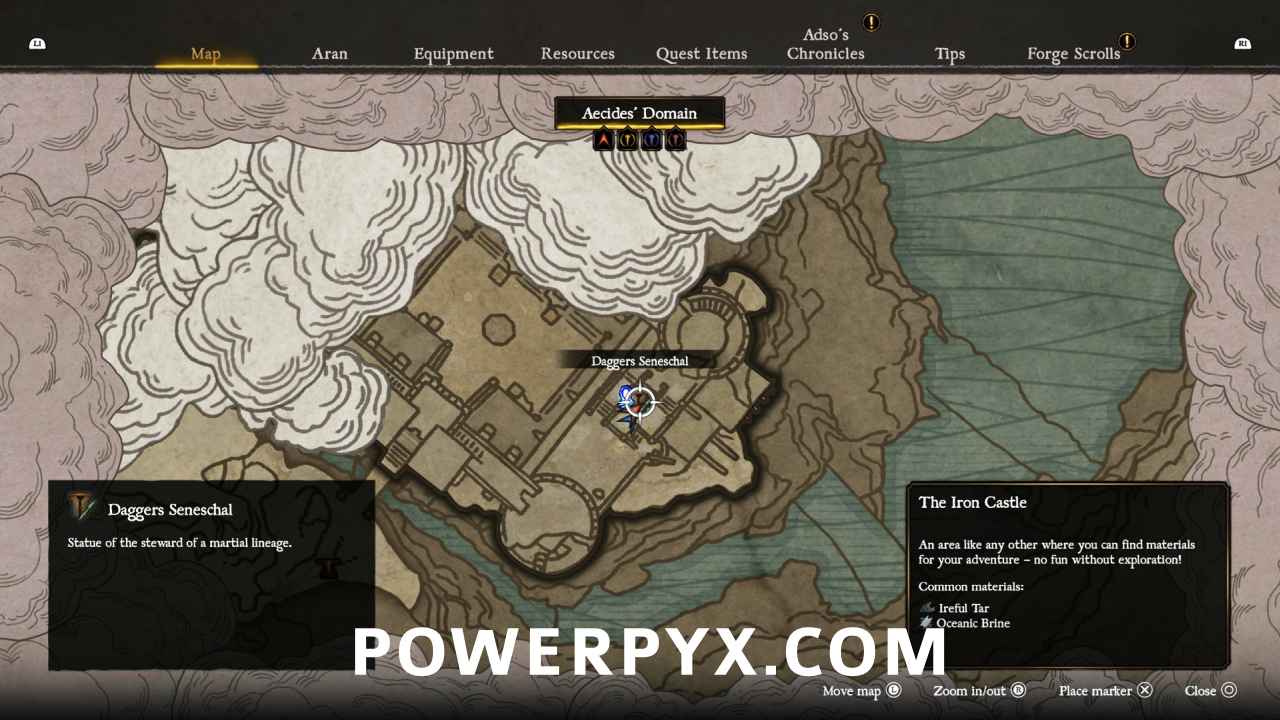
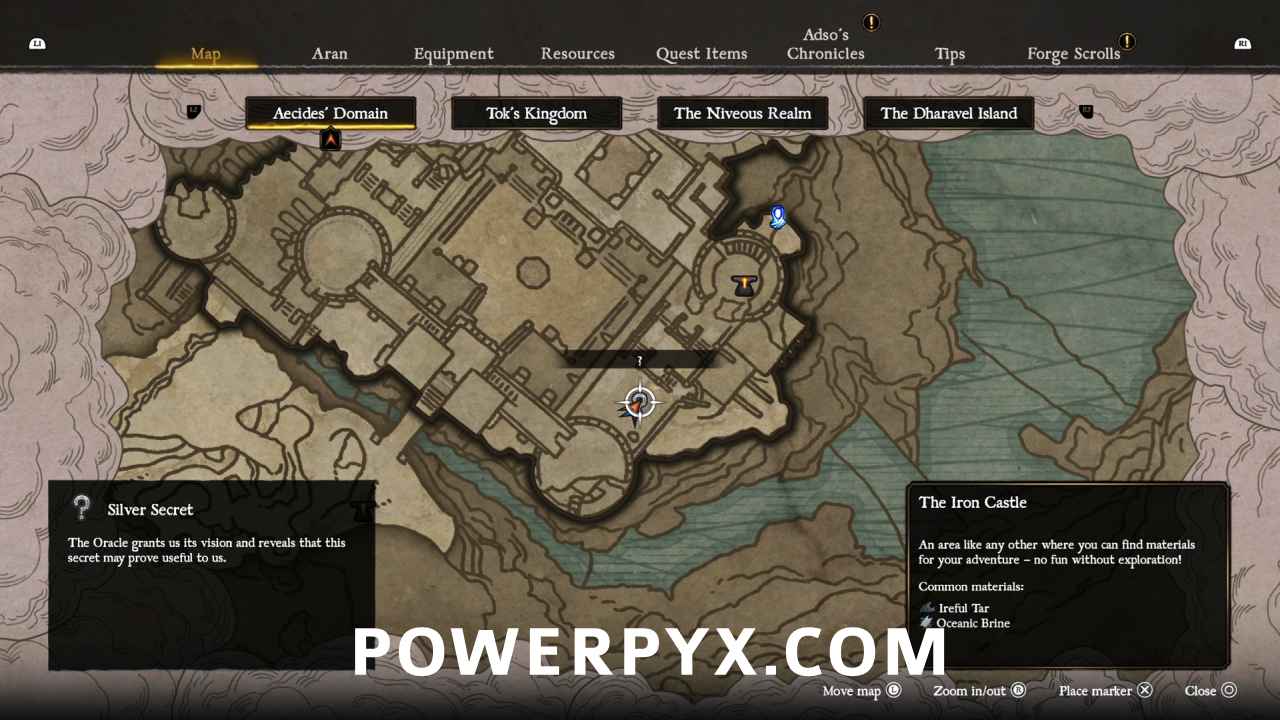
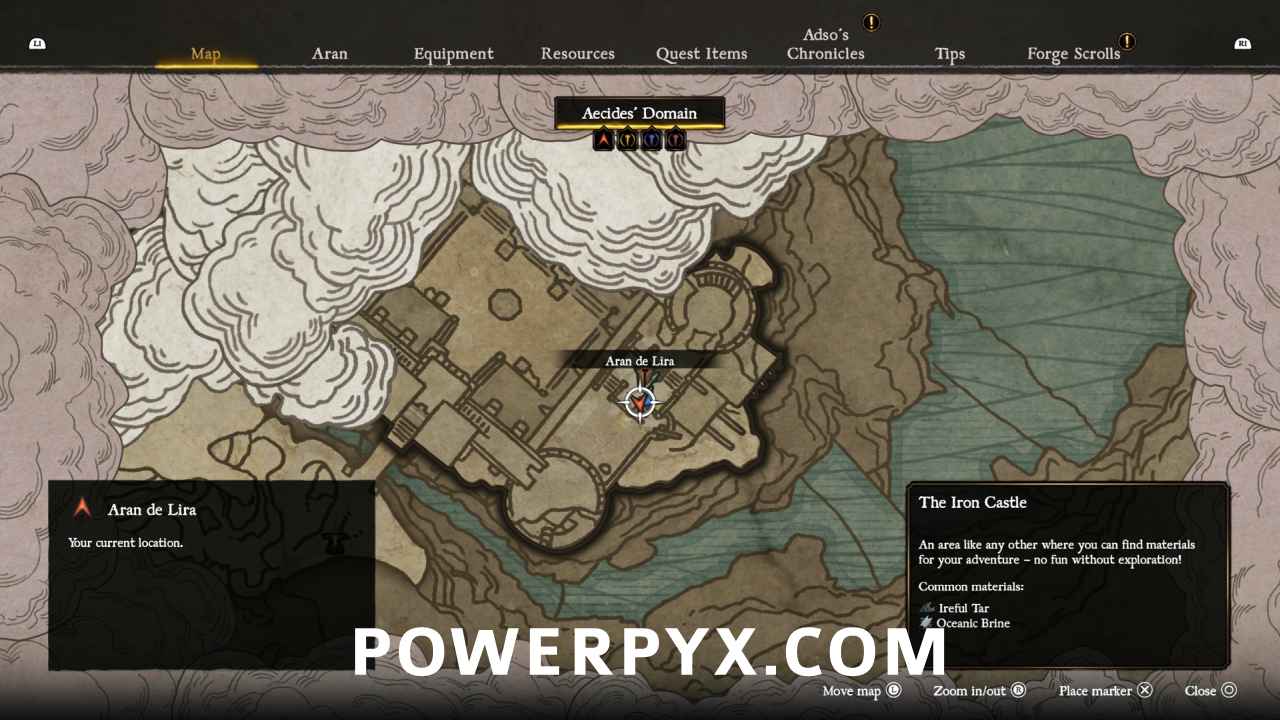
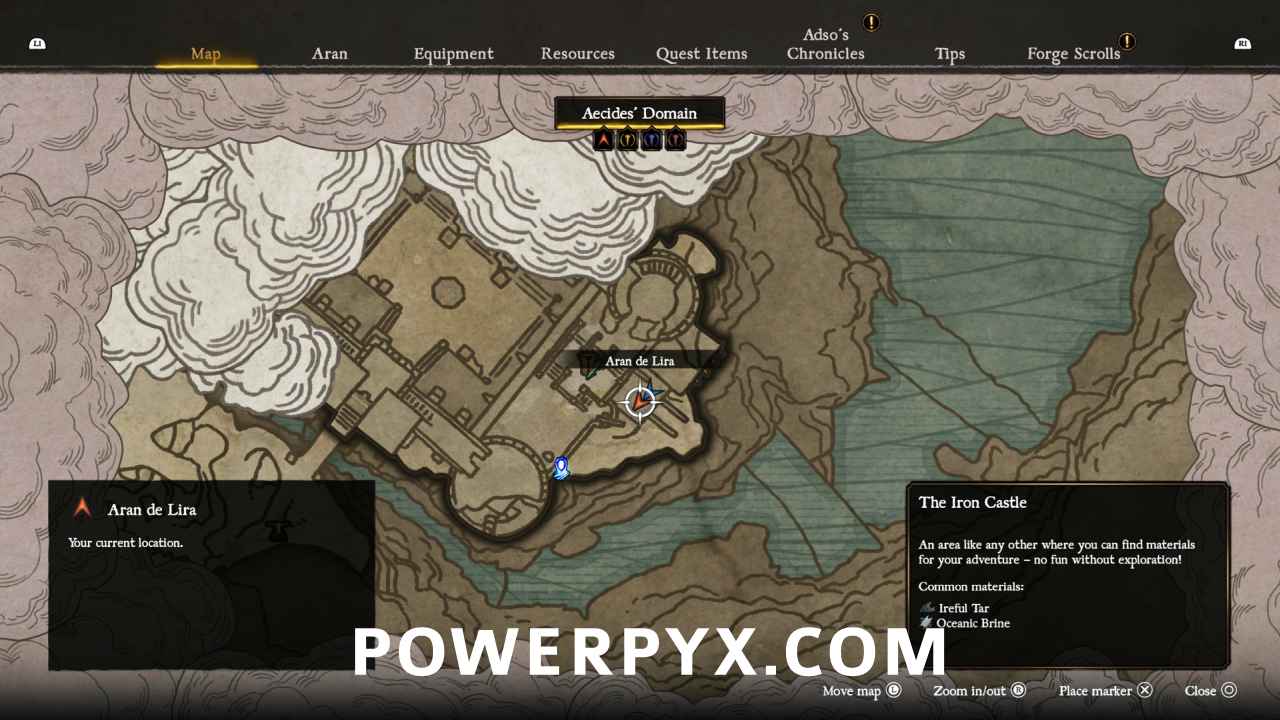
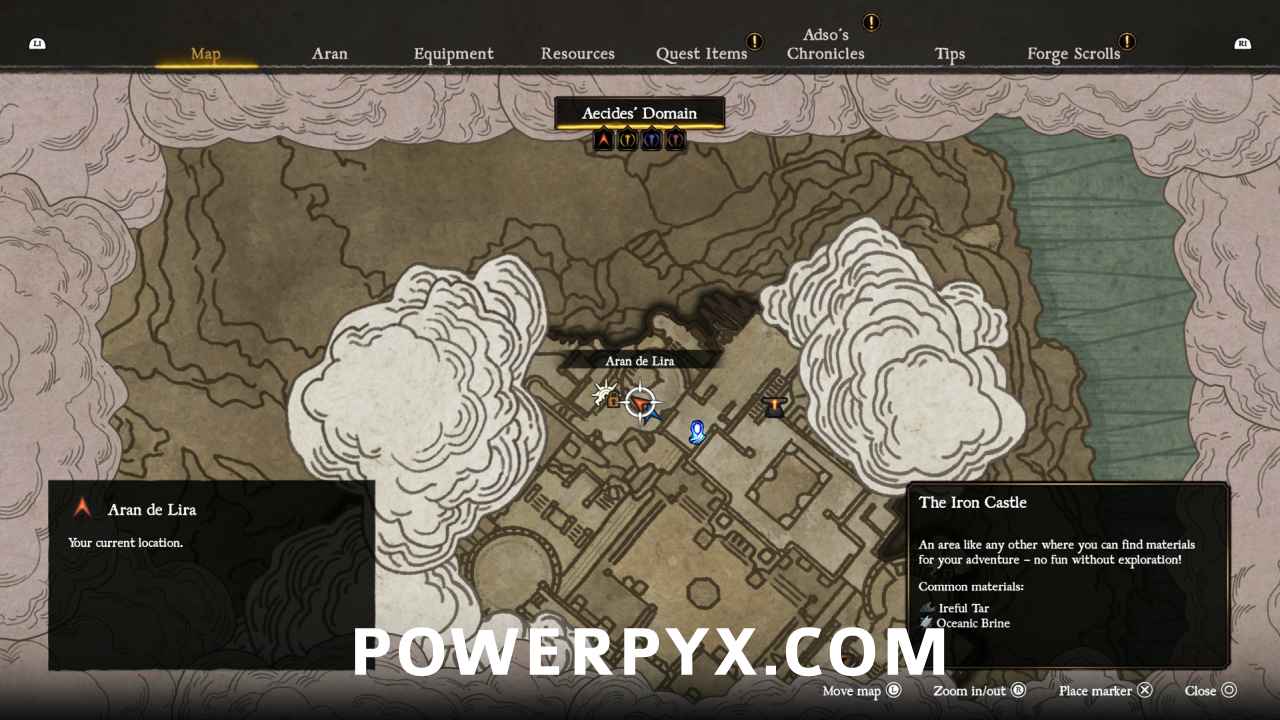
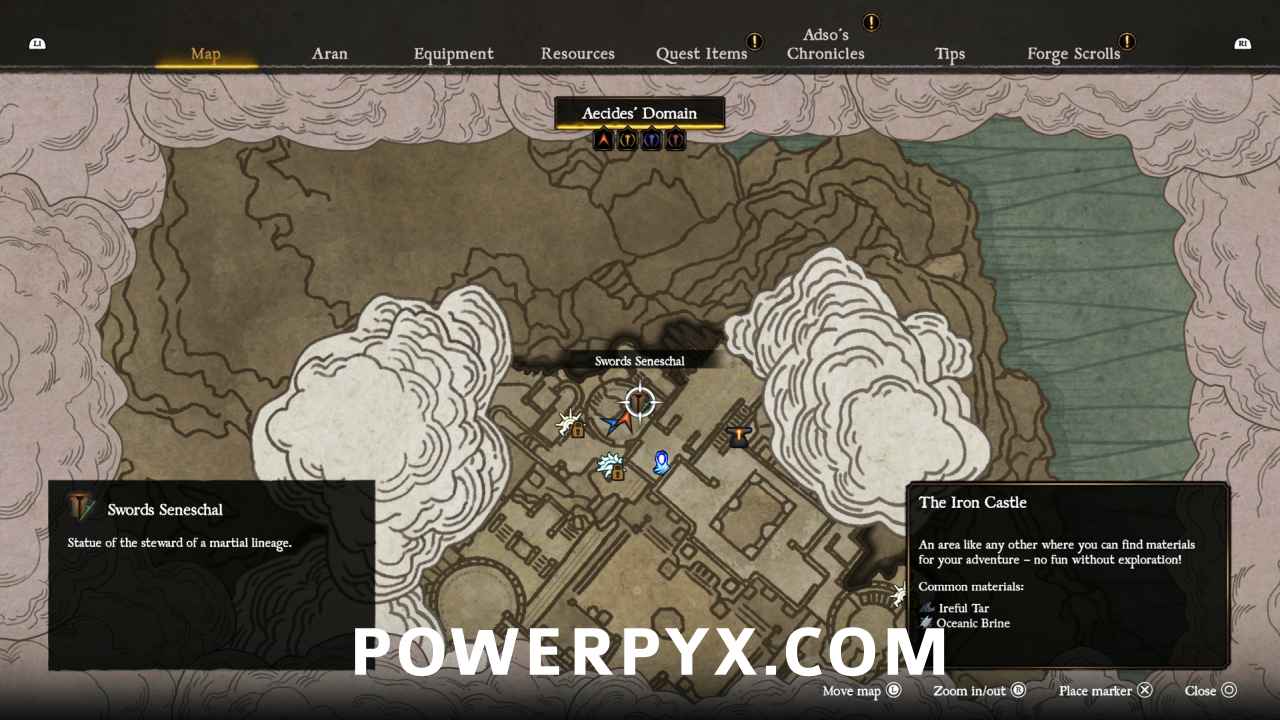
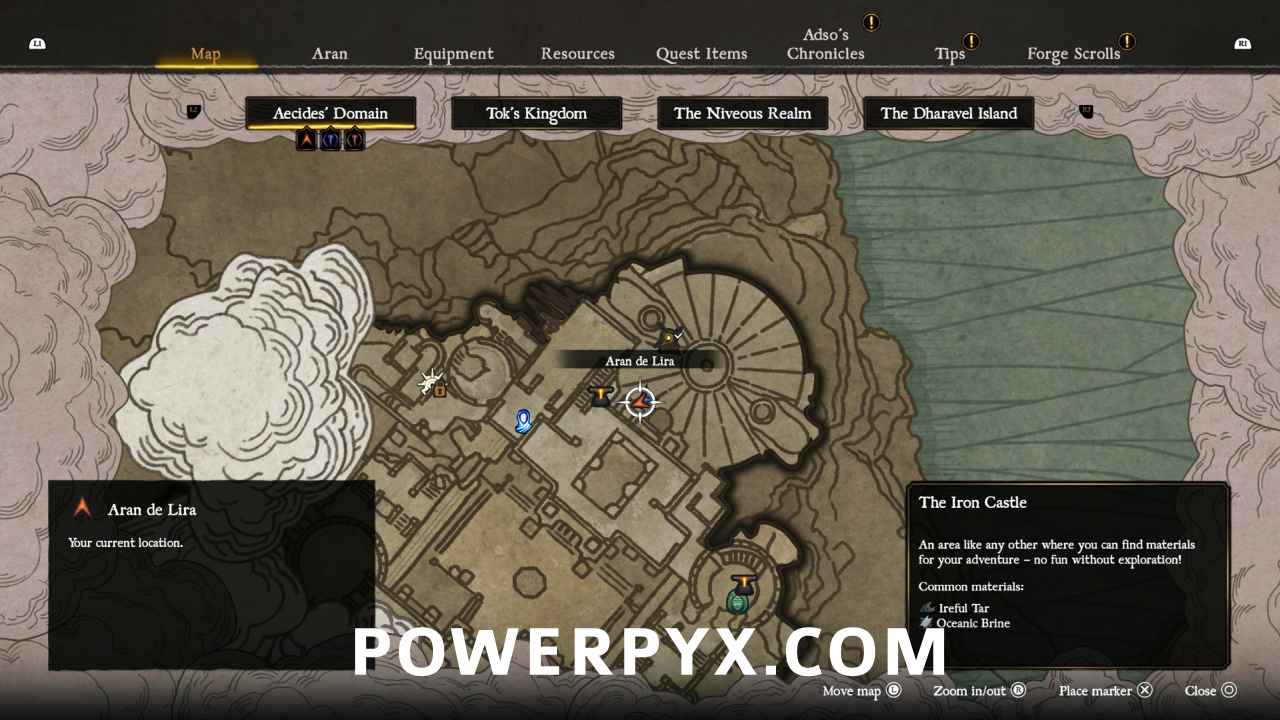
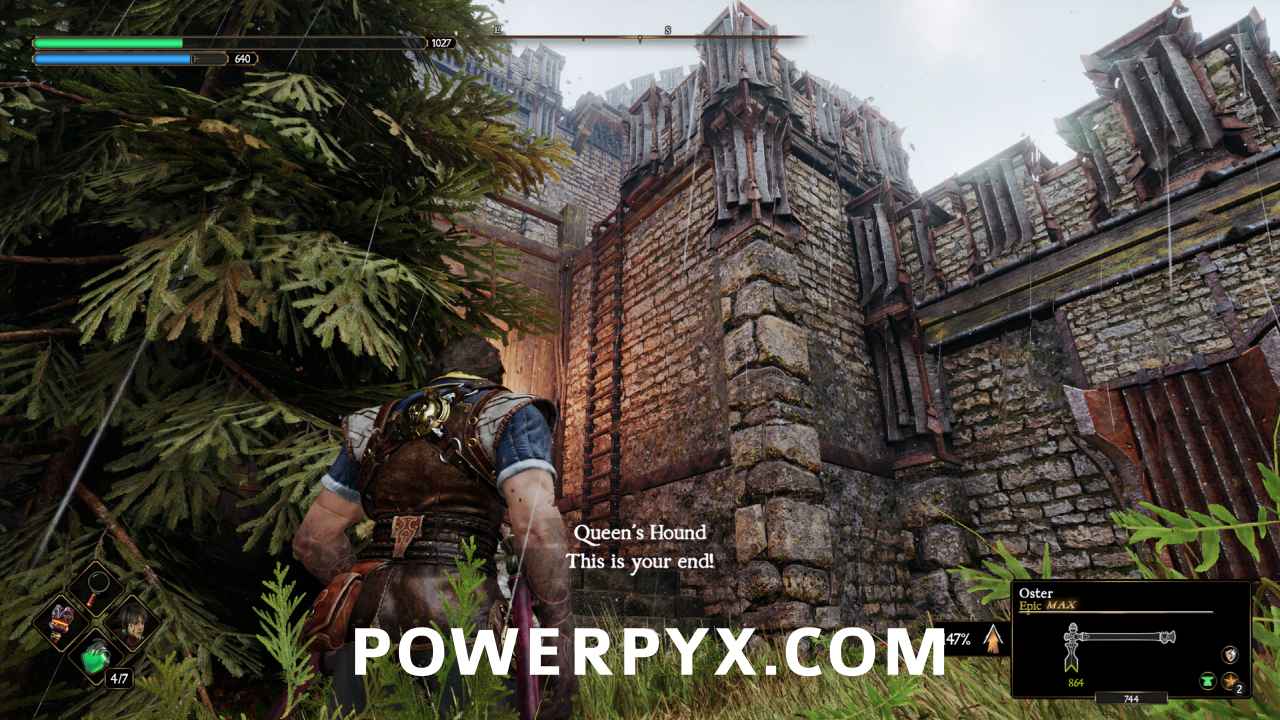
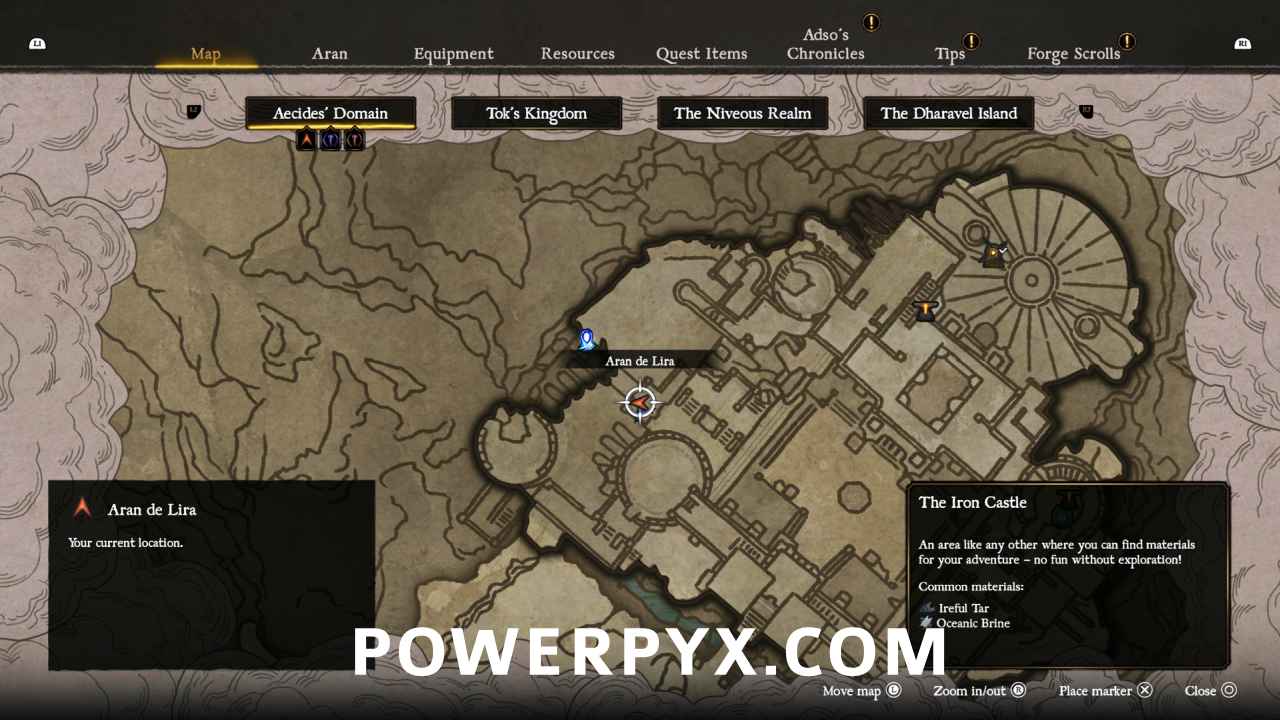
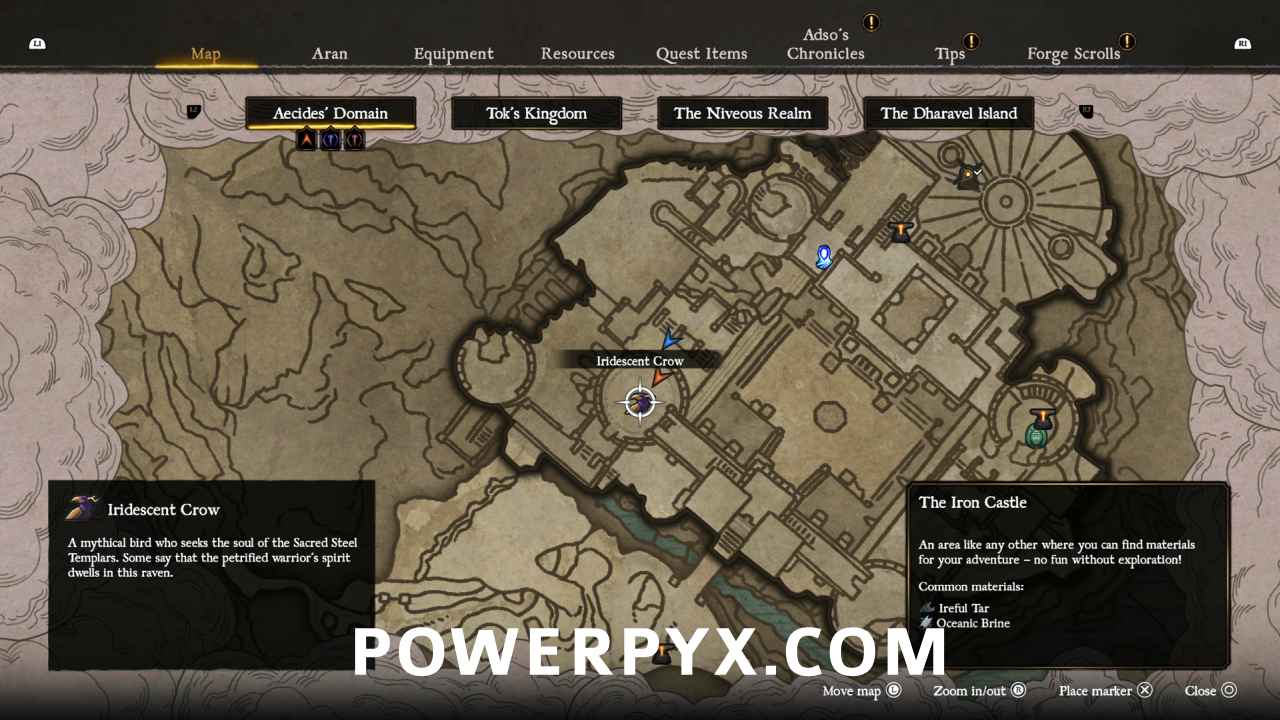
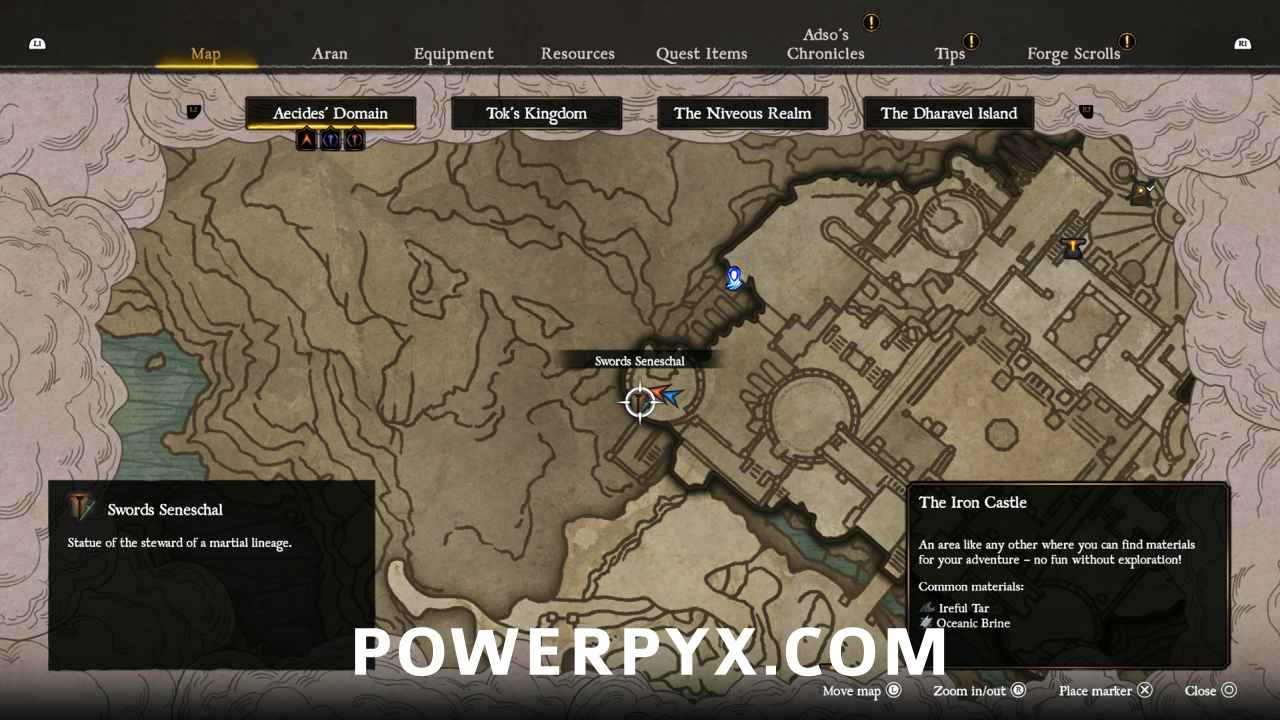
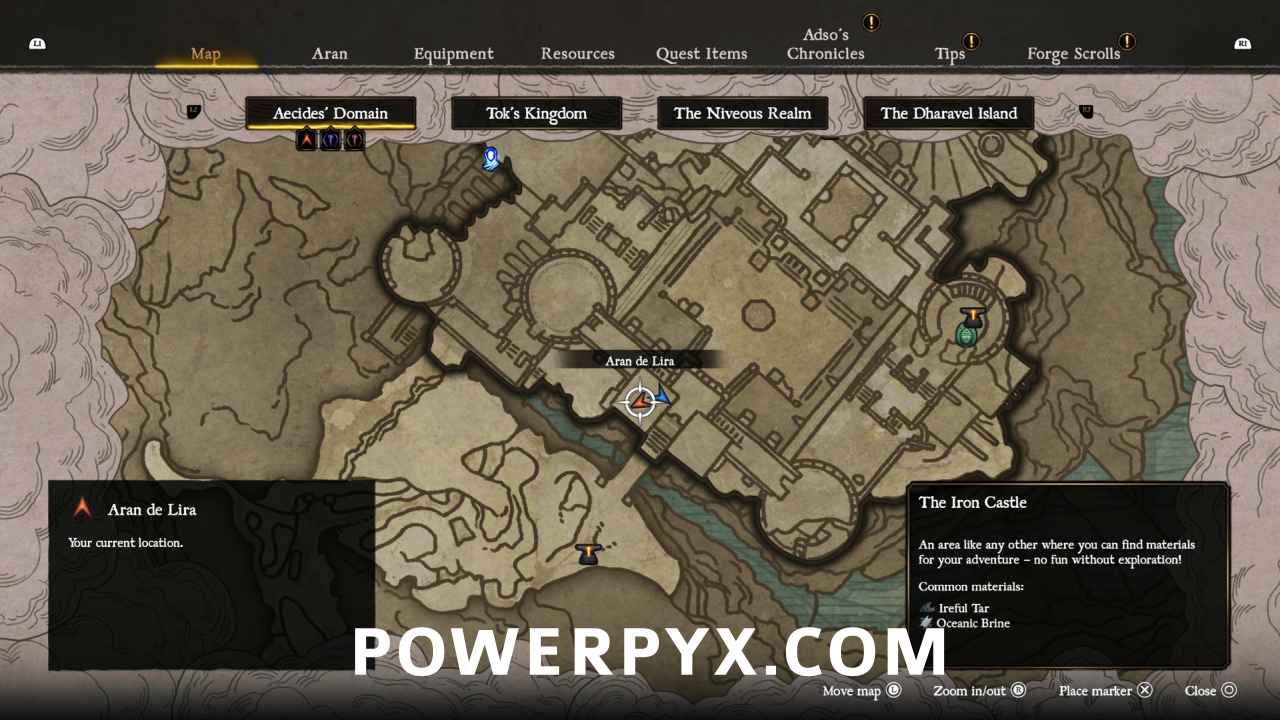
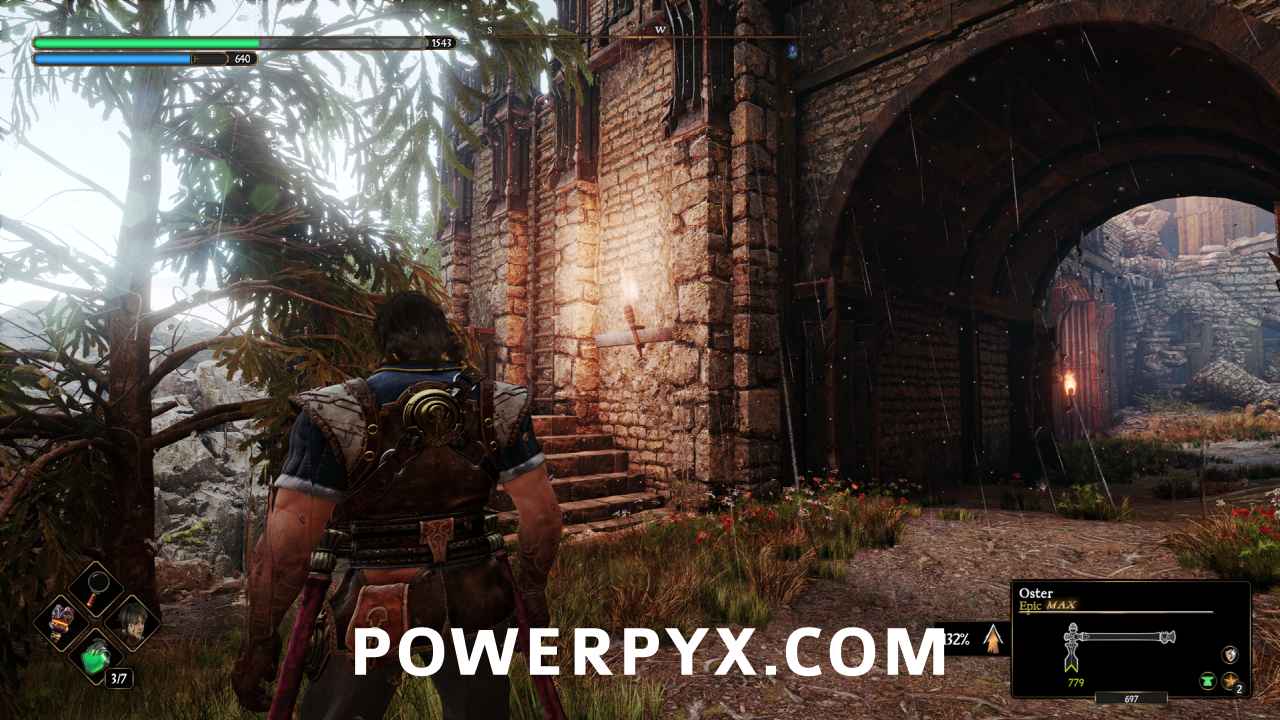
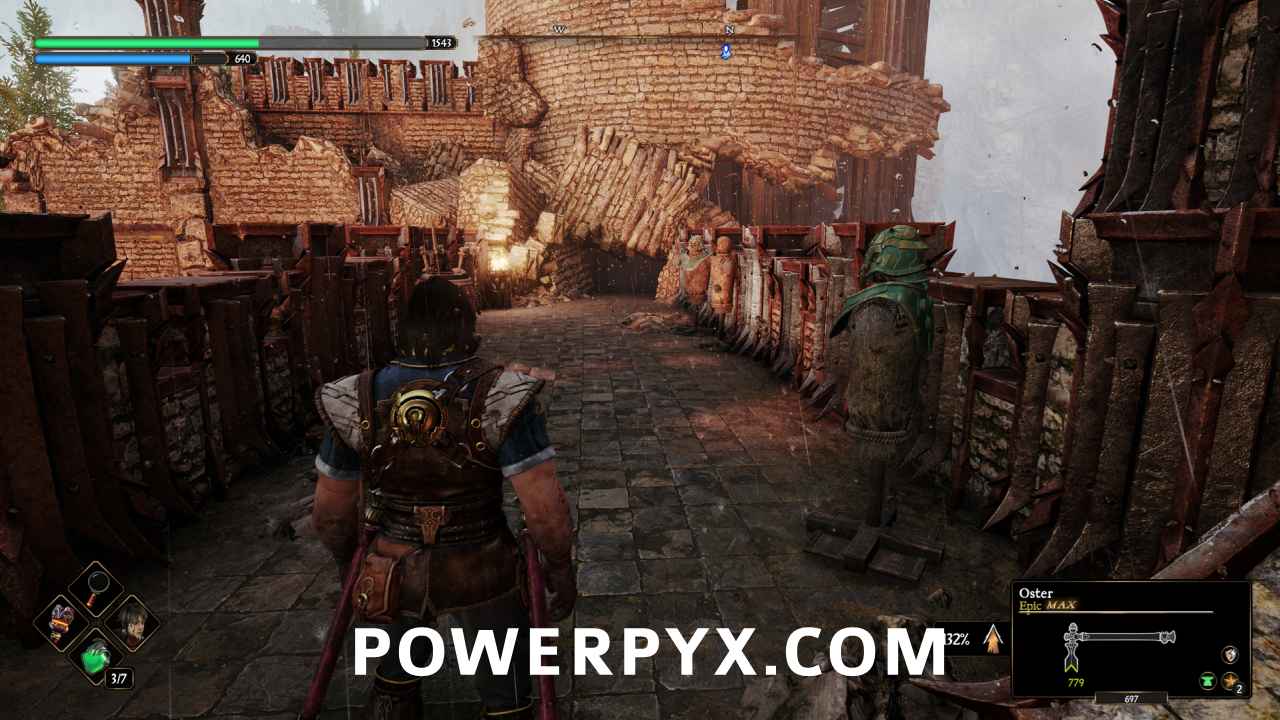
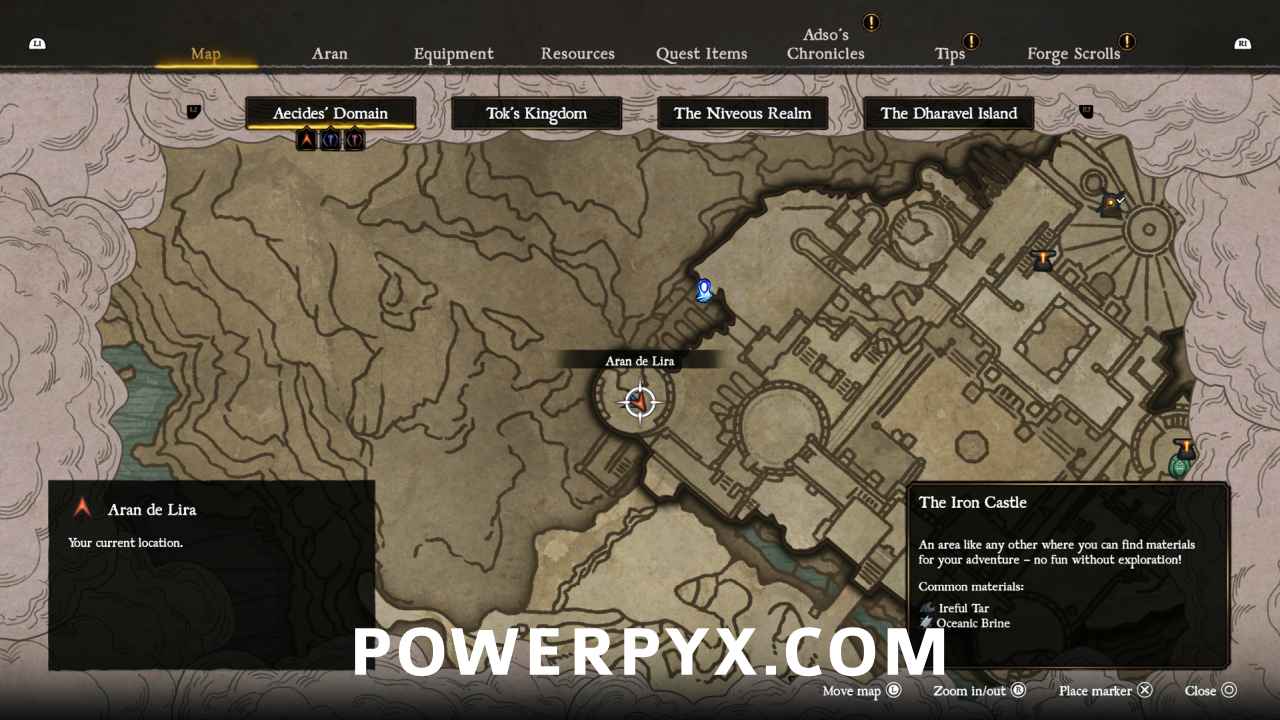
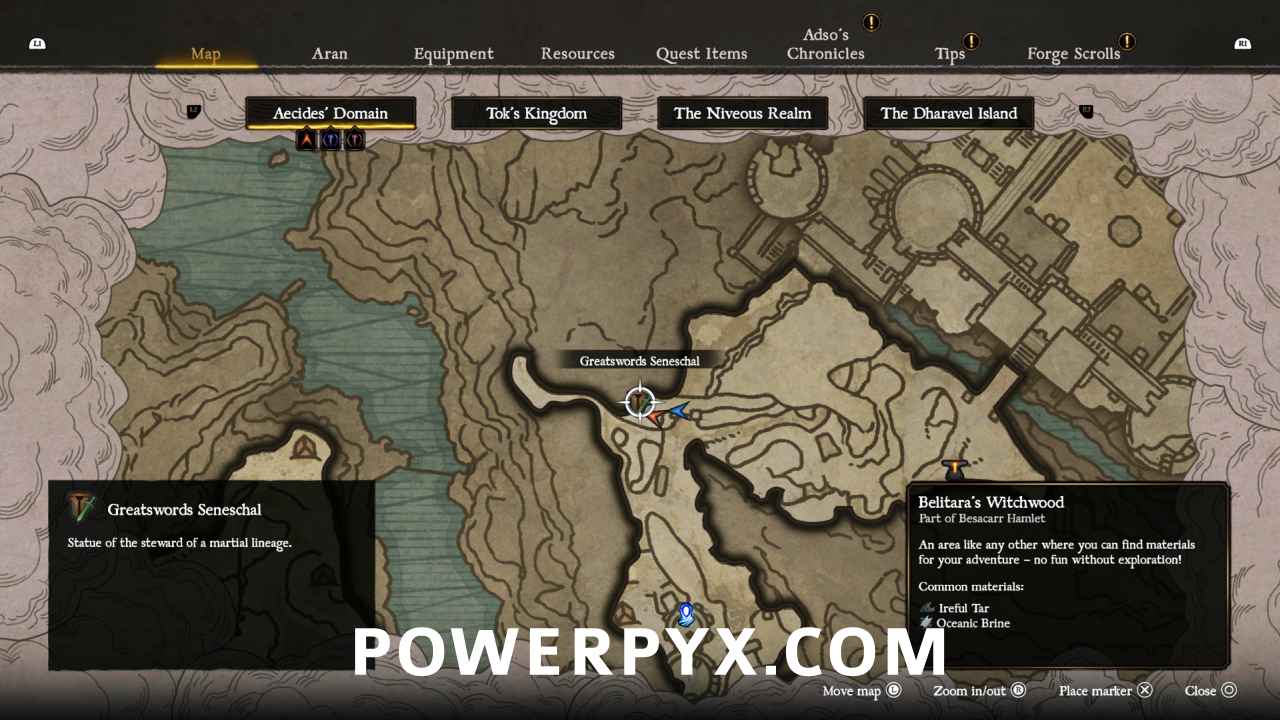
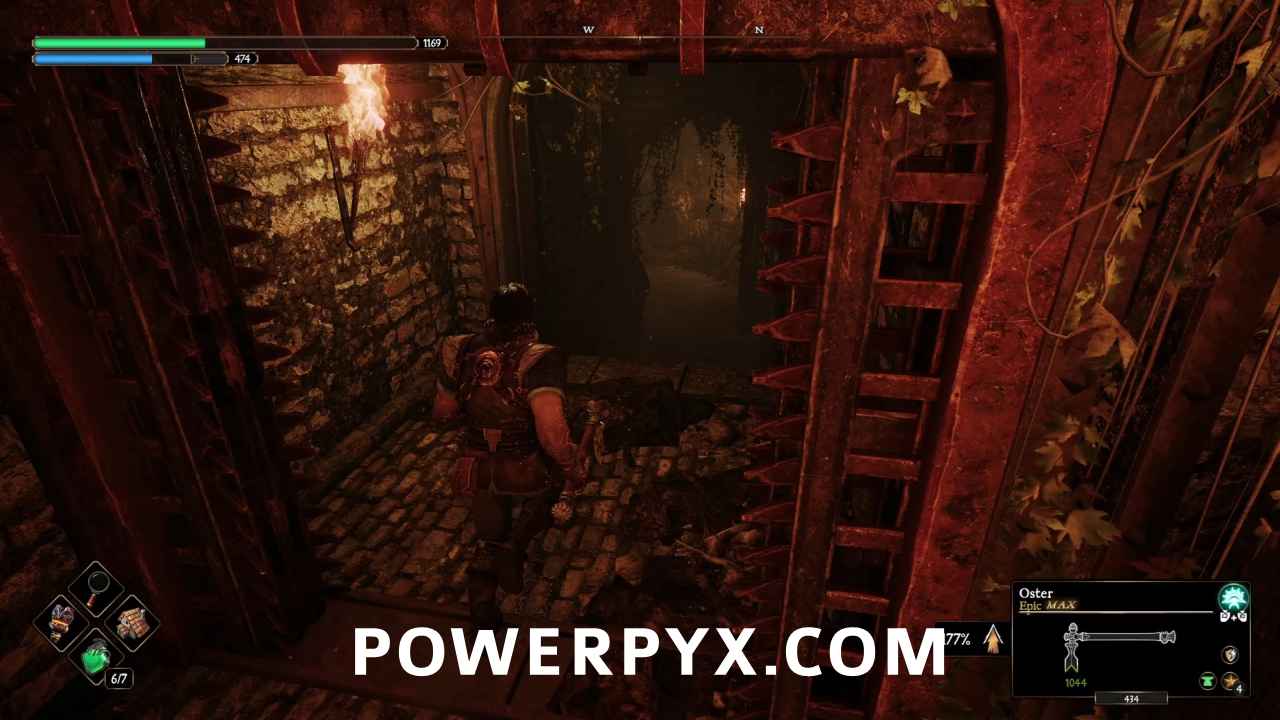
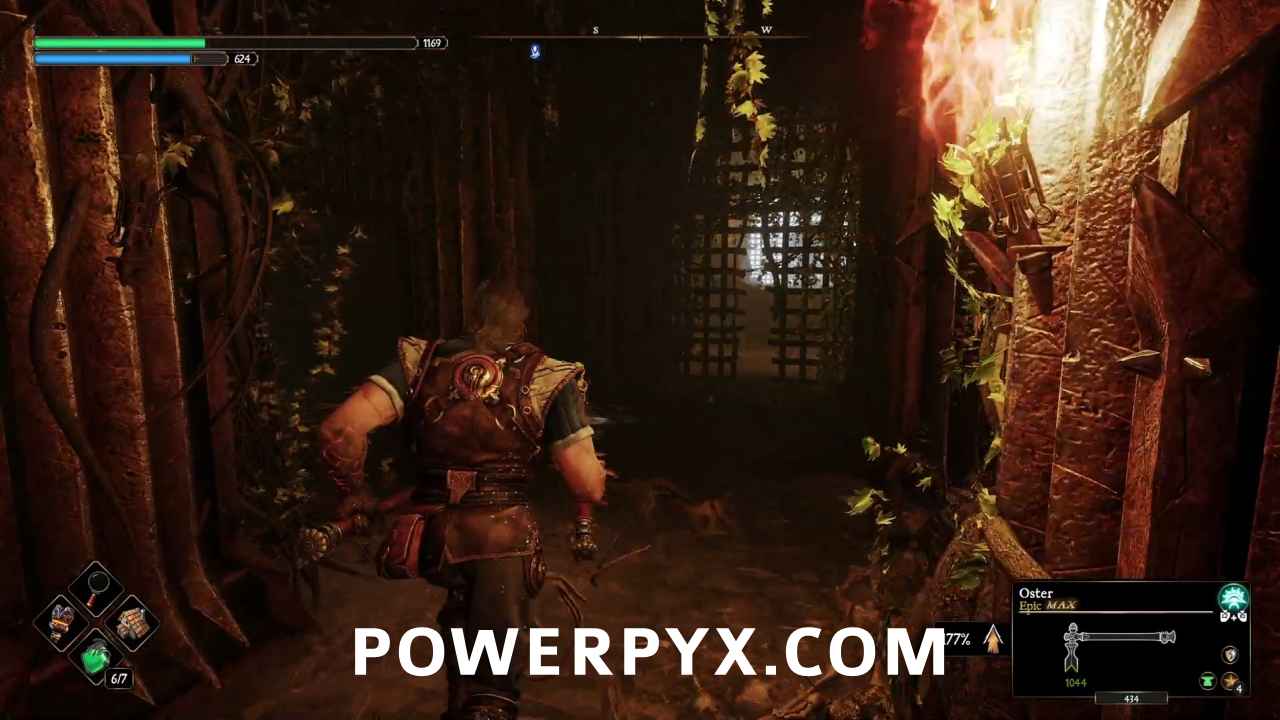
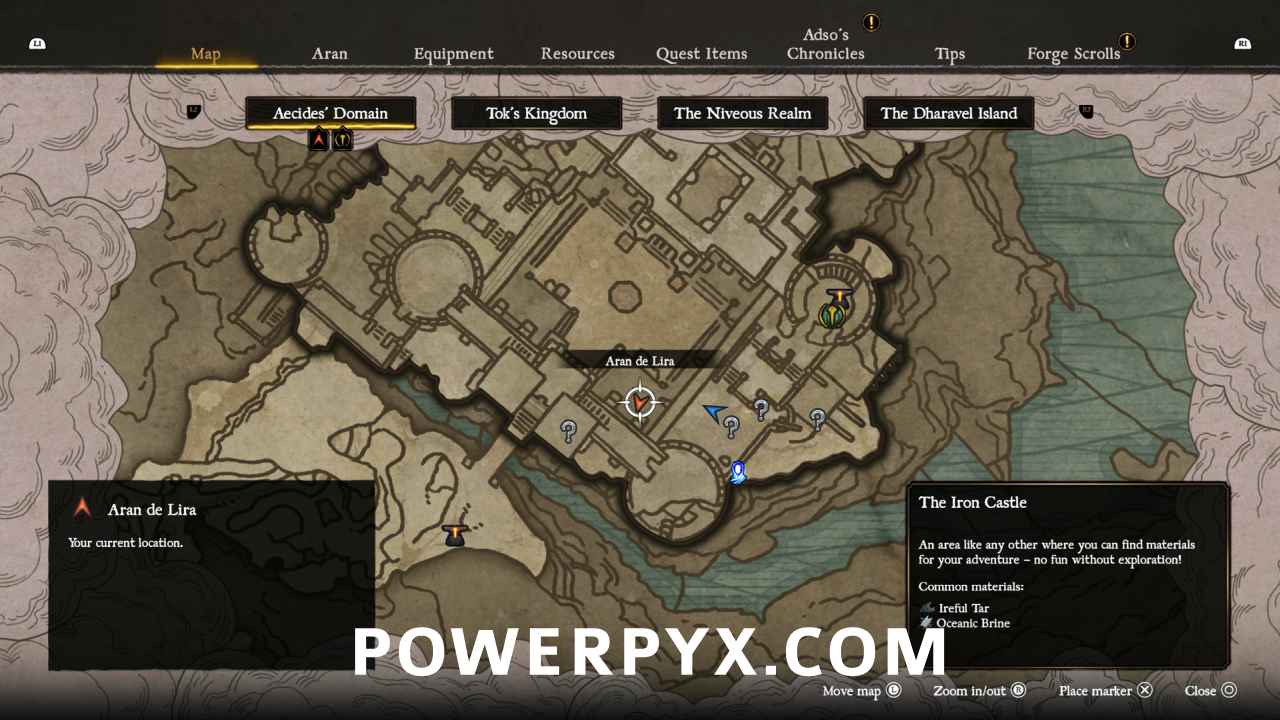
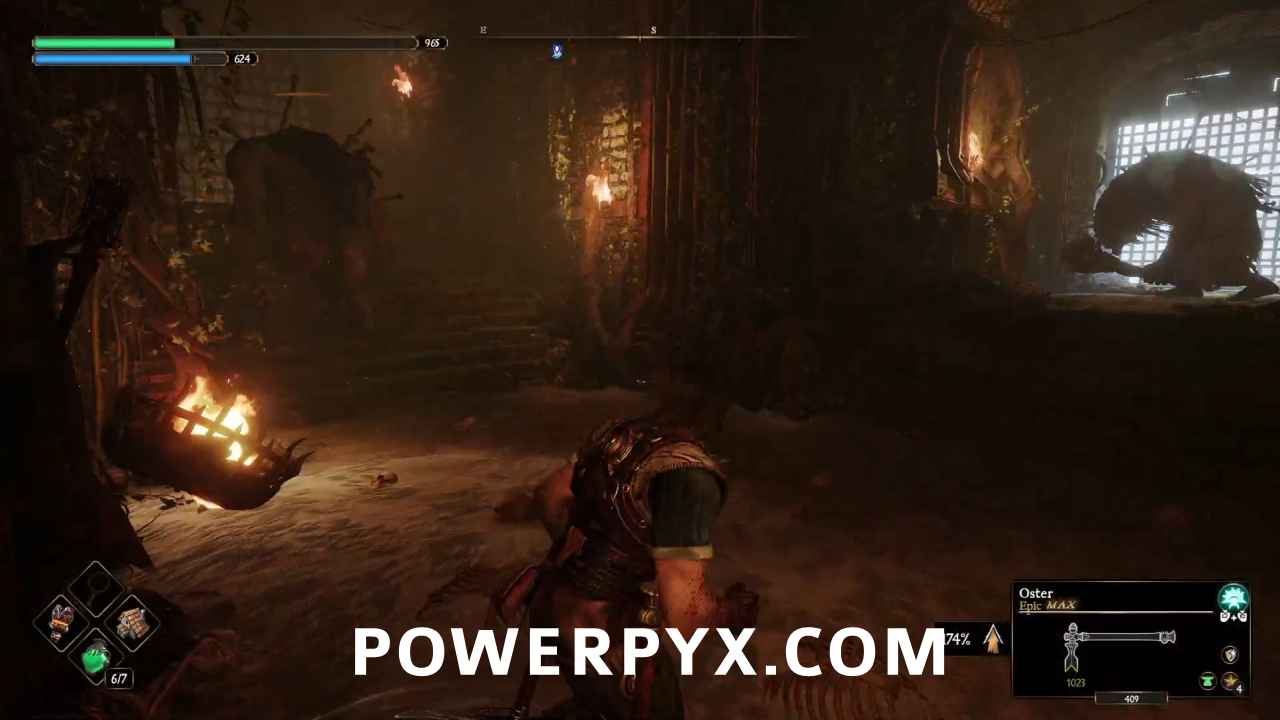
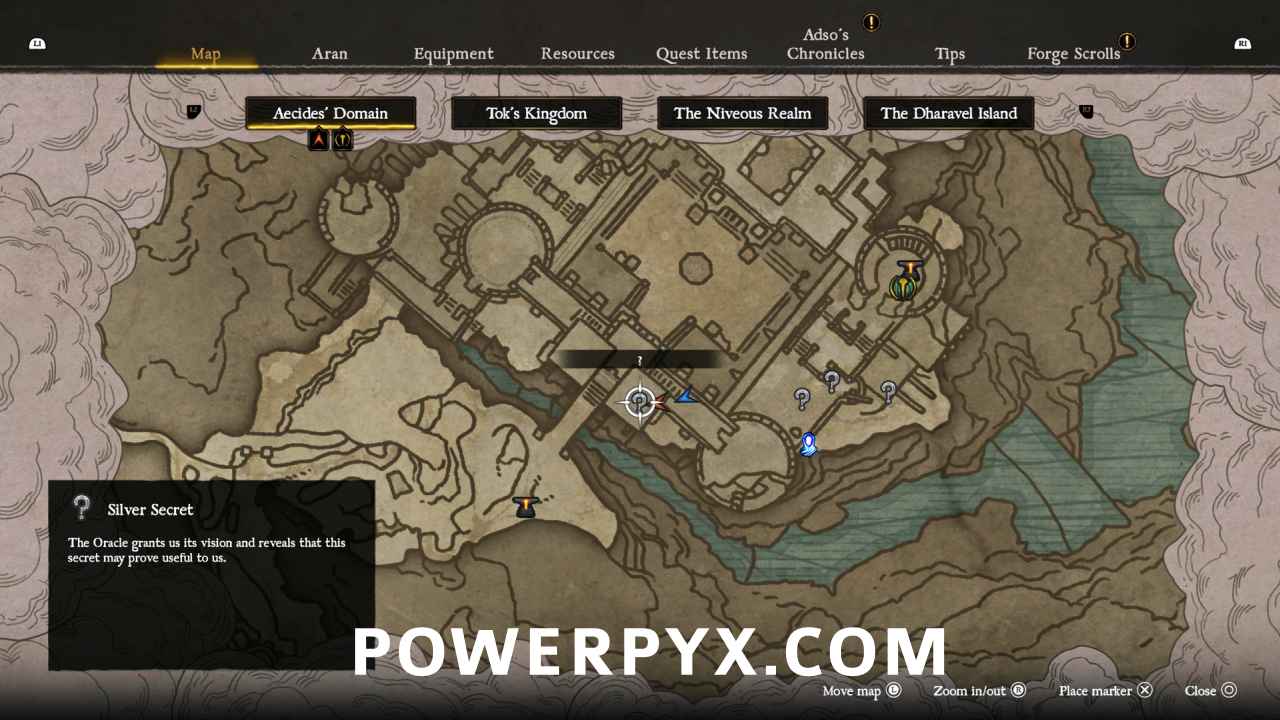
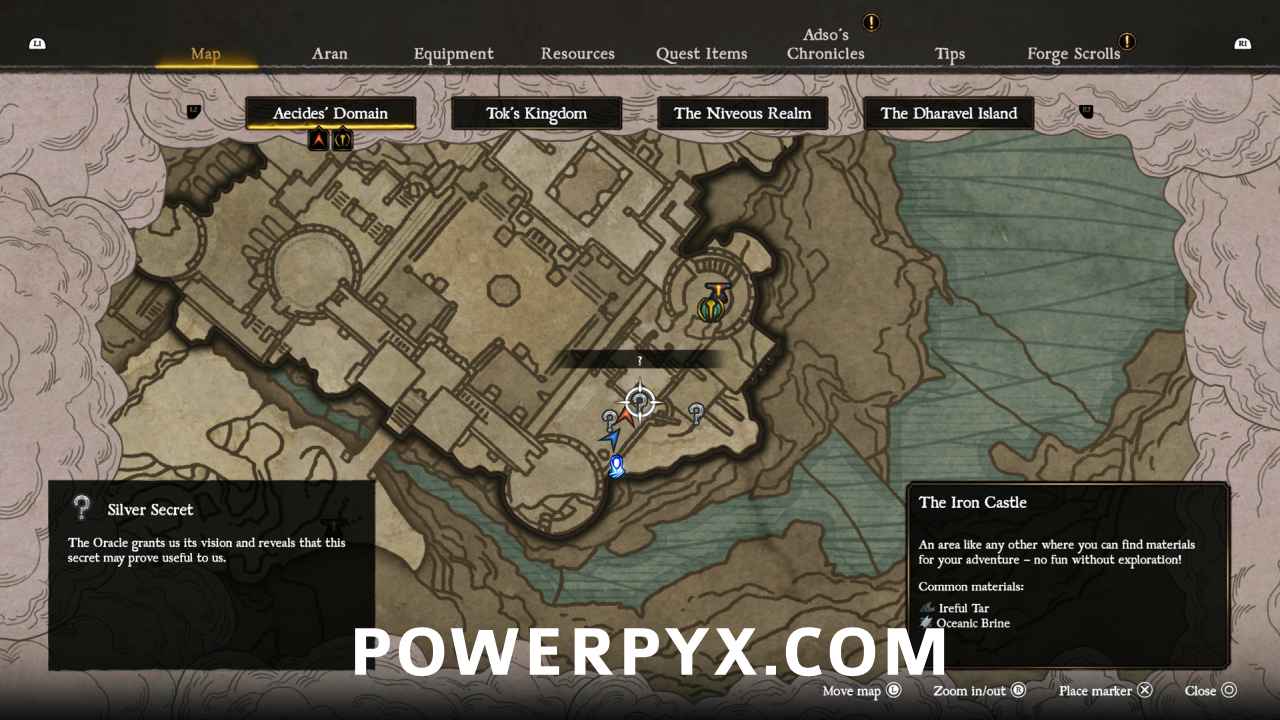
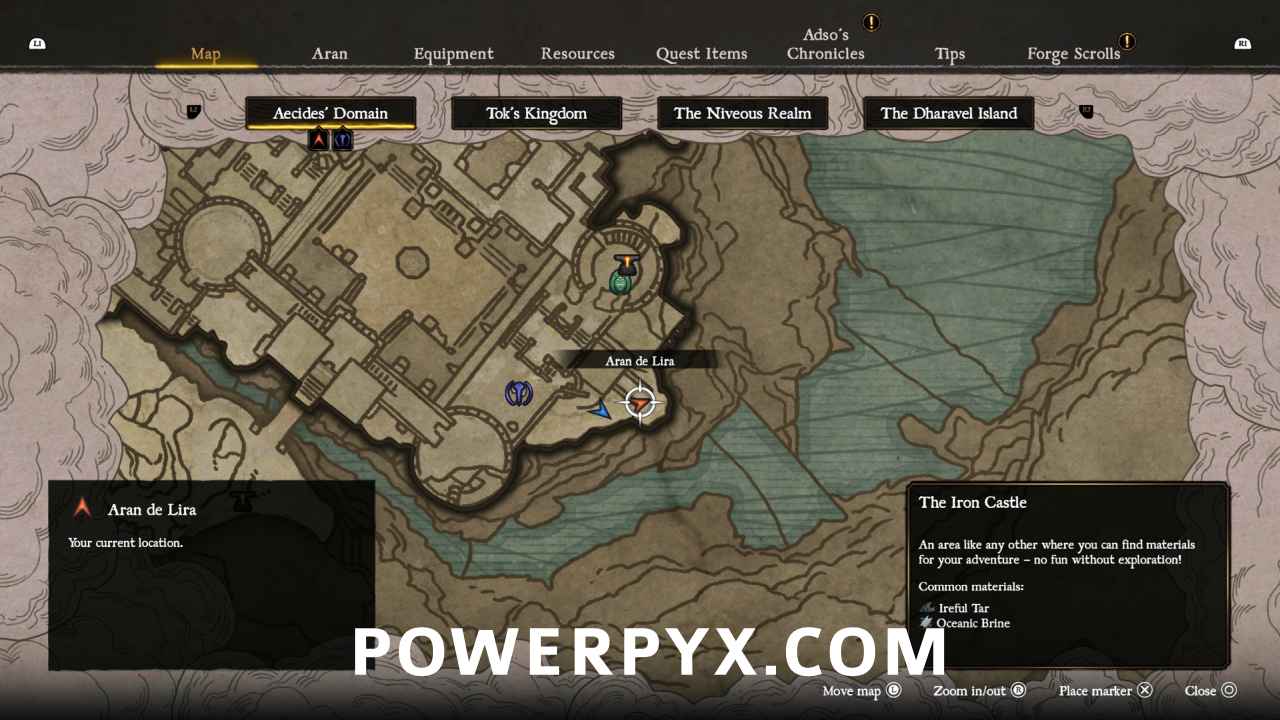
The Iron Castle contains 22 Collectible Locations in Blades of Fire. This walkthrough will guide you to all the collectibles in The Iron Castle in chronological order. Everything that’s needed for trophies and 100% completion is included. Nothing is missable, everything can be collected after the story. Remember that in order to collect weapon parts from Seneschals, you will have to equip a weapon of the same type as they are holding, that still has parts you haven’t learned how to make yet.
- Health Gems: 7
- Stamina Gems: 2
- Trolls: 2
- Weapon Parts: 3
- Dyes: 1
- Forge Cryptexes: 1
- Life Cryptexes: 1
- Nerea’s Tears / Blue Gems: 1
- Fragmented Tablet Piece: 1
Collectibles Overview:
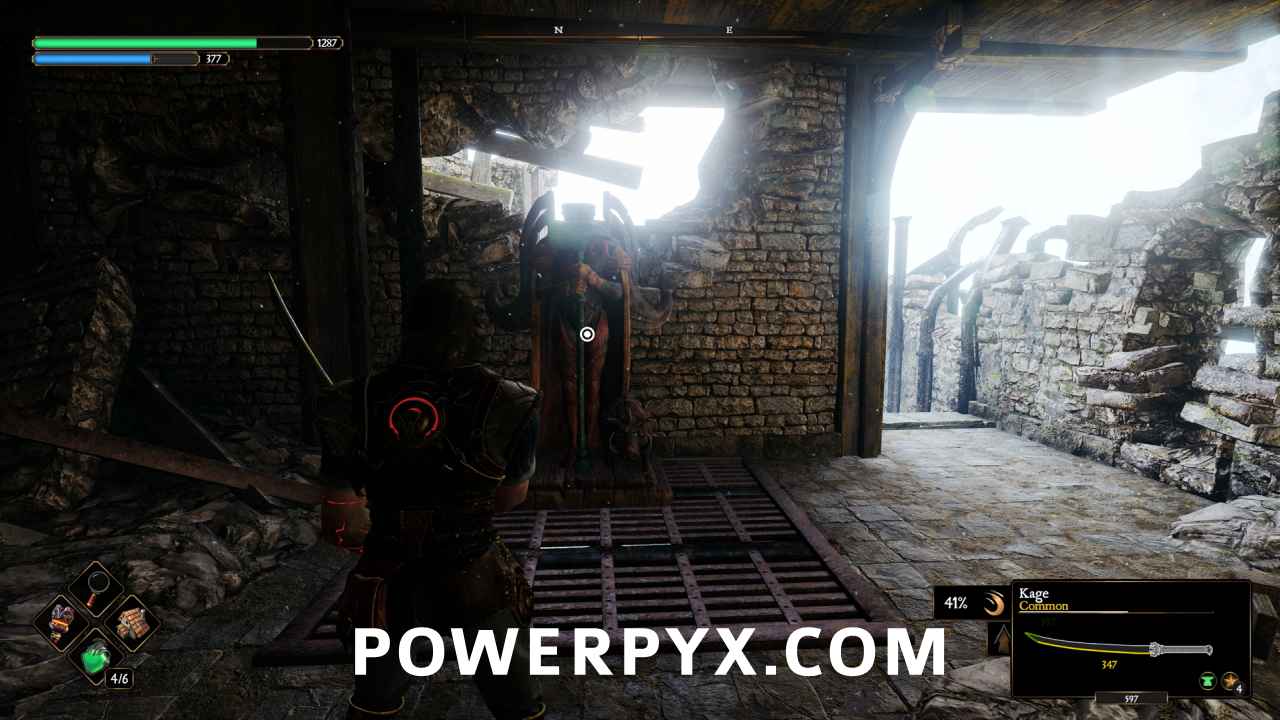
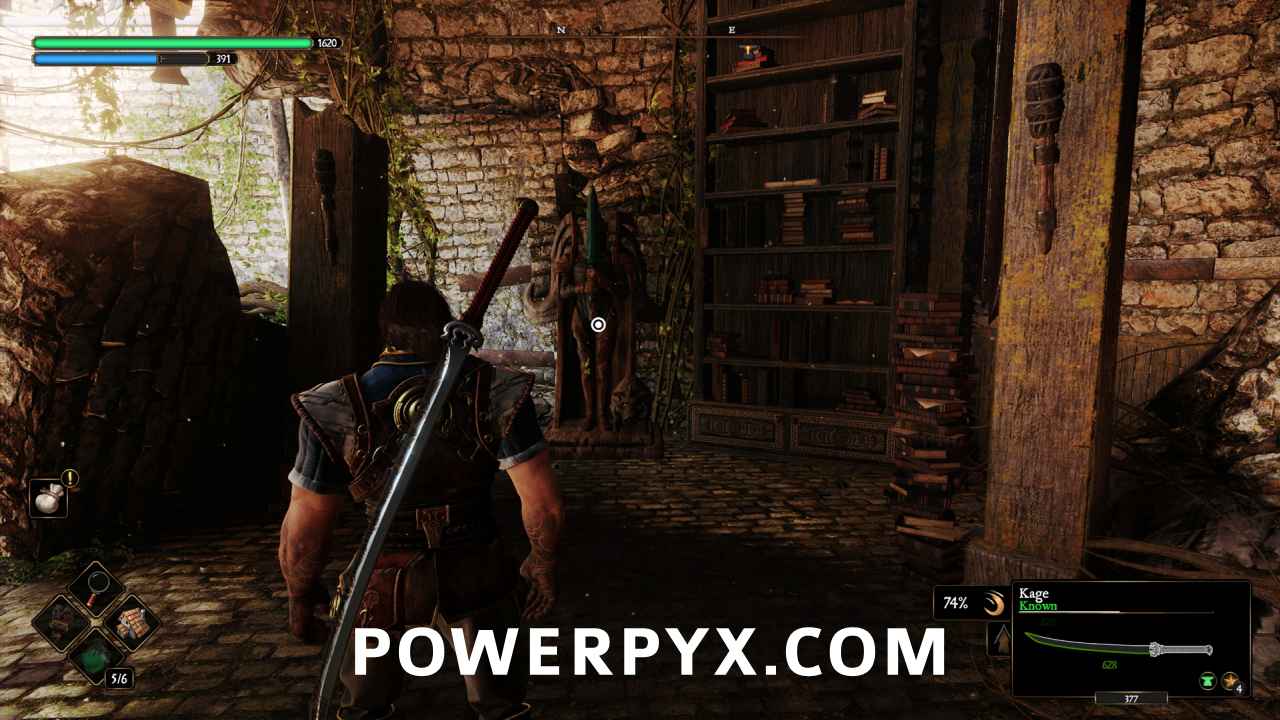
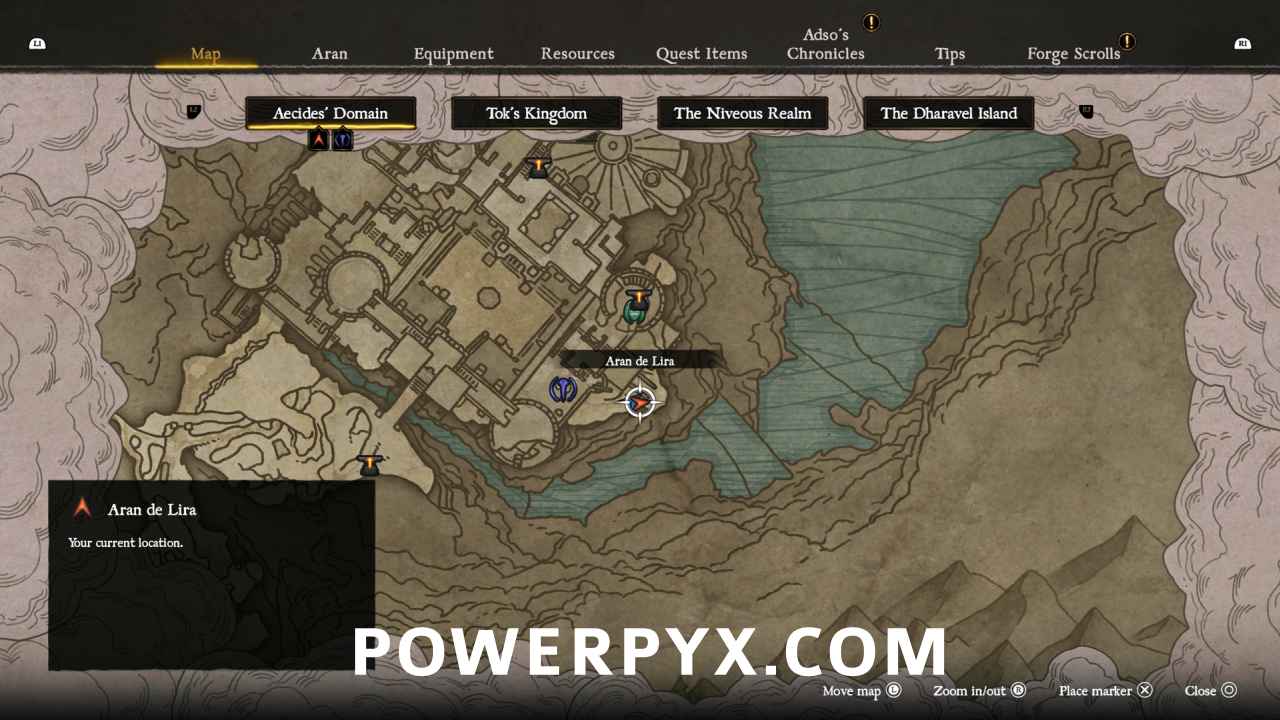
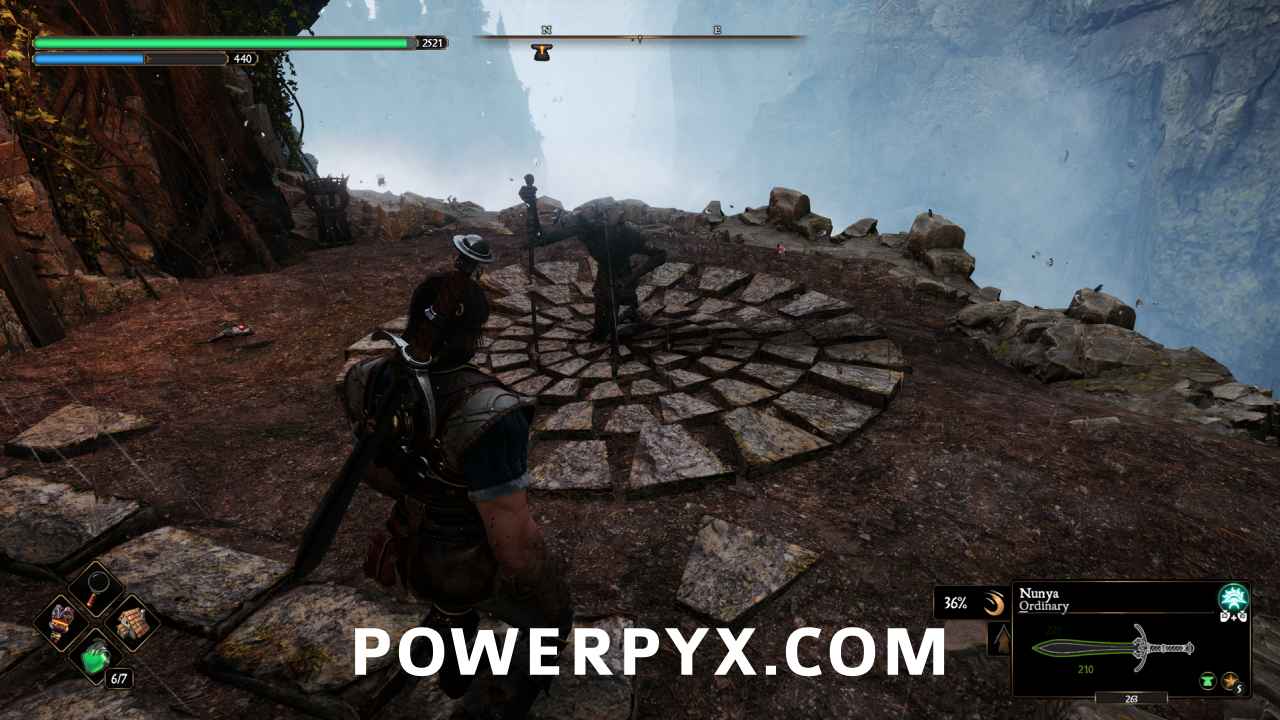
#1 – Daggers Seneschal
Climb up the stairs in the south tower all the way to the roof to find this seneschal.
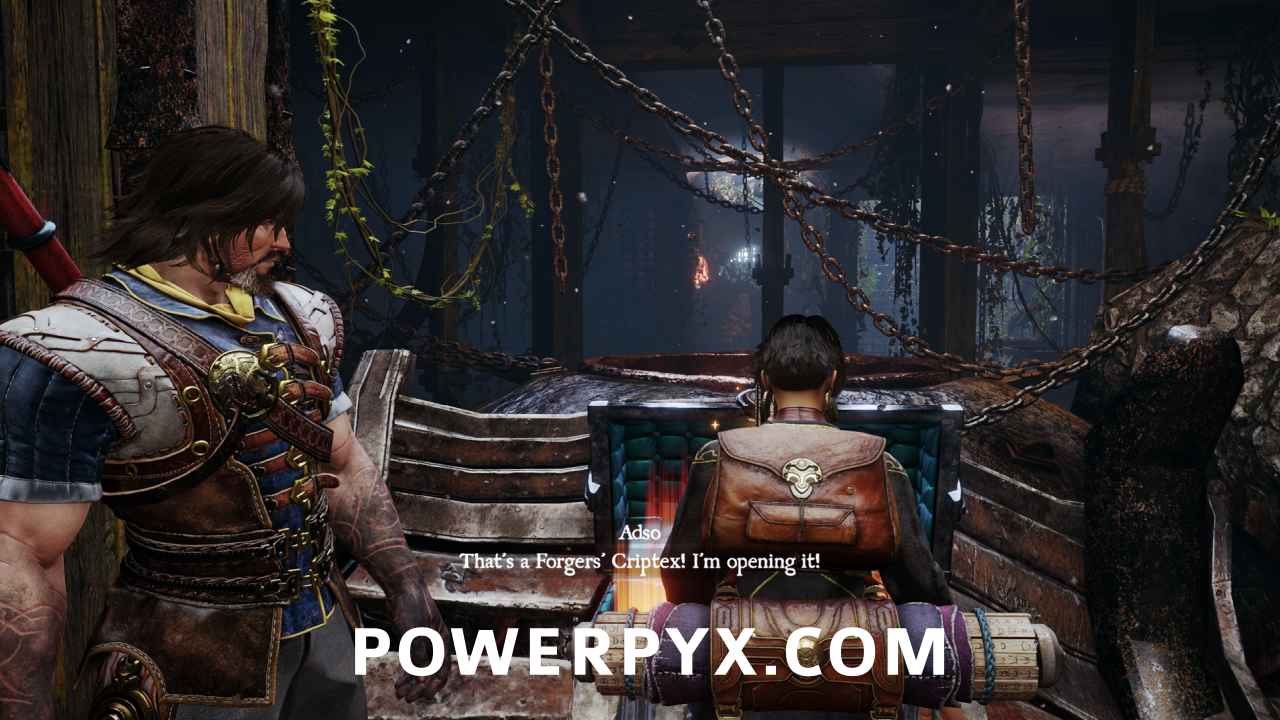
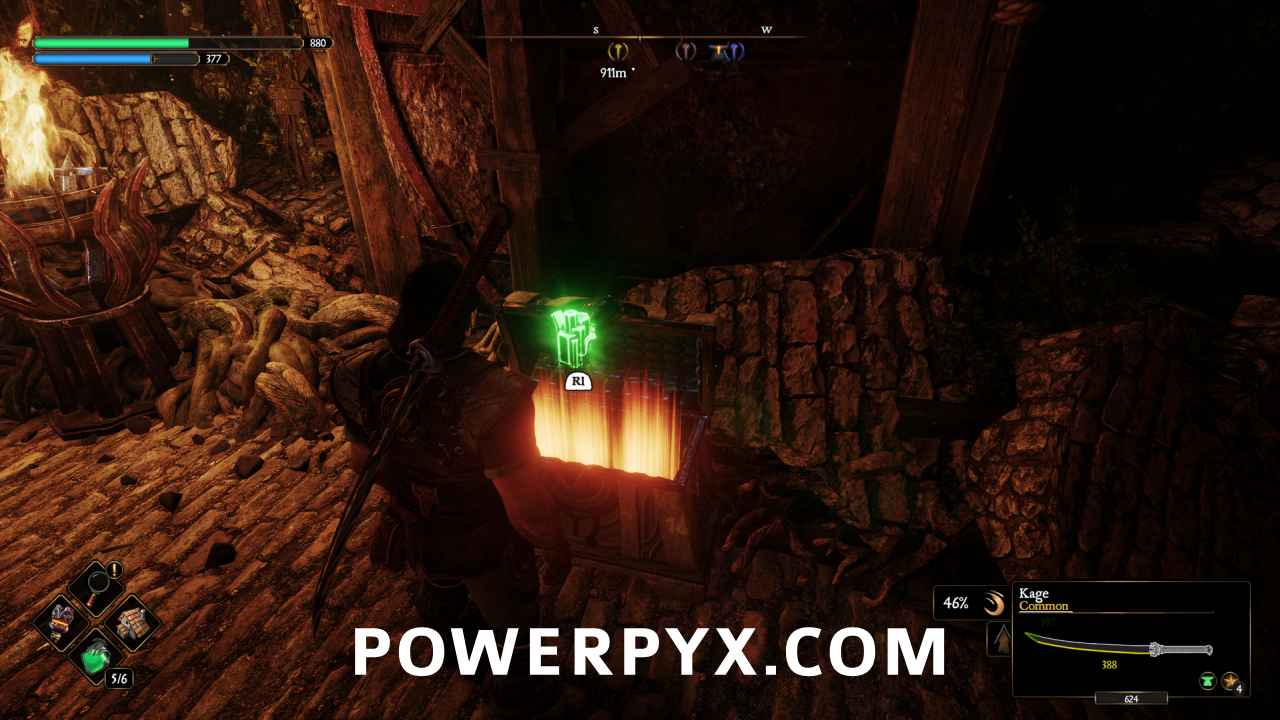
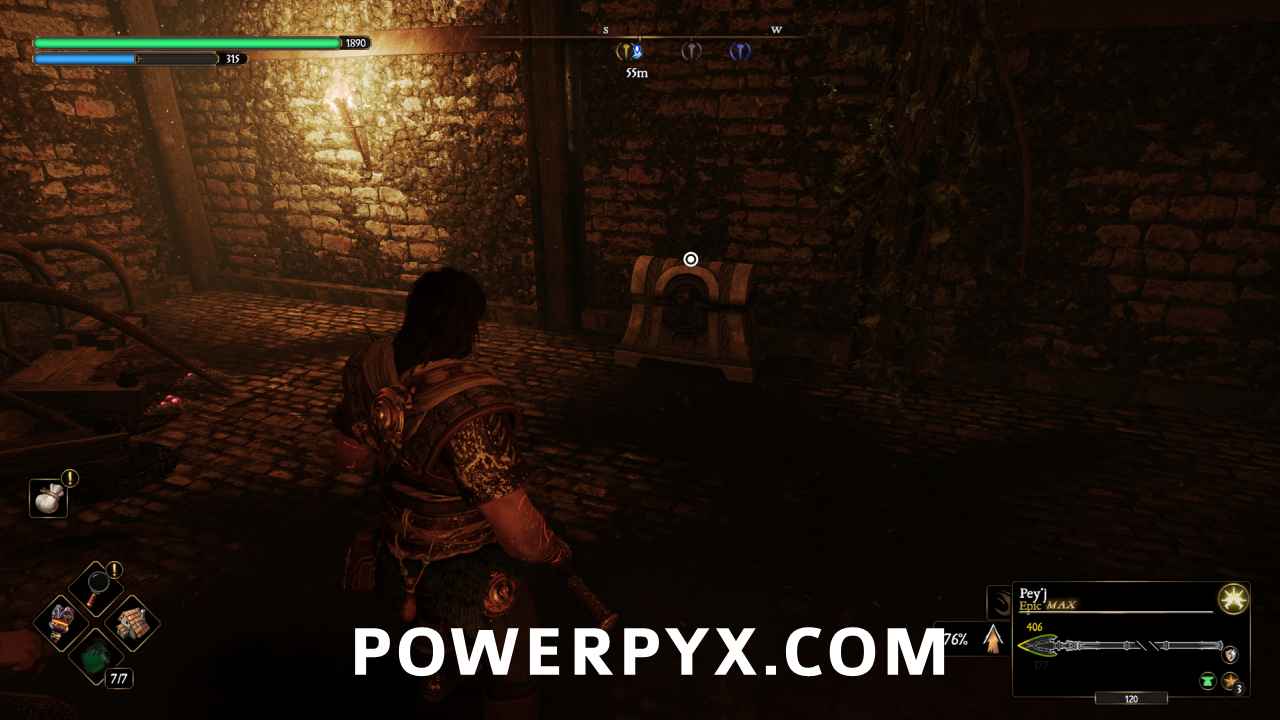
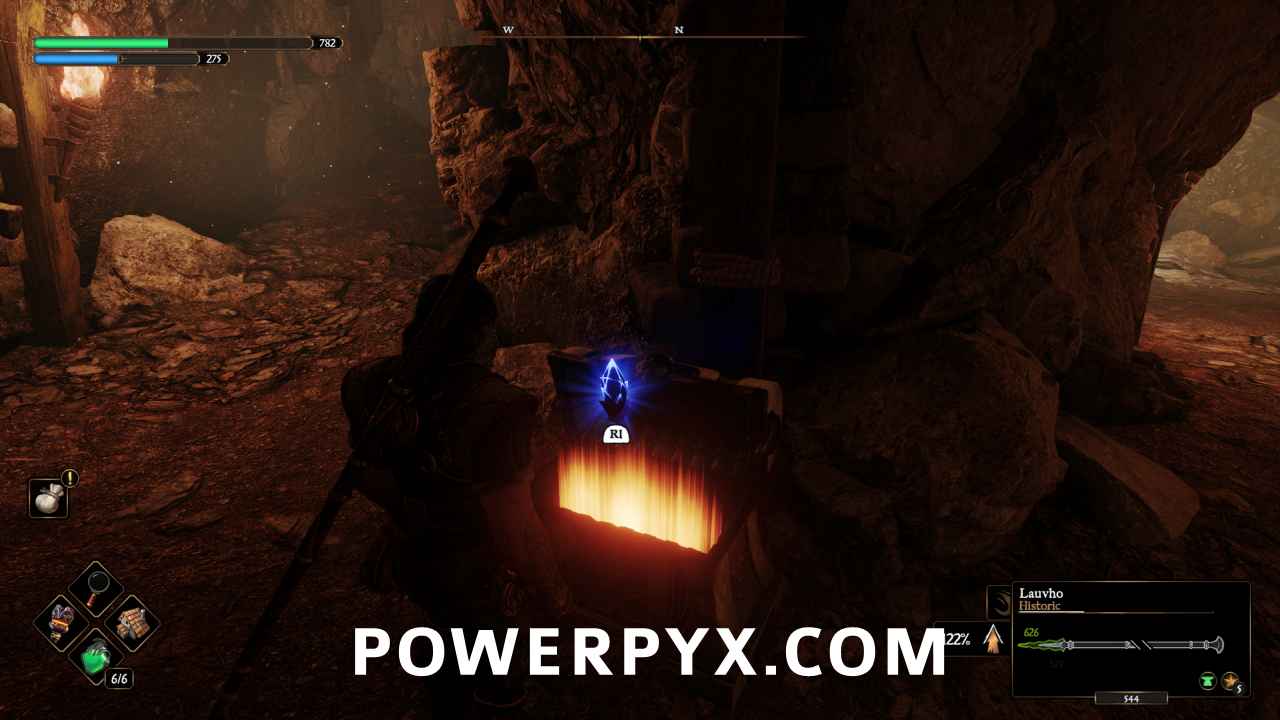
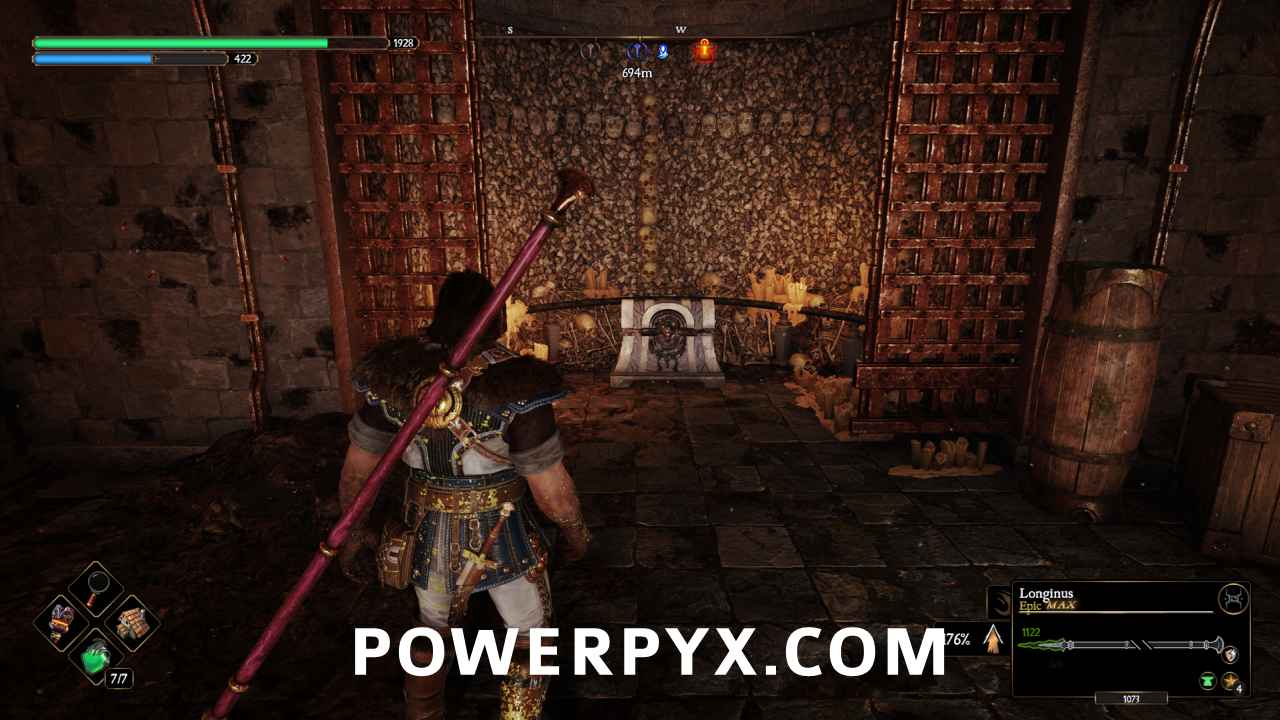
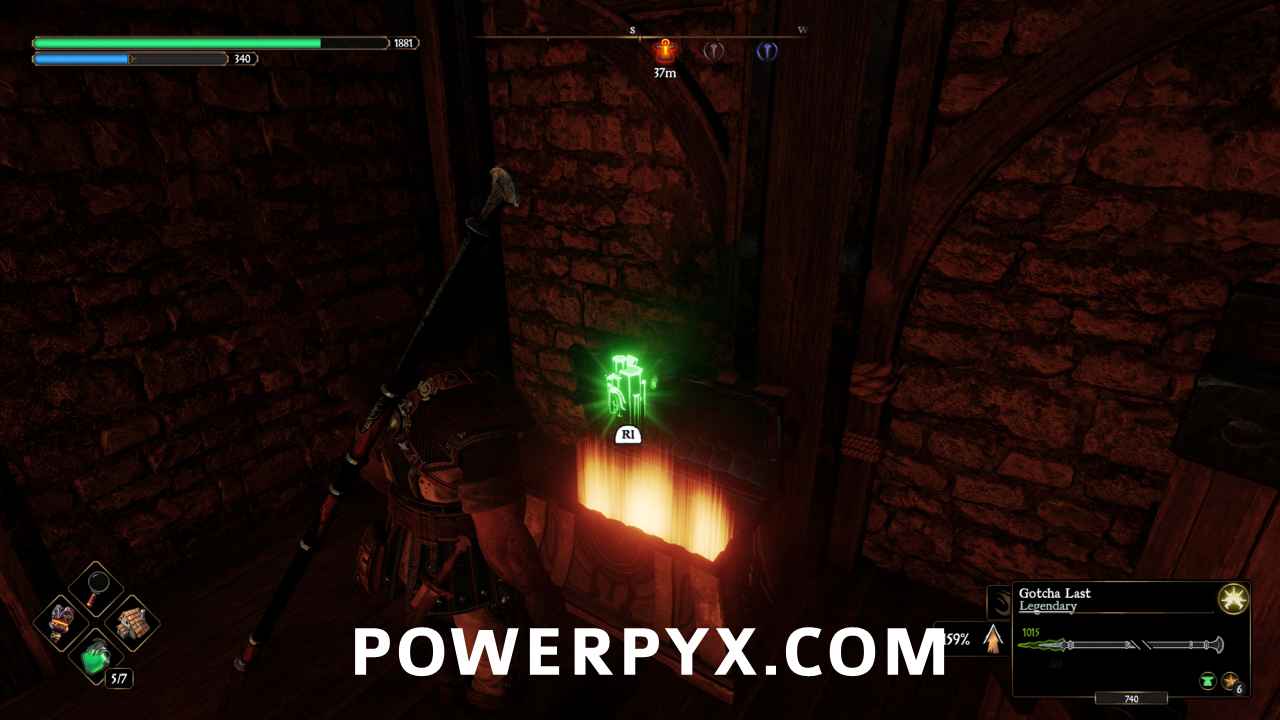
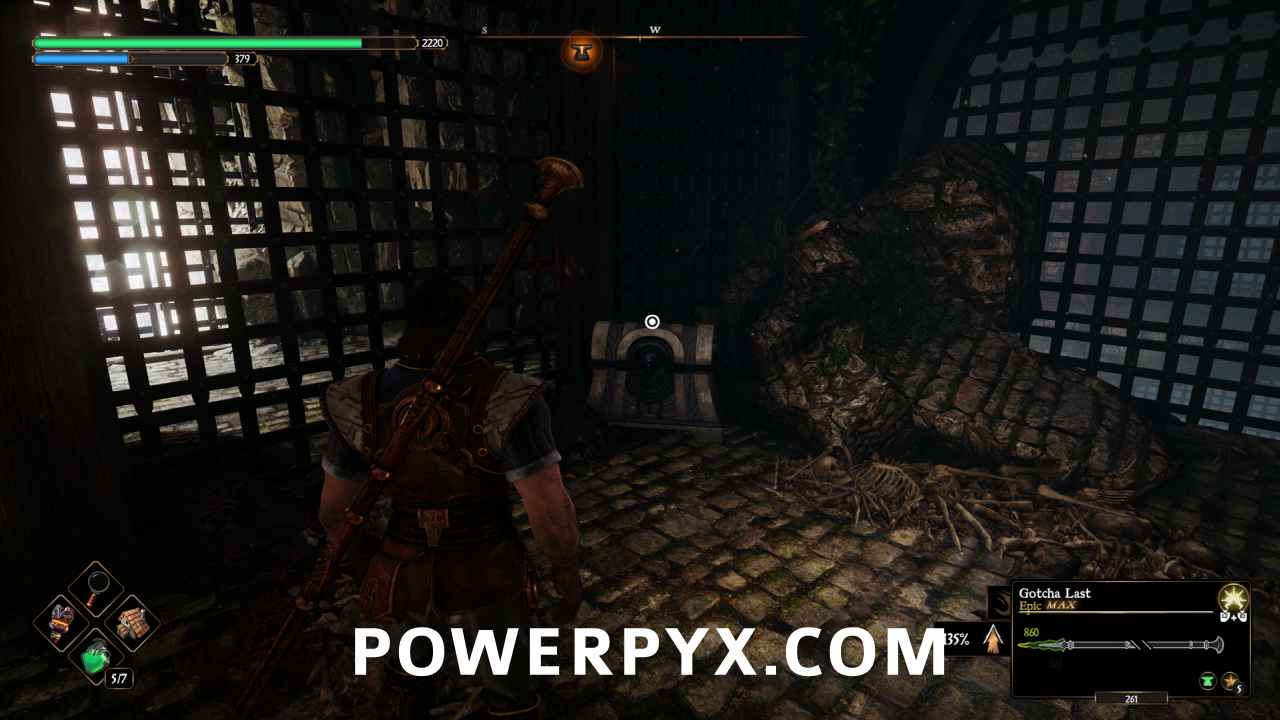
#2 – Forge Cryptex
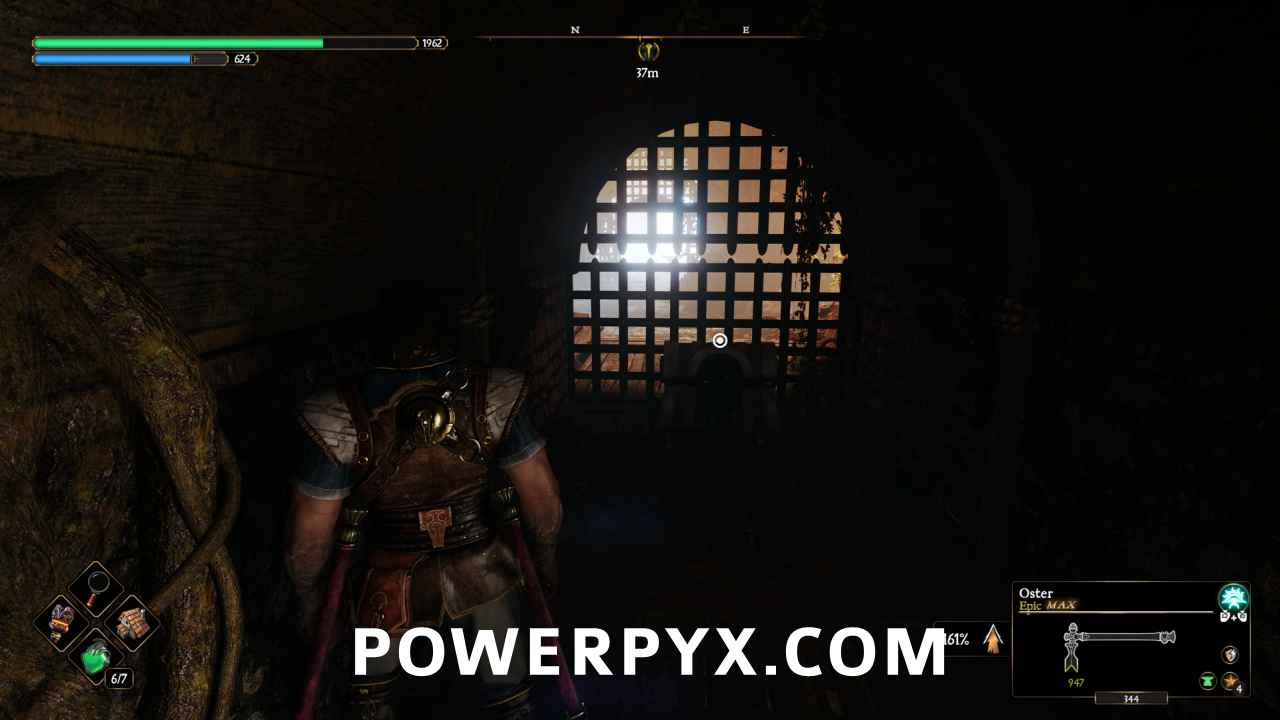
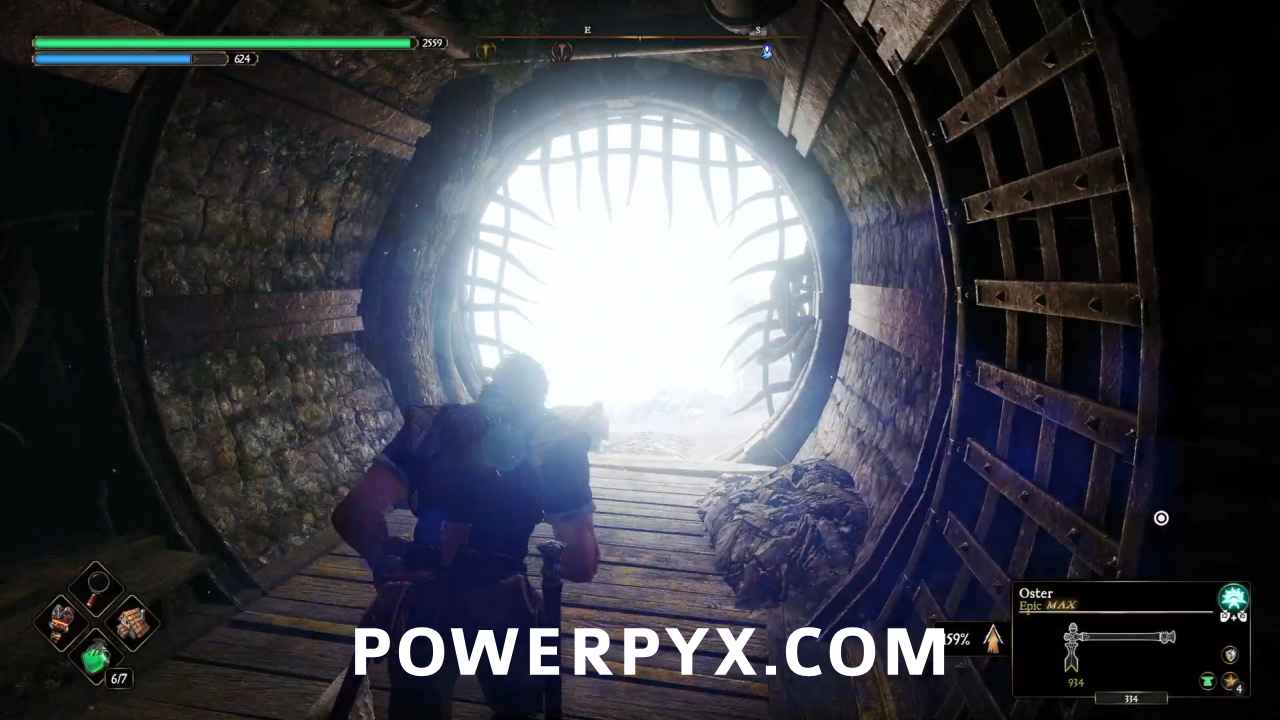
Head to the southwest and you’ll see a hole in the roof. Drop down into a cell, then exit into the hallway and face northeast.
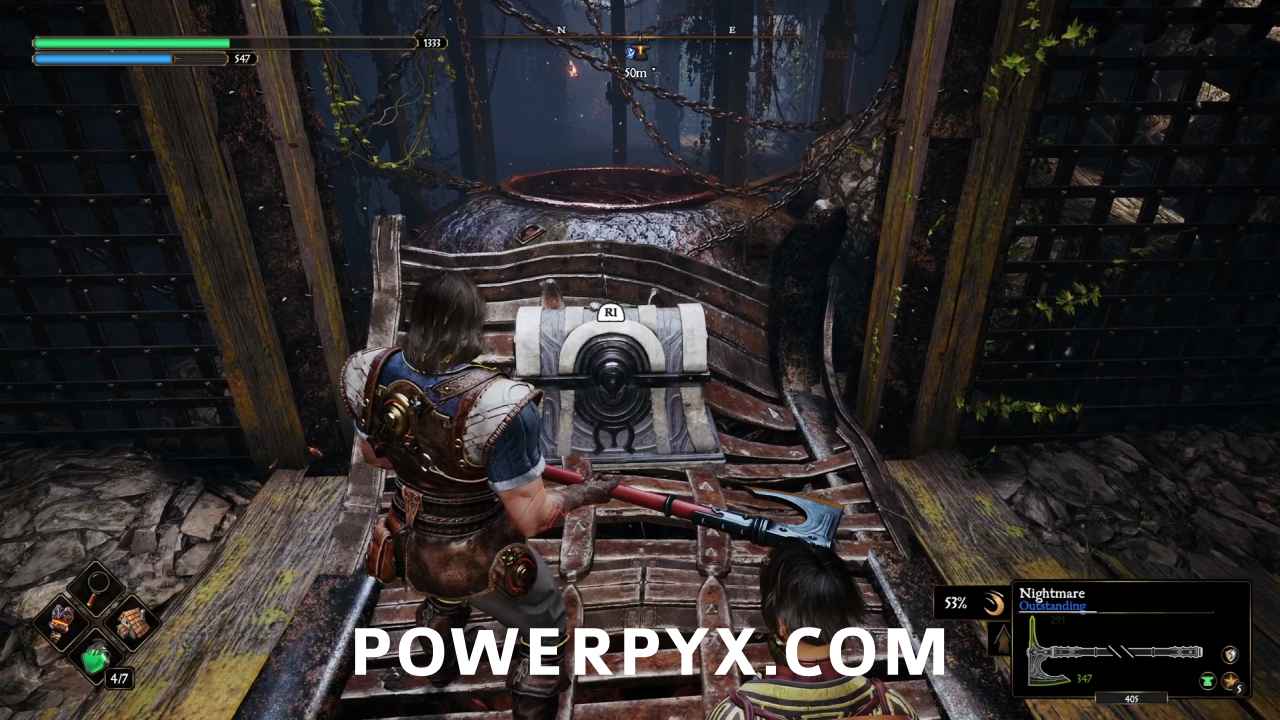
Right at the end of the row is the treasure chest.
#3 – Health Gem
Just north of the seneschal is a metal cage with a ladder that you can lower.
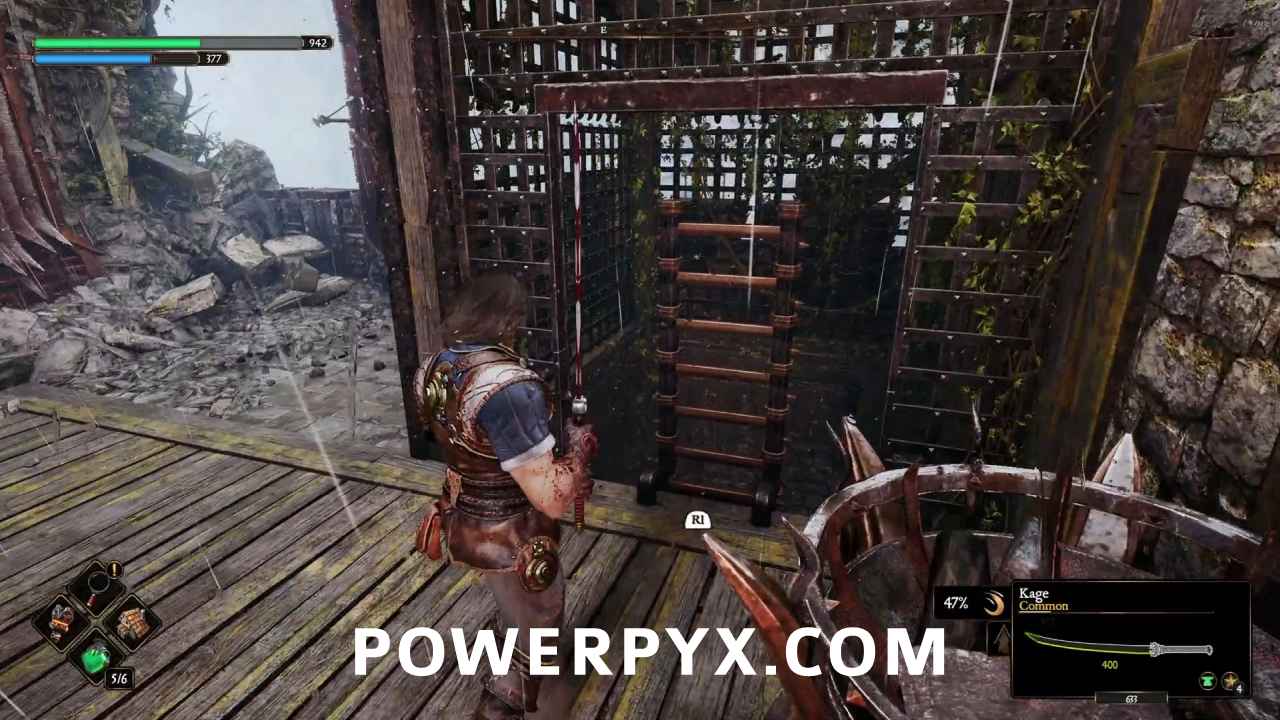
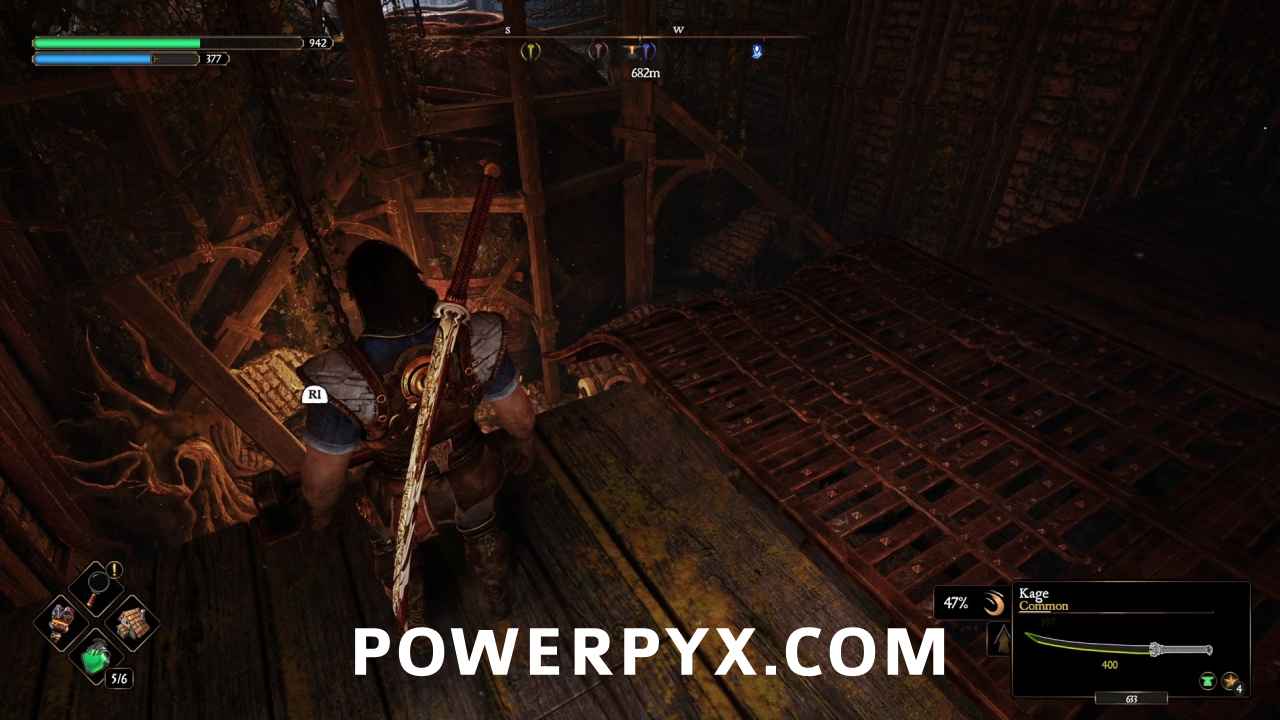
Climb down, go south to another ladder and climb down again.
#4 – Health Gem
Head to the southwest wall and go through the left door. Right beside the door is a ladder to climb down. At the bottom of the ladder go down some stairs and straight ahead until you can turn to the northeast, then go down some more stairs!
When you reach the bottom of the stairs, the chest will be right in front of you.
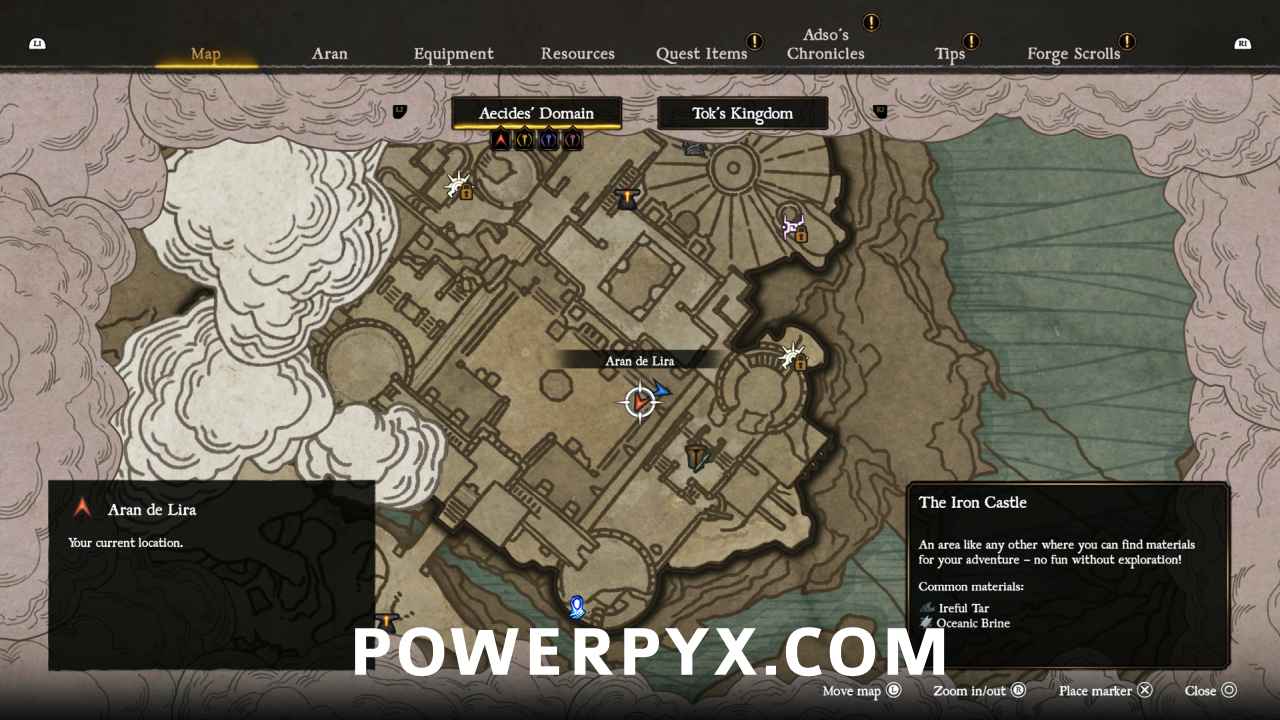
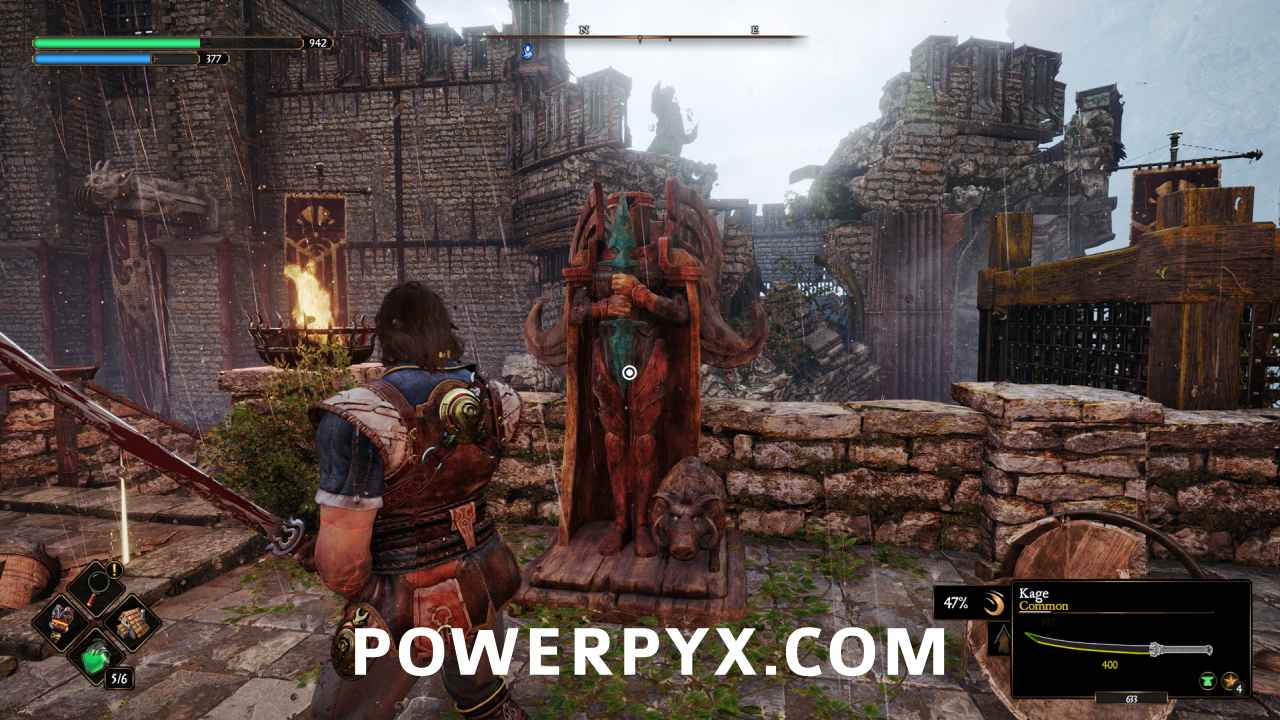
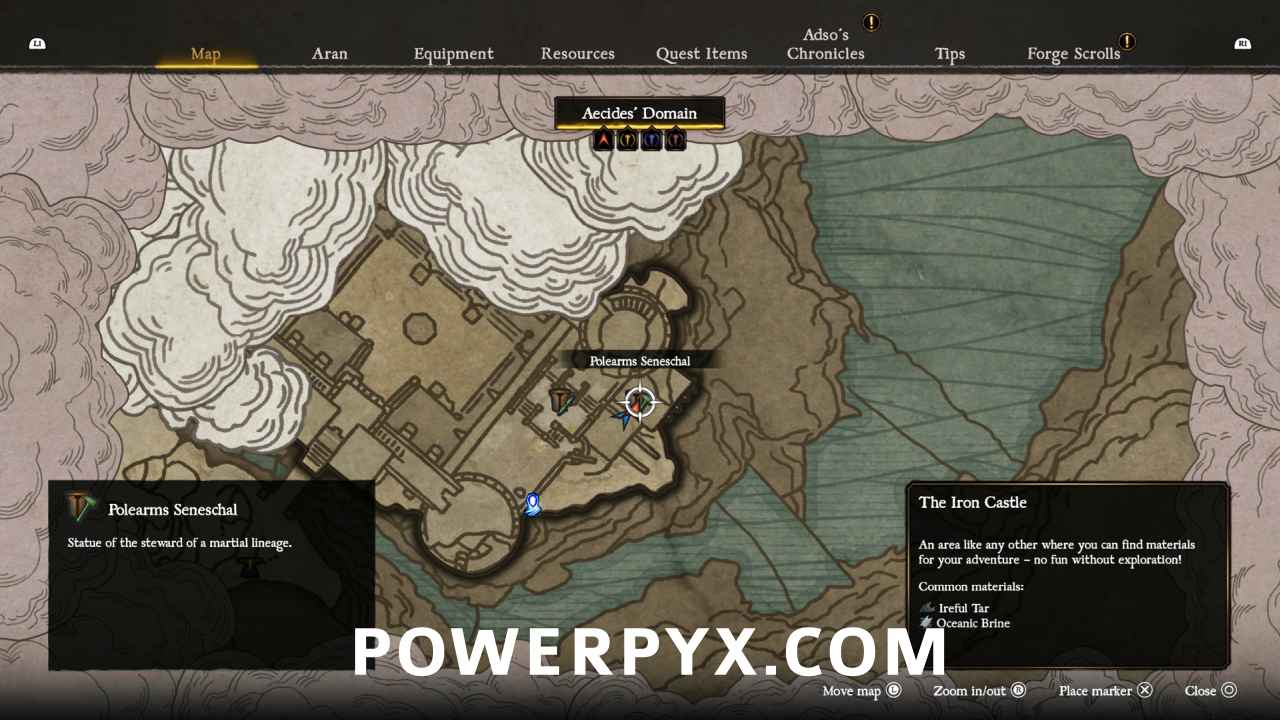
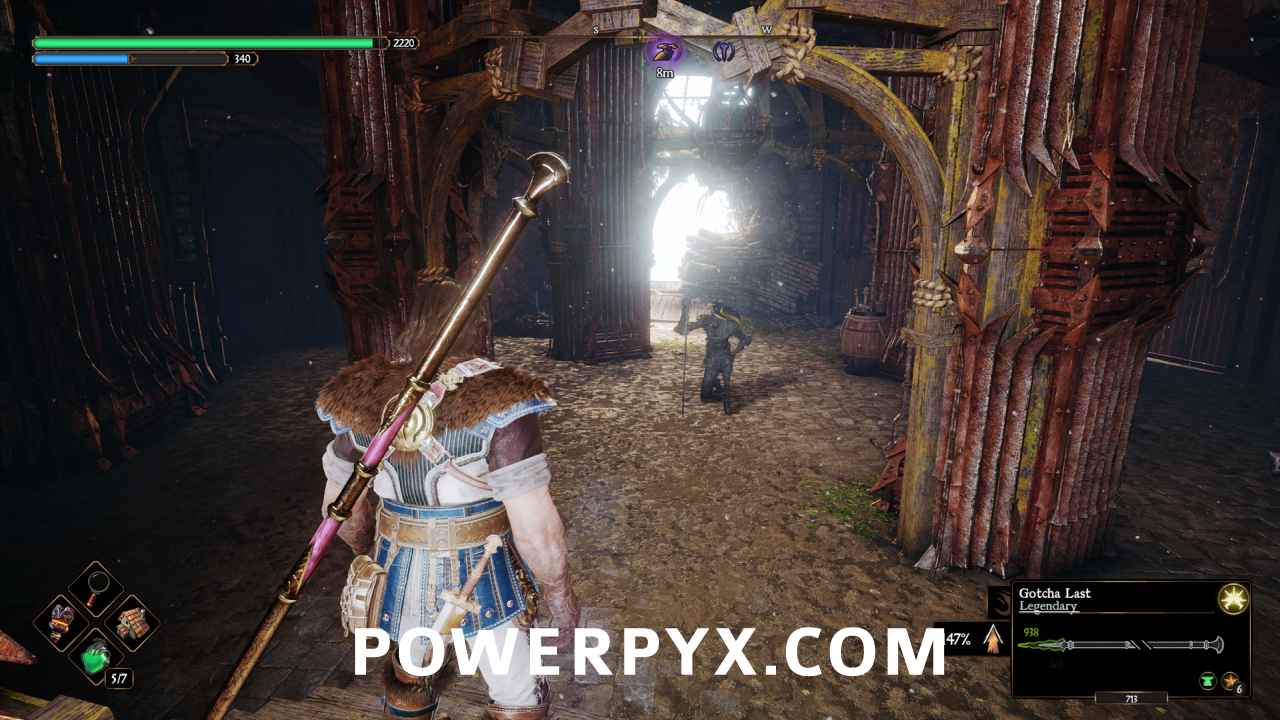
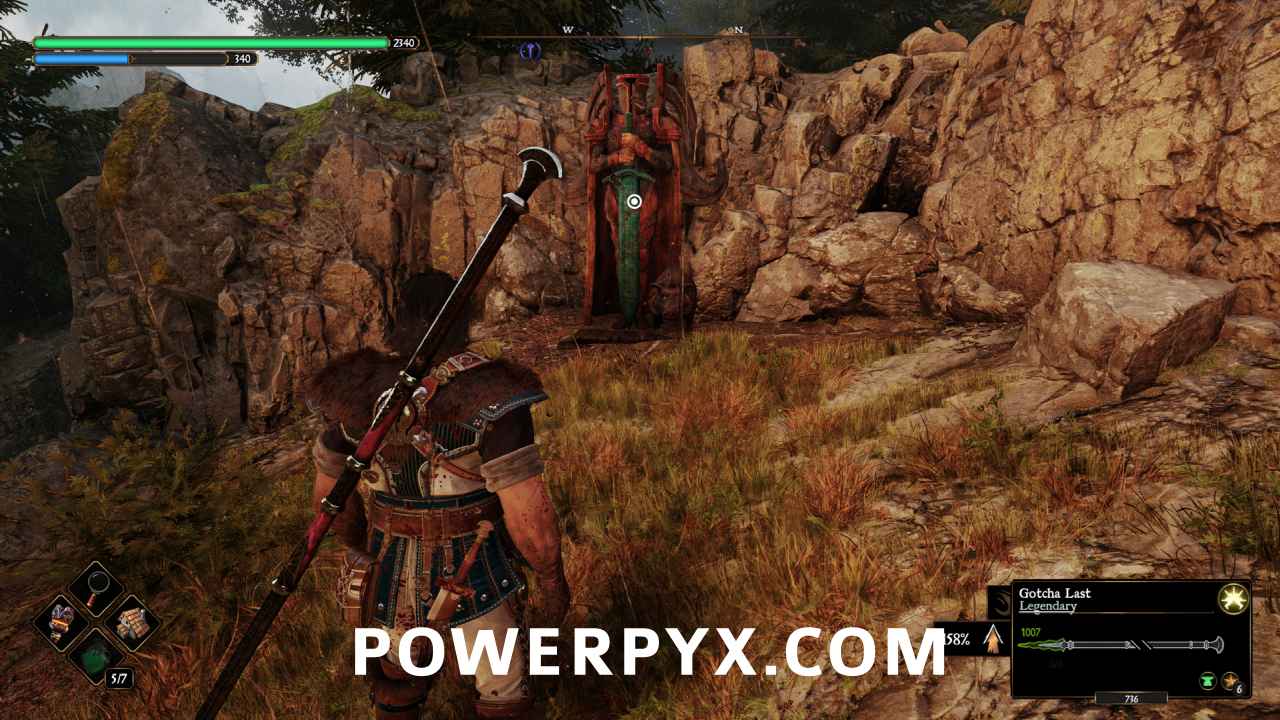
#5 – Polearms Seneschal
On the ground floor, head towards the eastmost tower and in the hall before the door opened with 2 switches, look at the wall to the southeast and you’ll see a bent metal grate where you can squeeze through.

Go down the stairs and the seneschal will be right ahead of you at the bottom.
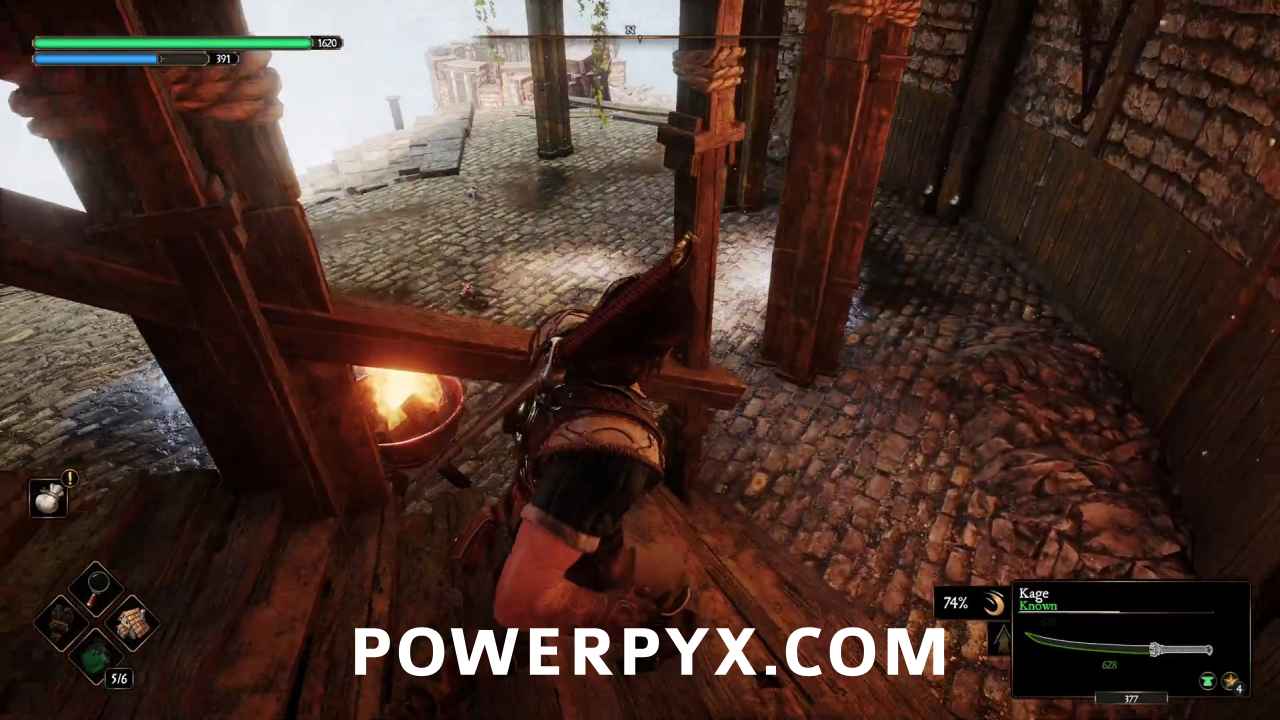
#6 – Stamina Gem
Go past the seneschal and down the stairs.

At the bottom, deal with some rotspawn and there will be a chest at the end of the hall.

#7 – Stamina Gem
After you have interrupted Aecides’s regeneration twice, return to the courtyard and the doors to the northwest will open and the first Shunned Templar will appear. After you defeat it, head into the newly opened northwest area. Head down the stairs opposite the door, all the way to the bottom. If you haven’t already, steal the crank handle from the vexers and crank open the door to the north.
Grab the crank handle from the mechanism and then follow the path beyond the door into a cavern, and when it splits take the south path.

Just past the split, you’ll find the treasure chest against the north wall.
#8 – Health Gem
From the anvil at Aecides’s Chapel, head out the door to the northwest onto the roof, then southwest and up the stairs. As soon as you exit the door at the top of the stairs, turn to the east and you’ll see a ladder.
Climb the ladder and the chest will be right there.
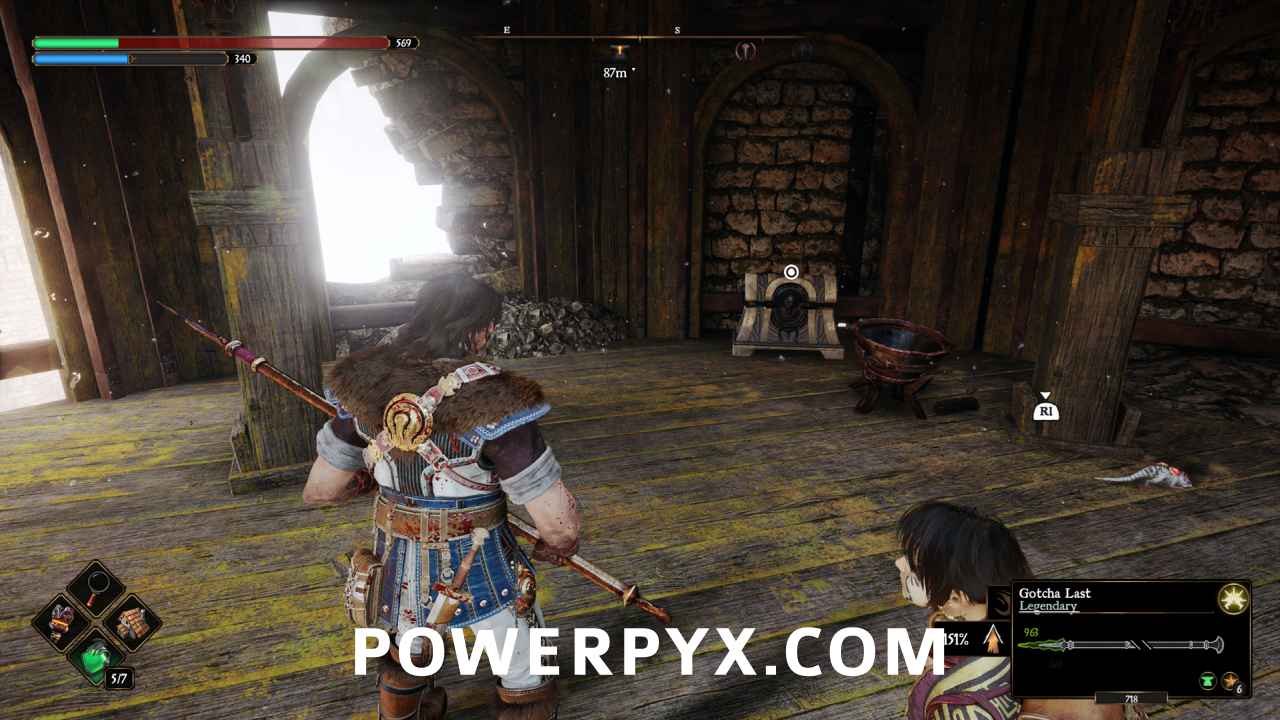
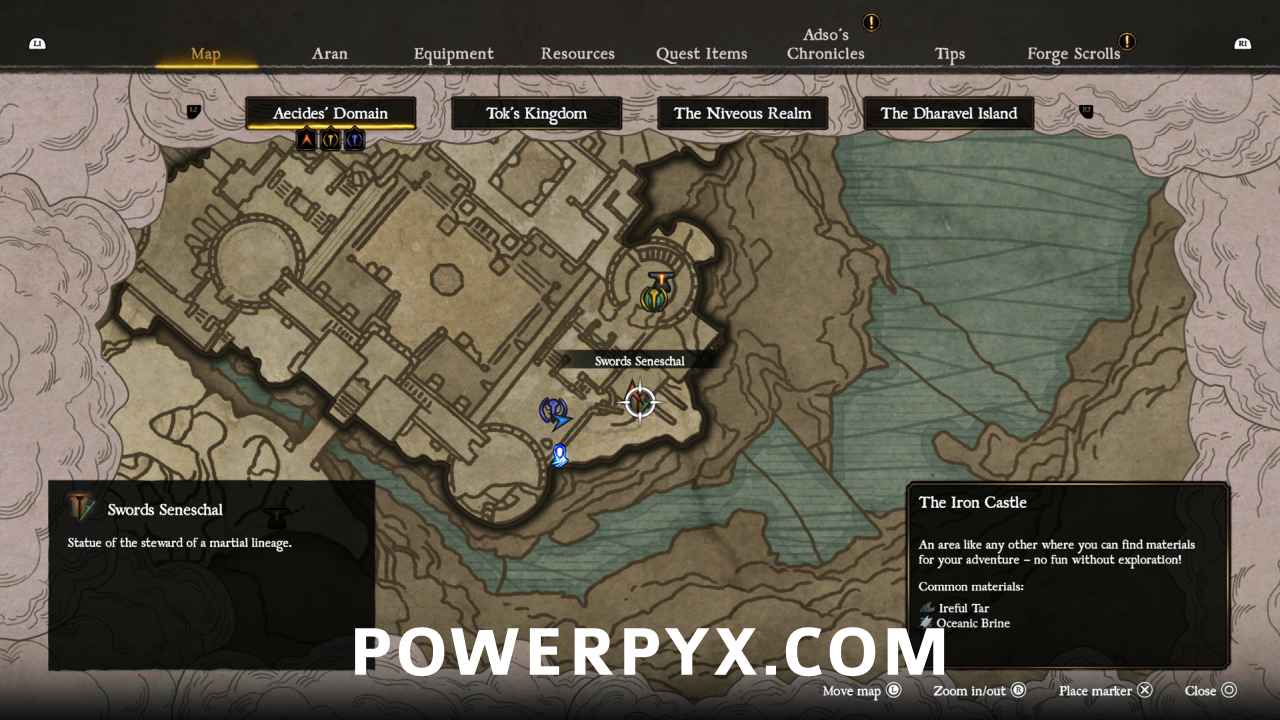
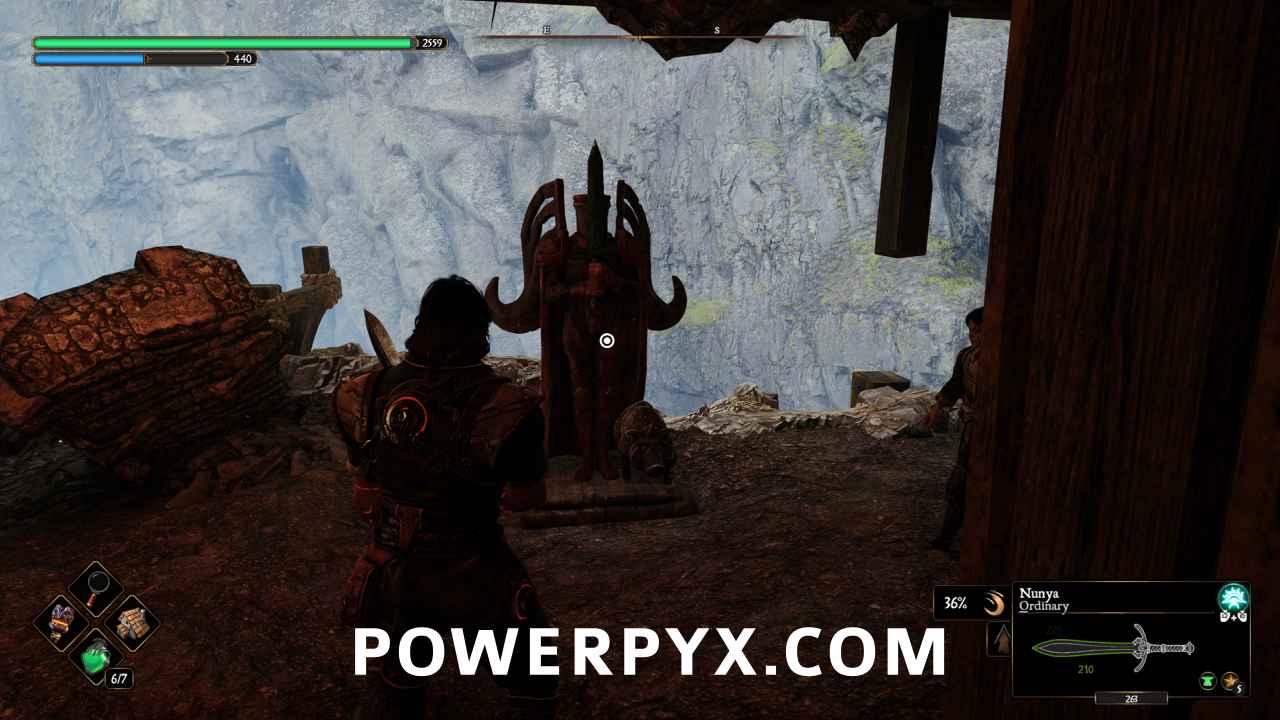
#9 – Swords Seneschal
Climb back down the ladder, then go back to the previous room with the stairs. After you climb down one set of stairs, there’s a second set to climb down on the opposite side of the room.
At the bottom of the stairs you’ll see the seneschal on the other side of the room.
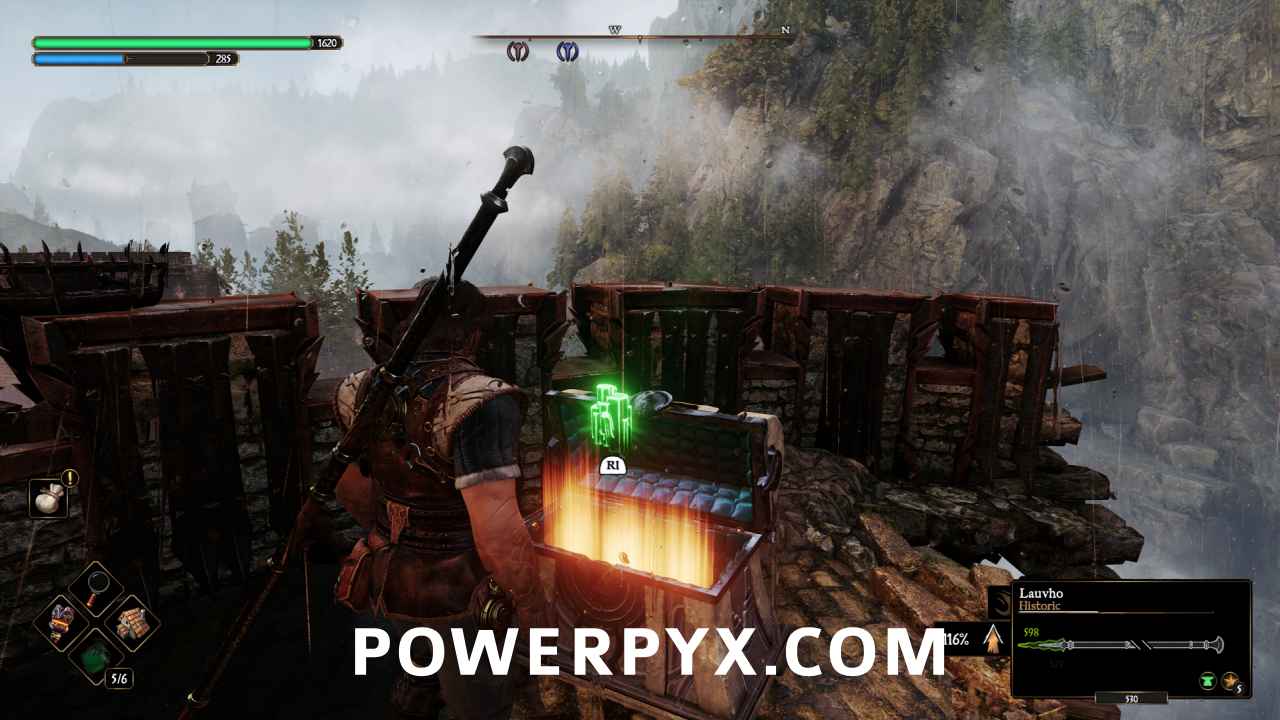
#10 – Roots Dye (Need Soul Rune)
On the second floor of the cathedral, find the soul rune on the base of a statue on the southeast side. Activate the rune to get the Statue Key.
Drop down to the bottom floor and use the key to open the locked gate on the southwest side of the room to get the chest.
#11 – Health Gem (Need Light Rune)
Head to the northernmost tower, where you had previously winched Adso up to a higher floor. Crawl under a beam to the other side, climb down a ladder and use the Soul Rune to open a hole in the wall.
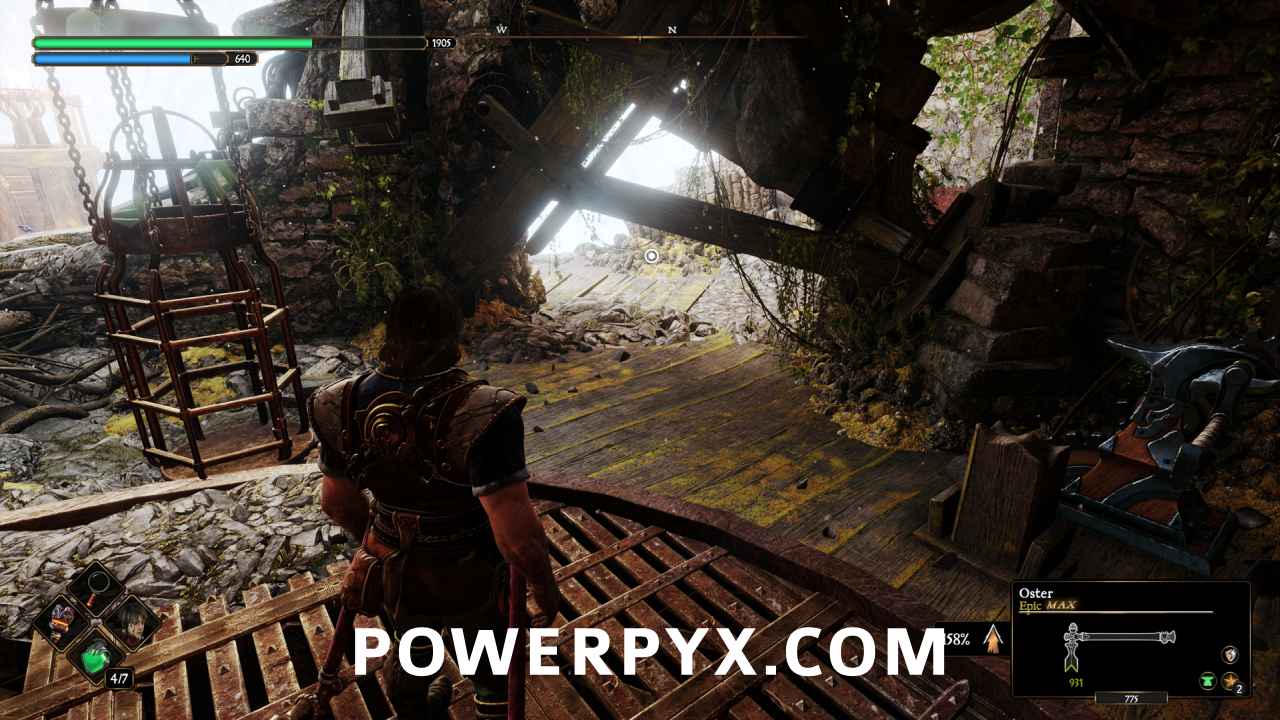
Go into the new tunnel, and jump over several open pits, then climb the stairs at the end of the tunnel and look to the south. Head south to find a ladder up to the top of the tower.
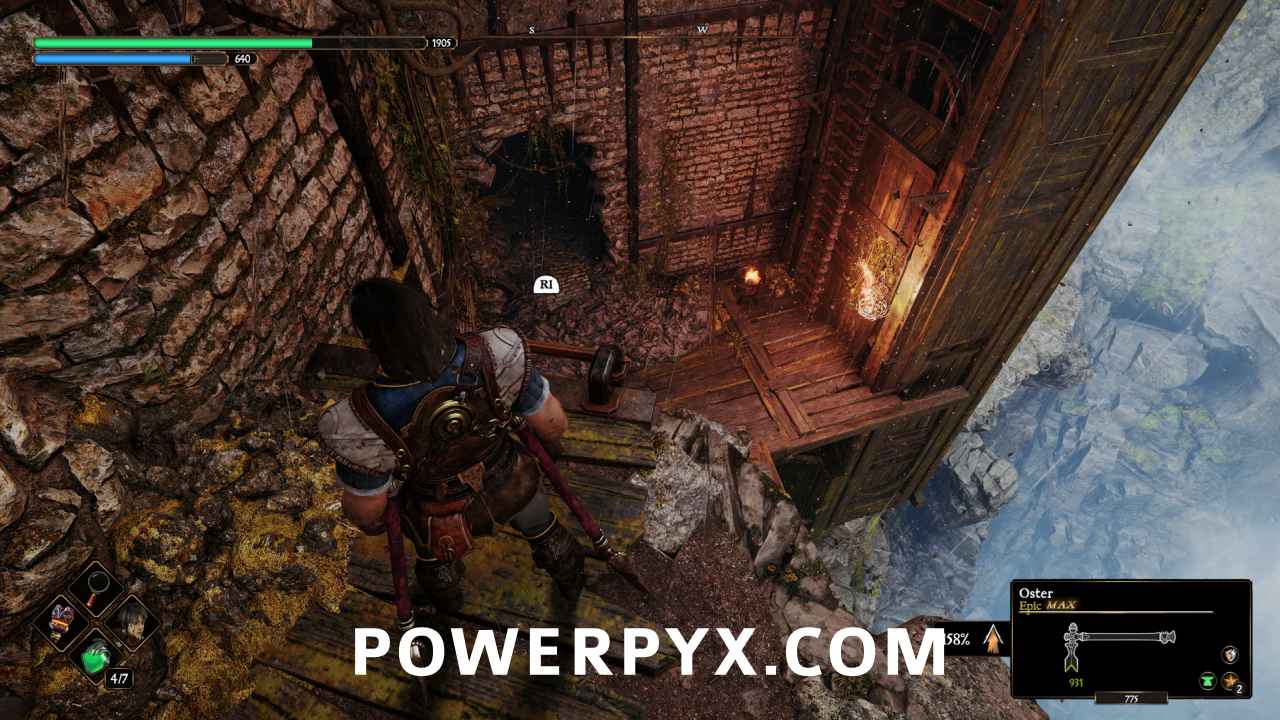
At the top look to the northwest and you’ll see a place in the battlements that has broken away. Look down through the hole and you’ll see this chest.
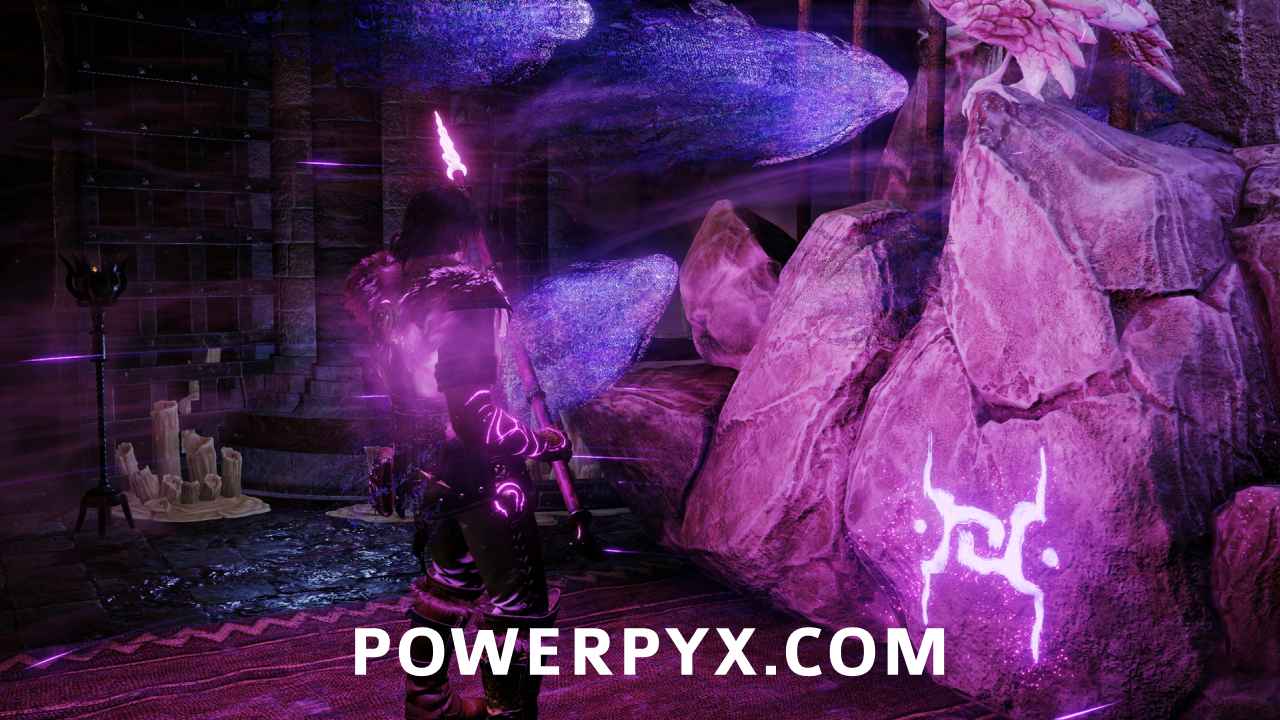
#12 – Nerea’s Tears / Blue Gems (Need Light Rune)
Climb back up the ladder, and then up the next ladder to the upper level. To the southwest is a gate you can unlock to access a Templar of the Sacred Steel. Defeat them to receive a Nerea’s Tear.
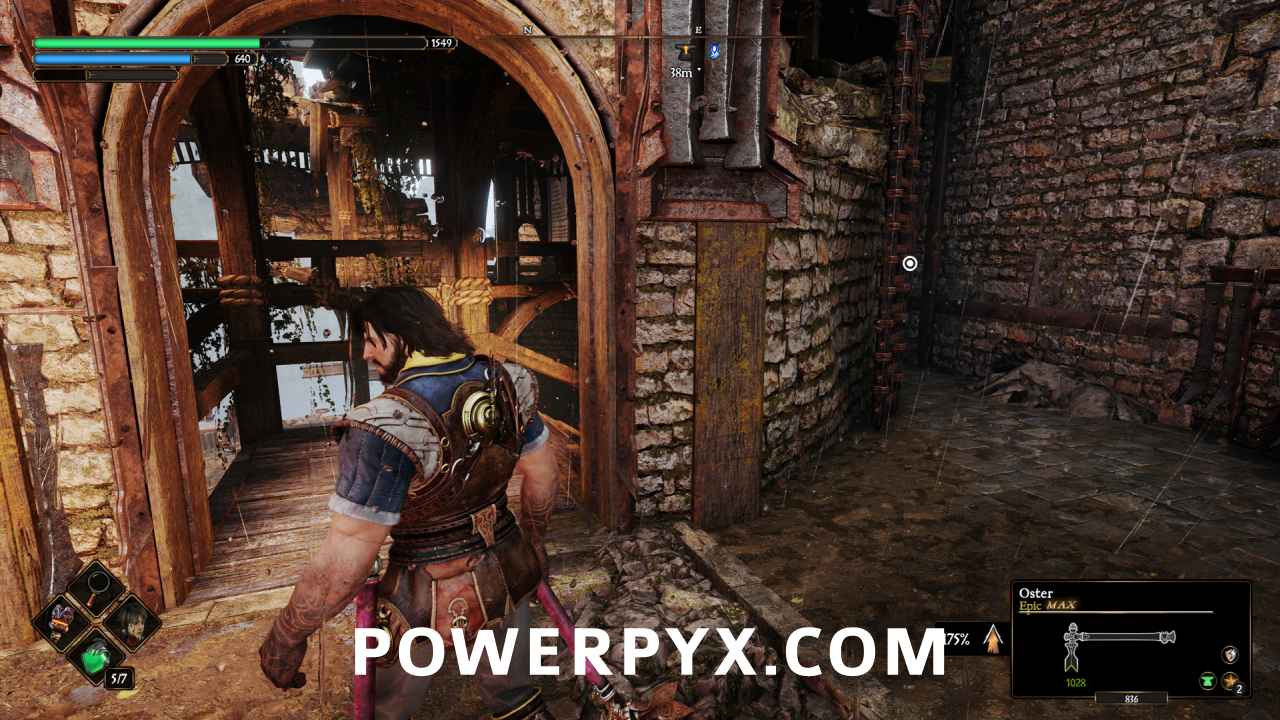
#13 – Swords Seneschal (Need Light Rune)
Drop back down to ground level and head through the archway to the southwest.
Enter the hole in the side and you’ll see the seneschal.
#14 – Health Gem (Need Light Rune)
Head southeast from the tower with the seneschal, go through the archway and then through the door on the other side of the grounds.
Go down the stairs inside and you’ll see the chest ahead of you.
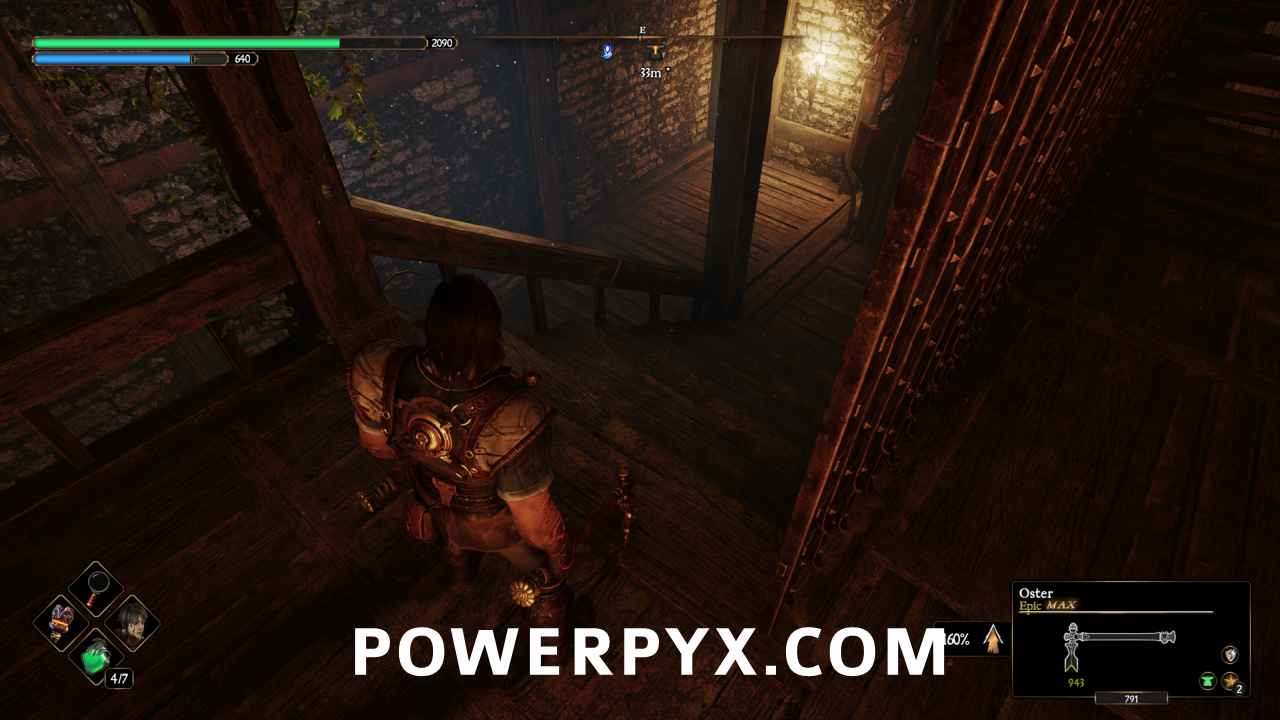
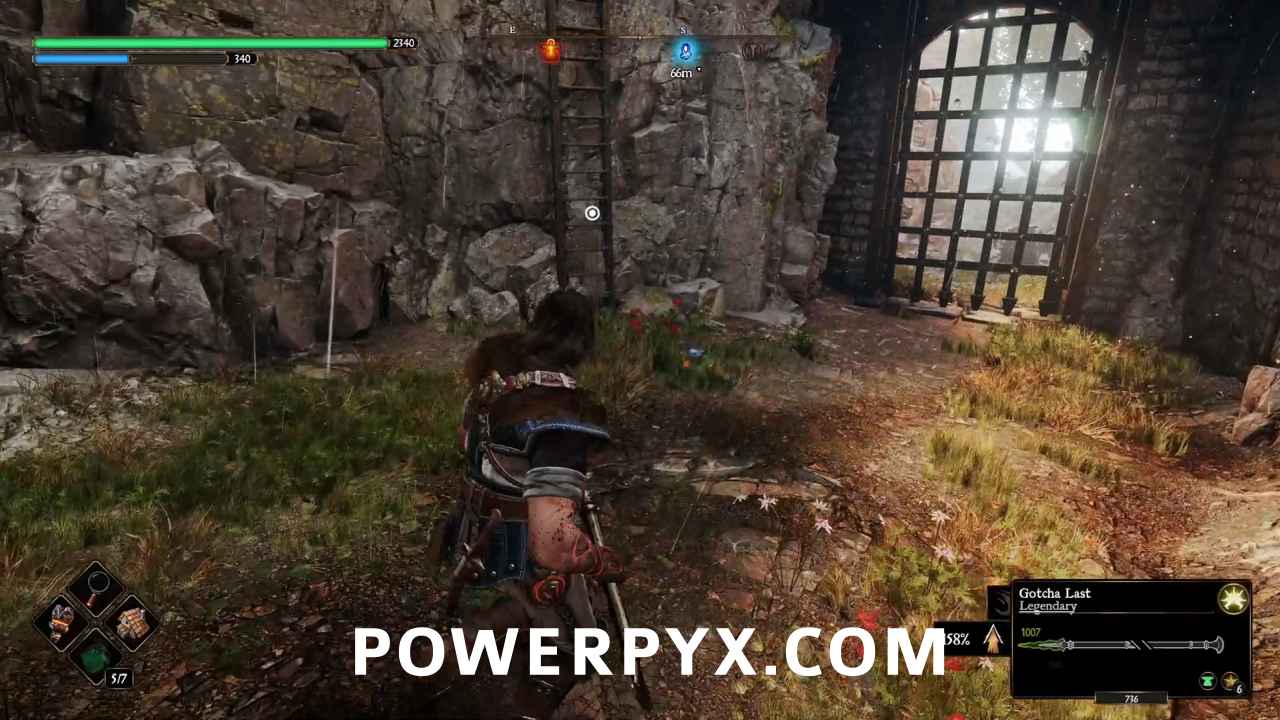
#15 – Life Cryptex (Need Light Rune)
Head outside and head back to the northwest, but don’t go through the archway. Look to the west and you’ll see a ladder on the side of the arch. Climb up to the top and head straight ahead to enter the tower.
Climb up the stairs inside and you’ll find the chest on the floor above.
#16 – Greatswords Seneschal (Need Light Rune)
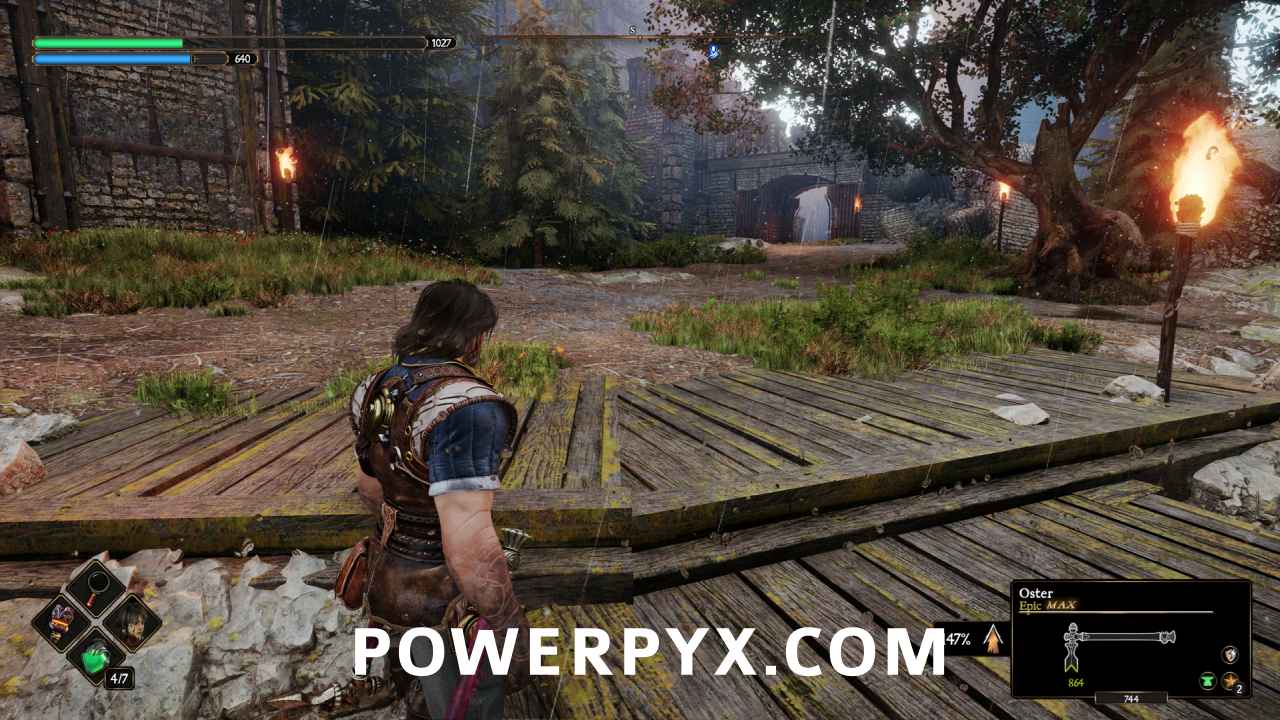
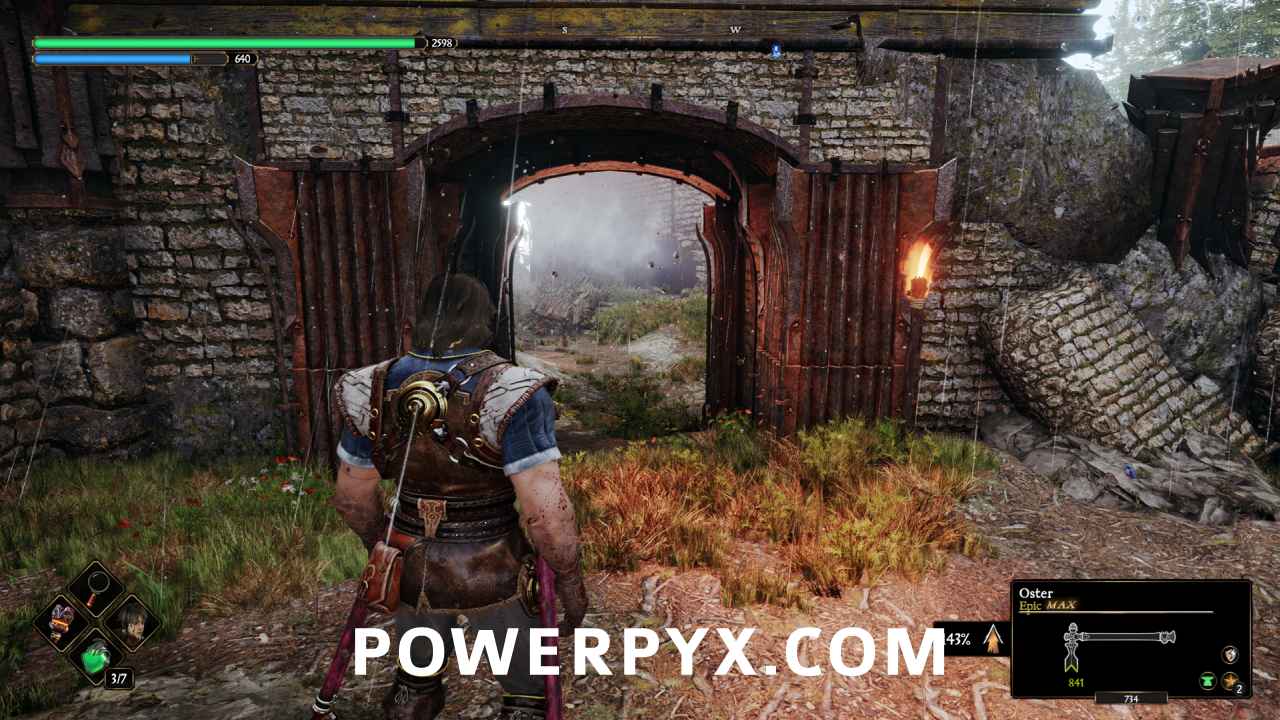
Head back down to ground level and pass through the archway, then turn through the arch to the southwest.
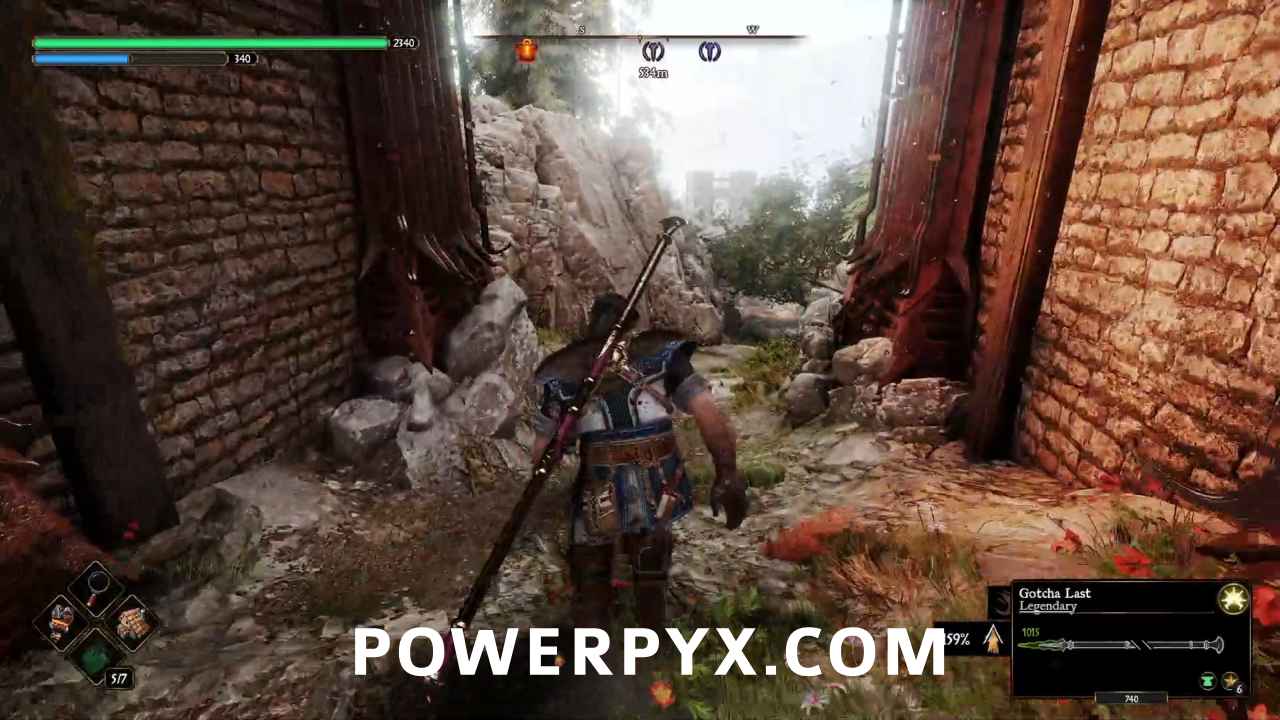
Follow the path until you reach the outer gate, and you’ll see a ladder to the southeast. Climb up and walk across the top of the gate, and you’ll see the seneschal on the other side.
#17 & #18 – Troll (x2) (Need Light Rune)
Head to the easternmost tower and go through the breach in the wall, then climb down the rope to the platform below.

Climb down to the platform below that and use the Light Rune to have Adso cause the wall to disperse. Head inside to the Sealed Dungeons anvil.
Head through the gate to the northwest, and follow the hall to a grate that has a gap in the middle you can squeeze through.
On the other side you’ll see two trolls wandering the halls!
#19 – Health Gem (Need Light Rune)
In one of the trolls wrecked cages, you’ll find a treasure chest.
#20 – Health Gem (Need Light Rune)
Head up the stairs to the southeast then go through a space in the grating to the northeast.
Then look to the northeast to find this chest.
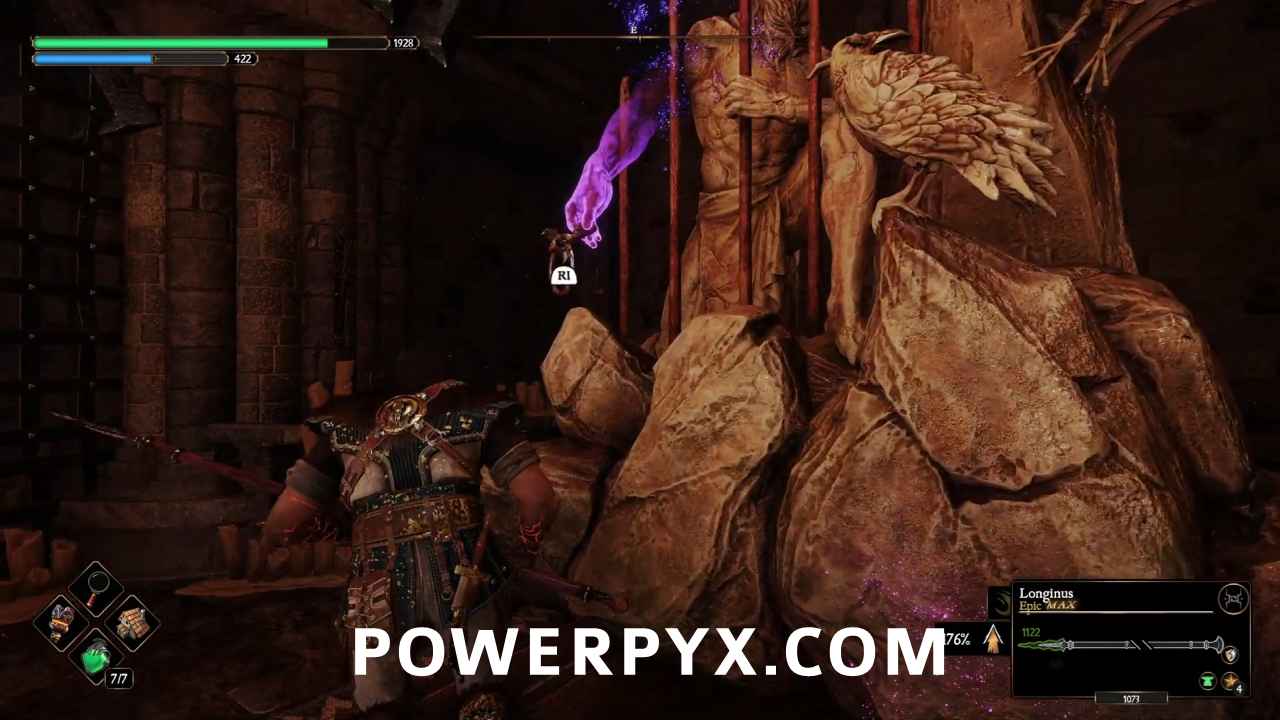
#21 – Sword Seneschal
Go out the door to the southeast, and look to the northeast.
Take note of the Swords Seneschal, but also the Templar of the Sacred Steel below.
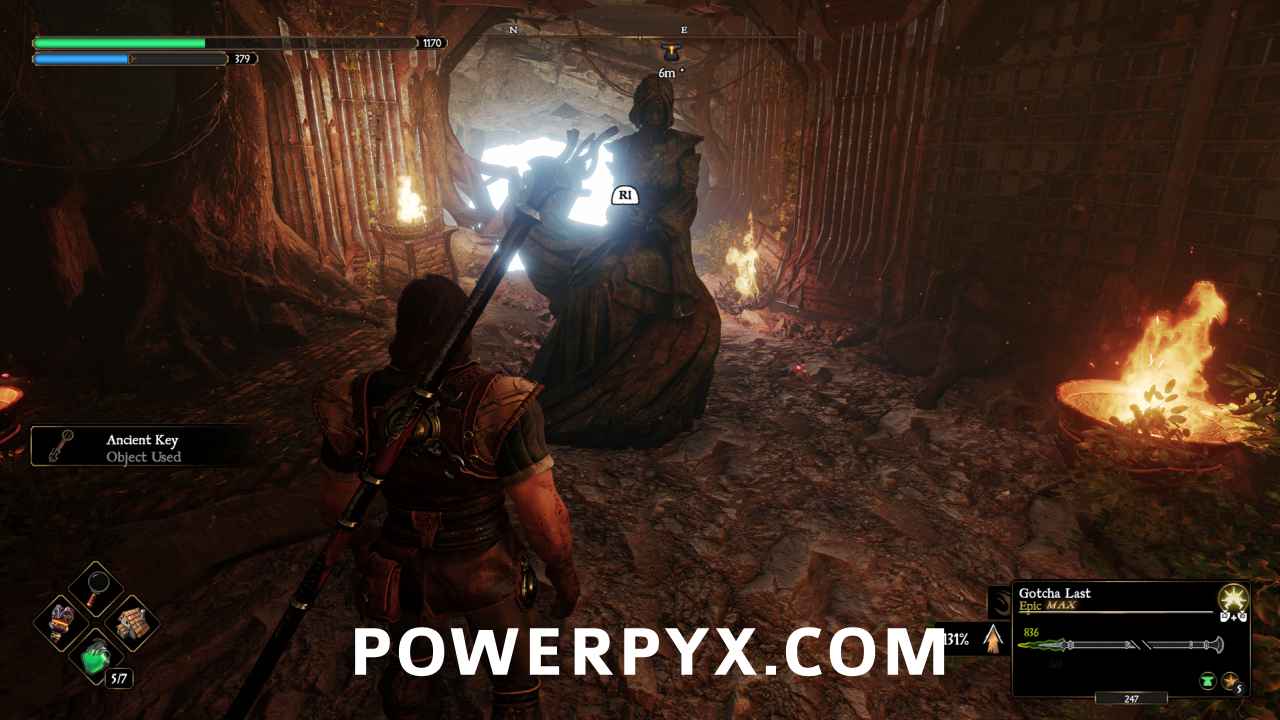
IMPORTANT: The templar below the seneschal does not drop a Stamina Gem or a Nerea’s Tear, but it does have the Ancient Key, which is needed to unlock the room that contains Nerea’s Statue.
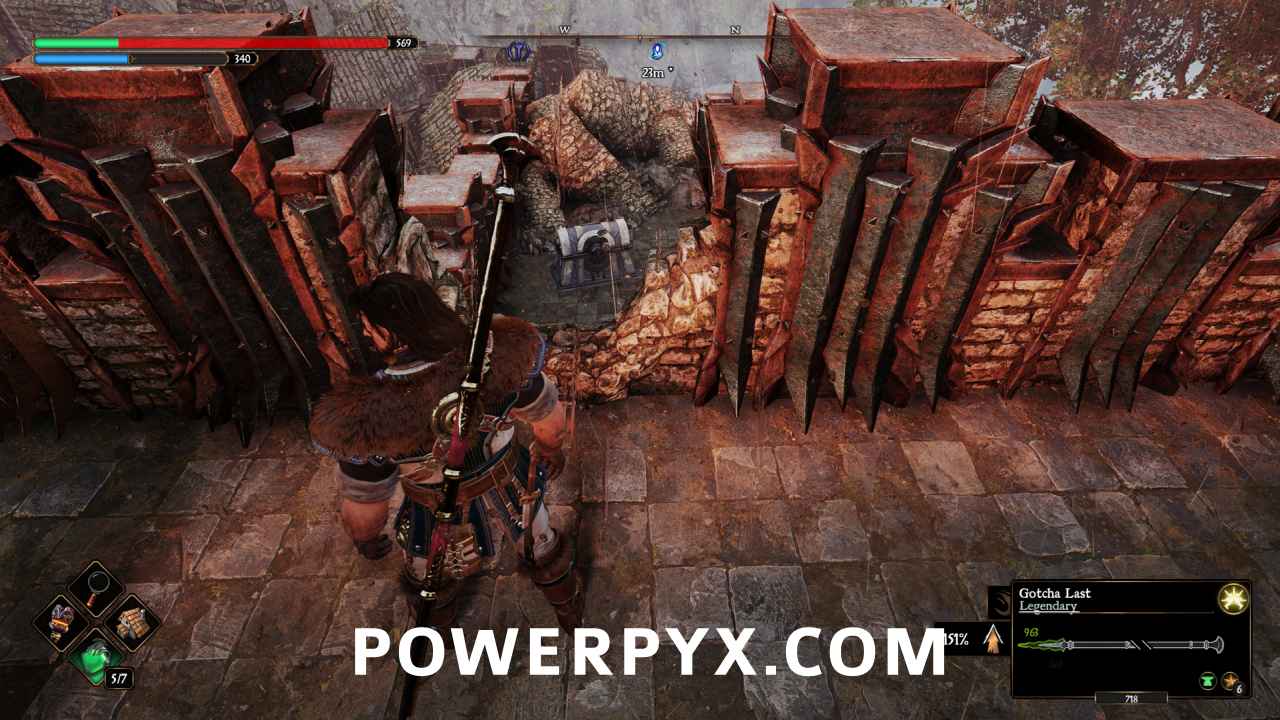
#22 – Fragmented Tablet Piece (Need Light Rune, 2 Nerea’s Tears / Blue Gems)
Head to the Sealed Dungeons anvil, and head down the stairs to the southeast. Unlock the gate with the Ancient Key, and use 2 Nerea’s Tears to get a Fragmented Tablet Piece.
That’s 100% of the collectibles you can find in The Iron Castle area in Blades of Fire.
Next Up: Watchtower Domain
For all other Regions, check out the complete Blades of Fire Collectibles Guide.
Kevin says
Can you tell me where the key is to unlock the gate to Nerea tear 1 because I can’t find it anywhere
Jack McBastard says
The North Tower Key is the only unique key in the area, carried by the Mayhem Warmonger that’s hanging around the eastmost tower on the second floor.
SVT says
Is this asking about item #12? I can’t find the key to get in there and beat the guy for the tear, either.
#12 – Nerea’s Tears / Blue Gems (Need Light Rune)
Climb back up the ladder, and then up the next ladder to the upper level. To the southwest is a gate you can unlock to access a Templar of the Sacred Steel. Defeat them to receive a Nerea’s Tear.
Artem says
The same problem with #12 item, cannot open the gate to beat the guy for tear
Who had this issue, how could you resolve it?
The North Tower Key is marked like used and the man who carries it doesn’t appear