
The Holy City of Aratum is the 5th chapter in Doom: The Dark Ages and contains 17 collectible locations, 240 Gold & 3 mission challenges. This walkthrough will guide you to all The Holy City of Aratum collectibles in Doom The Dark Ages. If you missed anything you can get it via chapter select. Everything needed for 100% completion is included.
- Gold: 240
- Ruby: 2
- Demonic Essence – Health: 1
- Demonic Essence – Ammo: 1
- Secrets: 9
- Codex Entries: 2
- Collectible Toys: 1
- Skins: 1
- Challenges: 3
Collectibles Overview:

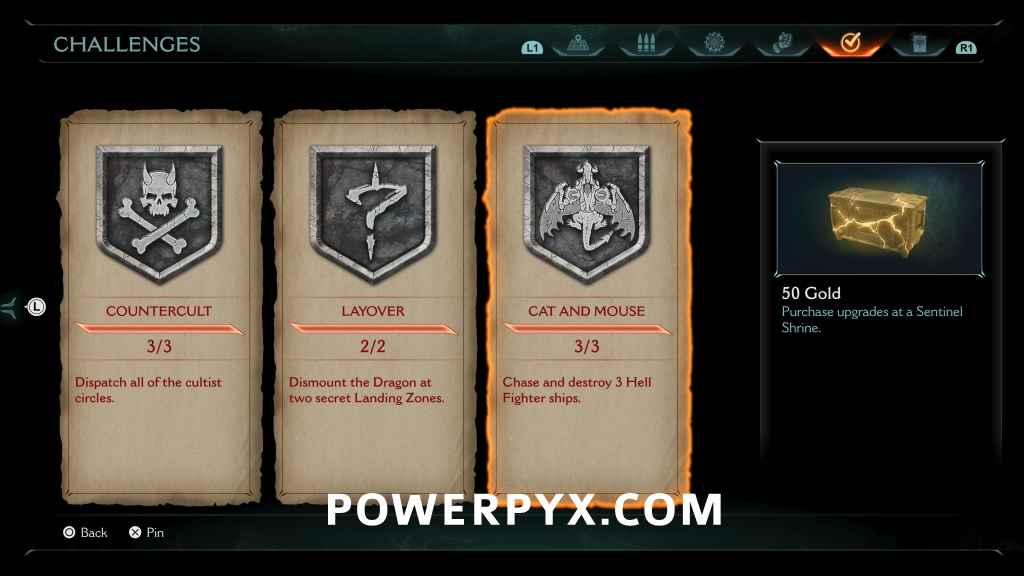
Mission Challenge #1 – Countercult: Dispatch all of the cultist circles (1 Ruby reward)
You get this automatically by following the collectible guide. Cultists are found in secret areas, standing in circles where they do a ritual, kill them all.
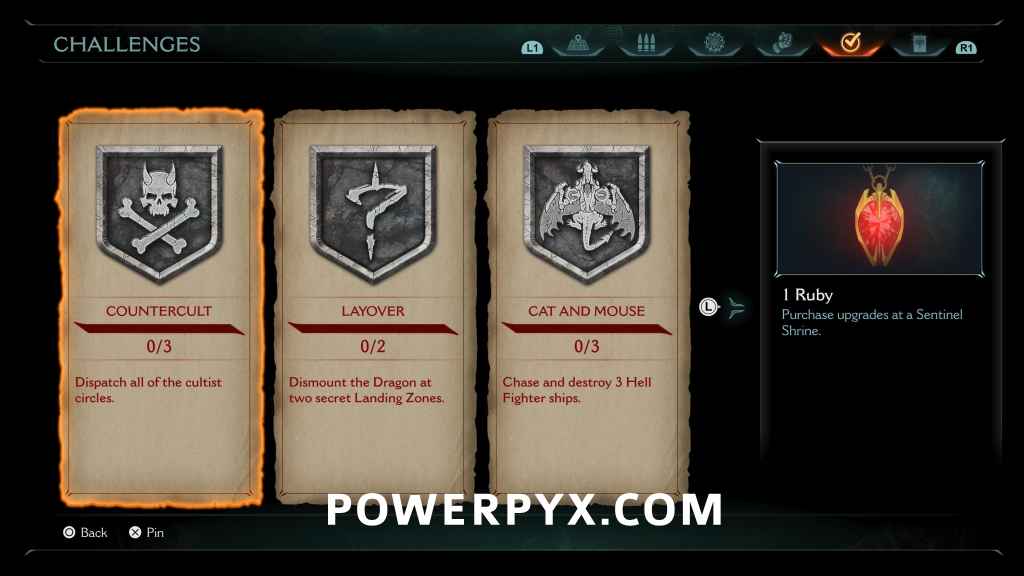
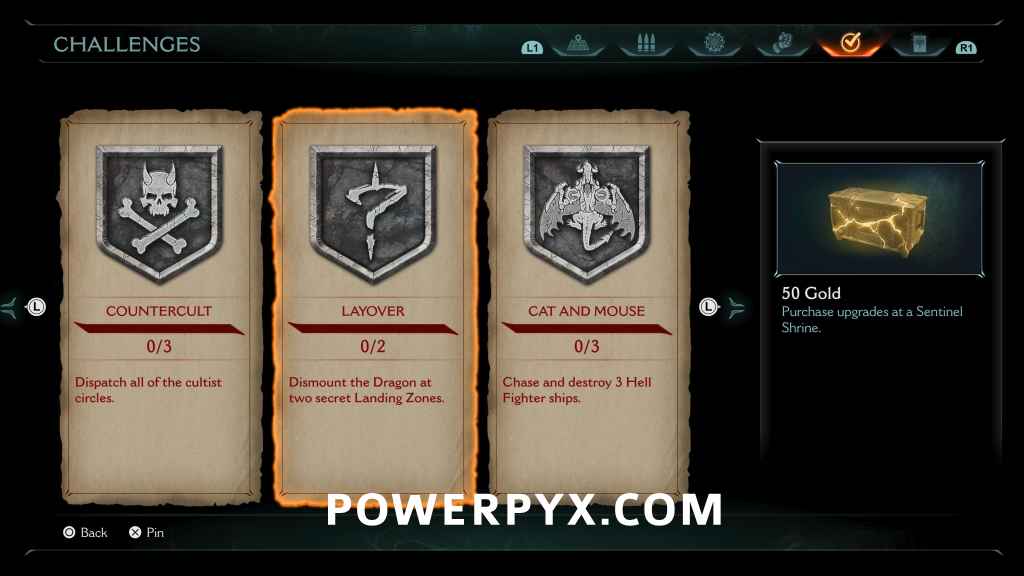
Mission Challenge #2 – Layover: Dismount the Dragon at two secret Landing Zones (50 gold reward)
You get this automatically by following the collectible guide.
Mission Challenge #3 – Cat and Mouse: Chase and destroy 3 Hell Fighter ships (50 gold reward)
You get this automatically by following the collectible guide.
Hell Fighter Ship 1/3 (Cat and Mouse Challenge)
The first Hell Fighter ship is located right after destroying the 5 turrets near the start of the chapter (you get a tutorial about this). Chase it and shoot it down.
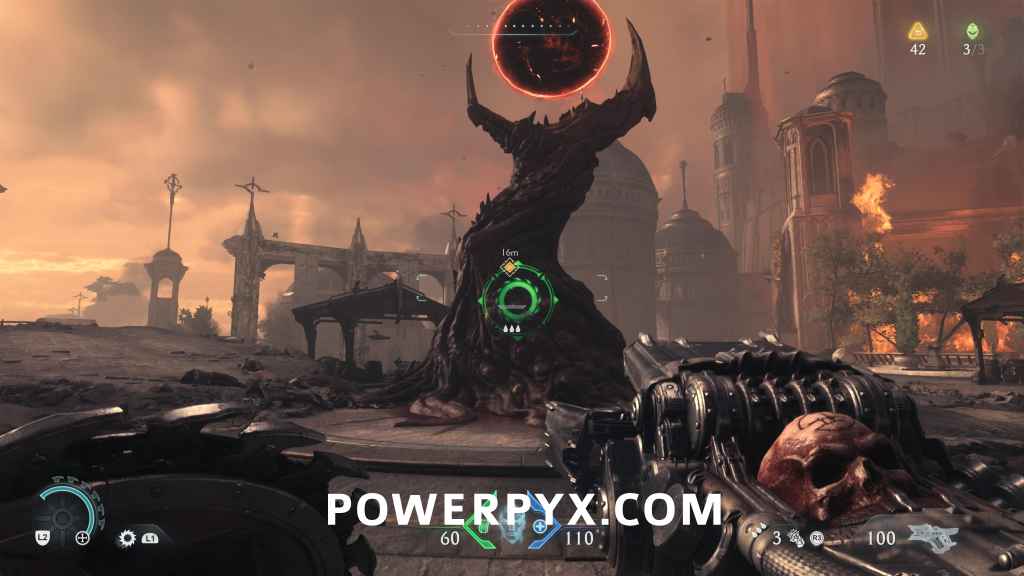
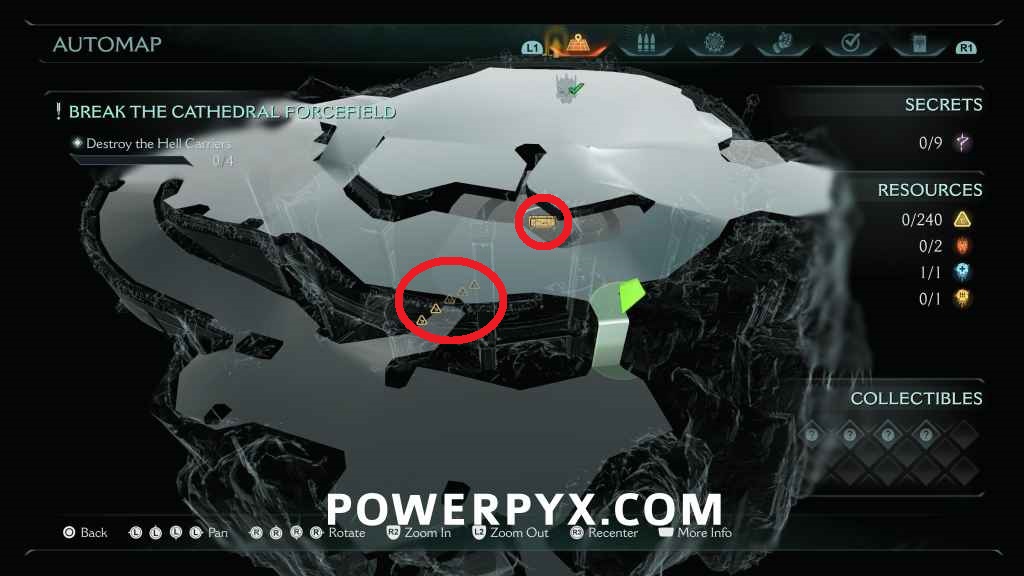
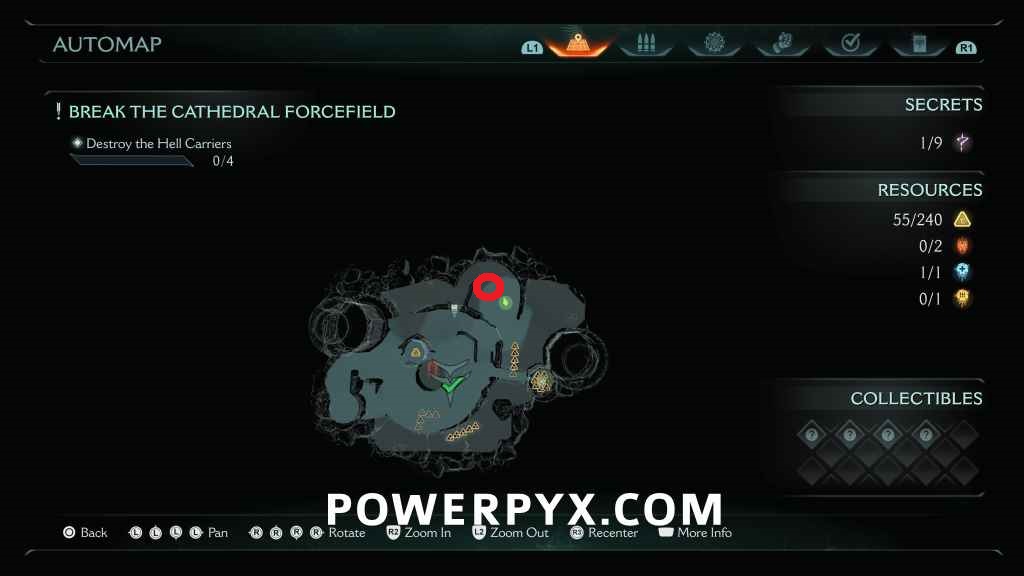
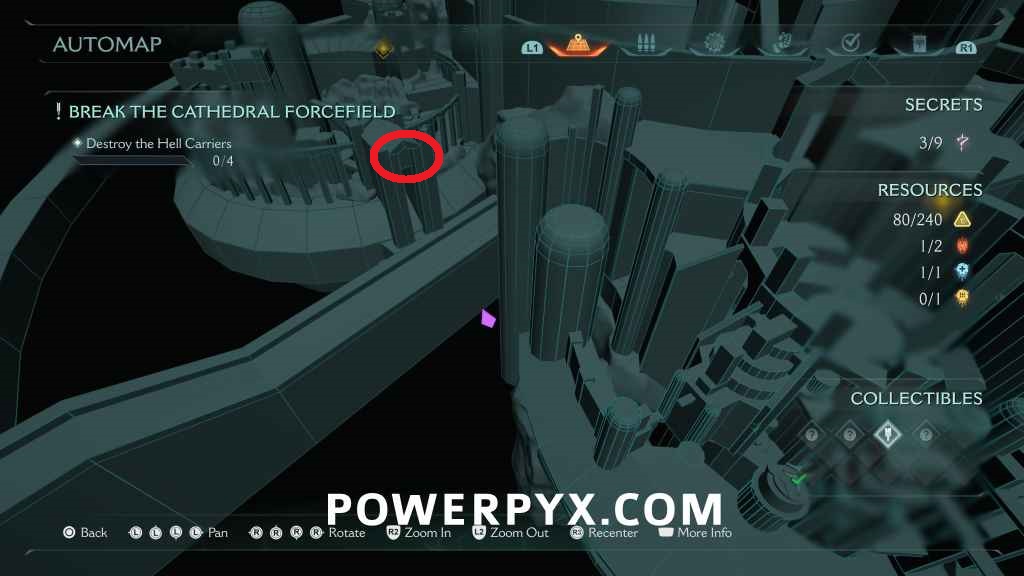
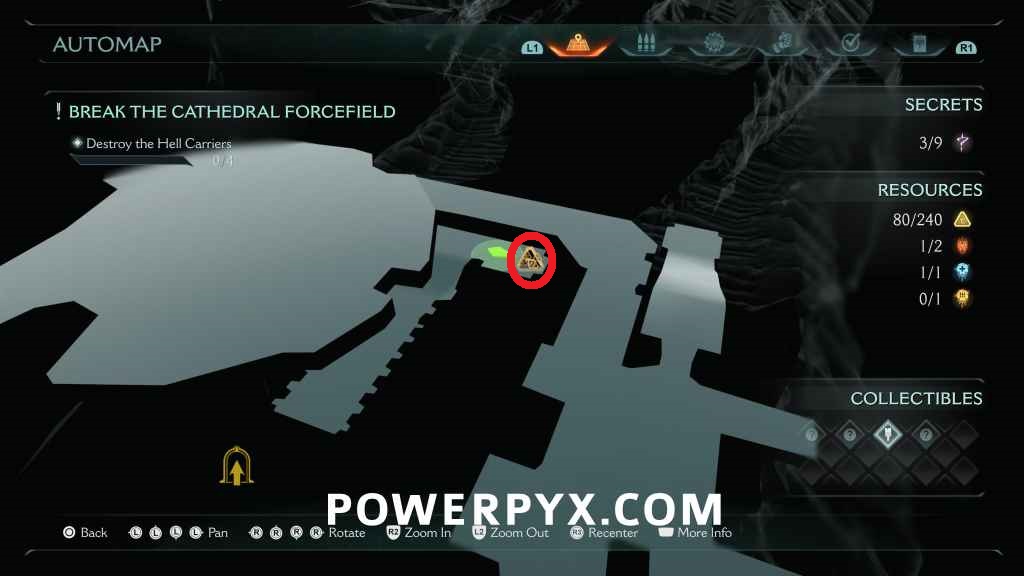
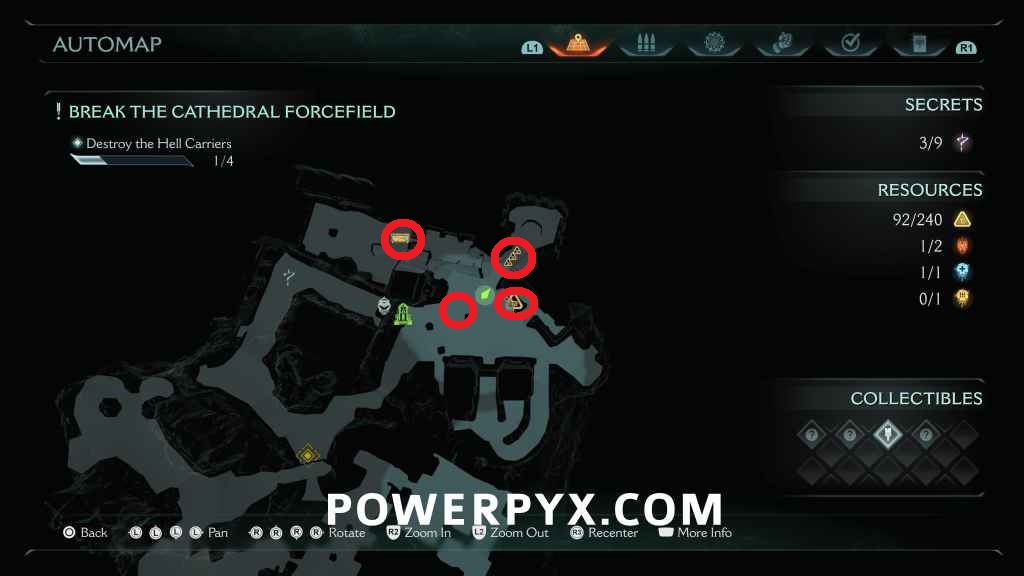
Secret Landing Zone 1/2 (Layover Challenge) + Demonic Essence: Armor + Secret #1 + 55 Gold (55/240)
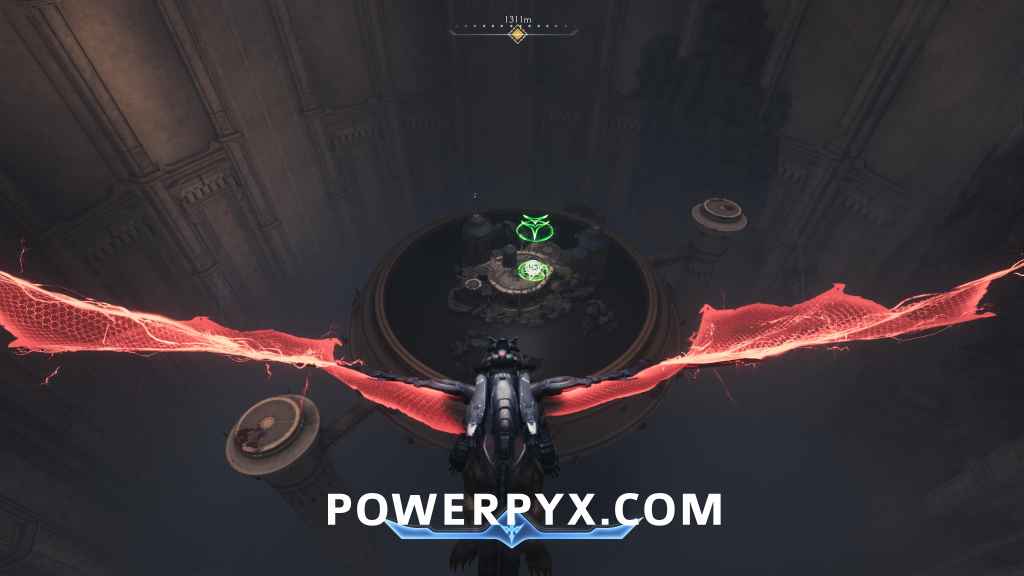
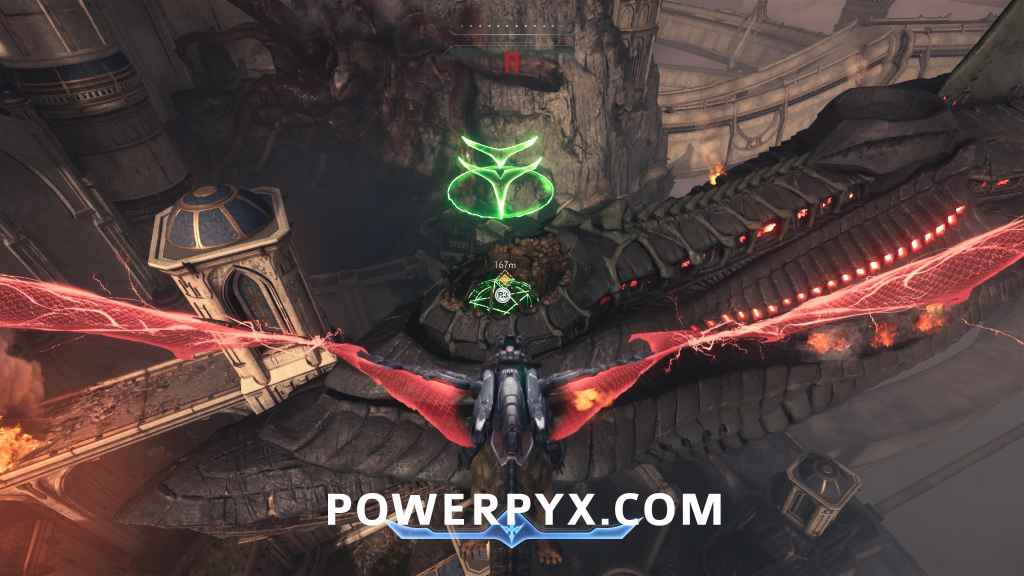
The first secret landing zone is to the left of the big open area where you are instructed to destroy 4 Hell Carriers (spaceships). Look to the left to see a Titan demon on top of a tower close by, kill it and then land. Destroy the tree and kill all demons here to spawn the leader, kill it for the demonic essence. After this you can drop down and go beneath the area to find the secret, 5 gold and a chest containing 50 gold.
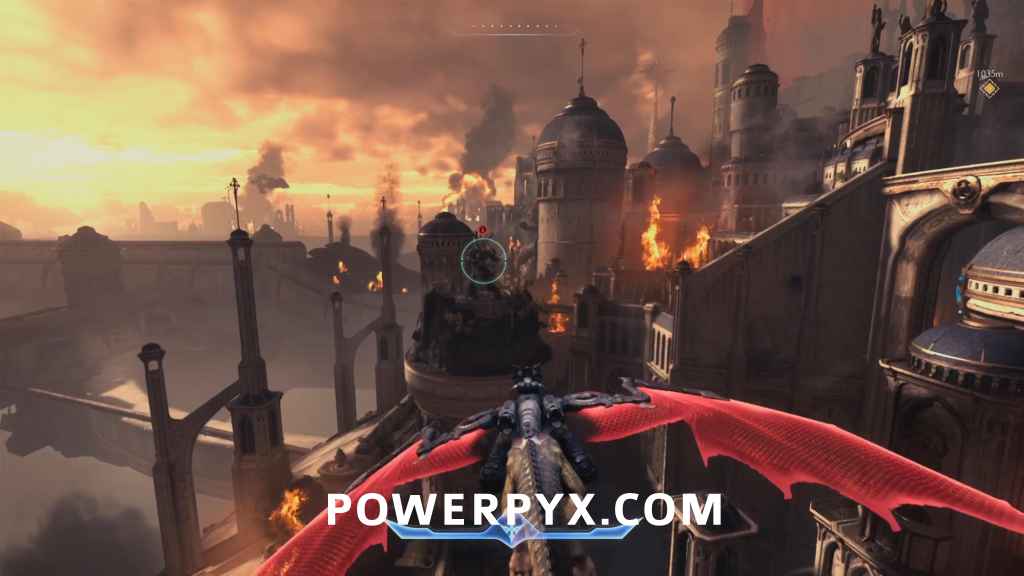
Hell Fighter Ship 2/3 (Cat and Mouse Challenge)
Mount your dragon again. Then you will see this ship circling around the middle of the area. Hang around near the start of the area and you should see it flying past below, chase it and shoot it down.
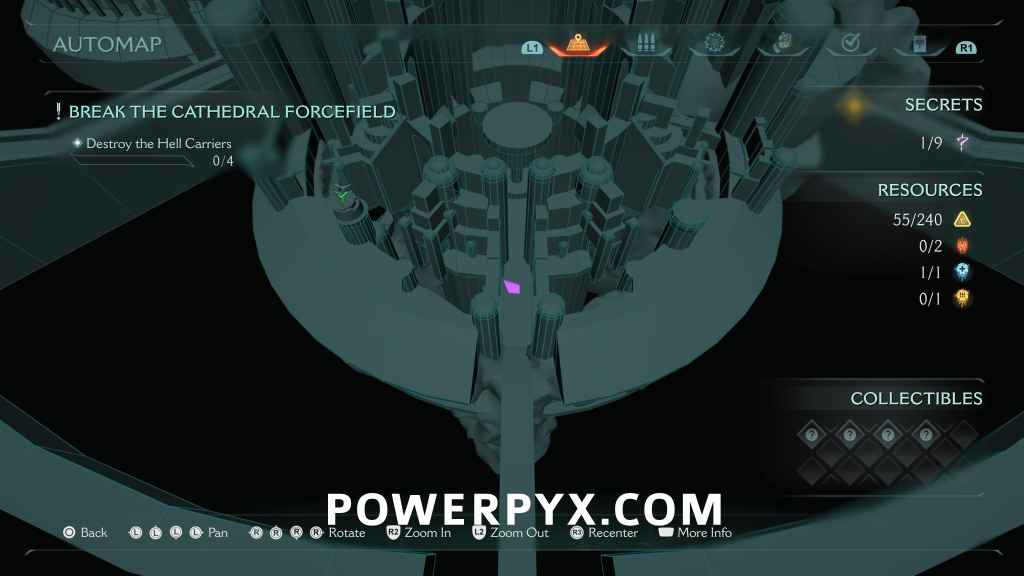
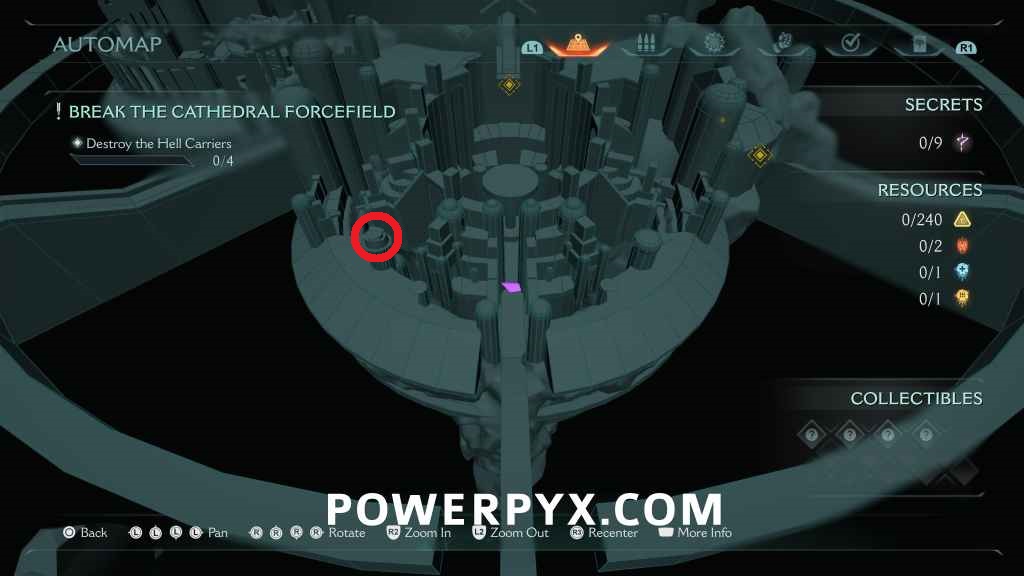
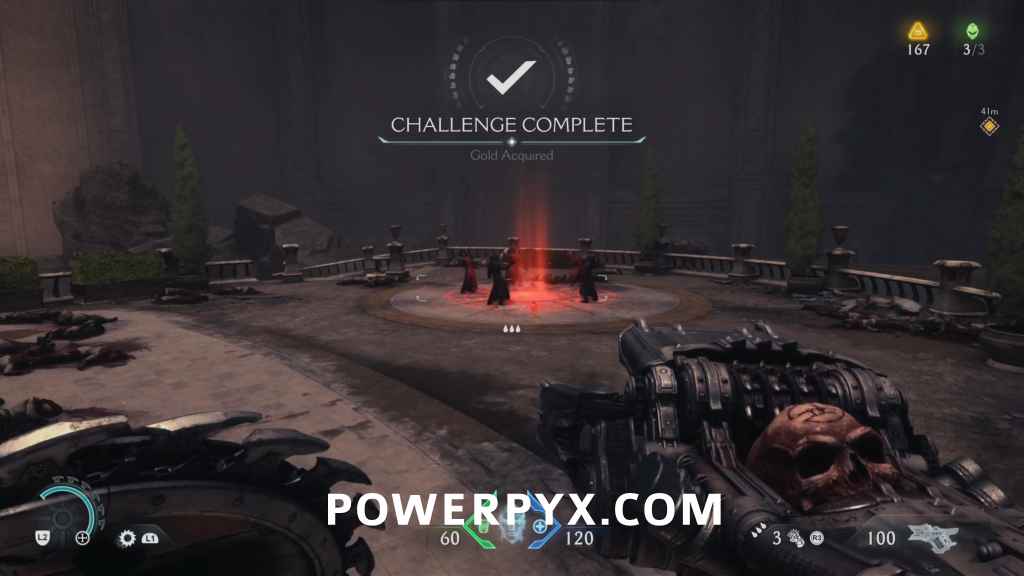
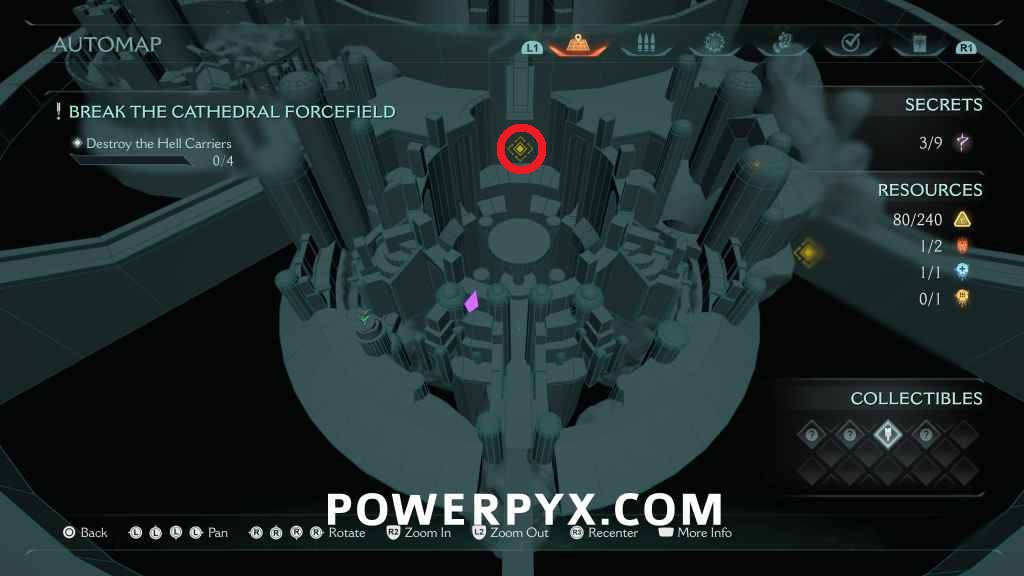
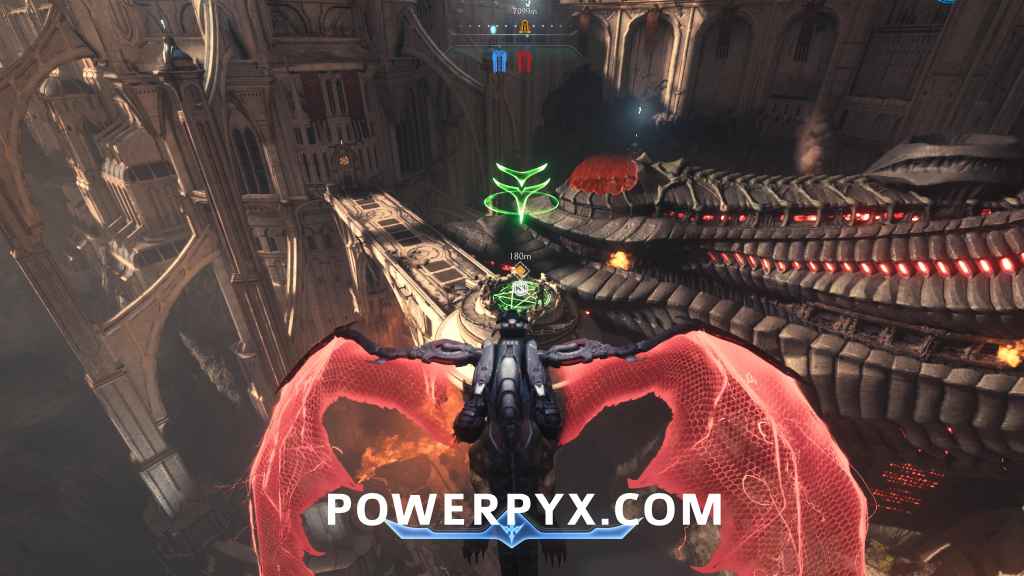
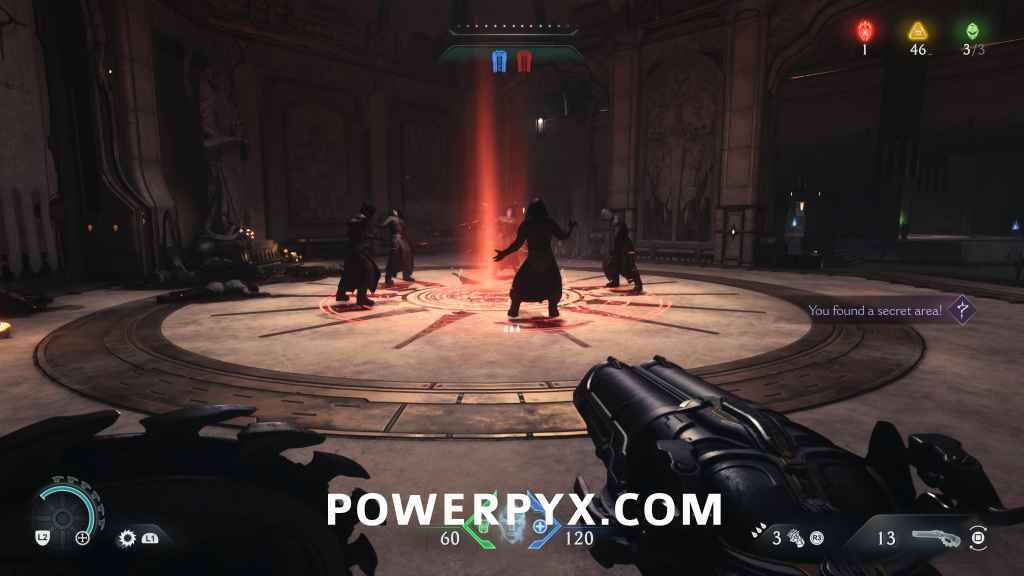
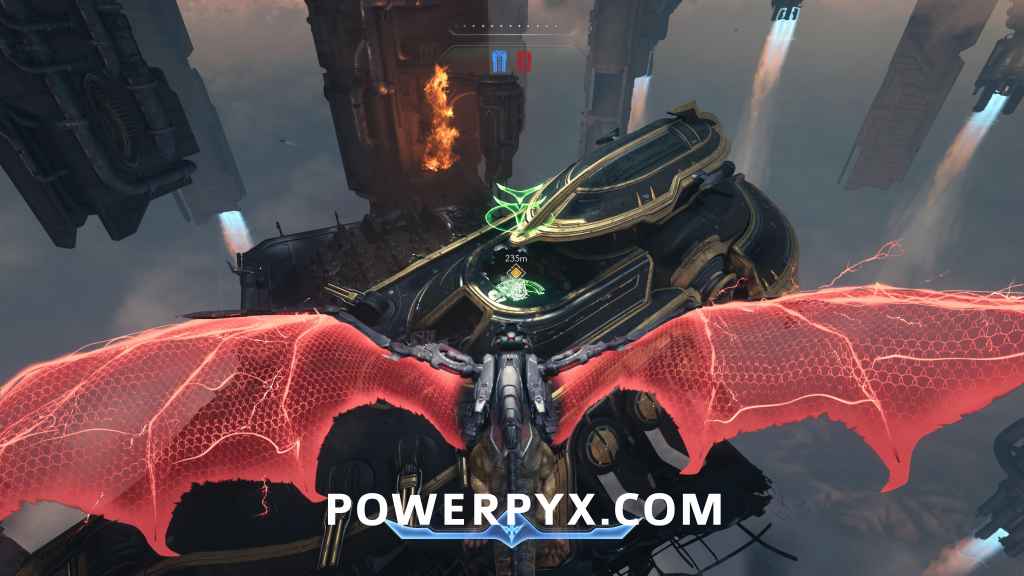
Secret Landing Zone 2/2 (Layover Challenge) + Cultist Circle 1/3 (Countercult Challenge)
This is directly beneath the centralmost Hell Carrier at the bottom of the area. Approach it and descend to see 2 Titan demons, kill them and land. Jump down to the lower level to find the first cultist circle.
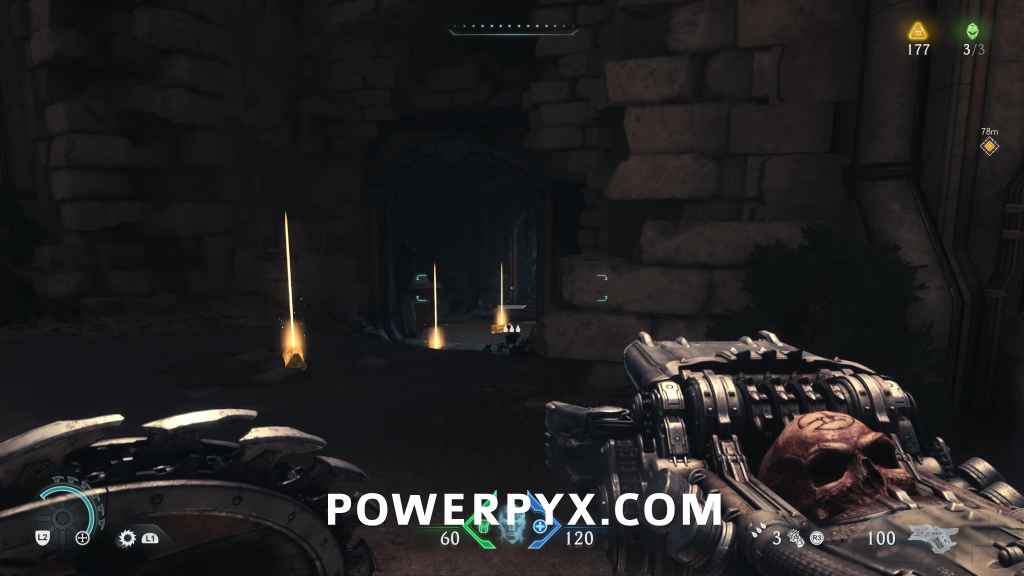
Secret #2 + 15 Gold (70/240) + Weapon Skin (Pulverizer – Nightmare)
From where you destroyed the cultist circle, turn around and follow the path around the area, collecting the gold along the way, just after the 2nd set of 5 gold is an opening to the right with more gold, follow the path to find the secret area and weapon skin at the end.

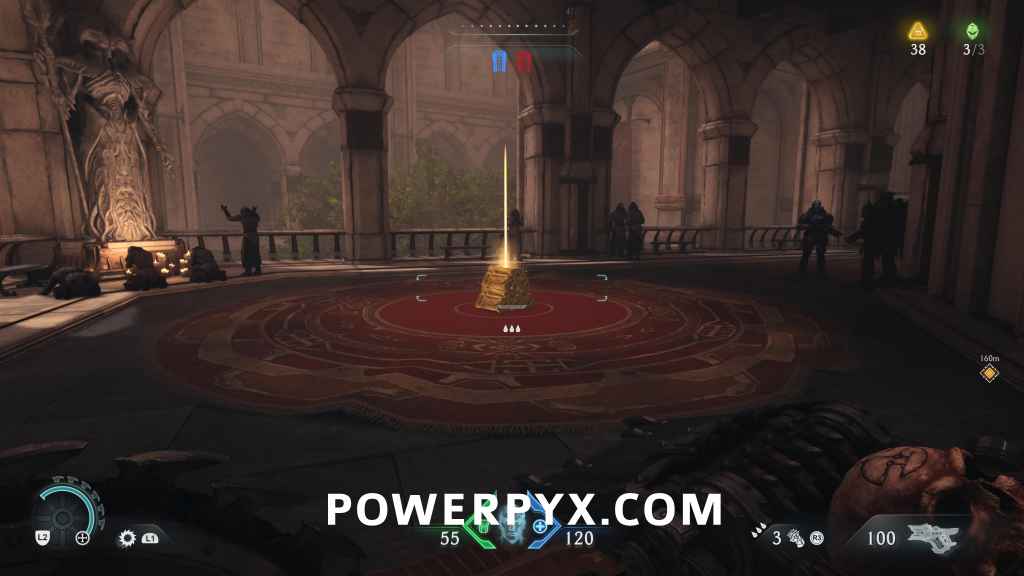
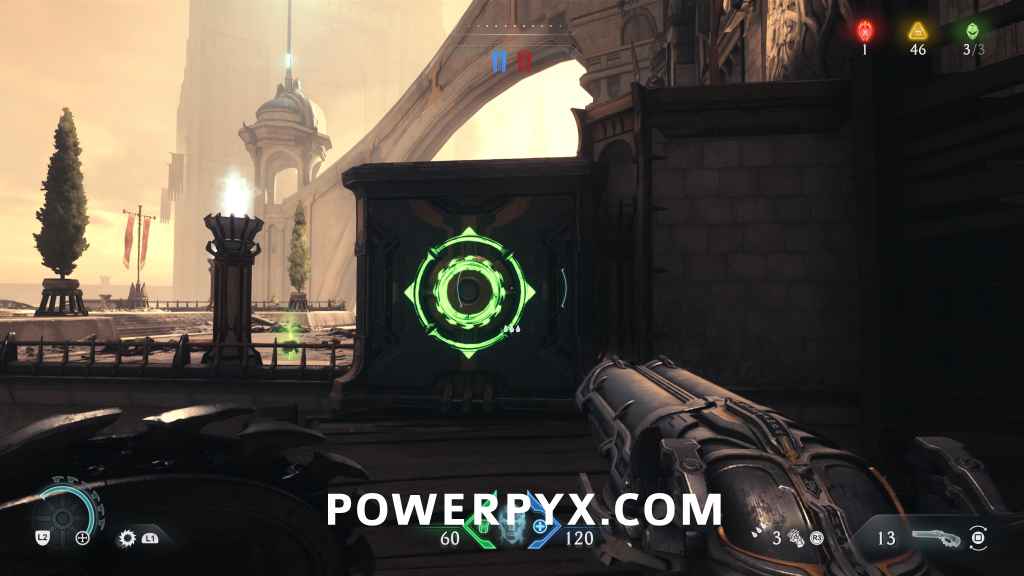
10 Gold (80/240) + Secret 3 + Ruby #1
Still in the same area, go upstairs to the center of the area, step on the green switch, this will raise a platform ahead of you that you need to throw your shield at. This will cause the platform to fall down. Jump into the water where the platform was and drain the water by using the valve. Turn around and throw your shield at the gate to open and then claim the red keycard. Use the boost pad to jump out of the area, you will land in a small room with 4 gold. Smash the left gate and go directly forward to use your red key ahead, inside is the secret, 6 gold and a ruby.


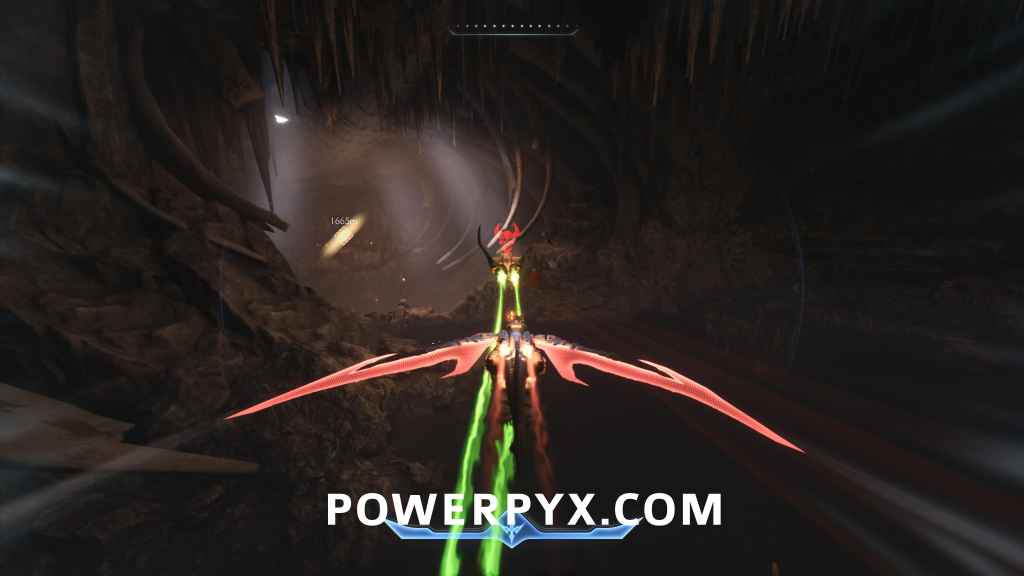
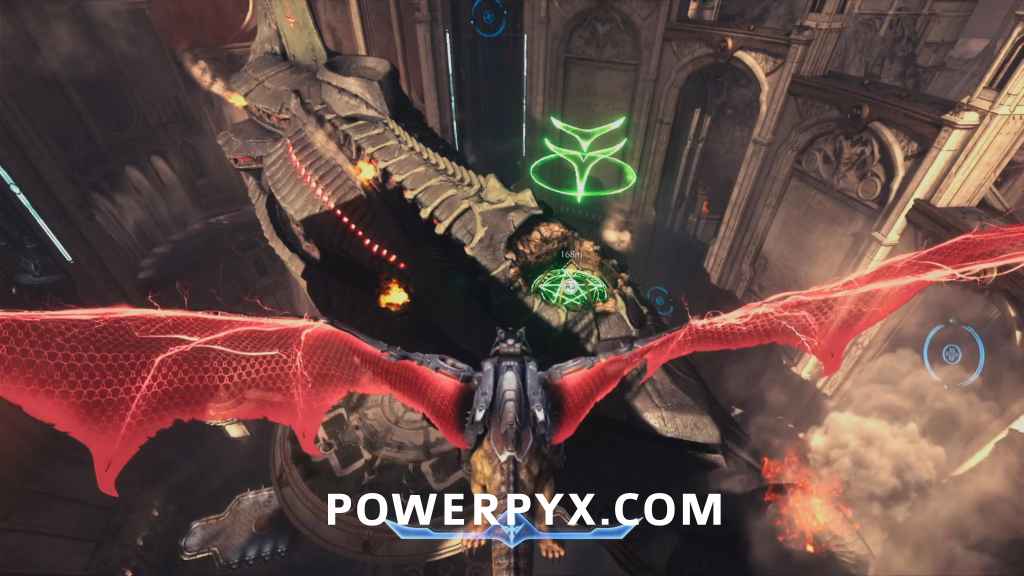
Hell Fighter Ship 3/3 (Cat and Mouse Challenge)
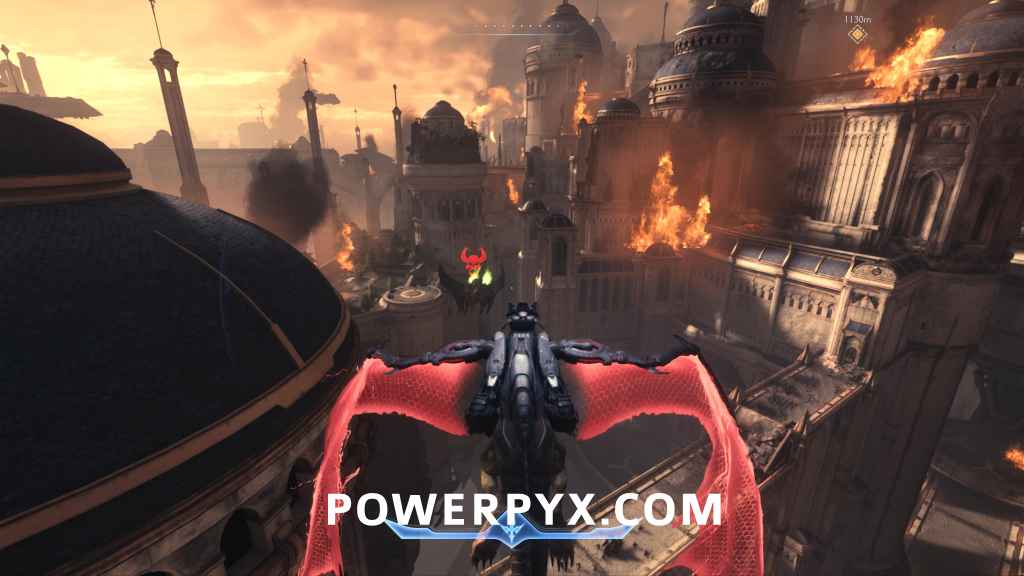
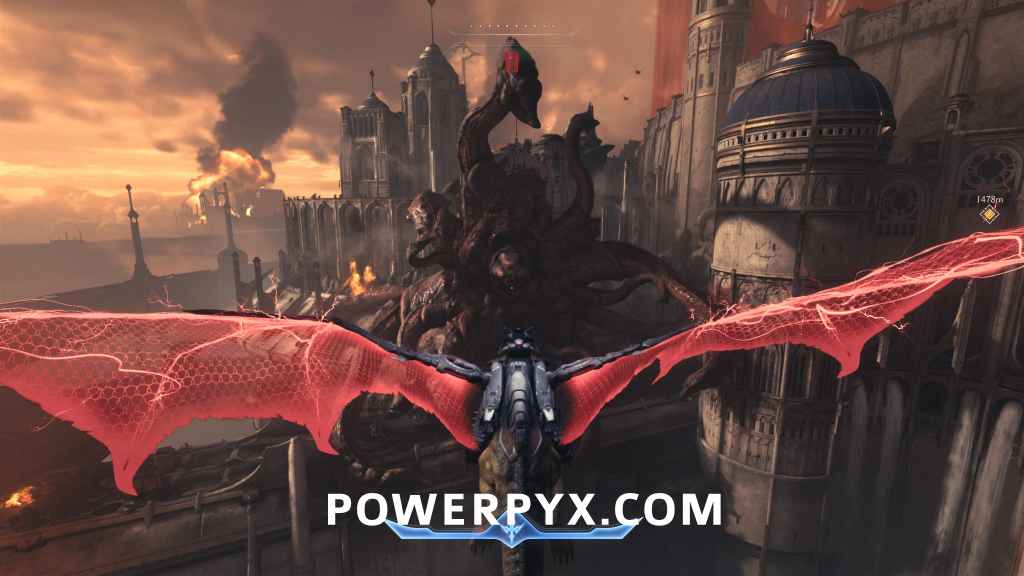
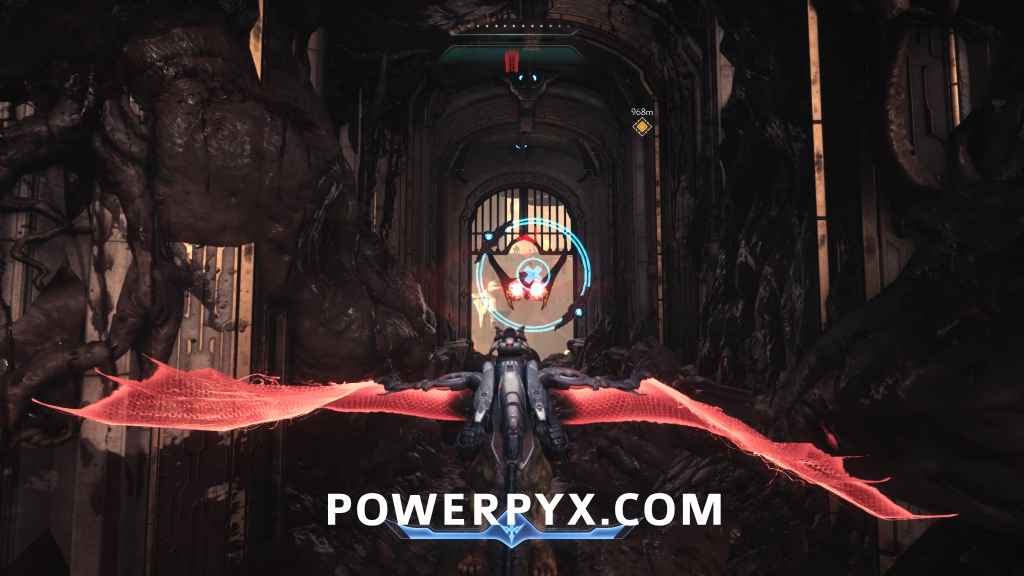
This one is located just north-west of the first secret landing zone (north-west when facing the first hell carrier from where you entered the City of Aratum). You will see a tentacle, plant-like demon on a building, kill it and fly through the building it was on and the ship will appear, chase it and shoot it down.
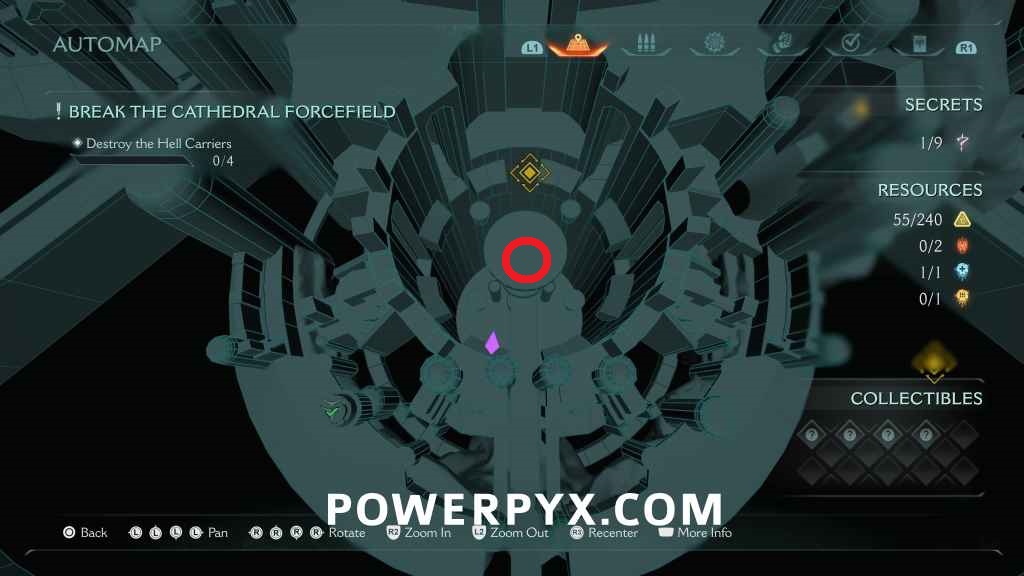
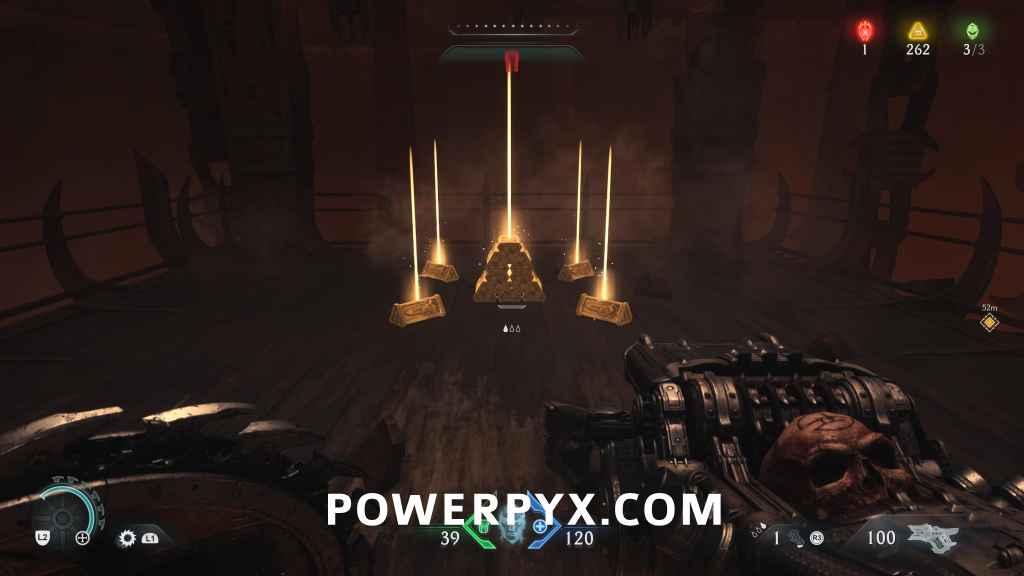
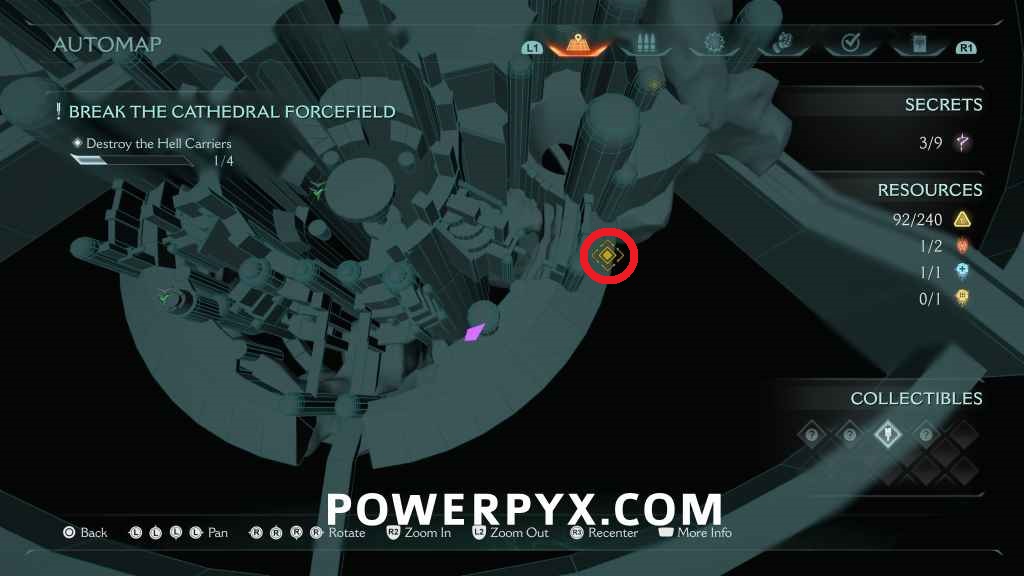
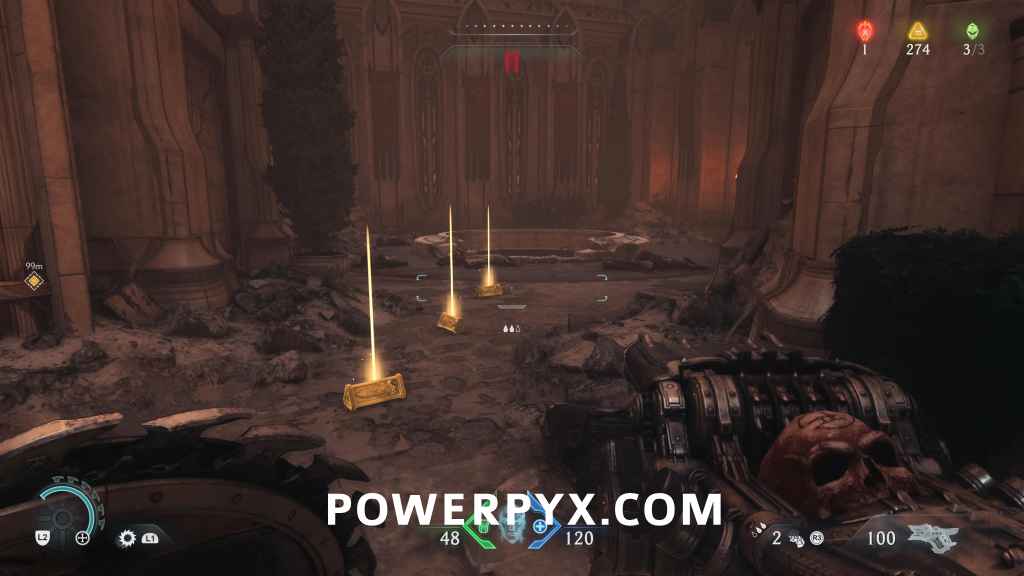
12 Gold (92/240)
This is on the centralmost hell carrier, disable its turrets then land on it. Make your way through the hell carrier and once you drop down and reach the engine, turn around to see the gold here.
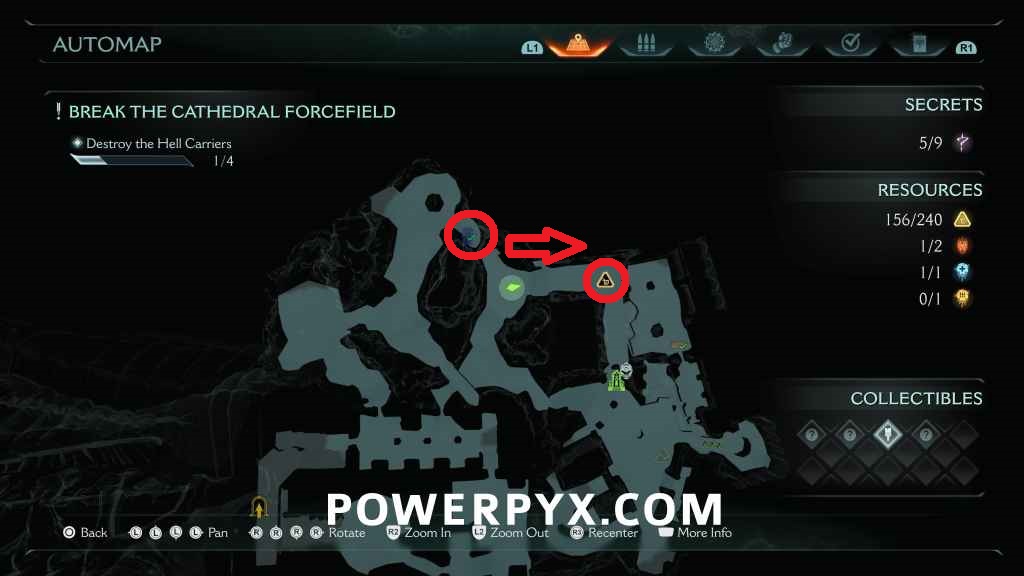
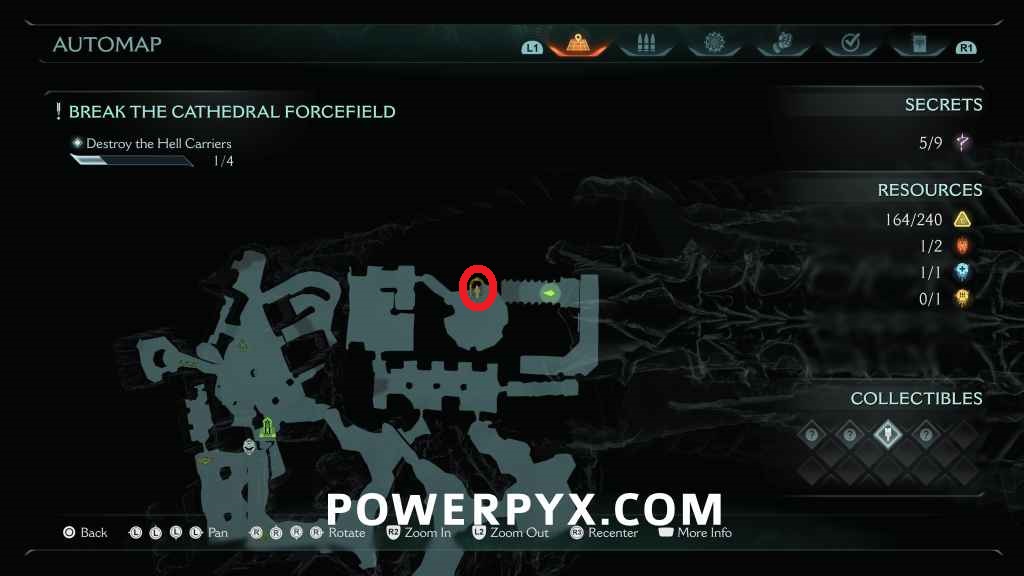
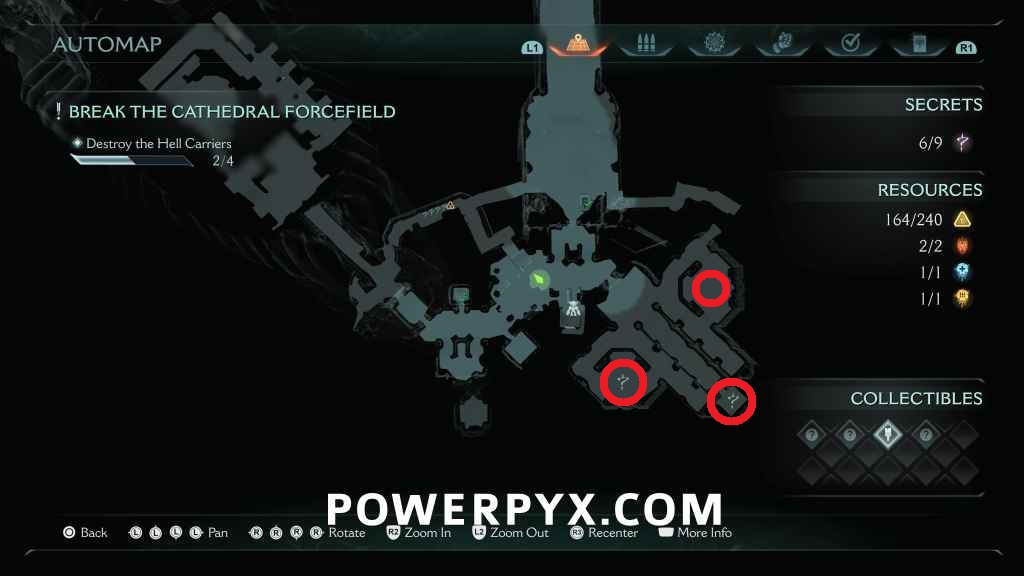
64 Gold (156/240) + Cultist Circle 2/3 (Countercult Challenge) + Secret #4
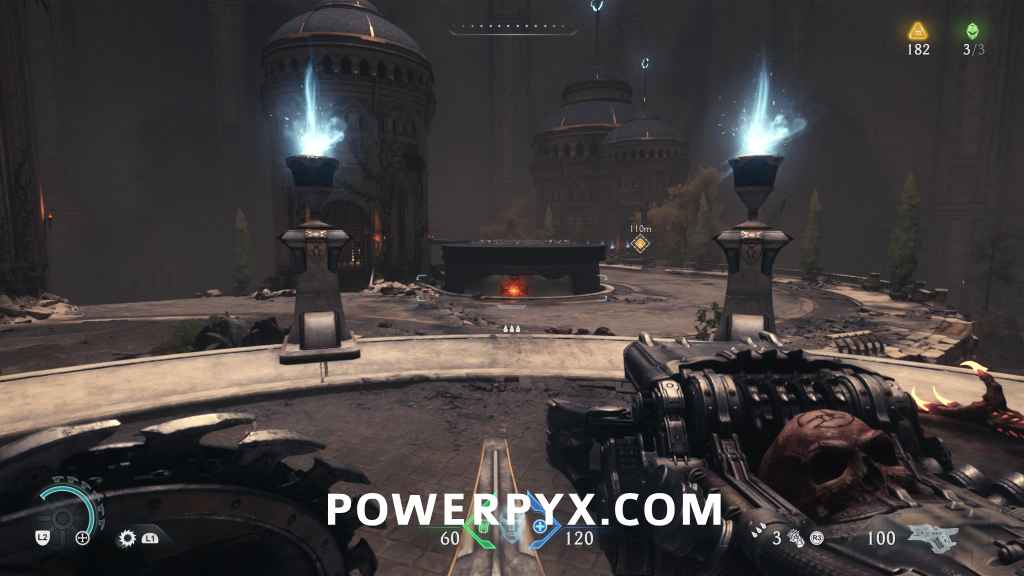
These are all located on the right side hell carrier (right side of where you first entered City of Aratum). Disable and land on the carrier, make your way outside to an area with a Sentinel Shrine. Once you have killed all enemies look to the right to see 3 gold, follow this down a hole to the secret area and find the cultist circle straight ahead, turn around from the circle to find an alcove with 11 gold. Go past the circle to a pool of water, swim through to the other side to find a chest with the remaining 50 gold.
Secret #5 + 8 Gold (164/240)
Proceed past the Sentinel shrine, on the right path is some gold behind a blue locked gate, you need the blue keycard. Take the left path from the shrine into the building, just before the door you can smash is an exit on the right, go out here and follow the path around and up the walls to eventually find the blue keycard. Drop down and go straight ahead to open the door for the secret area and gold. There is also a life sigil at the end of the path.
Demonic Essence: Armor
Automatically obtained by defeating the Hell Knight leader at the end of the hell carrier.
Secret #6 + Ruby #2
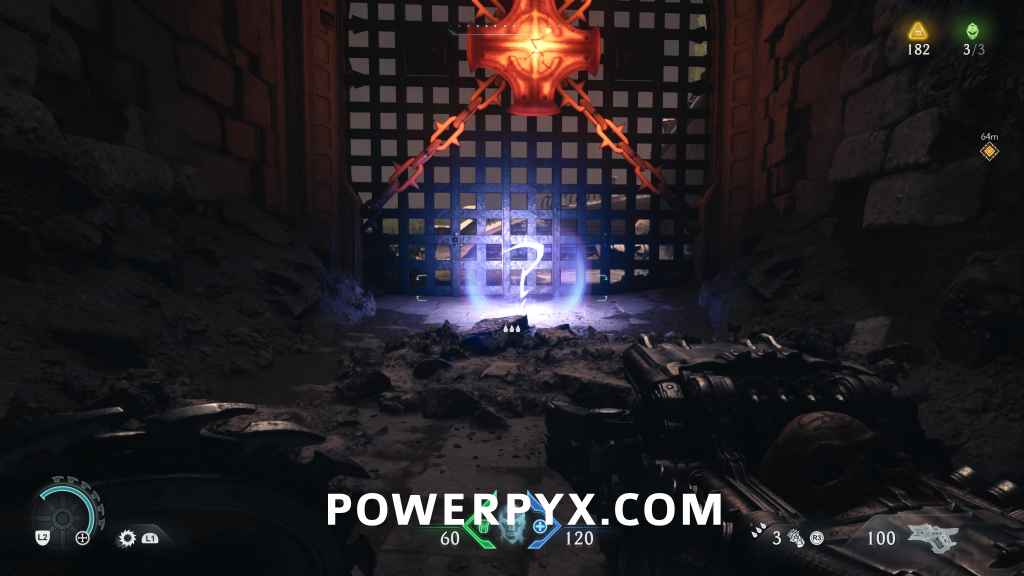
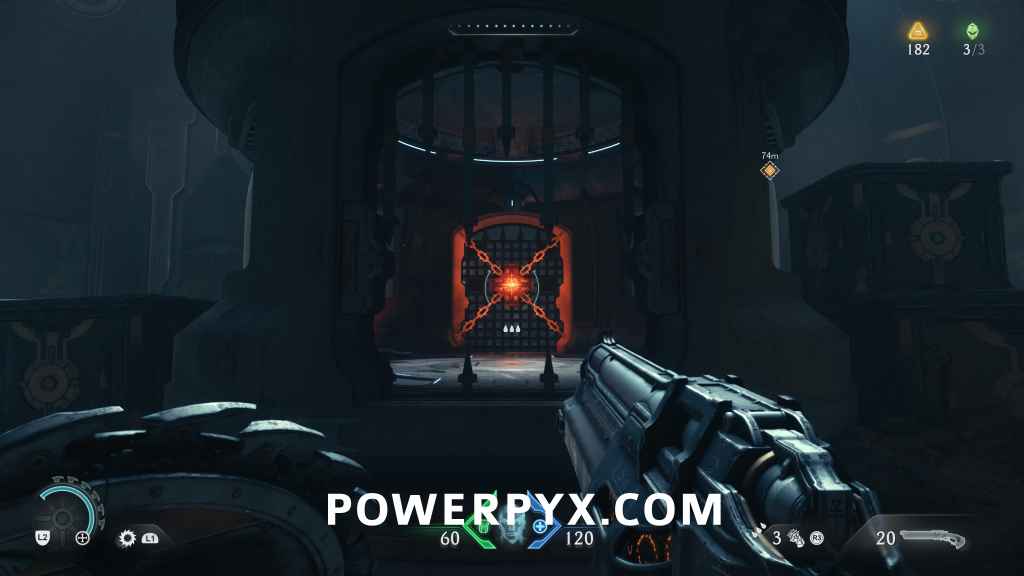
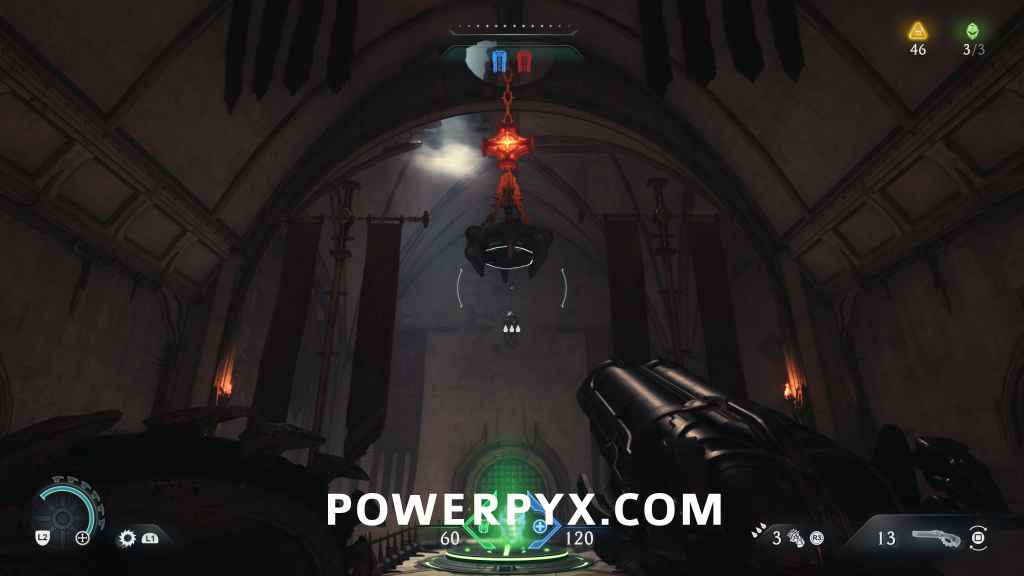
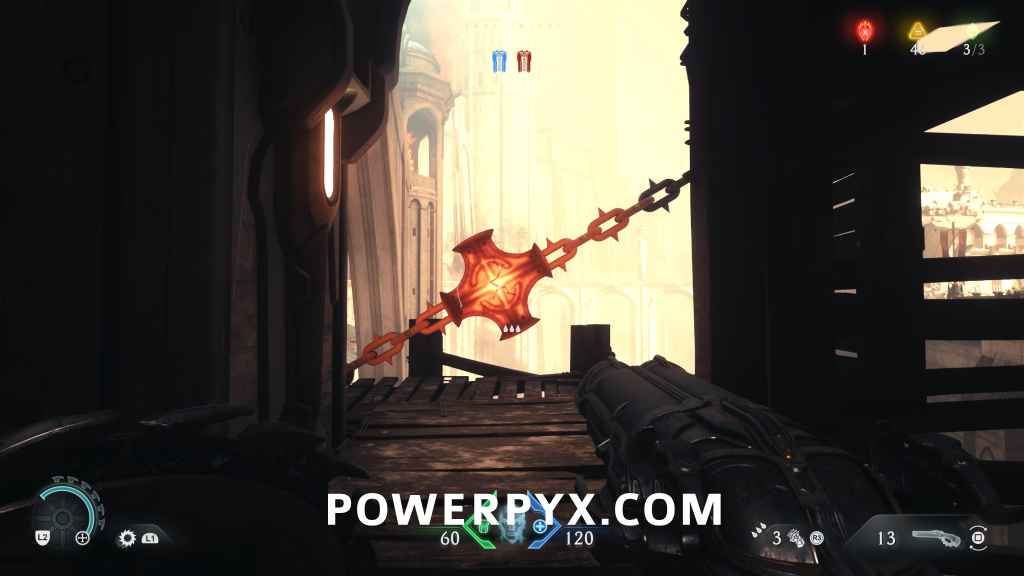
After you’re flying on your dragon again, proceed to disable the leftmost Hell Carrier then land on it. After collecting the Super Shotgun, proceed through the next corridor with many imps and you’ll find a green switch on the left, look up and throw your shield at the chain above it to drop an object onto the switch. Then go through the open gate ahead for the secret and ruby.


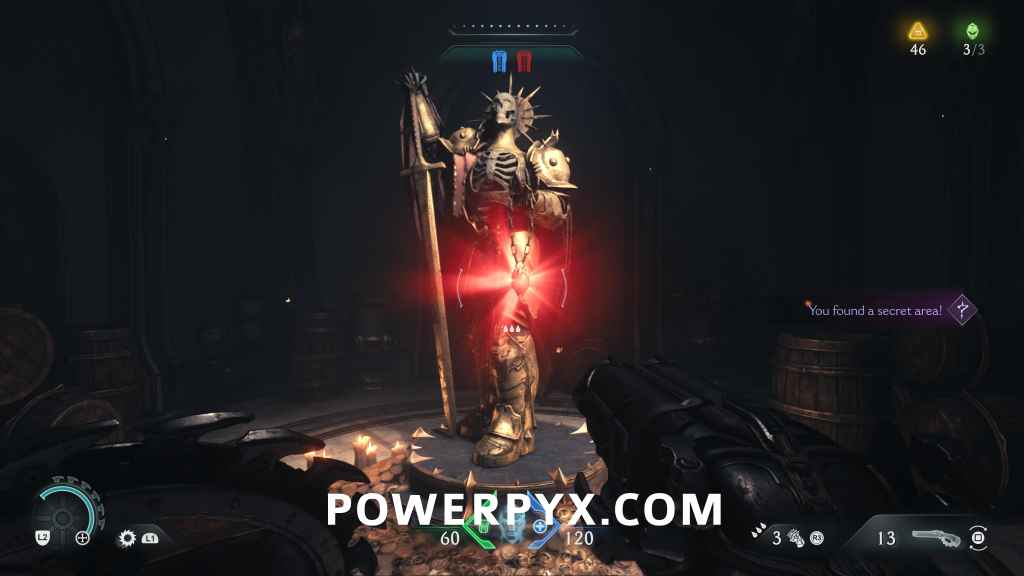
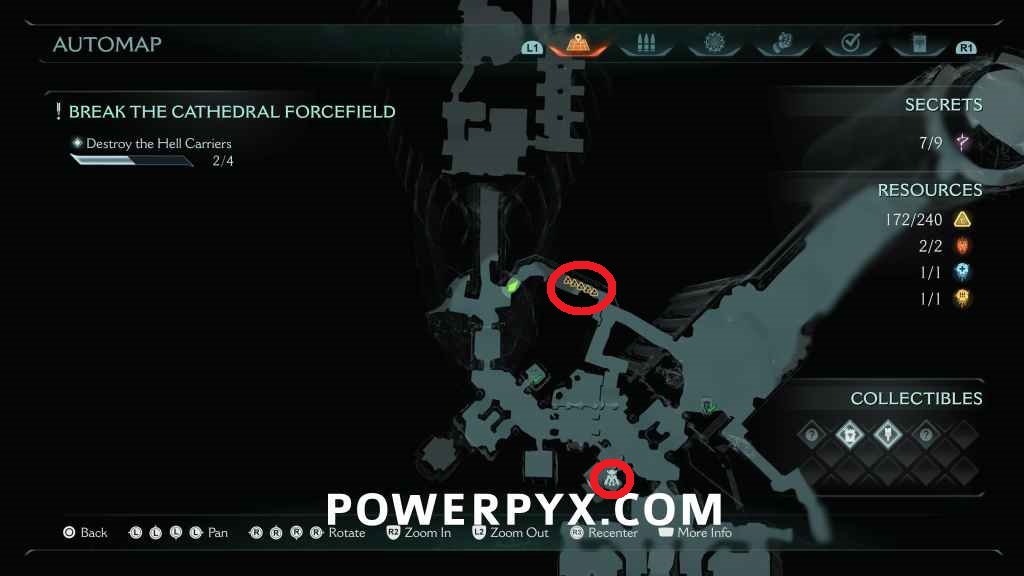
Secret #7 + Cultist Circle 3/3 (Countercult Challenge) + Codex #1 (The Holy City of Aratum) + 8 Gold (172/240)
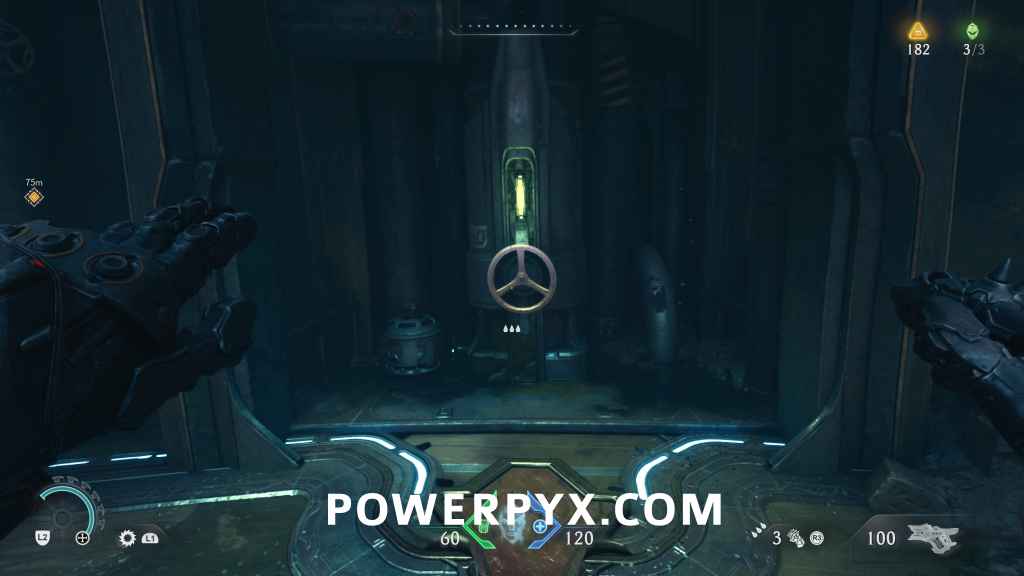
Enter the open doorway just down and to the right of where you entered the corridor. Climb up and smash the chain with your shield, then push the crate, climb up it and follow the path around then drop down to find the secret area and final cultist circle. Just beyond this and down some stairs you will find the codex, go back up the stairs and to the left to find 8 gold (you’ll be ambushed here).
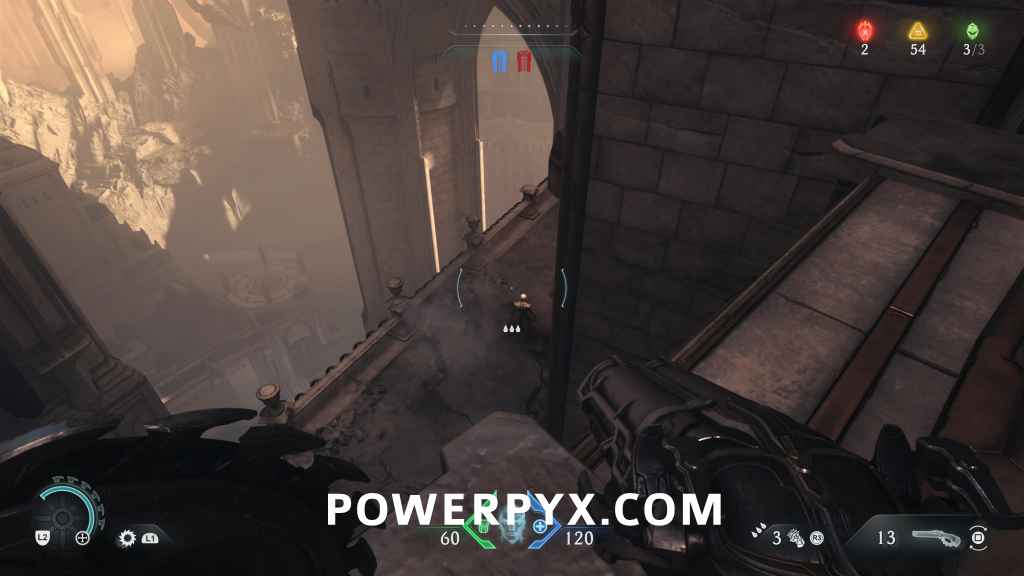
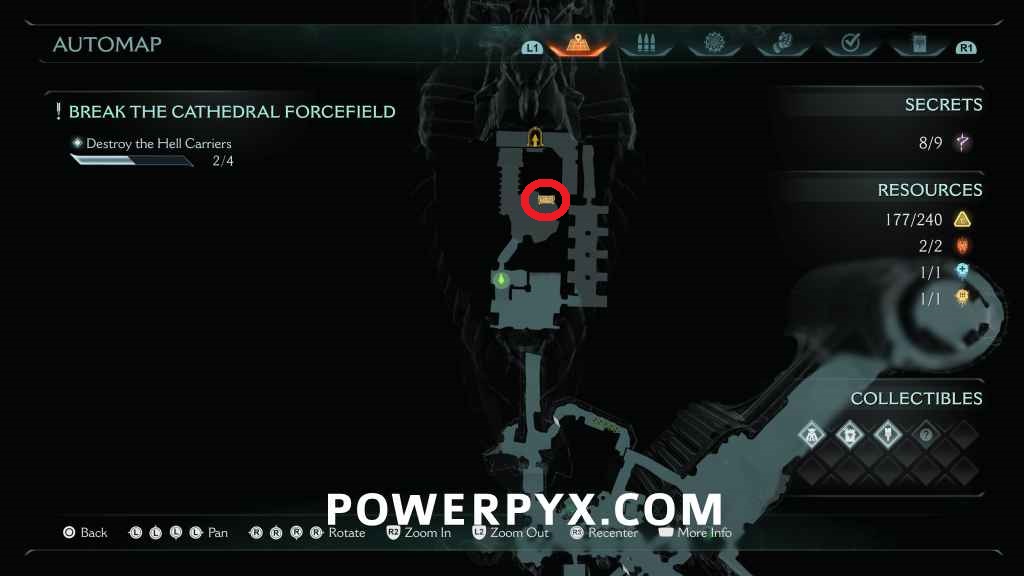
5 Gold (177/240) + Secret #8 + Collectible Toy (Serrat)
Leave the corridor that had all the imps via the left side towards the main objective, once you exit look right and you can drop down, collect the 5 gold here and continue following the path to another room which is the secret area. Kill the Mancubus, go through the wall it came from and climb up the walls to find the toy.

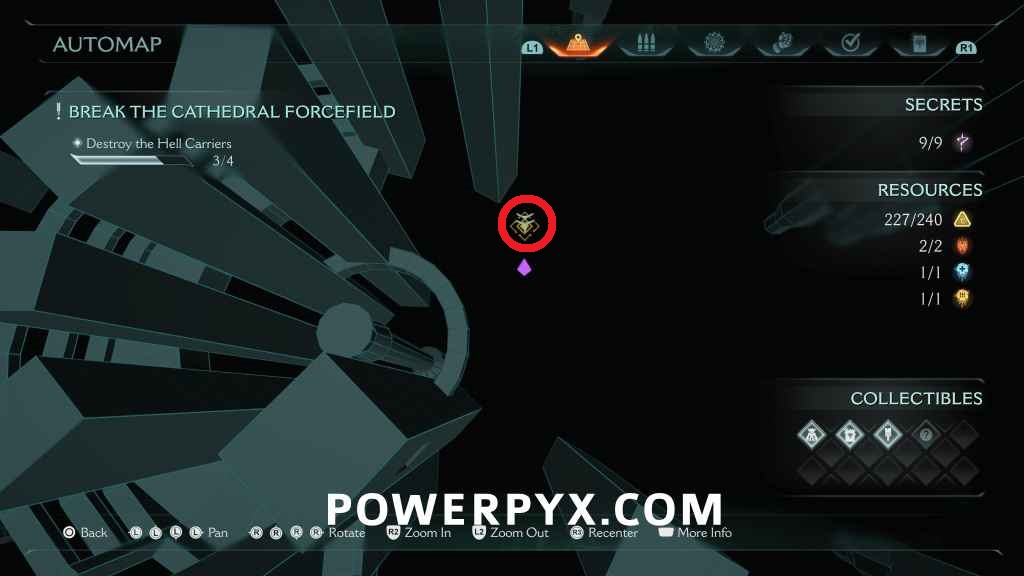
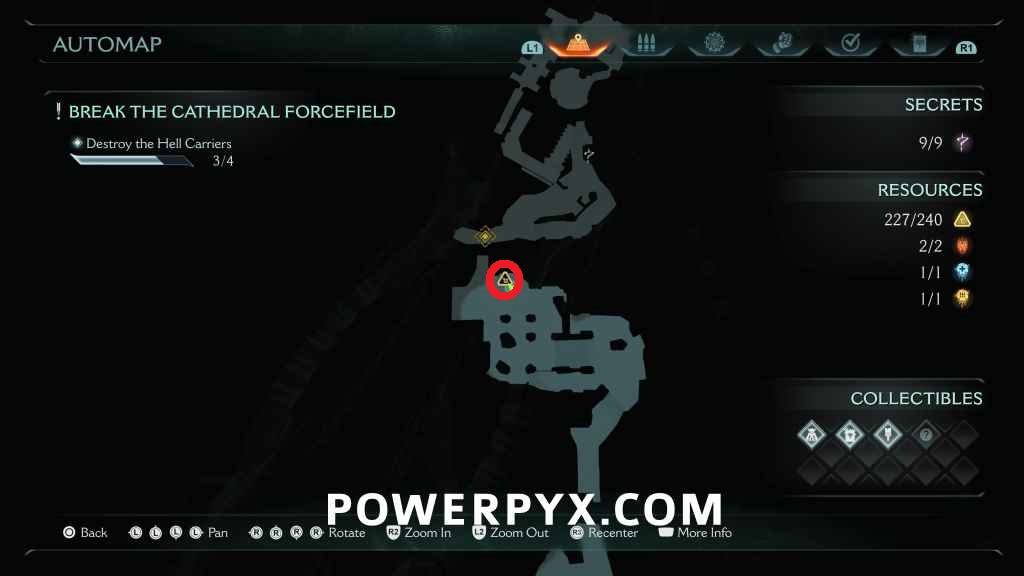
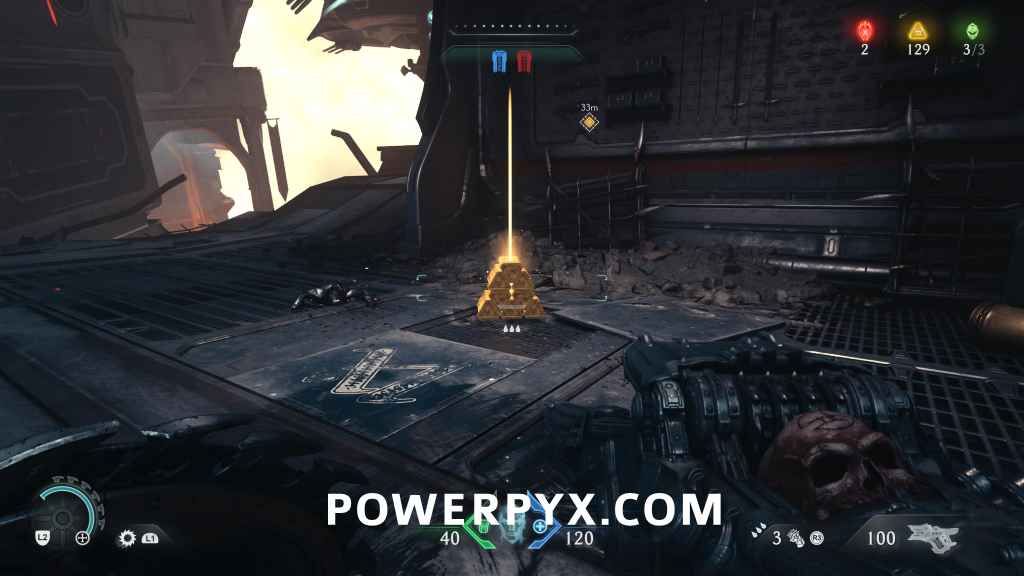
Secret #9 + 50 Gold (227/240)
After dropping back down in to the hell carrier, go up the stairs directly ahead, smash through the wooden wall to find the secret area and a gold chest.

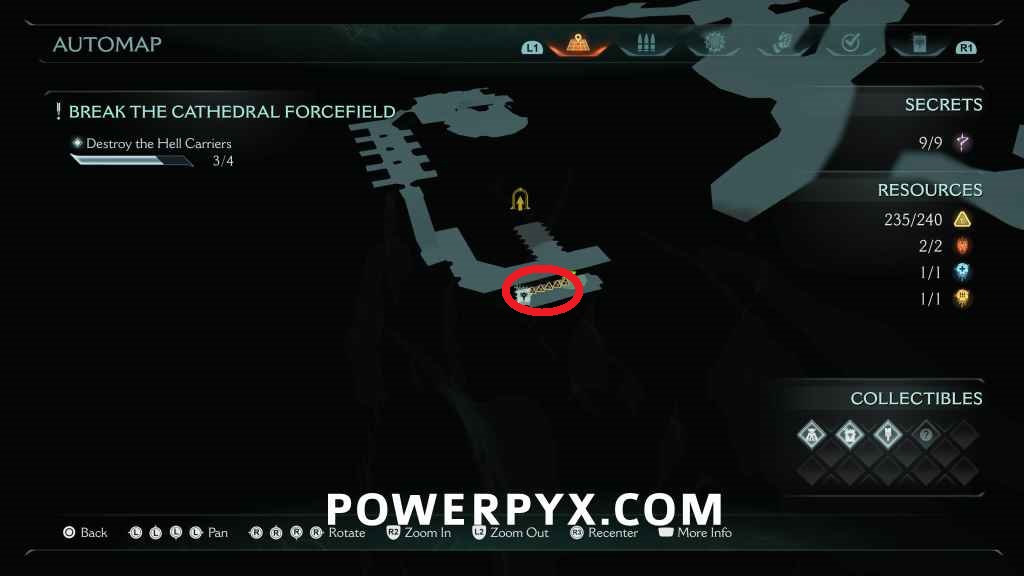
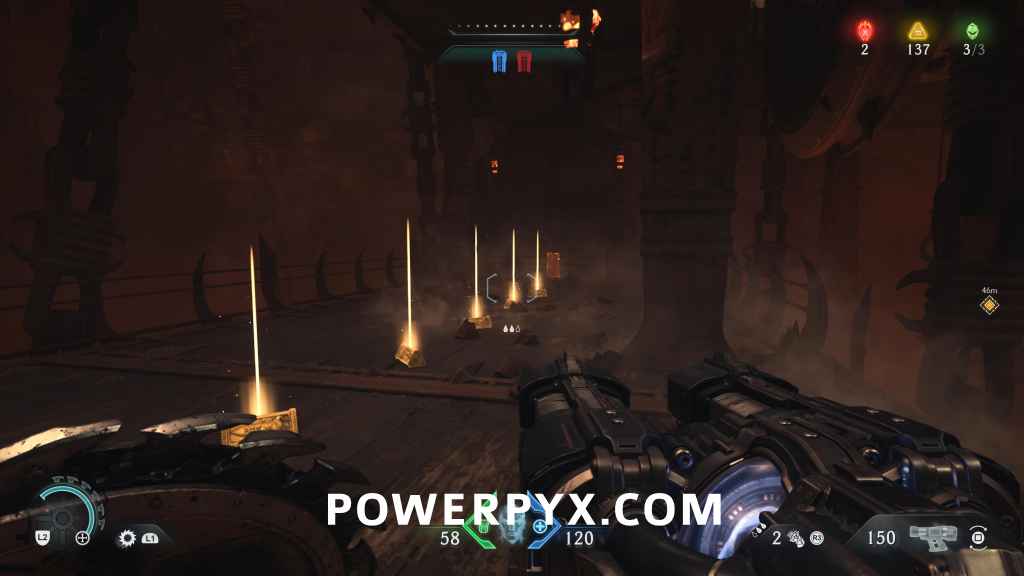
8 Gold (235/240)
This is on the final hell carrier, the north western most one. After landing on it, go inside and kill all demons in the first big room to disable the barrier surrounding this impossible to miss bundle of 8 gold.
5 Gold (240/240) + Codex #2 (Deag Loric)
Still on the same hell carrier ship, proceed towards the engine room, once you drop down in front of the engine, turn around to see the gold and codex page behind you.
That’s 100% of the collectibles you can find in The Holy City of Aratum of Doom: The Dark Ages.
For all other Chapters, check out the complete Doom: The Dark Ages Collectibles Guide.
Snake2410 says
The third hell figher ship is missable. It’ll warp out of the place shortly after it reaches the ship at the bottom of the hole. It doesnt respawn if you re-enter the hole from the top either.
Snake2410 says
Ok, so there are in fact 4 hell fighters. The one in the maps right side tentacle gun hole will warp out if you don’t kill it fast enough, but there is another one in the tenticle gun hole o. The left side of the map.
Lee says
my hell carrier in the cente wont let me land on it it just crashes
Artemis Laeriia says
You land on a plinth next to it.