
Evenfall is the 57th main story quest in Final Fantasy 16 (XVI). This walkthrough will guide you through all objectives of the Evenfall main scenario chapter.
- Starting Location: The Free Cities of Kanver
- Requirement: Complete Cloak and Dagger
- Reward: None
- Quest Info: Reunited with his companions, Clive learns of the peril the Free Cities face. Enlisting the help of Jill and his brother, they set out into the sprawling metropolis to locate and rescue survivors.
Objectives:
- Make for the Merchant’s District
- Slay Sleipnir
- Return to the hideaway
Make for the Merchant’s District
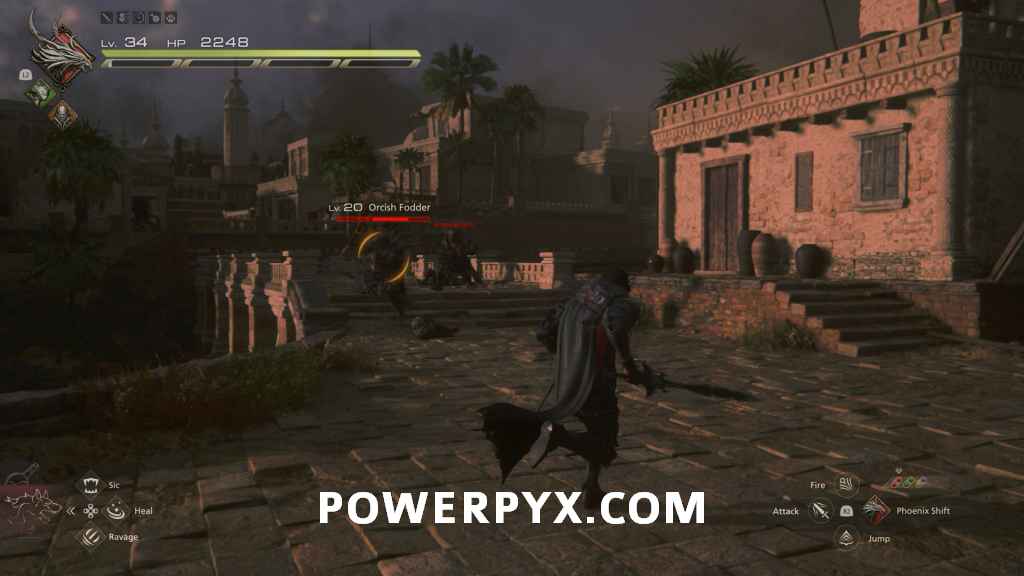
When entering Kanver, you’ll be on your own with just Torgal. Follow the linear path ahead through the docks until you reach the first set of enemies. Throughout Kanver you’ll largely be fighting orcs and Akashic soldiers again, so nothing you’ve not seen before.
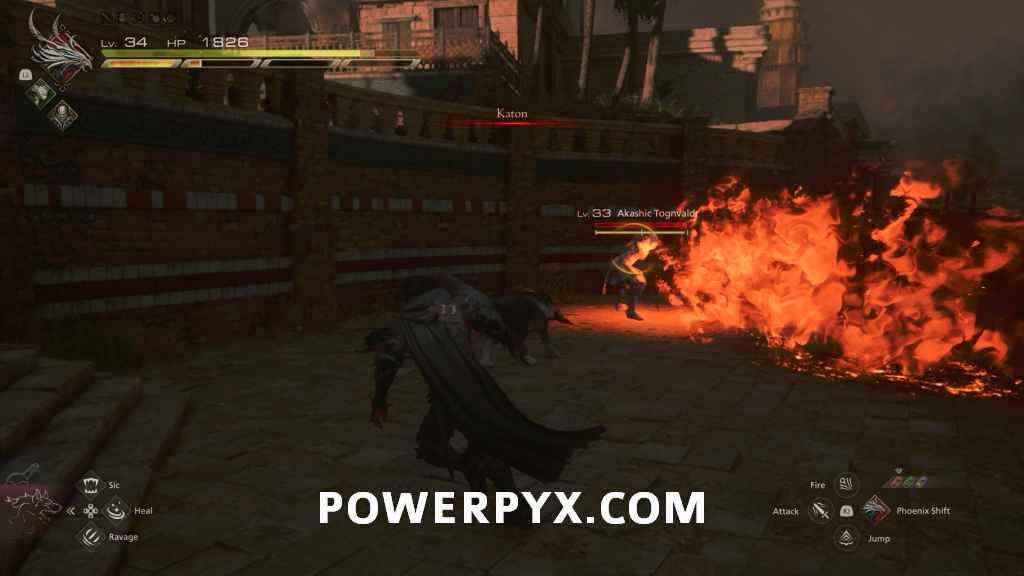
In the second group of enemies, you’ll fight an Akashic Tognvaldr, which is the normal enemy variant of the Midnight Raven boss if you don’t remember the name from earlier in the game. They still use all the same sorts of named attacks, so keep those in mind as you’re dealing with them.
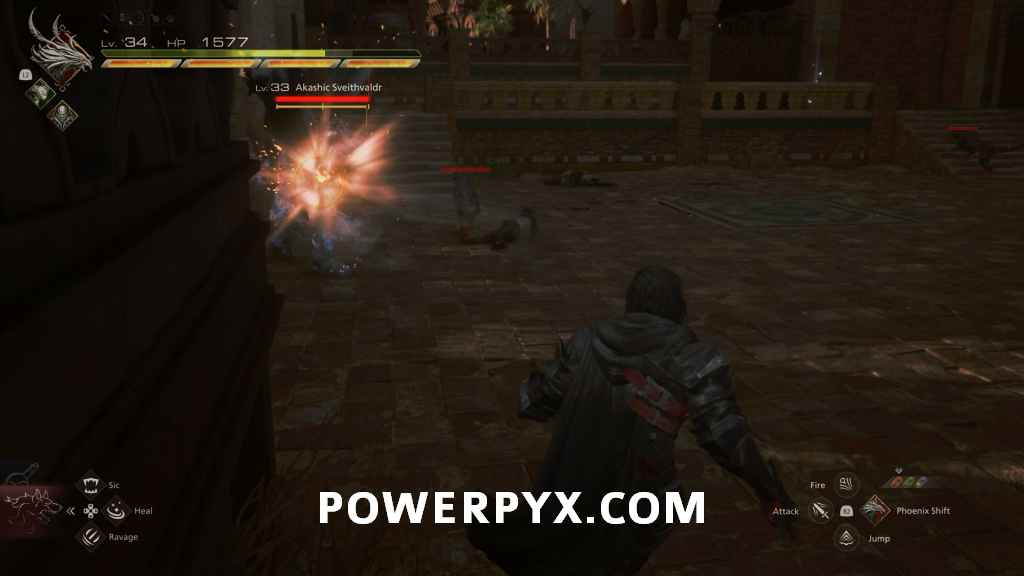
Keep progressing through the area, dealing with the next set of enemies. After passing through the large doors into the next area you’ll have to fight a Sveithvaldr, which is the heavy axe enemy but they will use the same named attack as the Ironblood enemies when you were in the volcano. Try to take out all the dogs first to make dealing with them easier.
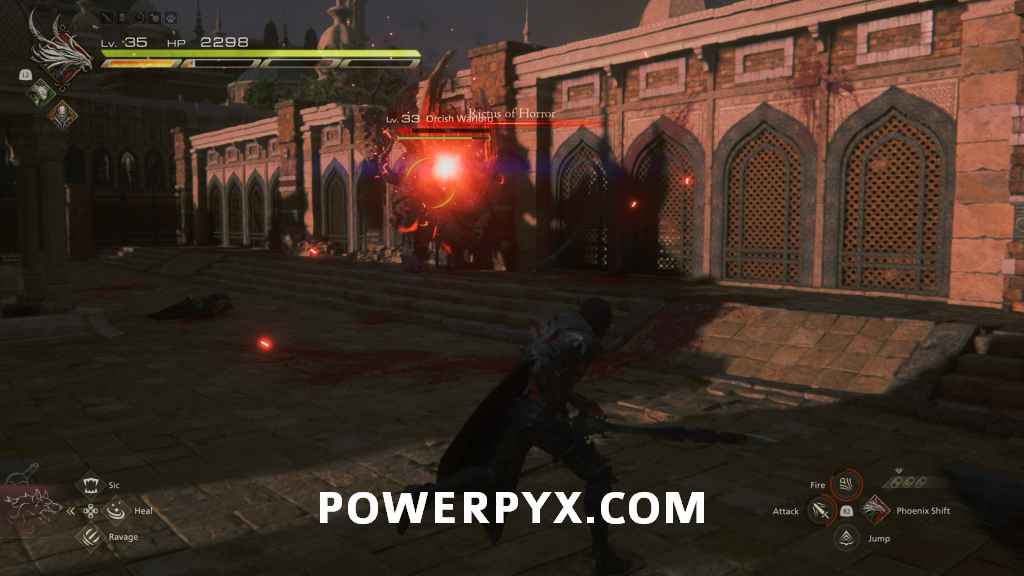
Keep following the path through the next group of enemies, then out the next large door into an open area. Deal with the first wave of enemies, then you will have to fight an Orcish Warlord miniboss.
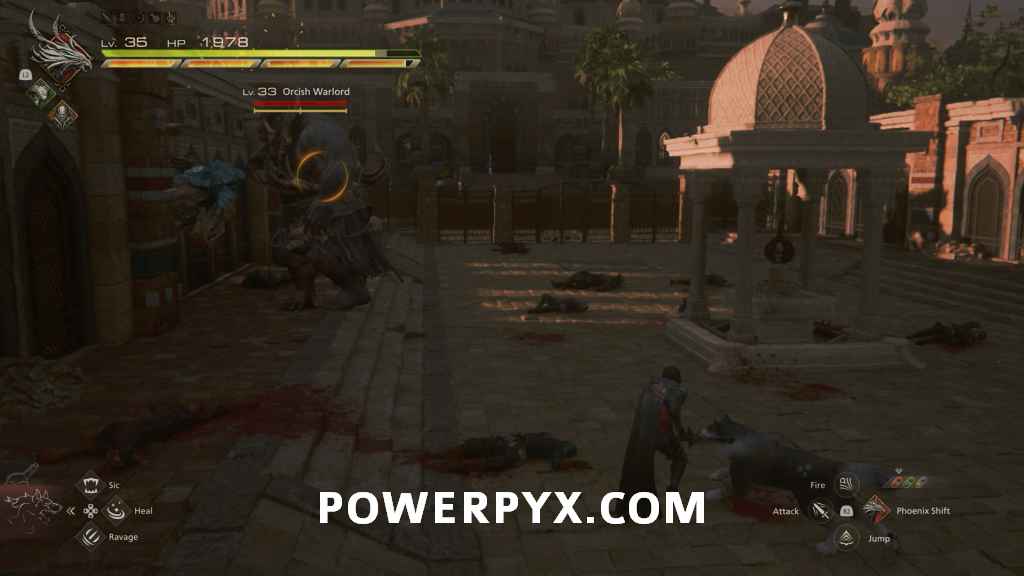
For the first half of the fight the boss will largely do the same attacks you’ve seen before, but in the second part they will start using the main named attack they have, called Rictus of Horror. For this attack the boss will warp away from you, then start charging a laser. This will shoot directly in front of them after a few seconds, dealing a large amount of damage if you are caught inside of it. Quickly start moving to the side when you see this occurring to avoid it.
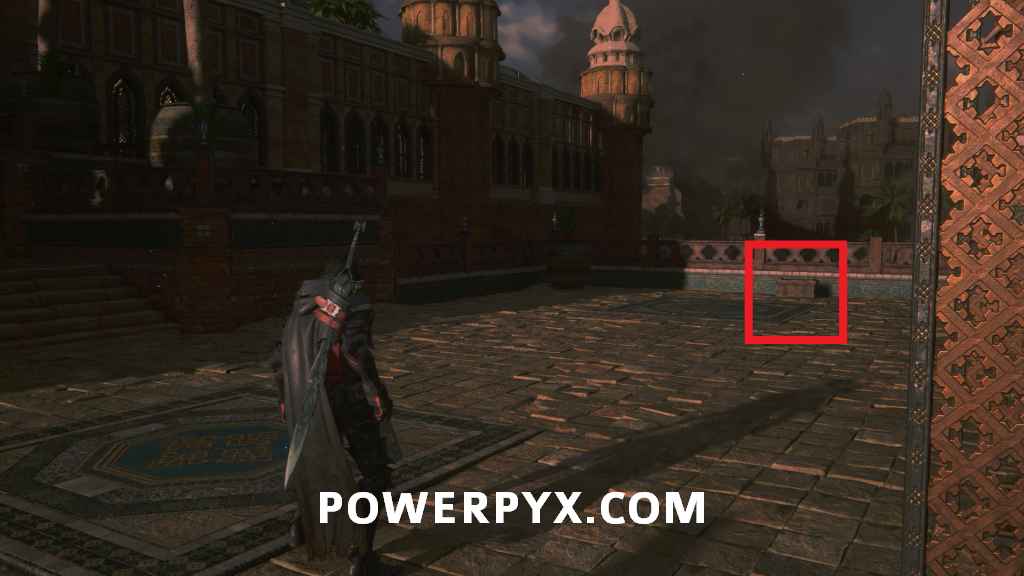
After it’s defeated head through the first door, but not up the stairs. Go all the way to the right in this area where you can find a chest that contains the accessory The Favor of Light (Flare Breath).
You can then continue up the stairs through the door. First, in this area, you’ll have to deal with a number of Thrall enemies, but nothing you’ve not dealt with before.
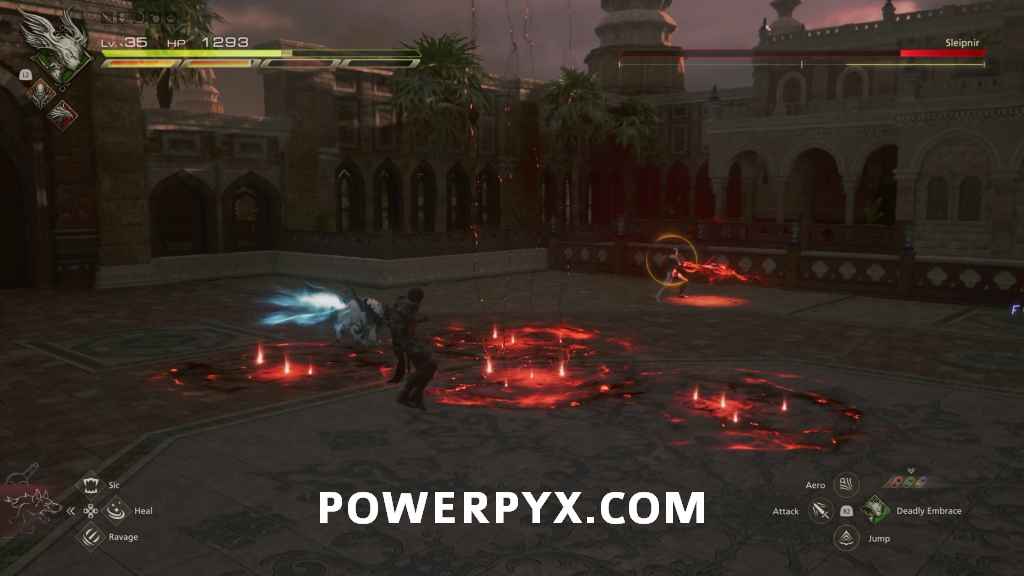
Slay Sleipnir
In the first part of the fight with Sleipner, he only does basic attacks and no named ones, so you just need to be aware of his basic swings and thrust attacks. The one main thing to watch here (and throughout the rest of the fight) is when he does an action that places a circle around your feet. When this occurs if he hits you or about 10 seconds pass a pillar of darkness comes out of the ground damaging you. Be sure to move to the side to avoid this.
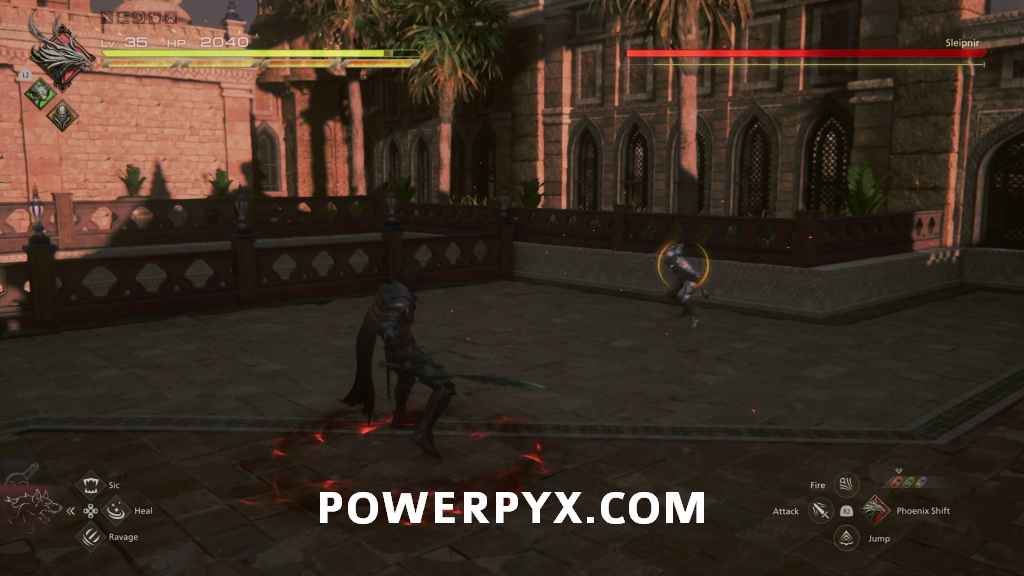
Otherwise, this first section is fairly basic, with Sleipnir warping around and using basic attacks. Keep putting in damage until the first stagger and try to get in as much damage as you can. After the first stagger, there will be a scene and Sleipnir pulls out a new weapon. There will be a Cinematic Evasion prompt before moving into the second part of the fight.

Sleipnir now uses the new spear for his attacks, this makes all of his basic attacks stronger, but slower as well, so they are generally easier to dodge. They all have a decent amount more range though, and he’ll now also do thrusting attacks that shoot a laser across the entire arena, or large swings that send out a wave in front of him that you can dodge through. During his normal combo, you can dodge and counter through each attack, which is good for getting in damage while he is doing combo strings.
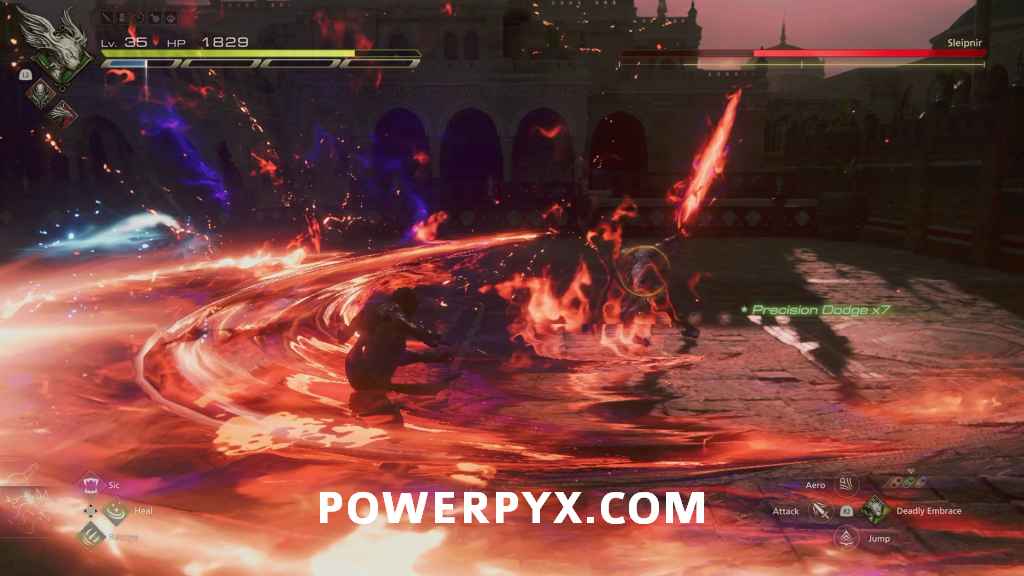
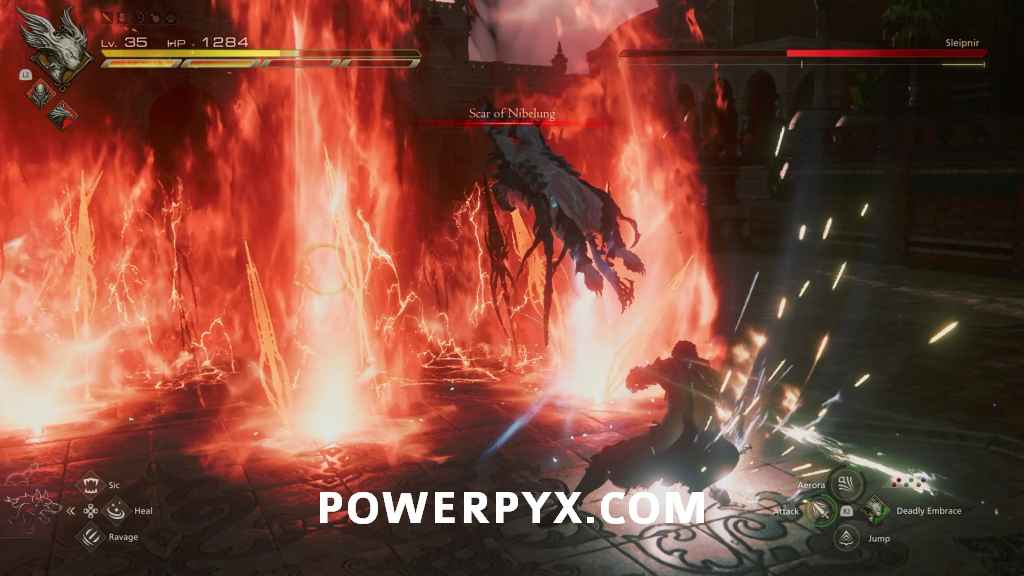
He’ll also start performing his named attacks now. The first he’ll likely perform is Scars of Nibelung, where he warps away and sends out a number of vertical waves. You can either dodge through these or move in between the spikes to avoid them.
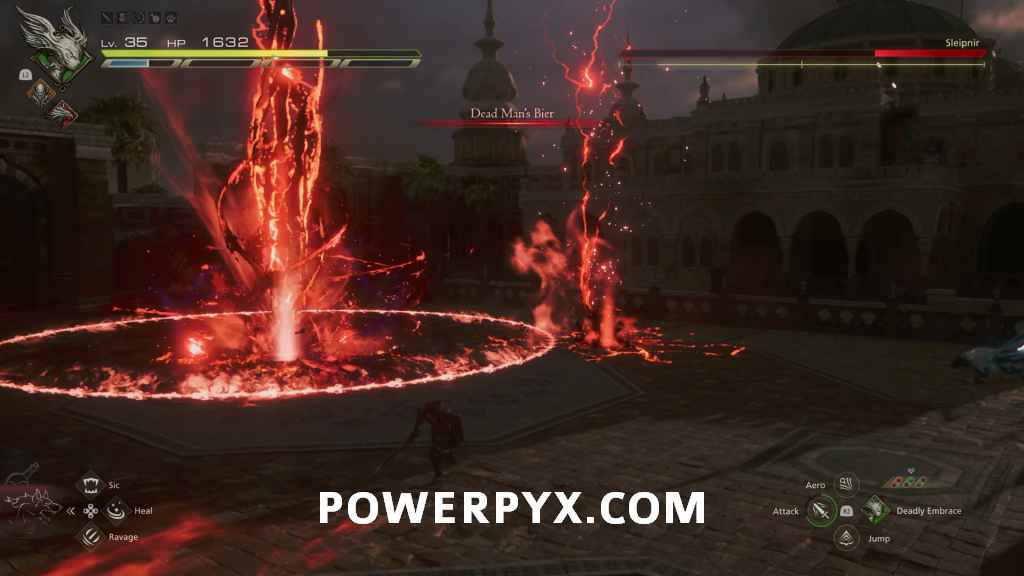
After you perform the second stagger, he’ll likely immediately use Dead Man’s Bier. This starts out with an attack similar to the Dragoon’s Mirage Dive, where a number of spots are marked on the ground over and over where damage occurs. Get out of the areas to avoid them until they stop.
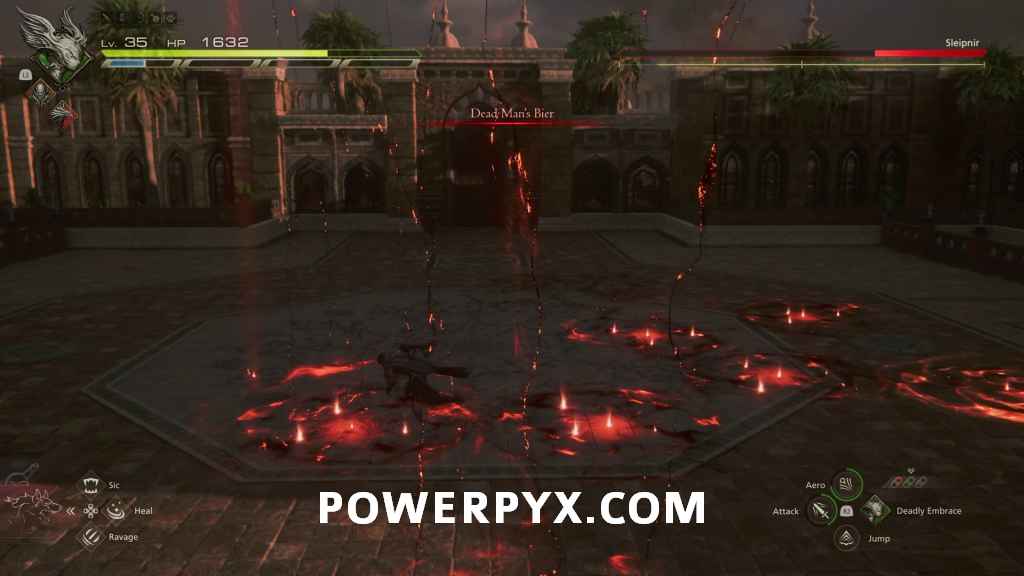
The second part of the attack is a number of large pillars that send out waves of damage. You can dodge through these waves or jump over them. When Sleipnir reappears there will be two at once on either side of him, then he will drop onto the ground and send out the waves like in Scars of Nibelung.
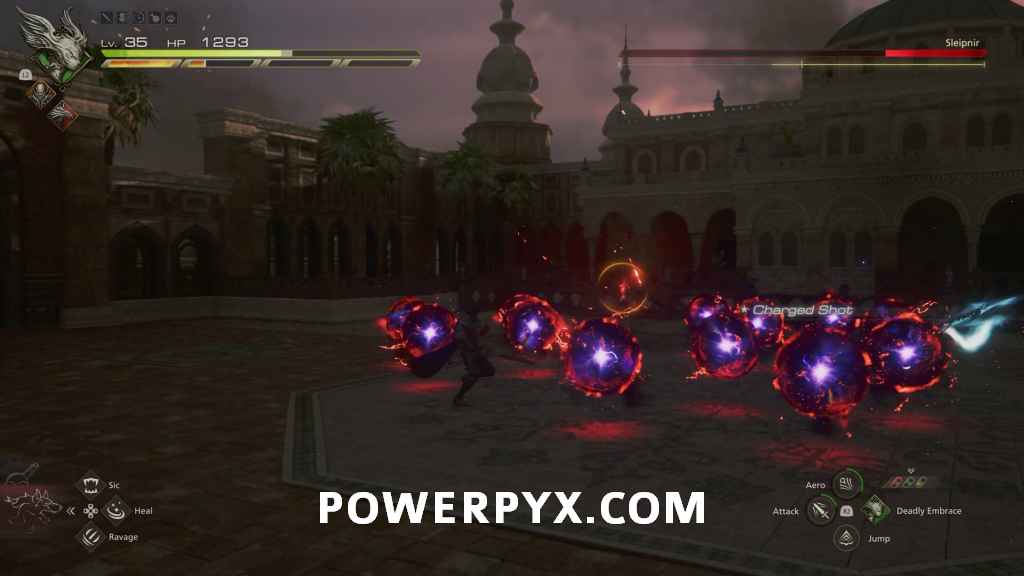
Keep putting in damage now in this final section. He’ll likely perform the rest of his named attacks, which include Creeping Darkness, where he summons a number of spheres that slowly converge on where you are standing when he performs the attack, and Ratatoskr, which is the ground attack from the start of Dead Man’s Bier.
Return to the hideaway
After the scenes post boss fight, select the Hideaway to continue to the next main quest.
This finishes Evenfall Main Quest in Final Fantasy 16 (XVI).
Next Quest: A Song of Hope
For all other Quests refer to Final Fantasy 16 (XVI) Walkthrough.
Leave a Reply