
Secret of the Queen Mother is a Fieldwork side quest in Indiana Jones and the Great Circle. This walkthrough will guide you through all objectives of the Secret of the Queen Mother Fieldwork side mission.
- Starting Location: Gizeh / Omar’s Tent
- Requirement: Speak with Omar at the Kenkawes Dig
- Reward: 375 AP
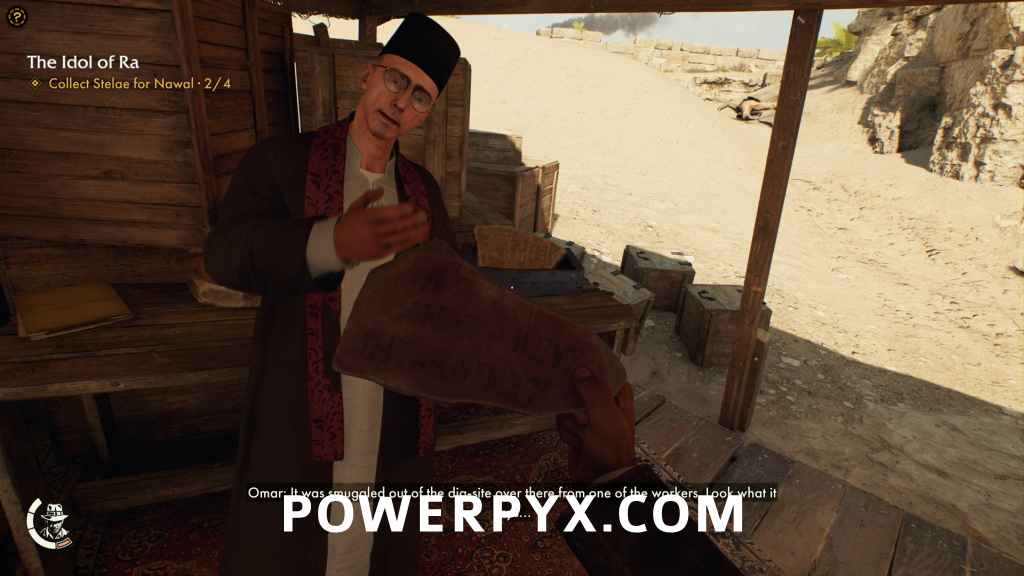
- Quest Description: Omar showed an ostracan saying there is a secret in the tomb of Queen Mother Khentkawes. The Naziz have been excavating the tomb but it’s on hold right now, presenting a great opportunity to try finding the secret before the Nazis do.
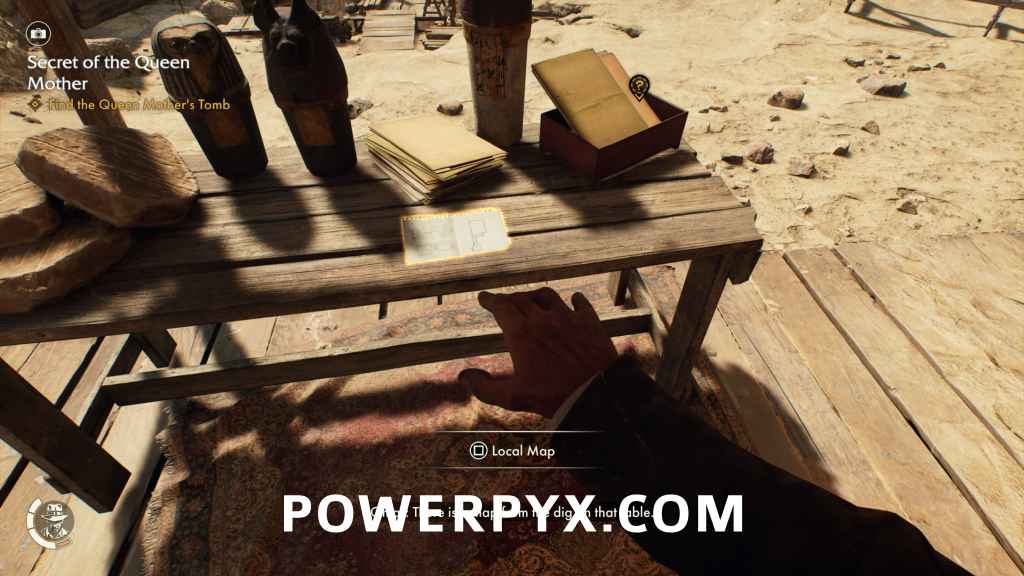
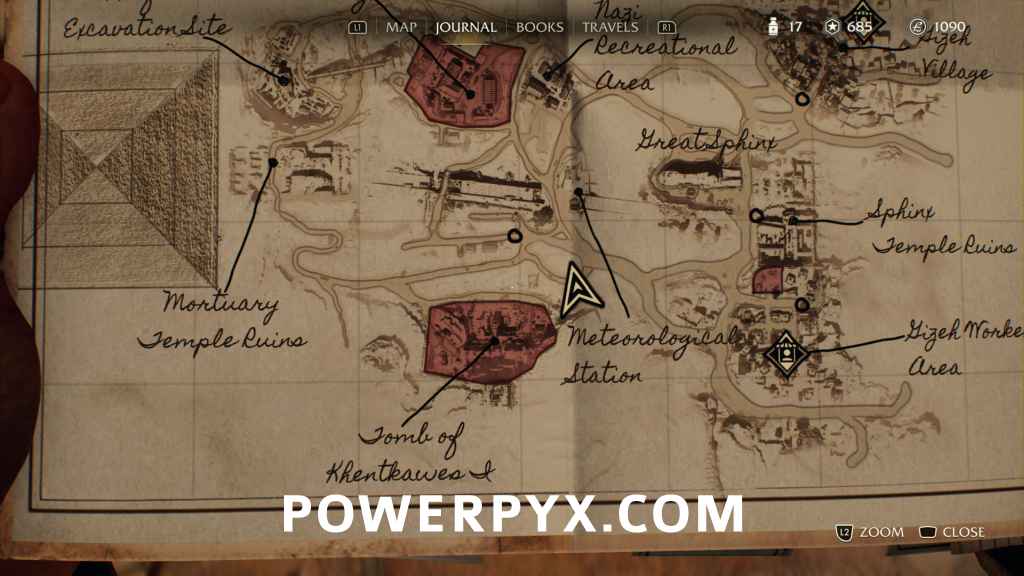
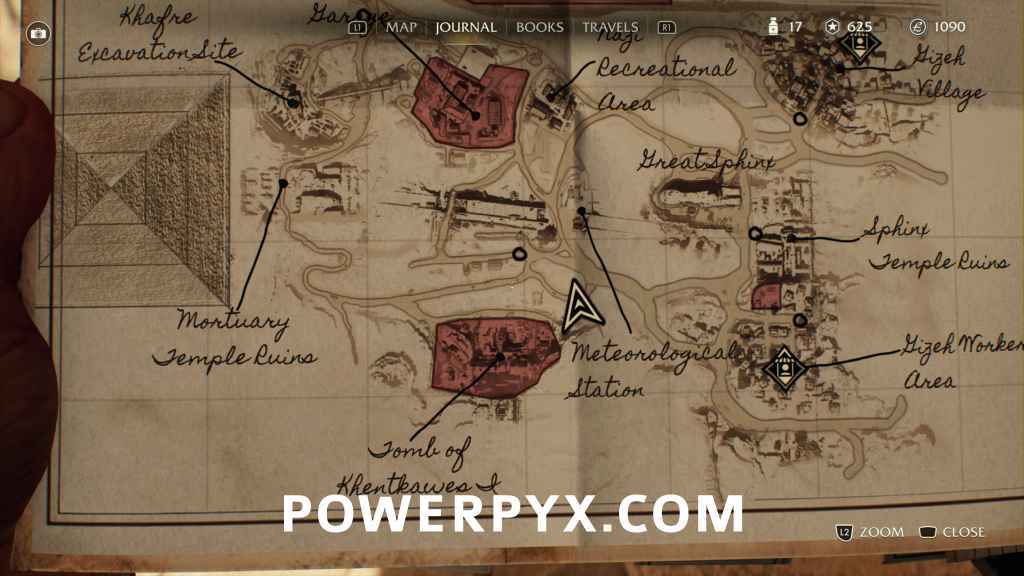
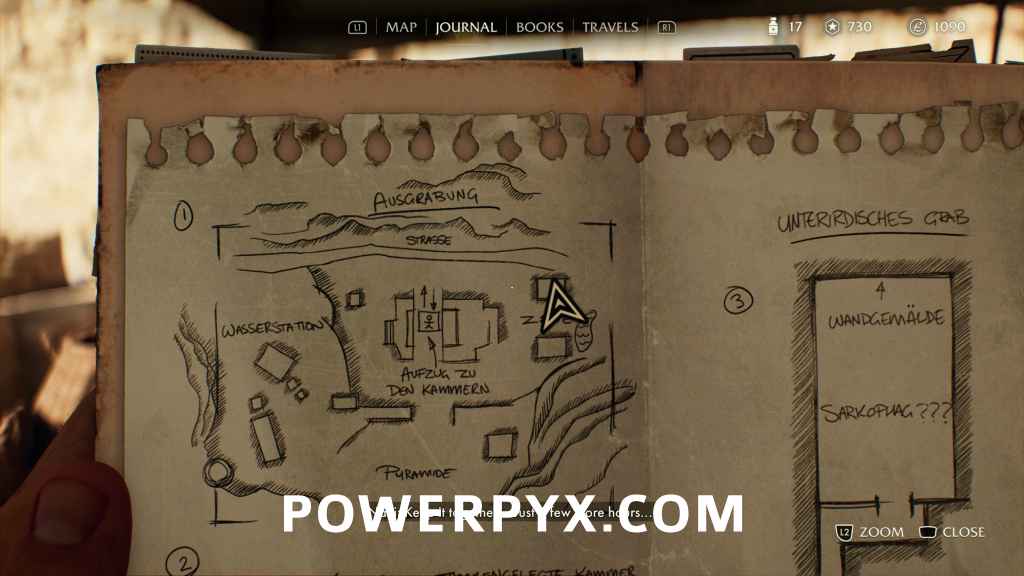
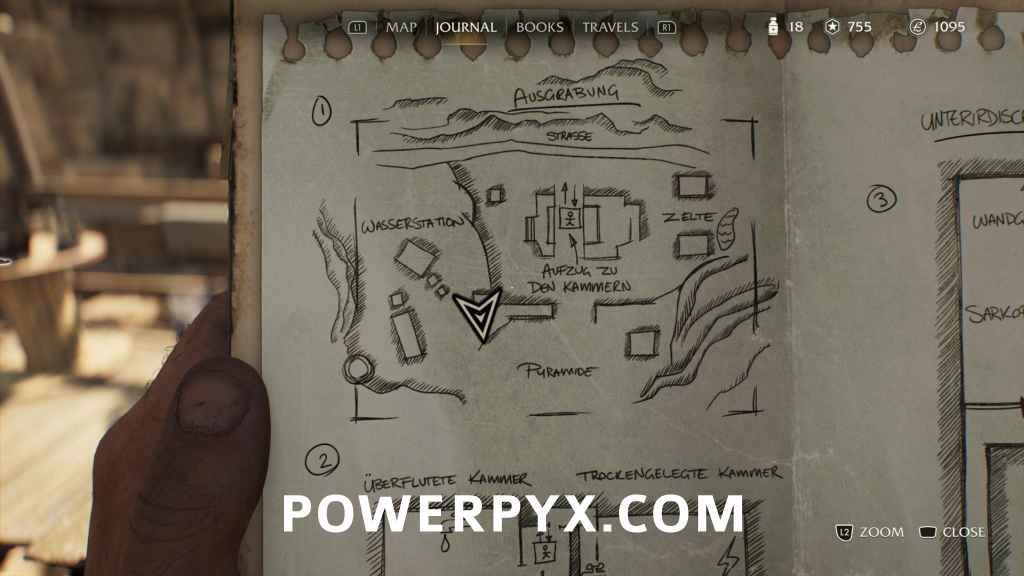
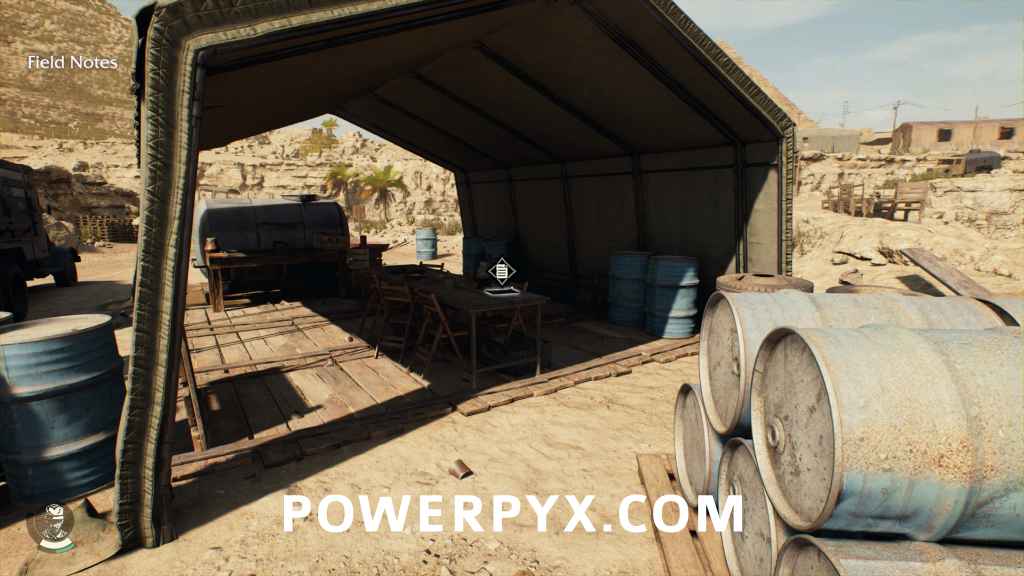
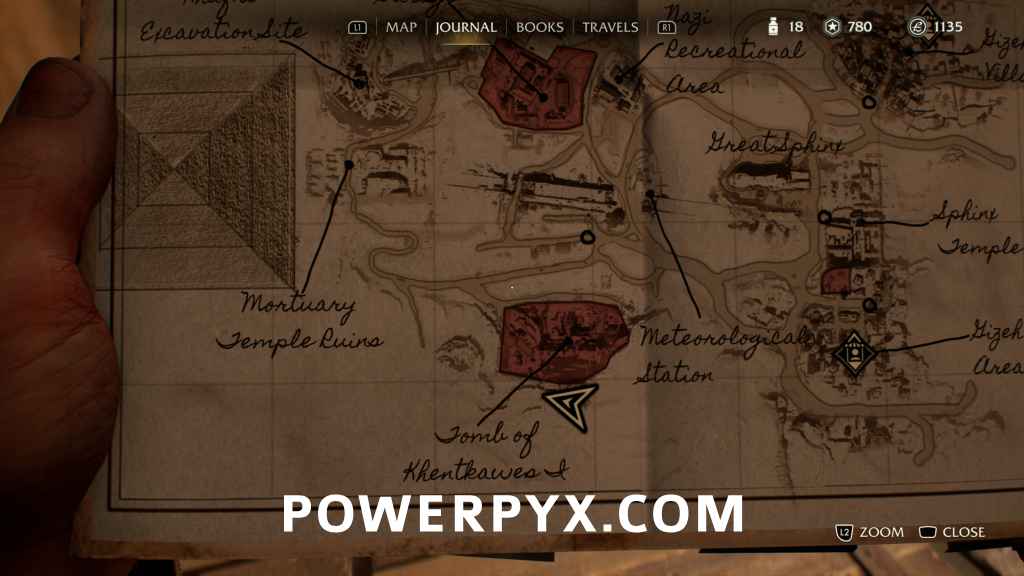
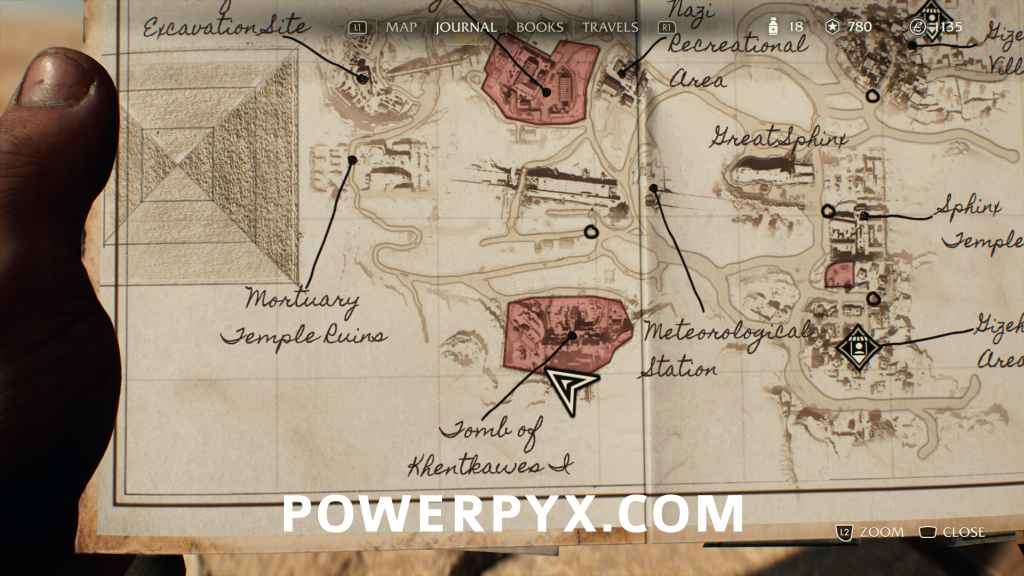
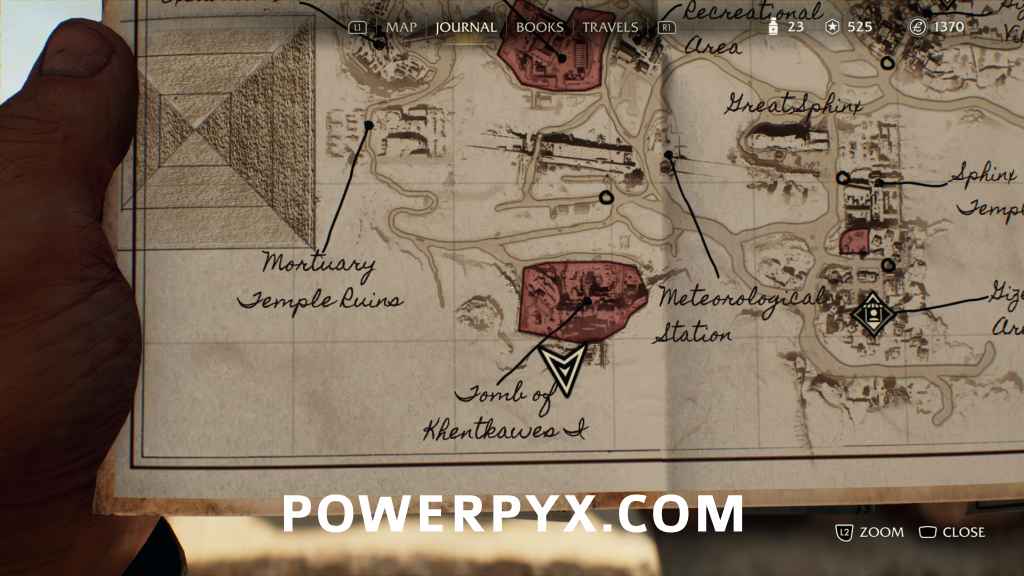
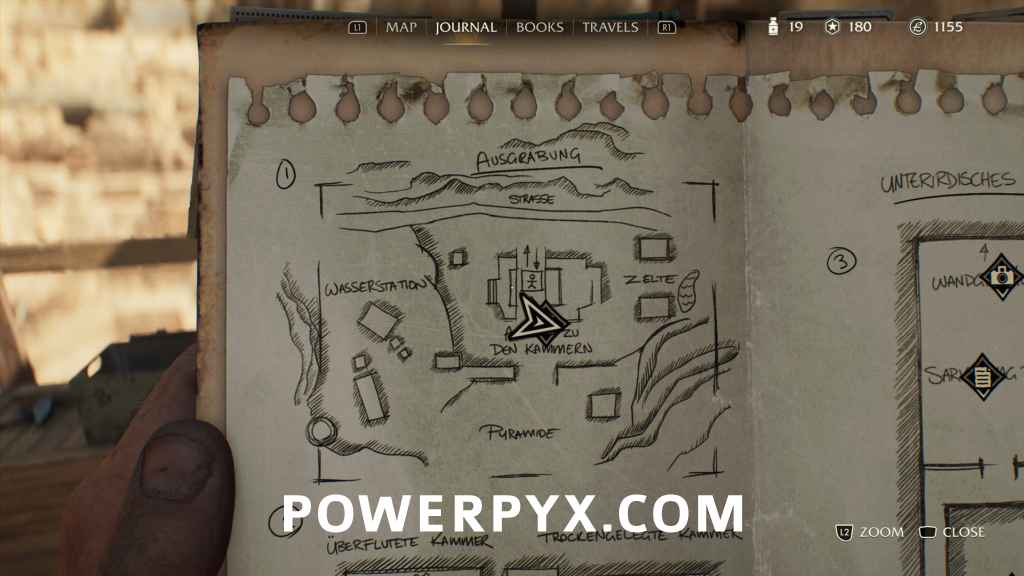
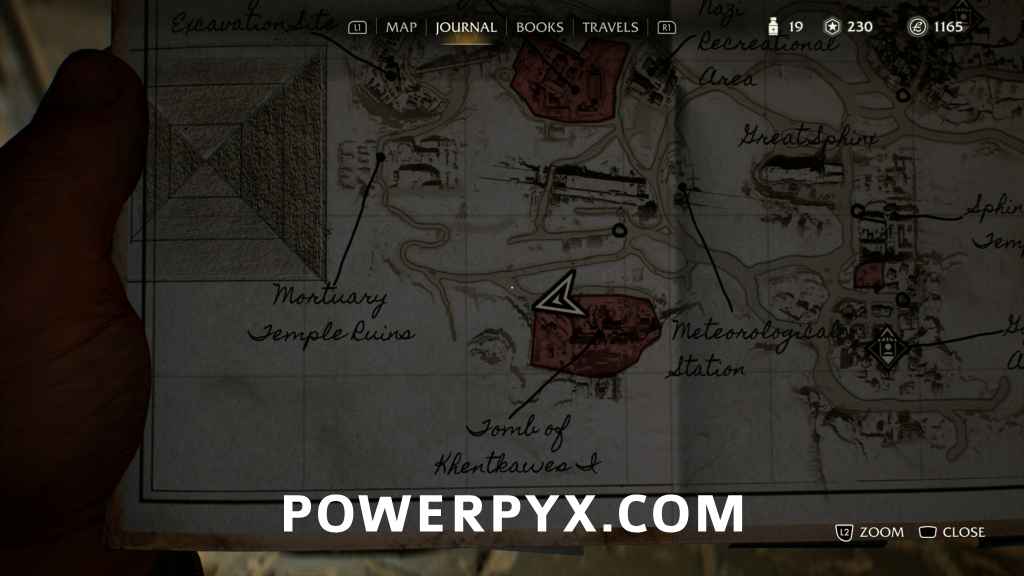
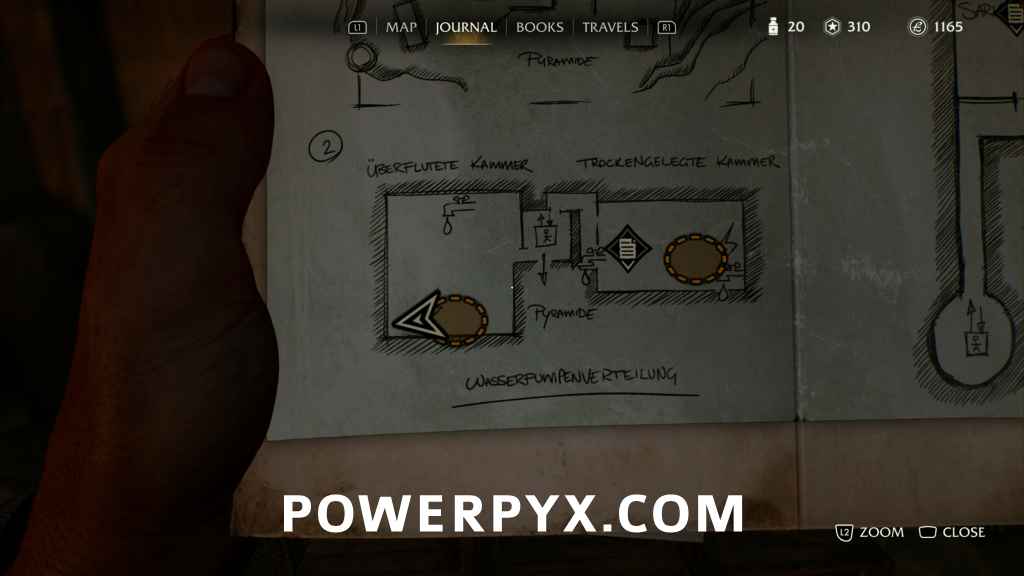
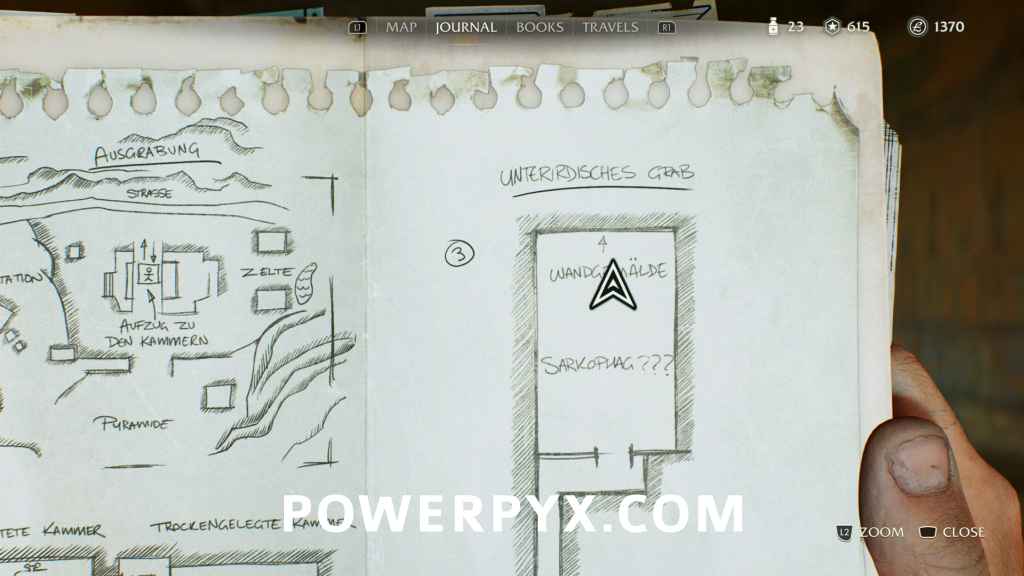
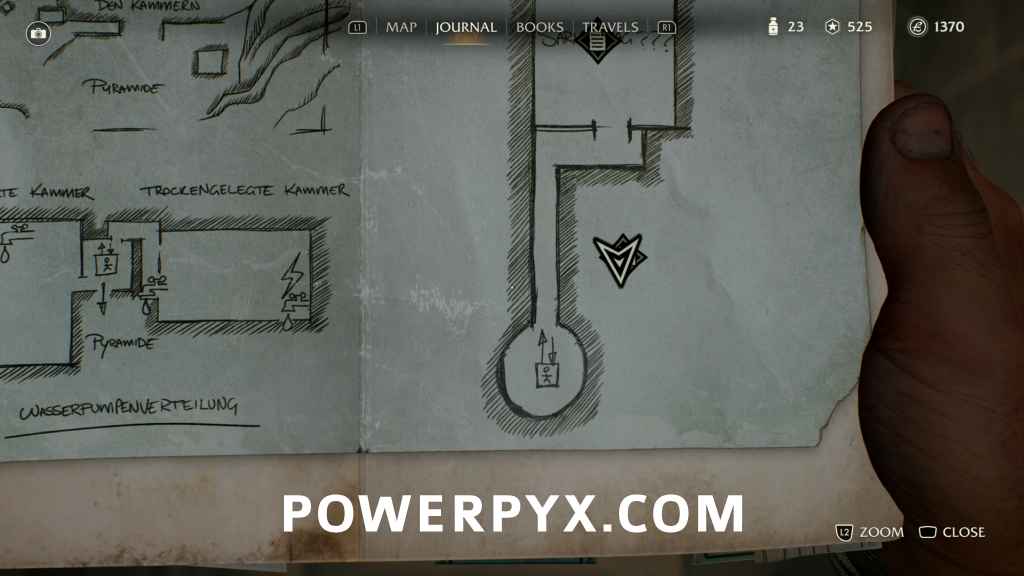
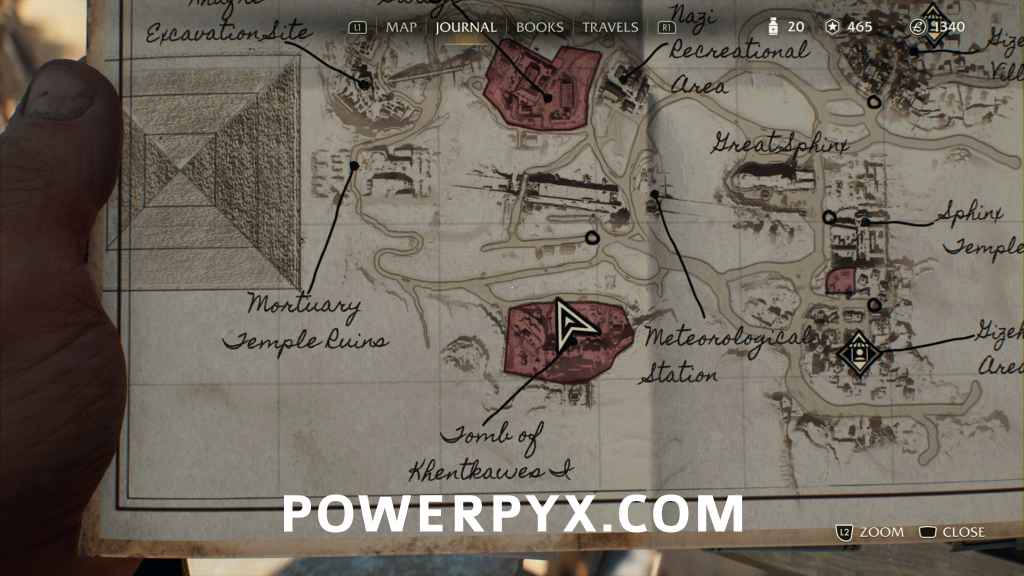
Just outside the Kentkawes Dig, you’ll meet Omar, a colleague of Naweh. He will give you a map of the dig and start the Fieldwork.
Fieldwork Note #7: Ostracar Shard (25 AP)
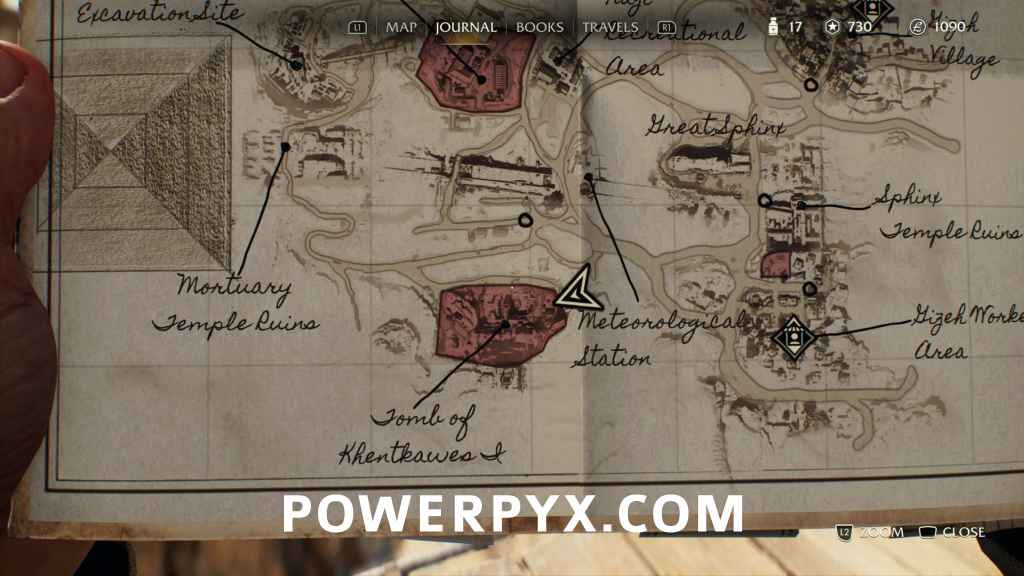
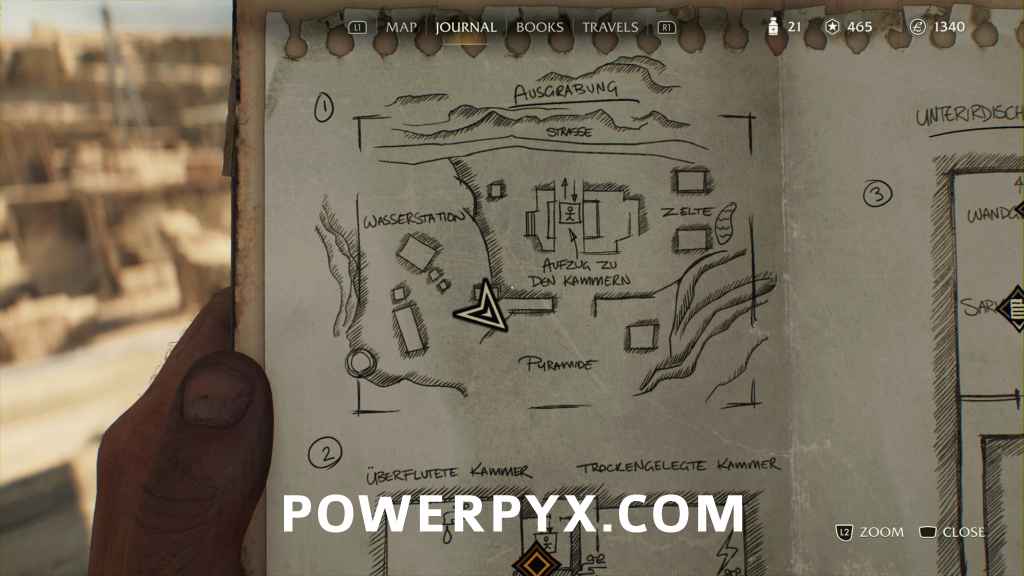
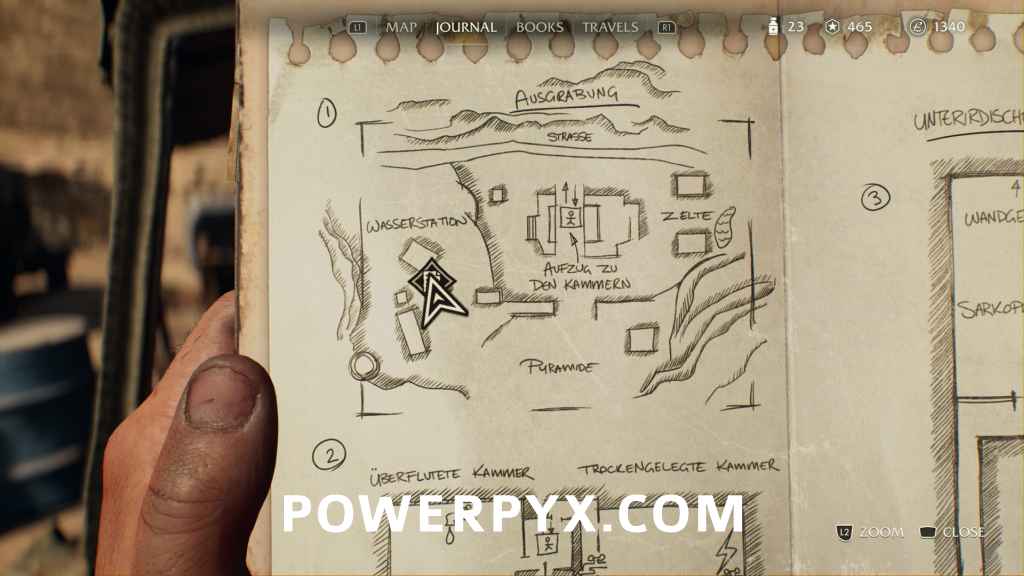
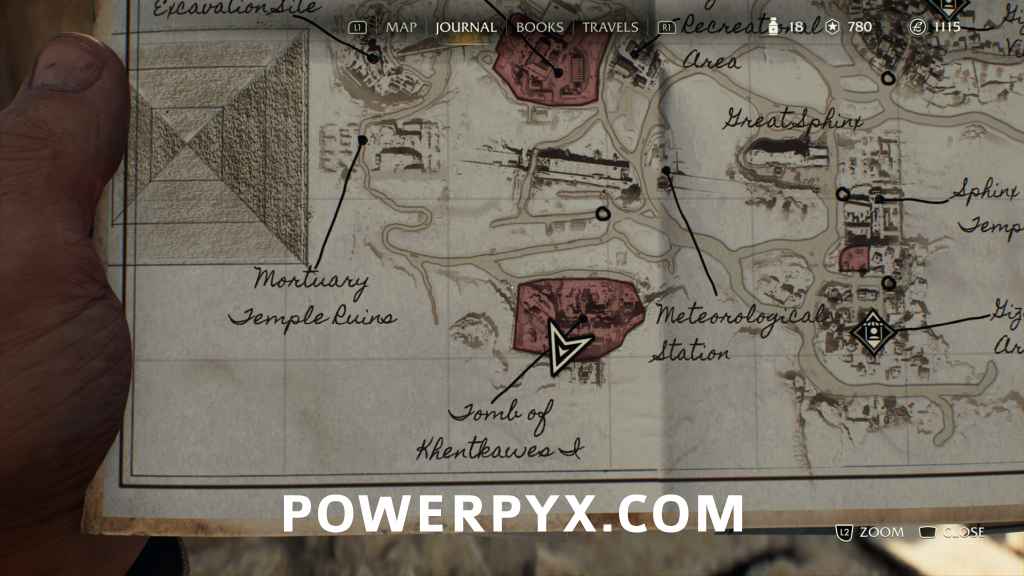
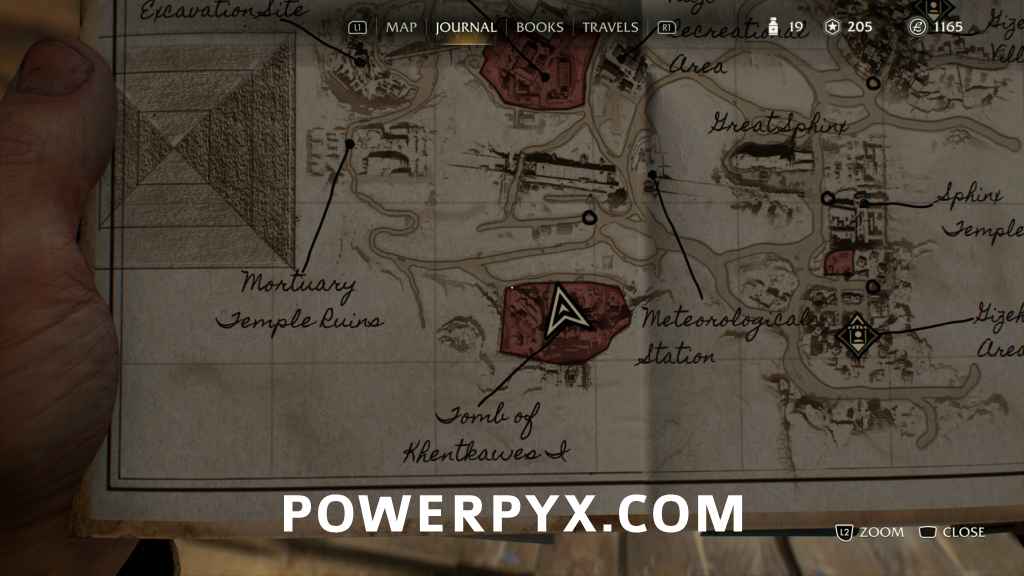
Find the Queen Mother’s Tomb
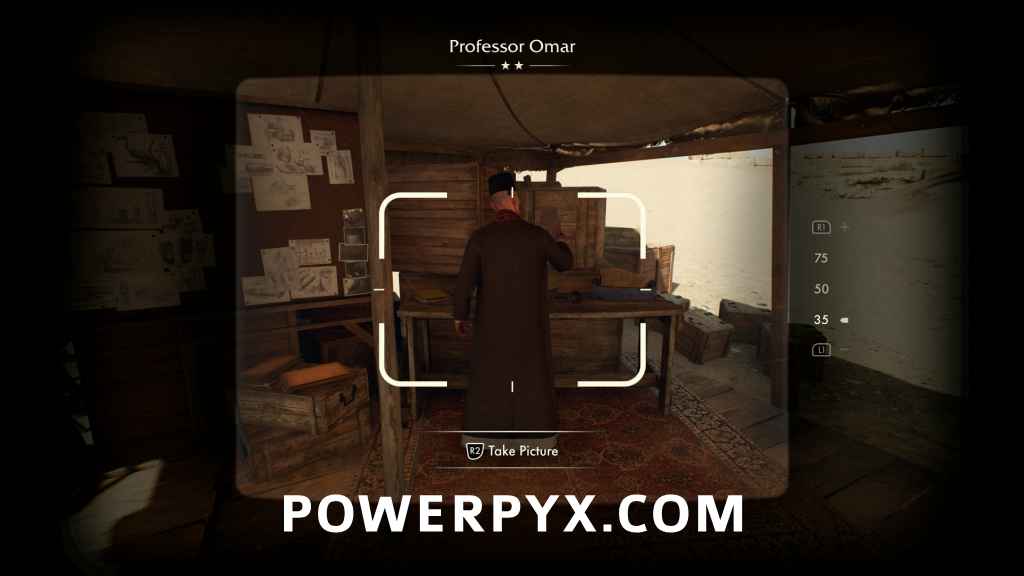
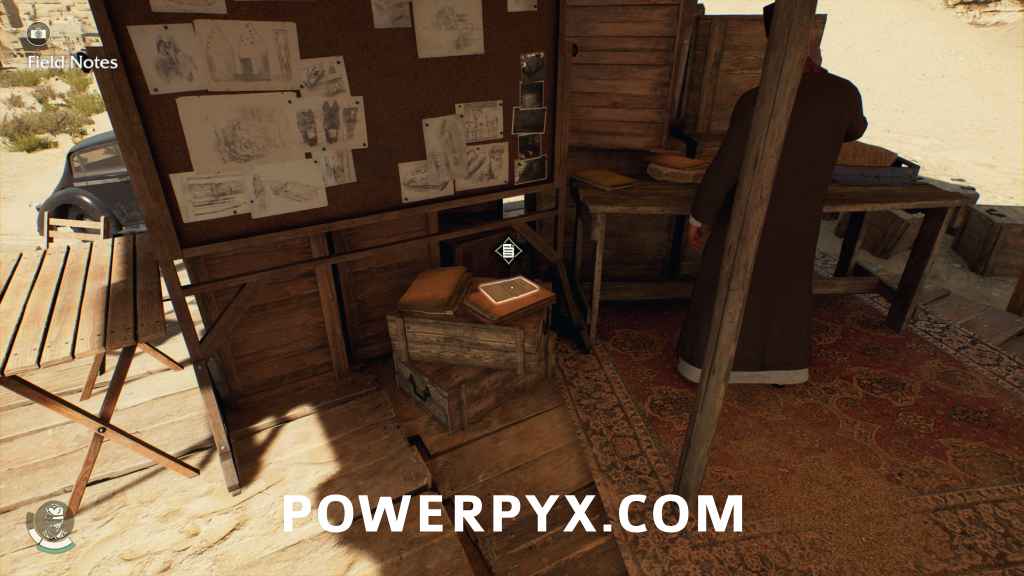
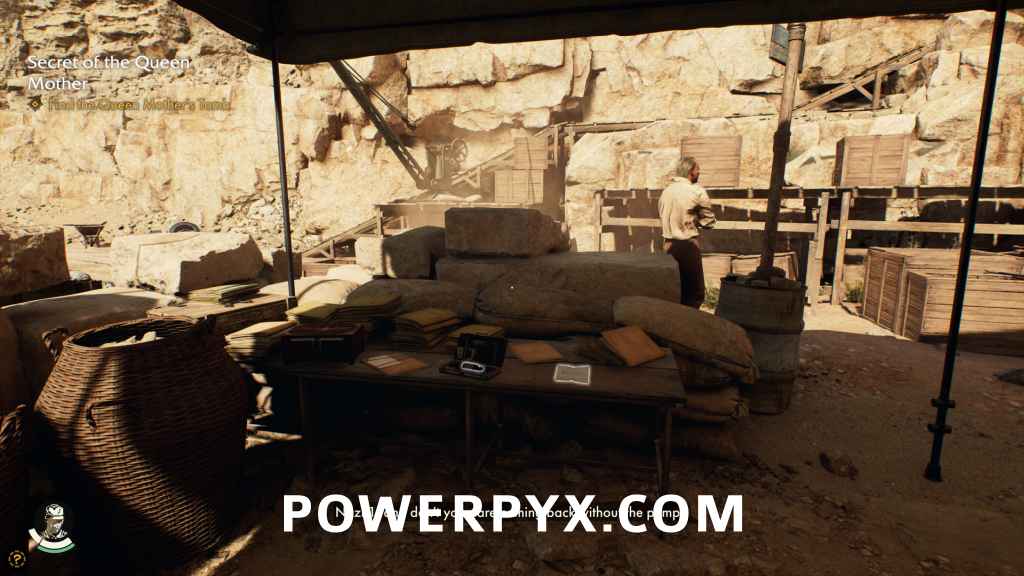
Take a photo of Omar, and also grab the letter sitting on top of some crates by his bulletin board.
Discovery Note #67: Professor Omar (35 AP)
Discovery Note #68: Kleber’s Letter (25 AP)
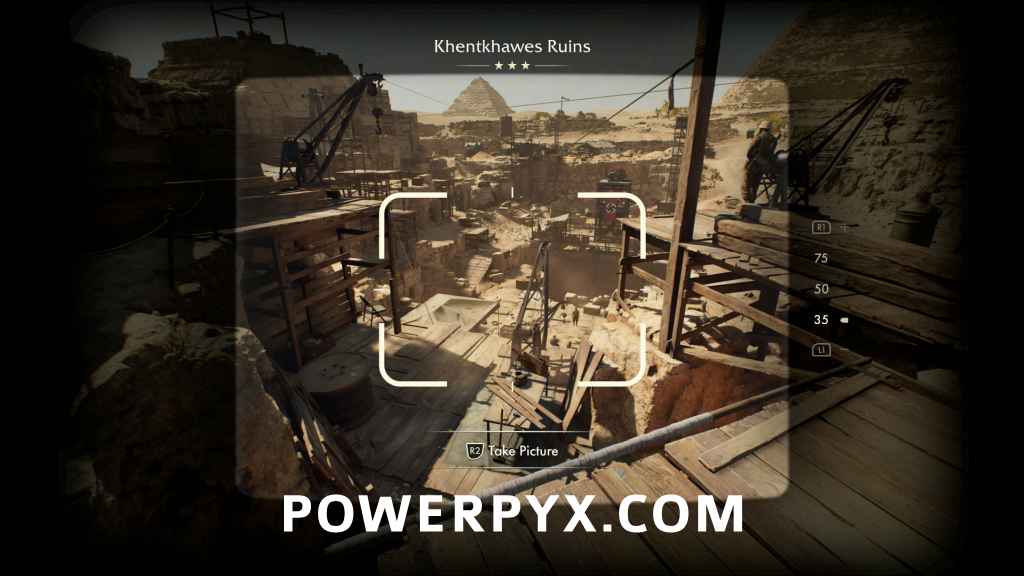
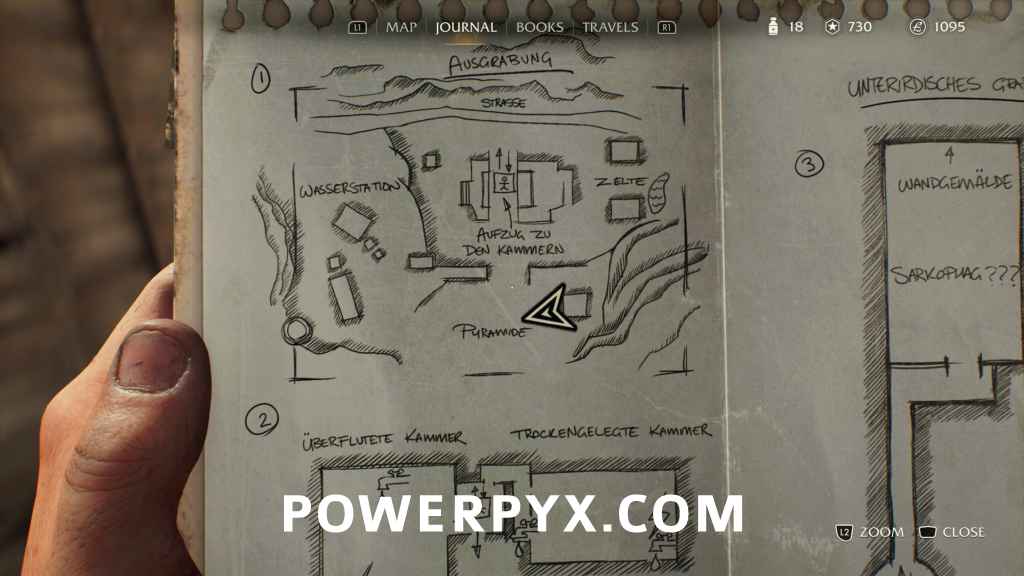
Head towards the dig, and take a photo from the platform above the pit.
Fieldwork Note #8: Khentkawes Ruins (45 AP)
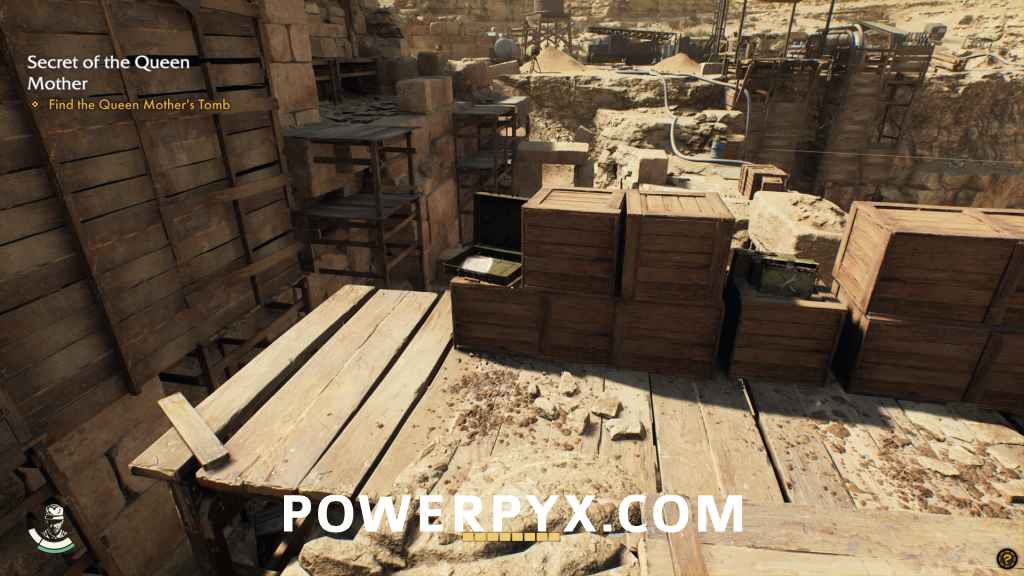
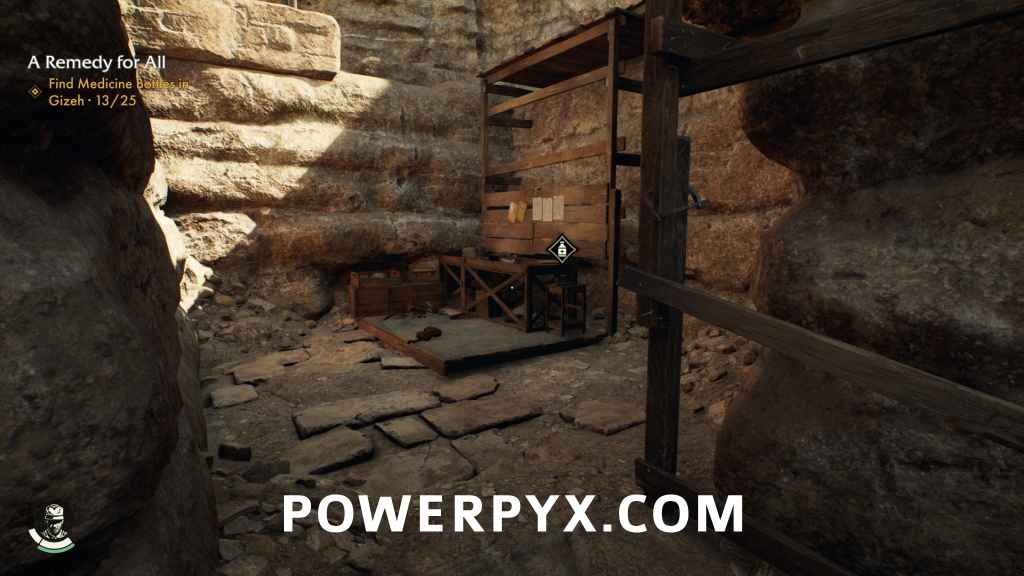
Head down the ramp and check the tent at the bottom for a note and a medicine bottle.
Medicine Bottle #16: Zelte
Mystery Note #13: Desertion Report (25 AP)
The Desertion Report is tied to A Thief’s Promise.
On a platform above the dig, there is a note inside an open briefcase.
Fieldwork Note #9: Nightshift Diary (25 AP)
On the platform on the opposite side of the dig, there is another note and a medicine bottle.
Fieldwork Note #10: Jurgen’s Note (25 AP)

Medicine Bottle #17: Khentkawes West Platform
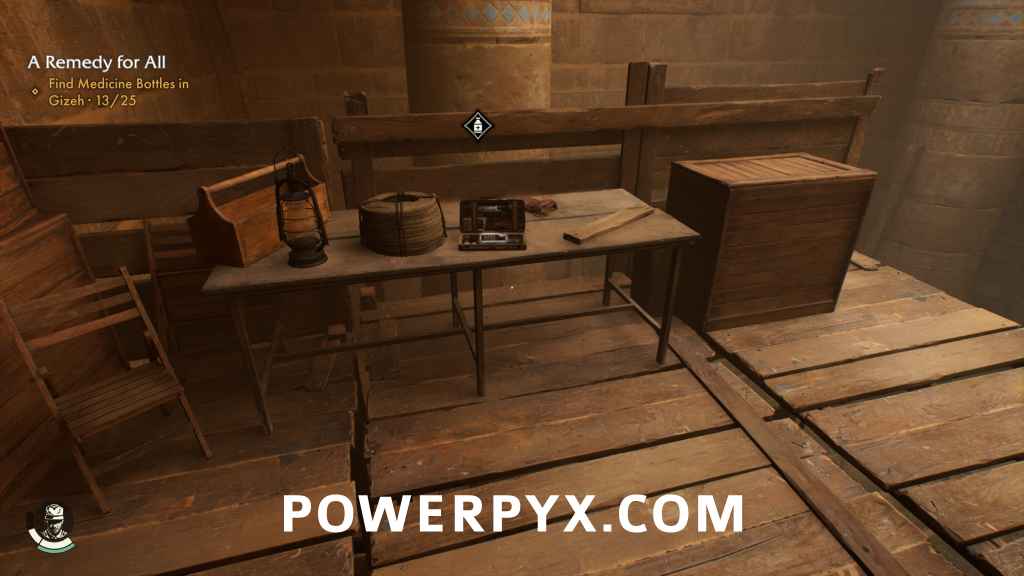
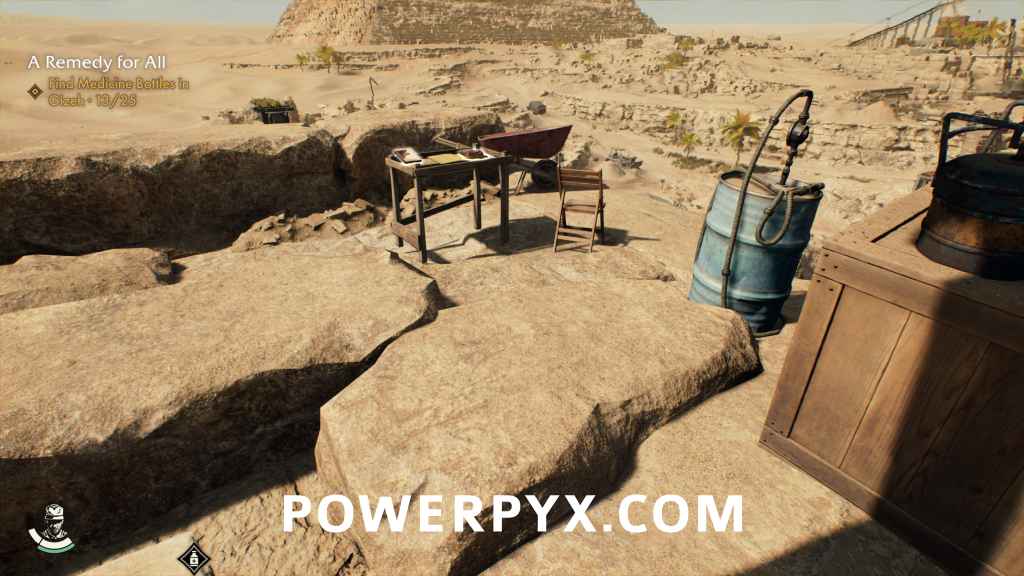
North of the west platform there is a table with a note and money pouches (30£) on it in a tent.
Discovery Note #69: Horror Tales #2 (25 AP)
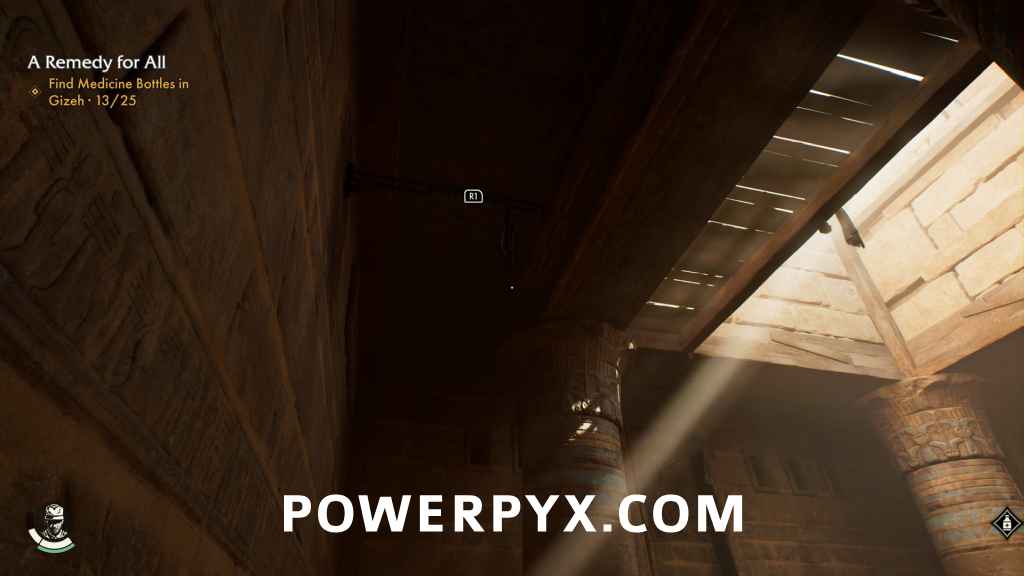
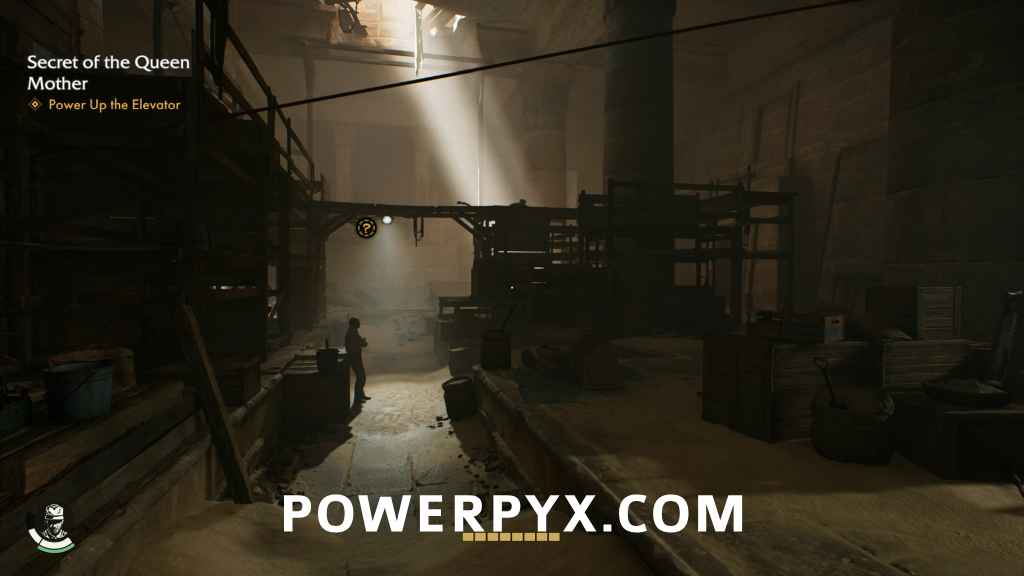
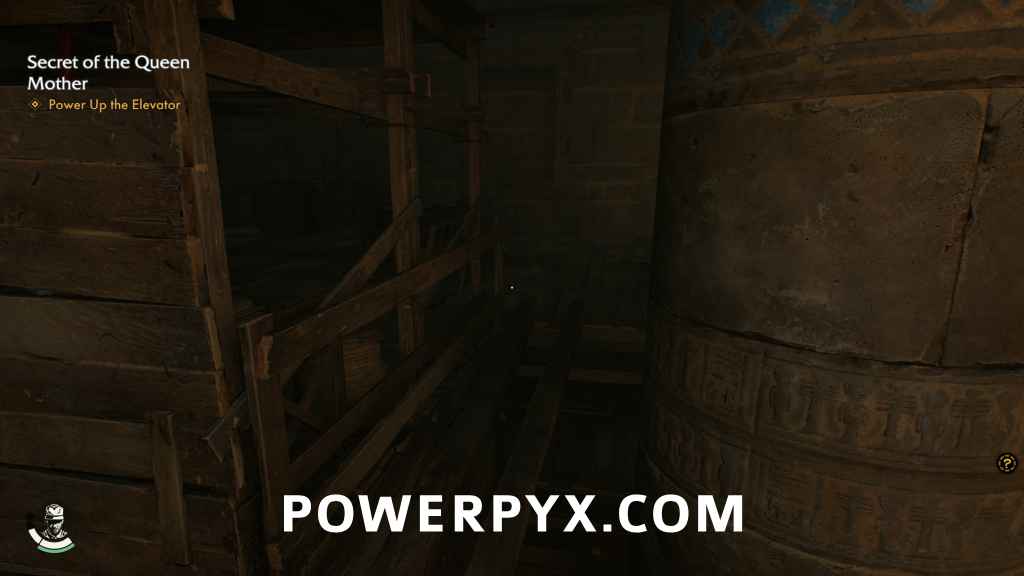
Above the dig, head to the doorway in the side of the ruin.
Go down the stairs to enter a chamber with wooden scaffolding inside. To reach the top of the platform, start on the north side of the room. Climb on the crates, and jump up to the wooden platform next to you. Look up and whip the bar that protrudes from the wall above you. Swing over to a platform on the other side of the room. From there do the same thing to the south corner, which connects to the platform.
On the platform is a table with a medicine bottle and a money pouch (20£).
Medicine Bottle #18: Cliffside Chamber
Afterwards look up and to the north and whip to the bar above and climb up. Then whip the crane and climb up to the roof, where there is a table with a book and a money pouch (20£).
Adventure Book #24: Climbing Ace II (Requires 150 AP)
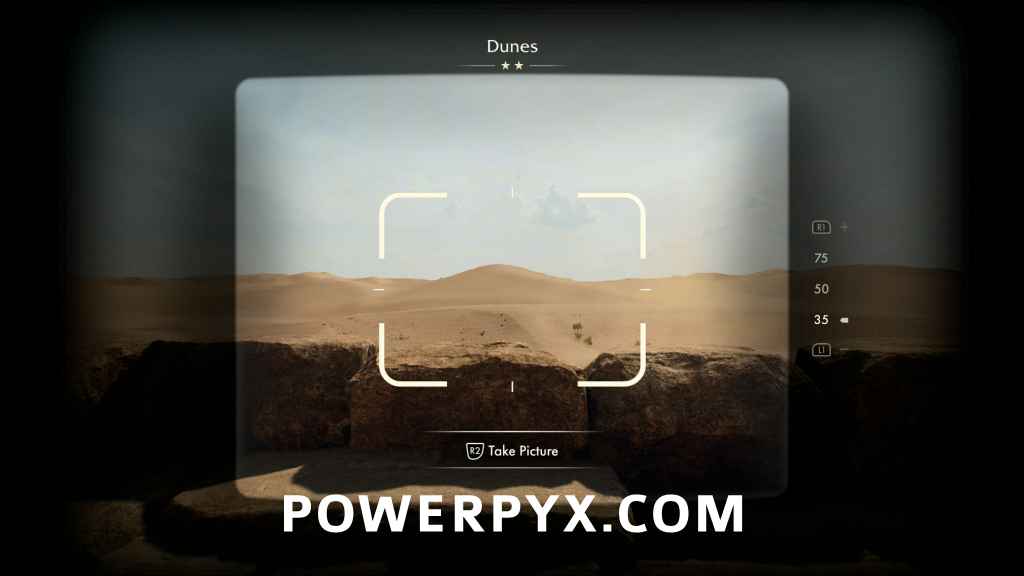
Head to the southwest and drop down to the lower level. Face south and take a photo of the dunes.
Discovery Note #70: Dunes (35 AP)
Zipline down to the dig, then head south to a crane and lower yourself down by your whip. You’ll come down right next to a table with a medicine bottle.
Medicine Bottle #19: Dig Table

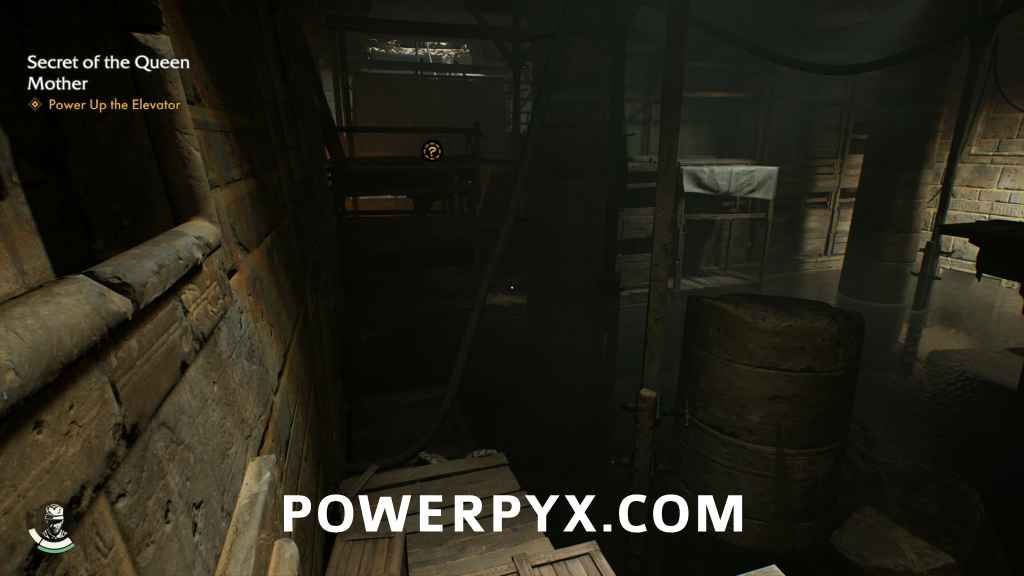
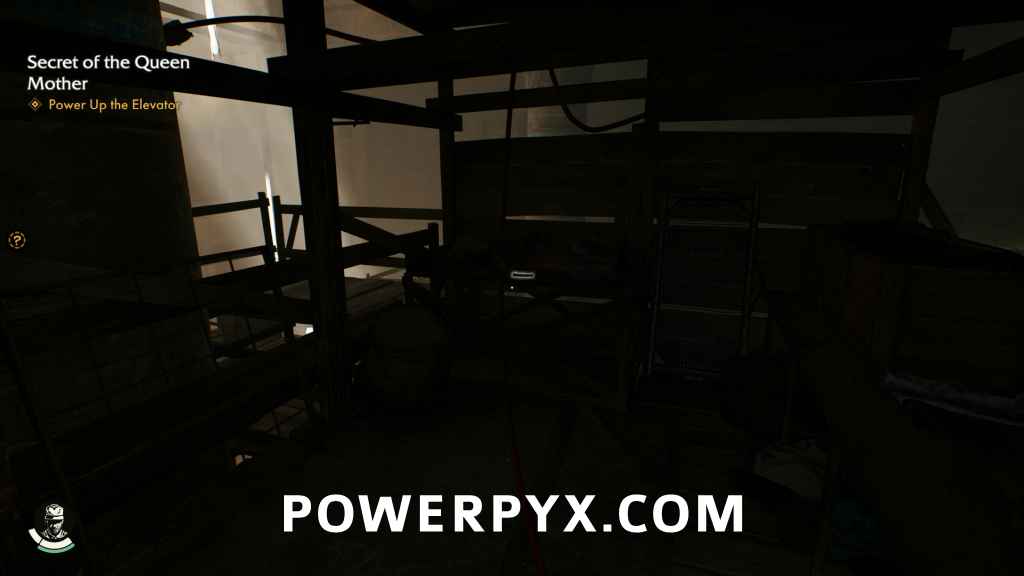
Head to the elevator in the center of the dig. There is a crate next to the elevator’s top floor that has a note on it.
Fieldwork Note #11: Shutdown Notice (25 AP)
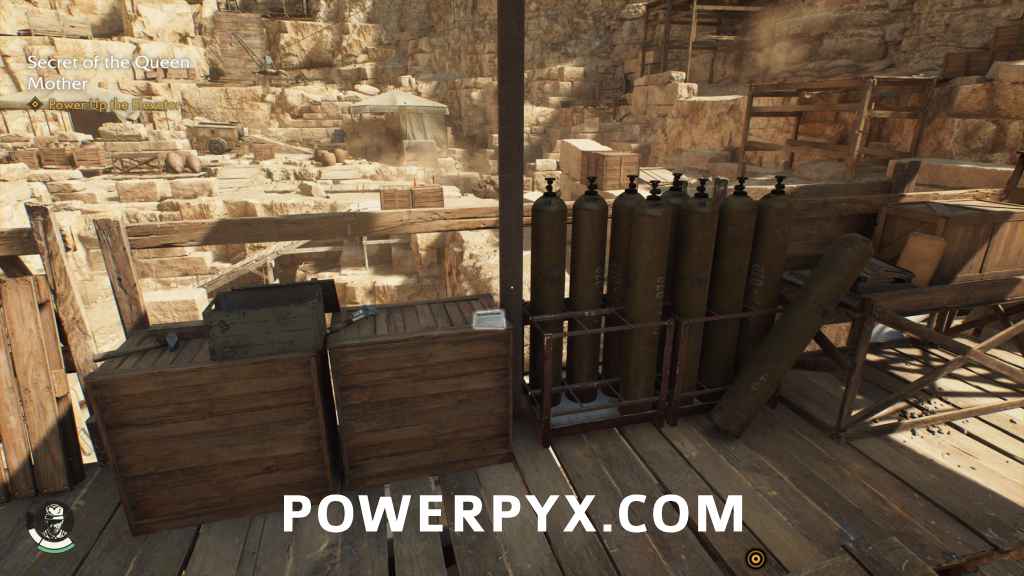
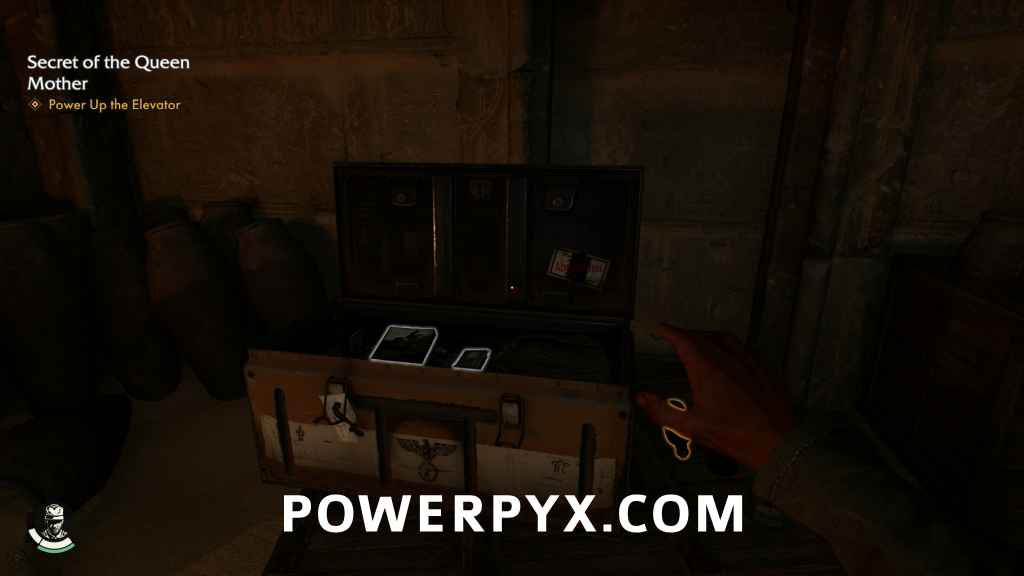
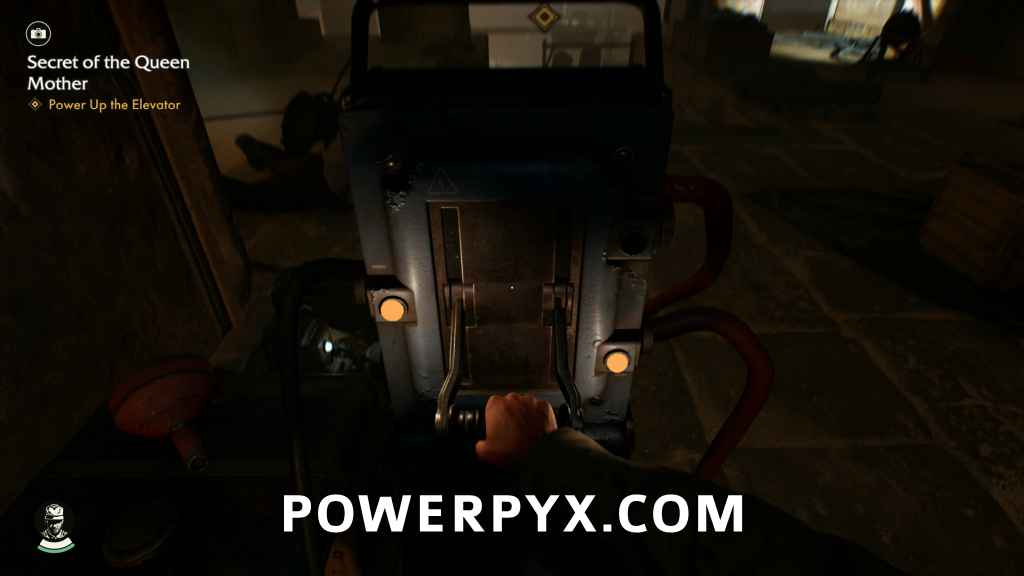
Attempt to operate the elevator, and discover that it has been shut down.
Power Up The Elevator
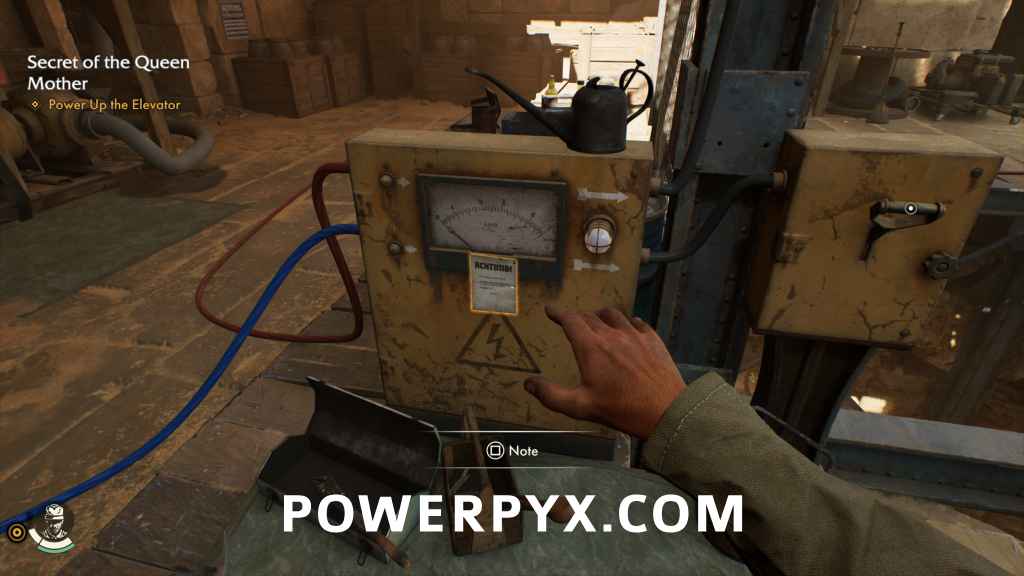
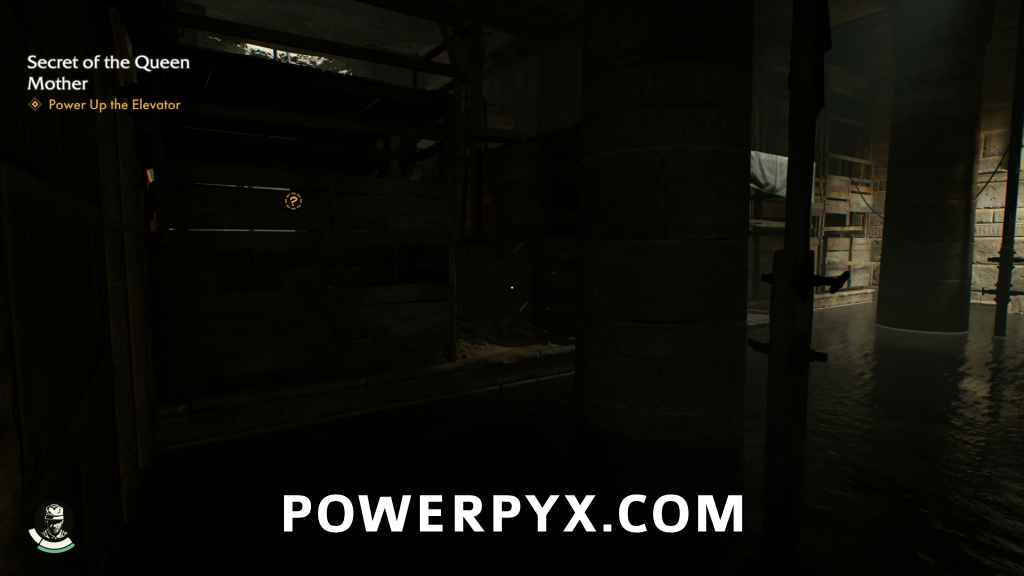
Via ladder or ramp, climb down to the floor below. There is another note on the panel next to the elevator.
Fieldwork Note #12: Malfunction Notice (25 AP)
Head up the stairs to the south to find a note on the ground.
Discovery Note #71: Kozra Letter (25 AP)
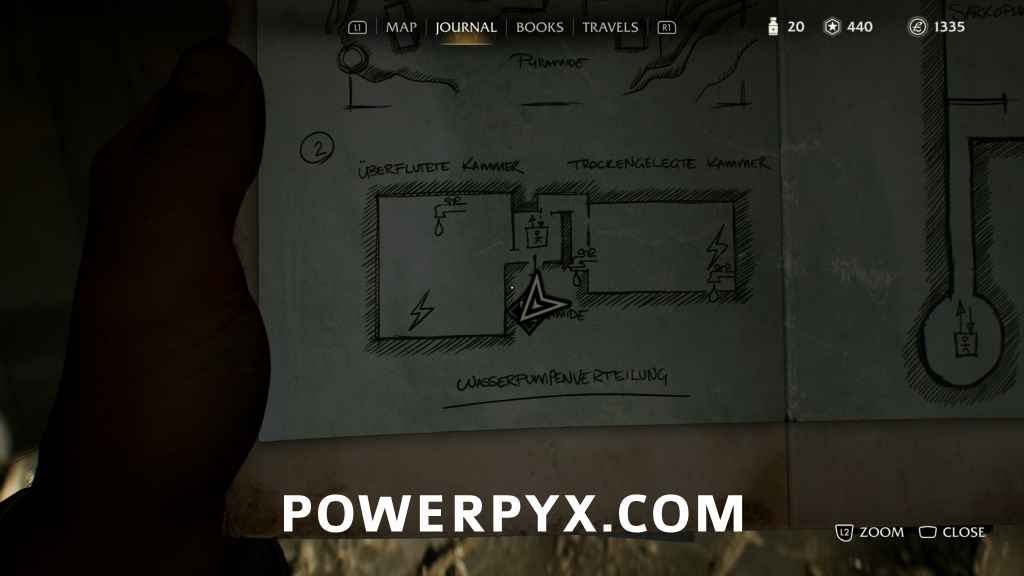
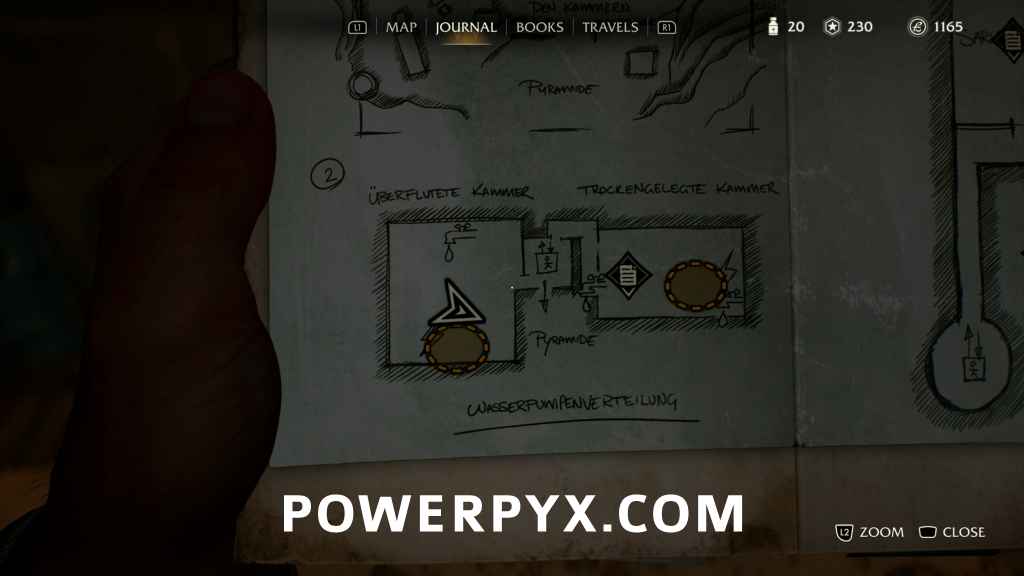
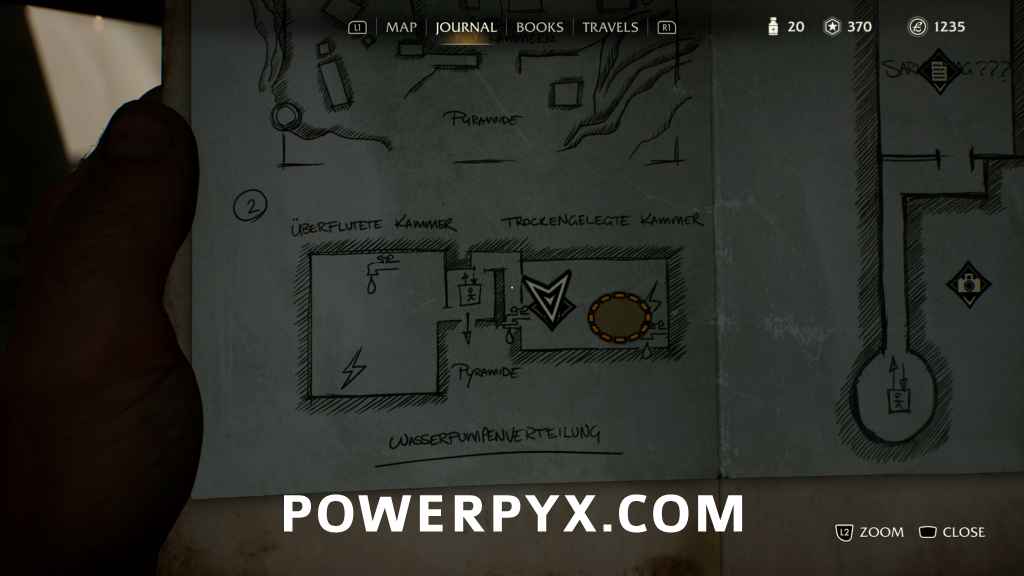
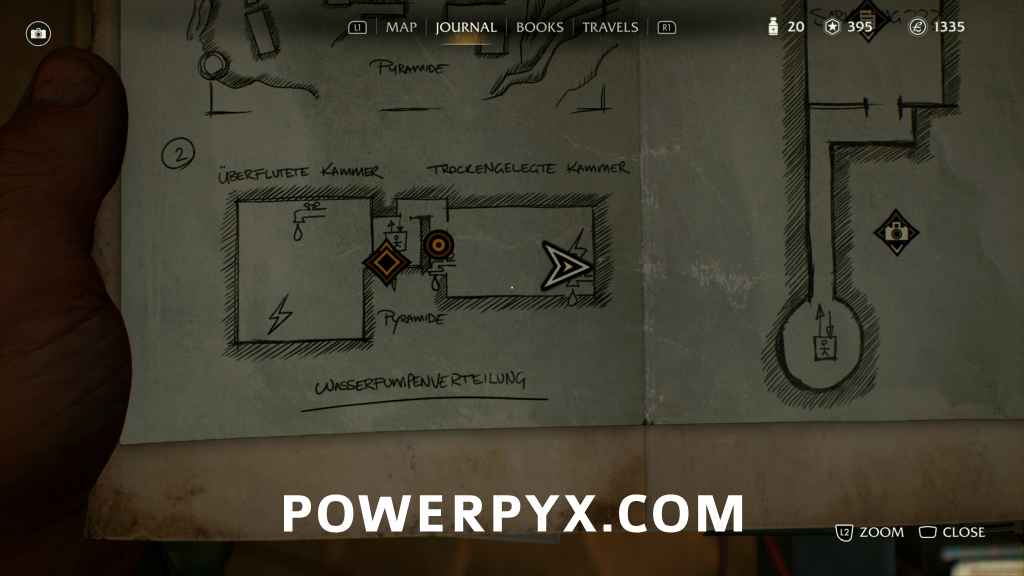
Head west into the ruins, then go north until you find the stairs. Head up and follow the path to the next room where there is a medicine bottle.
Medicine Bottle #20: Flooded Chamber (80 AP)
After that, flip the switch next to the door to electrocute the nazis in the next room, then flip it off again and head south into the next room. Climb down the platforms by the wall then swim over to the platform to the south.
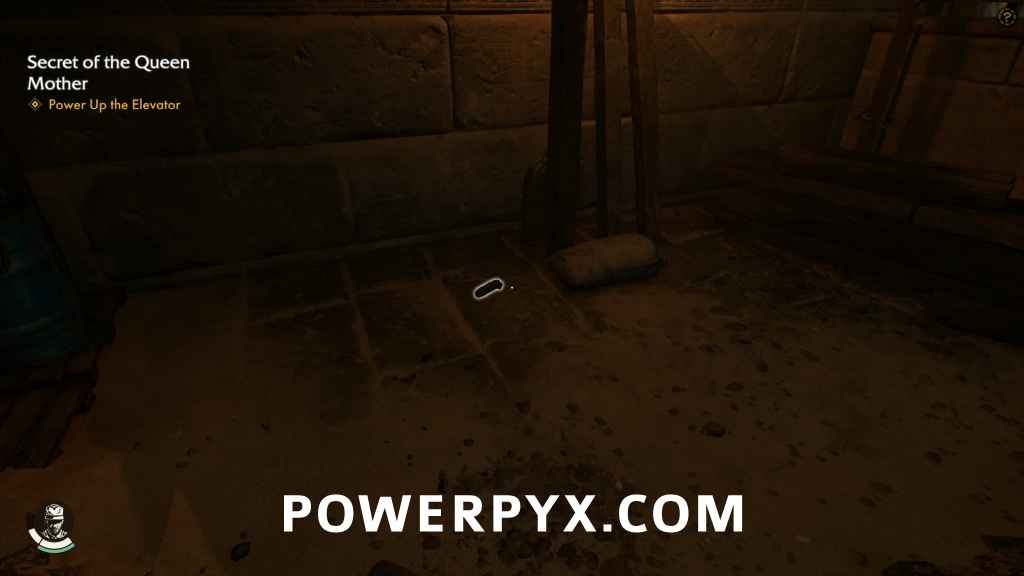
Climb up and over the wall. There will be an ancient relic on the ground.
Ancient Relic #6: Flooded Chamber (80 AP)
Climb back over the wall, and back up to the wooden platform in the middle of the room. Swing from the beam above across to the other side. Go west down the platform, then south through a tunnel. On the other side, you’ll come out on a wooden platform. Drop down to the lower floor in the room. There will be a foot locker here with a book and some money (50£) inside.
Adventure Book #25: Button Man I (Requires 500 AP)
From there, climb up the crates and platform to the east then flip the switch at the top. Once you do, two Nazis will open the gate at the bottom giving you a shortcut back to the elevator.
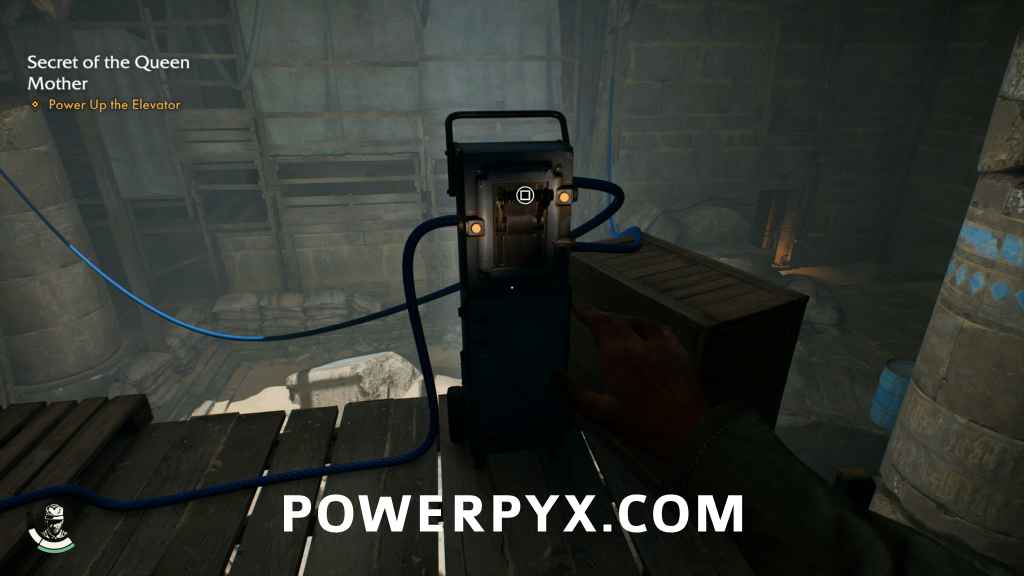
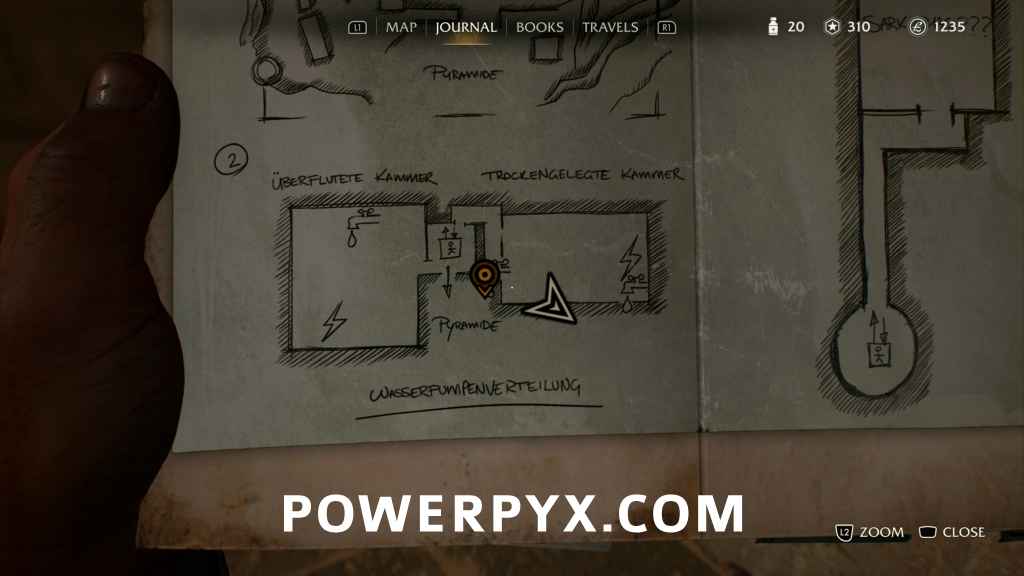
The elevator still doesn’t have enough power. This time go north from the elevator, down the stairs following the pipe on the ground. At the end of the hallway, climb down the ladder. Head into the next room, then climb up to the top of the platform. Look south and you’ll see a ledge along the wall that has braziers along it.
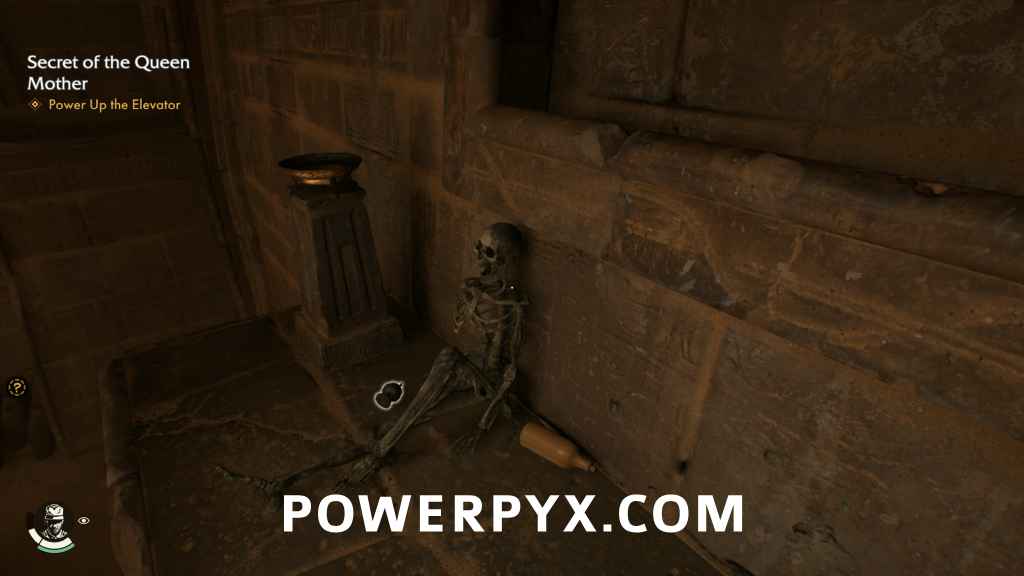
Jump across the gap to the south, then turn to the east and jump across to where there’s a skeleton lying against the wall next to an artifact.
Discovery Note #72: Aduno Koro (60 AP)
Then jump back to the platform and climb up to see a walkway to the north.
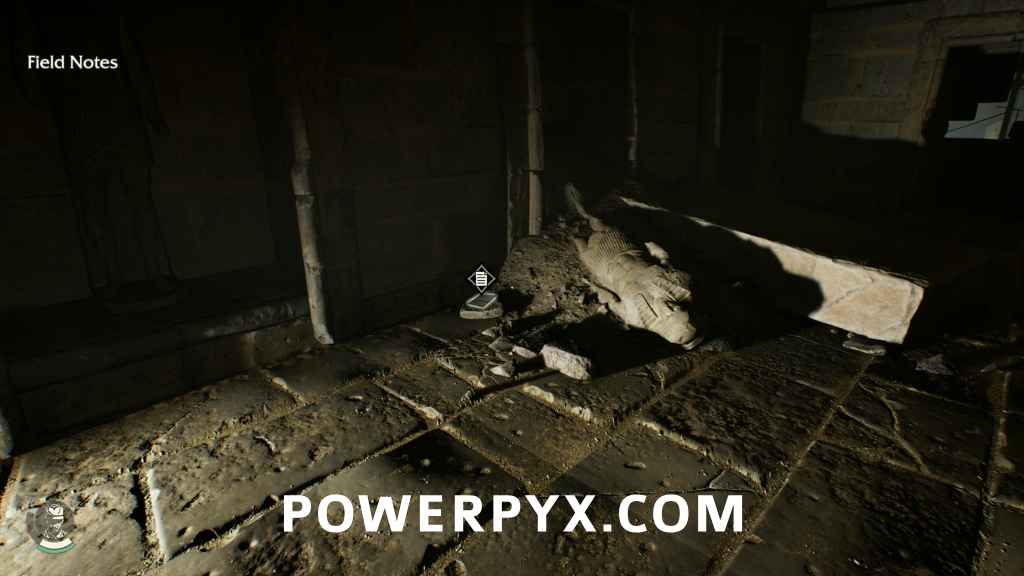
Around the corner is a note to grab.
Fieldwork Note #13: Radiogram Transcript (25 AP)
Then head back to the middle of the room and swing across to the platform to the east. Head up the ramp and flip the switch at the top of the ramp. There is also a locked box with money inside (100£).
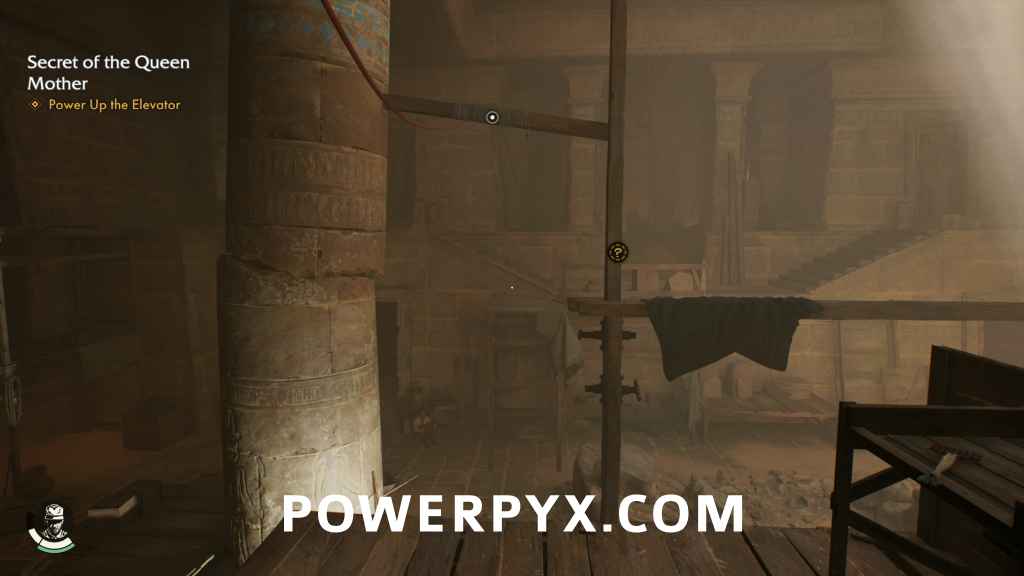
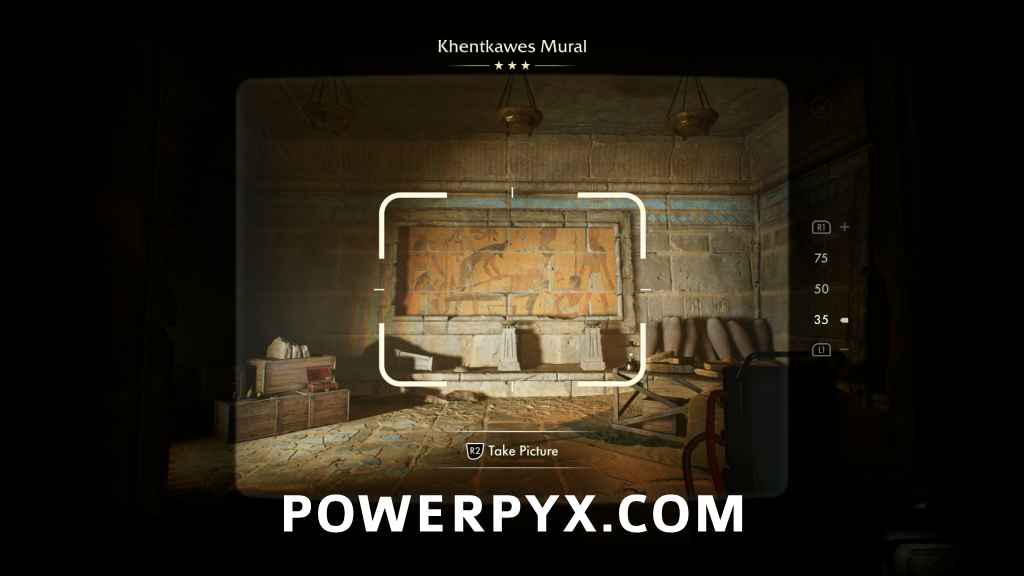
Now that the flood lights are on, take a photo of the mural behind you.
Discovery Note #73: Khentkawes Mural (45 AP)
Head back to the elevator and flip the switch.
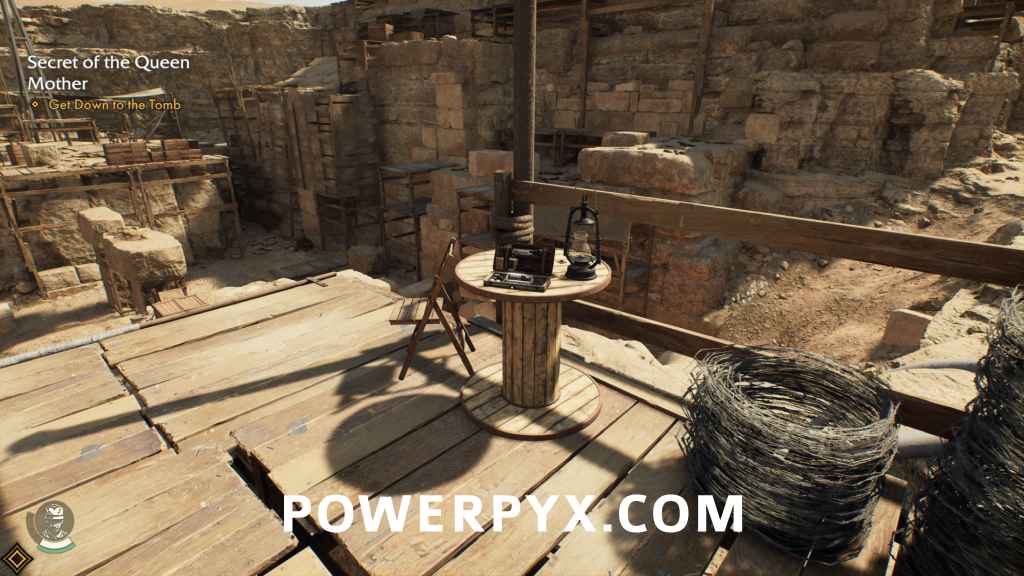
Get Down to the Tomb
Get into the elevator and press the -1 button to go down to the lowest floor.
Search the Tomb
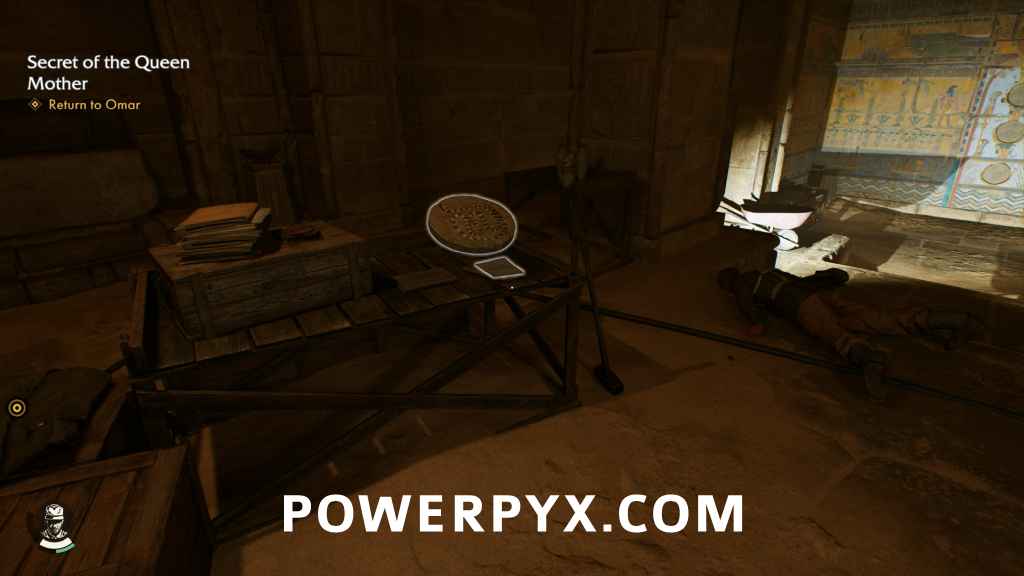
At the bottom, head down the tunnel ramp to the north and follow the path until you reach the tomb. On the left side is a table that has a money pouch (20£), a note, and a circular stone.
Fieldwork Note #14: Dig Report (25 AP)
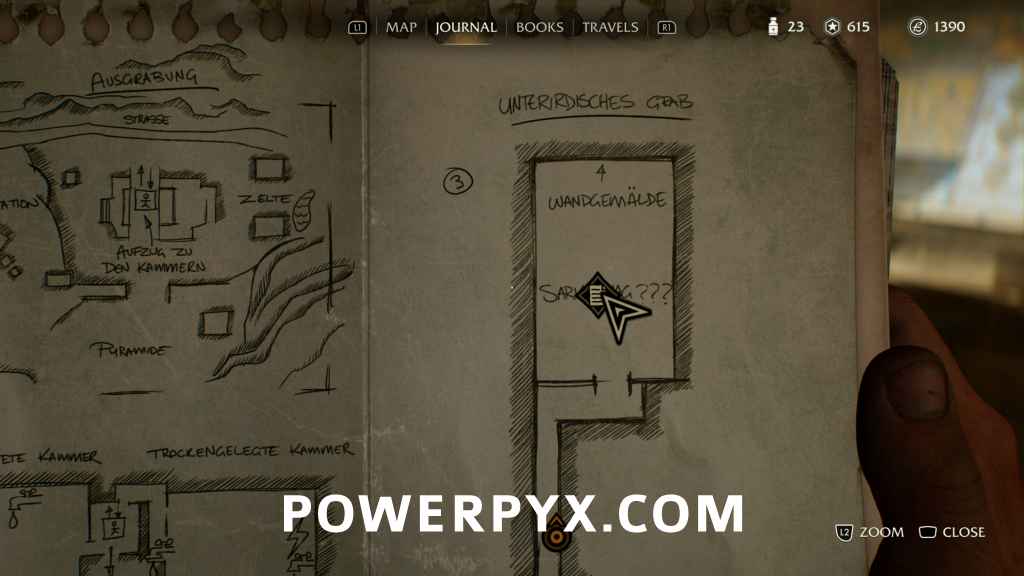
Grab the stone with a snake on it, head to the back of the room, and take a photo of the mural.
Fieldwork Note #15: Mural Puzzle (45 AP)
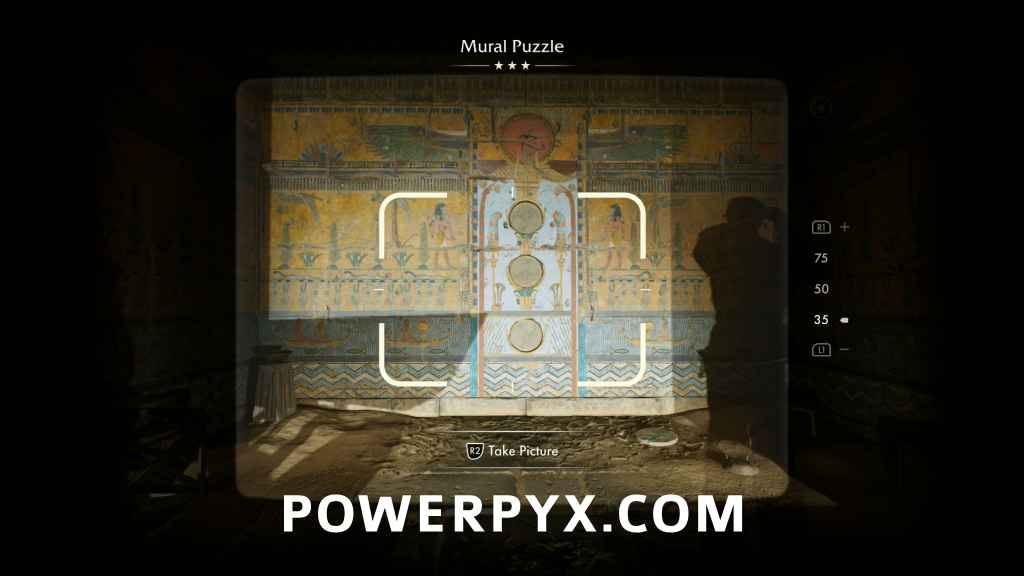
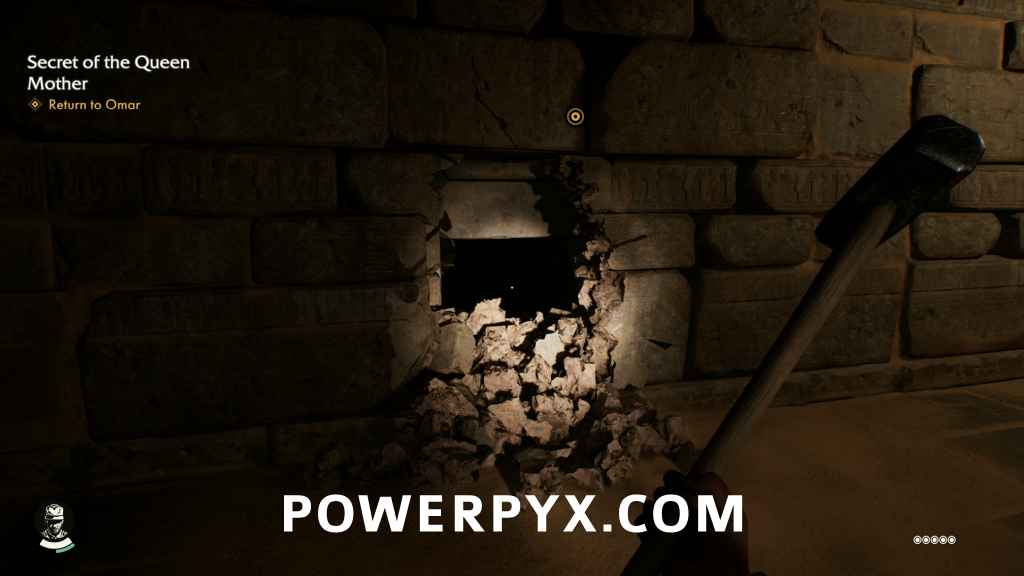
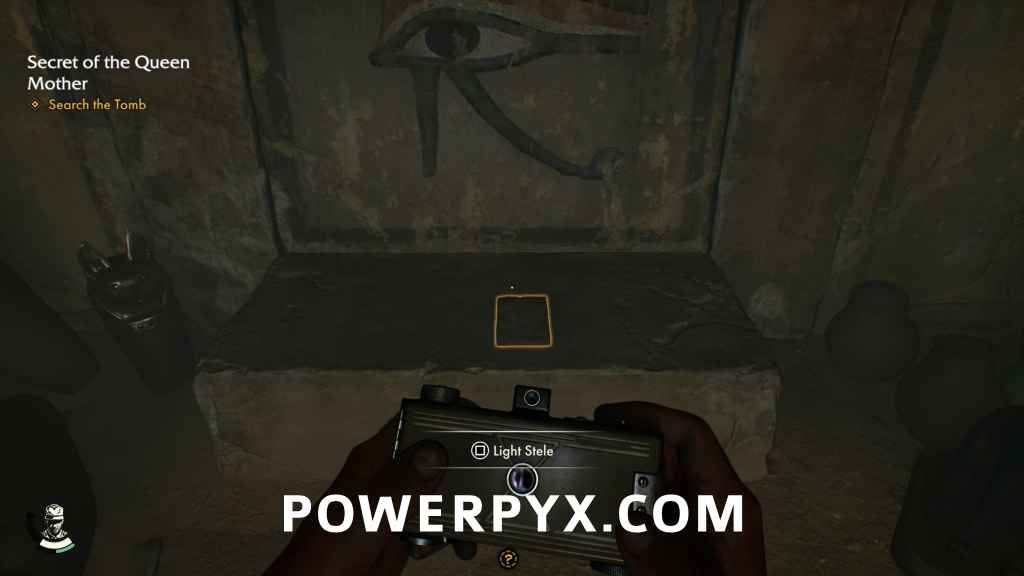
Near the mural is a locked box with money inside (100£). The mural has three circular slots, which you will match to the pictures on the circular stones. Place the snake stone in the middle slot. On the ground by the wall is another circular stone with an eagle on it, which goes into the top slot. On the east side of the room is a stone with a fish on it, which will go into the lowest slot. A light will shine out and highlight a cracked stone on the other side of the room. By the tomb entrance, grab the sledgehammer on the left side of the door and smash the weak spot in the south wall.
Inside the room is a photo opportunity and a stele.
Fieldwork Note #16: Hidden Chamber (45 AP)
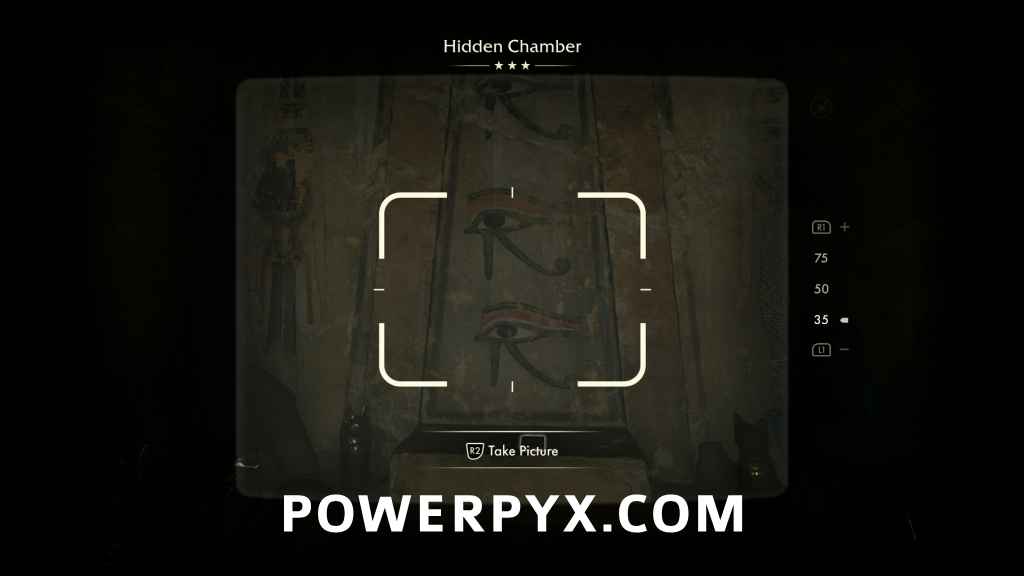
Stele 8/10
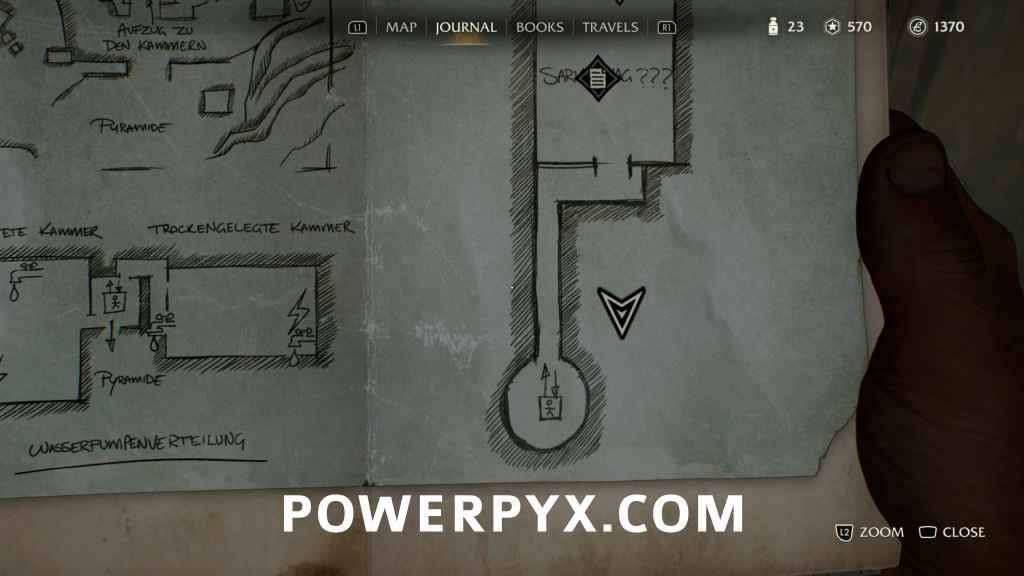
Return to Omar
Press 0 to head back to the middle floor. Climb back up to the highest floor, and hit the lever to summon the elevator. Stand on the edge of the shaft and look down, then jump on the elevator when its roof is almost level with you, jump down onto the central part of the roof and ride it all the way to the top. Once there, you’ll find a medicine bottle and a money pouch (5£).
Medicine Bottle #21: Khentkawes Elevator Roof

Jump down to the platform below and head back to Omar. Talk to him, and he will tell you to bring the stele to Nawal.
This finishes Secret of the Queen Mother side quest in Indiana Jones and the Great Circle.
Return to The Idol of Ra Walkthrough
For all other quests refer to Indiana Jones and the Great Circle Walkthrough.
Leave a Reply