
Building an Outpost is the 8th main mission in Arknights Endfield. This walkthrough will guide you through all objectives of the Building an Outpost main quest.
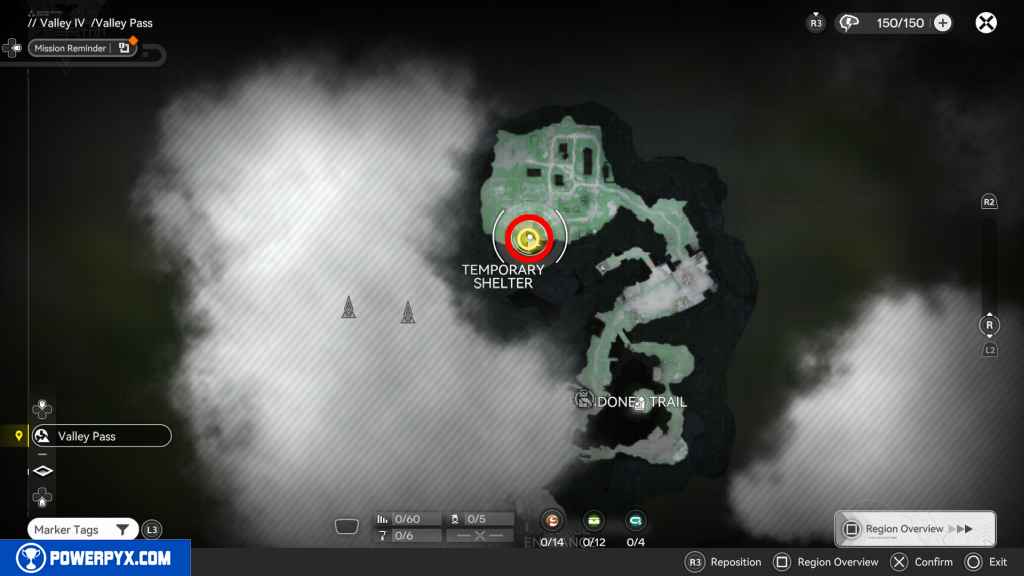
- Starting Location: Valley IV > Valley Pass
- Quest Giver: Mr. Soth
- Chapter: Chapter 1 – Process 1
- Requirement: Finished Main Mission 7 – Secure Sanctuary
- Reward: 3 Origeometry, 3000 T-Creds, 24 Intermediate Combat Records, 8 Protodisks, 6 Arms INSP Sets, 5 Cast Die, 600 Operational XP
- Quest Description: The refugees in the shelter need a better place to live. Follow Soth to the open field and clear out the Landbreaker camp.

Go to the marked location
From where the mission starts, follow the objective marker up the path where you’ll meet Soth. You’ll find yourself in a big camp with Landbreakers.
Defeat the Landbreakers
Clear out the camp.

Place the Sub-PAC and build and outpost
At the objective marker directly in front of you, click the “Place Sub-Pac” prompt. Sub-Pacs are used to create new camps and link them to your network.
Check the specified output port of the Sub-PAC
A tutorial will prompt you to open your backpack, it explains that your Valley IV depot has amassed 500 Originium Ore. You can use the resources in your depot to expand your base.
Each PAC has 6 Output Ports, indicated by the outward arrows. These are the production lines that output materials from your depot to your production lines. Interact with the marked Output Port 4, select the Originium Ore.

Connect a belt from the output port to the Refining Unit input port
You must now build a transport belt to move the ore from your PAC to the Refining Unit. Connect the Output Port to the Input Port of the Refining Unit
To build the belt:
- PS5 = L1 + D-Pad Down and press Square to confirm start/end point.
- PC = Press E and Left Click to confirm start/end point.
The onscreen tutorial will walk you through every step.
Connect the Refining Unit output and the Sub-PAC Input
Using the same buttons as before, connect the Refining Unit output back to the PAC. Be sure to connect it to the Input Port of the PAC, indicated by the inward arrows on its side.
Check the Refining Unit control panel
Interact with the Refining Unit, it shows the input and output it’s producing. You now have a fully automated production line! Close the panel again.
Use the Facility List to construct Gun Towers and place them in the Backpack
Interact with PAC Output Port 5, open and close the panel. Then you get a screen prompt to construct combat facilities.
Open the facility list:
- PS5 = D-Pad Left + X on “Facility List” > click Gun Tower > press Triangle for “Construction Mode” > R2 to build 3 at once > X to construct
- PC = Press “Z” > click Gun Tower > press “Tab” for “Construction Mode” > click the “+” on Quantity and click “Construct” in the bottom right
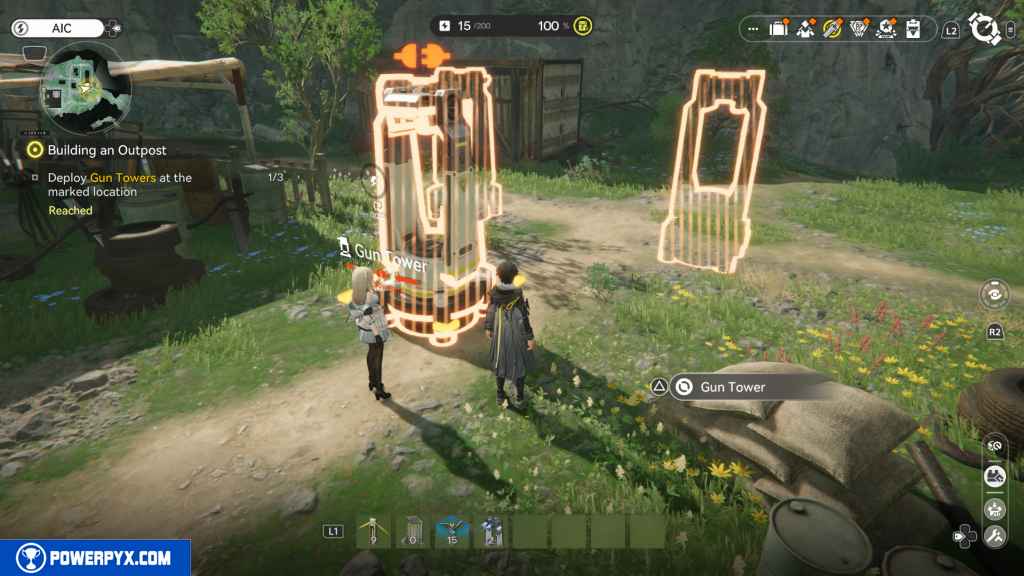
Deploy Gun Towers at the marked location
The Gun Towers should already be in your hotbar (if not, open backpack to assign them to hotbar). Head to the objective marker where the 3 building spots are already outlined in orange. Make sure you are in AIC Mode (not Explore Mode), then you’ll see the hotbar and can place the Gun Tower.
- PS5 = D-Pad Right to switch between Explore/AIC > L1 + Right Stick + Square to select Gun Tower.
- PC = Press Tab to switch between Explore/AIC > press Number assigned to Gun Tower in hotbar.
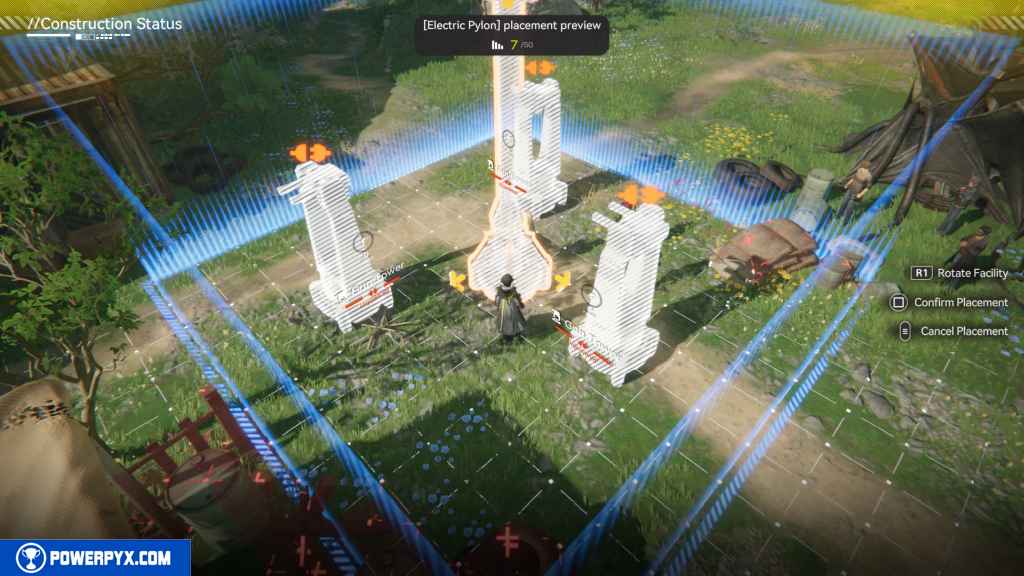
Place an Electric Pylon to power the Gun Towers
Your Gun Towers need electricity to operate. Put an Electric Pylon in the outlined spot between them.
Transmit power from the Sub-PAC to the Electric Pylon by the Gun Towers
Go back to the PAC, click “Start Transmission”, walk back to the Pylon and click “Plug Transmission Cable”.
Talk to Soth
Speak with Soth, he stands just in front of the Gun Towers.
Use the Gun Towerts to defeat the attacking Landbreakers
A large group of enemies will come, let the Guntowers take them out automatically. You can hang back and enjoy the show.
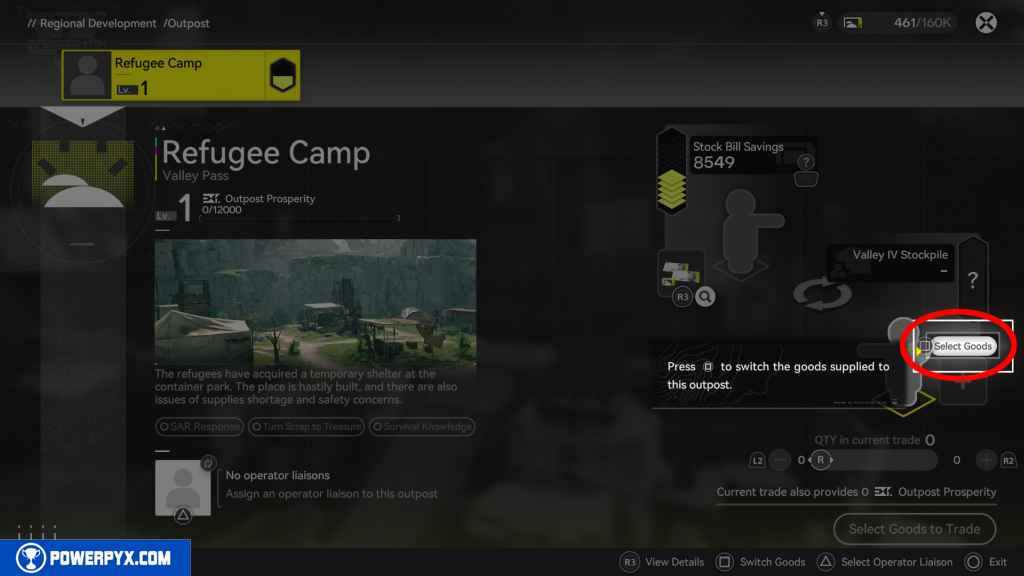
Raise Outpost Prosperity to the current limit
From the System Wheel select “Regional Development” (can also select it from the main menu later). From there you manage your outposts.
This feature lets you supply goods to your outposts, in exchange they give you Stock Bills which are the local currency to buy items at shops and to level up operators/items. Each main region has its own local Stock Bill currency that’s only valid within the region (Valley Stock Bills aren’t accepted in Wuling).
Select the Origocrust for now, doesn’t matter how many you trade. Afterward, exit the menu.
Talk to Soth
Soth will be this outpost’s manager. For now just talk to him once, then follow Daniel.
Follow Daniel to the underground ventilation shaft
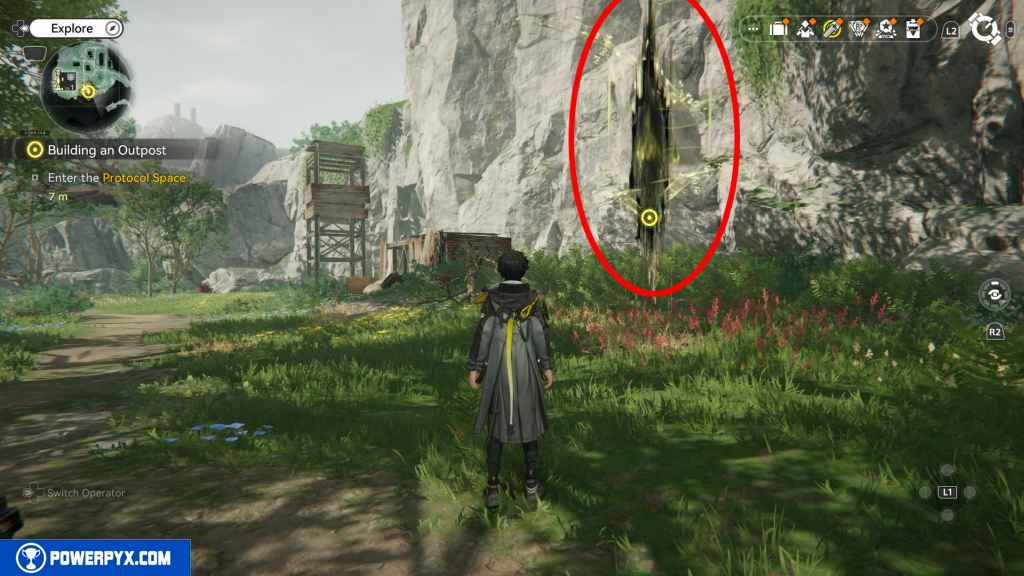
Walk after Daniel, he leads you to a yellow glowing rift – called a Protocol Space.

Enter the Protocol Space
Interact with the glowing rift.

Protocol Spaces Explained:
Protocol Spaces have multiple levels of increasing difficulty. With each level the rewards improve. They give XP Materials to level up your Operators, and also large amounts of Operational XP to raise your Authority Level. So playing Protocol Spaces regularly is very useful for these rewards. They are straightforward combat challenges, you just need to defeat all enemies.
Playing Protocol Spaces has one catch: they cost Sanity. Your Sanity refills automatically over time, or by spending Origeometry/Emergency Sanity Boosters. You can refill Sanity directly from the Protocol Space menu, or at any time from the Main Menu by clicking the Sanity Icon at the top (or press R3 on PS5).
For now play the Level 1 challenge. It consists of 9x Level 10 enemies. When done, leave the Protocol Space menu and the mission will end.
This finishes Building an Outpost main quest in Arknights Endfield.
NEXT: Through the Haze
For all other Quests refer to Arknights Endfield Walkthrough.
Leave a Reply