
Frontline Rush is the 25th main mission in Arknights Endfield. This walkthrough will guide you through all objectives of the Frontline Rush main quest.
- Starting Location: Valley IV > Power Plateau
- Quest Giver: Automatically begins after completing Main Mission 25 – Scaldings of Utjug
- Chapter: 1 – Process 4
- Requirement: Complete Main Mission 25 – Scaldings of Utjug
- Reward: Origeometry x1, T-Creds x3,500, Intermediate Combat Record x10, Protoprism x6, Arms INSP Kit x8, EXP x200
- Quest Description: To reach the Aether Test Site, you must use beacons to mark locations near the denstacks. The UWST will then provide fire support based on the coordinates and secure the area to help you move forward.

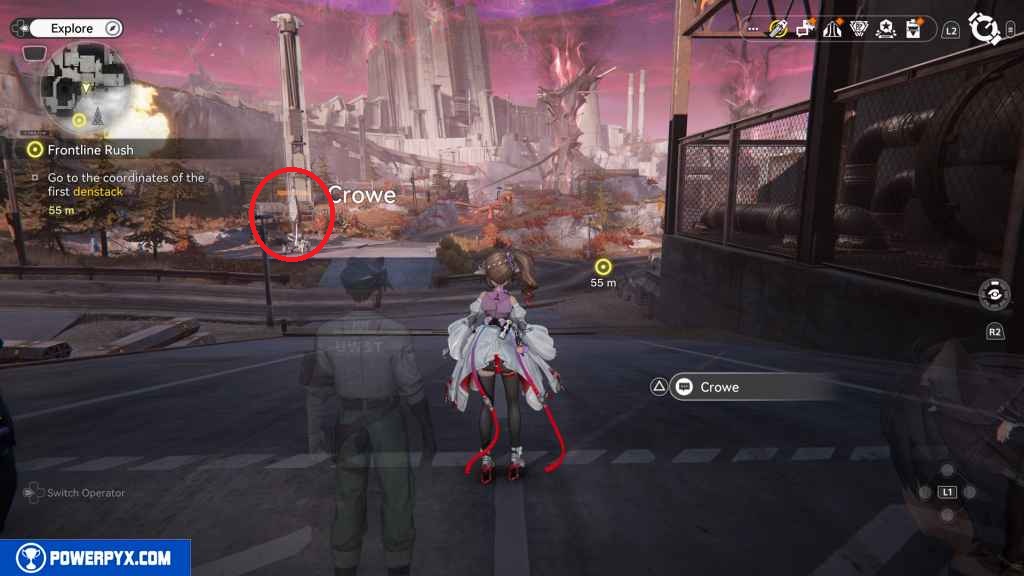
Go to the coordinates of the first denstack
Before anything else, make sure to unlock the depot directly in front of you.

Then, follow the street as it goes west and ultimately south. Take out the Landbreakers if you wish. Otherwise, you can just run past them.

Eventually you reach a break in the street. Drop down to the level below and unlock the depot there.


Head east. A cutscene begins as soon as you approach the haze in the low spot.

This reveals invisible symbols on the wall above the levers. Interact with the middle lever, since it matches the image on the wall.

In this next area, you can also just run by the Landbreakers if you wish.
Head east through the broken fence and use the air jump to reach the next area.

Down the stairs, you come across another group of Landbreakers. Do with them what you wish.


The area after the Landbreakers is a pressure plate puzzle. Stepping on any pressure plates causes flames to be thrown out into the area.

Instead, climb up the stairs to the left, where you find more of the haze.

Look down at the pressure plates to see more of the invisible symbols.

Step on the plates with the symbols, and the flames will not turn on.
On the other side of the pressure plates, there is a lever next to a chest. Open the chest, then pull the lever to turn off the flamethrowers.

Head up the stairs behind you.

The path is blocked by a storage box. Go left and use the explosive barrel to create an explosive. Then throw the explosive with R2 while aiming at the white box with fire on it.


Step inside the new path and take the stairs on your left.

Here, you come across some more haze. Look at the storage box blocking your way to see some more symbols.

You must pull three levers in the order shown on the storage box.
The first one is straight back from the stairs.

Go left around the debris and then right up some boxes. While here, grab the Gather point. Then, drop down to your right to pull the lever.


From the haze spot at the top of the stairs, head east and look left. Jump up some boxes there and pull the lever.


Finally turn around to see a Gather point under a tent. The lever is just to the right of that tent.


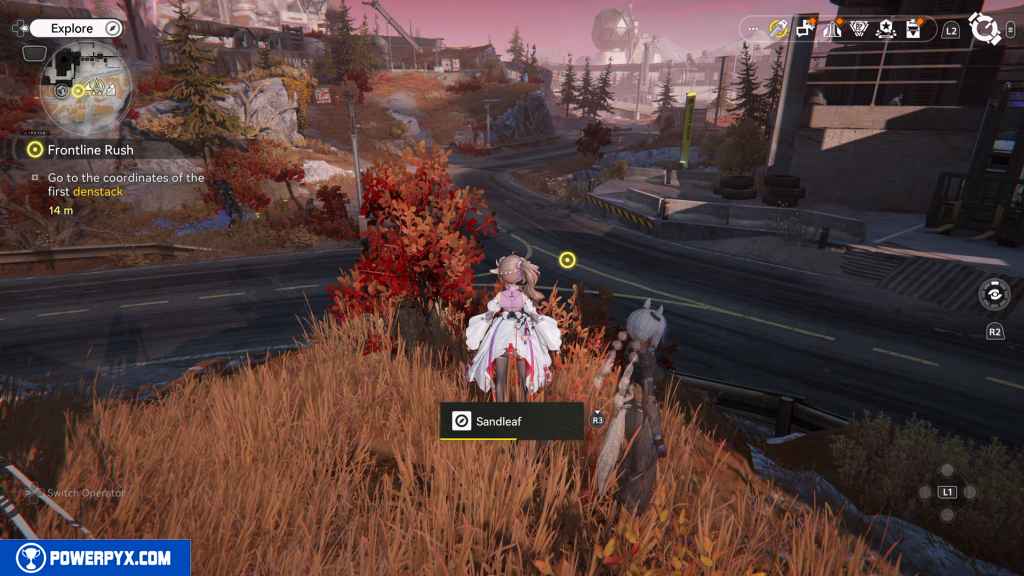
Drop down from the source of the haze and continue going northwest through the newly-opened path.

Interact with the yellow target in front of you to place the first mark.

Wait for the UWST support
This objective happens on its own.

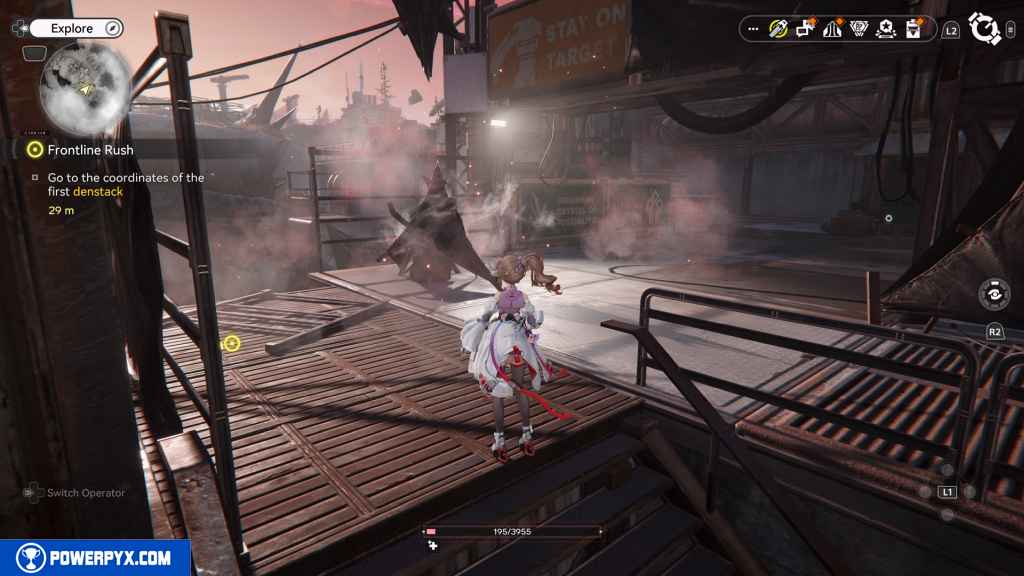
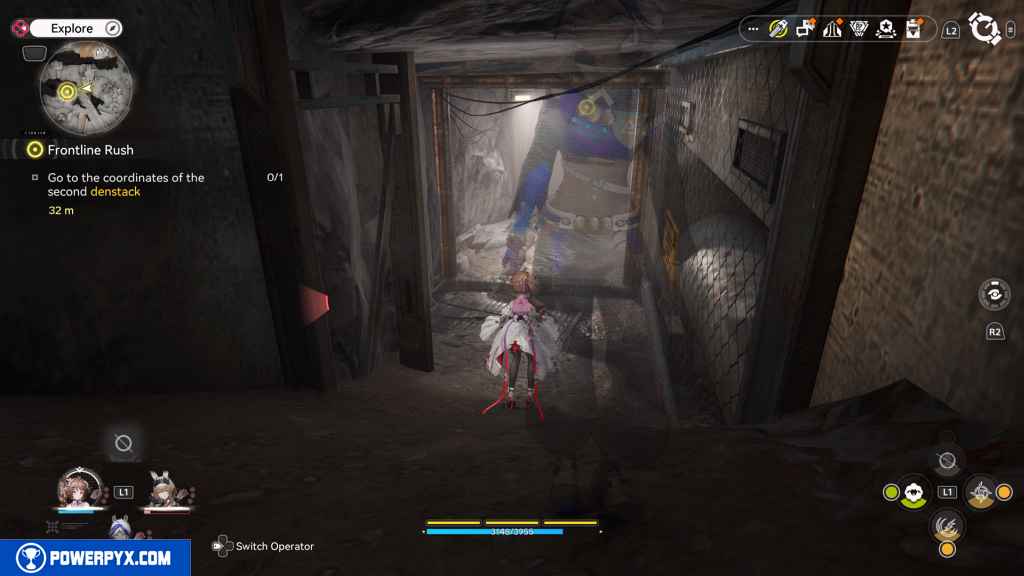
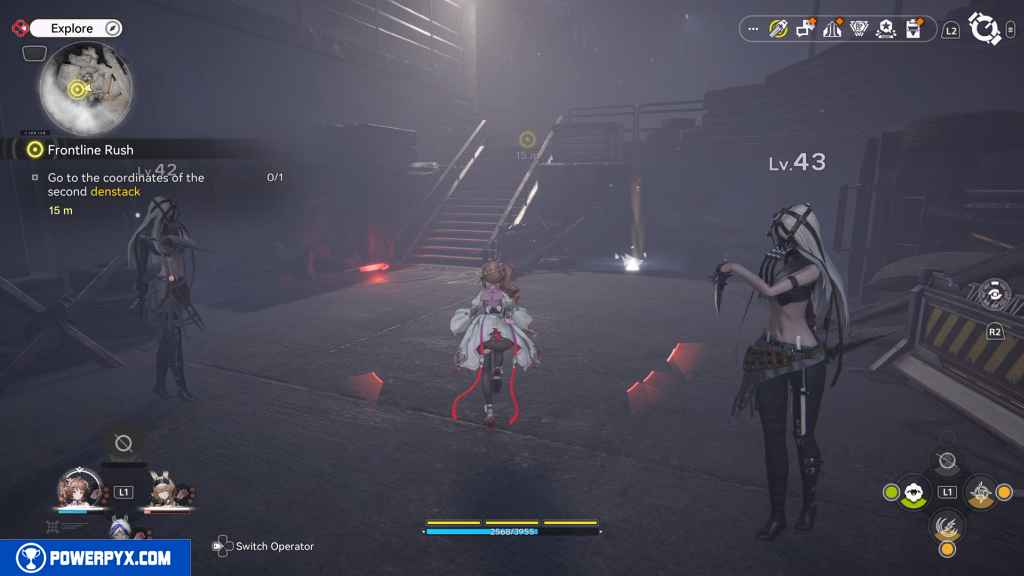
Go to the coordinates of the second denstack
A couple Landbreakers attack you here. If you take them out, you can grab a chest behind them.

Head west down the trench where the Landbreakers came from.
It’s very smoky here. Continue west. This path eventually leads you south a bit past some storage boxes.


Here, Landbreakers start to appear in your path. For the rest of this stretch, you can continue to run by them if you wish. However, this path leads to a boss, and some of the Landbreakers can follow you into the boss fight, making it more challenging than it has to be.

Follow the path as it curves to your left and then right again.

An Aurylene appears on your left. However, it floats to a higher level after you approach. After it has floated to the higher area, you’ll be able to grab it in a little bit. Keep going past it for now.

Follow the path to the right and up the stairs. This leads you to the boss fight.
Defeat the Bonekrusher Siegeknuckles
This is a fairly common boss enemy that you have faced before. The only difference is it just does more of the same than it did before. Instead of one or two consecutive punches, it does three. It also does several interruptible attacks in a row.


Go to the coordinates of the first denstack
Head to the northeast corner of this area and climb the short stairs.

Interact with the mark on the ground to progress.

Wait for the UWST support
This objective completes on its own.
Defeat the Landbreakers blocking your way.
When you regain control, you will see the Aurylene that moved away from you earlier. Jump over the barrier and grab it before you drop down.


Unlike the sequences before, you need to actually take out these Landbreakers in order to proceed.
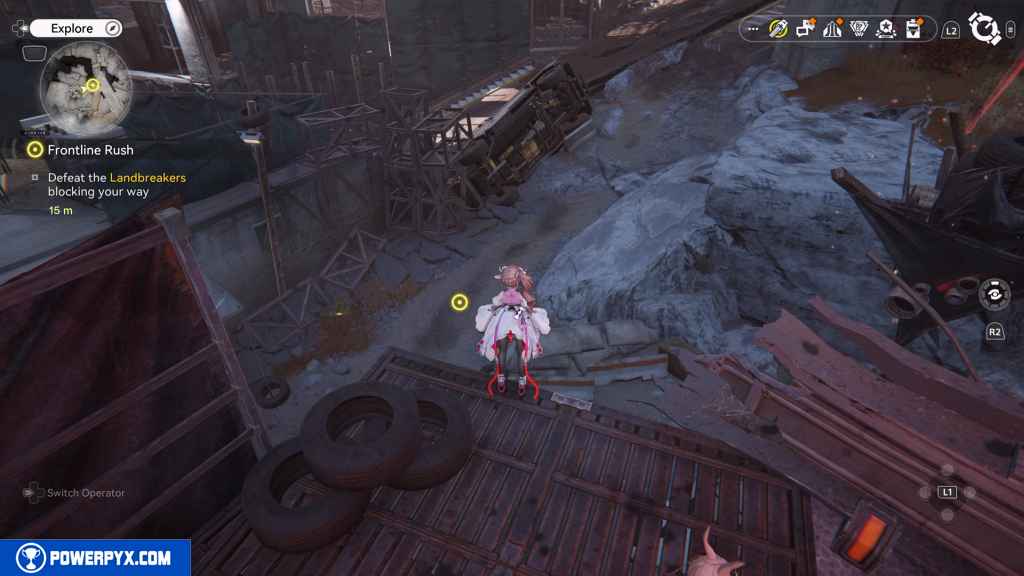

To make your life easier, take them out group by group so they don’t attack you altogether.


This finishes Frontline Rush main quest in Arknights Endfield.
NEXT: Undying Cinders
For all other Quests refer to Arknights Endfield Walkthrough.
Leave a Reply