
Valley Pass contains 52 Collectible Locations in Arknights Endfield. This walkthrough will guide you to all the collectibles in the Valley Pass Region. Everything that’s needed for 100% completion is included.
- Aurylene: 14
- Crates: 12
- Protocol Dataloggers: 4
- SOS Repair Bots: 2
- Files: 16
- Investigation Points: 5
Collectibles Overview:
Collectibles
1 – Investigation Point 1
Located in a shed on your left as you head up the path.


2 – Aurylene 1
From the Investigation point head to the right into the forest area. From the fork with the bridge, turn right and head onto the pipes. On the right side of the pipes, you will find the Aurylene.


3 – Datalogger 1
You can find this one on your map. After defeating some Landbrakers in a camp, head down the path and take the western path as soon as you can. The Datalogger is found amid some mineral crystals.

4 – Datalogger 2
Just down the path from the previous Datalogger, you’ll find this next one on your right, or in the eastern part of the map.


5 – Aurylene 2
When you reach the T intersection, turn left and look to the left to find this Aurylene over a gap.


6 – SOS Repair Bot
Continue down the left path until you see the SOS bot right next to the bridge, you can extend it for a shortcut. You must solve a puzzle to repair it.


7 – Chest 1
Head back up to the right of the T intersection this time, and you’ll face off against more Landbreakers. Once they are defeated, look to the east of the combat area for your first chest.


8 – Investigation Point 2
Head up the stairs and look to the right. To find this Investigation Point.


9 – Aurylene 3
From the Investigation point, head left and look in the shack to find the Aurylene.


10 – File 1: Ration Standards
This is the first file collectable and is found on the table where you first meet Ginney.


11 – File 2: Temporary Convention of the Shelter
This file is found right next to the Ration Standards file.
12 – Datalogger 3
After you finish the tutorial to build gun turrets, head southwest and find this Datalogger.


13 – Aurylene 4
From the Datalogger, head north to find this Aurylene. This one is different and will try to run away from you. You have to chase it down and grab it.


14 – File 3: Soth’s Notes
Head back down to the shelter entrance where you acquired the first two files. From there, head into the duct with the broken fan to find this file on the floor along the path.


15 – File 4: Handwritten Memo
Just past where you acquired Soth’s Memo, you’ll find this file on a container just a few feet away.


16 – Chest 2
Down the tunnel from File 4: Handwritten Memo, it will be right in front of you. Impossible to miss.


17 – Chest 3
After using the bomb to blow up the wall, head inside and head right around the corner to the next chest.


18 – Aurylene 5
When you get back outside, head down the stairs and defeat the Landbrakers. Go around the stairs from the right side to find Aurylene 5.


19 – File 5: Scribbles of Insanity
You’ll find this file just to the right of the stairs you came down on a box.


20 – File 6: Records of Zealous Joy
A few feet south of where you acquired the Scribbles of Insanity, you’ll find this on yet another box.


21 – File 7: Recently Posted Announcement
Continuing along the path, you’ll find this file posted on the wall. This should complete the first half of the Boncrusher Clan investigation, which you can see in the Intel Gathering section of the Archives.


22 – Chest 4
Continue down the path and make a left turn. You’ll find stairs you can climb and a small garage room. Head to the garage room to find this chest.


23 – File 8: Note Stuffed in a Wall Crack
In the same garage as the chest, look at the wall to the left of the chest.


24 – File 9: Notes from a crack in the Tire
In the same garage, right behind the chest, you’ll see some tires. Behind those tires is the file. After collecting this file, you should complete the Bonecrusher Clan investigation, which awards 200 Oroberyl.


25 – Investigation Point 3
Turn around and head up the stairs from the garage, and run around the containers on your right.


26 – Chest 5
Continue on the path until you see a room on your left. Enter the building, head down the stairs, and the chest will be right in front of you.


27 – File 10: Draft of an Introduction
From the chest, turn around, and you’ll find the file on the floor a few feet away.


28 – File 11: Notes of Insanity
Found on a junction box where you destroy the second denstack.


29 – Chest 6
Head to the second floor from the junction box and head straight to the shed in front of you. The chest is inside the shed.


30 – Aurylene 6
Head down the stairs on the right side of the shed and defeat the Landbreakers standing next to an Electric Nexus (remember this nexus for later). From the nexus, look down, and on the right side of the continent below the nexus, you should see the next Aurylene.


31 – Chest 7
Turn around and run around the containers; you should come out to a large area and a building you can enter on your right. Enter that room and defeat the Landbreakers. From that room, head left to the next room, and you’ll see the chest.


32 – Aurylene 7
From this location, head southwest to where you rescued the civilian in a cage. In this area, look south from the stairs to a shed. Inside the shed is the Aurylene.


33 – Chest 8
In the same area as the last Aurylene, find the grapple line and use it to reach the second floor. Go up the stairs to the third floor, then continue northwest to see the next chest.


34 – Aurylene 8
On the same platform as the chest, look down around the stairs, and you should see the Aurylene on a small scaffolding.


35 – Investigation Point 4
Drop all the way back down and head east to where you entered the building to find a chest. You’ll see what looks like a small band stange in the center. Go around this structure to find the final Investigation Point.

36 – Aurylene 9
Head up the stairs left of the Investigation Point. At the top of the building, you should see the Aurylene.


37 – Aurylene 10
Head back to the main road and follow it all the way to the top. Turn to the right and look down the broken road to find this Aurylene.


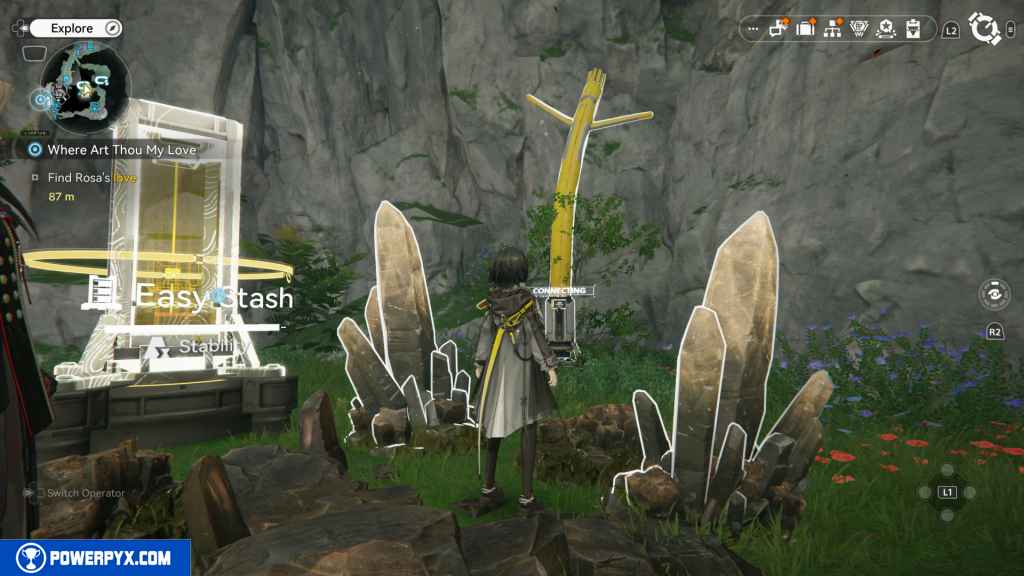
38 – Aurylene 11
This Aurylene takes some time to get. You need to build four relay towers starting from the Bridge area in the Hub (the bridge that leads to the Valley Pass). Then connect them to the Electric Nexus we saw earlier. Connect power to the nexus, and it activates the jump pad. Use it to reach the next area and look for the Aurylene in the corner. (You must also do this to get Rosa’s love in the side quest Where Art Thou My Love).


39 – Datalogger 4
Head back to the giant gate where you faced off against the boss northwest. Turn left at the gate, and you should see the Datalogger.


40 – Chest 9
Continue on the path from the Datalogger up the stairs. Look to the right, and you should see the chest inside another shed.


41 – Aurylene 12
Turn around from the chest and head up the next set of stairs to the top.


42 – Aurylene 13
Head back down the stairs and go through the open gate. You should see the Aurylene on top of the hill.


43 – Chest 10
Drop down to the bottom of the hill and follow the path to a small camp in the southwest. You can find the chest in the camp.

44 – Aurylene 14
Continue on the path heading into a cave. If you look to the right, you’ll see a distortion. Press  to do a scan around the distortion to reveal the Aurylene.


45 – File 12: Celestial Observation Log (Vally IV)
Jump down into the hole and look for the file in a small cave.


46 – Chest 11
To acquire this chest, you must first complete three side missions. Invisible Glyphs: Discovery, Invisible Glyphs: Investigation, Invisible Glyphs: Revelation. Completing Revelation unlocks this cave where the chest is found.


47 – File 13: Audio Recording Final Recording: Mark
Head into the base where you fought Rhodagn. Run around to the left side where the elevator is located. On the floor left of the elevator is the recording.


48 – Chest 12
The final chest requires you to complete a combat challenge. Head back to the northern encampment where you learned to build the gun turrets. Head east along the path until you see a blue glow coming from the ground. Activate the crisis portal and defeat the two enemies that appear.


48. File 14: Memo Passed Between Cages (1)
This file can only be accessed after you start or complete Side-Mission Cost of Hope I & II, located on a barrel north of the prison cage.


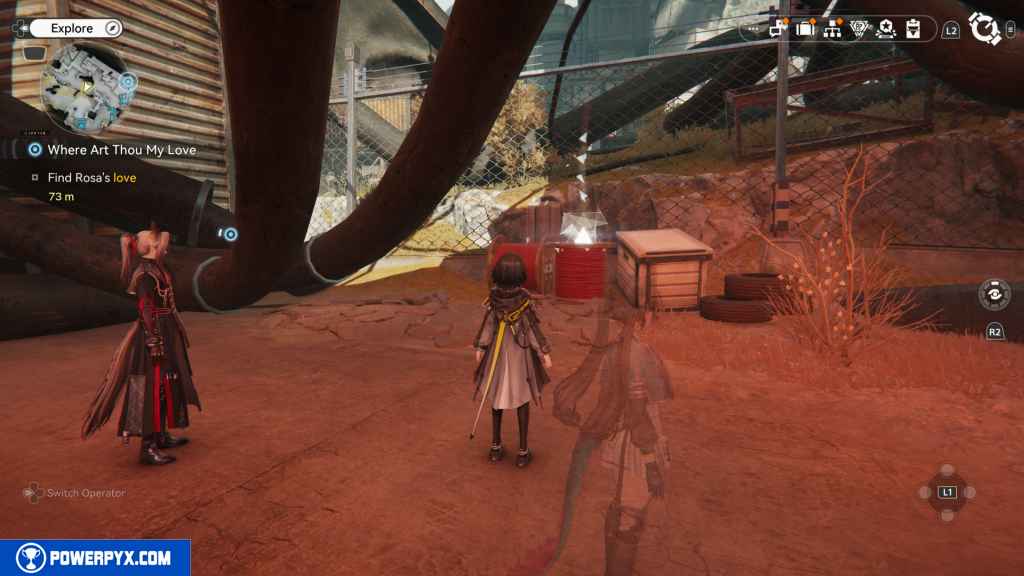
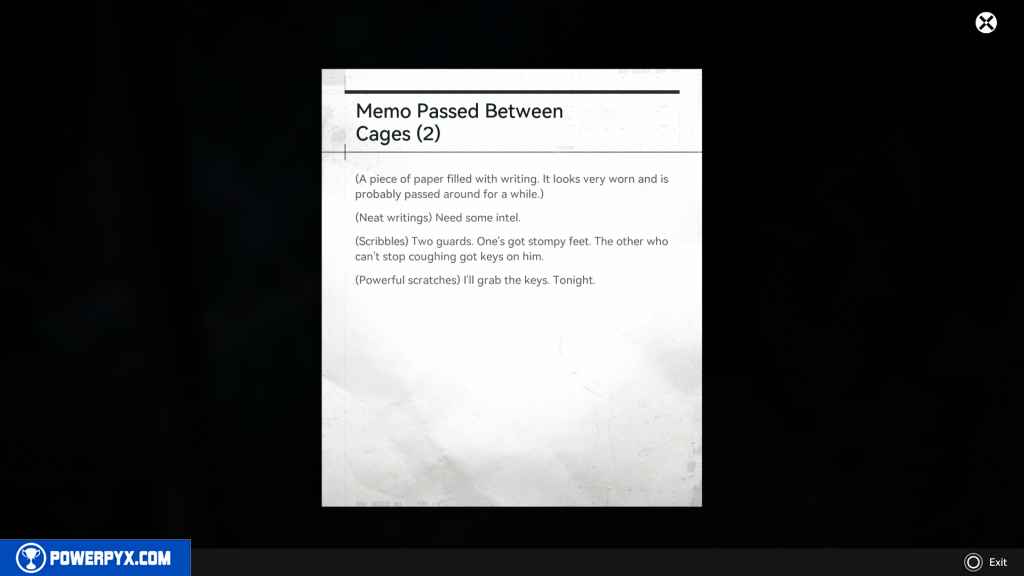
49. File 15: Memo Passed Between Cages (2)
You must complete Side-Missions Cost of Hope I & II to access this area. Head into the area where the prisoners were being held and look to the right. The file is on the barrel.


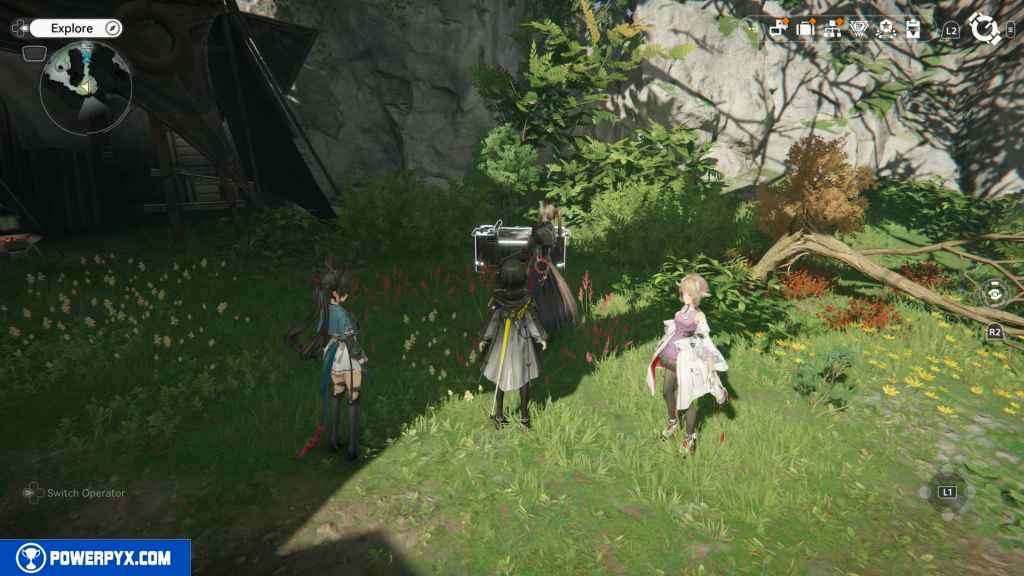
50. File 16: Memo Passed Between Cages (3)
You must complete Side-Missions Cost of Hope I & II to access this area. In the same area, look to the left to find the next file on another barrel.

51. Investigation Point 5
You must have started or completed Side-Missions Cost of Hope I & II to access this area. Located south of the cage, where you see a lot of scrap metal. It’s at the top of the pile.


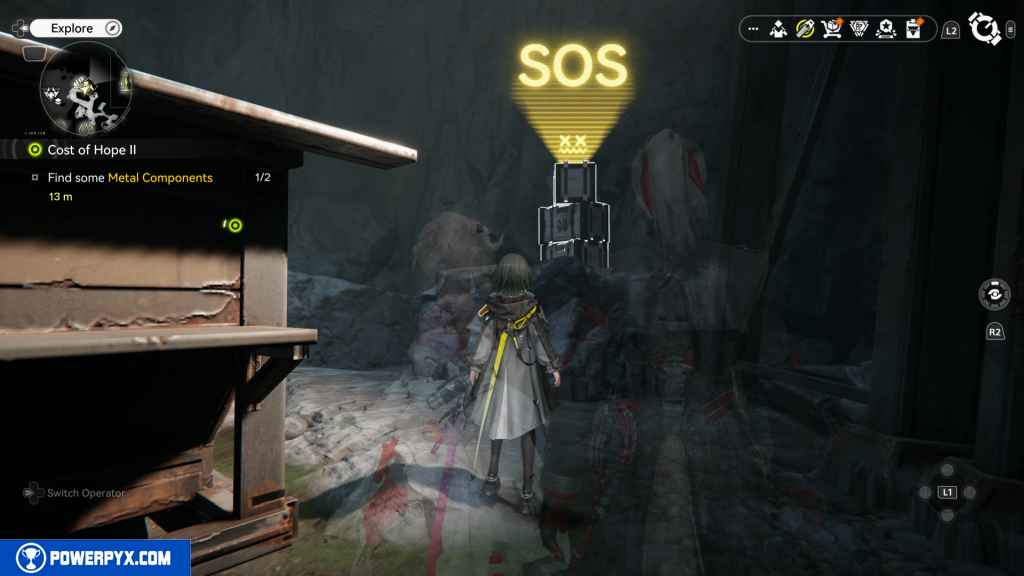
52. SOS Repair Bot
You must complete Side-Missions Cost of Hope I & II to access this area. In the Northern part of the map, you’ll find this SOS Bot in the room with all the minerals you can farm.


That’s 100% of the collectibles you can find in the Valley Pass area in Arknights Endfield.
For all other regions refer to Arknights Endfield Collectible Guide.
Yey12 says
TYSM MAN!!! IT HELPED A LOT