
A Bull in the Sky is a Mystery side quest in Indiana Jones and the Great Circle: The Order of Giants DLC. This walkthrough will guide you through all objectives of the A Bull in the Sky side mission.
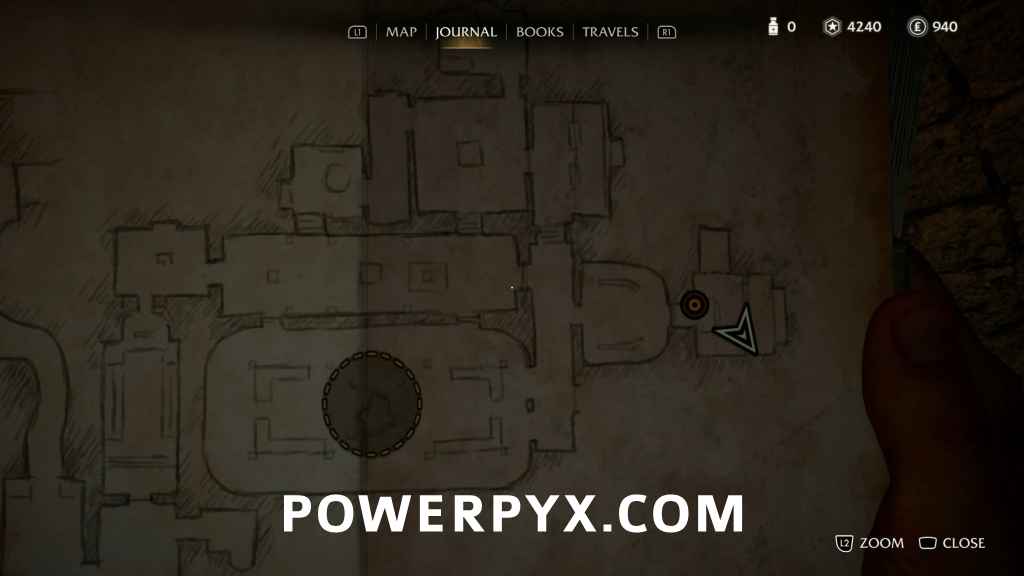
- Starting Location: The Mithraeum
- Requirement: Find the hidden room in The Mithraeum
- Reward: 100 AP
- Quest Description: A room hidden behind the relief with the gaping mouth. There is a series of pillars with stars on them, and weights on the floor.
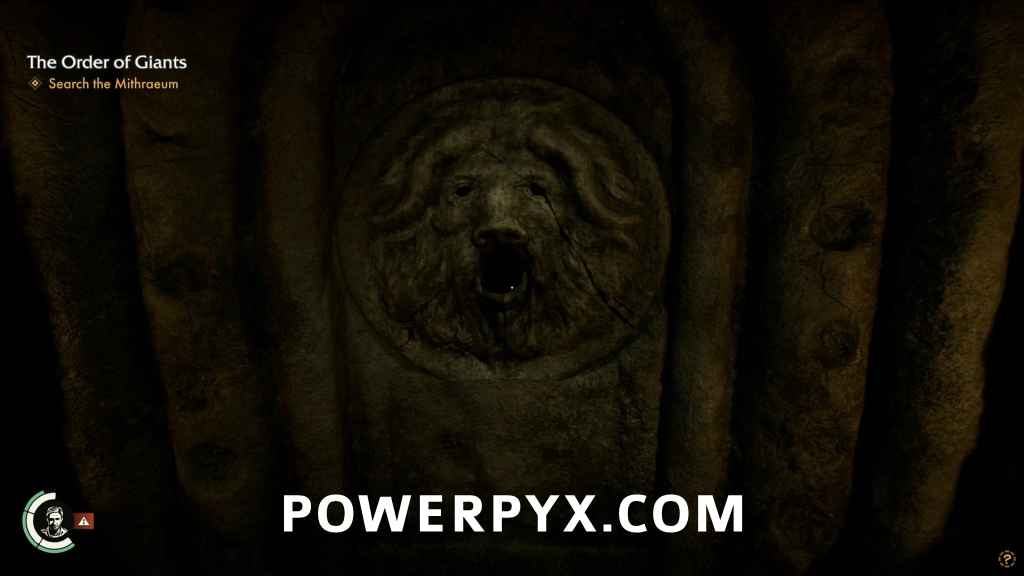
Use the Mithraeum key to open the door in the east wall of the mess hall area. You will exit in a long hallway heading south, and there will be a passage into another temple area where there’s a carved face in the center of the wall. Like Bocca della Verità, you’ll have to stick your hand into its mouth to find a lever to open a secret door into the room to the east, and you will begin the third and final mystery in The Order of the Giants.
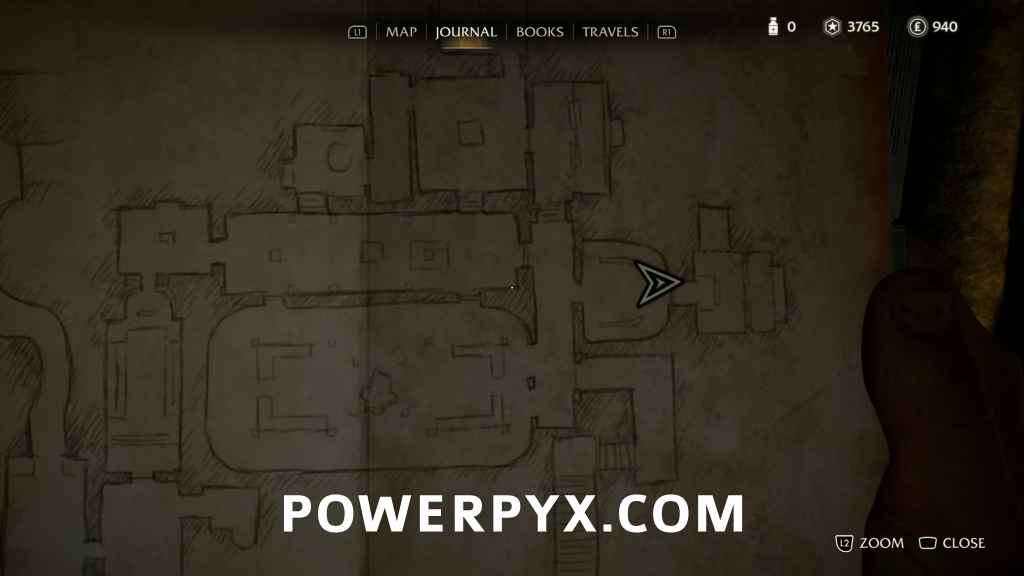
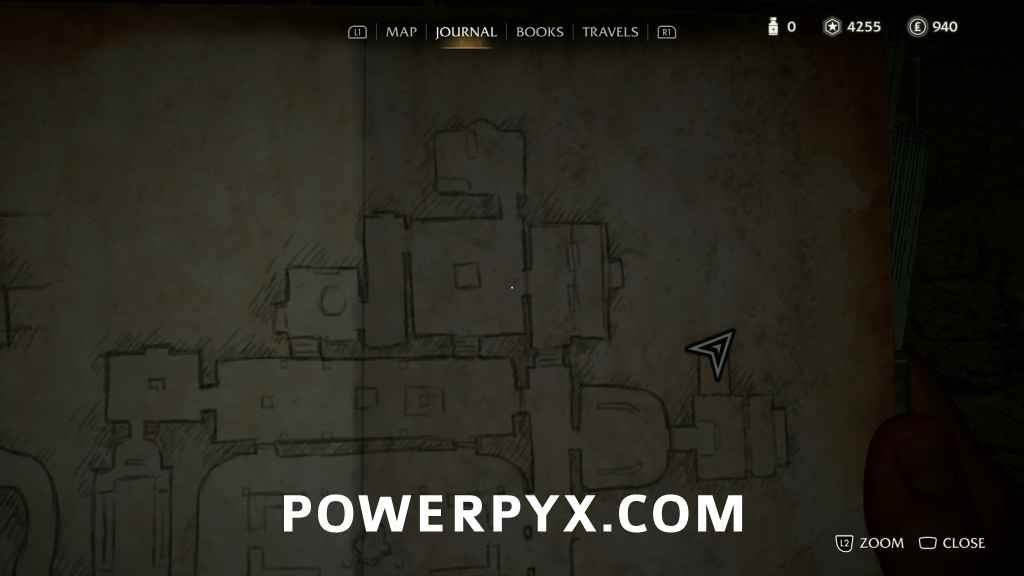
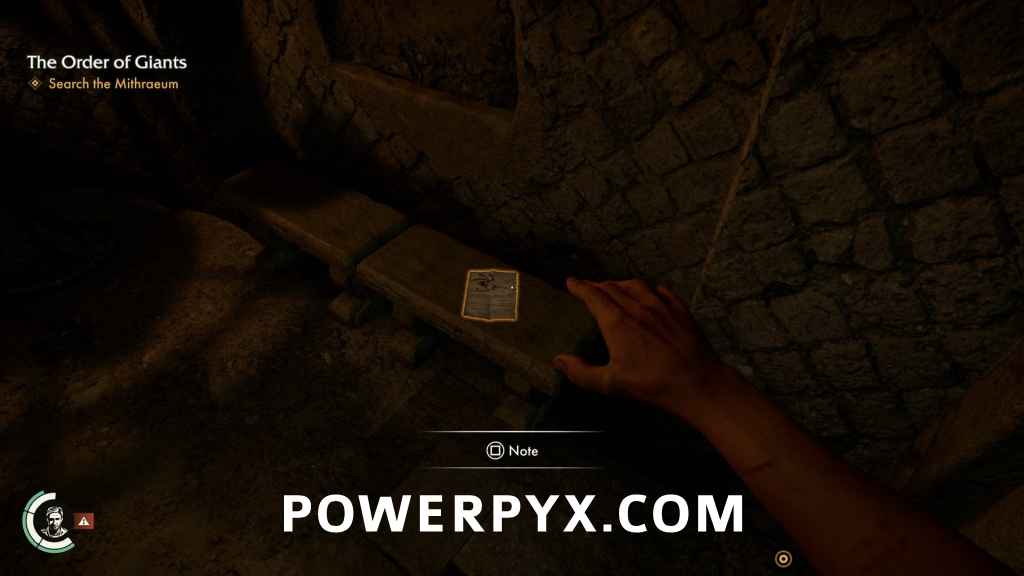
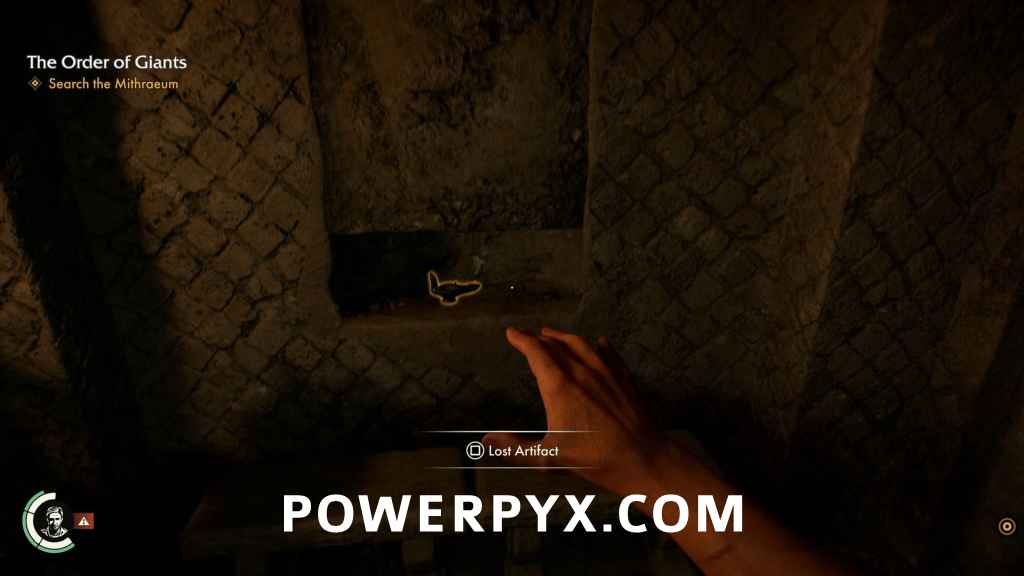
Crawl into the passage and you’ll enter in a room with a set of six large square columns mounted on the east side of the room. The panels all have stars and partial constellations on them but they don’t line up to make a complete constellation. In front of the six columns are seven platforms, and in the center of the room on the table are three numbered weights. There is a fourth on the bench on the north wall, and there’s a fifth through a hole in the wall to the north. There are two notes in the area, the first is in the room to the north.
Discovery Note #39: Claudius’ Diary (15 AP)
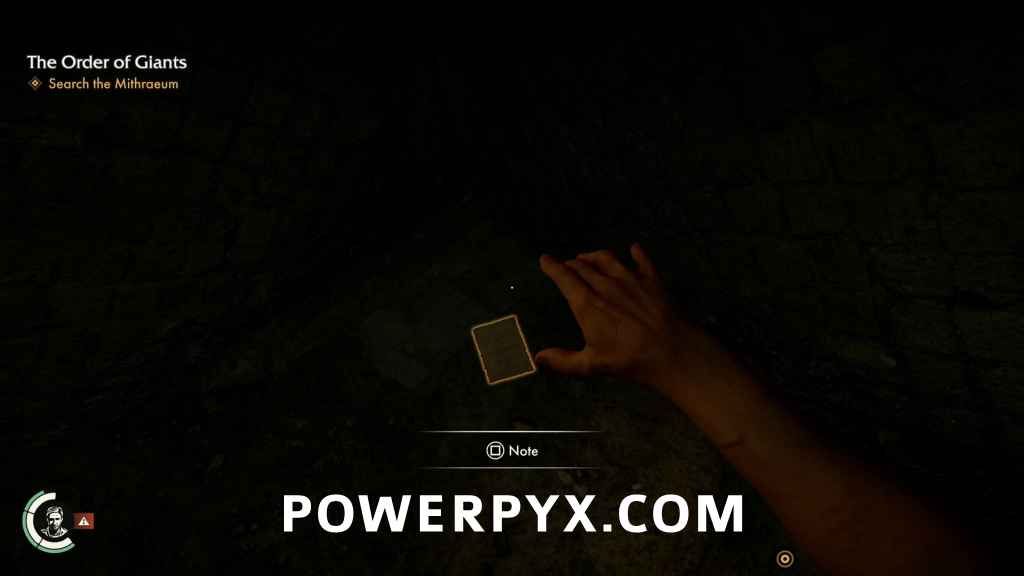
The second is on a bench on the southwest wall.
Mystery Note #6: On Astrological Symbolism (15 AP)
If you hadn’t immediately figured it out, of course the constellation that you’re trying to make would be Taurus.
The second note you pick up shows you the correct configuration of stars. In order to make that pattern appear, you’ve got to figure out how this puzzle works, or you can just skip to the end and get the solution. Each weight has one, two, or three dots on its stomach to indicate how much it weighs. For ease of reference, let’s say the number of dots on each statue equals its weight in pounds. In front of the six columns are seven platforms.
By placing a weight on a platform, it will cause the columns to spin to a different face. Which face it will change to will depend on how heavy the weight you put on the plate is. But that’s not all. Six columns and seven platforms, that means there’s a platform to the left and right of each column. Therefore we can deduce that it is the sum of the two weights on the platforms to either side of the column that affect which side it turns to.
SOLUTION:
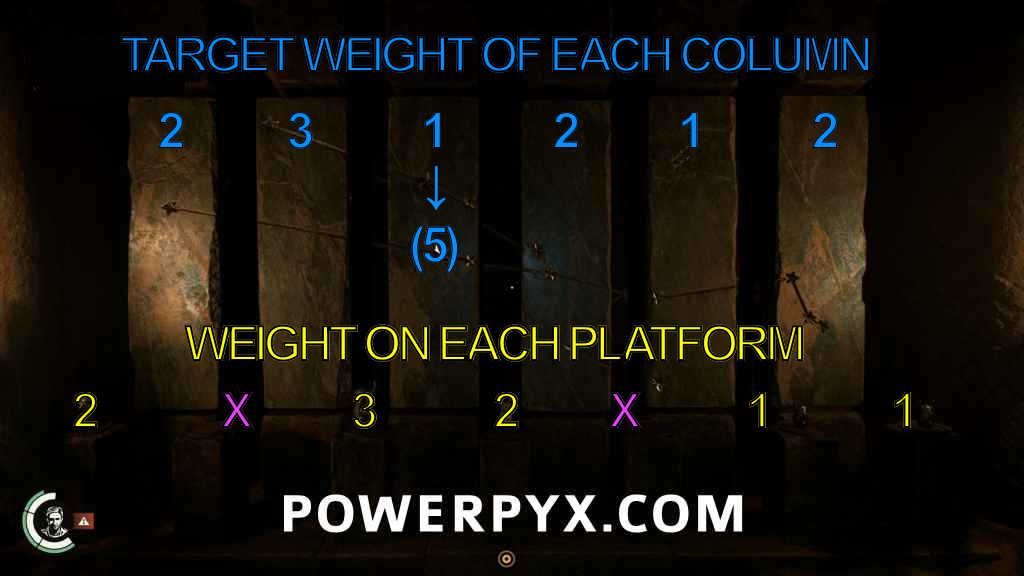
You can test this by placing a 1 and 2 pound weight on either side of a column, then removing both and placing a 3 pound weight. The column will show the same face for both configurations. Now we know how to affect the columns, the next step is to determine which face is the correct one. This is done by comparing the image in the On Astrological Symbolism note with the faces as they come up. Test with weights of 1, 2, an 3 pounds until you find the face that is correct for the pattern. Since there are only four faces to each column, the remaining side is the one that shows by default with 0 weight on the platforms, but what happens if you put more than 3 pounds on the two platforms near a column. Simple answer, the column will continue to rotate. 4 pounds will bring up face 0 again, 5 pounds will bring up face 1. We only have five weights with values of 1, 1, 2, 2, and 3 pounds, so the maximum combined weight we can achieve is 5 pounds. This gives us two totals that will show us face 0 and 1, but only one to show face 2 and 3. This will be important because the weight on the two platforms on the edges will only affect one column each, but the other five will each affect two columns.
Placement and weight combinations must therefore be built into your solution. Using the method above. We learn that the correct faces to create the Taurus constellation are shown with weights of the following amounts from left to right. 2, 3, 1, 2, 1, 2.
Because we don’t have enough 1 & 2 weights, we have to use the 3 weight to affect one of the columns. The second column needs 3 pounds. The first column needs 2. If we were to put the 3 pound weight on the platform between columns 1 & 2, we would have to use 3 more pounds to cause column 1 to roll back over to face 2. Not only would be a waste of the few weights we have, no combination of two weights we have access to would reach 6 pounds. Therefore we have to put the 3 weight on the third platform, between column 2 and 3, because while we can’t reach a total weight of 6 pounds, we can reach 5 pounds. So by planning to roll over column 3, the target weight changes from 1 pound to 5 pounds. So the platform between column 3 and 4 gets 2 points, and since column 4 needs 2 points, the platform between column 4 and 5 gets nothing. Column 6 needs 2 pounds so a one pound weight on each of the last two platforms solves column five and six. All that’s left is a remaining 2 pound weight, which will go on the very first platform to bring column 1 up to 2 pounds.
Once you get the five weights on the platforms indicated, a panel will slide open in the wall and reveal an artifact for your troubles.
Mithraic Artifact #6: Nymphus Artifact (20 AP)
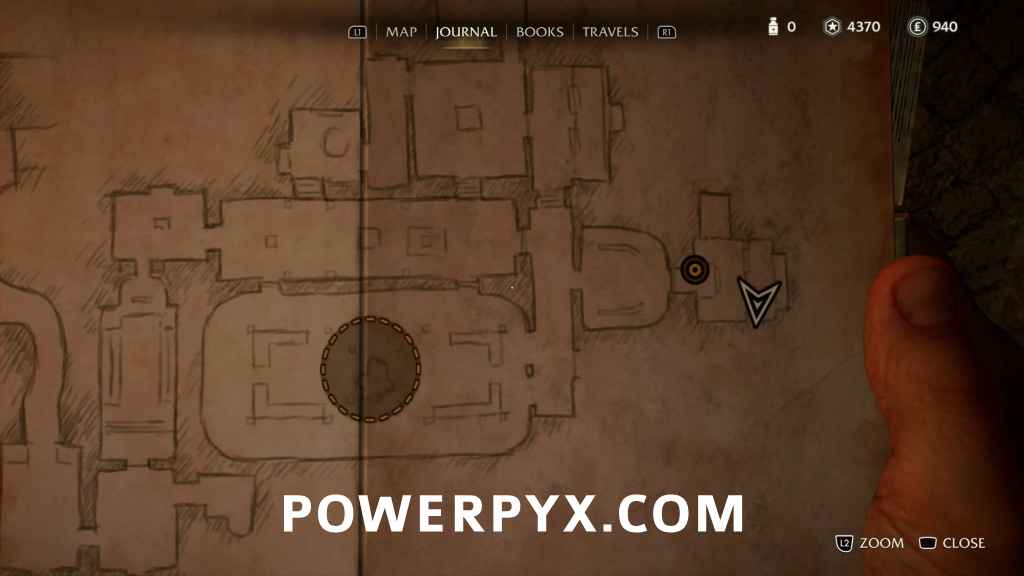
Collecting the artifact will complete the mystery, and you will unlock  Depths of the City.
Return to The Order of Giants Walkthrough.
For all other quests refer to Indiana Jones and the Great Circle Walkthrough.
Leave a Reply