
The Water Serpent puzzle is the first major puzzle challenge in Indiana Jones and the Great Circle: The Order of Giants DLC. This walkthrough will guide you through all the steps needed to solve the puzzle.
After using the Crusader’s Helmet Key to open a secret passageway, eventually following the tunnel will lead you to a large room behind a gate that contains the Serpent Puzzle.
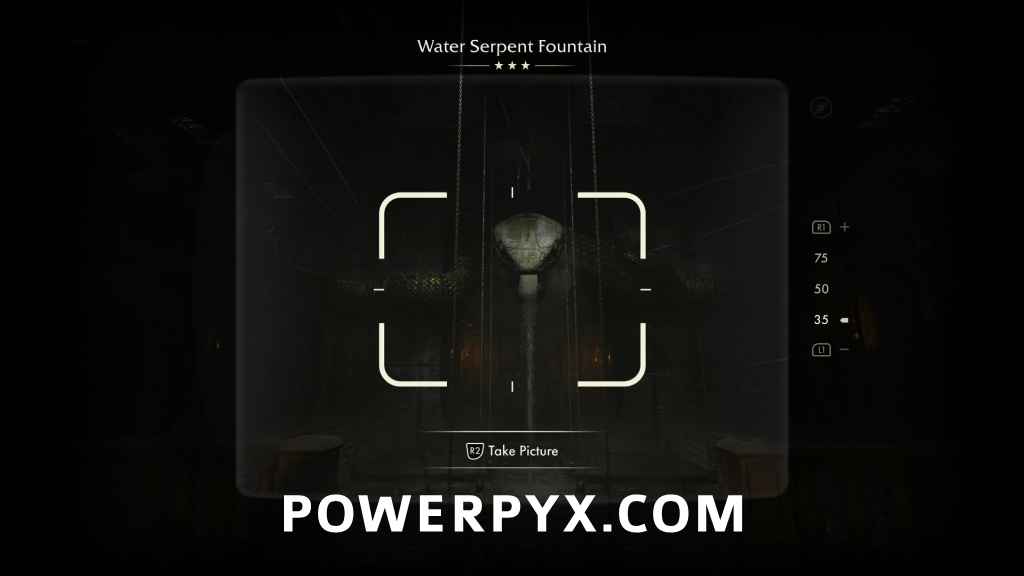
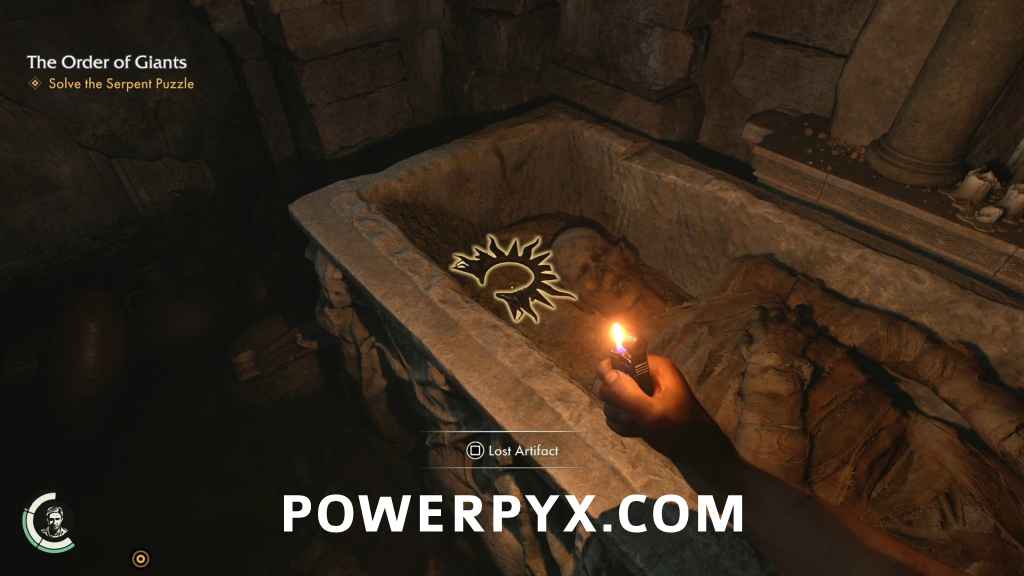
Adventure Note #16: Water Serpent Fountain (10AP)
On the south side of the room, you’ll find a note that barely scratches the surface of serpent puzzle.
Adventure Note #17: Water Serpent Blueprints(10 AP)
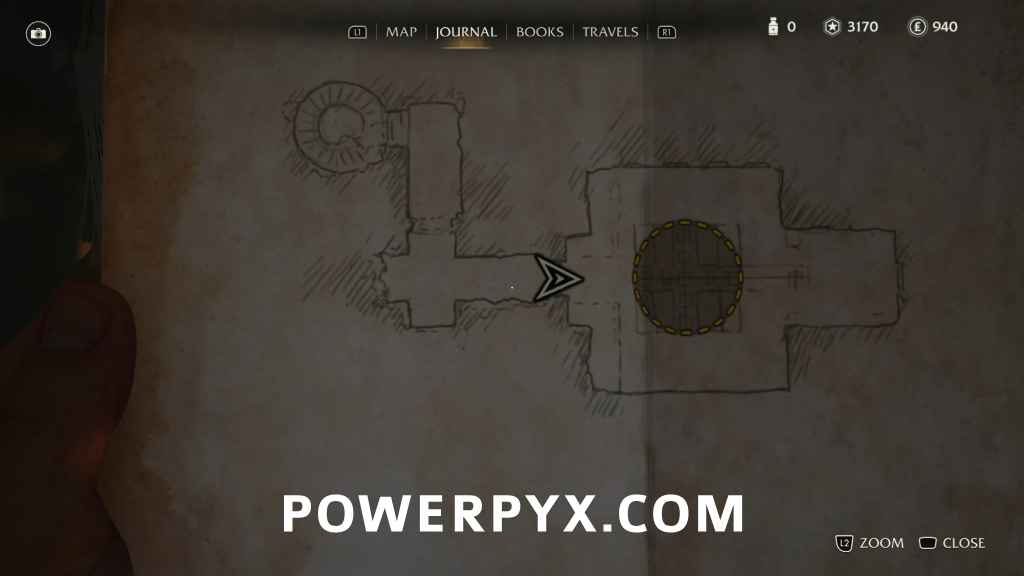
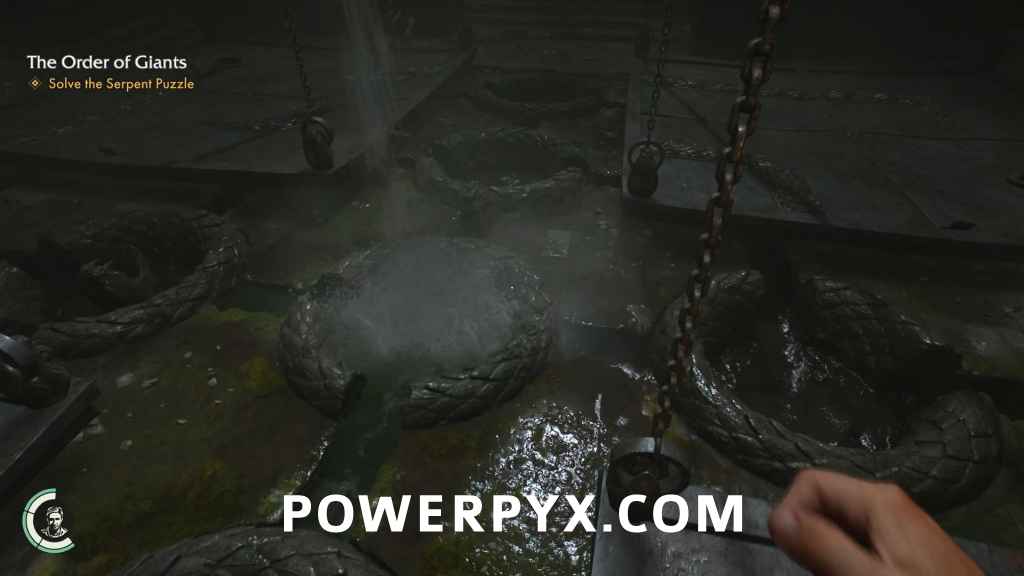
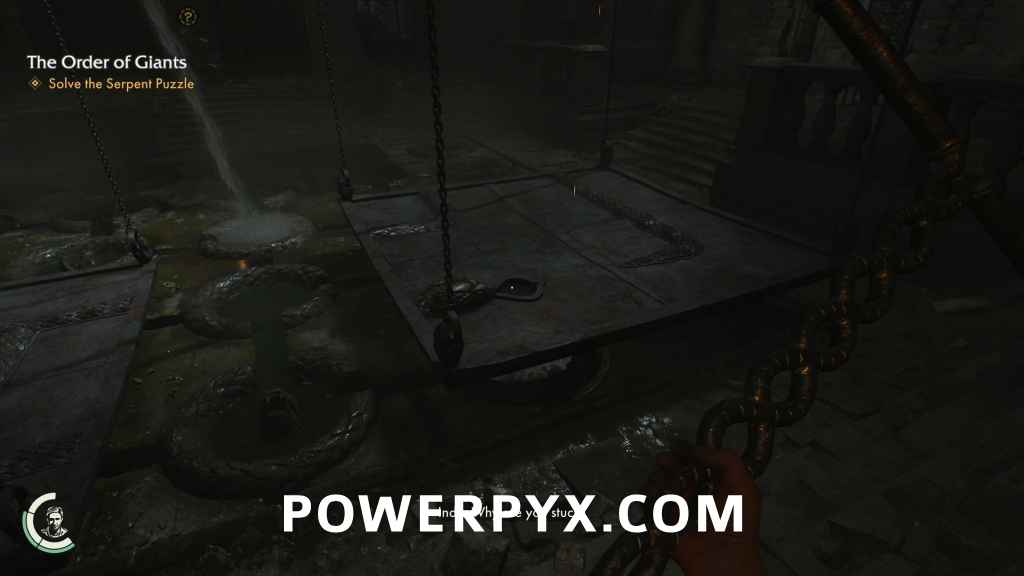
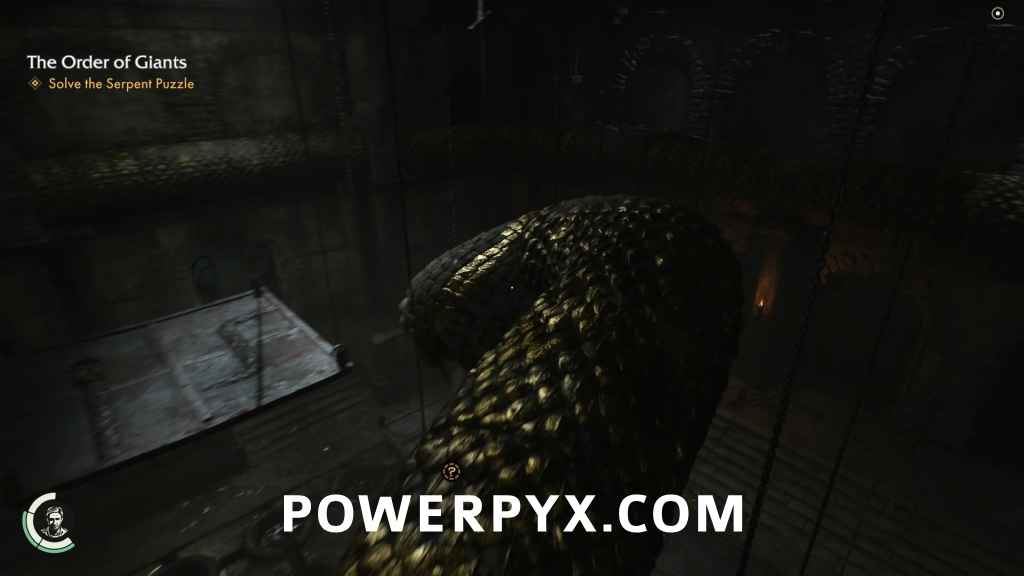
As hard as this looks initially it is actually fairly straightforward once you understand the mechanics of the puzzle, but it still takes some keen observational skills. The giant serpent head above you is the source of all the water, and it pools in a small ring in the center of the floor, where it flows into other rings. Some of the rings have the image of a snake head with an open mouth in them, while others are just empty rings. All the rings have gaps in them however, which allows water directed into them to flow in different directions.
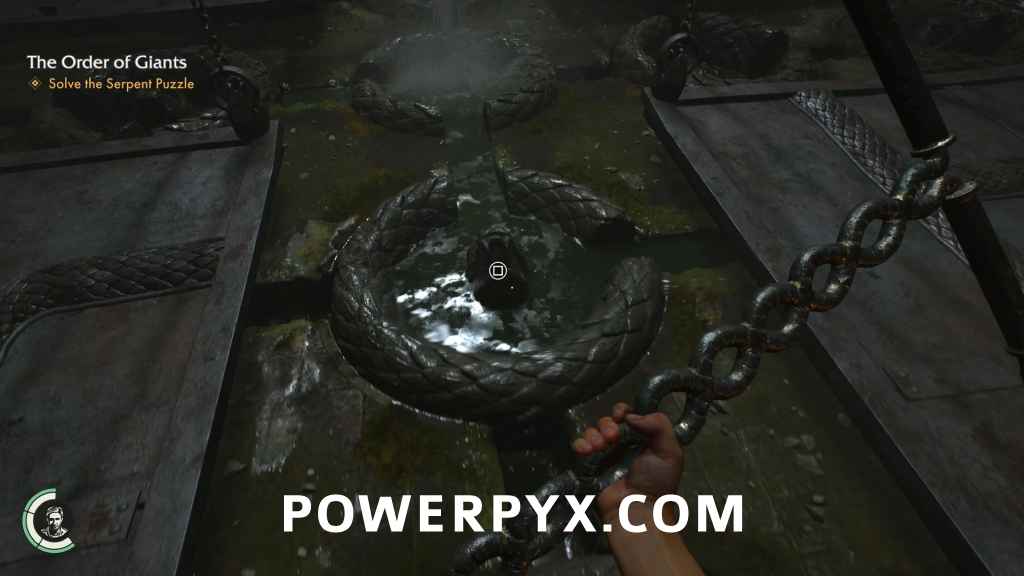
On the east side of the room is a tool called a Serpent Wrench that you can see inserted into one of the snake heads on the floor. There’s a spare Serpent Wrench on the floor, and you’ll get a third part way through your puzzle solution but you’ll only ever need the one. By inserting a Serpent Wrench into the mouth of one of the snakes on the floor, you can turn its ring, causing the gaps in each ring to move and change the flow of water how you see fit.

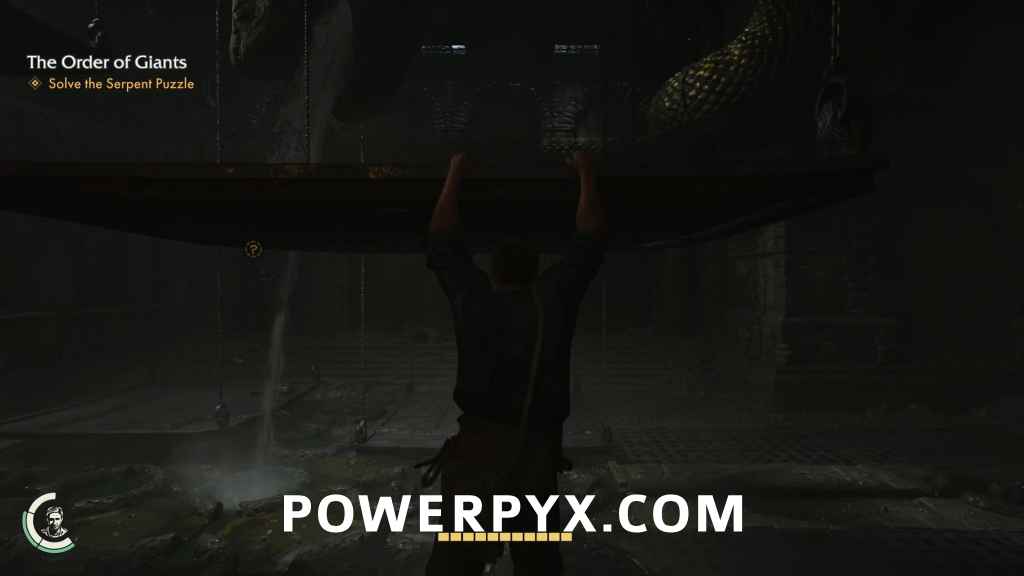
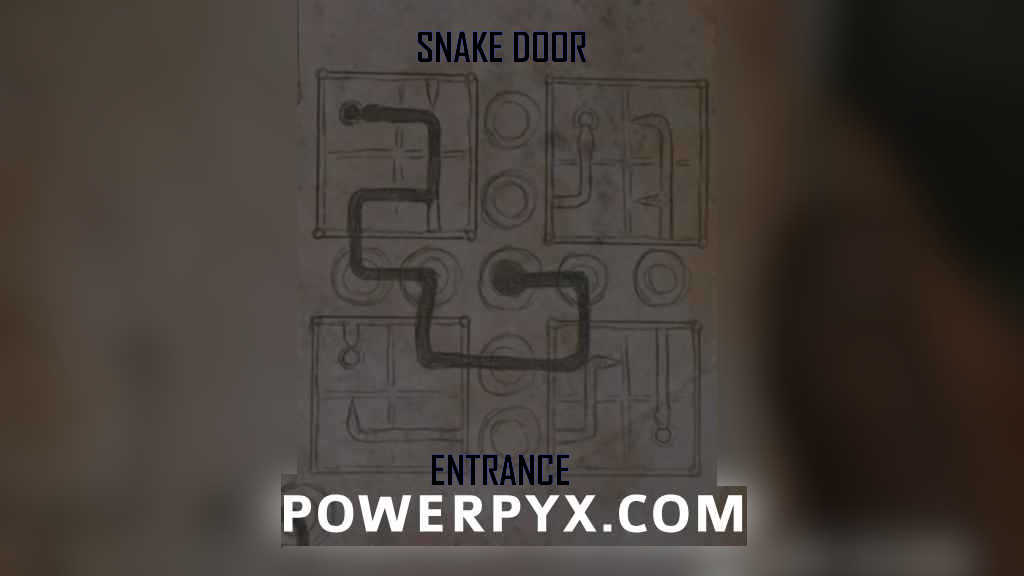
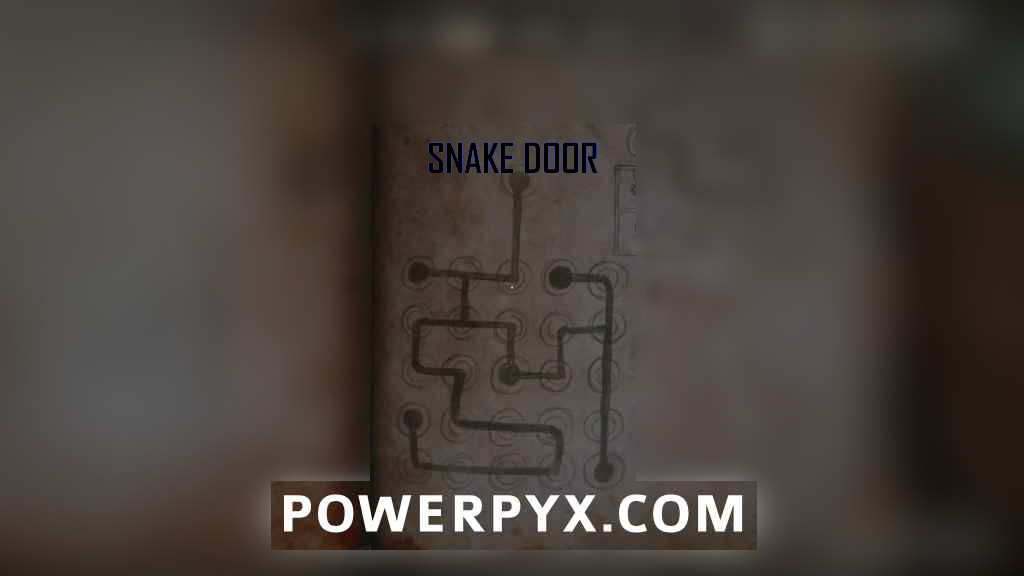
Also on the floor are four large metal platforms resting on the ground, but connected to chains that stretch up to the ceiling. While on the ground, they block your access to the rings beneath them. The only way to raise the platforms is to direct the water to flow under them in the correct way. How can you do this without being able to see the positions of the rings under the platforms you ask? Well its easier than you think, because the paths are marked by the snake patterns that are embossed into the surface of the platforms (See crude diagram below). The snake’s head on each platform shows where you need to direct the water’s flow to cause that platform to rise (shown in green highlighting with blue showing the target drain). There can also be a portion of the snake’s body, which will mark channels that you can pass water through from one side of the platform to the other (highlighted in green in upper right). If the snake’s body ends in a tail however, that marks a dead end (highlighted in red at bottom).
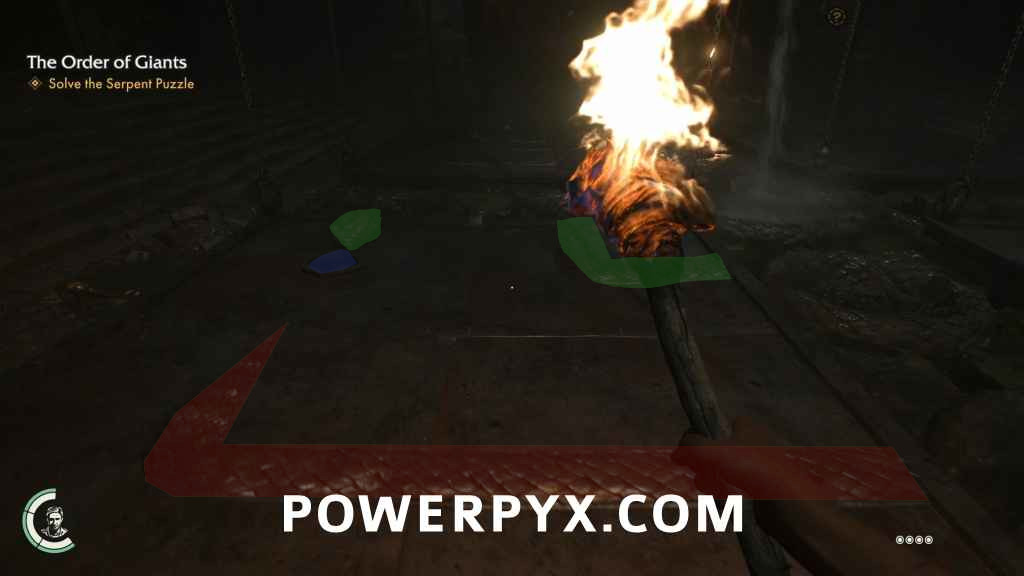
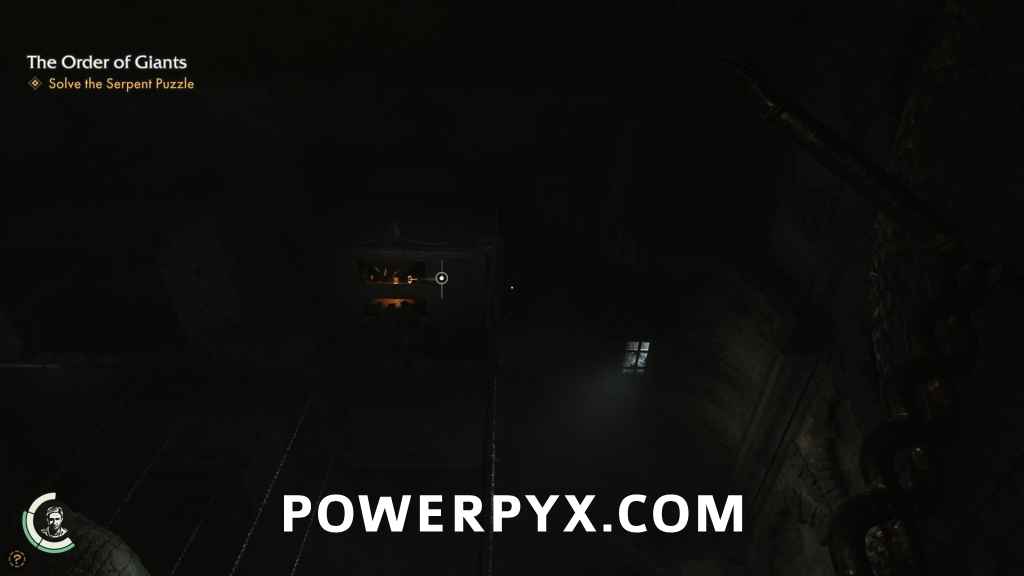
At the back of the room to the east is a giant door which is secured by five golden snake heads. That’s going to be important after we get all four platforms lifted, but we can ignore it for now. Grab a Serpent Wrench and head to the middle of the room. The first part of the puzzle only needs you to turn one ring.
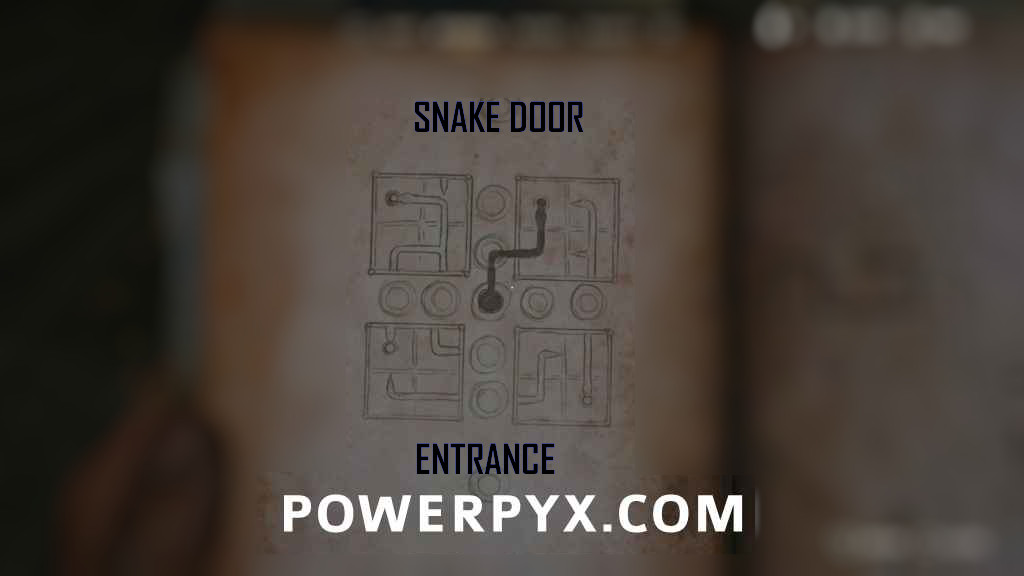
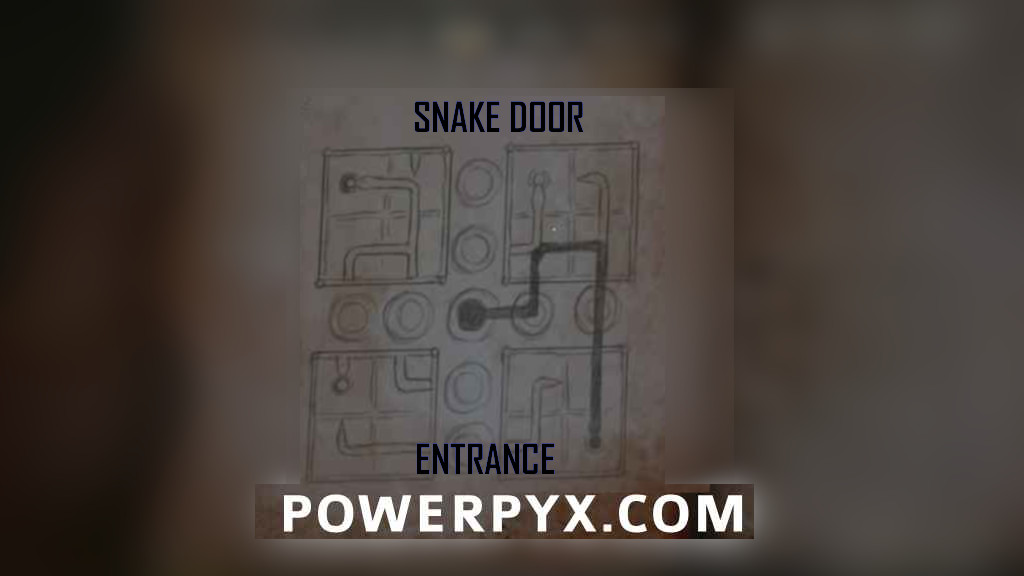
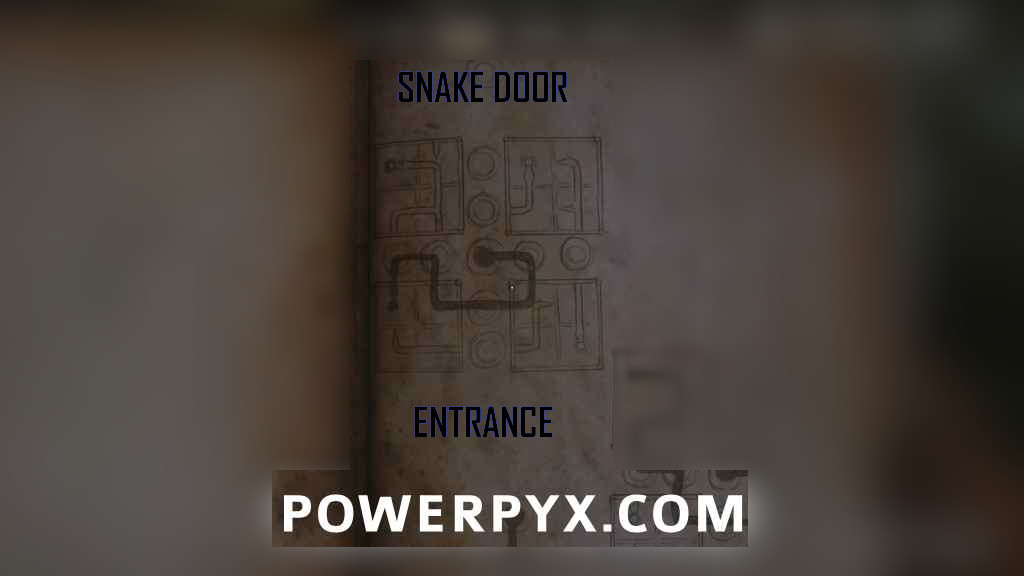
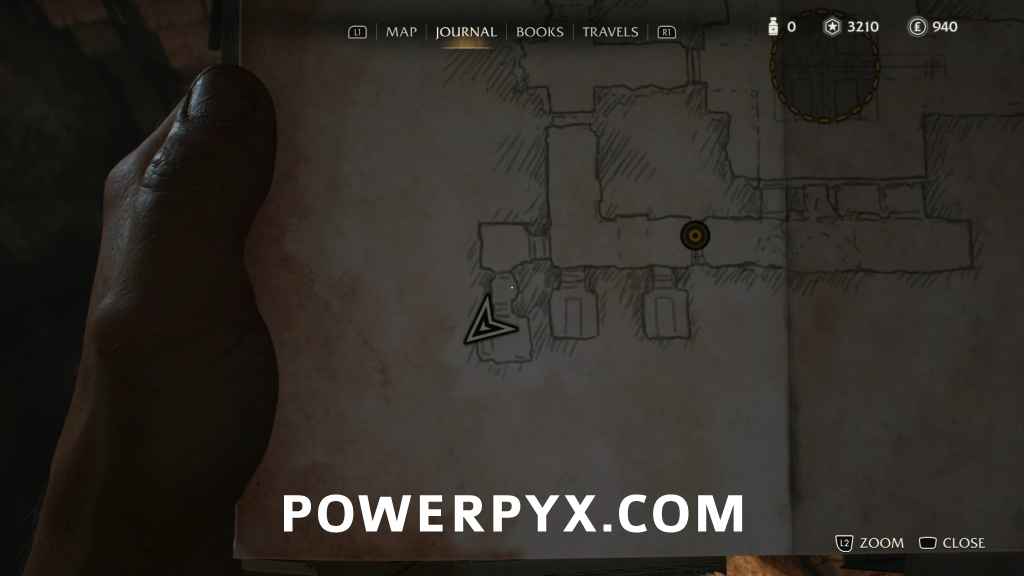
NOTE: The diagrams of the solution that appear in your journal are oriented as though the Five Snake Headed Door is at the TOP of the diagram. The door that you entered from is at the BOTTOM of the diagram.
First Platform:
Second Platform:
Third Platform:
After the third platform starts to rise, you’ll notice it screeches to a halt and is just juddering there. Look up and you’ll see the reason why.
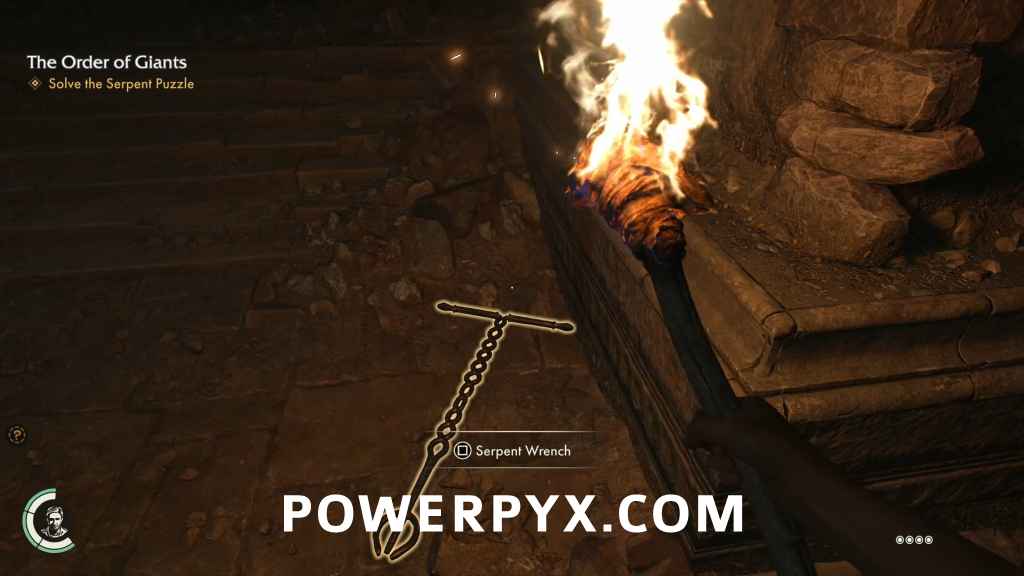
Remember that third Serpent Wrench I mentioned? Yep, that’s where it is. Look at the south side of the room, and you’ll see two short flights of stairs and a walkway in the middle that gives you a little extra height. Get on that walkway and jump up to the first platform right in front of you.

From the first platform, jump up to the second platform then turn to the south and you’ll see a section of the snake’s body is broken away, forming a convenient platform that you can jump across to. While we’re up here, we’re going to take a quick detour and go south through the archways to find a tunnel that slopes down and to the west. At the bottom, ignore the first two archways to the south, as you can’t open the sarcophagi and there’s nothing else worthwhile in them. Go straight ahead and through the archway to the west.


Follow the passage to the south and you’ll find yourself in a tomb with one open sarcophagus along the west wall. Inside near the body will be a Mithraic Artifact.
Mithraic Artifact #1: Heliodromus Artifact (20 AP)
This will also earn you  Symbol of Initiation for finding your first artifact. Go all the way back to the giant snake statue. Climb on its back and walk along the top of it until you reach it’s head. From there, look to the north and you’ll see a small jump to where the rest of the snake winds its way around the room.

Jump across, and follow the snake west until you see a small platform jutting out to the south, conveniently close to where the mechanism of the third platform is jammed. Walk out to the edge and you’ll be able to whip yank the stuck Serpent Wrench out of the gears, allowing the platform below to rise.


Head back to ground level, using the platforms to descend safely. Only one more platform left to lift.
Fourth Platform:
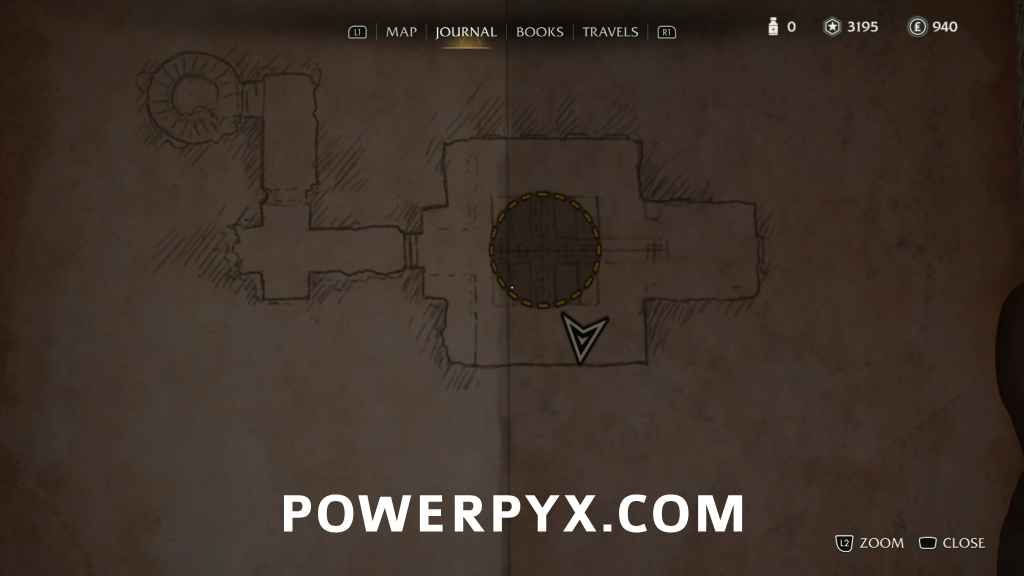
Now with all four platforms raised, you will be able to access every ring. By now you might have noticed that some rings will bubble when you direct water into them, and the first time it happens it will be accompanied by the sound of creaking metal. That’s because at the bottom of all those bubbling rings are drains that direct the flow of water into a mechanism that causes one of the five snake heads on the door to the east to disengage. Cut off the flow, and the head will creak back into place. Only by getting water into all five drains simultaneously will allow you to open the door and solve the puzzle. This took a lot of trial and error to solve, but now you can reap the benefit of my suffering.
Water Flow to Reach All Five Drains:
This will cause the door to the east to open, and the solution to the puzzle will be diagrammed and added to your Journal.
Adventure Note #18: The Water Serpent Solution (15 AP)
For more information, including a walkthrough, solutions to all puzzles and the location of all collectibles, see The Order of Giants Collectible Walkthrough.
Leave a Reply