
High Price to Pay is the 11th main mission in Starfield. This walkthrough will guide you through all objectives of the High Price to Pay main quest.
- Starting Location: Star System: Alpha Centauri > Planet: Jemison > Landing Site: The Lodge
- Quest Giver: Noel
- Requirement: Complete No Sudden Moves
- Reward: 800 XP, 13300 Credits, Calibrated Constellation Pack
- Quest Description: A Starborn known as the Hunter has attacked the Eye and is coming to the Lodge.
Objectives:
- Talk to Noel
- Defend the Lodge
- Check on Walter
- Hold off the Hunter
- Escape the Lodge
- Go to your ship
- Go to the Eye
- Find everyone on the Eye
- Return to Noel
- OR Go to the Eye
- Find everyone in the Eye
- Go to the Lodge
- Find everyone in the Lodge
- Find Noel
- Escape to your ship
- Initiate Take-off
- Go to the Eye
- Talk to Vladimir
- Build the Armillary on your ship OR build the Armillary at an outpost
- Return to the Lodge
- Talk to Matteo
Talk to Noel
This mission starts immediately after placing the Artifact in No Sudden Movements. Head over near Noel to hear about what’s going on.
Defend the Lodge OR Go to the Eye
After hearing from the Hunter, you now how two choices on what you want to do. You either stay in the Lodge to defend it, or leave and go to the Eye. This doesn’t change the overall story in a major way and you still have most of the same things occur during this mission (just in a swapped order) but depending on which you choose one of your companions dies. Which one dies seems to be based on who your highest “level” companions are, so the two you’ve interacted with the most basically. The way this seems to be set up is your highest-level companion is at the Eye, and the second-highest is at the lodge. If you go to the Eye immediately you save your highest-level companion, but your second-highest dies. If you stay at the Lodge you save the second-highest companion, but the highest dies, so if you are trying to specifically raise the companion level of one to max already (for example Sarah) you should go to the Eye immediately.
Check on Walter
If you’ve stayed to defend the Lodge, wait for a moment then you’ll be prompted to go to the floor above where Walter was.

Hold off the Hunter
The Hunter is in the Lodge, and you’ll now need to hold them off for a short period. They’re very tough relative to all previous enemies you faced during the story, so be careful in the small area here as they can do a lot of damage. They’ll also spawn a clone of themself to attack you, so try to keep them both behind cover (you can hide behind the bar quite easily).

Escape the Lodge
After a short period, Noel will finish packing up the Artifact and you’ll need to escape the Lodge. Follow Noel through the basement and out the door on the other end to reach the Well.
Go to your ship
You’ll now need to make your way to your ship through the Well and the Spaceport. The Hunter will keep attacking you as you run to your ship, reappearing over and over even if you put enough damage in to cause them to disappear, so your best bet is just to keep following after Noel (the objective) and ignore the Hunter unless they’re right beside you.
Go to the Eye
Once you’ve reached your ship, take off and you’ll be in Jemison orbit. The Hunter will talk to you again before leaving (and they’ll give you some items if you destroyed a number of their clones on the planet) then you can make your way to the Eye.
Find everyone on the Eye
In the Eye, make your way to each of the objectives to check on your companions and learn the fate of your companion.
Return to Noel
Once you’ve dealt with them all, head back and speak with Noel. After this, the objectives are the same for both paths starting from “Talk to Vladimir” below.
Find everyone in the Eye
If you decide to head up to the Eye immediately, you’ll need to go around to each marked spot to check on your companions, none of them too worse for wear.
Go to the Lodge
After checking on all four, you can head back to the Lodge immediately.
Find everyone in the Lodge
Back in the Lodge, you’ll need to interact with each of the companions to check on them and learn the fate of your companion.
Find Noel
After interacting with each one, you need to find Noel. Head through the door immediately right from the entrance to reach the basement, then follow the objective to the door to the Well. Continue through and Noel is waiting a short distance into the next area.

Escape to your ship
After finding Noel you’ll be attacked by the Hunter, and need to make your way to your ship through the Well and the Spaceport. In this area you’re best just chasing after Noel and ignoring the Hunter, as they’ll continually appear to attack you and they’re quite tough. While running they’ll get somewhat distracted by the UC Security, so you can more safely run away.

Initiate Take-off
Once you reach your ship, get in the cockpit and immediately take off.
Go to the Eye
In Jemison orbit, The Hunter will talk to you again before leaving (and they’ll give you some items if you destroyed a number of their clones on the planet) then you can make your way to the Eye.
Talk to Vladimir
On the Eye, speak with Vladimir once more to determine your next course of action.
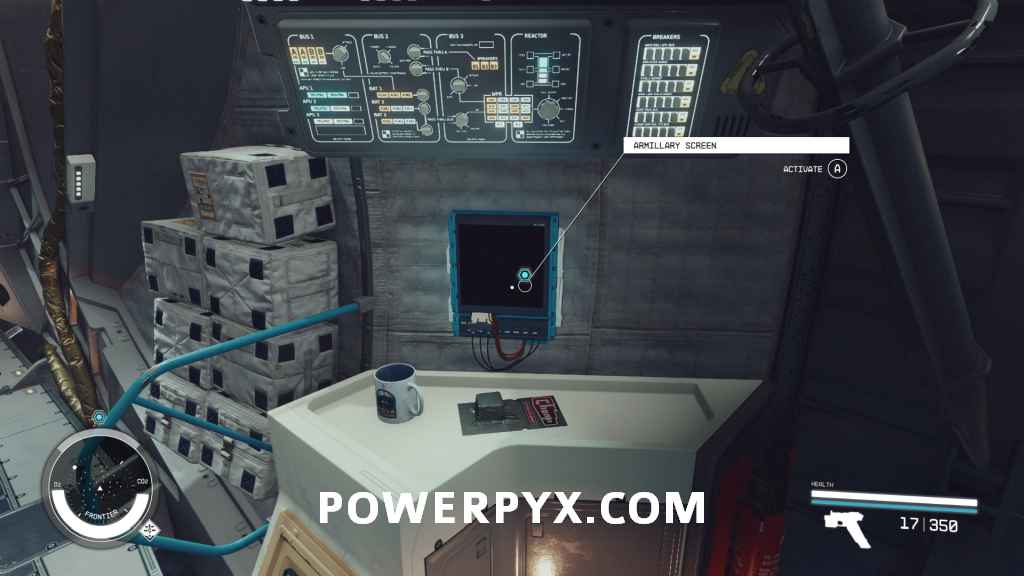
Build the Armillary on your ship OR build the Armillary at an outpost
Noel gives you all of the Artifact pieces, and you now have the option to build the Armillary (the pedestal they were on in the Lodge) inside your current ship or at any Outpost you’ve placed. This choice is entirely up to you, as the only thing it affects is whether you get attacked by Starborn everywhere (if you built it on your ship) or only near the Outpost you’ve placed it at. You build it at your ship by interacting with the panel in the cockpit. This doesn’t actually place it in your ship, you just interact with it by going back to the panel.
Or you build it at an Outpost by building it from the Quest menu.

Return to the Lodge
After you’ve built the Armillary wherever you’ve decided, make your way back to the Lodge. This time you’ll have to walk all the way back through New Atlantis, you can’t travel directly to the Lodge at the moment.
Talk to Matteo
Head inside and speak with Matteo to complete the mission.
This finishes High Price to Pay in Starfield.
For all other Quests refer to Starfield Walkthrough.
Next Quest: Unity
PhantomFear94 says
For me, it was Sam Coe at the lodge who perished, with Sarah (romancing companion for me), Barrett and Andreja on the Eye. Which was horrible, because he’s the only one with a dependent….
Anyway, I think you’re “favourite” is always on the eye, and your second favourite always in the lodge. That can change based on your decisions Basically, you’re always best going to the Eye as at around ~10h in if you’re following this roadmap it means your romancing “target” will be safe, unless you want to change your mind and are certain you have “enough time” to romance whoever is at the lodge.
Gage says
Thank you for confirming, that does make sense then to be set up that way. I played through on two separate saves and had Sarah and Barrett both times, so that might effectively be the “default” if you don’t spend extra time interacting with the others in between the main quests.
AbualSemi says
Barrett dies if you go to the Eye immediately, Sarah dies if you stay behind to defend the Lodge.
Was the other way around for me -_-
Ann ony mous says
those stuck on the going back to lodge You can just go to a different planet and then go back and it will let you go there instead of just walking.