
Chapter 2 – The Hidden Palace is the 4th chapter that contains collectibles in Lost Soul Aside. There are 9 collectibles located during this chapter. A vast majority of this chapter doesn’t have a map, so you’ll need to use distinguishable landmarks to figure out where you are.
Collectibles Overview:
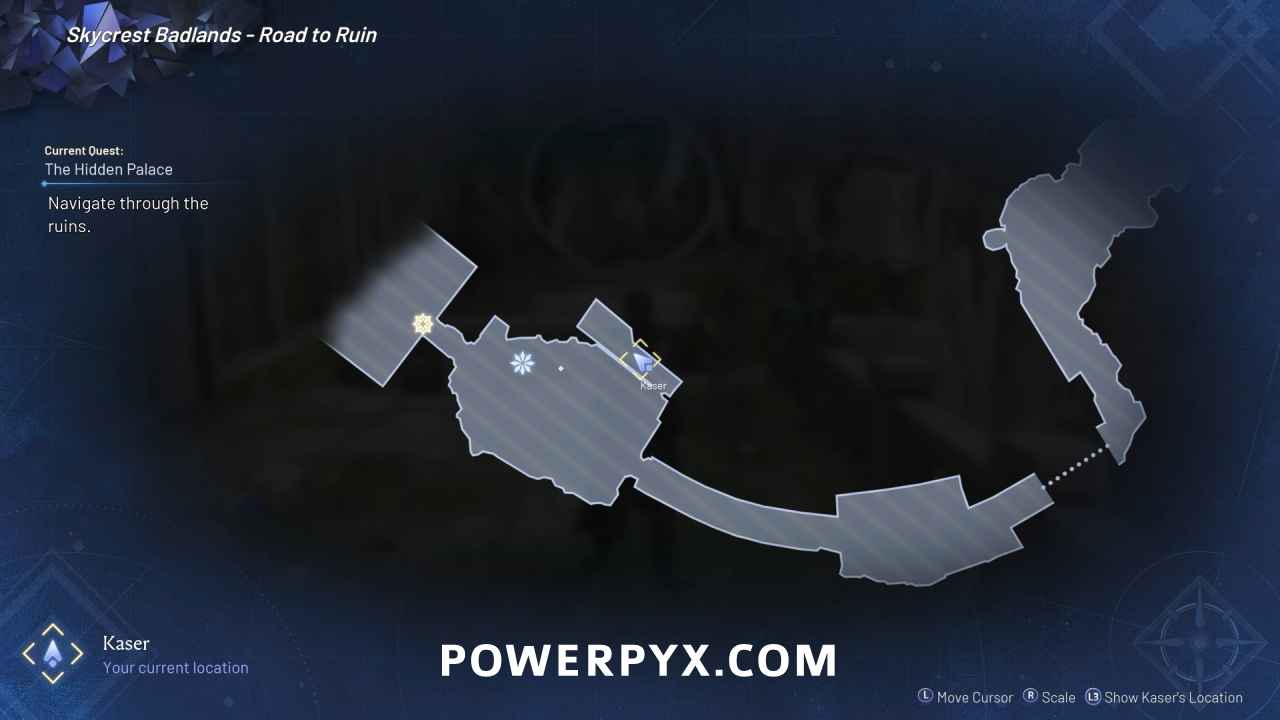
Skycrest Badlands – Road to Ruin
Dispersed Dimension: Ablution of Lightning / Arena Power: Heavenstruck Wood
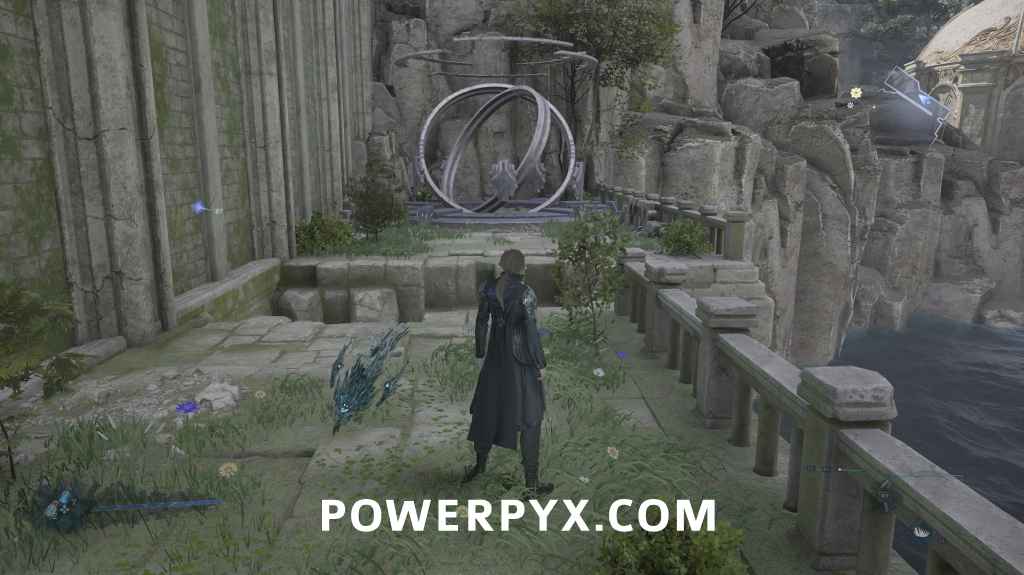
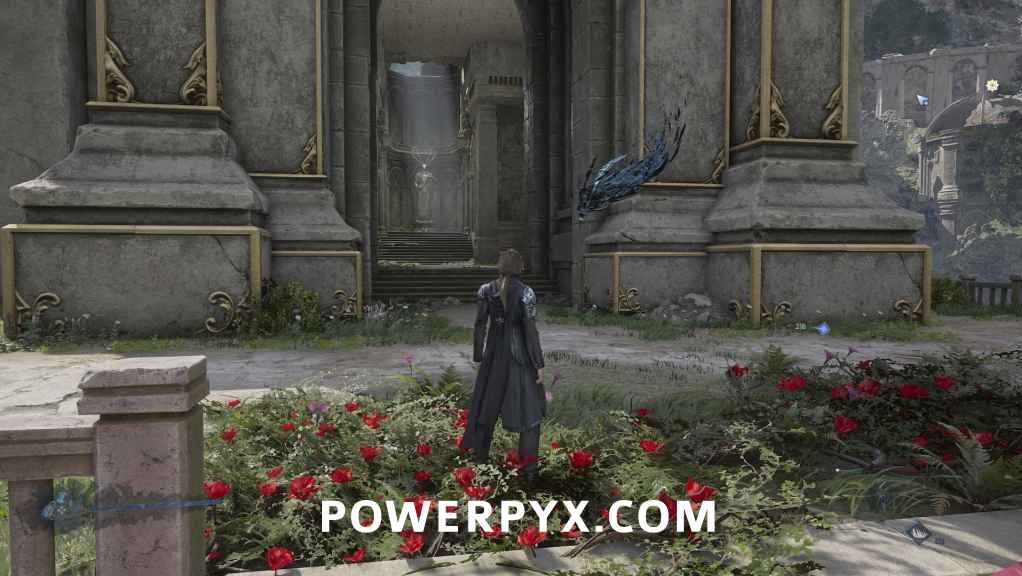
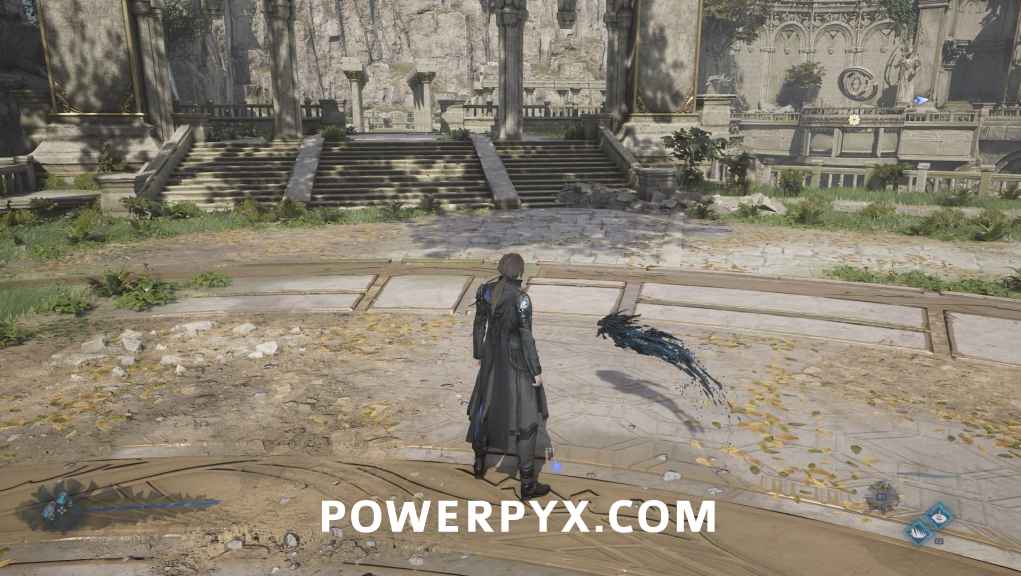
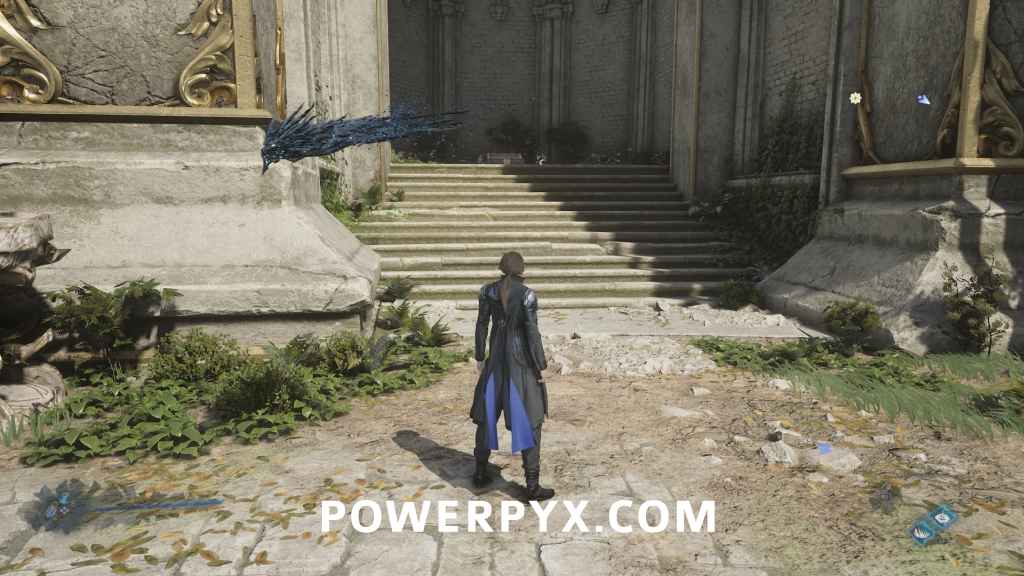
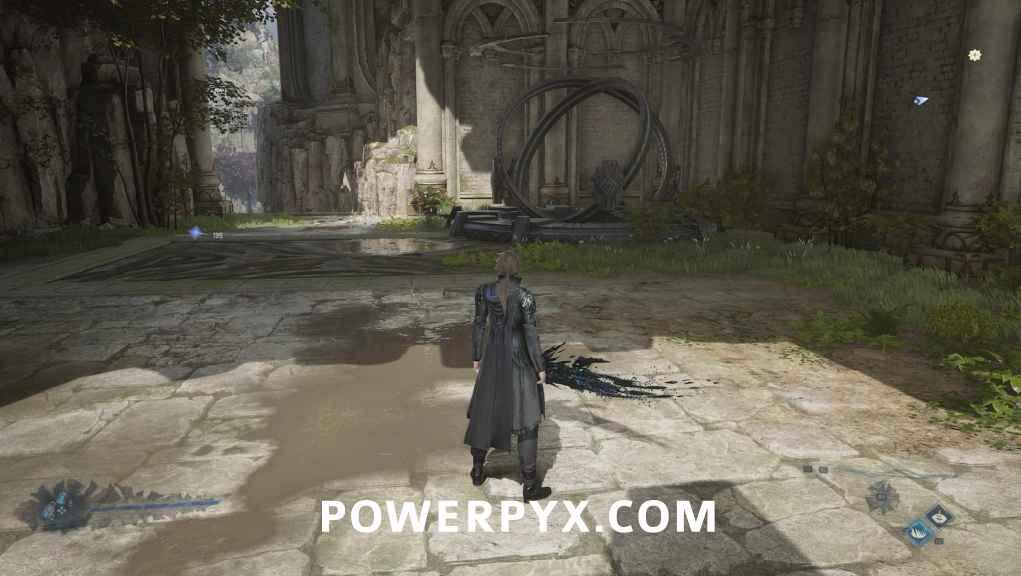
Once you reach the area where Gethya mentions the celestial deer and wants to look for more clues, go through the small door on the right and you’ll see the rift at the end of the balcony. Attack all the sigils to activate it. You can then complete it whenever by talking to Liana. To get the Arena Power, you’ll need to complete it without defeating the special Voidrax located in the center of the arena. You can refer to Dispersed Dimensions Guide for information on clearing it.
Trinket: Bracelet of Nobility
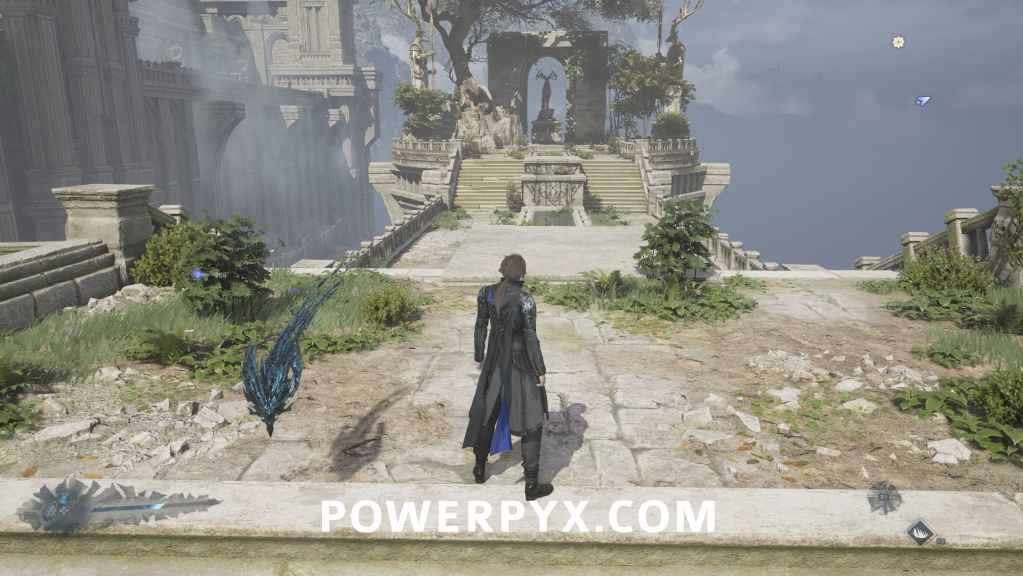
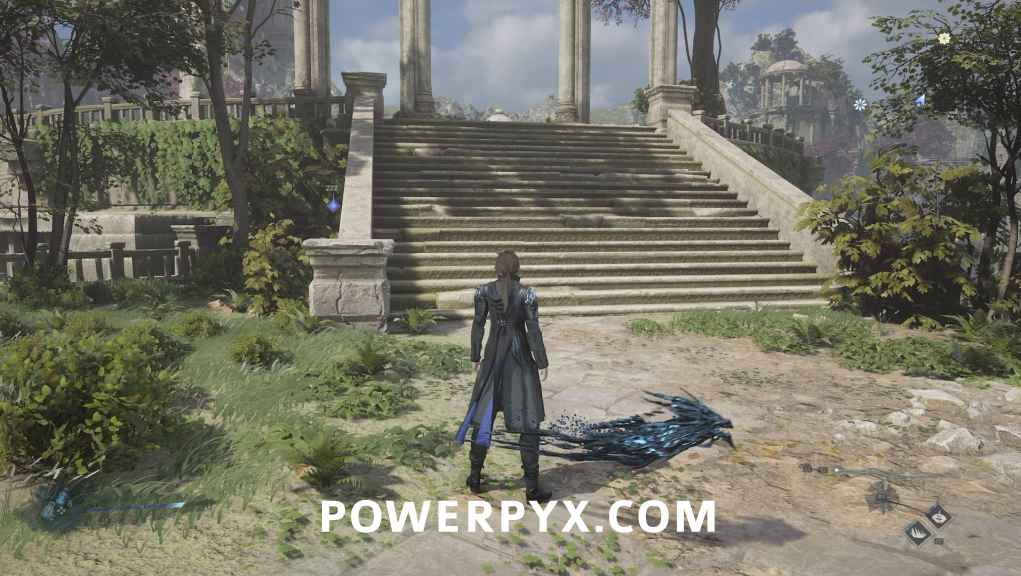
After chasing the beast you’ll be in an area where you have to jump onto flowers into a blue crystal that can launch you to the pillars in the water. This area has no map, so you’ll need to use landmarks instead. Once you reach the platform that has 2 flowers, one directly ahead and one to the left, take the flower to the left until you reach the next platform. There will be a purple orb you can interact with that will open a door to another platform. Backtrack to the previous platform and take the other direction this time to the platform directly ahead which is where the door opened. The chest at the end of the room has the trinket.
This needs to be recollected on Hard Difficulty.
Trinket: Gemstone Badge
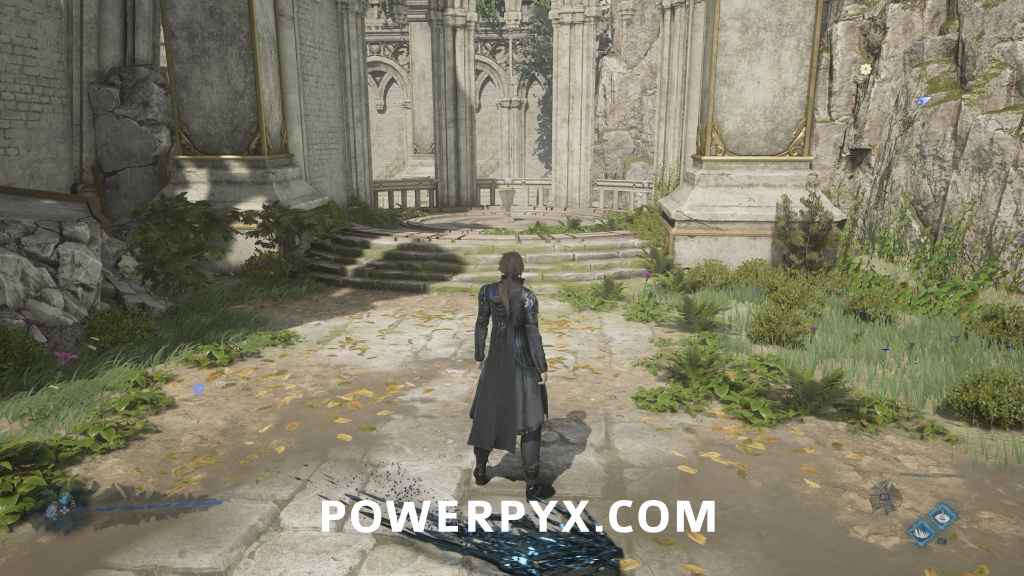
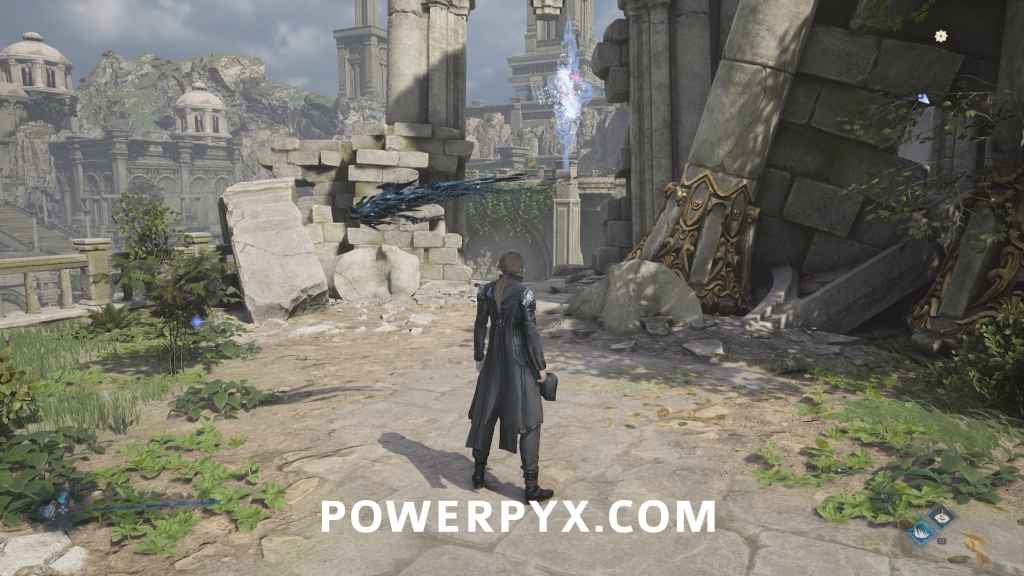
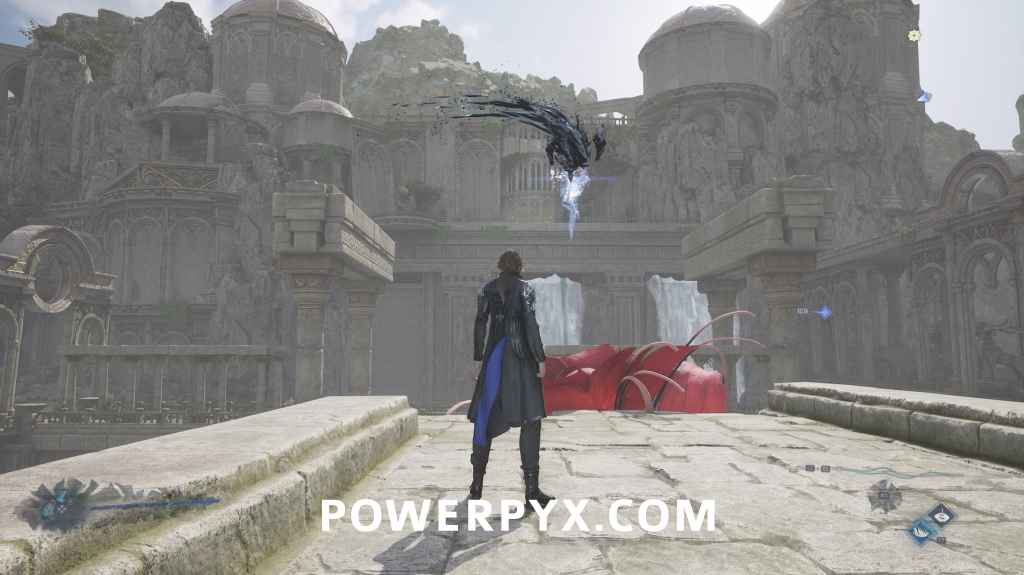
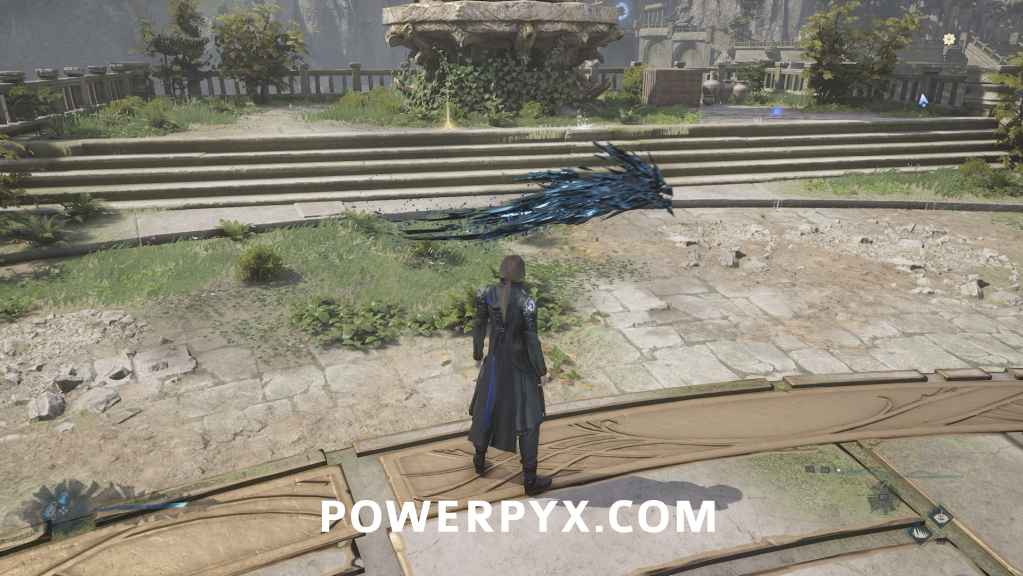
After defeating the giant Voidrax, go down the path that has the giant deer statue at the end. The trinket will be inside the chest at the end. This area also has no map, so make sure you go down the correct path.
This needs to be recollected on Hard Difficulty.
Trinket: Bracelet of Vanguard / Document: Hidden City
After using the purple orb and making the staircase appear, follow your path until you reach an area with 2 doors on your left and go through the door furthest from you. Go up the stairs and enter between the pillars on the right and interact with the purple orb. This will make a bridge appear in a later section. Progress through the area until you’ve fought the Imperial Soldiers and take the bridge on the right, away from the objective. If you already interacted with the purple orb earlier, you’ll make it all the way across and you’ll get the trinket in the chest at the end, with the document directly next to the chest.
The trinket needs to be recollected on Hard Difficulty.

Dispersed Dimension: Dance in Shackles / Trinket: Pendant of Fusion
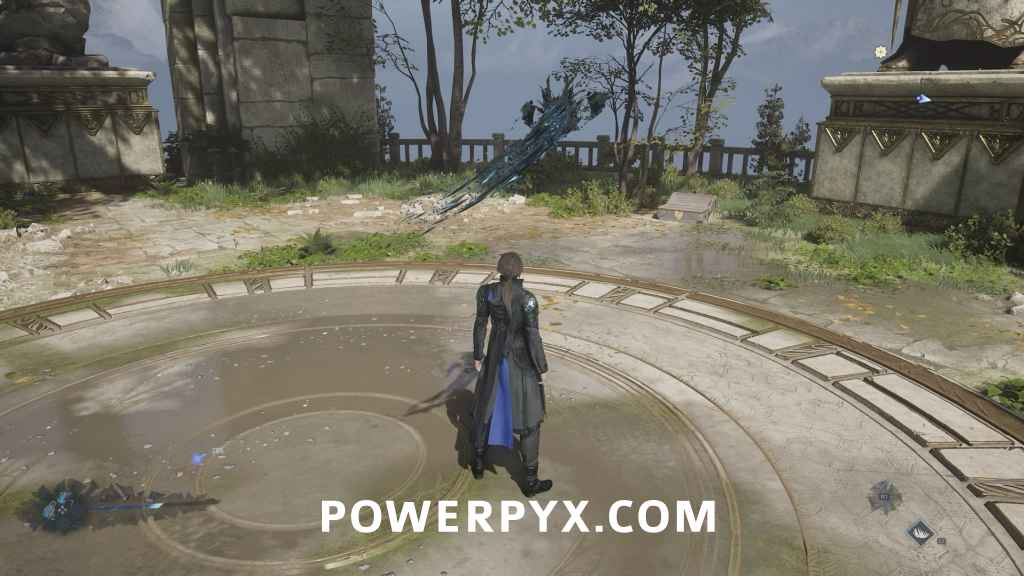
Once you reach the open area with Liana, go to the bottom right corner of the area and you’ll see one of those blue crystals that can launch you. Use it to get to the platform across from you and interact with the purple orb. This will reveal another one of those launchable crystals, which can shoot you all the way to the ruins above. Once inside, go to the end and you’ll find the rift. Attack all the sigils to activate it. You can then complete it whenever by talking to Liana. You’ll need to complete it without taking any damage for the trinket. You can refer to Dispersed Dimensions Guide for information on clearing it.
Document: Buckhorn Spirit-Dragon Ode
From the previous collectible, follow your path until you fight some more Imperial Soldiers and Gethya reveals some more hidden pathways. As soon as the cutscene is done, the document will be at the foot of the statue that Gethya used to reveal the path.
Next Chapter with collectibles: Chapter 3 – Neverwind Monastery.
Leave a Reply