
Sentinel Command Station is the 12th chapter in Doom: The Dark Ages and contains 15 collectible locations & 177 Gold & 3 mission challenges. This walkthrough will guide you to all Sentinel Command Station collectibles in Doom The Dark Ages. If you missed anything you can get it via chapter select. Everything needed for 100% completion is included.
- Gold: 177
- Ruby: 1
- Wraithstone: 1
- Demonic Essence – Health: 1
- Secrets: 9
- Codex Entries: 1
- Collectible Toys: 1
- Skins: 1
- Mission Challenges: 3
Collectibles Overview:
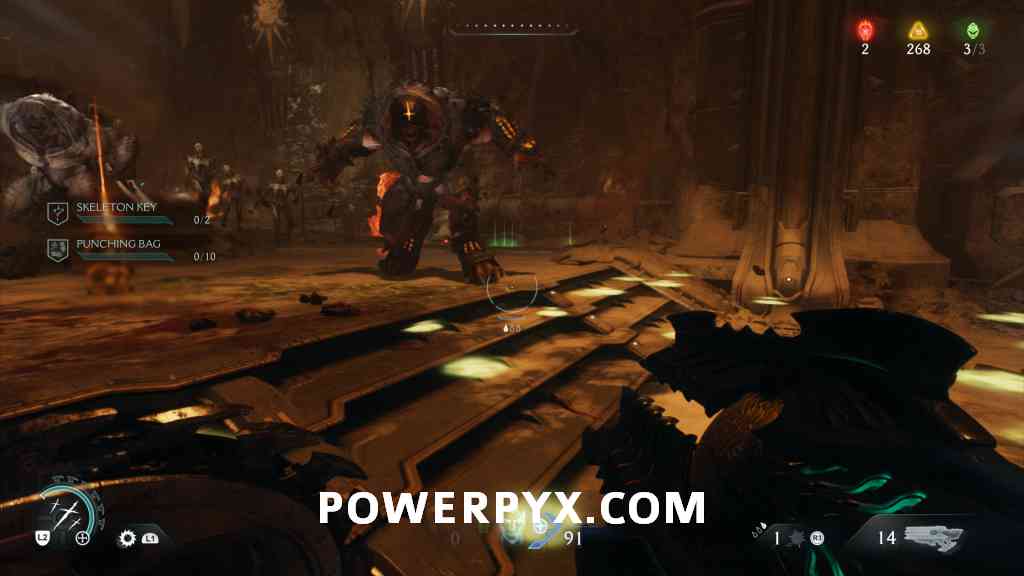
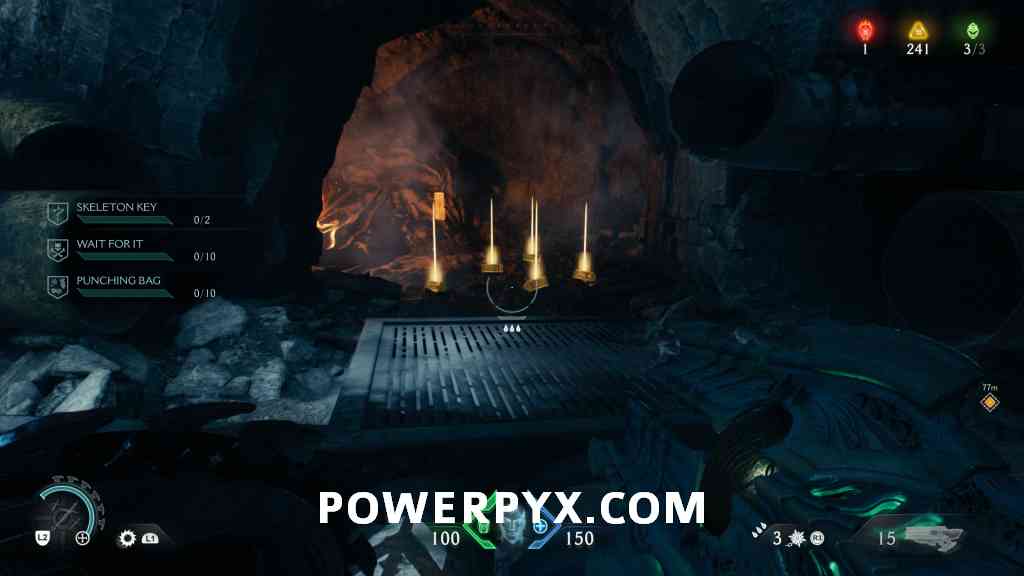
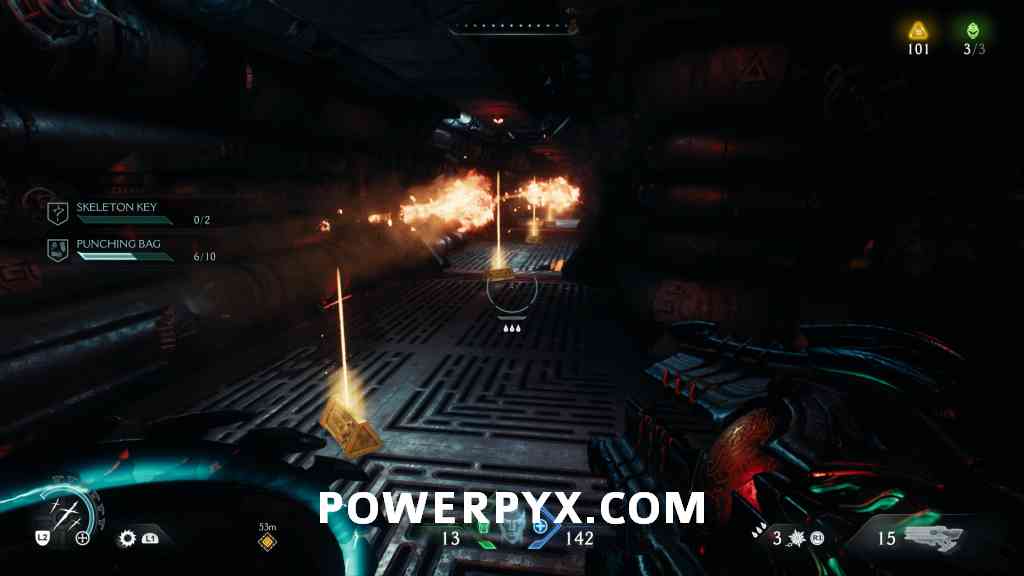
Mission Challenge #1 – Punching Bag: Strike a Battleknight with a melee attack 10 times (50 Gold reward)
Battleknights are the Hell Knights that wear armor and do melee attack with a battleaxe. Whenever you see these demons, make sure to constantly melee attack them. There is usually one in each red combat encounter and you can easily get multiple melees on one if you only melee them. You can also farm it via checkpoint restart, an easy farming spot is after unlocking the “Auto Turret” Shield Rune, in the next room there’s always one Battleknight and the checkpoint is just seconds before it.
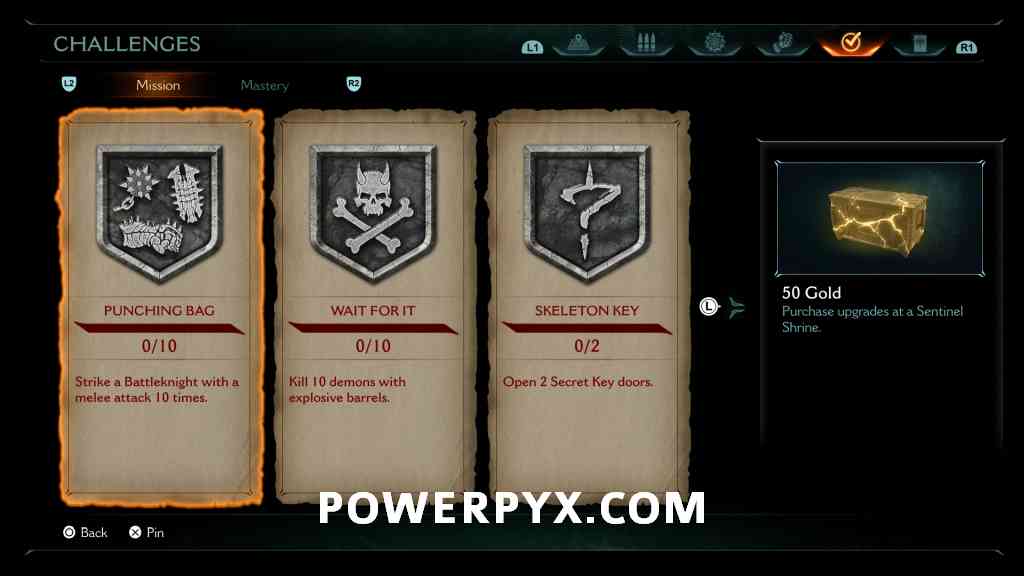
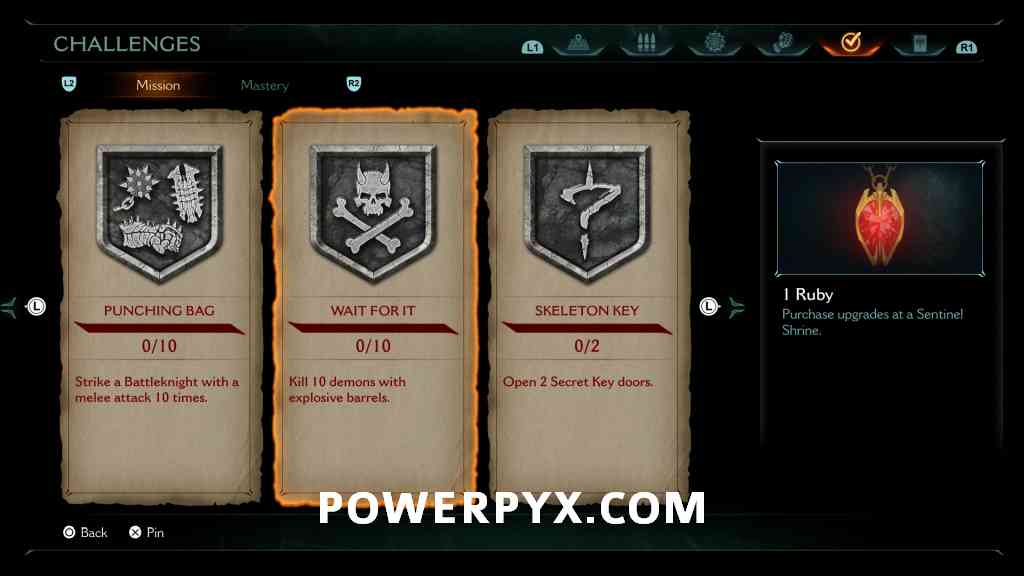
Mission Challenge #2 – Wait For It: Kill 10 demons with explosive barrels (1 Ruby reward)
Explosive barrels are the small red barrels that you find throughout the chapter. Whenever you find these, try shoot them when fodder demons are nearby to get multiple kills. There are multiple chances to do this as the chapter is flooded with red barrels.
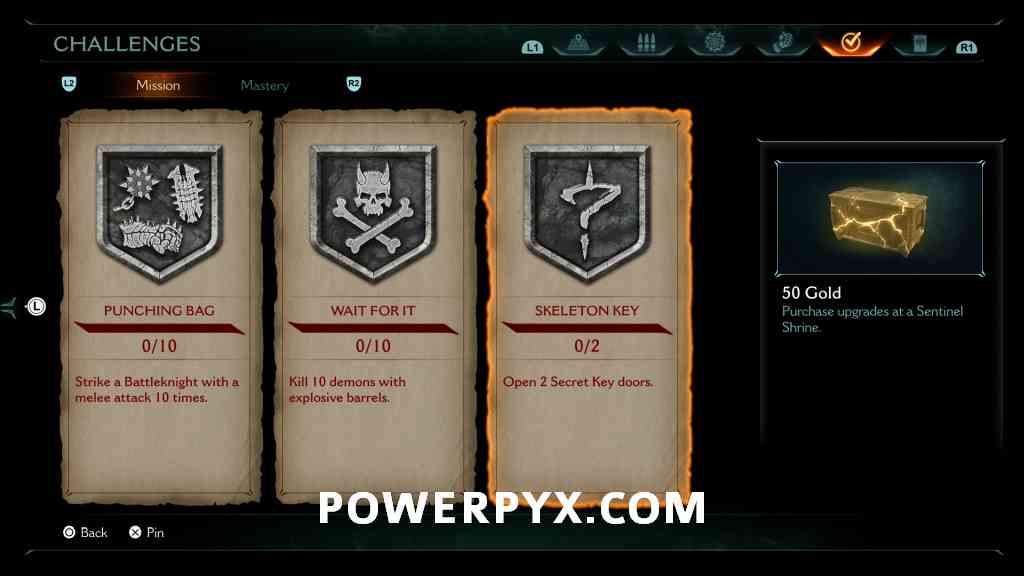
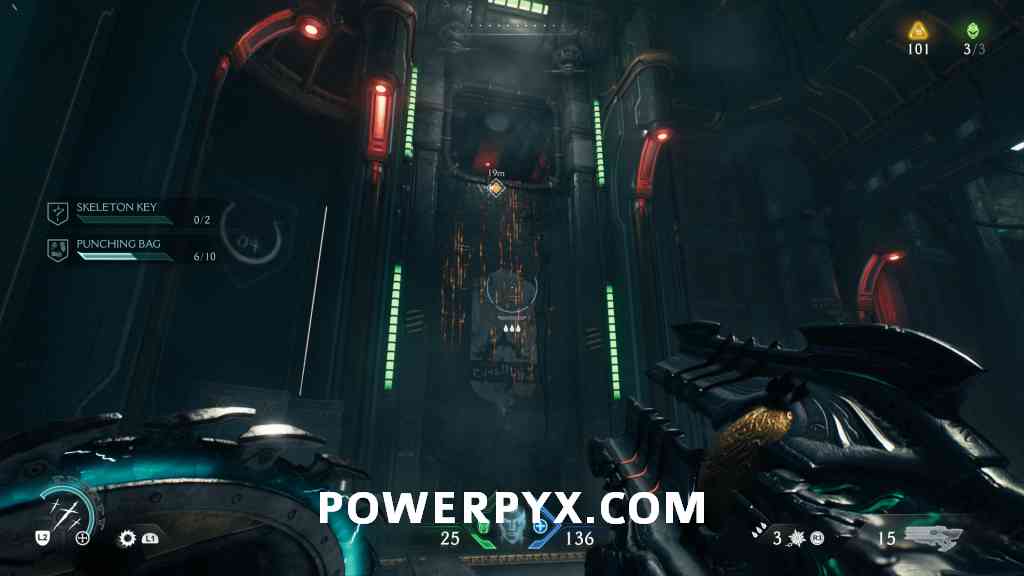
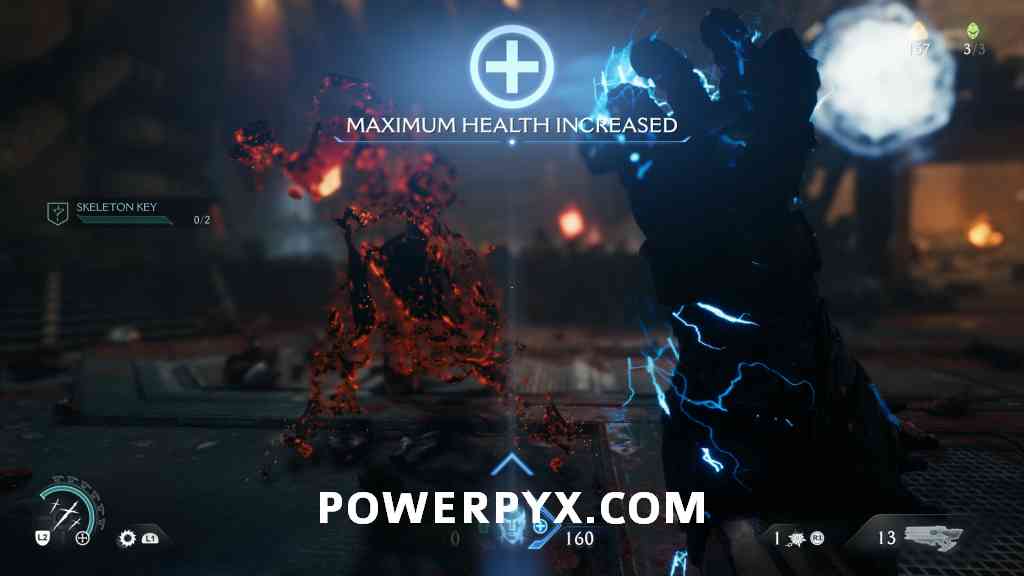
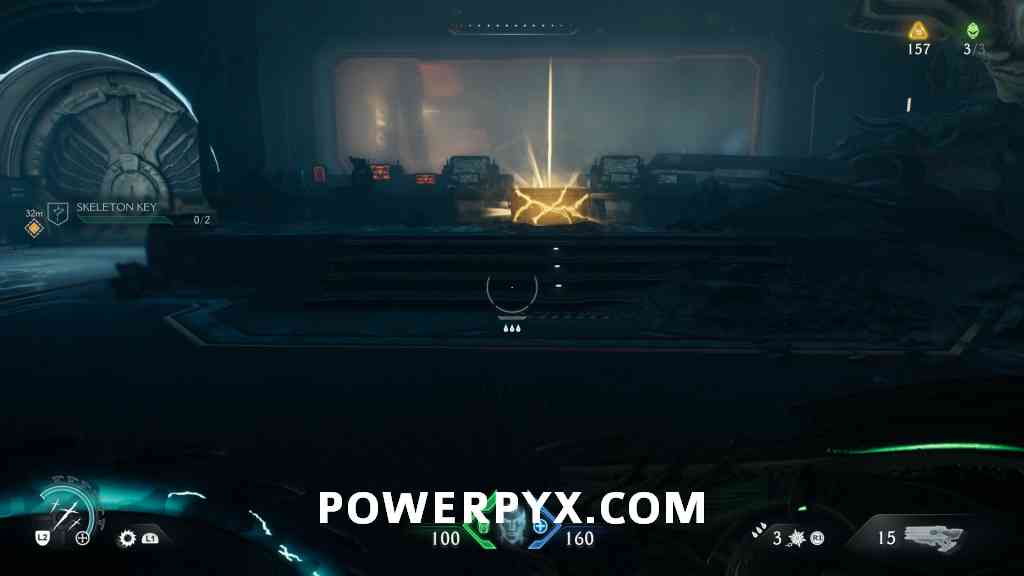
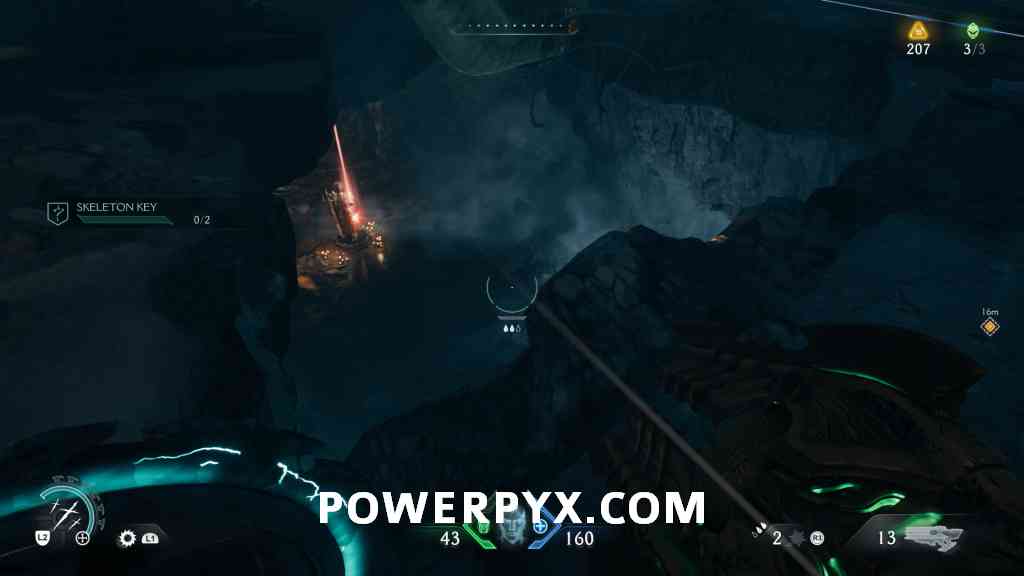
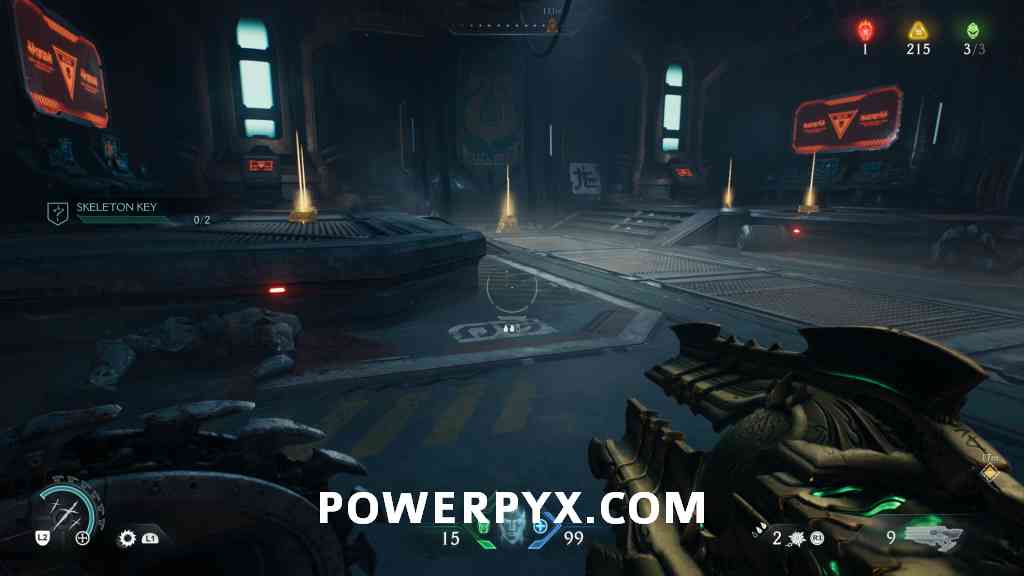
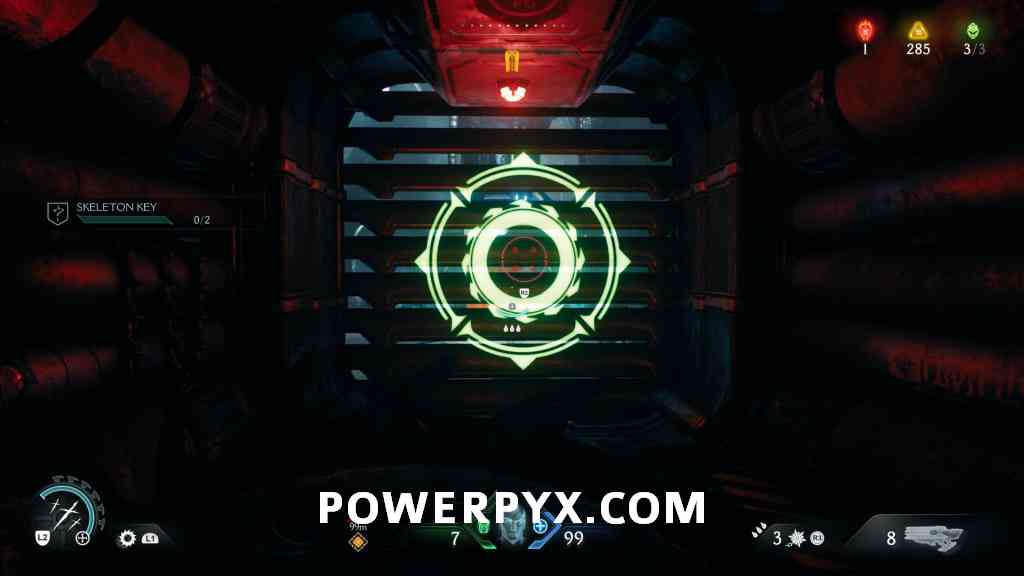
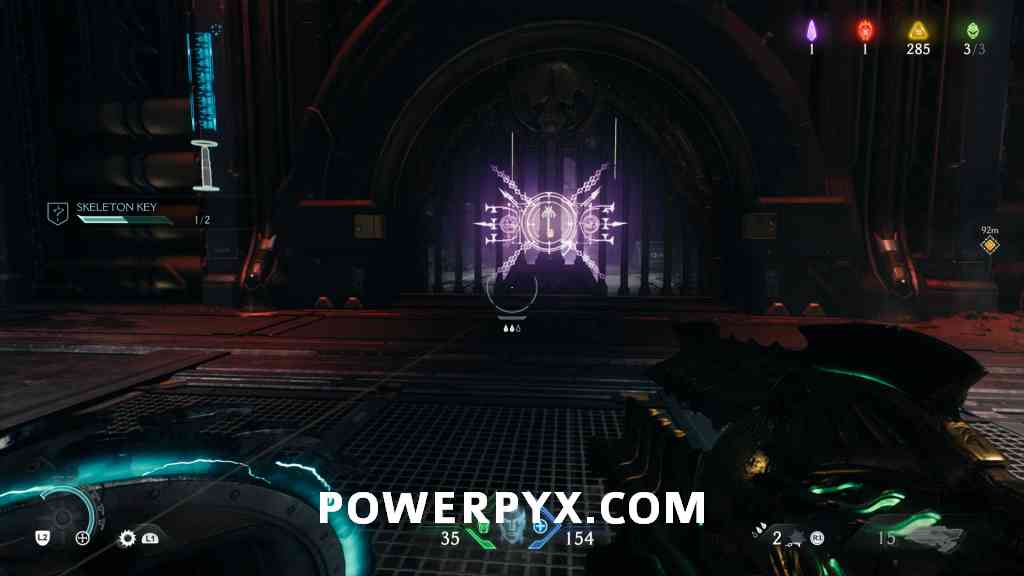
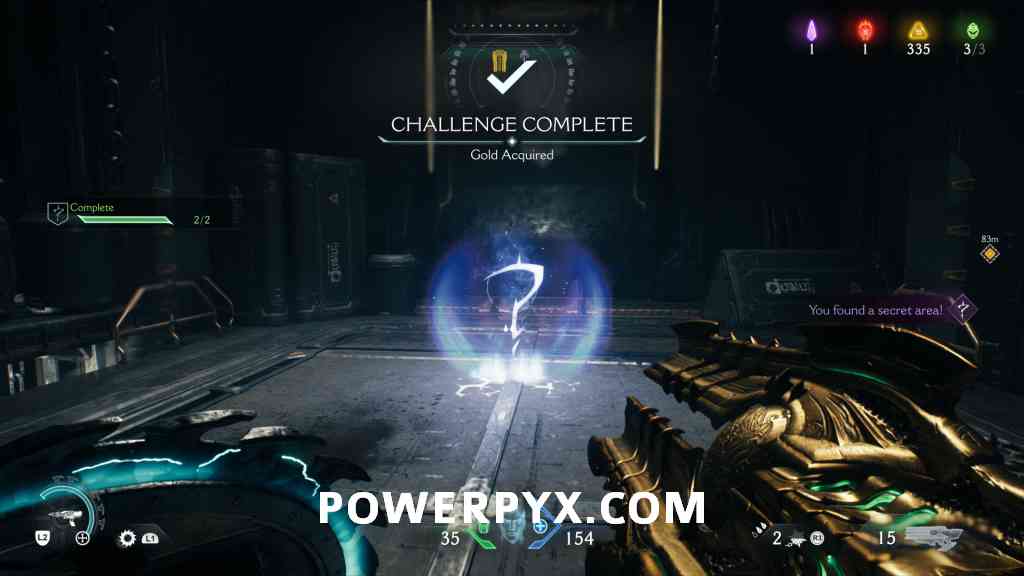
Mission Challenge #3 – Skeleton Key: Open 2 Secret Key doors (50 Gold reward)
Secret Key doors will require the purple Secret Key to open. These always count as secrets so they will be listed as they appear in the chapter.
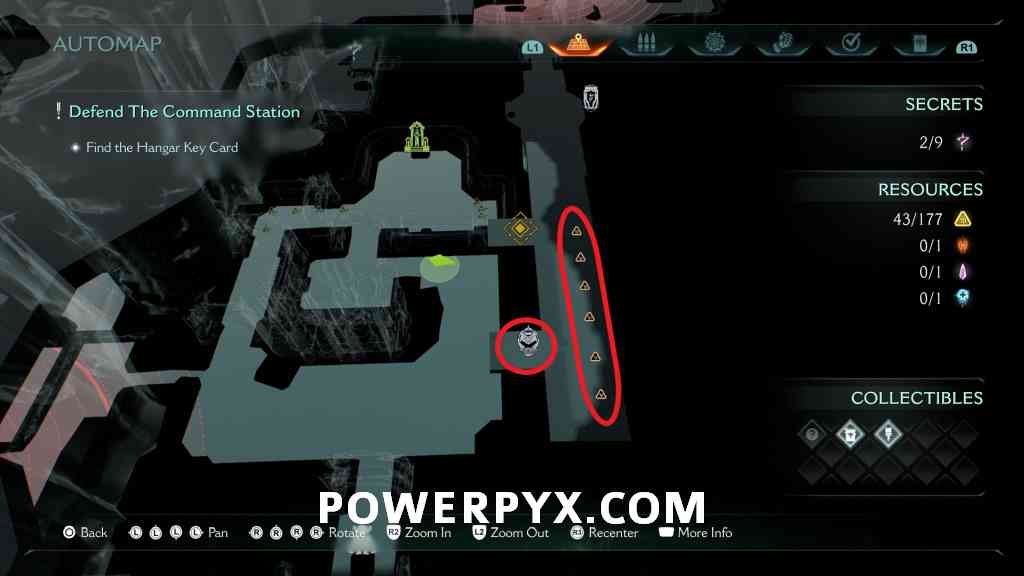
8 Gold (8/177)
Once you enter the ventilation shaft and drop down, turn right twice to find this Gold waiting for you.
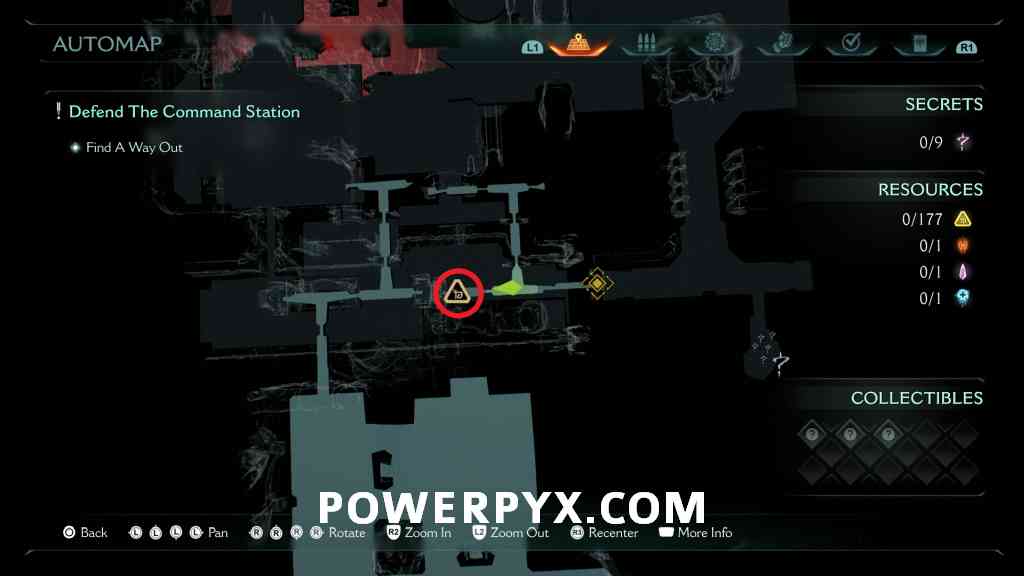

Secret #1 + Codex Entry #1 (Sentinel Command Station) + 5 Gold (13/177)
After leaving the ventilation shaft, ignore the path on your left and continue forward to find a hole in the wall on your right with these items.
Secret #2 + 14 Gold (27/177) + Weapon Skin #1 (Chainshot – Nightmare)
Continue until you fall down into a Control Room. On a wall on the left there is a vent cover you can break with your Shield Charge. This will lead you to a room with 14 Gold and the Weapon Skin, along with some demons.
8 Gold (35/177)
Still in the previous secret area, on the back of a transport platform in the back corner.
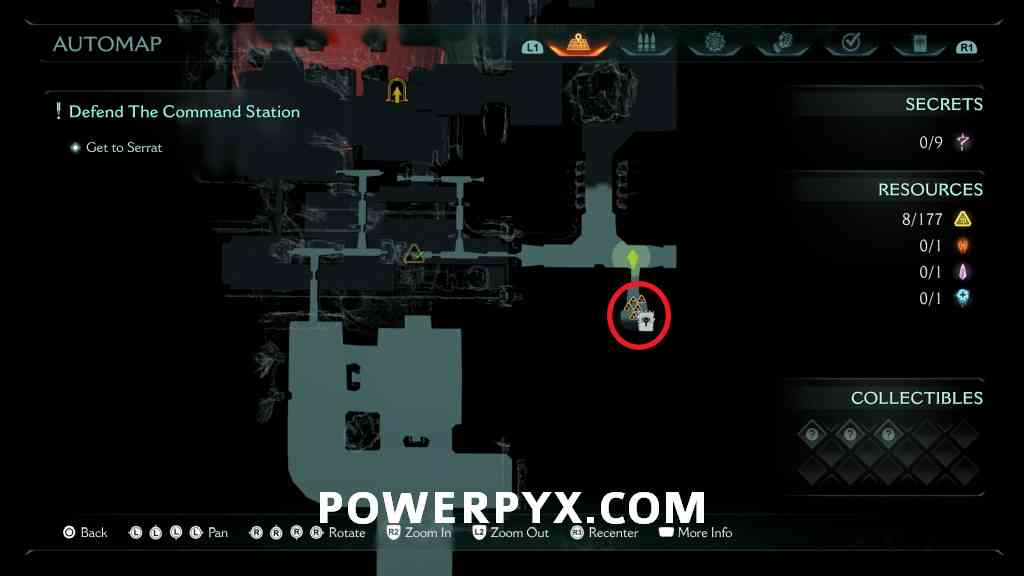
8 Gold (43/177)
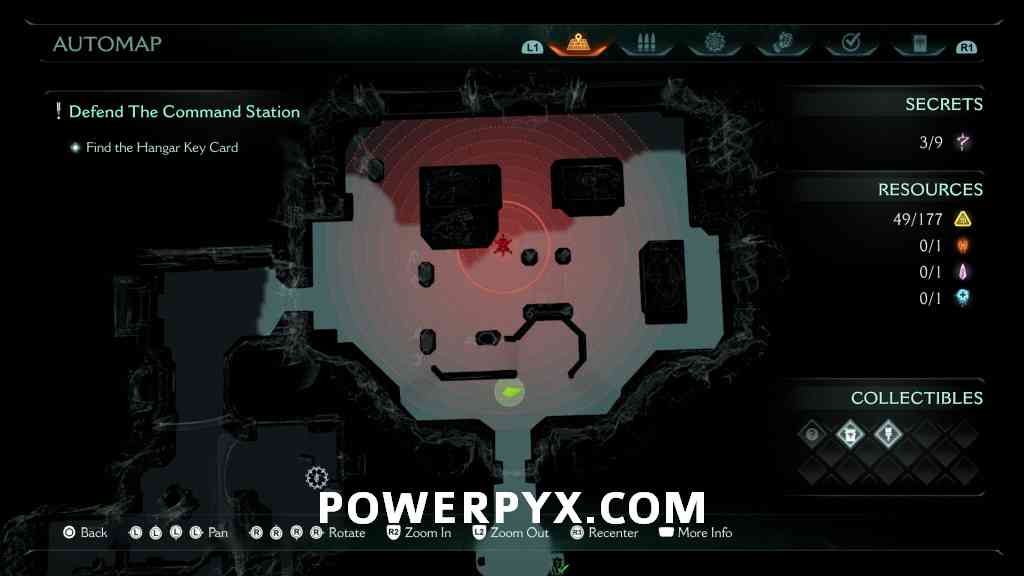
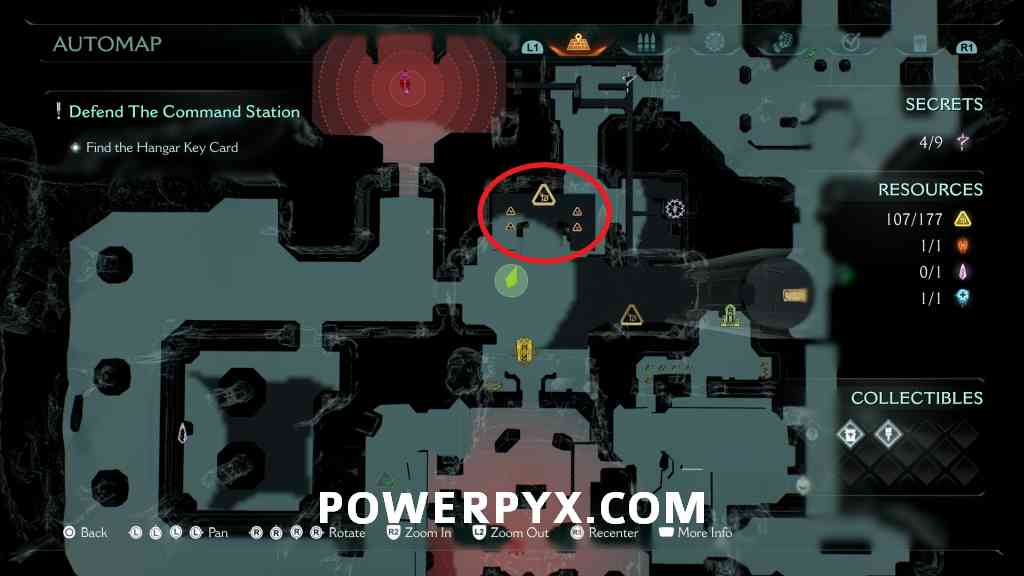
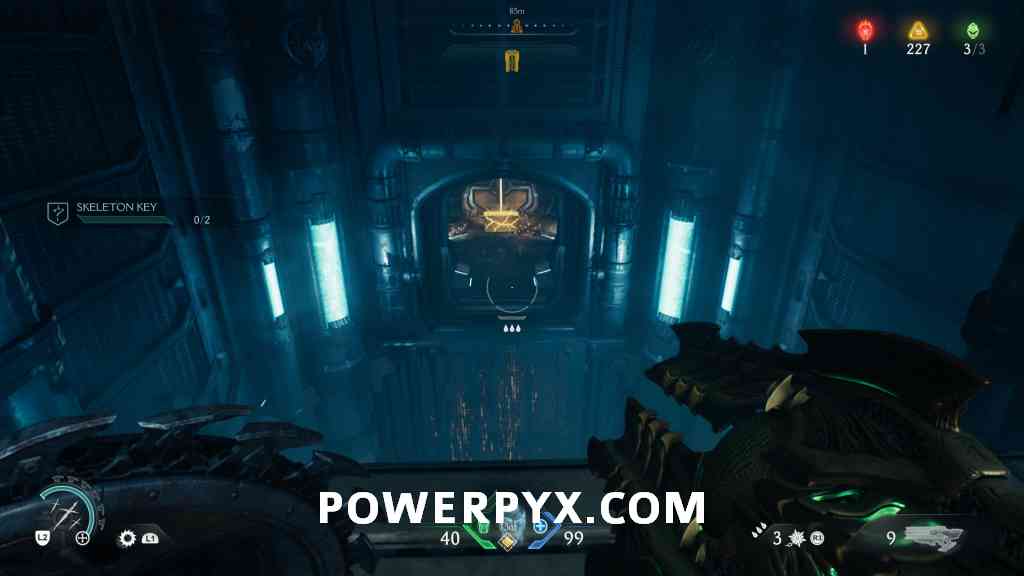
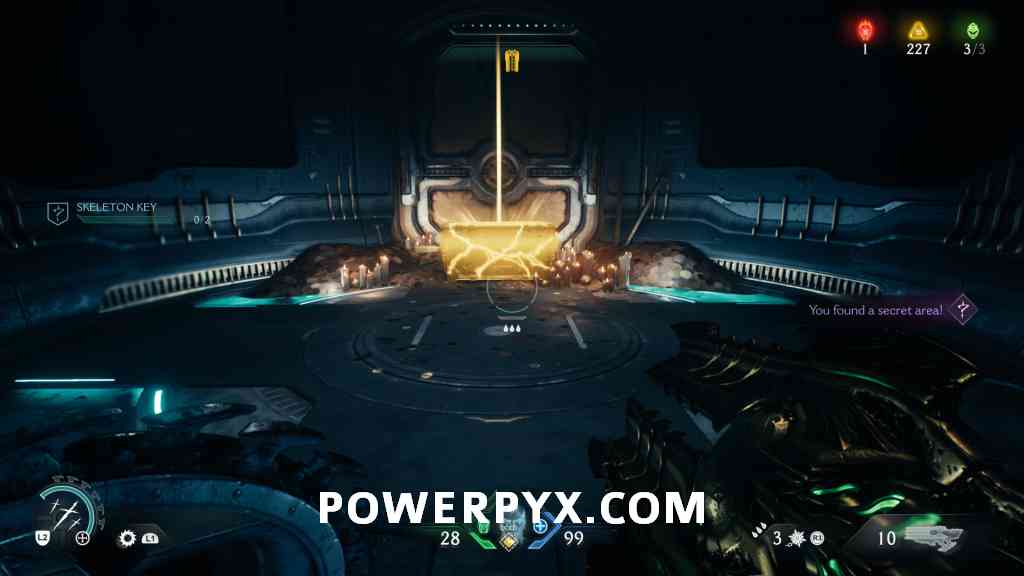
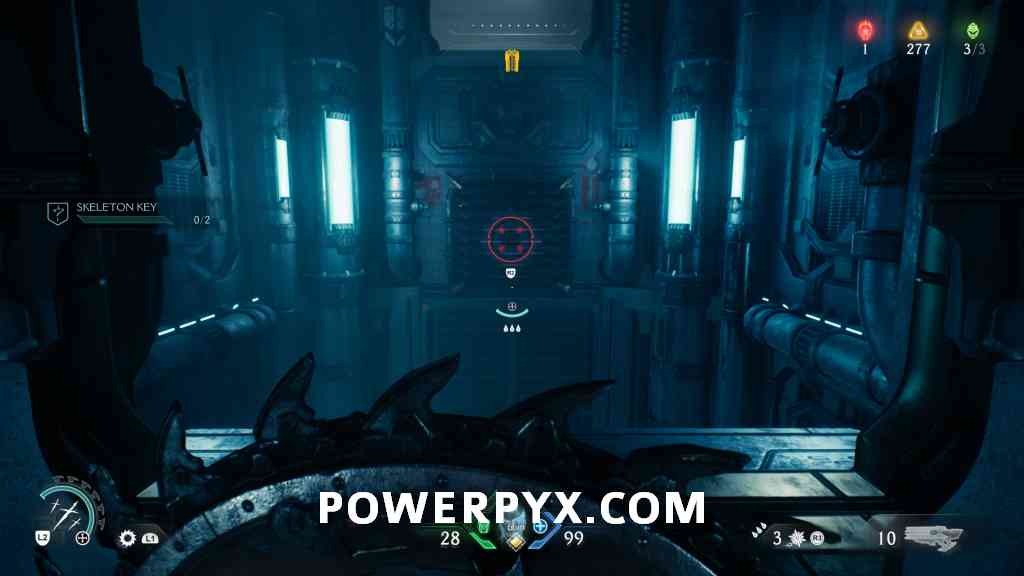
After dropping into the first red combat encounter, go through to the next room where you will interact with a console. This will open a path in the corridor that leads to the room next to you, where you will find 8 Gold leading to the Sentinel Shrine. You will spot a Secret Key gate, but ignore it for now as you will come back for it later.
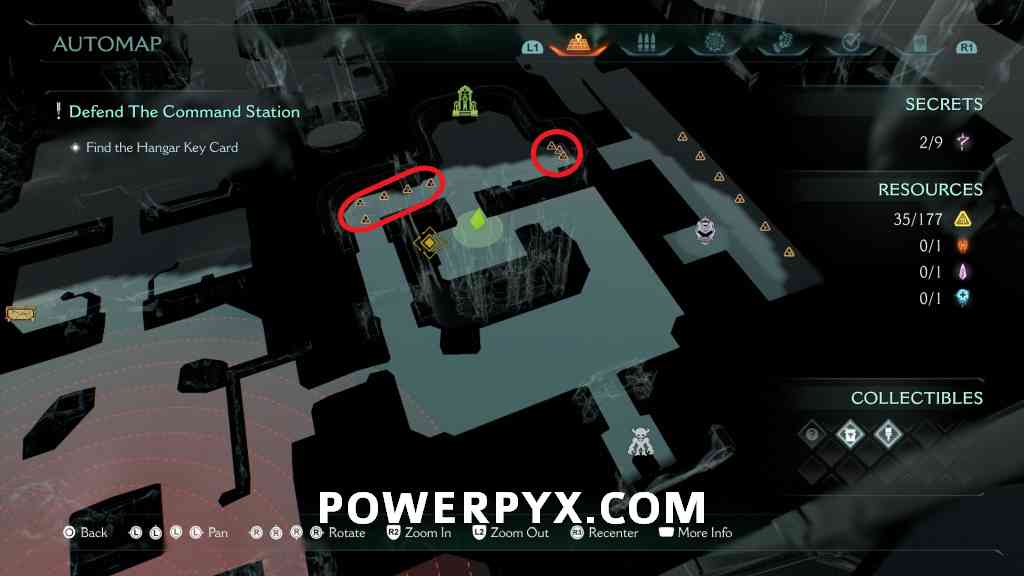
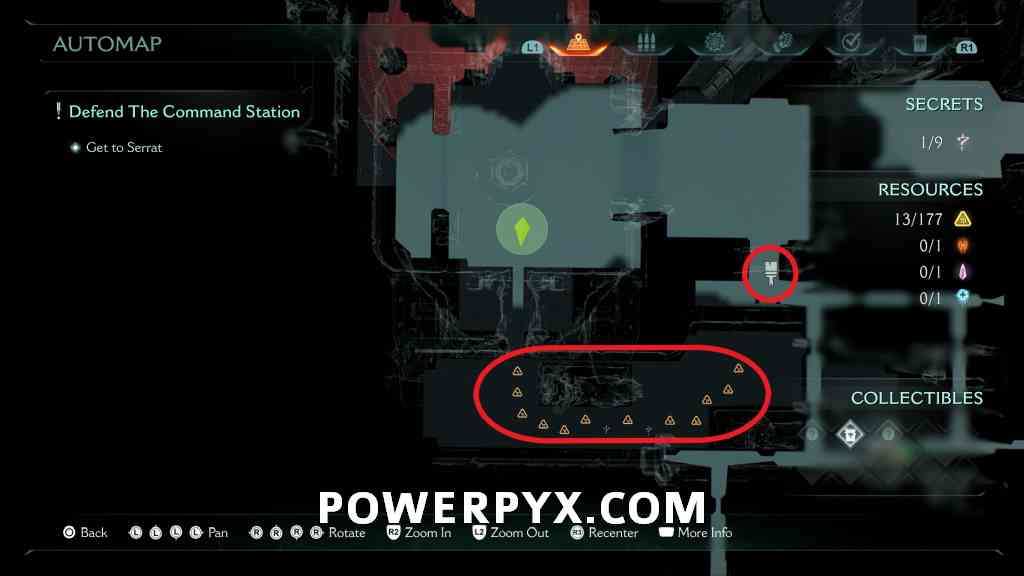
6 Gold (49/177) + Secret #3
After interacting with the second console, you will open access to a ventilation shaft. Climb into it and turn right for 6 Gold, then make sure to turn right again to the Life Sigil to trigger the secret.
Demonic Essence – Health #1
After getting the Ravager weapon, you’ll enter another red combat encounter. Automatic reward from defeating the Pinky Rider miniboss in this encounter.
50 Gold (99/177)
Continue until a room where you need to open a door, the 50 Gold chest will be sitting to the right.
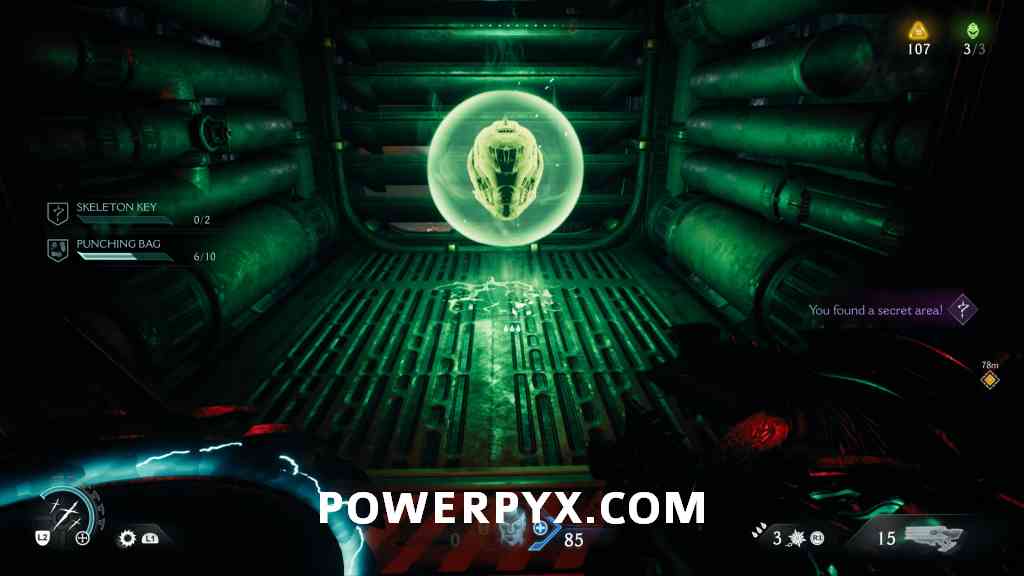
Secret #4 + Ruby #1 + 8 Gold (107/177)
After taking an elevator, you will eventually cross a gap with a Shield Jump. Head to the end of this corridor and drop into the hole to find the Ruby and Gold. Push the crate to climb back out.


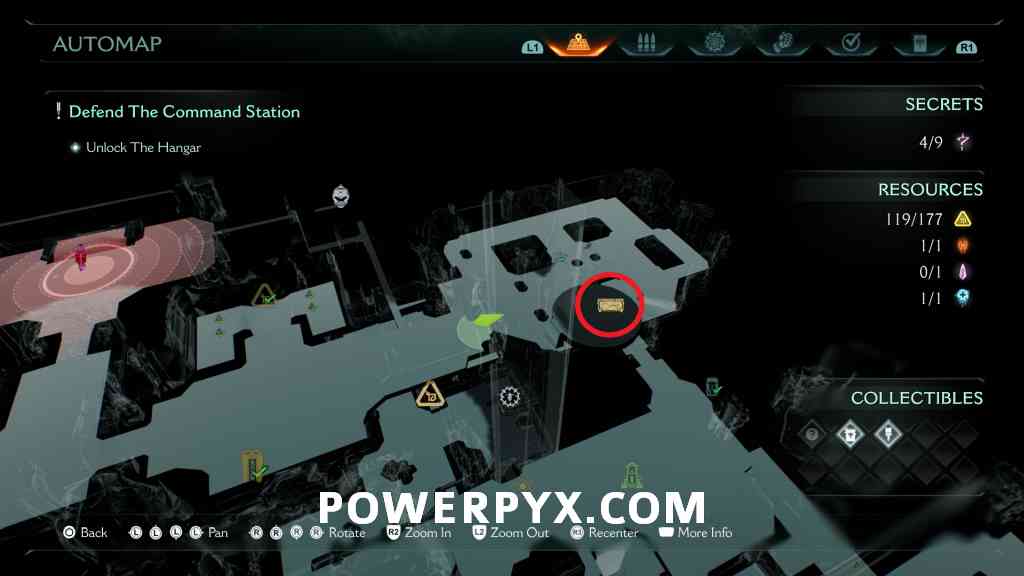
12 Gold (119/177) + Yellow Key
Once you enter the room with the Yellow Key, this Gold will be opposite it.
Secret #5 + 50 Gold (169/177)
After getting the Yellow Key, open the gate to the elevator and jump across the gap to get the chest of 50 Gold. If you fall down the elevator shaft, a jump pad will turn on after you grab the Shield Rune.
8 Gold (177/177)
From the previous chest, turn around and you’ll spot a ventilation cover you can break with your Shield Charge. Turn left to find the last 8 Gold.
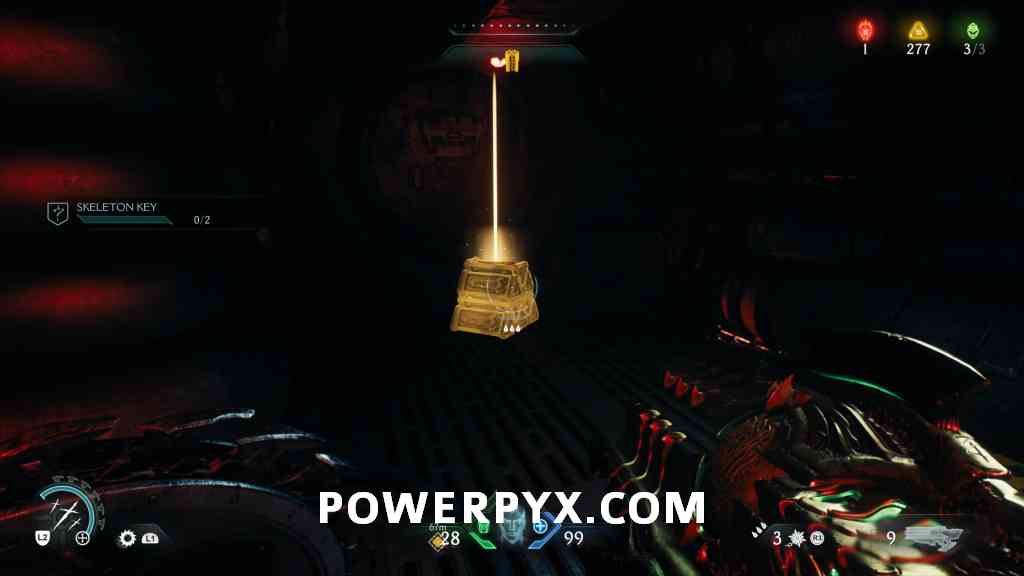
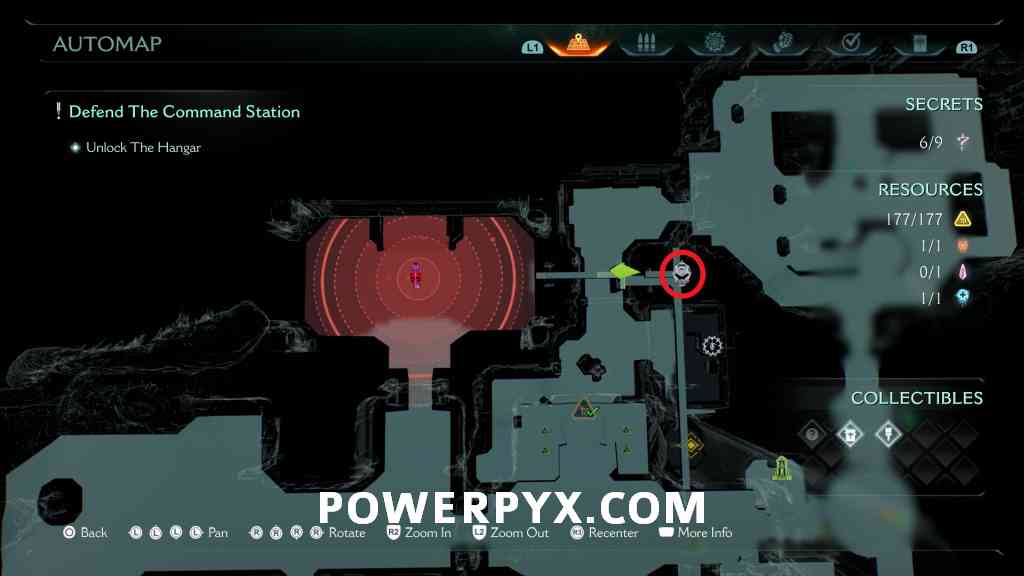
Secret #6
Continue down the ventilation shaft and climb the wall, then turn around to spot a Life Sigil. Make sure to jump over to it to trigger the secret.
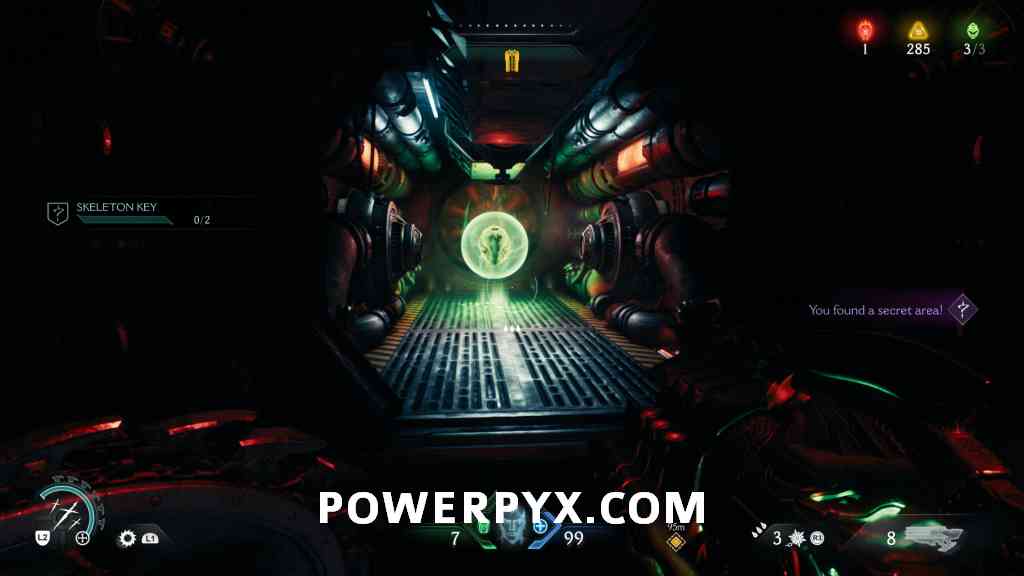
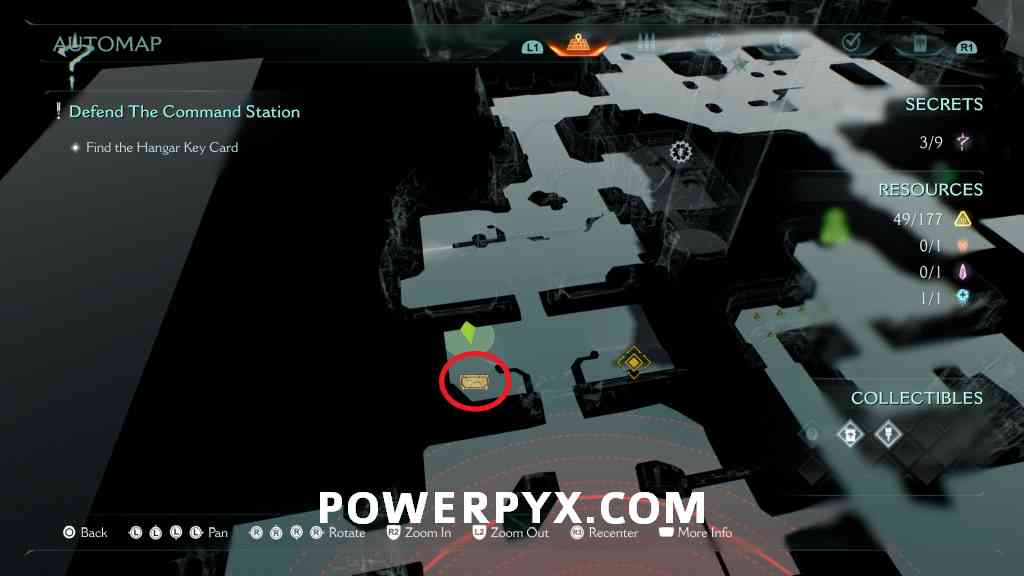
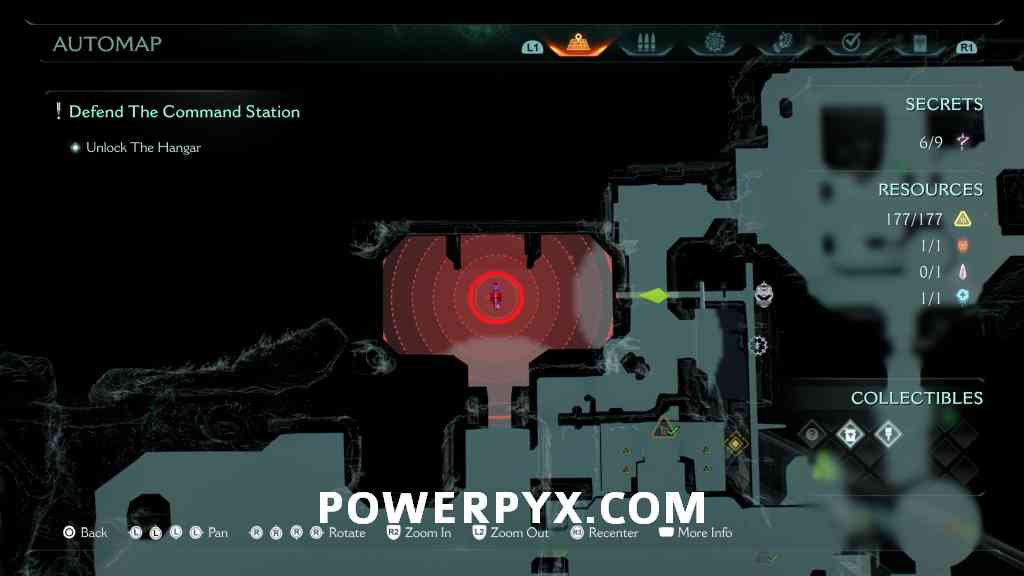
Secret #7 + Secret Key
Break out of the ventilation shaft and kill all the demons to get the Secret Key. You will now be able to open the two Secret Key gates you’ve spotted so far and complete the Mission Challenge.
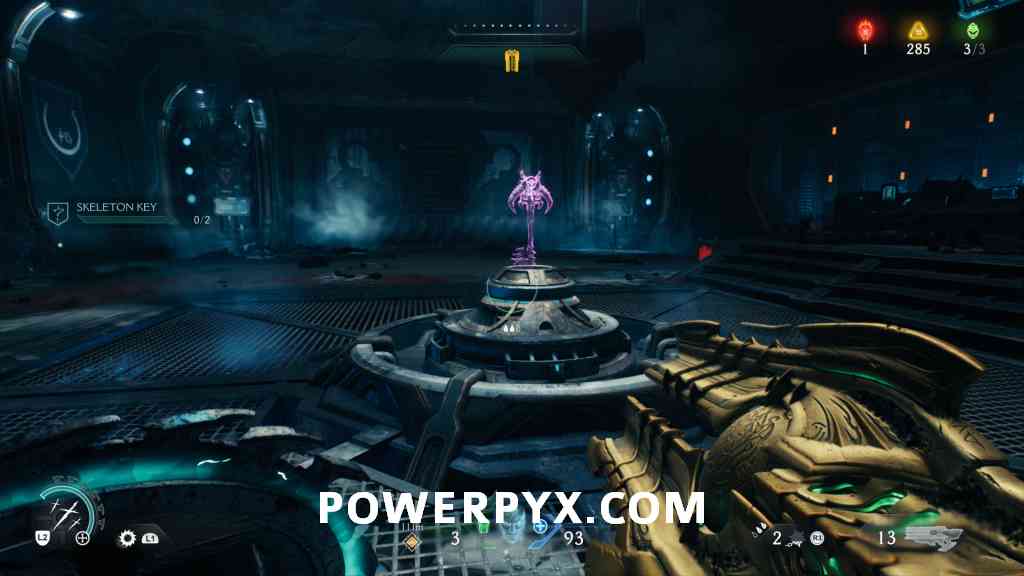
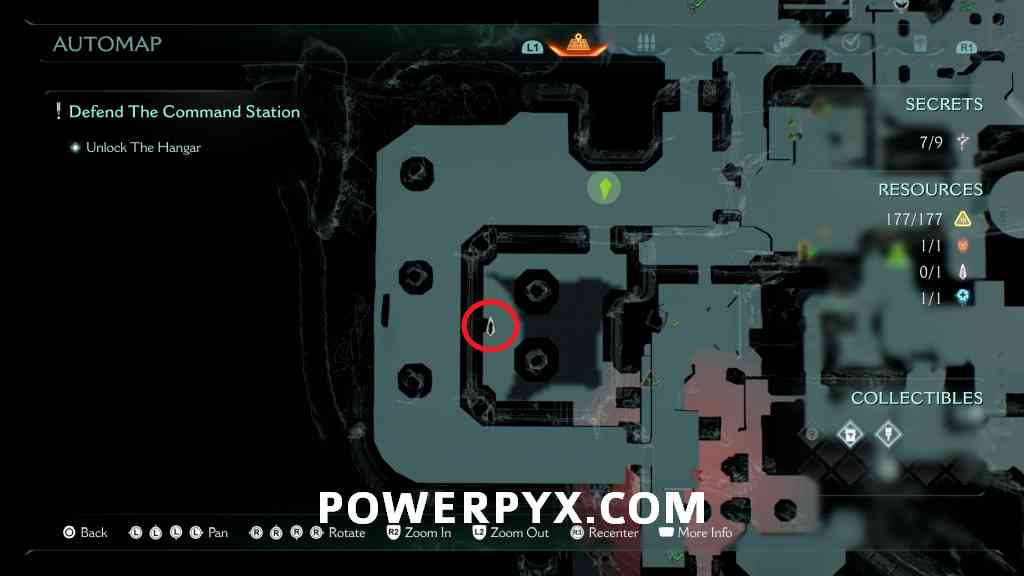
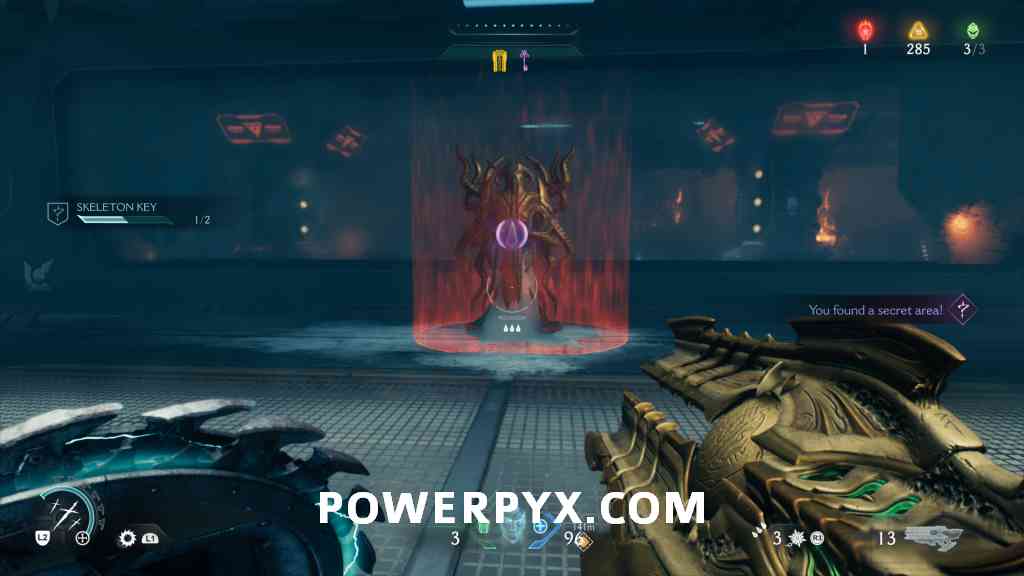
Secret Key Door #1 (Skeleton Key Challenge) + Secret #8 + Wraithstone #1
As soon as you leave the room with the Secret Key, there will be a gate you can unlock with it to your right. Kill the Agaddon Hunter inside and claim your Wraithstone.

Secret Key Door #2 (Skeleton Key Challenge) + Secret #9 + Collectible Toy #1 (Kreed Maykr)
Drop down the elevator shaft and grab the next Shield Rune. Complete the final red combat encounter and then return to the side room with the Secret Key gate you skipped earlier. Head inside for the toy.
That’s 100% of the collectibles you can find in Sentinel Command Station of Doom: The Dark Ages.
For all other Chapters, check out the complete Doom: The Dark Ages Collectibles Guide.
Volcannon says
So since you never mentioned how to get the Auto Turret, I assume the mission will take you there?