
Welcome to the Elden Ring Walkthrough for the Liurnia of the Lakes region! Liurnia of the Lakes is the next major region after Limgrave, and probably the biggest overall in the game. In the center, it is a shallow lake with many structures, most partially sunken into the lakebed, with the large Academy of Raya Lucaria standing tall in the middle. On either side of the lake there are also many more locations to explore in the hills, some purely side content and some related to major game choices.
The walkthrough will be broken up into two sections for each area. The first section will be the intended story path to reach the major bosses and progress the game. The second section will include major points of interest to check out and search for items.
For all other regions refer to Elden Ring Walkthrough.
Liurnia of the Lakes

Progression Order:
- Lake-Facing Cliffs
- Liurnia Lake Shore
- Laskyar Ruins
- Scenic Isle
- Academy Gate Town
- South Raya Lucaria Gate
- Temple Quarter
- Glintstone Dragon Smarag
- Main Academy Gate
Side Areas:
- Coming Soon
Lake-Facing Cliffs
After defeating Godrick and leaving the castle this will be the first site of grace you run into. The guidance will be pointing you in a vaguely northwest direction, but your main goal currently should be to make your way to the large castle off in the distance.

Start heading down the path, but you first want to make a detour into the Church of Irith to the south. Here you can find an item in front of the statue, a Sacred Tear. You can find one of these at most Church locations throughout the Lands Between, with the item being able to be used at a site of grace to increase the amount of HP/FP restored by your Flasks. You can also speak to the man on the right, named Thops. He asks you to donate 10 runes to him, which you should do so, then he offers to teach you some sorceries. Continue talking to him and he tells you some info about the Academy of Raya Lucaria, the location you are aiming to go to. He says you need a Glintstone Key to get inside, and asks if you can find him an extra so he can get back in.

Continue down the path between the tree to continue towards the lake. On the path, there will be an enemy camp in your way. You can go through it if you want or just go around it.

If you decide to go through there will be the one soldier outside, then a group of week ones just inside he will probably alert. There will then be one more inside to the left, primed for a backstab, then one final one on the other side of the camp fence. Once they’re all cleaned out you can search the area, with the most important item to grab being the Glintstone Craftsman’s Cookbook [1] on the right by the tents.
 |
 |
Continue out the other side of the camp down the path, and you can find the next site of grace off to the left.

Liurnia Lake Share
The nearby Merchant sells a few new items, with the Lantern being a helpful purchase for dark areas so you don’t need to carry a torch instead of a weapon.

Continue down the flooded path to the north. Watch out for enemies that jump at you from the trees to the sides, attacking you from near ground level.

Just ahead on the path, you can find the map stele for the area, where you can pick up Map: Liurnia, East.
 |
 |
This fills in the eastern area of Lirunia, so not very helpful for where you’re aiming to go. Continue following the path through the water,w watching out for the next area as there are more enemies that will be low to the ground that now shoot magic at you. There will also be one just ahead on the path on a horse, which shoots the magic at you much faster.
 |
 |
Continue just past them and you can find the next site of grace.

Laskyar Ruins
Just beside the site of grace before continuing, you can pick up the Glintstone Craftsman’s Cookbook [2].

The nearby area is the Laskyar ruins, which you can explore or continue following the path around to the north. Inside the ruins there is a teleport point that will take you directly to the South Raya Lucaria Gate site of grace, if you want to skip some exploring here and get there much faster.

Further up the path, there is a stone building, which if you go inside you can meet a woman named Rya. She asks for your help retrieving a necklace that someone stole from her.

Continue forward to the northwest and you can see a fire on a hill. Head up top to find the next site of grace, along with Patches if he was still alive after you dealing with him in Limgrave.

Scenic Isle
Continue heading in the direction the grace is pointing you to the north. If you head slightly off the path going west you should spot a building in the distance with a nearby site of grace. This is the Boilprawn Shack. If you speak to the man sitting by the front of the shack (after speaking with Rya) you can ask him for the necklace. The deal he offers is for 1000 Runes, which you can purchase the necklace from him for. If you do this you can speak to him again, and he’ll offer to sell you Boiled Prawn.
 |
 |
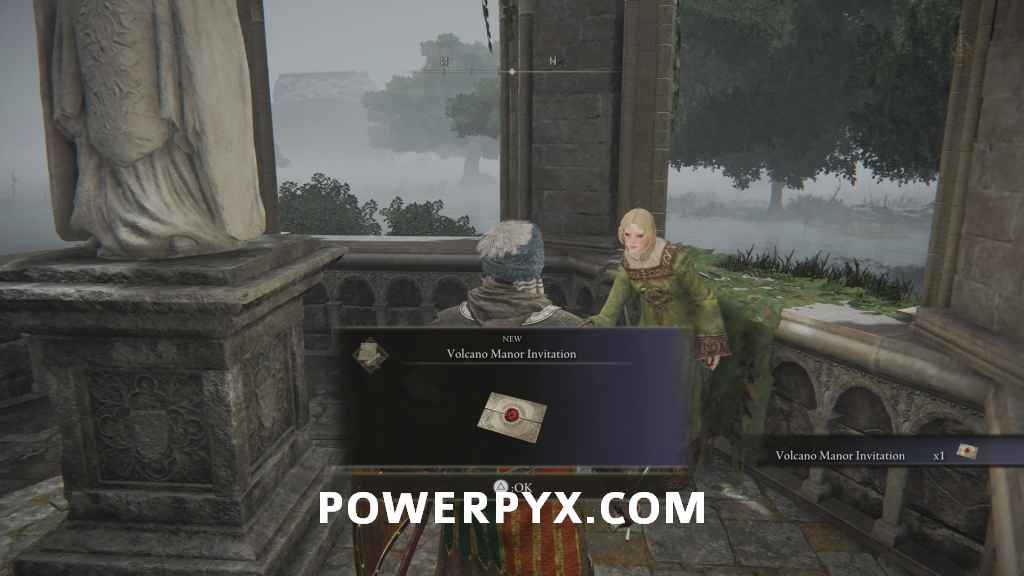
You can then take the necklace back to Rya, where she will then give you the Volcano Manor Invitation (not actually required to go there, but she does explain a bit about reaching the Capital).
To continue further you should make your way towards the next map stele that should be uncovered with your travel to the north.

Here you can find the next site of grace, along with the map stele which gives Map: Liurnia, North.

Academy Gate Town
From this area, you can now make your way towards the academy itself (or go get the key first, go down to the Temple Quarter section of the walkthrough). You can search around in the town area if you wish as it is full of more enemies to fight and some items to grab, but the main spot to go to is a set of stairs to the west that leads towards the south gate. On your way over though you want to make sure you make a stop in the open area close to the stairs where you can pick up a Golden Seed for more Flask upgrading.
 |
 |
Once you reach the stairs you should see a number of soldiers in your way. If you choose to get into the academy this way you’ll have to do a bit of fighting, at least up these first sets of stairs.

At the top of this first stairwell there will be two normal soldiers, then one weaker one that is sitting just behind on a flame turret, with another normal soldier to their side. You can use this to your advantage if you can get the two soldiers to stand in front of the turret.
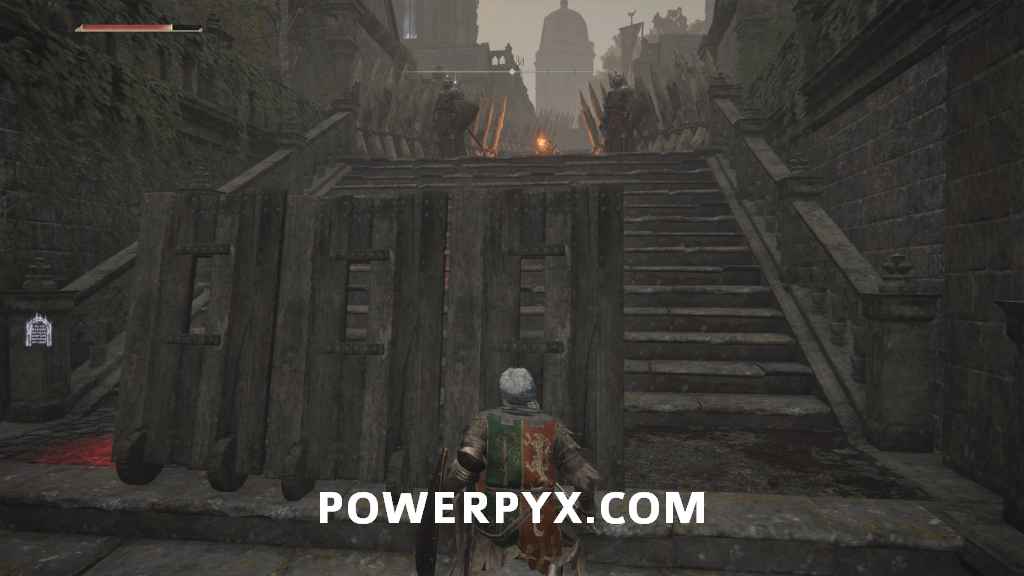
Continue forward up the next stairwell and there will be two more soldiers on the other side of the wooden spikes, along with one final one at the top of the last set of stairs. Because going up that final stairwell you can also pick up 6 x Shattershard Arrows (Fletched) off the body on the railing.
 |
 |
Now in this main area, you can do a bit of sneaking, which is highly recommended instead of dealing with the fire-spewing vehicle just ahead. The easiest way is to go clockwise around the outside of the buildings.
 |
 |
Around the west side of the last building, you’ll run into your first soldier patrolling around, as well as you can grab the Blue-White Wooden Shield from a body nearby.

Once you round the building you’ll be on the other end of the road, and can make your way to the front gate. You can also now go back through the main path to clear out the enemies and grab some more items, but you should go activate the site of grace by the gate first just in case you die, so you don’t need to trek all the way around again.
 |
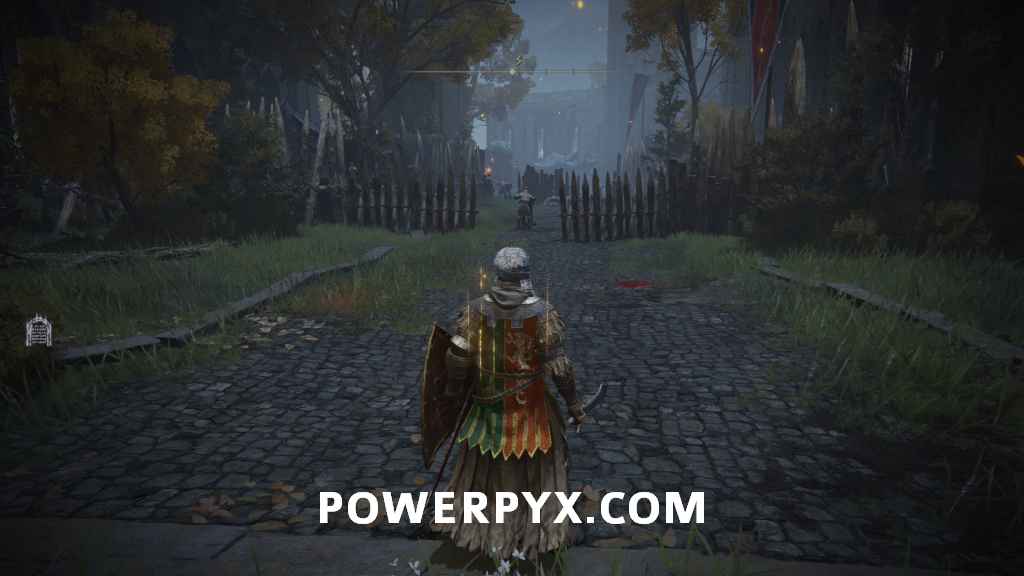 |
Going back through the area there are three more flame turrets, and two more soldiers hanging out beside them. Try to deal with all these soldiers with proceeding to far forward, because you don’t want to alert the large head vehicle and fight it head on.

Now the purpose of not alerting the vehicle is because there’s actually an enemy directly in the back of it that you can backstab. This may not kill them outright, but you can quickly deal some more damage to the enemy in the back (which does way more damage than attacking them anywhere else). If you don’t deal enough damage with the backstab to finish them off after, your best bet is probably running away to lose their alertness, then going for a backstab again once they turn around. There are then two more soldiers to either side of it to clean up. You can then pick up a Smithing Stone [3] from beside where the enemy was on the left.

For the final enemy in the area, you can head around the large building to the east (opposite where you grabbed the shield) where there is one final soldier and 4 x Glintsone Firefly that you can grab from a body.

Finally, head up towards the front gate and activate the nearby site of grace.

South Raya Lucaria Gate
Head up towards the gate, but do you remember what Thops said? You need a Glintstone Key to get inside. Interact with the nearby body to get the Meeting Place Map. This map gives a hint of a location you need to go to where you can find a Glintstone Key.
 |
 |
Warp back to Academy Gate Town, then continue west following the edge of the road, then northwest through the area with the large plants that shoot glintstone shards at you. Eventually, you’ll reach the Temple Quarter area, with the site of grace you want to activate for it just to the northwest.
 |
 |
Temple Quarter
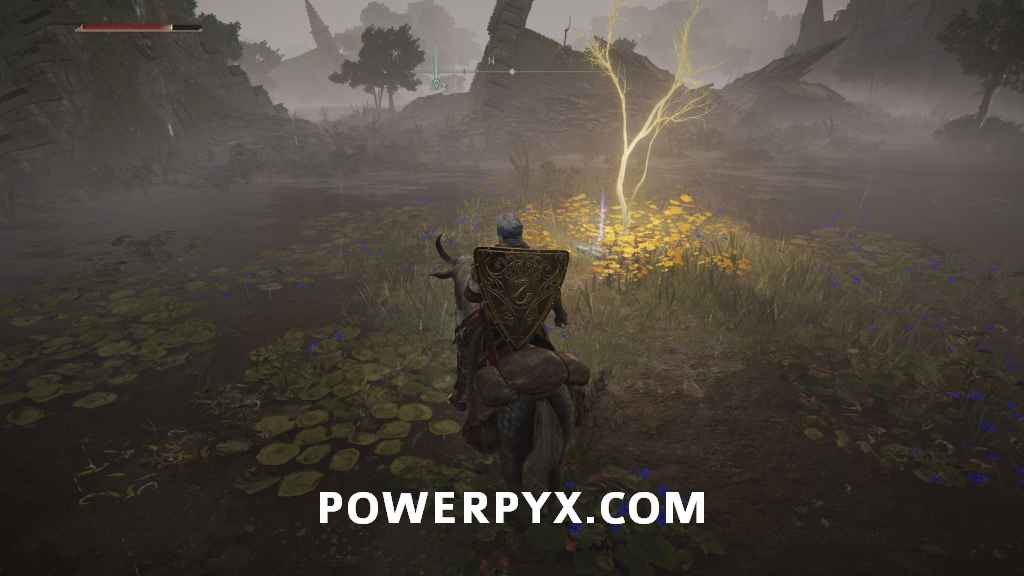
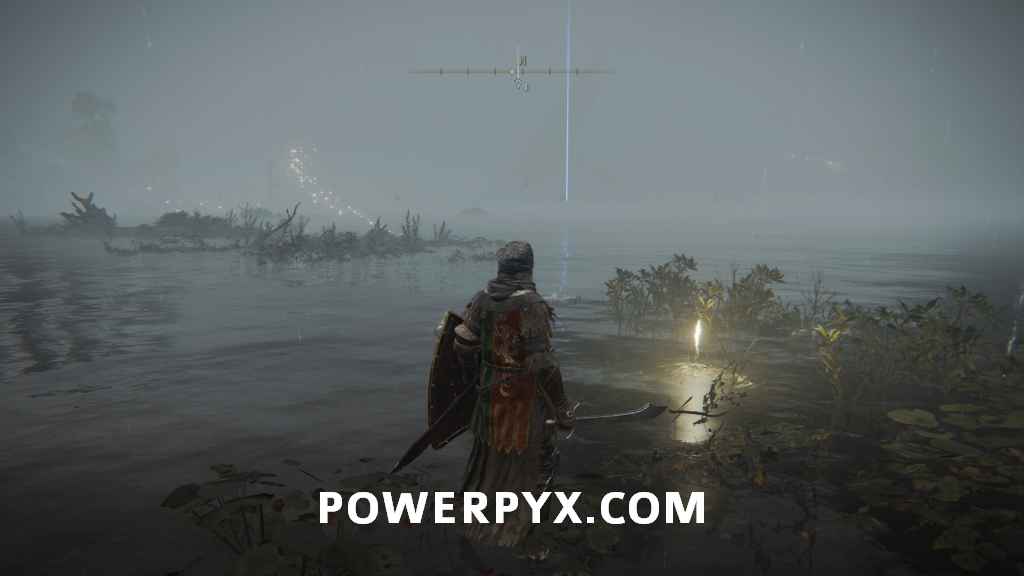
Continue directly to the north to the large jagged rocks sticking out of the lake. You’ll pass through an open area with a number of flying Teardrop Scarabs, but these don’t actually drop anything. Once you reach closer to the rocks, you should spot a sleeping dragon in front. The dragon is an optional boss, which you can choose to try and fight right now or ignore and rush the key (key location explained after boss fight strategy).

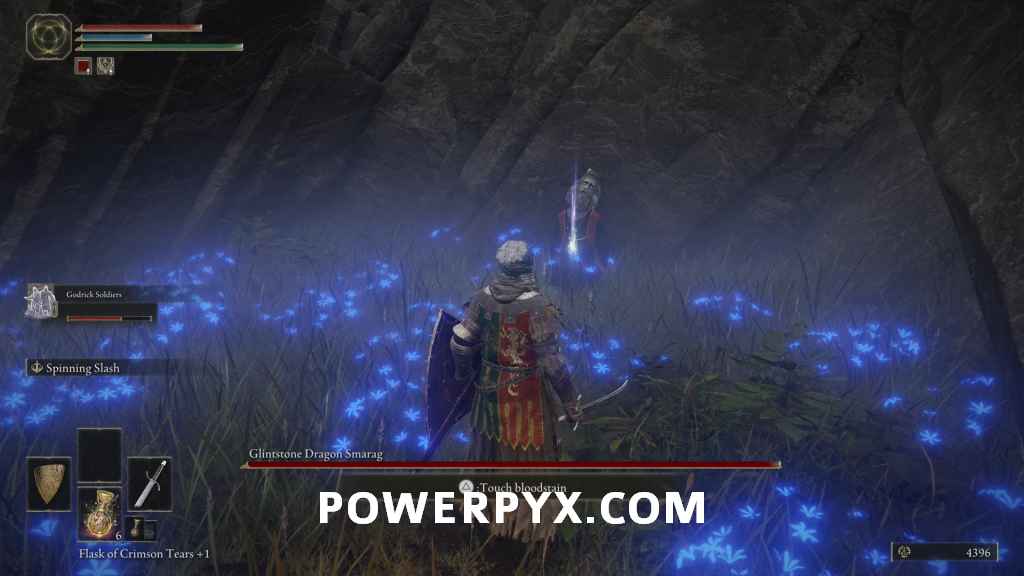
Glintstone Dragon Smarag

Reward: Dragon Heart, 9200 Runes
A piece of important information for this and future Glintstone dragons – they are very resistant to spells and melee does a considerable amount more damage to them, so watch out if you had been running spells up to this point.
This is purely a patience and endurance fight. Use your horse, ride up to it for a few hits and run away to a distance safe enough for its melee attack to not hit you. When it goes up in the sky, ride away as far as you can and observe what it is doing. When it blows fire at you, wait it out. It will land far away from you. Now you have to approach it but it will spit fire at you.
However, when you ride diagonally to either left or ride at full speed while approaching it you can outrun the flames and reach a safe spot to its side. Rinse and repeat – don’t try any shenanigans, keep it safe instead since the fight can really drag out if you are lower level.
Whether you choose to fight the dragon or not, the location to find the Academy Glintstone Key is in the rocks directly behind where it is sleeping, along with a few Kukri and a Dragonwound Grease. If you want to try and grab it without killing the dragon first you can try to lead it around to the other side of the rocks, then sneak in and grab the key and run back to the south to the site of grace.
Once you have obtained the key, return to the South Raya Lucaria Gate and interact with the barrier.

You will automatically be warped to the far side of the academy, where you can interact with the next site of grace.

Main Academy Gate
Head inside the building and take the elevator up to enter the Academy of Raya Lucaria.
 |
 |
Liurnia of the Lakes Side Areas – All Sites of Grace & Named Locations
Lake-Facing Cliffs

Liurnia Lake Shore

Laskyar Ruins

Scenic Isle

Academy Gate Town


Main Academy Gate (requires using Academy Glintstone Key on South Raya Lucaria Gate)

Liurnia Highway South

Luirnia Highway North

Gate Town Bridge

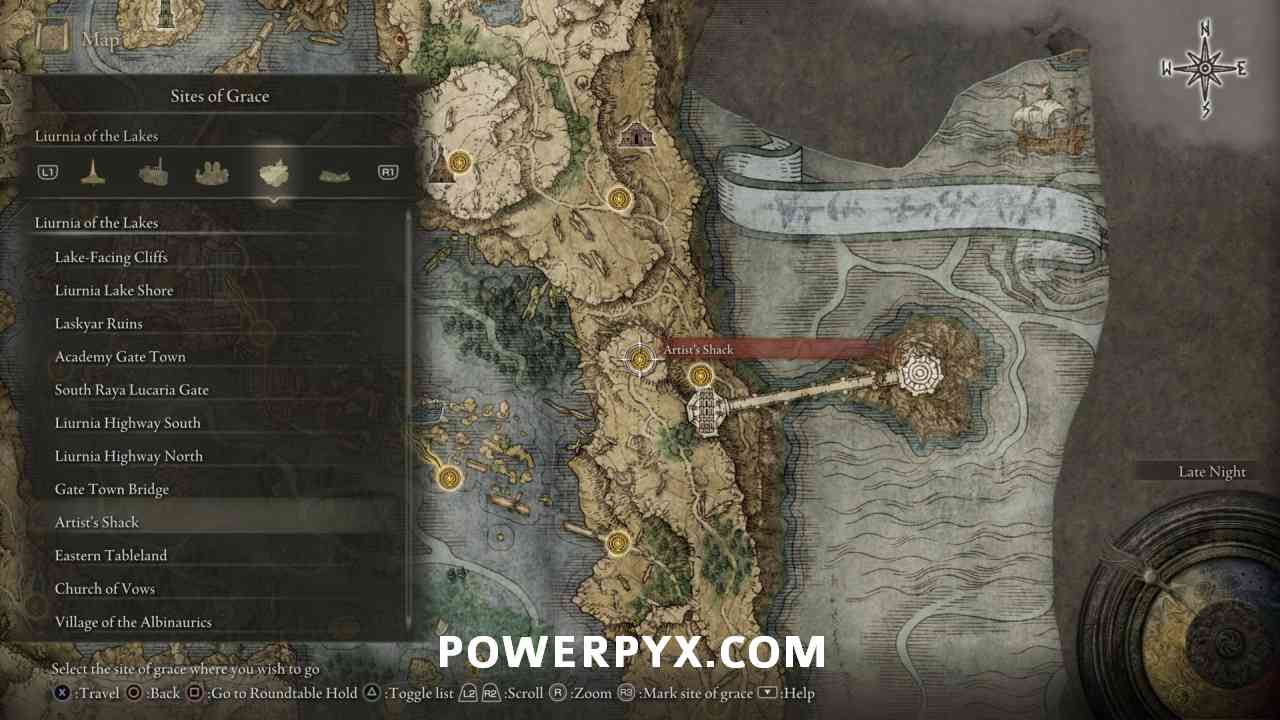
Artist’s Shack
Eastern Liurnia Lake Shore

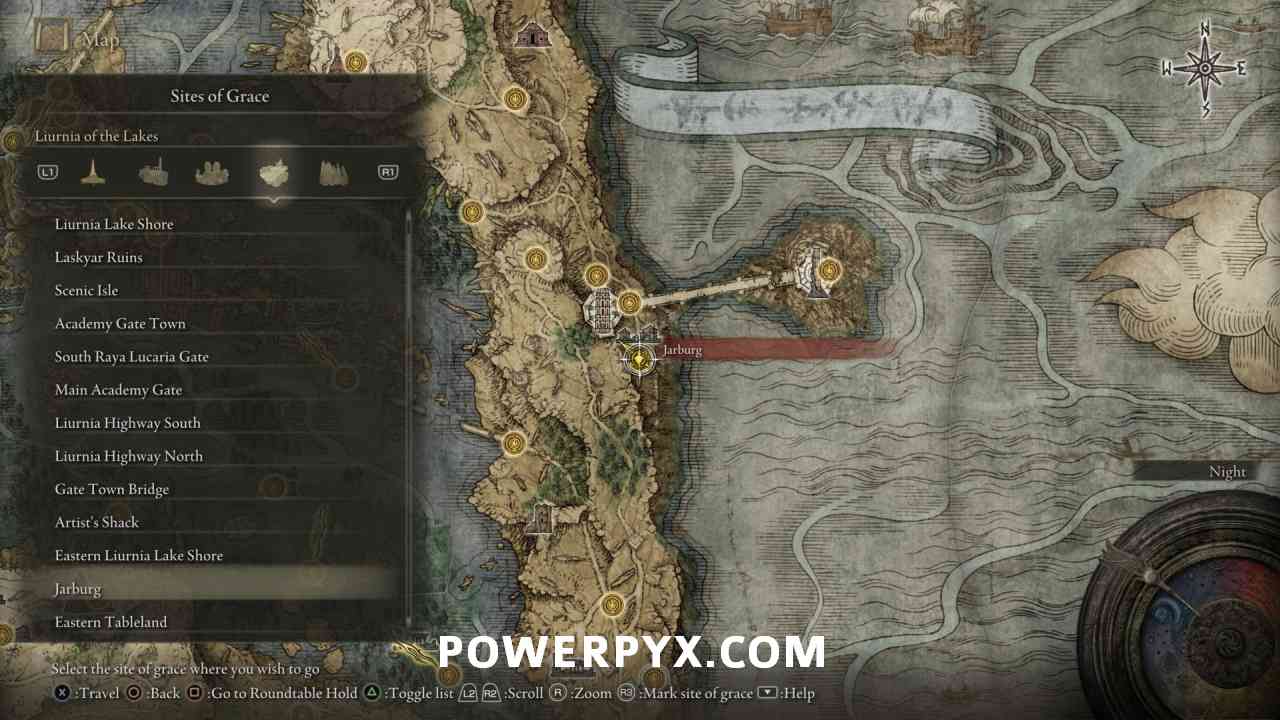
Jarburg
Ranni’s Chamber

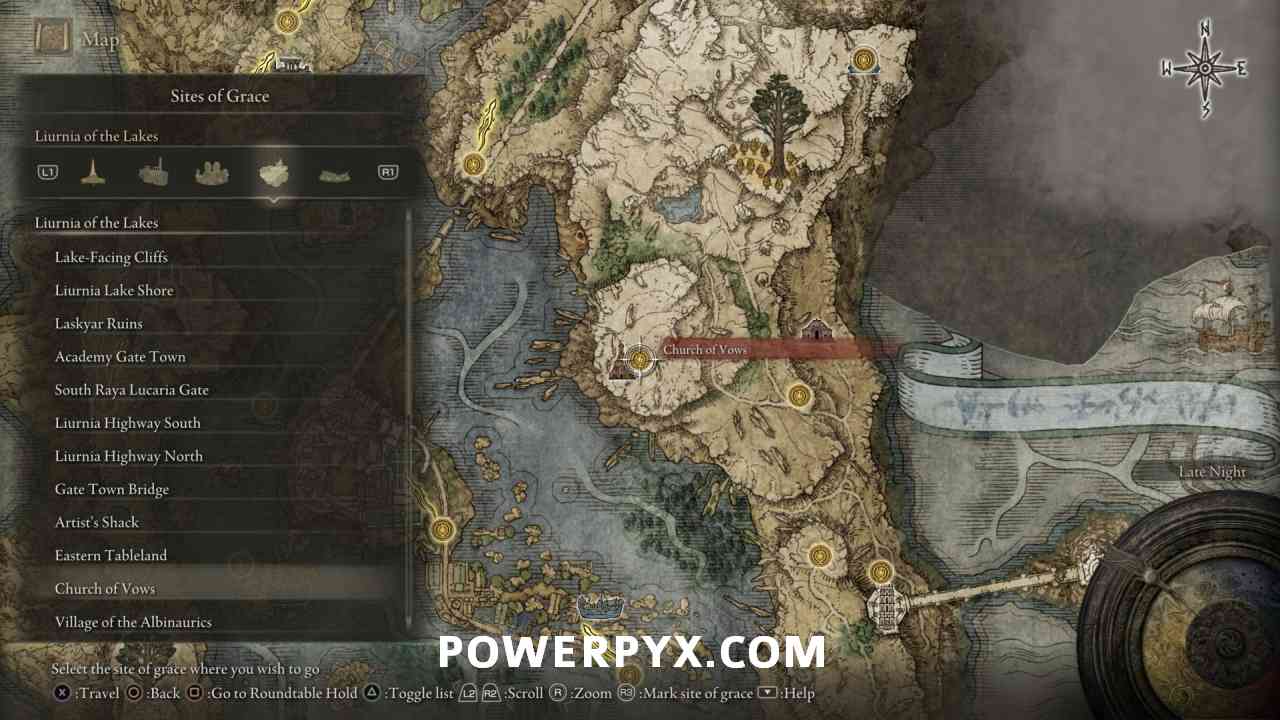
Eastern Tableland

Church of Vows
Ruined Labyrinth

Mausoleum Compound

Slumbering Wolf’s Shack

Boilprawn Shack

Fallen Ruins of the Lake

Folly on the Lake

Converted Tower

Revenger’s Shack


Foot of the Four Belfries

The Four Belfries

Sorcerer’s Isle

East Gate Bridge Trestle

Gate Town North

Northern Liurnia Lake Shore

Road to the Manor

Main Caria Manor Gate

Manor Upper Level

Manor Lower Level

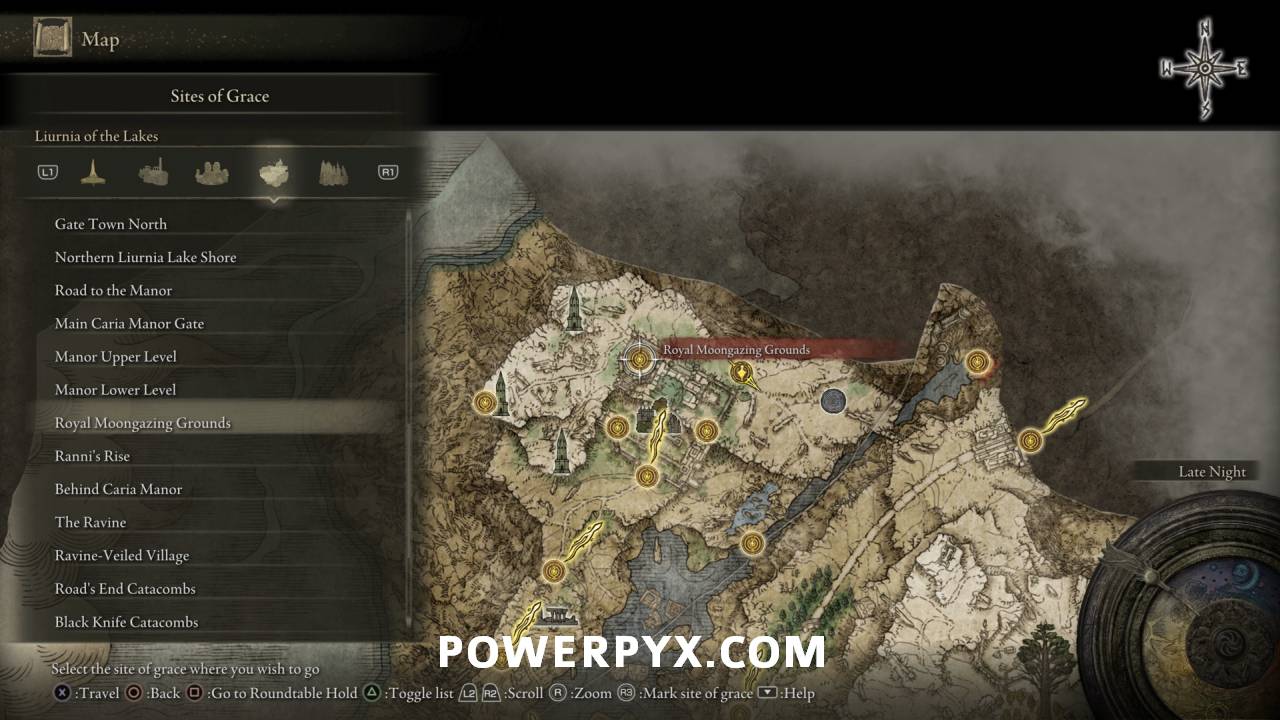
Royal Moogazing Grounds

Behind Caria Manor


Cliffbottom Catacombs

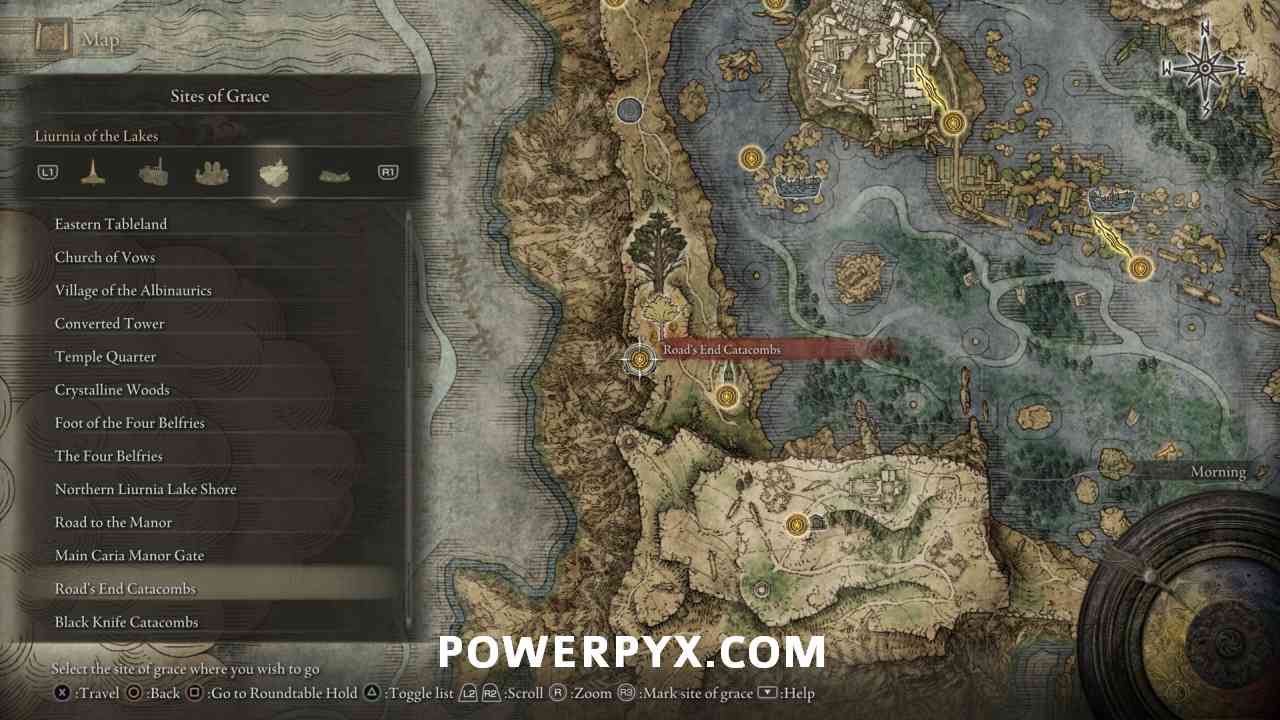
Road’s End Catacombs
Black Knife Catacombs

Stillwater Cave

Lakeside Crystal Cave

Academy Crystal Cave

Raya Lucaria Crystal Tunnel


Liurnia Tower Bridge


Church of Irith (Named Location)

Malefactor’s Evergaol (Named Location)

Purified Ruins (Named Location)

Highway Lookout Tower (Named Location)

Carian Study Hall (Named Location)

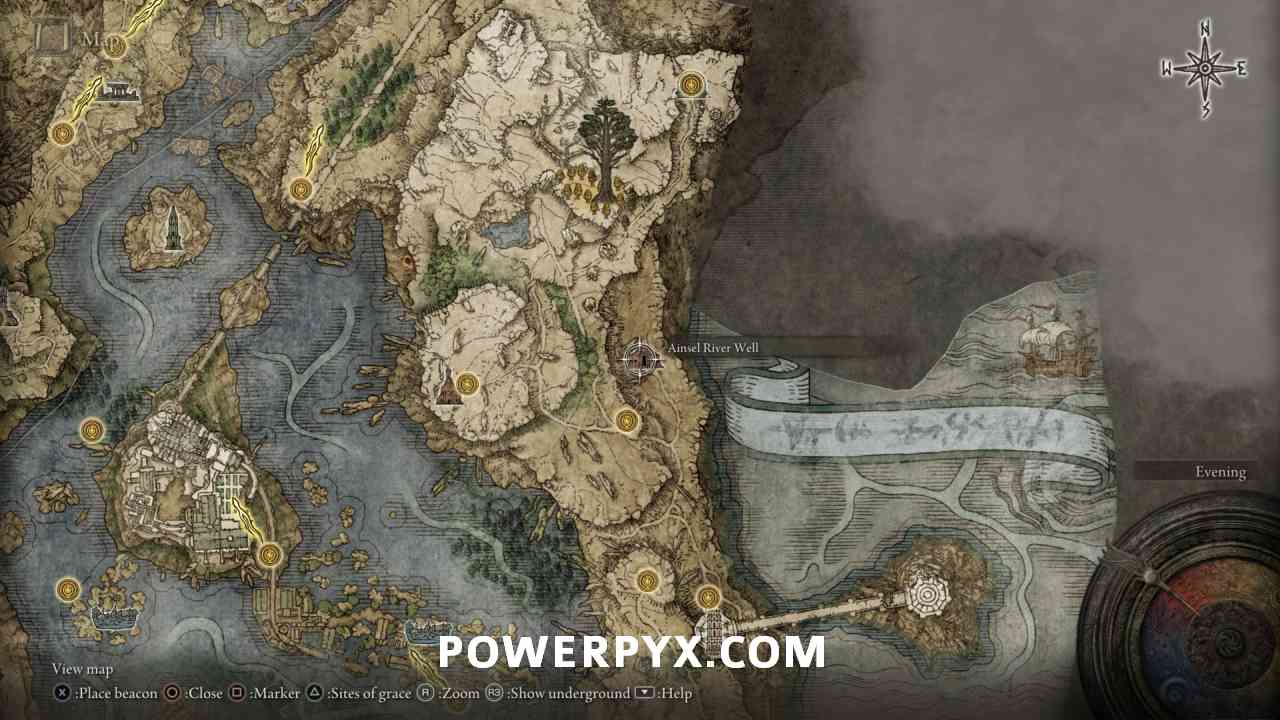
Ainsel River Well (Named Location)
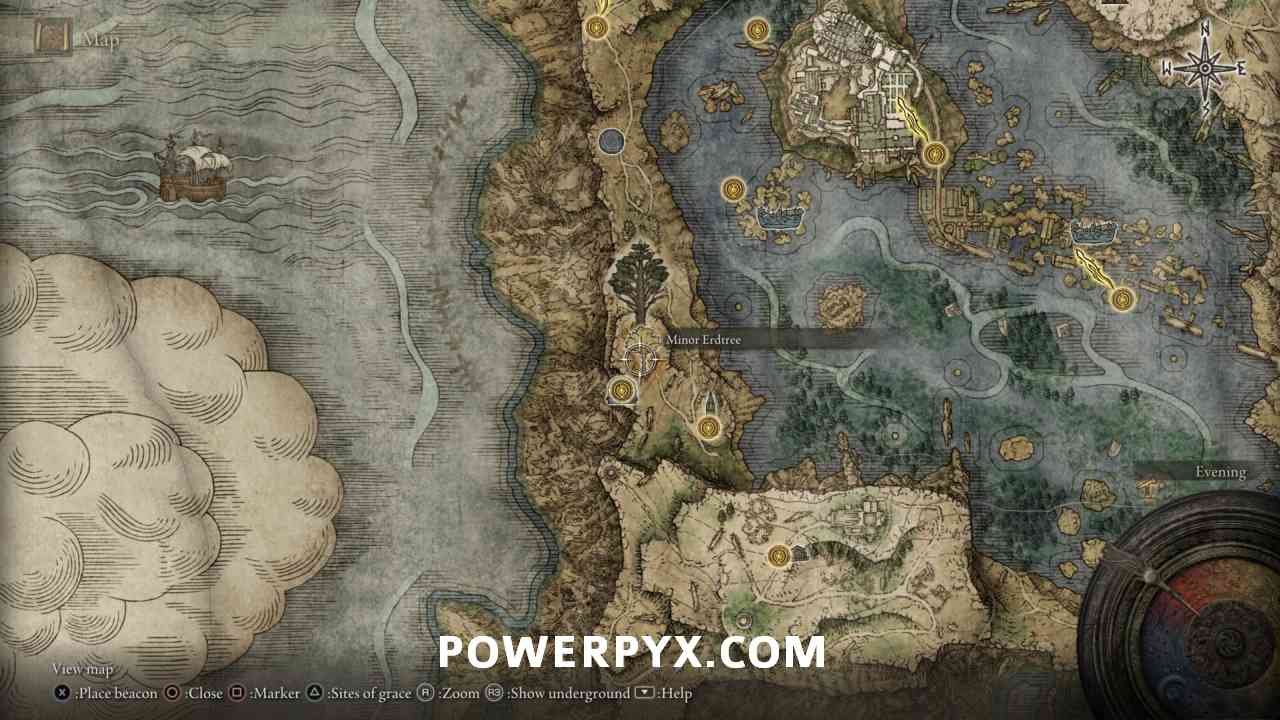
Minor Erdtree (Named Location)

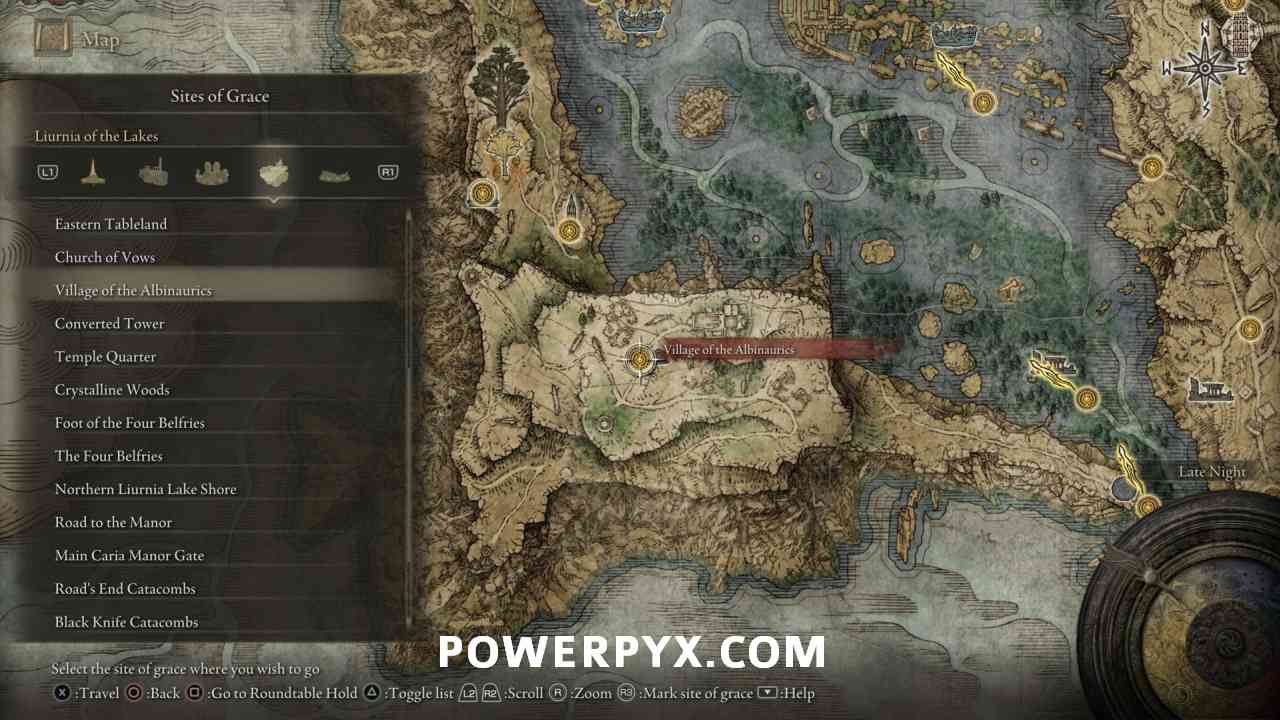
Frenzied Flame Village (Named Location)

Frenzy-Flaming Tower (Named Location)

Converted Fringe Tower (Named Location)

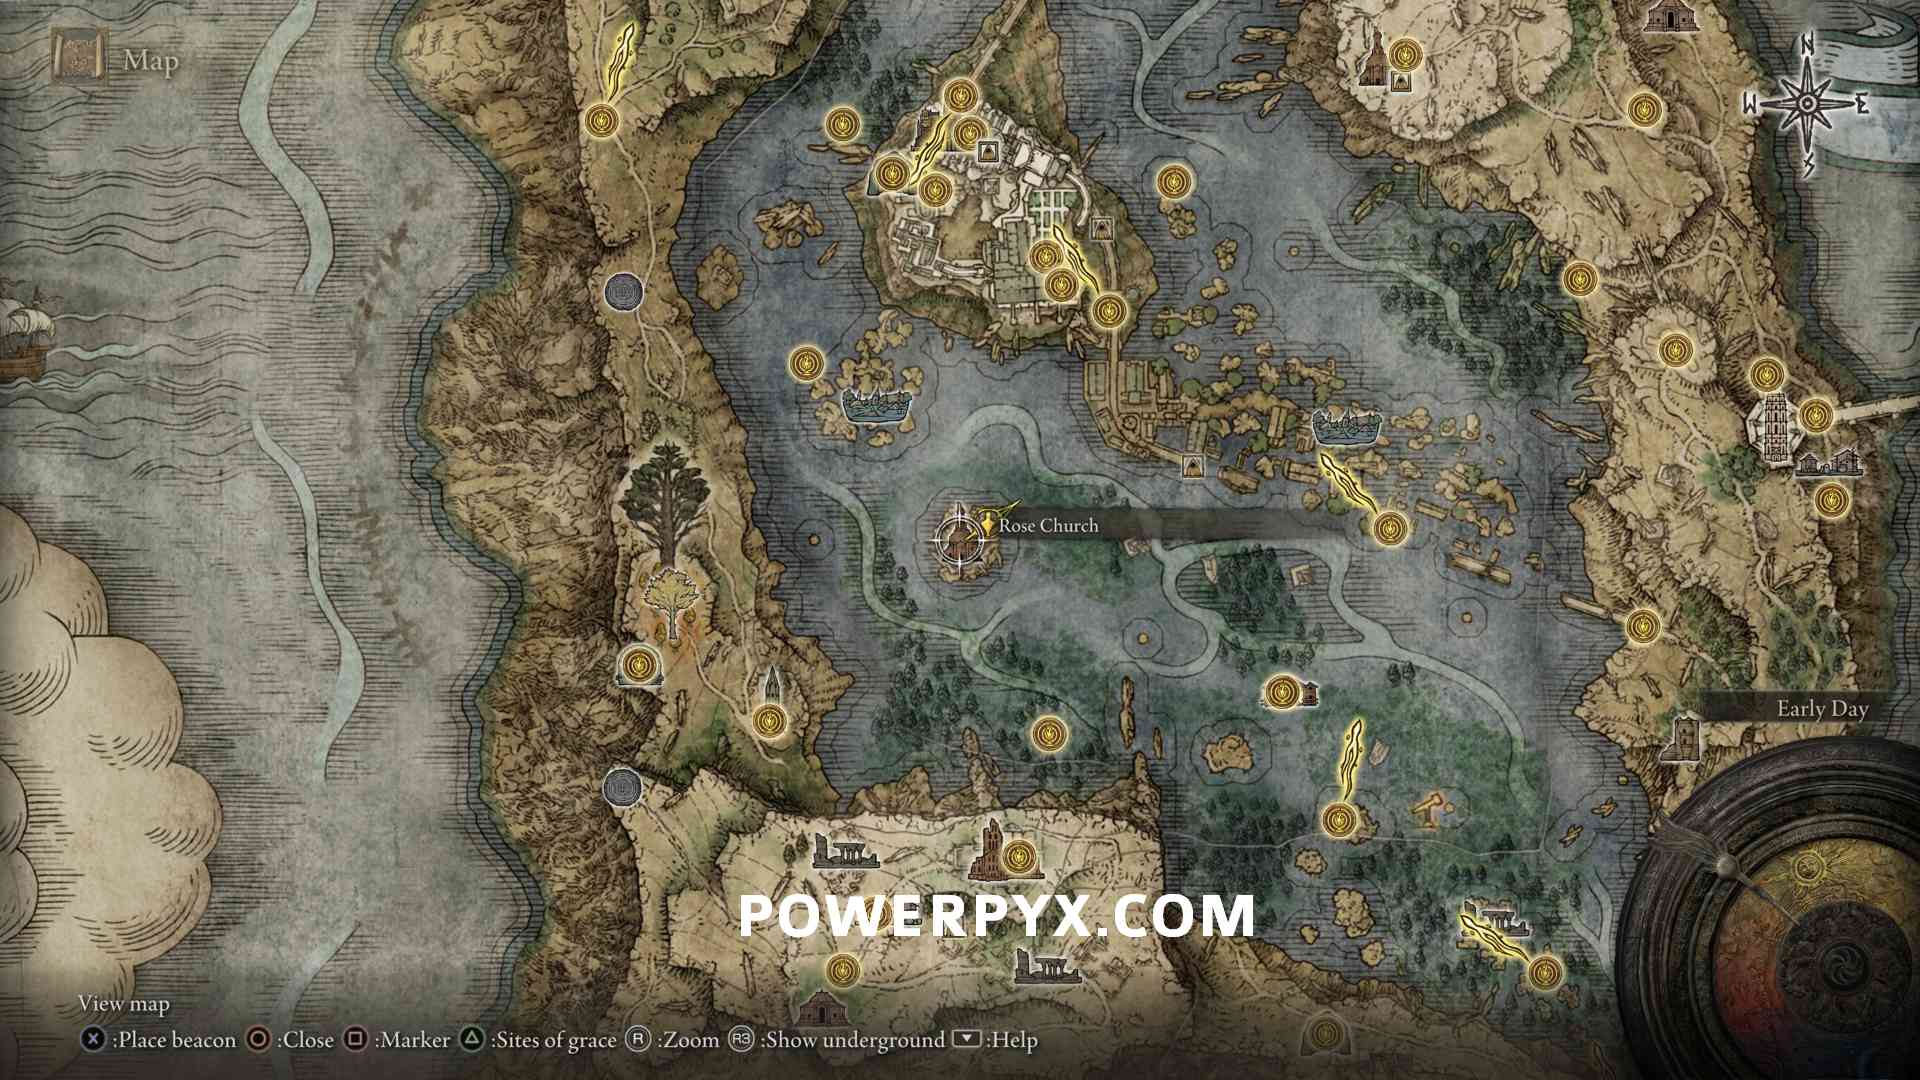
Rose Church (Named Location)
Minor Erdtree (Named Location)
Cuckoo’s Evergaol (Named Location)

Testu’s Rise (Named Location)

Kingsrealm Ruins (Named Location)

Continue with the next region: Academy of Raya Lucaria
For all other regions refer to Elden Ring Walkthrough.
Lex says
Thank you so much for this its amazing and really adds to the adventure!
Nick says
There’s some much ‘side area to’ do in the Lakes, can’t wait to work my way through it all!
BT says
Clear, succinct, informative and helpful. Thanks.