
Chapter 1 – Departure is the 2nd chapter that contains collectibles in Lost Soul Aside. There are 7 collectibles located during this chapter.
Collectibles Overview:
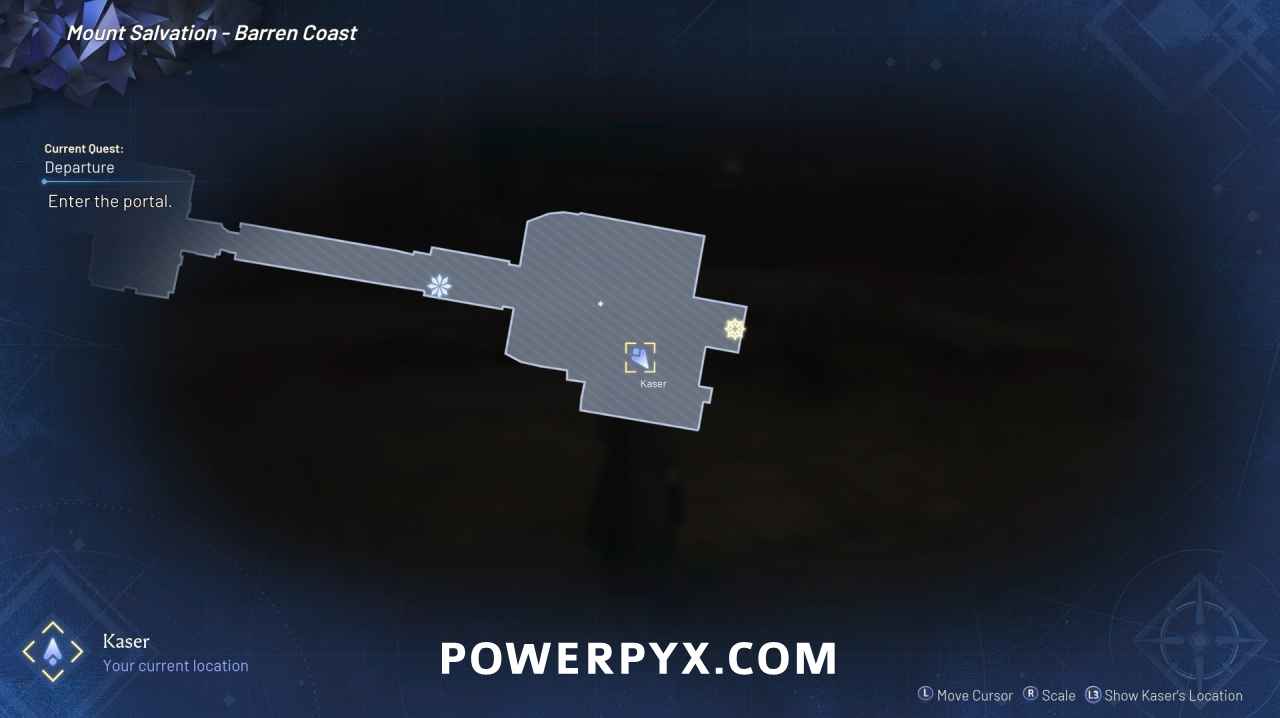
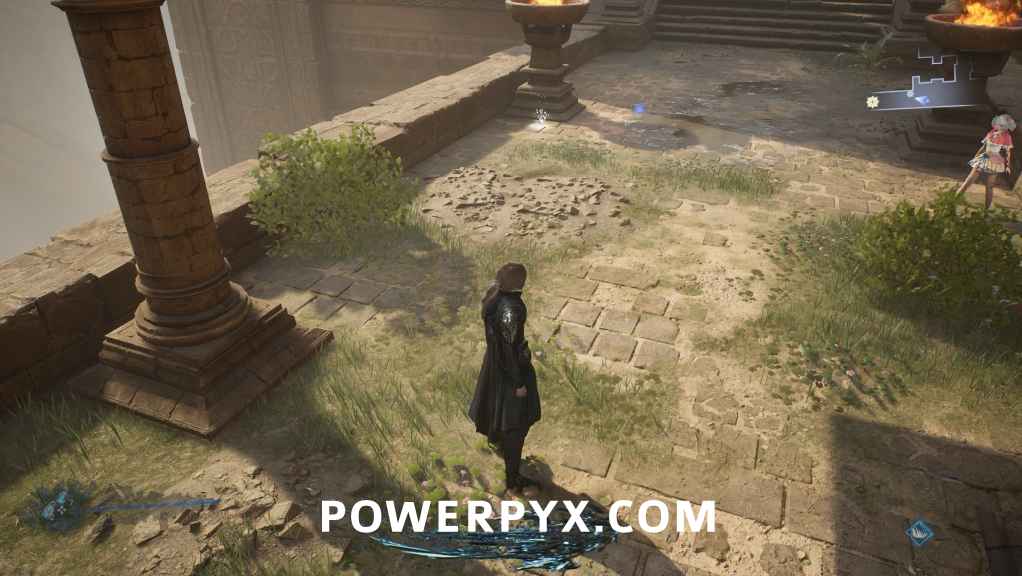
Mount Salvation – Barren Coast
Document: Letter of Recommendation
In the arena where you fought GoldenLion, on the base of the statue in the top right corner.
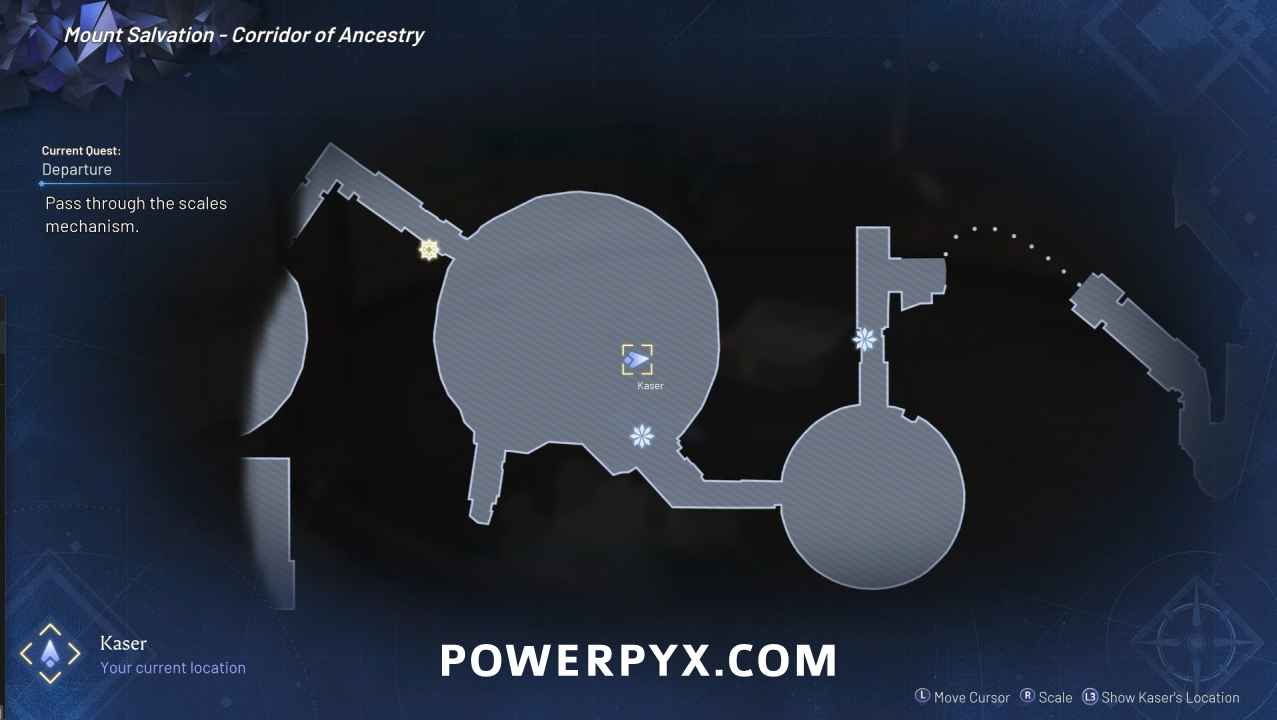
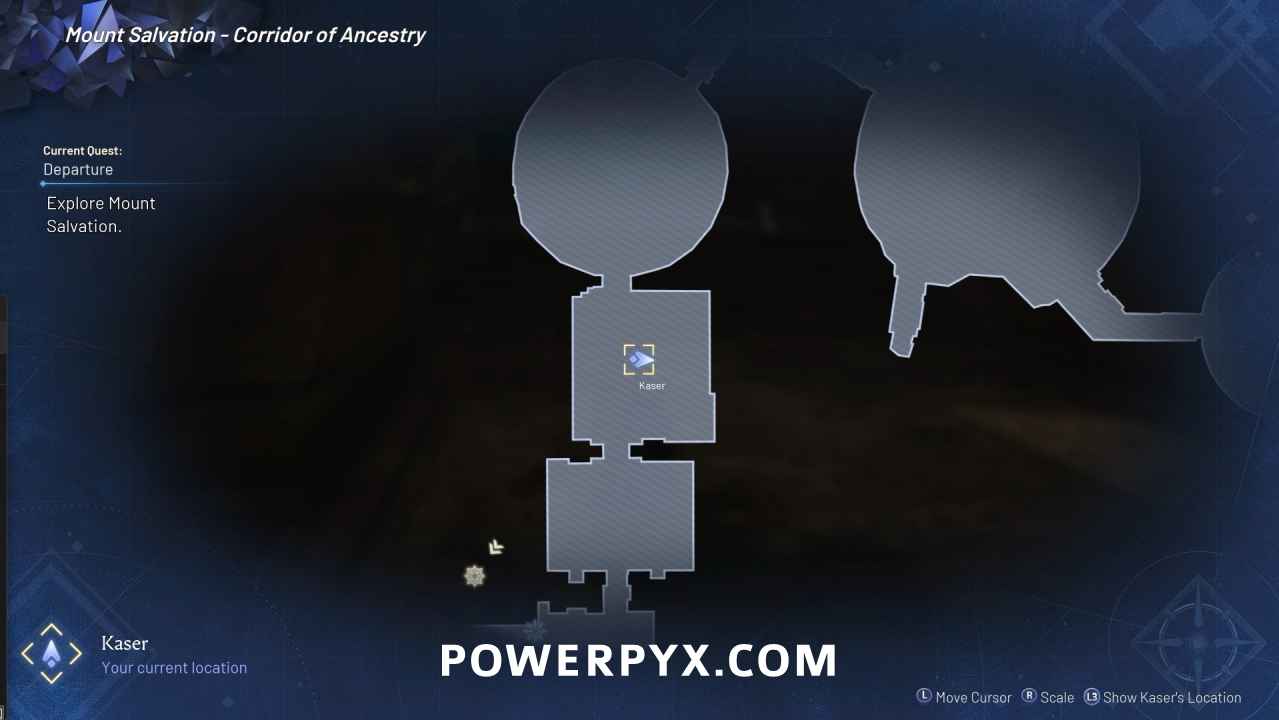
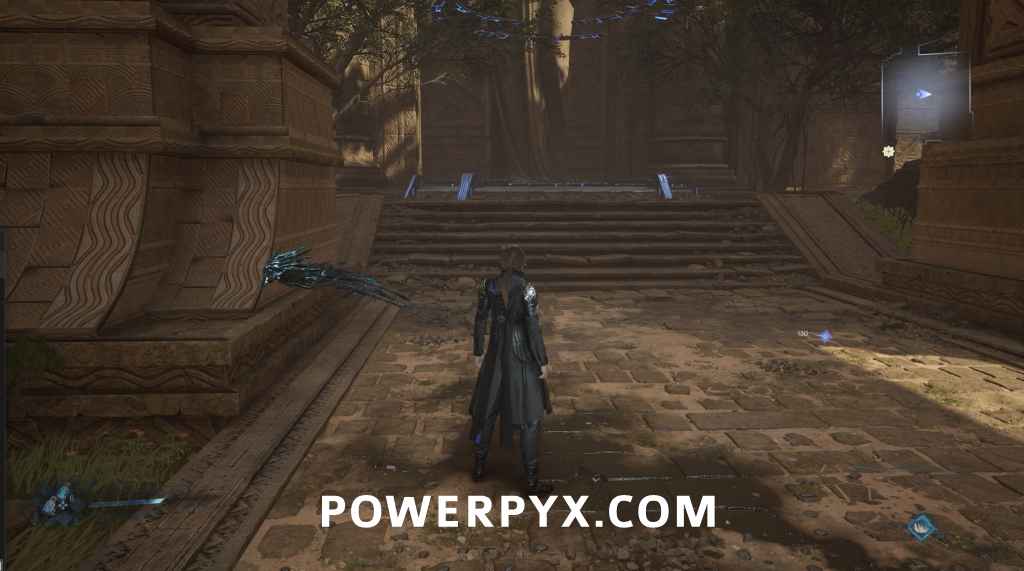
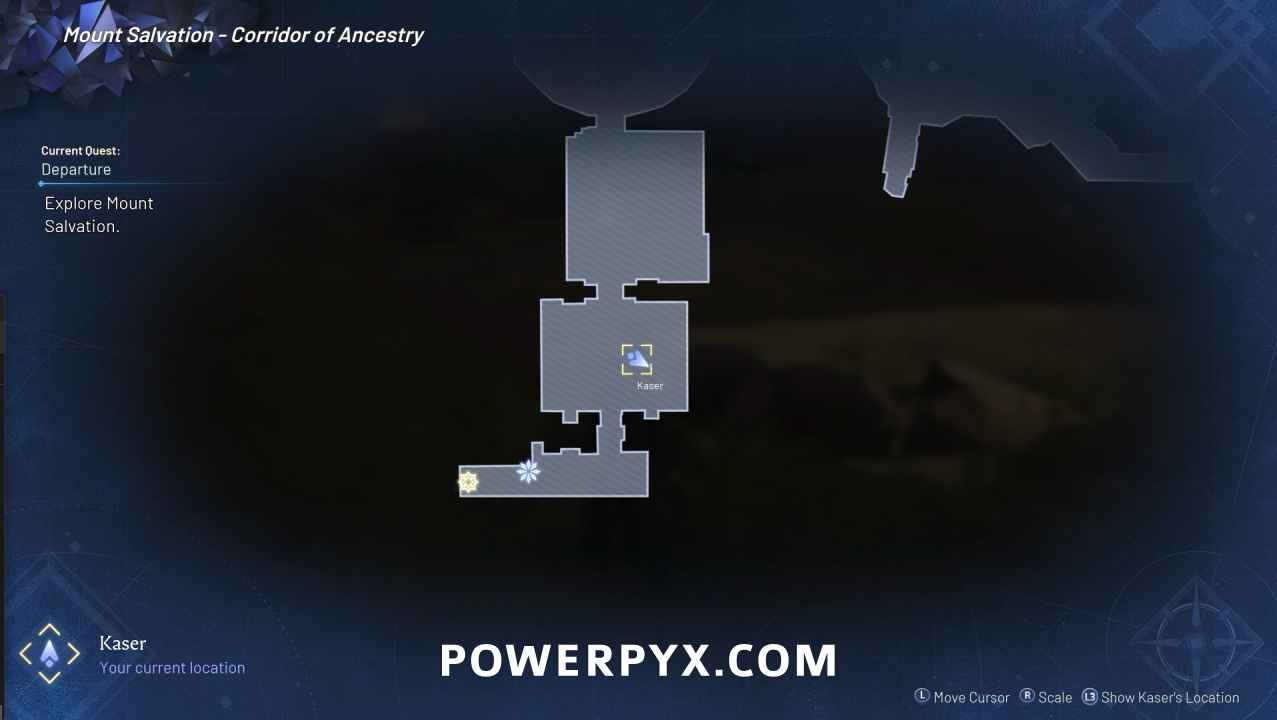
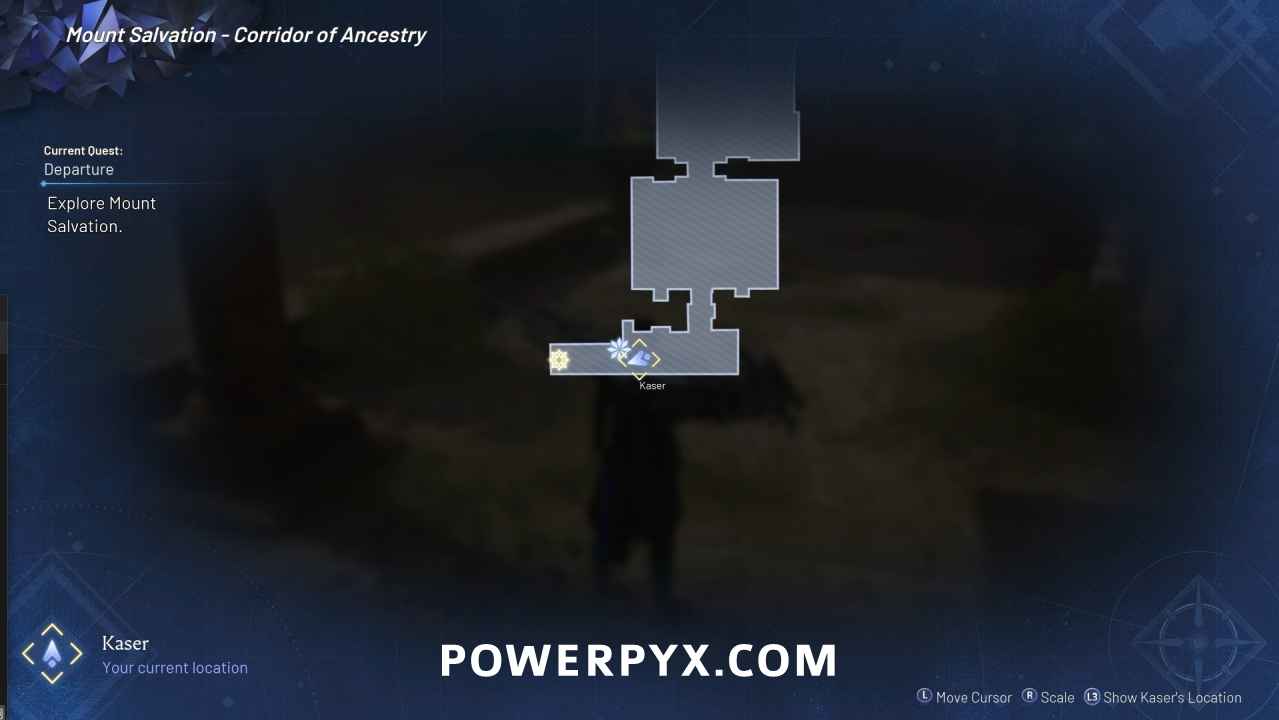
Mount Salvation – Corridor of Ancestry
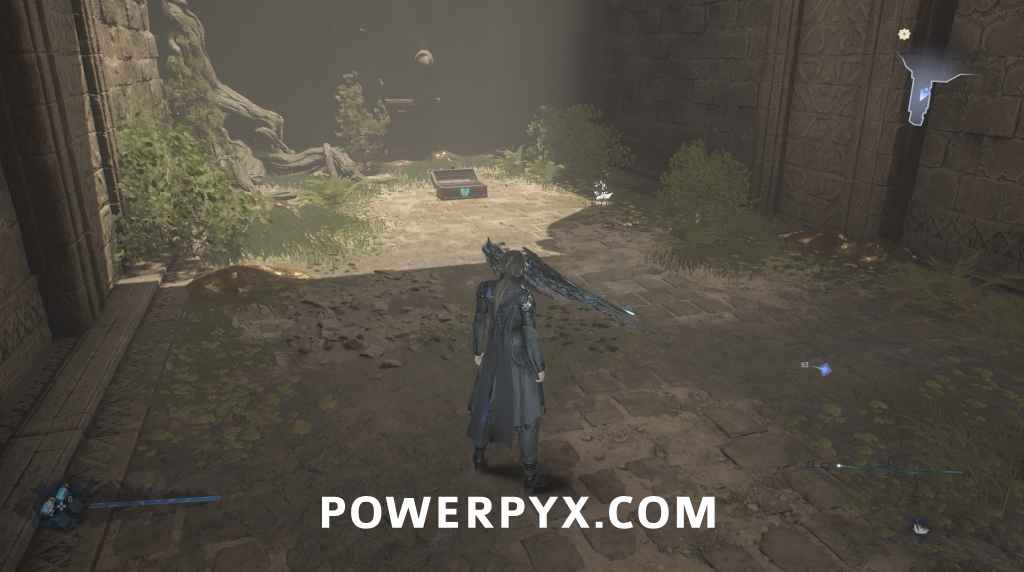
Document: Artistic Inspiration
After jumping across the scales to where you encounter the first enemy, the document will be on the ground behind some destructible boxes.

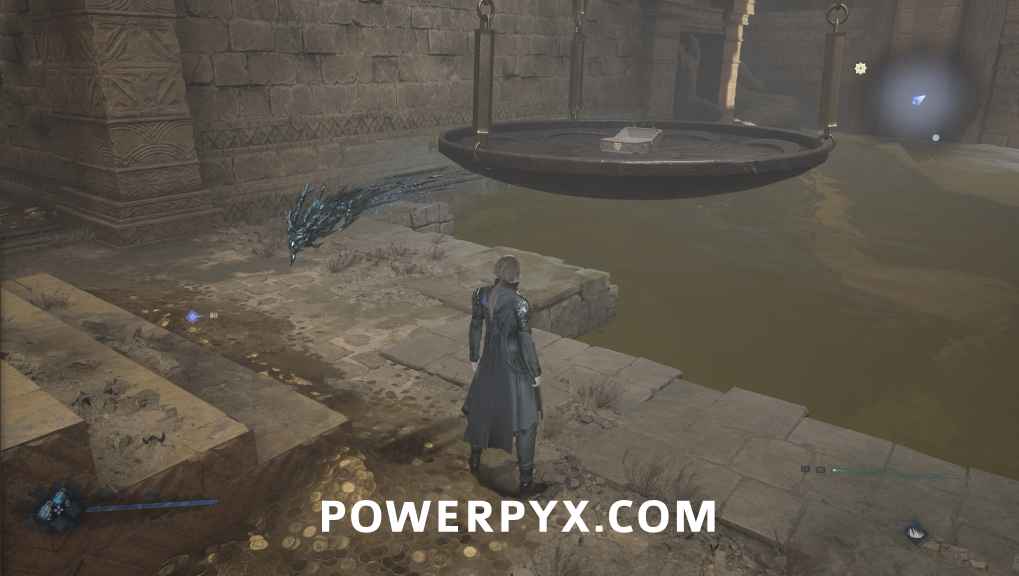
Trinket: Bracelet of Mastery
In the same room, progress until you reach the second button to change the scales. Once you activate the button, you’ll see a scale emerge from the water near where you pressed the first button. The trinket is inside the chest on the scale.
This needs to be recollected on Hard Difficulty.
Dispersed Dimension: Last Breath / Trinket GoldenLion’s Ring
Directly after defeating WhiteCloud, go into the next area and you’ll see the rift on your left. Attack all the sigils to activate it. You can then complete it whenever by talking to Liana. Completing the stage in under 1 minute 30 seconds will also earn you the trinket. You can refer to Dispersed Dimensions Guide for information on clearing it.
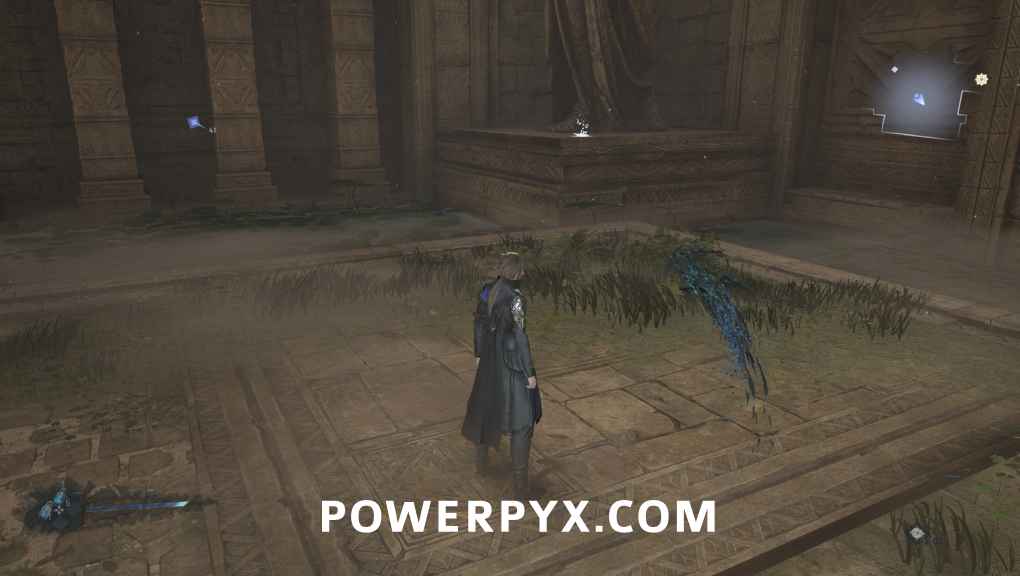
Document: “Diary: Awakened”
From the Dispersed Dimension, go into the next room and the document will be in front of the broken statue on the left.

Document: Insights for Cultivation
Right before you enter the portal, the document will be on the ground opposite of Liana
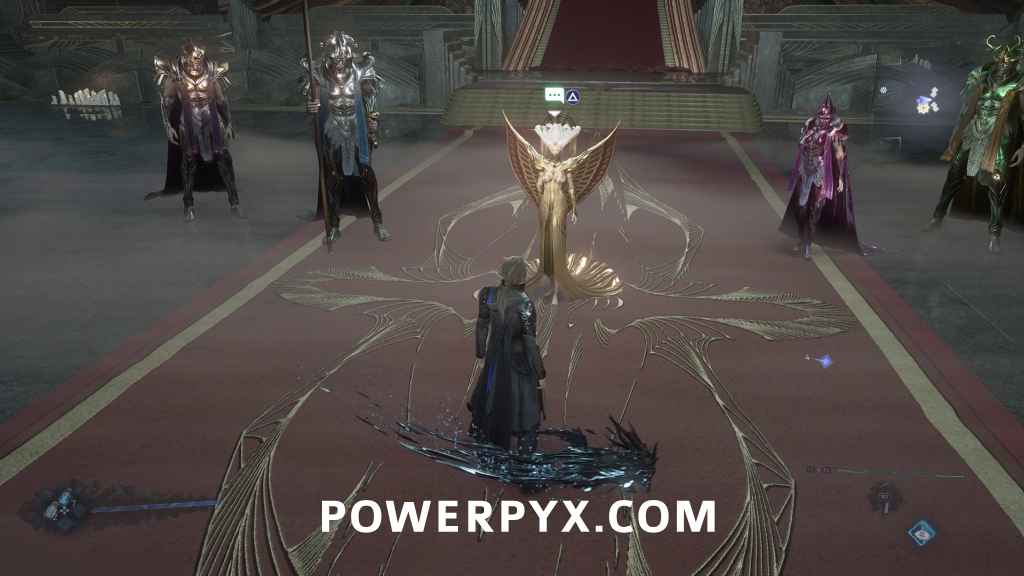
Document: Arena, Life Nexus, Battle of Mount Salvation, Soul Crystal, Aramon
Directly after obtained the Greatsword, talk to Seleria and all the disciples. Exhausting all their dialogue will get you all the documents.
Next Chapter with collectibles: Chapter 2 – Beside SkyMirror Lake.
Len7 says
Hello everyone.
I’m trying to get the “Life Nexus” concept. I’ve spoken to Seleria and the other disciples several times, and I’ve even replayed the chapter on hard mode. But I can’t unlock the concept.
Please, this is all that’s missing for the trophy. Thanks.
ObsiEez says
This is weird as it should specifically come from talking to Seleria during that section & exhausting the dialogue options related to the Life Nexus
Len7 says
There are 3 dialogues for Seleria, 2 dialogues each for 2 disciples and 1 dialogue each for the remaining 2. I spoke to her several times but nothing.
ObsiEez says
Yeah that is really weird if you’ve done all of the dialogue options there & still didn’t get it. That was where I got the Life Nexus document as well as others.
I know it’s probably not the best case scenario, but if you absolutely can’t get it to unlock you could try it on an entirely new save to see if it either bugged or if it’s a consistent issue.
Len7 says
I’ll try what you said. I’ve seen several videos that capture the dialogue moments, and none of them show the “Life Nexus” notification.
Thanks for your help.
ObsiEez says
I think it’s because they exhaust all 3 & you get 2 documents from talking to her. The Life Nexus & Aramon. I’ve only ever seen 1 notification pop up for stuff like that so it’s probably just preferring to show Aramon as it’s given from the last dialogue option which is what most people would be choosing last.