
007 First Light contains 23 Intel Collectibles (MI6 Files). Finding all Intel Locations unlocks the For your eyes only trophy & achievement.
There is no collectible tracker by chapter, only by type when pressing Touchpad. Nothing is missable, everything can be collected through Chapter Select. All collectibles are saved instantly when picking them up. If you grab them in Chapter Select you can quit out immediately without reaching the next checkpoint. You can jump to any Checkpoint directly which makes it fast to clean up anything you missed.
Collectibles Overview:
Chapter 4: The Heart of the Matter
Intel #1: Workshop Notice (Selina Tan)
Checkpoint: 04 Q-Lab
Objective: Meet and greet
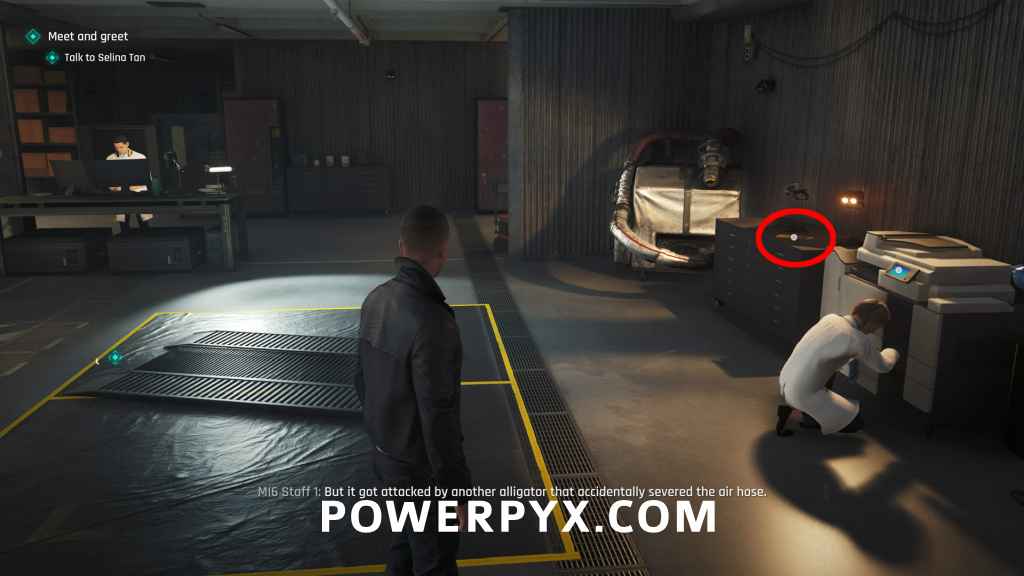
When you enter the Q-Lab where you need to talk to “Q” and Selina Tan, go to the back right corner to find this on the cupboard where two scientists are talking.
Intel #2: Recruit Stats (00 Recruits)
Checkpoint: 04 Q-Lab
Objective: Meet and greet
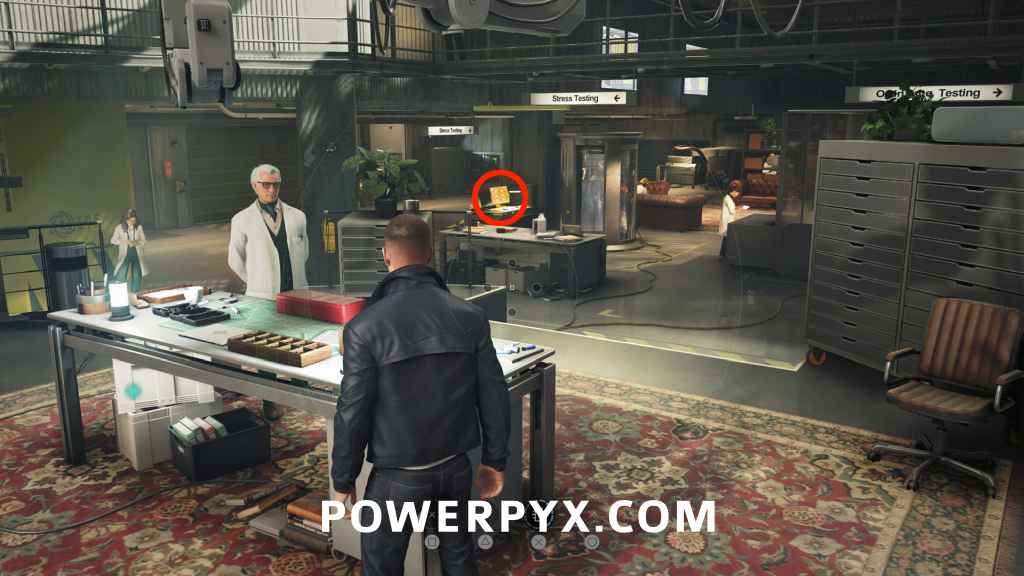
After talking to the character “Q” and going through the Q-Watch tutorial, check the screen behind where you first found Q. You can only interact with it AFTER talking to Q, not before. This is the same room as the previous collectible, roughly in the middle of the room next to the test chamber with the green Range Rover car. Note: you can now use the Q-Watch with  to scan for collectibles and other interactables, they will be highlighted yellow.
Chapter 5: A New Home
Intel #3: Family Photo (Lennox Monroe)
Checkpoint: 01 Home
Objective: Make yourself at home
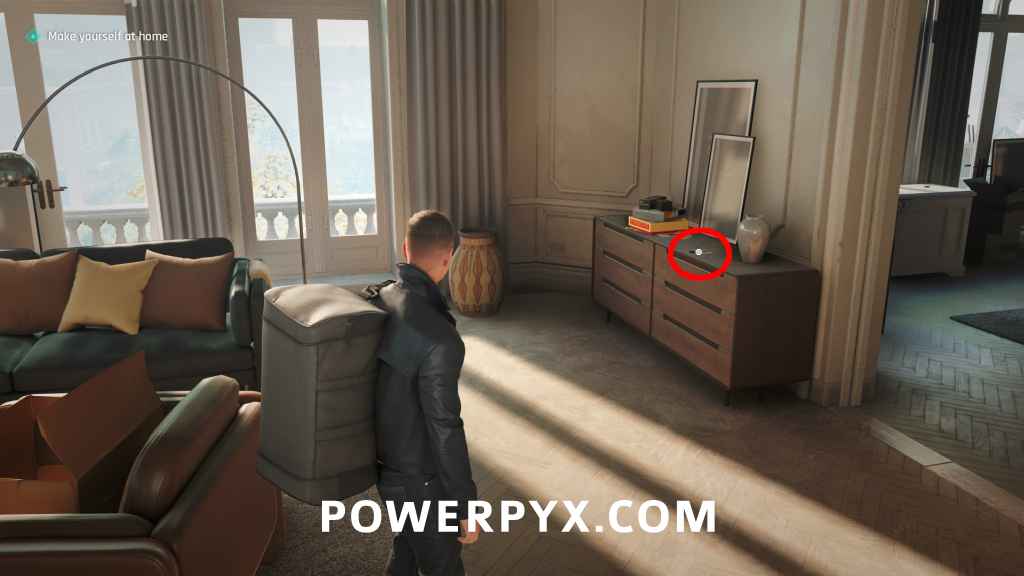
As soon as you arrive at your new home, move straight forward to the living room. This will sit on the cupboard in the right corner.
Intel #4: Dress Box (Cressida Bright)
Checkpoint: 01 Home
Objective: See what Cressida wants
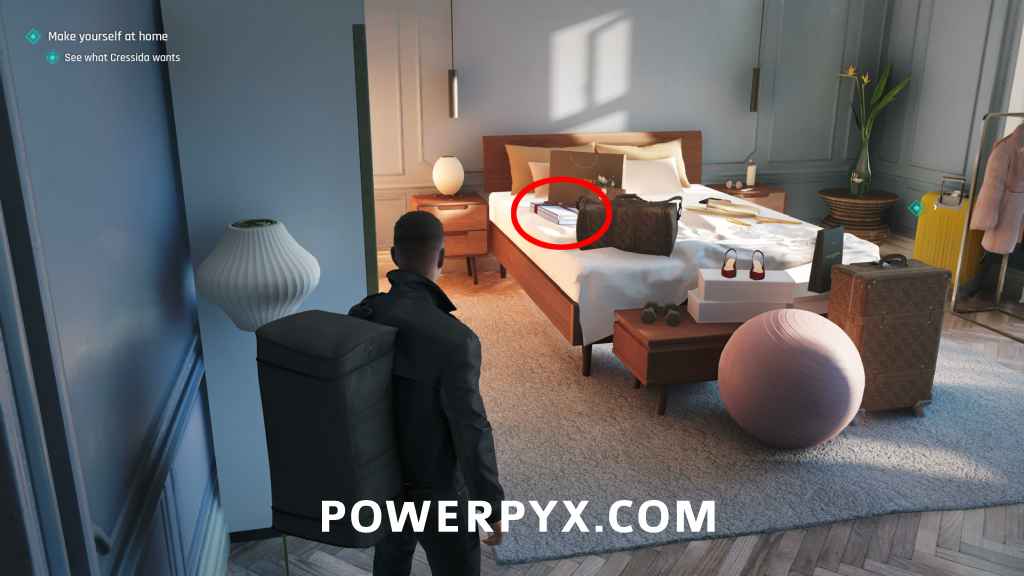
At the end of the hallway you will enter Cressida’s bedroom (main objective), check the gift box on her bed.
Chapter 7: A Matter of Considerable Delicacy
Intel #5: Arrowhead Report (Arrowhead)
Checkpoint: 07 Operations
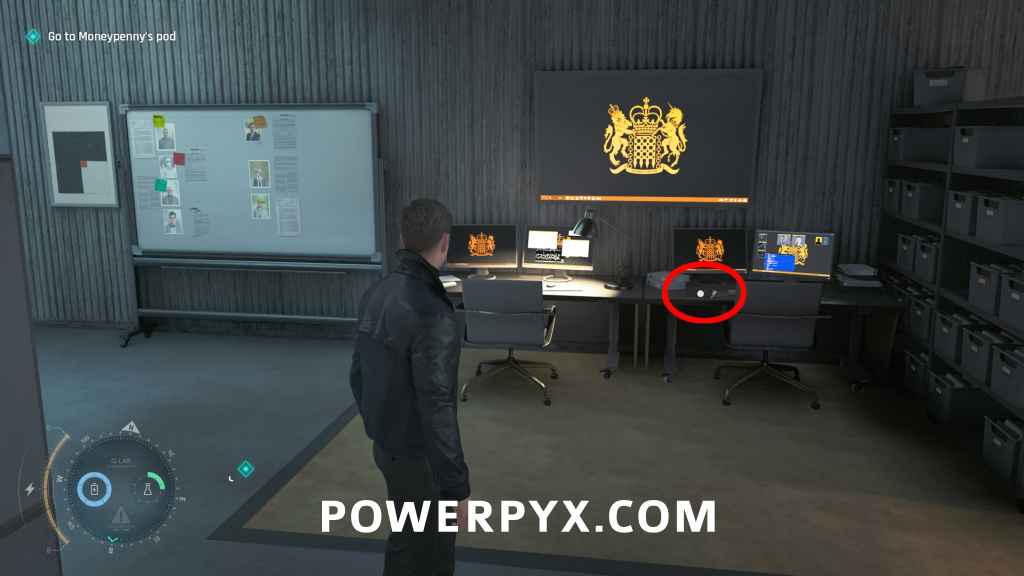
Objective: Go to Moneypenny’s pod
After taking the elevator up to see Moneypenny, after exiting the elevator turn around and go in the direction opposite the objective. At the end of the floor you find this on the desk in the middle.
Intel #6: 009 Profile (009)
Checkpoint: 08 Master Manipulator
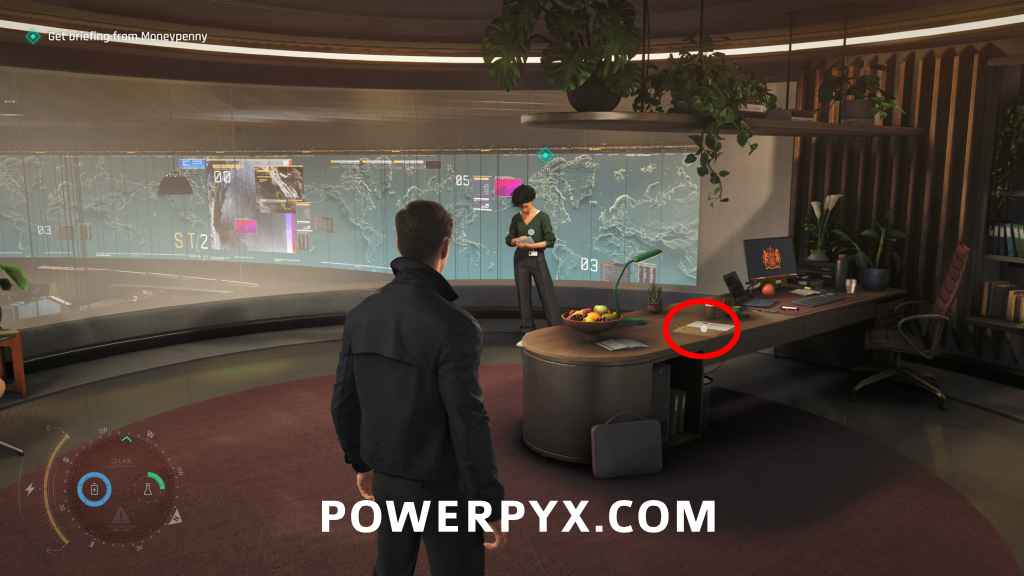
Objective: Get briefing from Moneypenny
When you arrive in Moneypenny’s office it’s on the desk.
Chapter 9: Out of the Ashes
Intel #7: Facial Composite (Niko and Tero Murto)
Checkpoint: 05 Talk to Moneypenny
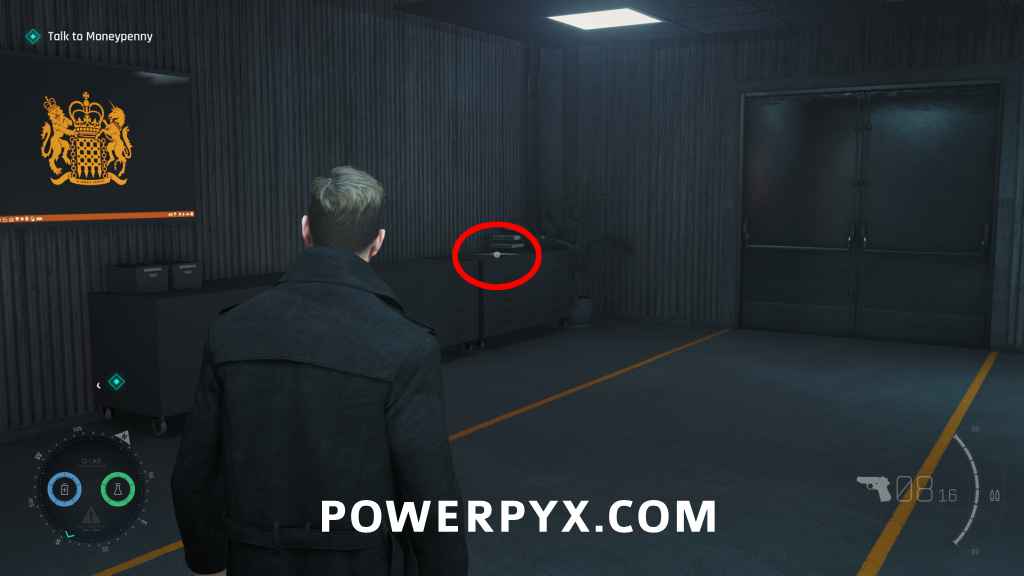
Objective: Talk to Moneypenny
After taking the elevator up to Operations, go behind the elevator to find the collectible on the back left cabinet.
Chapter 10: The Past Never Dies
Intel #8: Delivery Box (Bawma)
Checkpoint: 03 Black Market
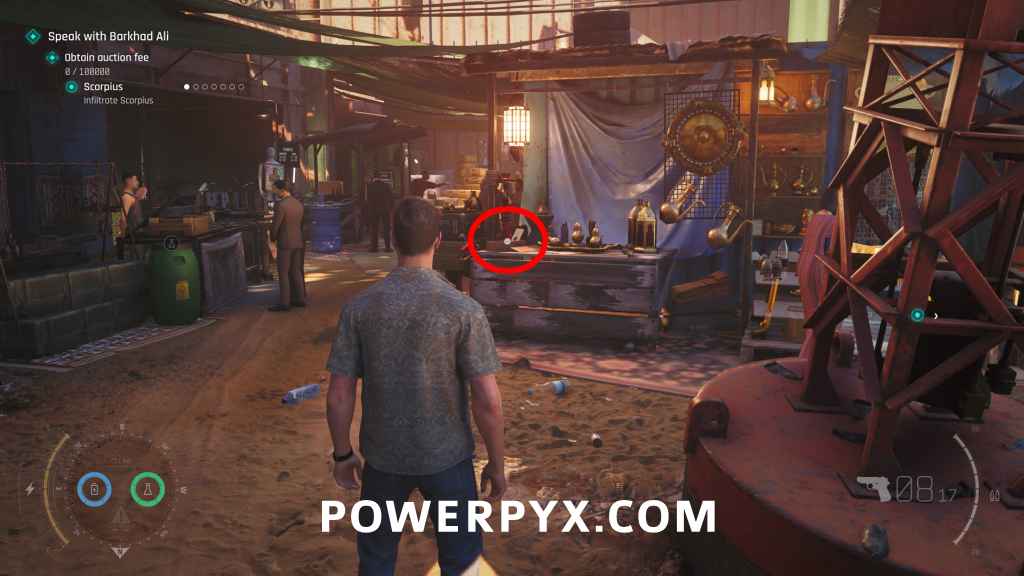
Objective: Obtain auction fee
From where you enter the black market area, head to the back left corner of the market. To the left of the shooting range you find this on the market stall.
Intel #9: Photo of Greenway (John Greenway)
Checkpoint: 08 Examine the crime scene
Objective: Examine the crime scene
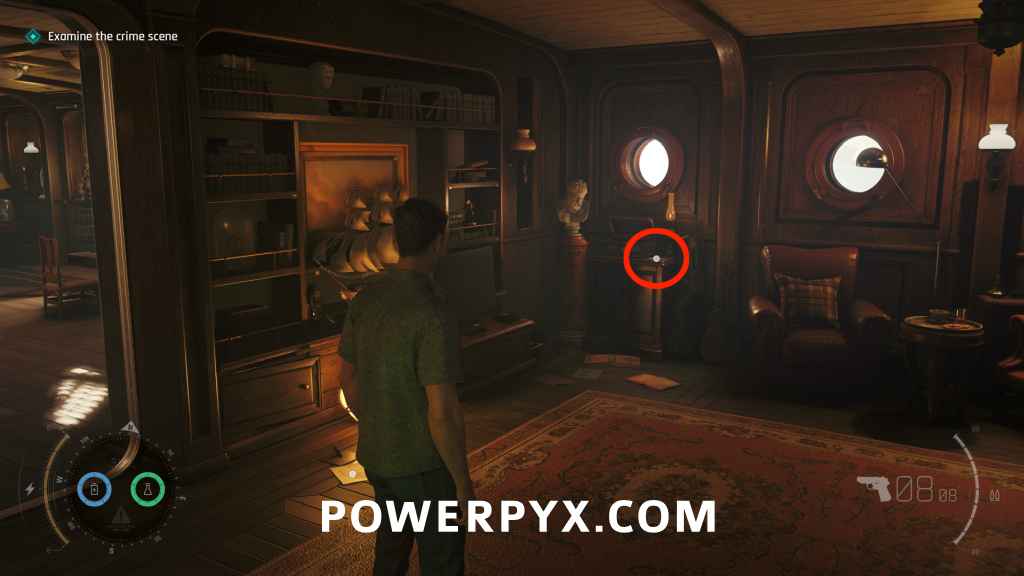
While investigating the crime scene, enter the room at the end and this will be on the left cupboard.
Chapter 11: Uninvited
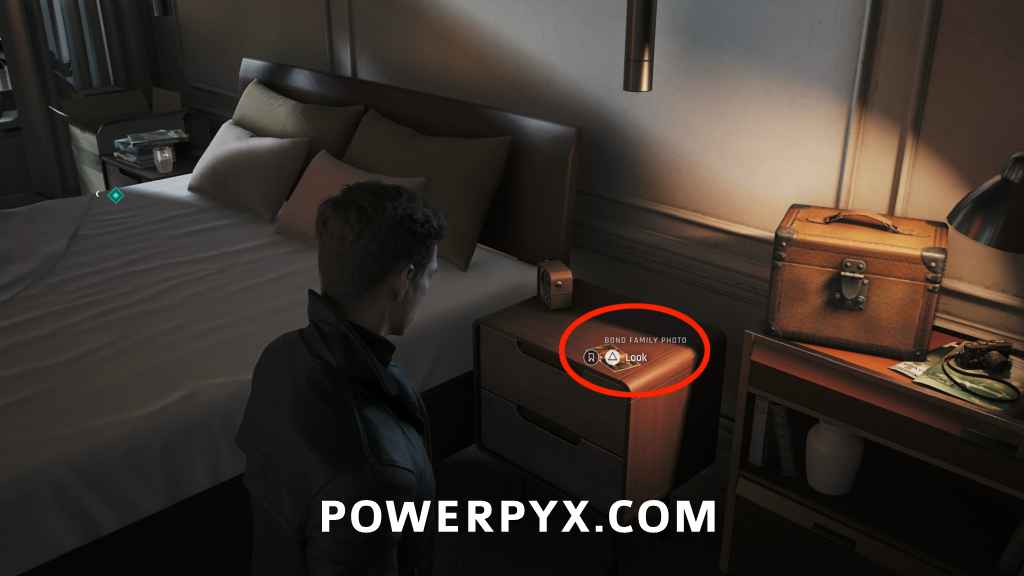
Intel #10: Bond Family Photo (James Bond)
Checkpoint: 02 Back home
Objective: Go to Bond’s room
Once you enter Bond’s room, the collectible will be on the nightstand to the right of the bed.
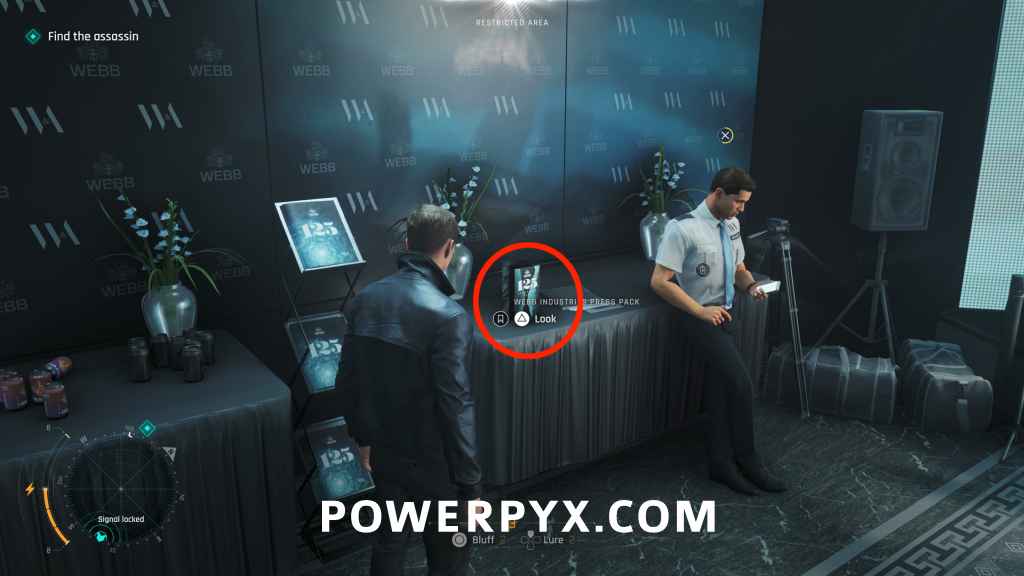
Intel #11: Webb Industries Press Pack (Webb Industries)
Checkpoint: 05 Get upstairs
Objective: Find the assassin
After using the invitation to enter the Gala room, immediately turn left to enter a press room with a big screen. There will be a guarded section on the left. You can distract the guard by using the fusebox in the right corner of the room. Afterward you can walk in and bluff the woman. You can then pick up the collectible next to the guard.
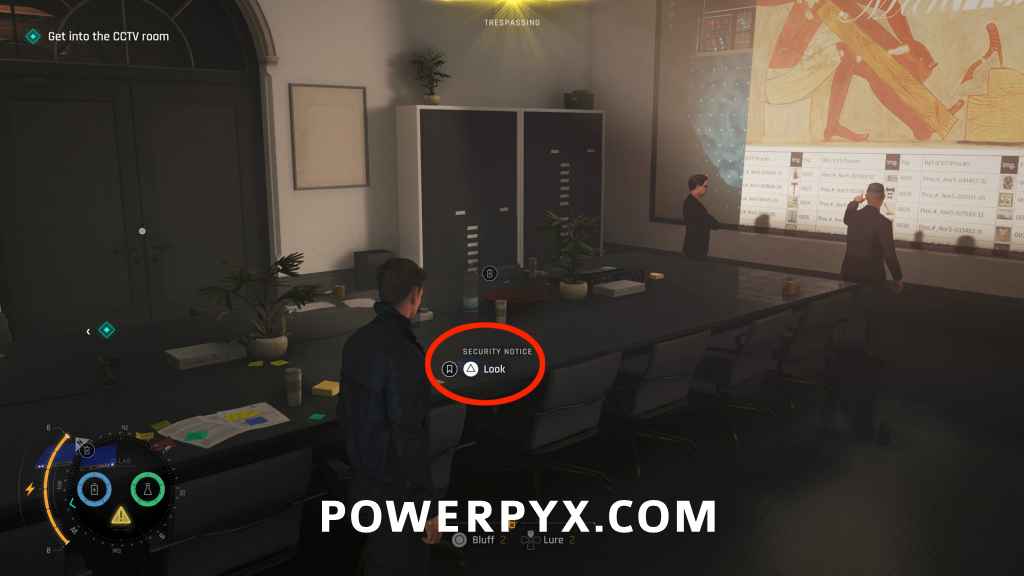
Intel #12: Security Notice (Stephen Bright)
Checkpoint: 06 Security Office
Objective: Get into the CCTV room
After entering the security room, enter the door at the front right of the area and the collectible will be on the table.
Chapter 12: Knightfall
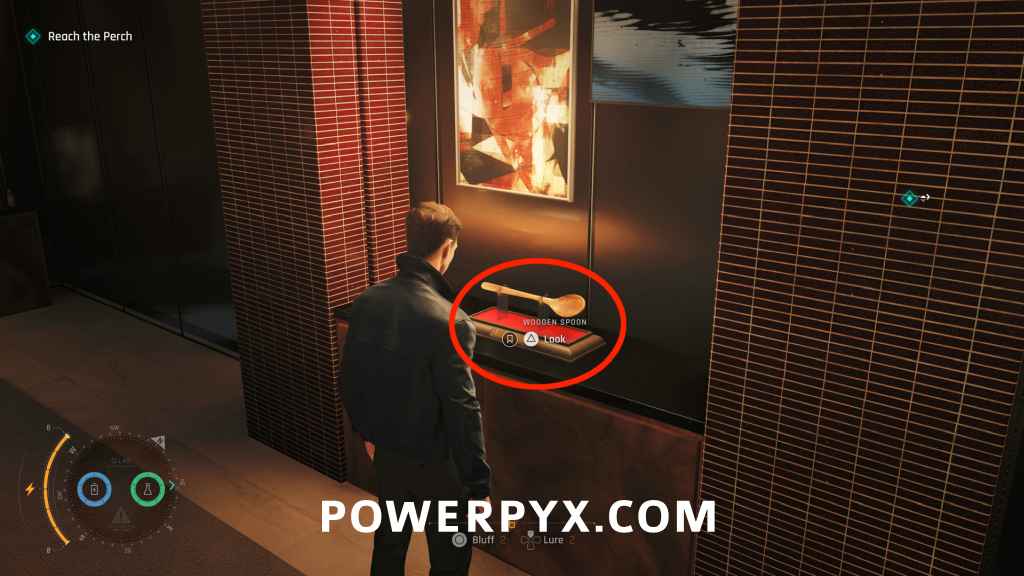
Intel #13: Wooden Spoon (Roger Finch)
Checkpoint: 02 Executive 1st Floor
Objective: Get to the stairs
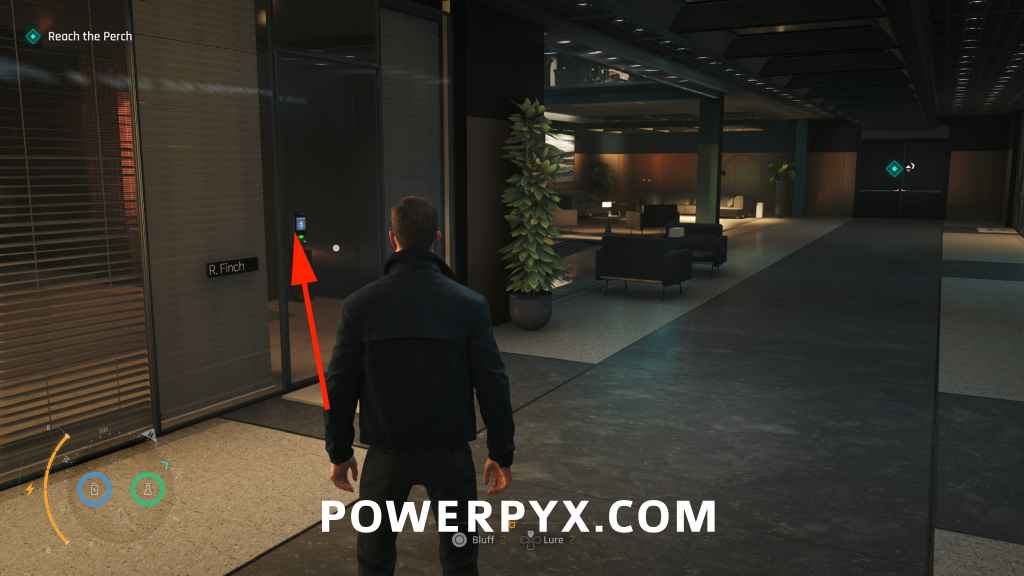
After Greenway boosts you up to the statue, jump to the next balcony, follow it to the left and jump over the railing. Shimmy across the ledge and climb into the window. Go downstairs and enter the bathroom. Kick down the stall on the left and pick up the office key. Go back out towards the main objective and the locked door will open. Go through and enter the office labeled “R. Finch” on the left. The collectible will be on a stand on the right.
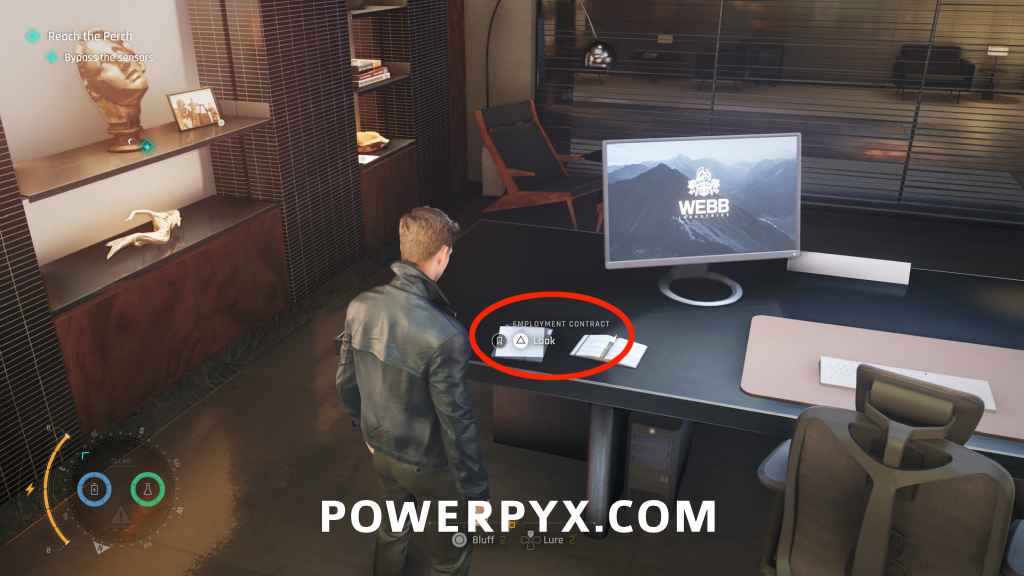
Intel #14: Employment Contract (Isola Vale)
Checkpoint: 02 Executive 1st Floor
Objective: Bypass the sensors
After reaching a corridor with lasers blocking a door, you must push an obstacle out of the way to reach a vent. Go straight through the vent (not the left exit) and you’ll reach an office with the intel on the desk.
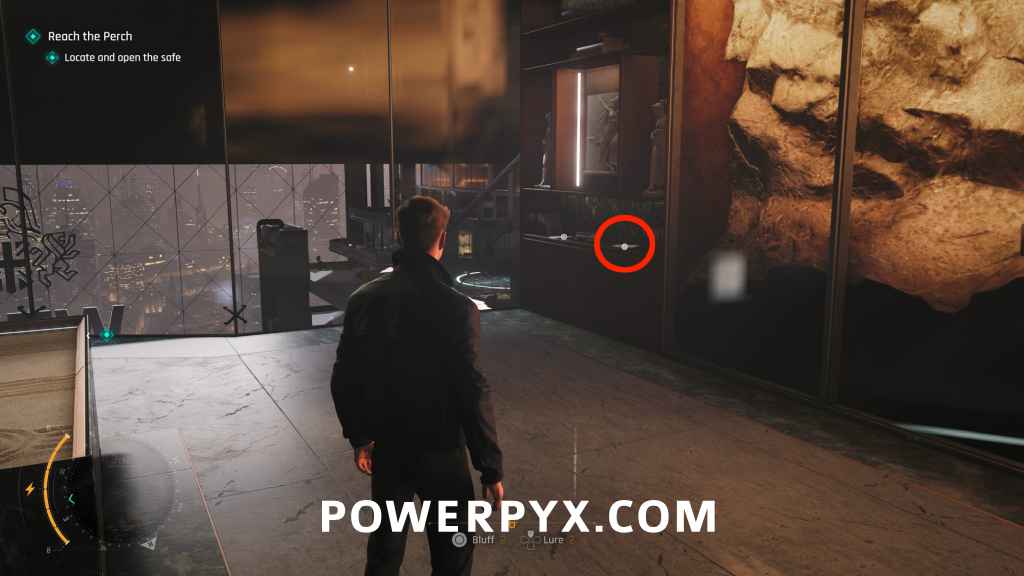
Intel #15: Psych Profile (Damien Webb)
Checkpoint: 03 The Penthouse
Objective: Locate and open the safe
In the back right corner of the penthouse on the shelf.
Chapter 13: Going Old School
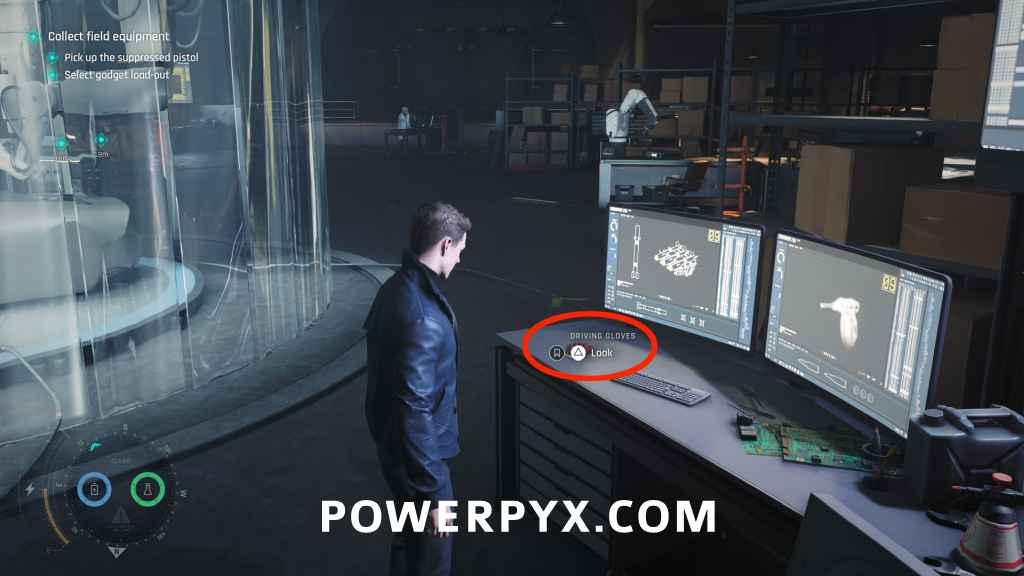
Intel #16: Driving Gloves (Q)
Checkpoint: 04 In the zone
Objective: Collect field equipment
Once you meet up with Q, the collectible will be on a desk on the right.
Chapter 14: Time to Die
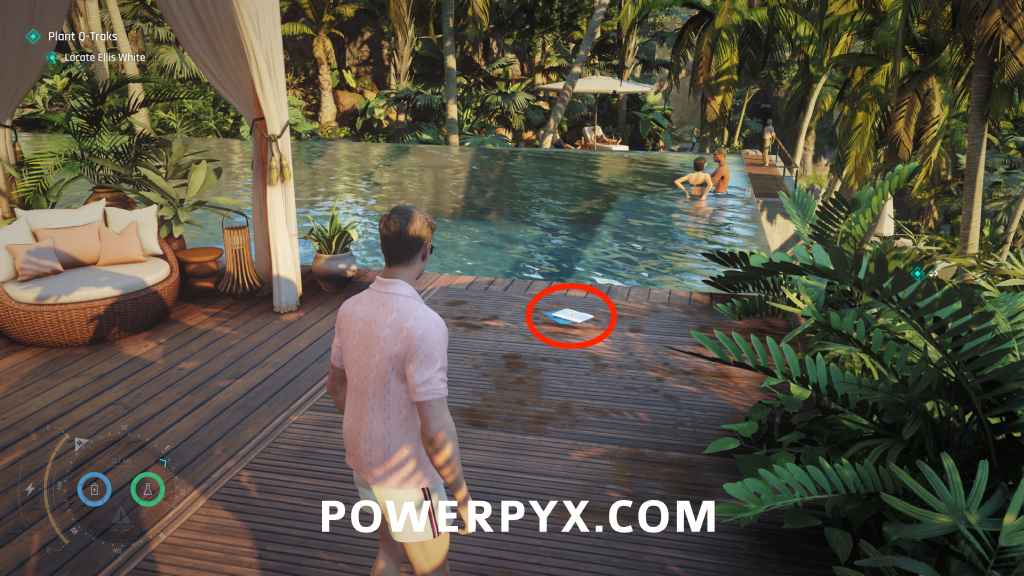
Intel #17: Keynote Presentation (Theresa Lorca)
Checkpoint: 05 The three targets
Objective: Reach Theresa Lorca
After the cutscene where you talk to Theresa Lorca (main objective), the collectible will be on the ground at your feet, in front of the pool.
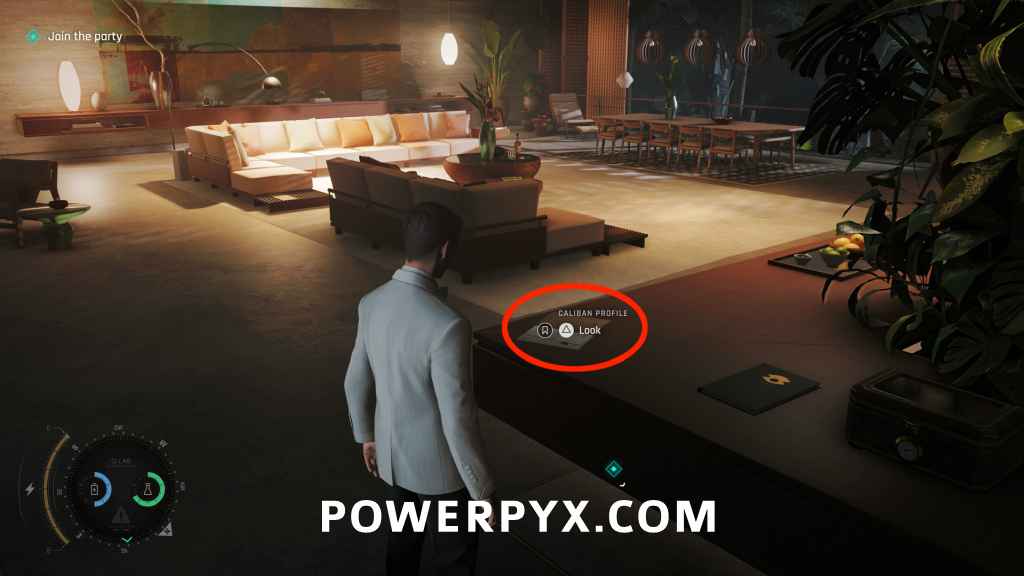
Intel #18: Caliban Profile (Caliban)
Checkpoint: 07 Suit up
Objective: Join the party
After the QTE sequence where you tie your own bowtie, this will be on the living room table.
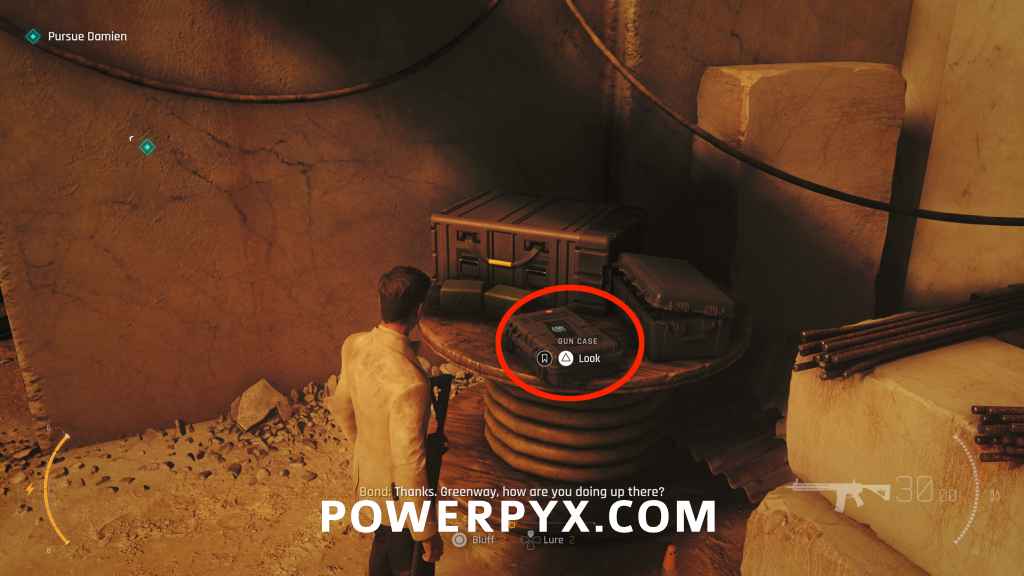
Intel #19: Gun Case (Riptide)
Checkpoint: 15 Tracking Damien
Objective: Pursue Damien
After getting freed from the handcuffs, the collectible will be on a wooden coil on the right.
Chapter 15: Man of the Hour
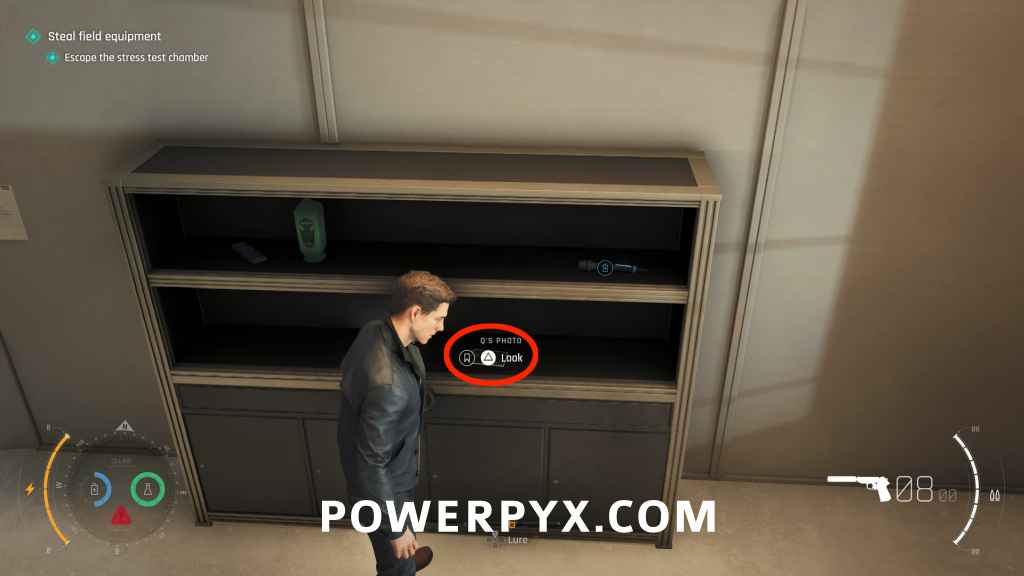
Intel #20: Q’s Photo (Rhys Beckett)
Checkpoint: 04 The betrayal
Objective: Steal field equipment
Enter Q-03 Stress Testing by using a Gadget on the fire extinguisher above the door scanner (can use Laser Strap). Inside, open the locked cabinet with code 4397. The code is the number plate of the car in the test chamber.
Chapter 16: Wave of the Future
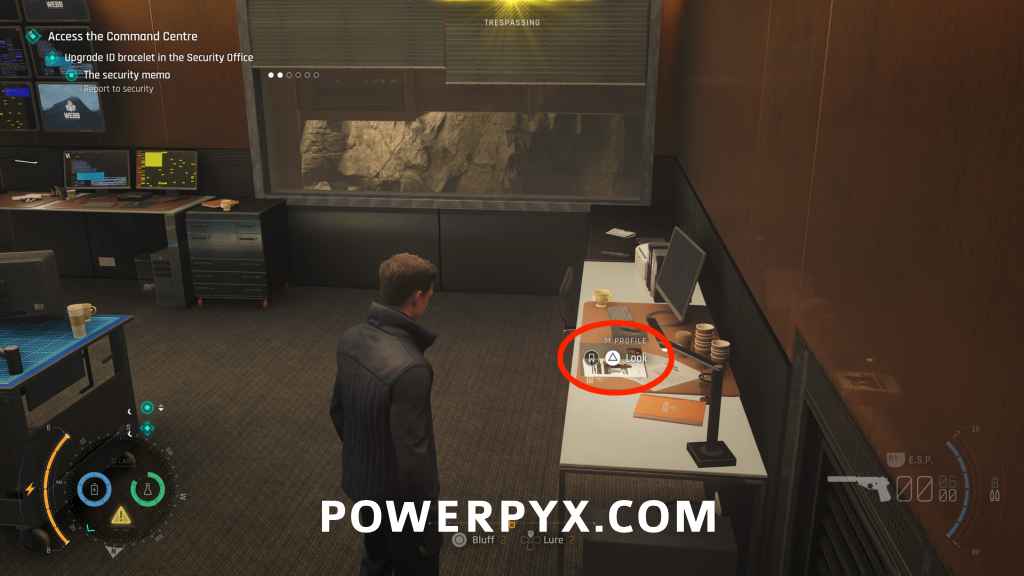
Intel #21: M Profile (M)
Checkpoint: 12 Operations Department
Objective: Upgrade ID bracelet in the Security Office
Once inside the Security Office where you upgrade your ID bracelet (main objective), the collectible will be on the desk.
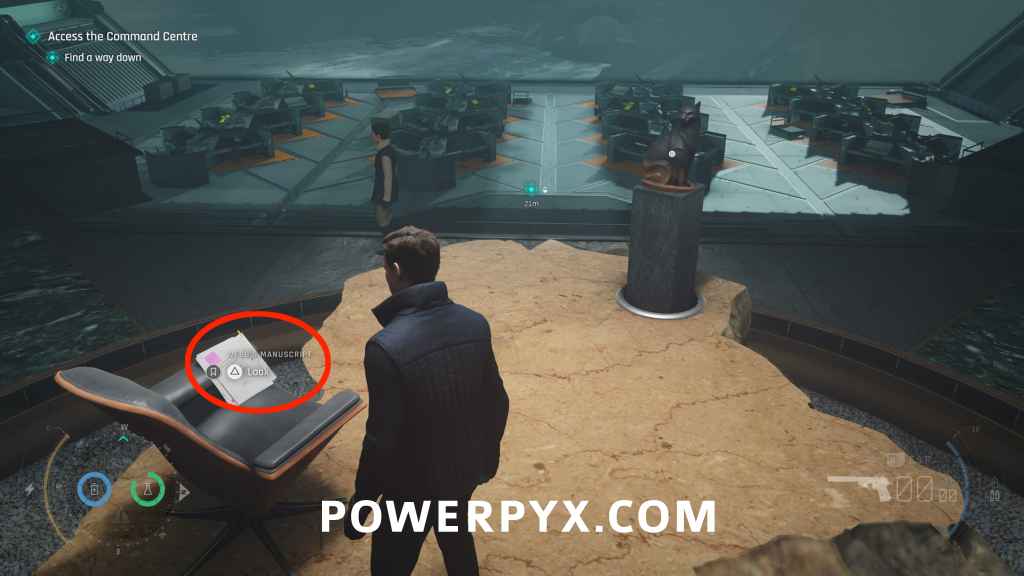
Intel #22: Webb’s Manuscript (Sir Nicholas Webb)
Checkpoint: 12 Operations Department
Objective: Access the Command Centren
The collectible will be on the chair on the rock, next to the cat statue you need to turn to advance.
Chapter 17: For England
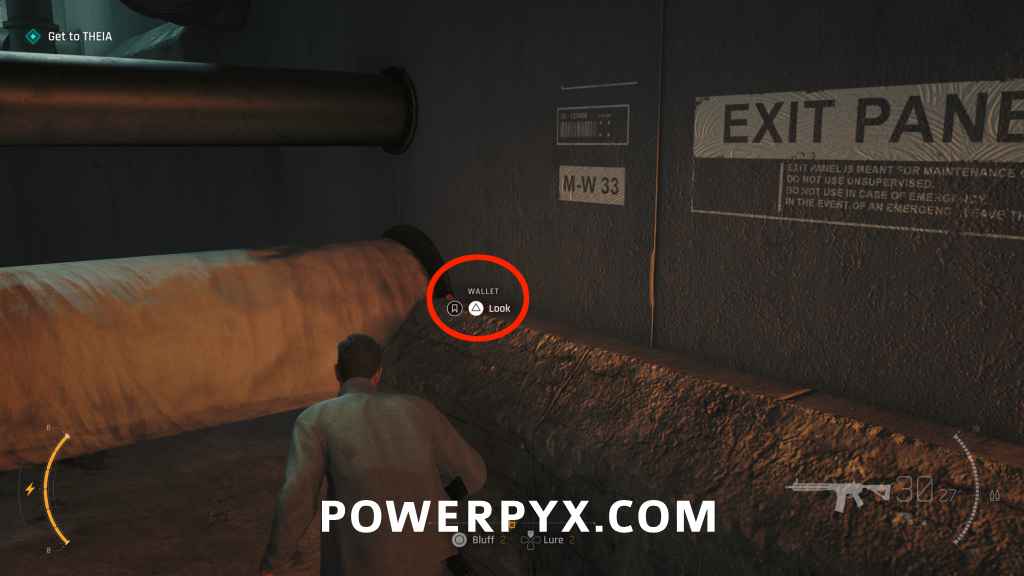
Intel #23: Wallet (Eve Moneypenny)
Checkpoint: 10 Utility tunnels I
Objective: Get to THEIA
A little while after defeating the two snipers, you enter a service tunnel where you must use a wall panel to turn off the fan. Then go through the fan and this item will be straight in front of you on the ledge. Before climbing down the ladder.
For all other collectible types refer to 007 First Light Collectible Guide.
Reid says
I got all achievements except the one for the MI6 files, despite having all 23 files in-game and even unlocking the “Collector’s Habit” trophy. Even after going through and picking up every file again it still will not pop.
Joon says
I need help. I collected all the MI6 intel, and the in game checklist clearly shows it. But the PS trophy tracker says “22/23”. How do I fix this?