
Final Fantasy Resonance Trophy Roadmap
- Estimated trophy difficulty: 4/10
- Approximate amount of time to platinum: 50-60 Hours
- Offline Trophies: 40 (1
 , 4
 , 7
 , 28
 )
- Online Trophies: 0
- Number of missable trophies: 0
- Glitched trophies: 0
- Does difficulty affect trophies?: No, everything can be done on the easiest difficulty ‘Casual’.
- Hardest Trophy: My Name Is Ultima…
- Minimum Playthroughs: 1
- PS4/PS5 Autopop, Save Transfer, Crossbuy: No, game doesn’t have a PS4 version
- Free-Roam / Level Select after Story?: Yes, there is full free-roam after the story, you can still access the whole map and find all quests and collectibles.
- New Game+ Mode?: No
- Supports Manual Saves?: Yes, one Autosave slot and 10 Manual Save slots.
- Release Date: October 22, 2026
 , 4
 , 7
 , 28
 )
Introduction
Welcome to the Final Fantasy Resonance Trophy Guide! FF Resonance is the first HD-2D entry in the series and is an adaptation of Season 1 of the Final Fantasy Brave Exvius mobile game. Returning to the series’ turn-based roots, it plays similarly to the Final Fantasy I-VI Pixel Remaster Collection with the hook that iconic characters from previous games named Visions return to help you in battle with unique abilities.
Trophy-wise, the game has you finishing almost all of the content. This includes recruiting all 8 Party Members and finishing their substories, finding 89 out of 99 Tablet Shards, obtaining all 26 Visions, 9 Espers and 12 Legendary Arms, and defeating all 15 Cave Masters plus an end-game super boss. The story is quite long, you can expect 50-60 hours to finish everything. Even on Casual difficulty, you will still need to know what you’re doing when it comes to battles by exploiting enemy weaknesses and having a strong build.
Speaking of builds, the Visions act similarly to the Job system of previous Final Fantasy games. Whilst certain characters’ stats lean towards certain roles, you can customize them as you like and make a number of different builds depending on how you want to play. It is highly recommended to constantly swap a character’s Vision once they are maxed out to Lvl 9, allowing you to learn more abilities and have more options later in the game.
Step 1: Finish the story [40 Hours]
Play through all 8 Chapters of the story. It’s up to you how much of the side content you want to do along the way, as you can still free roam after the story and finish everything. It is recommended to at least collect the Tablet Shards as you go to avoid excessive backtracking later, and try to rotate your Visions as much as possible once they hit max level to give you access to more abilities and stat boosts.
Step 2: Side Content [10-15 Hours]
Once you’ve finished the story, you can access anywhere on the World Map with the airship. How much you have to clean up depends on how much you explored during the story, but you should focus on character substories for stat boosts, then the Legendary Arms and Adamantite so you can obtain the best weapons to tackle the higher level Cave Masters and Colosseum enemies.
You need all of the following Side Content & Collectibles:
Step 3: Defeat Ultima Weapon and clean-up [1-5 Hours]
You can battle Ultima Weapon as soon as you finish the story, but it’s best to leave it for last when you have the best gear, maxed out more Visions and are a high enough level (60-65 should be enough as a minimum). If this isn’t your last trophy, then it’s likely you still need to activate 400 Resonances which will take a short amount of grinding.
Useful Tips, Tricks and Guides:
- Final Fantasy Resonance Collectible Guide
- Party Members & Substories
- Cave Masters
- Visions
- Espers
- Tablet Shards
- Legendary Arms
- Adamantite
Final Fantasy Resonance Trophy Guide
 |
Ultimate Fantasy Obtain all Trophies. |
 |
| Story-related, cannot be missed. | ||
 |
A Journey Begins Clear chapter 1. |
 |
| Story-related, cannot be missed. | ||
 |
Those Who Unite the Skies Clear chapter 2. |
|
| Story-related, cannot be missed. | ||
 |
Olderion Blues Clear chapter 3. |
|
| Story-related, cannot be missed. | ||
 |
Viva la Revolución Clear chapter 4. |
|
| Story-related, cannot be missed. | ||
 |
In Search of the Truth Clear chapter 5. |
|
| Story-related, cannot be missed. | ||
 |
And the Winner Is… Clear chapter 6. |
|
| Story-related, cannot be missed. | ||
 |
Past Glory Clear chapter 7. |
|
| Story-related, cannot be missed. | ||
 |
Aspiration’s End Clear chapter 8. |
|
| Story-related, cannot be missed. | ||
 |
Those Who Defy Fate Unlock all party members. |
|
| Story-related, cannot be missed. The 8th and final party member will be unlocked automatically during Chapter 5. | ||
 |
Conscience Renewed Clear all party member substories. |
|
| All 8 characters have their own substories (which are regular Sub Quests).
» Final Fantasy Resonance – All Party Members & Substories Guide |
||
 |
Kweh! Obtain a chocobo. |
|
| Story-related, cannot be missed. Obtained during Chapter 1 when you visit the village of Kol. | ||
 |
Airship Enterprise Obtain an airship. |
|
| Story-related, cannot be missed. Unlocked at the beginning of Chapter 5. | ||
 |
Just Getting Started Clear all Fledgling League fights in the Colosseum. |
|
| The Colosseum opens up in Chapter 4 and can be found in Grandshelt, The Royal Capital. The Colosseum consists of four leagues of various levels of difficulty (represented by sign-up tables going left-to-right), each of which contains five battles. The Fledgling League is the easiest and is the leftmost green coloured table in the Colosseum. | ||
 |
Arena Fighter Clear all Brawler League fights in the Colosseum. |
|
| The Colosseum opens up in Chapter 4 and can be found in Grandshelt, The Royal Capital. The Colosseum consists of four leagues of various levels of difficulty, each of which contains five battles. The Brawler League is the blue table (second from left) in the Colosseum. | ||
 |
Career Fighter Clear all Gladiator League fights in the Colosseum. |
 |
| The Colosseum opens up in Chapter 4 and can be found in Grandshelt, The Royal Capital. The Colosseum consists of four leagues of various levels of difficulty, each of which contains five battles. The Gladiator League is the purple table (third from left) in the Colosseum. | ||
 |
Princess’s Reward Receive a reward at Oblivion Palace for the first time. |
|
| Turn in three Tablet Shards to unlock the first chest.
For more information, see |
||
 |
Memento Help the enigmatic princess regain her second memory. |
|
| The Enigmatic Princess is located at Oblivion Palace in the Kingdom of Grandshelt just southeast of Grandport Harbour, which you can first visit in Chapter 1. She will task you with collecting Tablet Shards scattered around the world, which you can use to unlock chests in four different treasure rooms. To unlock the second memory, you will need to find 60 Tablet Shards and return them to her, enough to open everything in the first two treasure rooms (although you don’t actually need to claim them to trigger the memory).
For Tablet Shard locations: |
||
 |
Gil Comes and Goes Spend a total of 100,000 gil. |
|
| Gil can be spent in Weapon, Item, Armor and Accessory Shops across the world. In general, it’s a good idea to upgrade your equipment whenever you reach a new town and unless you’re actively avoiding spending any money, this trophy will come naturally. Of course, once you obtain 100,00 gil, you can make a manual save, spend all your money to obtain the trophy and then reload your save. | ||
 |
Making Lid Proud Gain a total of 1,000,000 gil. |
|
| 1,000,000 gil seems like a lot of money, but if you’re exploring everywhere and levelling up your characters and Visions regularly through battle, this will come naturally along the way. You don’t have to own a total of one million at once, this trophy is cumulative.
If for some reason you have finished everything and still don’t have this trophy, you can farm King Gil Snapper enemies (see |
||
 |
Magicite Hunter Defeat a cave master. |
|
See  The Harder They Fall |
||
 |
The Bigger They Are… Defeat 5 cave masters. |
|
| See The Harder They Fall |
||
 |
The Harder They Fall Defeat all cave masters. |
 |
| There are 15 Cave Masters in total. Follow the guide below to find them all. | ||
 |
Struck Gold Defeat a King Gil Snapper for the first time. |
|
| A King Gil Snapper looks like this:
It is Level 49, weak to Ice and absorbs all other elements and has extremely high physical defence. Therefore, bring your magic users who can use Ice attacks, or equip Visions which use Ice attacks. For more information on how to find it, see |
||
 |
The Weapon that Suits the User Have Aileen craft a weapon for the first time. |
|
See  The Weaponsmith for more information. |
||
 |
The Weaponsmith Have Aileen craft weapons for all party members. |
|
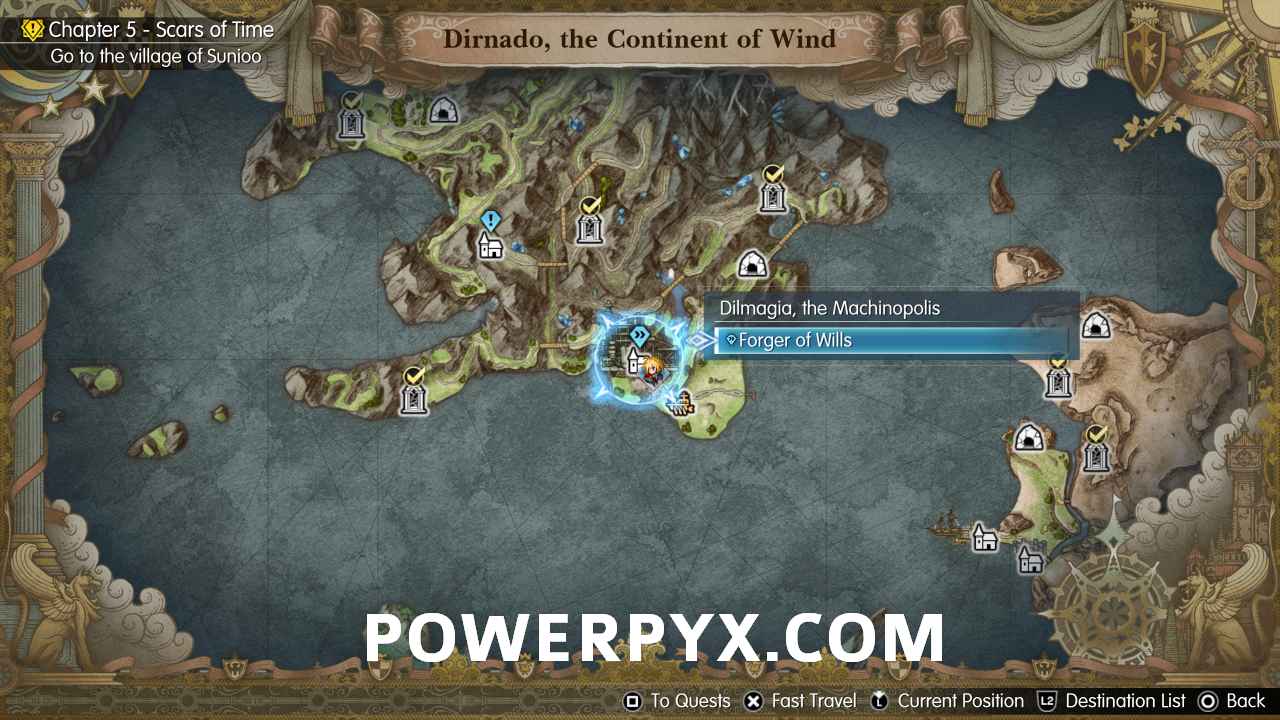
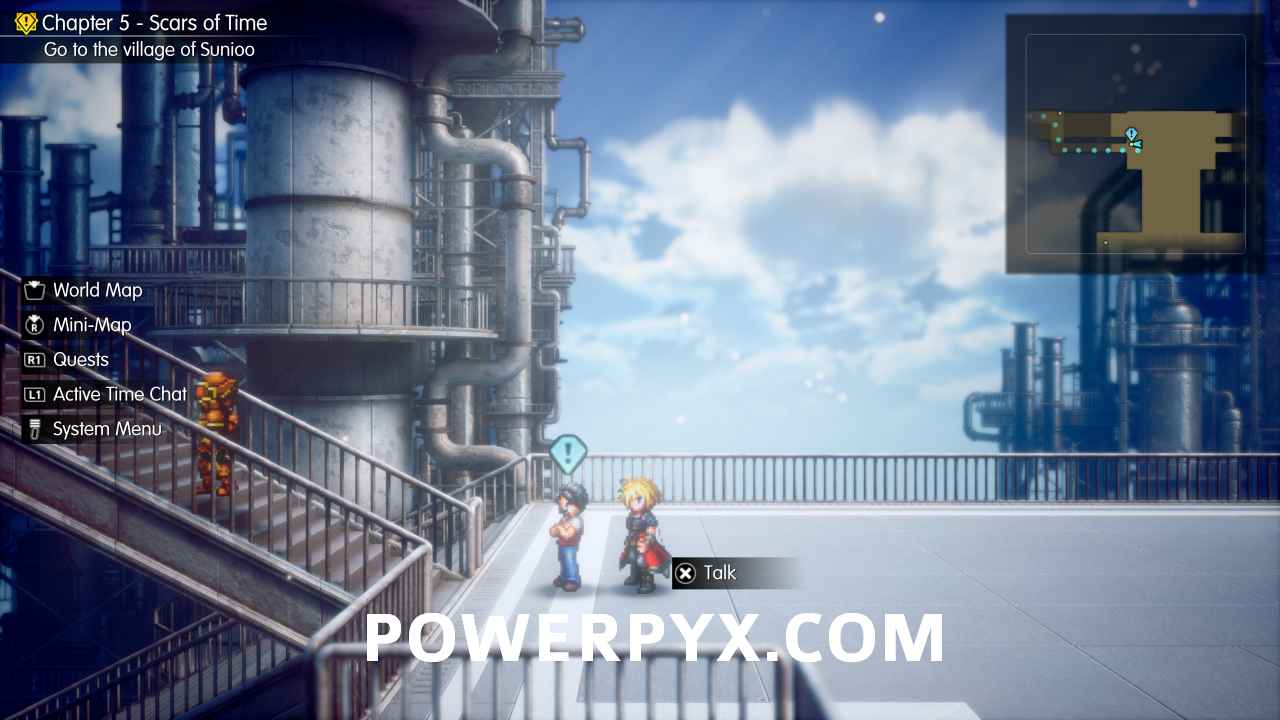
| All eight party members have a special weapon that can be crafted by Aileen. Firstly, you need to recruit Aileen to your airship by completing the Forger of Wills Sub Quest in Dilmagia, the Machinopolis in Chapter 6.
Once completed, she will be on the deck of your airship. To craft a weapon, each one requires one piece of Adamantite. » Final Fantasy Resonance – All Adamantite Locations Note that these weapons are some of the best in the game, in most cases actually better than the Legendary Arms, so it is well worth crafting them as soon as possible. |
||
 |
Ancient Artifact Obtain one of the Twelve Legendary Arms for the first time. |
|
| See Legendary Arms for more information. |
||
 |
Legendary Arms Obtain all Twelve Legendary Arms. |
|
| Once you obtain the airship in Chapter 5, you can access the Chamber of Arms on the mountainous island northwest of Dirnado, the Continent of Wind.
To obtain a Legendary Arm, you first need to collect an ‘Ancient’ version of it. Some of these won’t be available until later in the game. For more information on how to do that, see the guide below: » Final Fantasy Resonance – All Legendary Arms Locations Once you have an Ancient item, approach its respective pedestal and agree to undergo a trial. This will pit you against a Level 50 enemy that has two stages. Beat it and you’ll obtain the Legendary Arm with a new name. Do this for all 12 and you’ll unlock the trophy. Note that once you obtain all 12, you can undergo another trial for each Arm (against the same enemy, but Level 75) that will give you an upgraded ‘+’ version of it. This isn’t needed for any trophies. |
||
 |
Priceless Experience Defeat a Metal Gigantuar for the first time. |
|
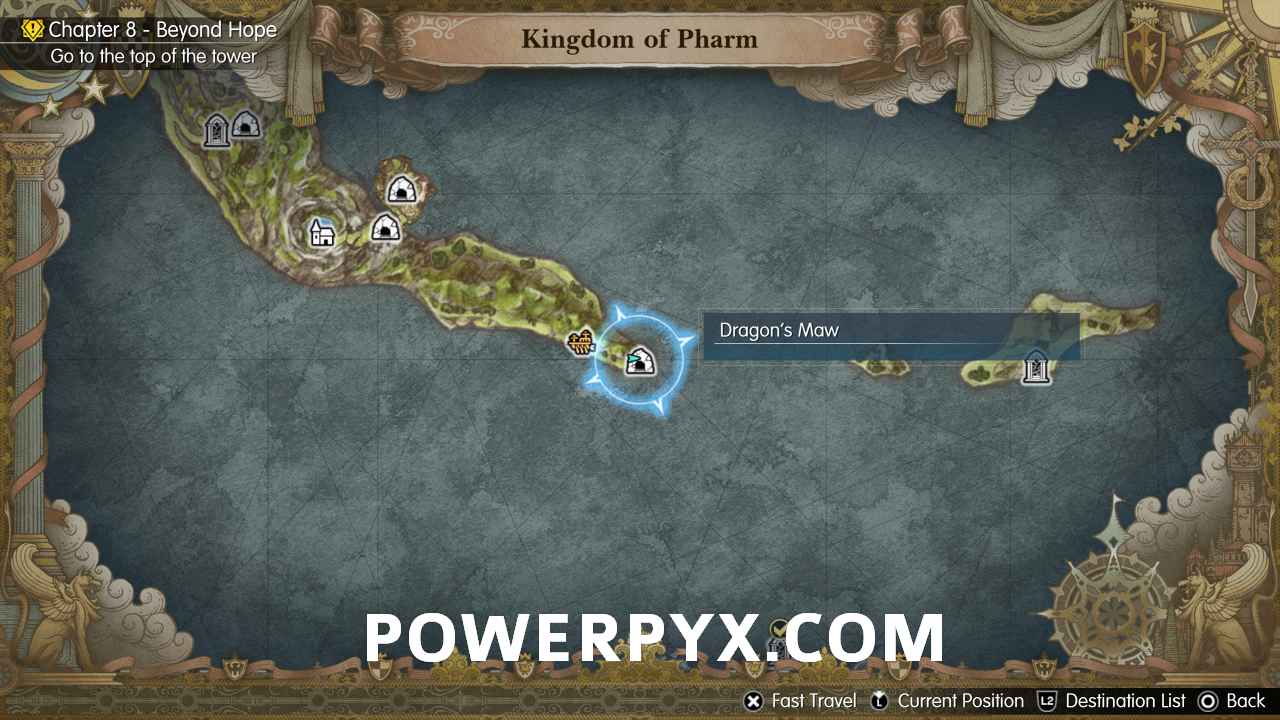
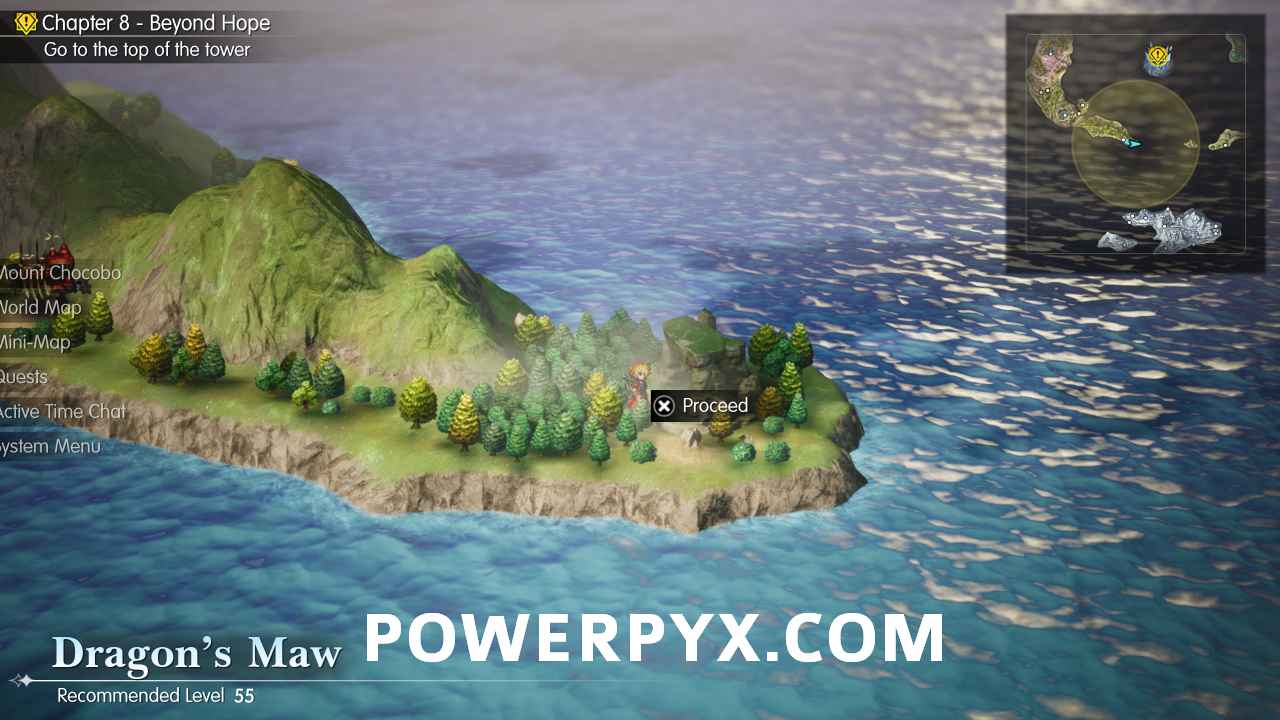
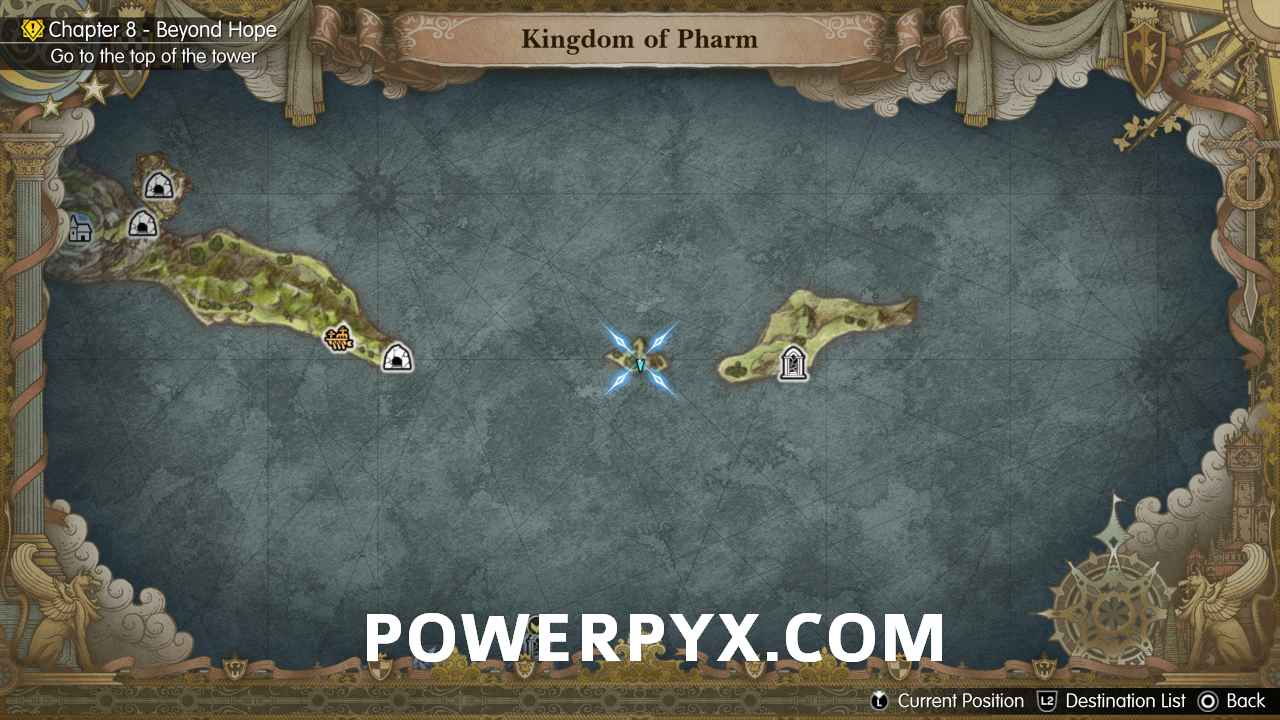
| The first step for this trophy is to actually reach the location of the enemy, which requires fighting your way through the optional Dragon’s Maw dungeon. This can be found on the southern tip of the Kingdom of Pharm as soon as you receive the airship in Chapter 5, but it has a recommended level of 55 (which is far above what you would naturally be at this time) and contains some of the toughest random encounters in the game. Therefore, it is recommended to come back at the end of the game when you are much stronger.
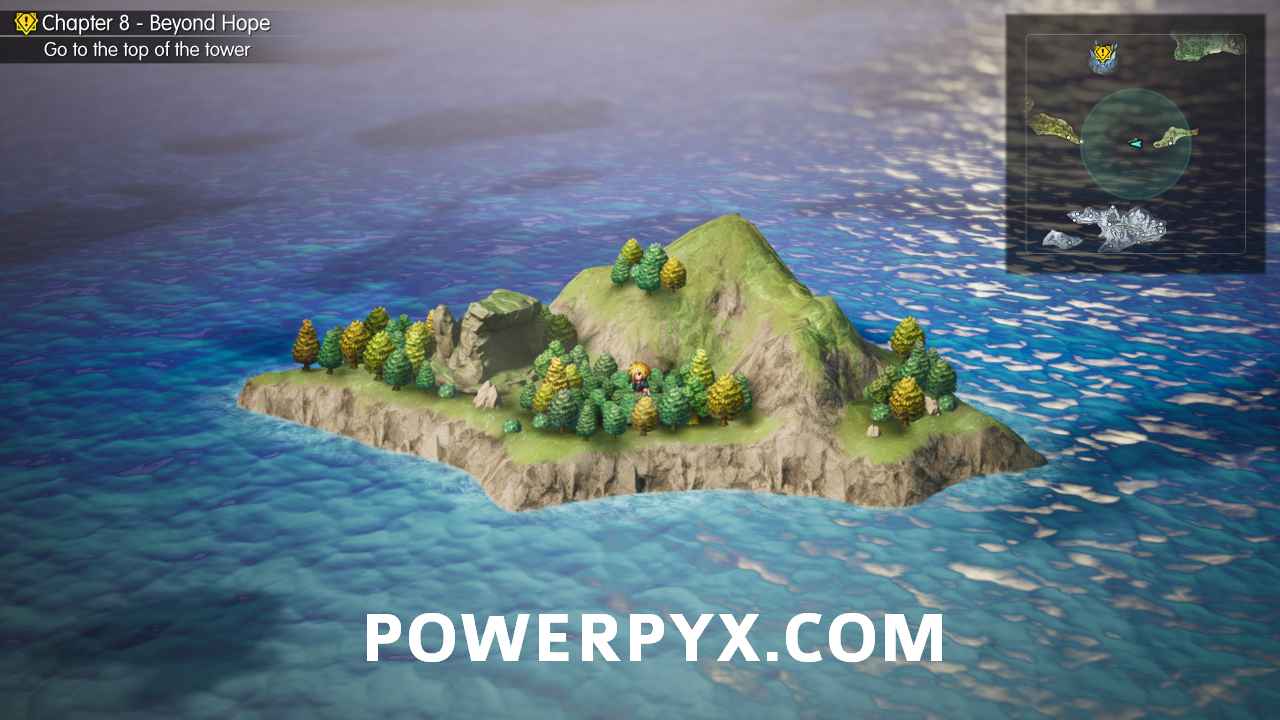
Once you work your way through the entire dungeon, you’ll emerge on a tiny forested island.
Run around here for a random encounter and you’ll fight one of three different enemies:
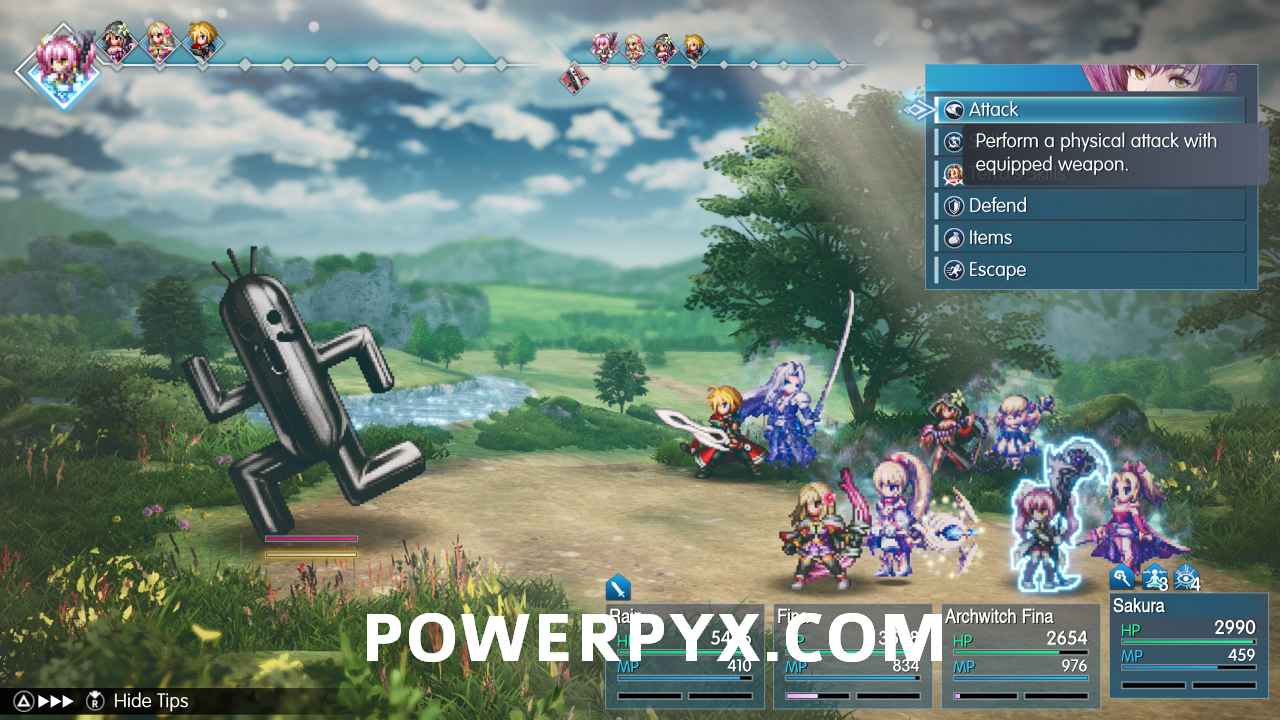
The Metal Gigantuar looks like this:
It only has 8HP but extremely high evasion, and eventually it will run away. At high level you will hit it more often than not, but to be sure to get as many turns as possible, use Dualcast and high level magic such as Ultima. |
||
 |
The First Step Towards Mastery Reach max Mastery Rank for a vision for the first time. |
|
| See Vision Connoisseur for more information. |
||
 |
Awakened Light Awaken a vision to its limit for the first time. |
|
| All Visions in the game have four levels, represented by three stars. When you obtain a Vision, it will have zero stars, and to ‘awaken’ it, you have to upgrade them by speaking to a Moogle of Light who can be found in almost all towns or the airship.
Visions have to be levelled step-by-step; firstly to one star with a Magicite Shard, then to two stars with Magicite, and finally to three stars with a Magicite Cryst. Therefore, you will need at least one of each type to unlock this trophy. As you progress through the game, the various levels of Magicite will become available to you, found in treasure chests, from enemies (all Cave Masters in particular drop various types of Magicite based on their level, as do certain Colosseum battles), from Sub Quests and more. Magicite Crysts can first be found in Chapter 5. Both the passive abilities and battle abilities of Visions are important to growing stronger and progressing through the game. There is enough of each Magicite to level every single Vision to three stars (in fact, you can buy the different types of Magicite in the Colosseum in the later chapters of the game albeit for a high price) so it’s recommended to upgrade them as soon as you can. |
||
 |
Visions Assemble Obtain 10 visions. |
|
| See Will Crystallized for more information. |
||
 |
Will Crystallized Obtain all visions. |
|
| There are 26 Visions in total. | ||
 |
Vision Connoisseur Reach max MR with 8 visions. |
|
| Max MR (or Mastery Rank) refers to reaching MR9 with a Vision equipped by a certain character. As Visions level up their MR, they grant more bonuses such as stat boosts and abilities. Levelling up is achieved by collecting Mastery Rank Points (MRP) which is another form of XP granted by enemies. Early in the game, it seems like it takes forever to level up Visions, but as you progress through the story, you will earn much more MRP and will level up your Visions quickly.
Note that MR is different from a Vision’s awakening (star) level. Those are permanent increases which remain across all party members, whereas MR is unique to each member. For example, if you obtain Cloud, equip him to Rain and level Cloud up to MR9, he will always have that mastery rank with Rain. However, if you then equip Cloud to Laswell he will be back to MR0 and you’ll have to level him up again. As said above, this seems like a grindy task, but in reality you should have this trophy easily during the main story if you are regularly rotating your Visions as soon as you hit max MR with a character. |
||
 |
Esper’s Covenant Gain help from 3 espers. |
|
| See The Sovereigns of the Planet for more information. |
||
 |
The Sovereigns of the Planet Gain help from all espers. |
|
| There are 9 Espers in total. | ||
 |
Keep Them on Their Toes Stagger enemies 1000 times. |
|
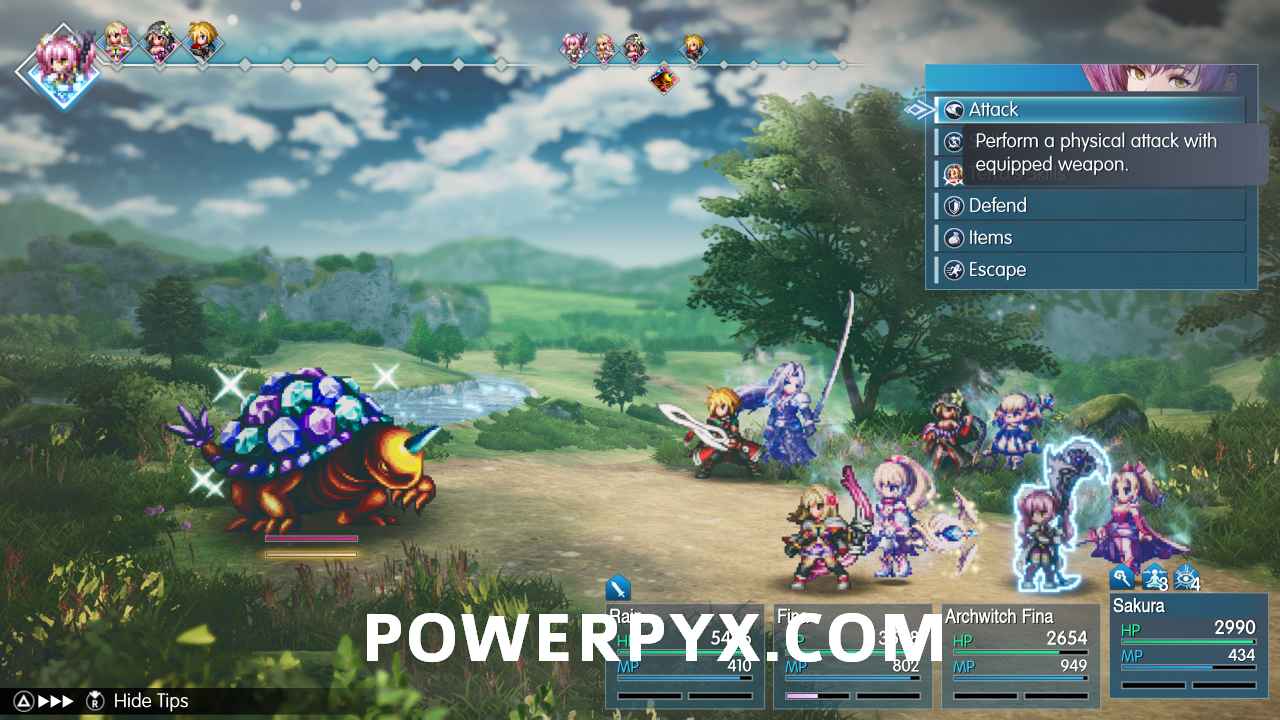
| Underneath an enemy’s health bar, they also have a yellow ‘Stagger’ bar. As is found in most other modern Final Fantasy games, staggering an enemy leaves them unable to attack and susceptible to more damage. To reduce an enemy’s stagger gauge, you must exploit its weaknesses either by hitting its elemental weakness or using attacks that specifically target stagger gauges (denoted by a bullet symbol).
You will stagger enemies way more than 1000 times during the game (this trophy unlocked during Chapter 4 for this guide) so you don’t need to worry about grinding out this one. |
||
 |
Resonance Rapid Fire Use Resonances 400 times. |
|
| To use a Resonance, you firstly need to equip a Vision to a character. Once that is done, you need to trigger a Sweeping Stagger in a battle, which is done by staggering every enemy within one turn as denoted at the top of the battle screen. Then at the end of the bonus turn (where you can attack staggered enemies once more with each character), you can perform a Resonance which is either a physical or magical attack against an enemy, or a healing/protective move to help you and your allies. This is usually depicted as an FMV featuring the Vision. If you have all four of your party members equipped with a Vision, you can choose which of the four to perform to suit the battle situation.
Depending on how much you level grind during the story or activate Resonances, you may need to grind out some Resonances post-game. The quickest way to do this is to equip a Vision whose Resonance heals you (such as Leah or Ayaka) and find a group of enemies (or single enemy) that you can physically attack to stagger quickly. Leave one enemy left, then keep staggering it so you can use your Resonance. Then heal the enemy so it doesn’t die and keep staggering it and using the healing Resonance (use Defend to quickly pass any turns between the staggering and using the Resonance). This saves time having to run around the map activating random battles. |
||
 |
Mechabo Mania Upgrade Mechabo to his ultimate form. |
|
| In Chapter 2, after the story-related events at Mobliz Shipyard, you will return to Dwarven Forge and meet Verun who can upgrade Mechabo for you. This unlocks the Arise, Mechabo! Sub Quest.
To finish that, obtain two Dynamo Stones by killing Ipooh (large bears) enemies outside of the Dwarven Forge on the World Map. After this, Mechabo will be repaired, and to upgrade him further you can undertake a long Sub Quest named Mechabo Evolved for Verun, obtaining materials to improve Mechabo’s abilities. Mechabo Evolved:
After this is completed, you need to progress to Chapter 5 and then return to Dwarven Forge and speak to Verun to start the Mechabo Unleashed Sub Quest, which again involves you defeating enemies for materials. Mechabo Unleashed:
After these items are returned and you speak to Verun on the airship, the quest will complete and the trophy will unlock. |
||
 |
My Name Is Ultima… Defeat Ultima Weapon. |
|
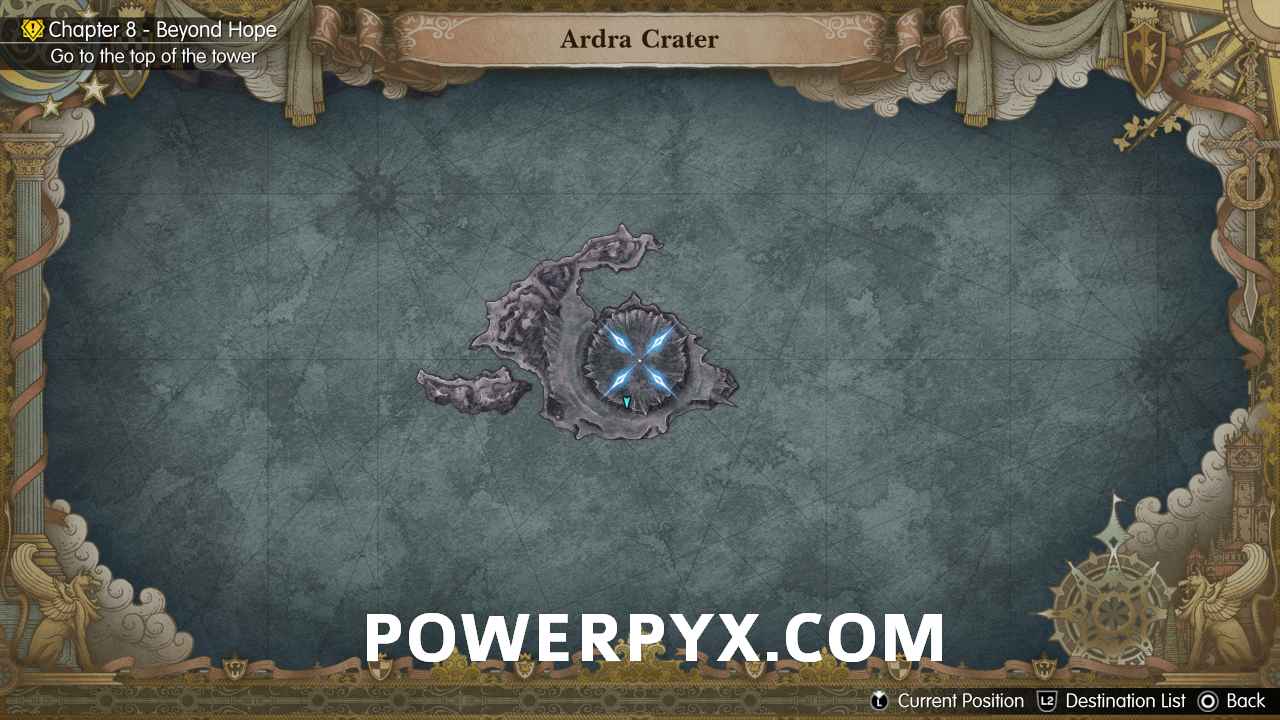
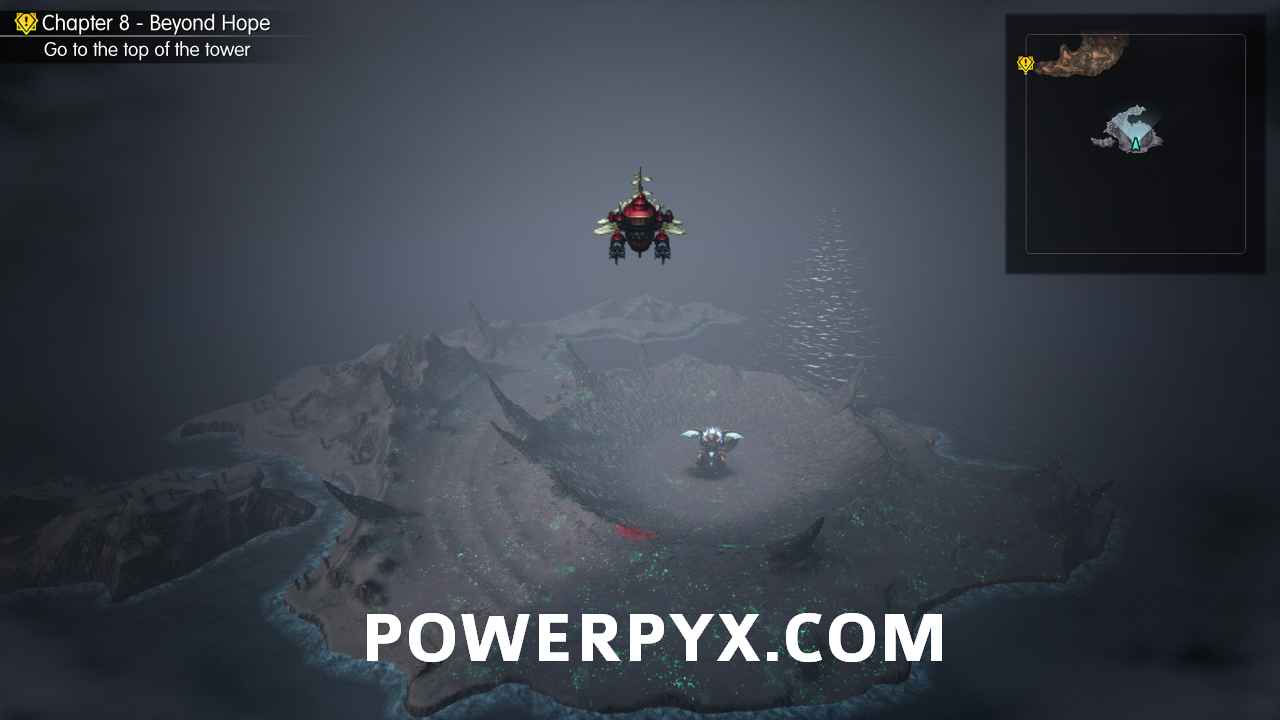
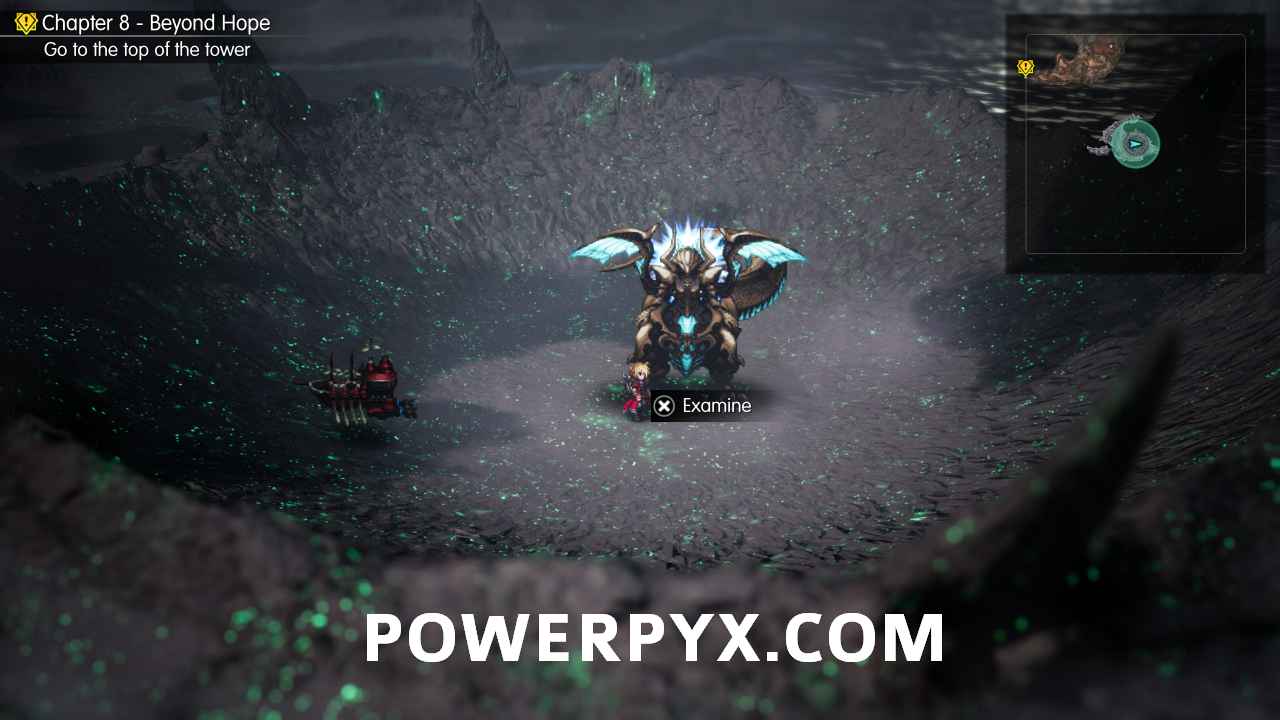
| When you reload a cleared game save, you’ll get a short cutscene on the airship saying that a new presence is in Ardra Crater on the south-east of the map. Ultima Weapon will be standing in the middle of it, and can be battled if interacted with.
It is Level 70 and although it has a lot of health (3.9 million HP!) and thus takes a lot of time to beat, with the right strategy it is quite easy and certainly not as hard as the Sephiroth Vision fight. It can be beaten at Level 60 as build and strategy is far more important than small stat increments, but obviously the higher your level, the easier it will be. The following is the party and setup used to defeat him, assuming all Visions are fully maxed on each character: Rain
Abilities:
Fina
Abilities:
Archwitch Fina
Abilities:
Sakura
Abilities:
As you can see, this is very much a magic-based setup. The crux of the strategy is to hit Ultima Weapon hard with Dualcasted Ultima from Sakura and Archwitch Fina, whilst Rain chips away with his powerful physical attacks (in particular, Double Action > Soul of Valiance x2 works well, and then his Crimson Onslaught Limit Break when it builds up). He can also cast Protectga on the party when needed and be an emergency healer with items. The most vital part in this strategy is Fina, who is used almost exclusively to heal or buff the party. For her first two turns, use Dualcast and Reraise on all four characters as a failsafe to revive everyone in the party if they die. Then on subsequent turns alternate between curing allies, casting Shellga on the party or Dispel on Ultima Weapon if it uses Bravery on itself. If she does get a spare turn, she can summon Bahamut who can chip away at Ultima and may even draw some of its attacks. However, where she truly shines is that with the setup above, every time Fina heals the party she will gain a huge chunk of Limit Break. When she has at least one bar full, use Entrust to transfer this to Sakura. This is because Sakura has the Eternal Veil Limit Break which nullifies all damage done to the party, which is incredibly useful. Not only that, it only costs one Limit Break bar, so if her meter is full she can use it twice. Every time Ultima Weapon is going to use its most powerful attack Ultima Beam (denoted by an exclamation mark on the turn bar and red flames above its health bar), use this with Sakura beforehand and all damage will be nullified. Using this method, you should be in little danger from Ultima. Its weaker attacks won’t kill you, and in fact work to your benefit because being damaged allows you to be healed by Fina, which gives her a huge chunk of Limit Break to give to Sakura to protect from major attacks. Ultima Weapon also likes to inflict you with multiple status ailments, but Fina and Archwitch Fina are fully protected by Ribbon accessories, Sakura is protected by Terra’s innate Ribbon ability, and Rain is at least protected from Confuse which can cause havoc if left untreated. If he is blinded or poisoned, Fina can always use Esuna or he can use a Remedy on himself. If something does go wrong and you lose control of the battle a little, Reraise is there to back you up, and just reapply it if any character gets KO’d. Your MP should last a long time as the setup is designed to restore some every turn and halve the cost of the expensive magic, but don’t be afraid to use Mist X-Ethers or even Megaelixirs if you feel the need. After all, what else are you saving them for? The battle is a bit of a war of attrition, but eventually it should go down, rewarding you with an Ultima Reactor (a great accessory) and this trophy. |
||

Leave a Reply