
Final Fantasy Resonance has 99 Tablet Shard Locations. For trophies you only need 89 of 99 available Tablet Shards, allowing you to skip any 10 of them. Finding 60 is required for Memento trophy, 76 are required for the Ancient Firearm as part of the Legendary Arms (which unlocks the identically named Legendary Arms trophy/achievement), and there are two Adamantite unlocked at 80 and 89 Tablet Shards, needed for The Weaponsmith trophy.
Tablet Shards are sparkling gold items that you can interact with in the world, found in almost all towns and dungeons, which you can return to the Enigmatic Princess at Oblivion Palace in the Kingdom of Grandshelt. These open up treasure chests in four different rooms in the palace, containing weapons and items, some of which are required for trophies (see above). None of them are missable, everything can still be collected after the story in free-roam. However, it is recommended to get them as you go along to avoid having to backtrack through dungeons and towns.
Currently 98 of 99 Tablet Shards have been found (for trophies you only need 89). If you find the missing one, please leave a comment!
Collectibles Overview:
Chapter 1
1. Grandshelt, The Royal Capital – In the Commercial District (take the path to the east from the main entrance to the area), to the left of the weapon & item vendors’ stalls amongst some crates.
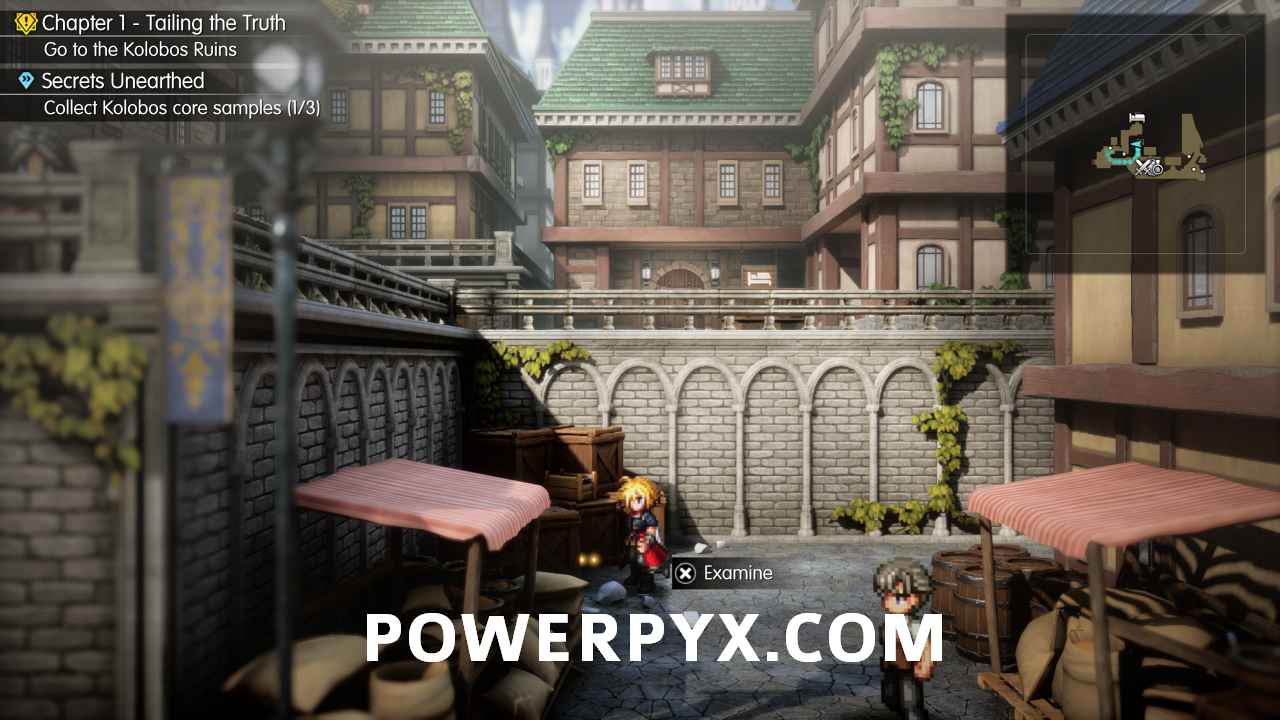
2. Village of Kol – On the left side of the pool in the south-west of the village.
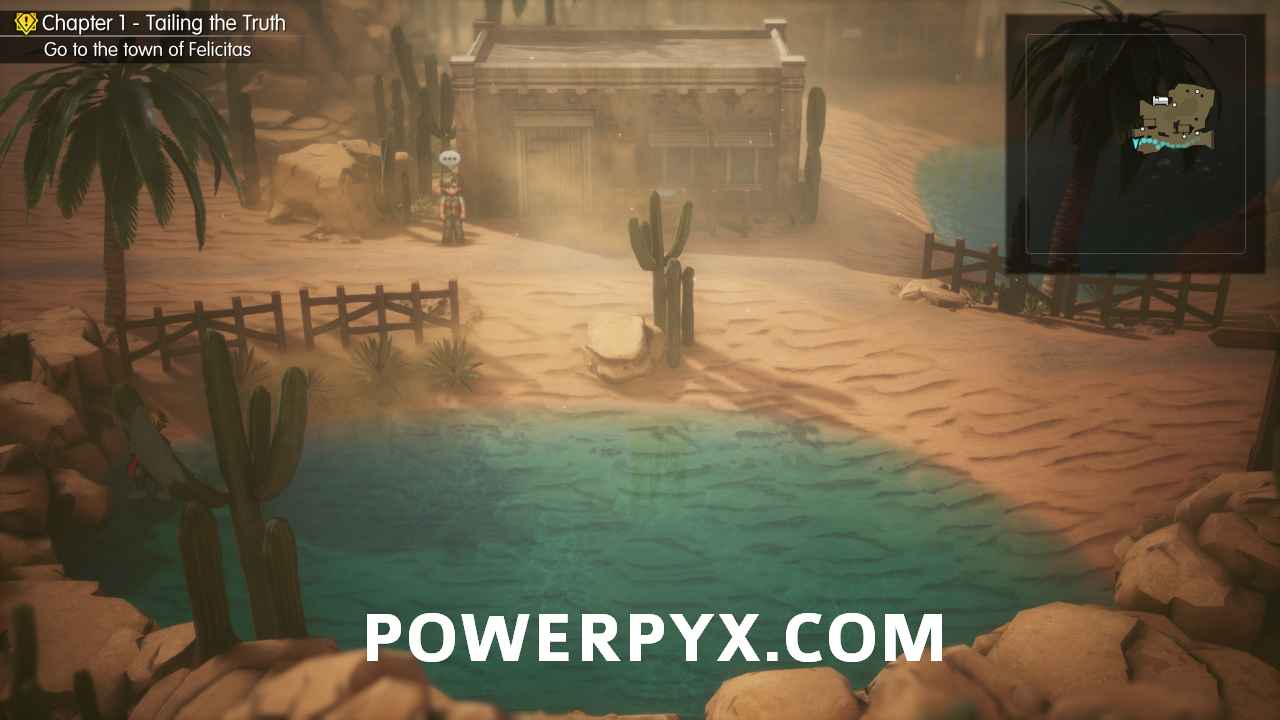
3. Town of Felicitas – When you enter, cross the wooden bridge to the east and then the Shard is just to the right of the stone wall ahead of you.
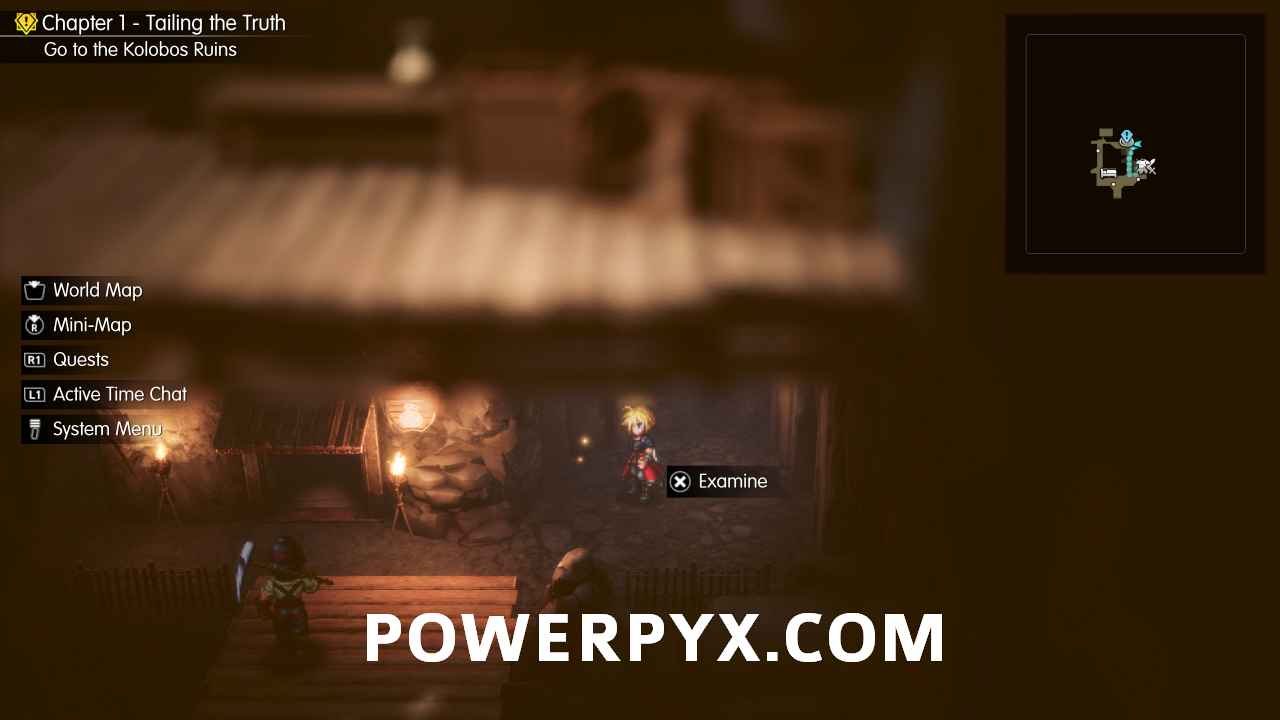
4. Town of Felicitas – When you enter, cross the wooden bridge to the west, then turn left at the end where the torch is to find a hidden path. Follow it, climb the ladder and this is behind the wall on the left.
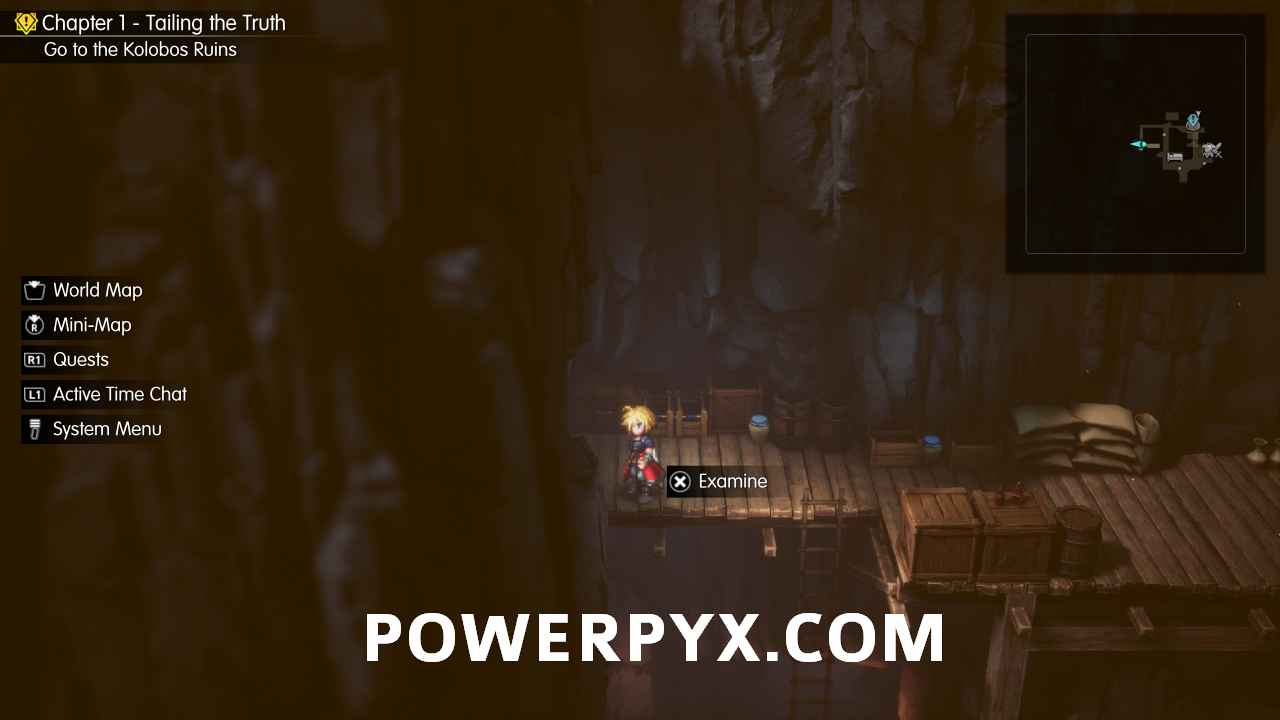
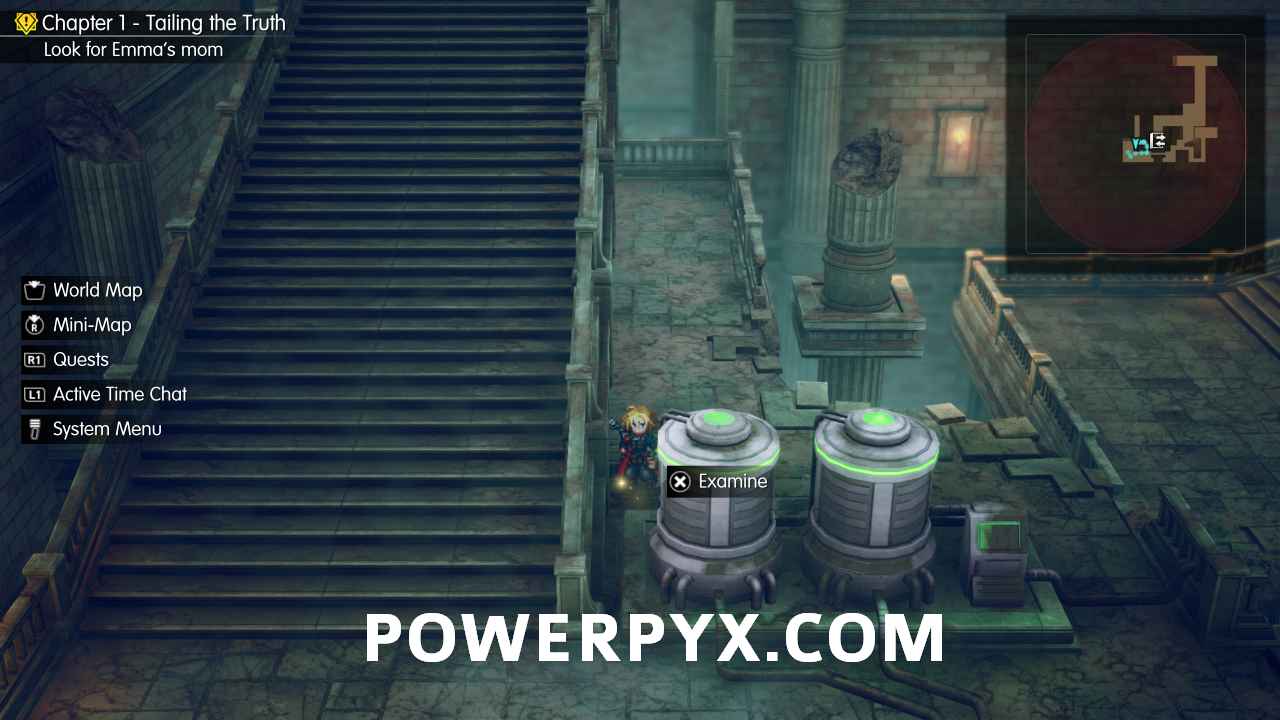
5. Kolobos Ruins – In the second area, go down the steps as you enter and you can see this Shard behind the two grey/green cylinders.
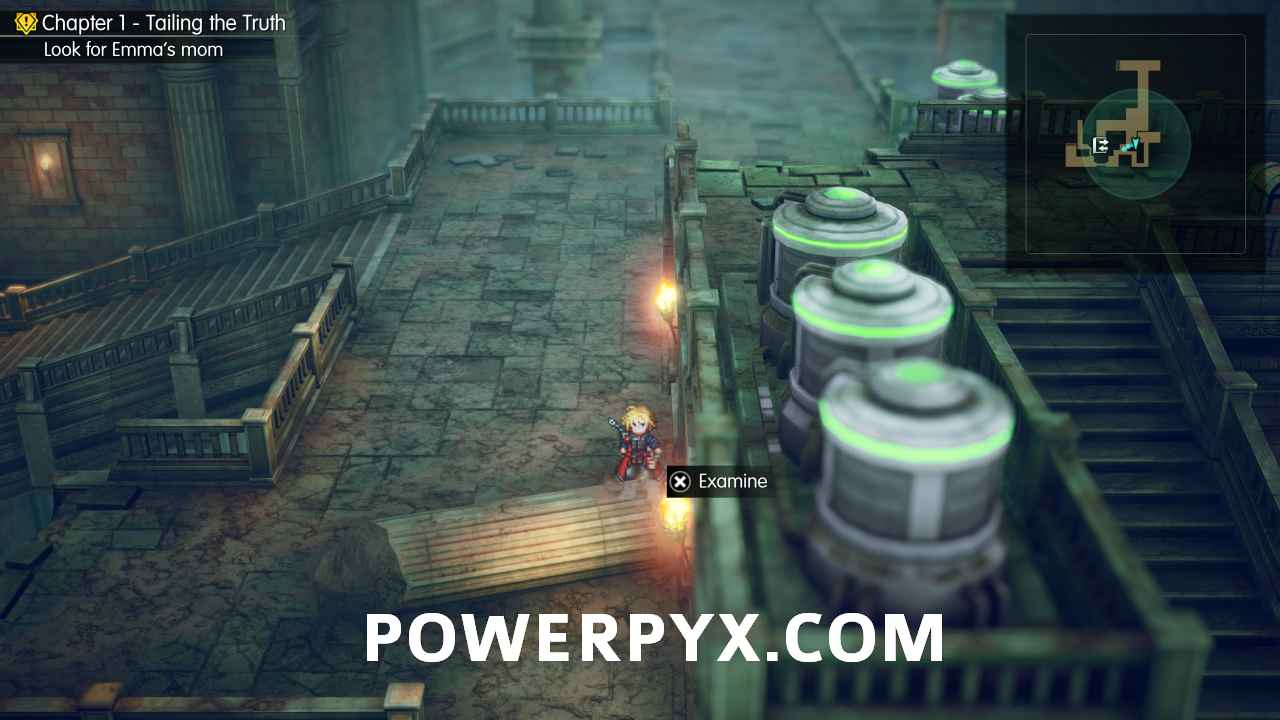
6. Kolobos Ruins – After the previous Shard, the bridge will collapse and you’ll drop down. After a fight, climb back up the ladder then the next set of stairs, and you’ll find this behind the collapsed stone pillar just below you.
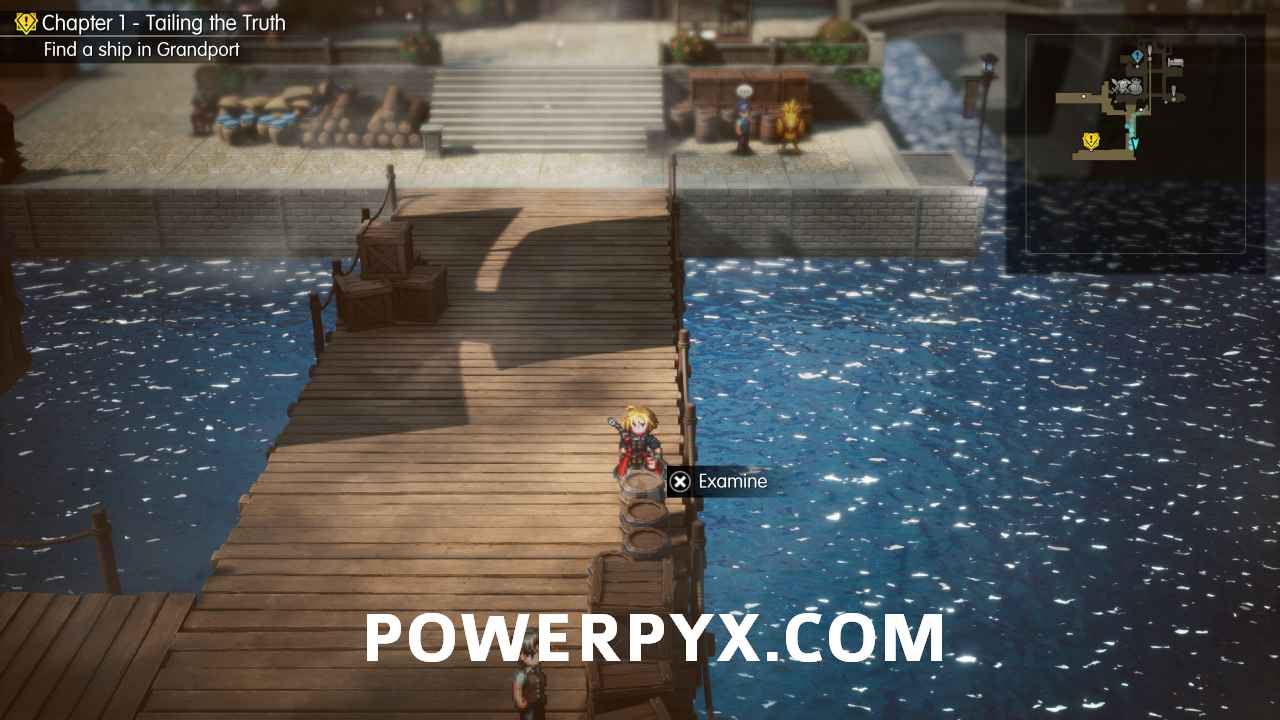
7. Grandport Harbour – South of the Item Shop, walk down the wooden pier and this is behind some barrels on the right-hand side.
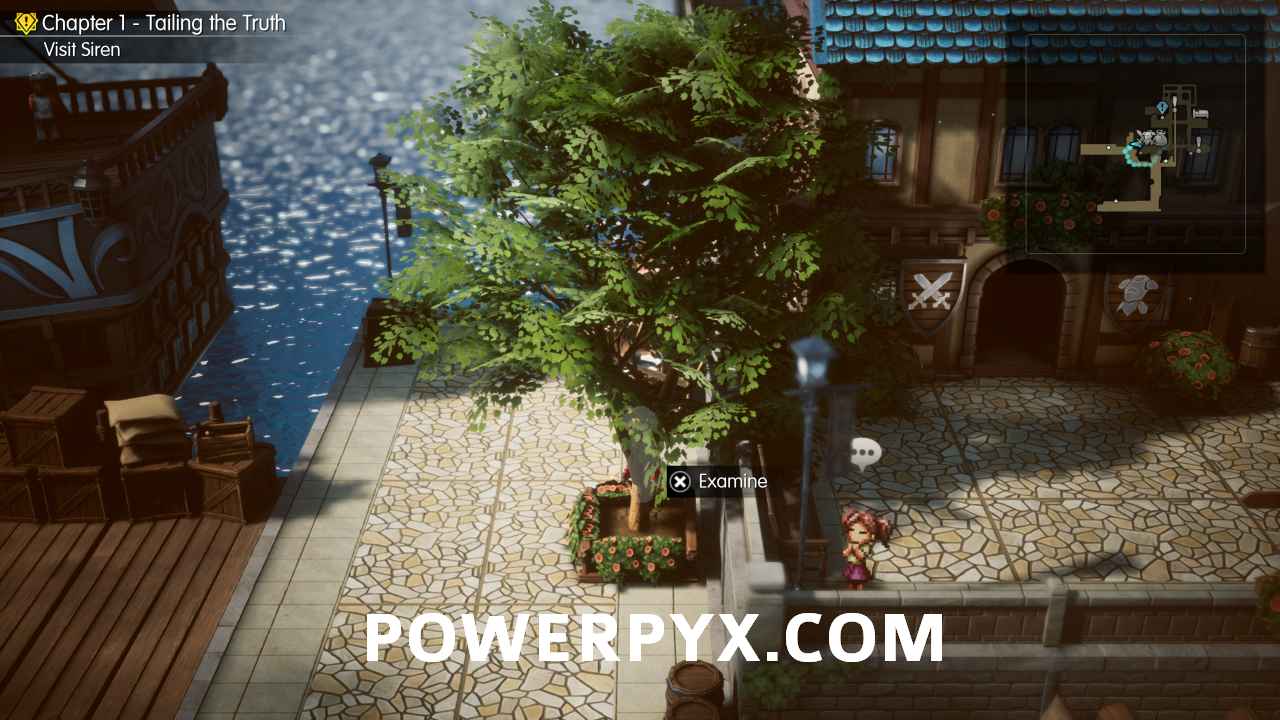
8. Grandport Harbour – Just west of the Weapon & Armour shop, at the base of the tree.
9. Cavern of Swords – Behind the stalagmite at the end of the cave.
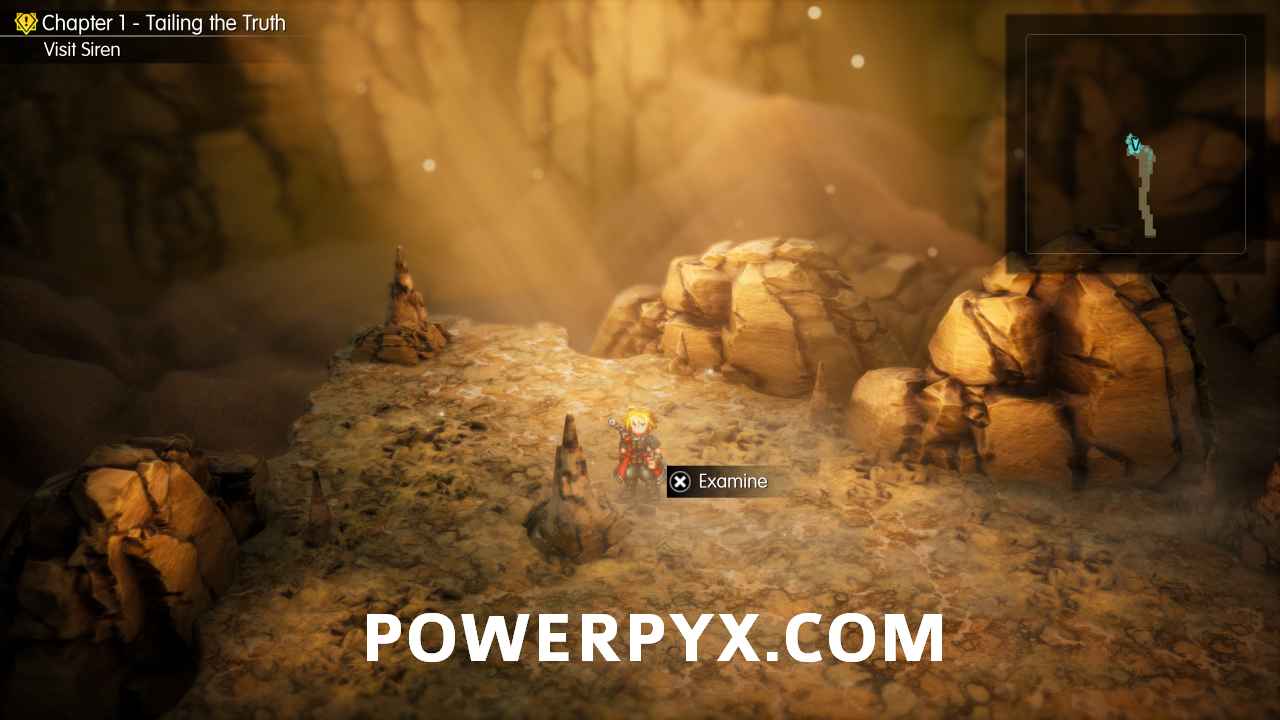
10. Siren’s Tower – When you enter, go past the fountain and up the stairs to the right to find this on the edge of the ledge.
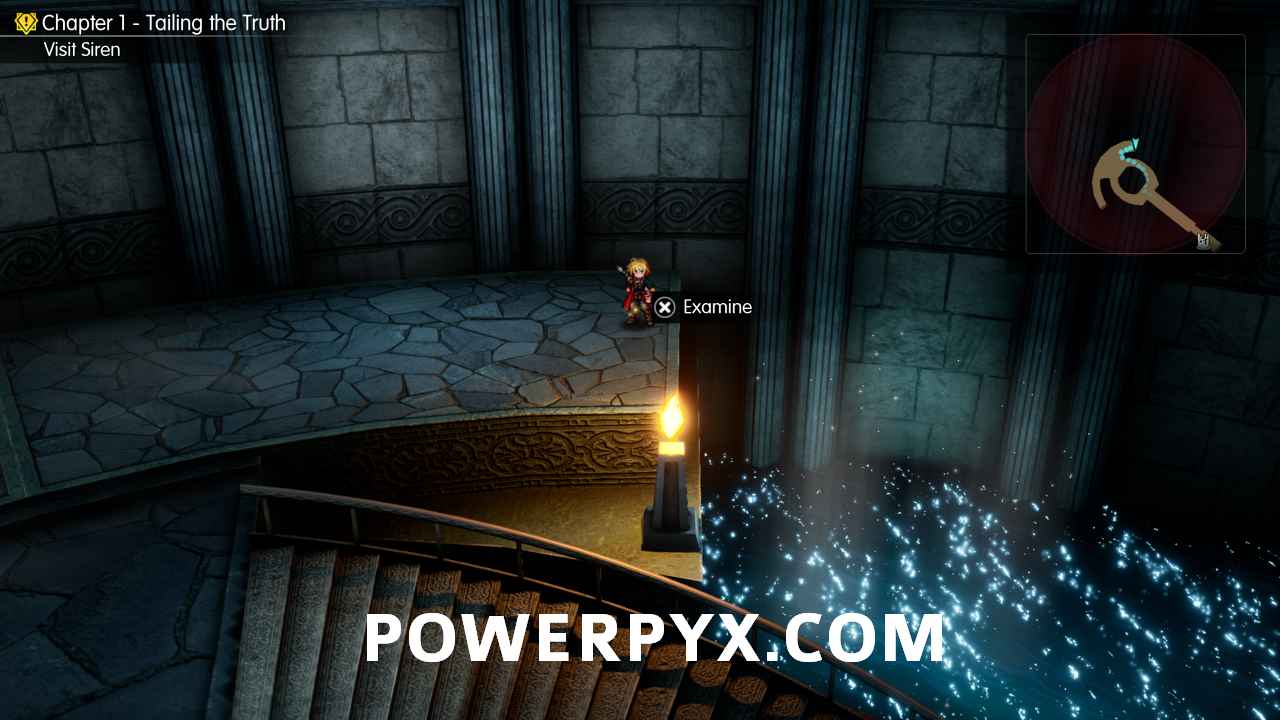
11. Siren’s Tower – At the top of the first main area when you finish climbing the staircases and before entering a room, go to the end of the ledge on the right.
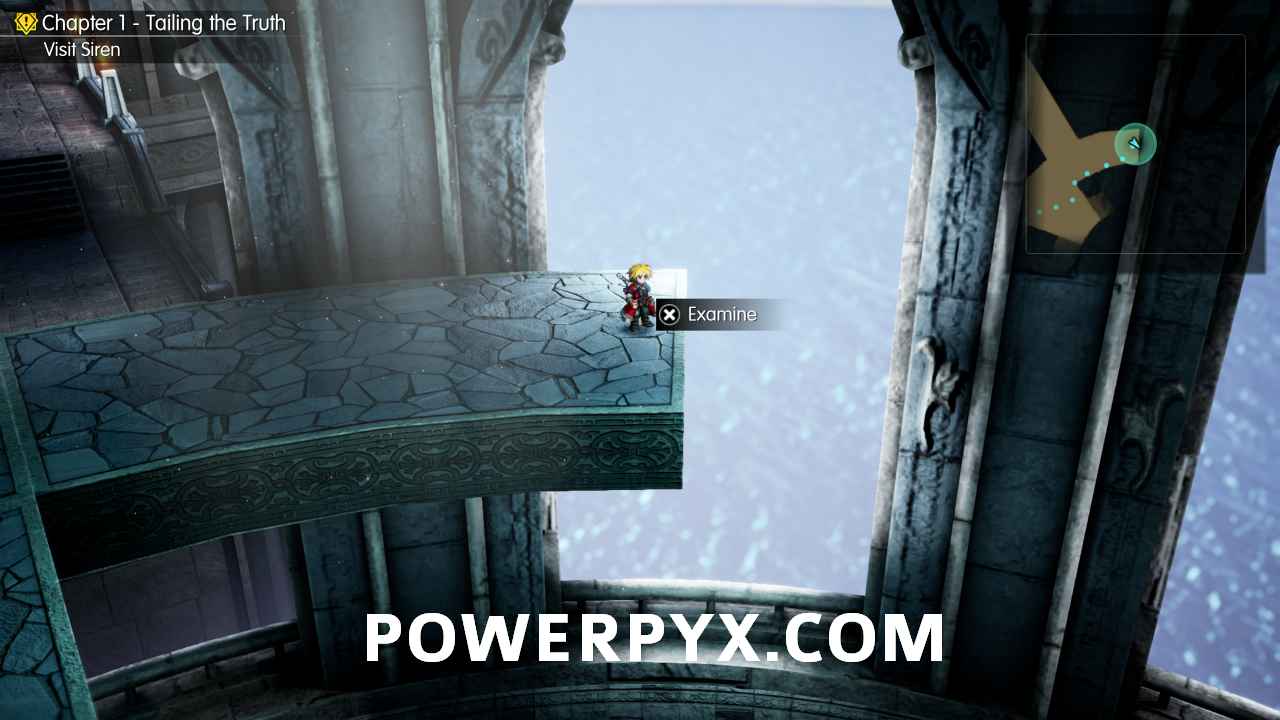
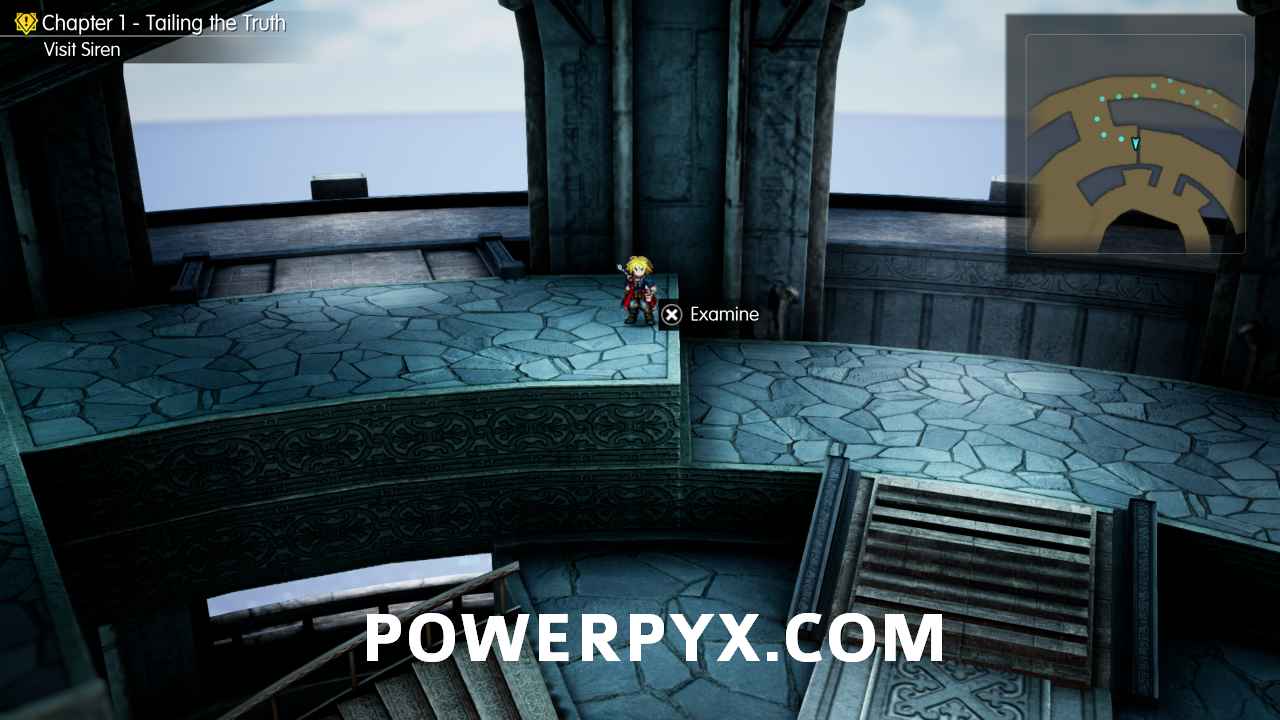
12. Siren’s Tower – In the next room, up the stairs and to the left at the end of a visible ledge.
Chapter 2
13. Dilmagia – As soon as you enter, go to the first side area to the left where there’s an NPC and a shut gate with electric lights around it. It’s in the corner.
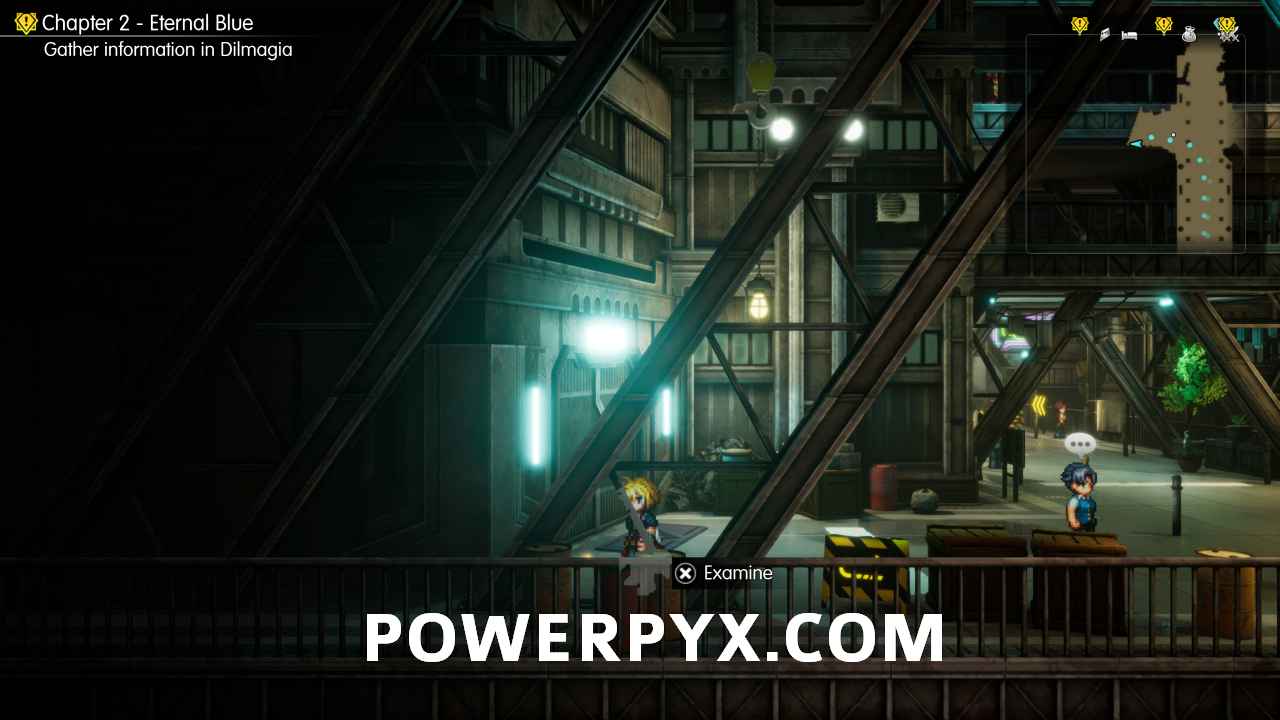
14. Dilmagia – At the second intersection in the main area (where west is the noticeboard and east are the shops), there is a pile of wooden crates with the Shard behind them.
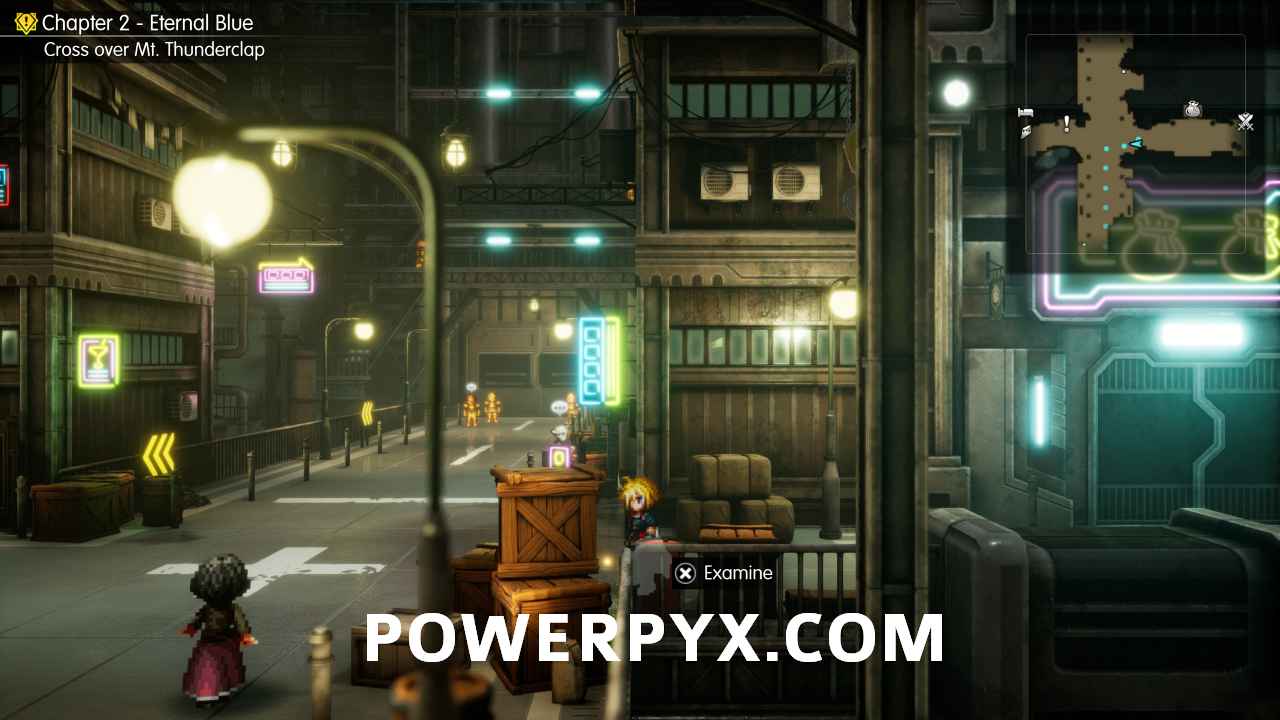
15. Dilmagia – In the Shipyard, head up the first set of stairs, then head up the stairs to the left of the main platform. At the end of this path just next to the ladder is the Shard.
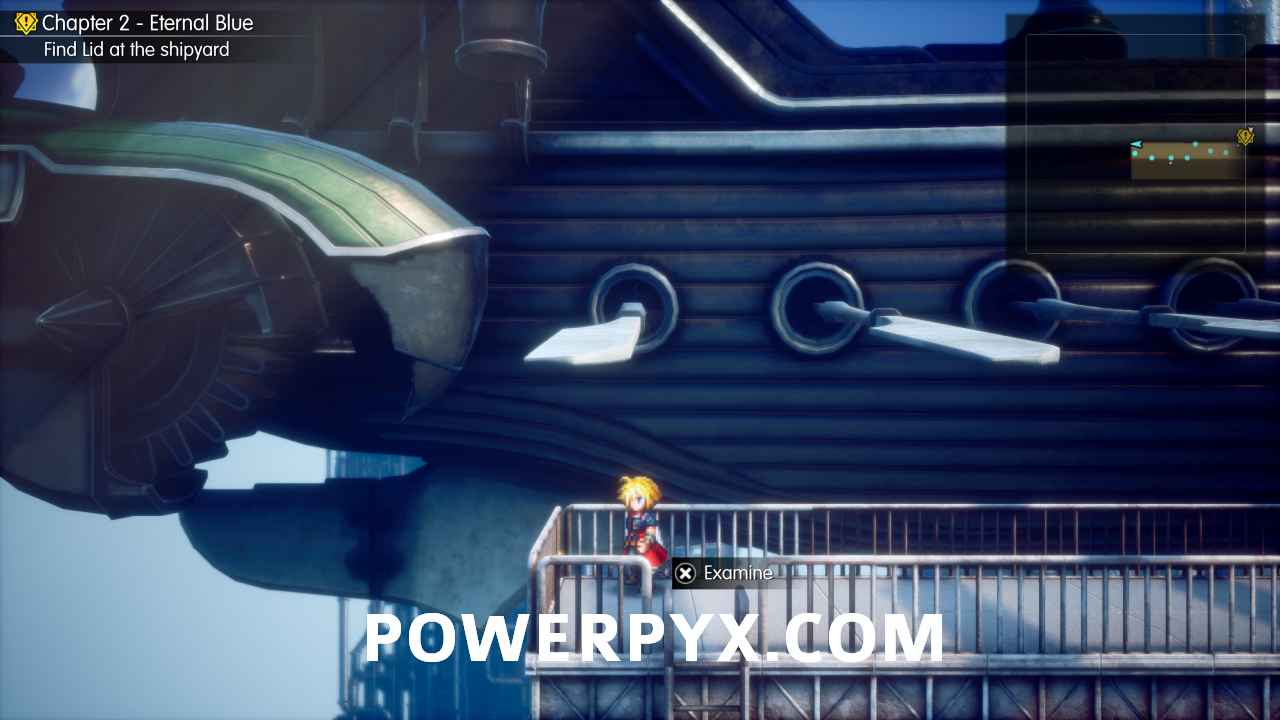
16. Dilmagia – In the Shipyard, head up the first set of stairs, then head down the stairs to the right of the main platform. This is next to the third metal girder along that path.
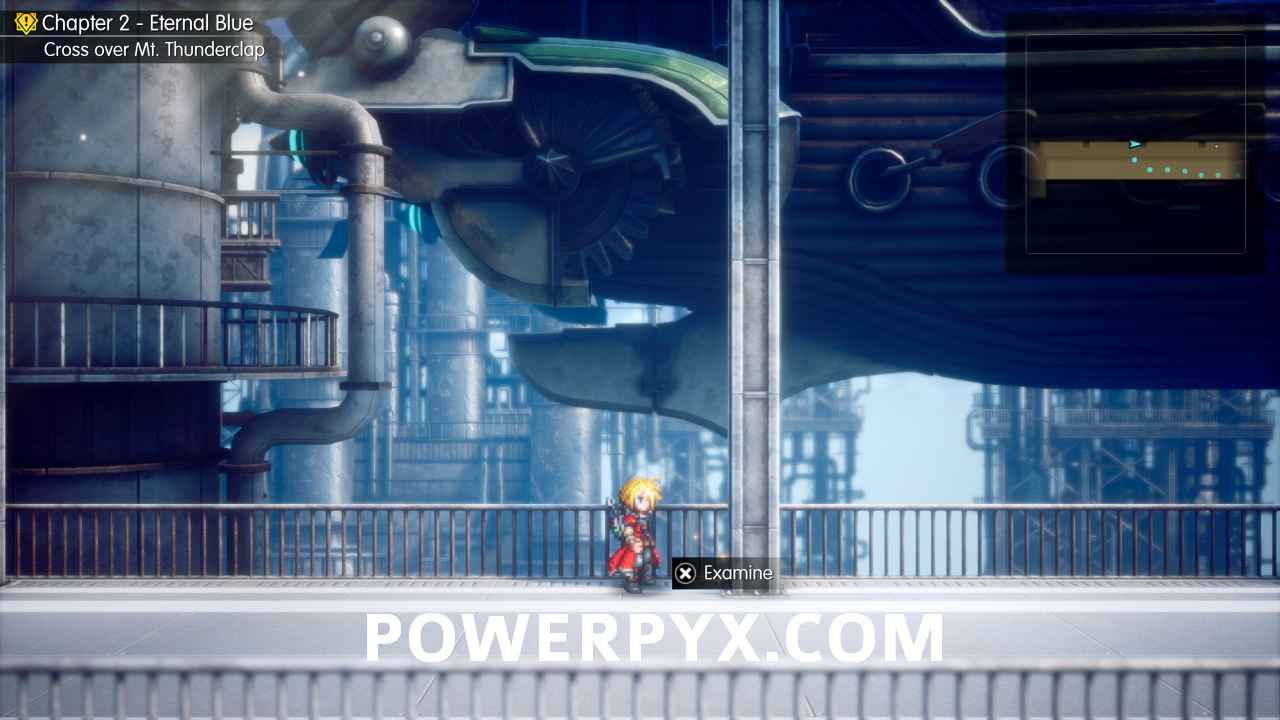
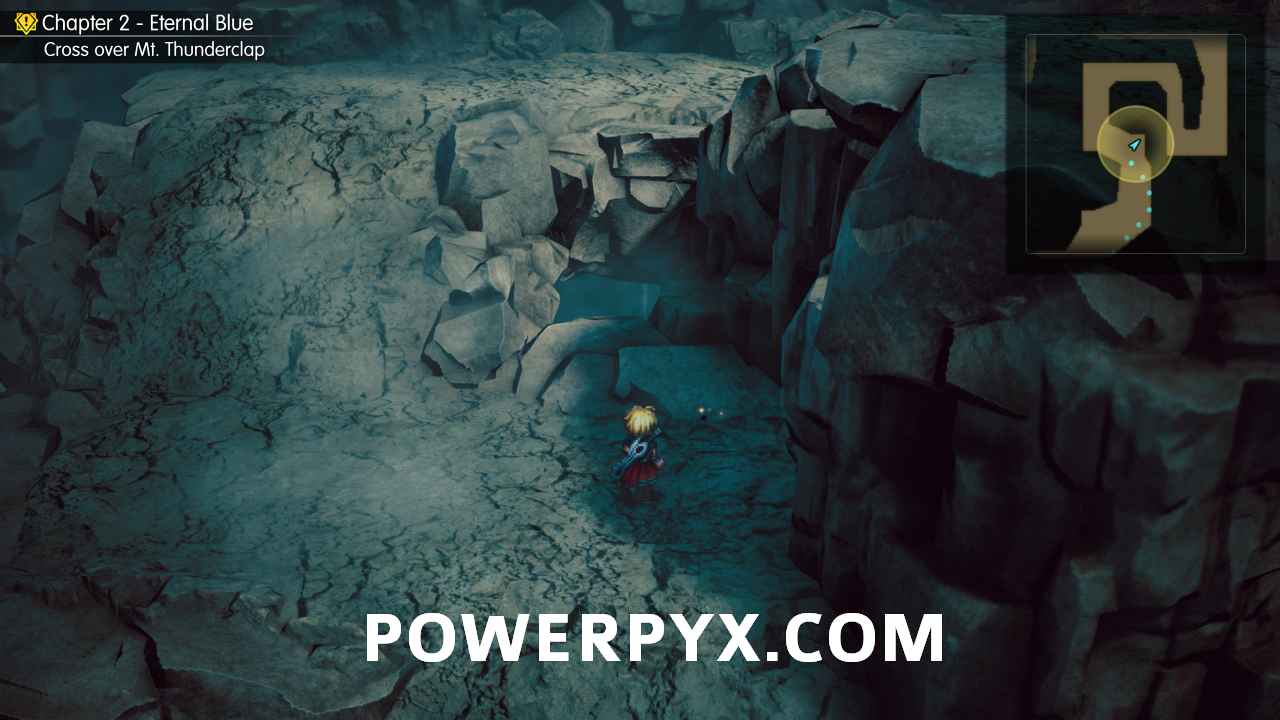
17. Mt. Thunderclap – Take the ‘harder’ path (don’t pay Lid the 1,000 Gil) and this will be along the path right in plain sight around the corner just after the yellowish tree you examine for the ‘Elven Maven’ Sub Quest. If you took the easier path, you can return to the dungeon entrance by using Teleport from the Save Point and take the harder path up to the Shard.
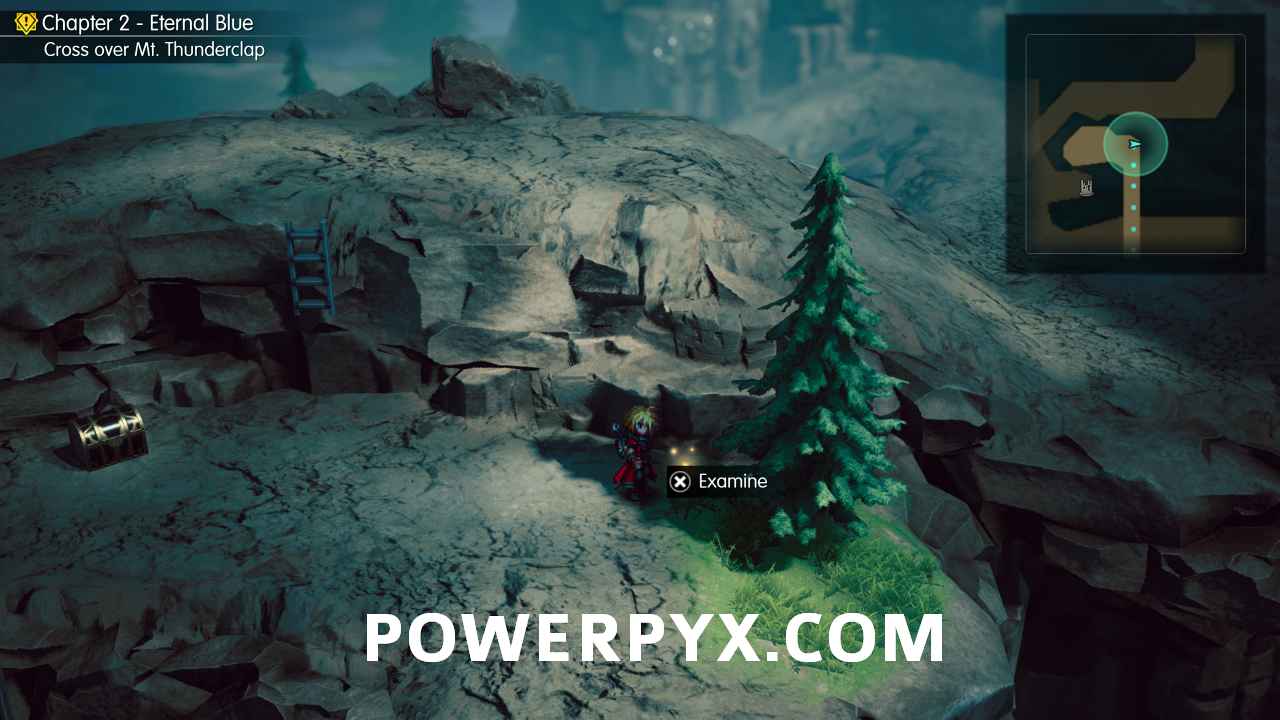
18. Mt. Thunderclap – Take the ‘easier’ path (pay Lid 1,000 Gil at the dungeon entrance) and climb up the long ladder. Follow the path and this will be in plain sight next to a tree. Note that if you took the harder path originally, you can use the Save Point to Teleport to the dungeon entrance and then pay the Gil to unlock the easier path.
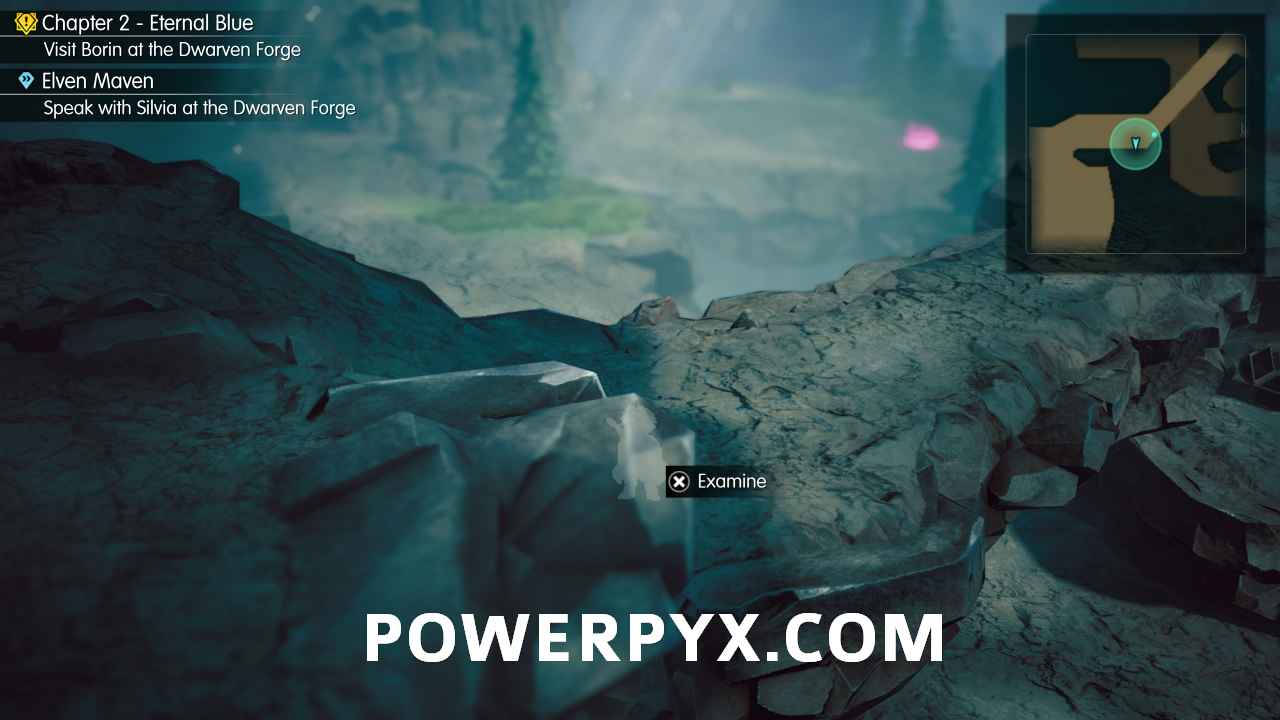
19. Mt. Thunderclap – After emerging from the dungeon, you’ll be back on the World Map. Head south, go past the Shrine of Zidane and loop back into an upper entrance to Mt. Thunderclap (the path you take to get the Ramuh Esper). Go down the small stone ramp ahead and this Shard will be hidden behind the rocks.
20. Dwarven Forge – In the south-west corner of the main area, cross a wooden bridge and head south to find this at the end of the path.
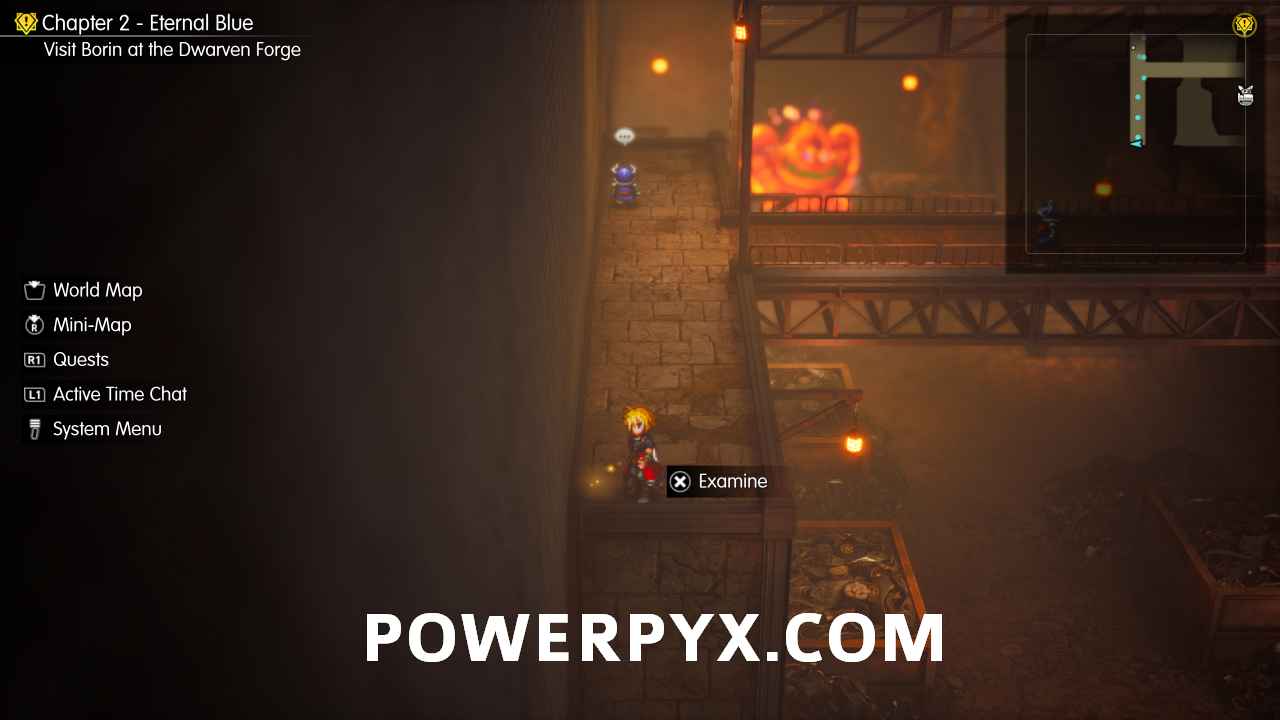
21. Dwarven Forge – In the north-west of the main area, go down the steps to where you fight the Mom Bomb boss in the main story. Head to the south of the path to find this.
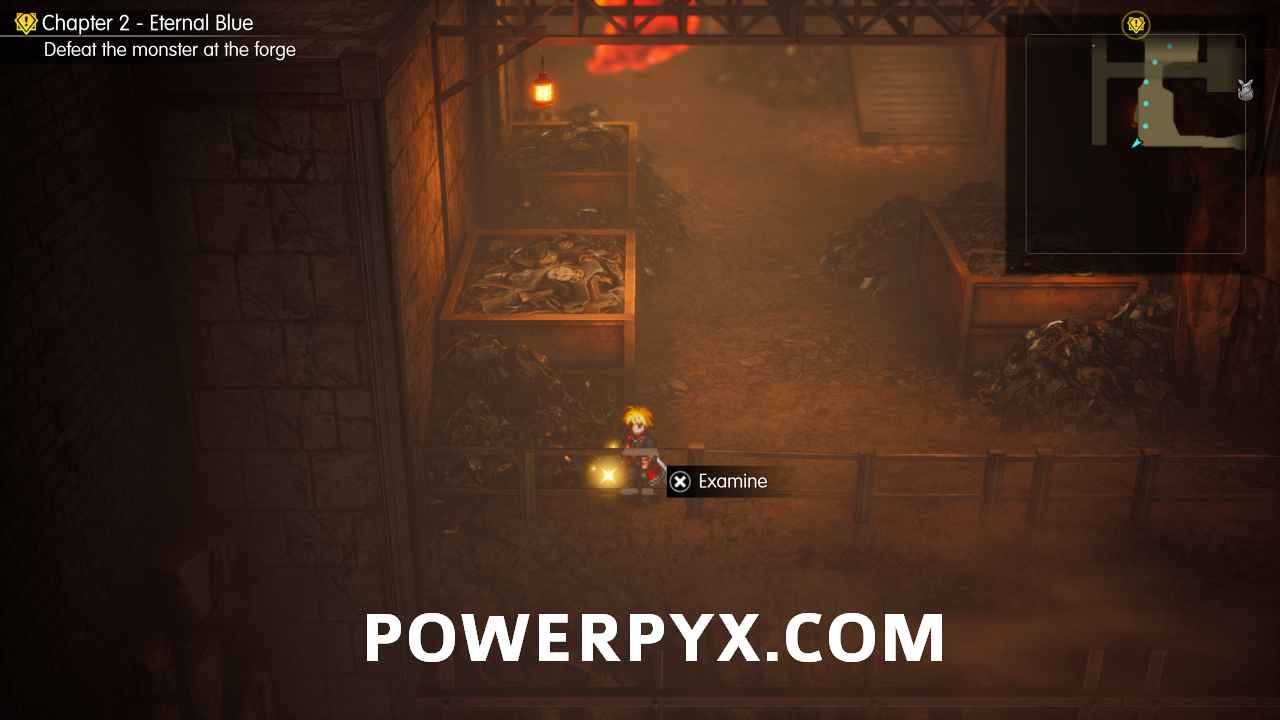
22. Mobliz Shipyard – Head west in the first area and you’ll see this behind some crates.
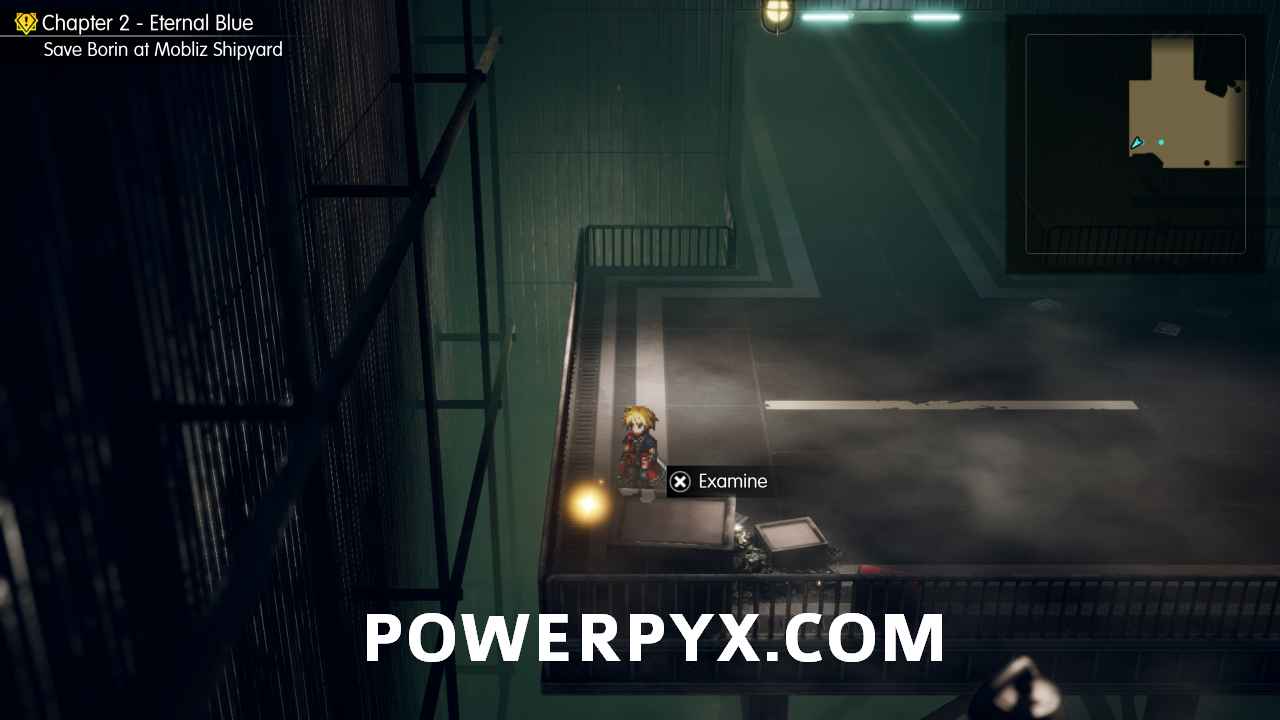
23. Mobliz Shipyard – Head up the first lift, then head east through a gap in the fence into a small area that contains generators and also contains the switch for the second lift. In the south-east corner, go down the ladder then head west to find this.
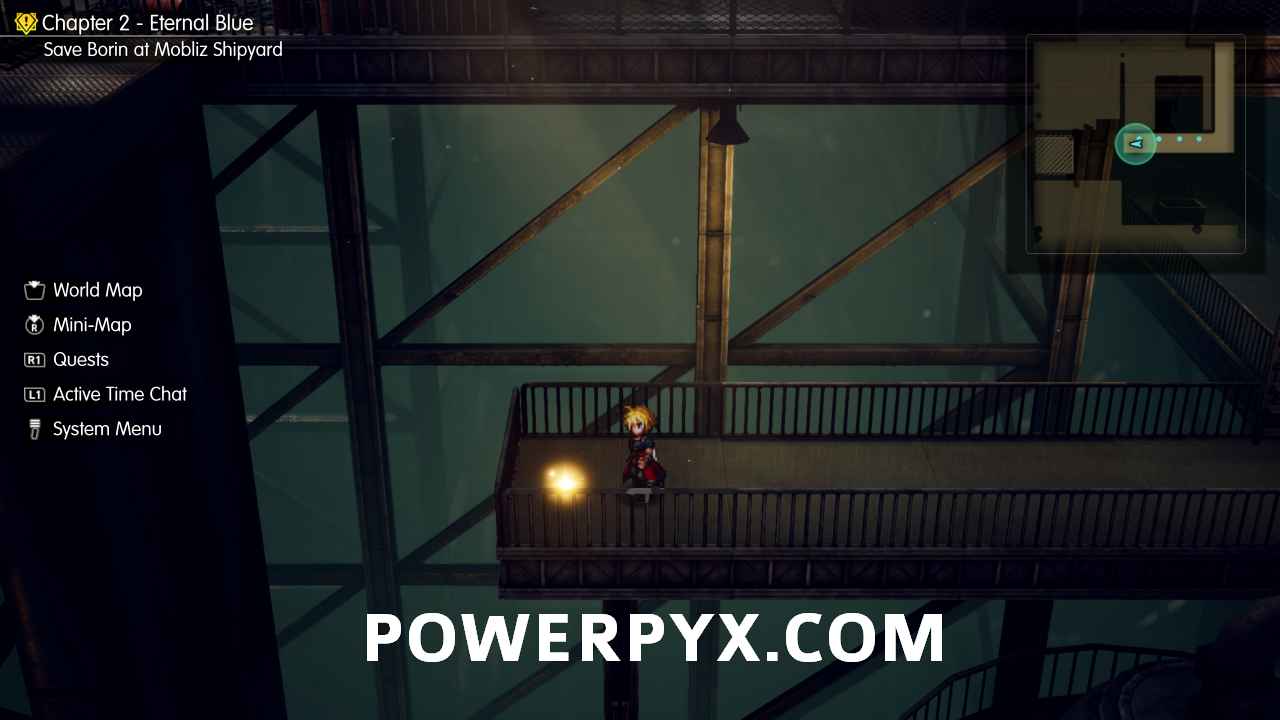
24. Mobliz Shipyard – After ascending in the second lift, head to the north of this area and just before you enter the fenced area with another lift, look behind the shipping container.
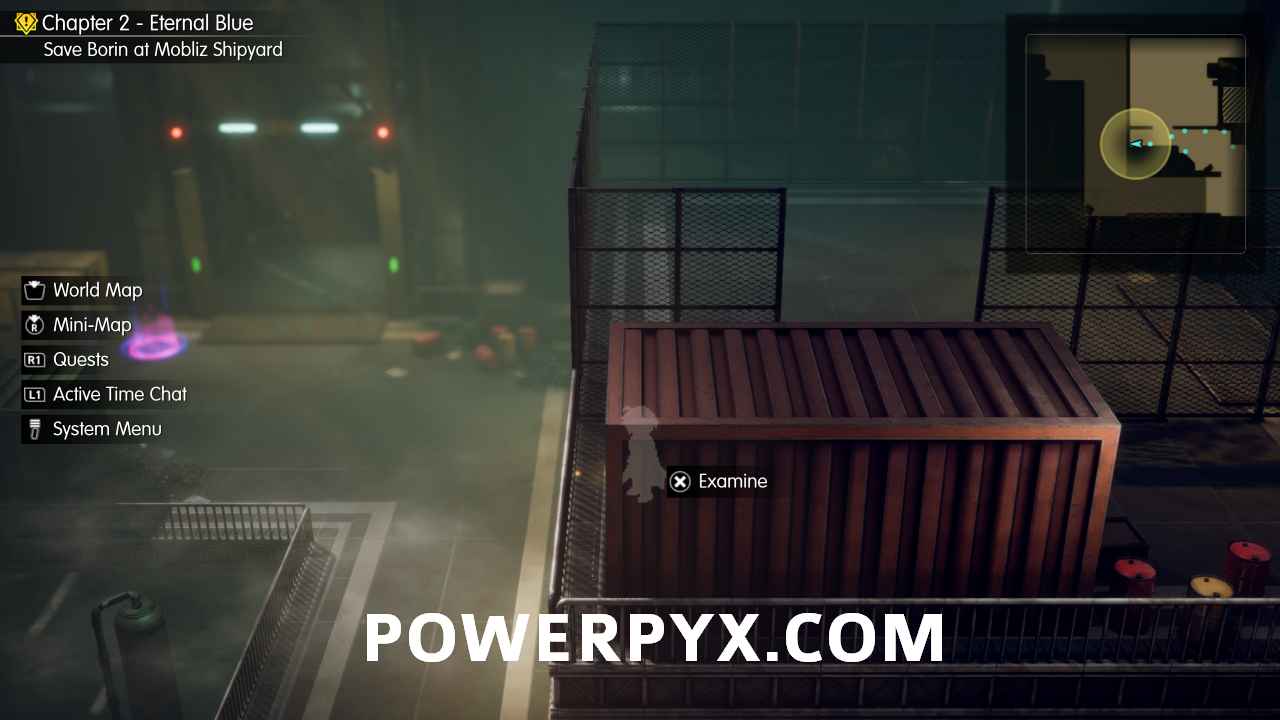
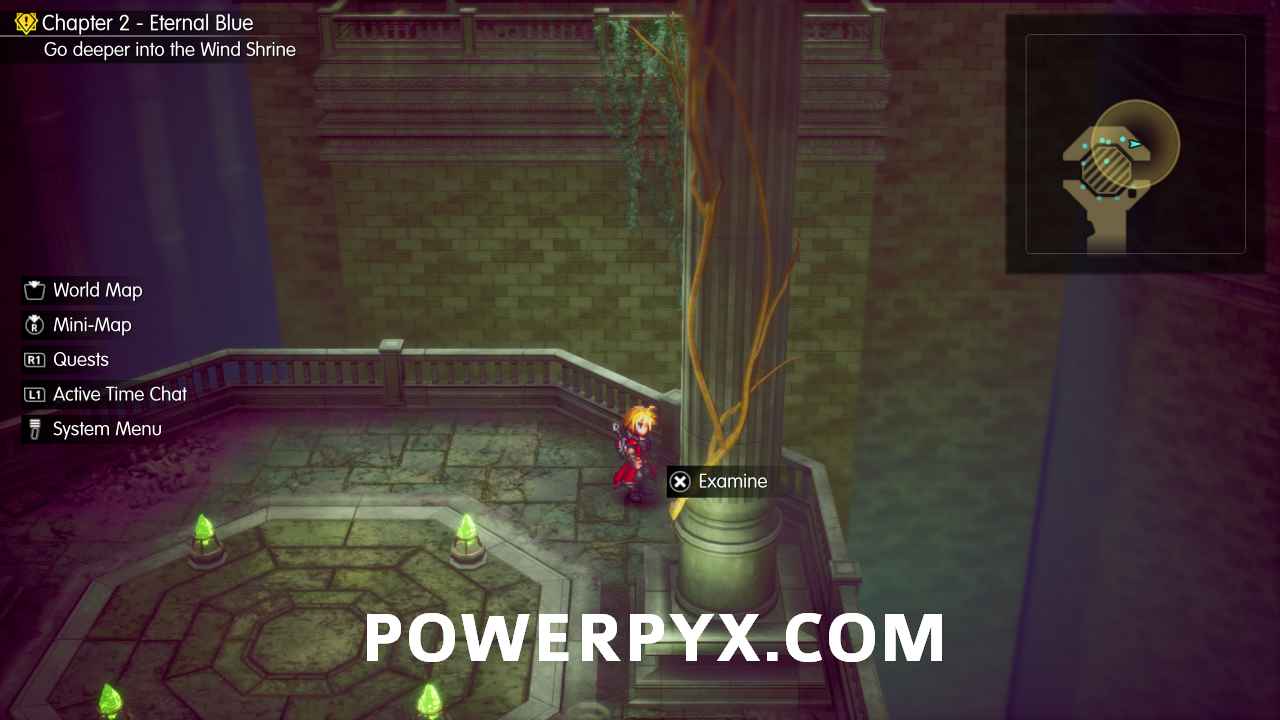
25. Wind Shrine – In the first room, instead of going down the elevator marked by four green crystals, check behind the pillar on the right-hand side.
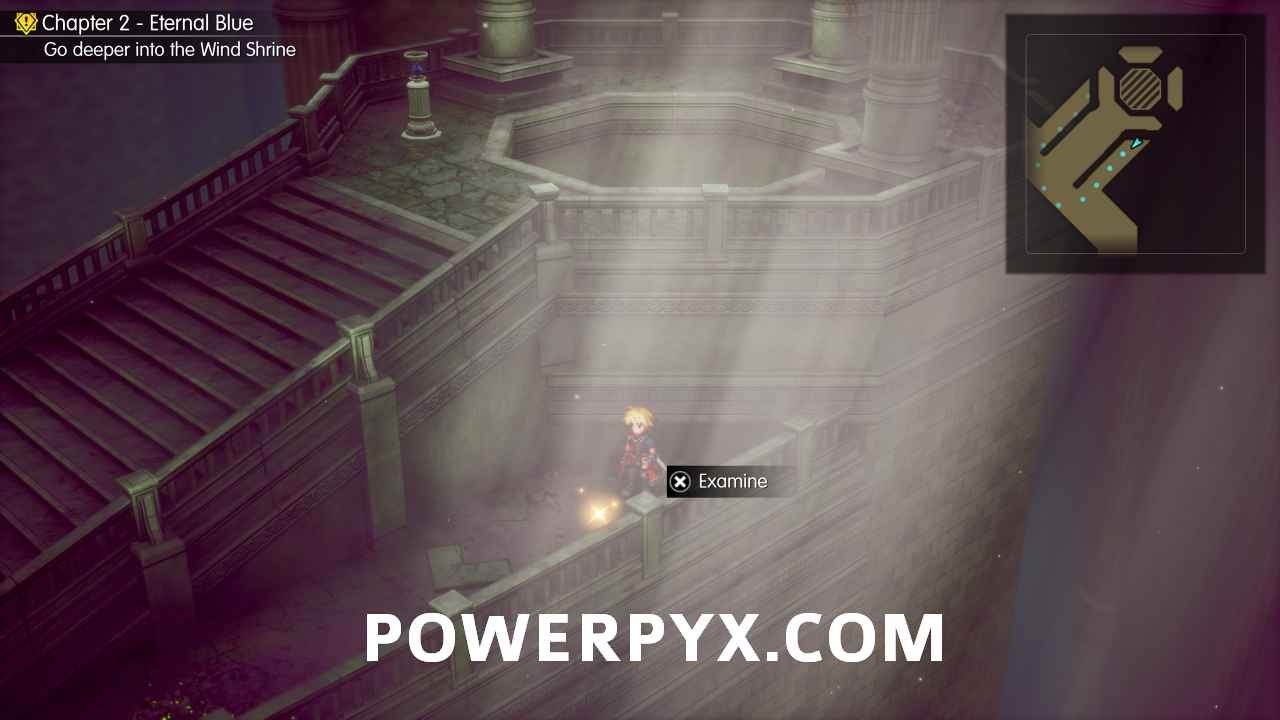
26. Wind Shrine – After taking a few more elevators on the story path, you’ll see one at the top of a staircase. The Shard is in the gap between the staircase and the railing on the right side of it.
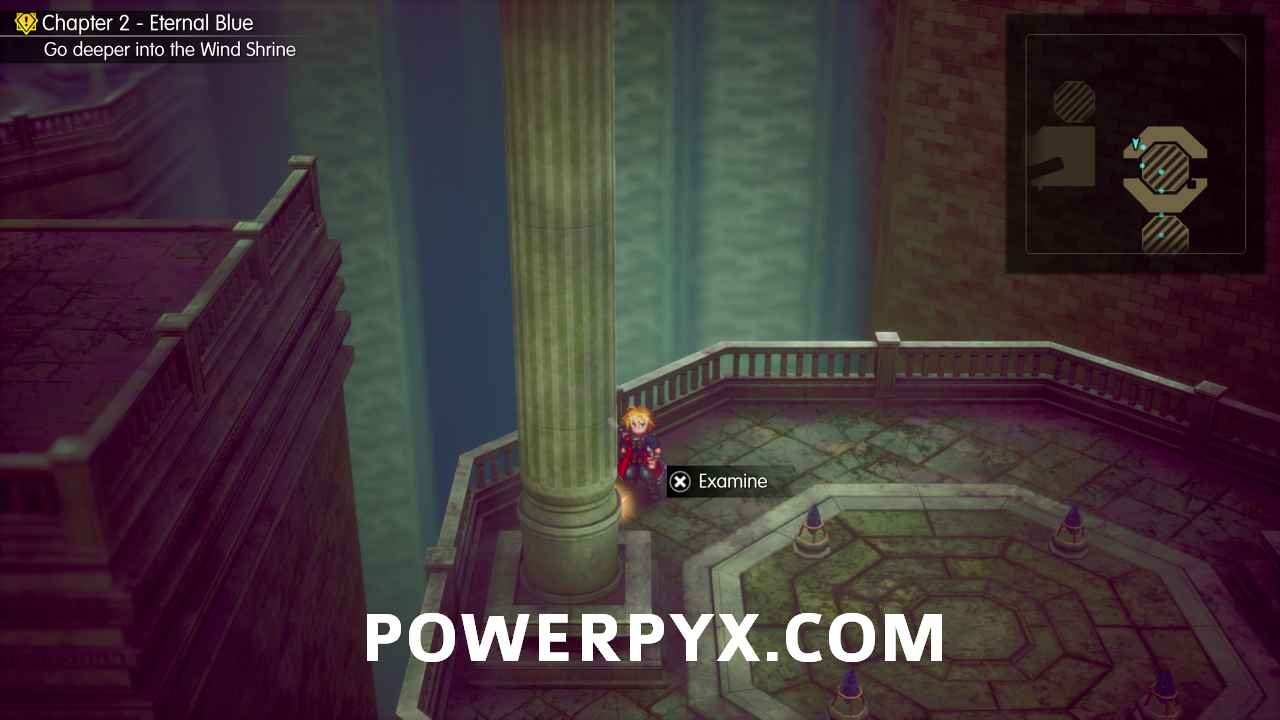
27. Wind Shrine – From the previous Shard, head south then take the next crystal elevator across to a platform with another elevator. The Shard is on the left side of this platform.
Chapter 3
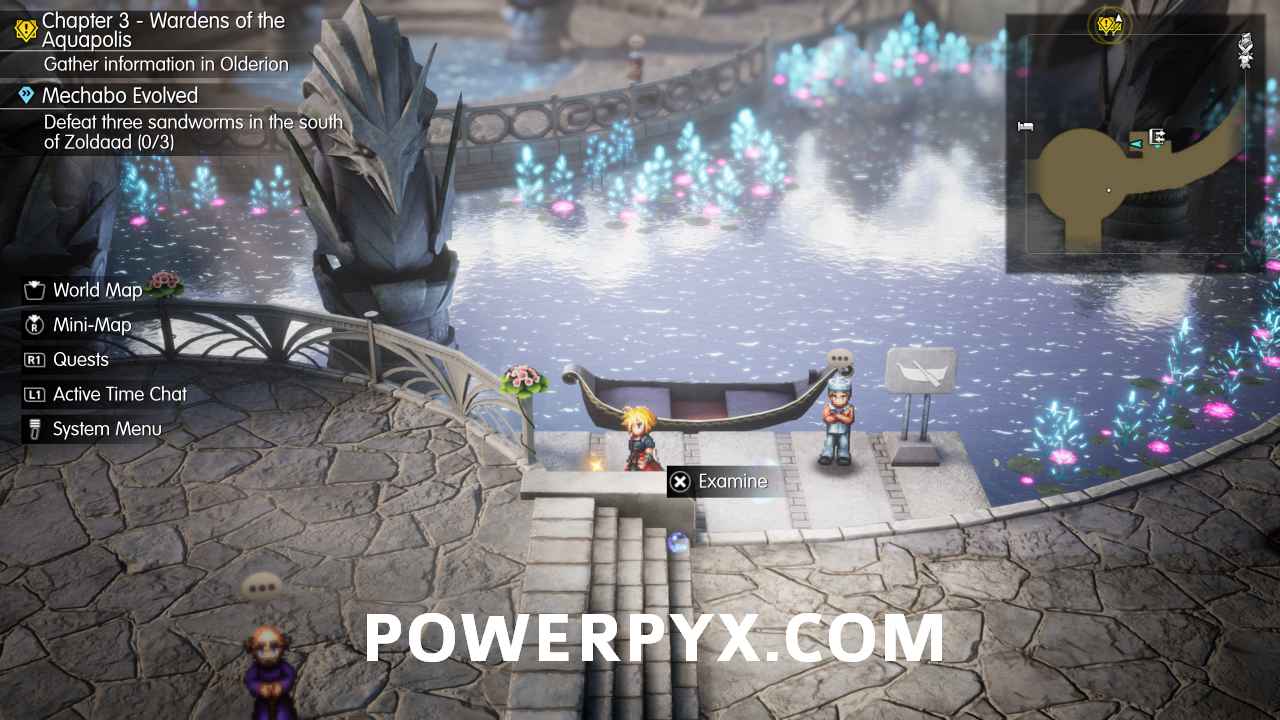
28. Olderion, the Aquapolis – As soon as you enter, this is next to the NPC who offers a boat tour just off to the right of the central platform.
29. Olderion, the Aquapolis – In the centre of the city due north of the previous shard, there’s a pool with two stone statues in it. The Shard is next to a bench behind the left statue.
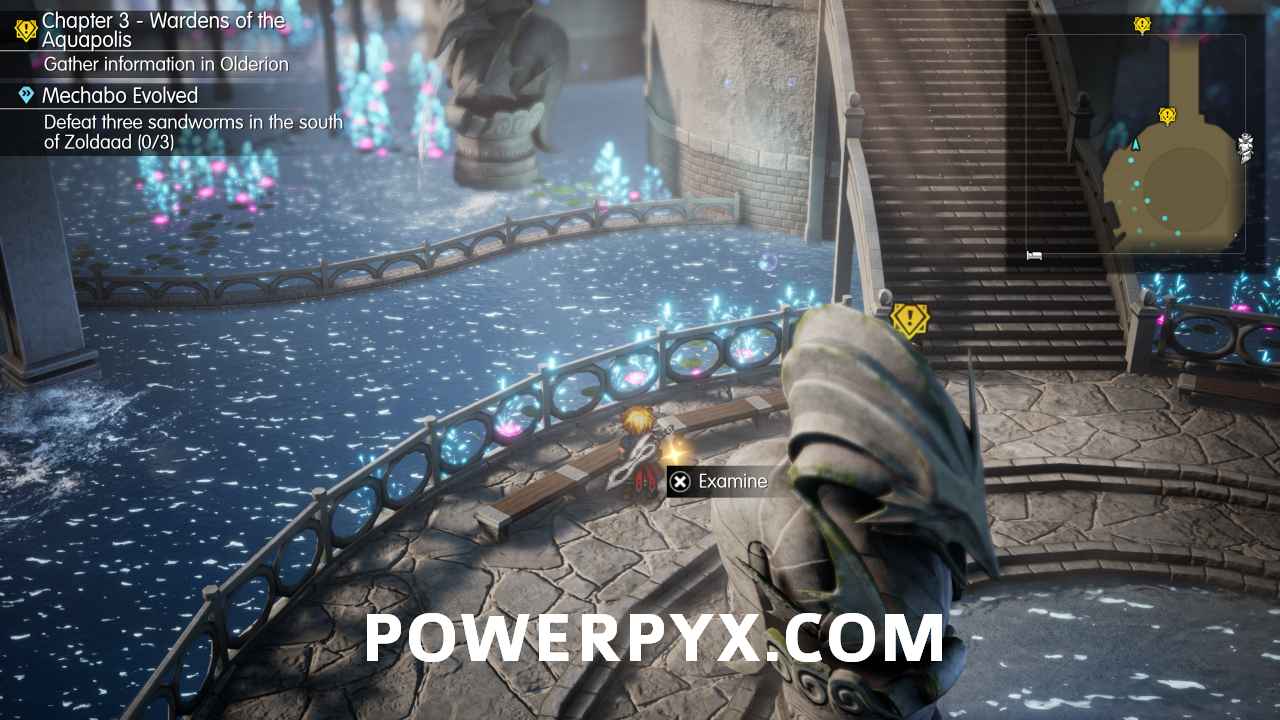
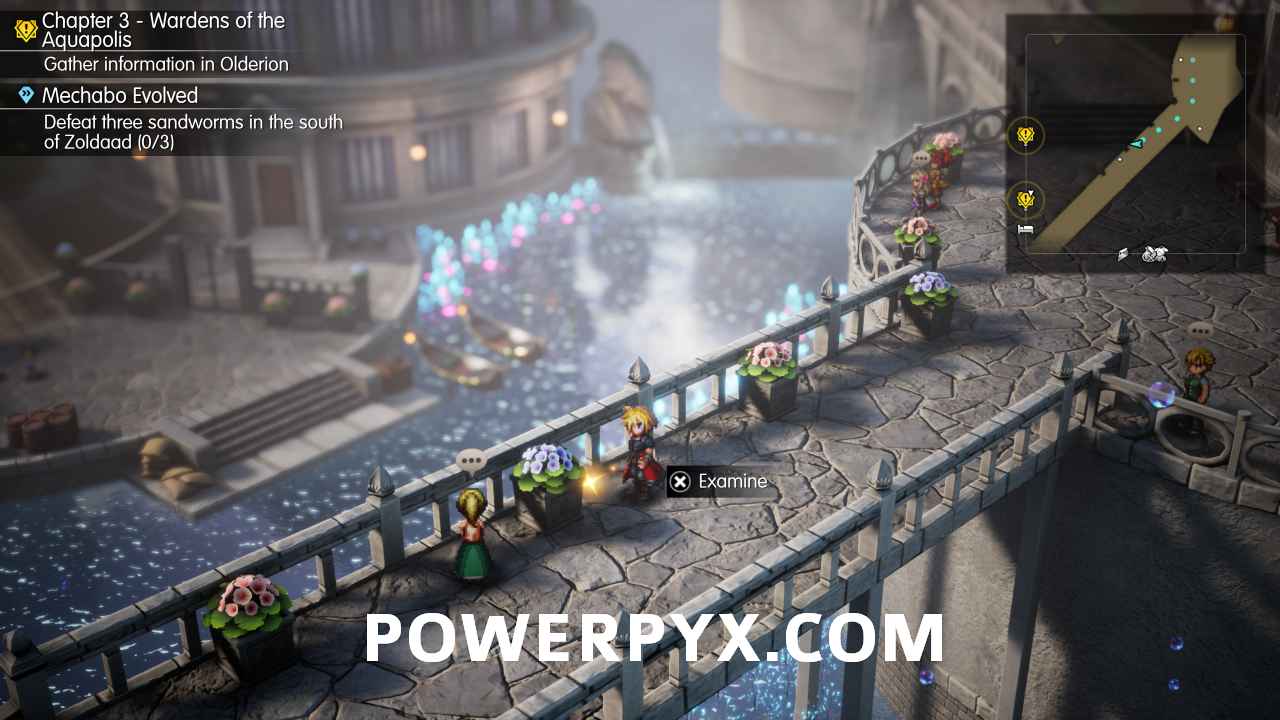
30. Olderion, the Aquapolis – From this area with the statues, head north-east, go past a giant water wheel and the Shard is on a stone bridge behind the plant pot in the middle of it.
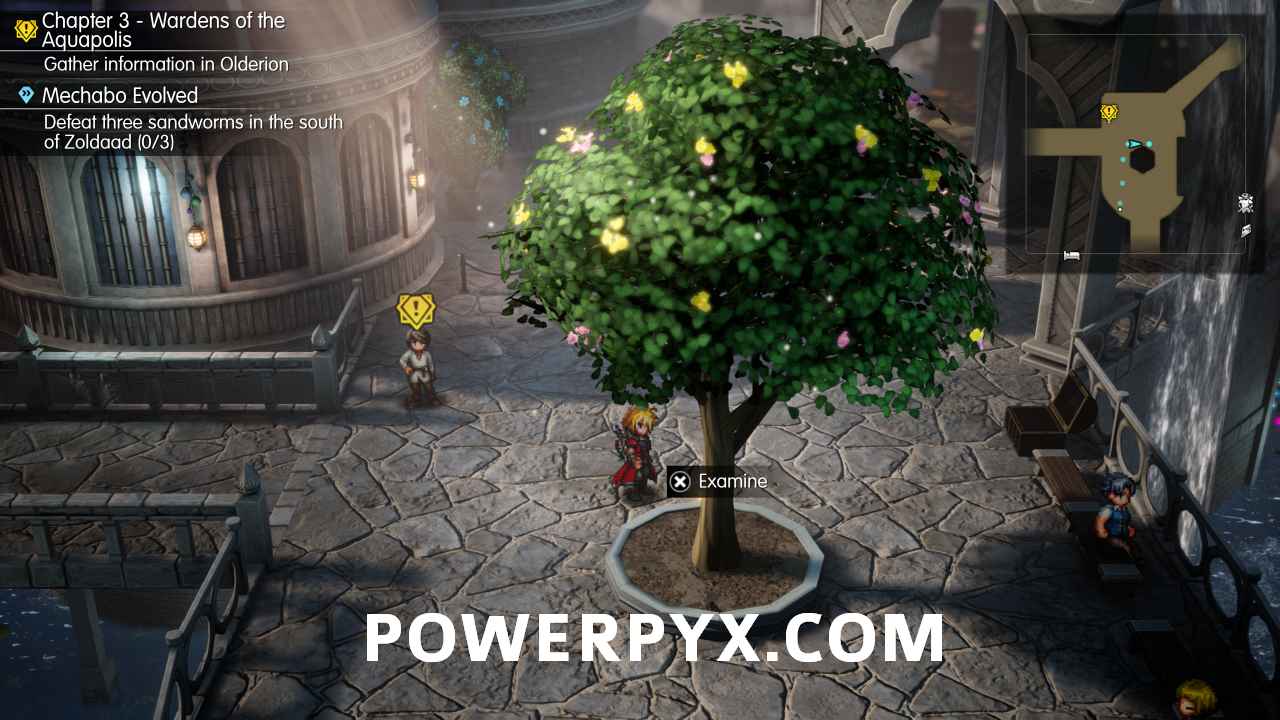
31. Olderion, the Aquapolis – Go back to where the pool with the statues was (Shard #29) and head north up some steps. This one is behind the tree you come across.
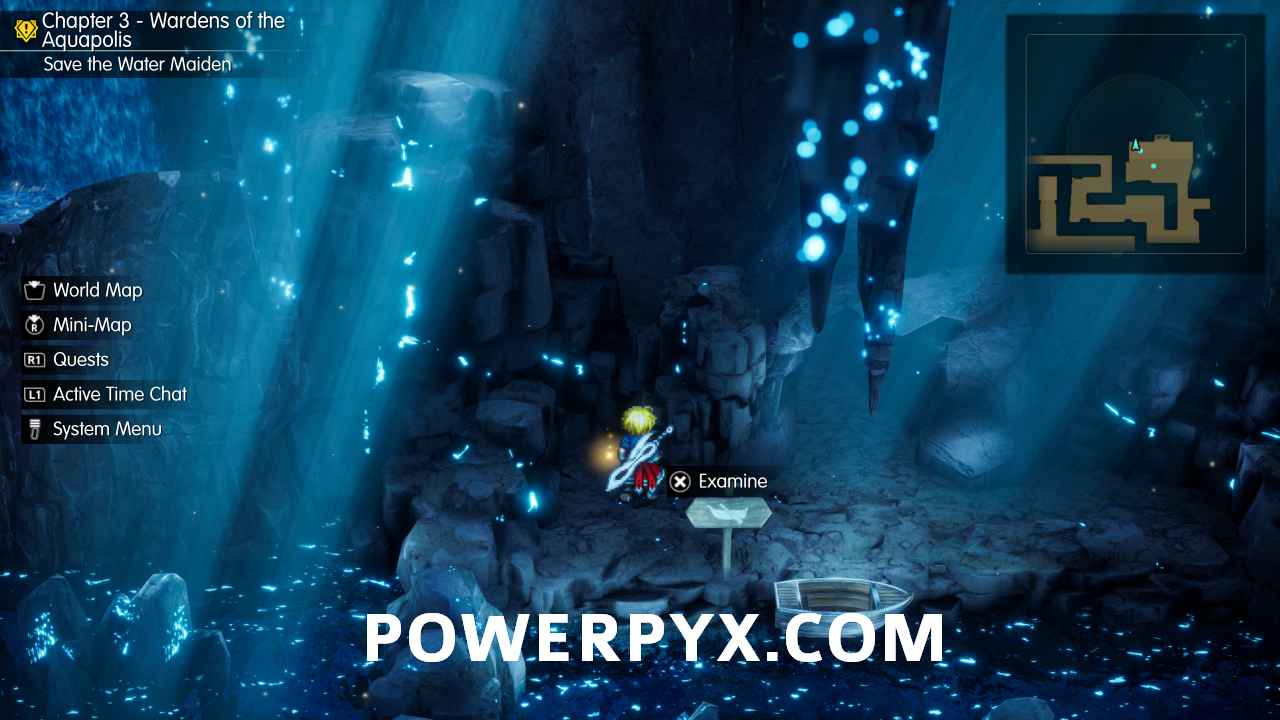
32. Cave of Waters – On the story path, you’ll get in a boat and have to navigate through a straightforward maze. When you get to the dock on the other side of the room (story path), you’ll see this Shard just to the left, impossible to miss.
33. Cave of Waters – After a long section navigating a boat maze, you’ll go through a door and you’ll see this Shard in front of a waterfall, again impossible to miss. The same room as the Save Point and the ladder.
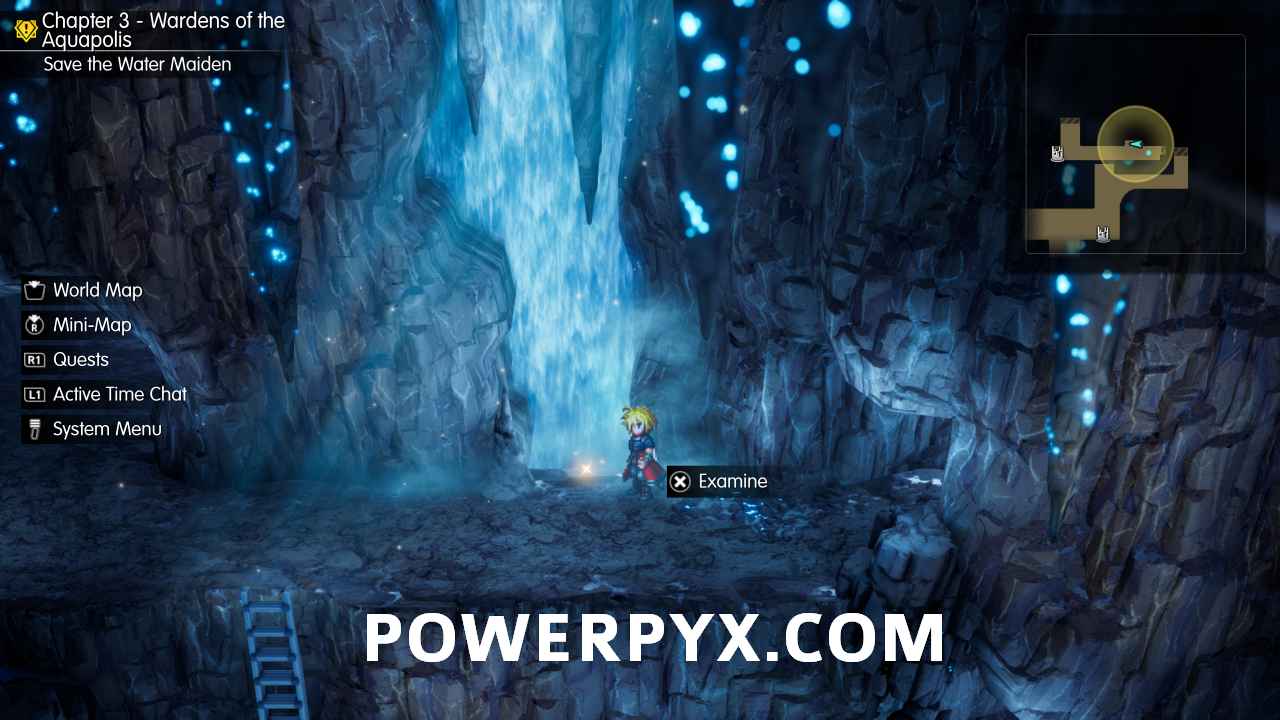
34. Cave of Waters – After a bunch of story events, the story will bring you back to the Cave of Waters and open up a hidden path in the room to the left of the entrance. Climb up a couple of ladders on the narrow path and it will be impossible to miss this one.
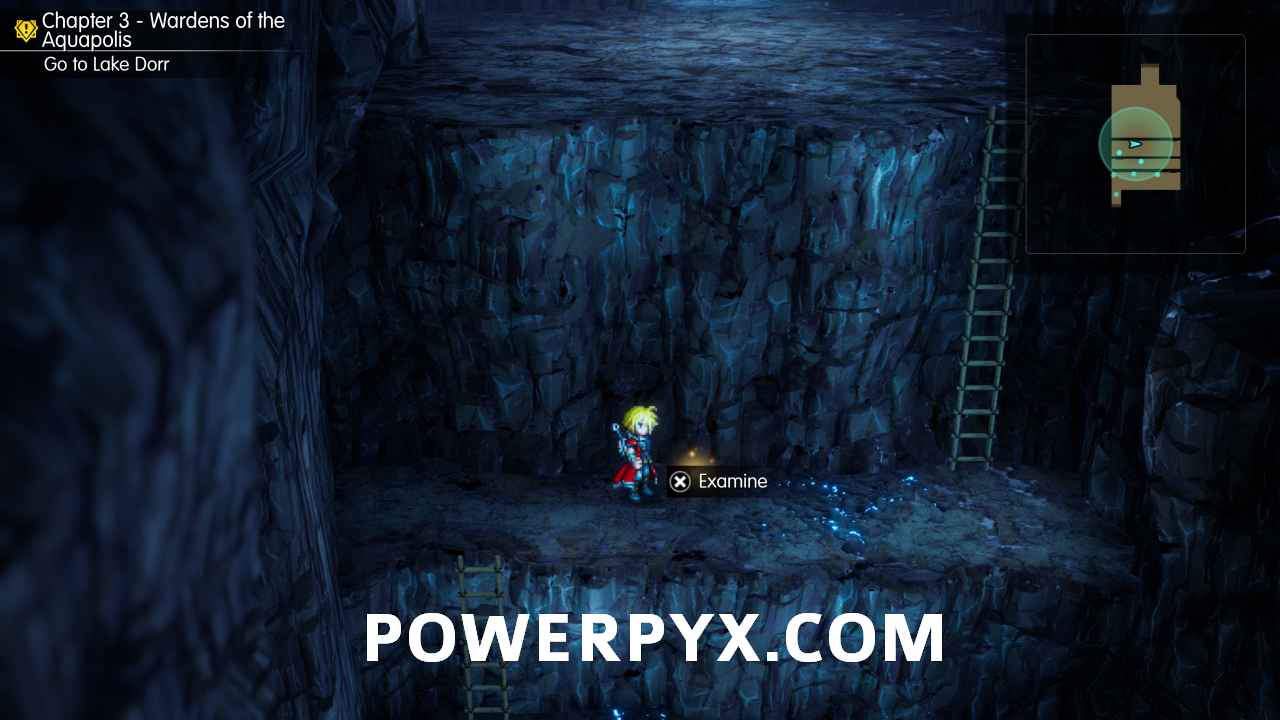
35. Waterfall Way – After gaining control of your character in the second room of this dungeon (if on the story path; if revisiting later then the room after the initial one with the Save Point), go up the stairs and go to the east to find this next to the ladder
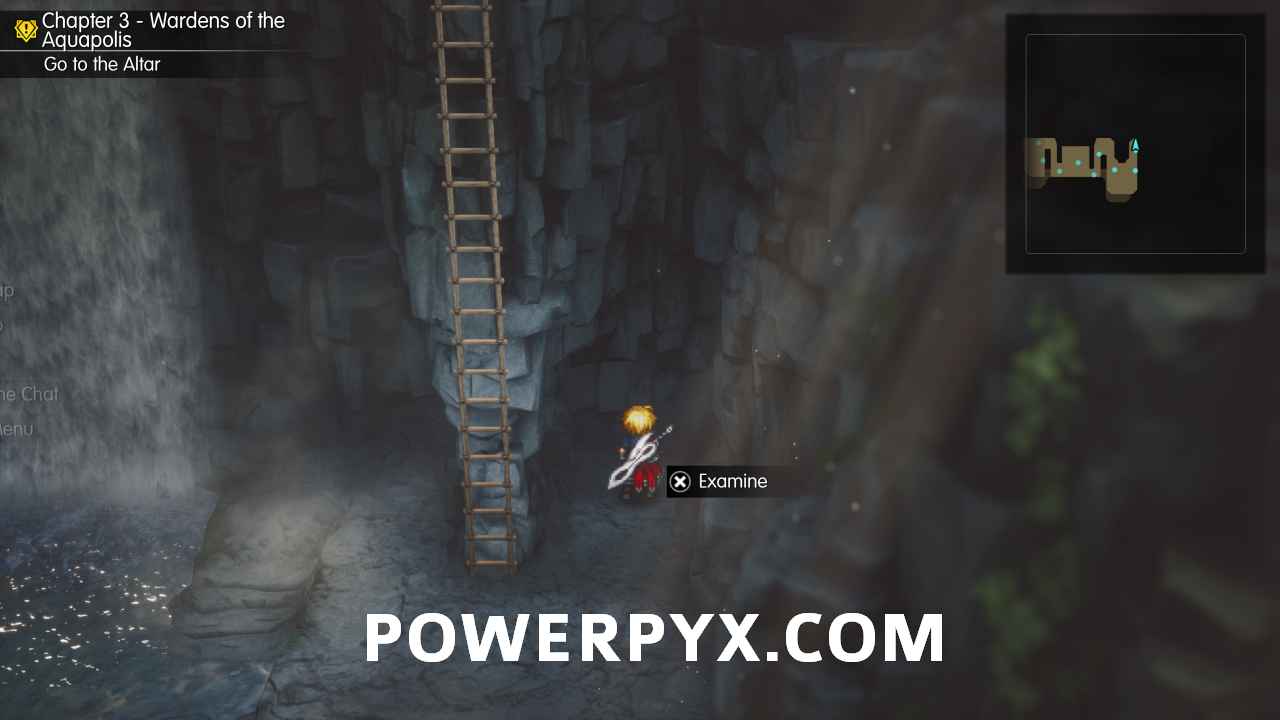
36. Waterfall Way – In the room with the large waterfall and stone platforms, on one of the platforms.
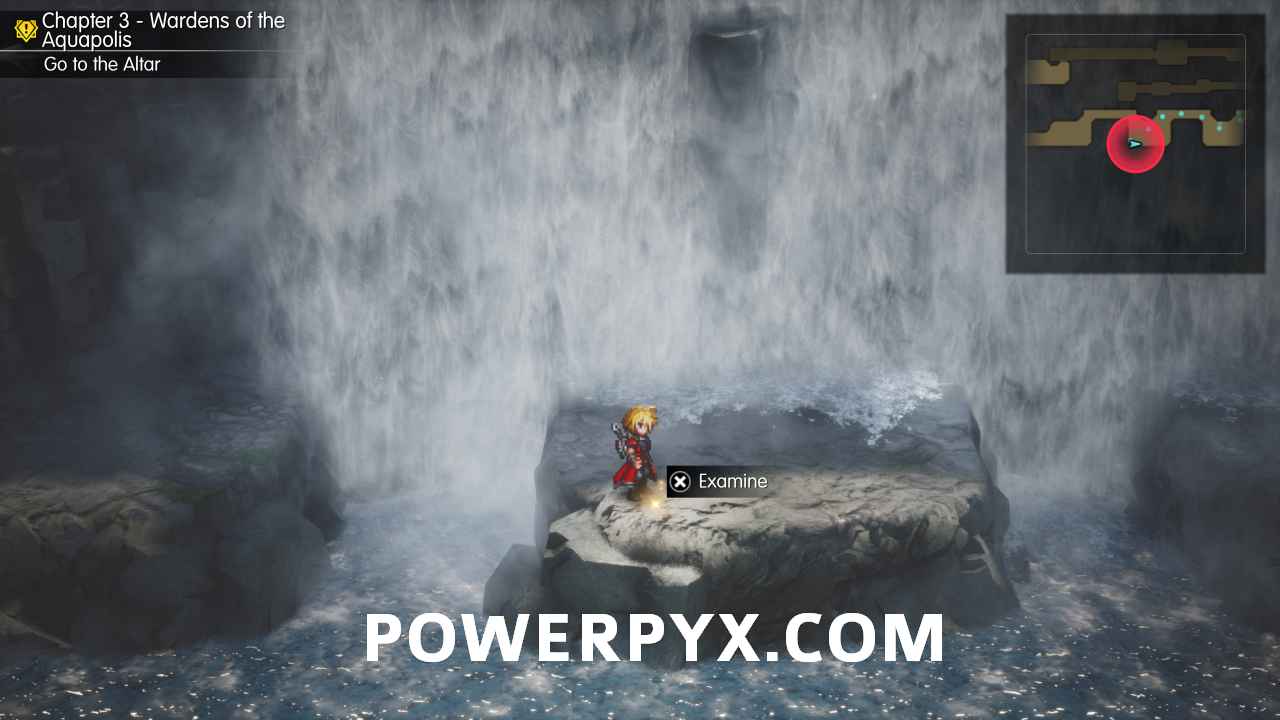
37. Waterfall Way – In the same room, head to the north and over the wooden bridges to find this on a rock in between the waterfalls.
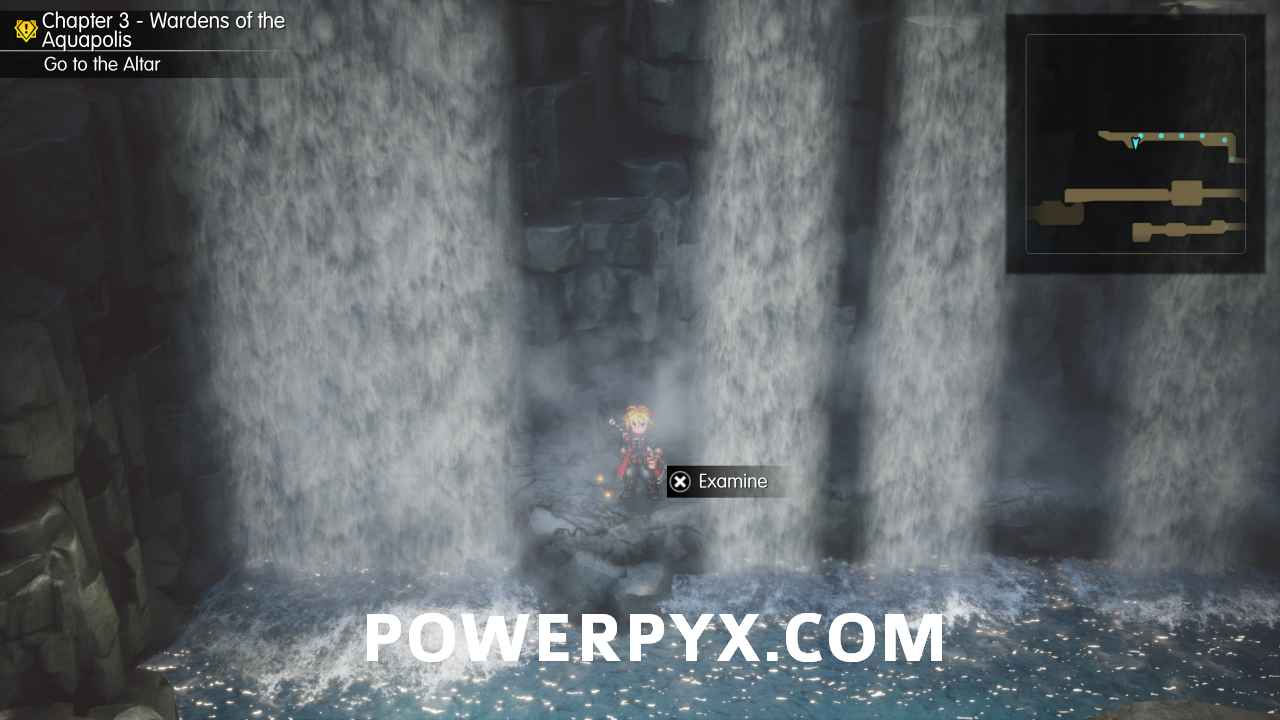
38. Town of Amore – South of the Weapon and Item Shops, next to a well on the small grassy island.
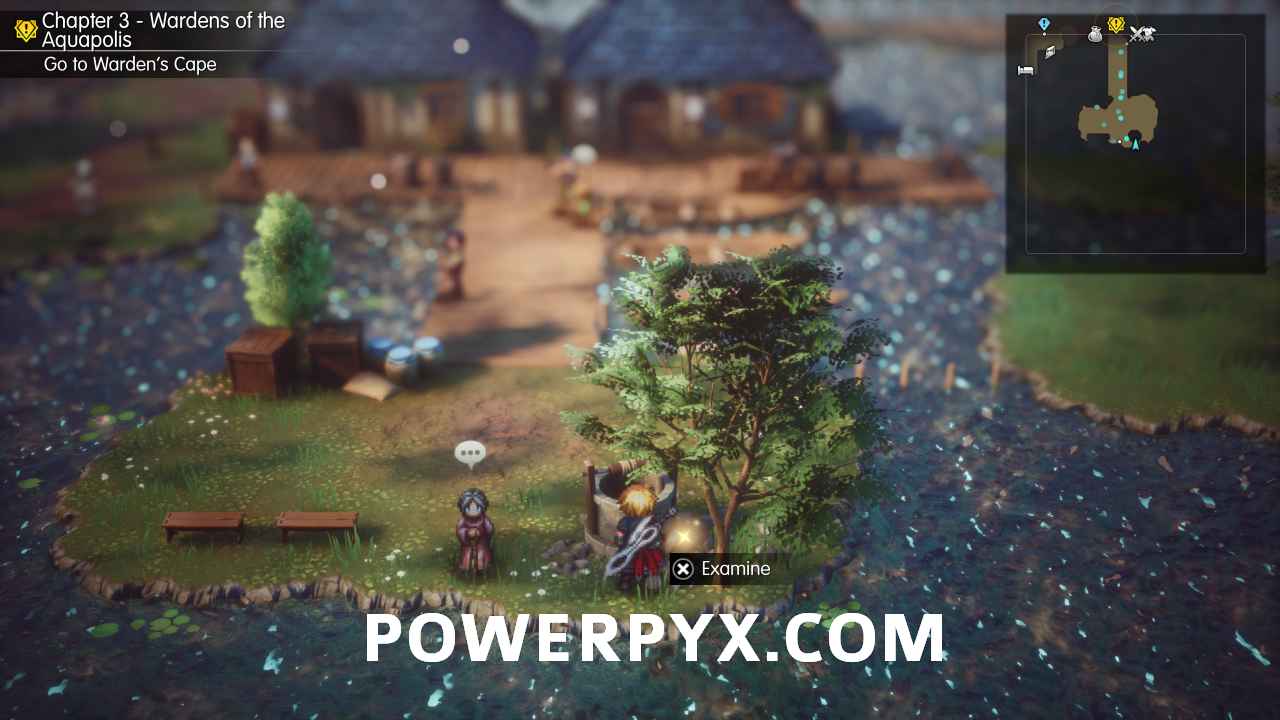
39. Town of Amore – North of the Item Shop, before the long bridge, next to a tree on the right.
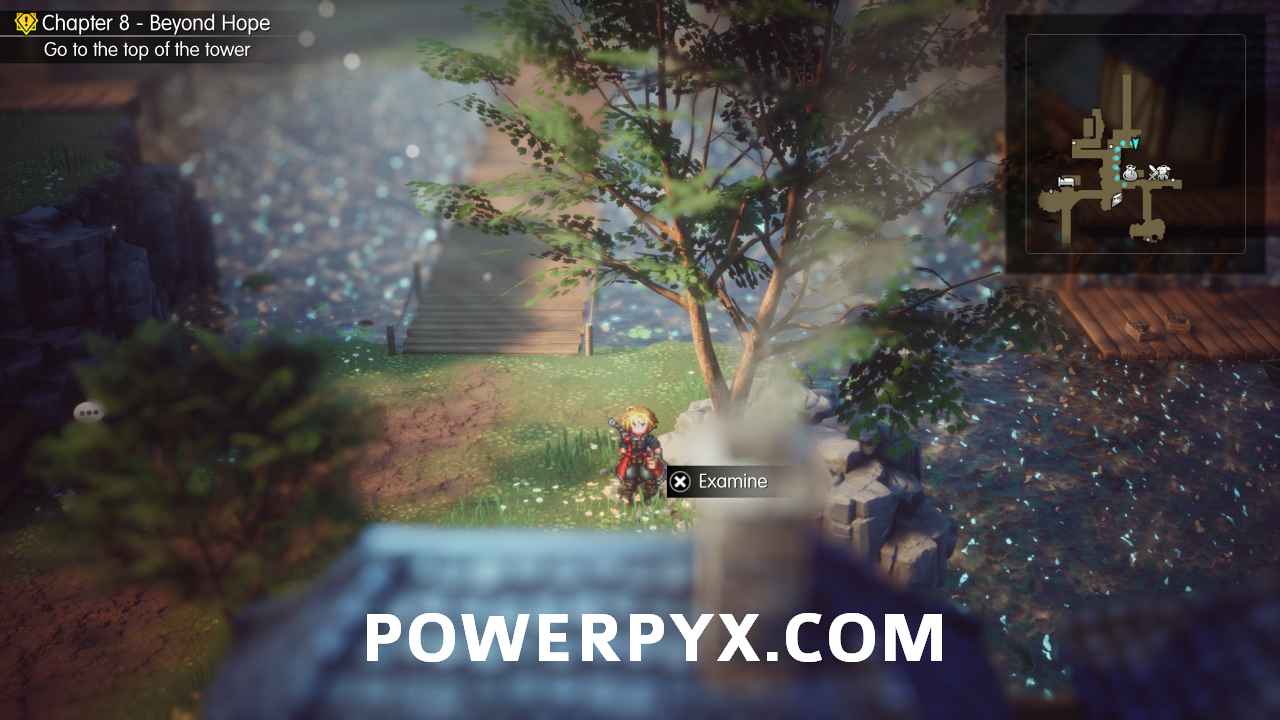
40. Water Shrine – In the room with a central circular platform and four cross-shaped paths branching off it, down the north stairs after lowering the water level.
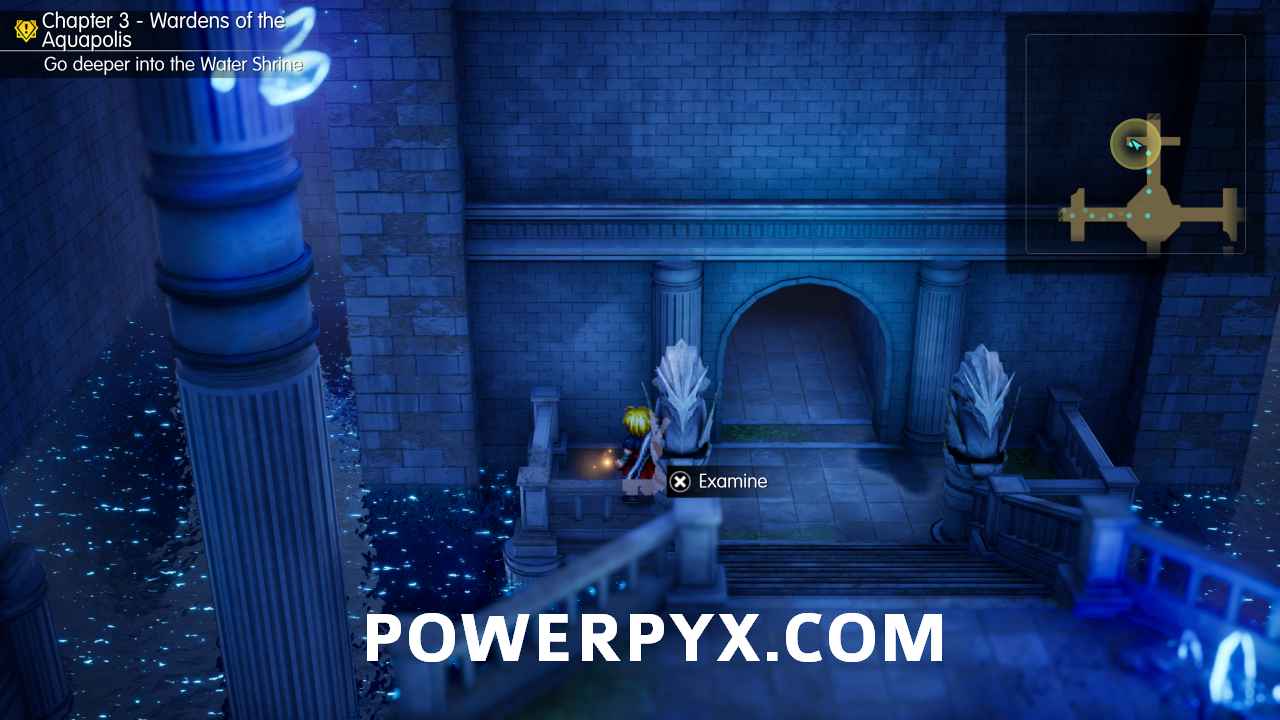
41. Water Shrine – A little further on, you’ll be in an area with a few water level crystals and you’ll get in a boat. Sail northeast past the balcony with the Viridian Pot ‘friendly’ enemy, and you’ll see the Shard on a ledge to the right.
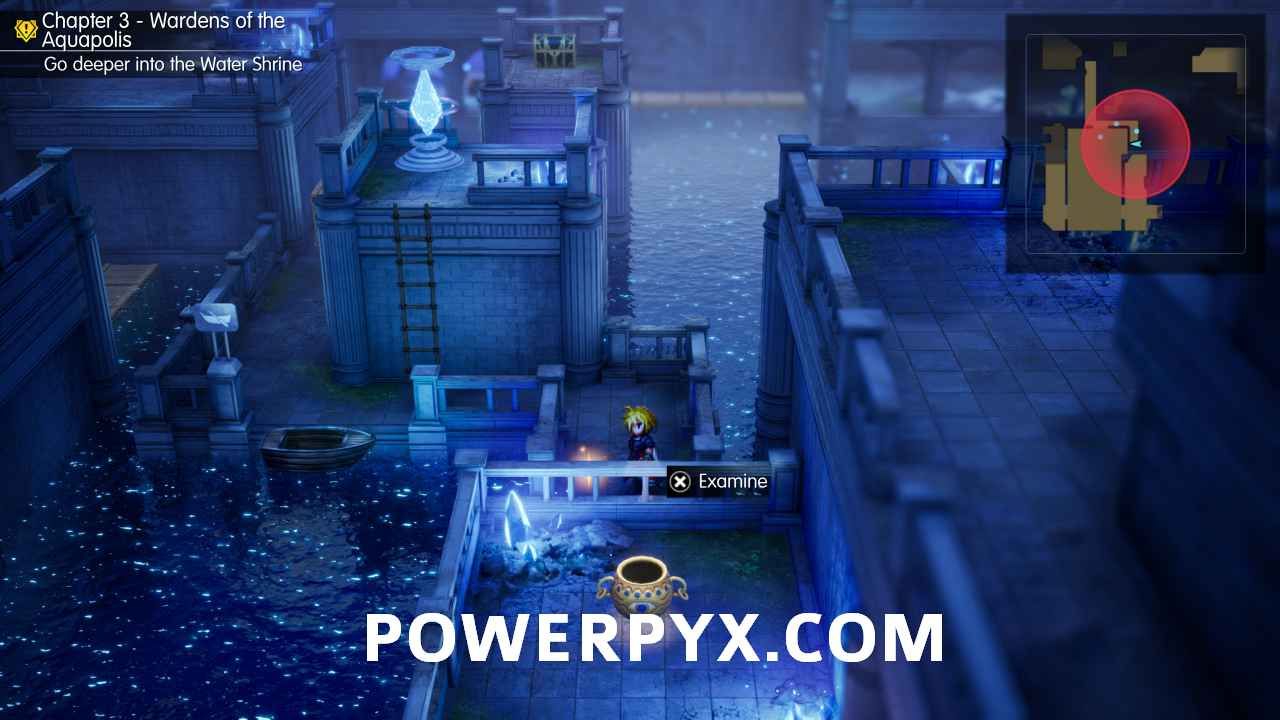
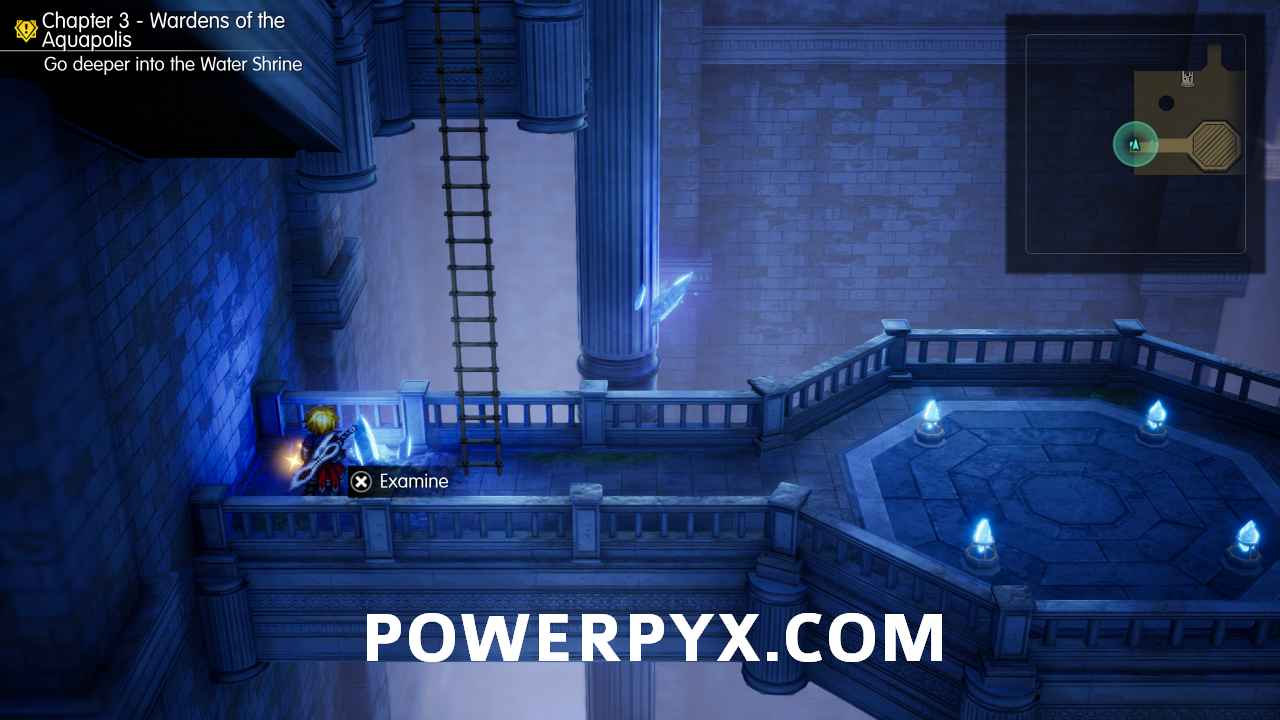
42. Water Shrine – After lowering the water levels and descending more, you’ll go down a long ladder and this will be just to the left of it.
Chapter 4
43. Mozul Station – In the southwest corner of the station.
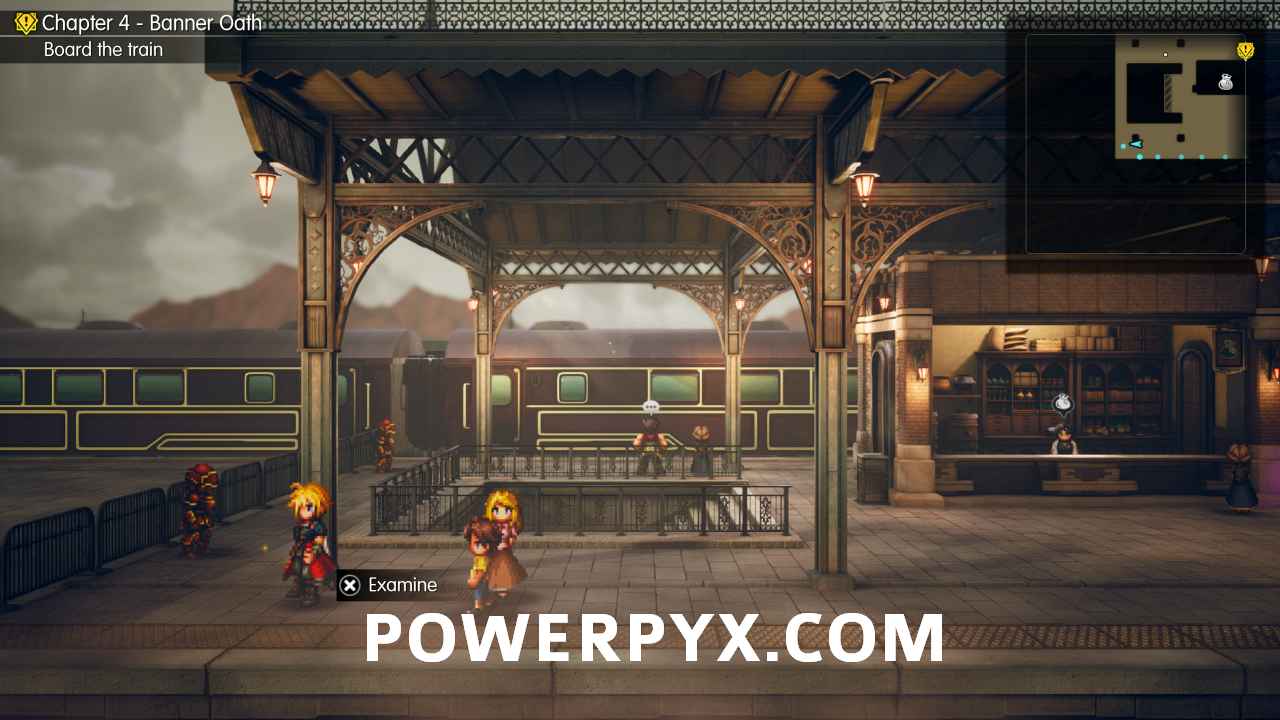
44. Capital Station – Right next to the eastern staircase/entrance of the station. If you enter the station from the south on the World Map, you will spawn right next to it.
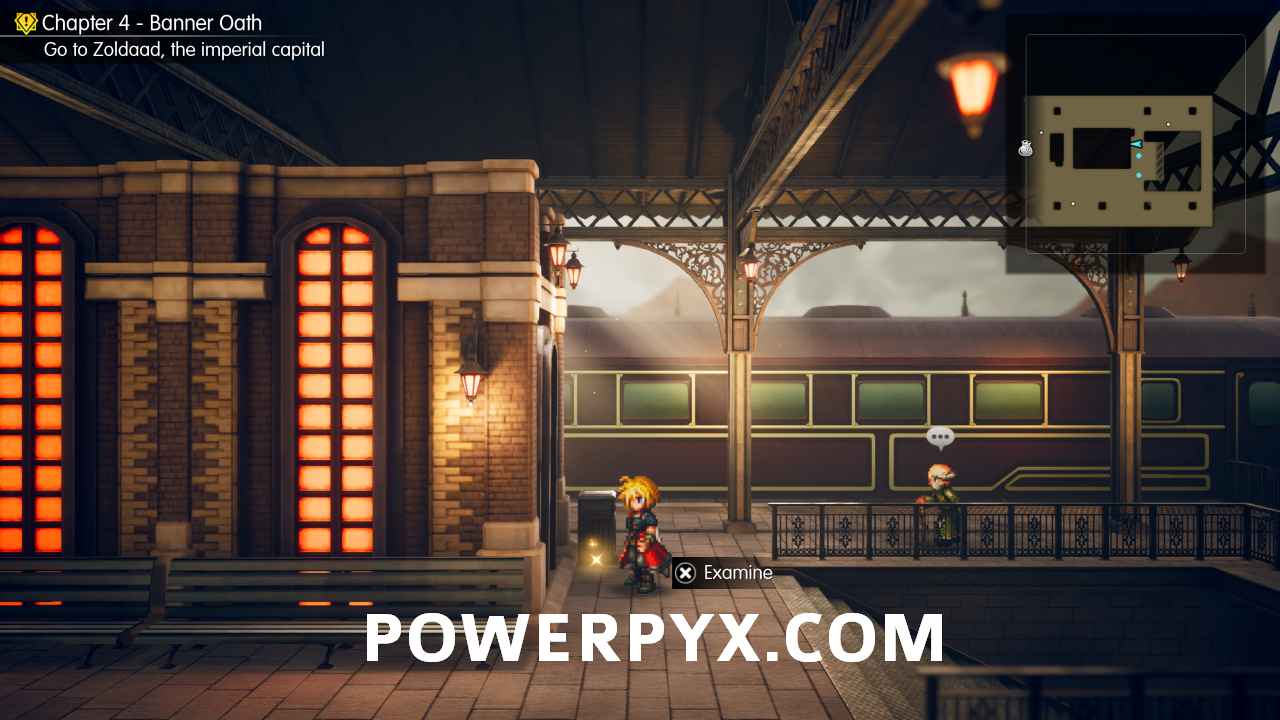
45. Zoldaad, the Imperial Capital – In Castle Plaza, directly east from where you get off the tram.
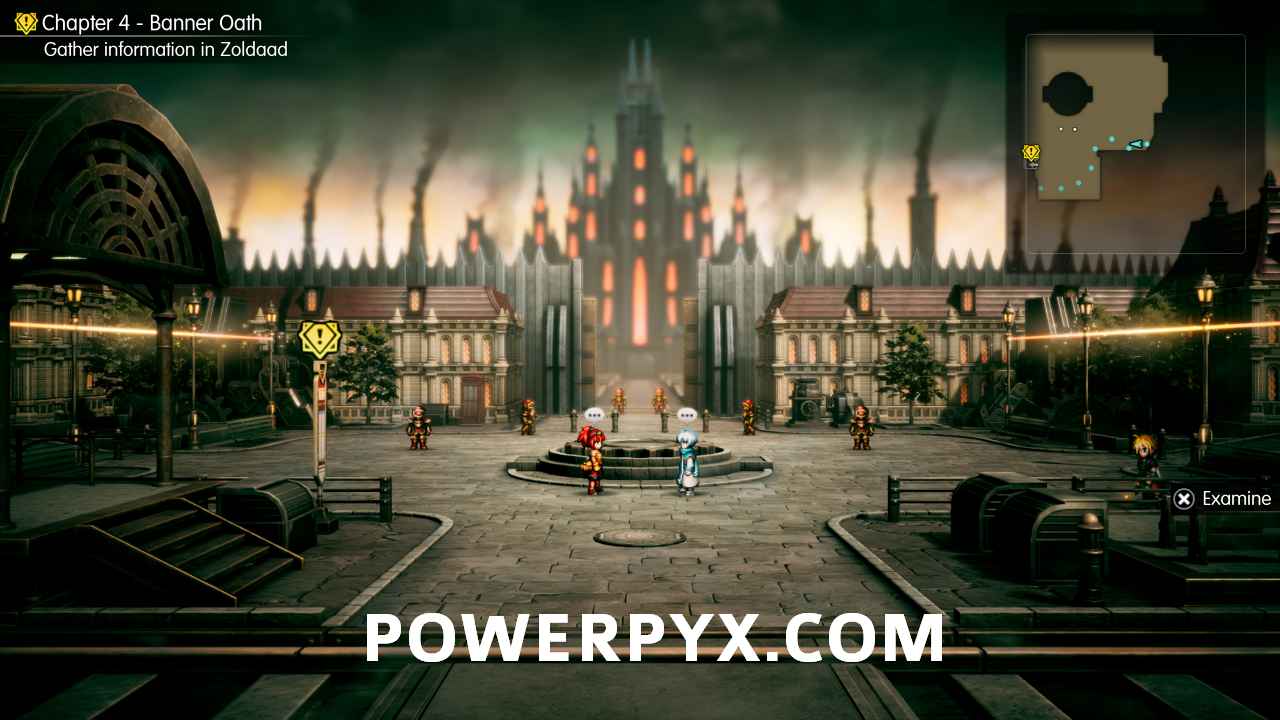
46. Zoldaad, the Imperial Capital – In Residential District, in the southeast corner.
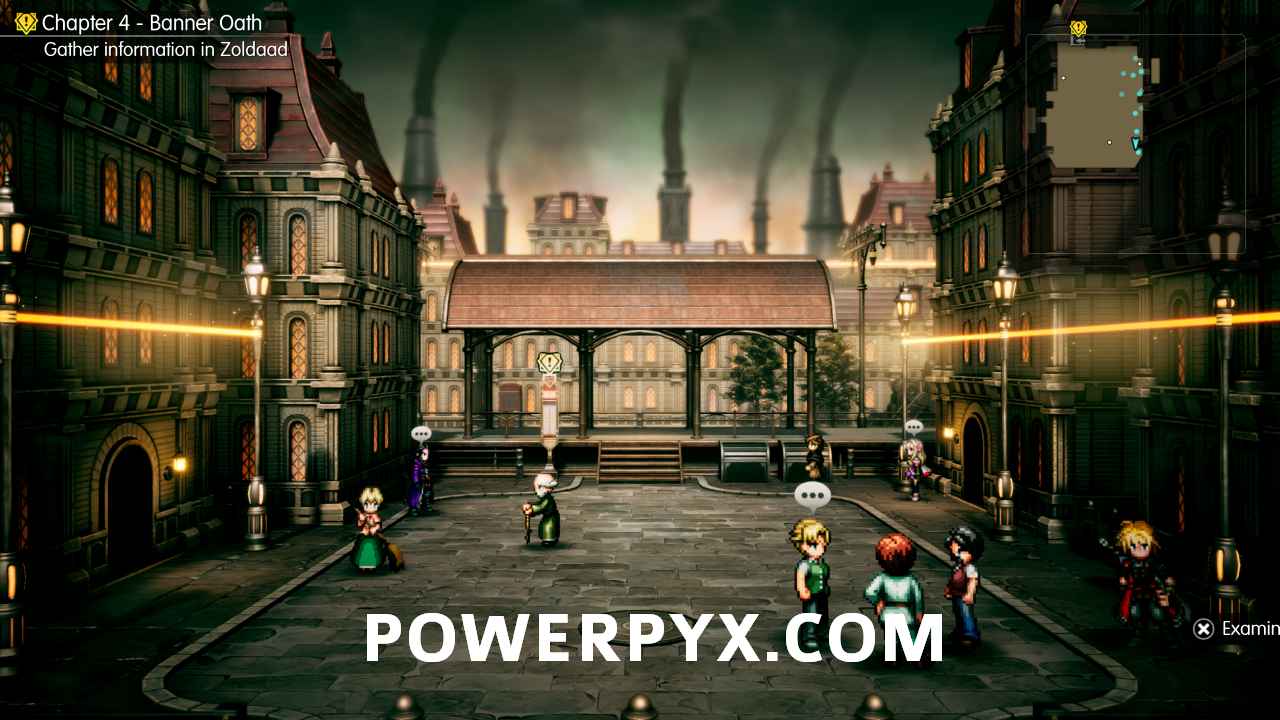
47. Zoldaad, the Imperial Capital – In Slums, just east of where you spawn in this area, next to some barrels.
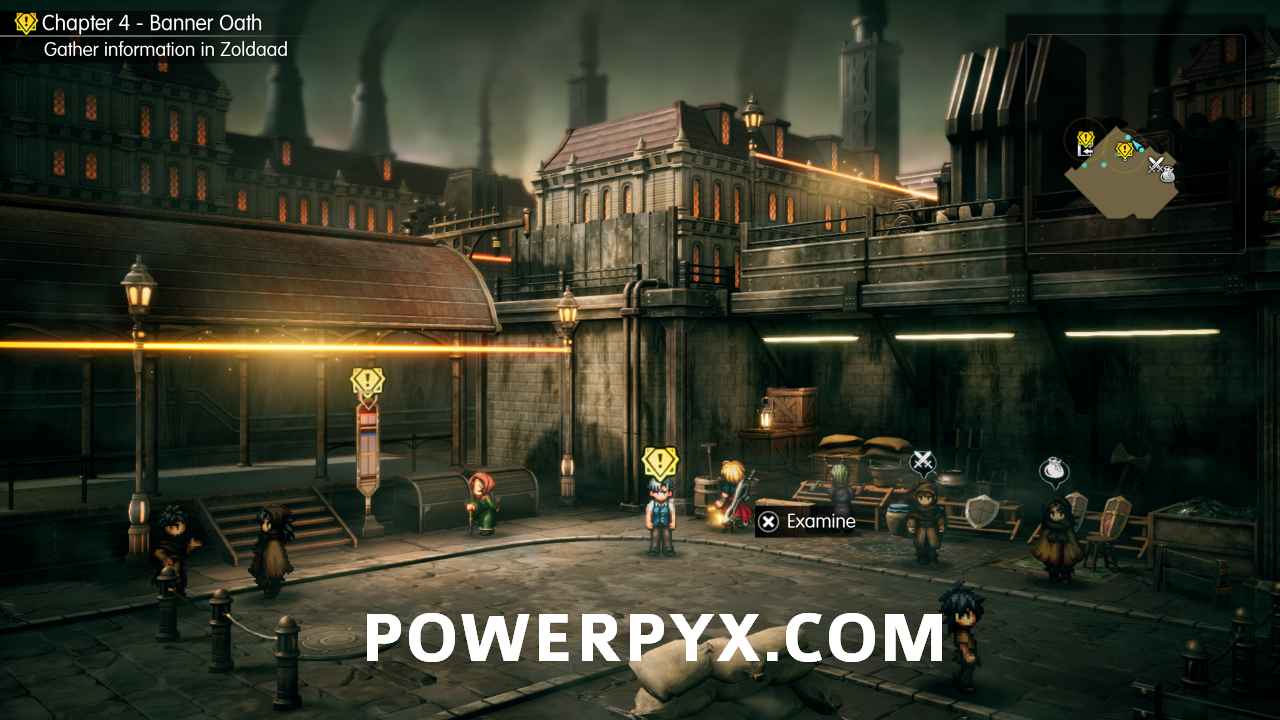
48. Zoldaad, the Imperial Capital – In the Underground Tunnel you enter as part of the story. Head east through the tunnel for a bit and you’ll come across a metal walkway. Head down the stairs, but instead of heading east, turn back west and go down a small ramp, then head down to the south and find the Shard in the corner of the room.
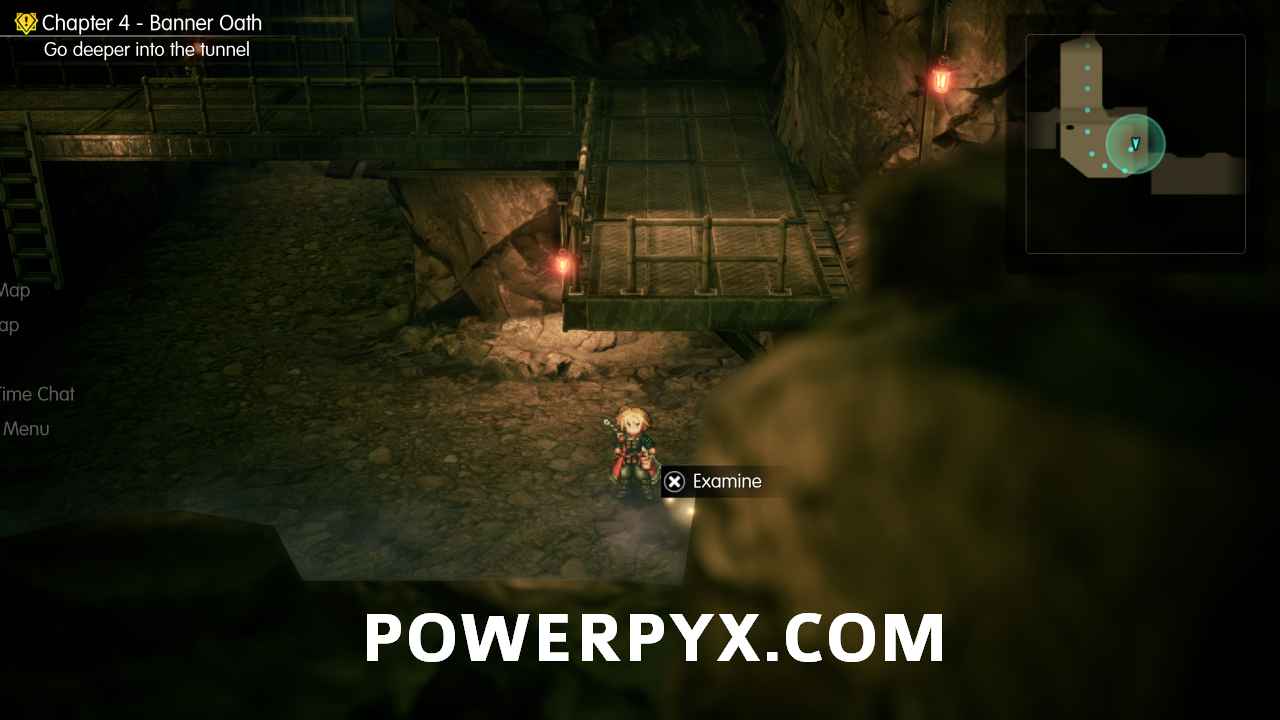
49. Zoldaad, the Imperial Capital – In the Underground Tunnel, advance further in and head south past the room with the Pot enemy and you’ll see a metal bridge up ahead. Underneath this bridge, there’s a hidden entrance leading up to a room on the right with this Shard.
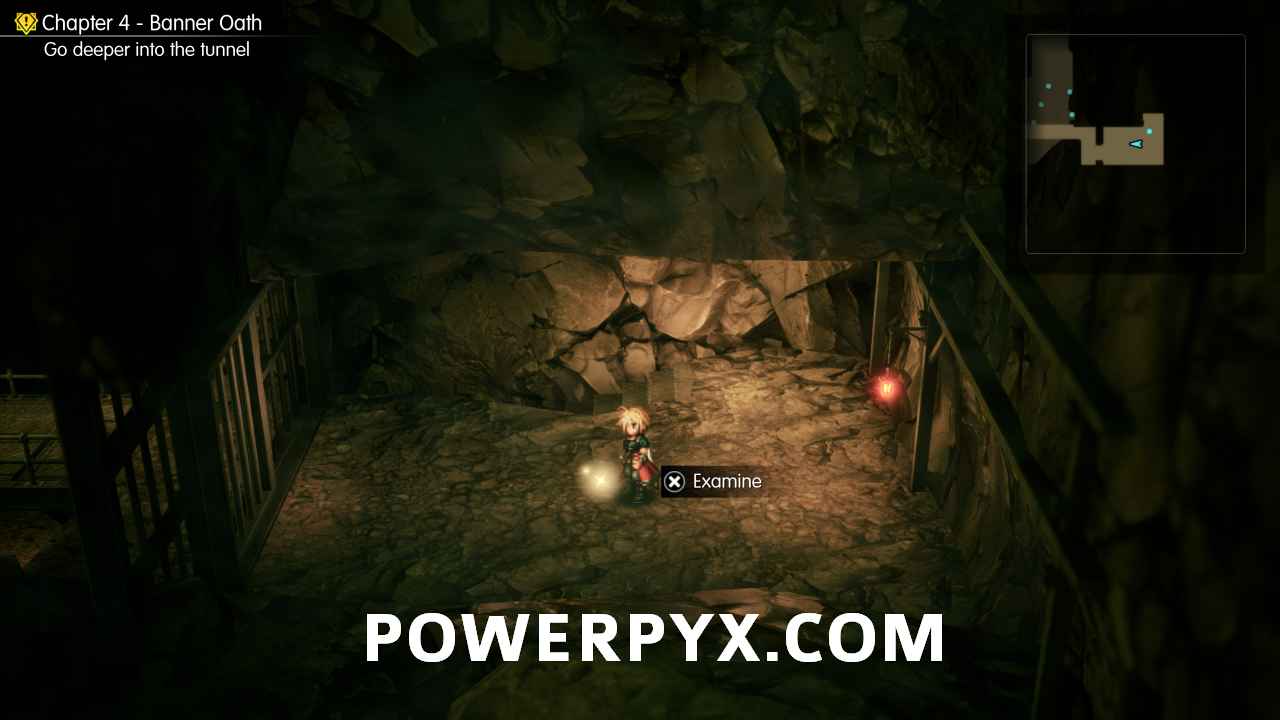
50. Rebel Hideout – In the northwest corner of the hideout there’s a door cut into the rock with two rebel red and white flags hanging either side of it (Jake’s room). Go just to the right of this room and then walk behind it to find a hidden path which leads to the area with the crates that you can see to the left of the door with the flags. Here you’ll find a ladder, so go up this and then walk a few paces southwest to find this tucked-away Shard.
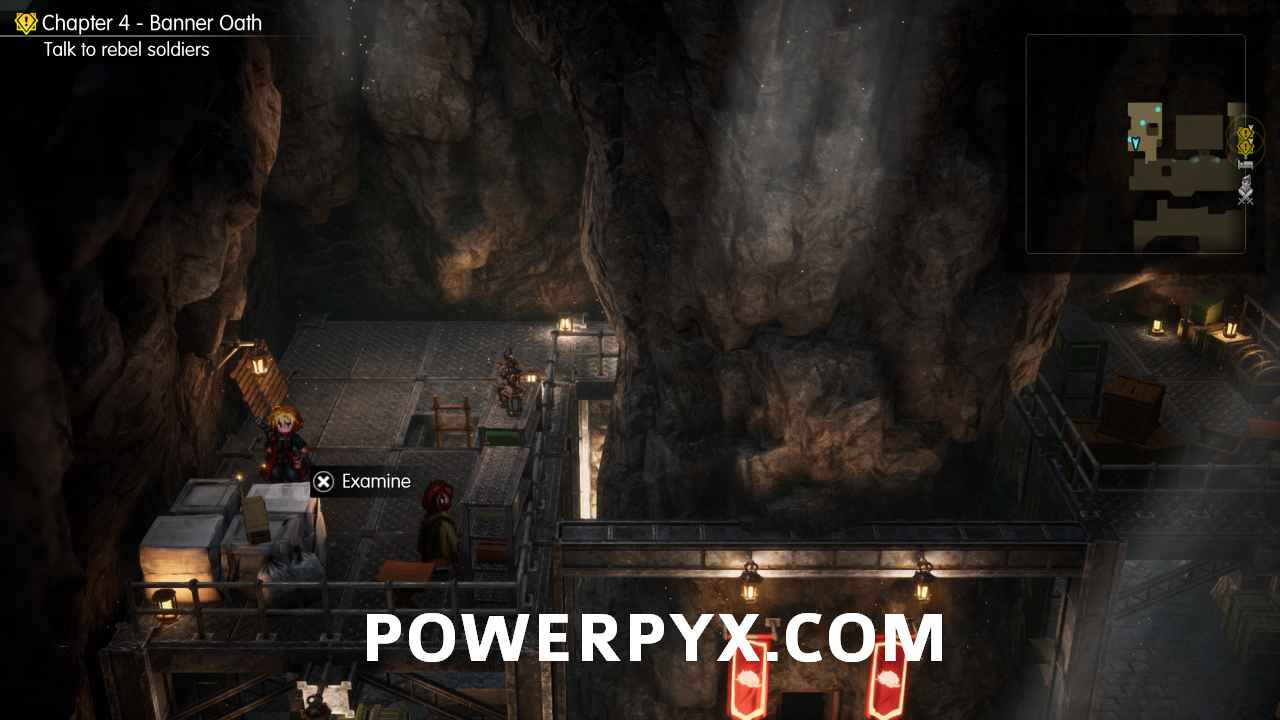
51. Rebel Hideout – In the northeast area. If you’re standing in front of the exit that leads to the rebel conference room, it’s just up some stairs to the right and behind a metal pillar next to the railing.
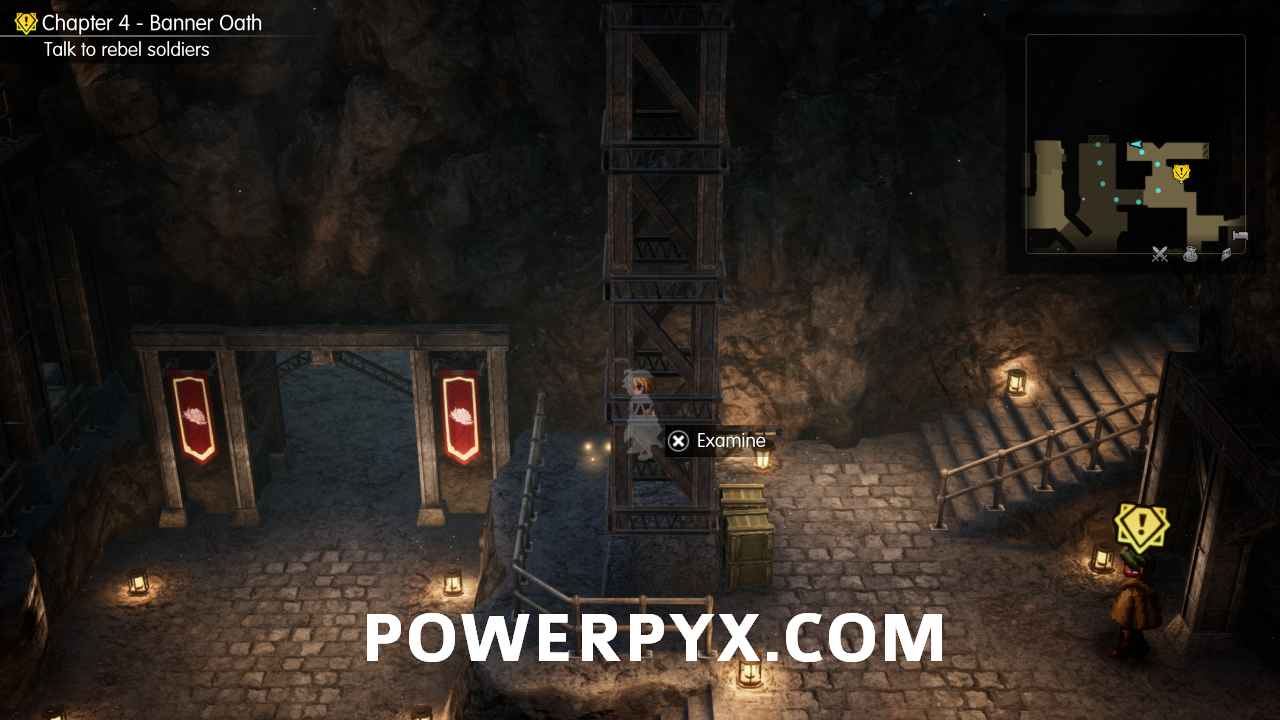
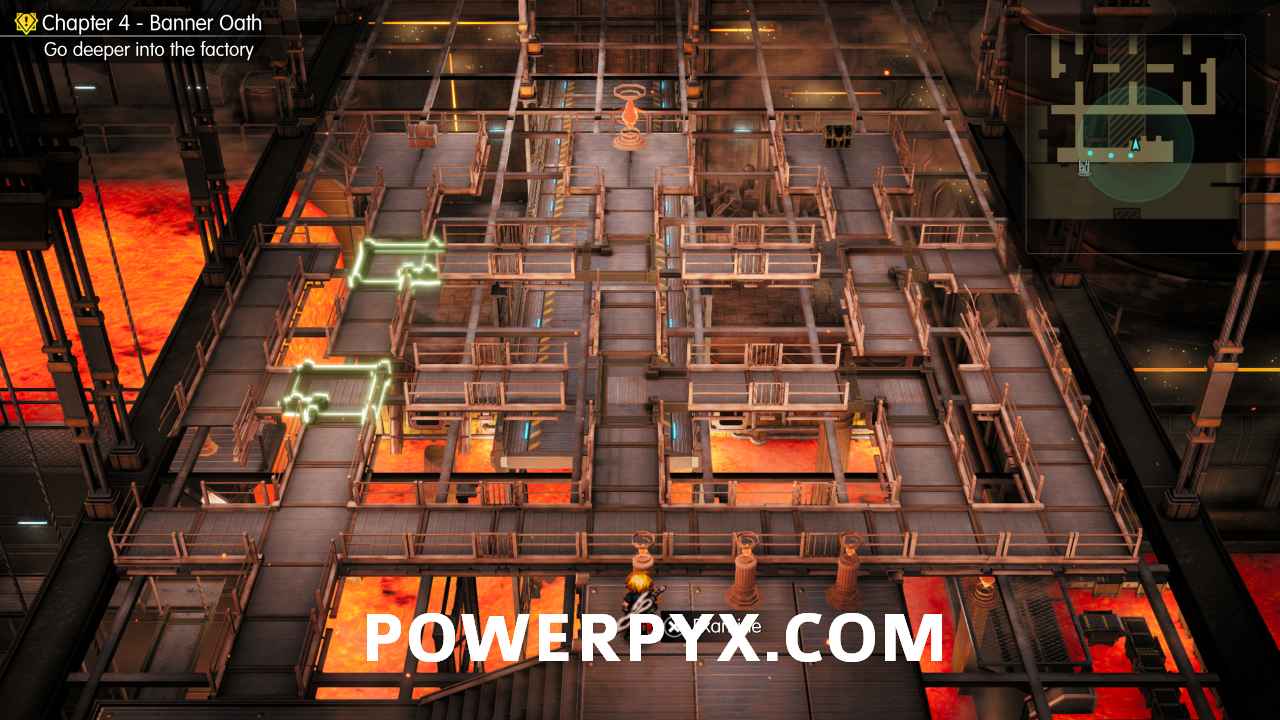
52. Weapons Factory – In the main area with the lava floor, head all the way to the west and walk up the stairs and across the platforms until you reach a crystal switch. Press it, then walk across the girder that rises, turn left and find the Shard.
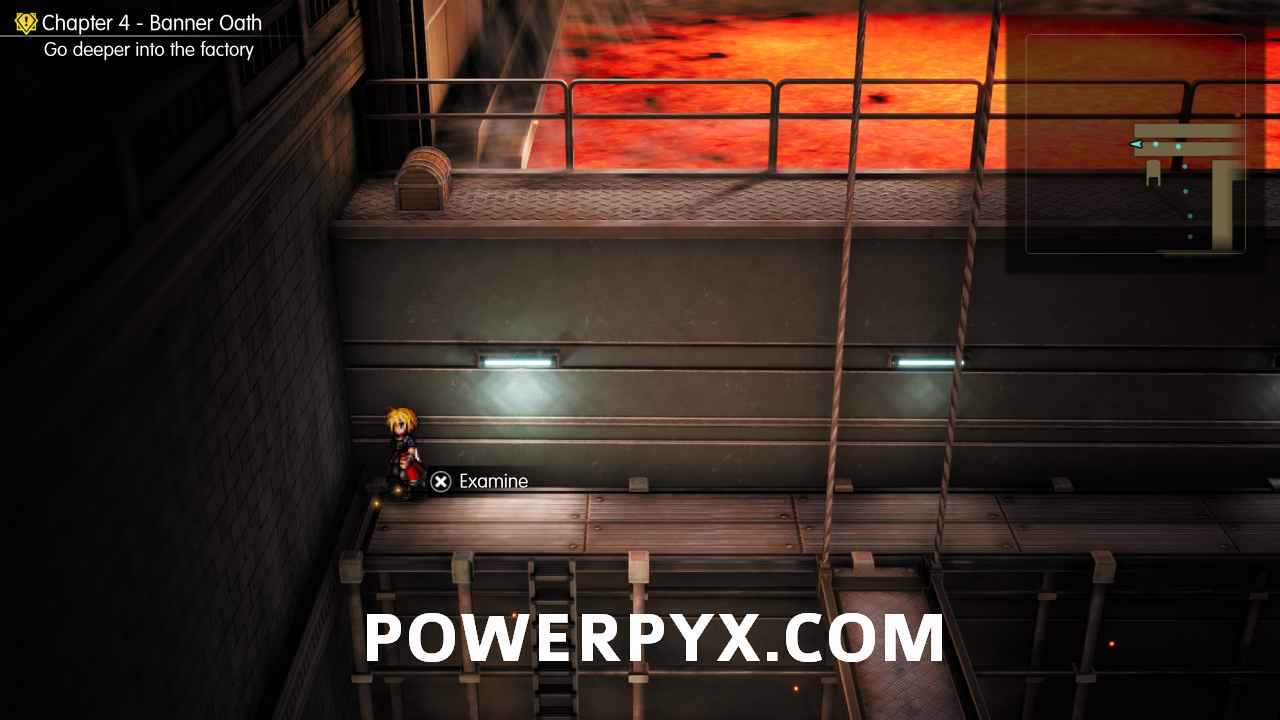
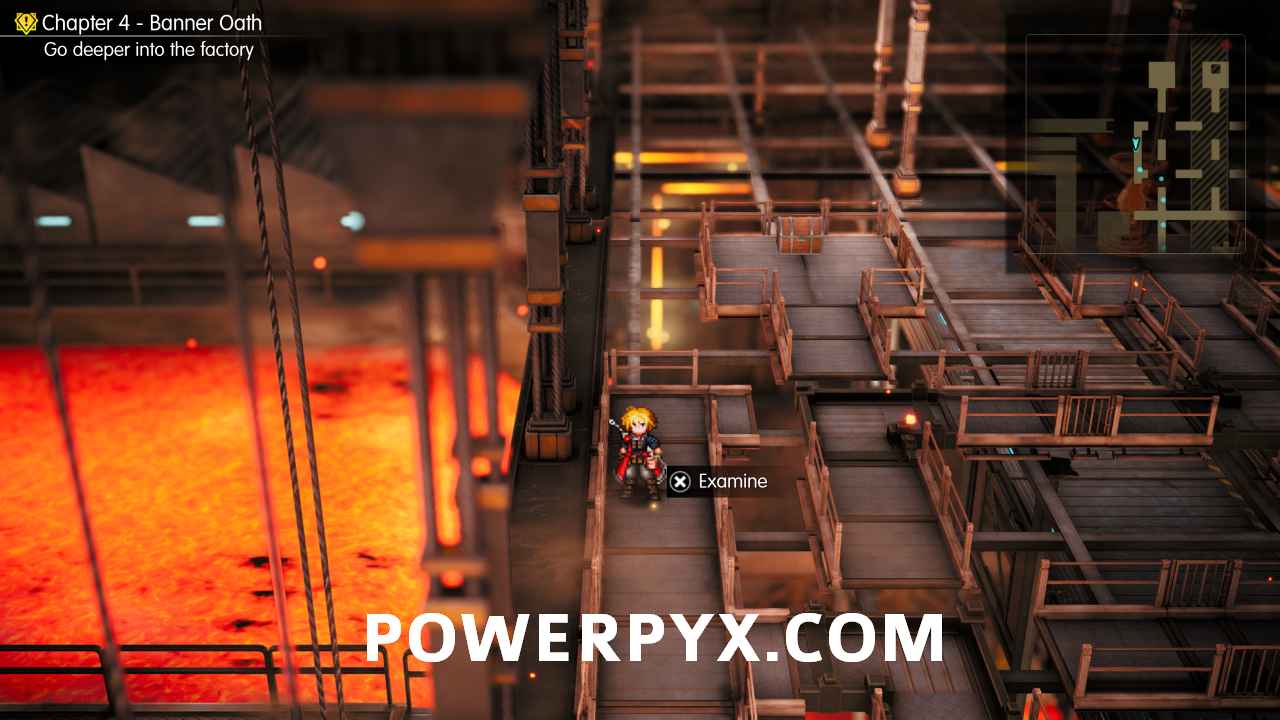
53. Weapons Factory – In the main area with the lava floor, head up the long ladder next to the Save Point. You’ll find a platform with three different crystal switches, which allows you to navigate this area. Turn the left switch three times to access this Shard. If you go straight north from the top of the ladder you used to reach this area, it’s the second left.
54. Dungeon – Once you obtain the Master Key, head south to another room of cells. This is in the first cell to the right.
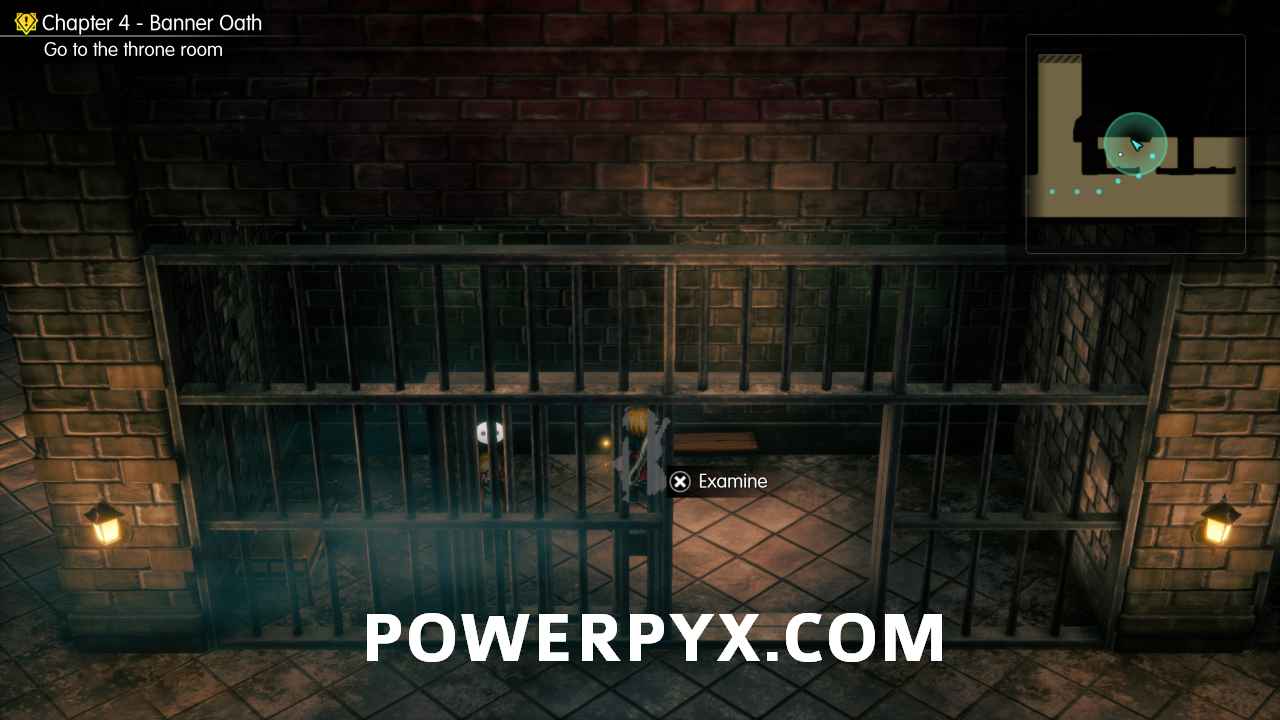
55. Dungeon – Once you obtain the Master Key, return to the first room of this area where you were imprisoned and find this in a cell you can now unlock on the west side of the room.
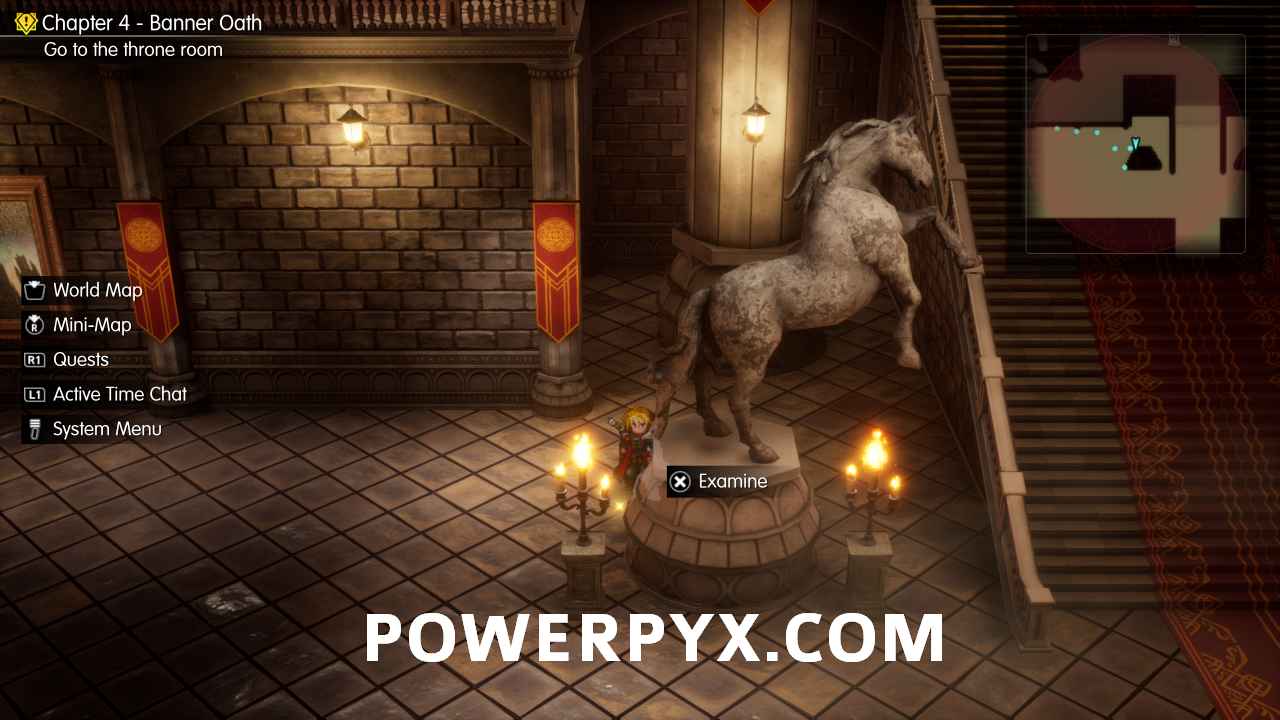
56. Zoldaad Castle – Flanking the staircase leading up to the throne room are two horse statues. This is behind the left one.
57. Zoldaad Castle – Head up the staircase leading to the throne room, then take the right hallway and enter the first door you come across. The Shard is in the southeast corner.
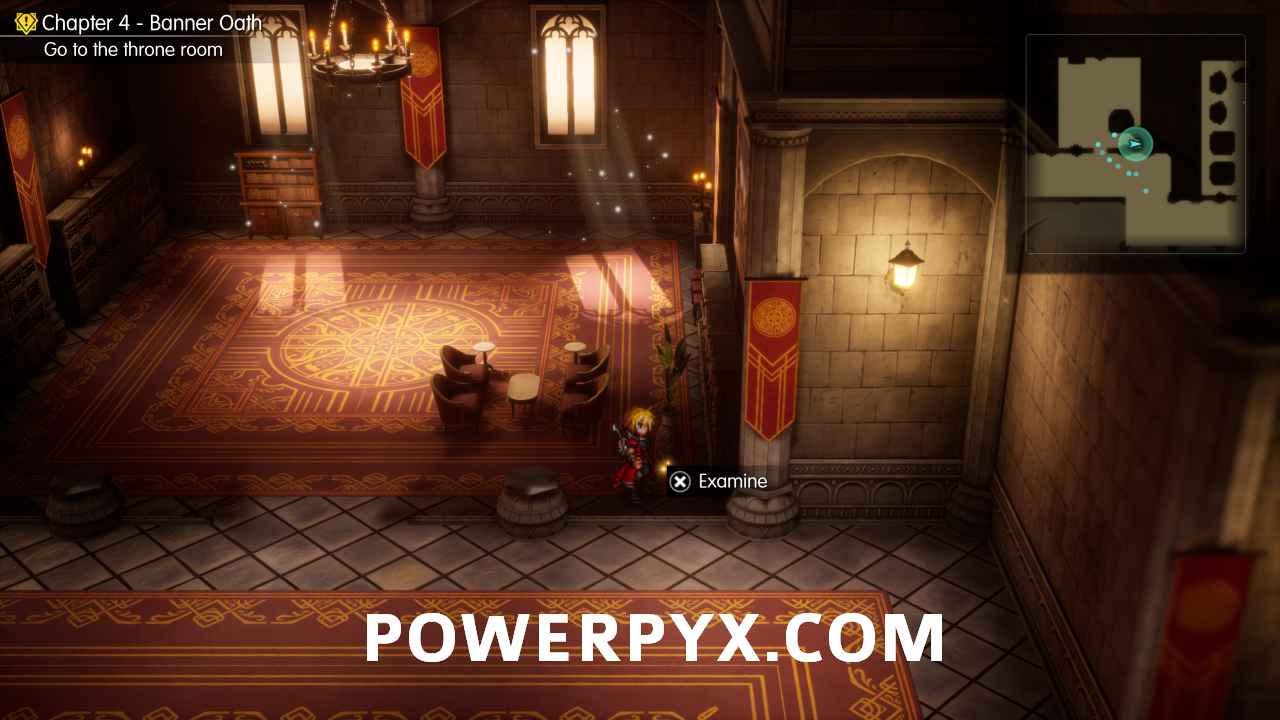
58. Grandshelt, The Royal Capital – In the Colosseum, head all the way to the west on the initial path. The Colosseum opens in Chapter 4 and can be accessed by taking the west exit from the main screen of Grandhselt.
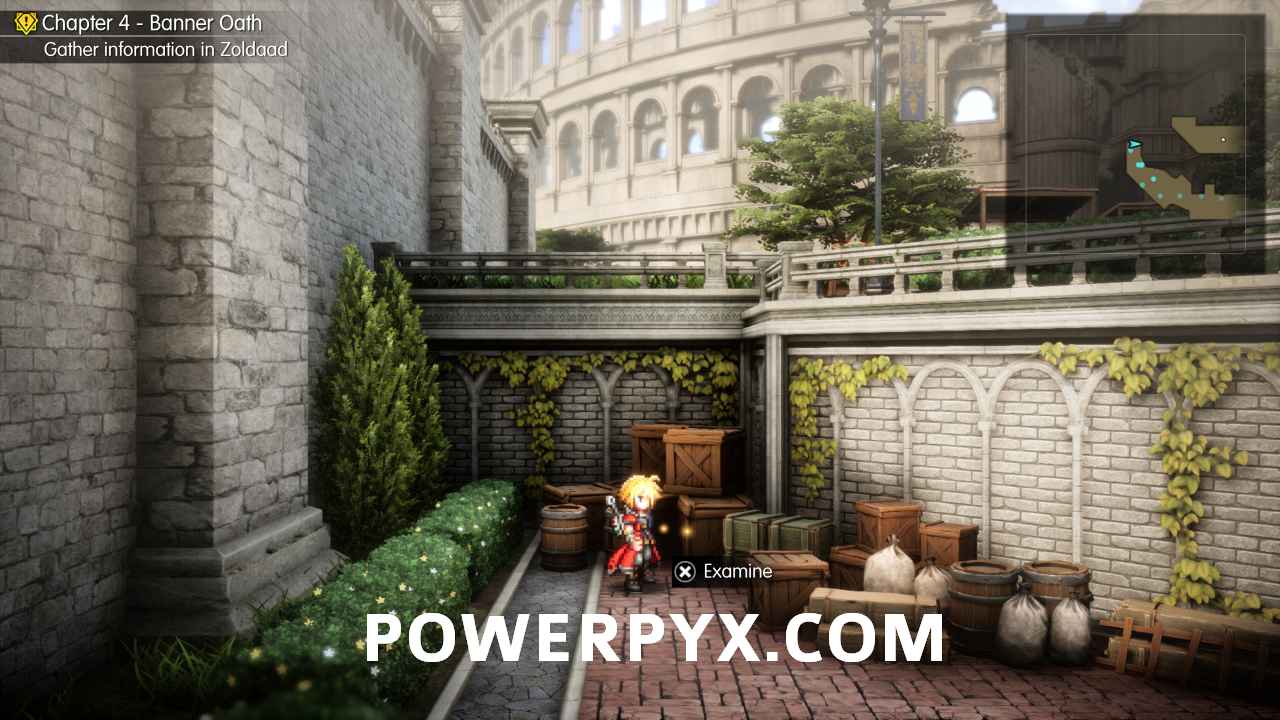
Chapter 5
59. Mysidia, the Magiapolis – From the main entrance, walk down the stairs to the right where the teleport crystal is and find this tucked into the corner behind an NPC you can talk to.
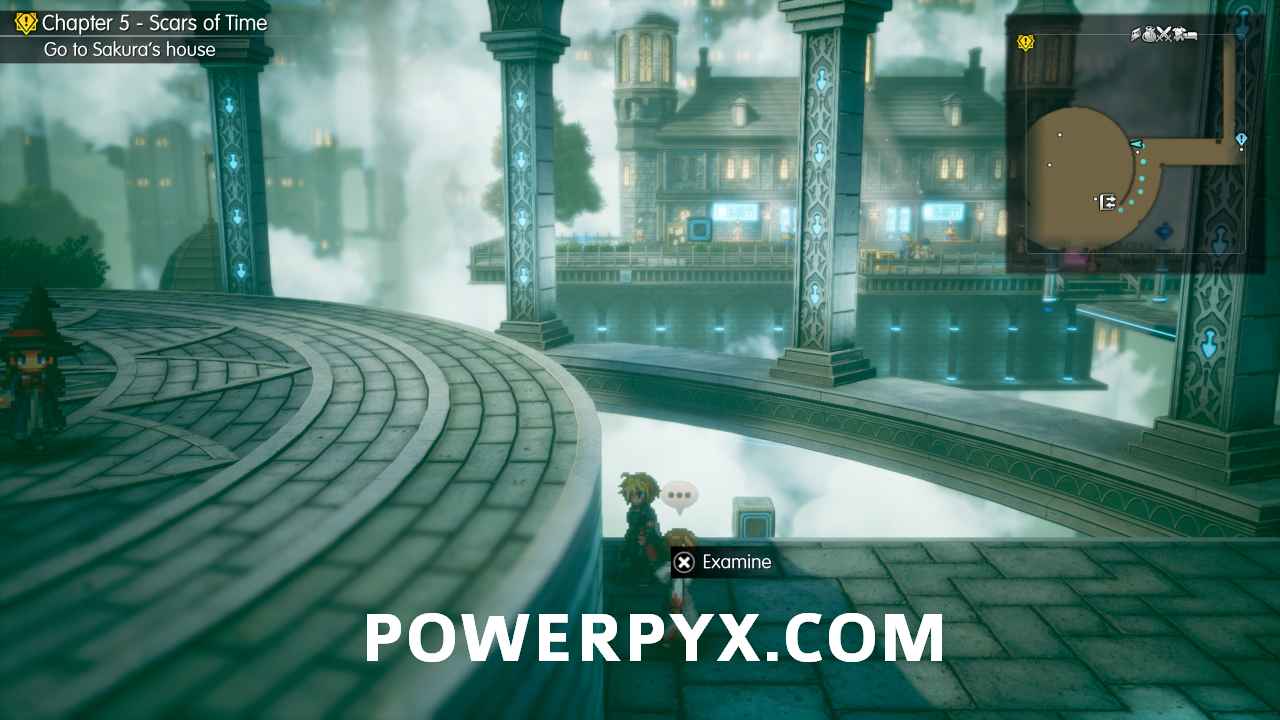
60. Mysidia, the Magiapolis – Walk or use the teleport crystal to head to Storefront, and this Shard is directly south of the Weapon Shop next to two crates.
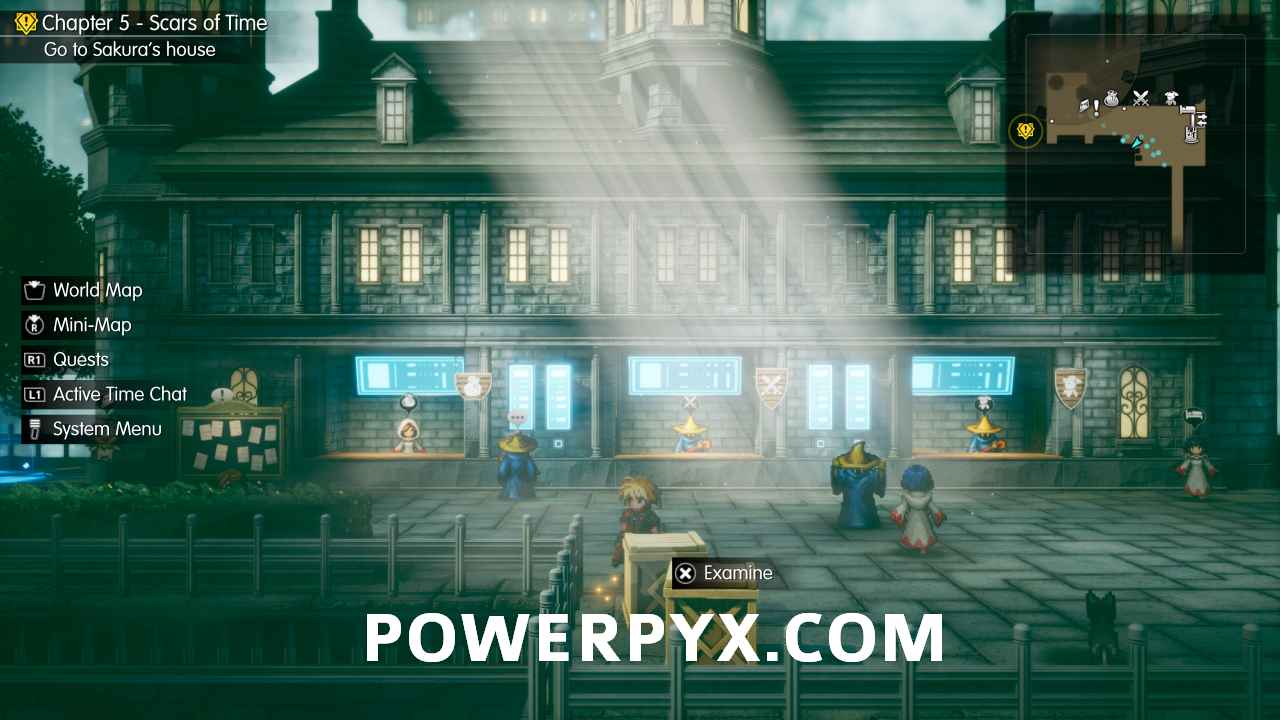
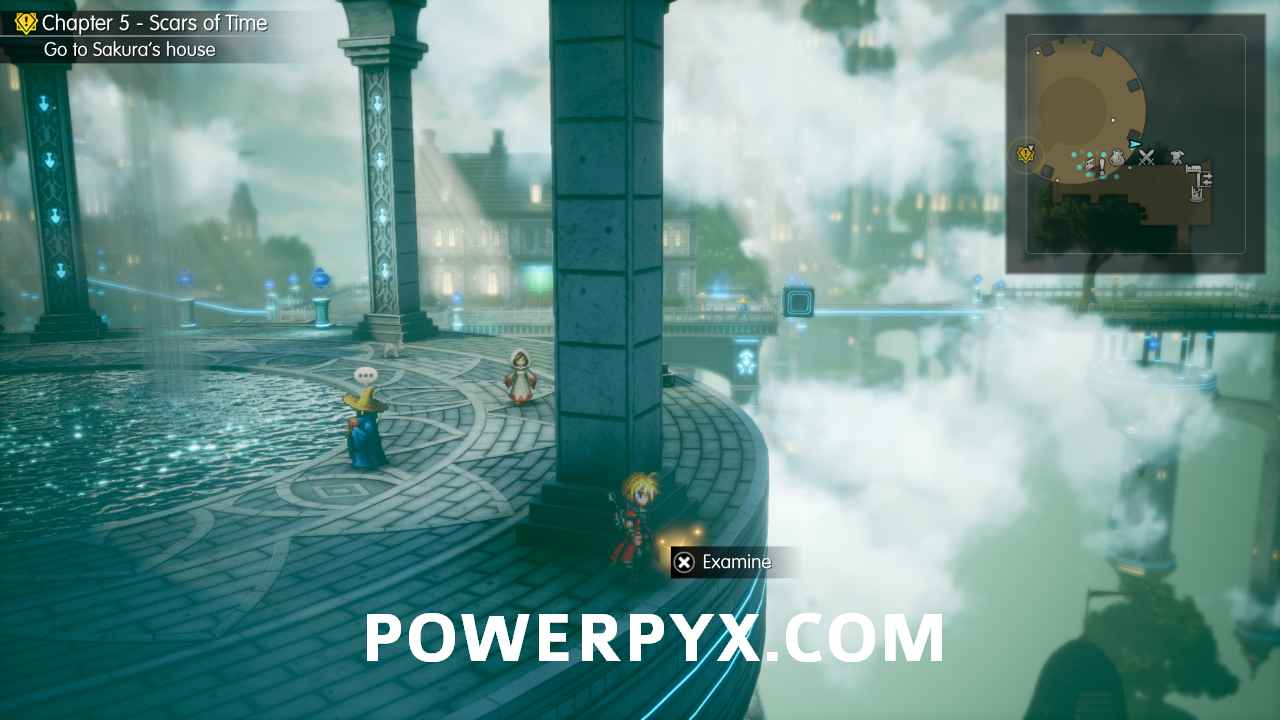
61. Mysidia, the Magiapolis – From the last Shard, head to the west past the Item Shop and enter the blue teleporter. Then in this circular area with the fountain, check the second pillar to the right.
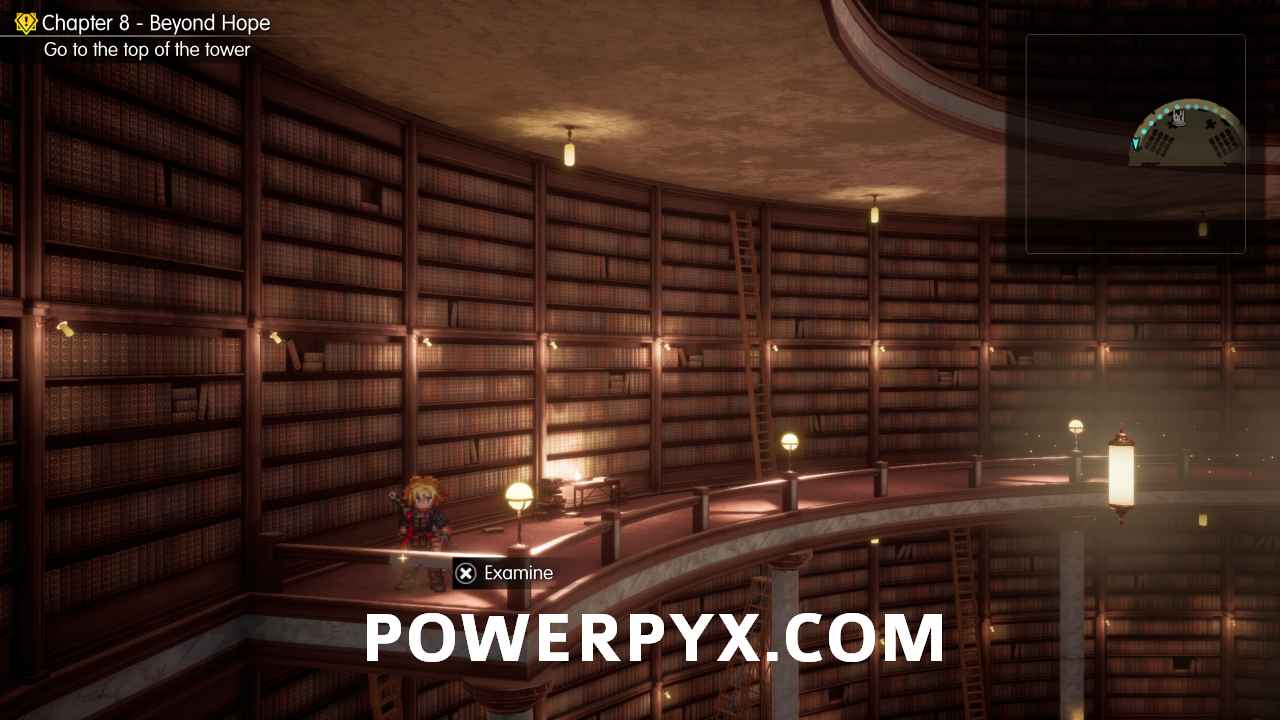
62. Arcane Library – In the final room with the second Save Point, climb the ladder just to the east, then walk all the way around to the west on the balcony.
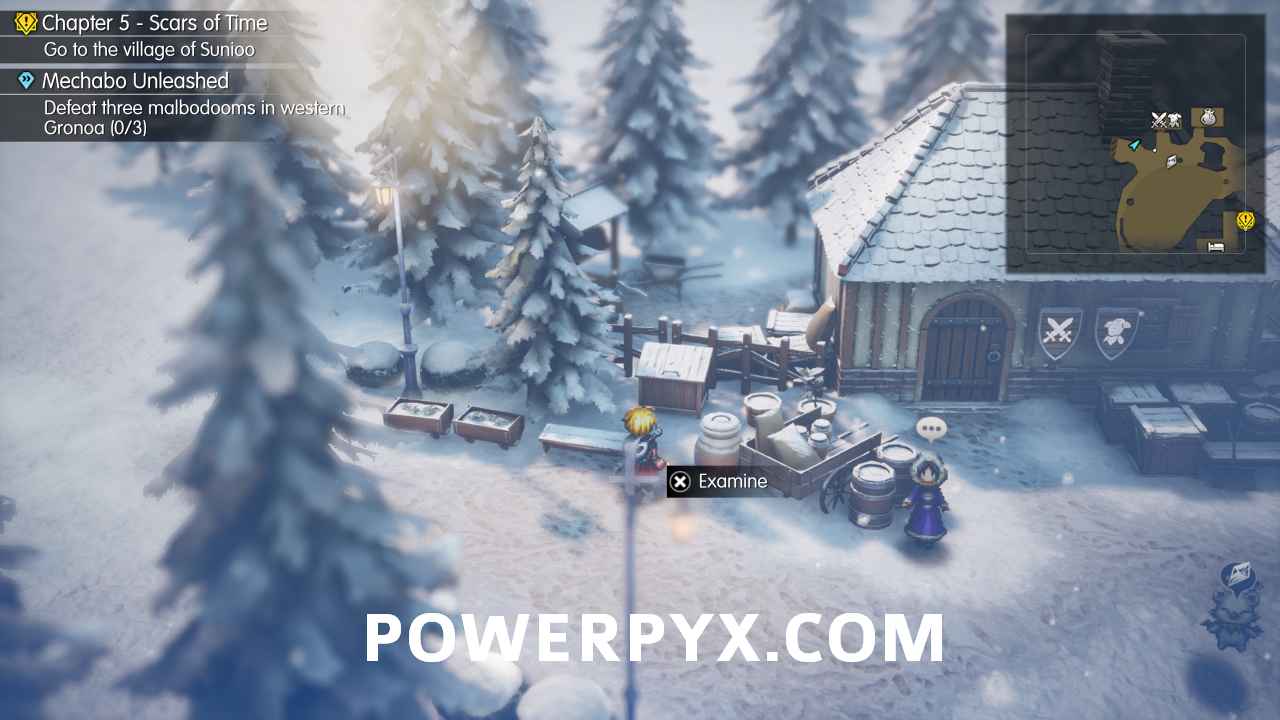
63. Village of Sunioo – Immediately as you enter the village, barely two steps above you between a bench and a pot.
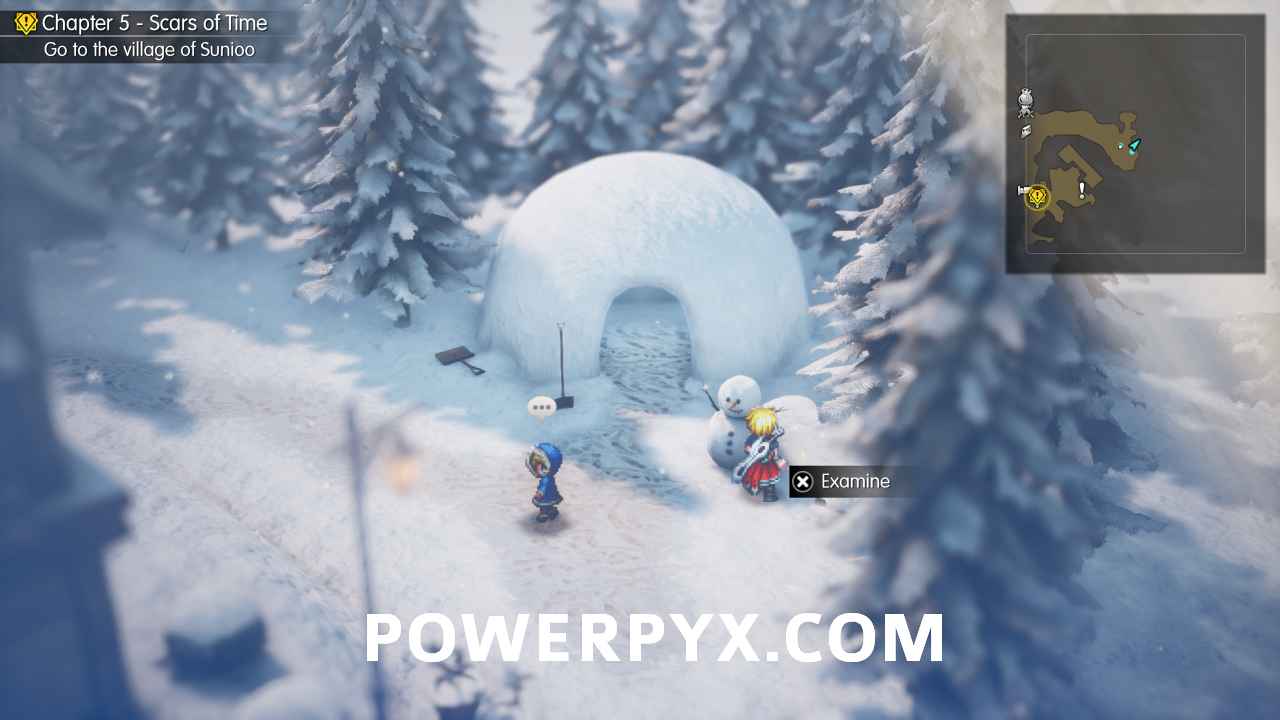
64. Village of Sunioo – On the northeastern-most part of the village, next to a snowman outside an igloo.
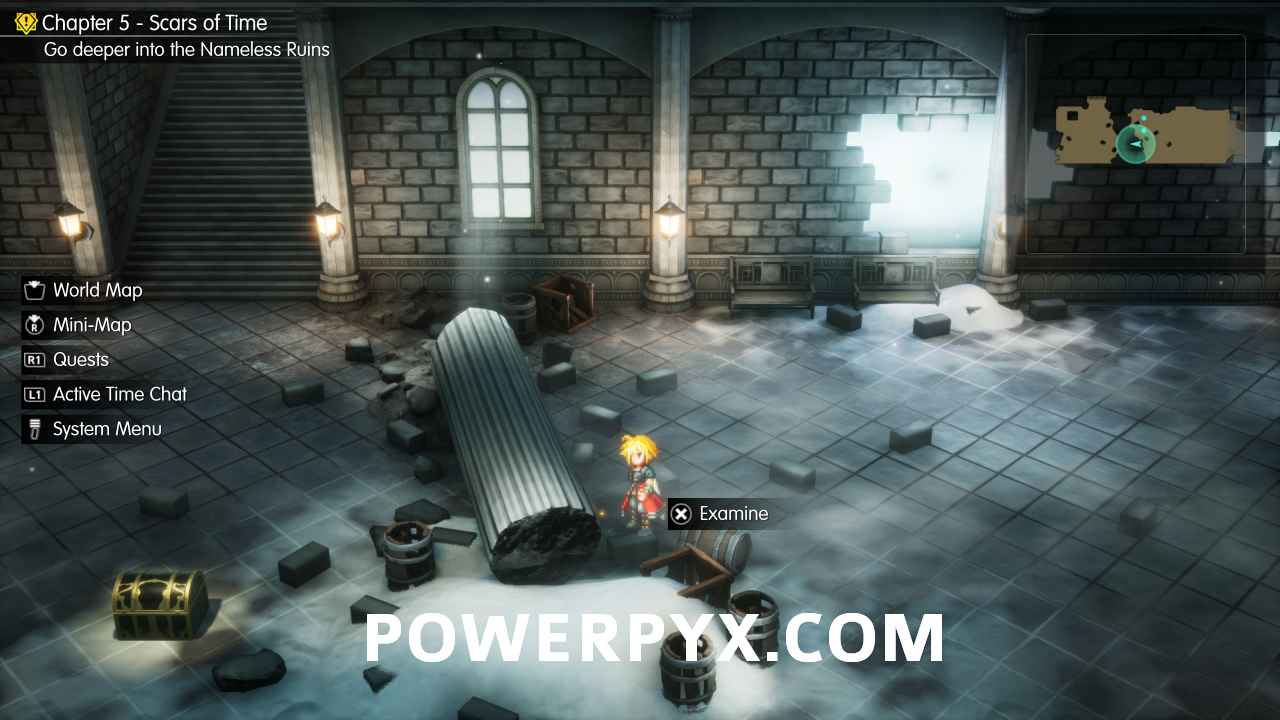
65. Nameless Ruins – In the first room, head as far west as you can go to find this next to a fallen pillar.
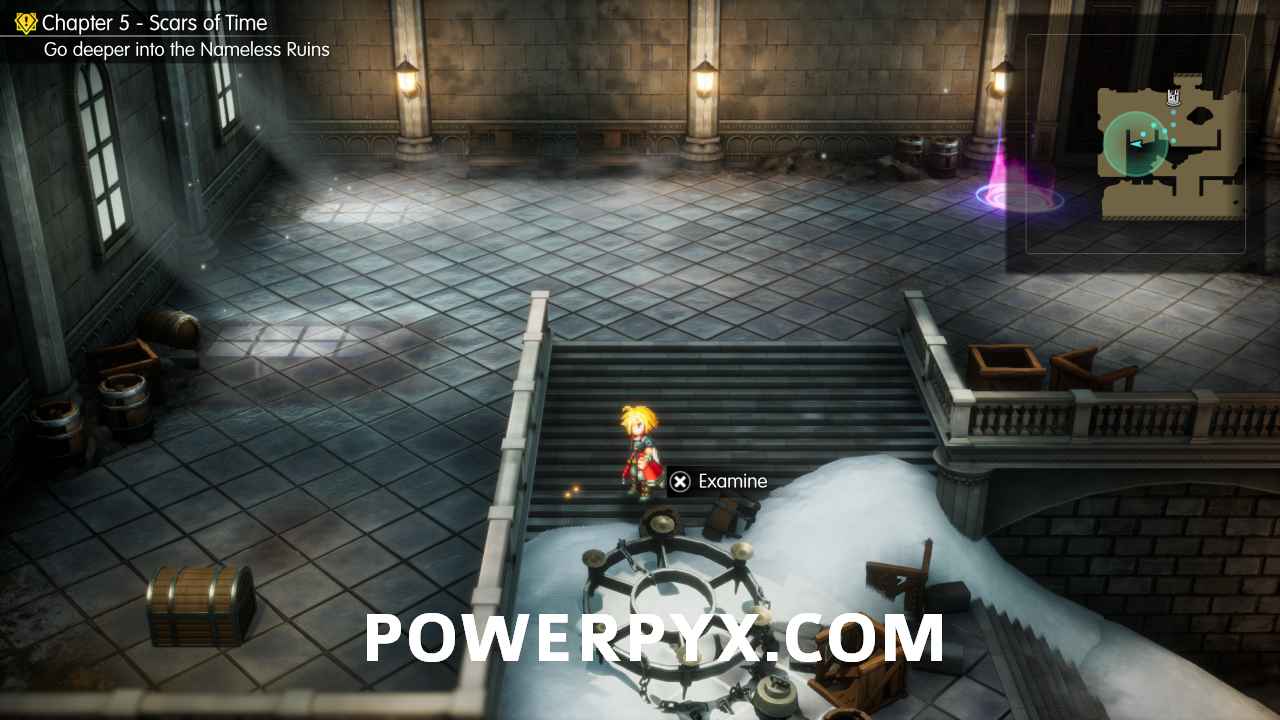
66. Nameless Ruins – In the second area, just south of the Save Point down some stairs next to a fallen chandelier.
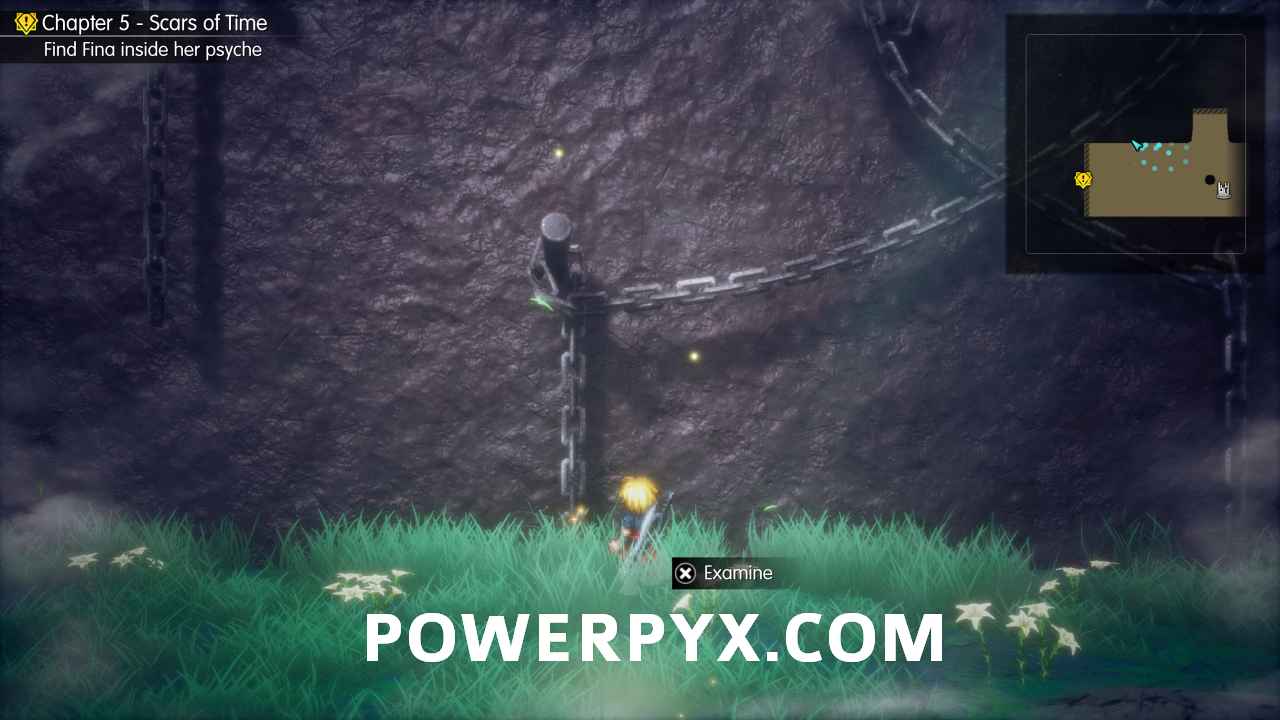
67. Fina’s Psyche Pt. 1 – Just to the left of the large padlocked gate, underneath a chain.
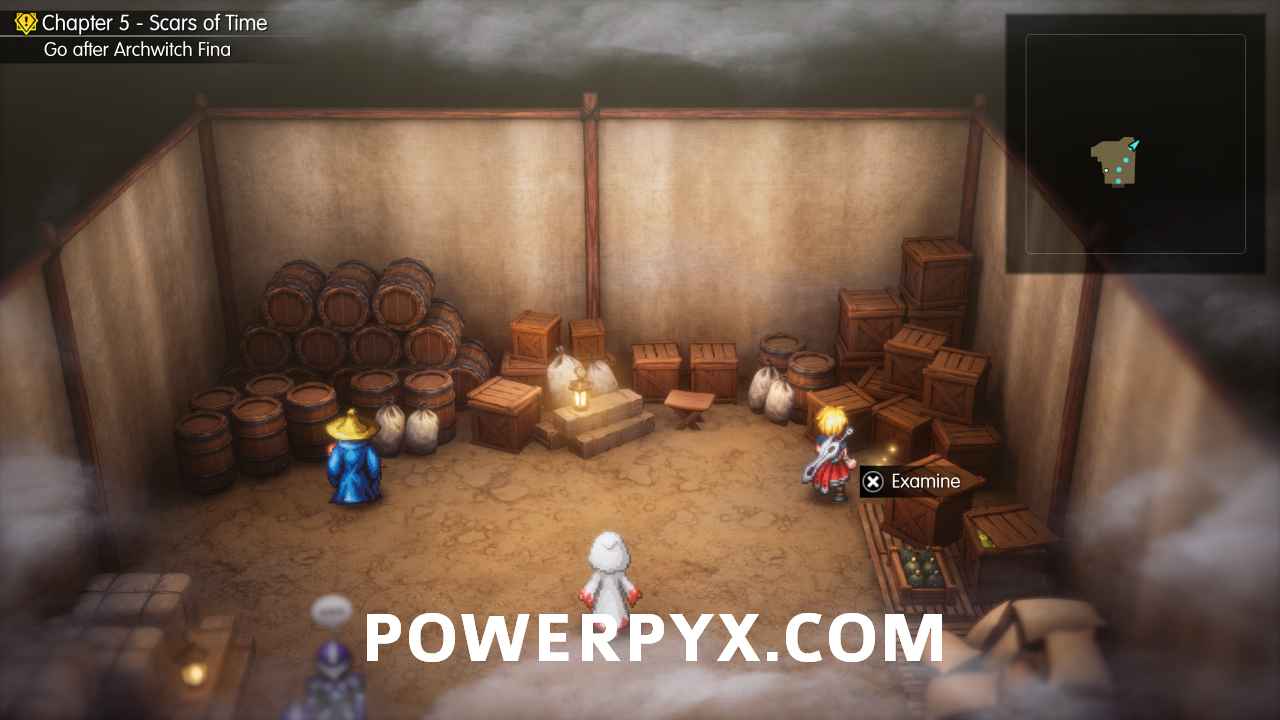
68. Fina’s Psyche Pt. 1 – In the area west of the gate, in the western-most tent above where Sol is standing (during the story only). It’s amongst some crates in the top-right corner.
69. Fina’s Psyche Pt. 1 – At the very end of the third area west of the gate after the cutscene where the first padlock of the large gate unlocks, in a clearing.
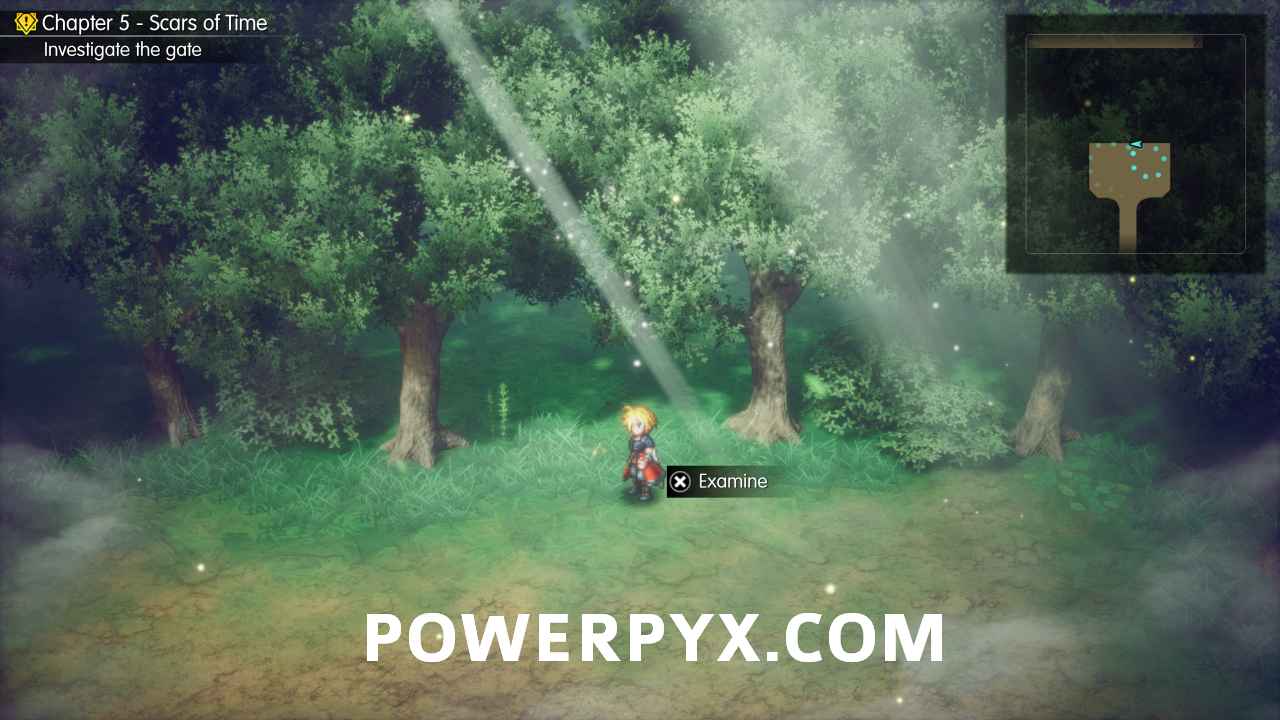
70. Tower of Mysidia – At the top of the main entrance, up the stairs behind the large crystal.
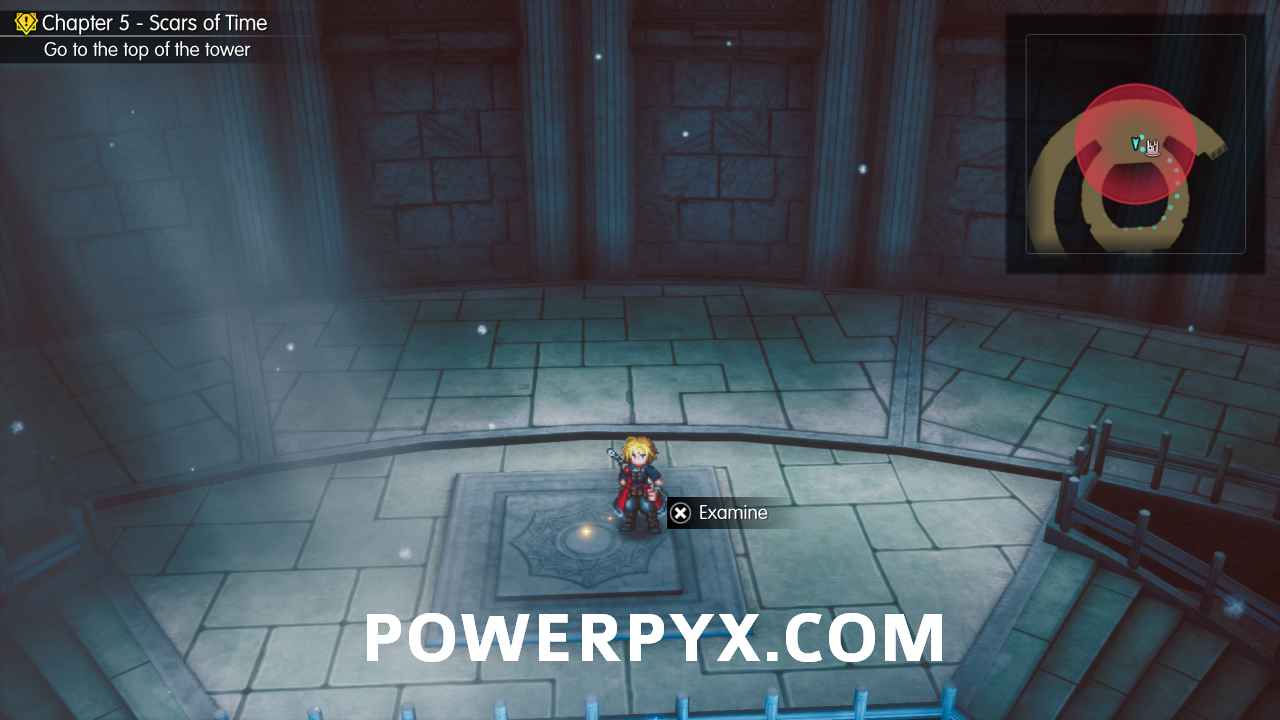
71. Tower of Mysidia – Continue up the spiral staircase in this area and you’ll find this on one of the landings.
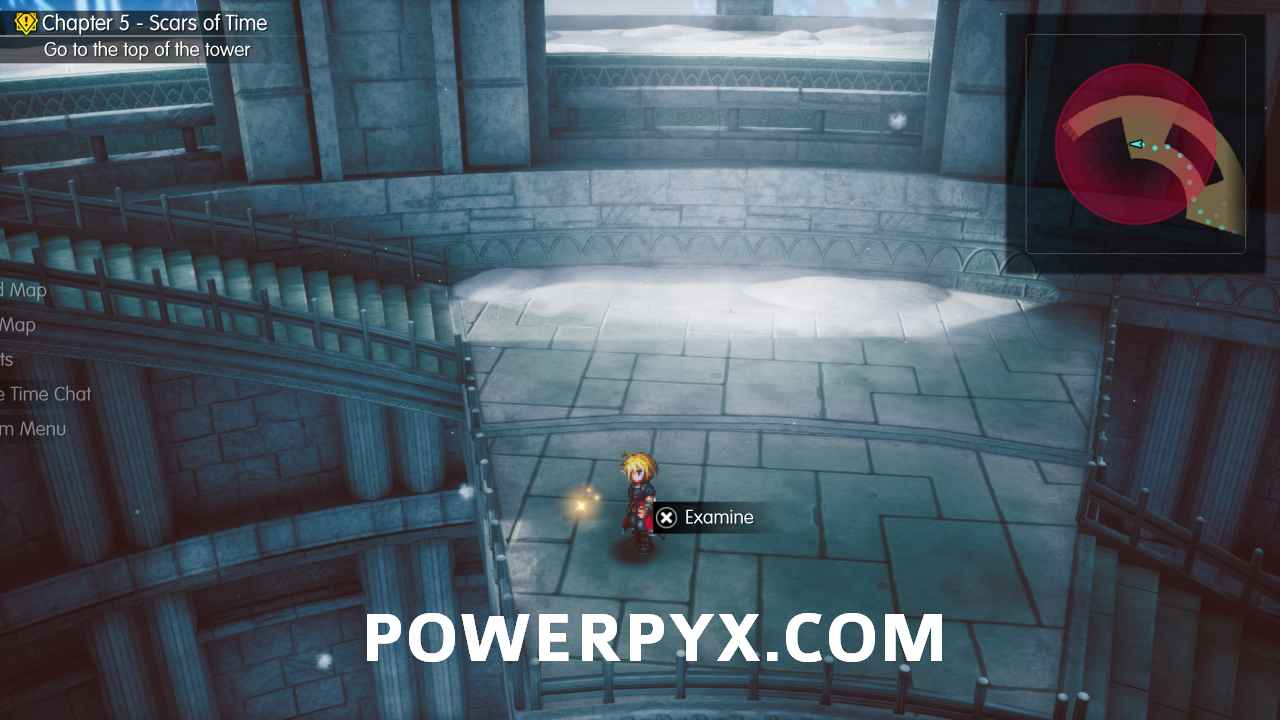
72. Tower of Mysidia – Continue further up the spiral staircase and this is on a landing on the story path before the Azure Pot enemy.
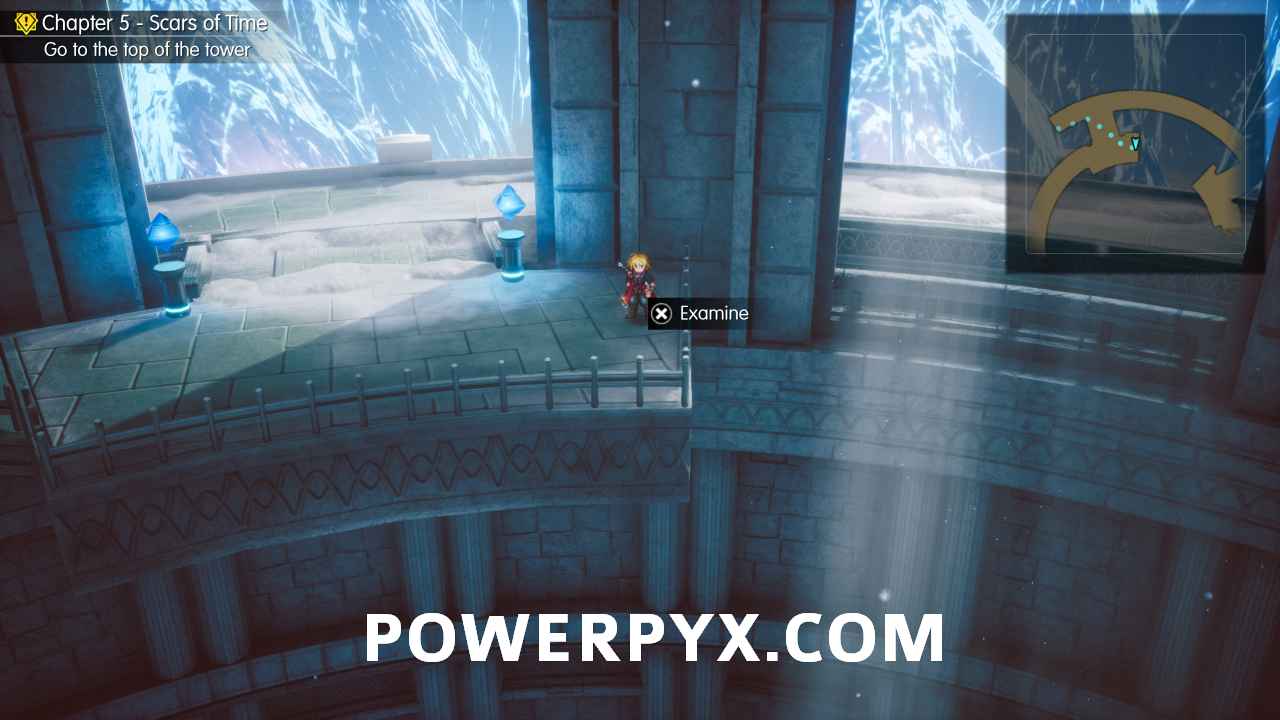
73. Tower of Mysidia – Continue further up and this is on a snowdrift on the story path after the Azure Pot enemy.
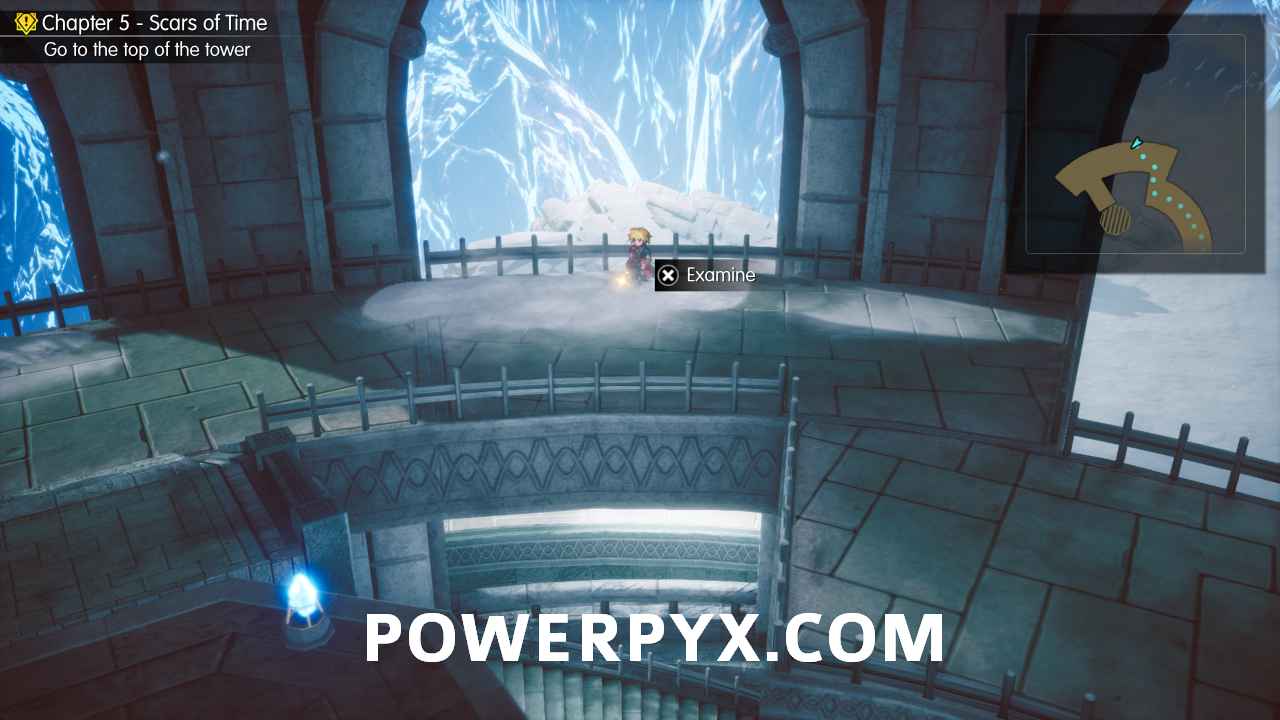
74. Fina’s Psyche Pt. 2 – After crossing the bridge and going to the next area, head north and find a small army camp. This is behind some supplies in the bottom-right corner.
Chapter 6
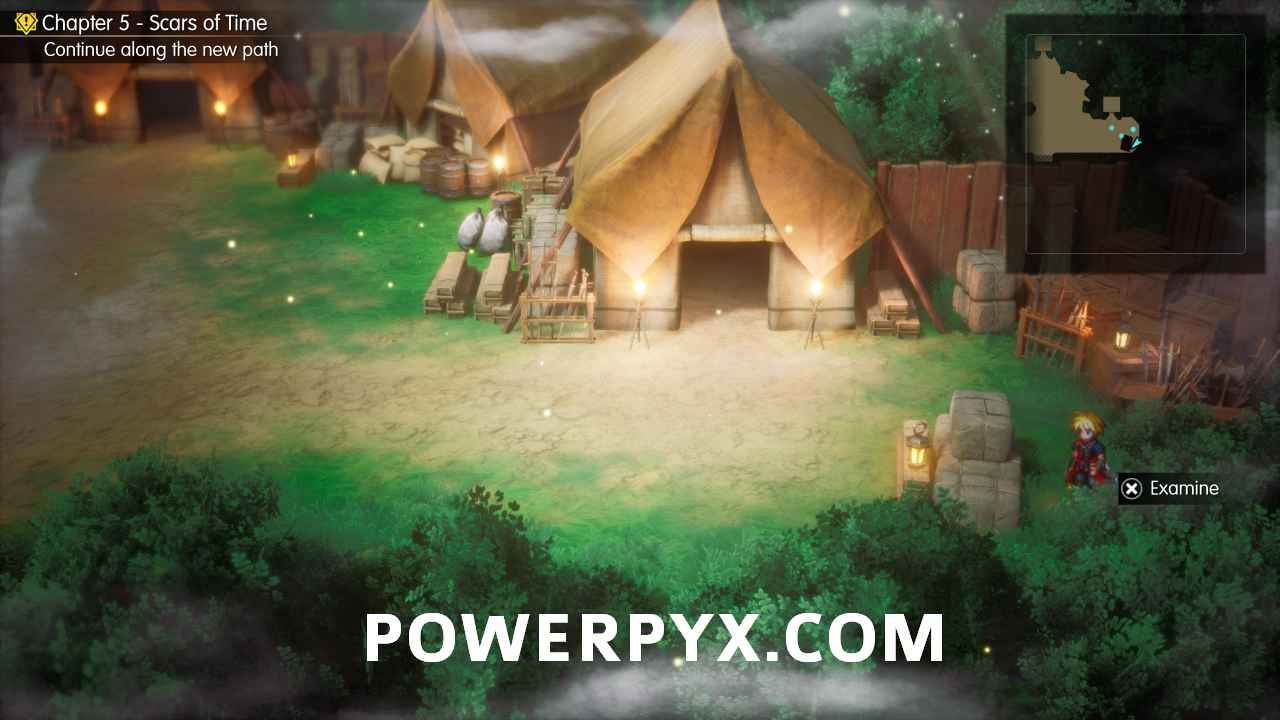
75. Gaberads, the Undertown – On the right side of the house in the northwestern end of town.
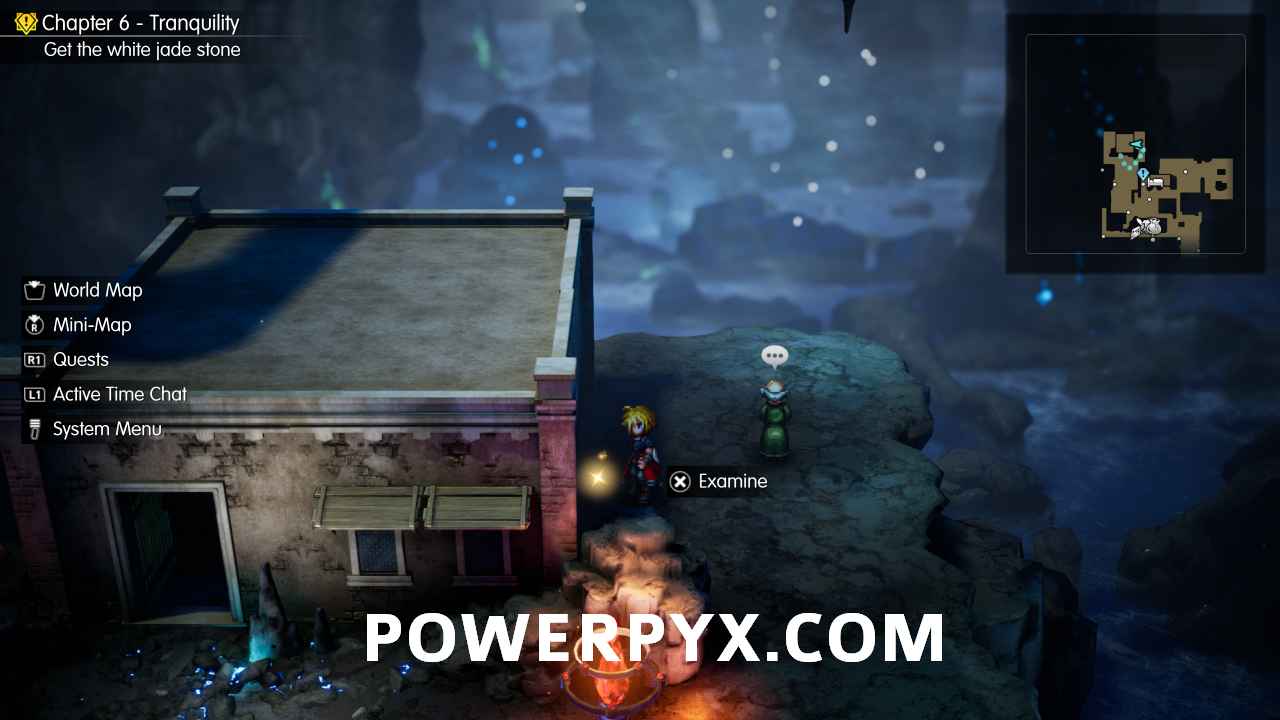
76. Research Centre Ruins – On the Lvl 1 security card path (west) from the main entrance room, it’s in the room with the desks and the green teleporter.
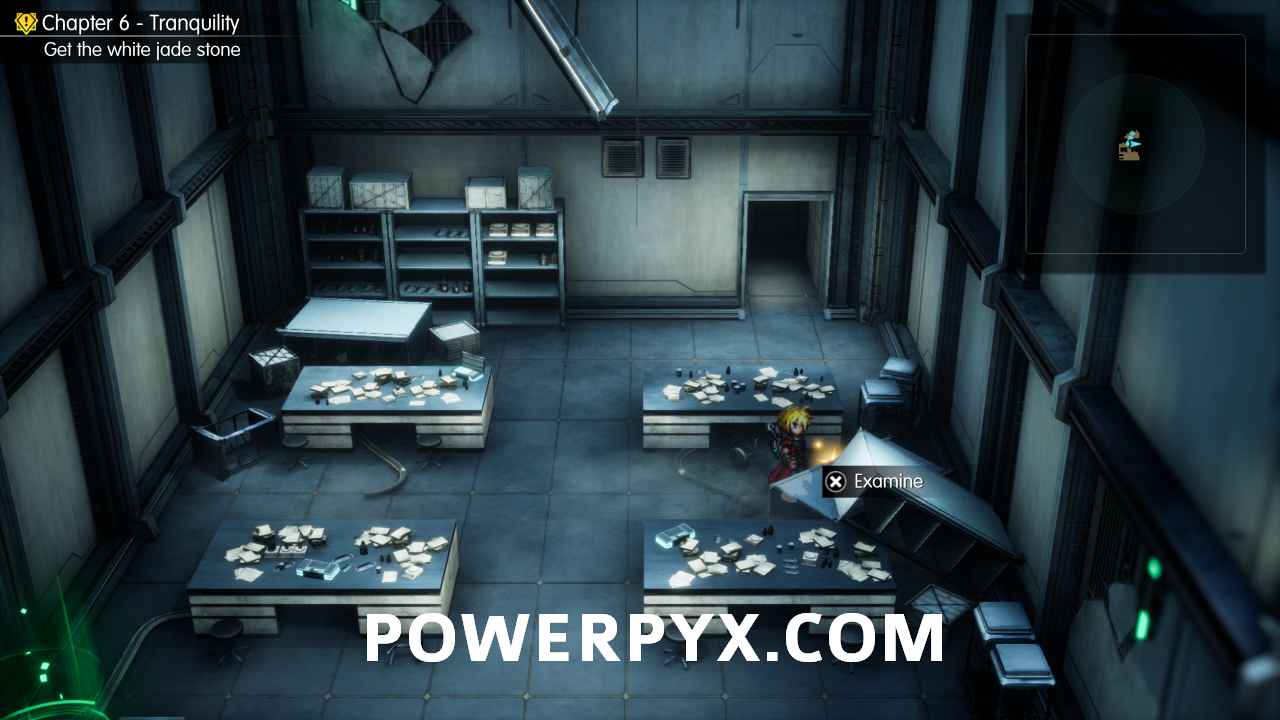
77. Research Centre Ruins – On the Lvl 1 security card path (west) from the main entrance room, it’s in the room where you need to switch on three consoles, on top of the shelves in the southeast corner.
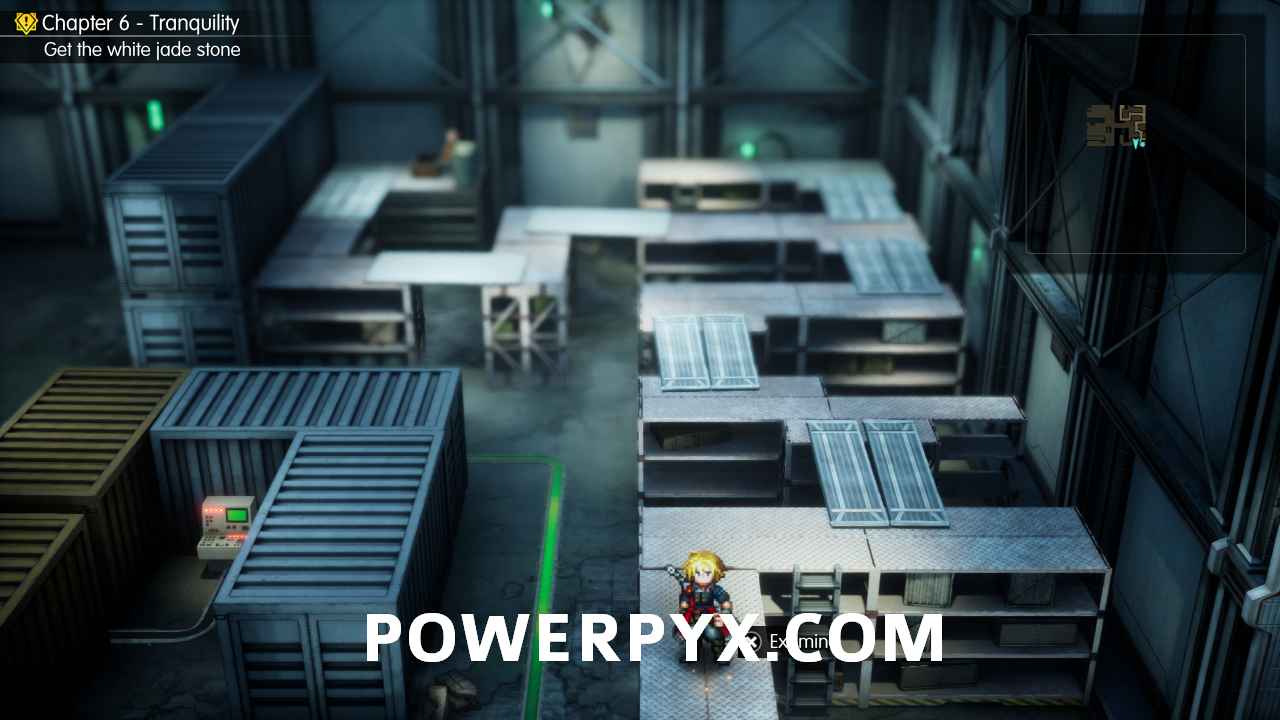
78. Research Centre Ruins – On the Lvl 2 security card path (east) from the main entrance room, it’s in the room with all of the green teleporters. Climb up the long ladder after going through the teleporters and it’s on the gantry to the right.
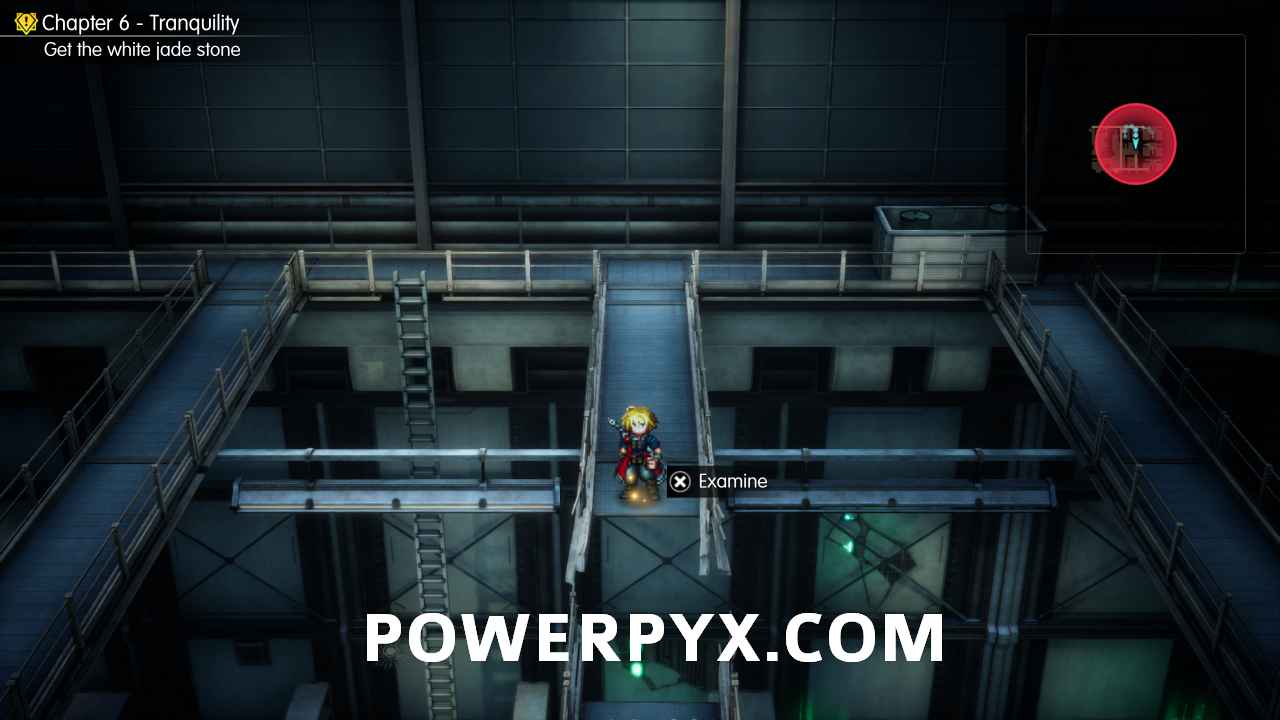
79. Rugged Mountain Path – Just west of the first Save Point, under a dead tree.
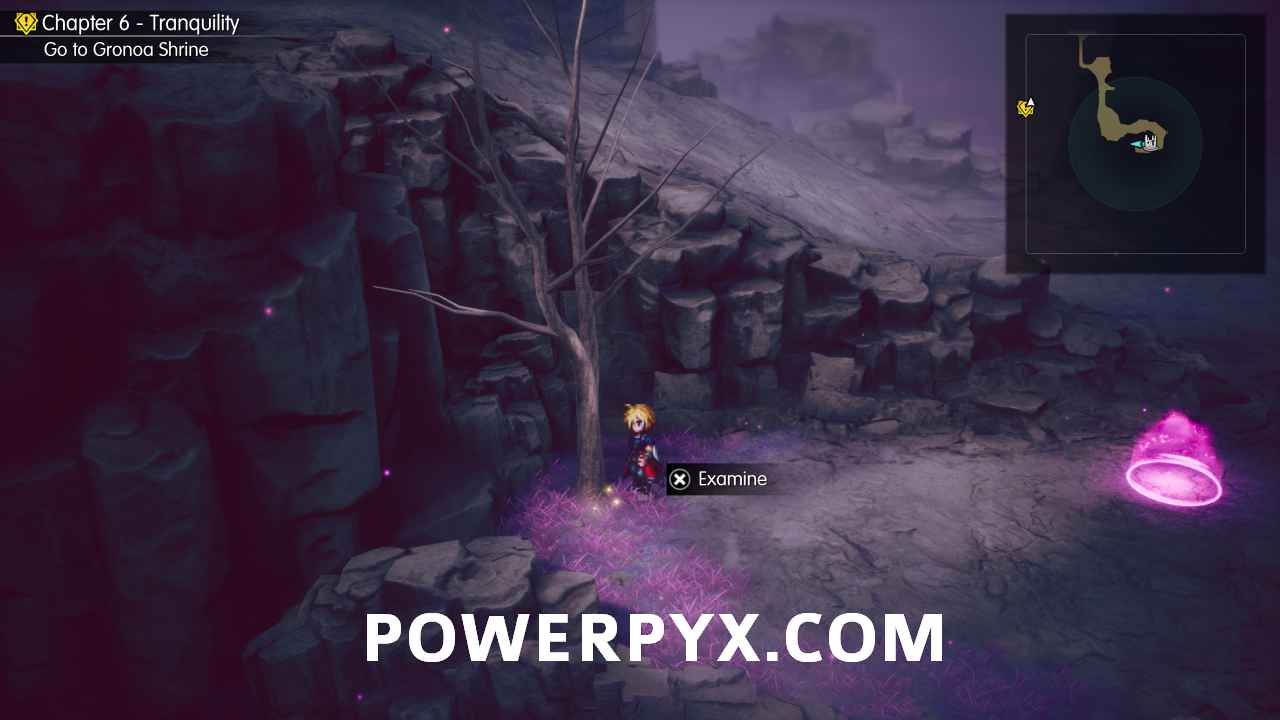
80. Rugged Mountain Path – East and down a ramp from the second Save Point, in the corner.
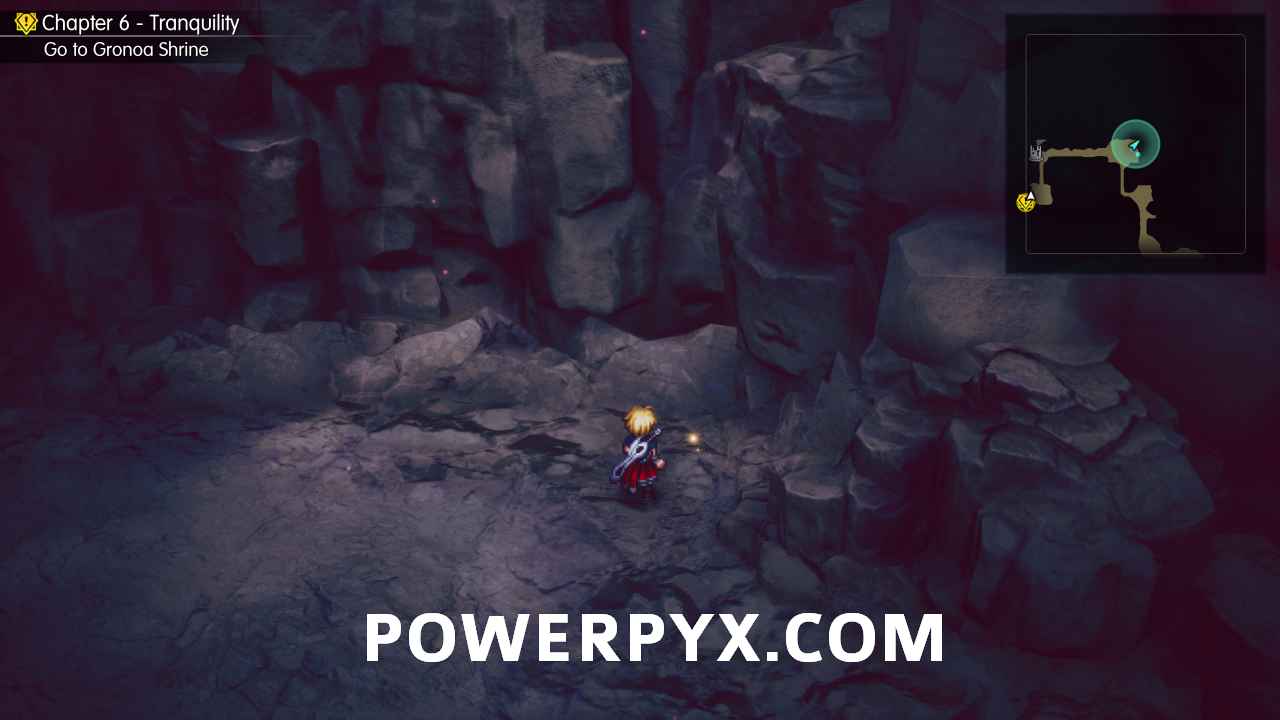
81. Town of Duggle – In the north of the town just to the east of the Weapon and Item Shop entrance, hard to see behind the waterfall.
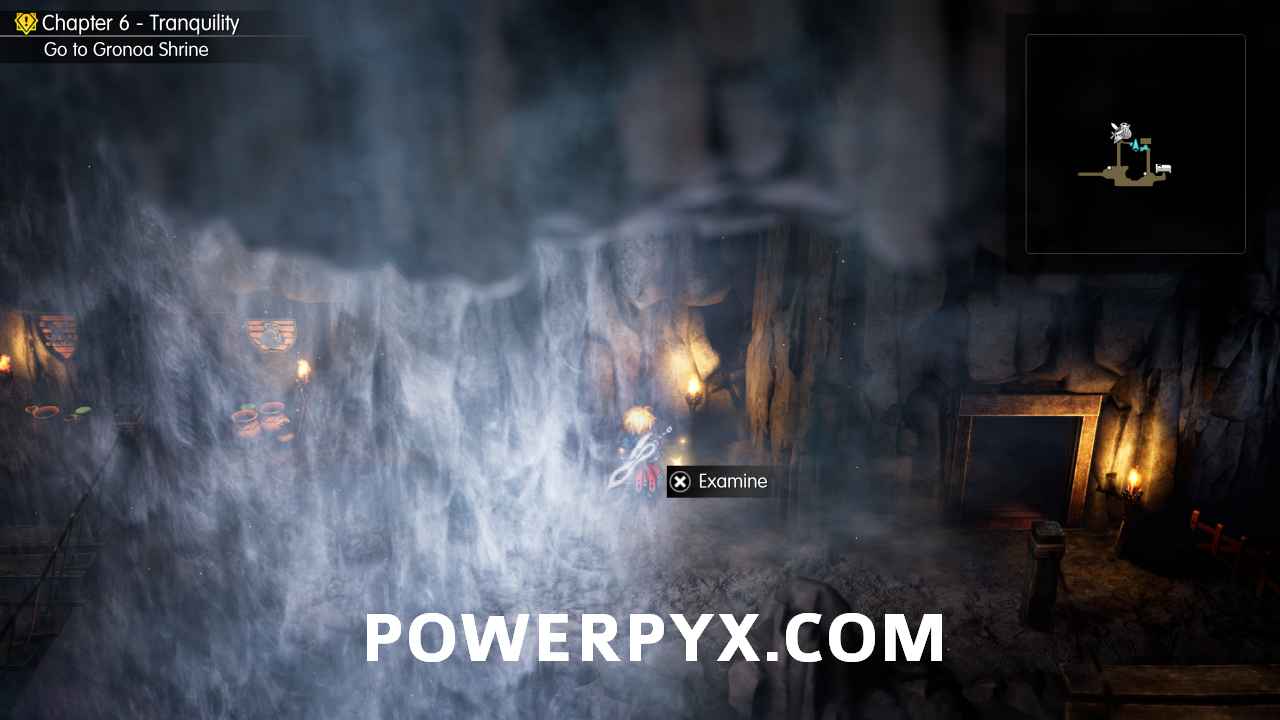
82. Gronoa Shrine – When you leave the first room, this will be at the south end of the landing you are standing on before you go down either set of stairs.
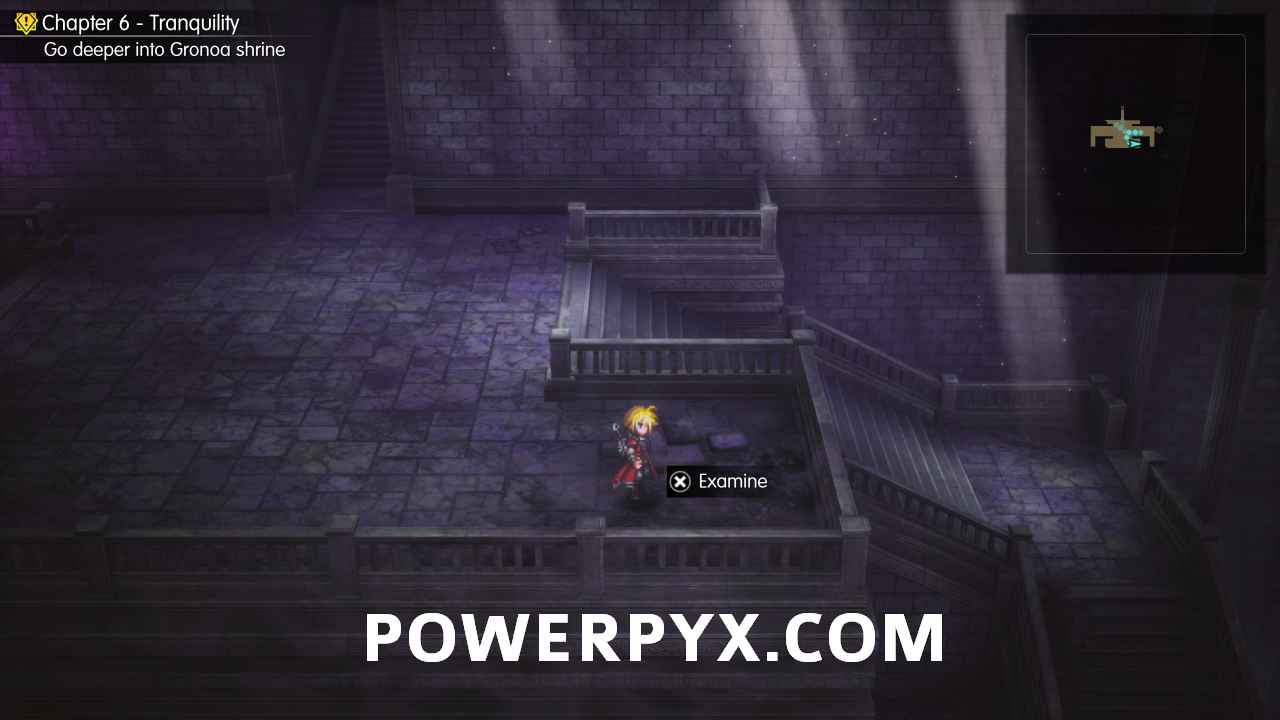
83. Gronoa Shrine – After you go down the west stairs, follow the path all the way south, then take the east path at the end and this will be on a staircase blocked off by a fallen pillar.
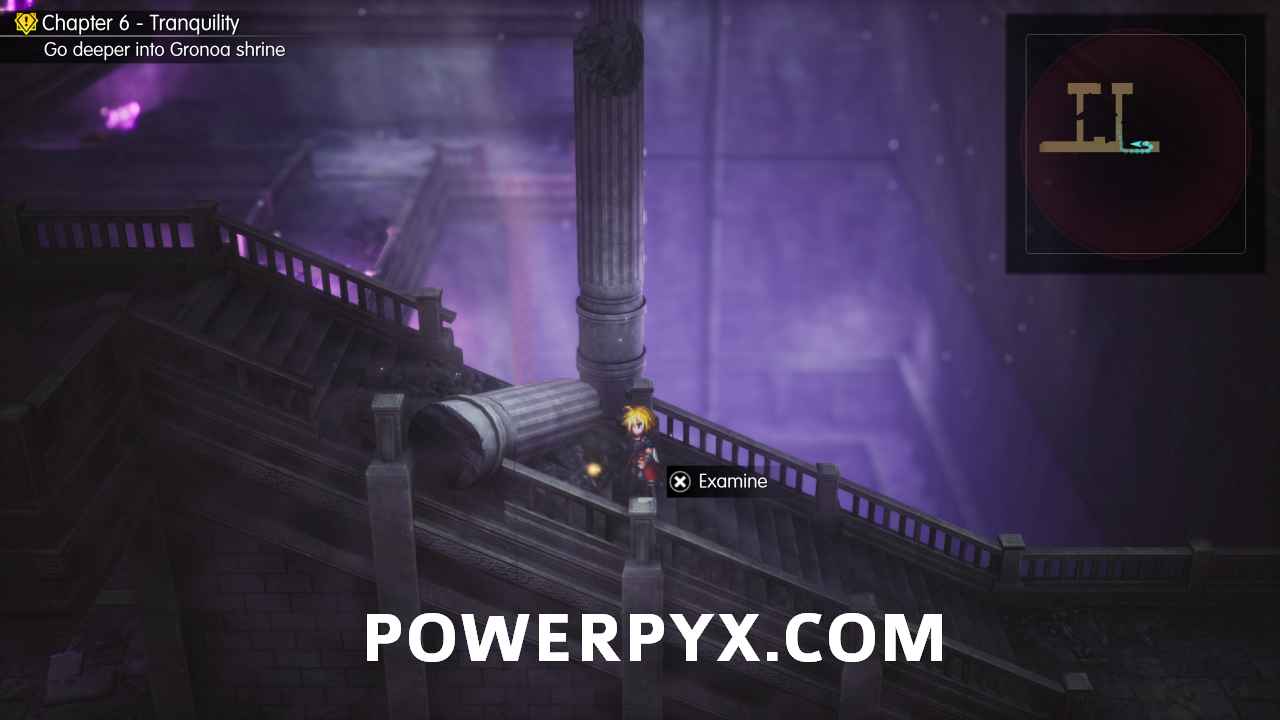
84. Gronoa Shrine – After the last Shard, follow the story path and climb down a long ladder. Head west and climb up a parallel ladder and then walk south to find this against another broken pillar.
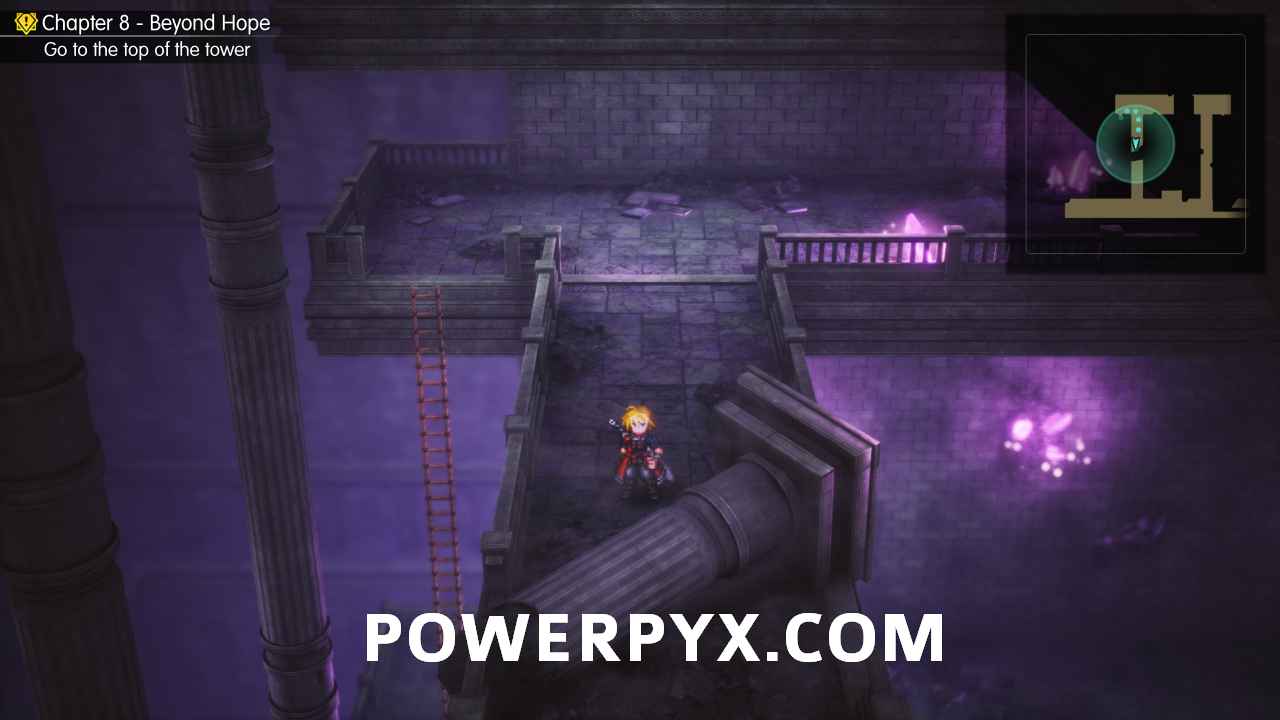
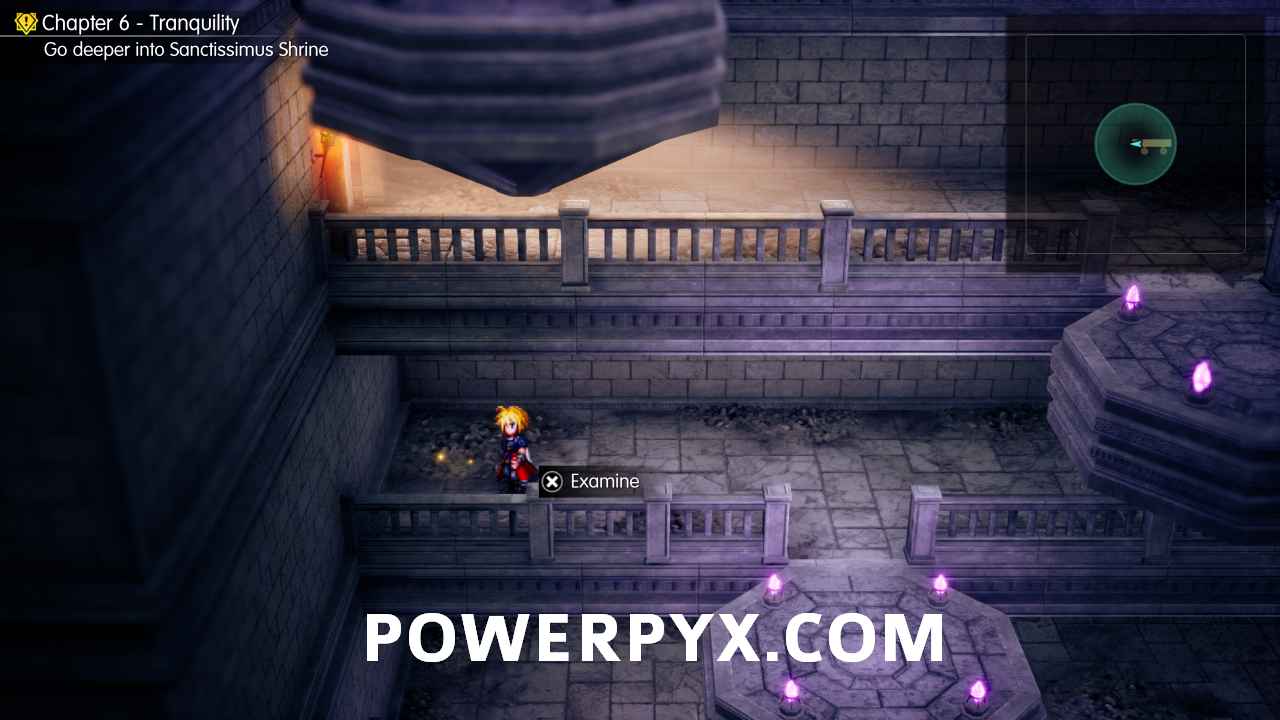
85. Sanctissimus Shrine – From the second Save Point, go north through the door to enter a horizontal room (with the tombstone which reads ‘The mighty wield blades, the clever command magic’). On the north side of the room, behind the stairs, go east to enter a hidden room under the torch. Head up the stairs, and then climb the ladder where the Violet Pot enemy is. It’s at the top of the ladder.
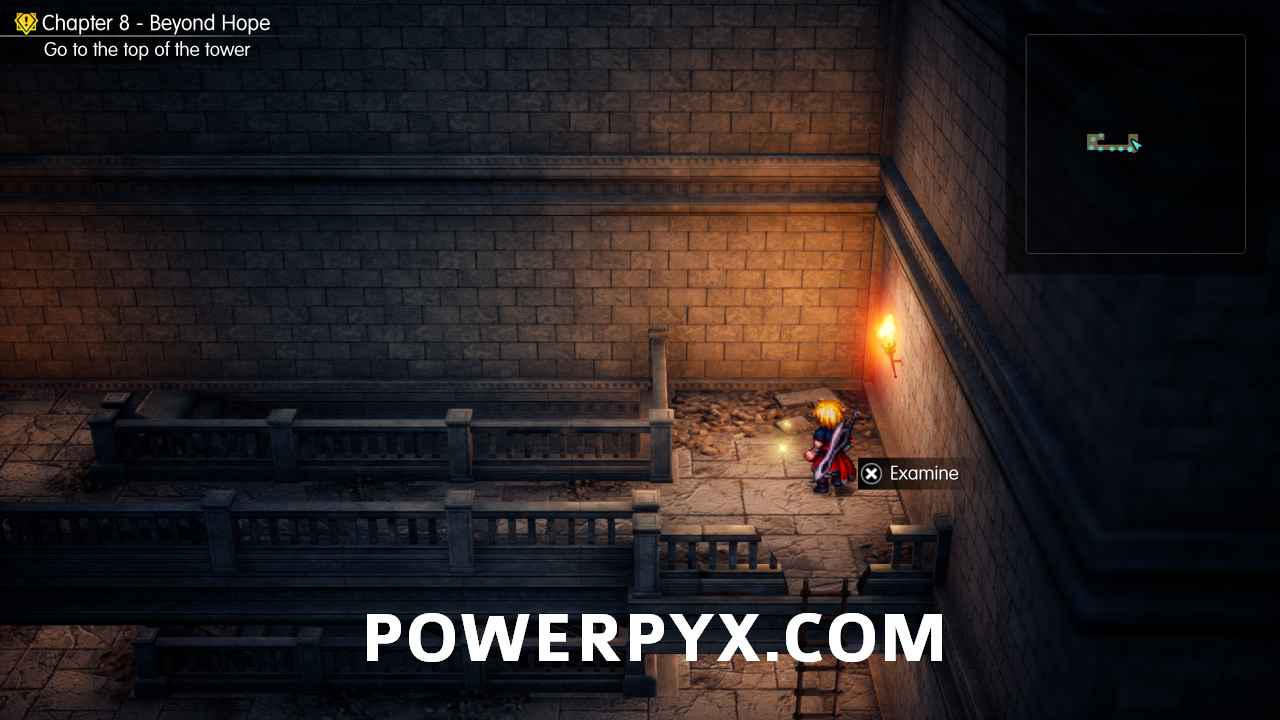
86. Sanctissimus Shrine – From the third Save Point, climb the ladder to reach a room filled with crystal elevators. After taking the third elevator, pick up the Shard before taking the fourth.
Chapter 7
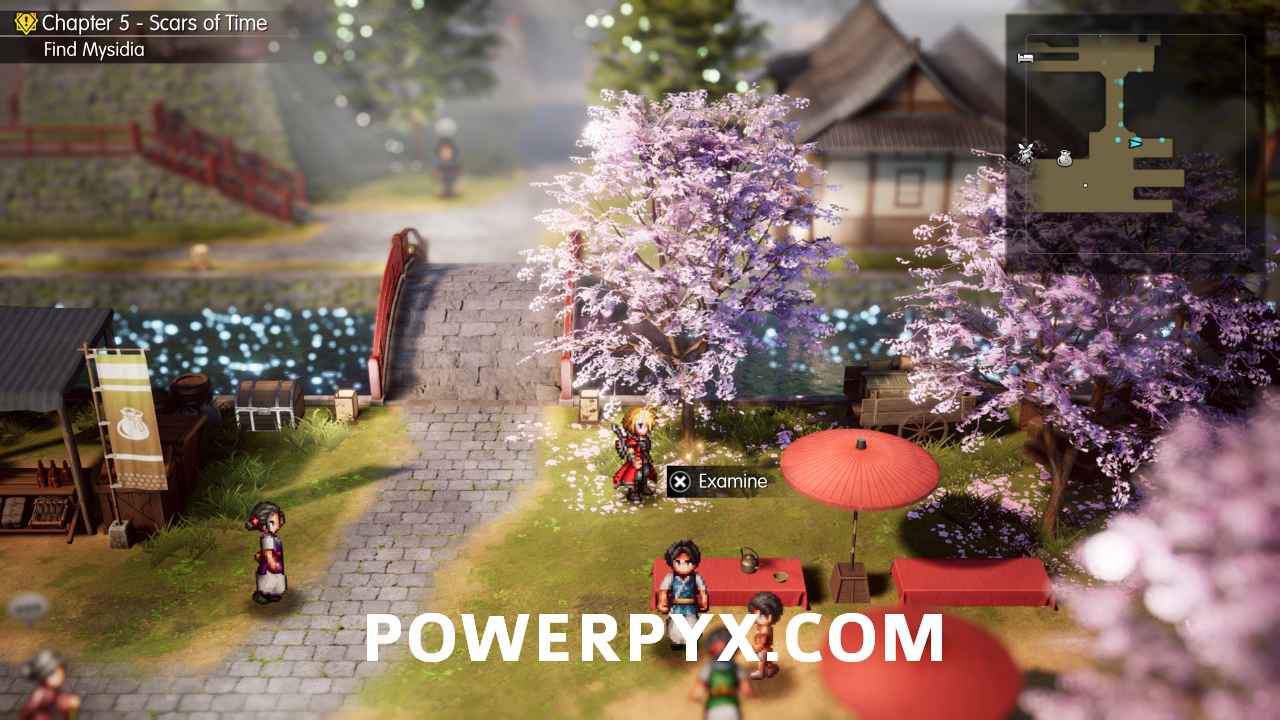
87. Town of Sian – Head east and past the item shop to find this under a blossom tree.
88. Mt. Reizan – From the initial Save Point, follow the story path until you come to a ramp crossroads with two paths going up and down. Take the down path to find this.
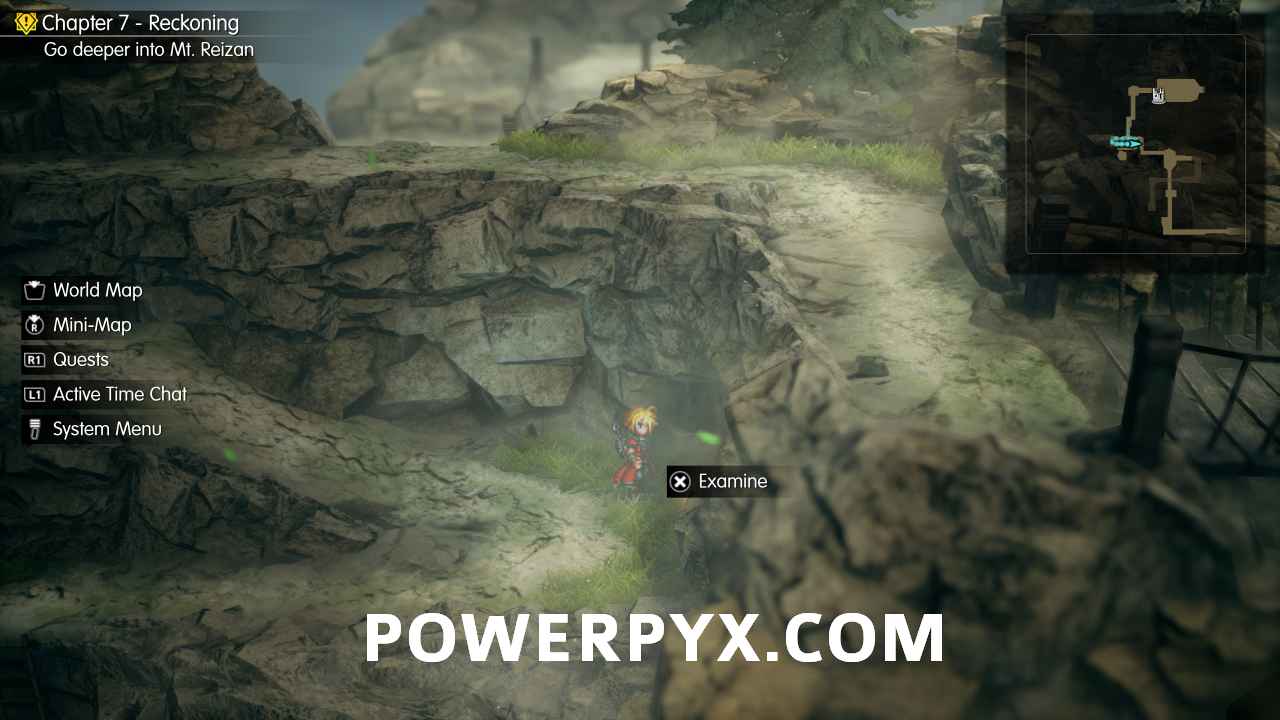
89. Mt. Reizan – Continue on the story path and find this next to two pine trees on a platform between two wooden bridges.
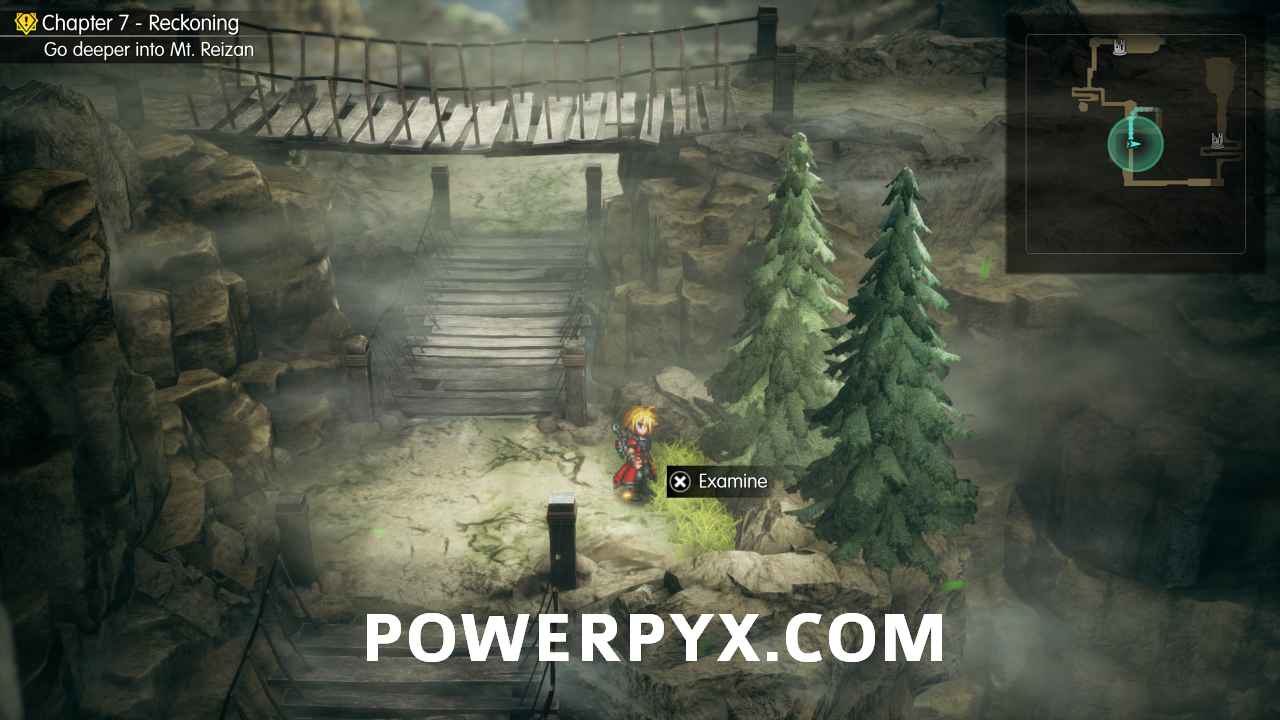
90. Lake Ryusei – On the west side under a tree.
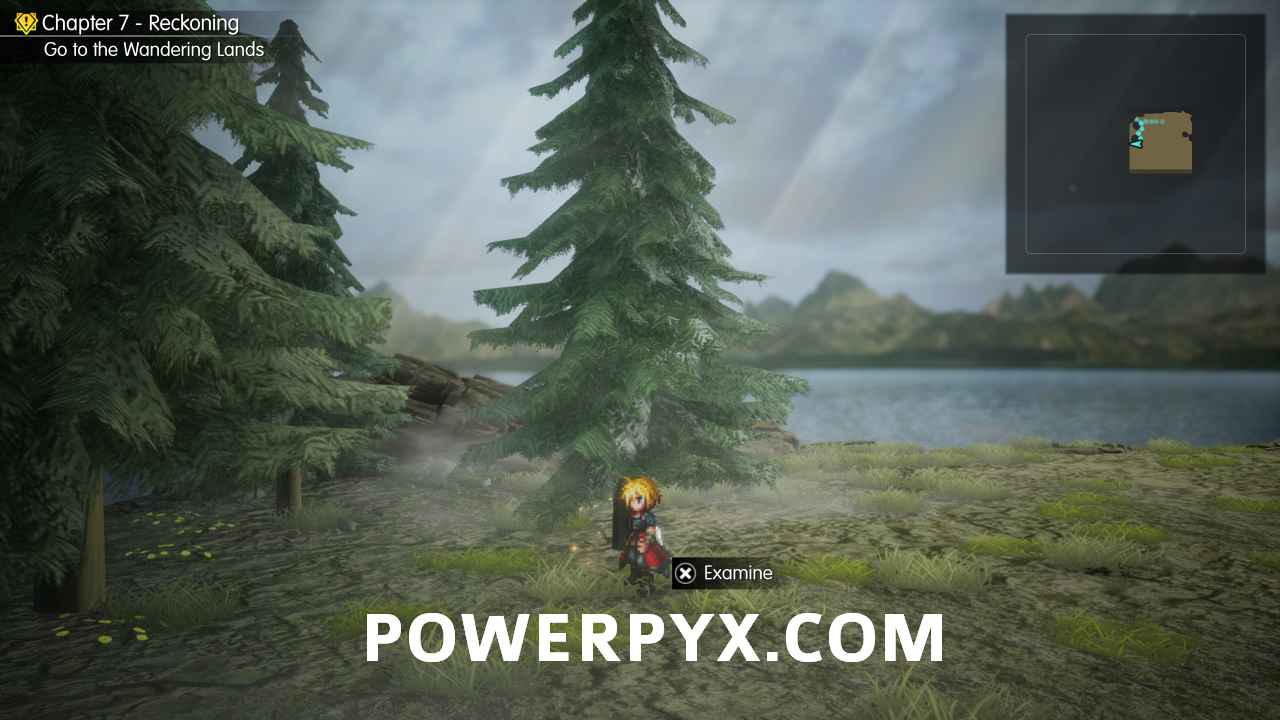
91. Forest Path – North of the first Save Point, on the bend on the story path.
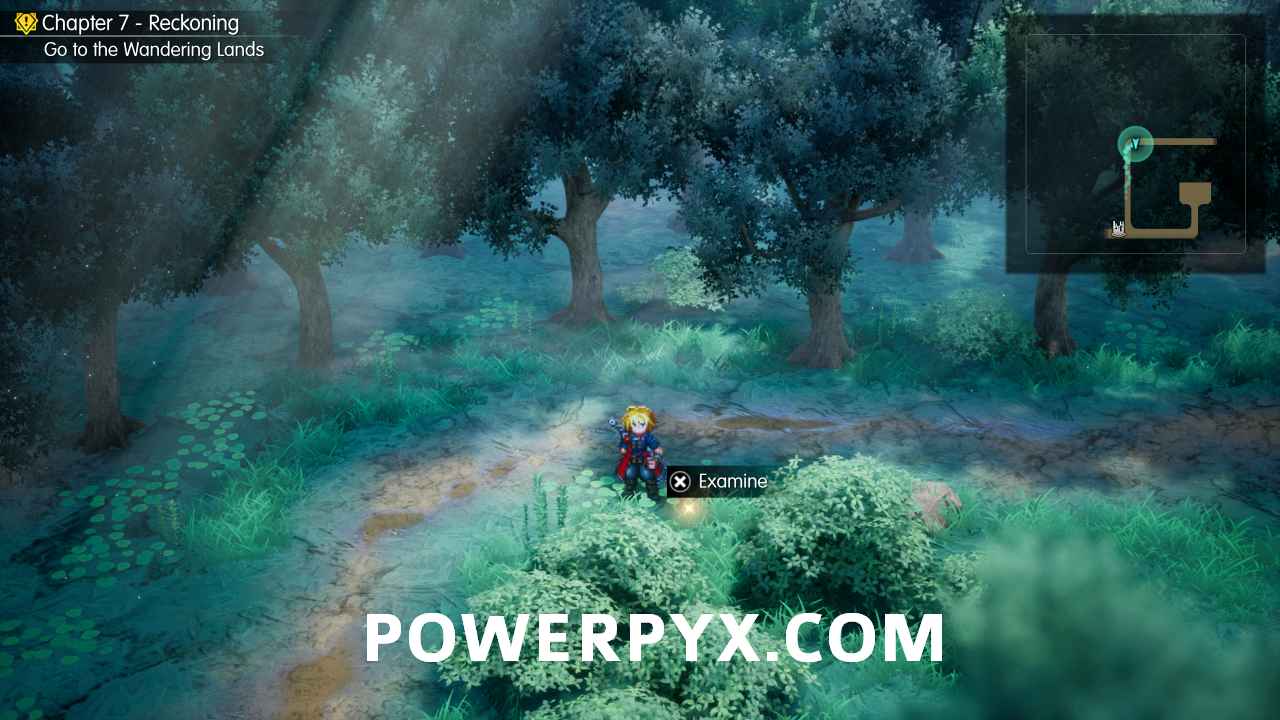
92. Forest Path – Southwest of the second Save Point, at the dead end.
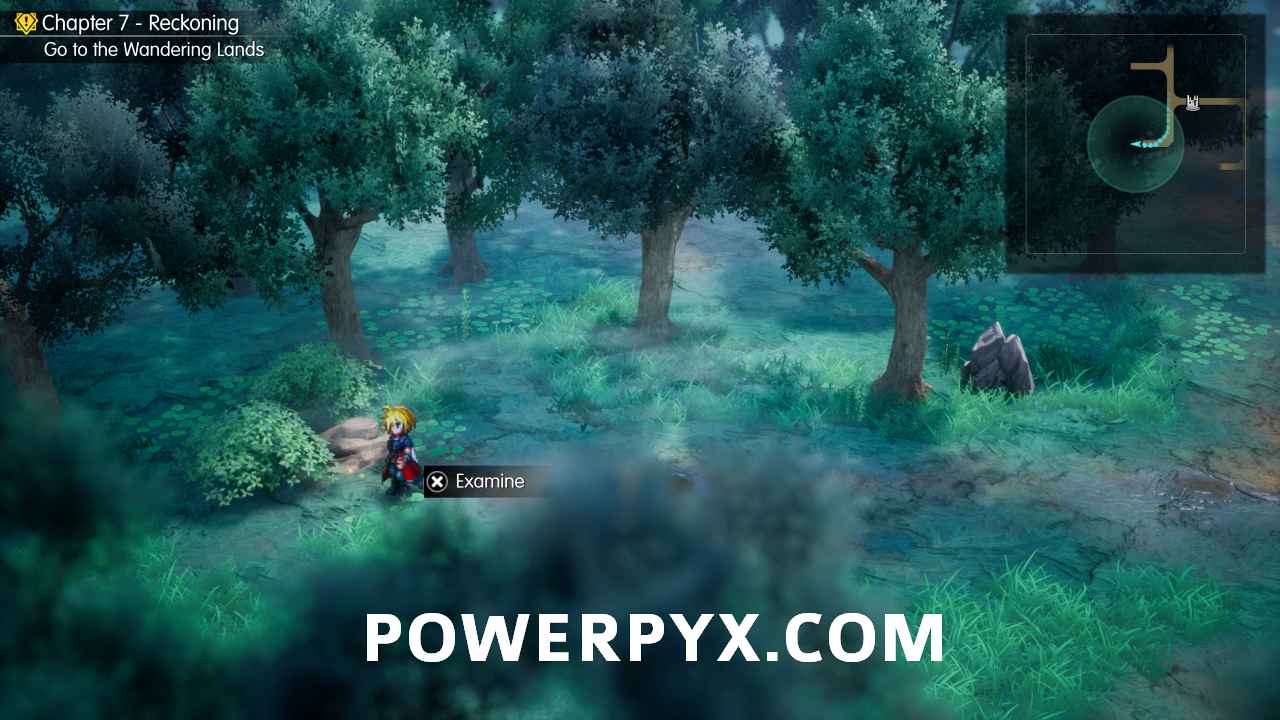
93. Wandering Lands – On the story path after taking the left turn at the first fork after the Save Point.
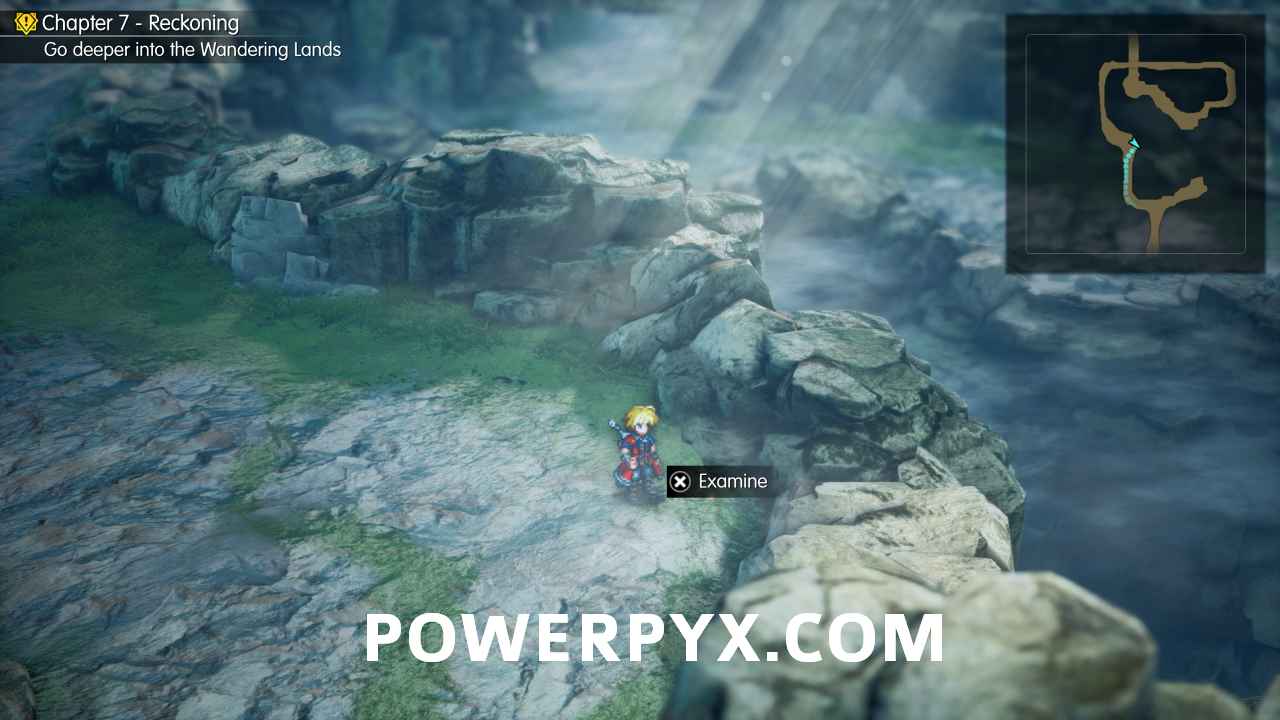
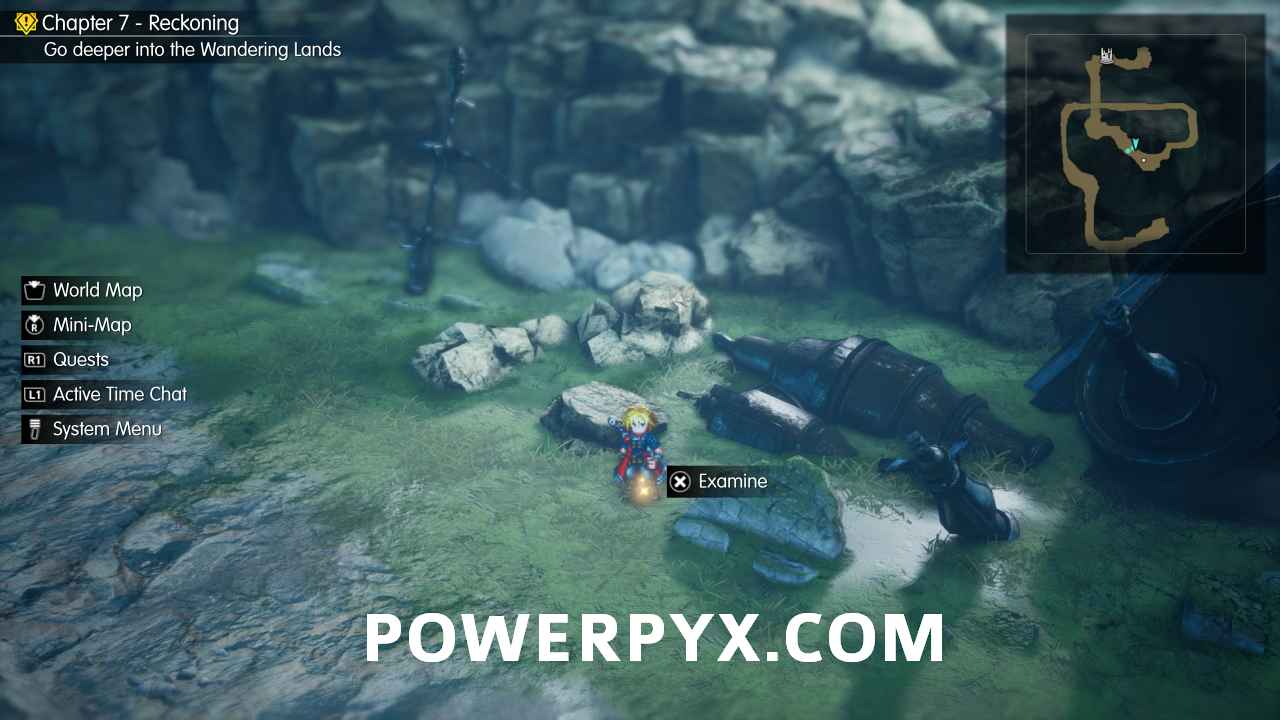
94. Wandering Lands – Continue on the story path and this will be right next to you among some stones after a cutscene.
Chapter 8
95. Crystal Tower – Following the main path from the entrance, take a right at the first fork to find this.
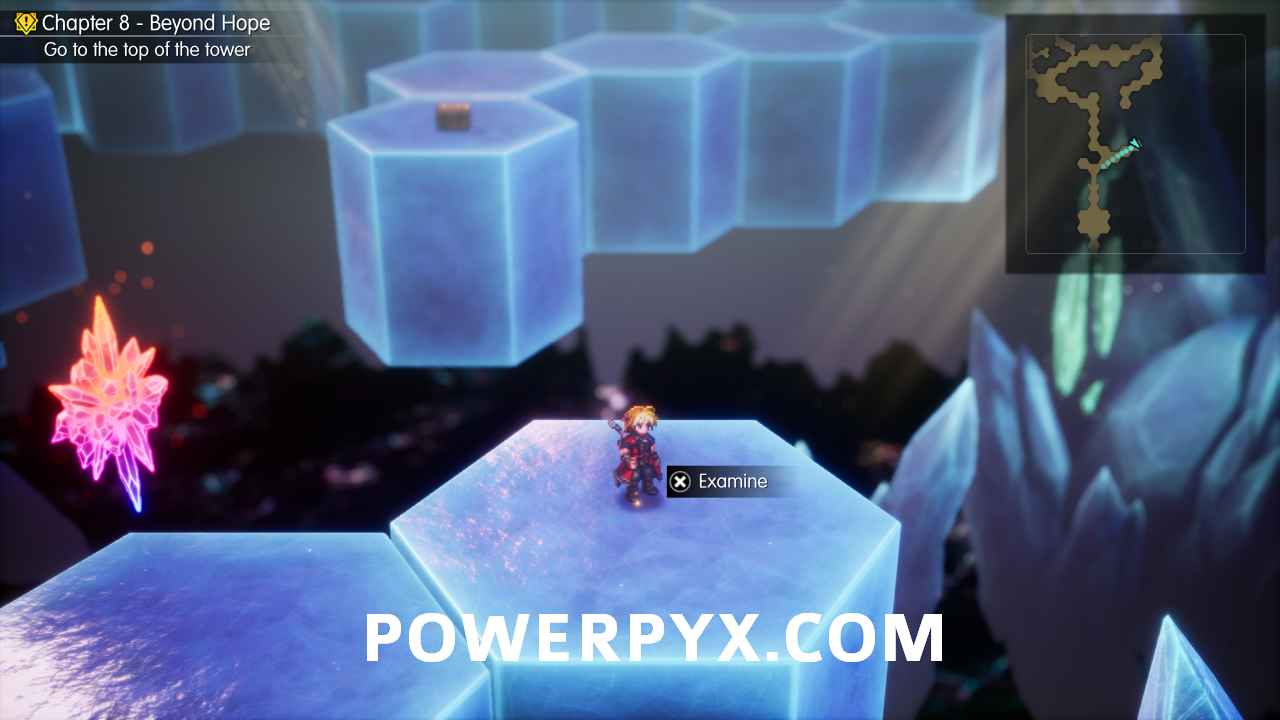
96. Crystal Tower – After the previous Shard, take a left at the next fork and then the next right to find this.
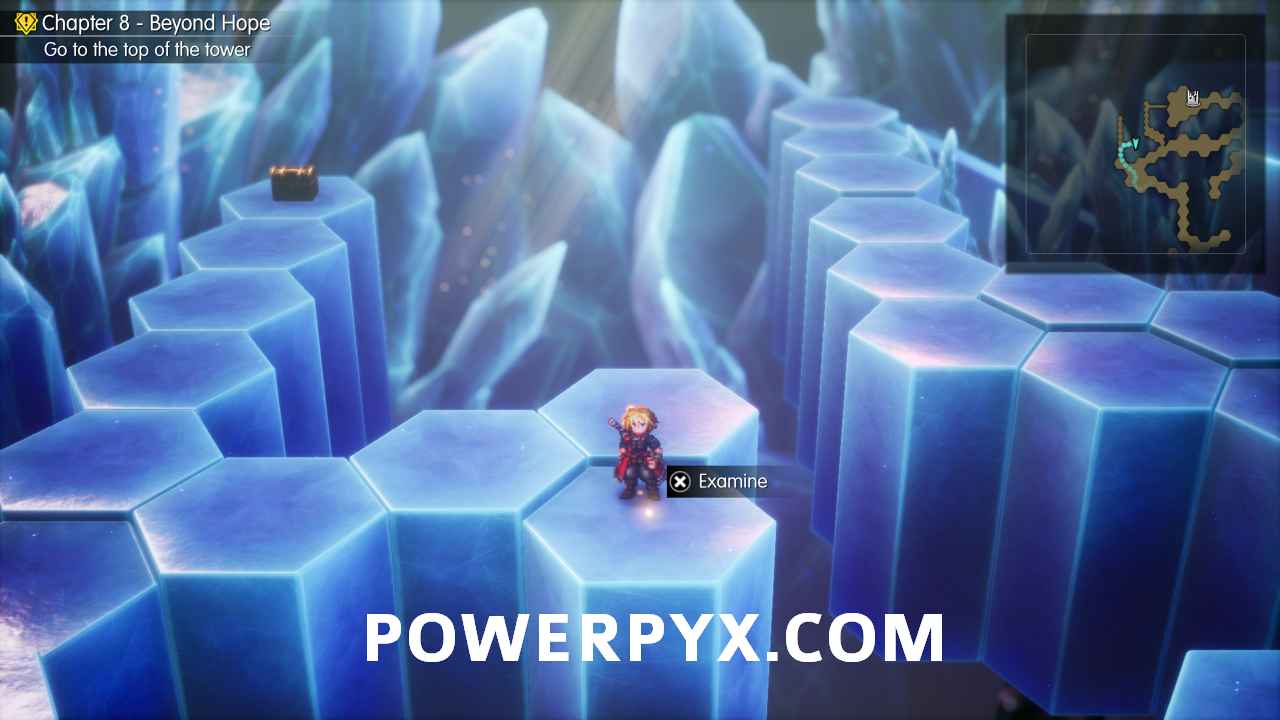
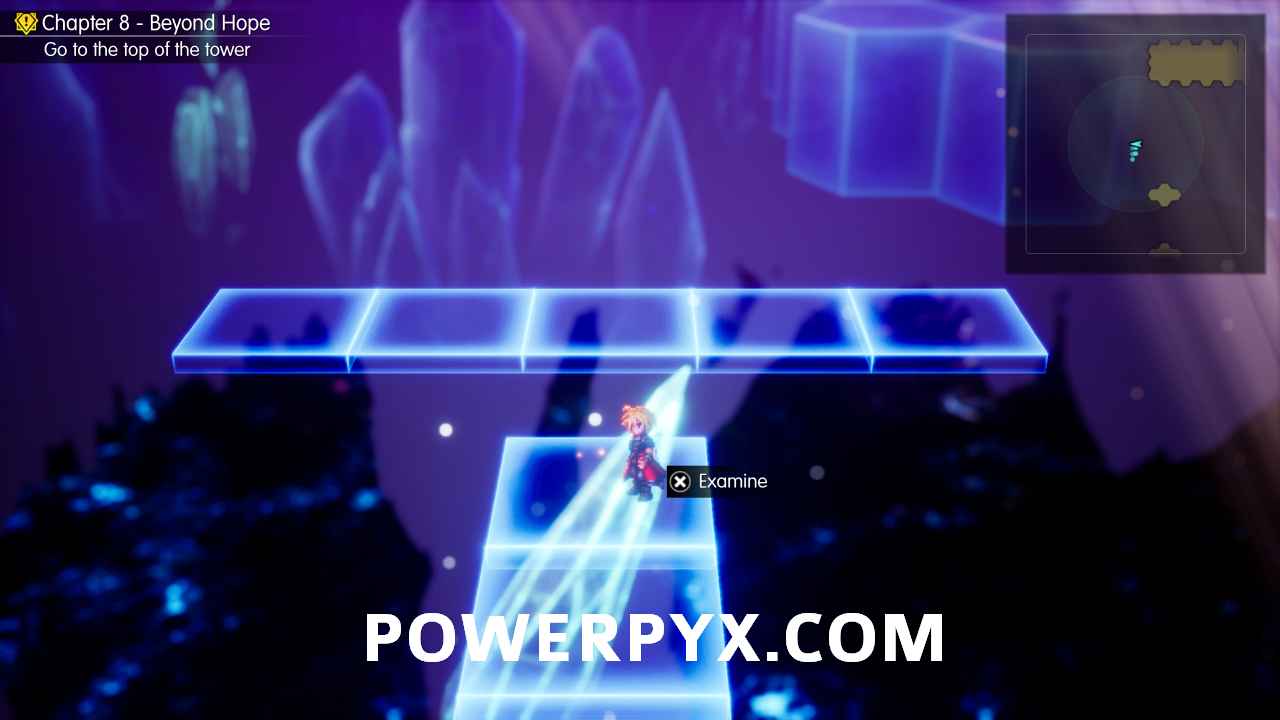
97. Crystal Tower – In the area where translucent bridges appear as you walk near them, from the third ‘solid’ platform, go straight north then turn west and follow the bridge to the Shard.
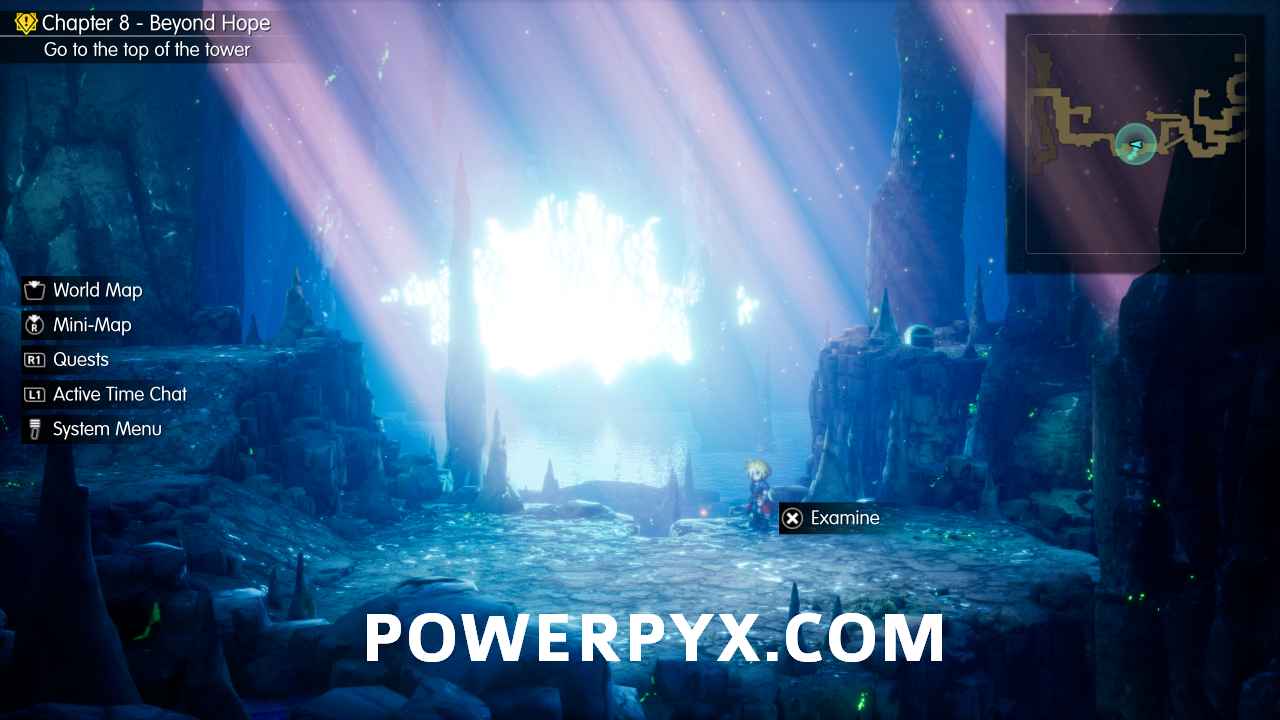
98. Dragon’s Maw – Towards the end of the dungeon where you defeat the Rogue Magitek Armour (enemy which appears on the map).
For all other collectible types refer to the Final Fantasy Resonance Collectible Guide.
Leave a Reply