
The Surging Tide is the 36th main mission in Arknights Endfield. This walkthrough will guide you through all objectives of The Surging Tide main quest.
- Starting Location: Wuling > Wuling City
- Quest Giver: Automatically begins after completing Main Mission 35 – Of Grace and Gentle Might
- Chapter: 2 – Process 2
- Requirement: Complete Main Mission 35 – Of Grace and Gentle Might
- Reward: Origeometry x1, T-Creds x4,450, Elementary Cognitive Carrier x4, Protohedron x1, Arms INSP Kit x9, EXP x200
- Quest Description: Your group official starts preparing for Xiranite production.
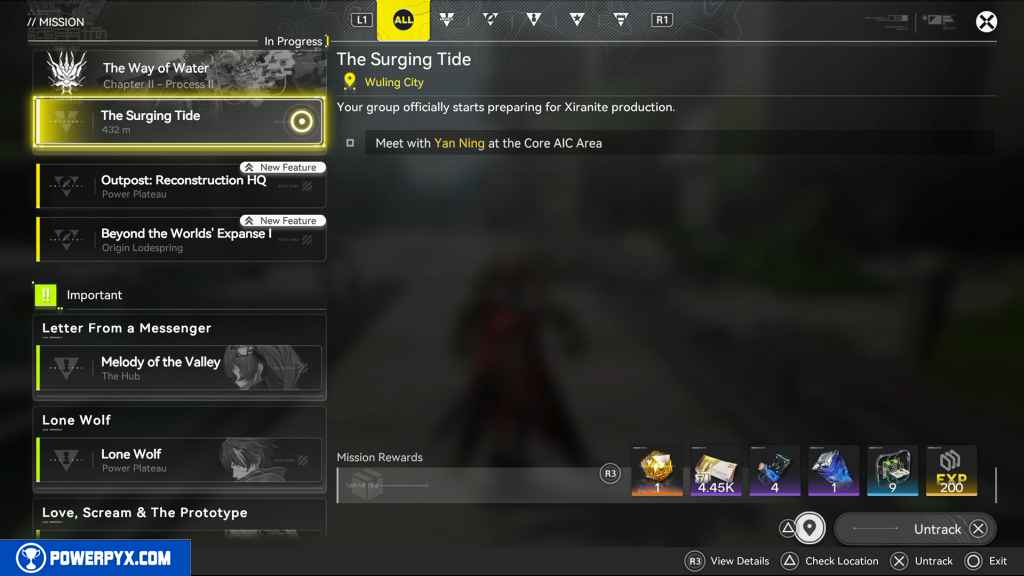
Meet with Yan Ning at the Core AIC Area
Teleport to the Core AIC Area north of Wuling City.
Head northwest and approach the group of people there to start a cutscene.

Use the Facility List to construct a Forge of the Sky / (Optional) Complete main goal of the simulation: Forges of the Sky
A tutorial takes over for a bit, directing you to the Wuling AIC Plan. You can complete the Simulation if you like.

Note: While you can press  on the simulations to auto-complete them, you cannot auto-complete the “Forge of the Sky” Simulation during this quest.
While near the Core AIC, open the Facility List by holding Left on the D-Pad.

The tutorial automatically selects the Forge of the Sky for you. Construct one and then place it anywhere around the Core AIC.
View the Forge of the Sky control panel
Interact with the Forge of the Sky.
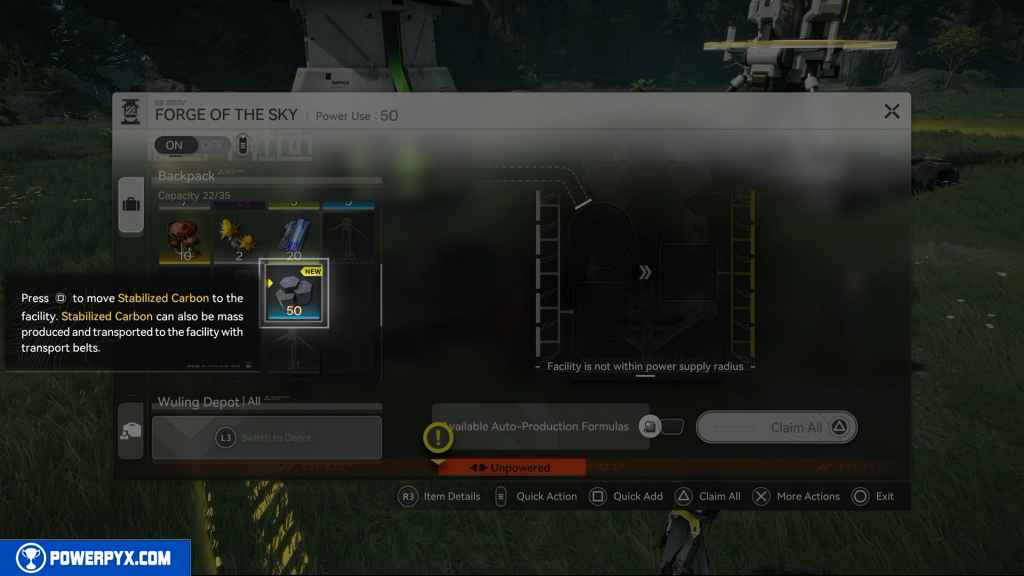
In that menu, select the Stabilized Carbon and transfer it to the Forge of the Sky.
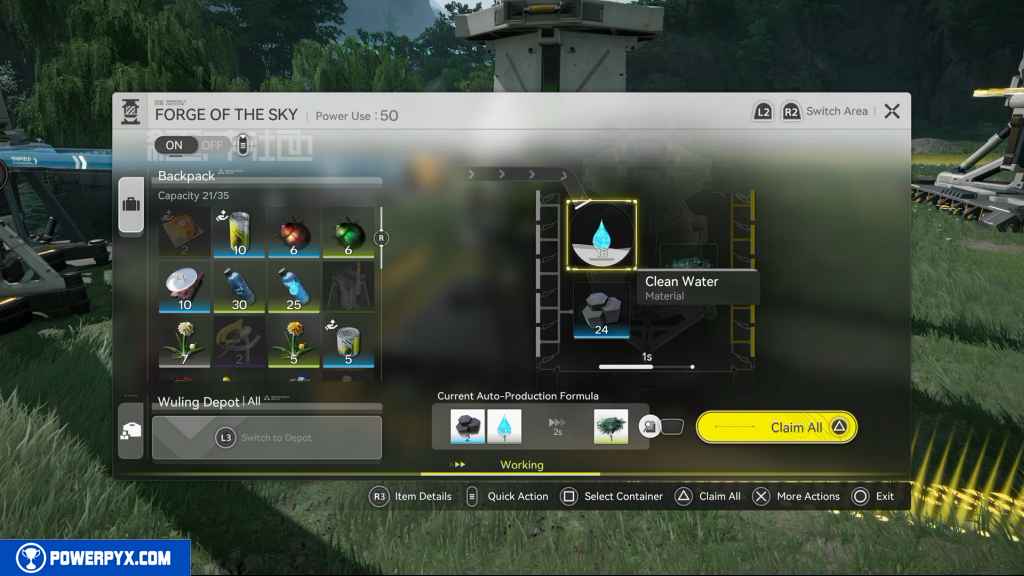
Connect the Fluid Pump to the Forge of the Sky with pipes to acquire Clean Water
Place a Fluid Pump at the water’s edge.

Then, hold L1 and press Up on the D-Pad to select the pipe.
Start from the Fluid Pump and run the pipe to the Forge of the Sky. Press Options to cancel placement in order to continue with the quest.
Use the Forge of the Sky to make Xiranite and place the product in the Backpack (10)
Place a Xiranite Relay next to the Forge of the Sky to power it.
Then, do the same thing for the Fluid Pump. Unfortunately, you cannot power both pieces of equipment with only one Xiranite Relay. They just are not close enough for that.
With the equipment powered and connected, let the Forge of the Sky do its magic.

Interact with the Forge of the Sky and collect 10 Xiranite.
Talk to Yan Ning and the others
Approach Yan Ning nearby to trigger a cutscene.
Go to the Xiranite flow control node
Head north across the bridge and then across the lily pads.

Climb the stairs to the Blighted area.

Repair the Xiranite flow control node
Interact with the pillar by the Blight.

Then, add the 10 Xiranite to the pillar and confirm.

Actiate the Xiranite flow control node
Interact with the pillar again.
Eliminate the Blight
Use the jet drone to spray the Blight.

Focus on the tree until you find a weak spot. Spray that until the Blight disappears.
Talk to Yan Ning and the others
This objective completes automatically.
Meet up with Mi Fu
Head back to the Core AIC and head east.
Follow the path until it leads you to Mi Fu and Yangyang.
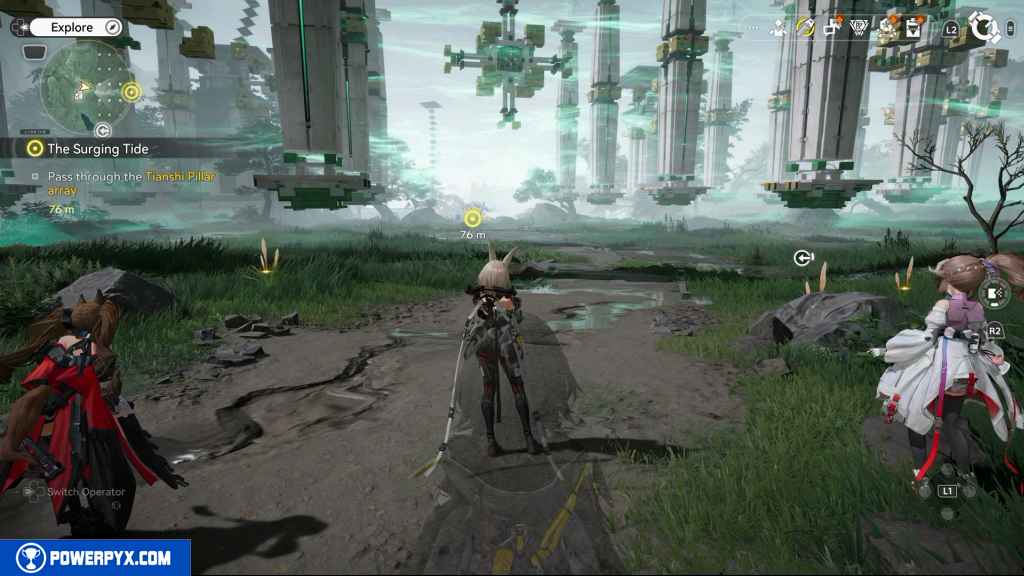
Pass through the Tianshi Pillar array
Head straight east through the array.
Defeat the Aggeloi (4)
You can fight the Aggeloi here if you wish. Otherwise, you can just wait for the array to shoot them down.
Head to the Wuling North ferry point
Continue northeasterly along the path.
Defeat the Aggeloi
In the open area, take out the Aggeloi that appear.


Several waves appear. Take them all out to continue.
Eliminate the Blight at the ferry point
Activate the pillar and then connect to it. Then face the path.
Spray the Blight where the objective point is to find the weak point. Spray that until it disappears.
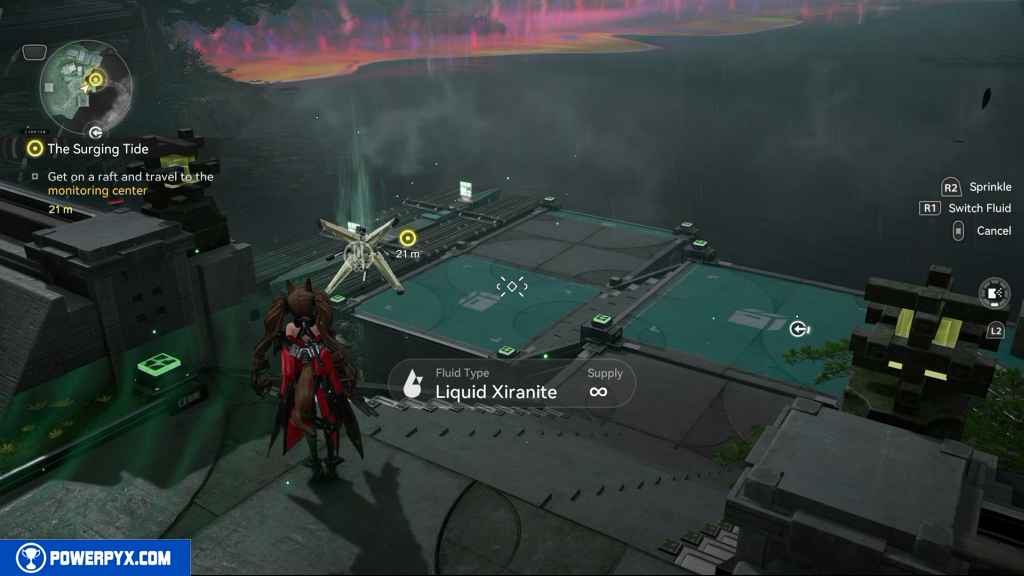
Get on a raft and travel to the monitoring center
Hop on the raft and interact with one of the two displays to get the raft moving.
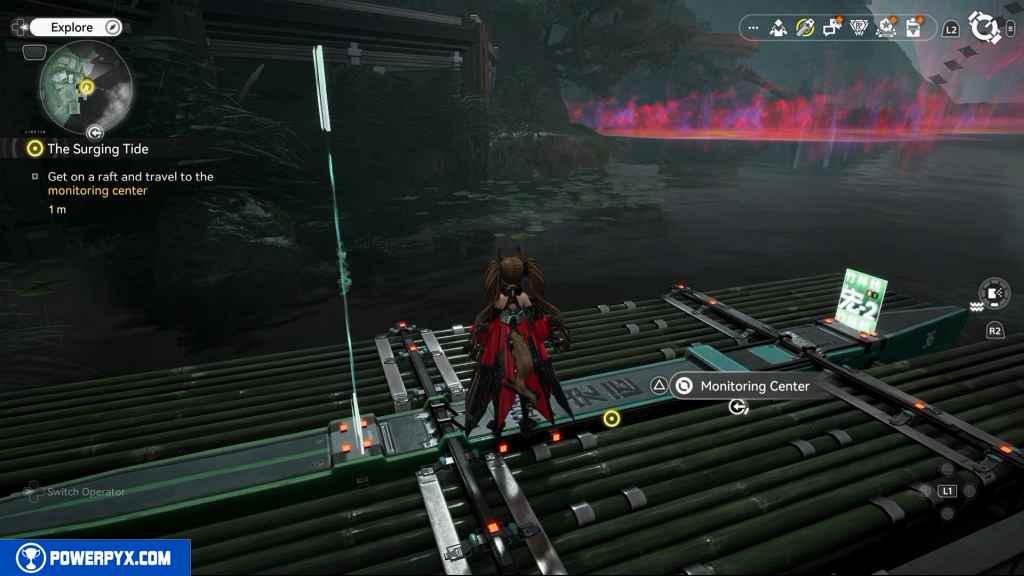
On the other side of the water, hop off the raft and climb the stairs.

Use the Xiranite flow control node to clear the Blight
Unlock the depot on your immediate left before doing anything else.
With this control node, you need to make a path into the Blight. Move toward the building until you reveal the weak point.
Go to the top of the monitoring center
Enter the building and go up the ramp to the right.

Eliminate the Blight
Use the control node to take out the Blight in front of you.

Go to the top of the monitoring center
Continue along the path and enter the clearing.
Defeat the Aggeloi
Take out the enemies in your way.

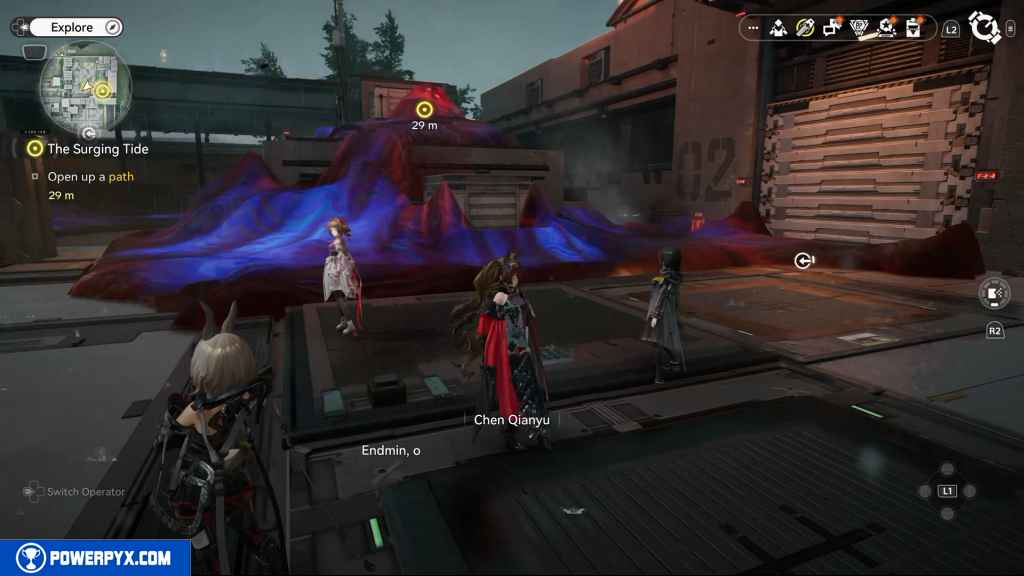
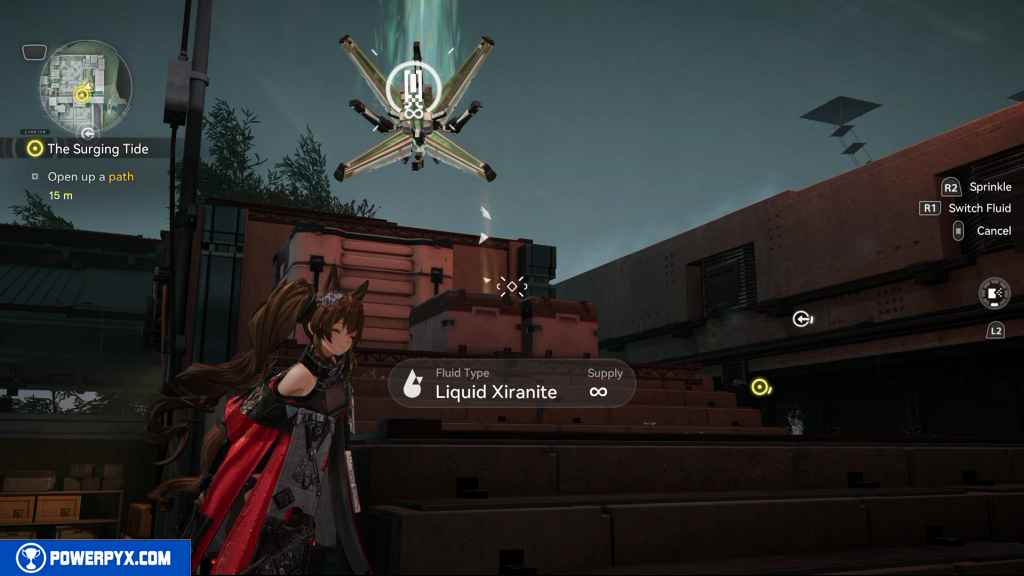
Open up a path
Find a control node behind you. Use that to clear out the Blight and continue east.

The weak point is up some stairs underneath the tall stack of Blight. Work your way up the stairs to find it.
Go to the rolling gate and interact with the control panel to its immediate left.

Go to the top of the monitoring center
Head up the hallway to trigger a cutscene.
Defeat the Tidalklast
This guy just does a lot of sweeping attacks and charges.
During the second half of the fight, it does a lot of stream attacks. Just avoid those.

It finally does a counterable attack in the second half of the fight. Use those opportunities to stagger its crush bar.
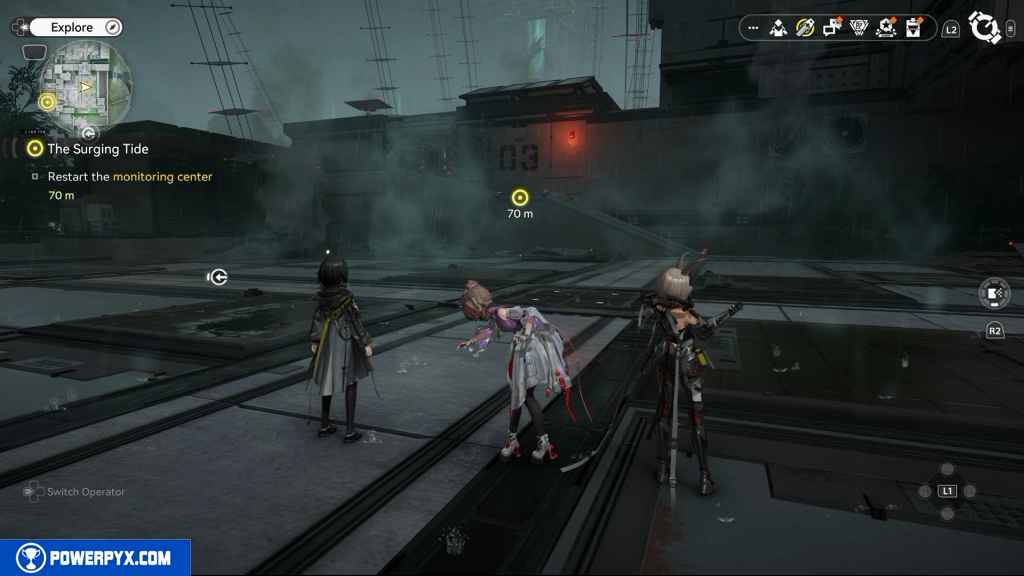
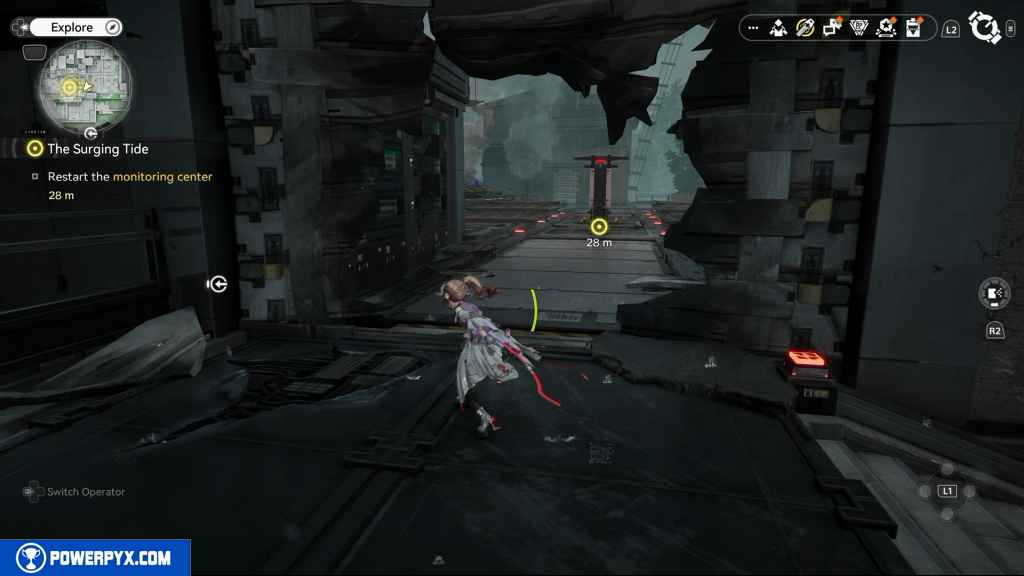
Restart the monitoring center
Head west up the stairs and then through the broken wall.
Interact with the Originium Circuitry of the Facility to repair it.

Take the two modules and position them like the image below.

Accept the monitoring job
Interact with the Outskirts Monitoring Terminal.

Select the commission “Photo: Damaged Beacon.”
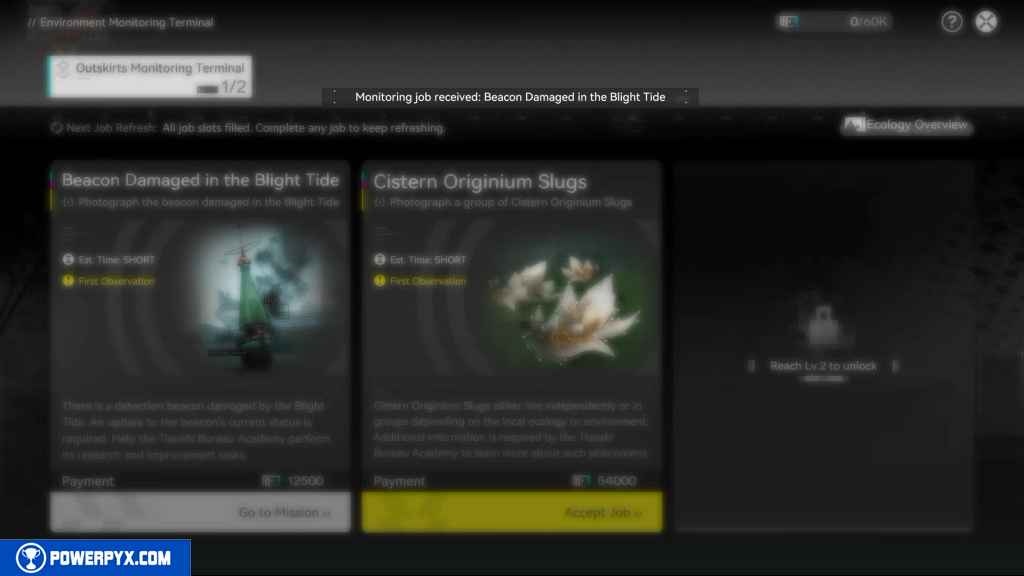
Complete the job Photo: Damaged Beacon
Head east back the way you came.


Approach the eastern edge and interact with the glowing point. This enters you into Camera Mode.

Press  to take a picture. Then back out of the menu. This completes Photo: Damaged Beacon.

Say goodbye to Mi Fu and leave the monitoring center
Turn left and approach Mi Fu to trigger a cutscene.

Go to the Main Pillar Office
Press L3 to take you directly to the map for the Main Pillar Office.
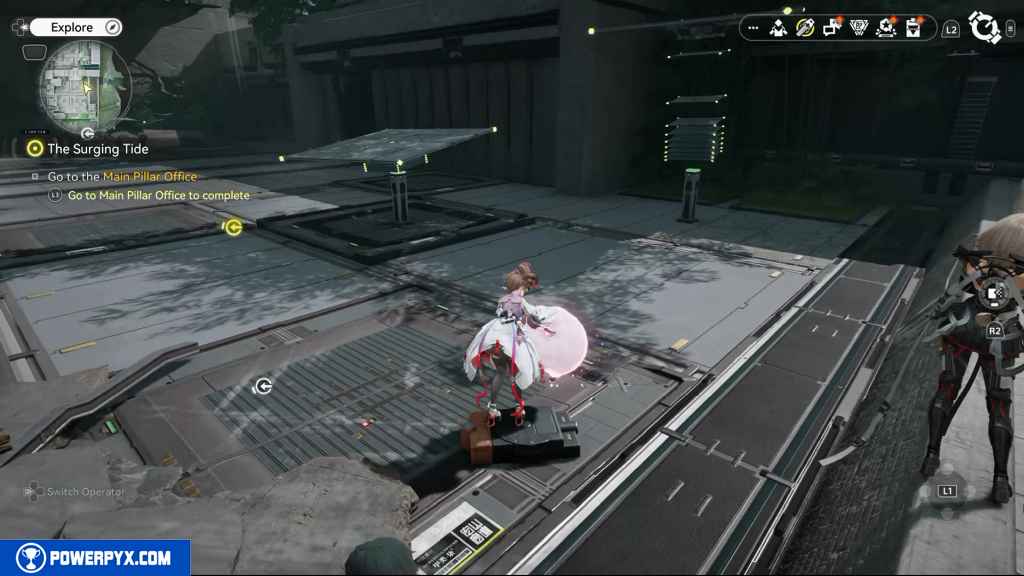
Interact with the depot there to teleport to the Main Pillar Office.

Head east into the office and go all the way to the east side of the office.
Leave the Main Pillar Office
This objective completes automatically.
This finishes The Surging Tide main quest in Arknights Endfield.
NEXT: Where Danger Sleeps
For all other Quests refer to Arknights Endfield Walkthrough.
CLINTON says
Need to know how and where to refill the bottles with fresh water.