
The Ashen Past is a side mission in Arknights Endfield. This walkthrough will guide you through all objectives of the The Ashen Past side quest. The Ashen Past is the fourth and final part of the Quest Chain “Let Fire Consume the Ashen Past”.
- Starting Location: Valley IV > The Hub
- Quest Giver: Starts automatically after completing Side Missions: Echoes Of Then > A Stray Silhouette > The Haunting of Yesteryear
- Requirement: Complete Side Missions: Echoes Of Then > A Stray Silhouette > The Haunting of Yesteryear
- Reward: Oroberyl x600, T-Creds x4,250, Advanced Combat Record x1, Protoprism x6, Arms INSP Set x1, EXP x150
- Quest Description: After obtaining the necessary information, you decide to return to the Statis Core of Dijiang to once again utilize the Protocol Singularity and enter the Protocol Space in search of Laevatain.
Objectives:
- Return to Dijiang and go to the Stasis Core
- Touch the Protocol Singularity again
- Keep advancing
- View the memories and progress / (Optional) Observe the room (2)
- Go to the next corridor
- Look for Laevatain
- Defeat the enemies
- Follow the trail and witness the memory
- Escape the corridor
- Keep advancing
- Defeat the last enemy (1)
Starting Location: The Hub
This starts after finishing Side Mission The Haunting of Yesteryear.

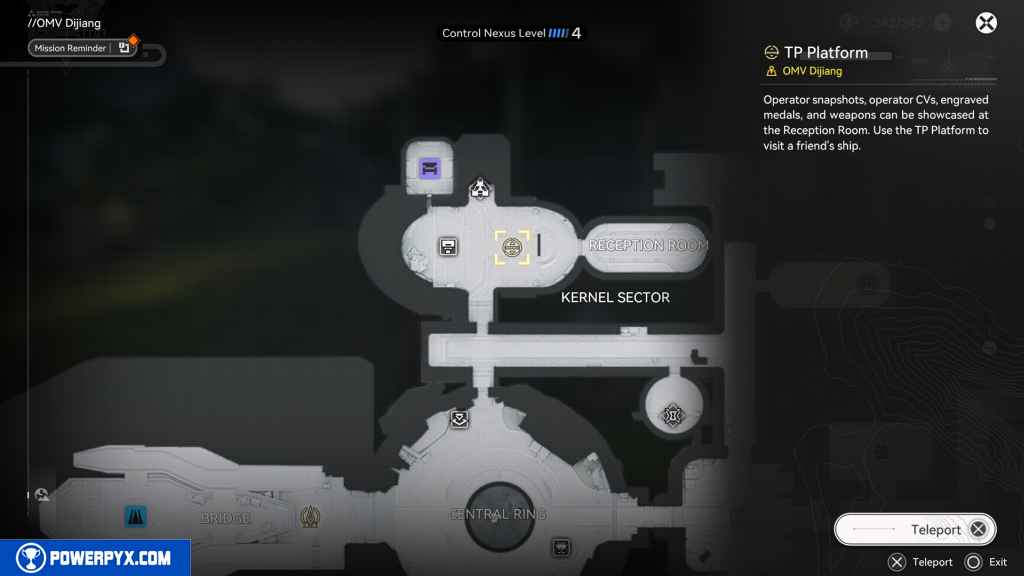
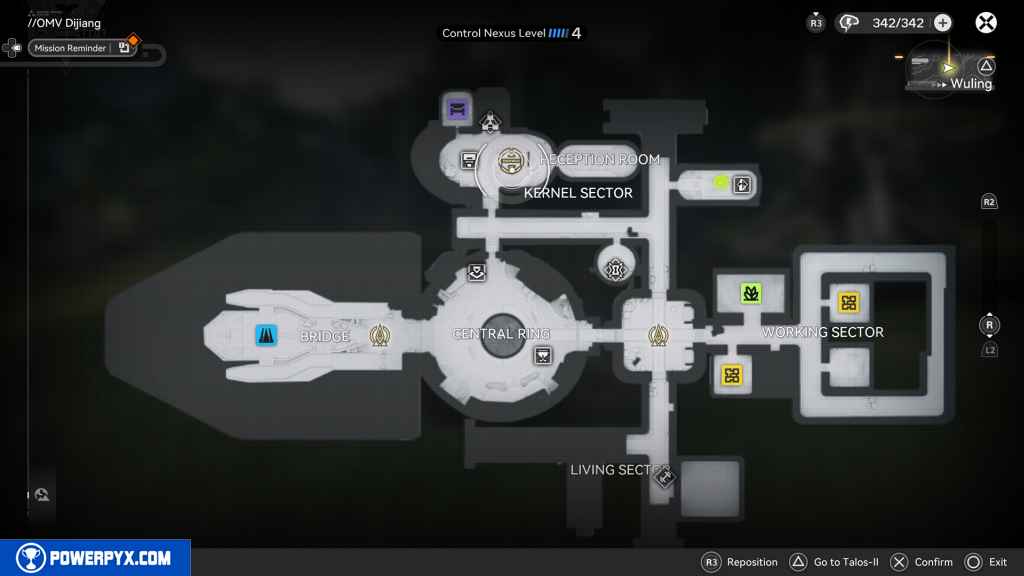
Return to Dijiang and go to the Stasis Core
Teleport to the Reception Room on OMV Dijiang. Then head east to the the Stasis Core.
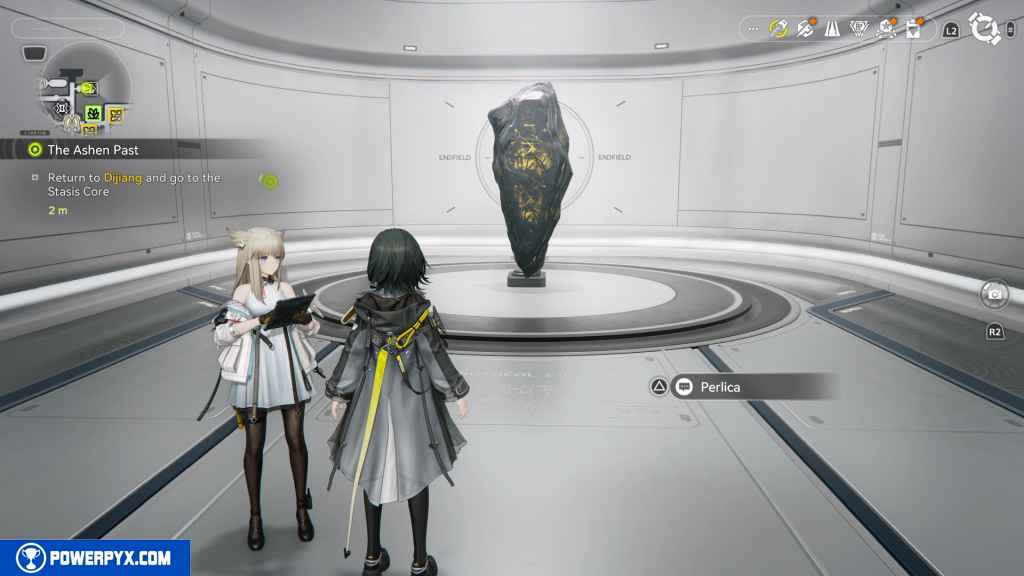
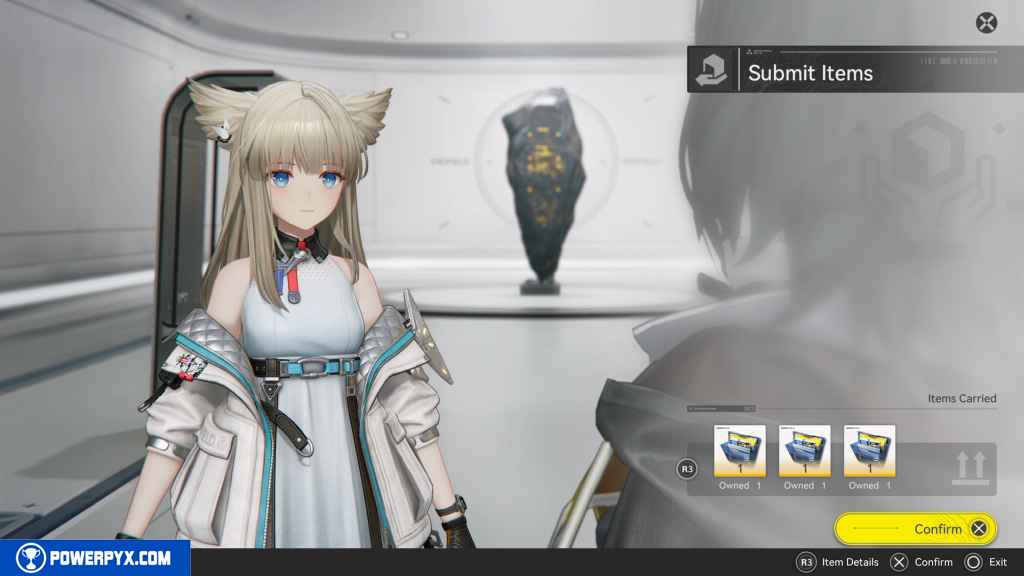
Interact with Perlica to continue.
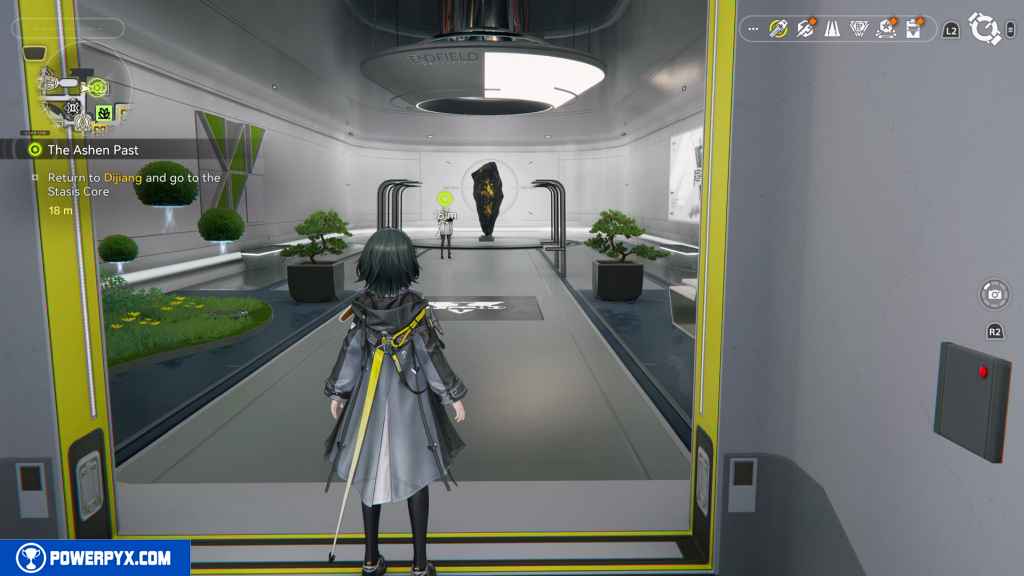
Here, you submit the three items you collected as part of the previous quest The Haunting of Yesteryear: Roman’s Dashcam Record, IR: Quarry Collapse, and IR: Scorch Marks Near the Blightcliff OP.
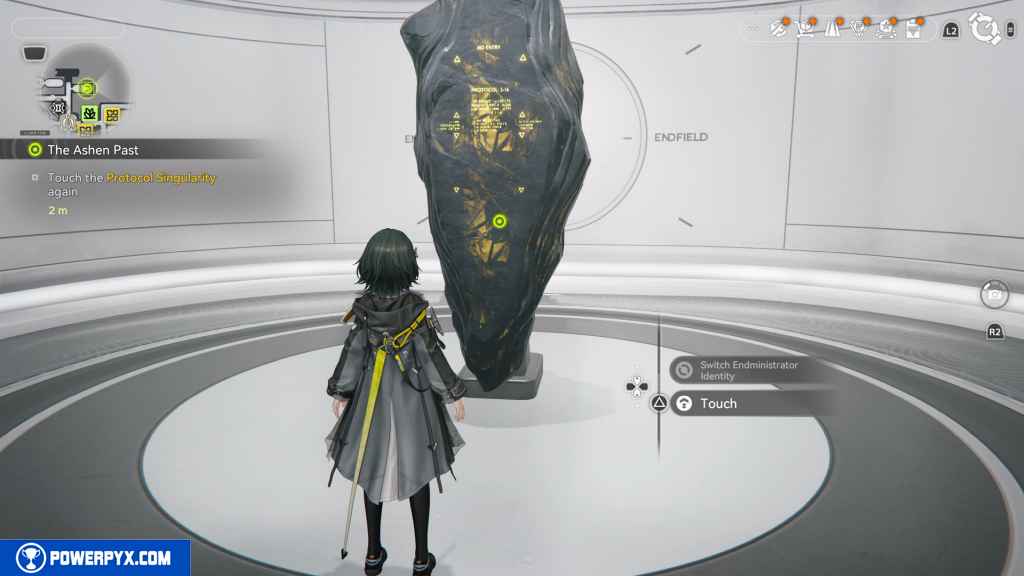
Touch the Protocol Singularity again
Interact with the Protocol Singularity.
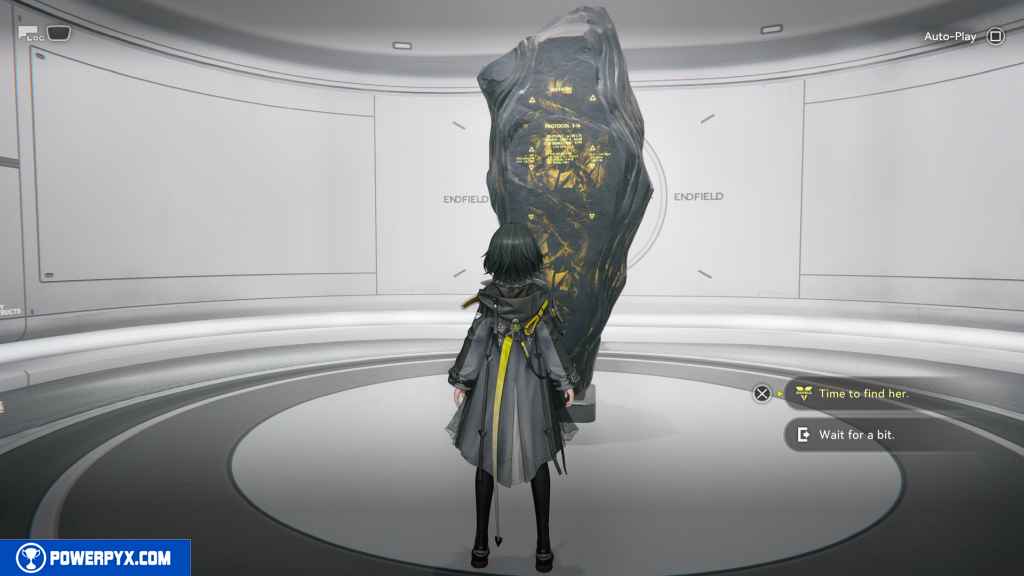
To continue, you must choose the dialogue option, “Time to find her.”
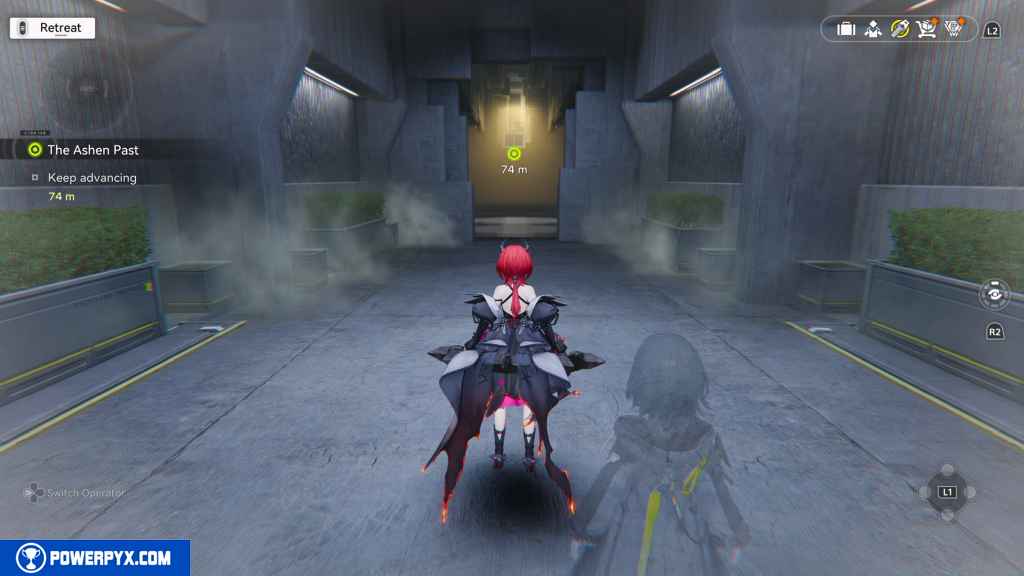
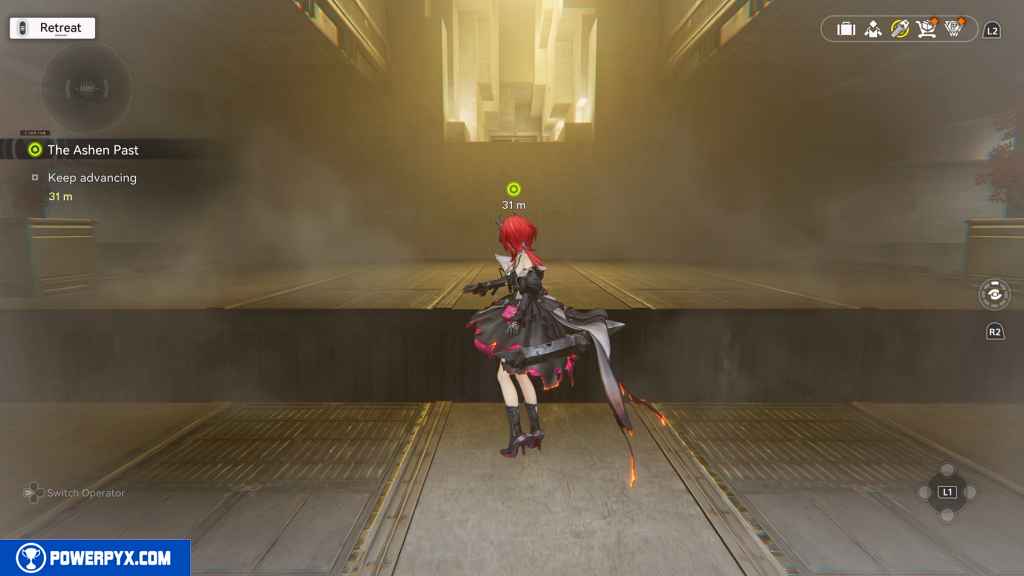
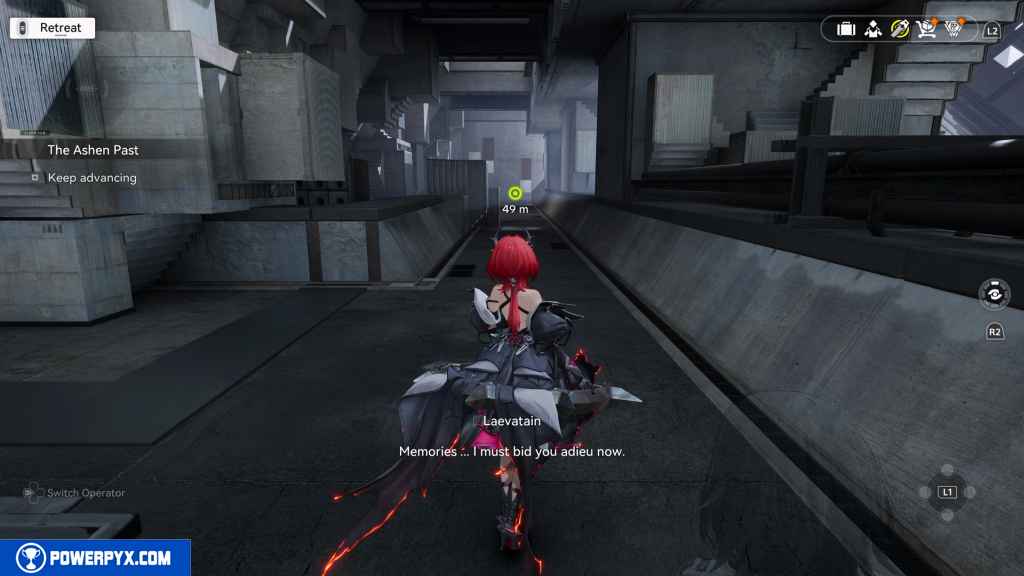
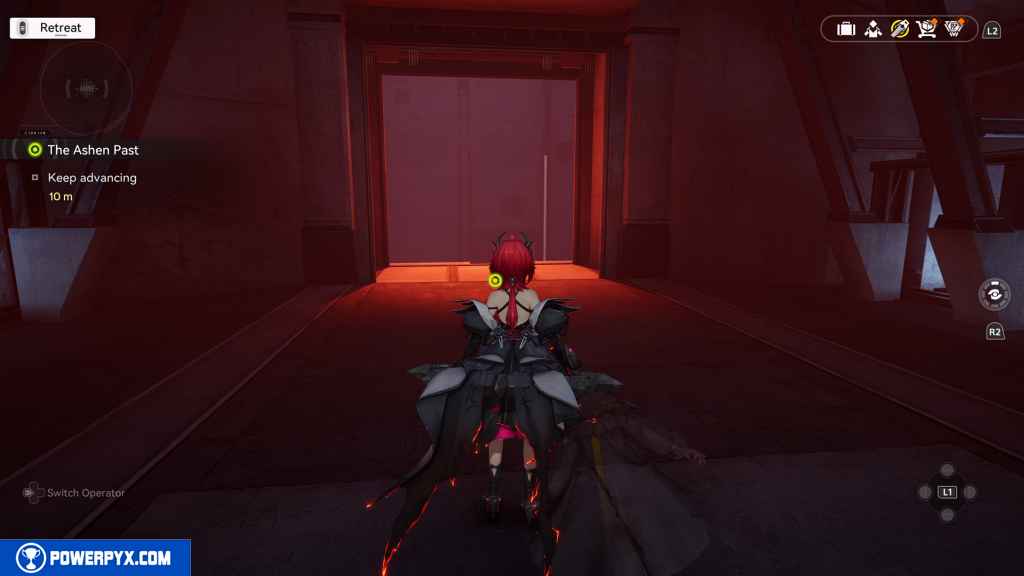
Keep advancing
The space around you closes in on you. Sprint and keep moving forward until you reach a set of push doors.
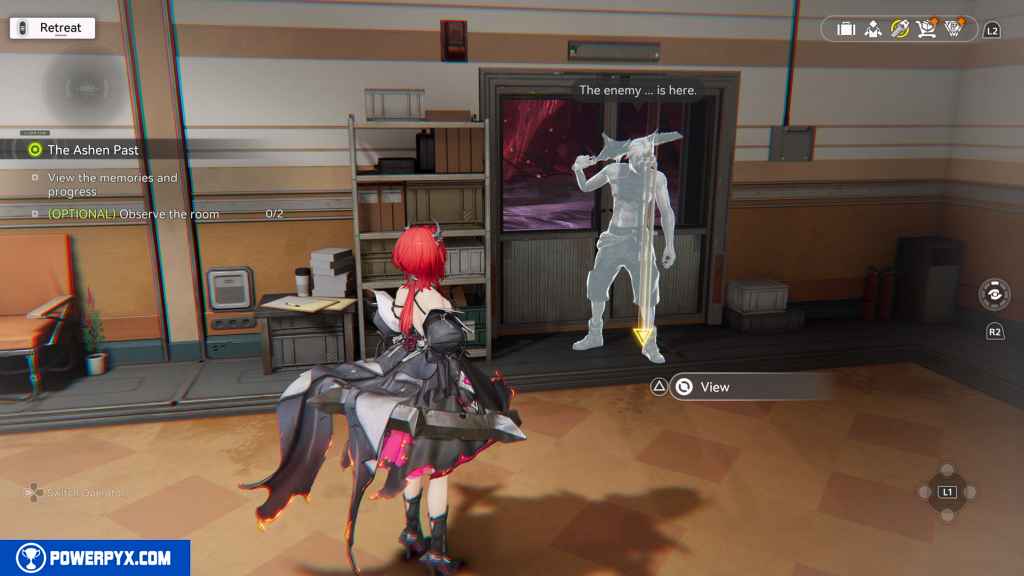
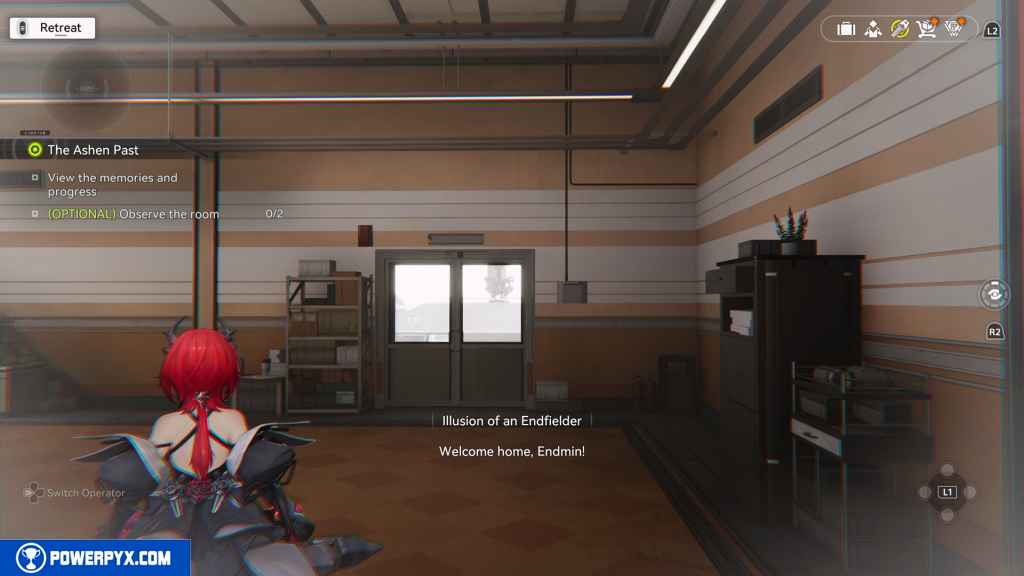
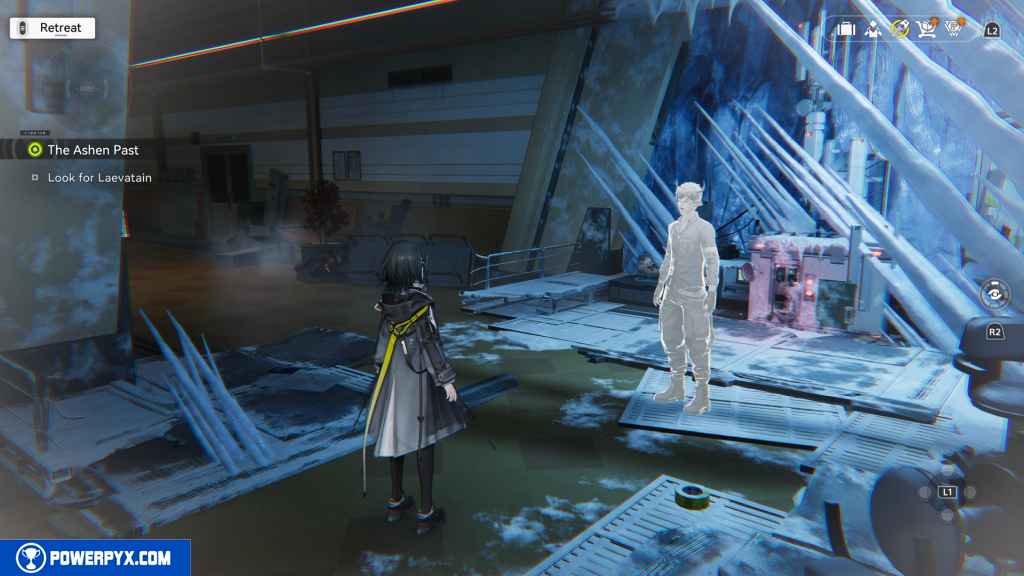
View the memories and progress / (Optional) Observe the room (2)
You can interact with two of the memories along the linear hallway.
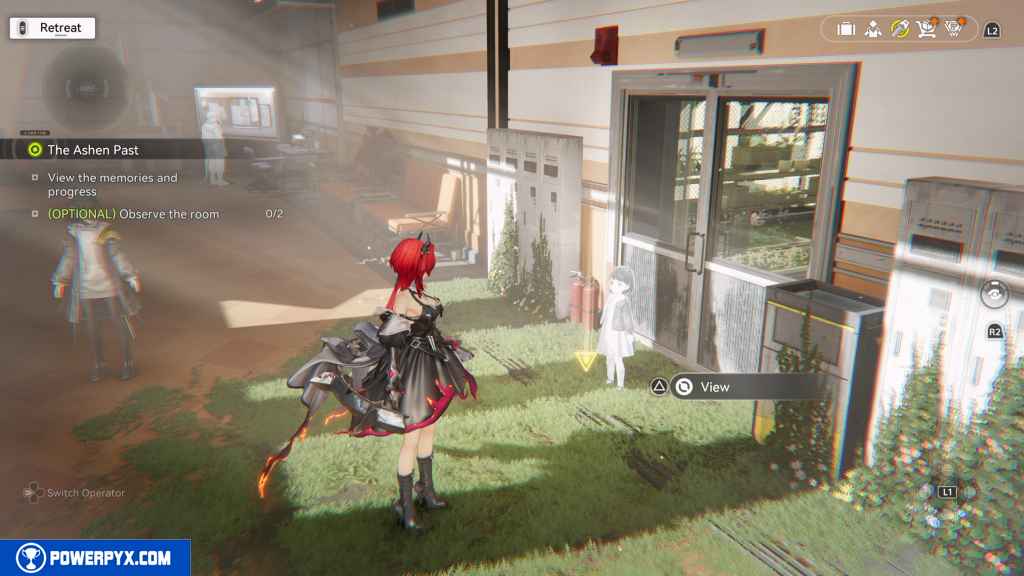
Otherwise, from where you start, go right and follow the path around two left corners. Approach the girl in front of this door.
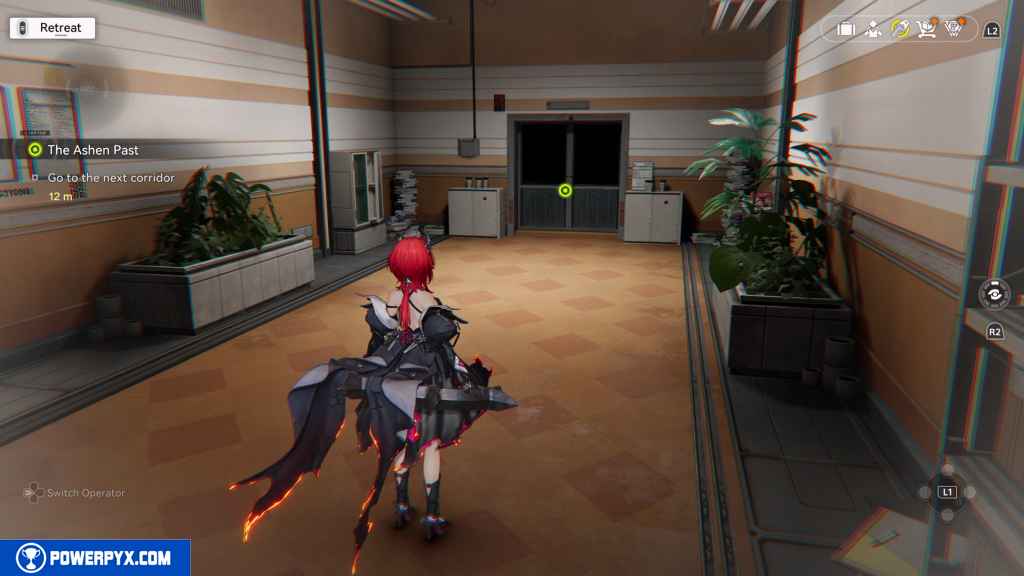
Go to the next corridor
Push open the doors in front of you.
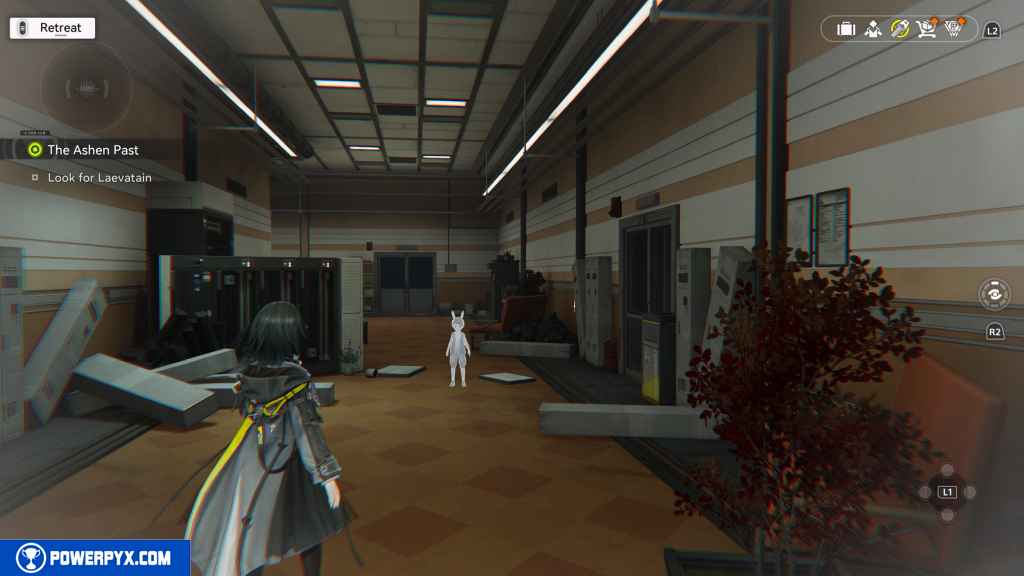
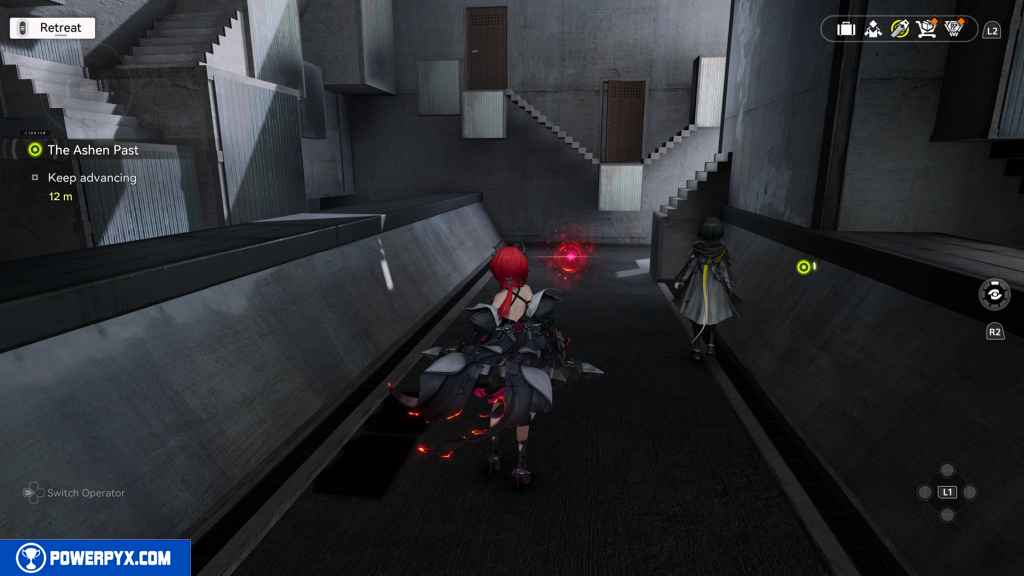
Look for Laevatain
Follow along the path around a couple more corners.
Approach the little boy with rabbit ears.
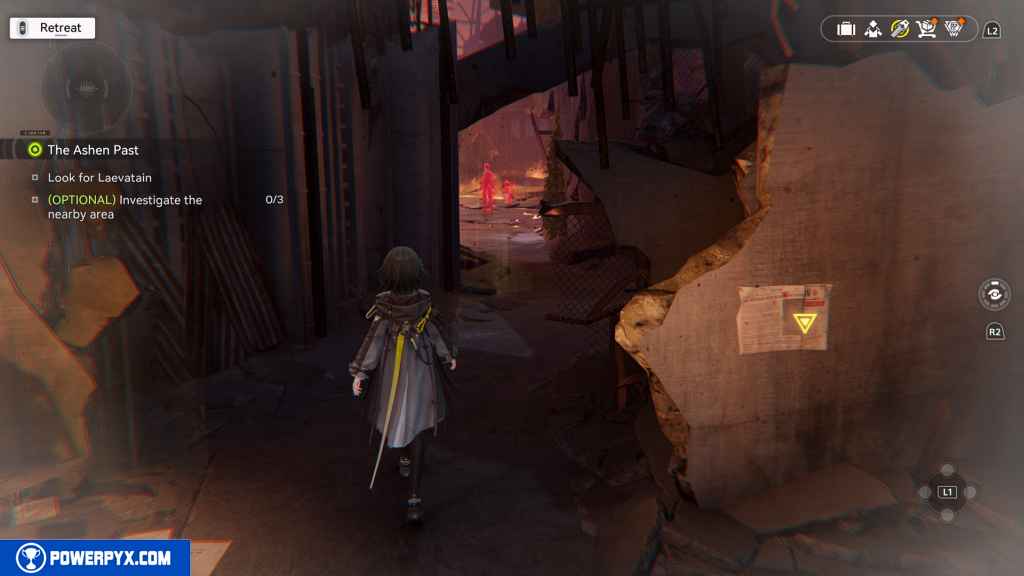
Look for Laevatain / (Optional) Investigate the nearby area (3)
Just like the last area, you can interact with the three yellow points if you wish for more context.
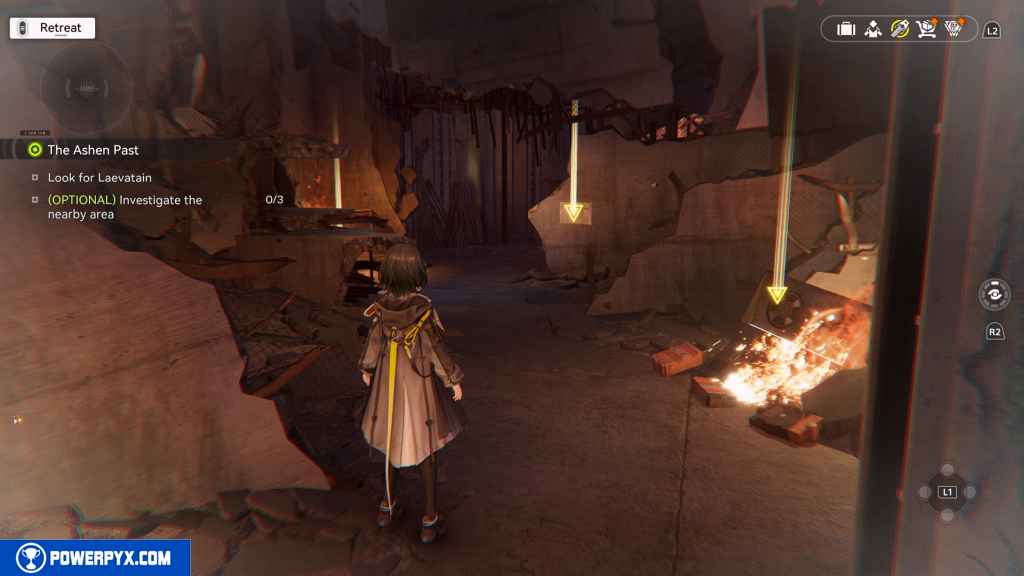
Otherwise, go straight and past the yellow points into the next room.
Defeat the enemies
Take out the three enemies in front of you. You only control the Endministrator for this fight, but the enemies are not challenging at all.
This triggers an unskippable cutscene.
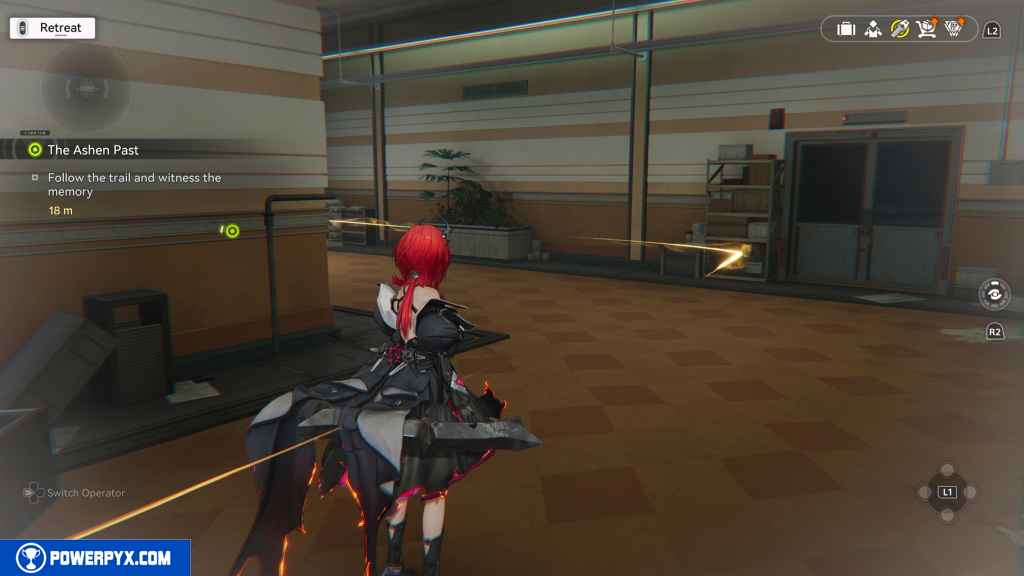
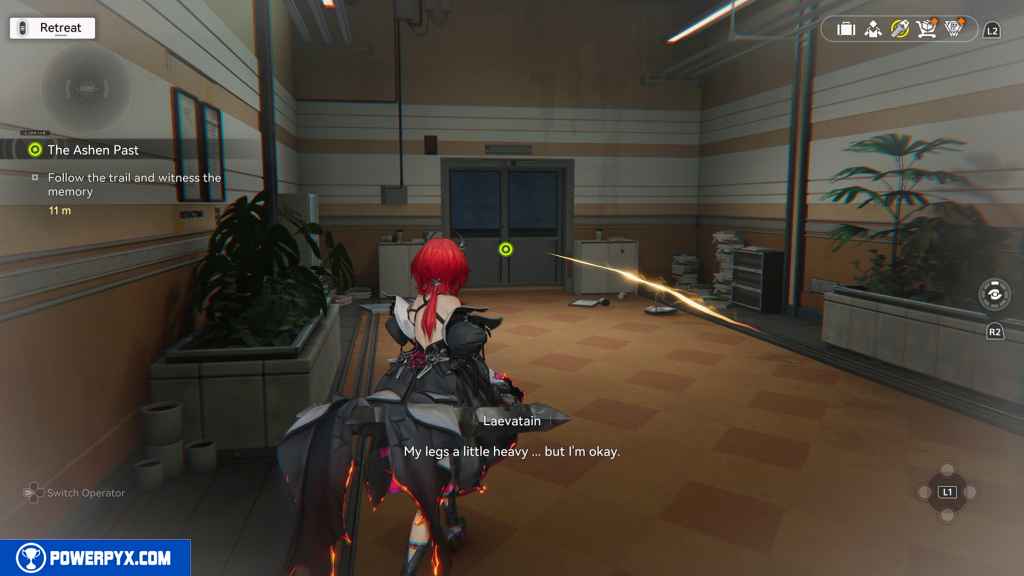
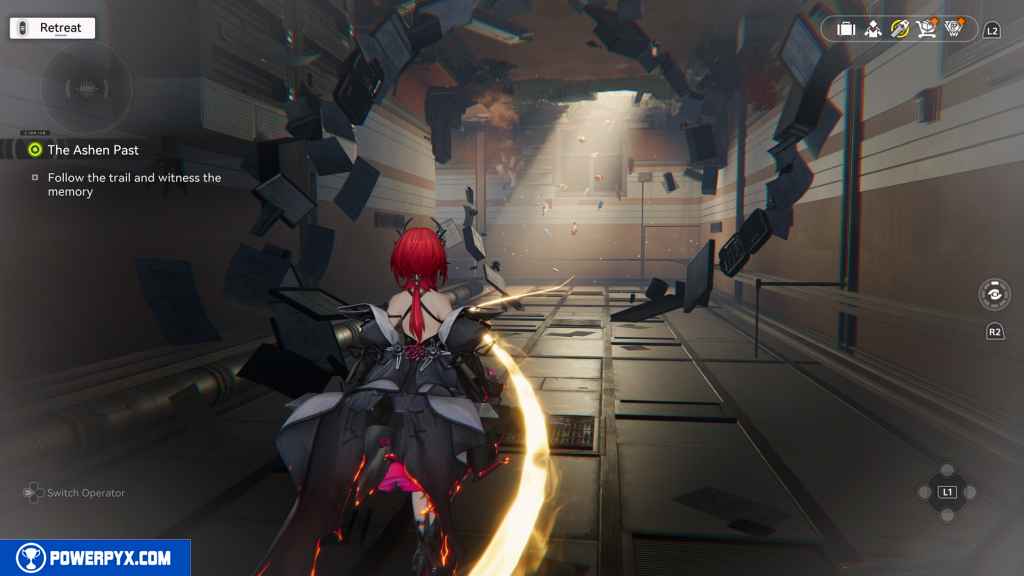
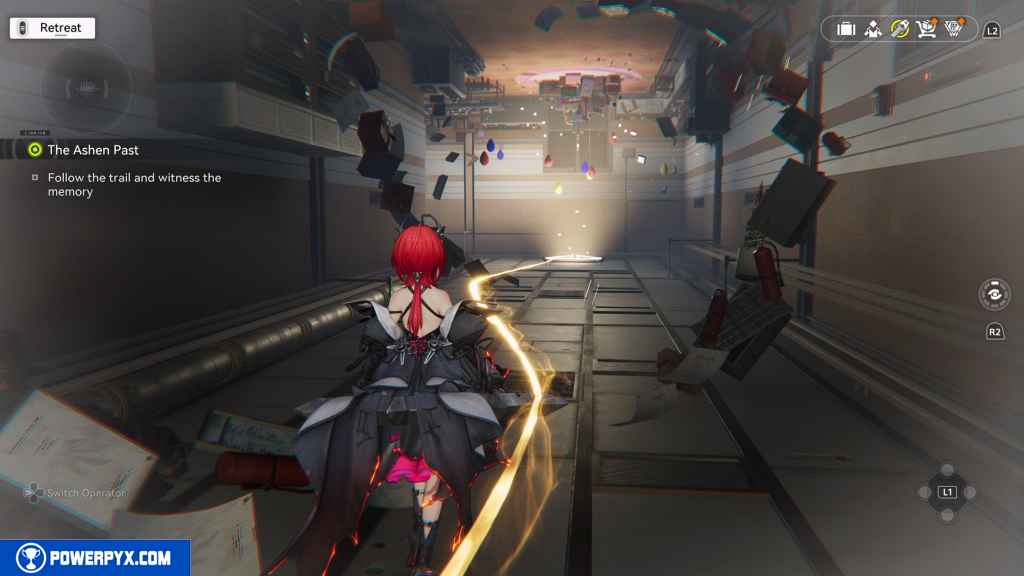
Follow the trail and witness the memory
Continue down the corridor, following the yellow beam that lines the corridor.
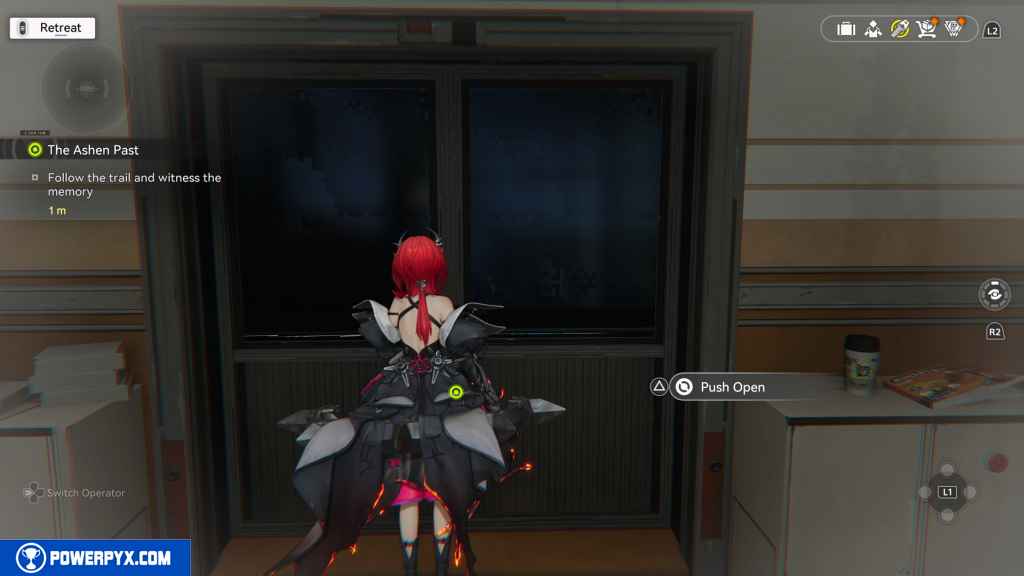
Interact with the door.
In the next room, move forward a few steps to trigger a cutscene.
Continue down the new pathway a little way to trigger another scene.

Keep going forward when you regain control.
Repeat the process again after the next cutscene. This cutscene is unskippable.
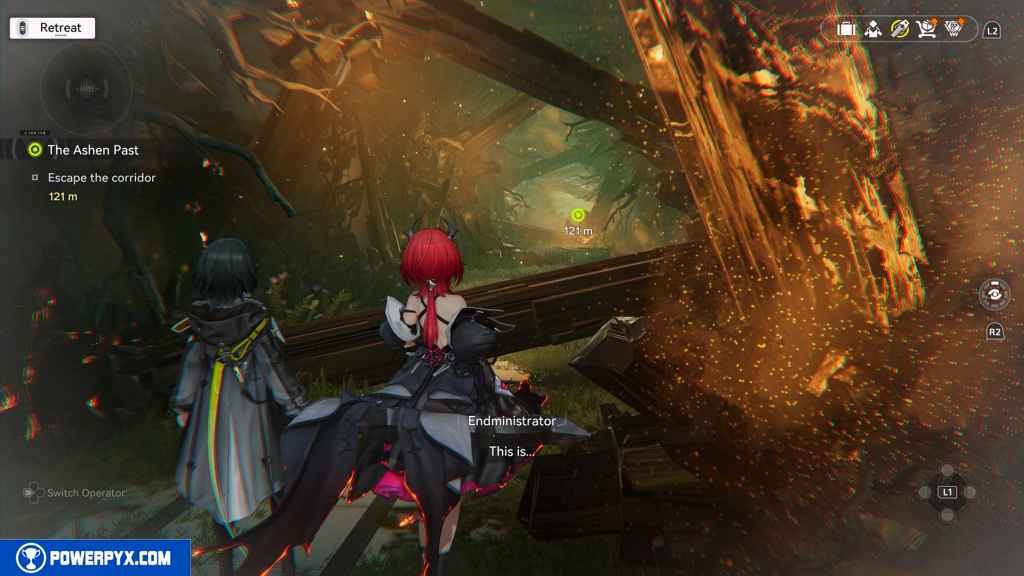
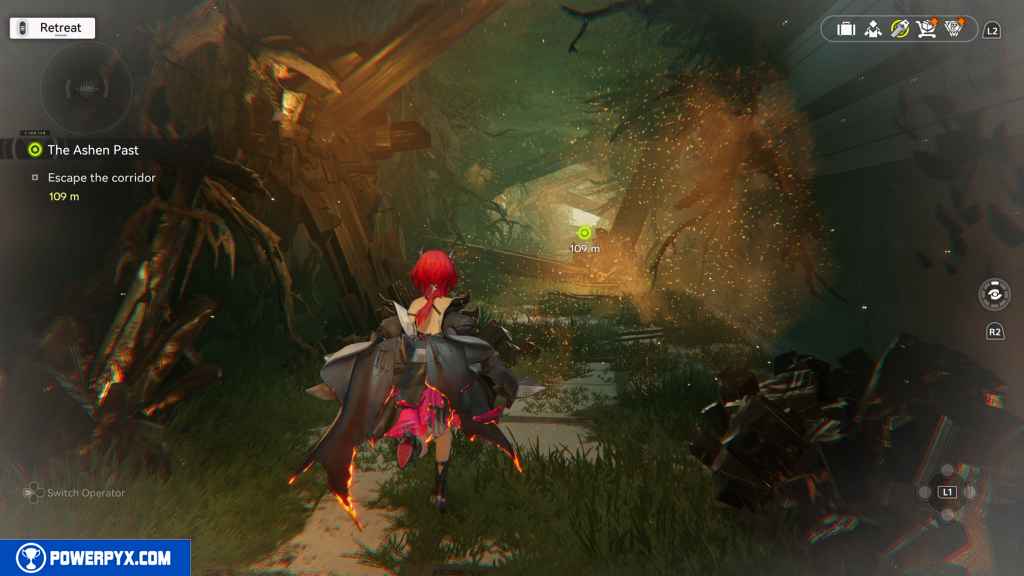
Escape the corridor
Go forward, jumping over any fallen pillars in your way. Unlike earlier in the quest, this corridor will not try to close in on you.
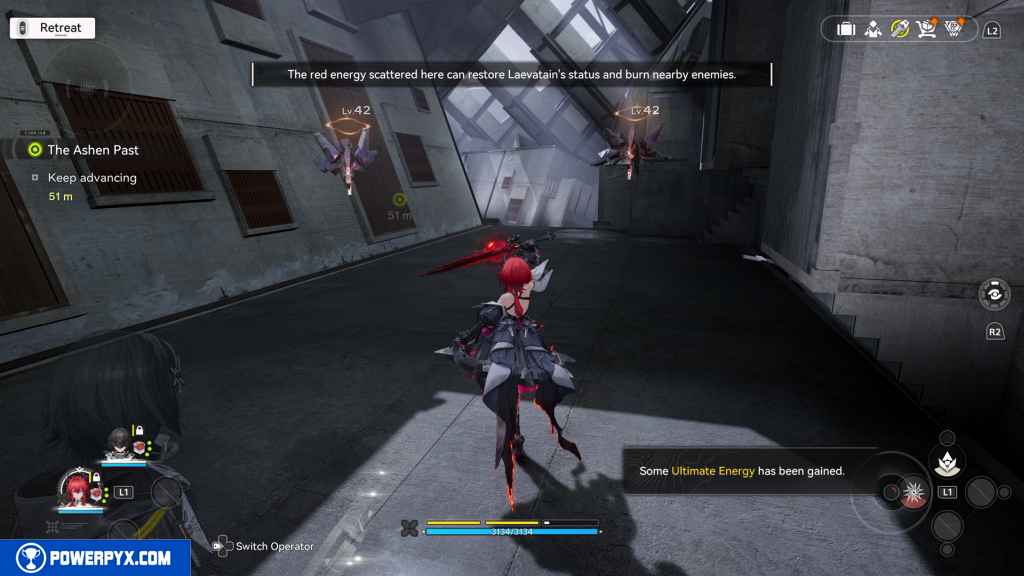
Keep advancing
Continue straight and follow the linear path.
Along the way are little red memory fragments. Pick these up.
Enemies also appear along the way. Feel free to run by them if you wish.
When you eventually drop down to a lower level, you come across flat fixtures in water that move up and down. Use these to get across the water.
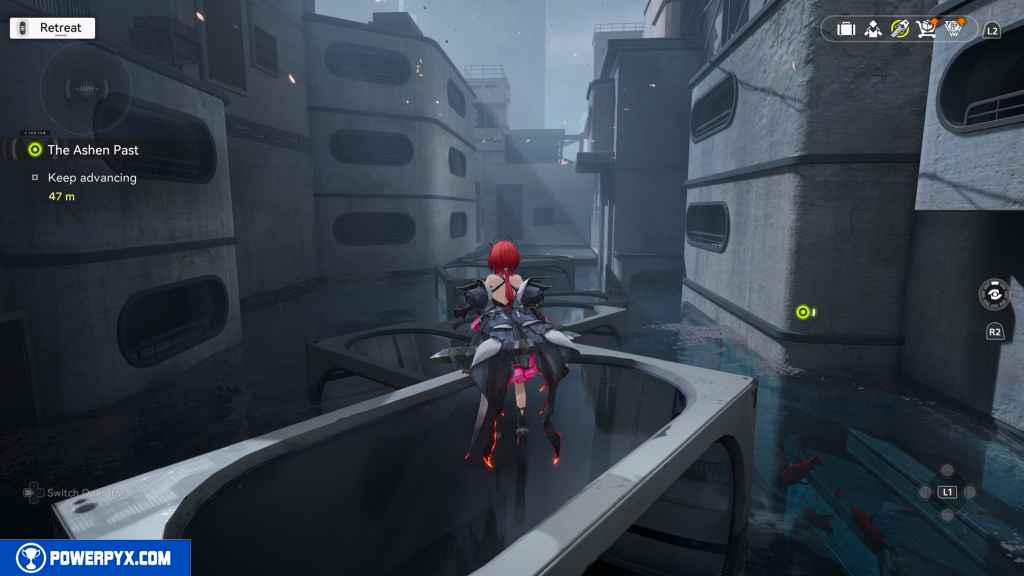
On the other side, follow the path to the right.
Wait to go down the path until after the flat fixtures create steps for you.

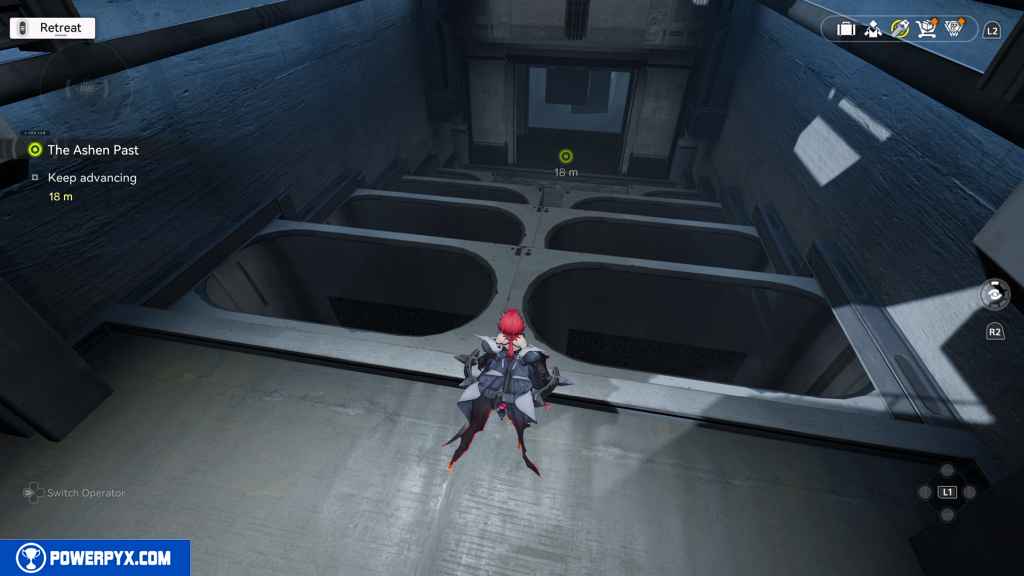
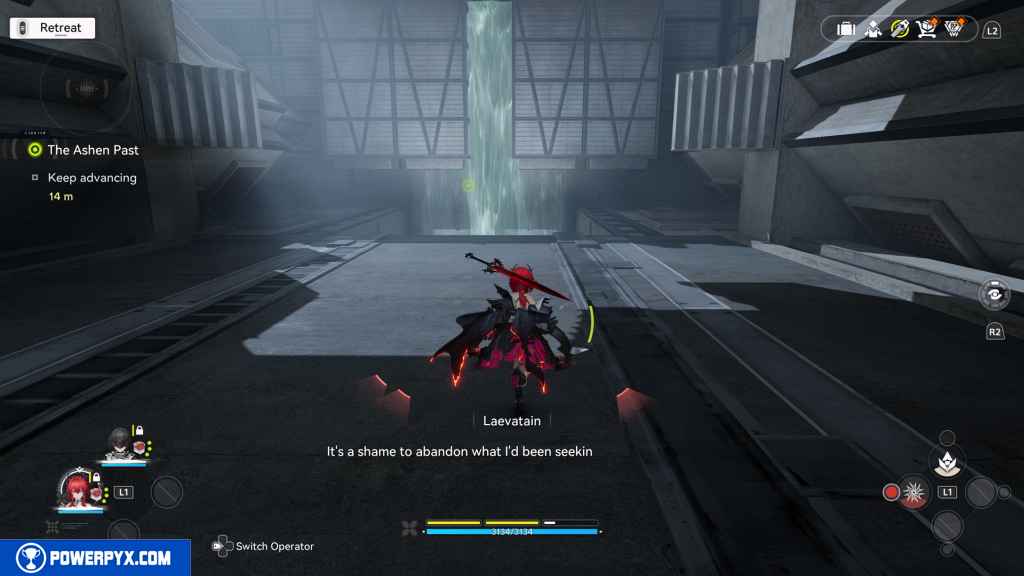
In the next room, pillars fall from the ceiling. Use those to get across this body of water.
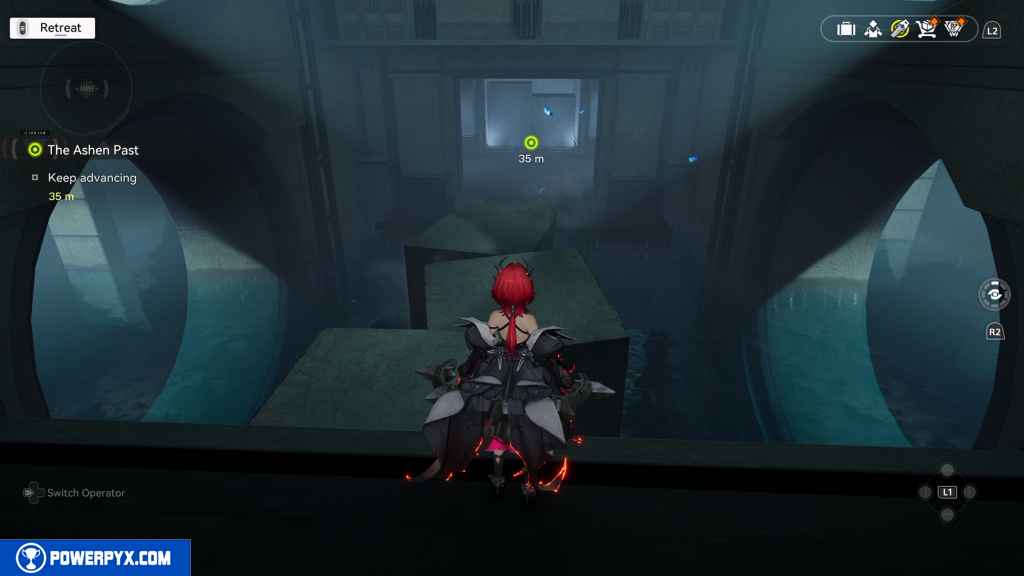
Keep going forward and drop down into the next area that opens up.
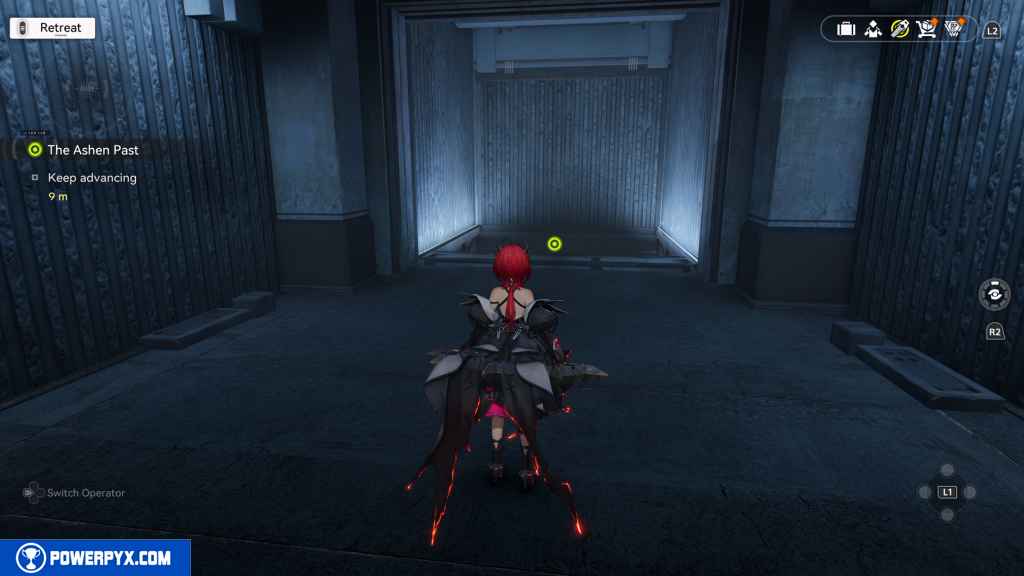
Approach the red door to trigger a scene.
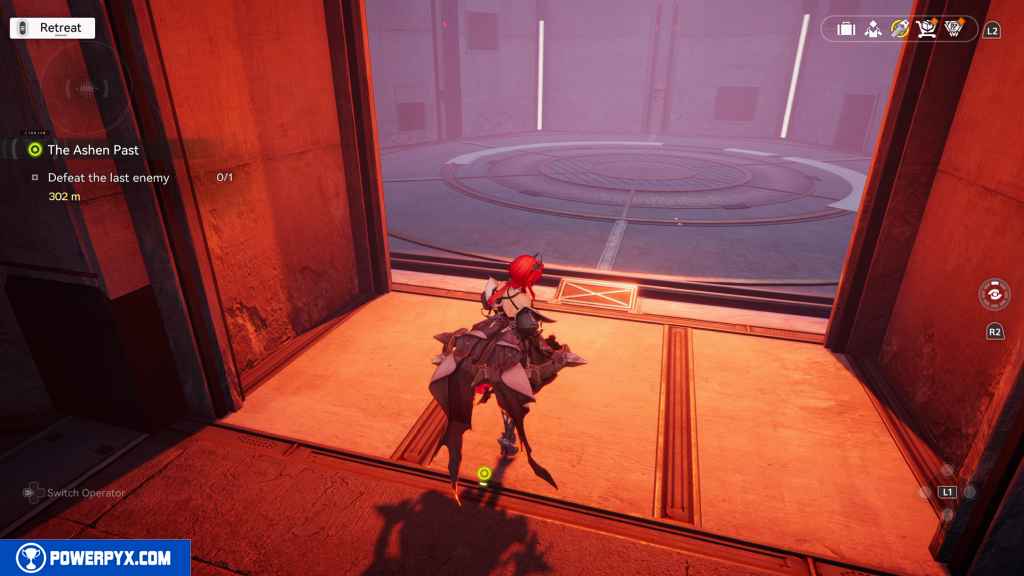
Defeat the last enemy (1)
Step onto the elevator and ride it down.
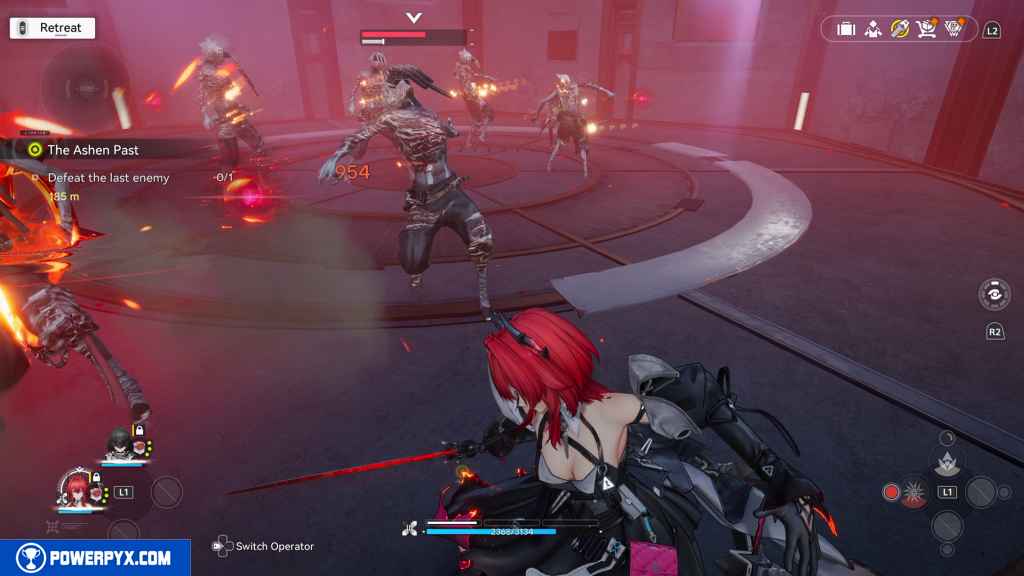
At certain points, the elevator stops and enemies appear. Take those out to continue going down.
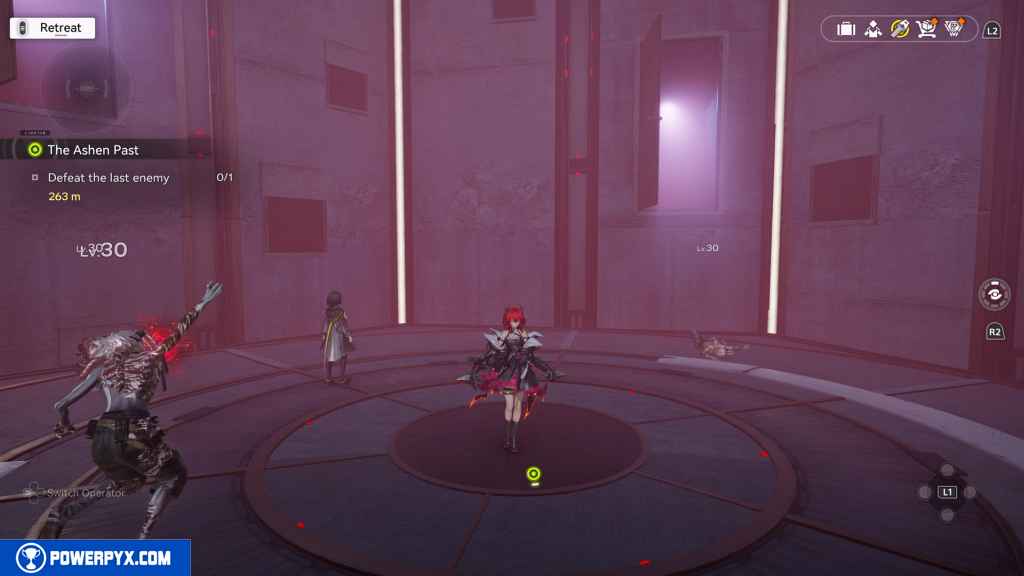
Sprinkled around the elevator are more of the red memory shards. Use these to charge up your ultimate to make things easier for you.
After two rounds of enemies on the elevator, you arrive at the bottom.
Head forward and approach the red glowing version of Laevatain.
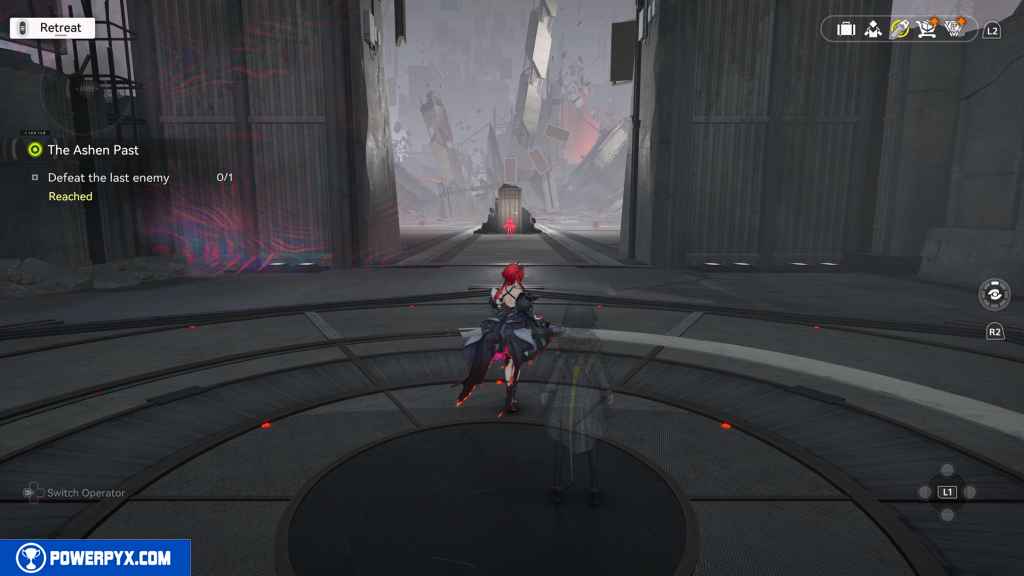
This prompts Walking Chrysopolis to appear.
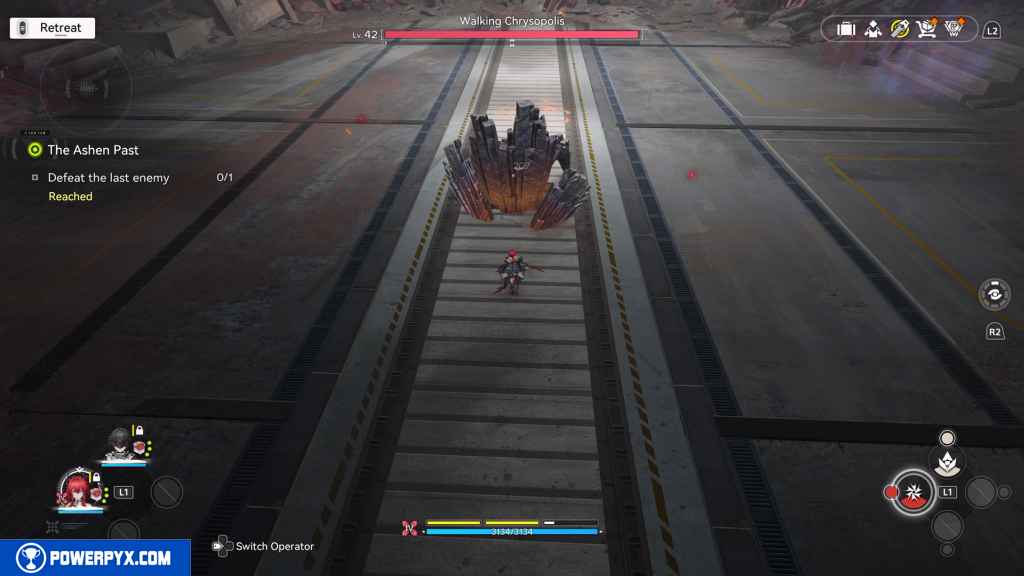
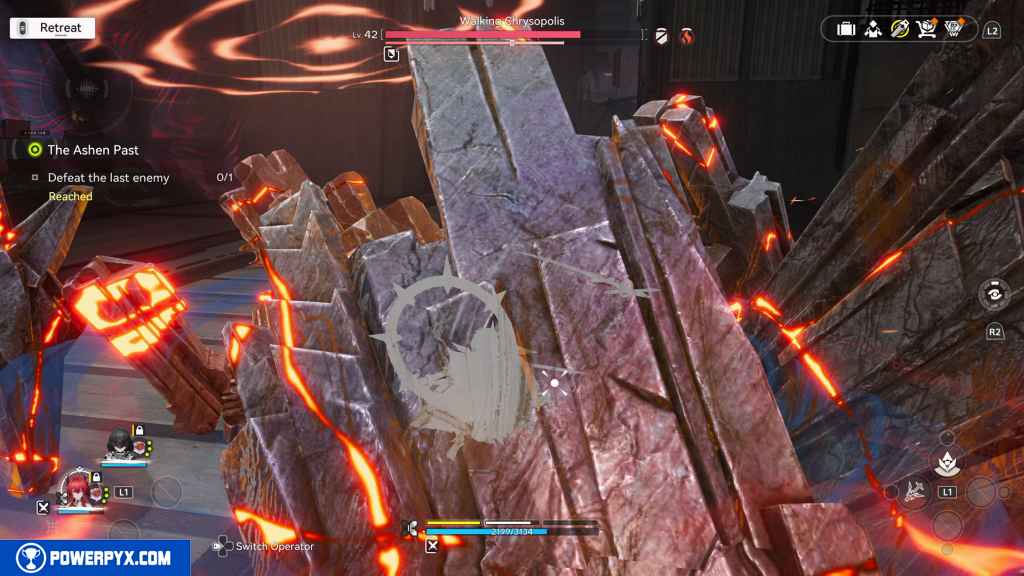
It has a stone shield in its front. Go to its back side and attack it to do normal damage. If you destroy its legs, it stays in one place for a while.
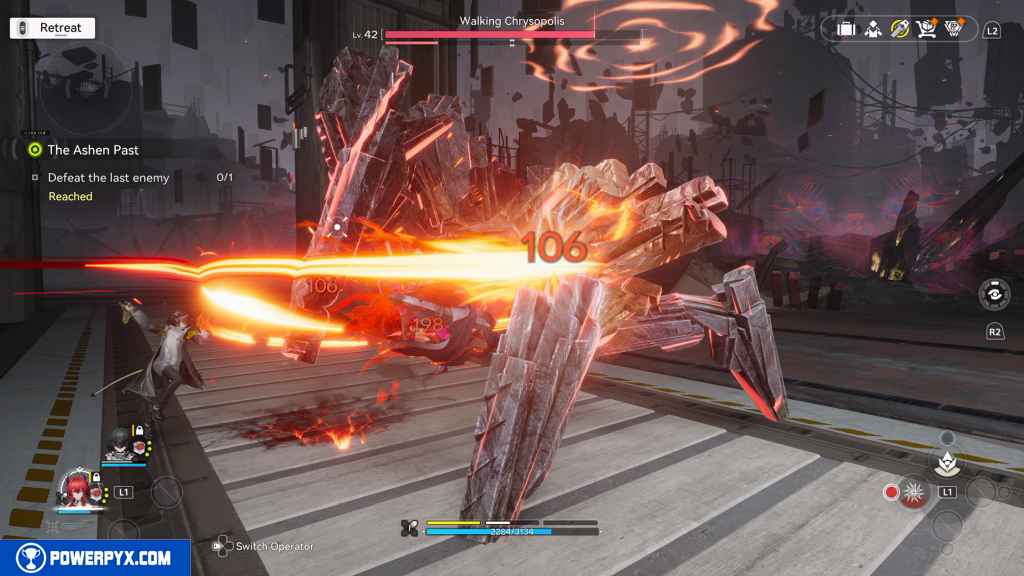
It does some forward and rear attacks. Just avoid the areas that appear in red and you’ll be fine. Defeat it to progress.
This finishes The Ashen Past side quest in Arknights Endfield and also completes the Quest Chain “Let Fire Consume the Ashen Past”.
For all other Quests refer to Arknights Endfield Walkthrough.
Leave a Reply