
Halo Campaign Evolved contains 52 Collectible Locations (39 Skulls, 13 Terminals). Finding all Collectibles unlocks the following trophies & achievements:
- Lore Have Mercy

- Clean Sweep
- Successful Search
- Plundered
- Buried Treasure
- Stowed in Snow
- Proto Gravemind
- Timeless Tomes
- Outpost Discoveries
- Priorities
- No Rush
- Souvenirs
- Brute Loops
- Parting Gifts
- Cranial
- Making a Necklace
- Headhunter

- Collector’s Addition

Finding all skulls is also required to unlock the LASO playlist. Which you need to complete for the MYTHIC trophy & achievement. There is no collectible tracker by chapter. The only way you can track collectibles is by going to the main menu and then clicking on collectibles. Check the names of the skulls and terminals against the guide to see which ones you are missing. Collectibles are not saved instantly when picking them up. You need to reach the next checkpoint, then you can save and quit to the main menu. You can jump to any Rally Point directly via chapter select, which makes it fast to clean up anything you missed.
Note that there are actually 42 Skulls but only 39 collectable ones. After finding the first 3 skulls you unlock another 3 skulls (Adaptation, Reload, Armistice).
The Pillar of Autumn
Chapter: Rally Point Alpha
#1 – Skull (Speed Limit)
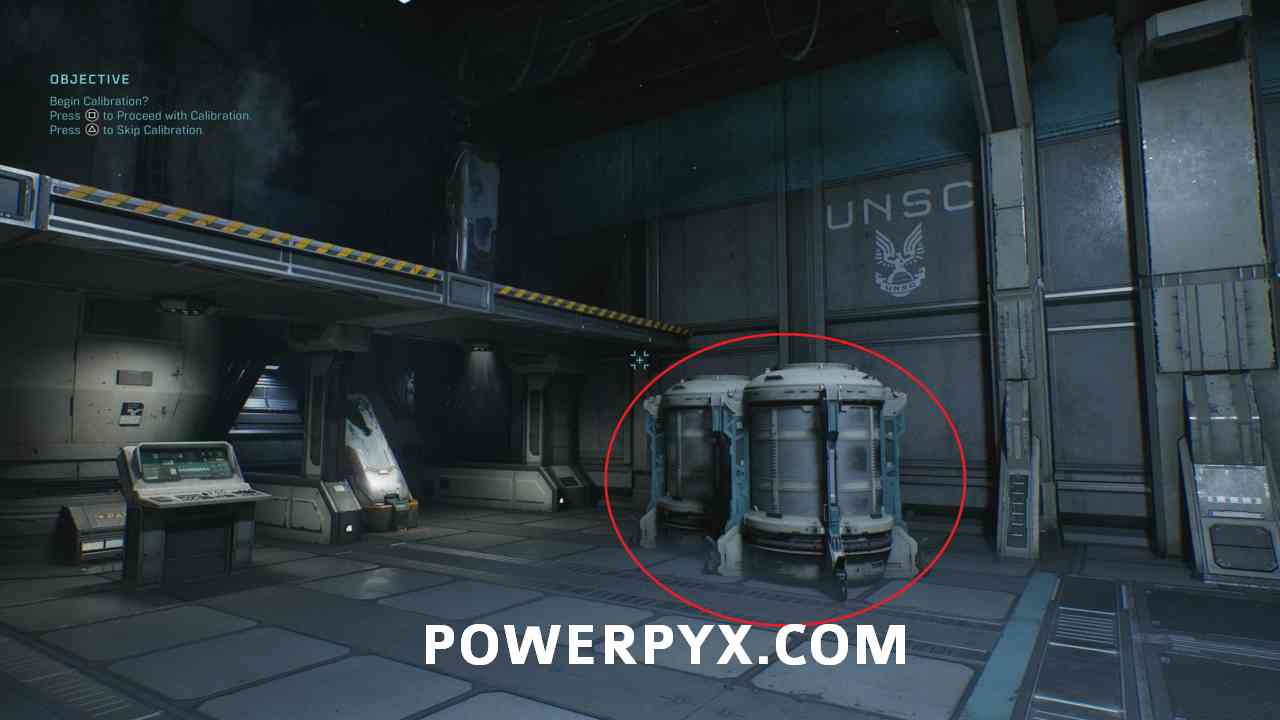
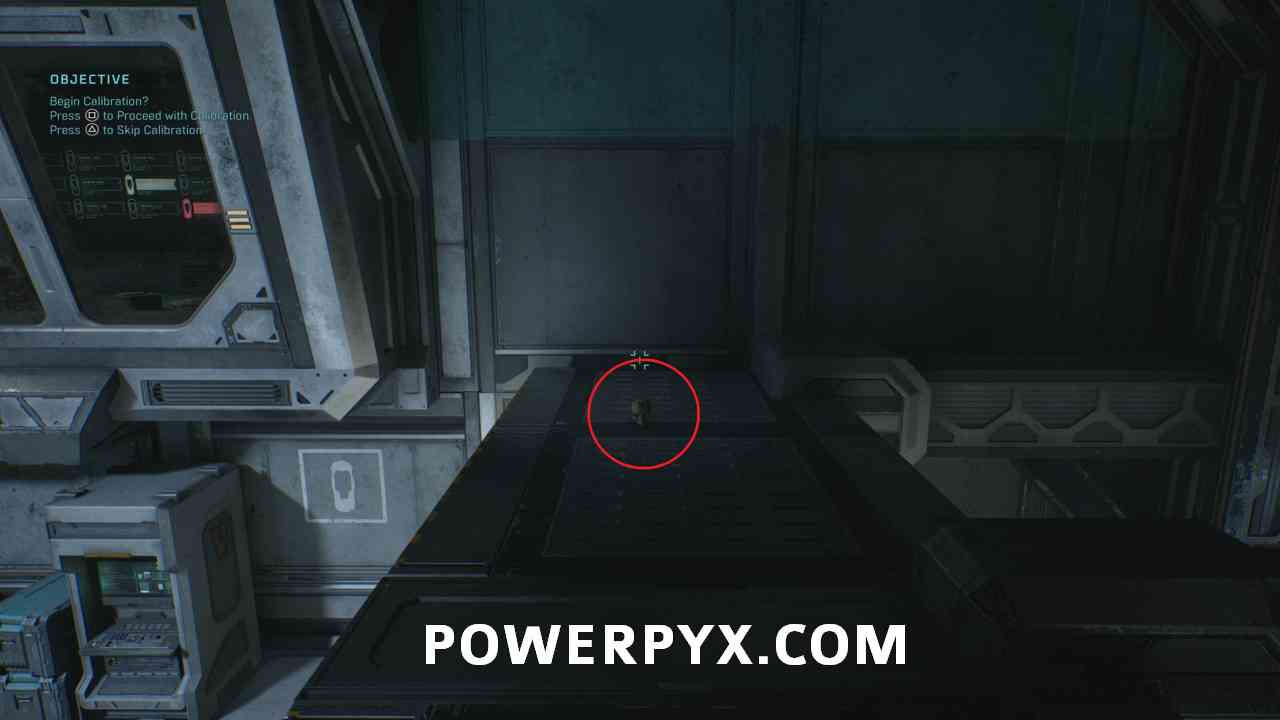
Objective: Begin Calibration?
As soon as you can control the Master Chief, you can turn around and jump onto the two containers and from there onto the upper floor. Walk to the end and pick up the skull.
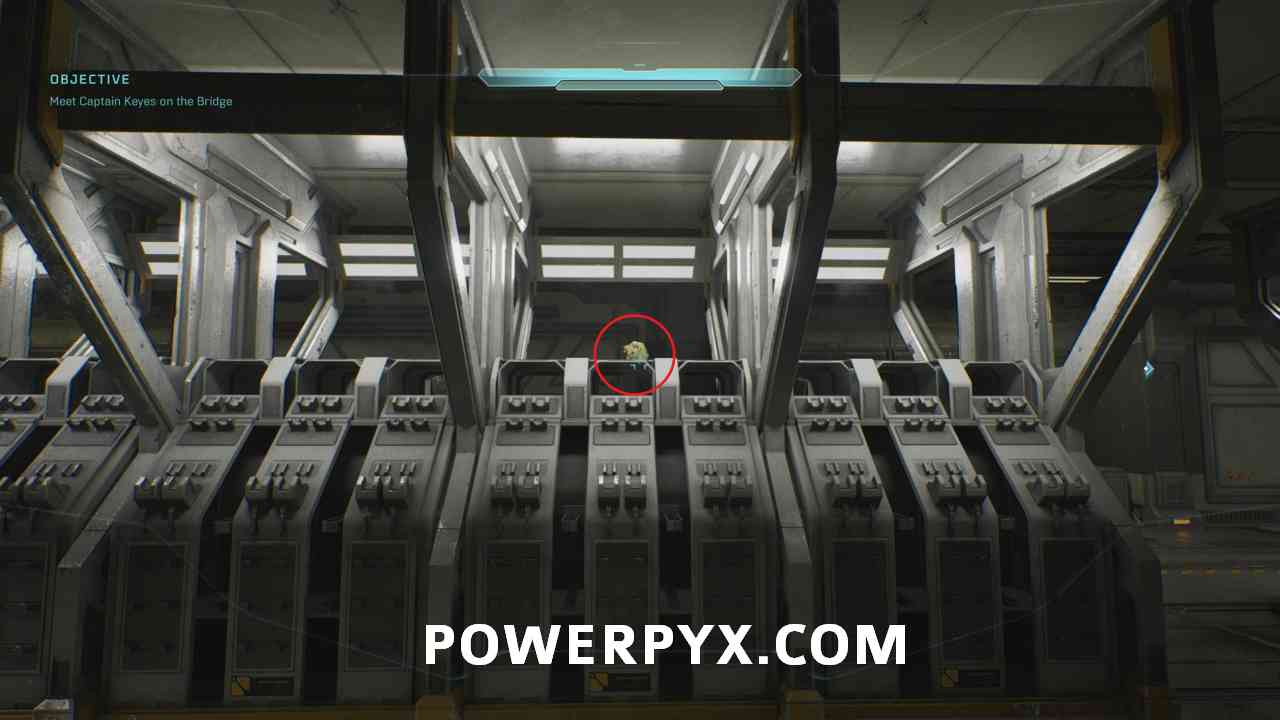
#2 – Skull (Magnified)
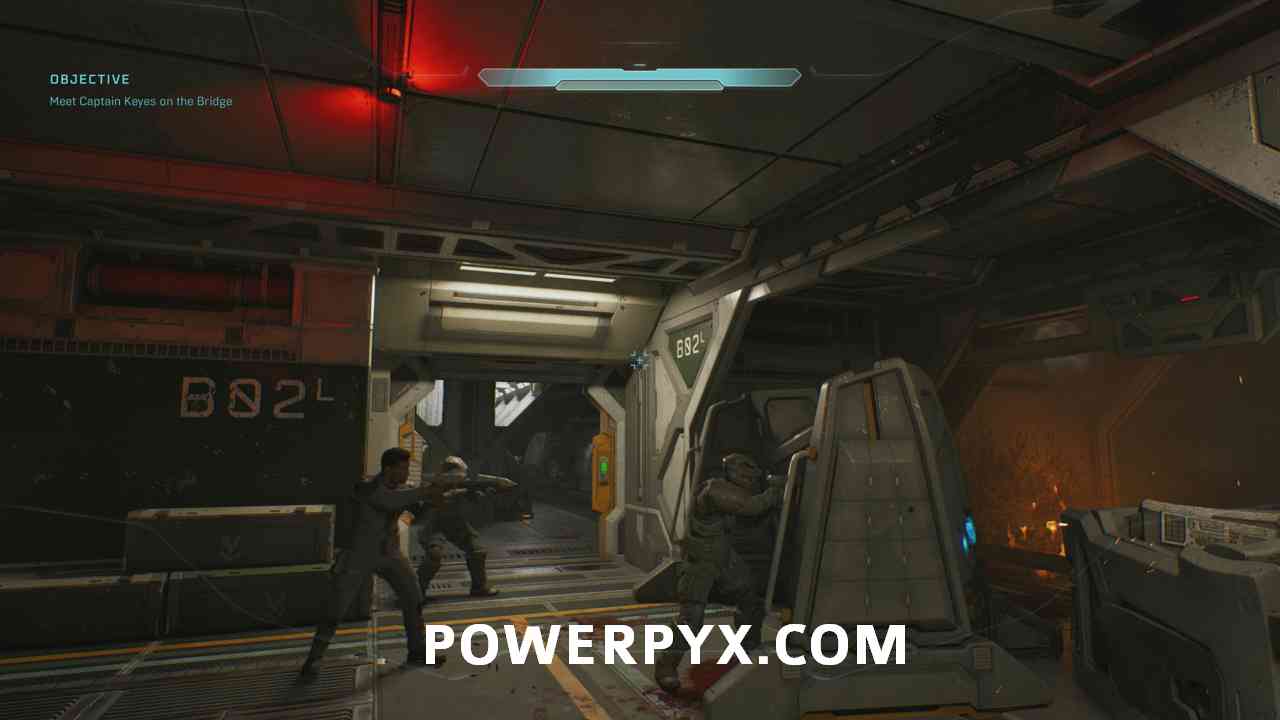
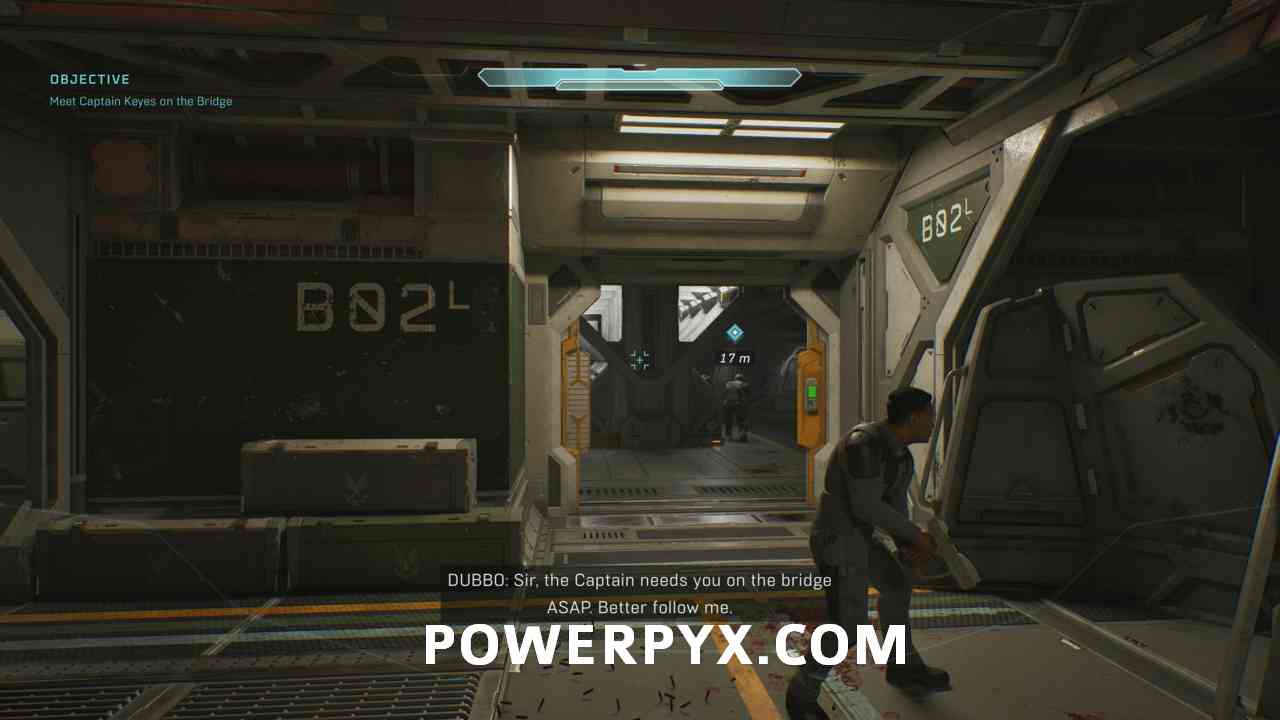
Objective: Meet Captain Keyes on the Bridge
Shortly after the first skull, you will come across some soldiers shooting at enemies. Go through the door nearby labeled BO2 L. You will find the skull in the middle of the room on some lockers.
Chapter: Rally Point Bravo
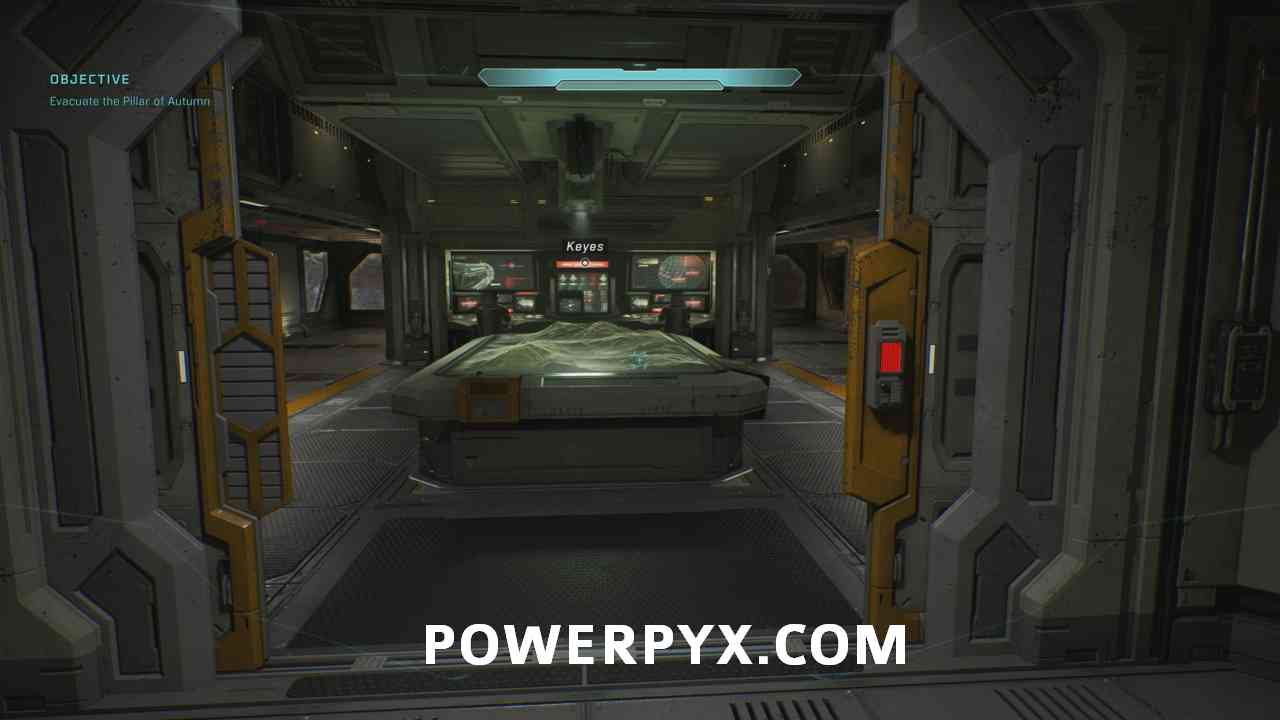
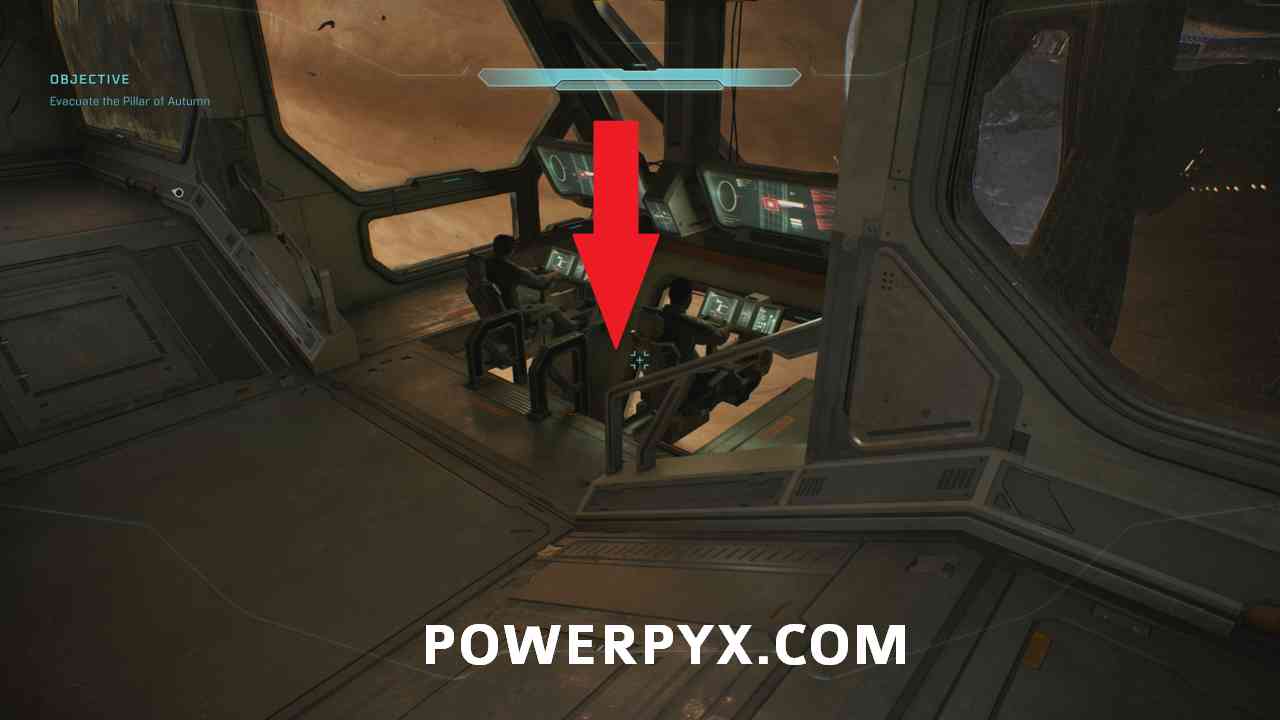
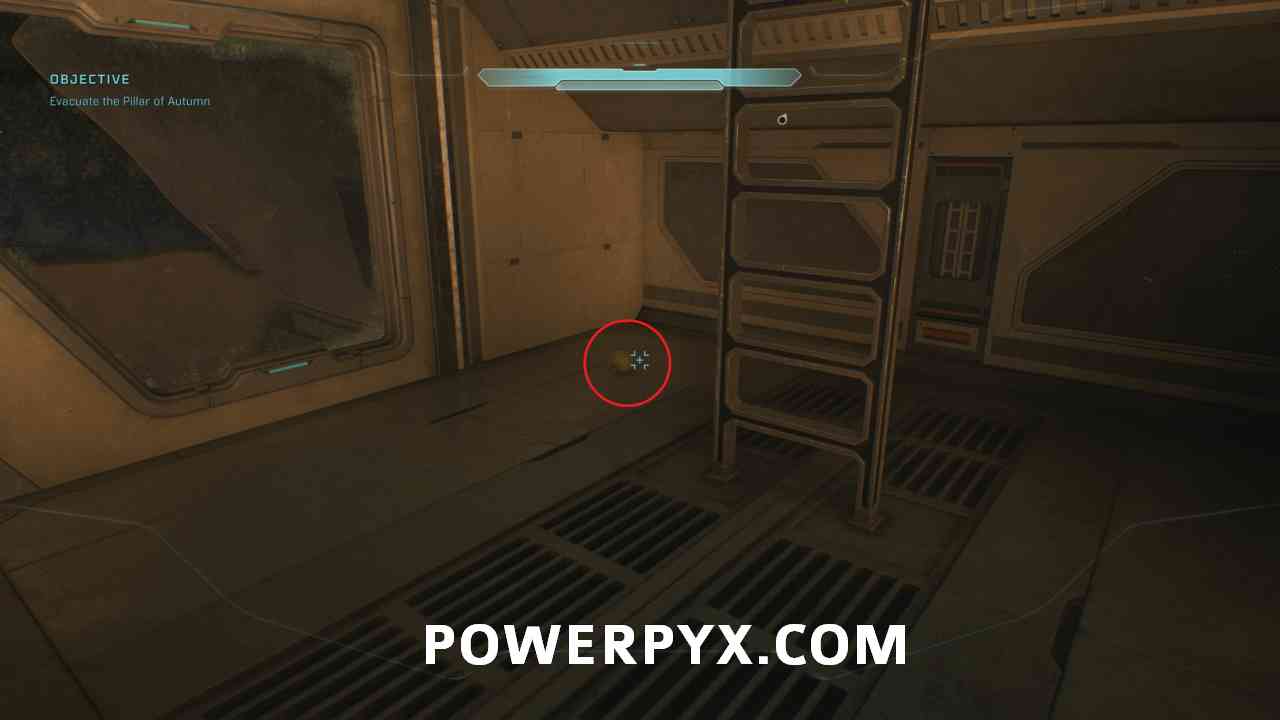
#3 – Skull (Perspective)
Objective: Evacuate the Pillar of Autumn
After the cutscene at the beginning of the checkpoint, turn left and enter the Commando Room. Drop down by the observation pen to find the skull.
Chapter: Rally Point Charlie
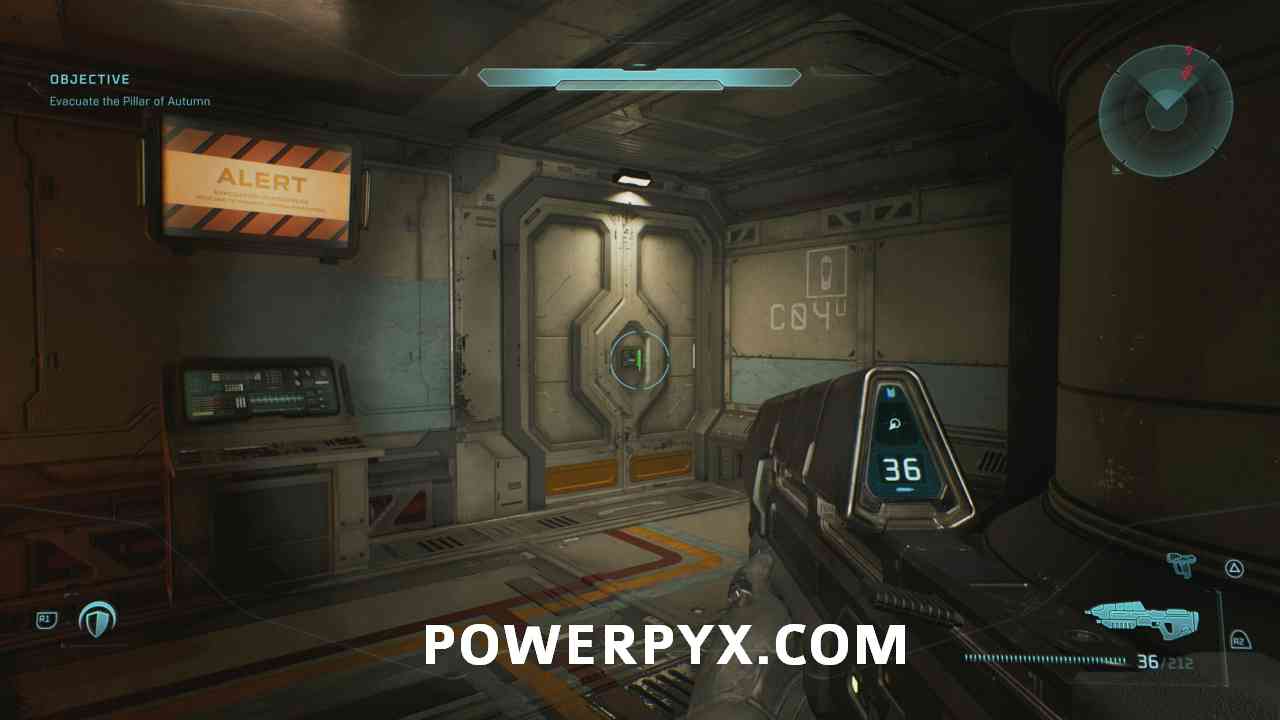
#4 – Terminal (Approach)
Objective: Evacuate the Pillar of Autumn
Halfway through the chapter, you will come across this door labeled as C04 U. You can not miss it as it is the story path.
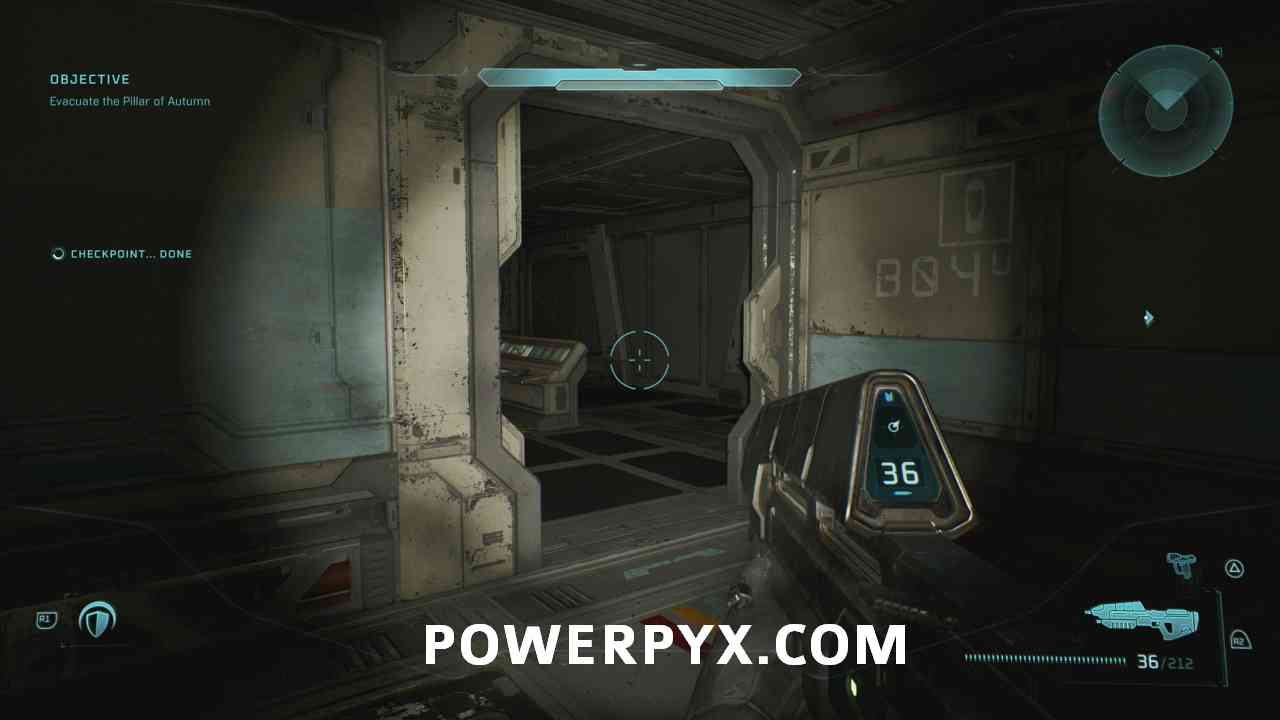
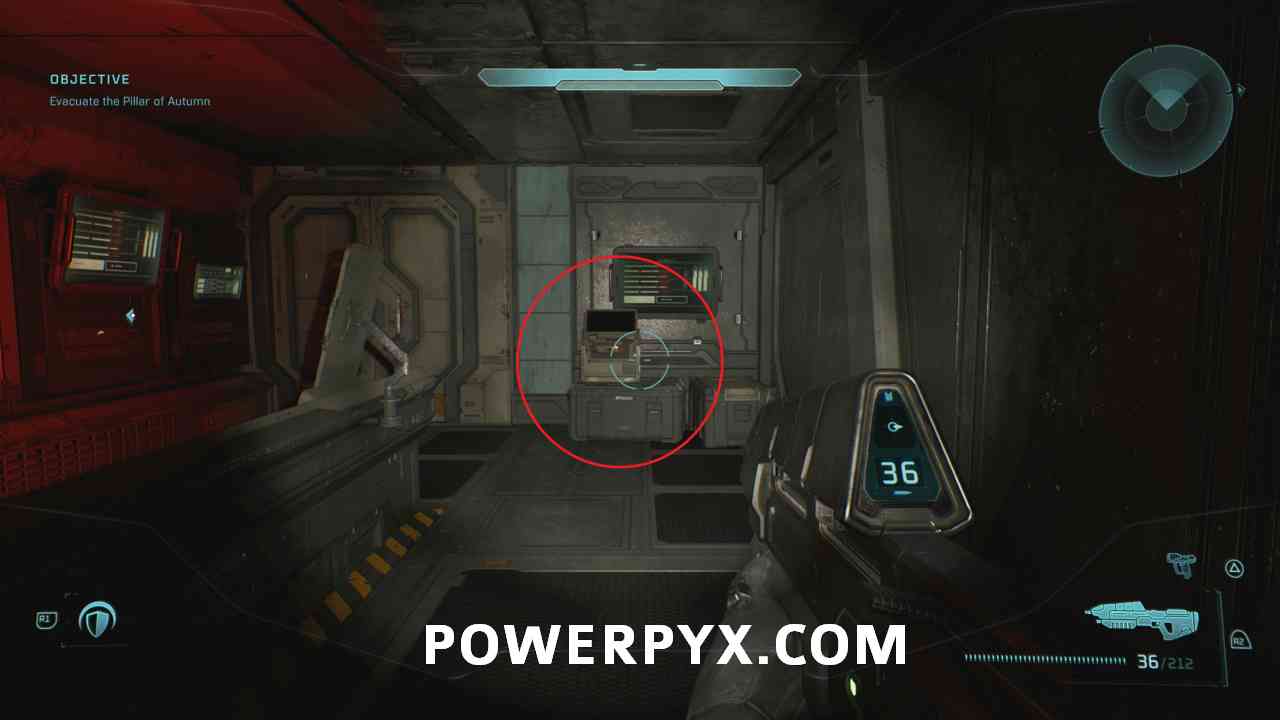
Pass the room and immediately turn left to find another door labeled as B04 U. Enter that room to find the terminal.
Halo
Chapter: Rally Point Alpha
#5 – Terminal (Forgotten)
Objective: Search for other UNSC lifeboats
At the very end of the Rally Point you will enter an underground area, soon after entering this area you will see an opening on the right.
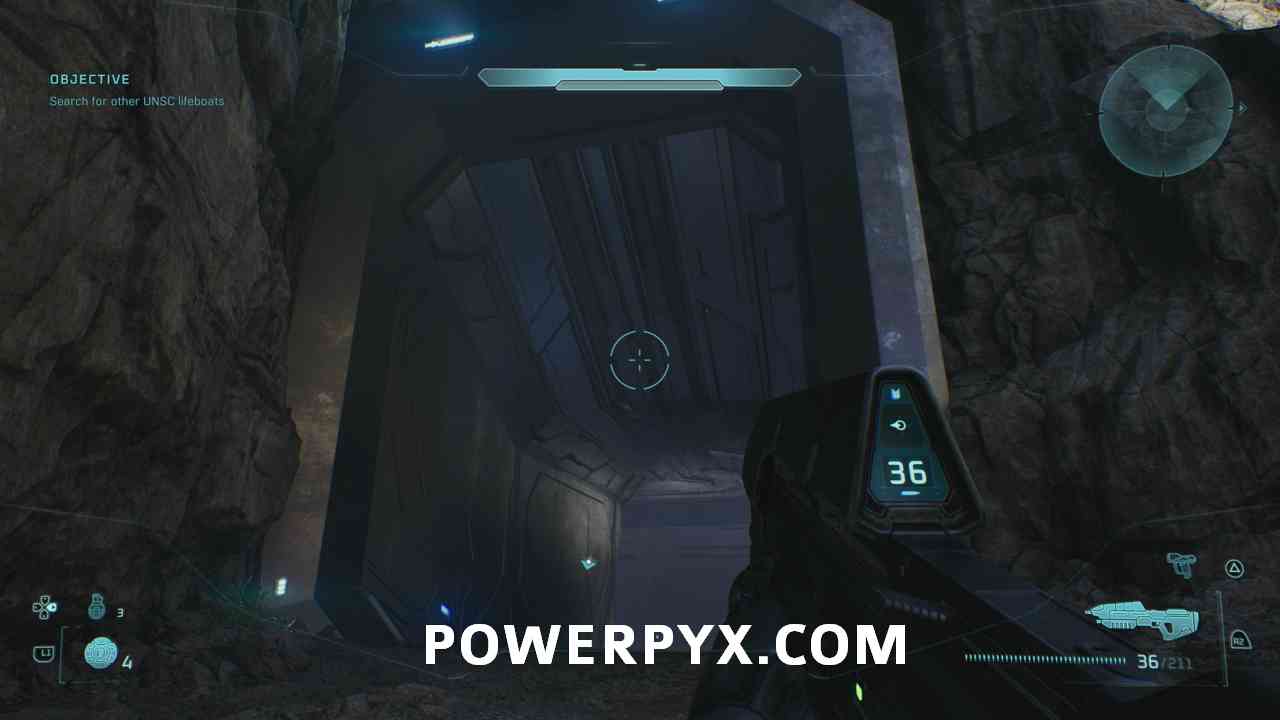
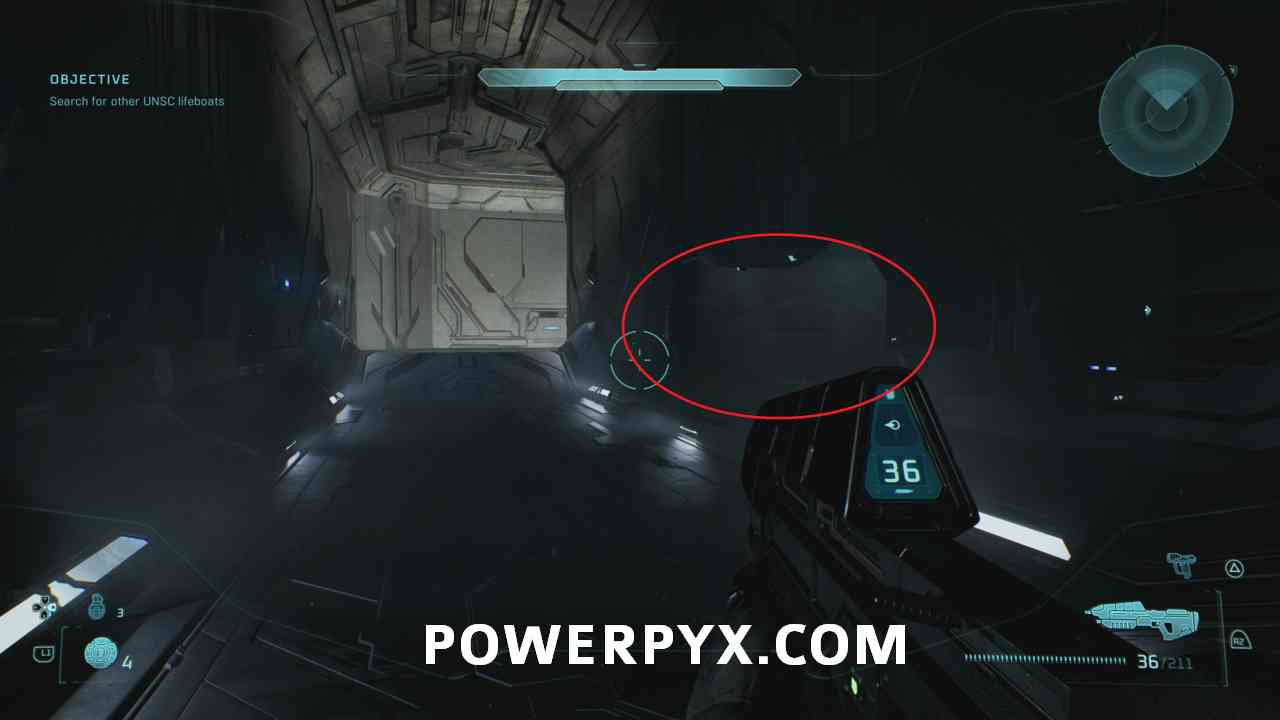
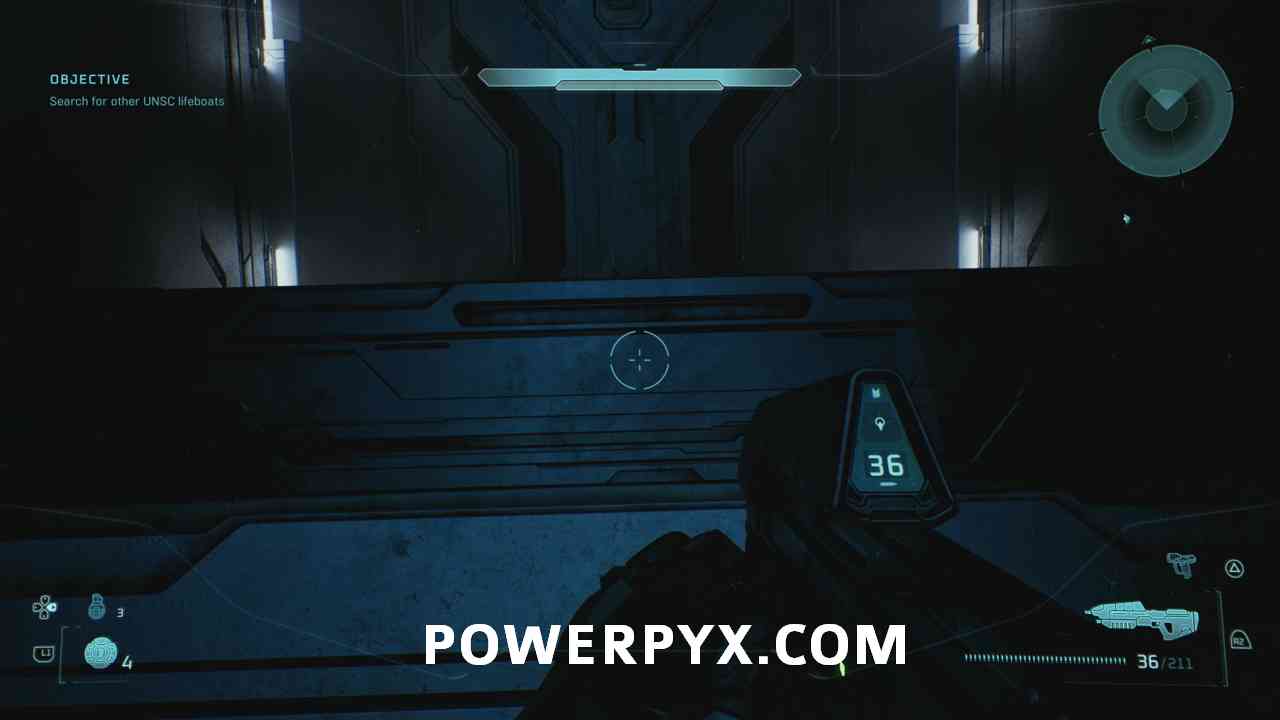
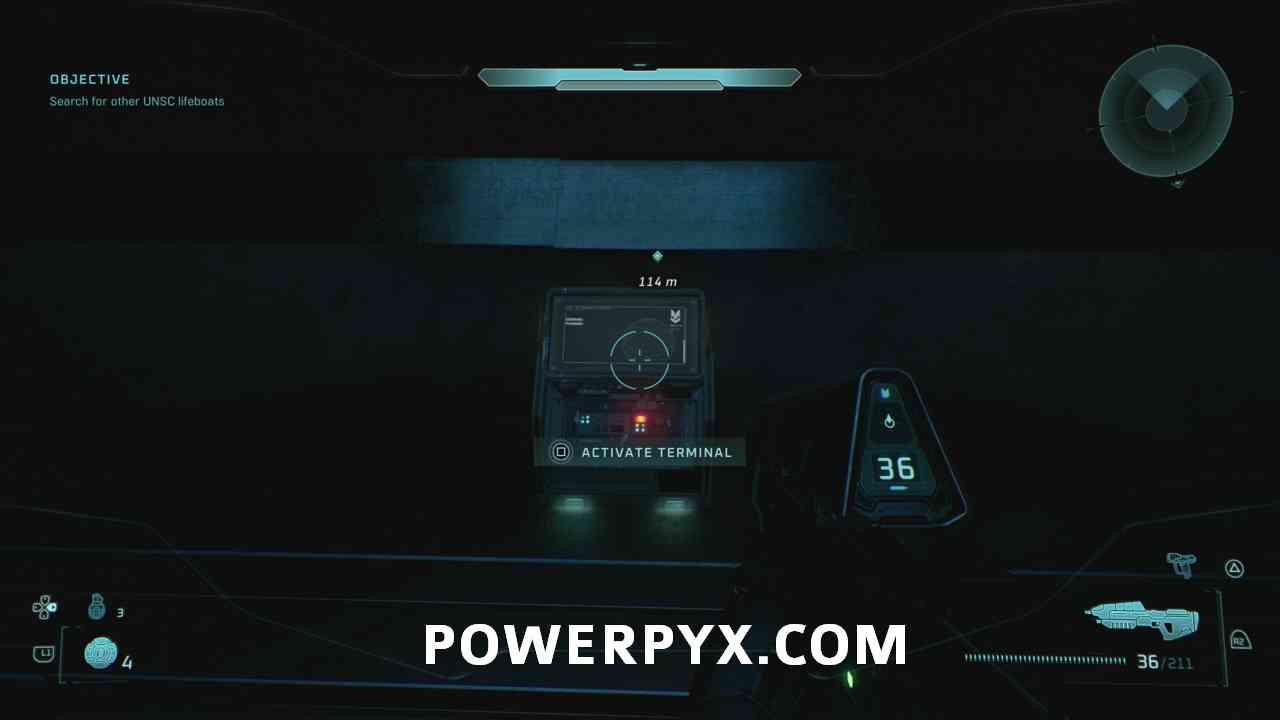
Get on the edge of the opening and look down, drop down to the ledge to find the terminal.
Chapter: Rally Point Charlie
#6 – Skull (Grunt Funeral)
Objective: Eliminate hostiles and secure lifeboat crash sites
At the start of this Rally Point you will exit the underground area and you will get three mission objectives. Go to the closest objective first.
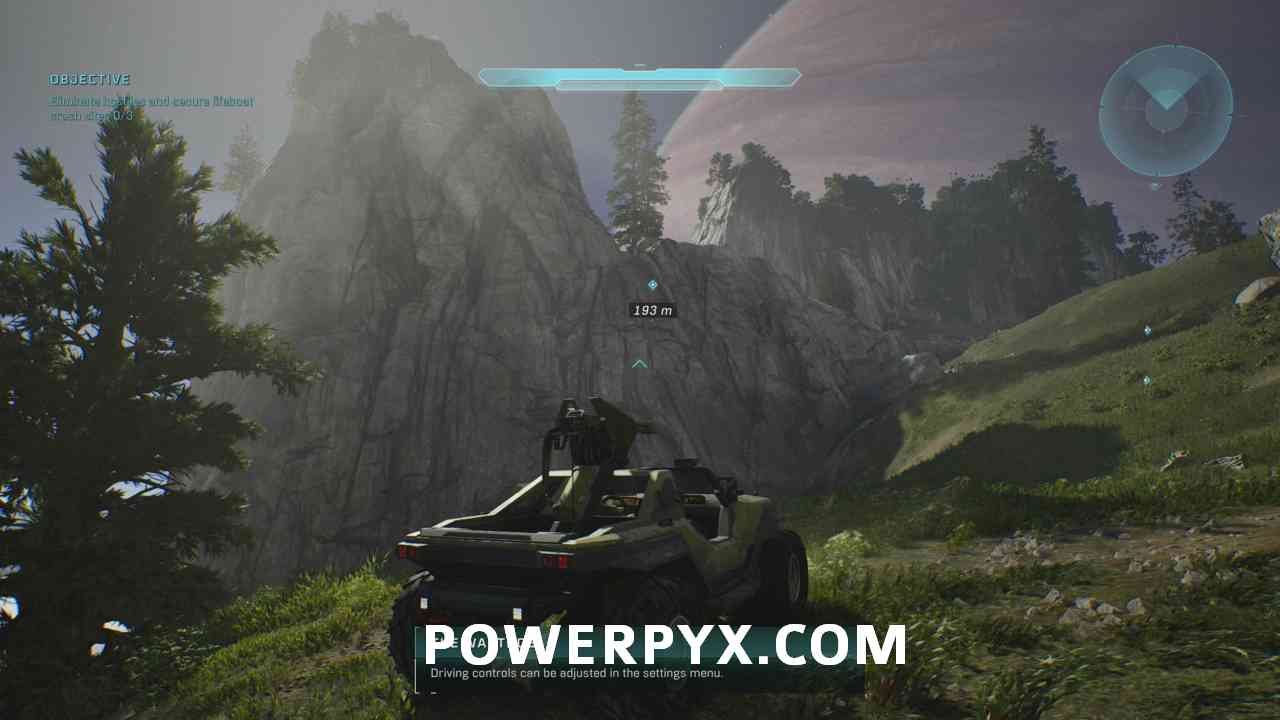
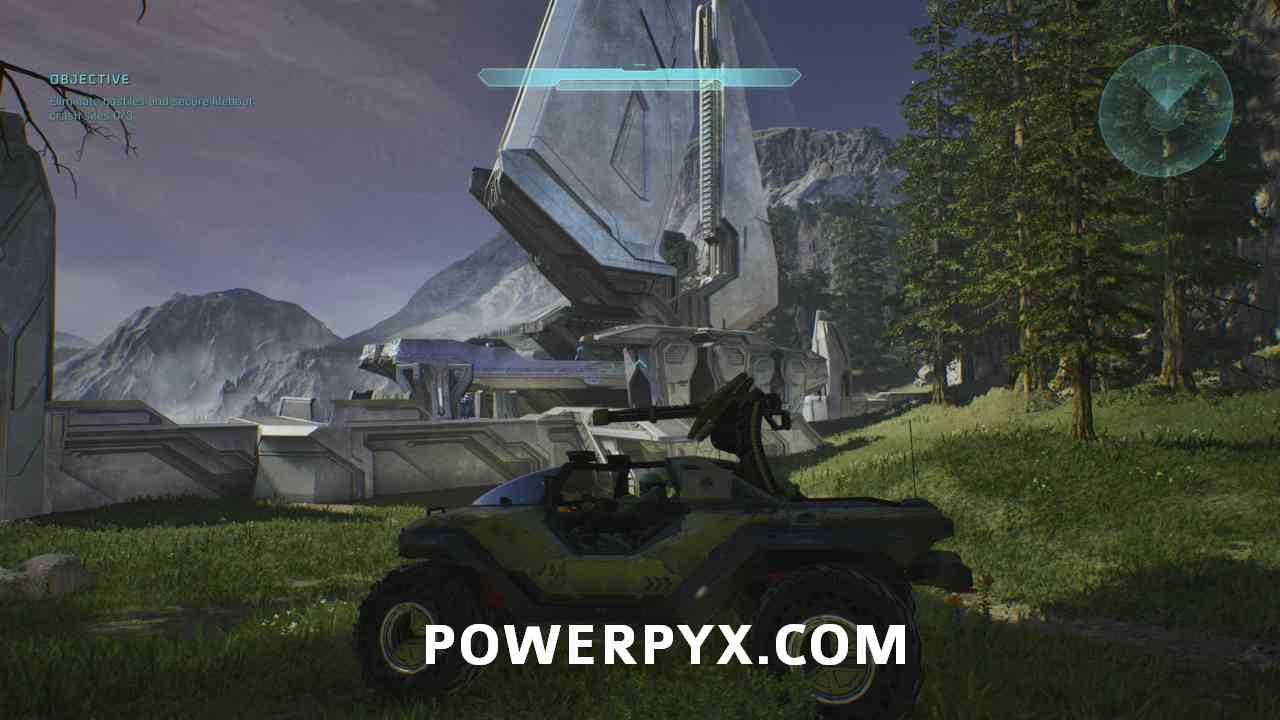
Here, clear all enemies and get up on the structure at this point here:
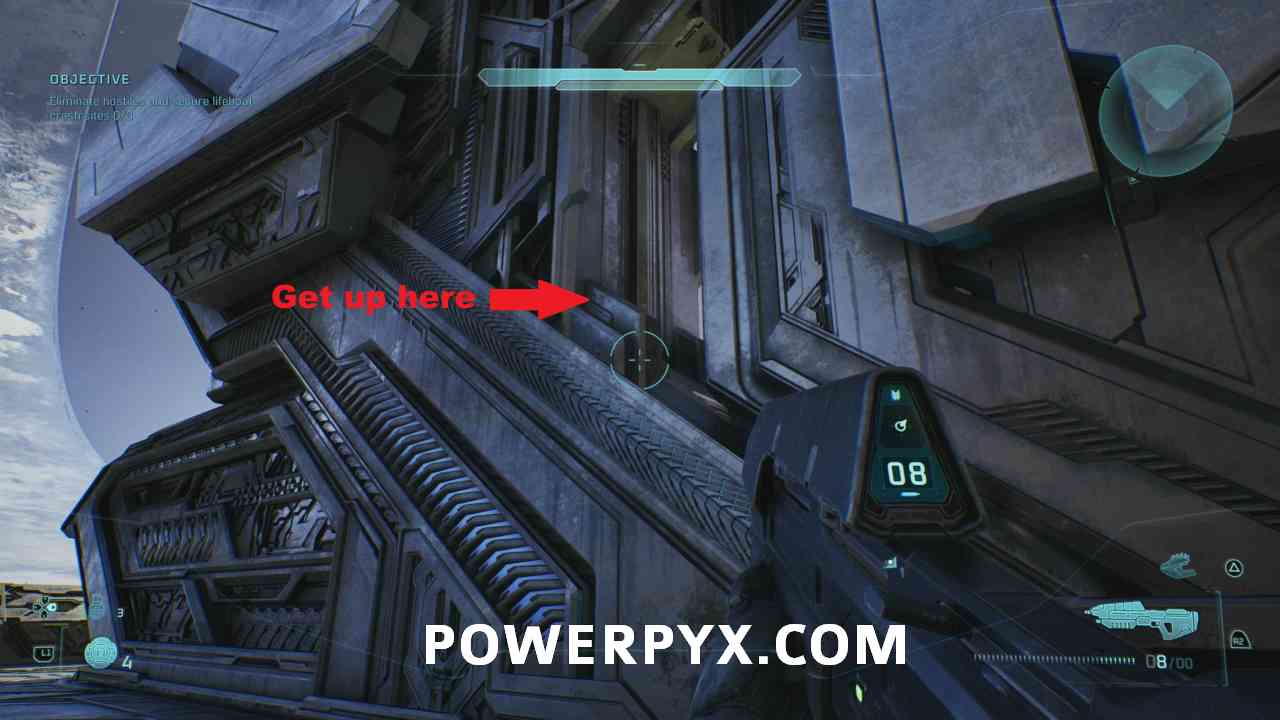
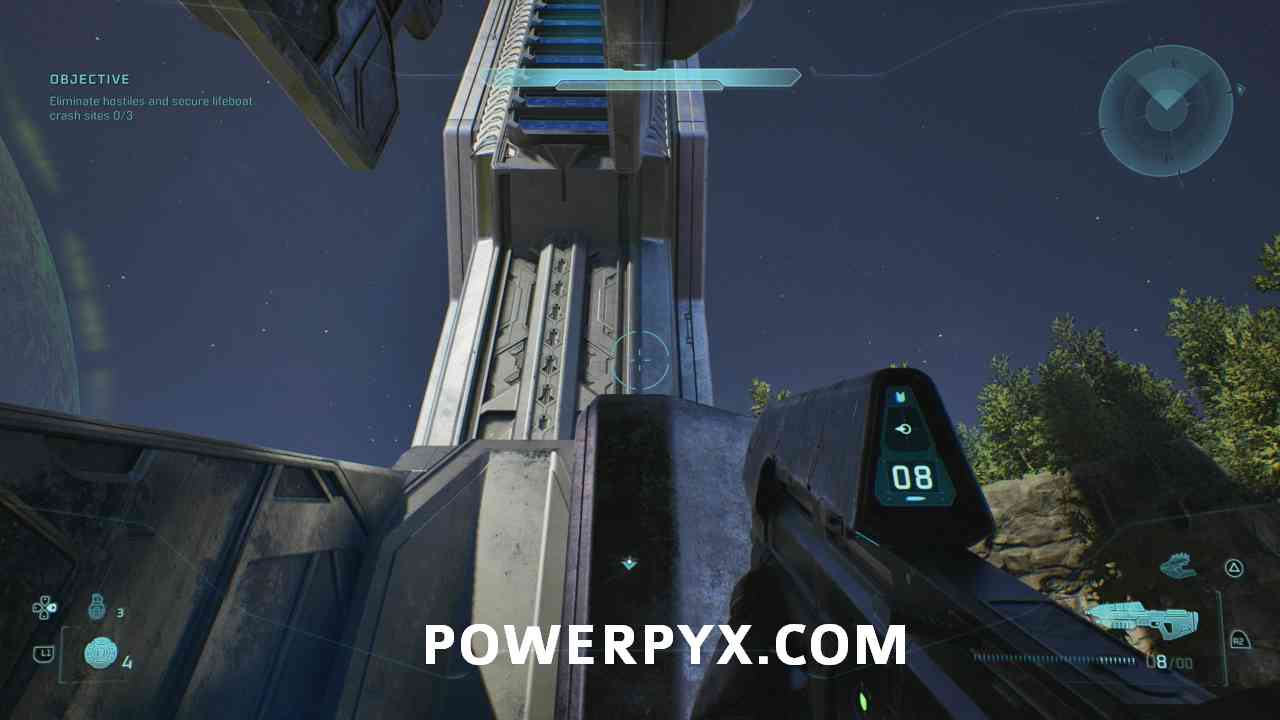
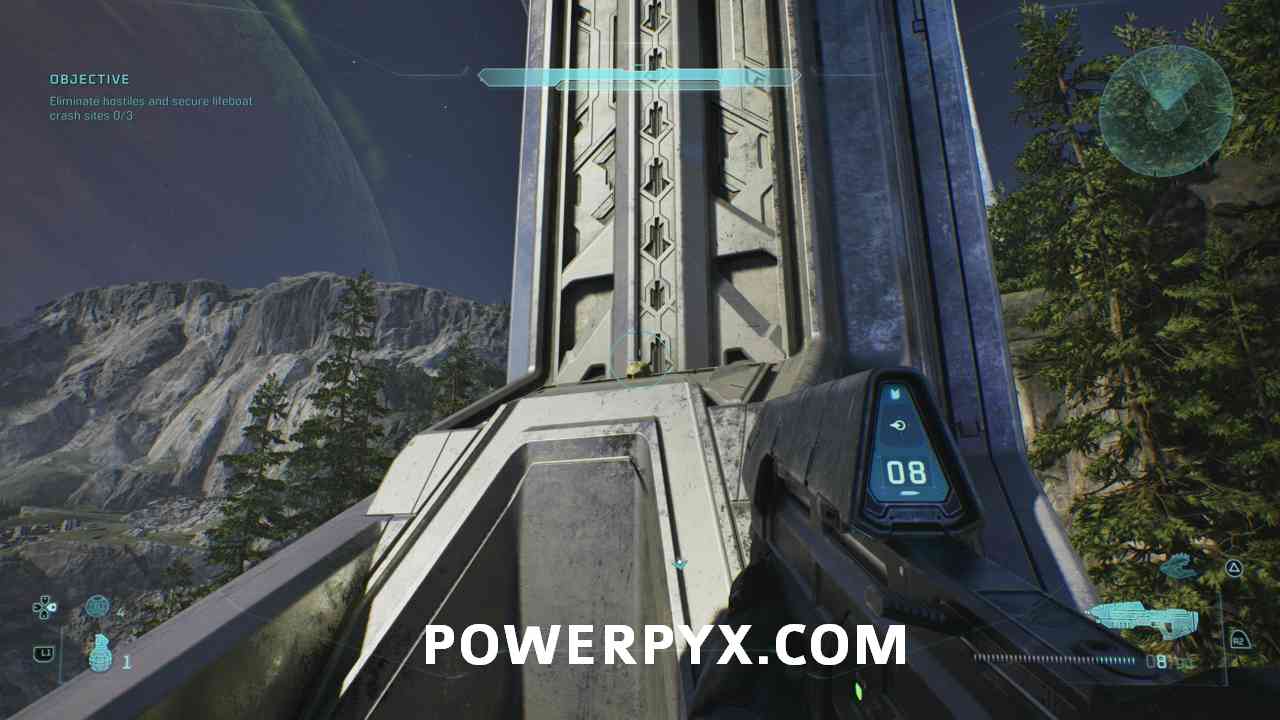
You have to get up on the next level, to do this you can either try to crouch-jump or you can throw a grenade at your feet and use the blast of the grenade to get up. If you have trouble with this, you can always come back later via Chapter select when you got the Acrophobia skull and fly up.
#7 – Skull (Give & Take)
Objective: Eliminate hostiles and secure lifeboat crash sites
After the previous Skull, get back to the main area and follow the creek until you reach a crossing.
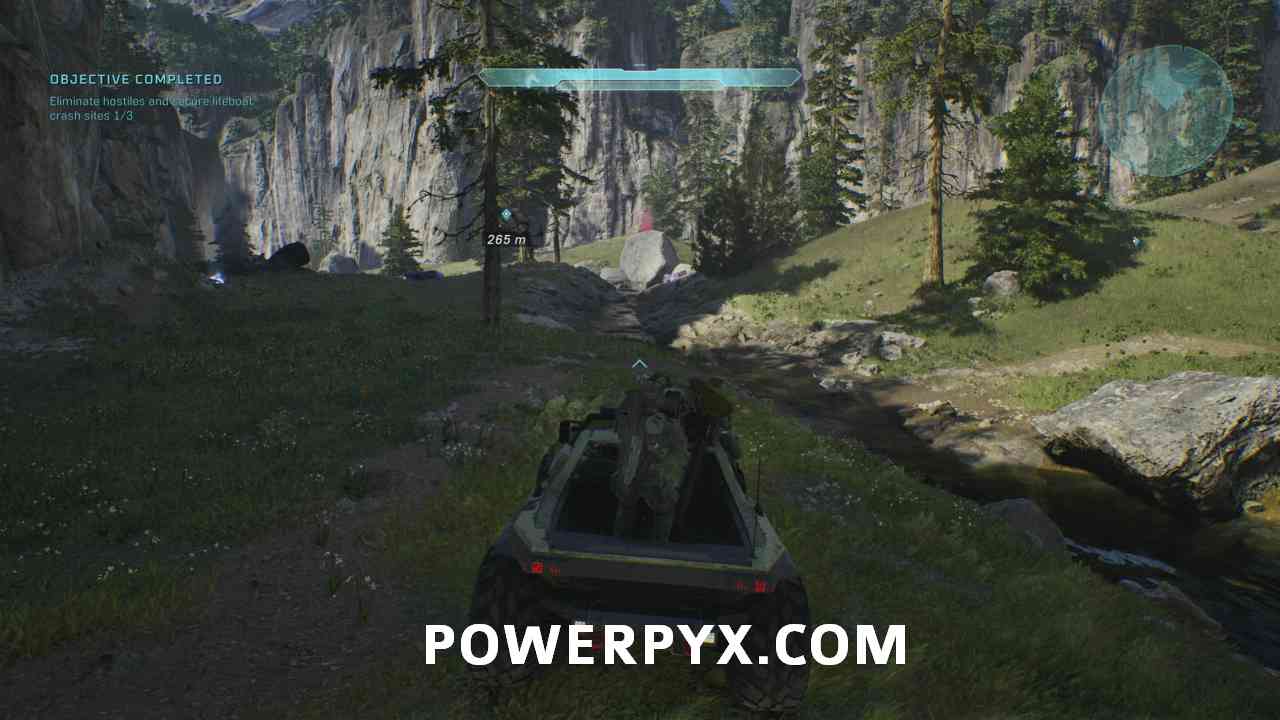
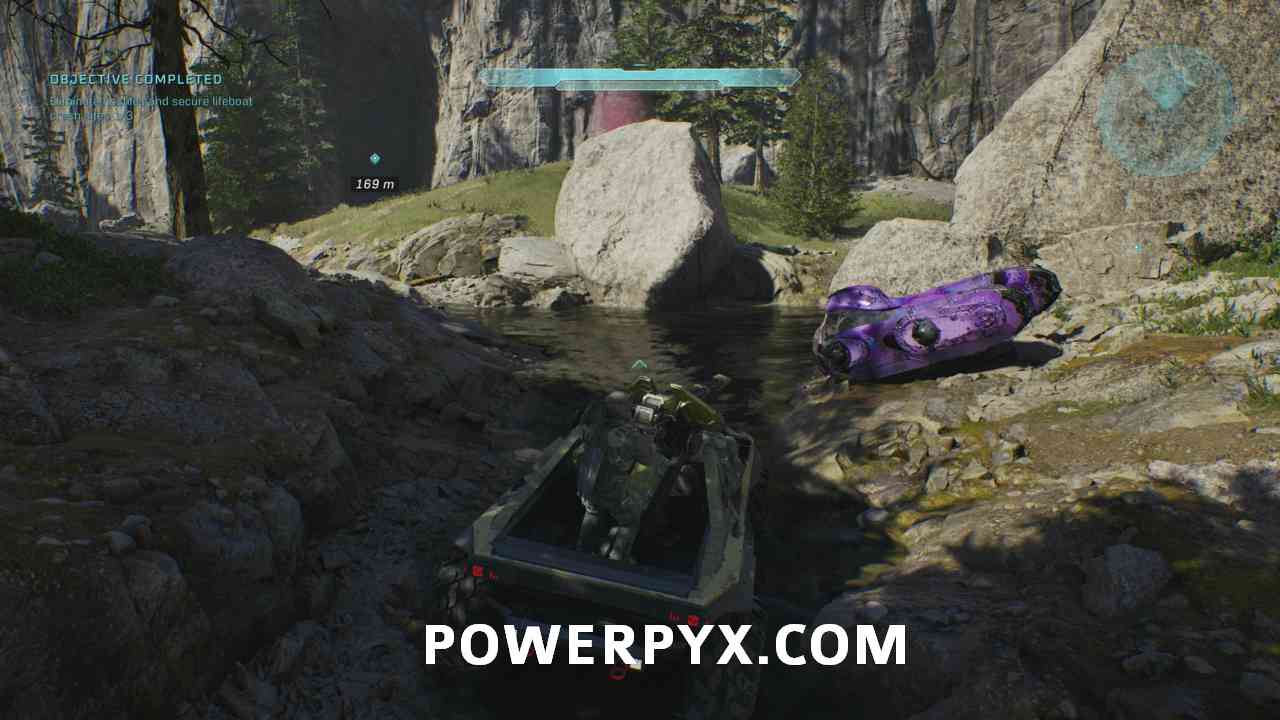
Here turn right and follow the creek into a cave area. You can find the skull in the middle of the cave next to some rocks.
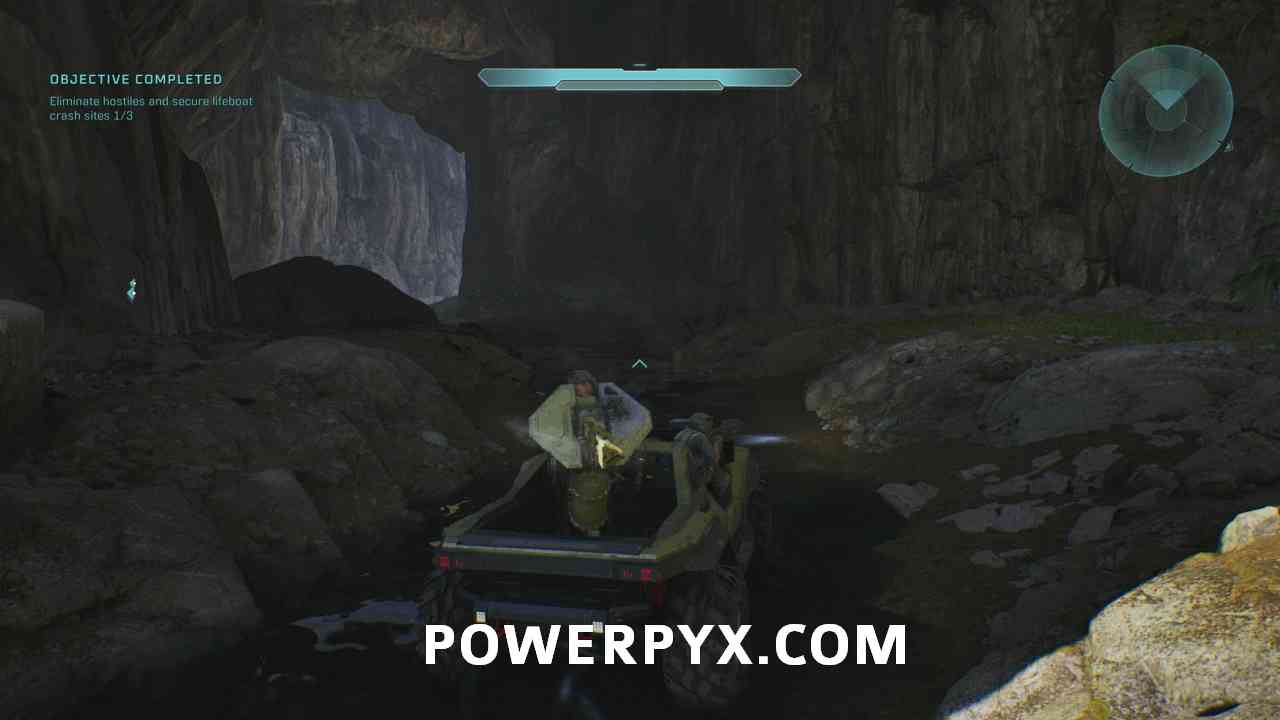
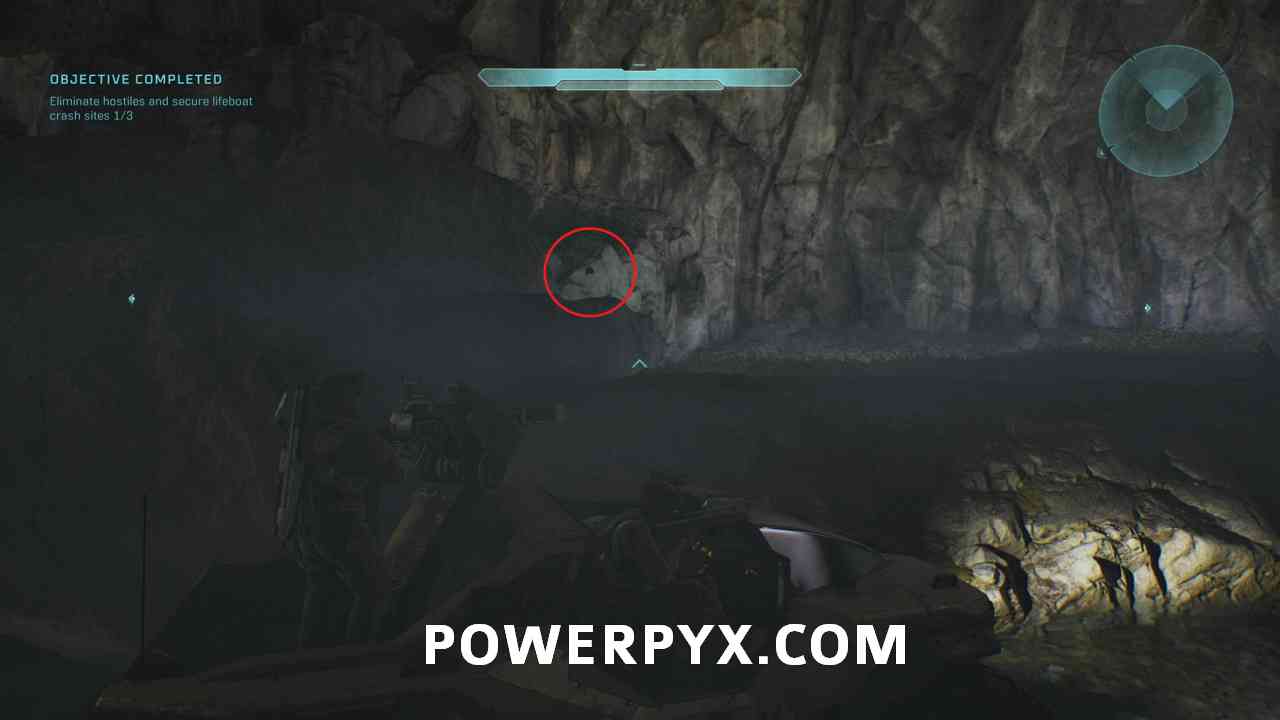
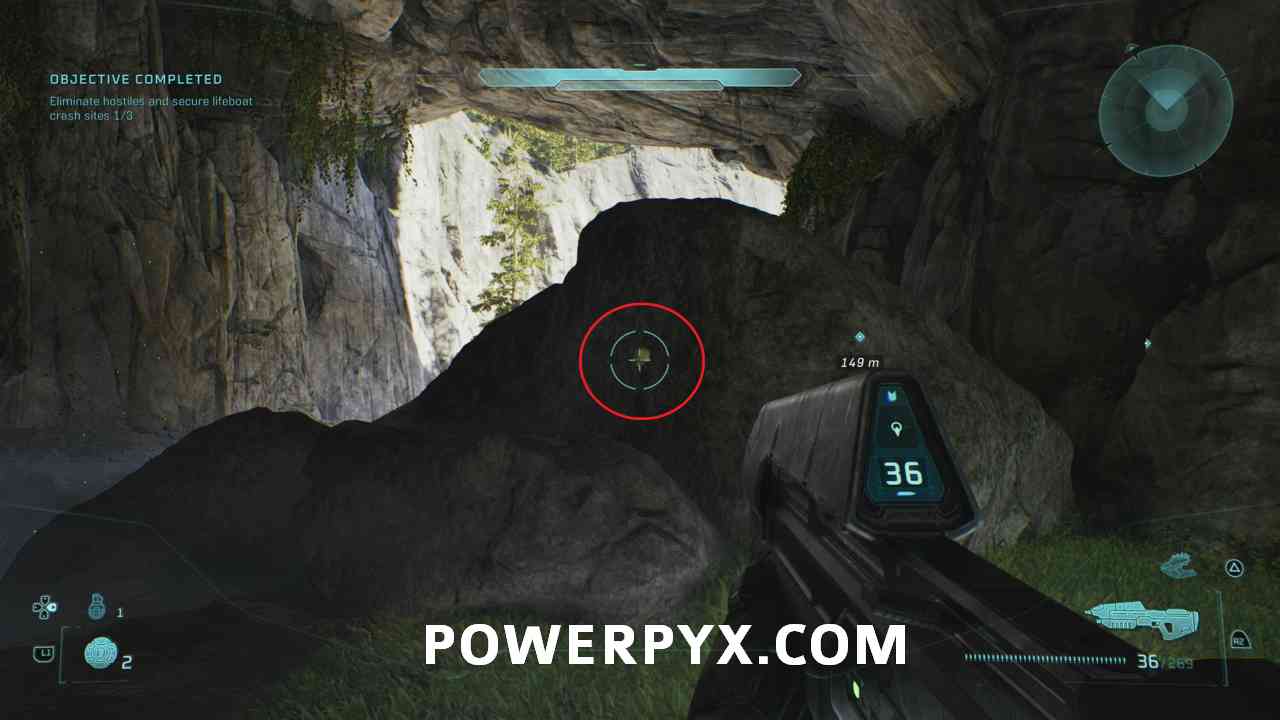
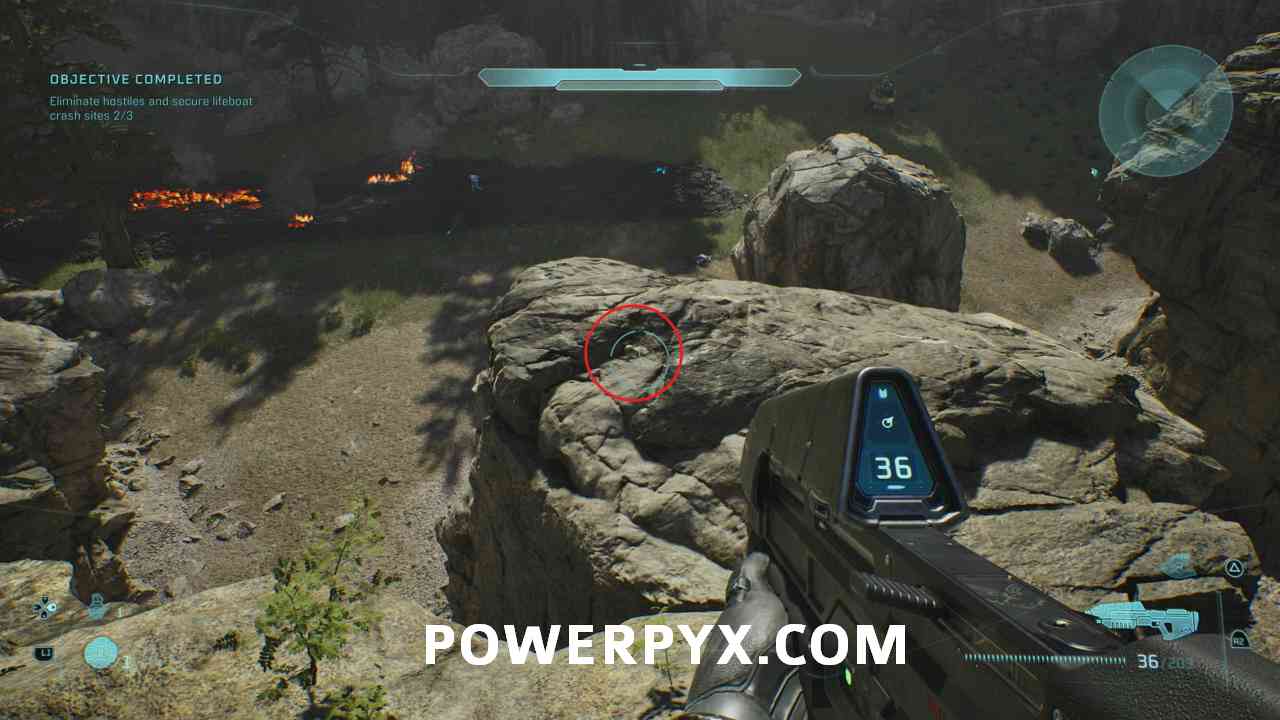
#8 – Skull (Floor is Lava)
Objective: Eliminate hostiles and secure lifeboat crash sites
From the previous skull, go to the nearest mission marker and clear out all enemies first.
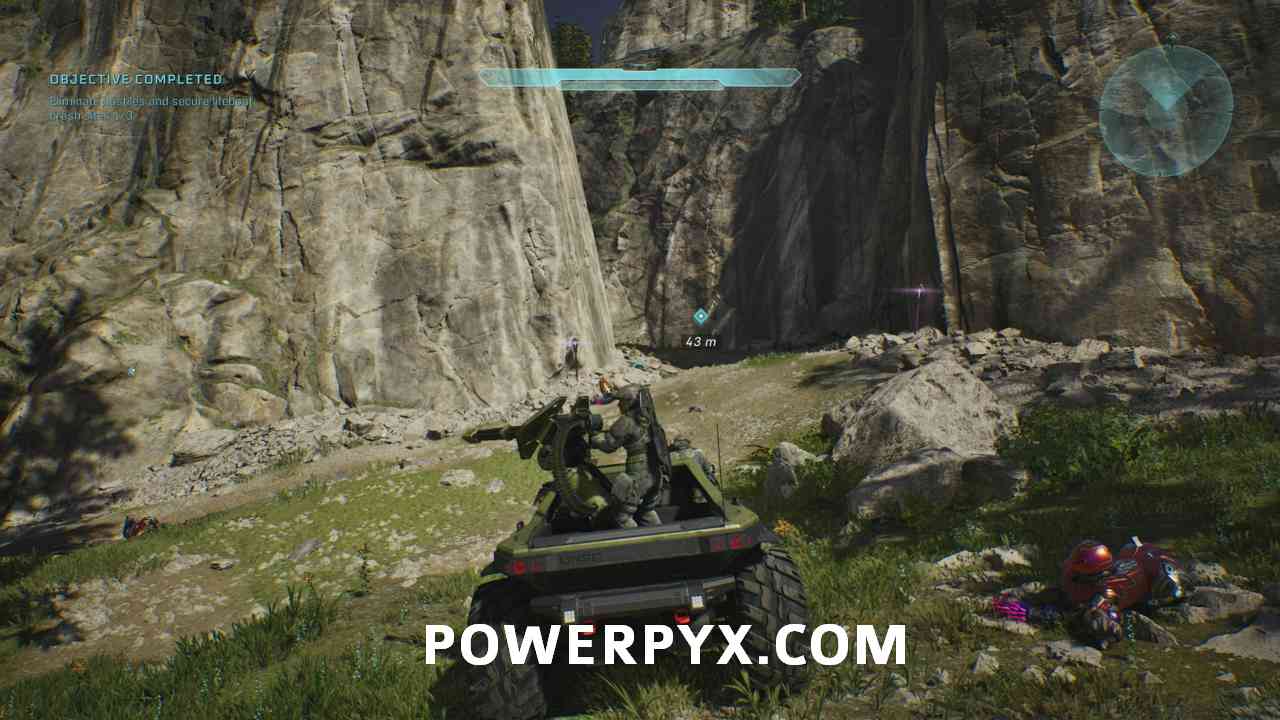
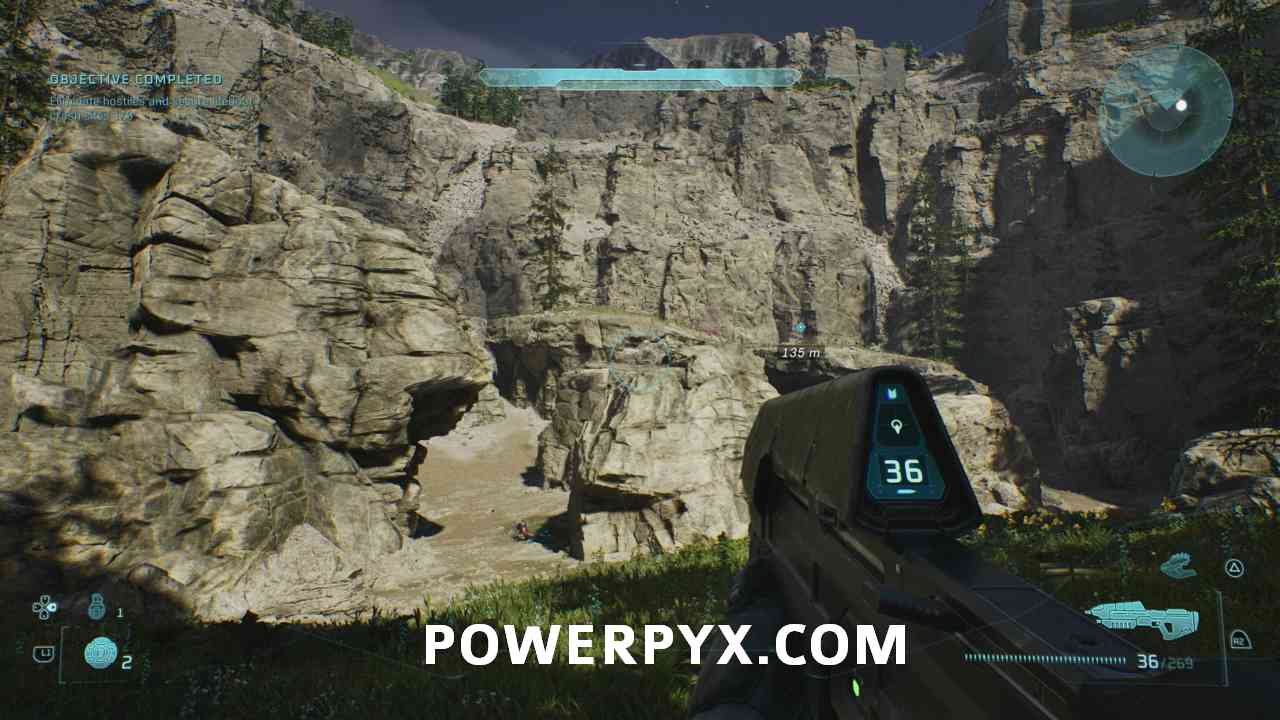
Then climb up the little rock in the middle, from there, turn right and jump on the area in the middle.
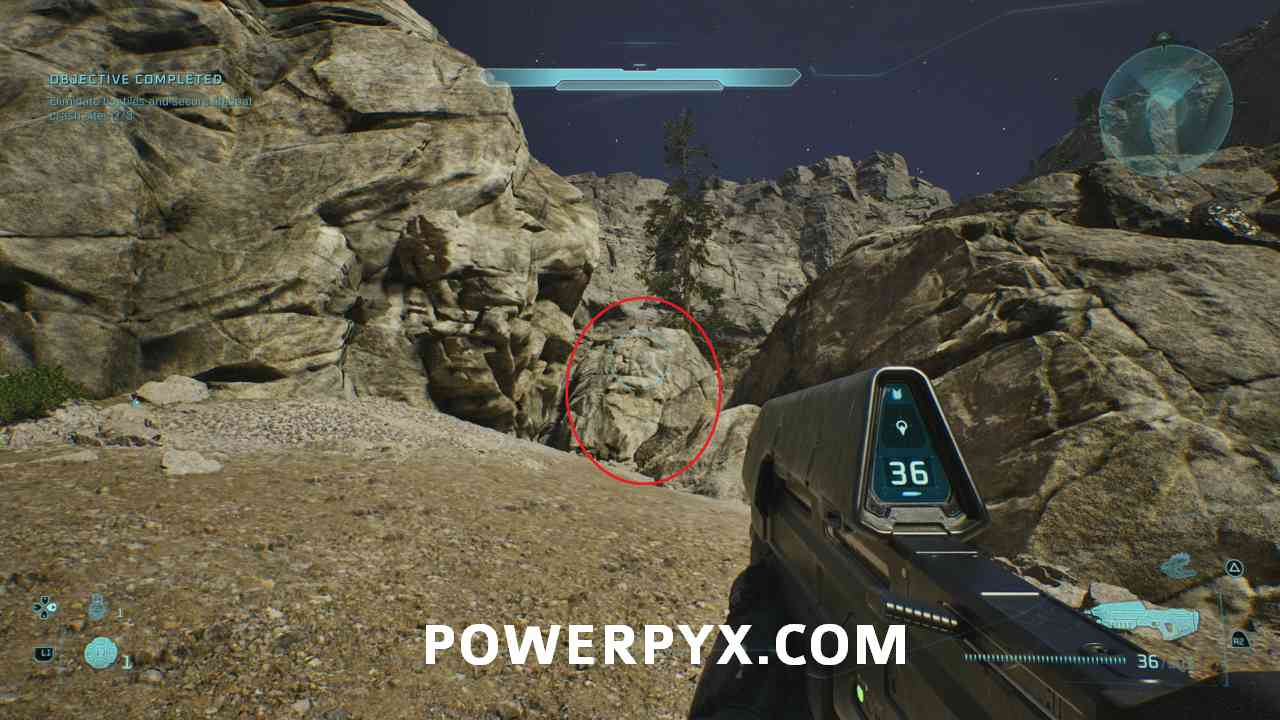
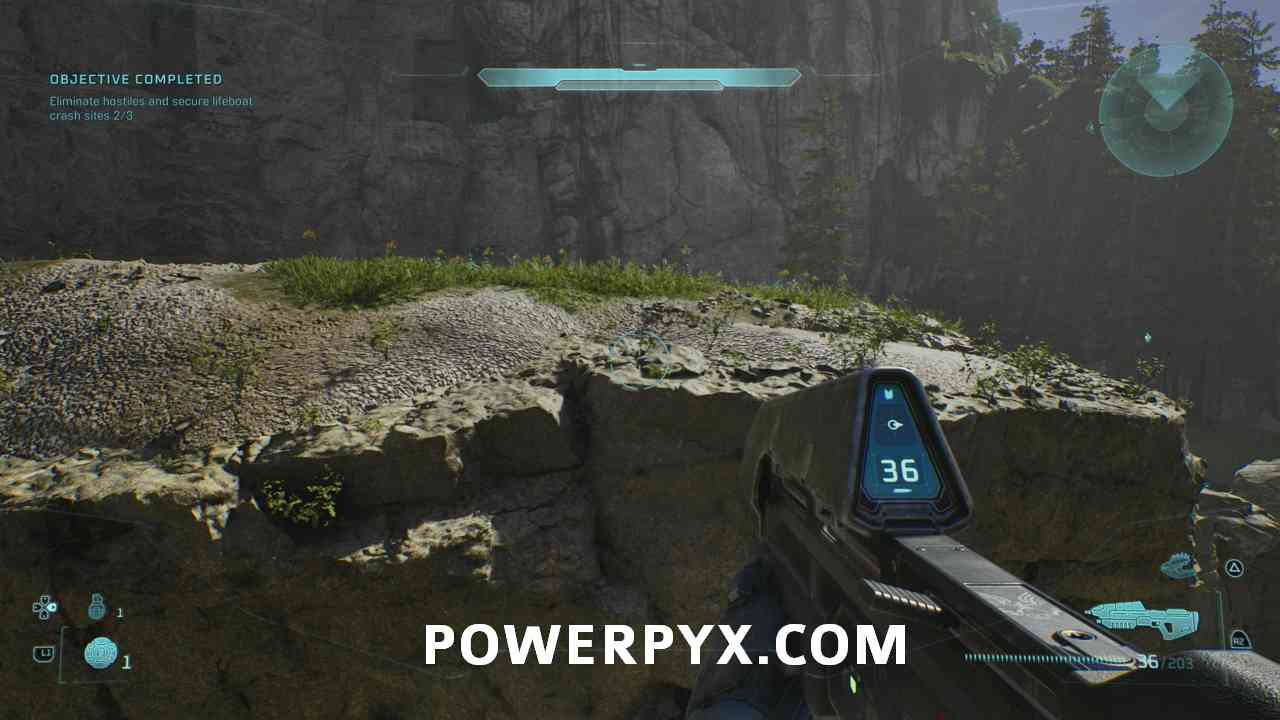
You can now jump to the rock below to get the skull.
The Truth and Reconciliation
Chapter: Rally Point Alpha
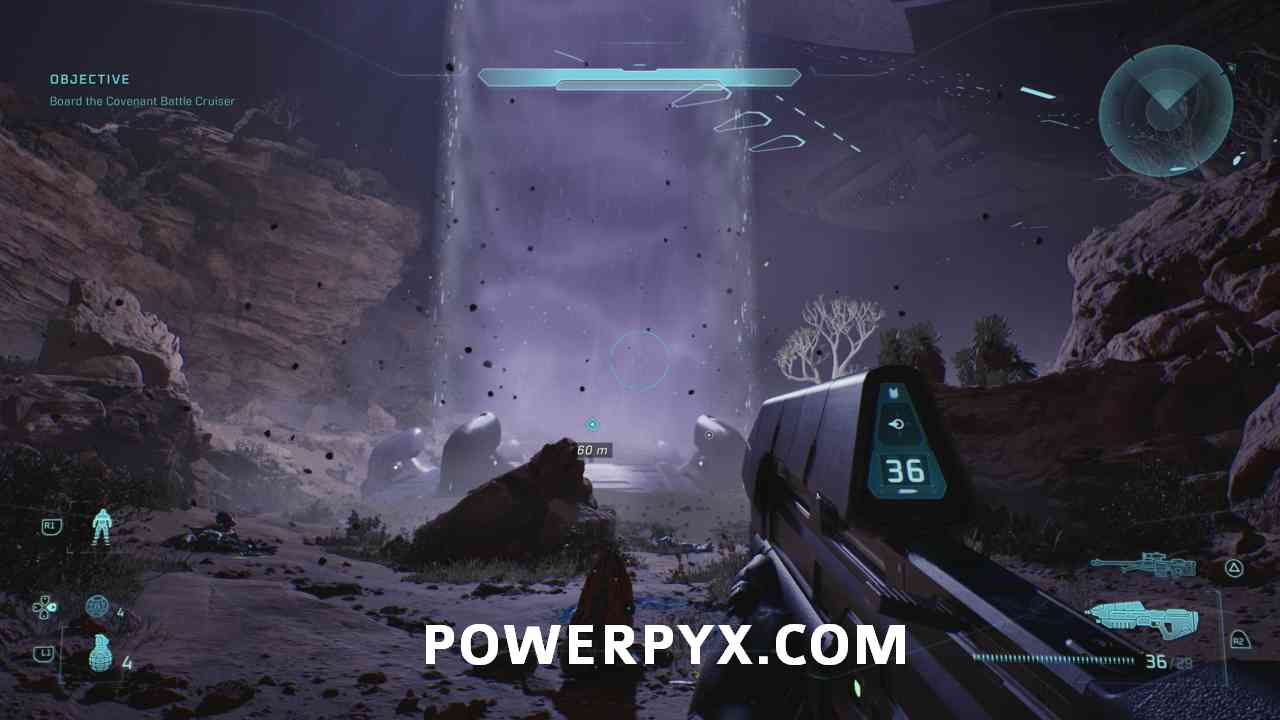
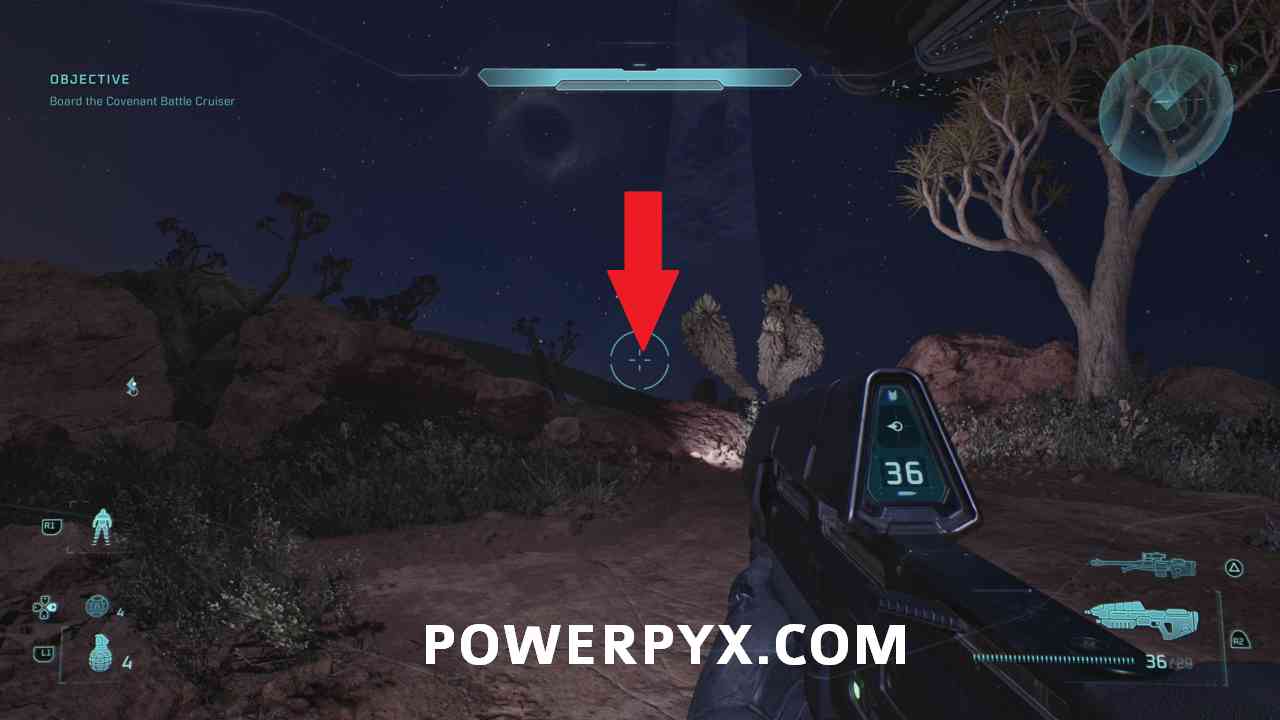
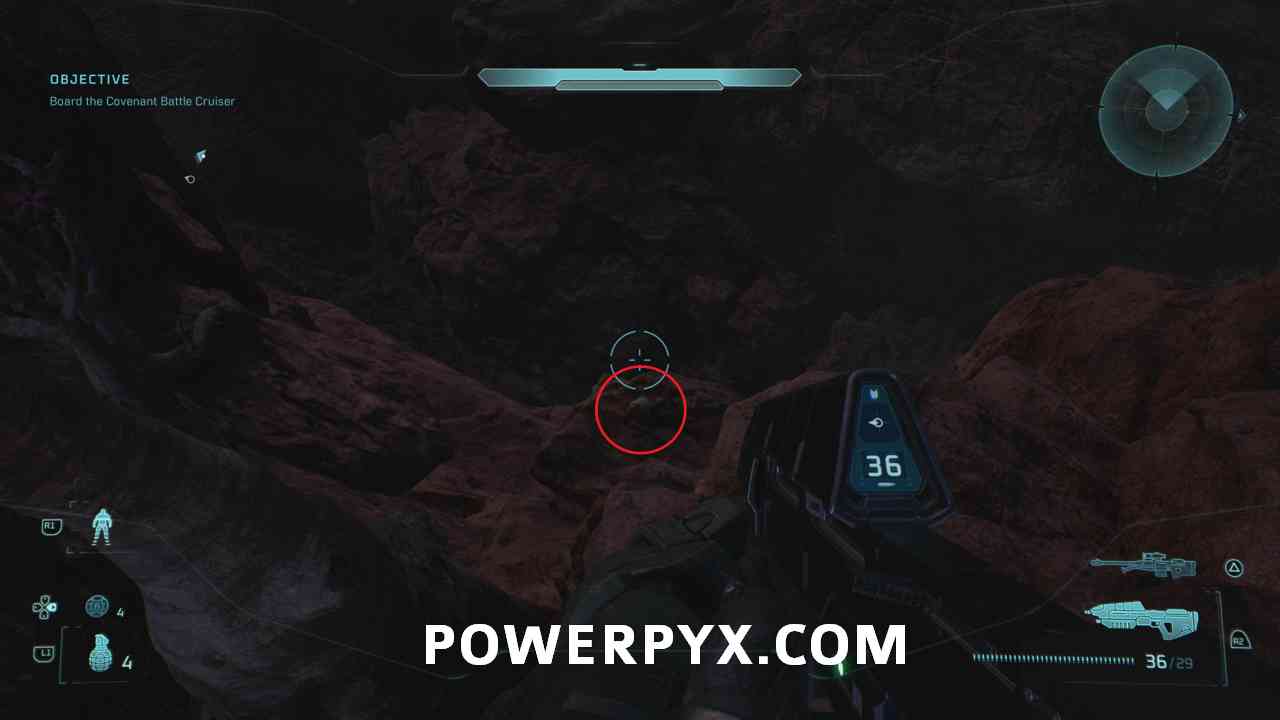
#9 – Skull (Iron)
Objective: Board the Covenant Battle Cruiser
Near the end of this Rally Point, you will come across a big beam that gets you into the ship. Before you enter this beam, go behind it and look down in this area to find the skull. You either have to save and quit after getting the skull or you can try to get back up again by jumping to the tree to your left.
Chapter: Rally Point Bravo
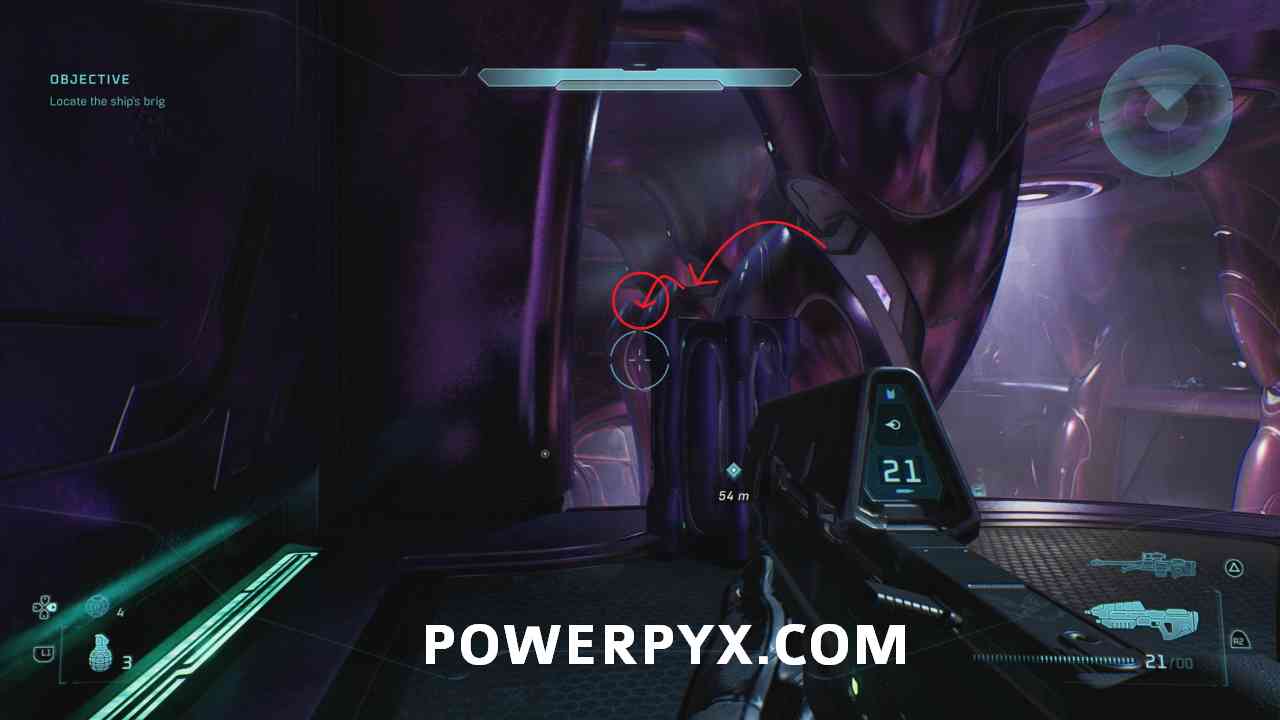
#10 – Skull (Endurance Spec)
Objective: Locate the ship’s brig
Soon after starting the Rally Point, you will enter this room, you can not miss it. Do not drop down yet, instead, clear all enemies and go to the end of the floor
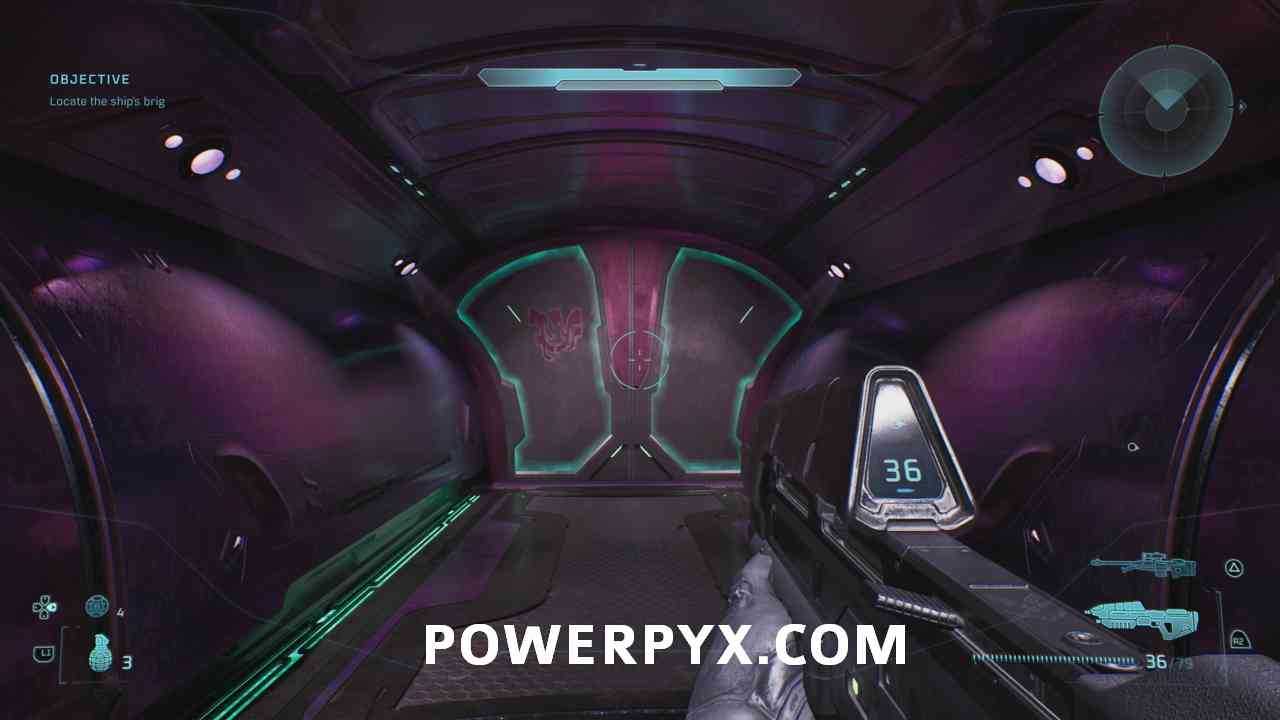
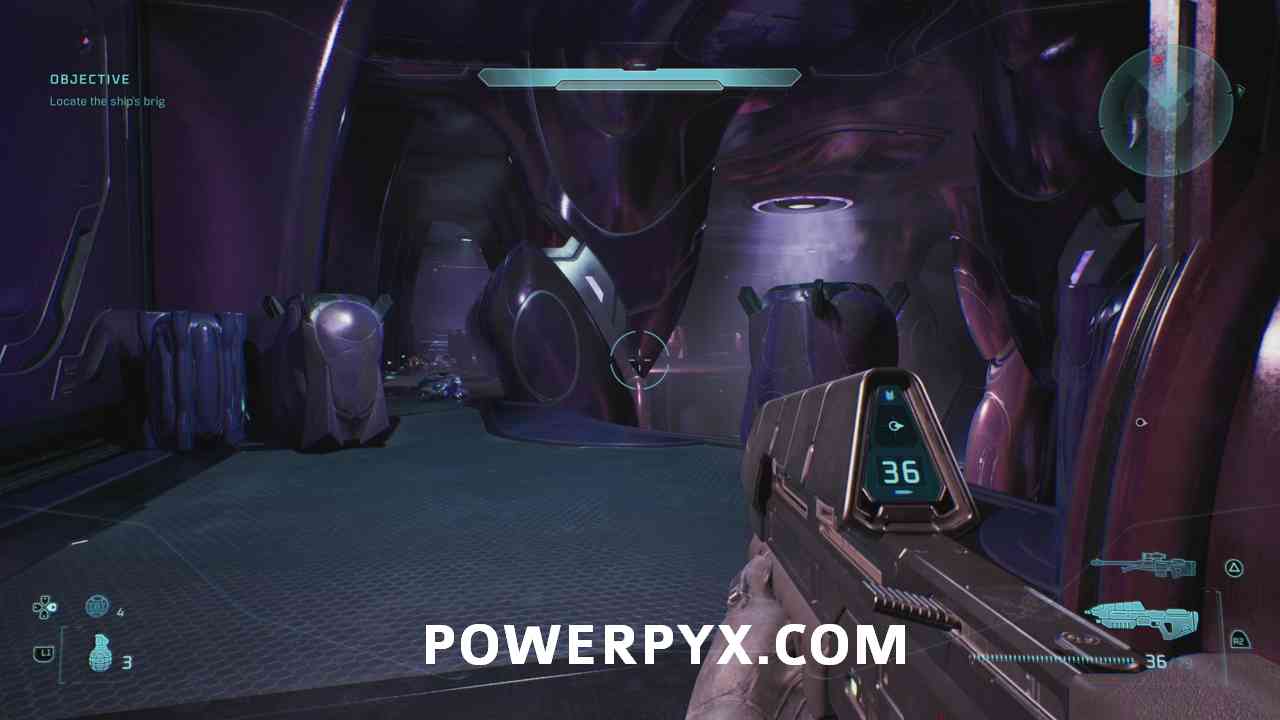
At the end of the floor, look into the room, and you see three pillars. The skull is on the third pillar. You can try to jump from pillar to pillar, but it is not easy. It is highly recommended to come back when you get the Acrophobia skull and fly here.
#11 – Skull (Foreign)
Objective: Eliminate Covenan reinforcements
Soon after the previous skull, you will enter a hangar, and a big ship is leaving in front of you.
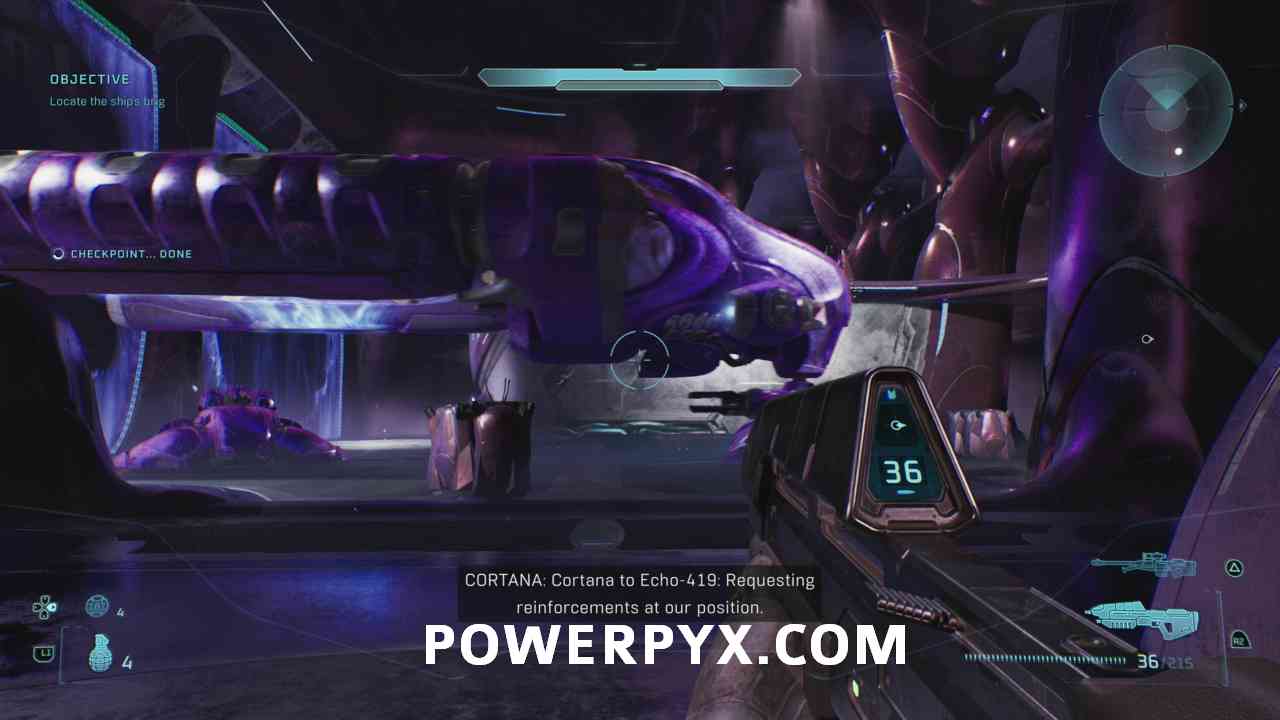
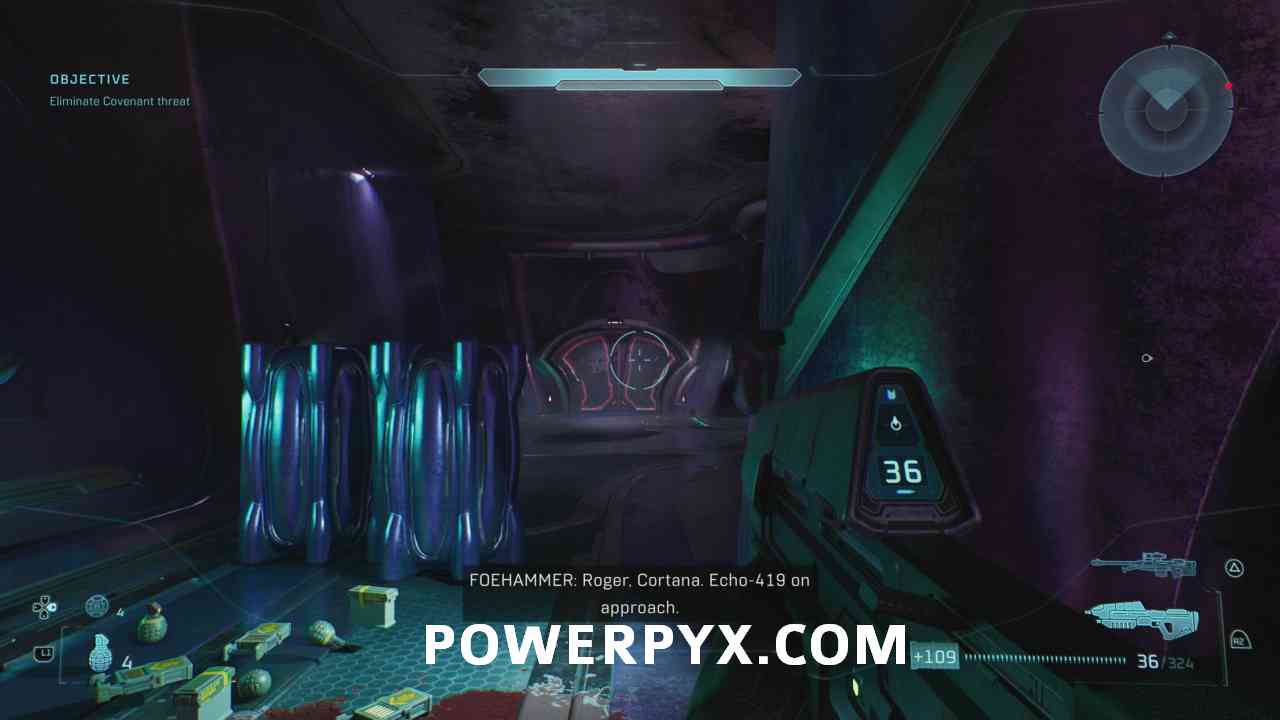
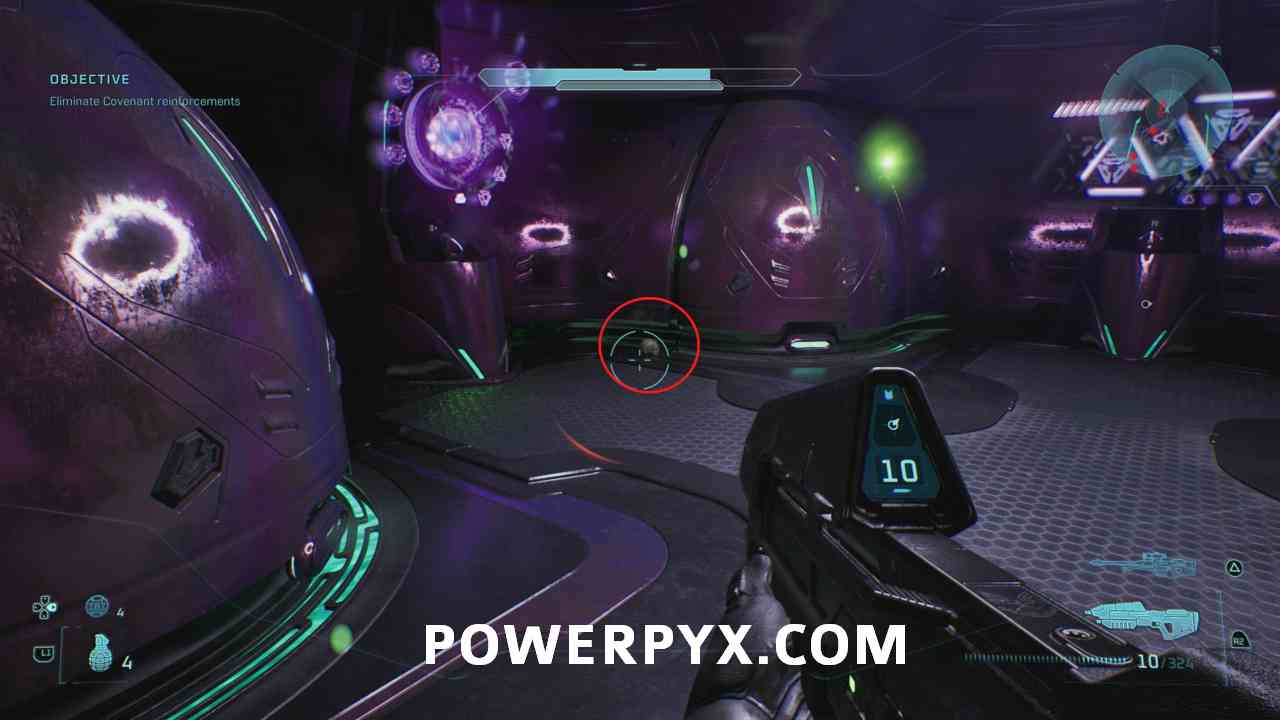
Here, get to the other side of the hangar, and turn right and you will see a closed door. Wait for some enemies to come through this door and quickly enter it to find the skull on the left side.
Chapter: Rally Point Charlie
#12 – Terminal (Inquisitor)
Objective: Rescue Captain Keyes from the ship’s brig
After fighting through some corridors, you will reach this room.
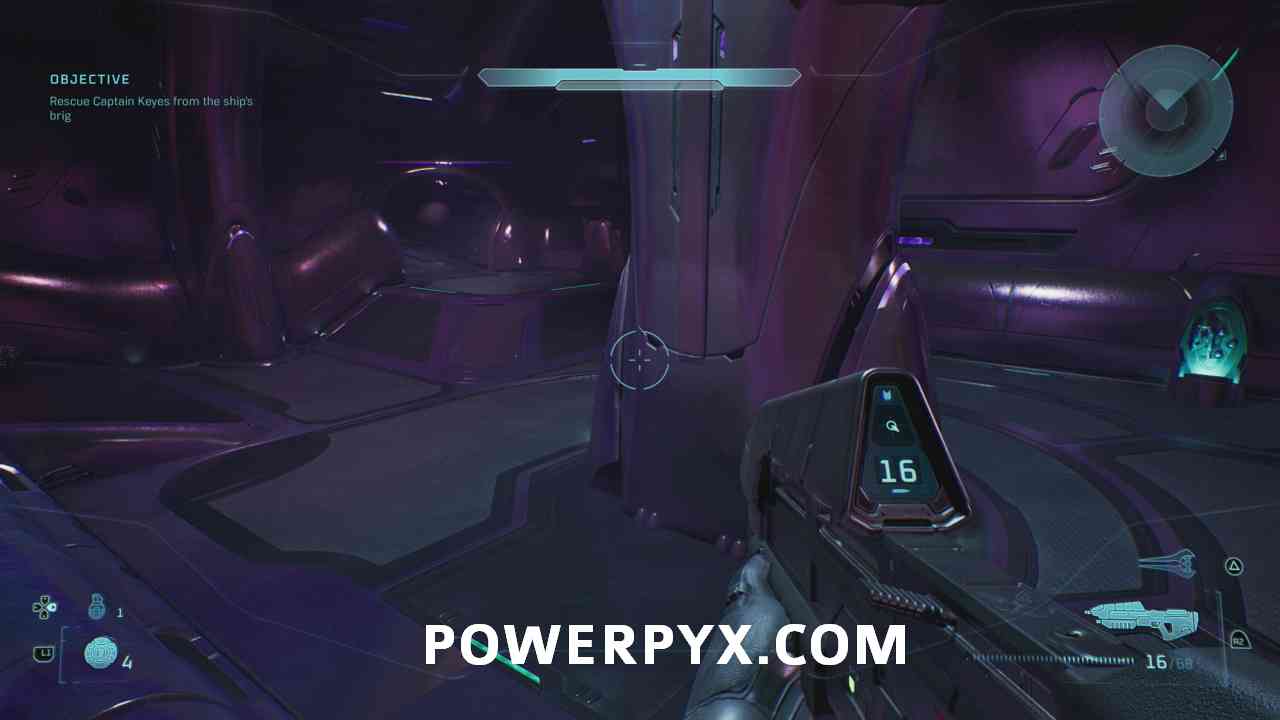
Here, turn right, go through the door, and follow the way until you reach some closed cell doors.
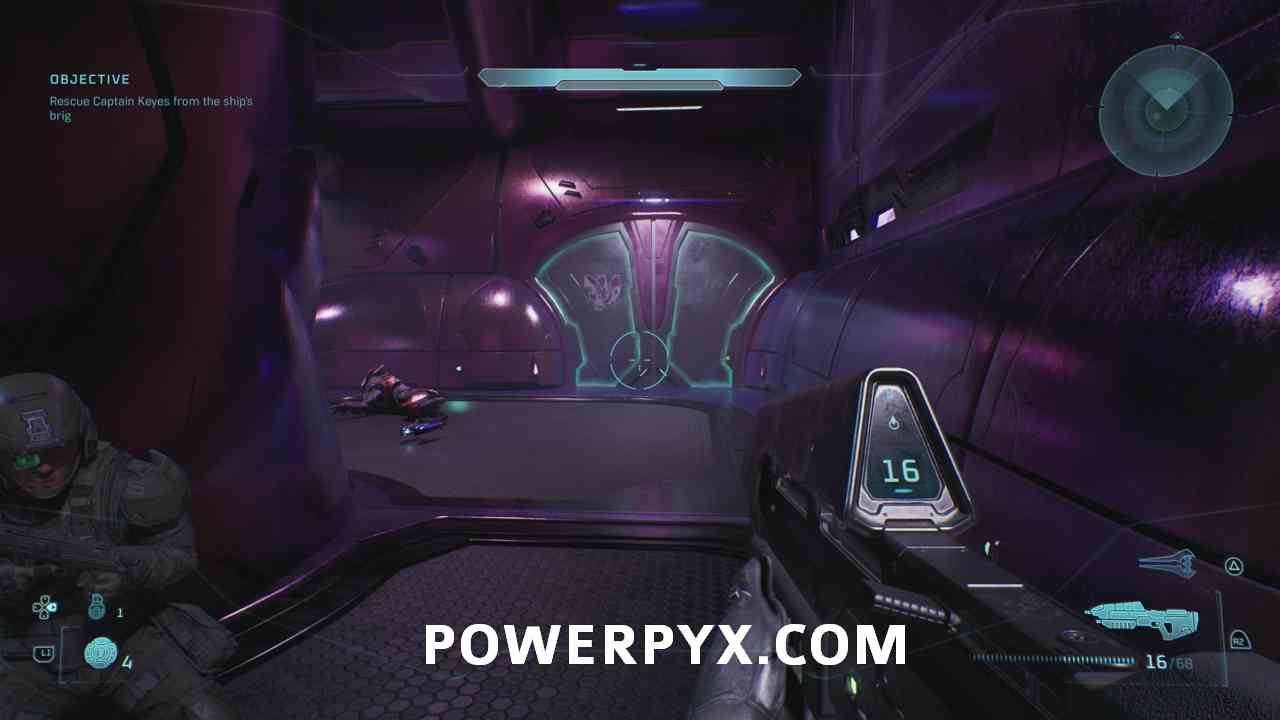
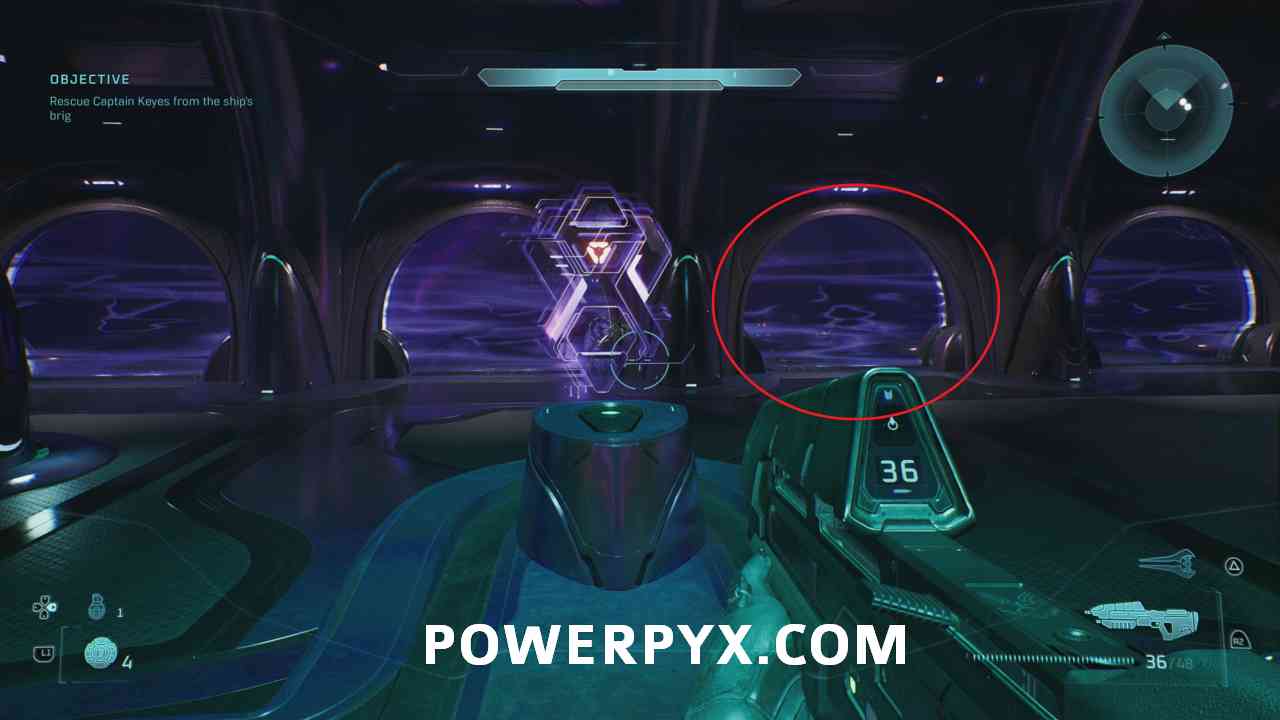
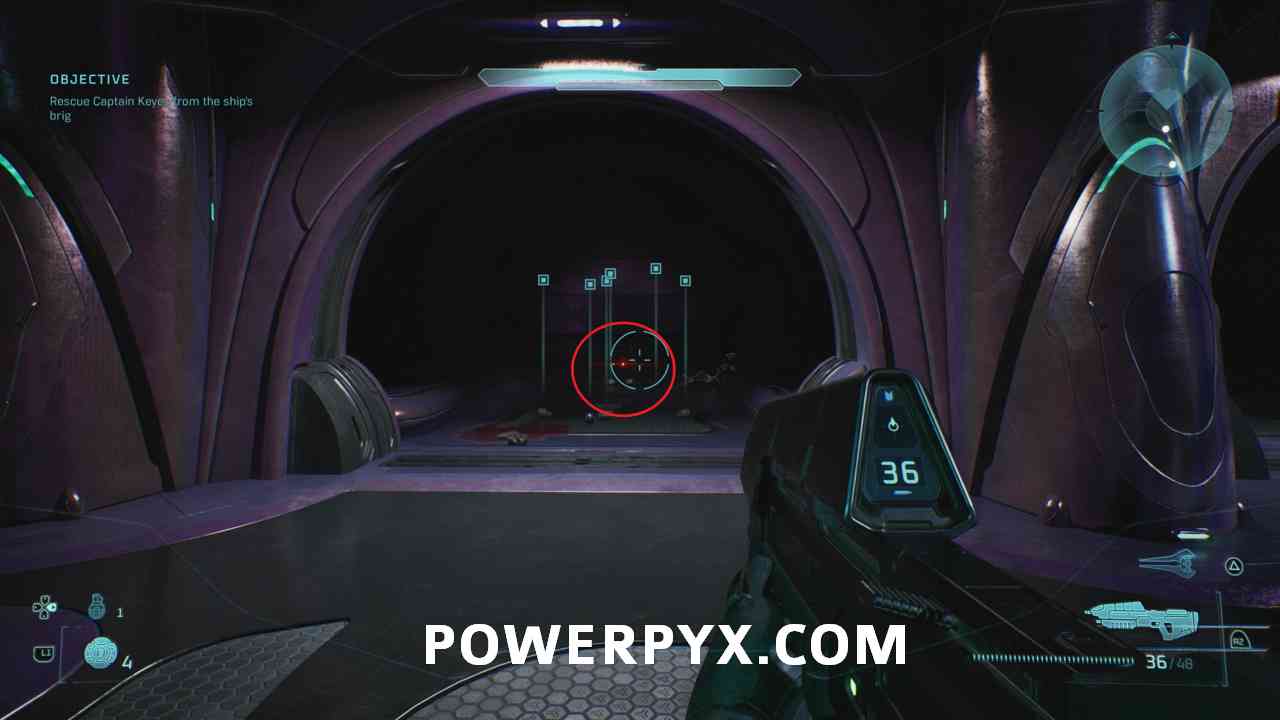
Interact with the pedestal to open the cells and go into the cell behind the pedestal to find the Terminal.
The Silent Cartographer
Chapter: Rally Point Alpha
#13 – Skull (Bandana)
Objective: Clear the Landing Zone of hostiles
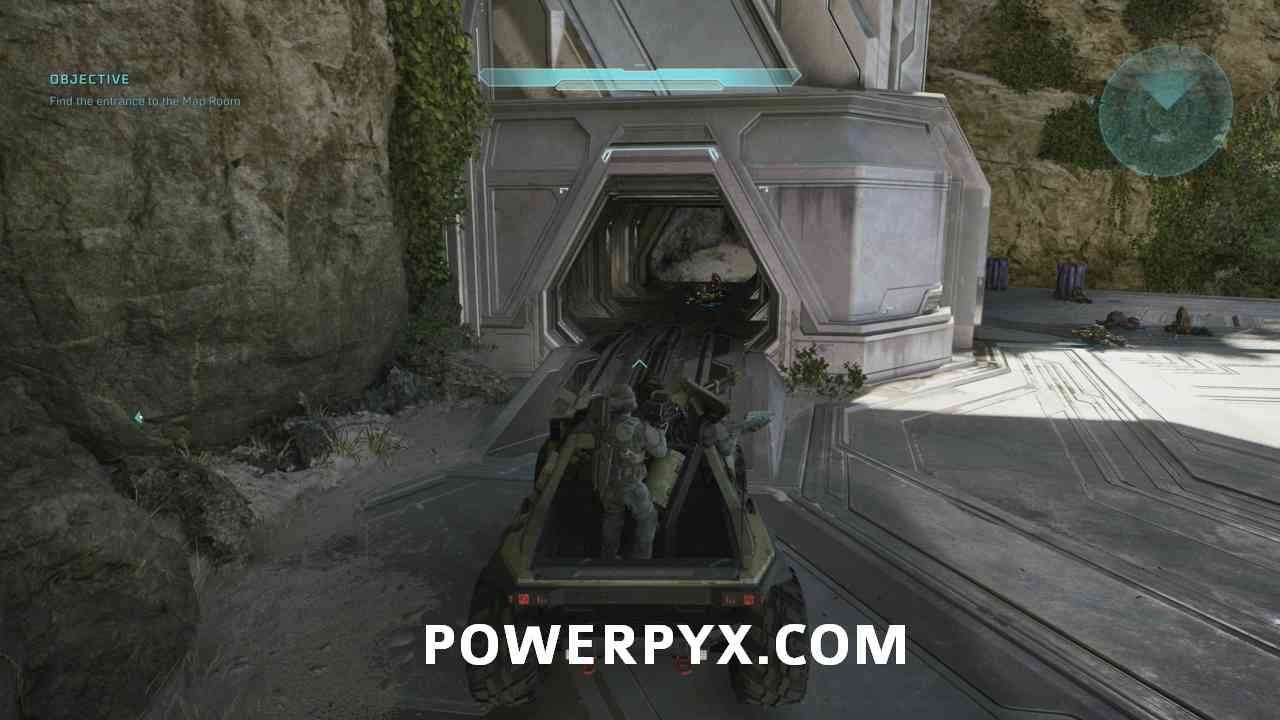
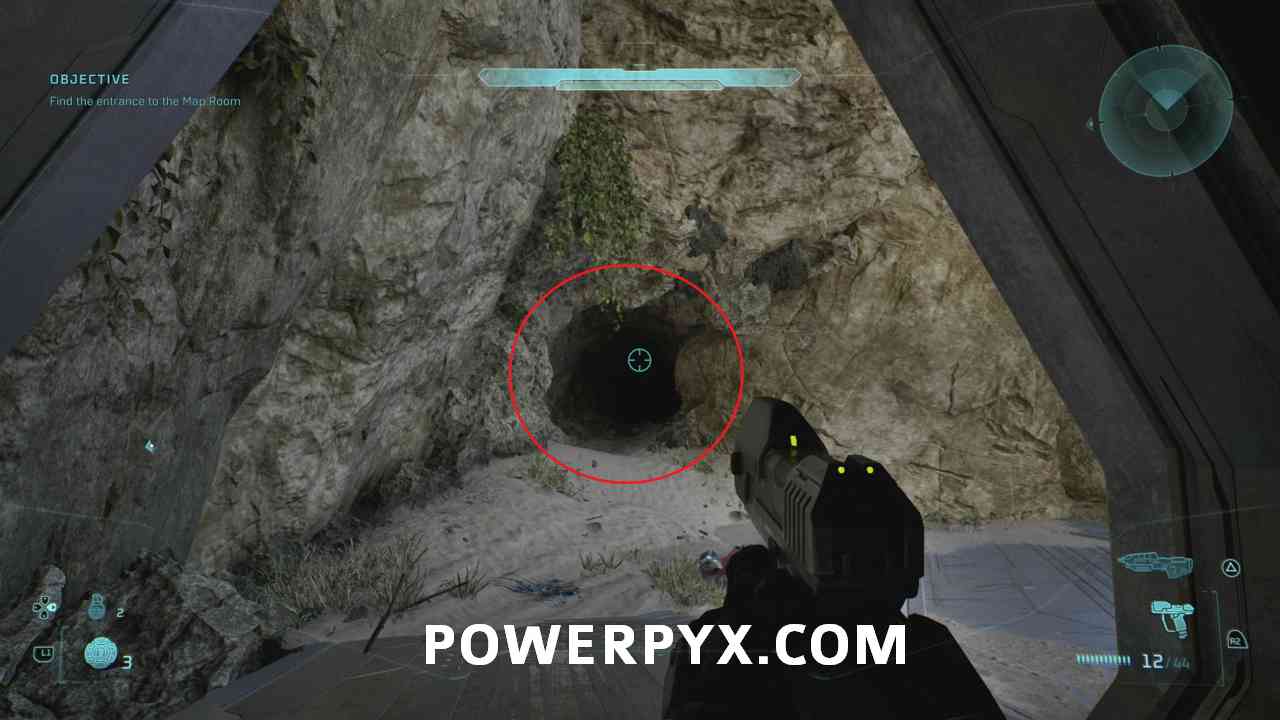
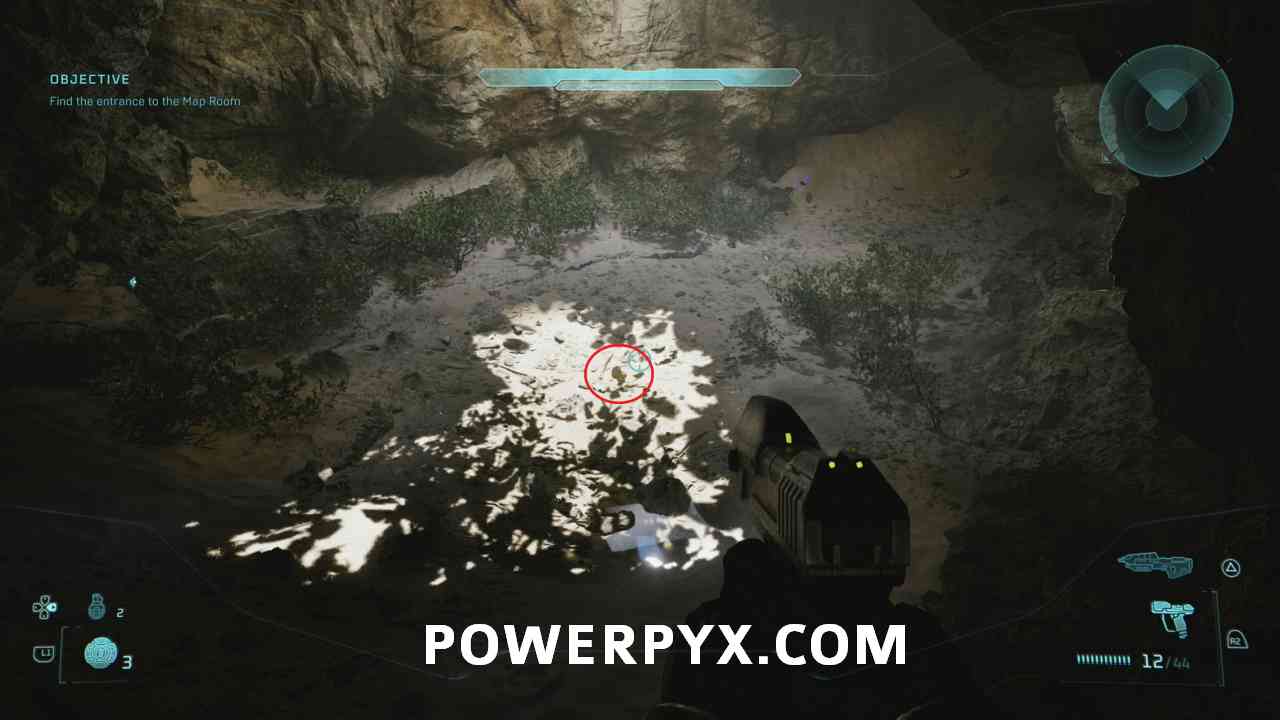
Early in this Rally Point, you will reach this building. Instead of going in, pass the entrance to find a cave. The skull is in the middle of the cave.
Chapter: Rally Point Bravo
#14 – Skull (Acrophobia)
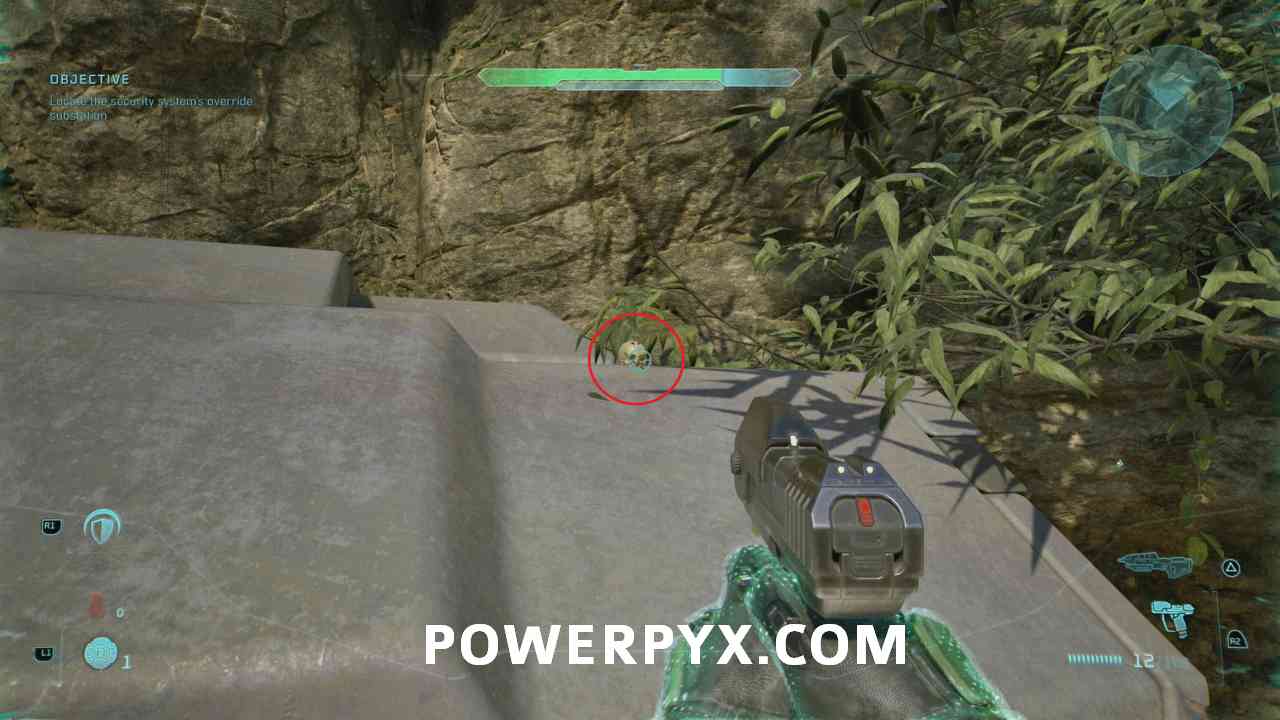
Objective: Locate the security system’s override substation
Soon after the previous skull, you come across this area with a structure in the middle and two big enemies.
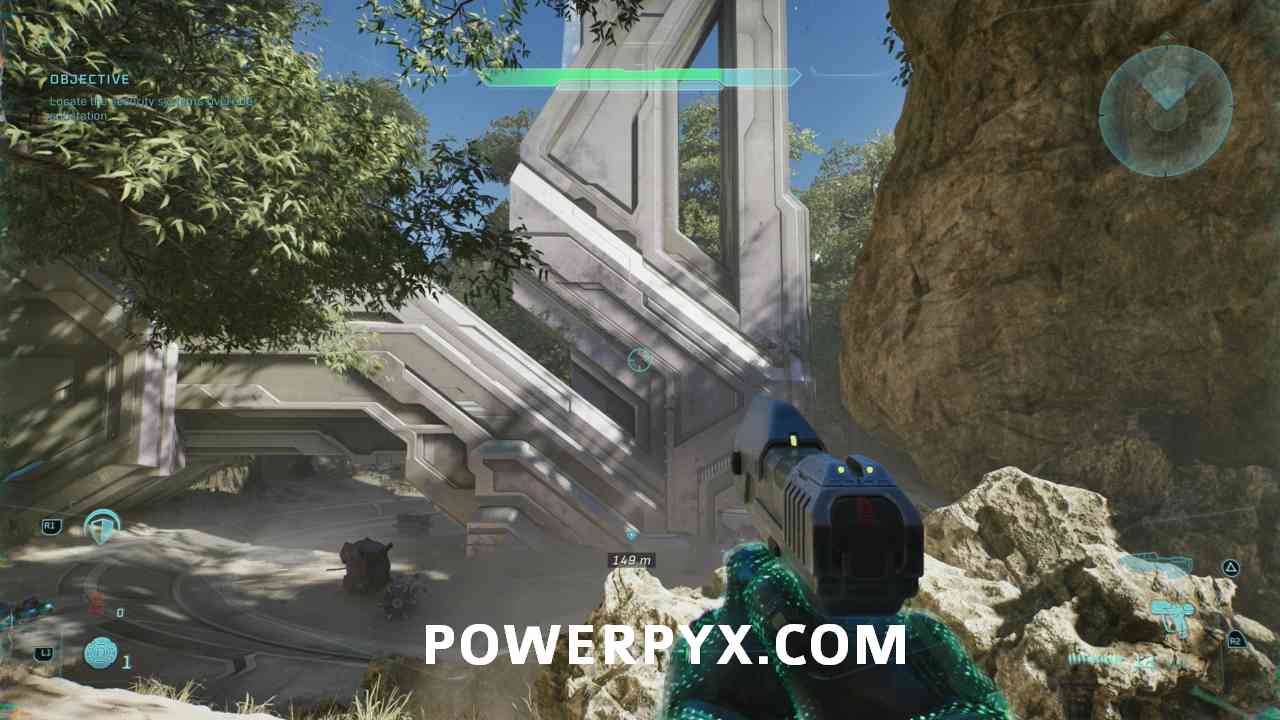
Clear out the enemies and get on the structure to find the skull on top.
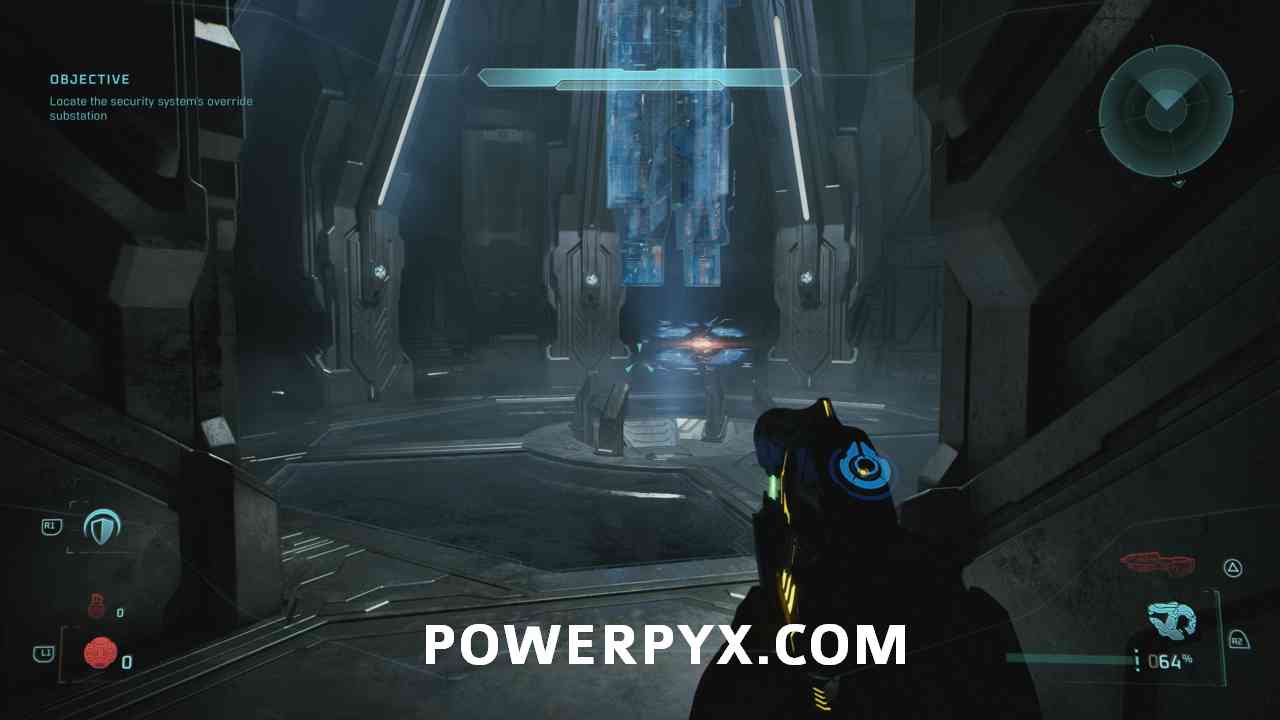
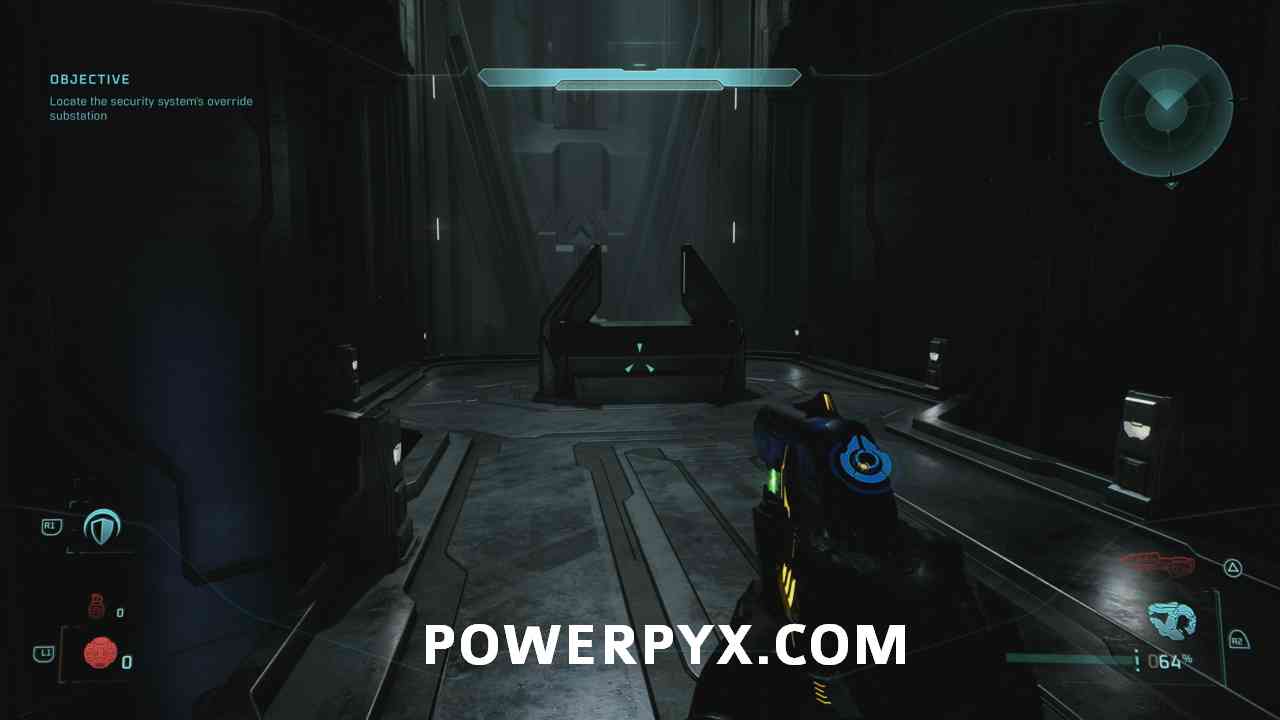
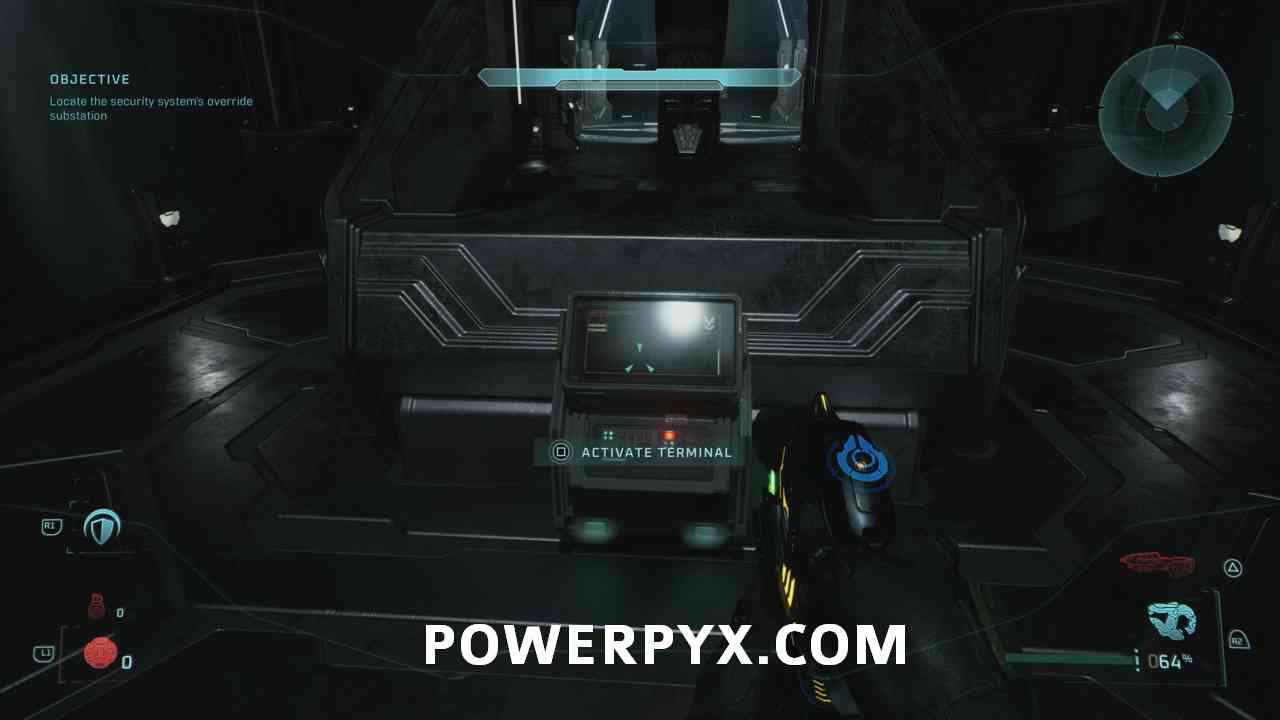
#15 – Terminal (Status Update)
Objective: Locate the security system’s override substation
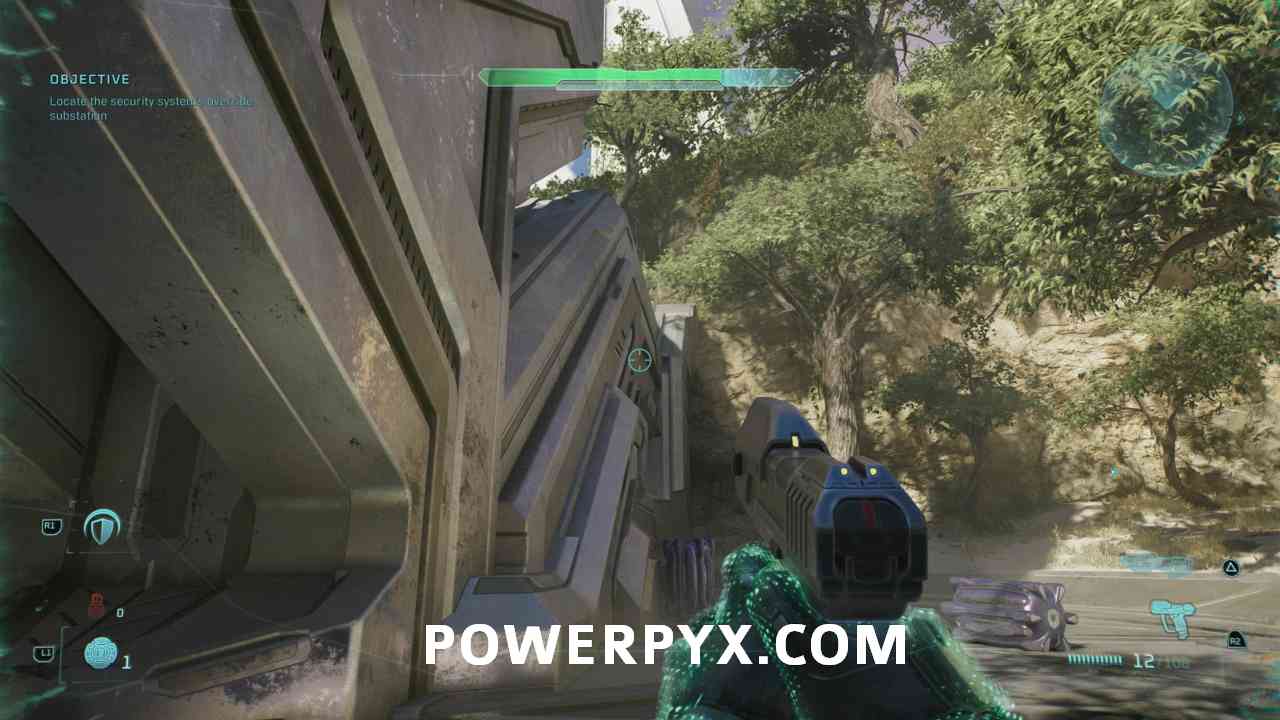
Before you activate the substation (main objective), go behind the pedestal to find the terminal.
Chapter: Rally Point Charlie
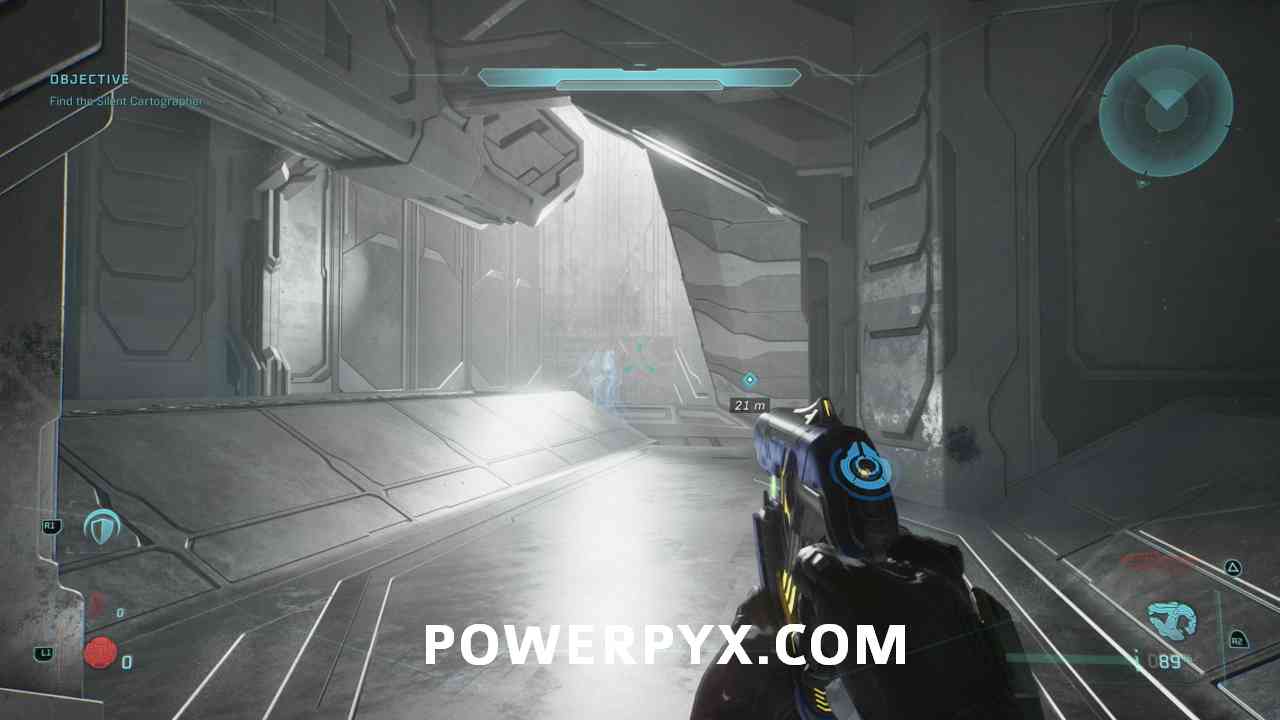
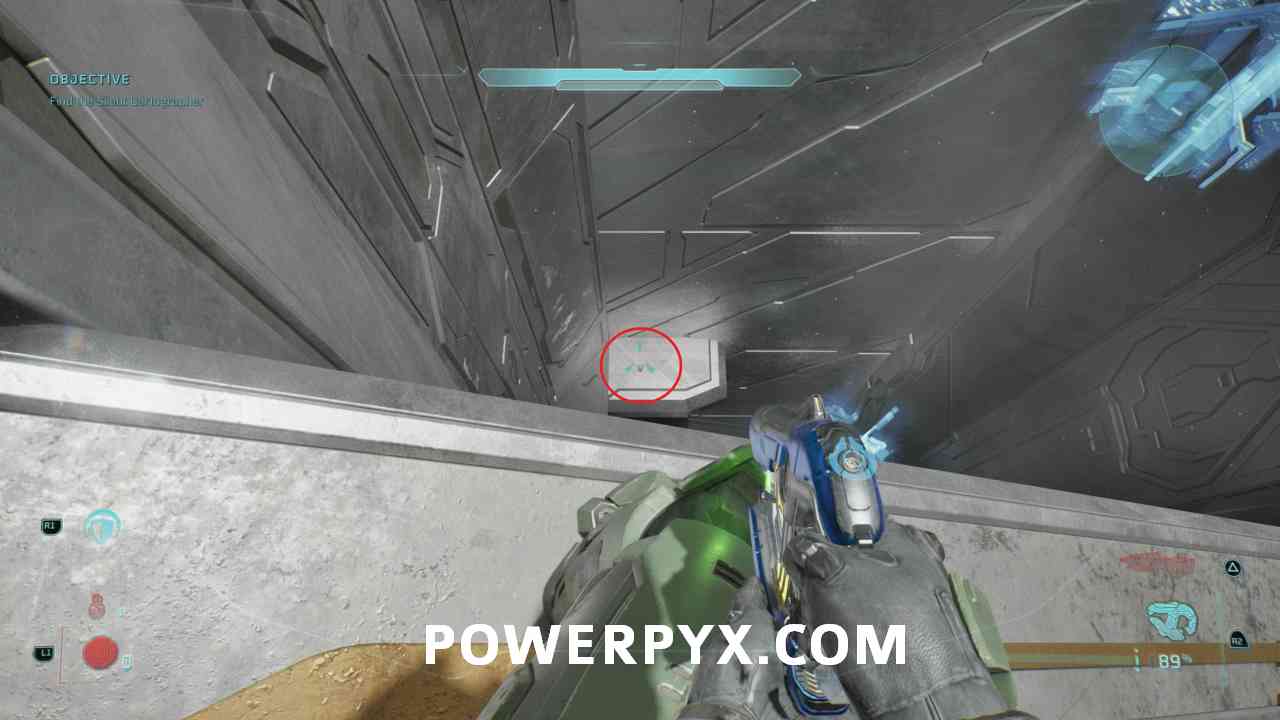
#16 – Skull (Hip Fire)
Objective: Find the Silent Cartographer
Early in this rally point, you will reach a room with two big hunter enemies. Clear them out, and right when you go down, look down to your left and jump down to the skull.
Assault on the Control Room
Chapter: Rally Point Bravo
#17 – Skull (IWHBYD)
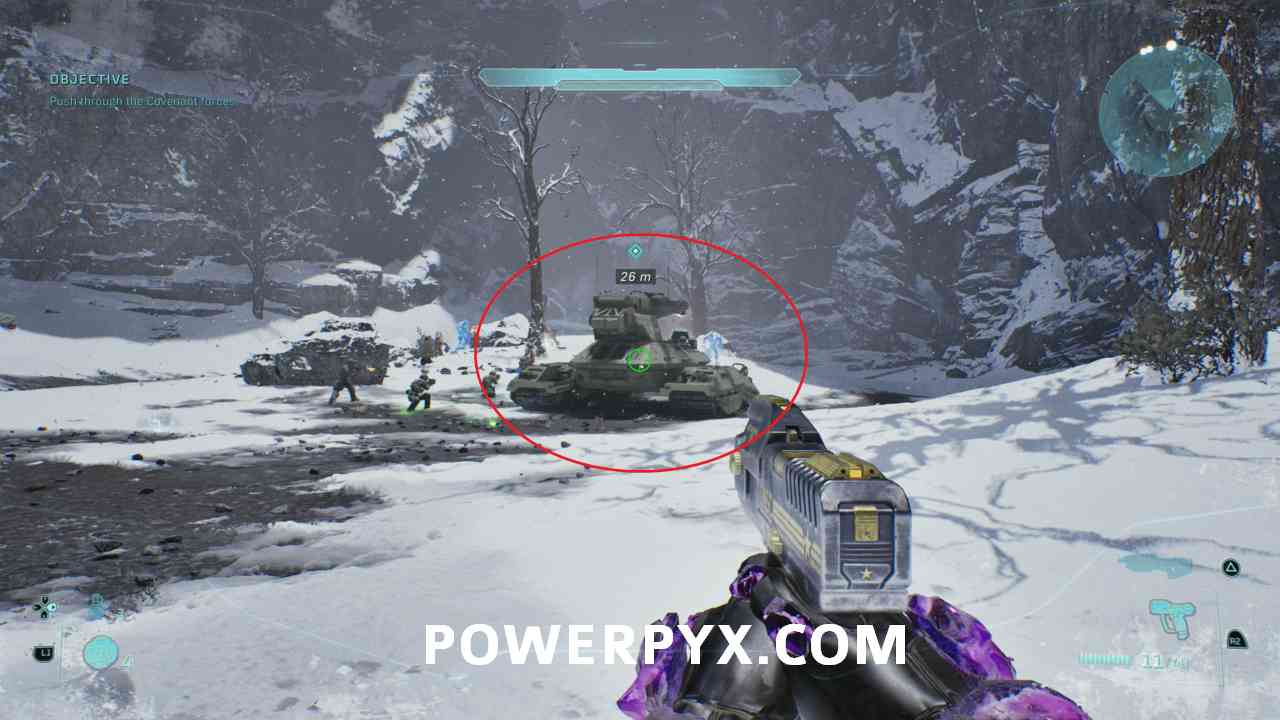
Objective: Push through the Covenant forces & Proceed through the substructure
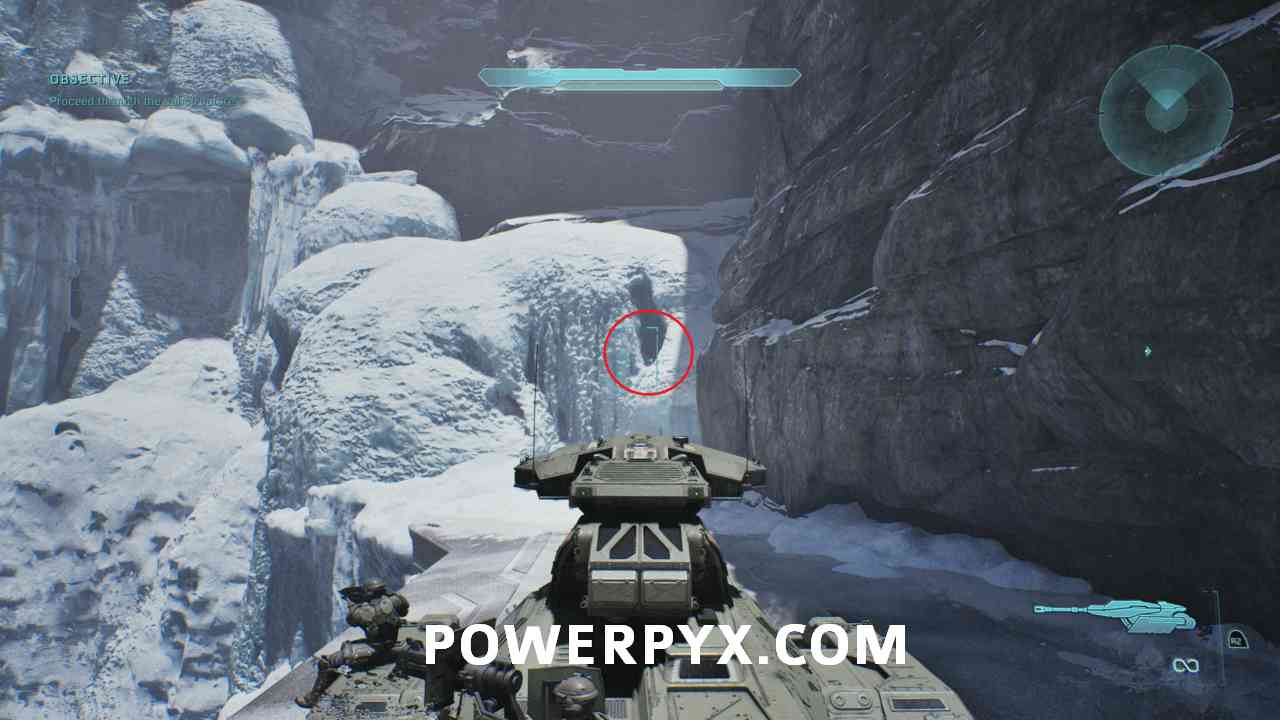
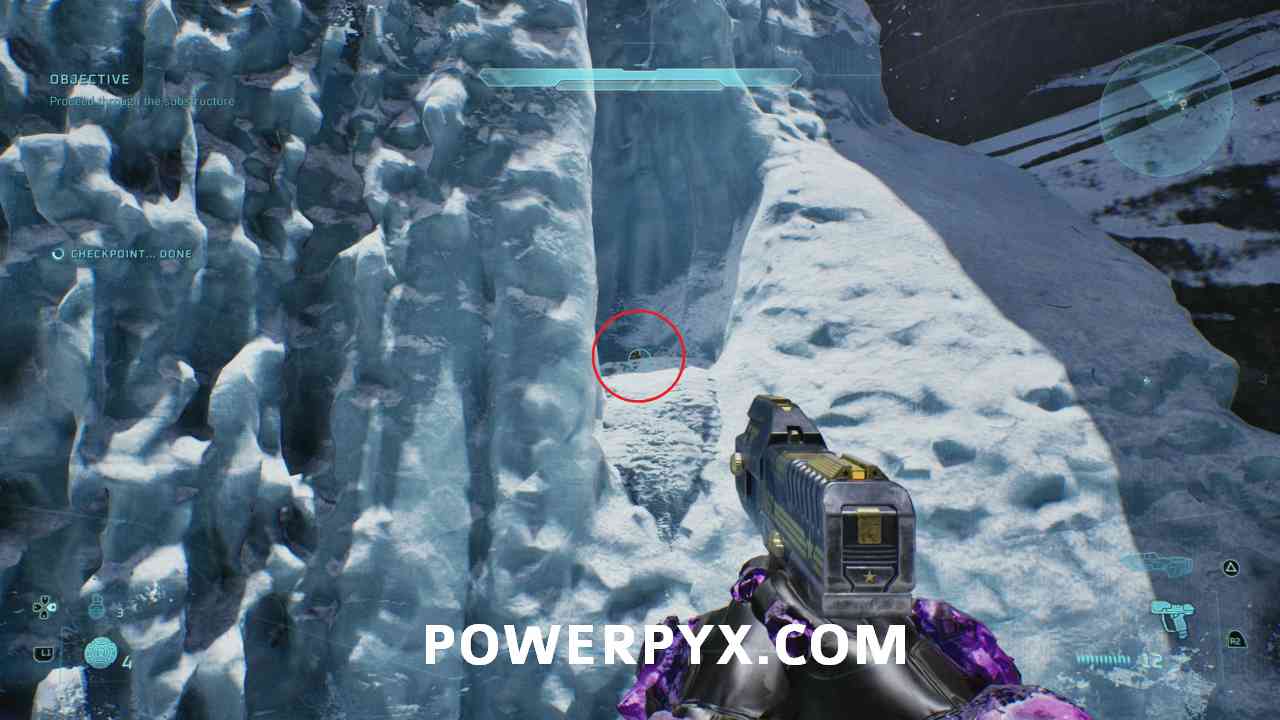
At the very beginning of the Rally Point, you need to grab the tank, then soon after you will have to cross a bridge. Clear out all enemies here.
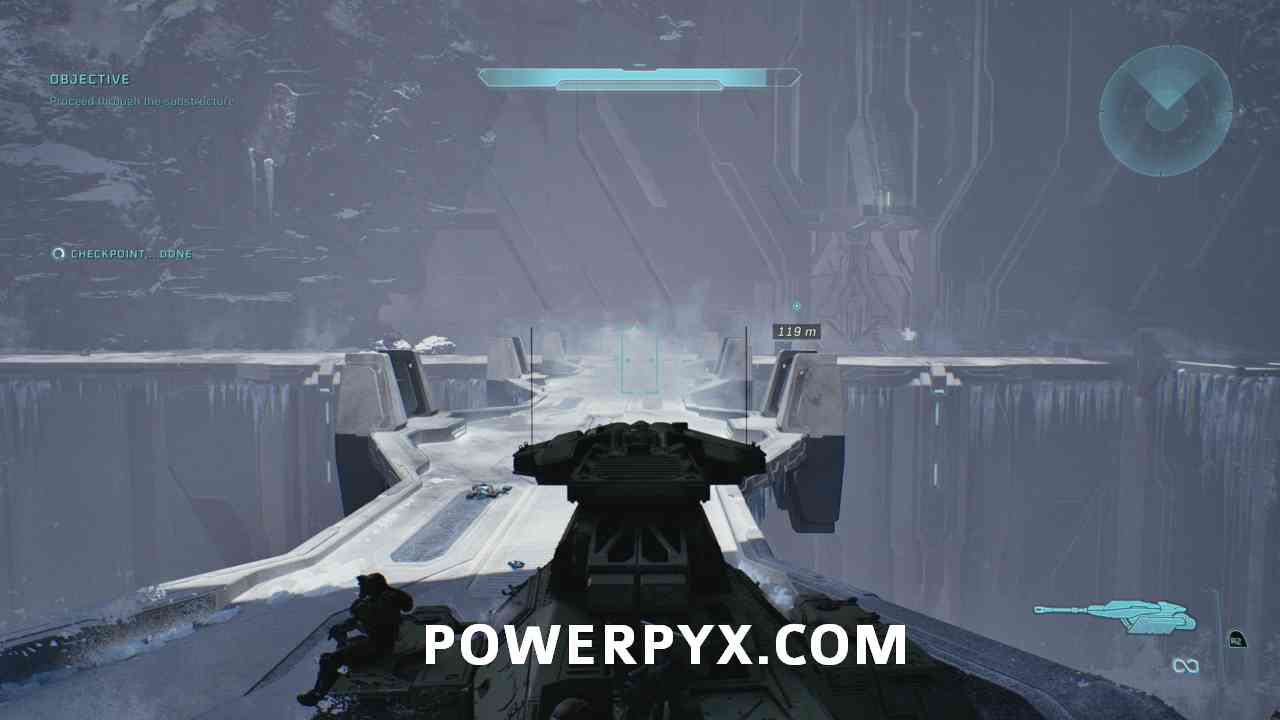
After crossing the bridge, turn left and, at the end of the path, climb on the tank and jump to the skull.
Chapter: Rally Point Charlie
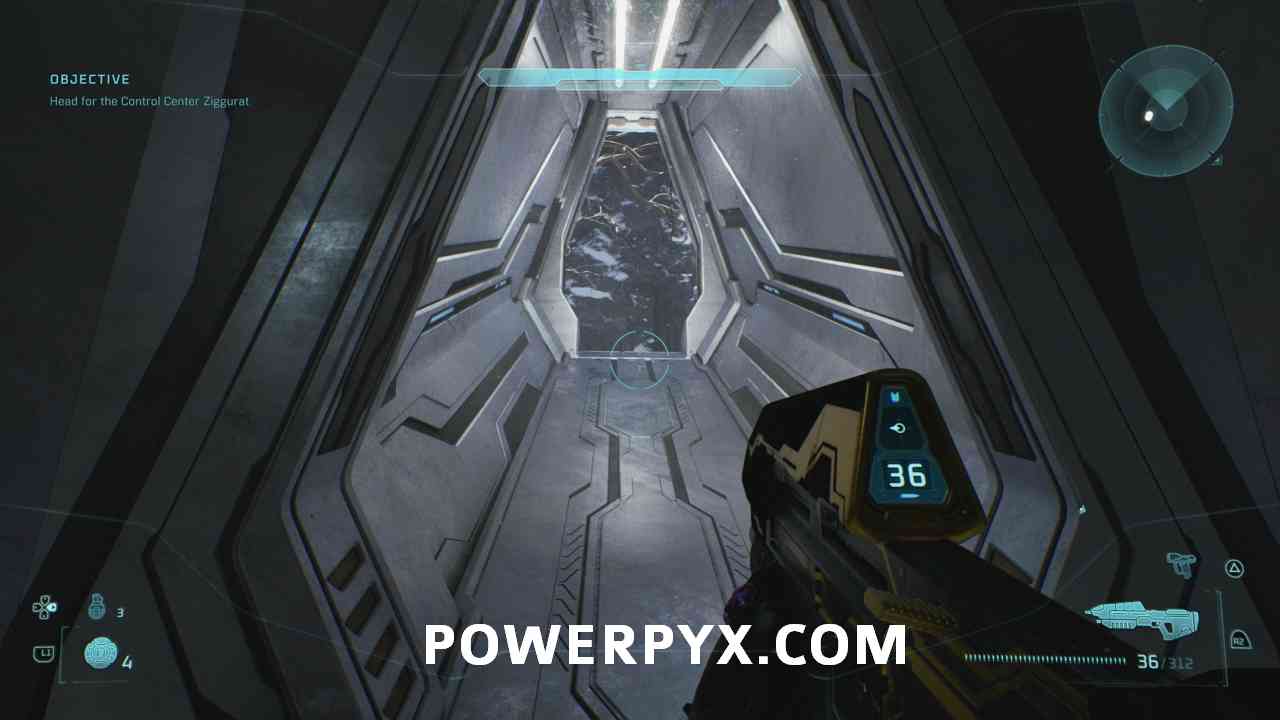
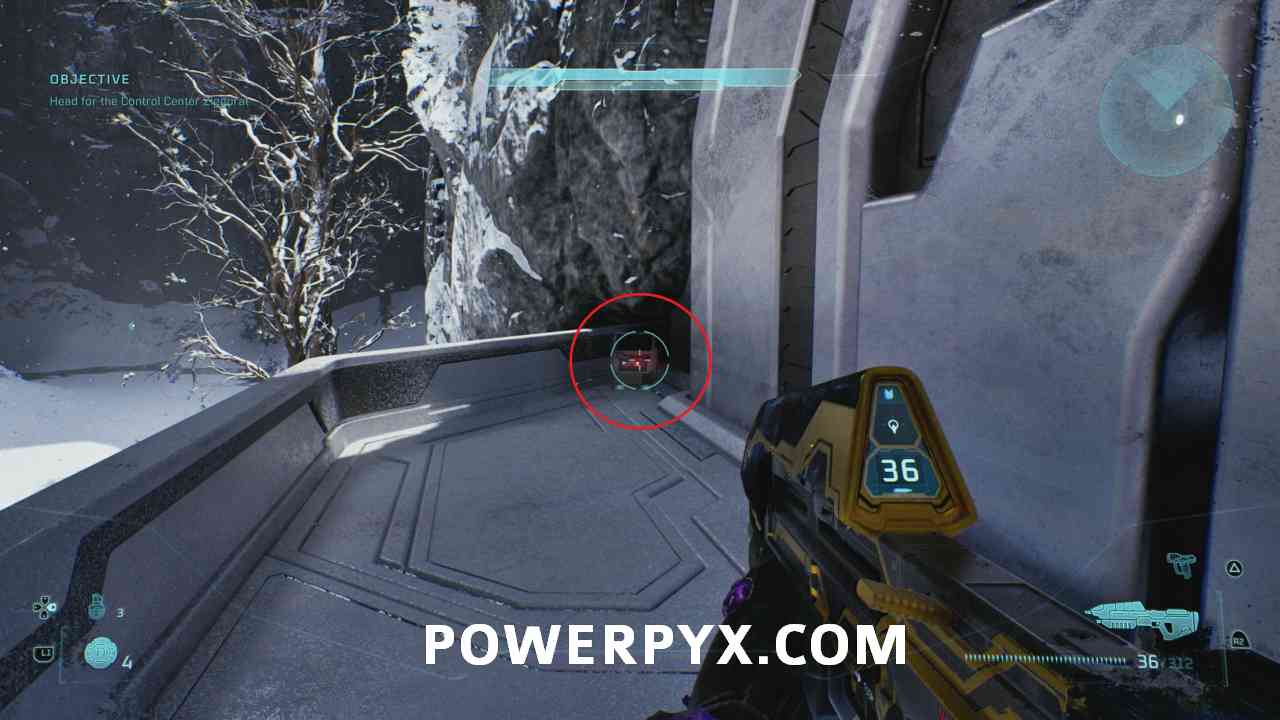
#18 – Terminal (Tangent I)
Objective: Head for the Control Center Ziggurat
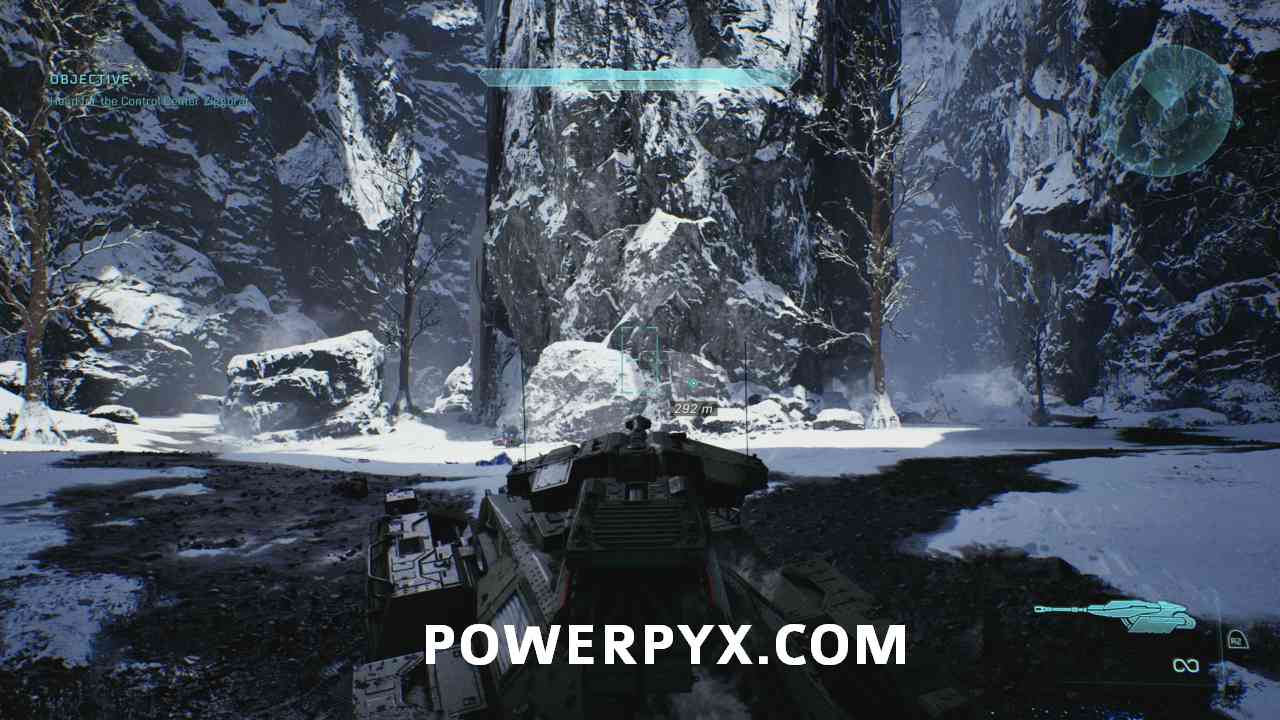
After you leave the underground at the beginning of the Rally Point, go up the left path. Here you will see a door to your right. Enter it.
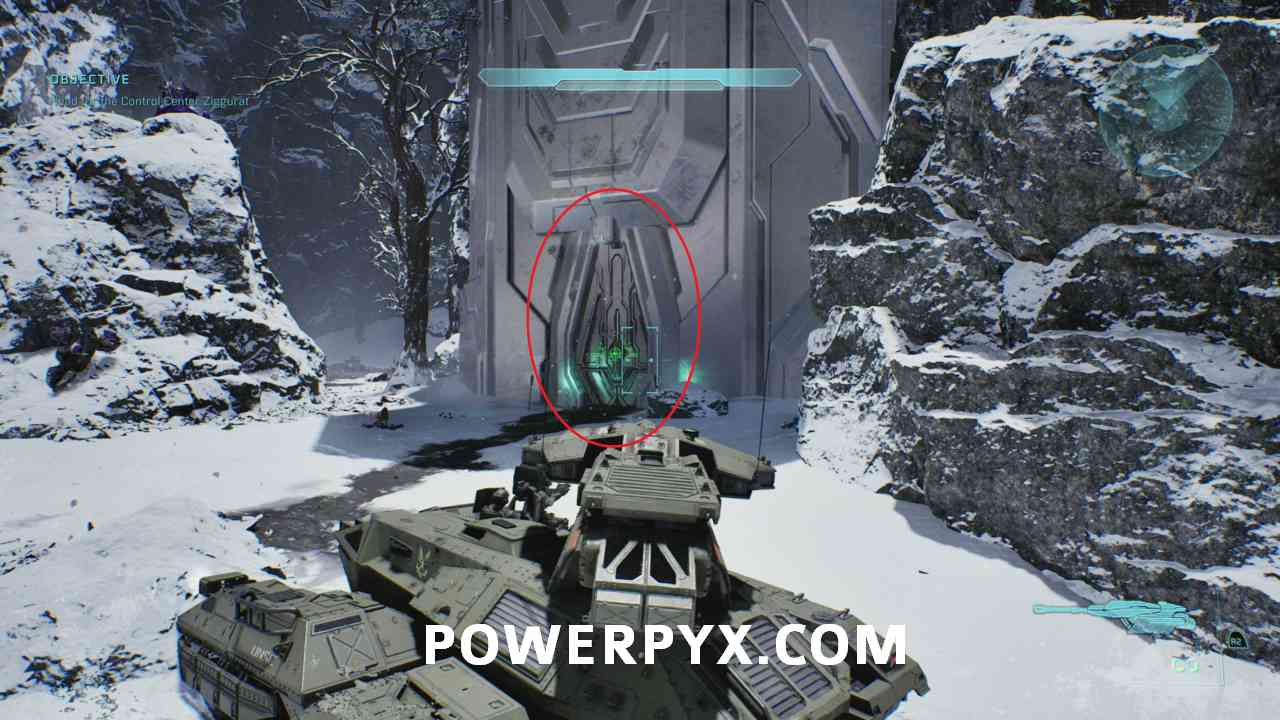
Inside, go up to the balcony to find the terminal on the right side.
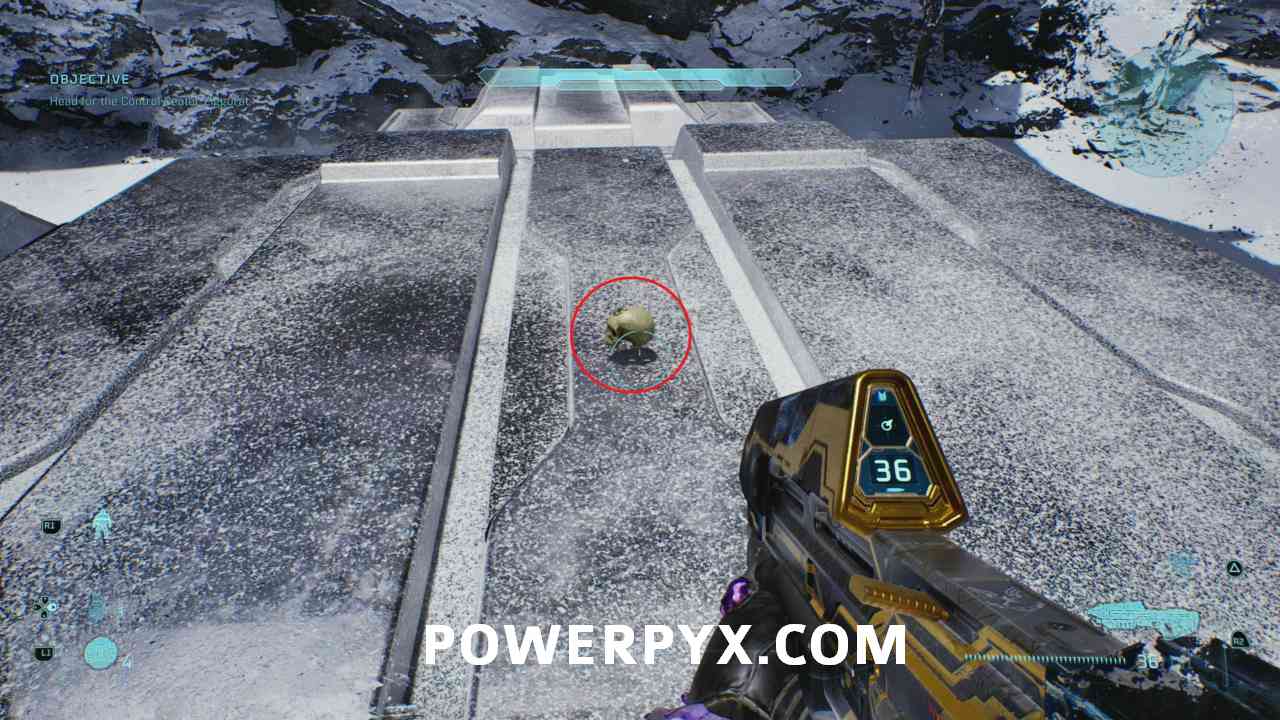
#19 – Skull (Angry)
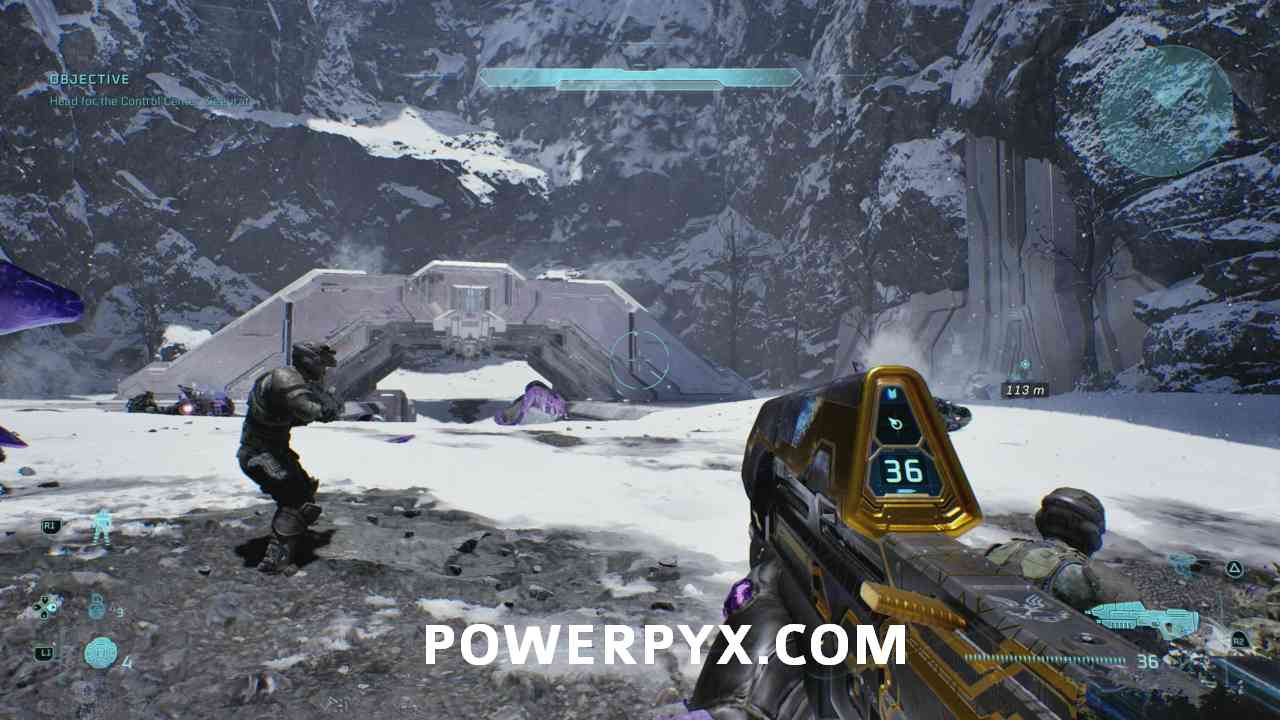
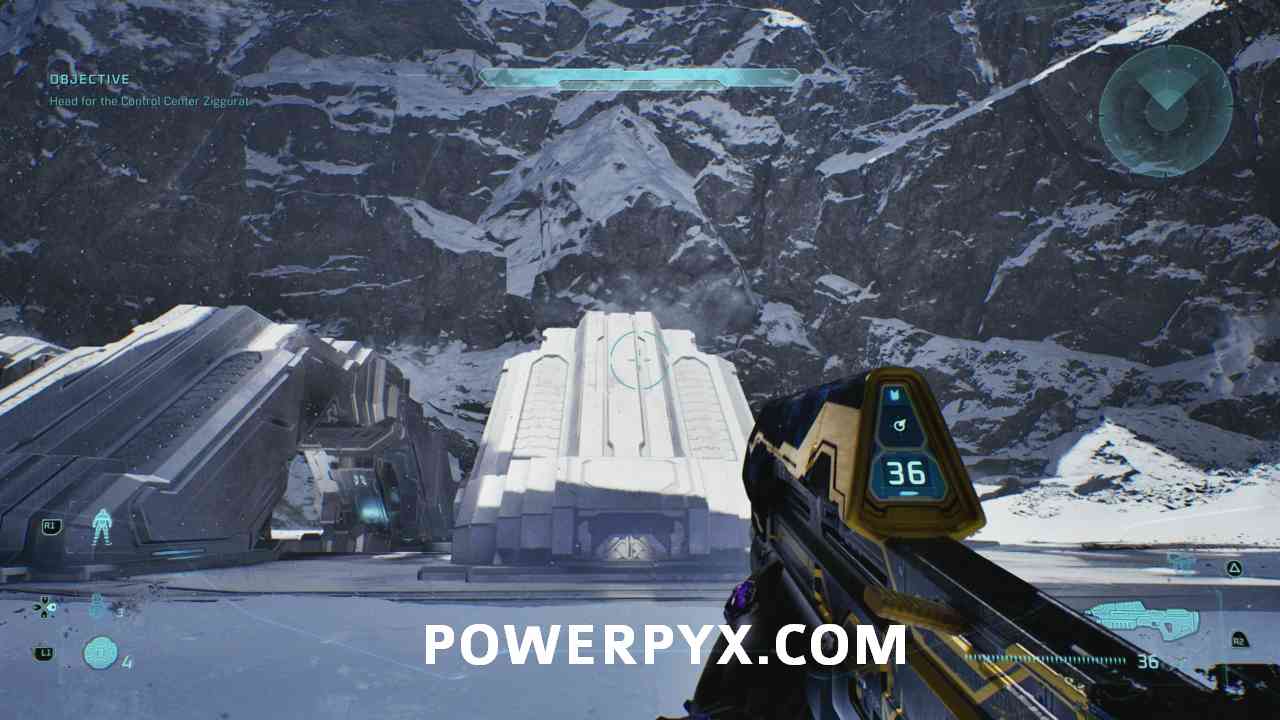
Objective: Head for the Control Center Ziggurat
Shortly after the Terminal, you have to enter another building, instead of going in, get onto the third bridge to find the skull on top of it.
Chapter: Rally Point Echo
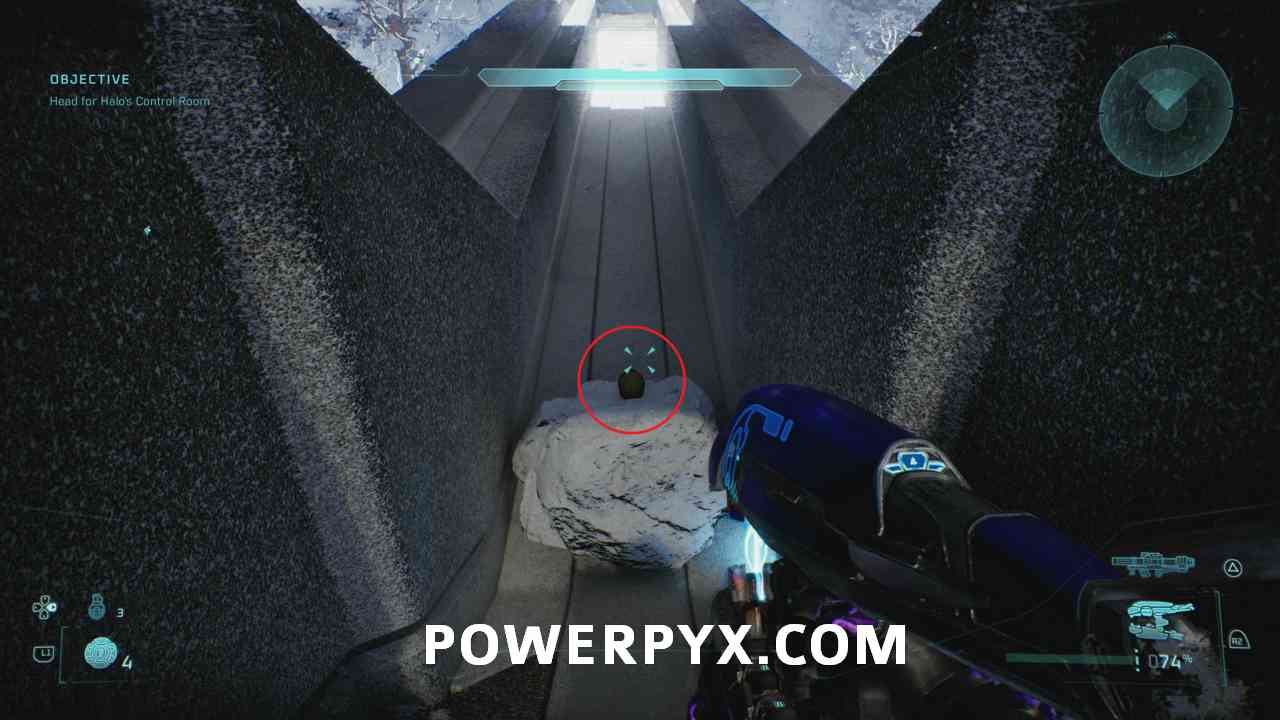
#20 – Skull (Cowbell)
Objective: Head for Halo’s Control Room
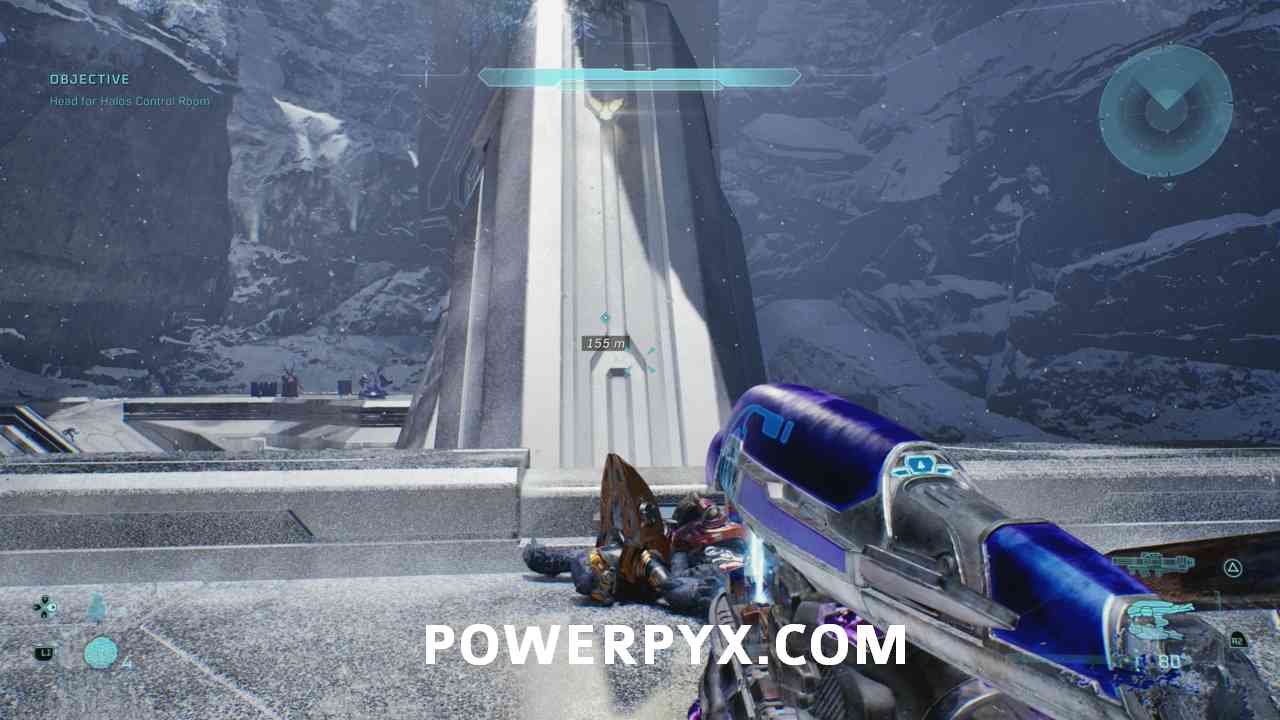
A little while after the previous skull, you will exit the building and reach a bridge. This is the same location as That’s My Ride.
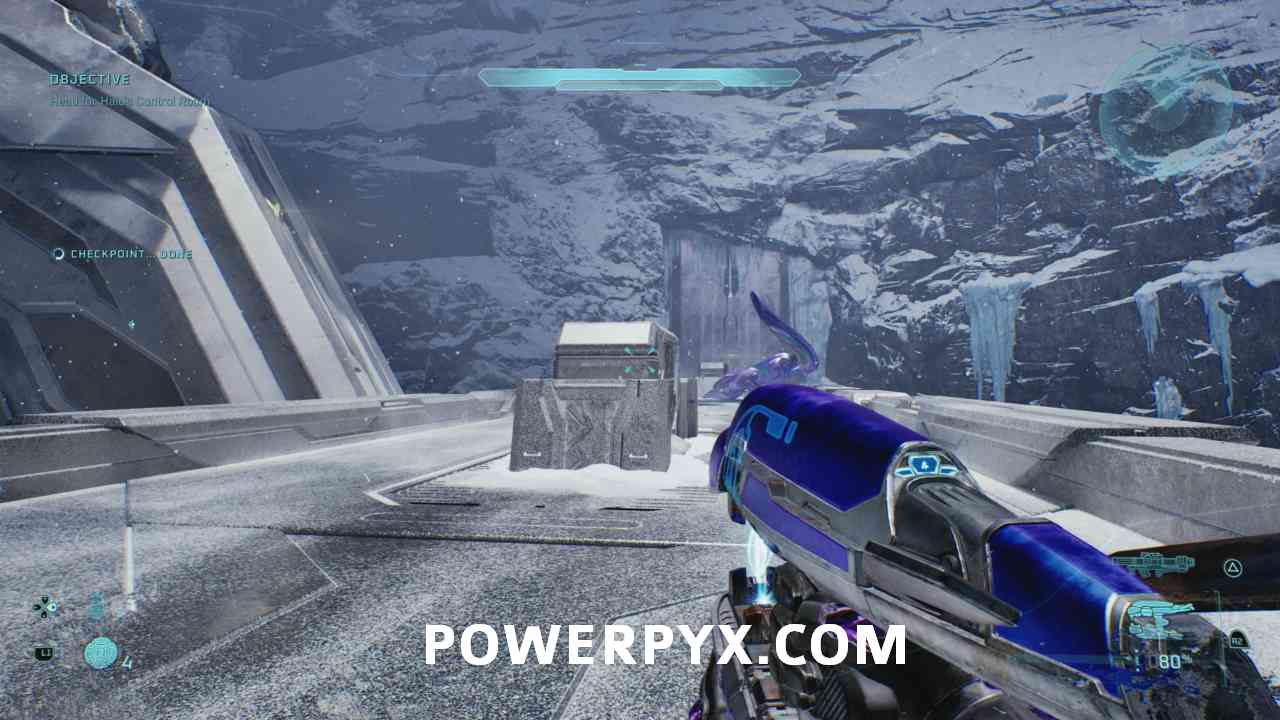
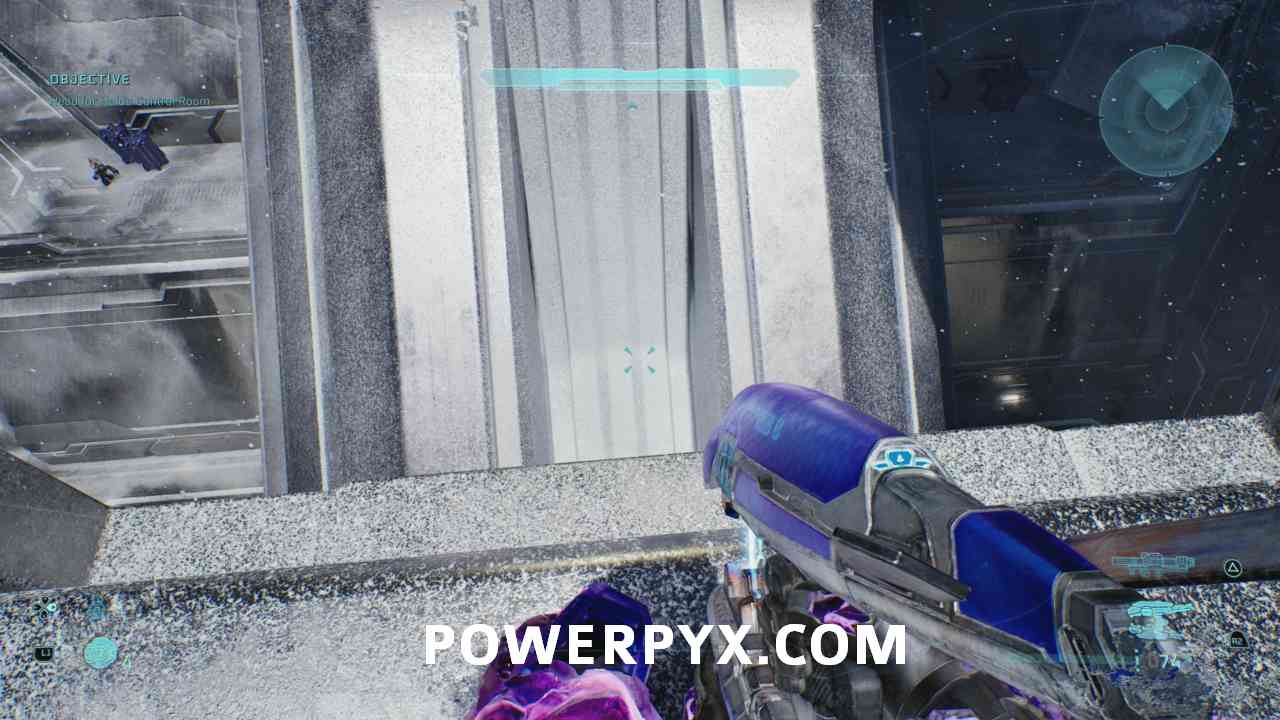
Before dropping down, head towards the middle of the bridge and look down at the pillar, jump down there to find the skull.
343 Guilty Spark
Chapter: Rally Point Alpha
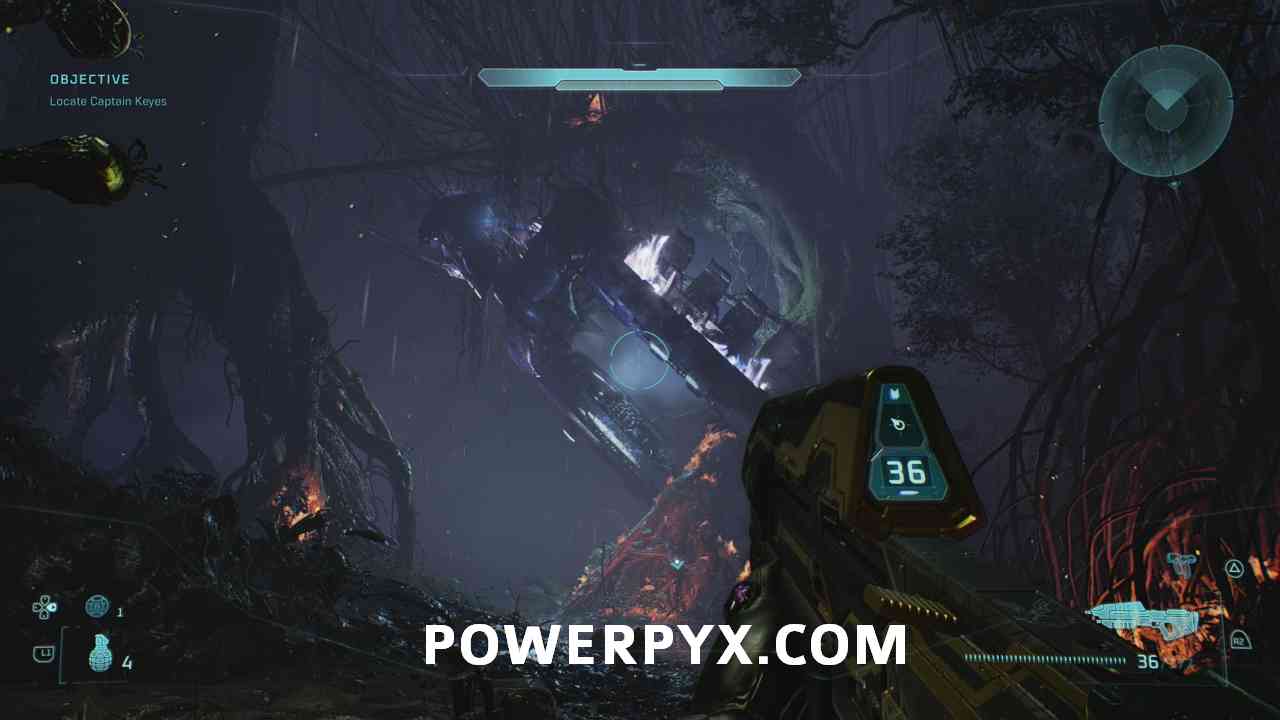
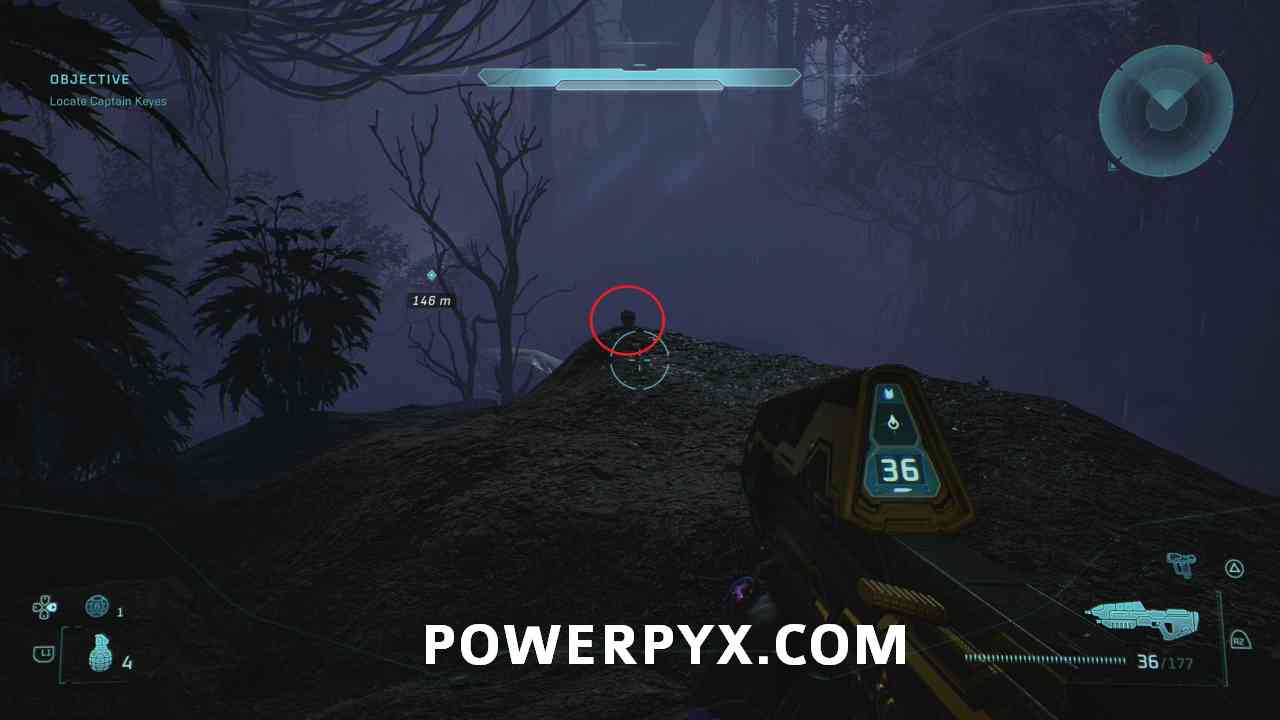
#21 – Skull (Fog)
Objective: Locate Captain Keyes
At the very beginning of this chapter, you will see a Covenant ship in the tree. Here, turn left and go up the path.
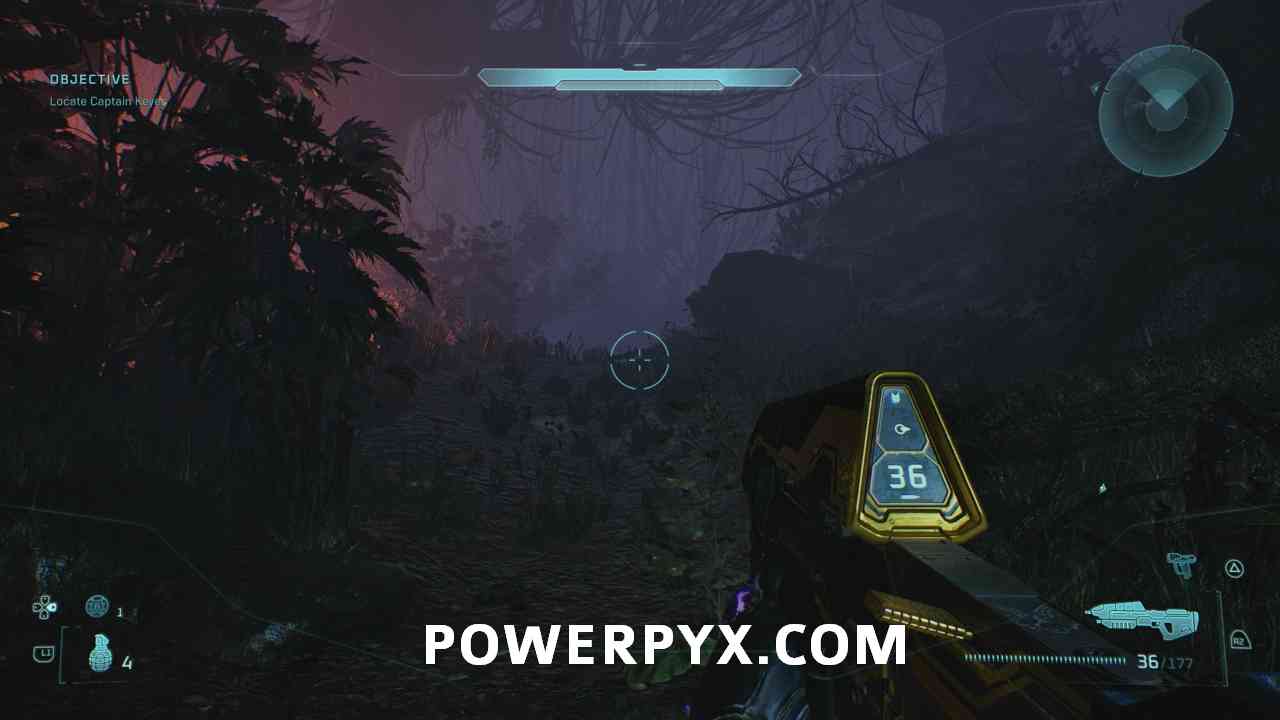
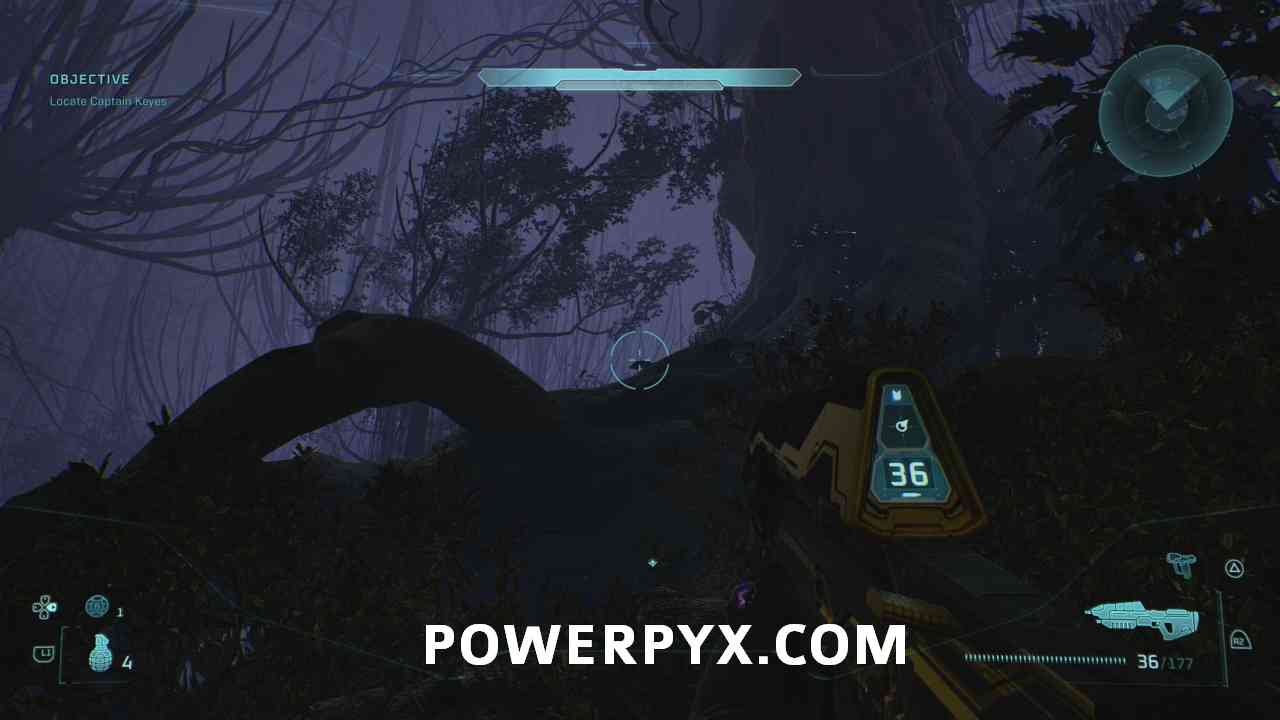
Now jump over the roots of the tree to your right to find the skull on the edge of the cliff.
Chapter: Rally Point Bravo
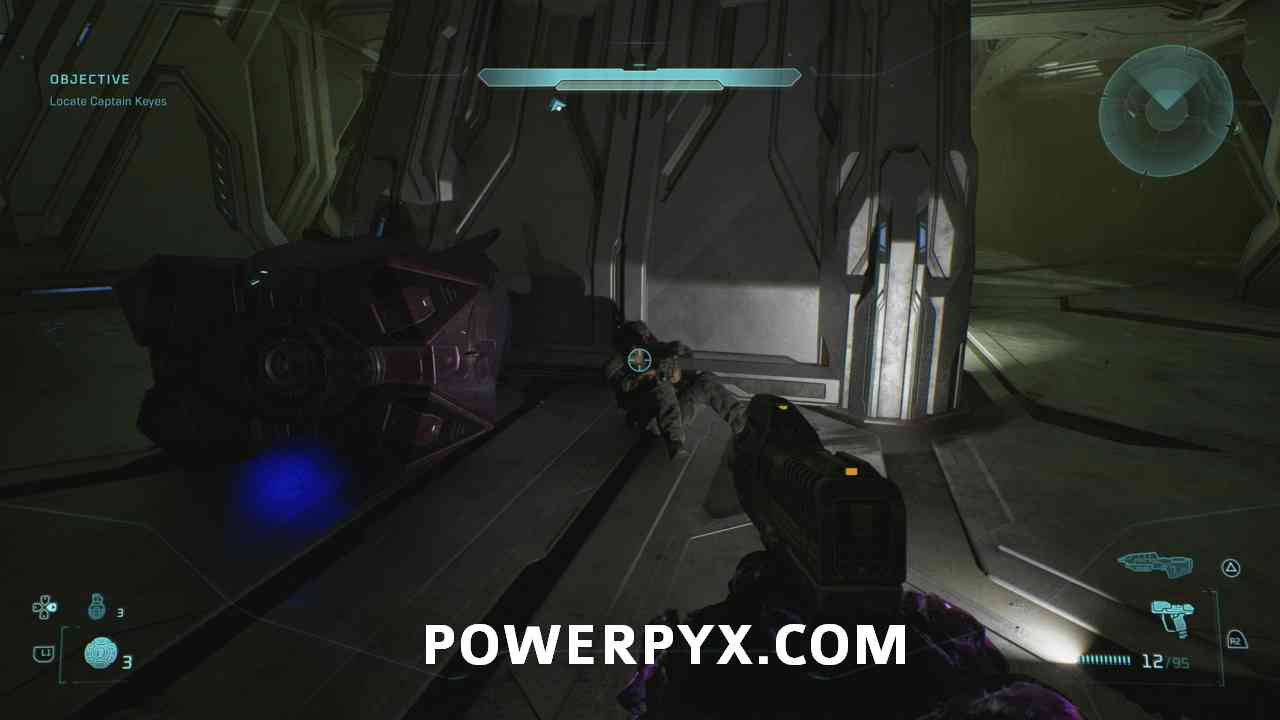
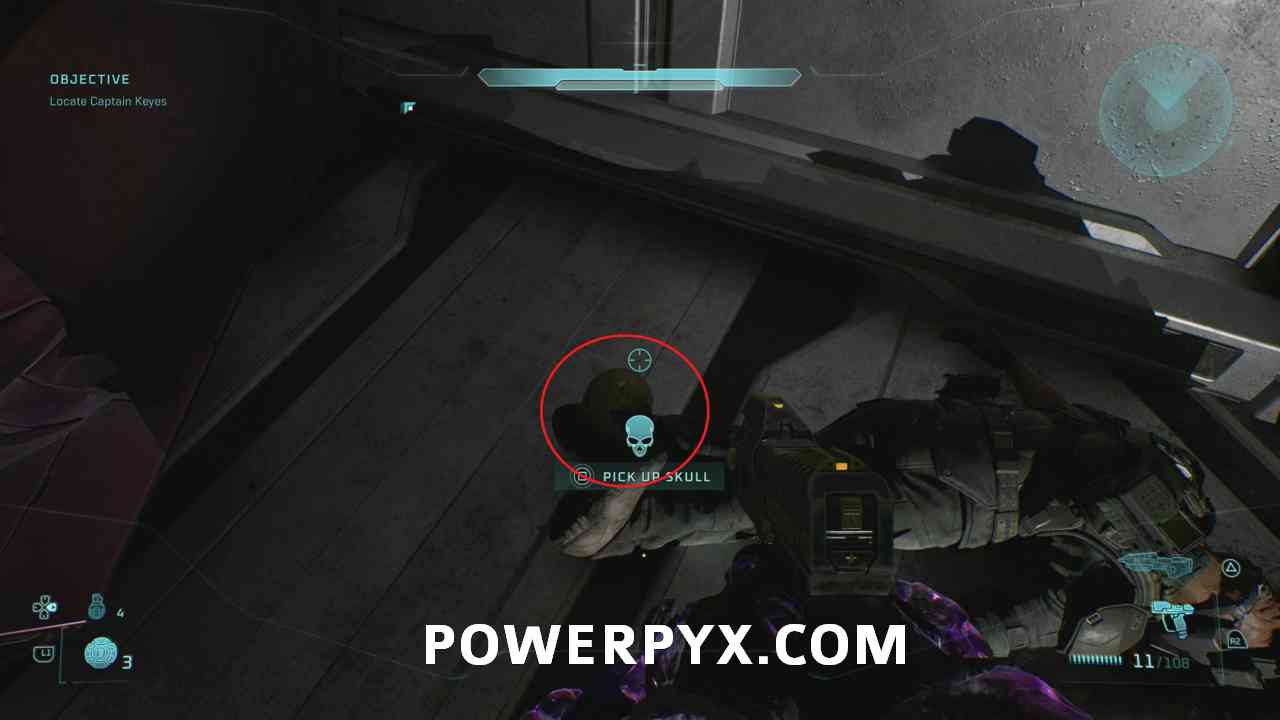
#22 – Skull (That’s Just… Wrong)
Objective: Locate Captain Keyes
Shortly after the beginning of this Rally Point, you will come across a paranoid soldier.
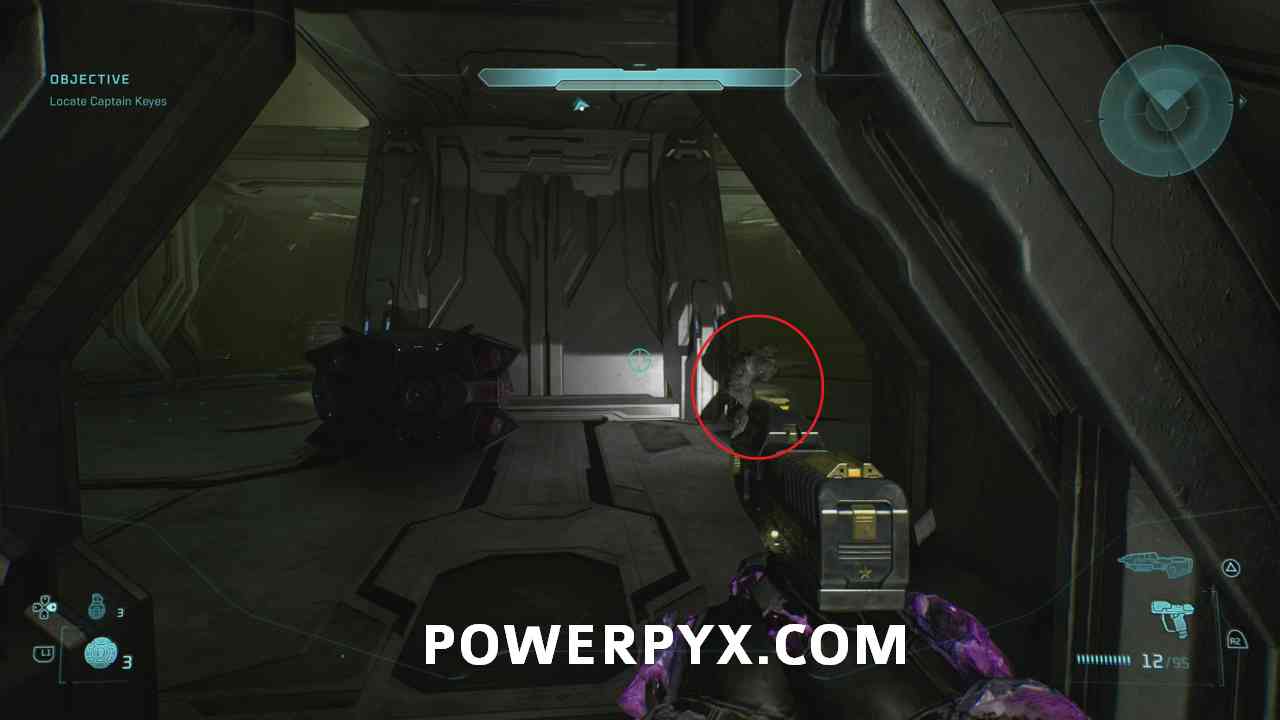
You need to kill him to get the skull.
#23 – Terminal (Tangent II)
Objective: Escape!
After some time from the previous skull, and after finishing the main objective, you have to escape. You will cross a light bridge to get through this door.
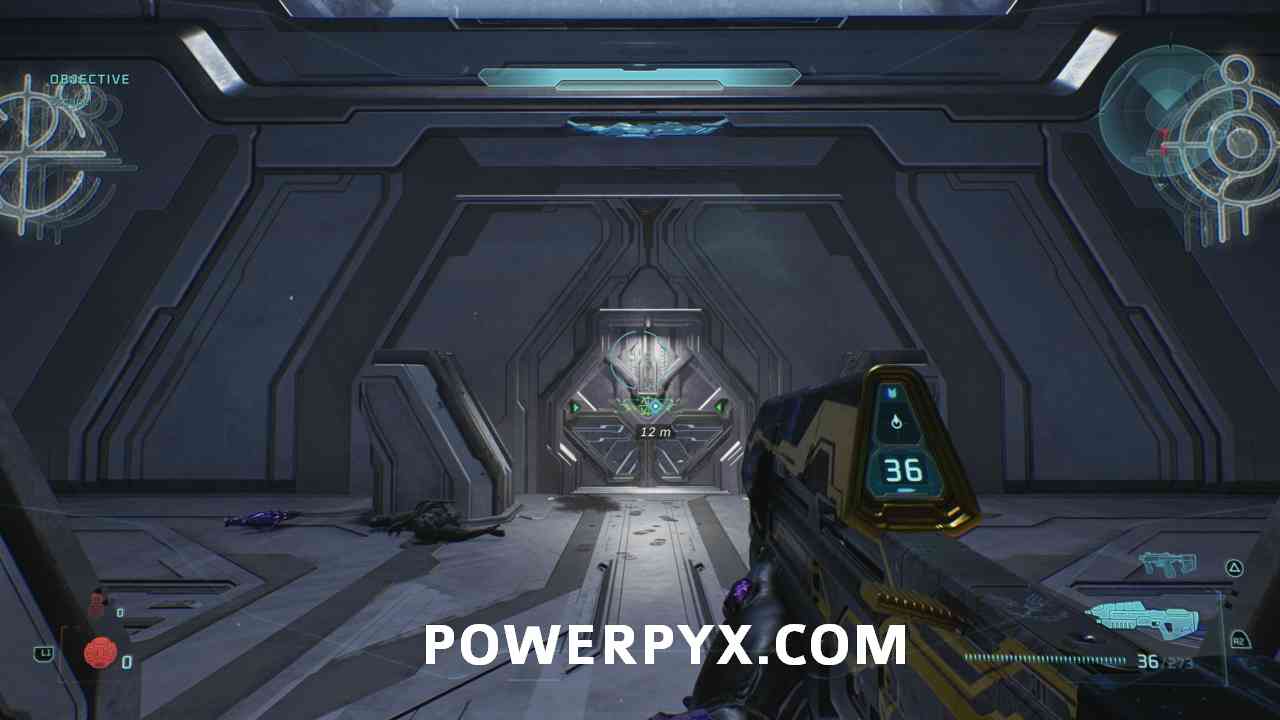
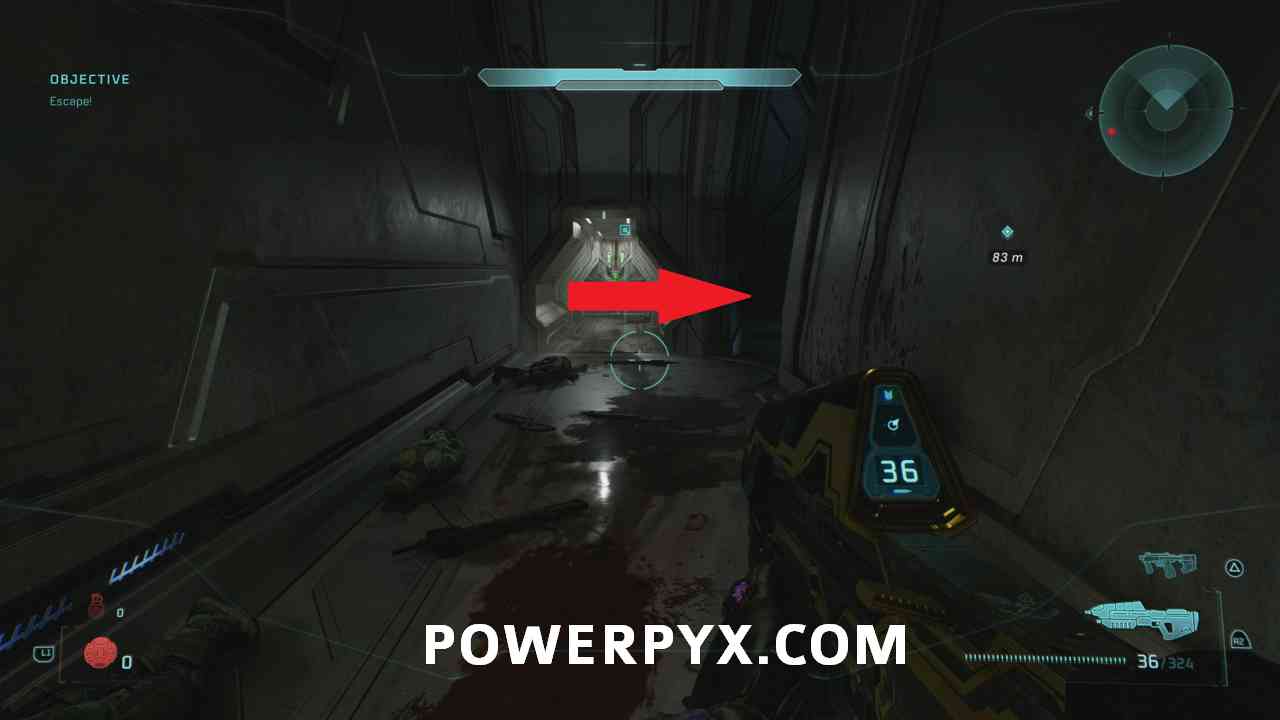
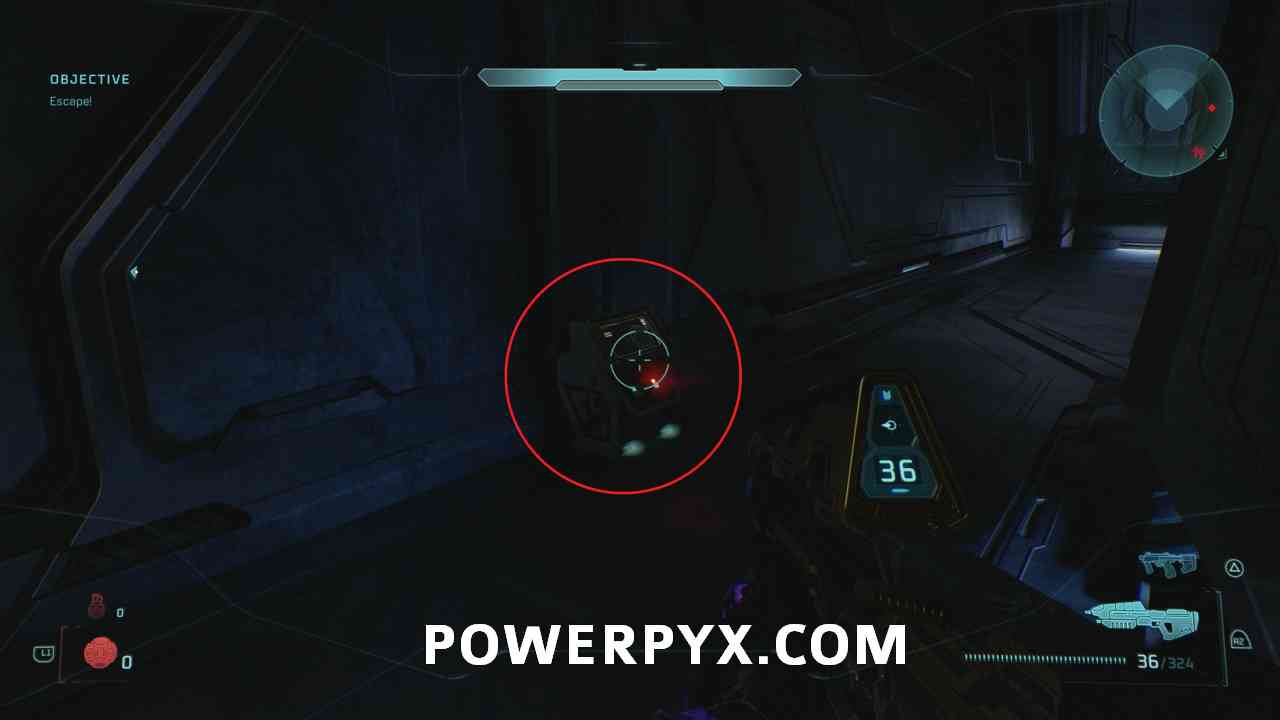
Here, turn left and you will see another door, but instead of going through that door, go around the corner to find the terminal.
Chapter: Rally Point Charlie
#24 – Skull (They Come Back)
Objective: Lead marines to the evac point
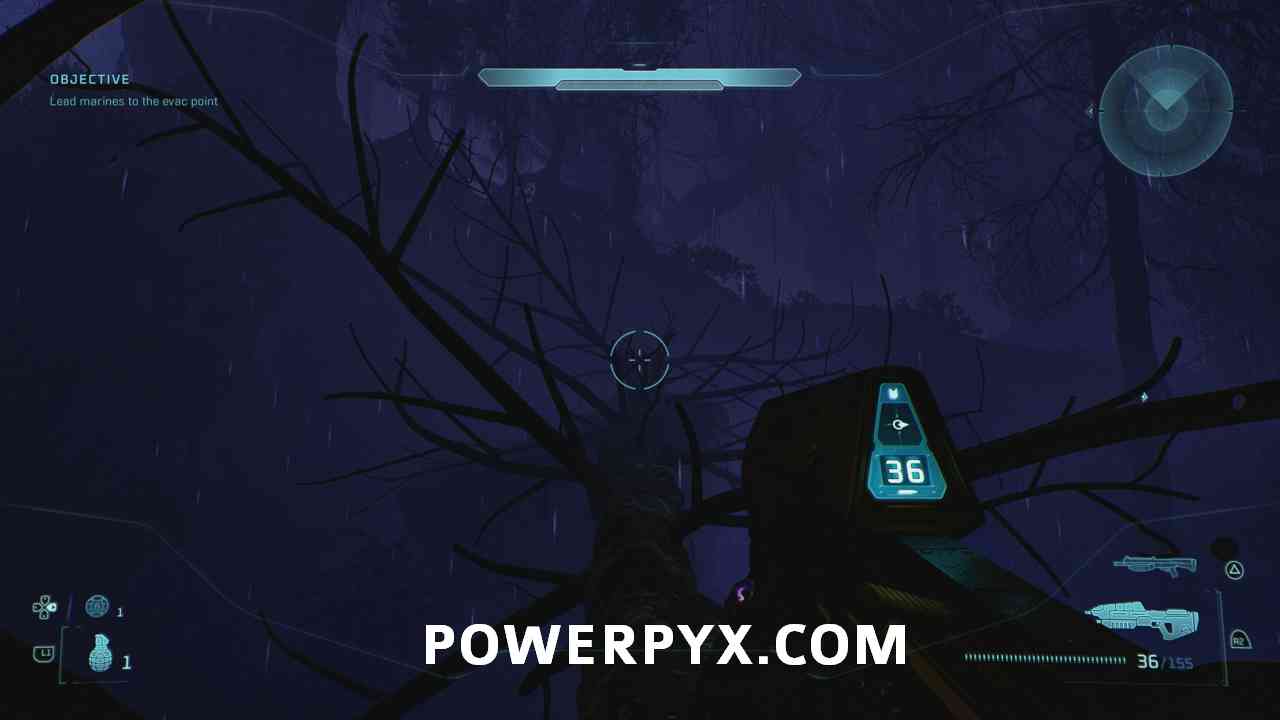
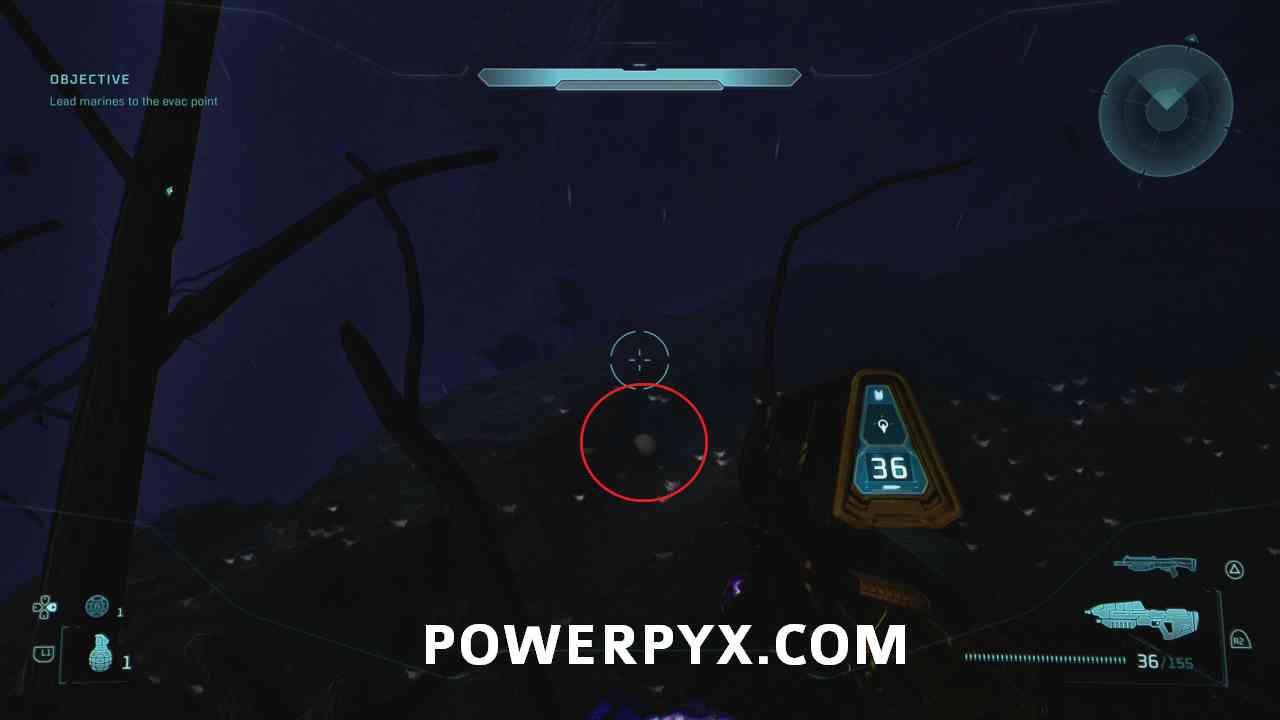
At the very end of the mission, you will reach an extraction point. Here, go right and through the dark woods until you see a big fallen tree above you.
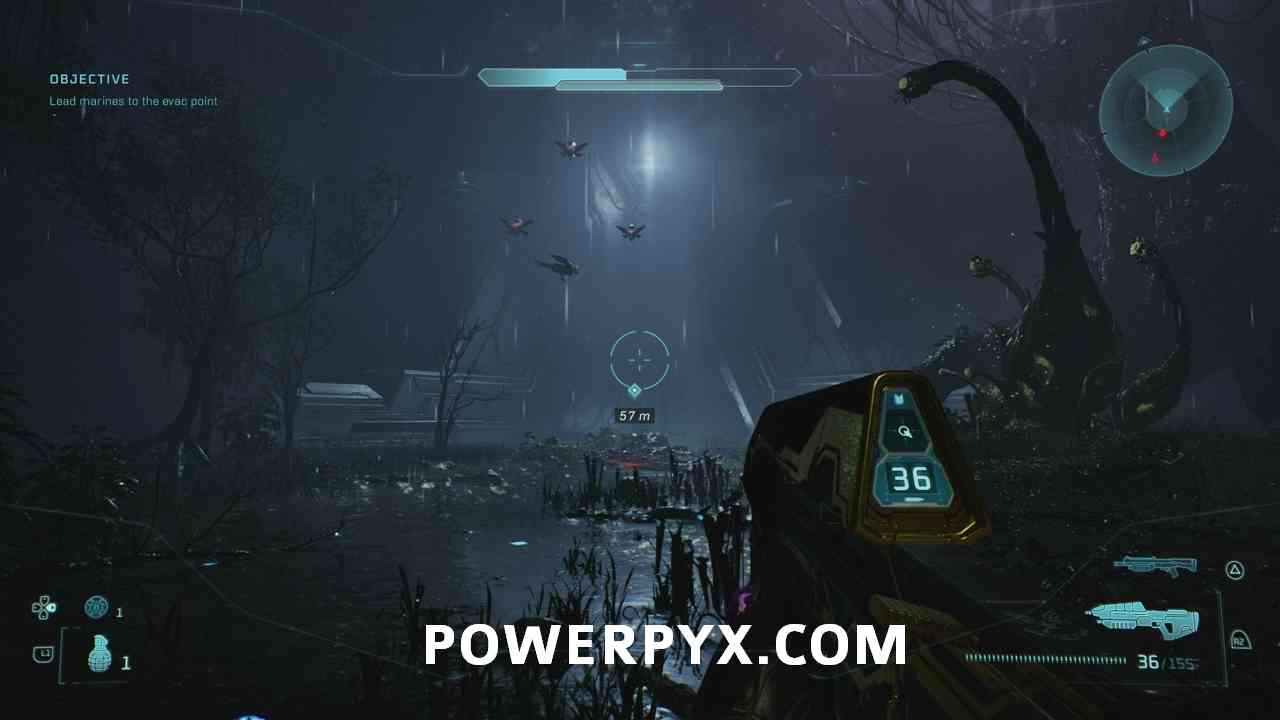
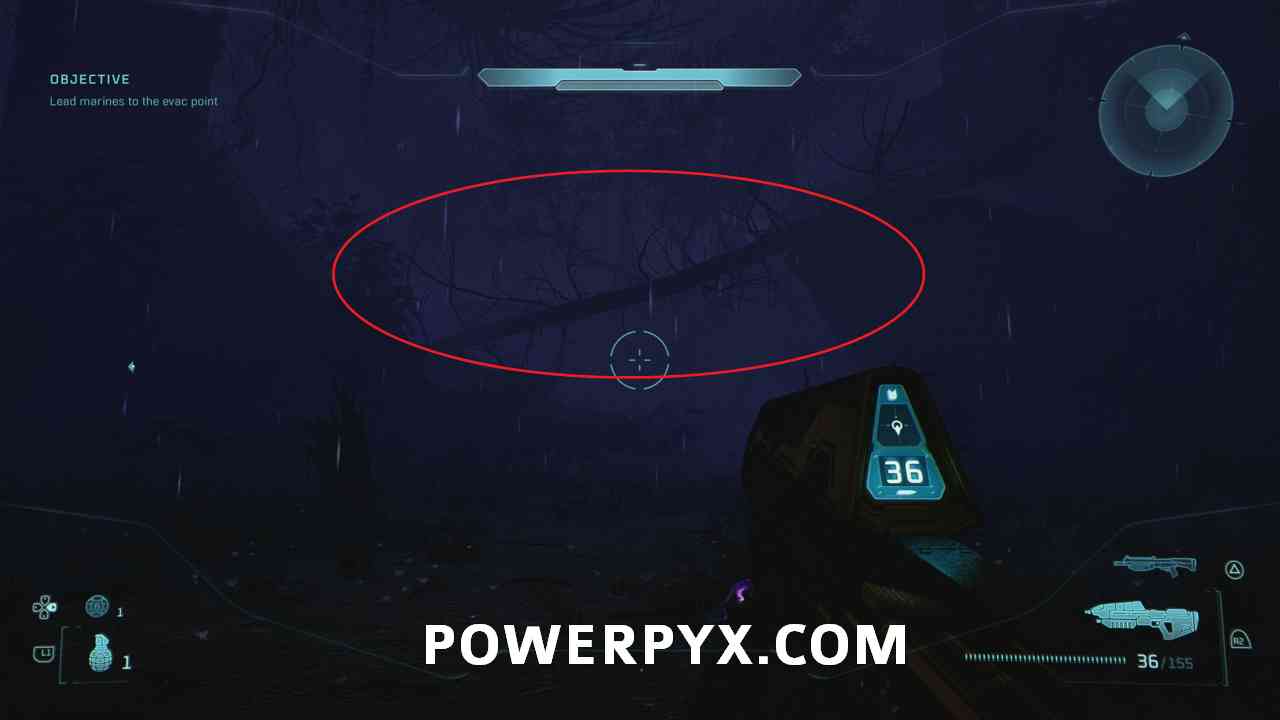
Get on the tree and find the skull near the end of it on the left side. Get the skull before killing all the enemies or you will miss this skull.
The Library
Chapter: Rally Point Alpha
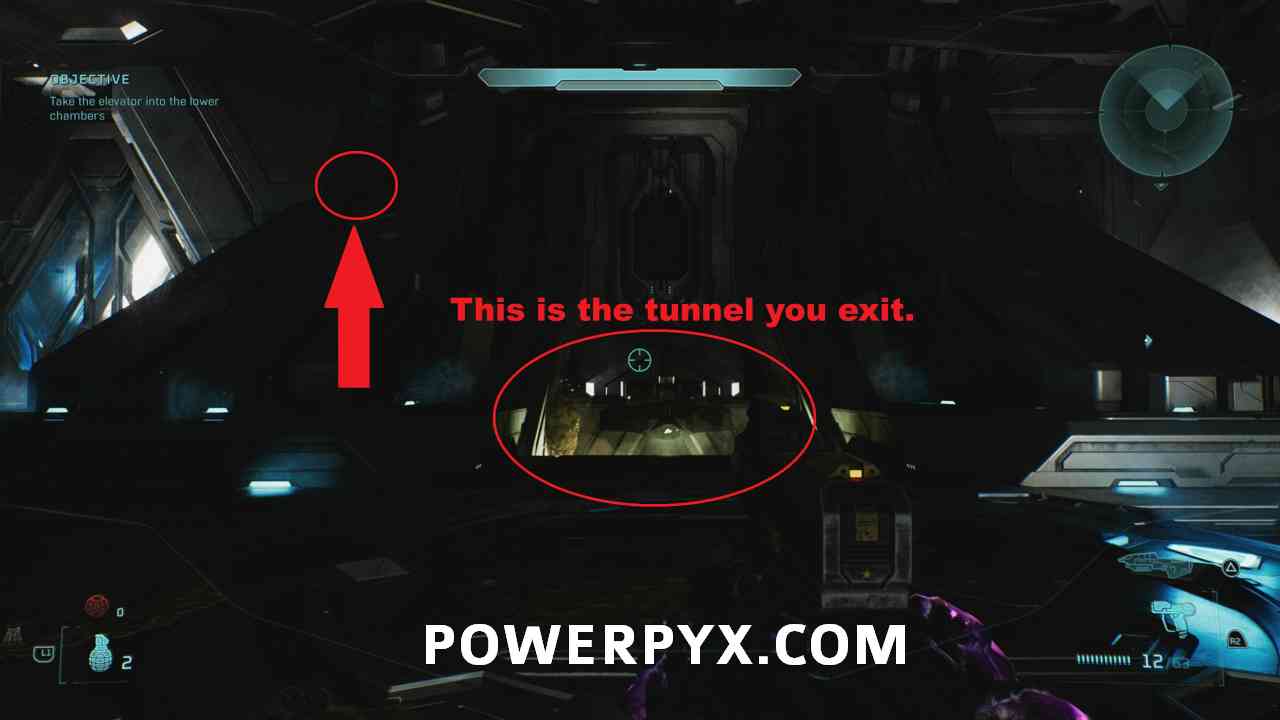
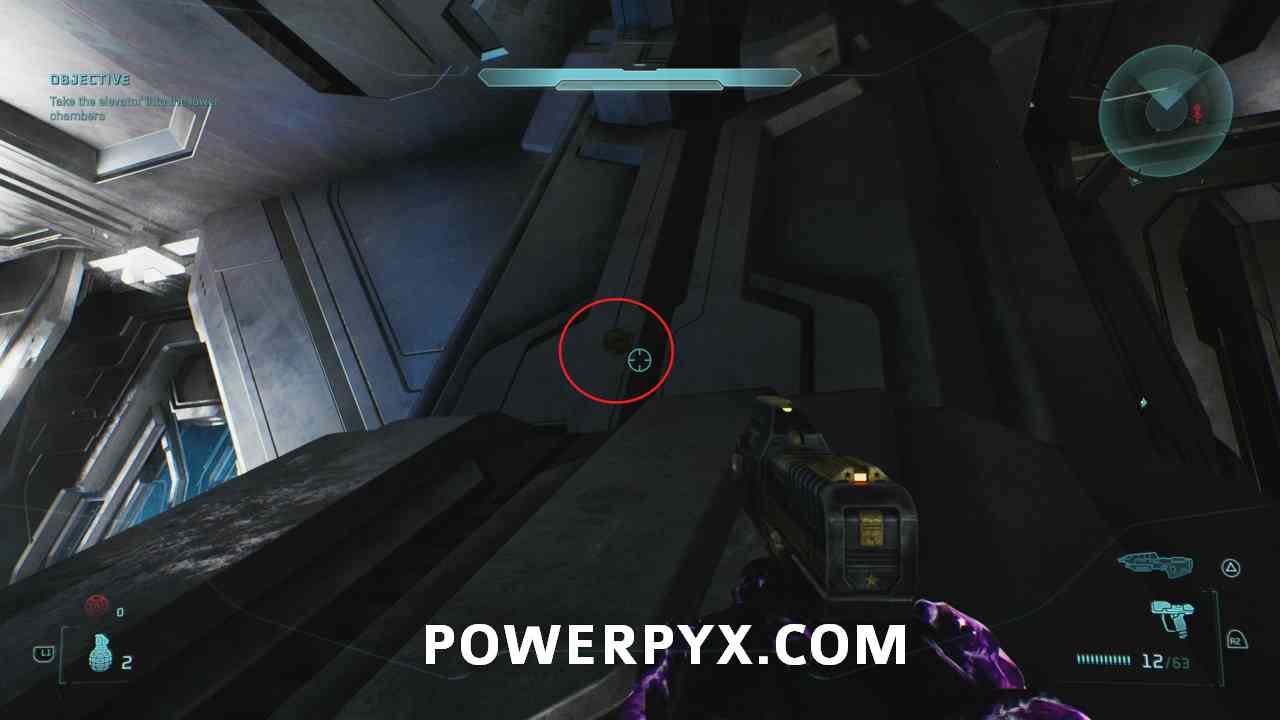
#25 – Skull (Tilt)
Objective: Take the elevator into the lower chambers
After you exit the access tunnel, turn right and go up the pillar to find the skull.
Chapter: Rally Point Bravo
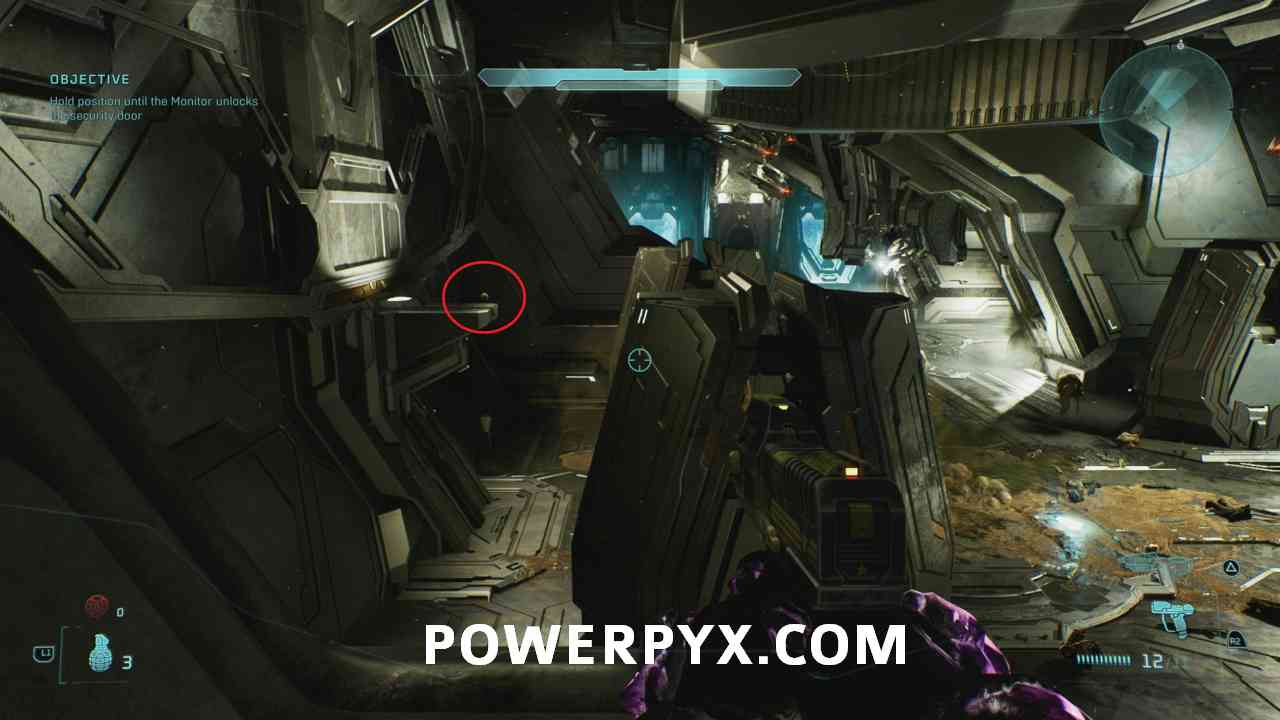
#26 – Skull (Pop)
Objective: Hold position until the Monitor unlocks the security door
After you take the elevator, you will reach a blocked door. While you wait for the door to open, turn around, and you will see the skull on the wall opposite the blocked door.
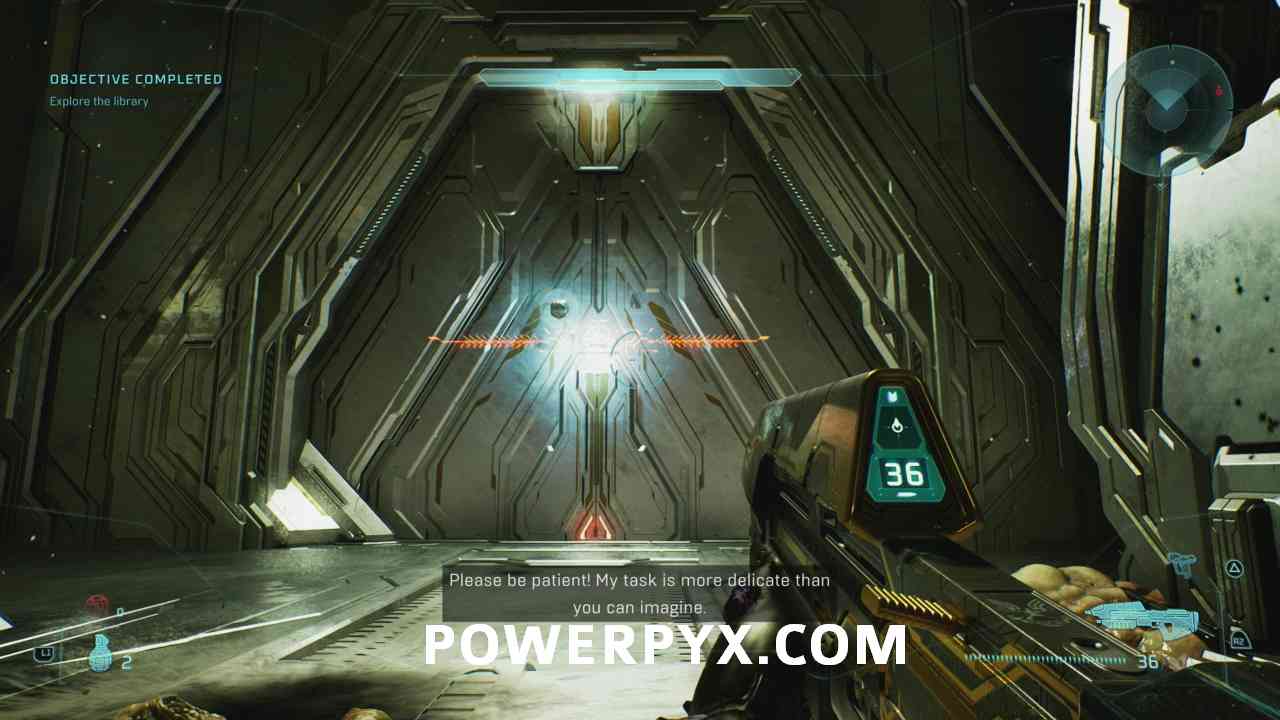
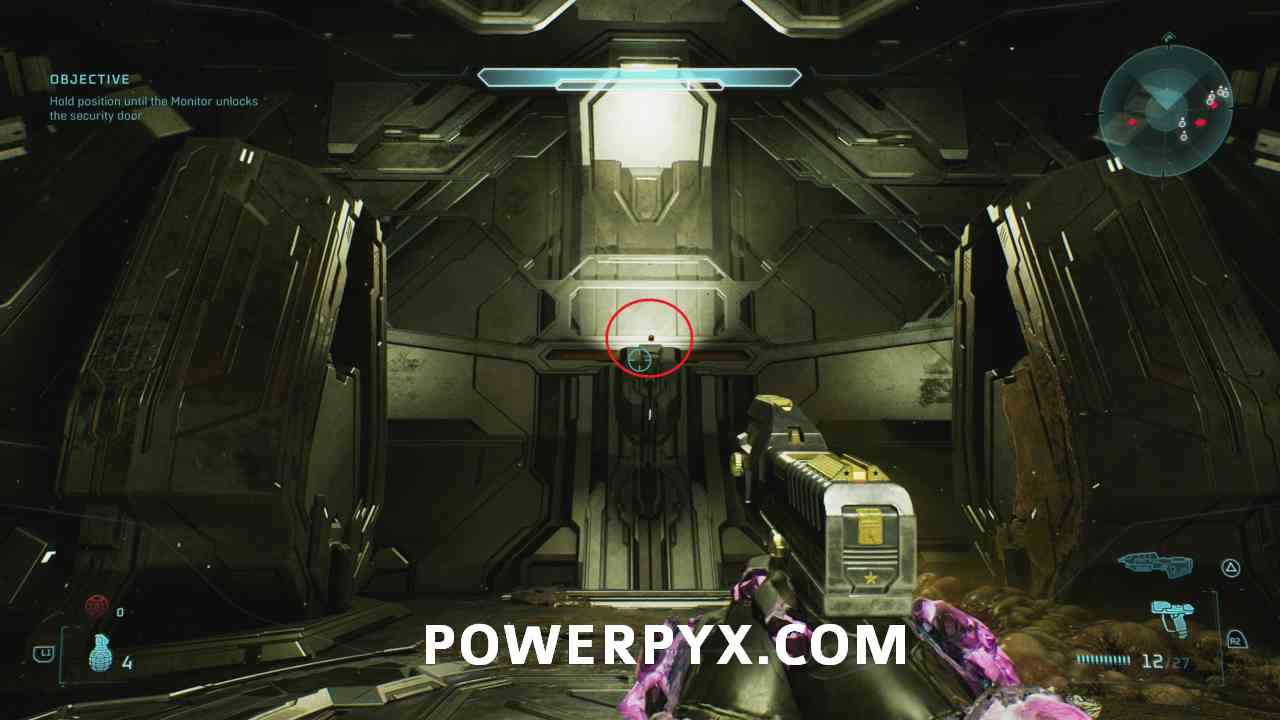
Get on the left pillar and jump over to the skull to pick it up.
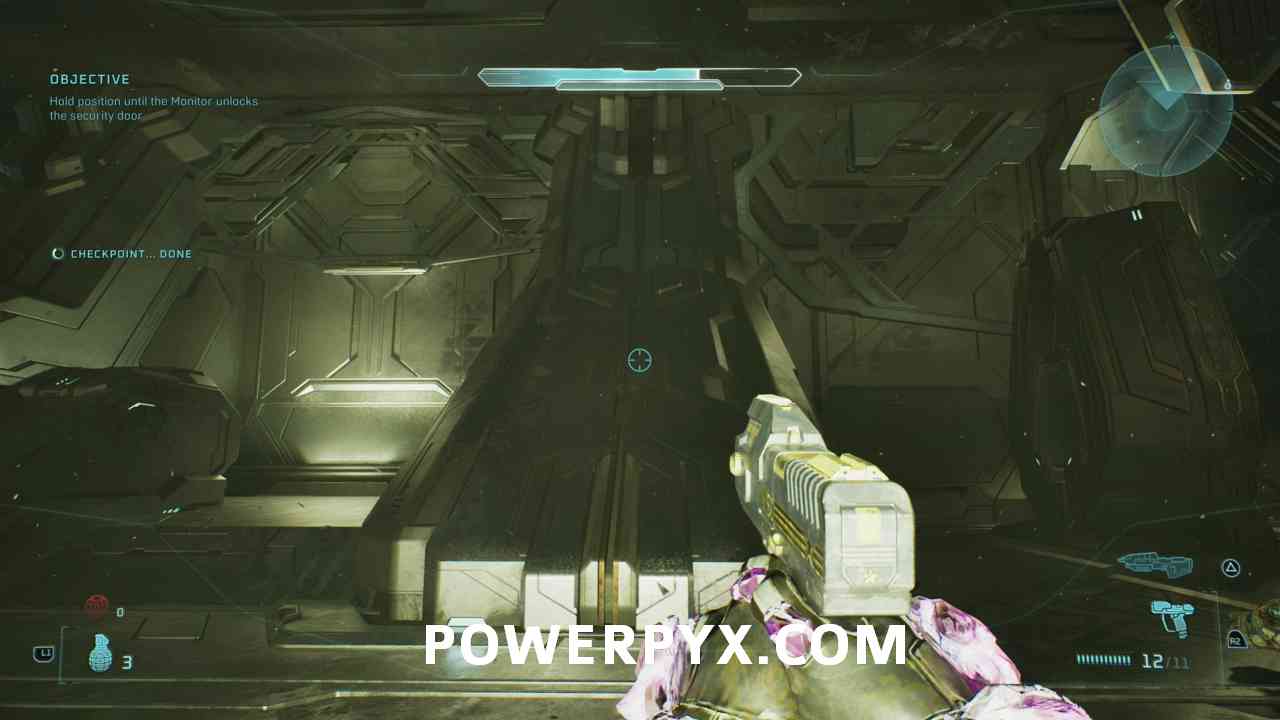
#27 – Terminal (Tangent III)
Objective: Delve deeper into the Library
Right after the previous skull, go through the now open door. Instead of going to the main objective to the right, interact with the pedestal on the left side to open that door.
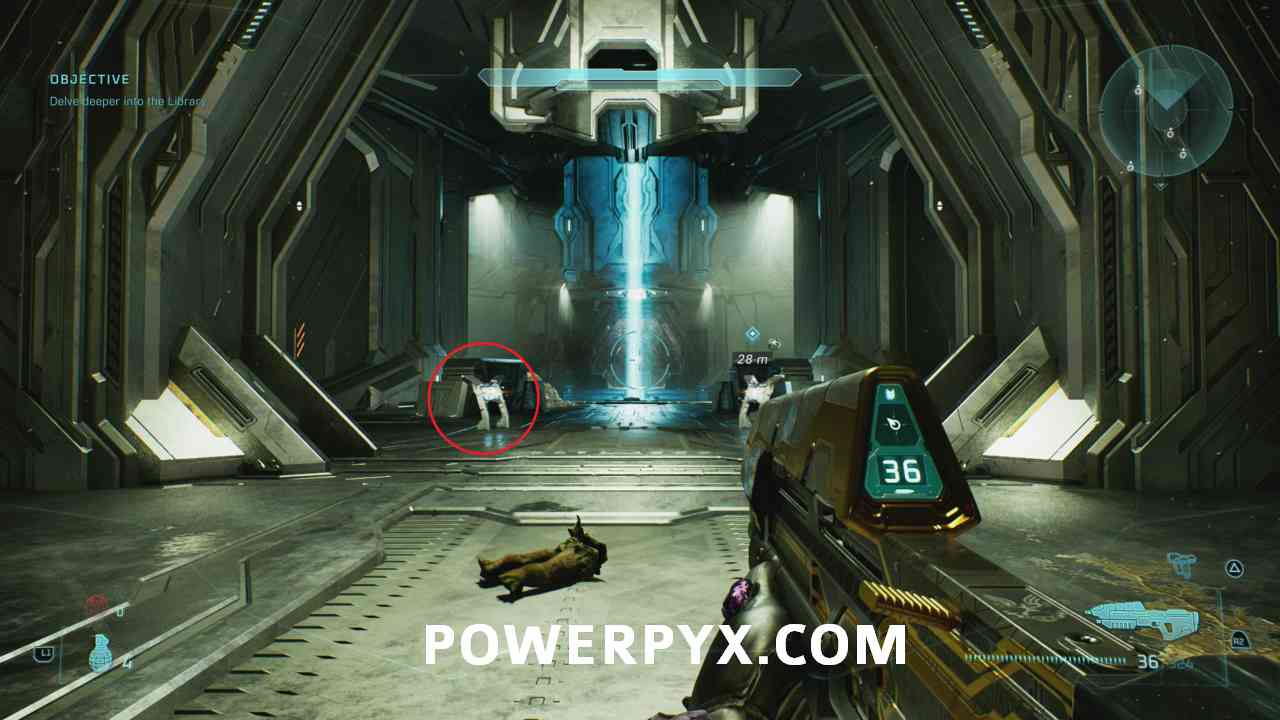
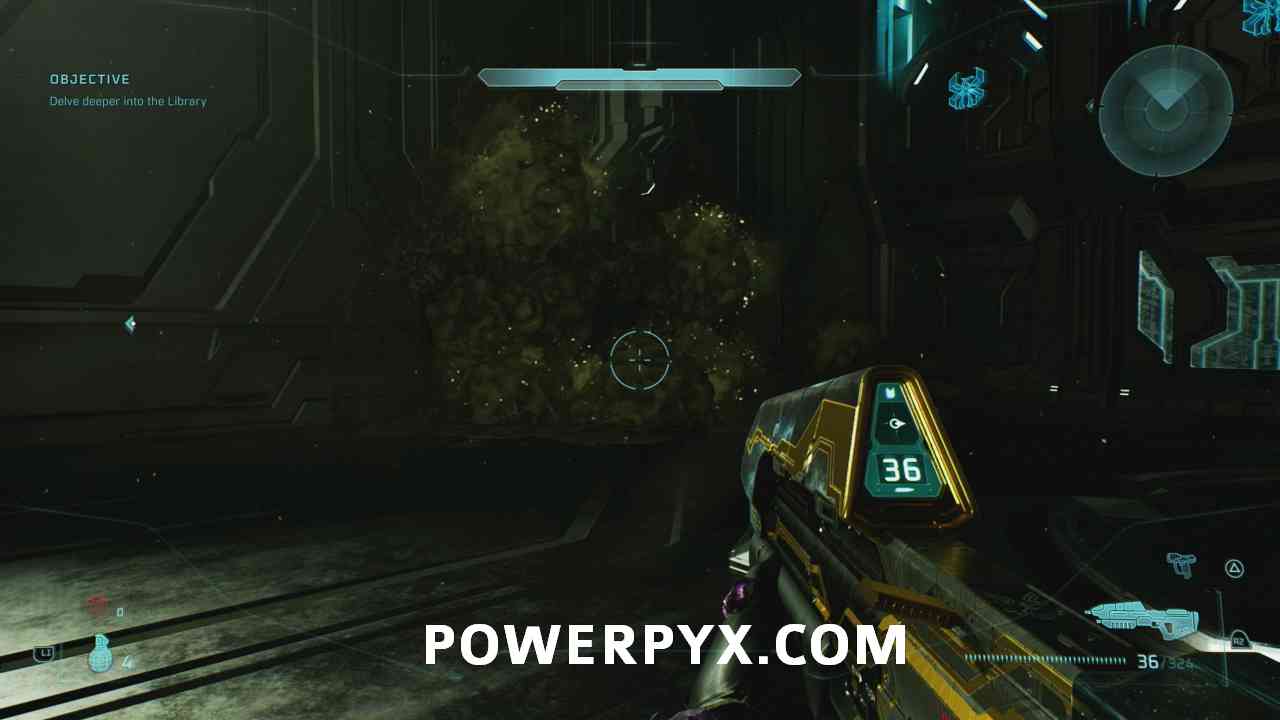
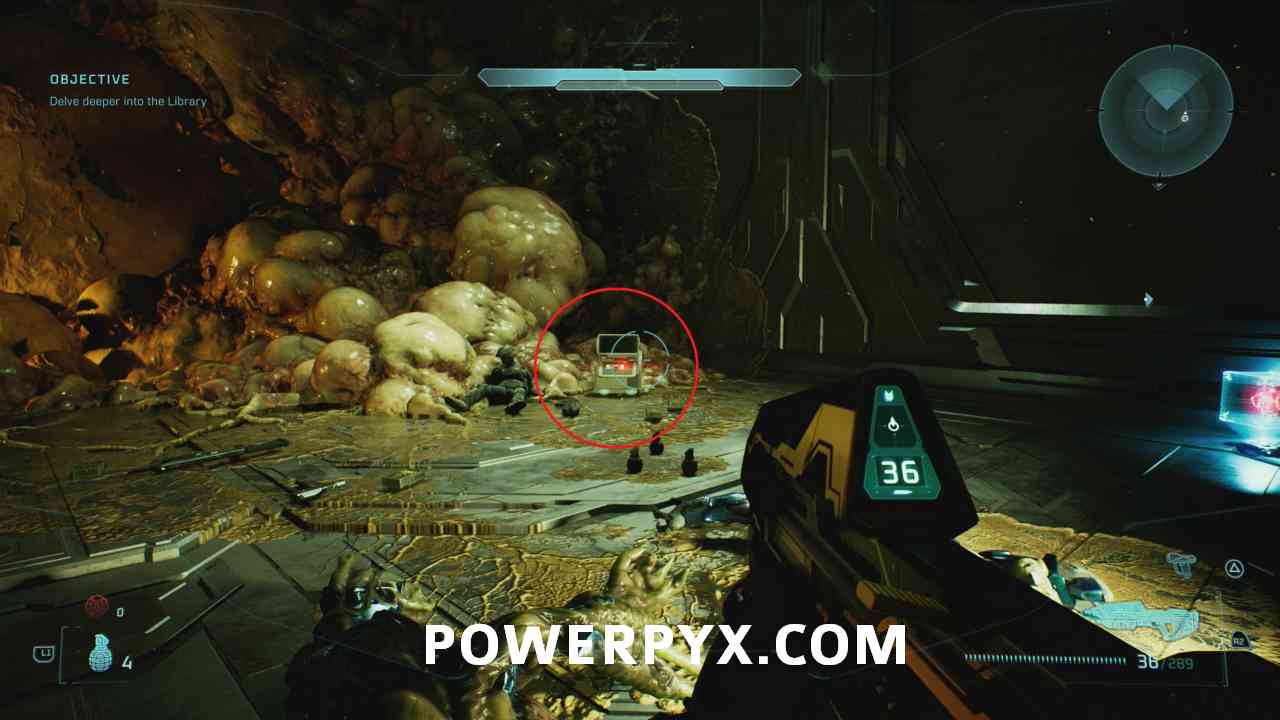
Here, shoot the wall to reveal a path. The terminal is at the end of that path.
Chapter: Rally Point Charlie
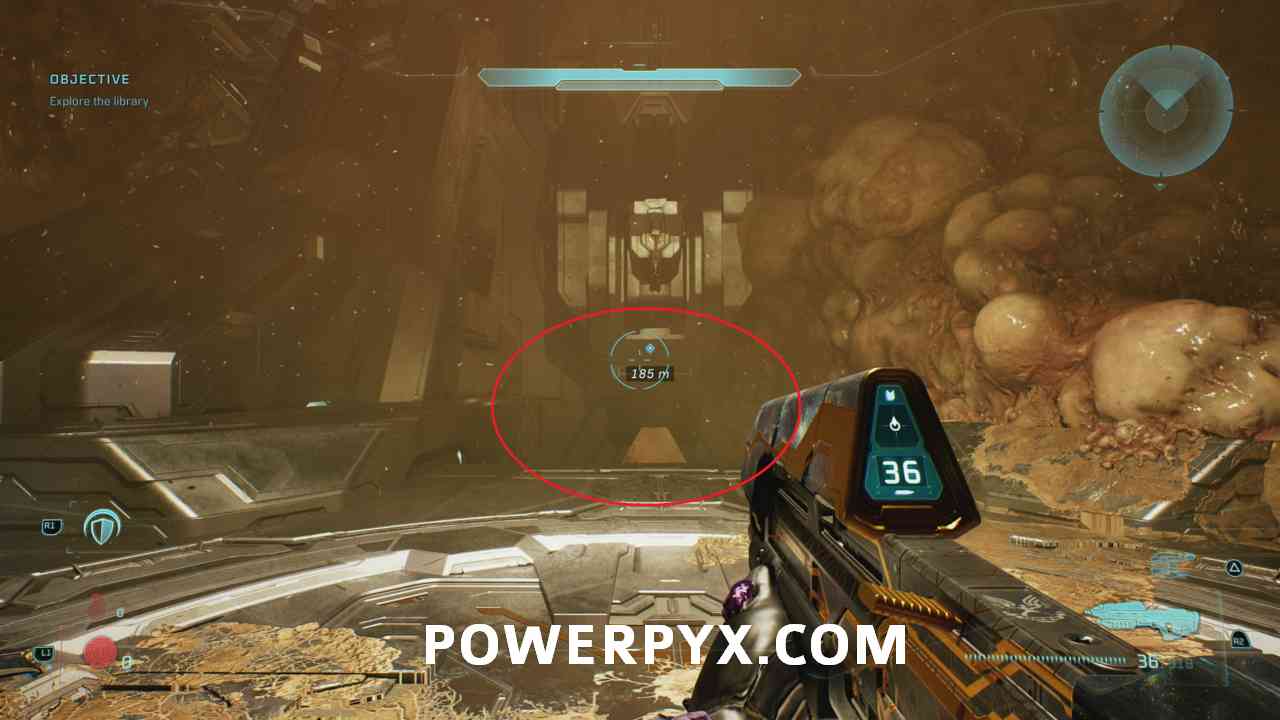
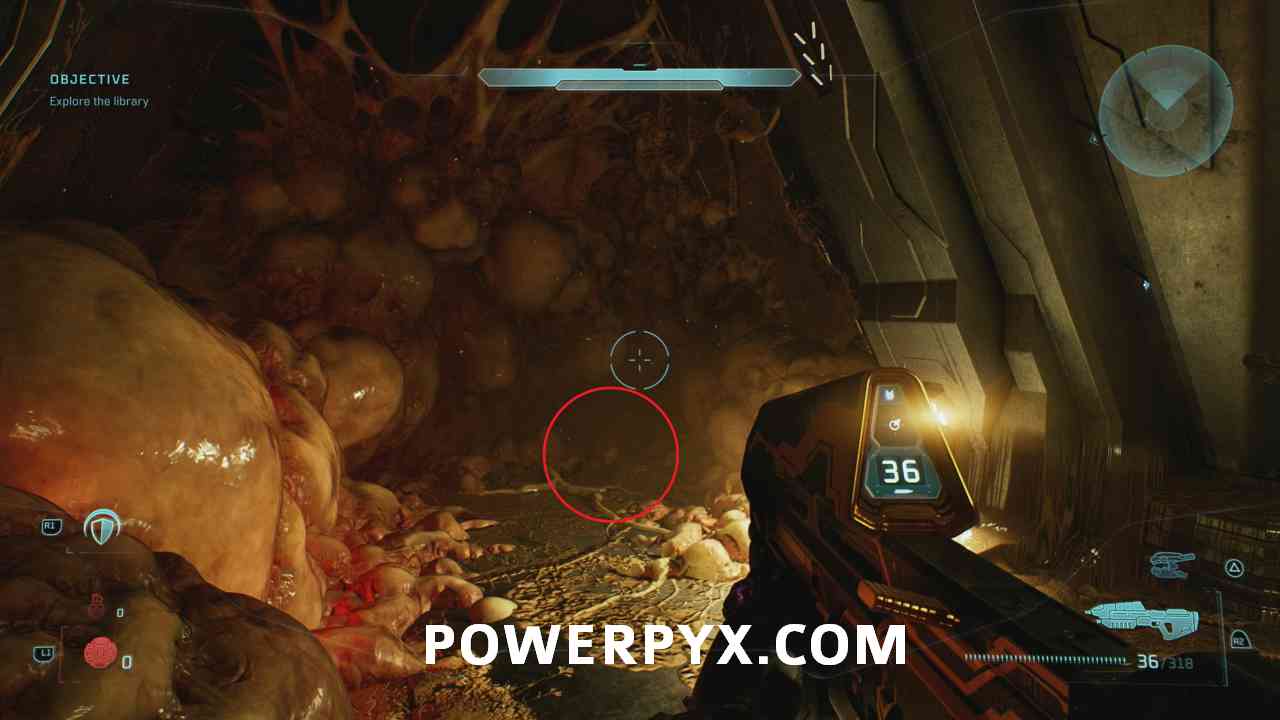
#28 – Skull (Famine)
Objective: Explore the library
Right after you take another elevator, you will go down a ramp. Here, immediately turn left to find the skull on the ground.
Two Betrayals
Chapter: Rally Point Alpha
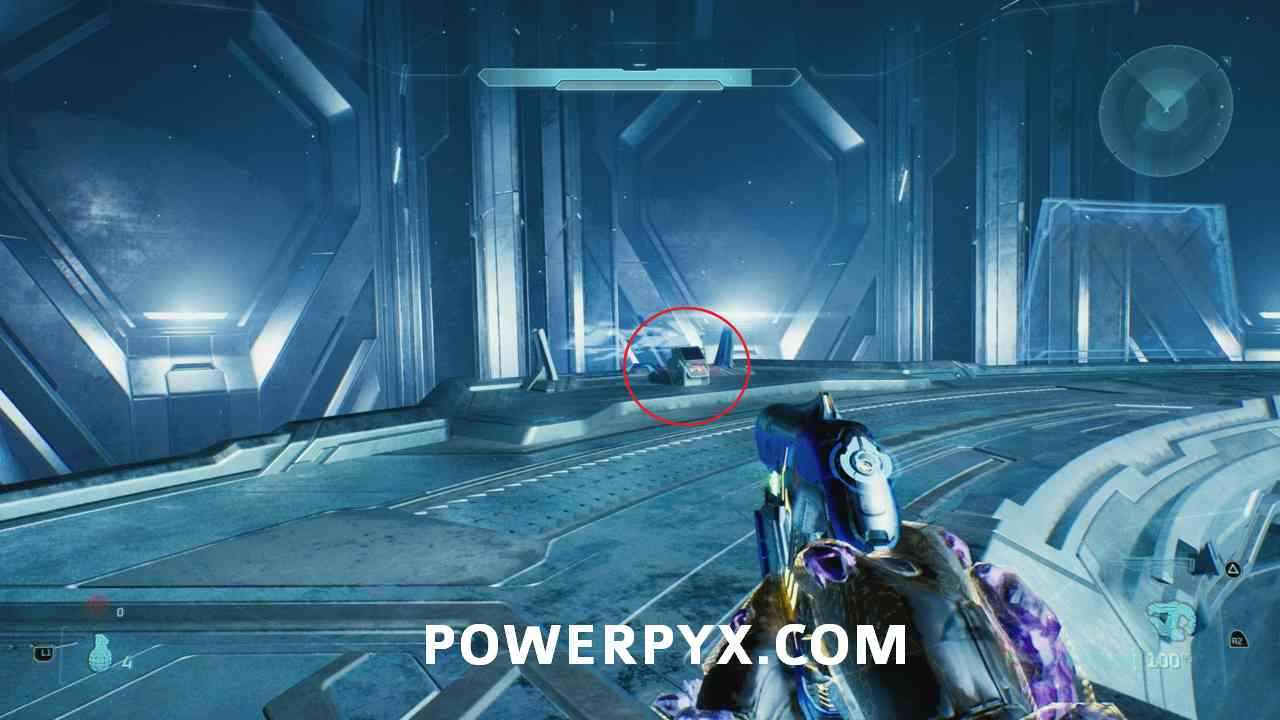
#29 – Terminal (Alone)
Objective: Take the elevator into the lower chambers
As soon as you can control the Master Chief, turn around and go around the bubble to find the terminal.

#30 – Skull (Tough Luck)
Objective: Comandeer a Banshee to reach the upper landing
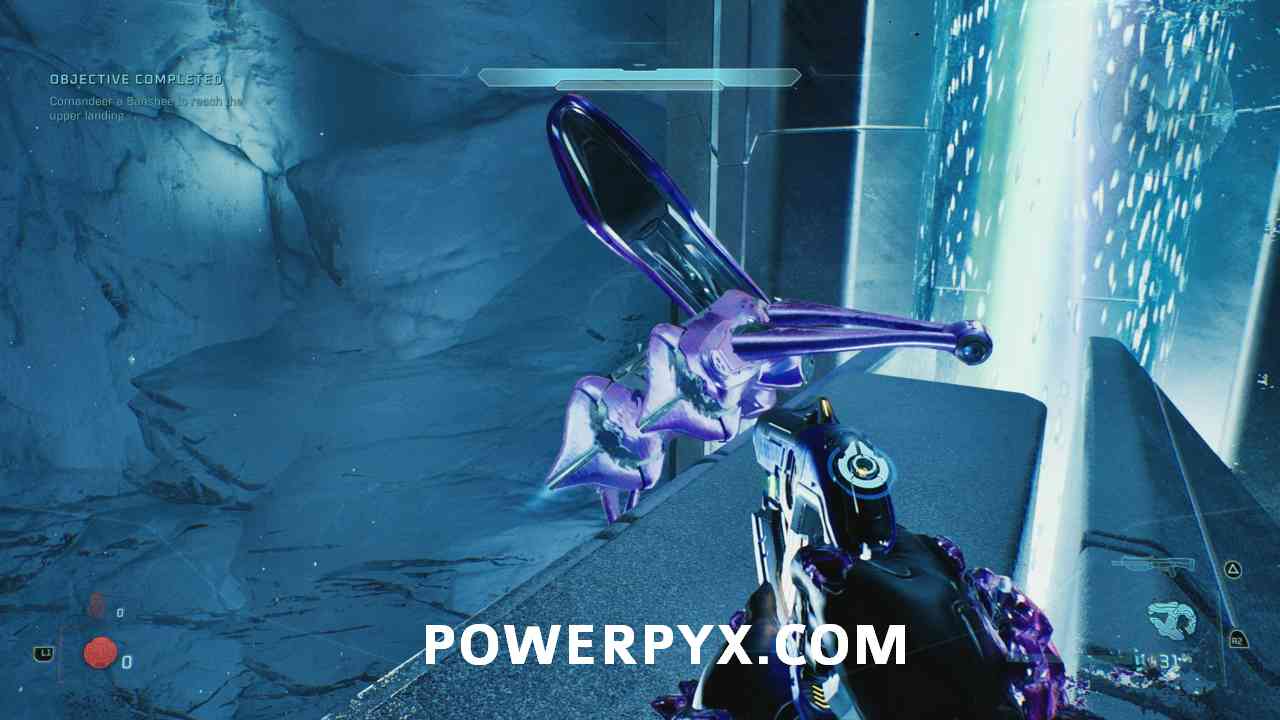
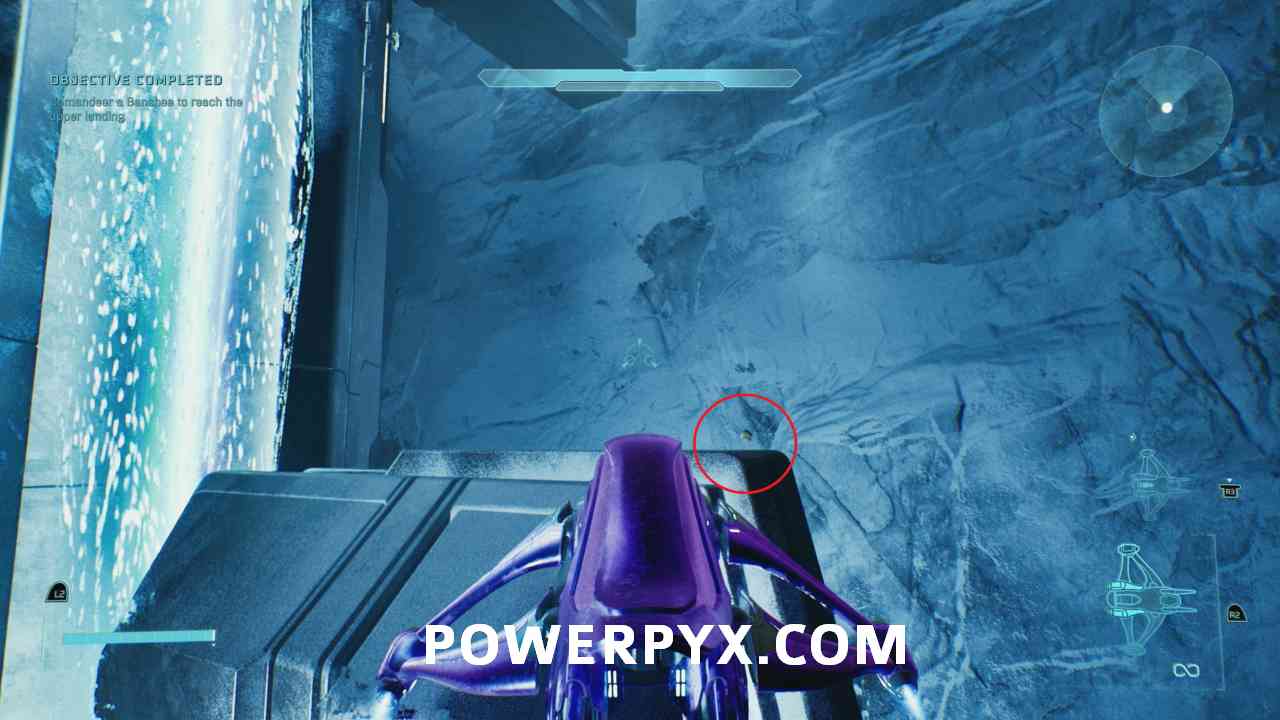
After you leave the building, you have to fly a Banshee. Instead of going to the mission marker, fly up to the building to find the skull.
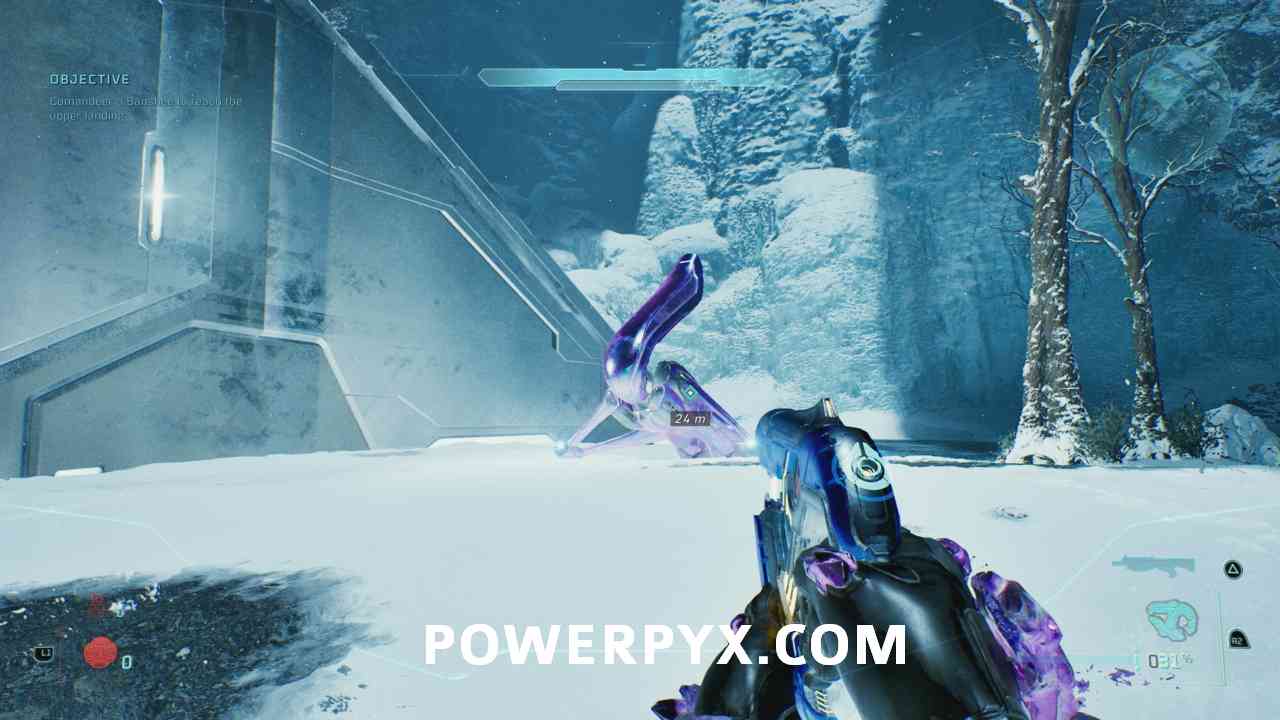
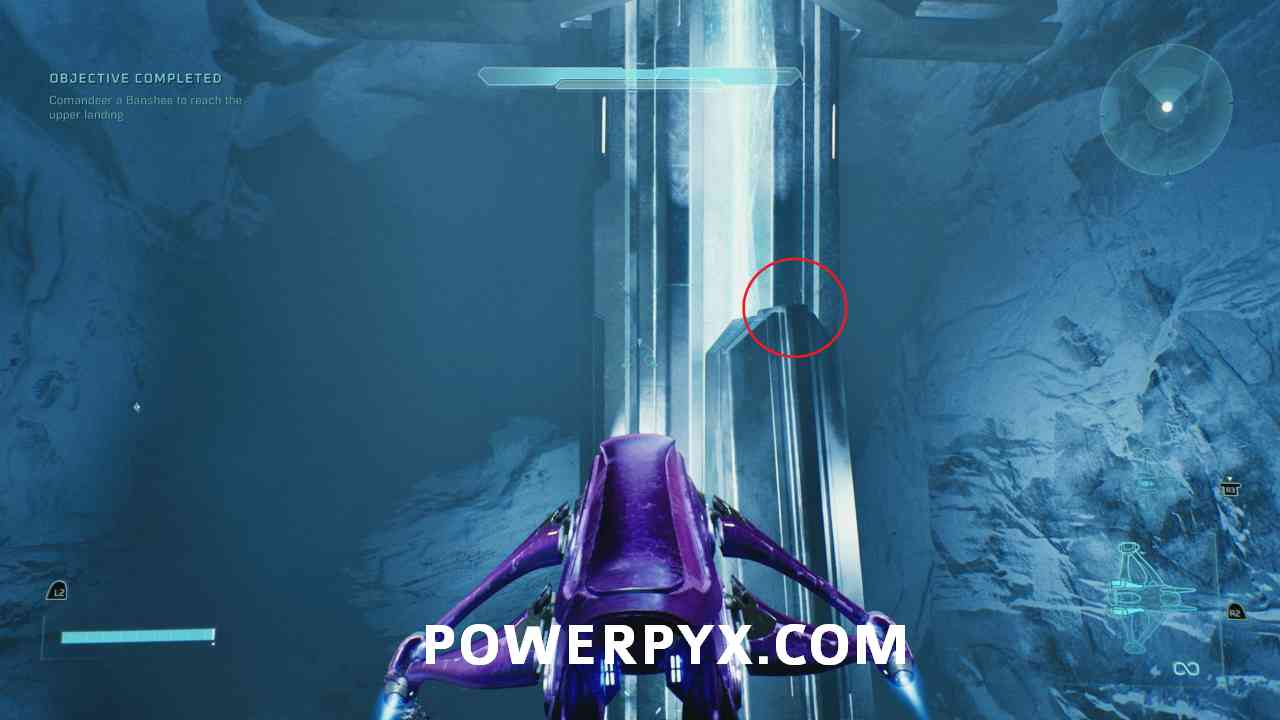
Try to land the Banshee on the spire, as there is no other way to get back down. You can also save and quit after picking up the skull, but you might need to restart the Rally Point, as you might get a checkpoint up on that spire.
Chapter: Rally Point Charlie
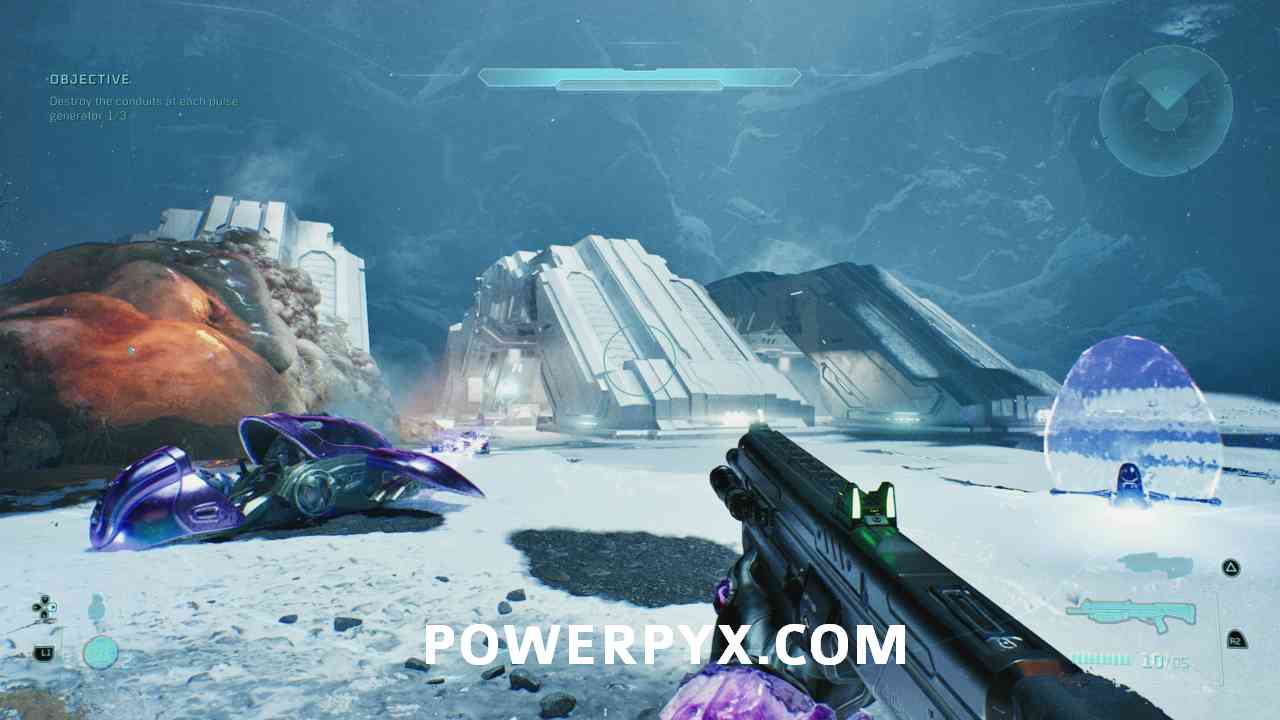
#31 – Skull (Black Eye)
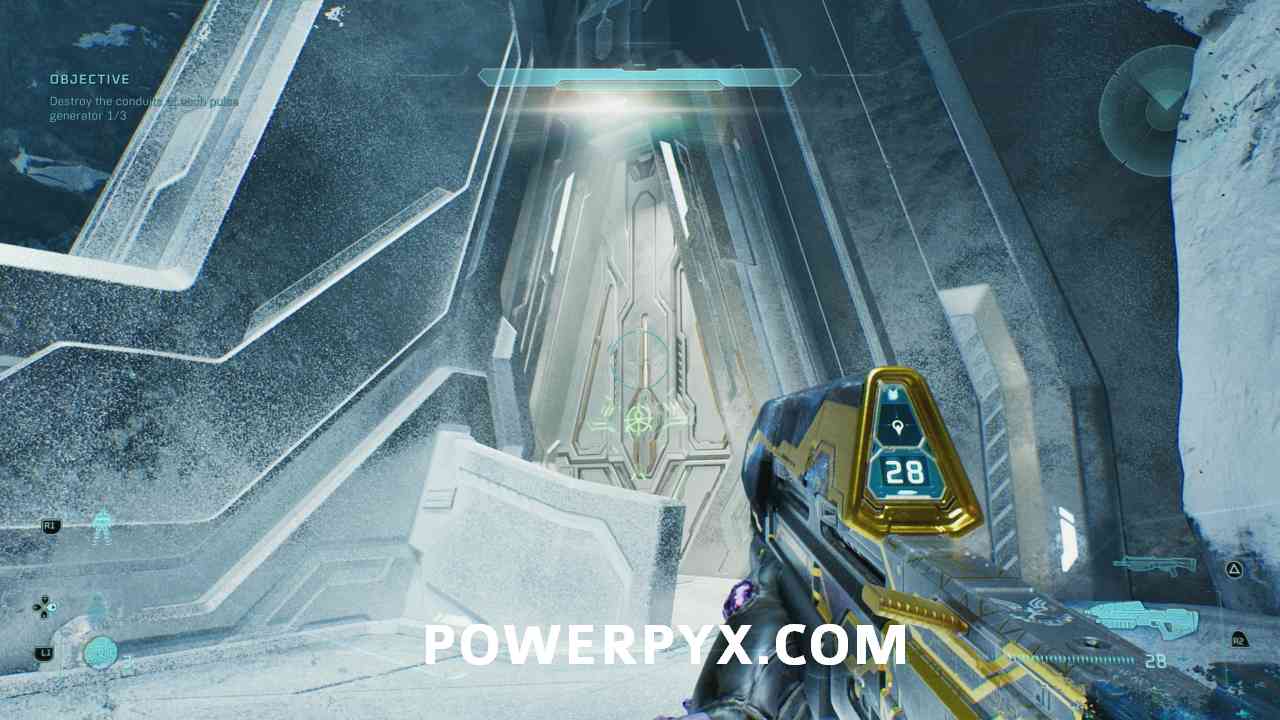
Objective: Destroy the conduits at each pulse generator
At the beginning, you will exit the building and see three bridges in front of you, go over the middle bridge to find the skull.
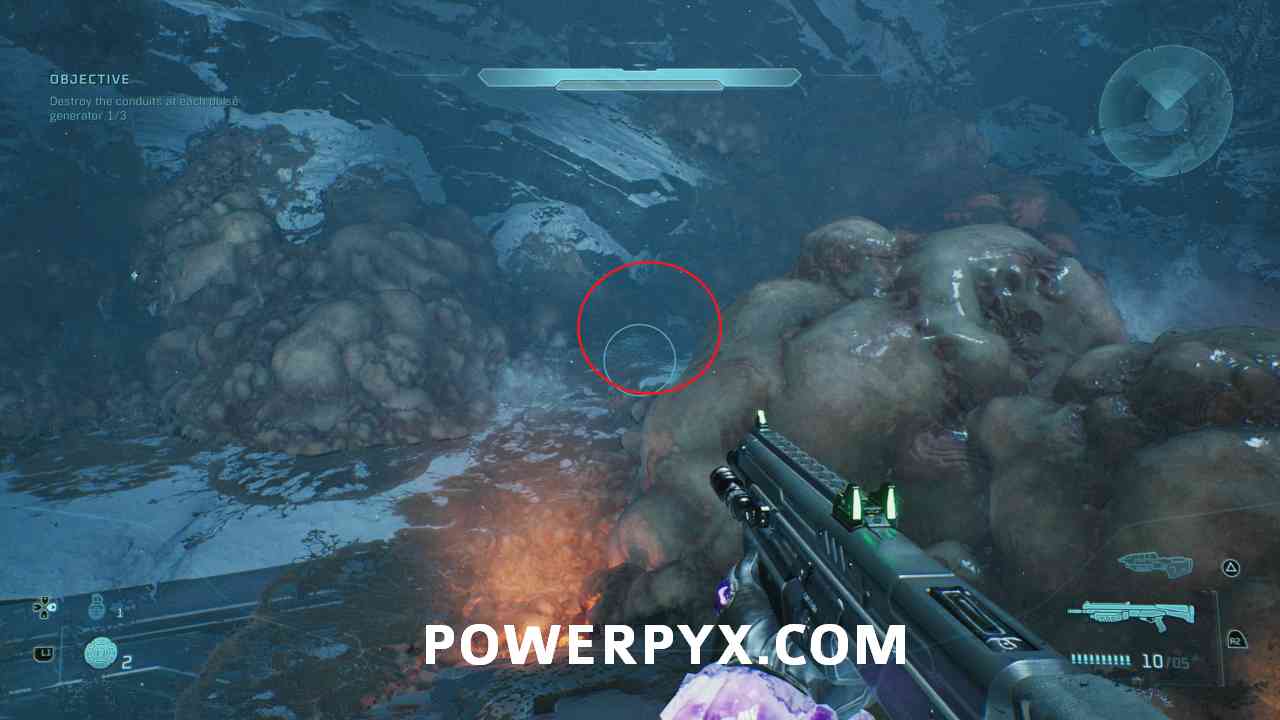
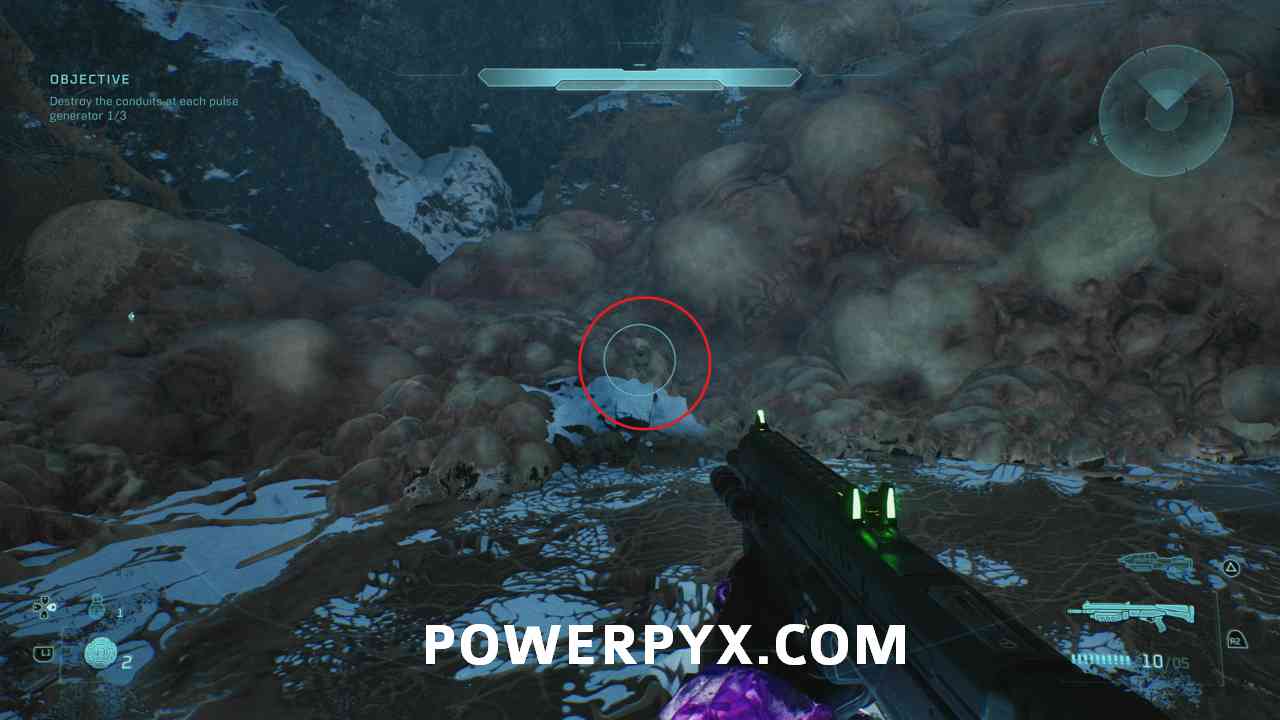
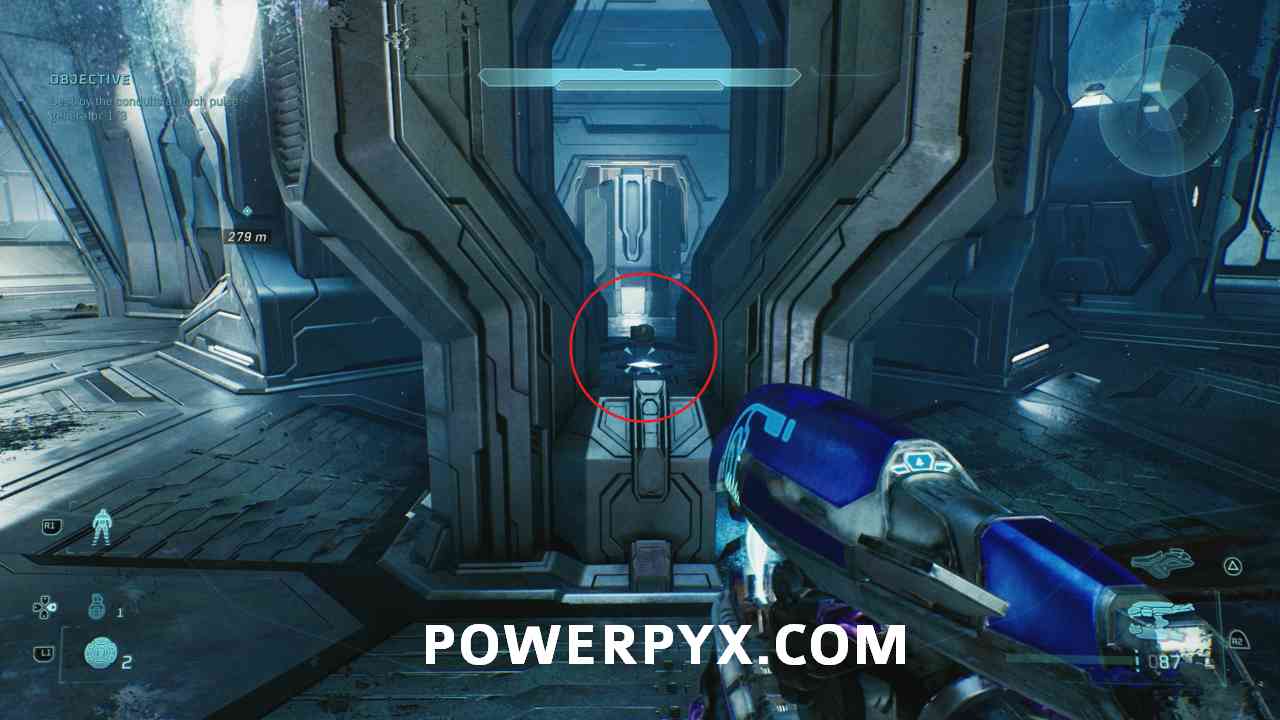
#32 – Skull (Mythic)
Objective: Destroy the conduits at each pulse generator
Shortly after the previous skull, you have to enter a Banshee and fly up the spire near it. Instead of following the mission marker, interact with the pedestal on the spire to open up another door. Now go through that door.
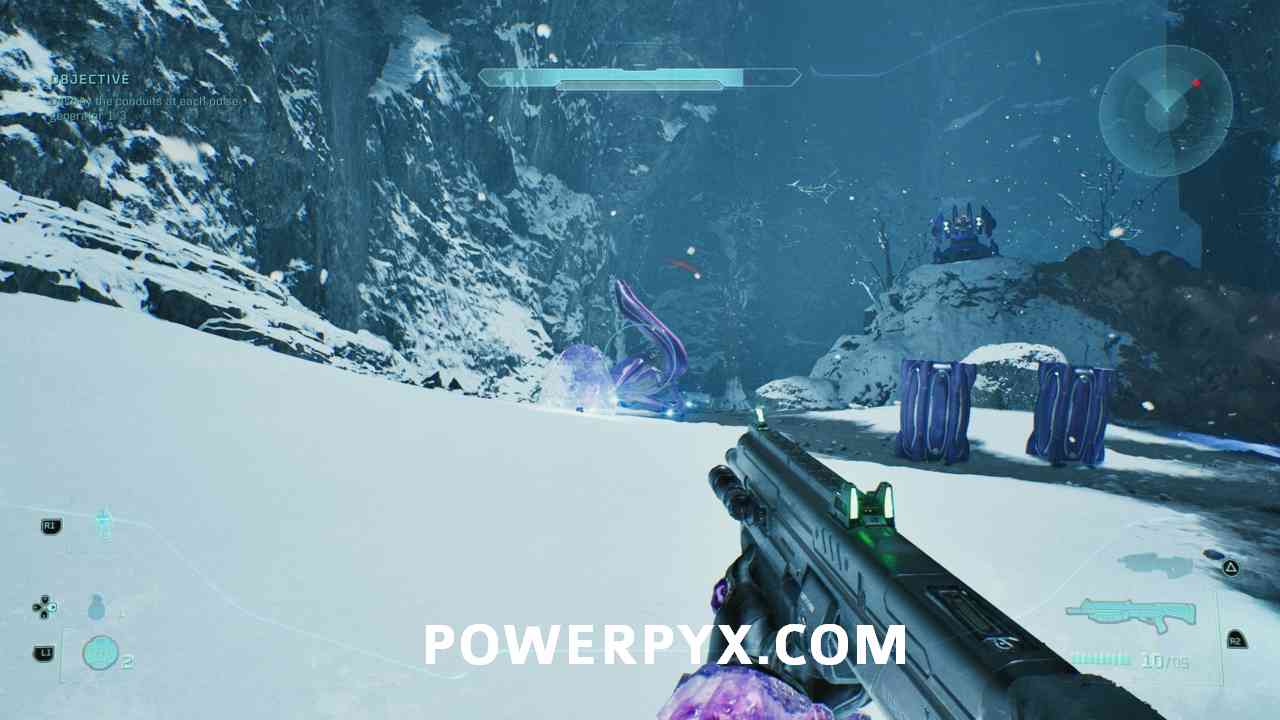
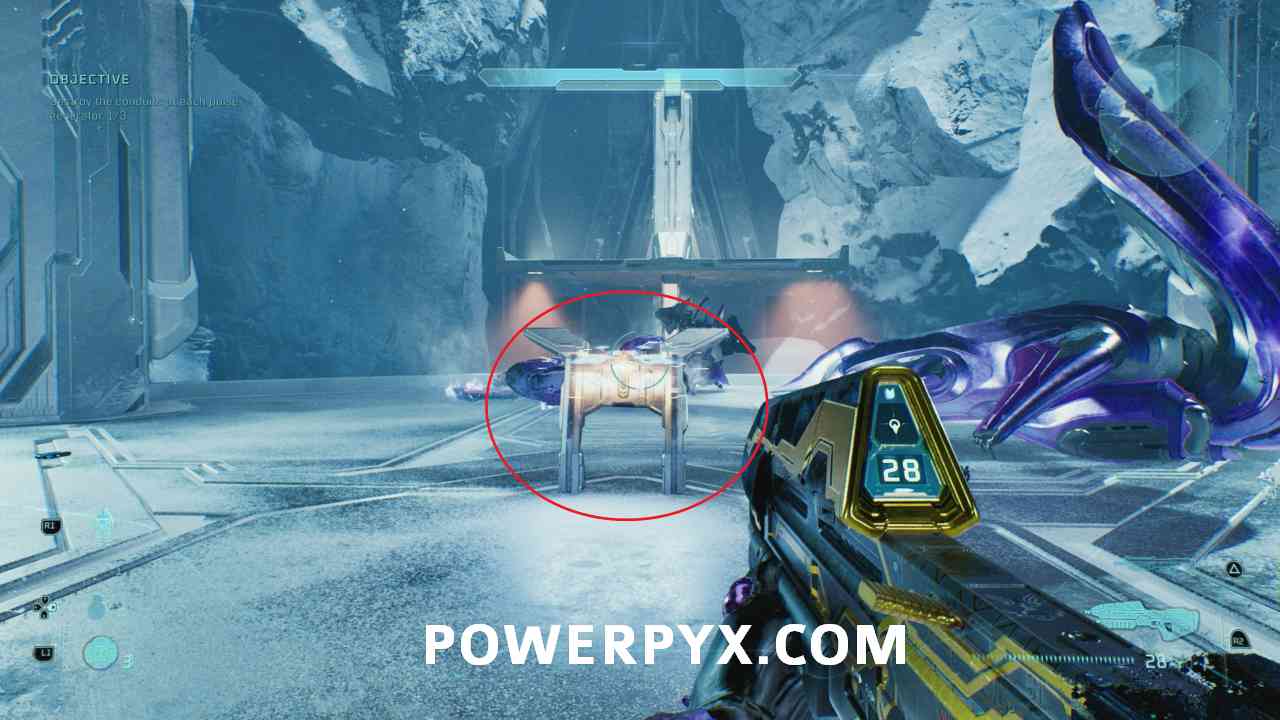
Be prepared to fight a lot of enemies. Follow the way through some corridors filled with enemies, you will reach a room with a lot more enemies. After killing all enemies, the skull appears in the middle of the room.
Keyes
Chapter: Rally Point Alpha
#33 – Skull (Catch)
Objective: Find a way to the ships bridge
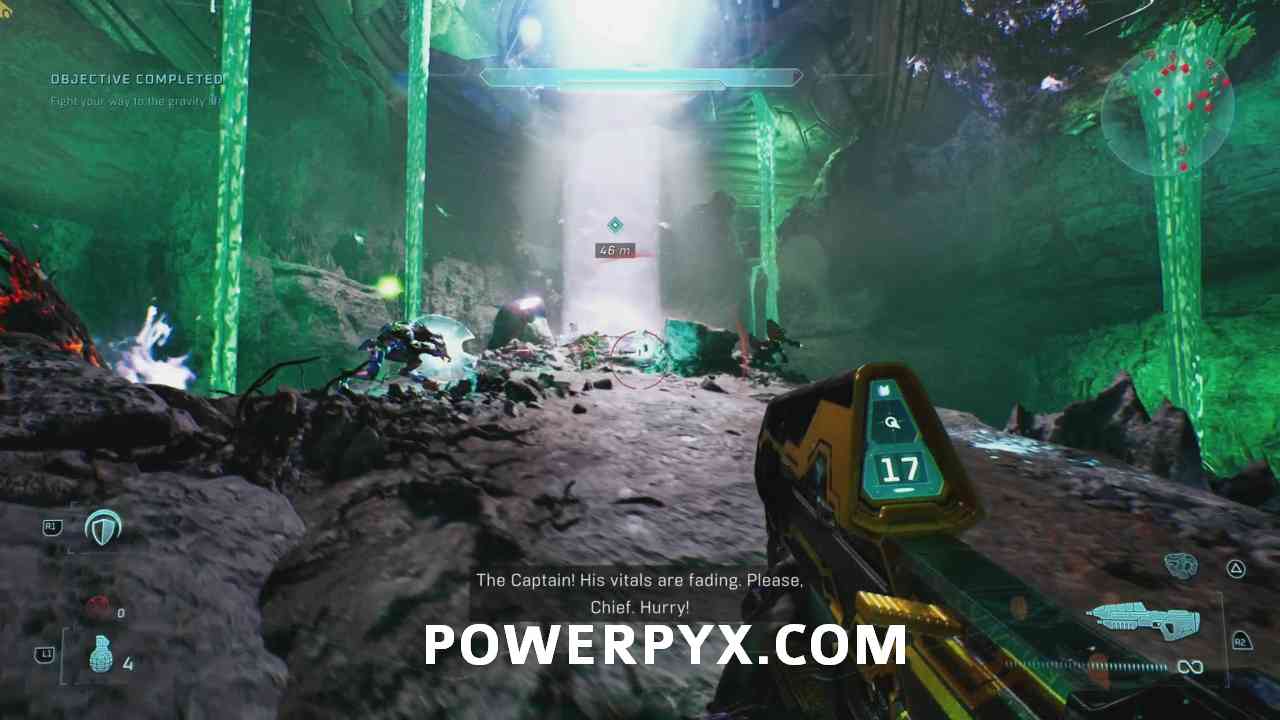
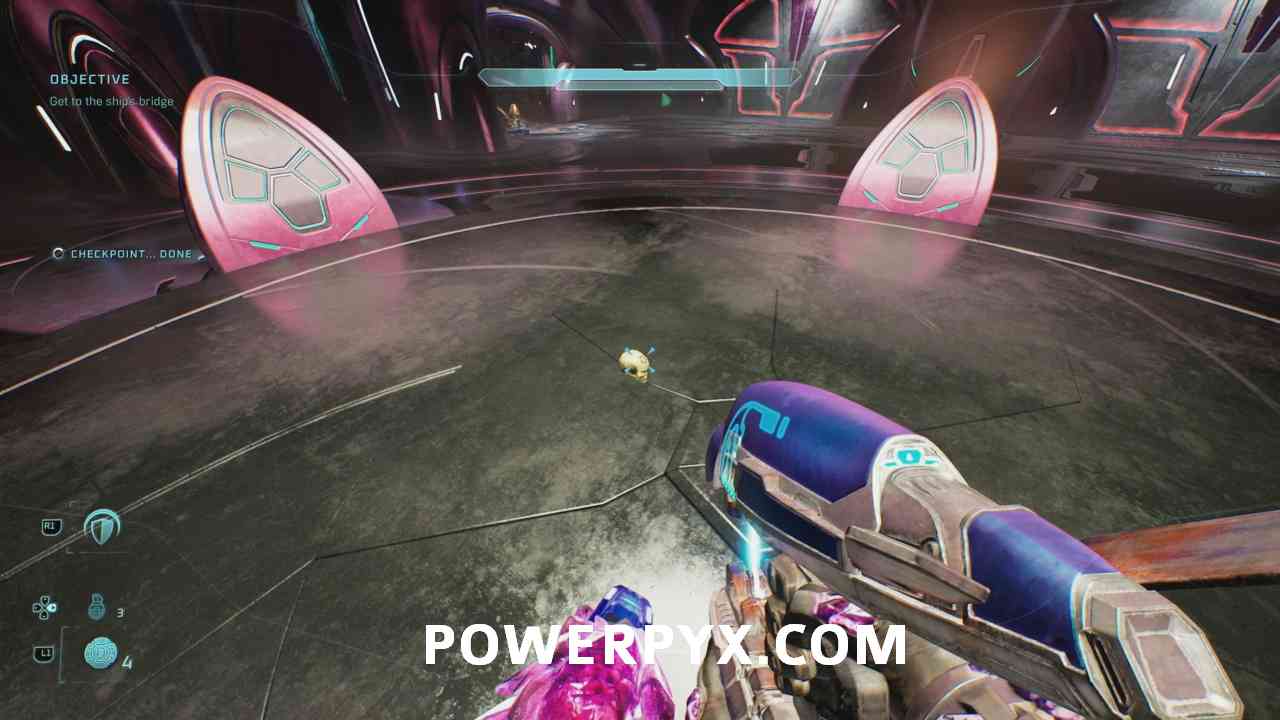
For this skull, you NEED to play on Heroic or Legendary difficulty. You also need to reach the ship within 3 to 5 minutes or less to get the skull (exact timing is currently unknown, but under 3 minutes works 100%). To make things easier, you can use Difficulty Modifiers. There is only one way to go, but it will be hectic with all the enemies. You can run past all enemies and only kill the enemies at the very end inside the lift, they will also be marked. Once you kill them, go inside the lift, the skull will lie on the ground once you are inside the ship. Pick it up immediately or it might disappear.
Chapter: Rally Point Bravo
#34 – Skull (Blind)
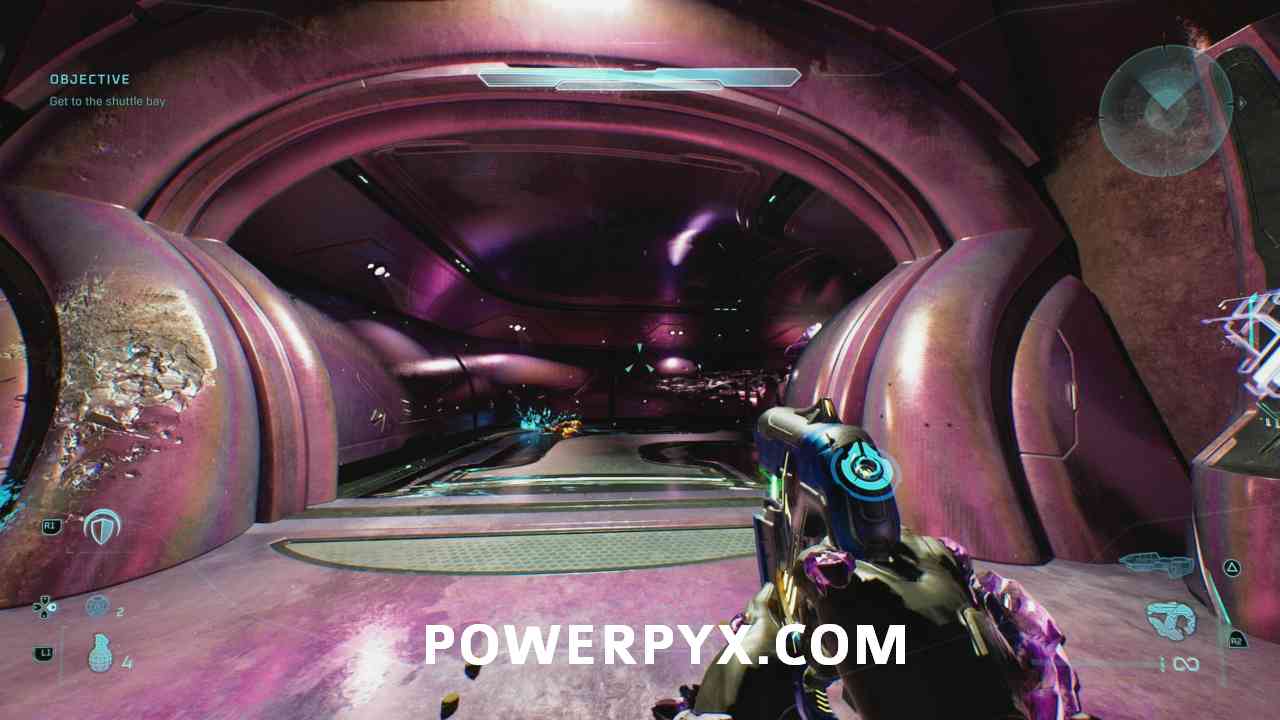
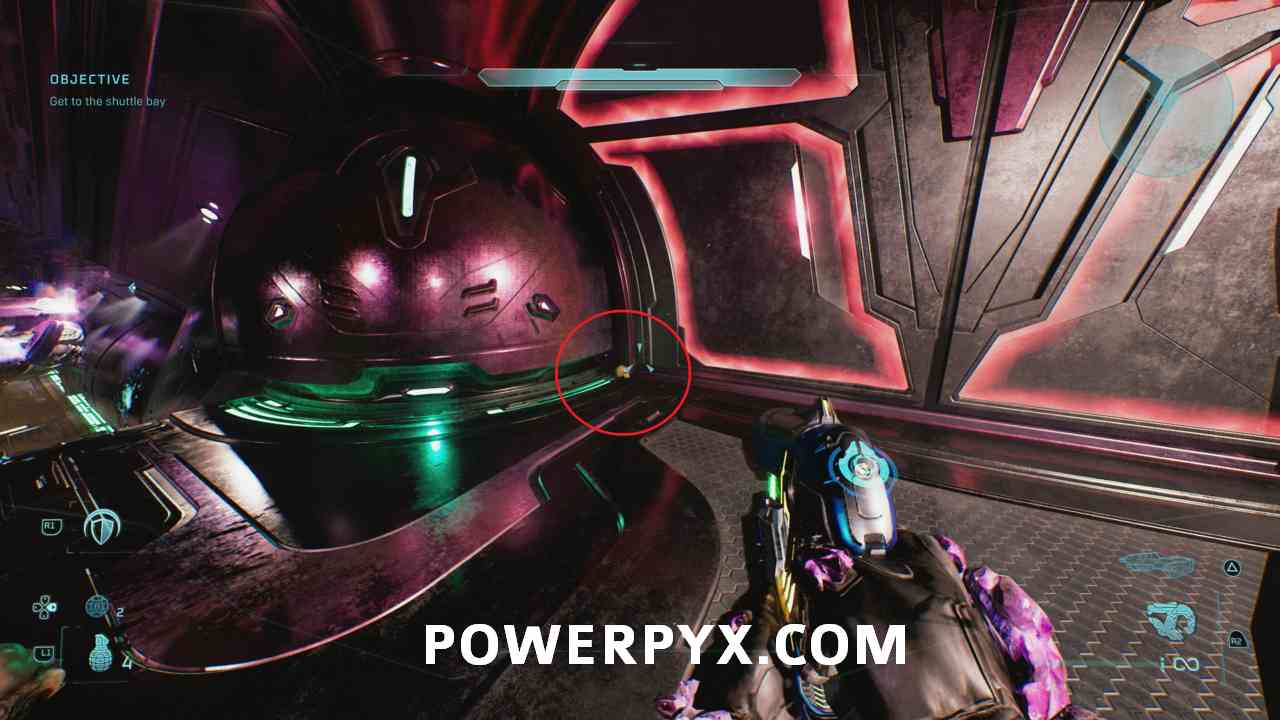
Objective: Get to the shuttle bay
Shortly after the previous skull, you will enter this room. Here, turn right, and you will see some enemies come out of a door below you.
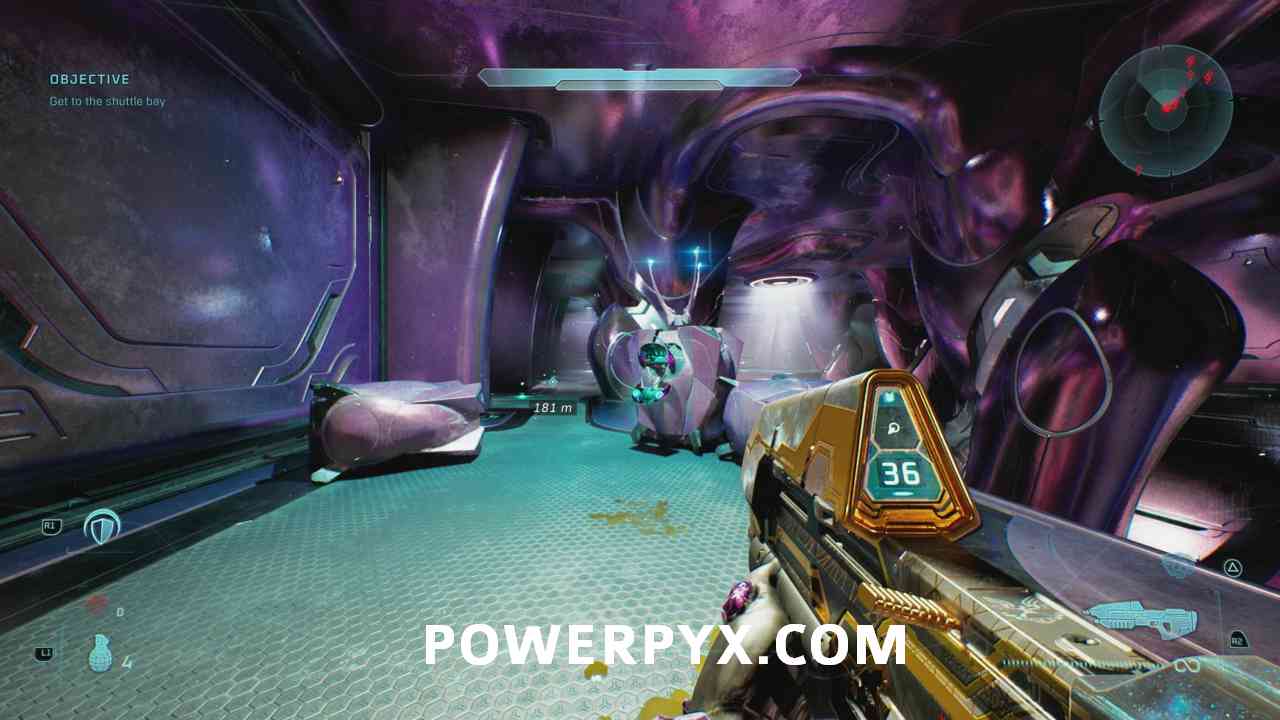
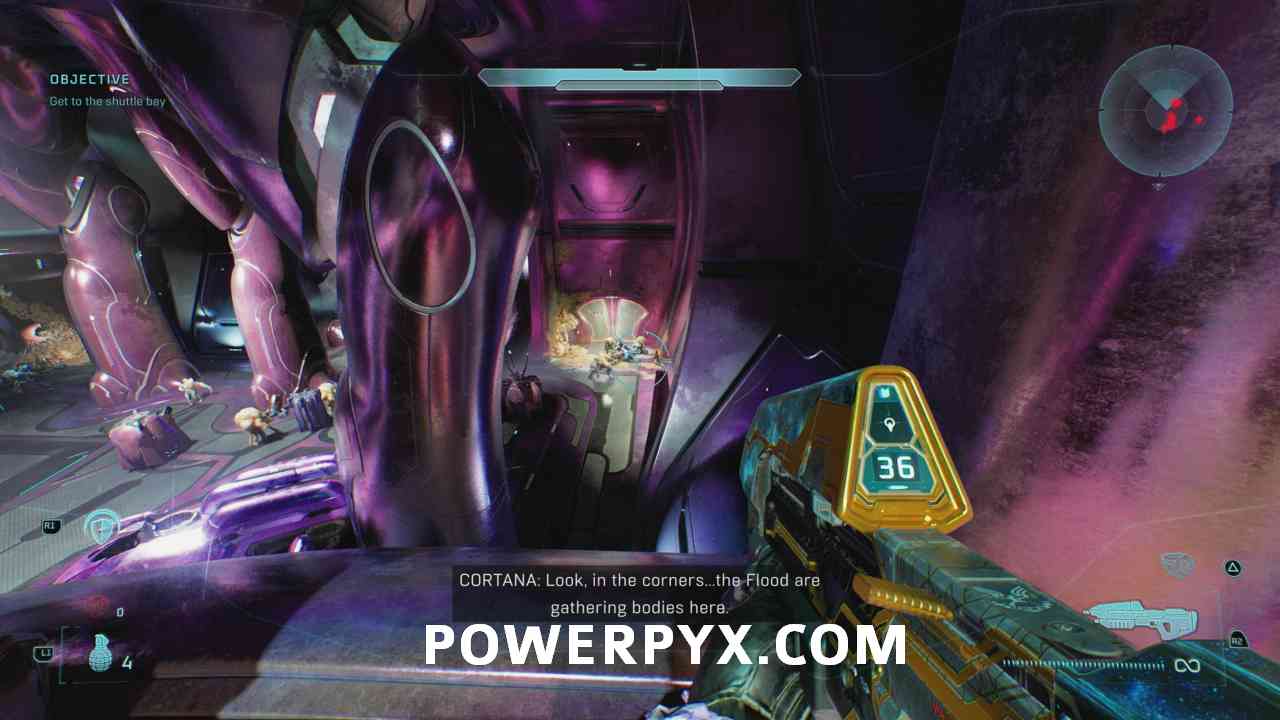
Jump down and go through the door, and you will find the skull on the ground in the hallway behind a barricade.
#35 – Terminal (Consumed)
Objective: Get to the shuttle bay
Soon after the previous skull, you will enter a hangar. Here, turn left and go through another door.
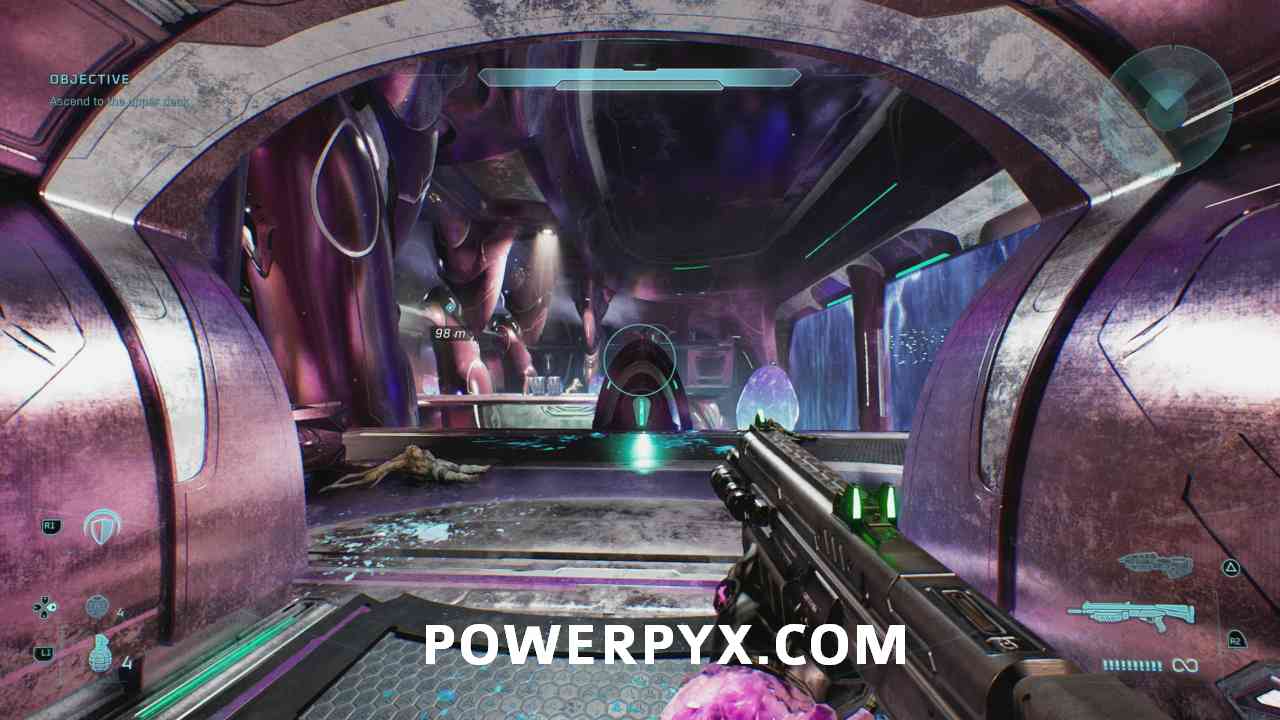
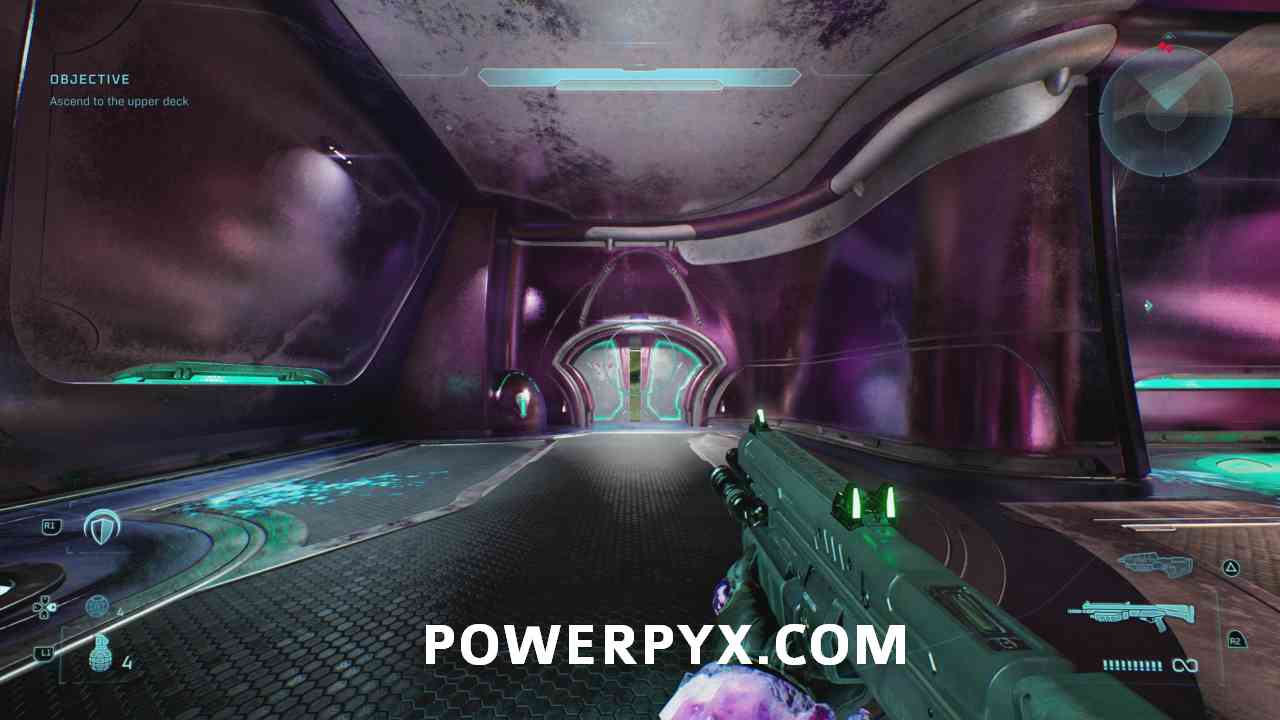
Go down the ramp on the left side, then go down another ramp on the left side. Here, turn right to find the terminal.
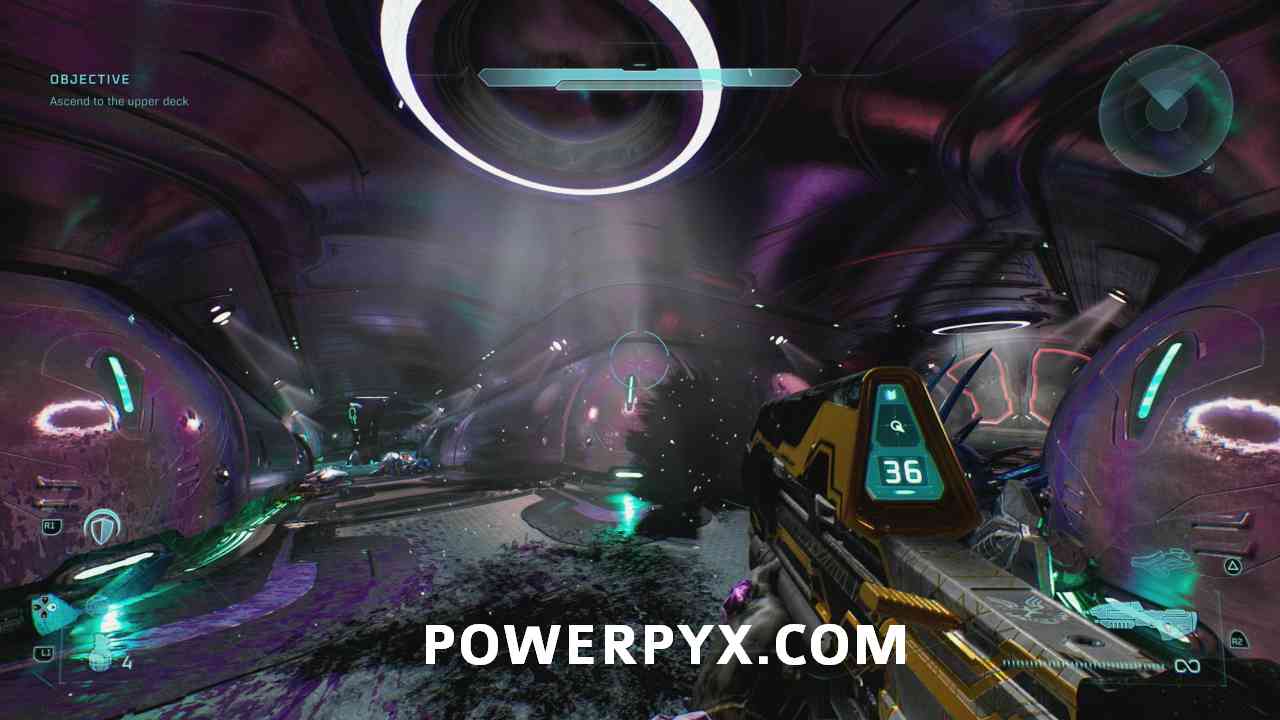
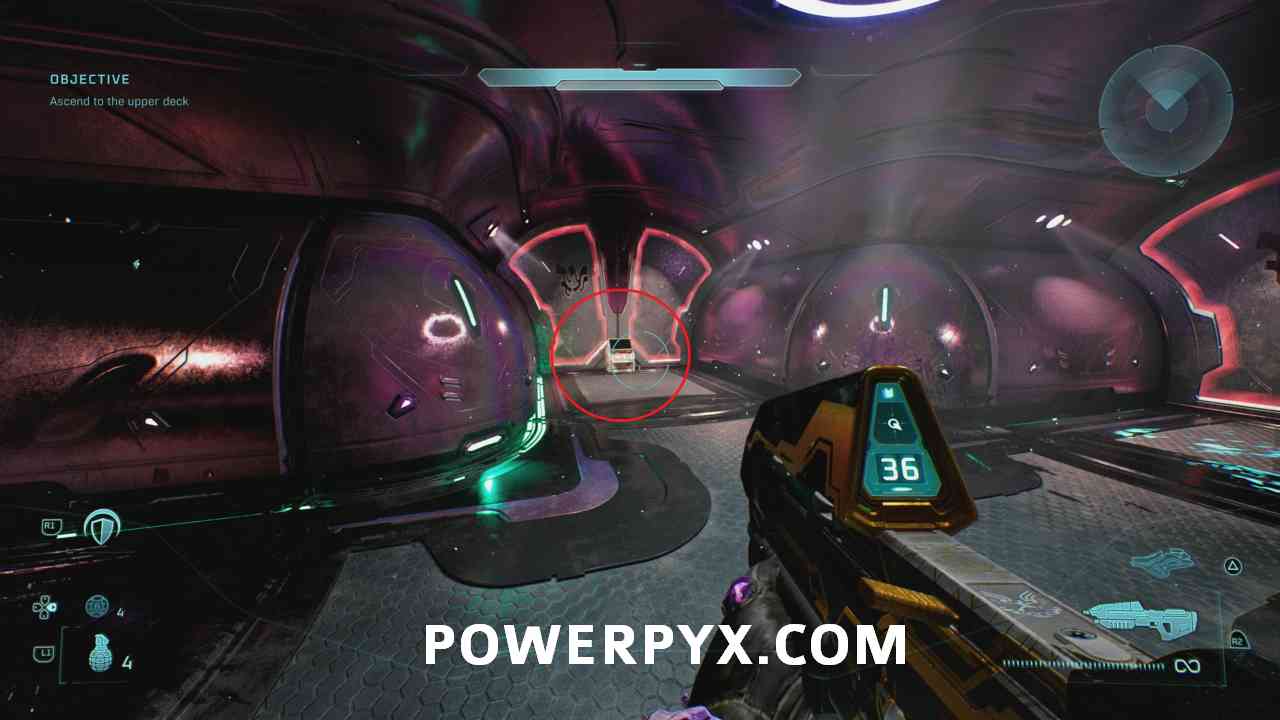
Chapter: Rally Point Charlie
#36 – Skull (Piñata)
Objective: Locate Captain Keyes
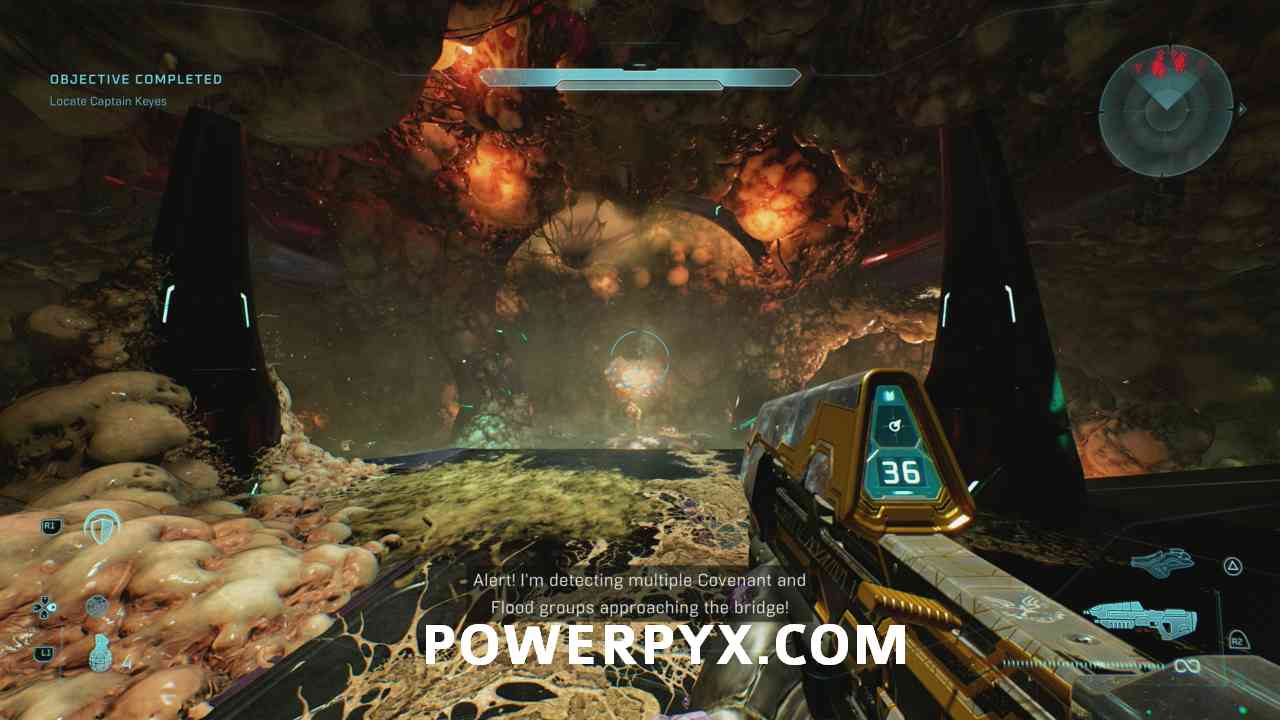
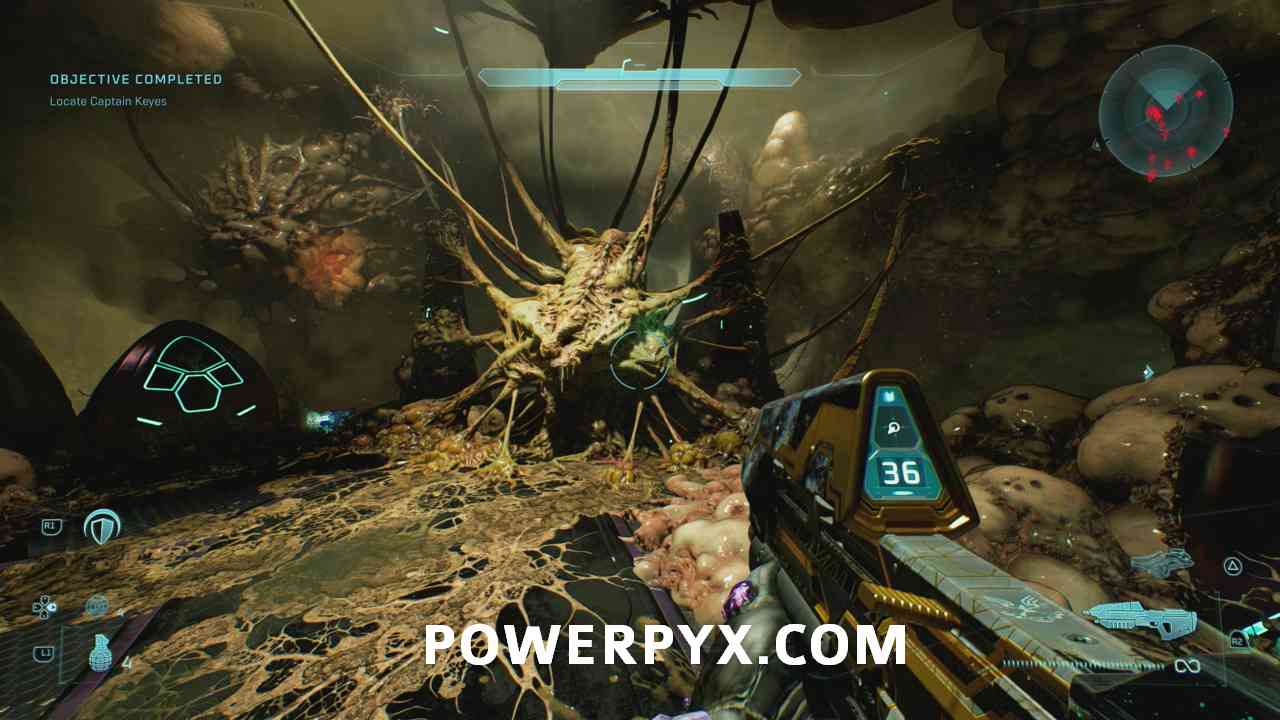
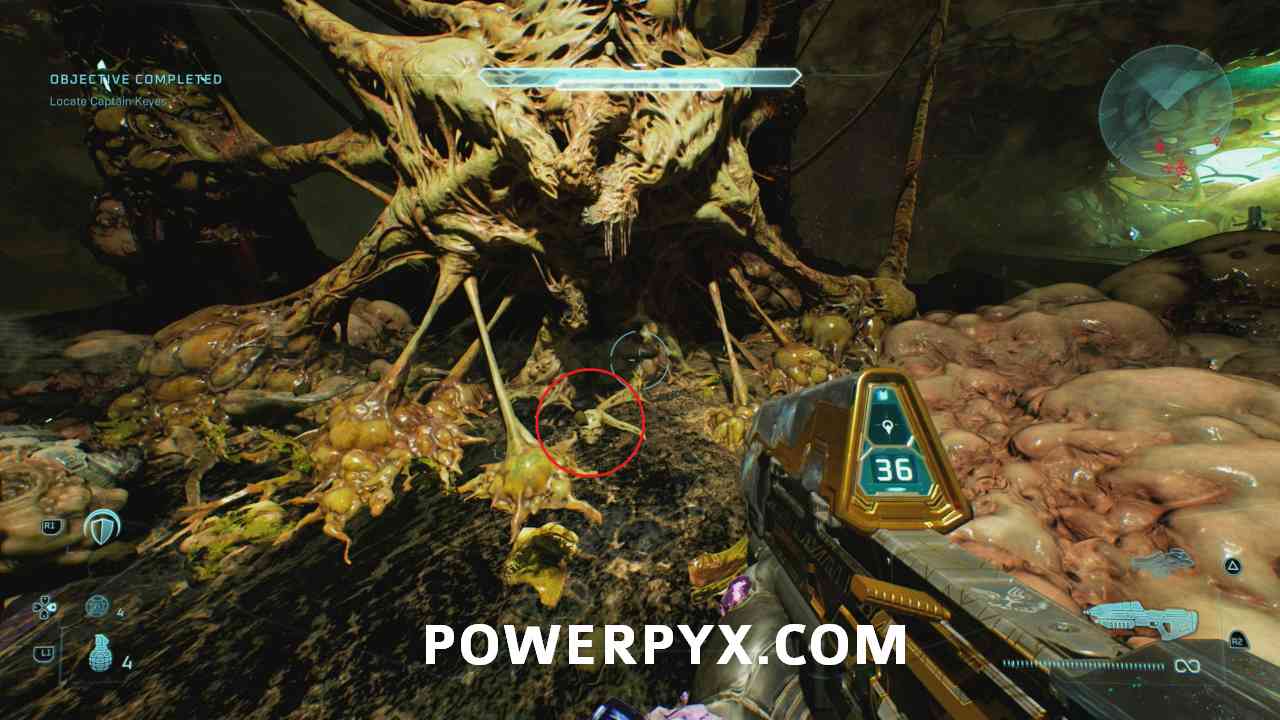
Near the end of the mission, you will enter a room and a cutscene starts. After the cutscene, turn around and melee Captain Keyes until the skull drops down.
The Maw
Chapter: Rally Point Alpha
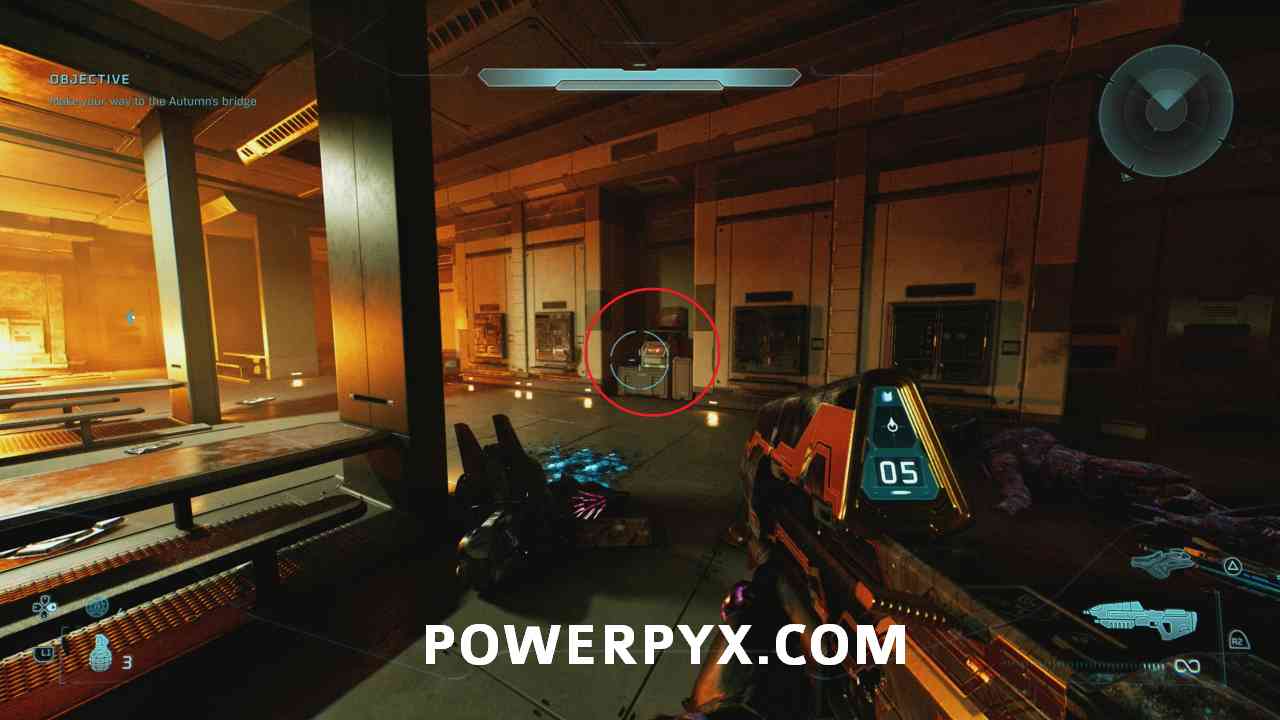
#37 – Terminal (Arrival)
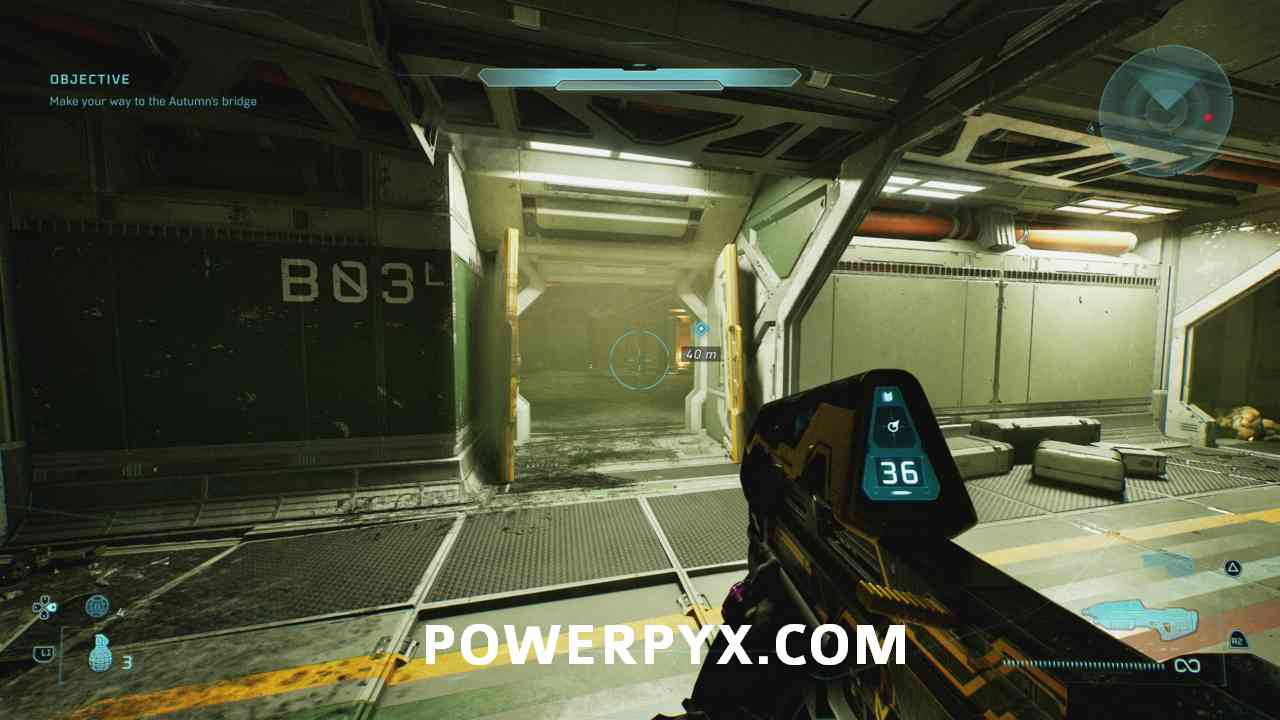
Objective: Make your way to the Autumn’s bridge
Soon after the beginning, you will enter the room called BO3L. Here you will find the terminal on the right side.
Chapter: Rally Point Bravo
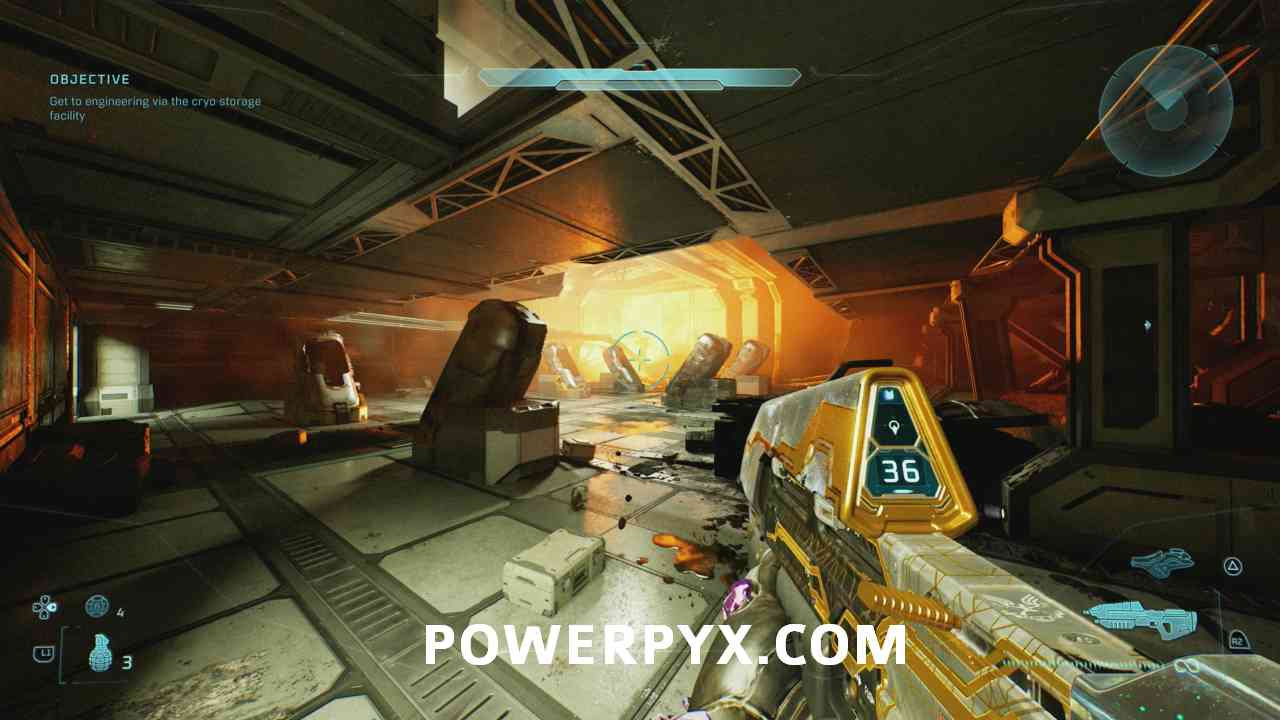
#38 – Skull (Stowed Reload)
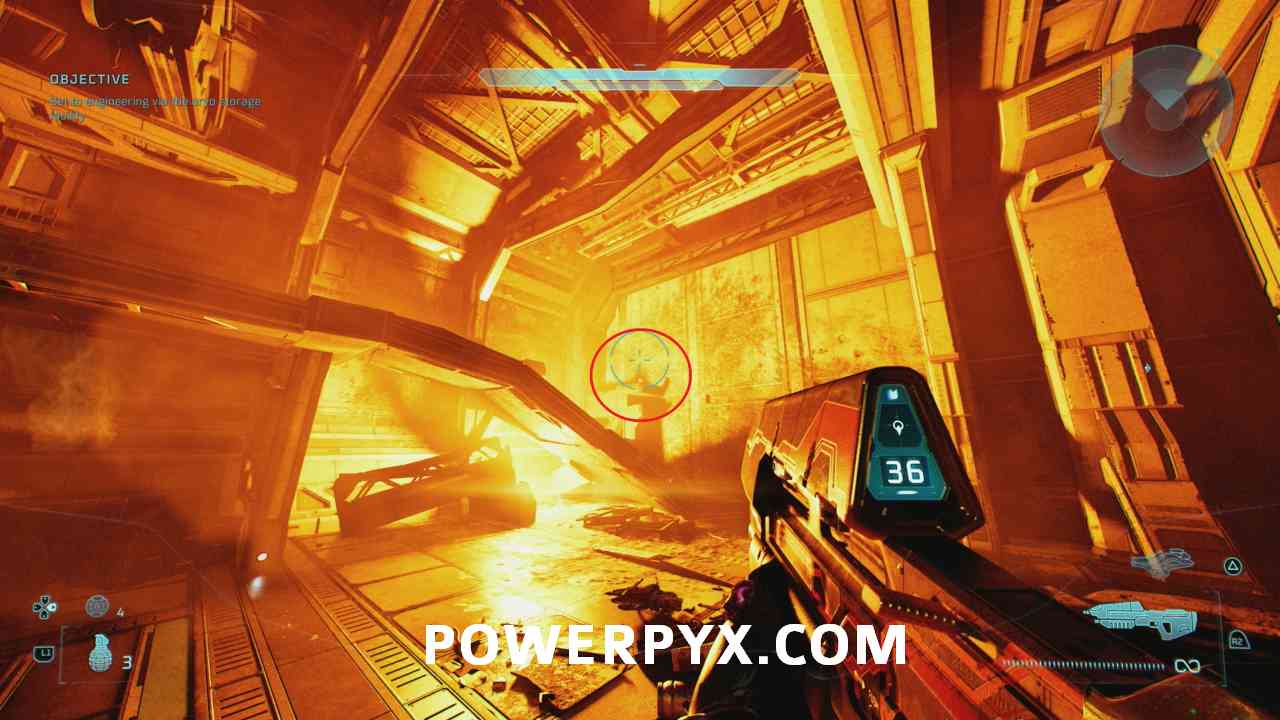
Objective: Get to engineering via the cryo storage facility
Shortly after the terminal, you will enter the cryo facility. Here you will find the skull on the upper left side of the room on a pillar.
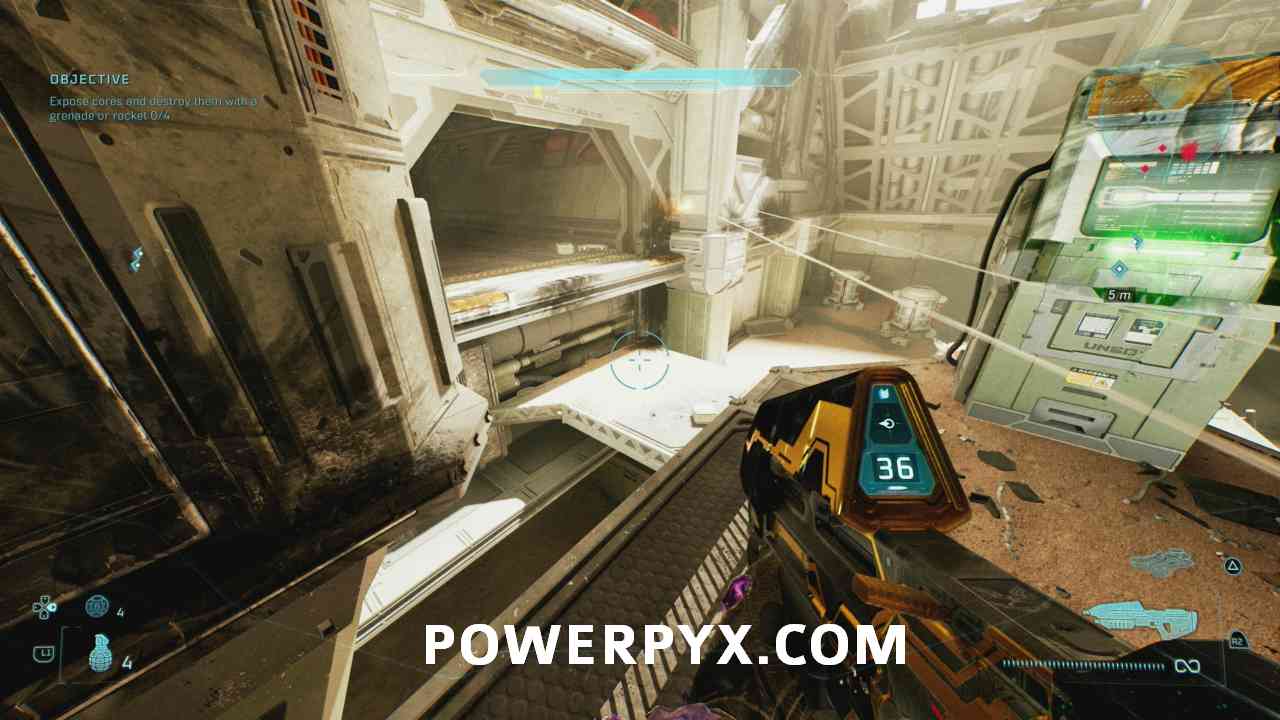
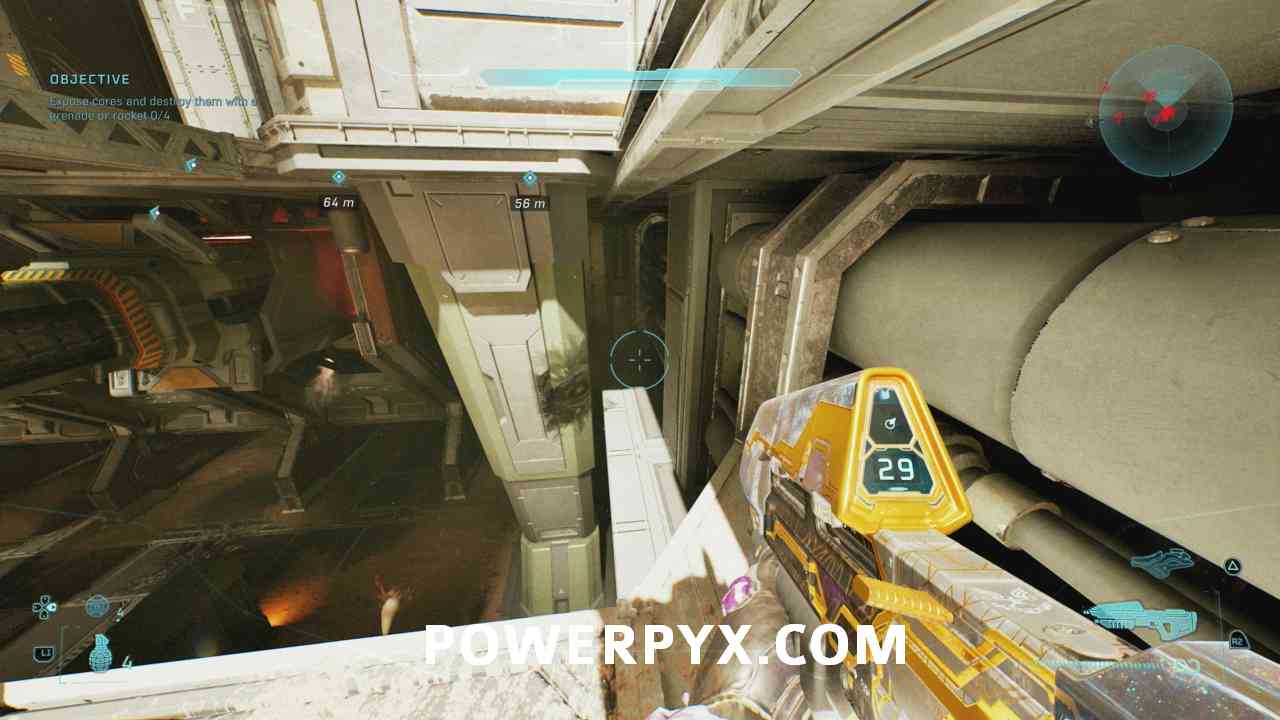
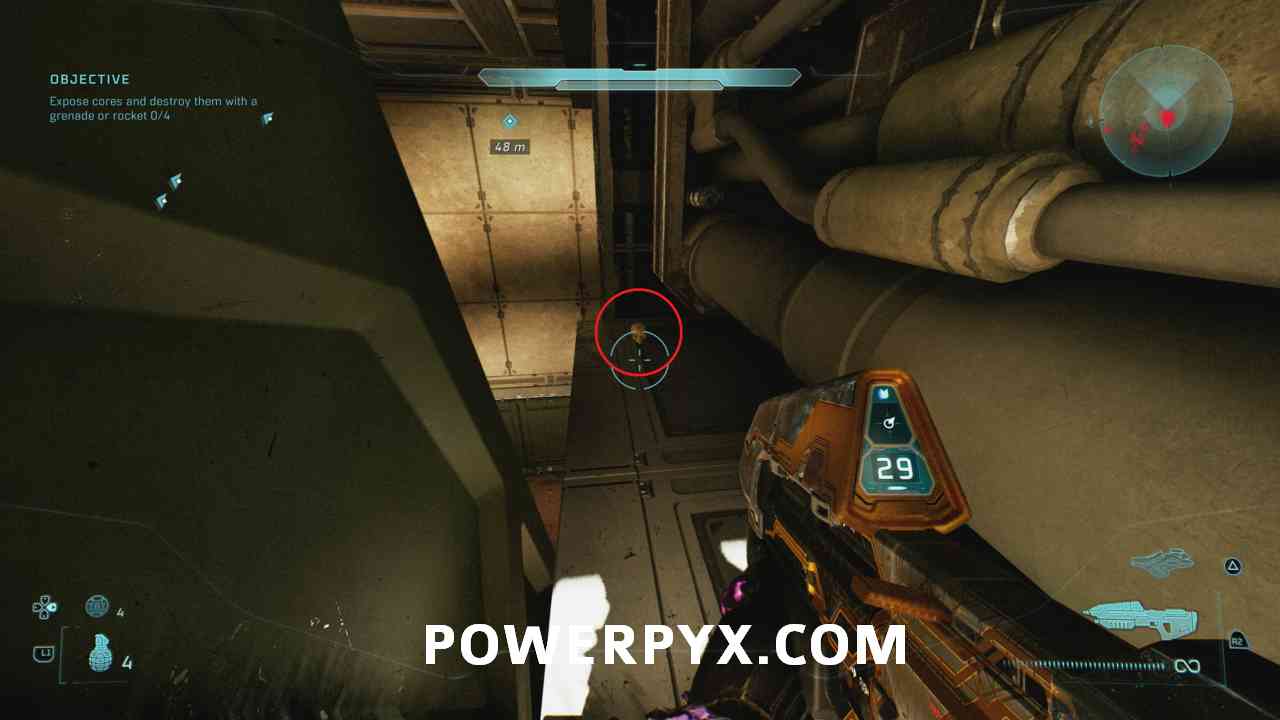
#39 – Skull (Boom)
Objective: Expose cores and destroy them with a grenade or rocket
When you reach the four engines you need to destroy, go to the upper right engine.
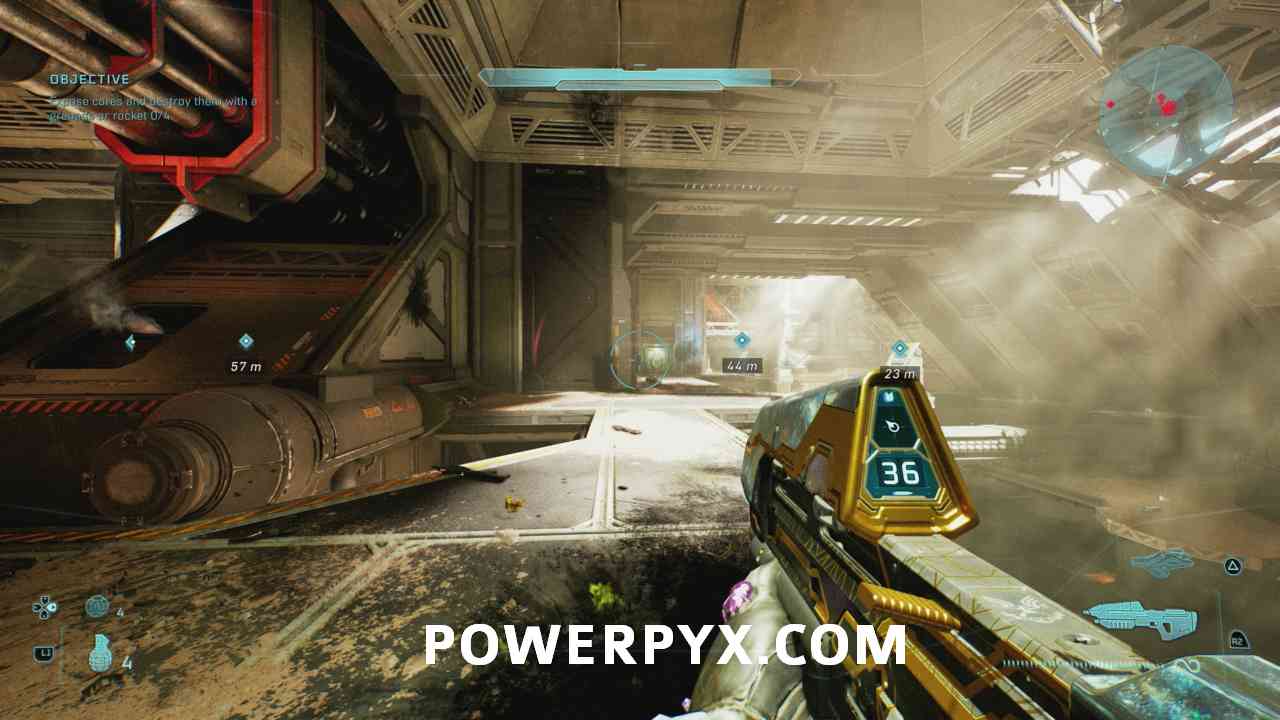
Here, drop down to the platform and turn left. Skim through the opening to find the skull.
Chapter: Rally Point Charlie
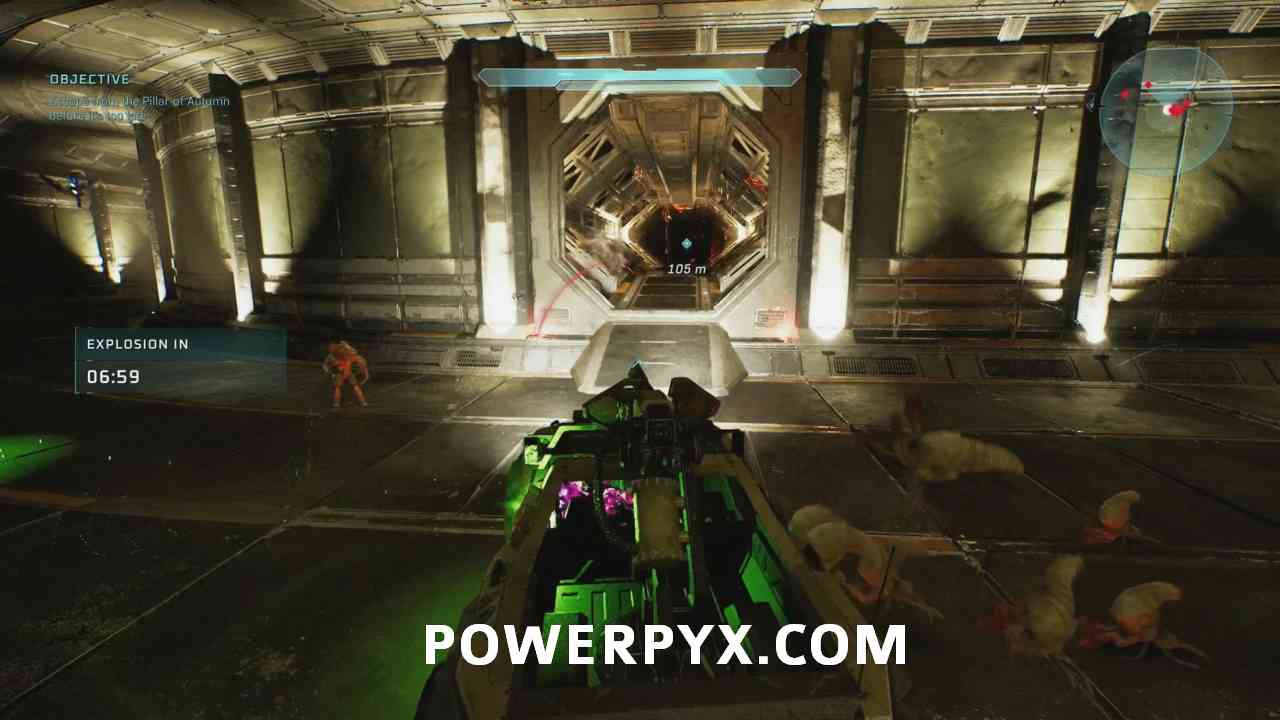
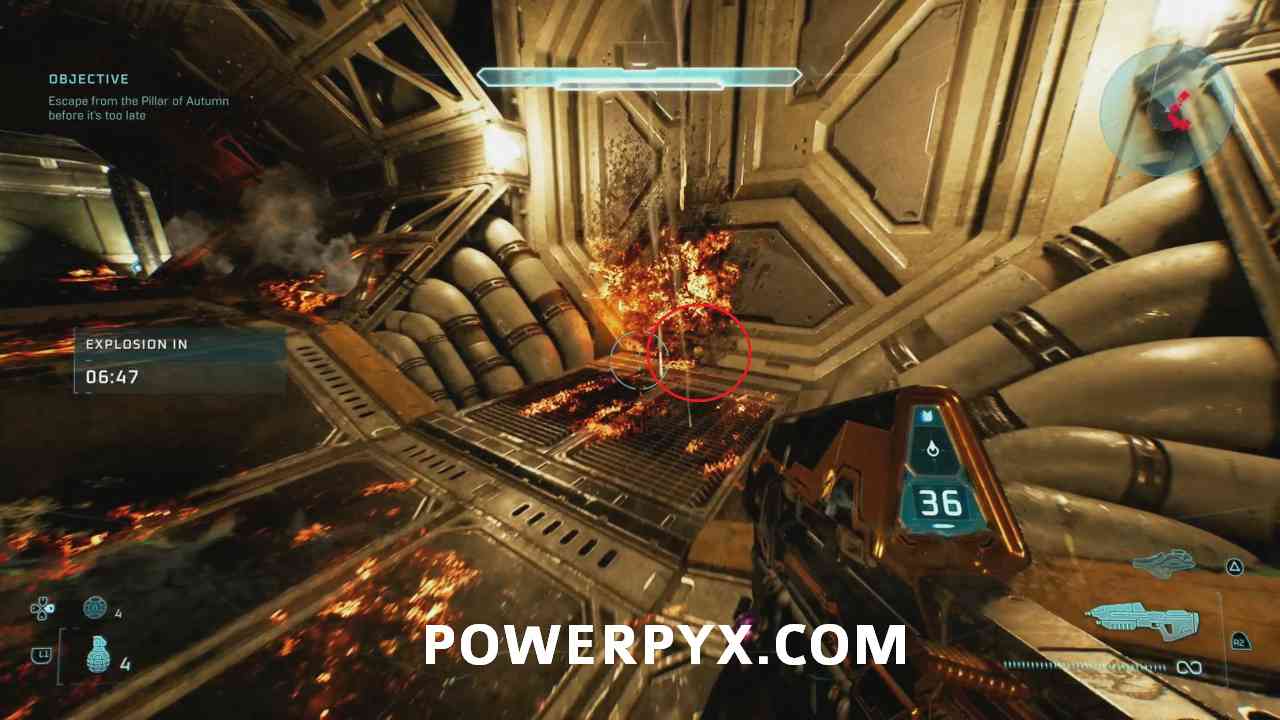
#40 – Skull (Thunderstorm)
Objective: Escape from the Pillar of Autumn before it’s too late.
After destroying the four engines, you need to escape. Soon after you enter the vehicle, you will drive into an underground area.
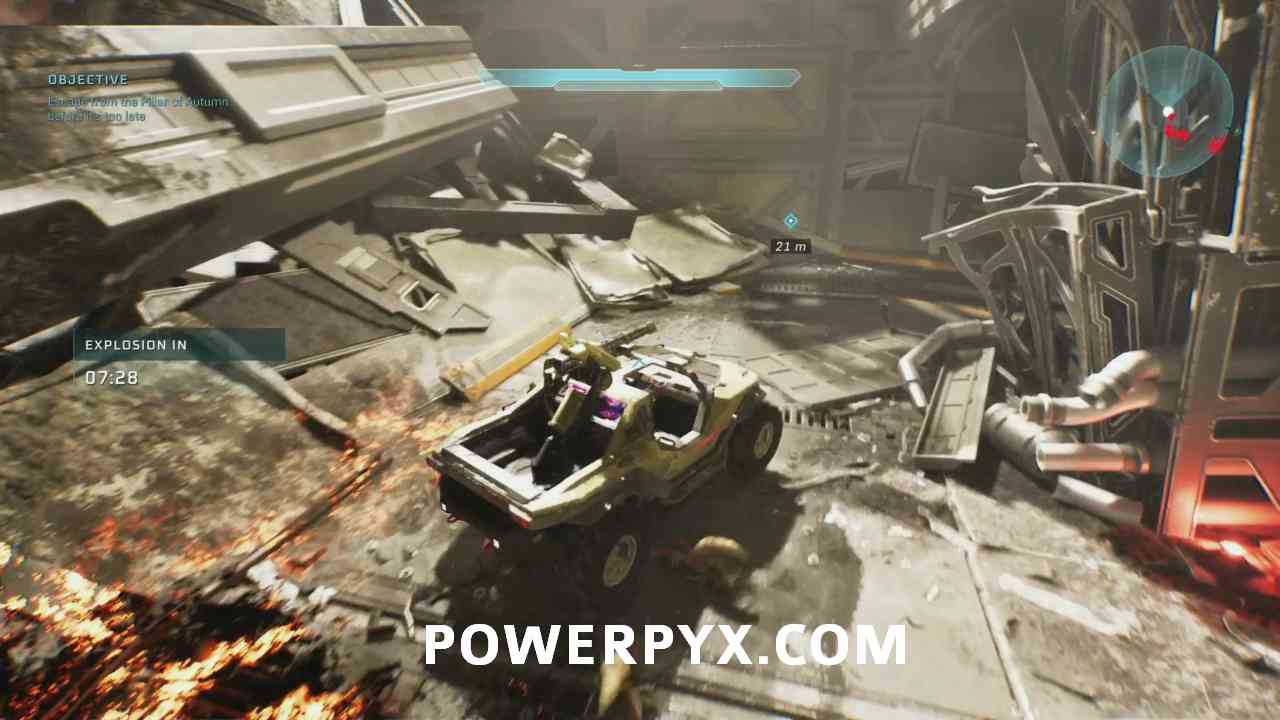
Here, move forward. After you have passed two openings on the right side, enter the third opening to find the skull in the middle of that opening.
Bonus Mission: Boarding Action
Chapter: Rally Point Alpha
#41 – Skull (Malfunction)
Objective: Infiltrate the Covenant research ship with Johnson to collect its nav data
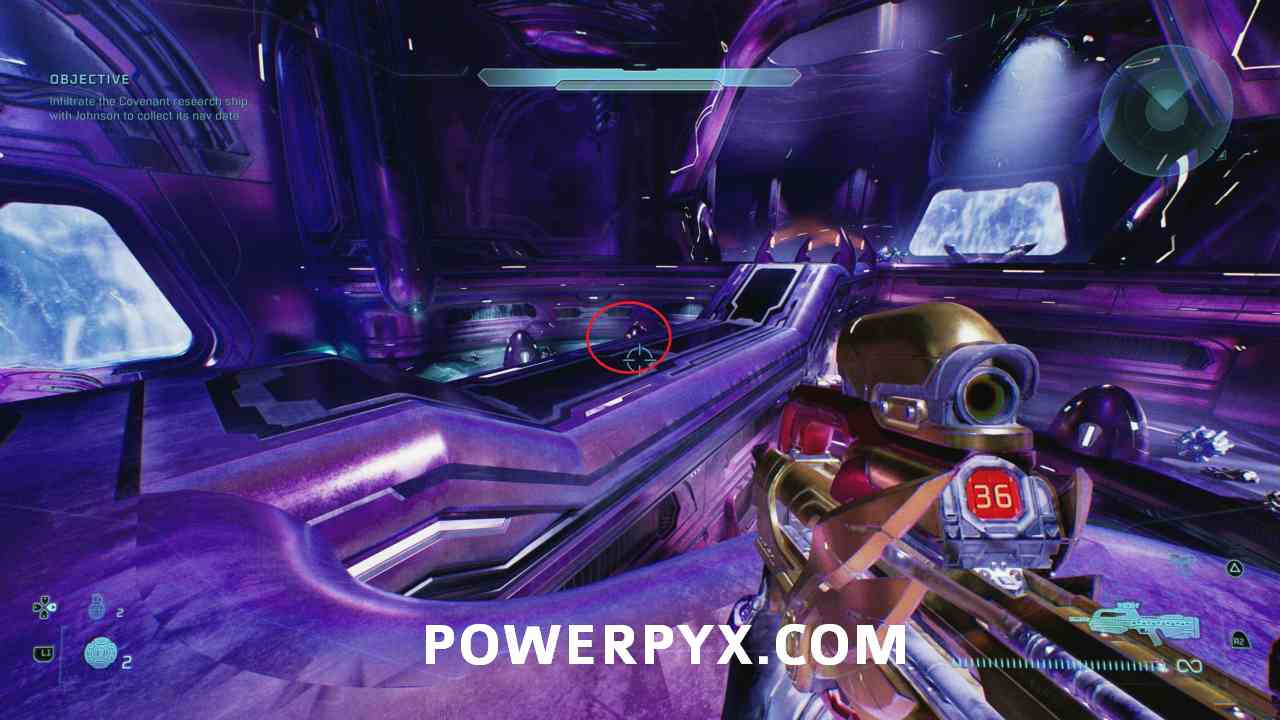
Halfway through the Rally Point, you will reach a part where you have to enter a lift. Before doing that, turn right and go through the door near the ship.
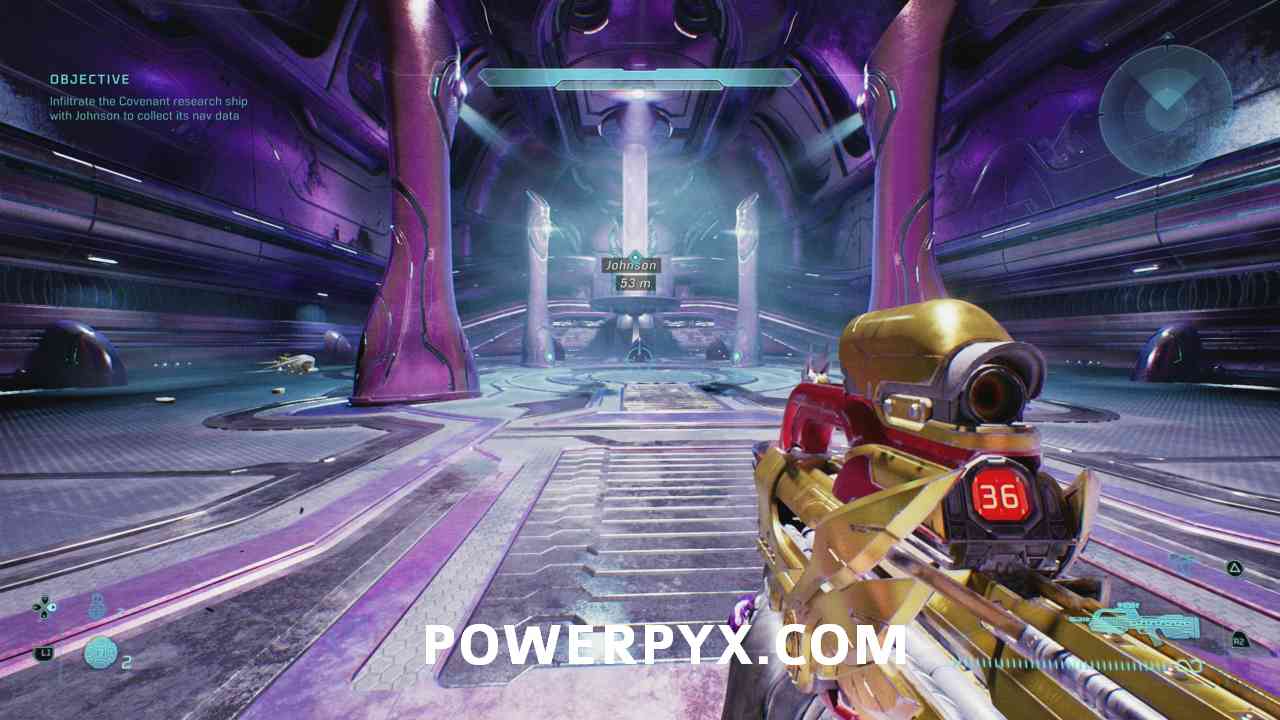
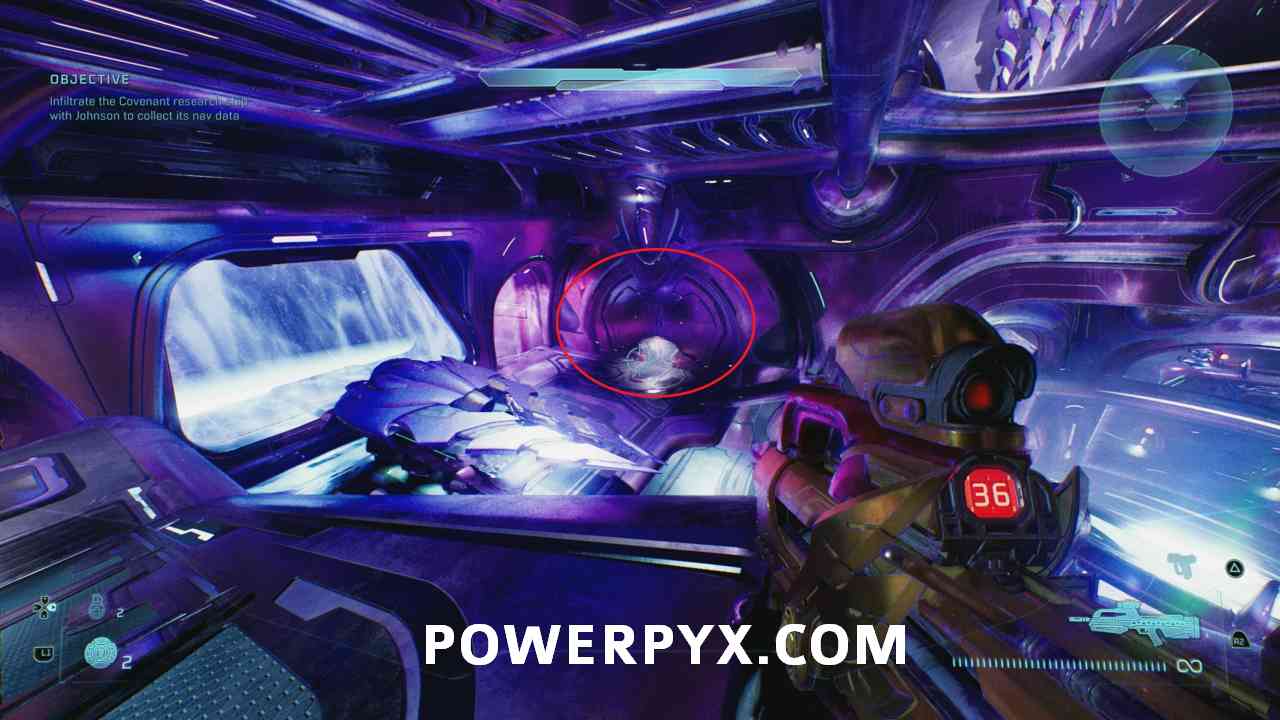
You will find the skull in the middle of a little bridge.
Chapter: Rally Point Bravo
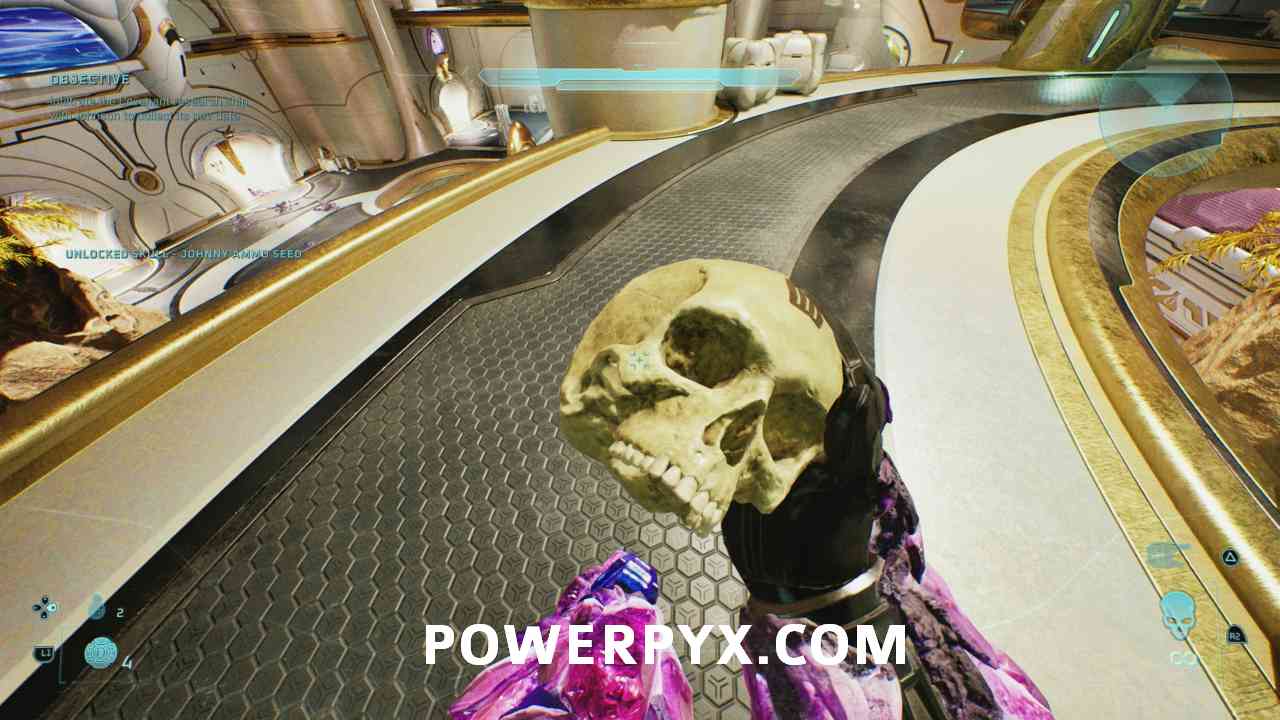
#42 – Skull (Johnny Ammo Seed)
Objective: Infiltrate the Covenant research ship with Johnson to collect its nav data
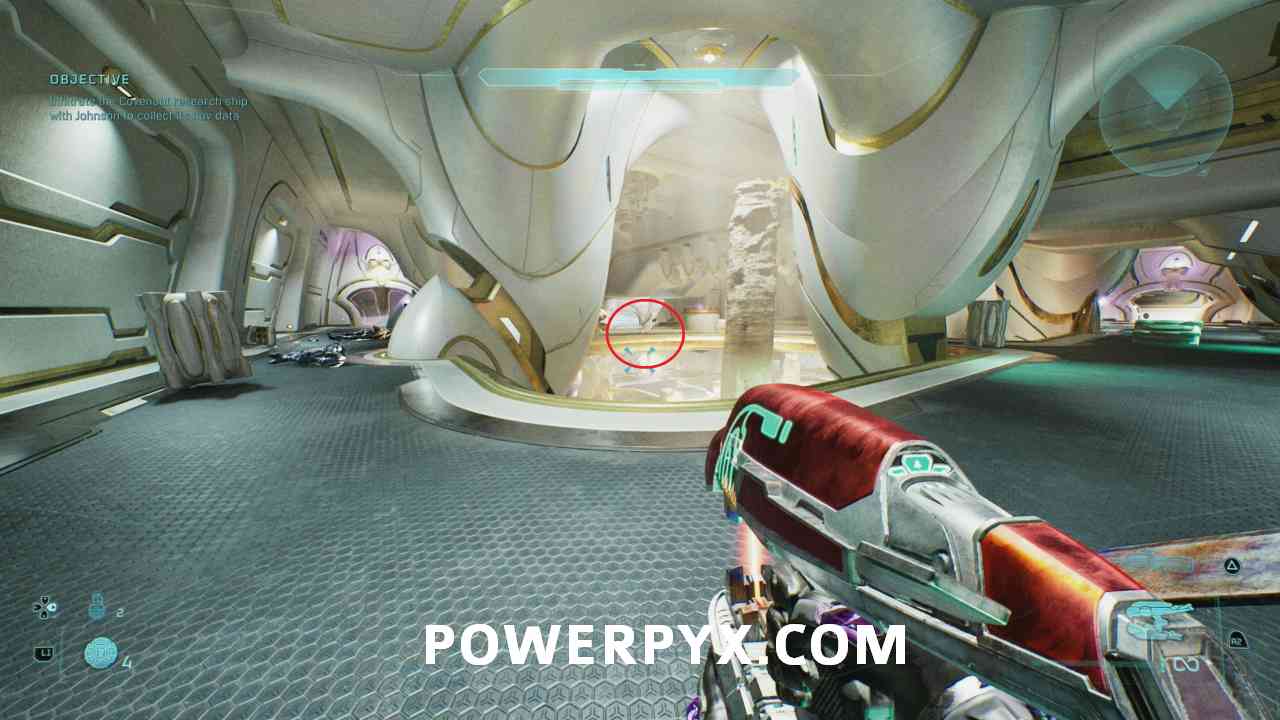
Sometime in the chapter, you will reach a room with a purple tube above you. Go upstairs, turn around, and go through either the left or right door until you reach the next room.
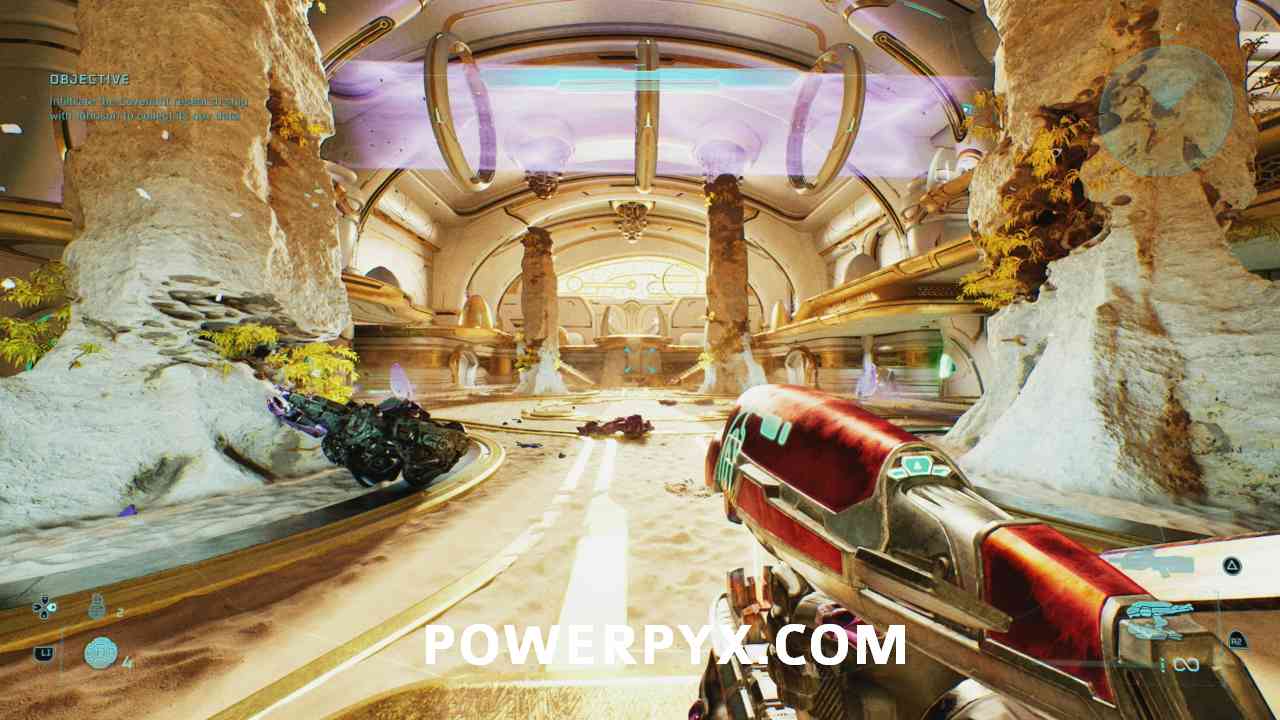
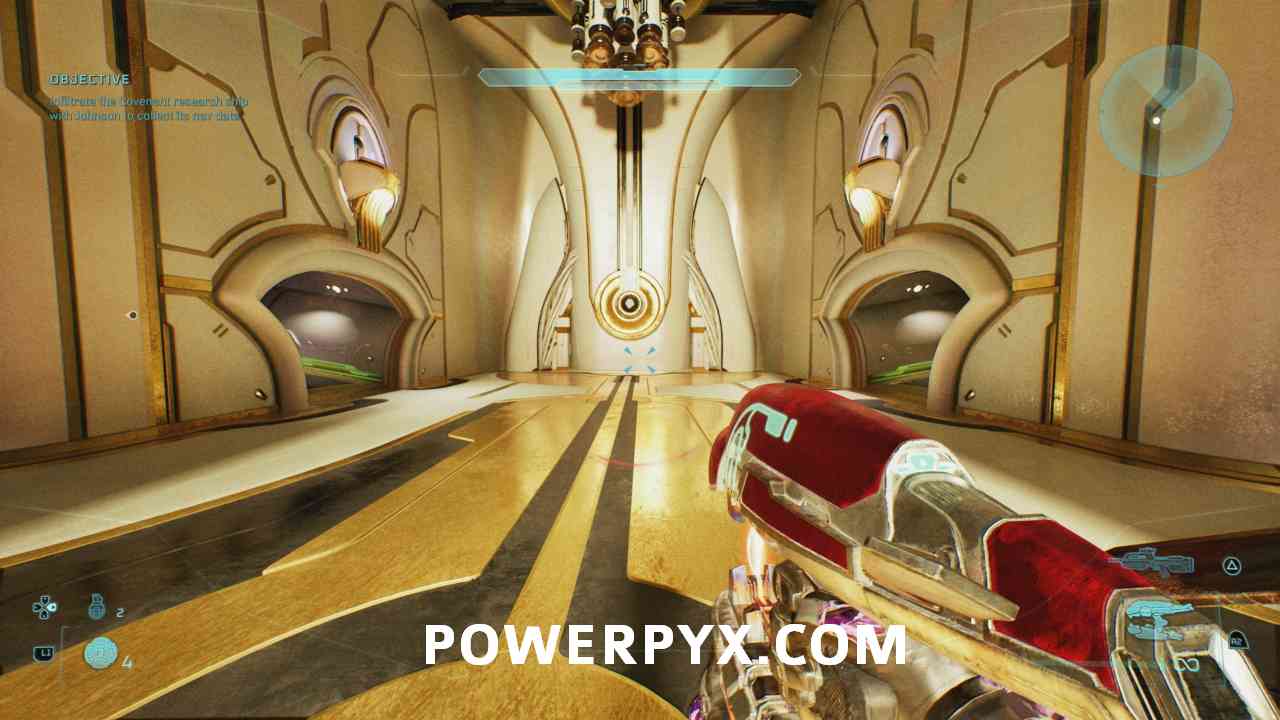
The skull is in the middle of that room on a bridge.
Chapter: Rally Point Delta
#43 – Skull (Leadhead)
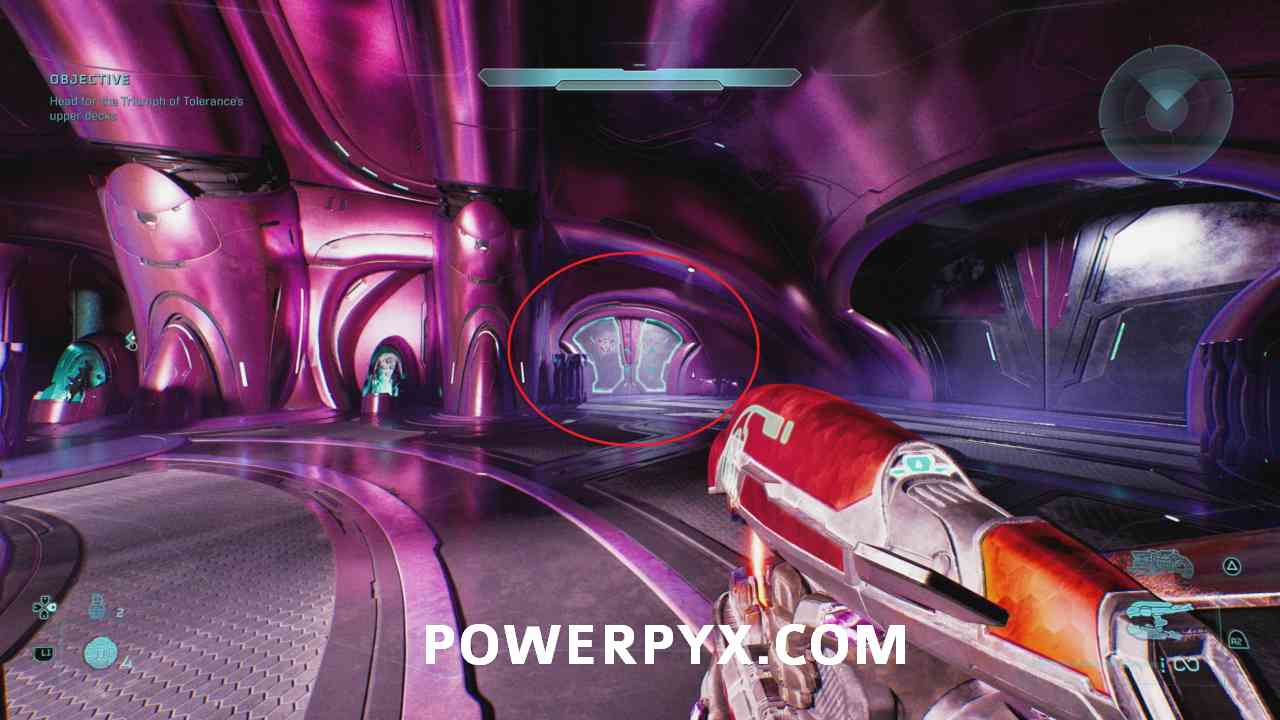
Objective: Head for the Triumph of Tolerance’s upper decks
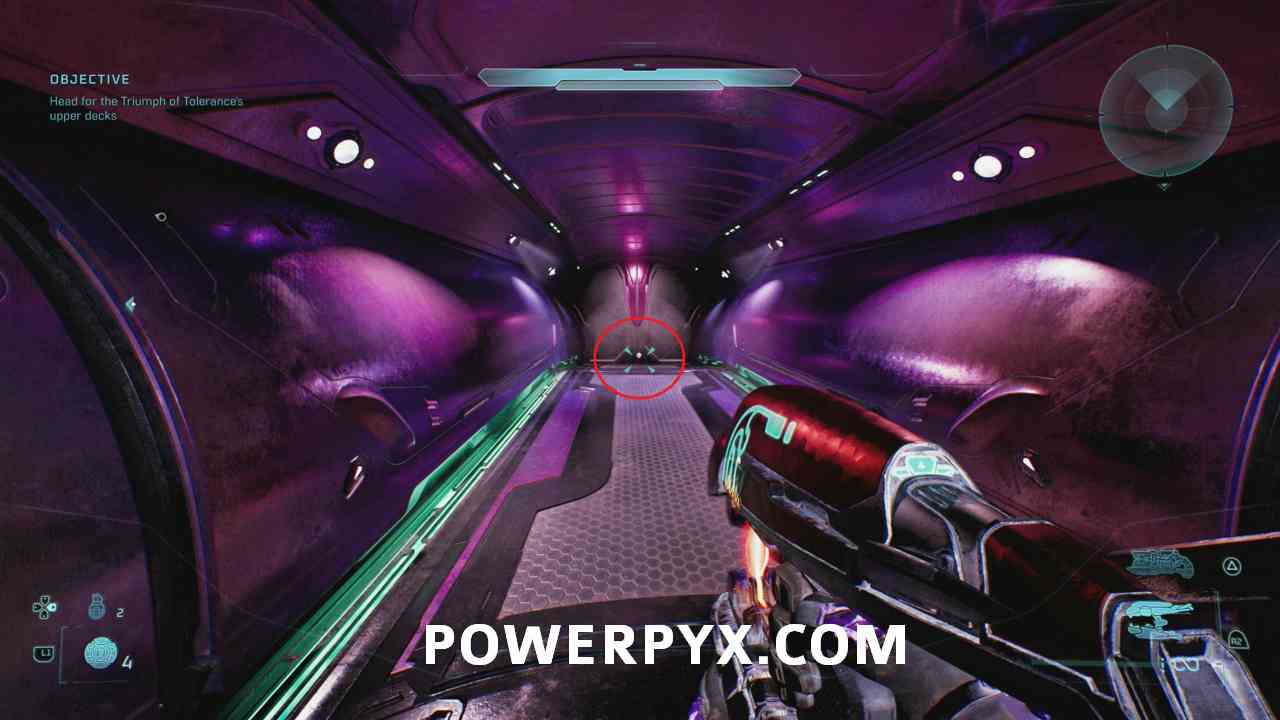
A little while after the previous skull, you reach a room where you have to use a lift with Johnson. Before doing that, go through the door on the left side of the lift.
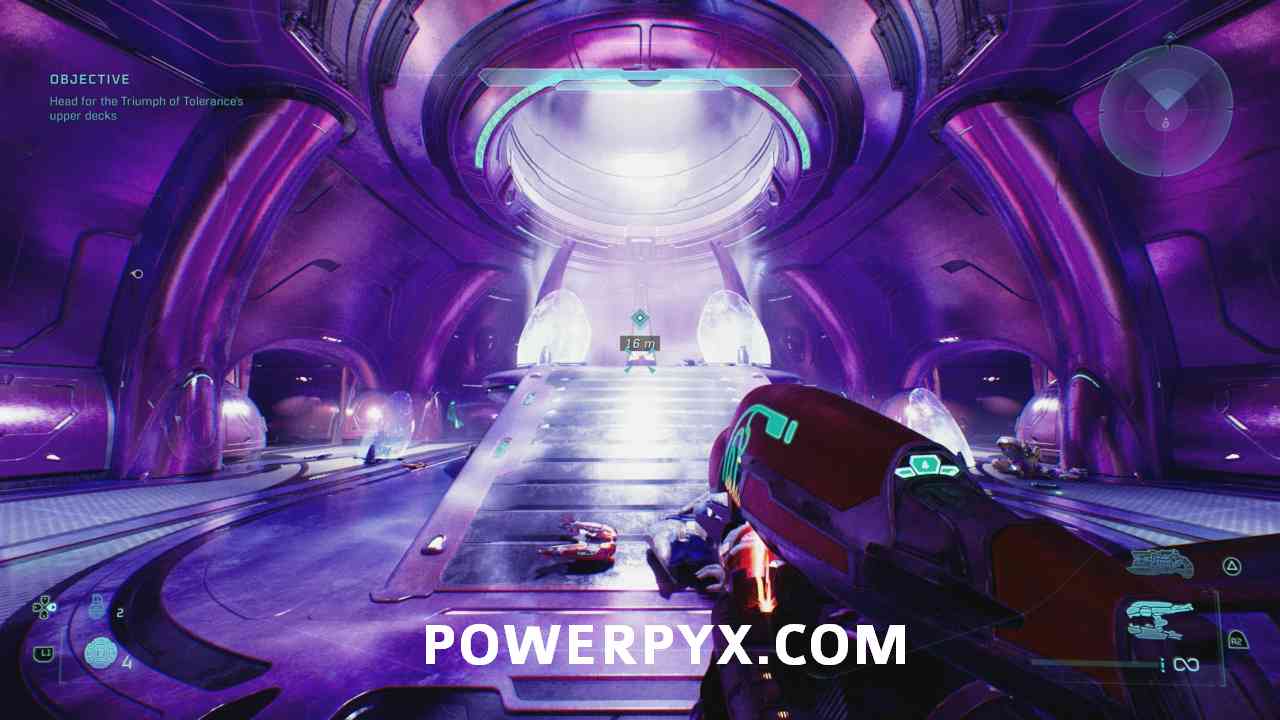
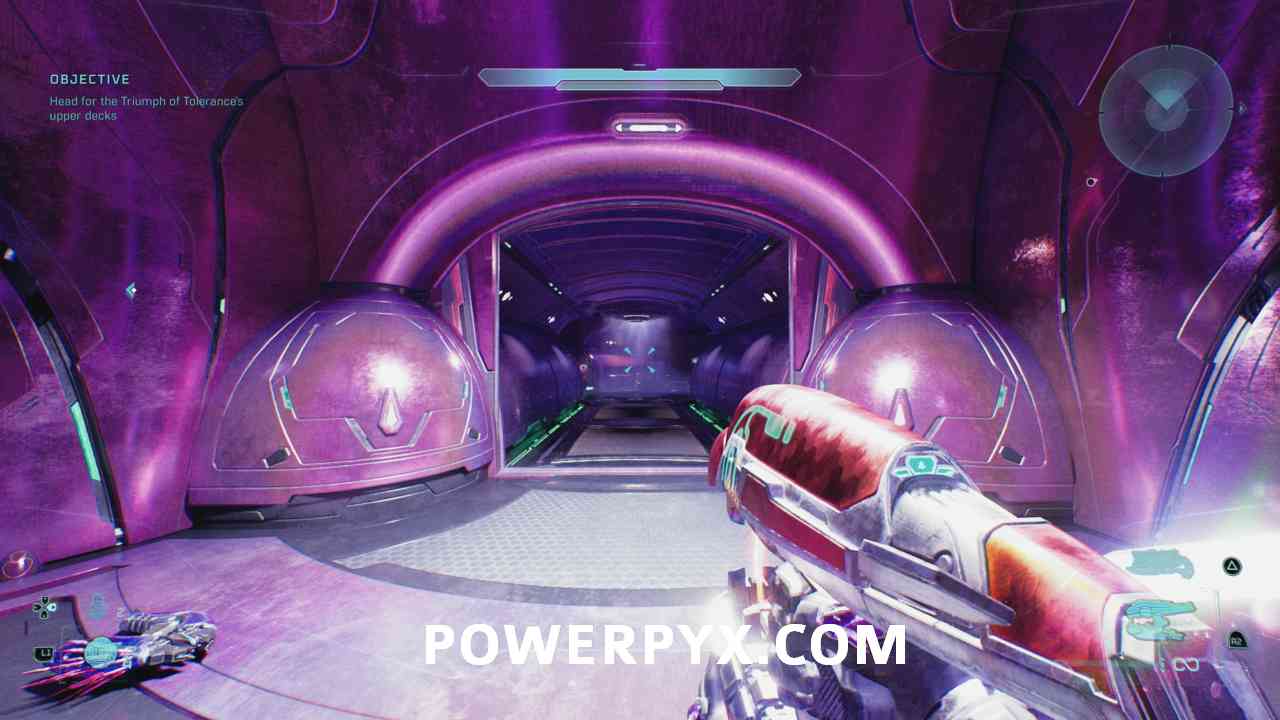
You will find the skull at the end of the path.
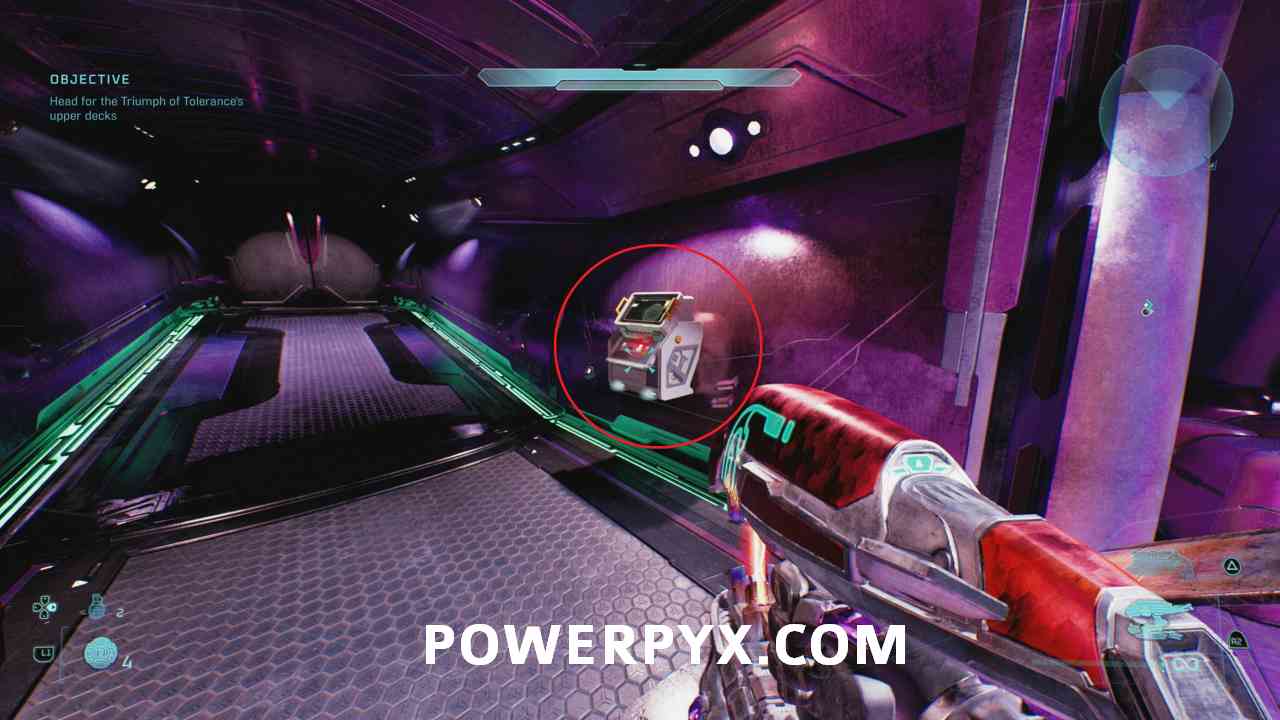
#44 – Terminal (The Path)
Objective: Head for the Triumph of Tolerance’s upper decks
Right after you pick up the previous skull, use the lift. Then turn around and go through the door to find the terminal.
Bonus Mission: The Most Dangerous Game
Chapter: Rally Point Alpha
#45 – Skull (Temperamental) Part 1 of 3
Objective: Survive and explore the Hunting Reserve
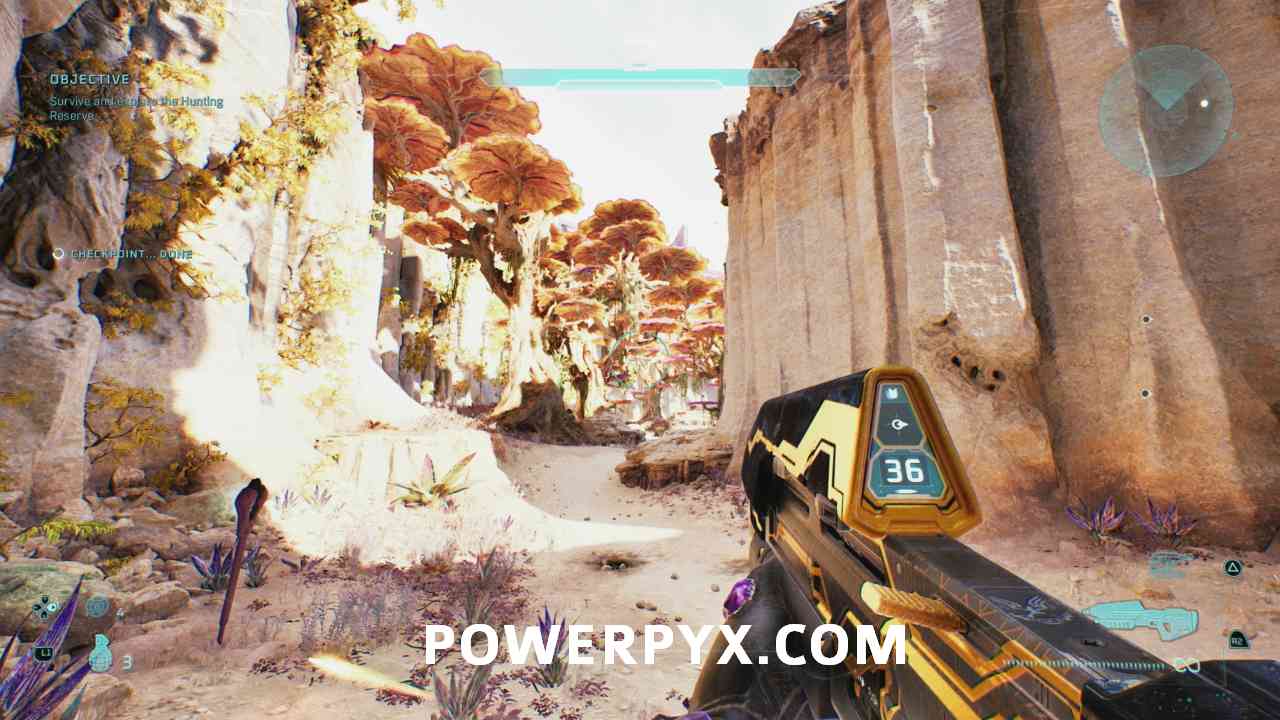
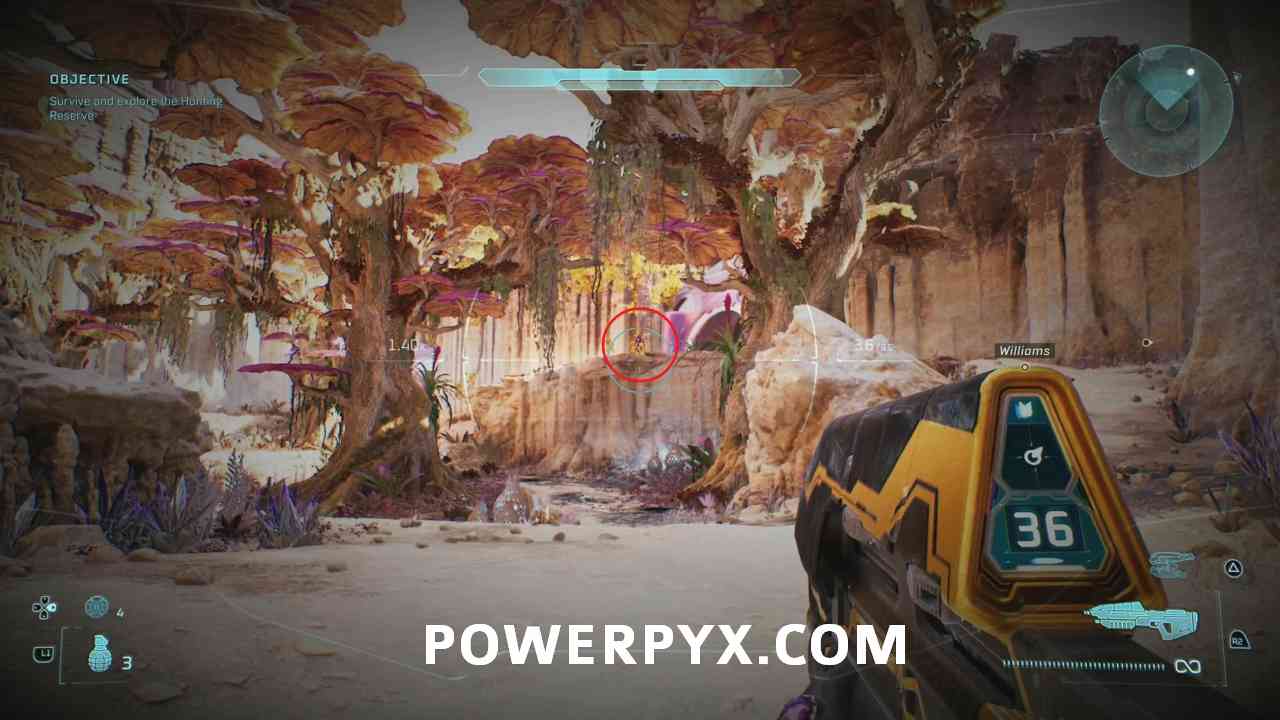
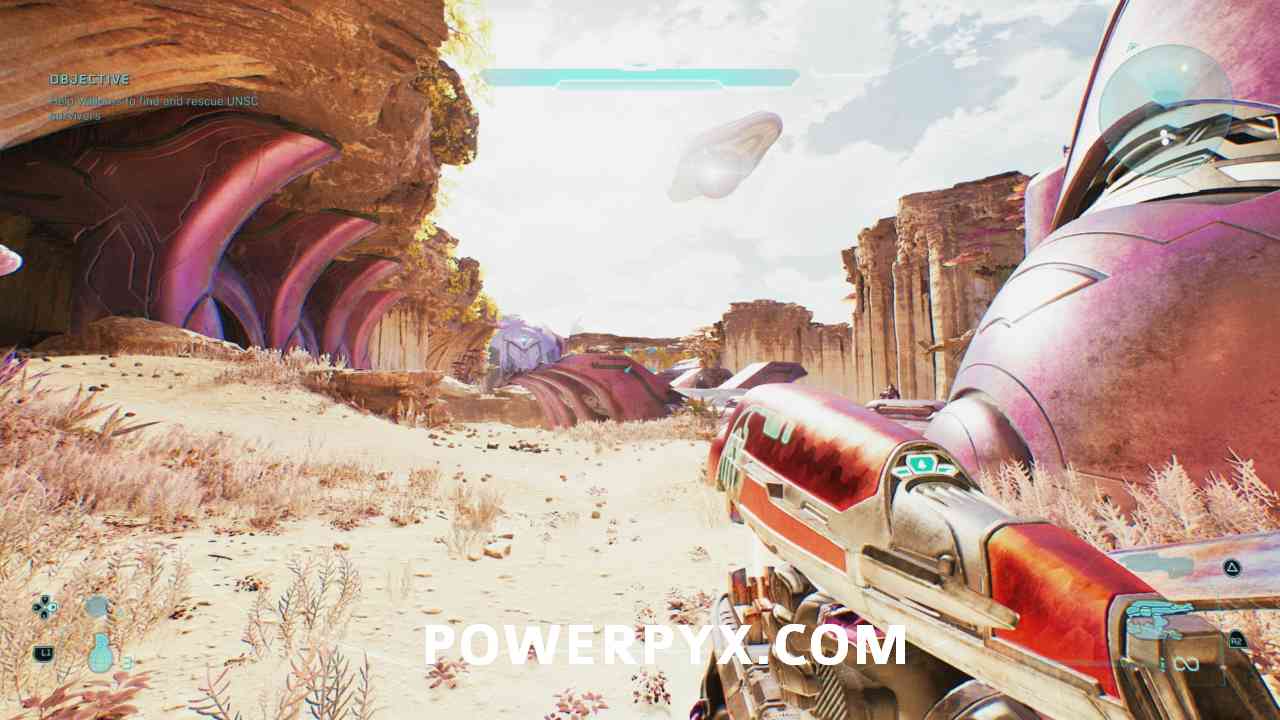
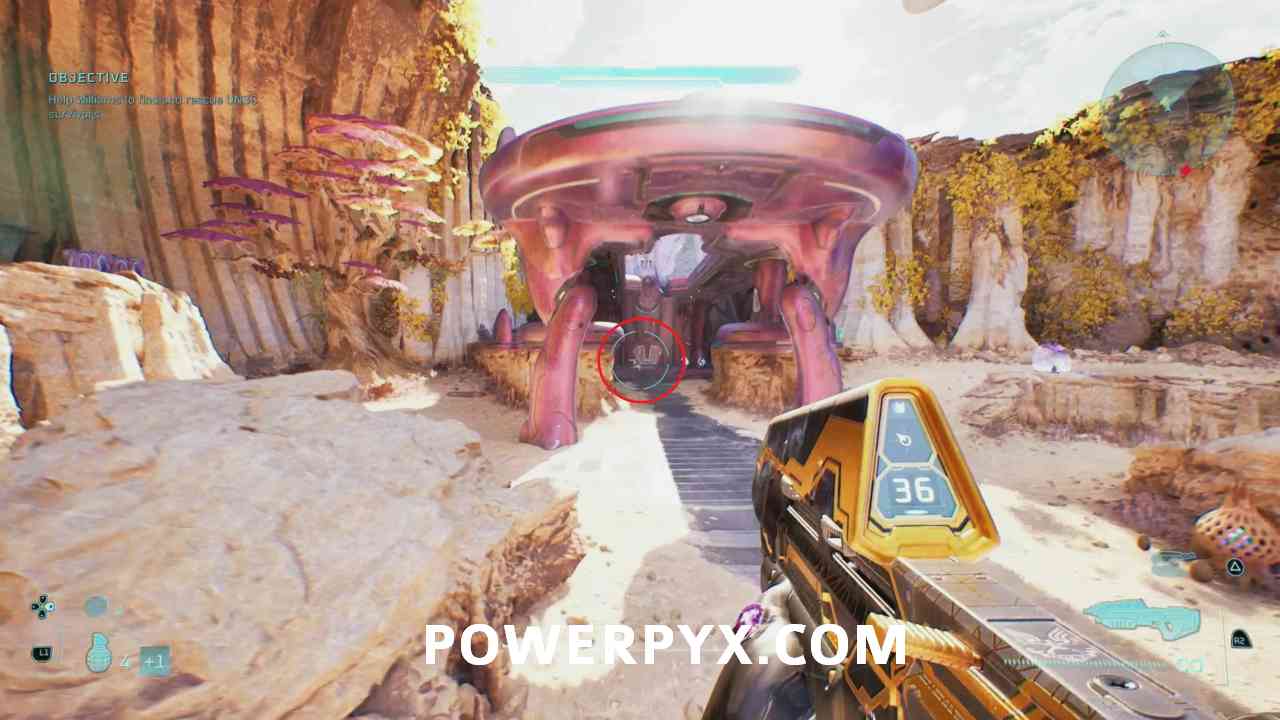
Before you can pick up the skull later in the mission, you need to shoot a specific enemy three times total. This is the first time. You will see him soon after starting the mission, after you come across the first few enemies, and after a cutscene, you enter a building. After you exit the building, you come across another area with a few enemies. Here you can see the enemy on the upper right side. Be very quick and shoot him until his shield breaks. You know it broke when your crosshair gets double the outlines. He will run away, you can reload the checkpoint if you did not hit him in time.
Chapter: Rally Point Bravo
#45 – Skull (Temperamental) Part 2 of 3
Objective: Survive and explore the Hunting Reserve
Right after the previous area, you will come across a bridge. Ignore most enemies and go to the end of the bridge and aim for the same enemy at the end of the area. Be quick again because he will leave soon.
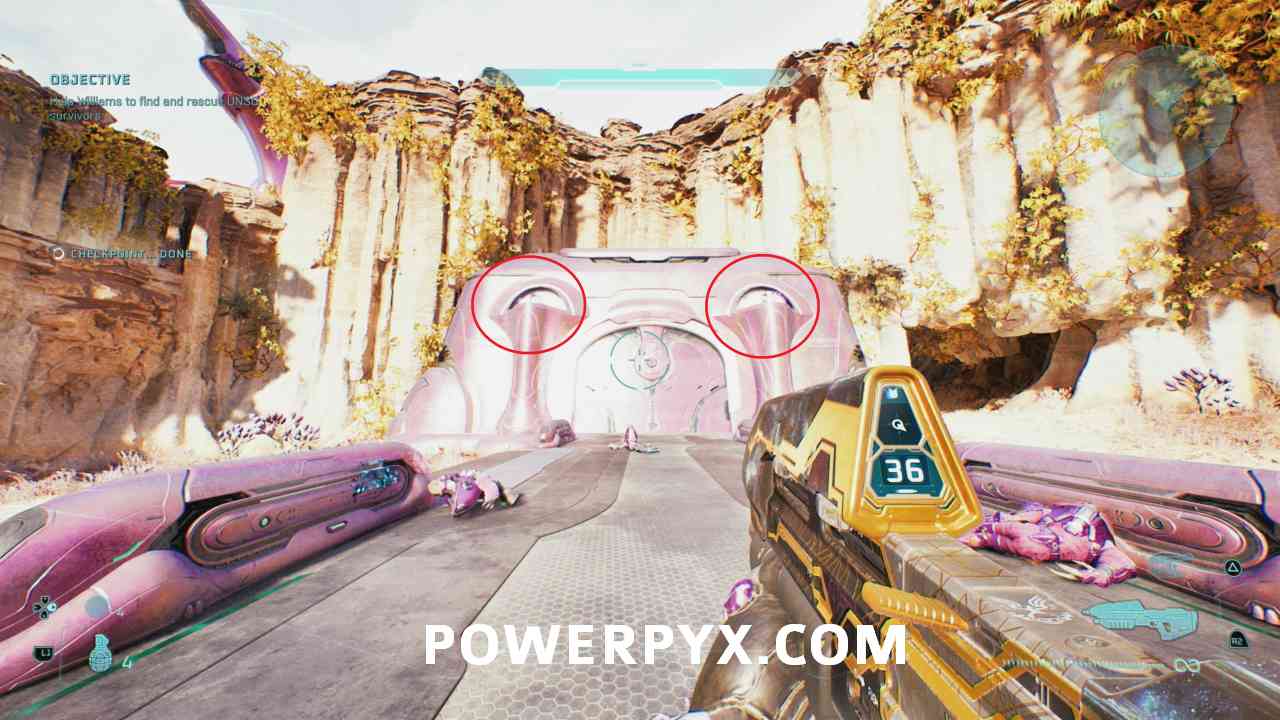
#46 – Skull (Recession)
Objective: Survive and explore the Hunting Reserve
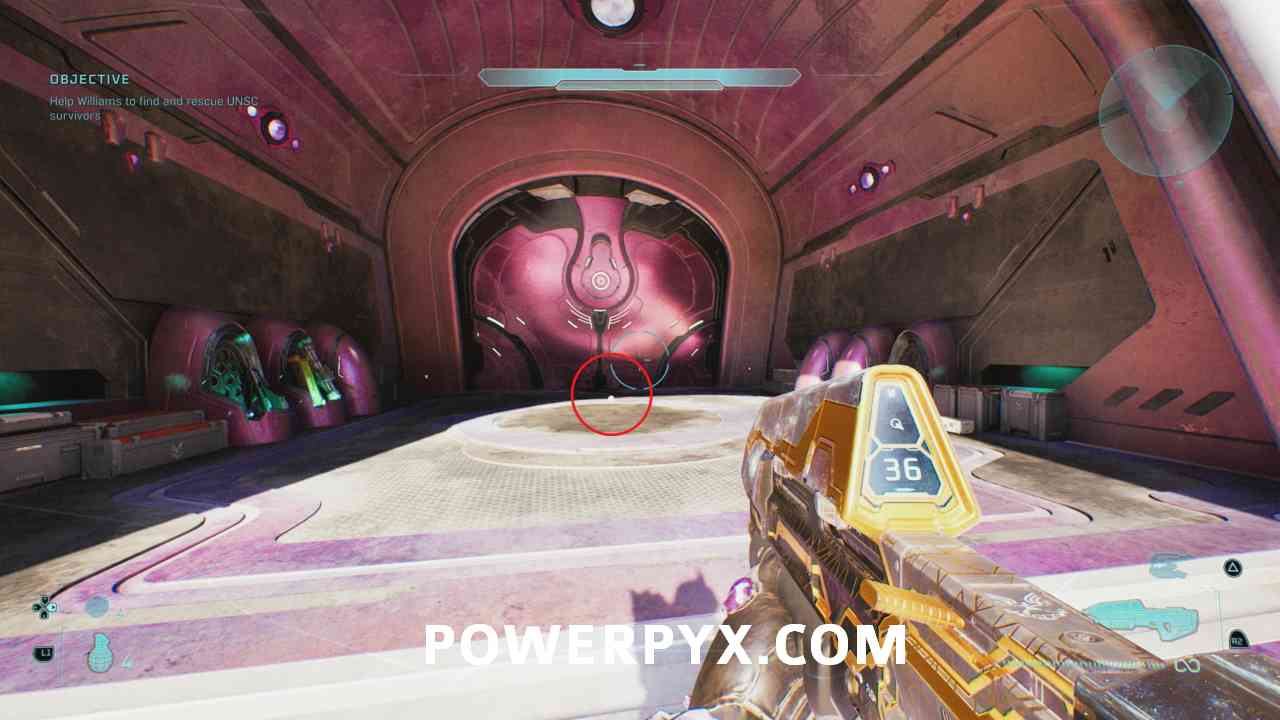
Same area as the special enemy for part 2 of 3 of skull 43. At the beginning of the bridge, shoot the fire at each of the two pillars to open the door and reveal the skull.
Chapter: Rally Point Charlie
#47 – Terminal (Penitent Report)
Objective: Help Williams to find and rescue UNSC survivors
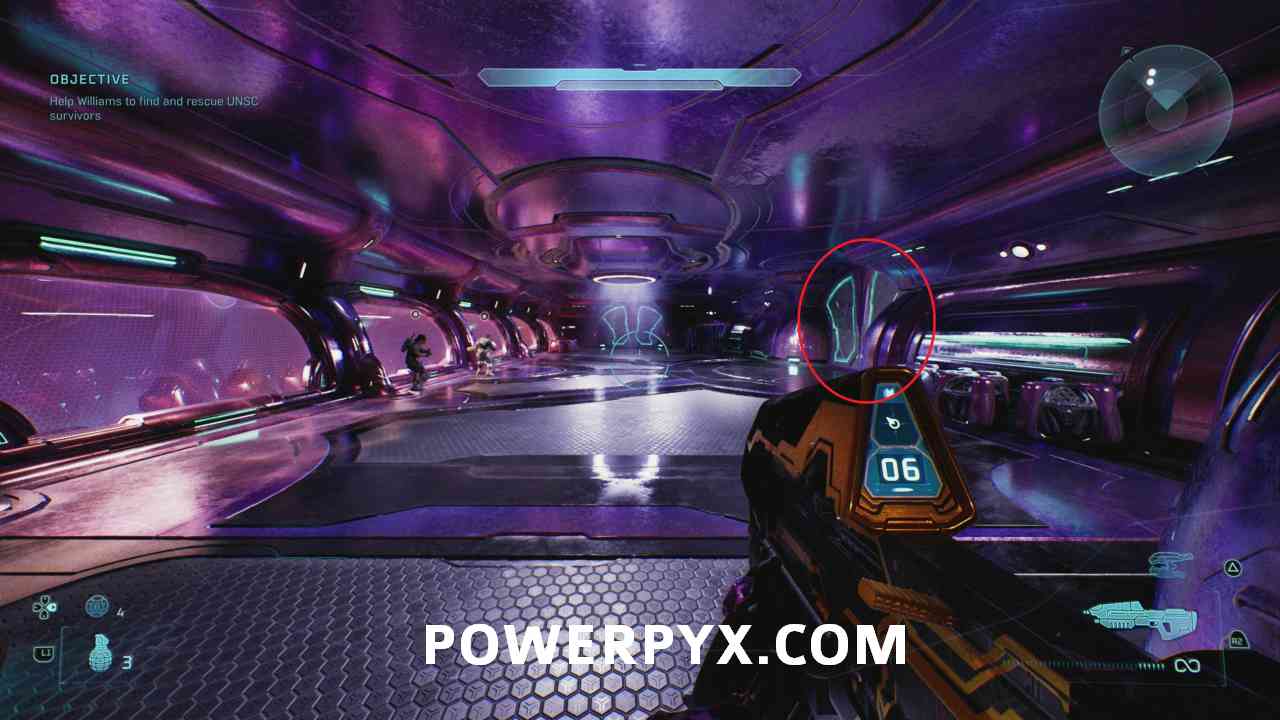
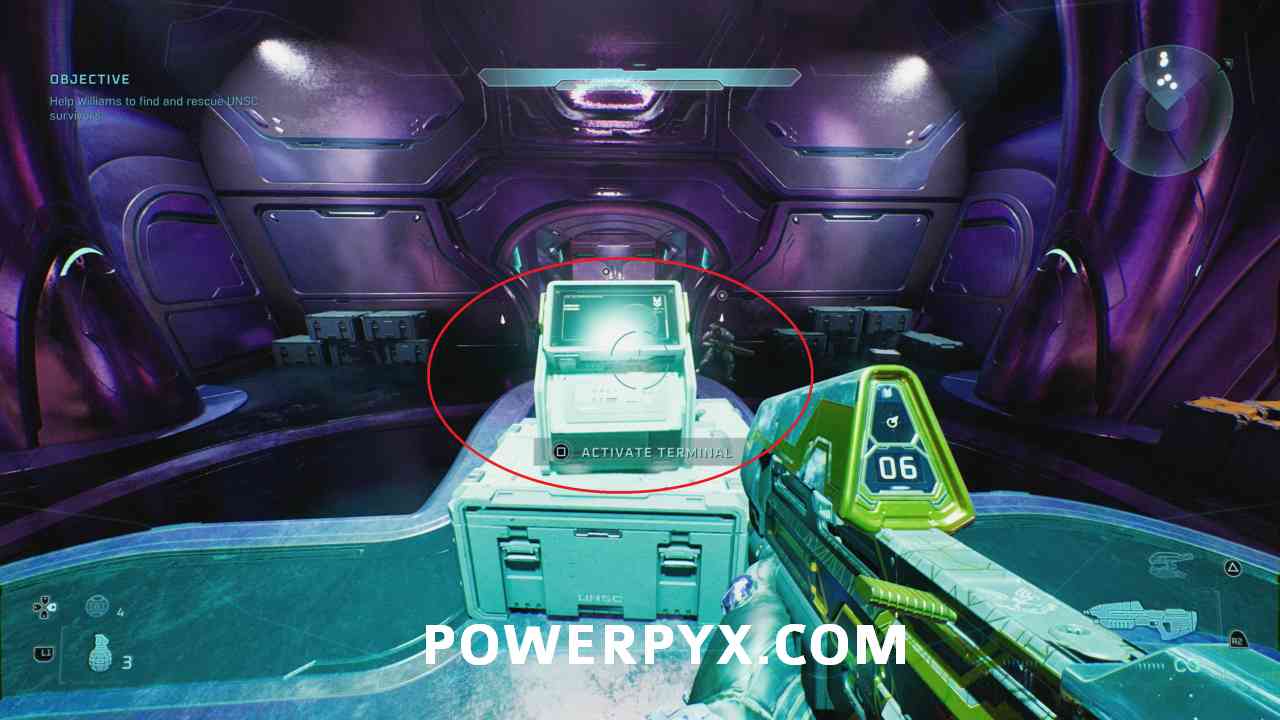
After you open some cell doors to free survivors, you will enter a room with windows to your left, a door in front, and a door to your right. Enter the door on the right to find the terminal.
#45 – Skull (Temperamental) Part 3 of 3
Objective: Help Williams to find and rescue UNSC survivors
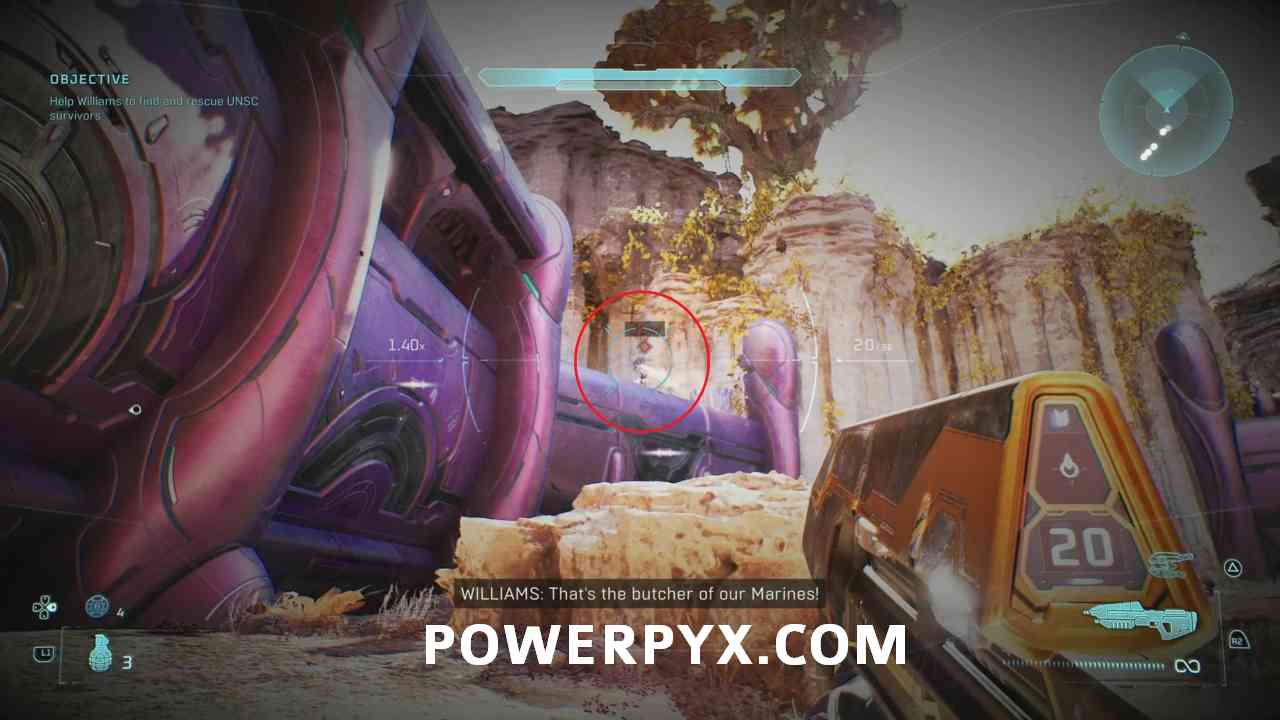
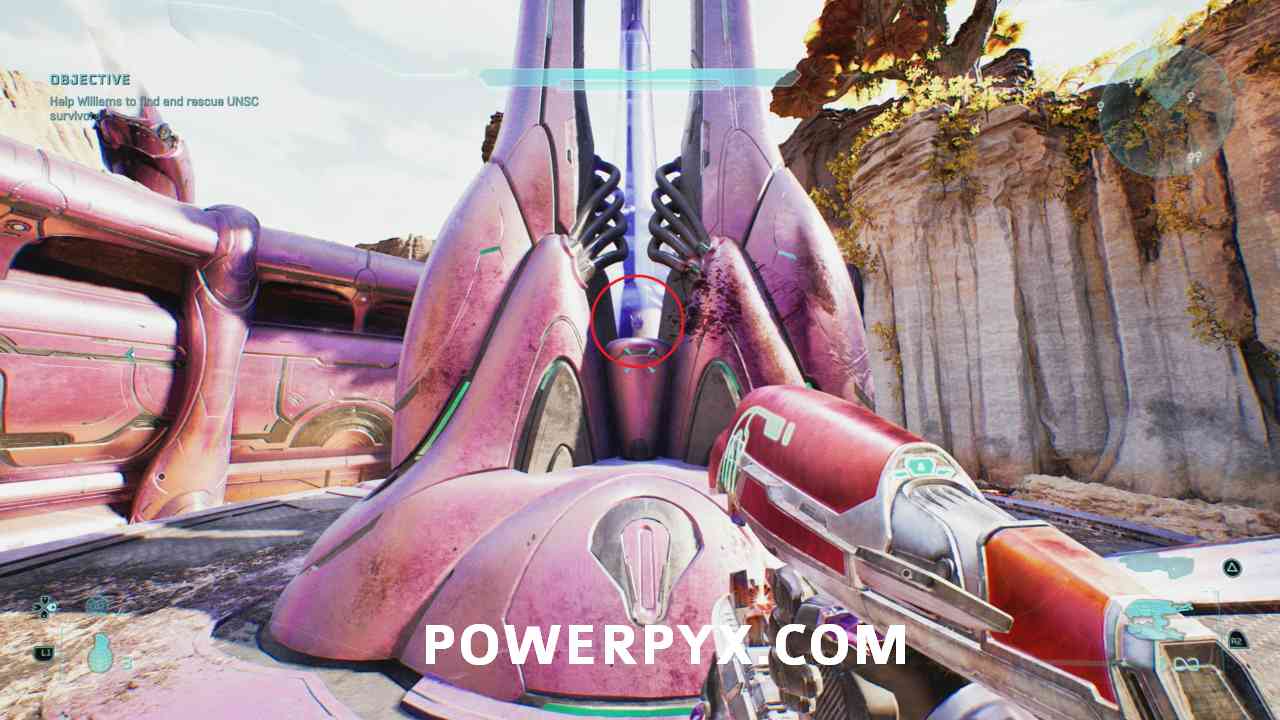
Right after you get the terminal, you will leave the building. You will find the special enemy on the upper left side after you exit the building. He will be marked this time. Break his shield once more. After killing all enemies, you will find the skull on the pedestal in the middle of the area.
#48 – Skull (Ghost)
Objective: Clear a path through the Covenant forces
In the next area after the Temperamental skull, you will find the skull right above the entrance to that area.
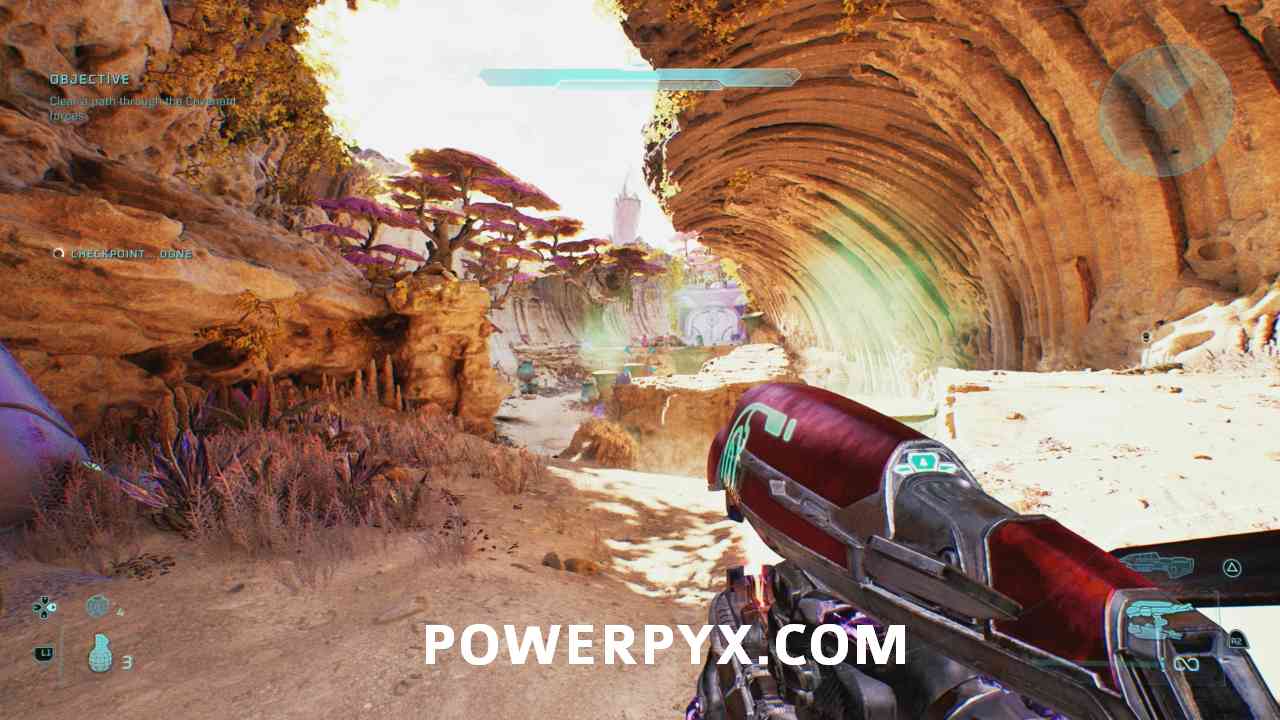
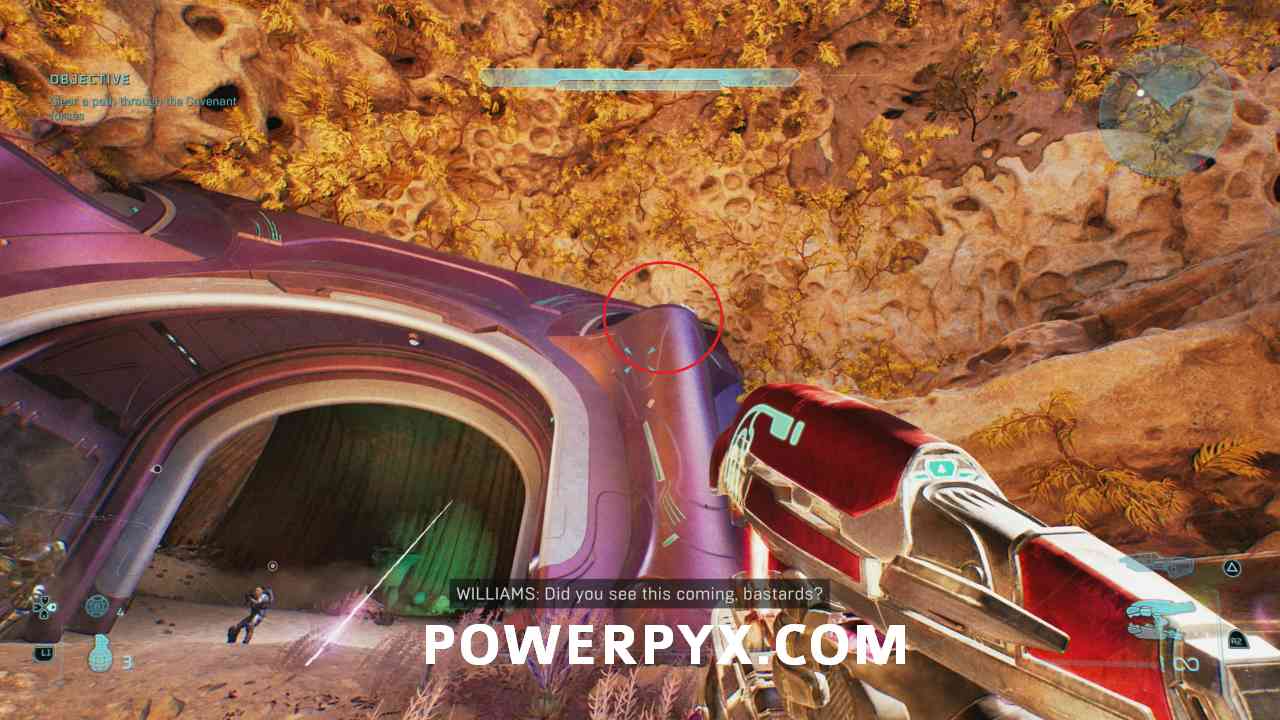
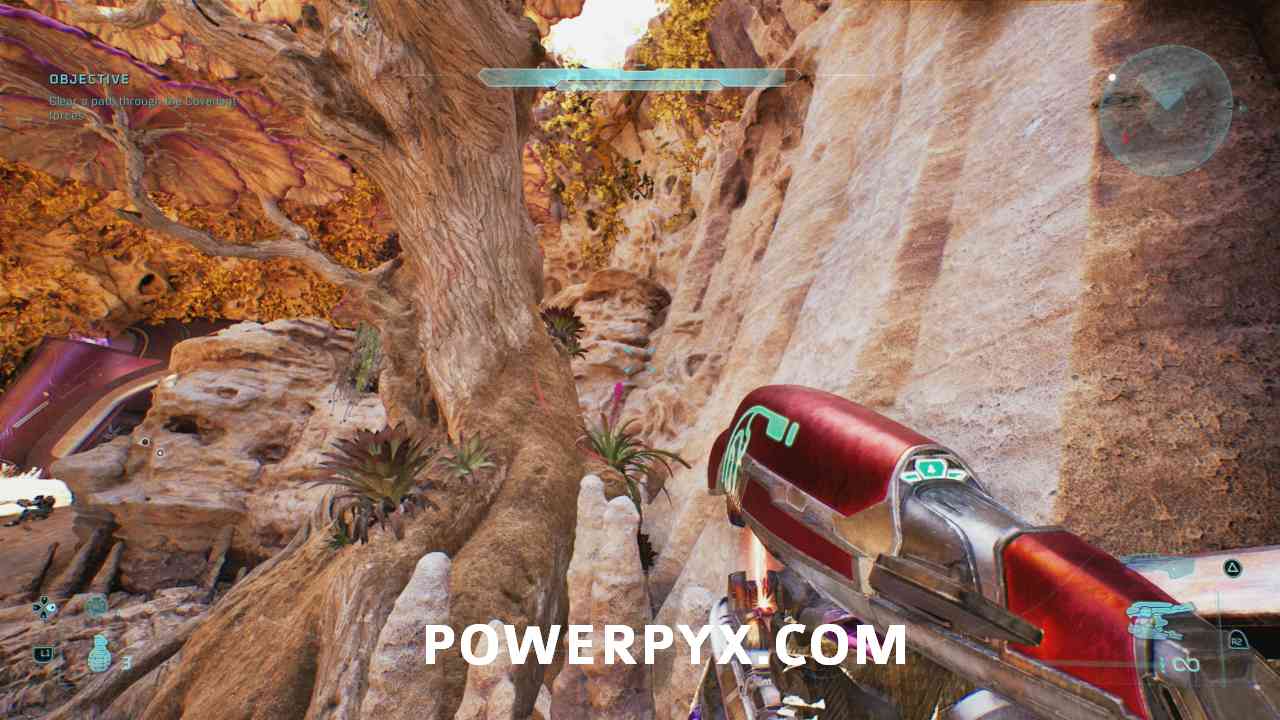
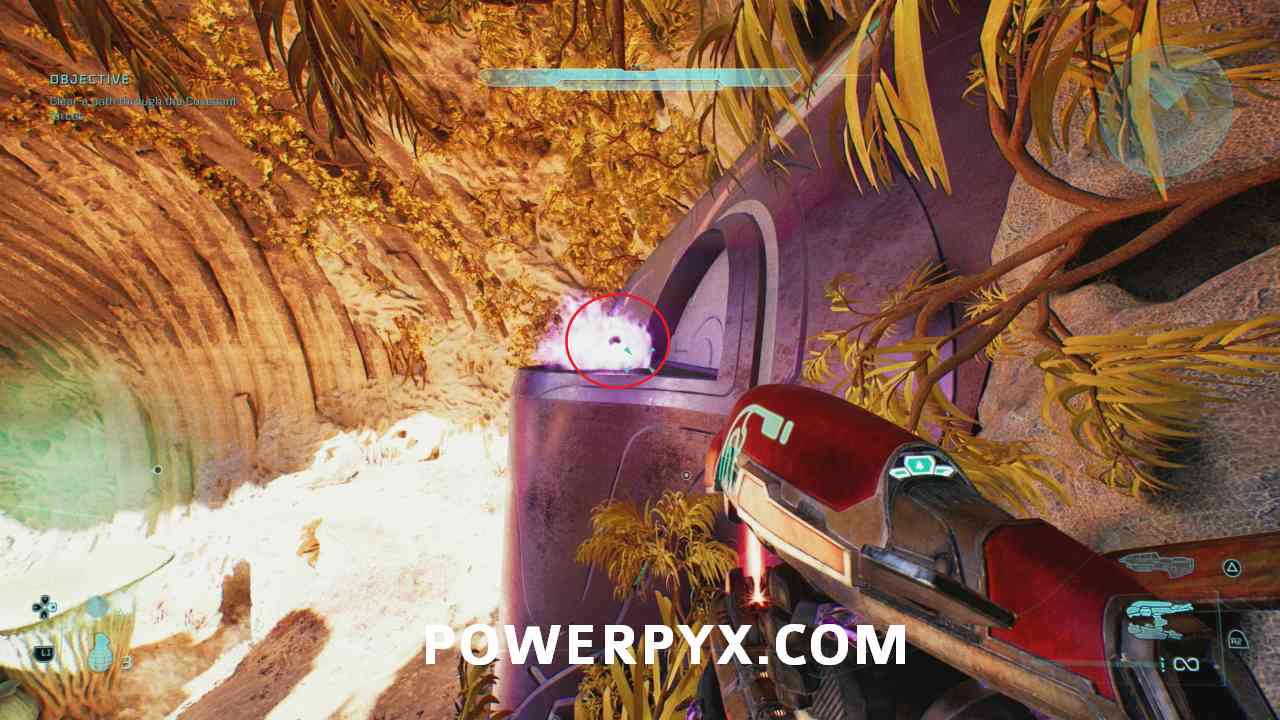
To get there, move a little forward and turn left. Jump between the rock and the tree and make your way up to the skull. You can also come back here with the Acrophobia skull to fly up there.
Bonus Mission: Heavy Burden
Chapter: Rally Point Alpha
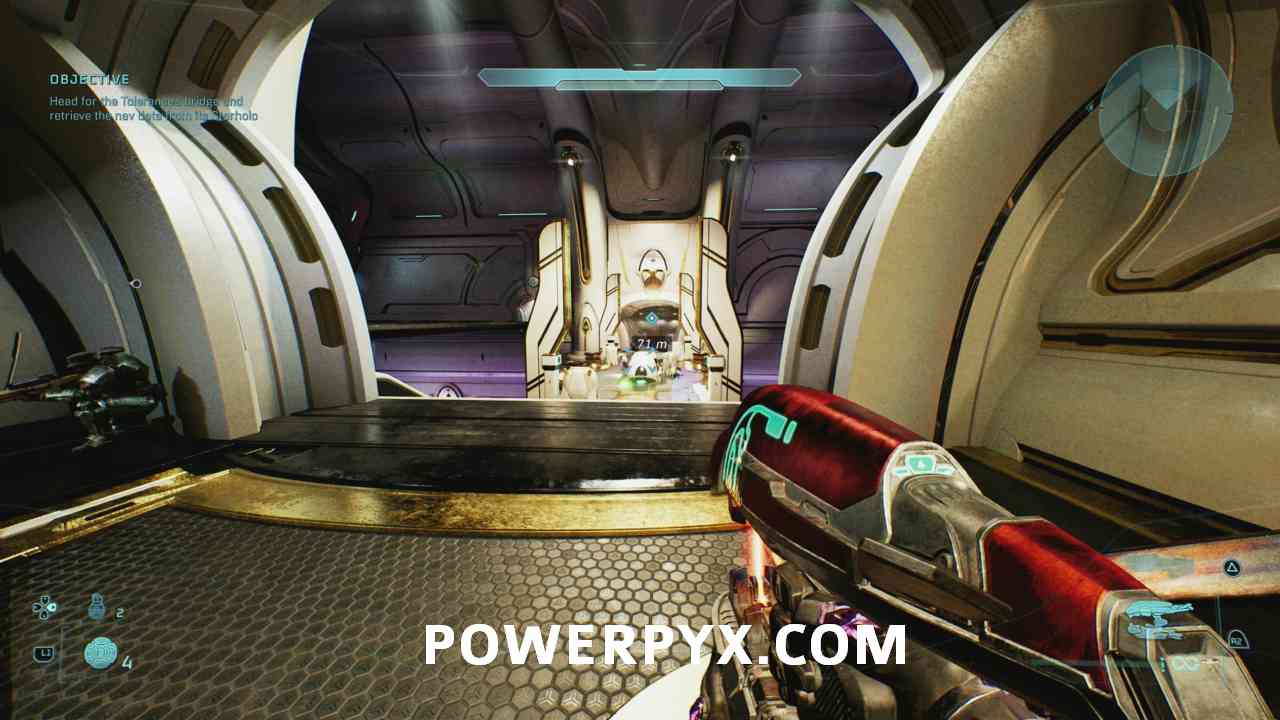
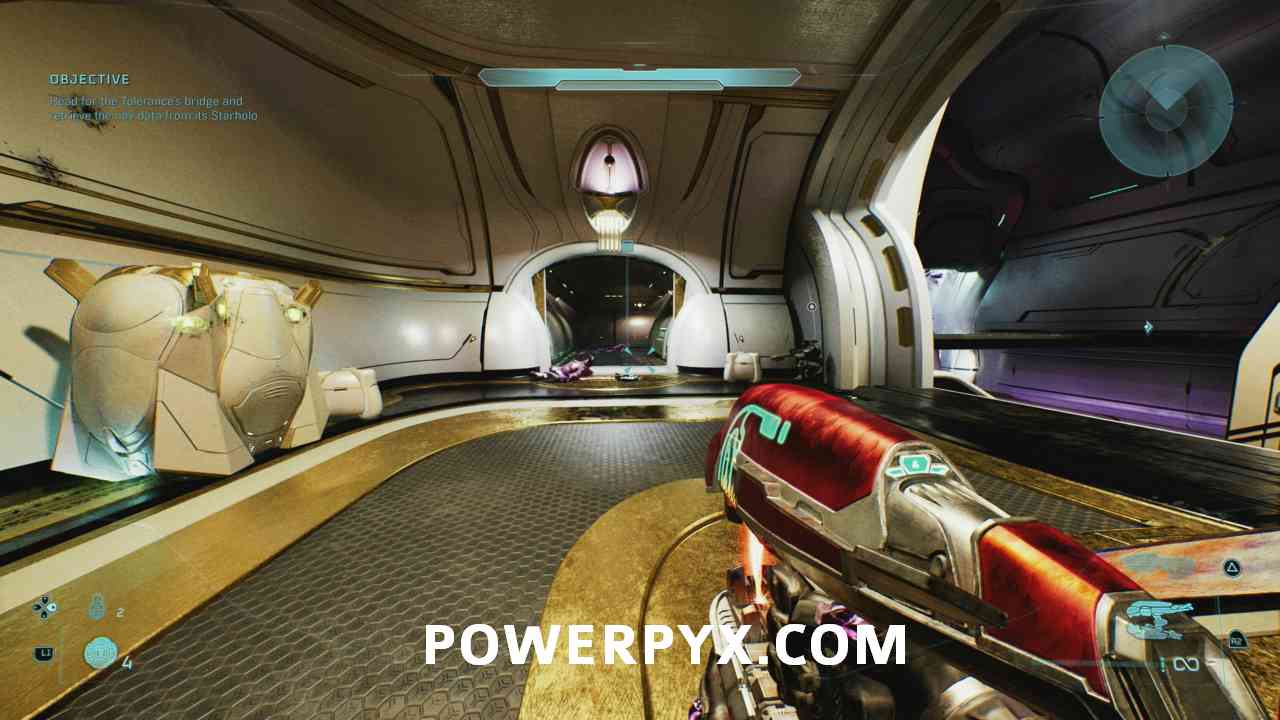
#49 – Skull (Eye Patch)
Objective: Head for the Tolerance’s bridge and retrieve the nav data from its Starholo
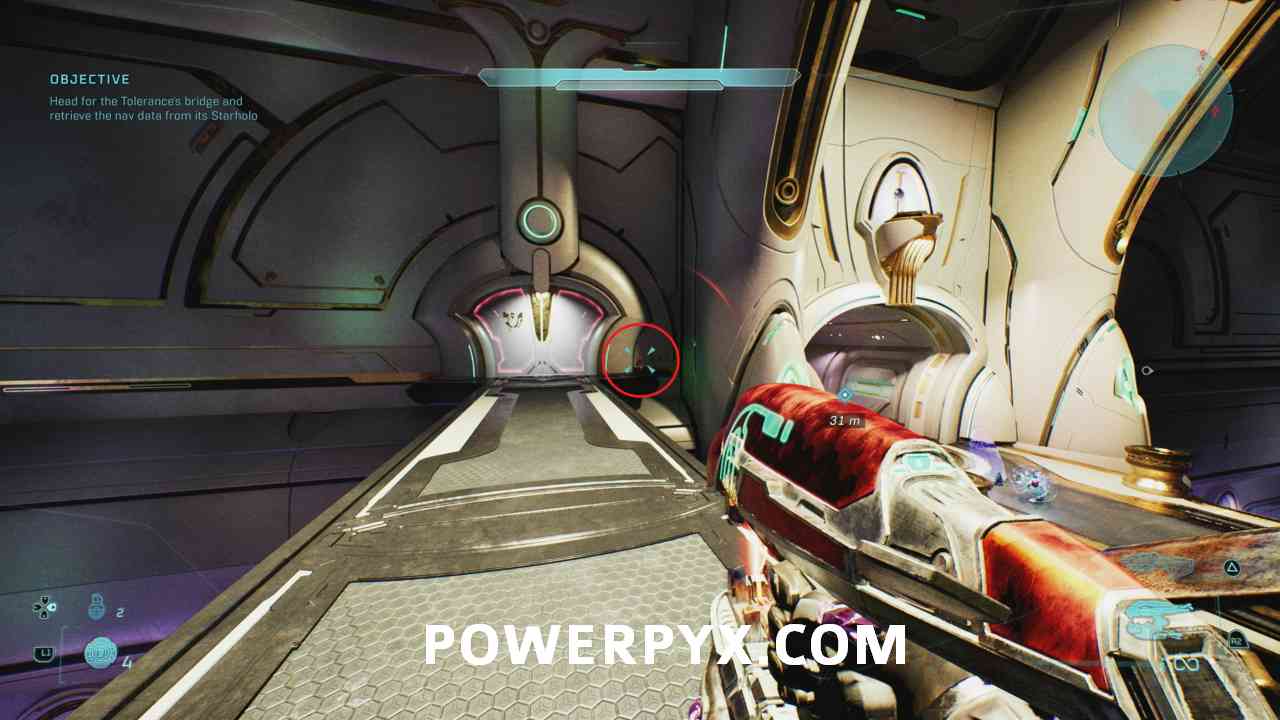
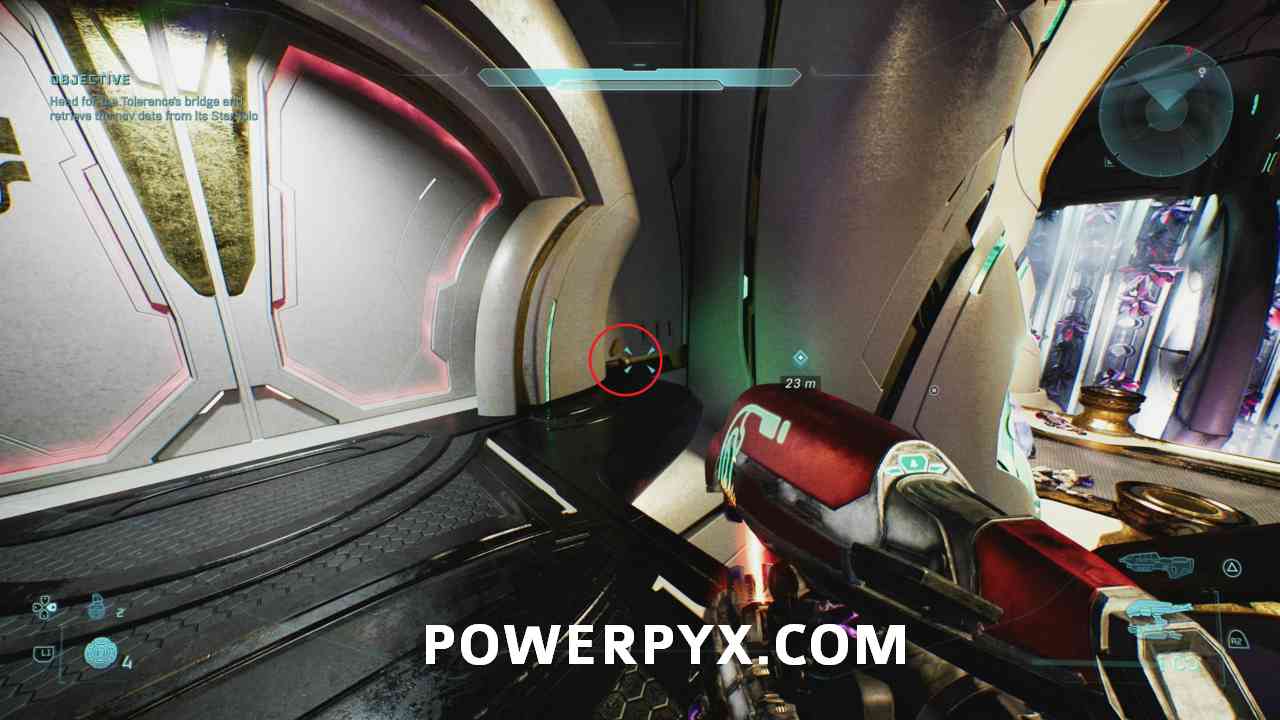
Halfway through the Rally Point, you need to cross a bridge, instead of doing that, turn left and go through the door.
Cross the smaller bridge to find the skull at the end.
Chapter: Rally Point Bravo
#50 – Terminal (Harmonious Clarity)
Objective: Head to the hangar to regroup with Williams and UNSC survivors
At the beginning of this Rally Point, do not go upstairs yet, instead, go through either the left or right door and follow the way to the end to end up in a room with some equipment.

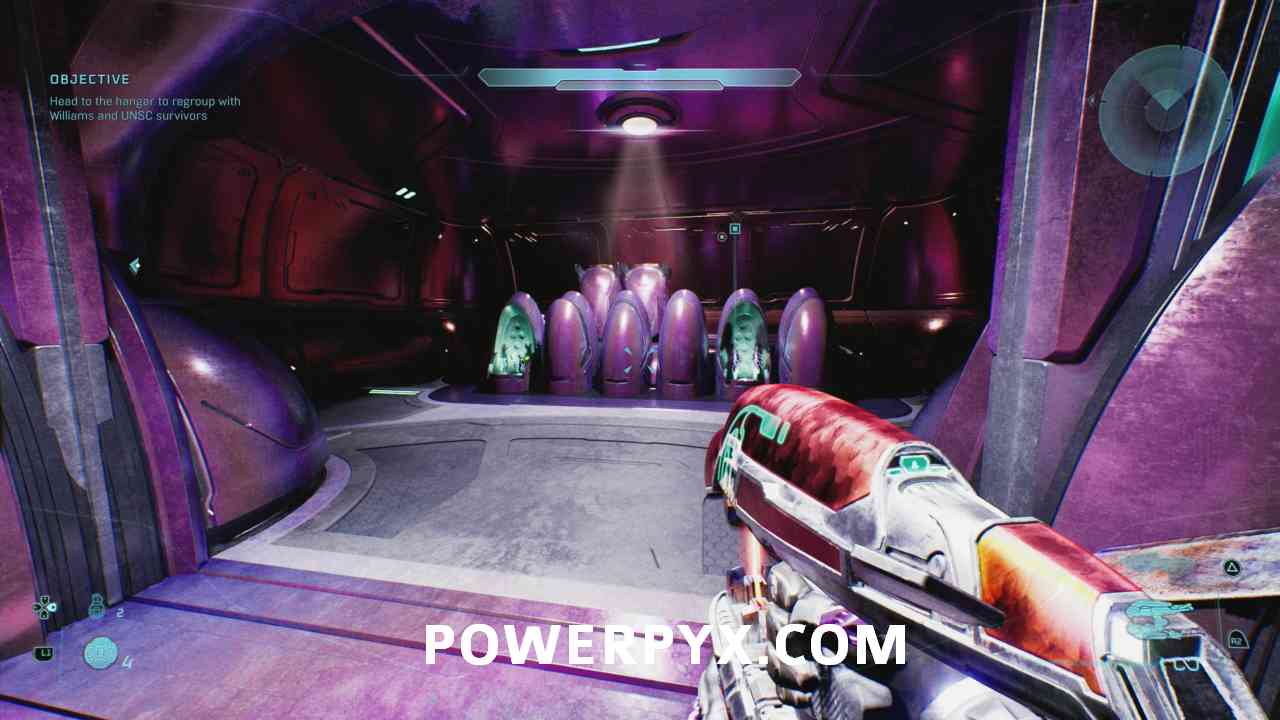
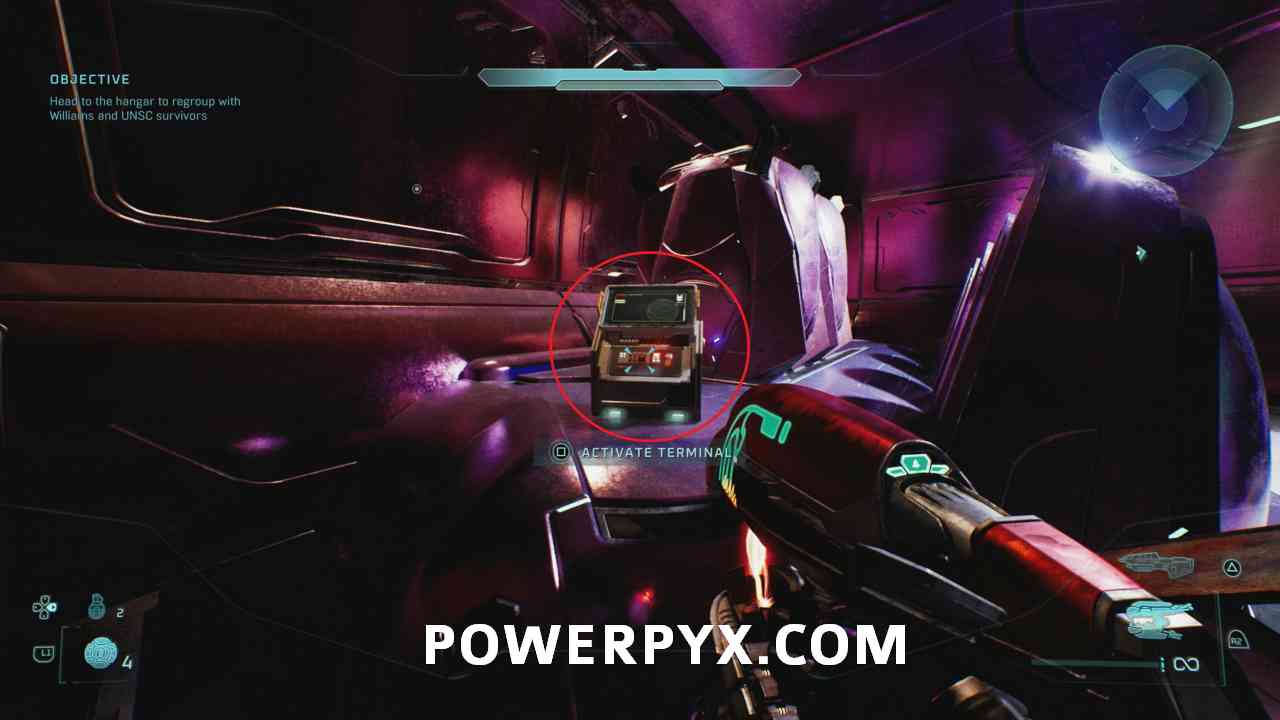
The terminal is on the left corner of the room.
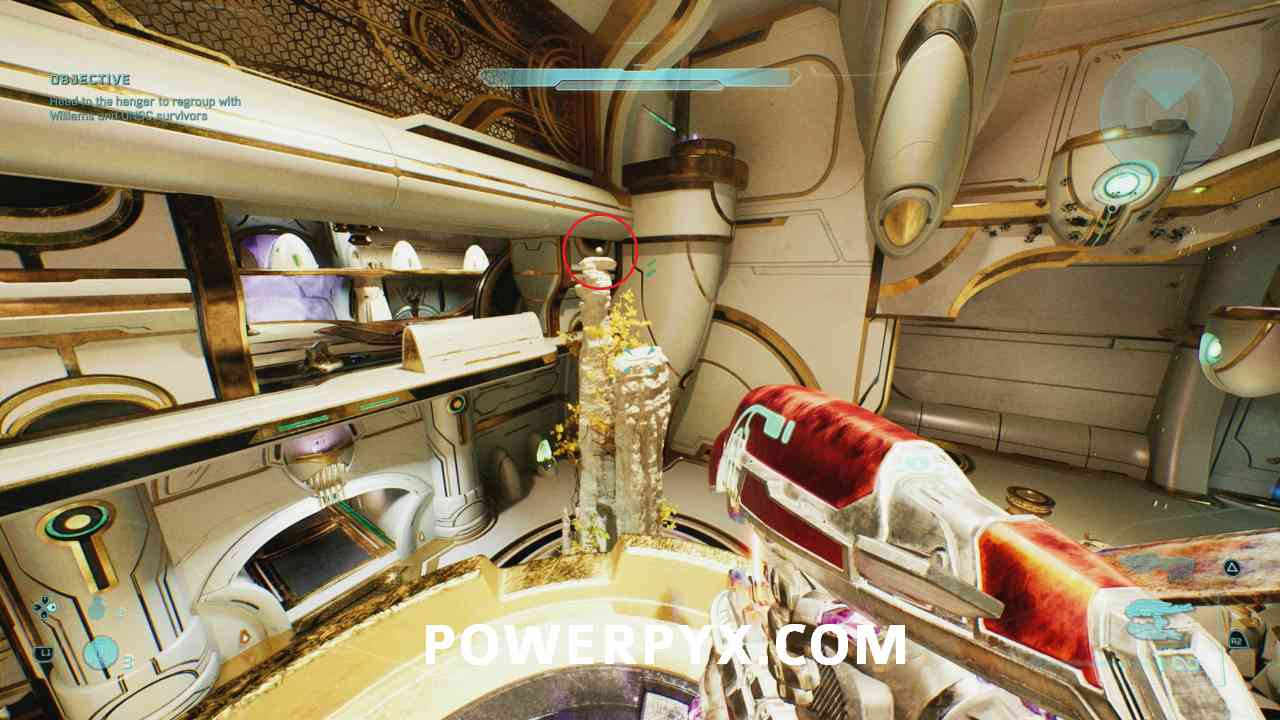
#51 – Skull (Grunt Birthday Party)
Objective: Head to the hangar to regroup with Williams and UNSC survivors
A little while after the previous skull, you will enter a big room with some enemies. The skull is on a pillar in the middle of the room.
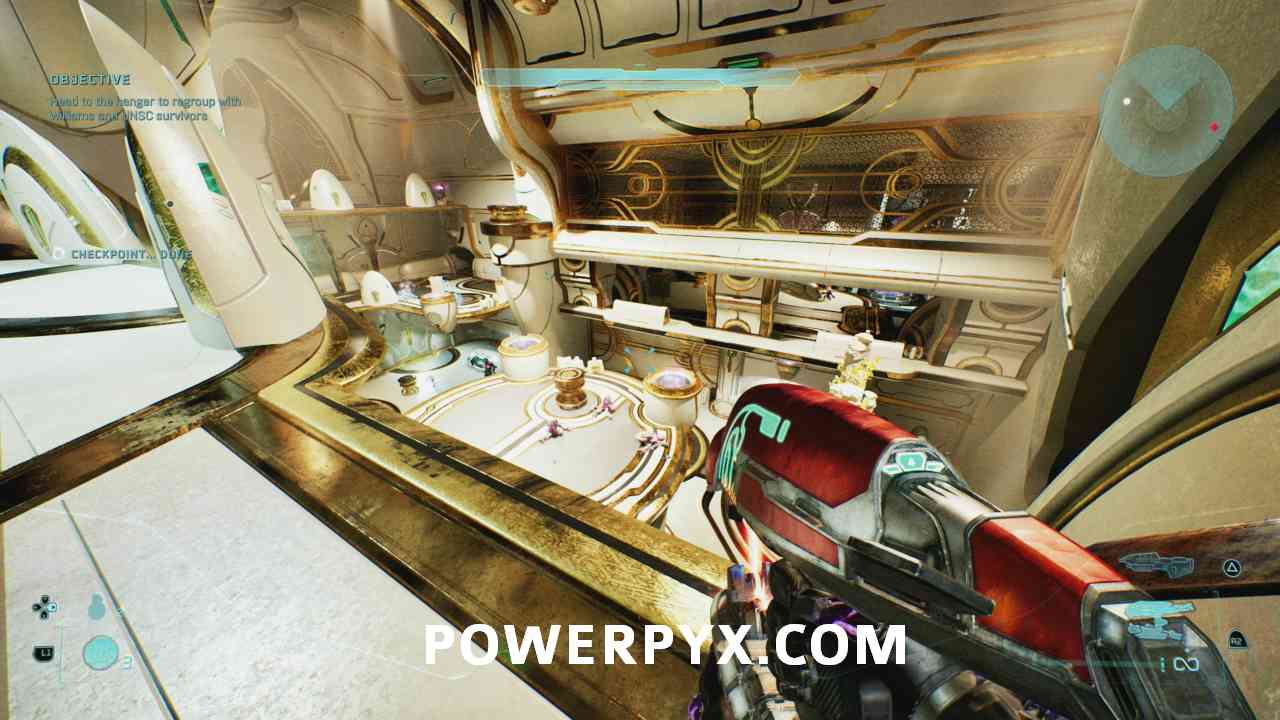
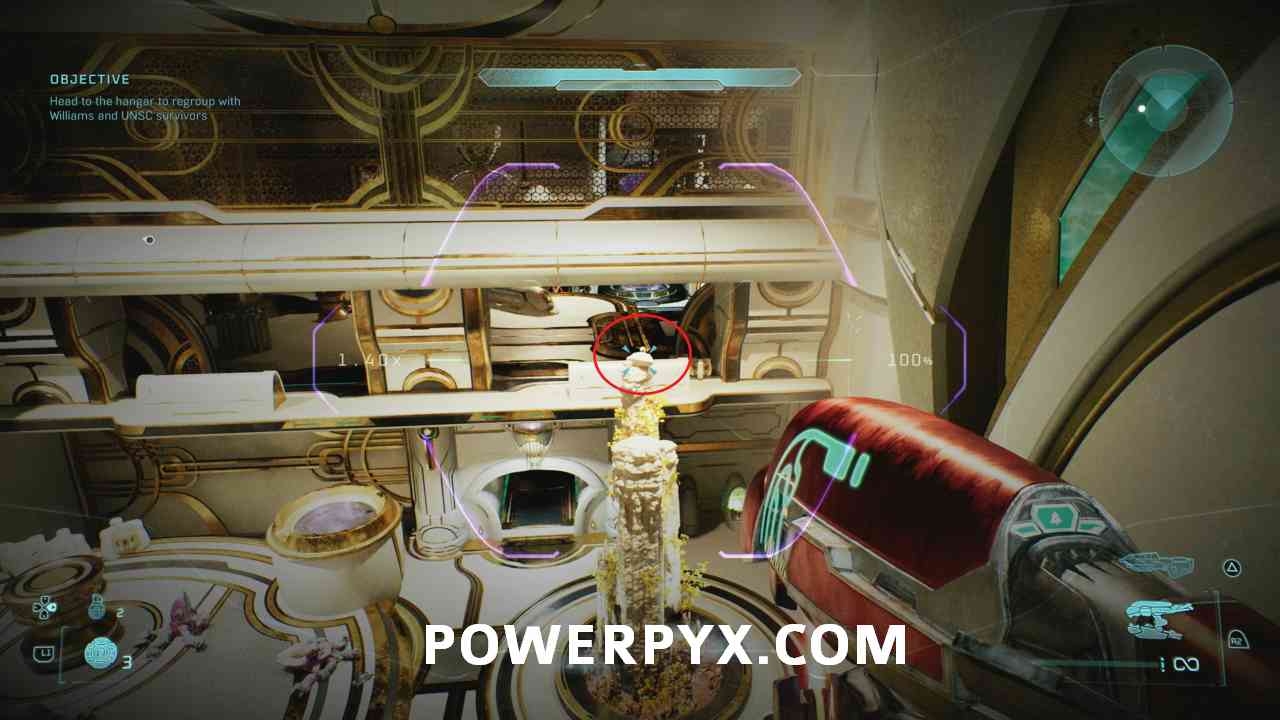
Jump on the middle platform, and from here turn right and jump on the pillar.
Chapter: Rally Point Charlie
#52 – Skull (Efficient)
Objective: Head to the hangar to regroup with Williams and UNSC survivors
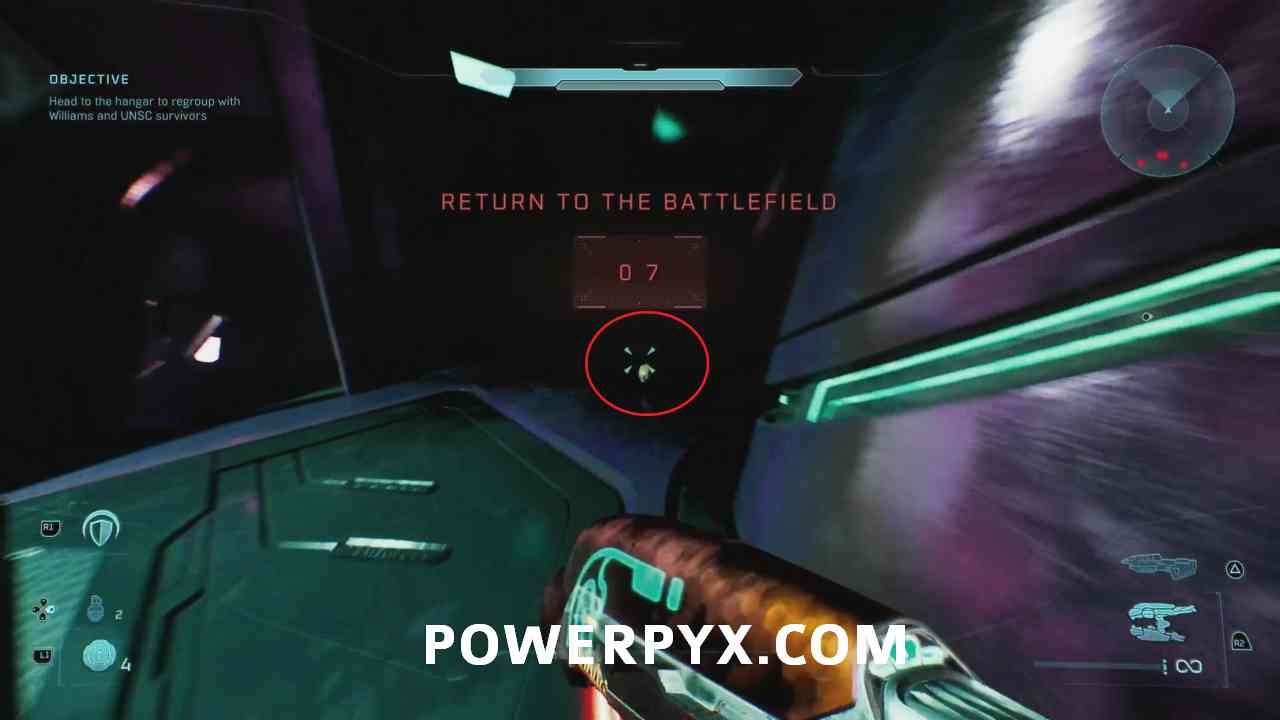
Near the beginning of the Rally Point, you will enter a moving platform. After the platform stopped for the first time, you need to power it again. After that, you reach a room with some enemies on a bridge. And in the next room after that, you will see some enemies on the left side, the skull is in the upper-left corner of that area.
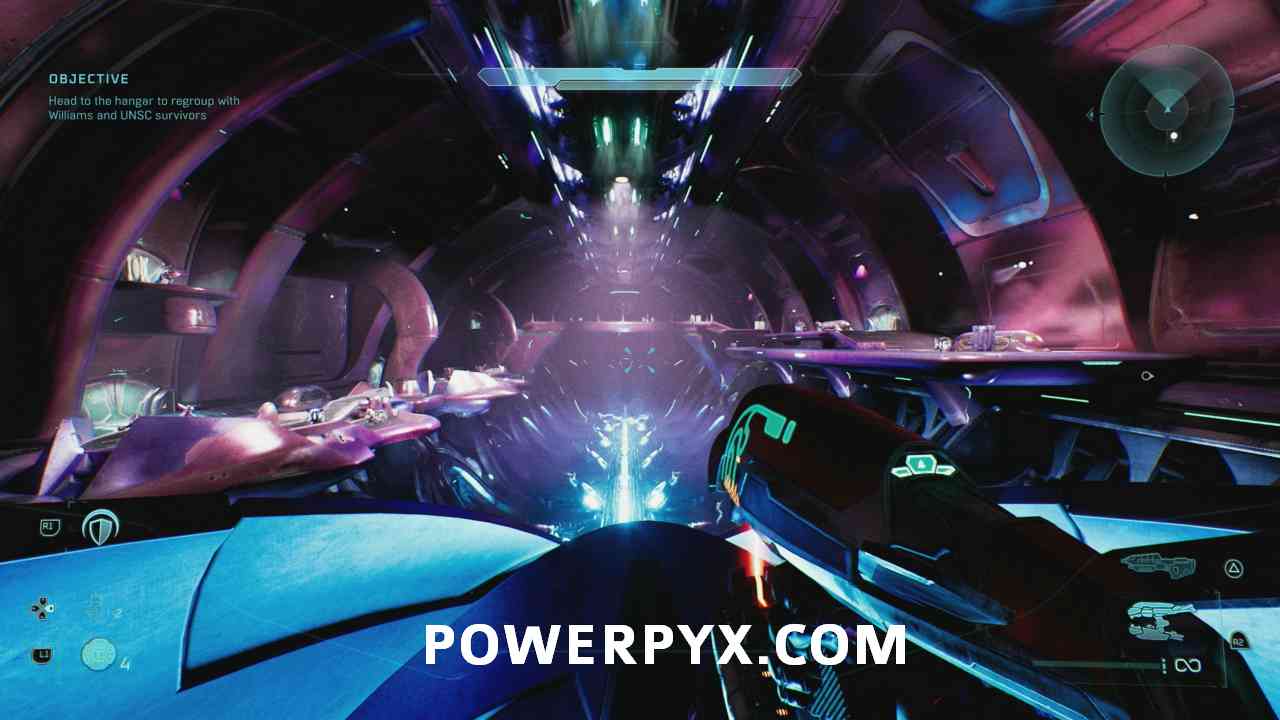
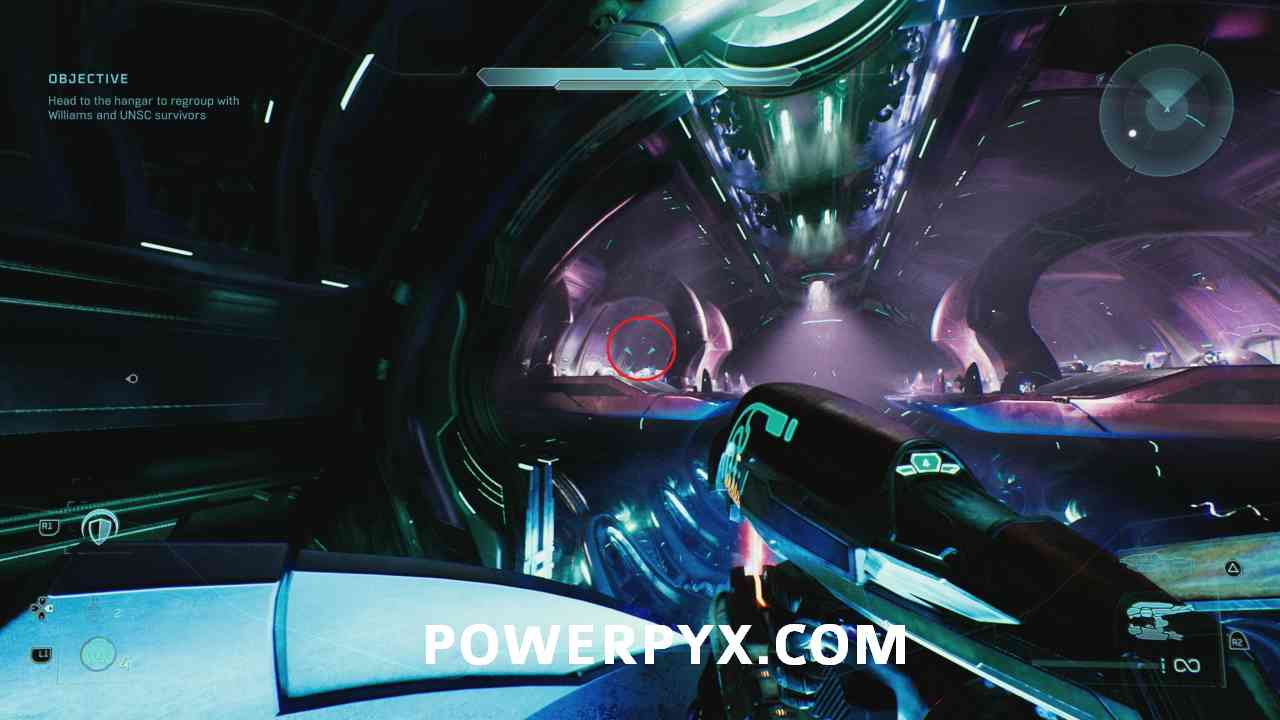
You need to be very quick, as the platform will not stop, and the game treats that area as out of bounds. So quickly jump off the platform, get the skull, and get back on the platform. If the timer runs out before you get back on the platform, you will have to try it again.
That’s all of the Collectibles in Halo Campaign Evolved. For any trophy/achievement cleanup check the Halo Campaign Evolved Trophy Guide & Roadmap.
MontyThighon says
I would say be careful to anyone playing offline. I’ve had an issue where I went offline, collected everything for Plundered in The Truth and Reconciliation, and the trophy didn’t pop.