
Safe Word (Steal the Practice Safe) is the 68th main mission in GTA 6 (Grand Theft Auto VI). This walkthrough will guide you through all objectives of the Safe Word (Steal the Practice Safe) main quest.
- Starting Location: Vice City > Stockyard
- Chapter: Chapter 3
- Quest Giver: Nicole
- Requirement: Complete Chapter 3 “Company Property“
- Can Be Started By: Lucia/Jason
- Reward: If you complete the safecracking practice at the end of the mission: Gil’s Kalinga .50 Pistol, $1,500
- Quest Description: Nicole knows what safe is in Sinfrontera National Bank, but wants Lucia to practice her safe cracking skills. She sends Jason and Lucia to steal a smaller version of the same safe from a pornographer’s mansion. After Jason locations the safe, they pull it from the house with a truck and drag it through the streets of Vice City before delivering it to Raul’s base of operations.
Objectives:
- Drive to Gil’s mansion
- Find a way into the mansion
- Follow Gil’s assistant
- Go to your mark
- Skim the pool
- Look at Samantha
- Spread lotion on Sasha
- Punch Rodney
- Take punches from Rodney
- Knock out Rodney
- Enter the mansion
- Enter Gil’s office
- Search Gil’s office
- Open the window
- Attach the winch to the safe
- Escape with the safe
- Deliver the safe to Felipe
- Practice on the safe
Starting Location: Safe Word (Steal the Practice Safe)
After completing “Company Property” you will need to return to Raul’s compound in Stockyard to speak with Nicole to start this mission.
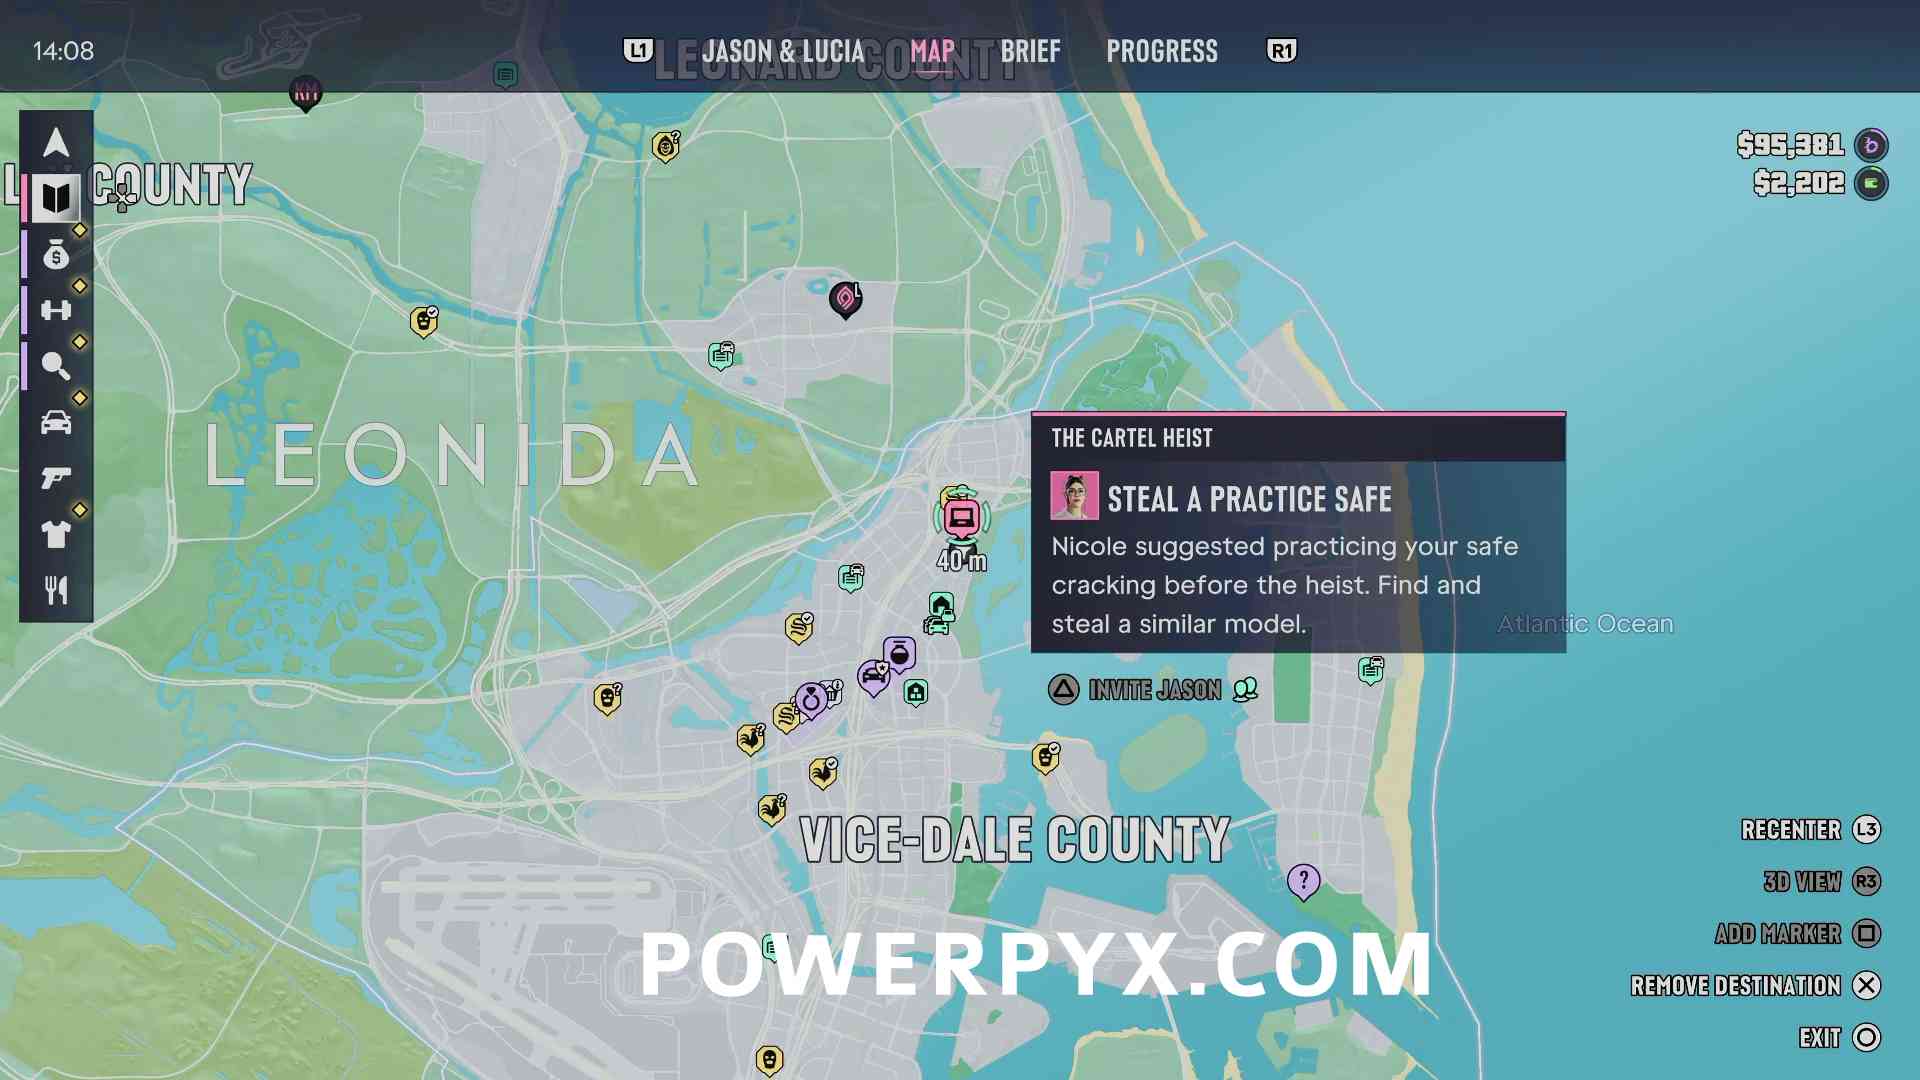
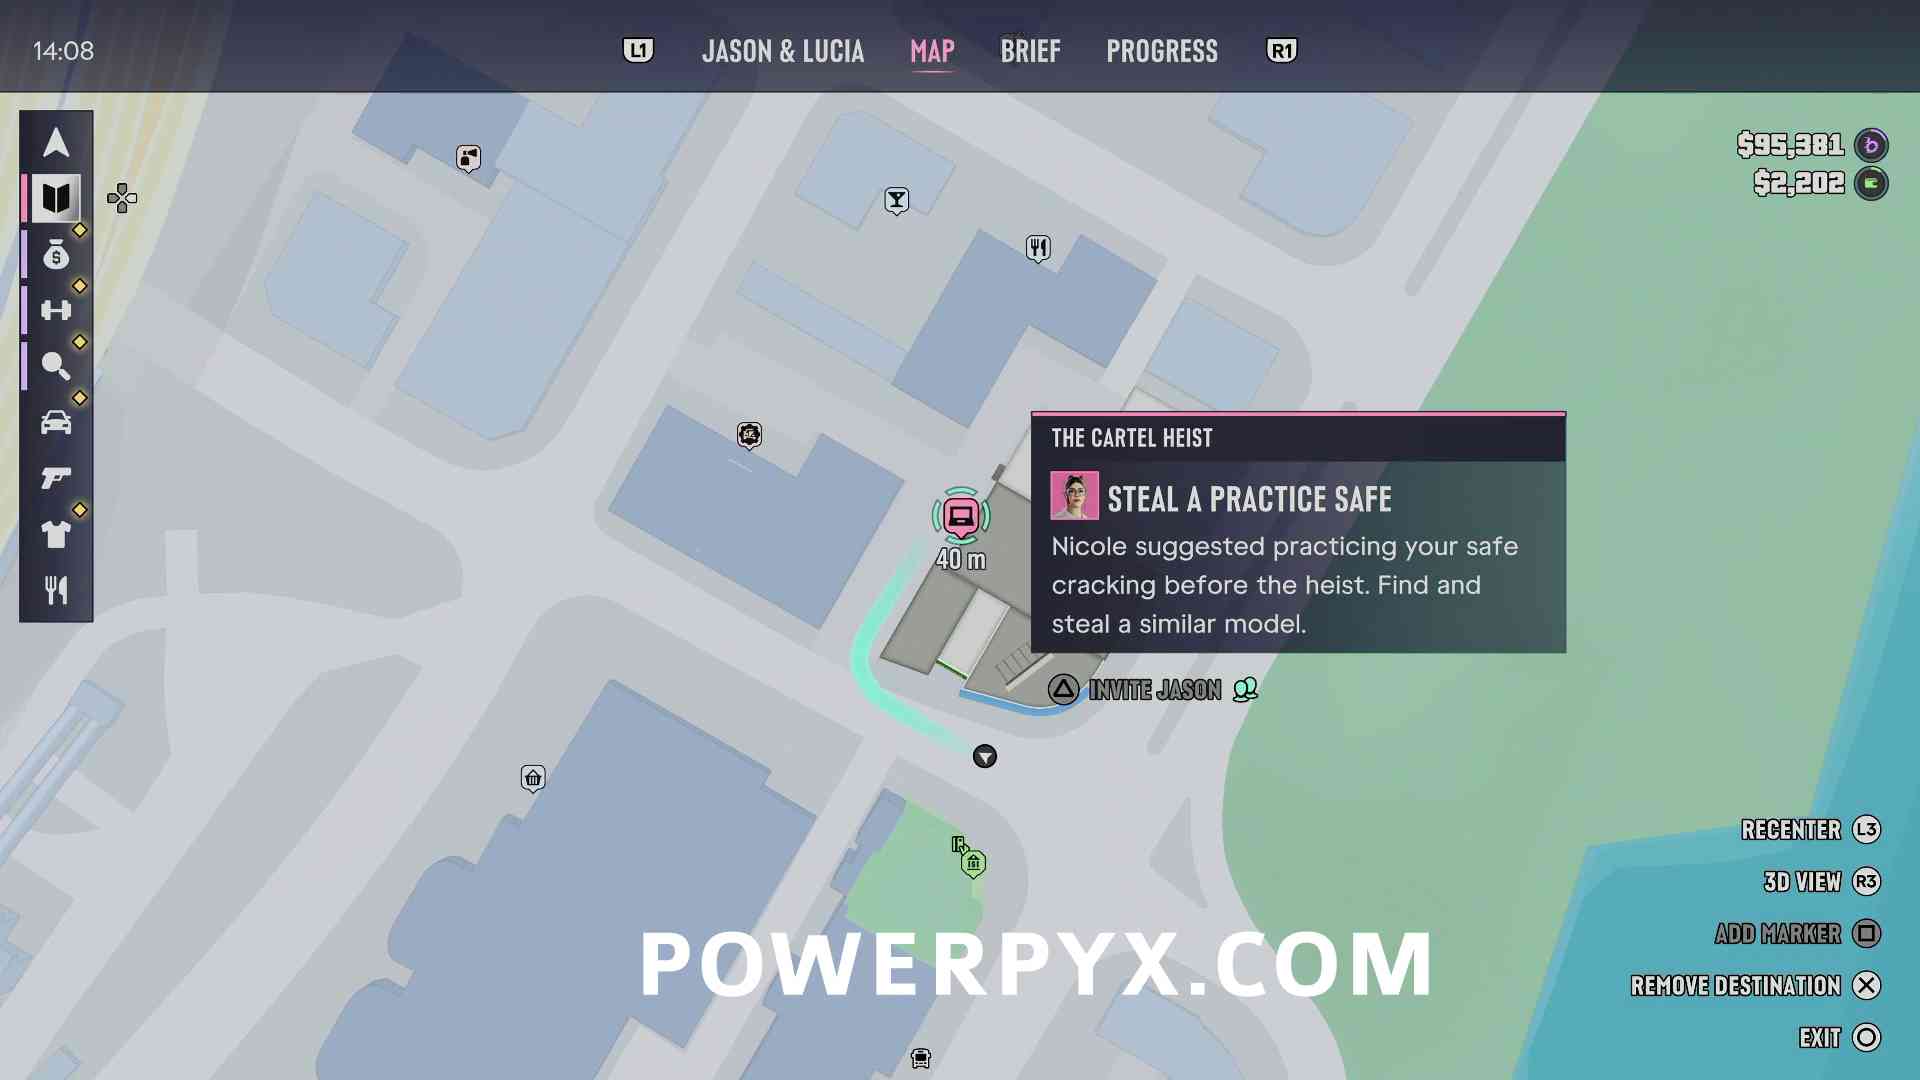
After meeting with Nicole inside, you will need to take the large truck outside to go grab the safe.
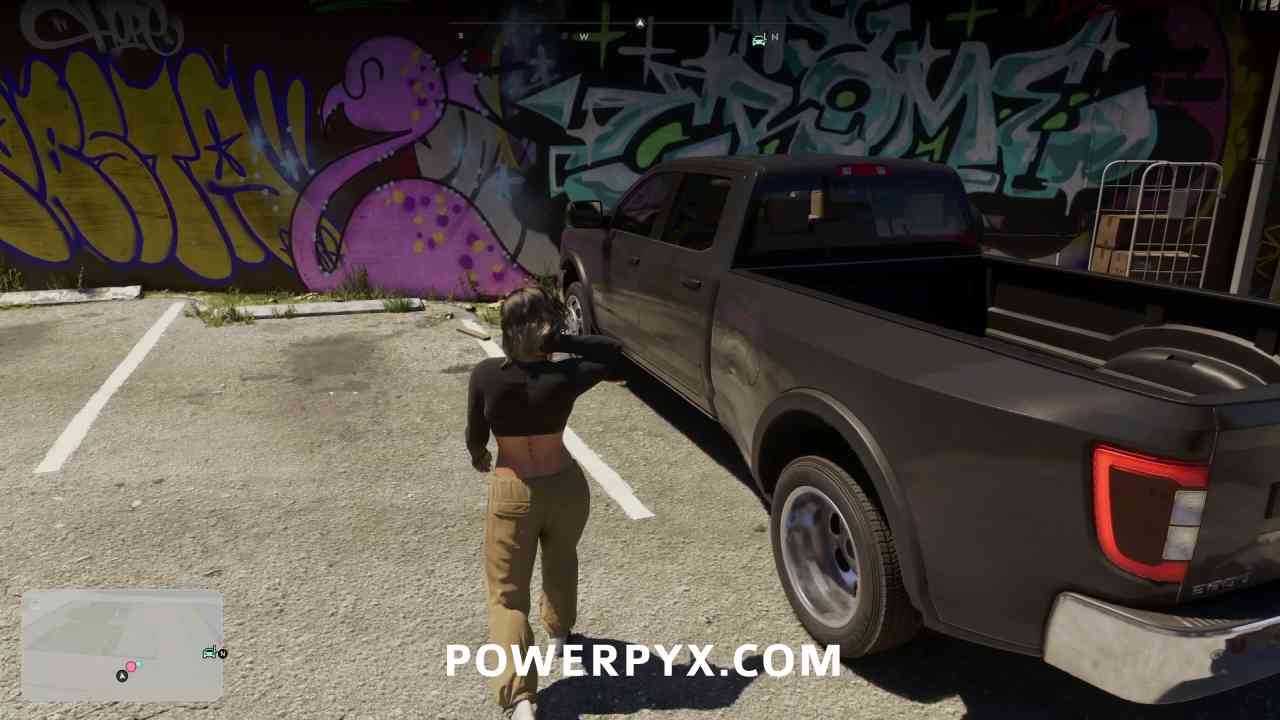
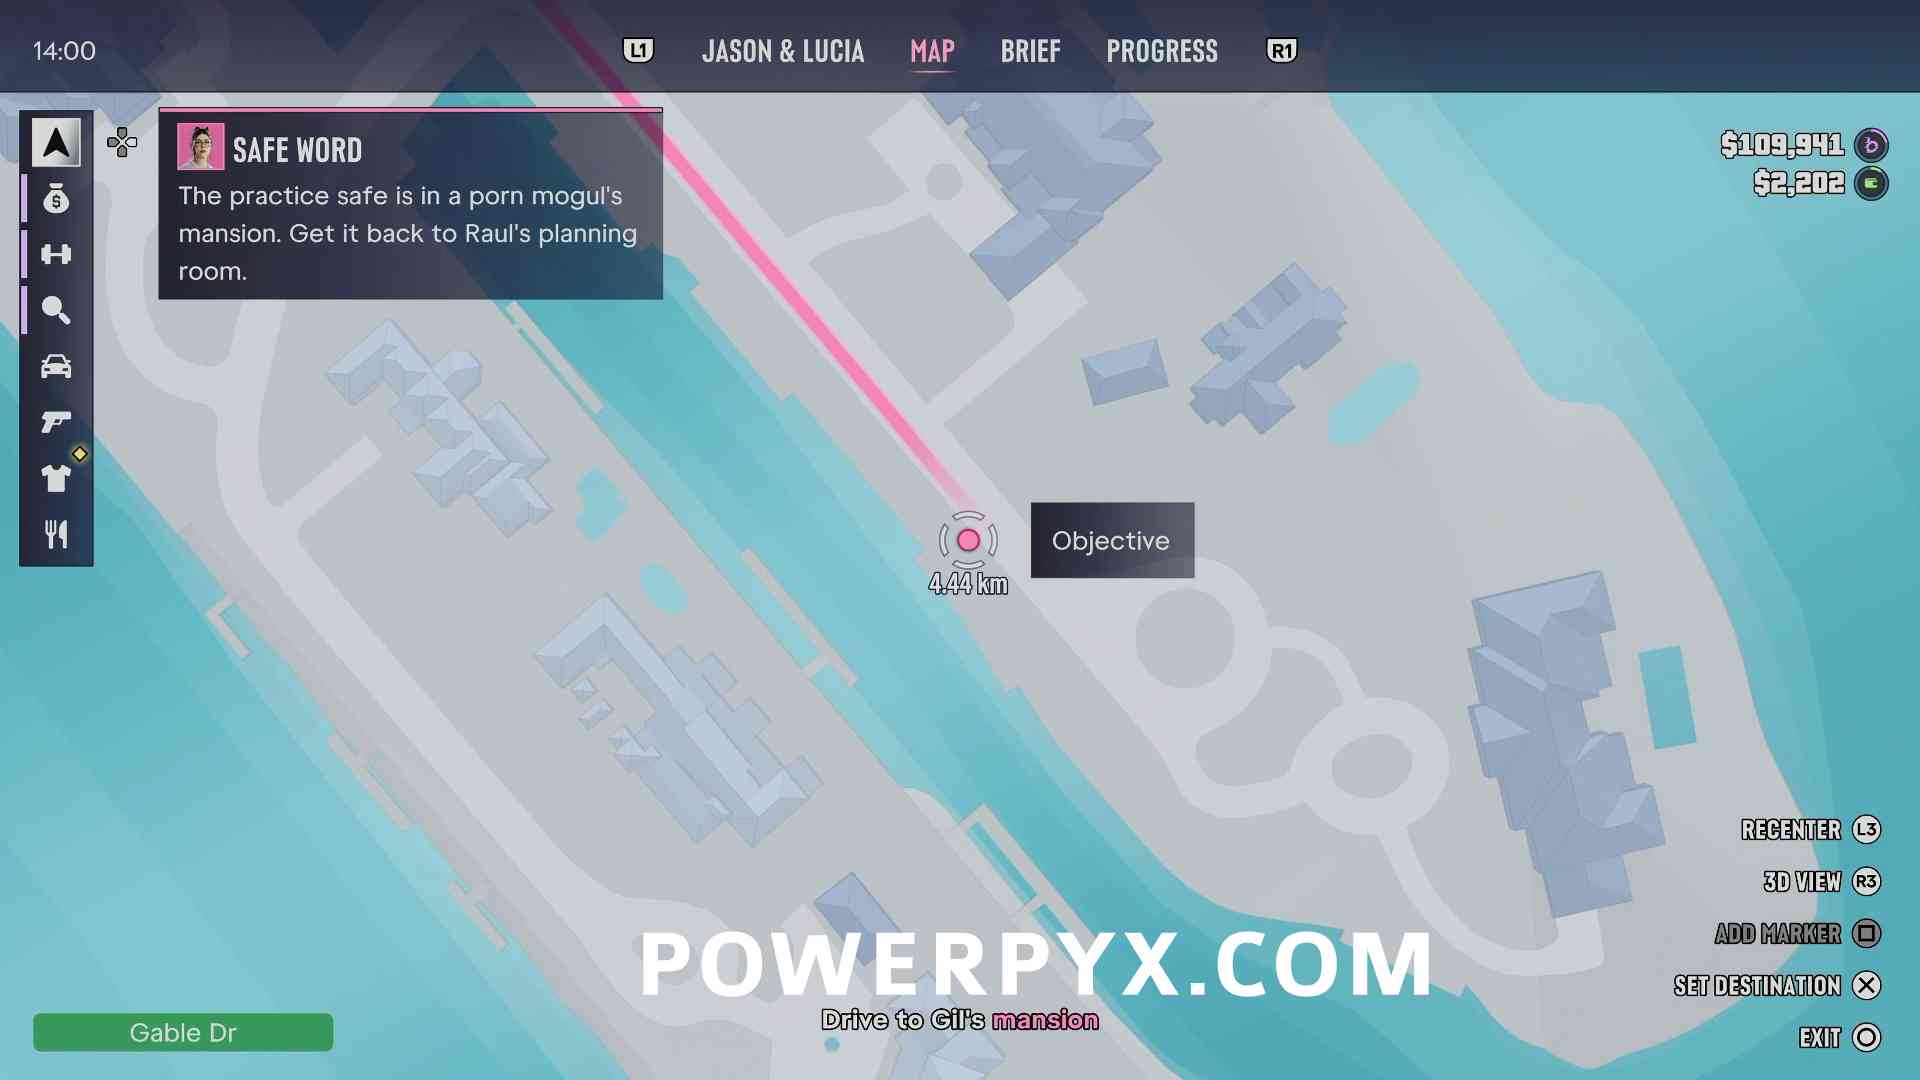
Drive to Gil’s mansion
You then need to head to the very south edge of the city to Peacock Estates.
Find a way into the mansion
You will switch to playing as Jason, and need to sneak into the mansion to find the safe. Go through the front gate and crouch to stay hidden. You need to carefully move around the right side of the house through the archway.
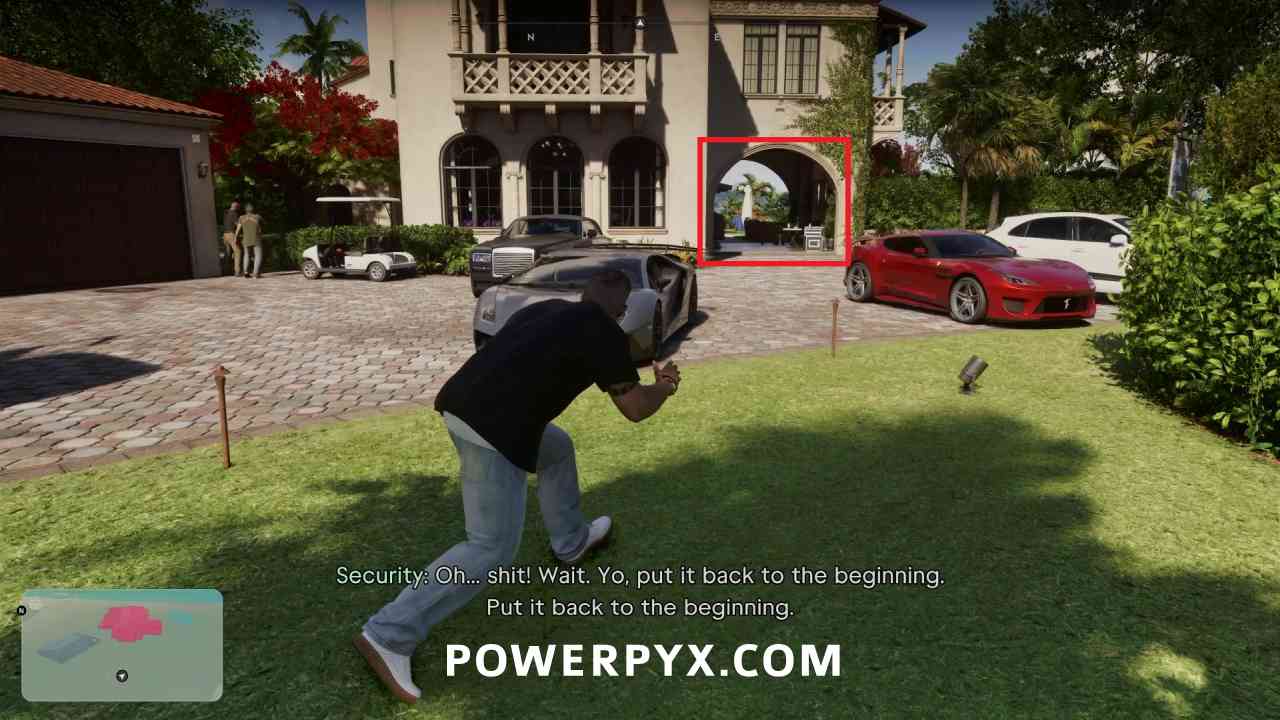
Keep walking around the house and you will be stopped by a woman coming out of the door, and need to blend.
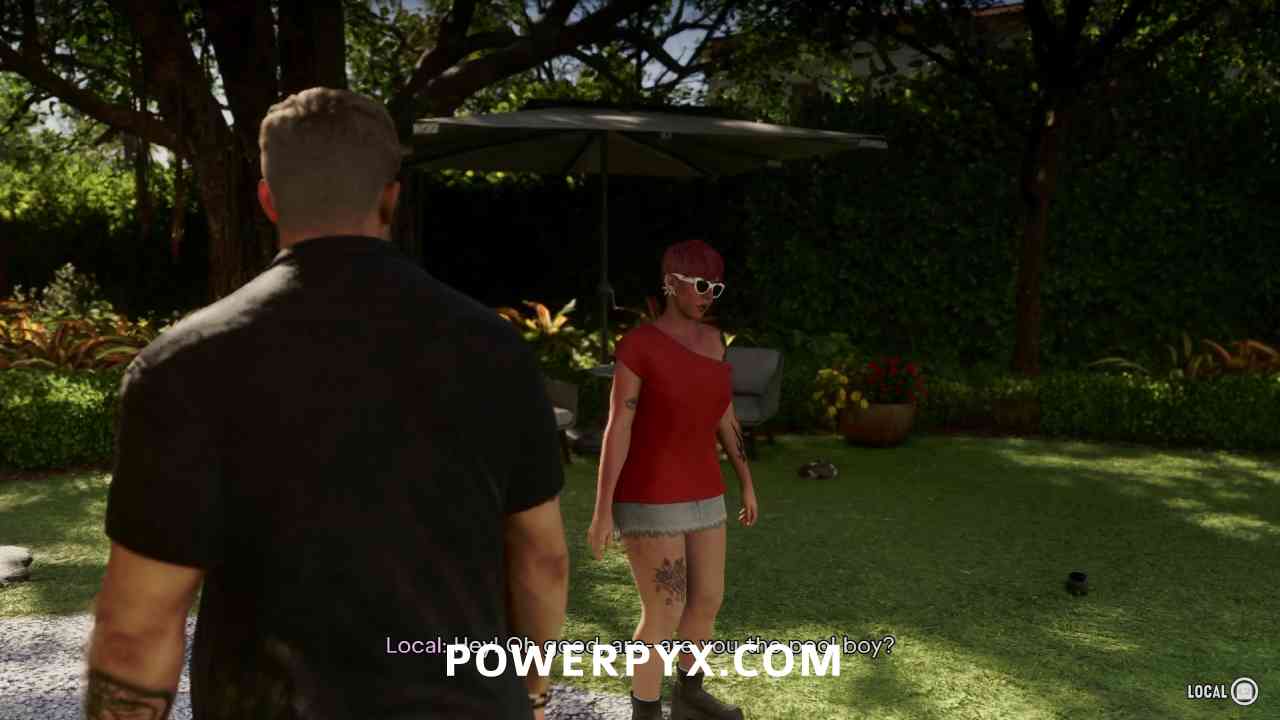
Follow Gil’s assistant
Follow the assistant back to the backyard.
Go to your mark
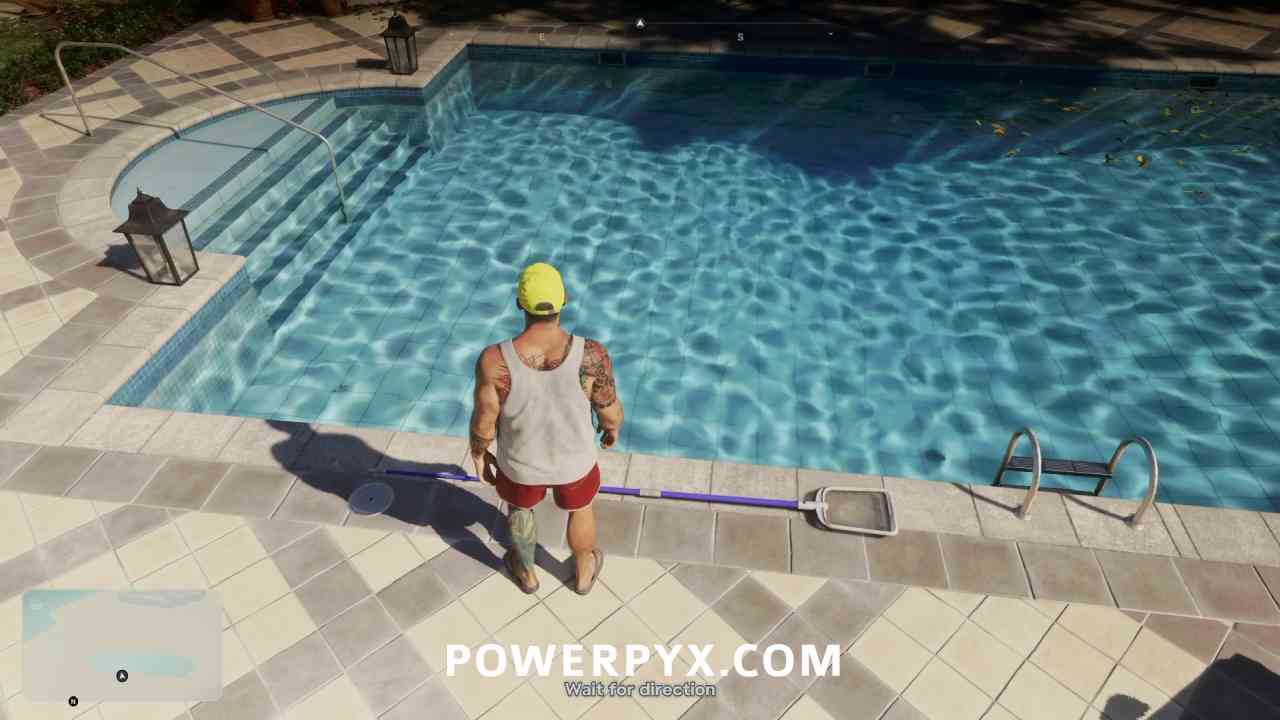
After Jason gets put in makeup, walk over to the pool where the skimmer is sitting. When directed, pick it up off the ground.
Skim the pool
You can then move  back and forth to keep skimming the pool. Keep doing this until you are told to stop.

Look at Samantha
When prompted, hold  /
 then press
 /
 to look at Samantha one of the loungers, then go back to skimming the pool. When prompted, interact with the lotion to pick it up.
Spread lotion on Sasha
You can then move +  to spread lotion on the woman’s back.
Punch Rodney
Then when prompted, melee  /
 Rodney to stay in the scene.
Take punches from Rodney
After hitting him a few times, stop attacking him and let Rodney hit you some.
Knock out Rodney
Then when prompted, keep meleeing Rodney to knock him out.
You are then given the option of whether you want to Participate further or not. If you don’t want to make Lucia angry, then it would be recommended to choose / not to participate.
Enter the mansion
You can then run around the mansion to the door you were almost able to enter before.
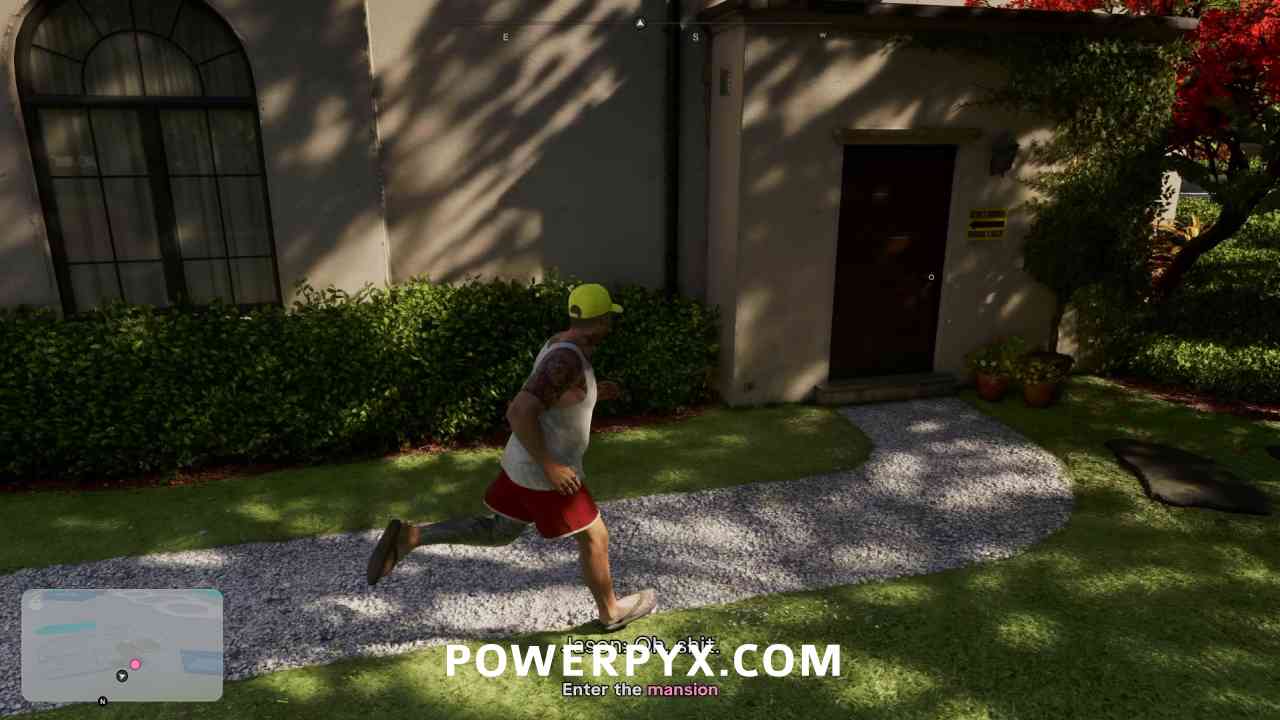
Enter Gil’s office
Inside the house go through the first double doors, then through the closed doors on the right side of the hallway.
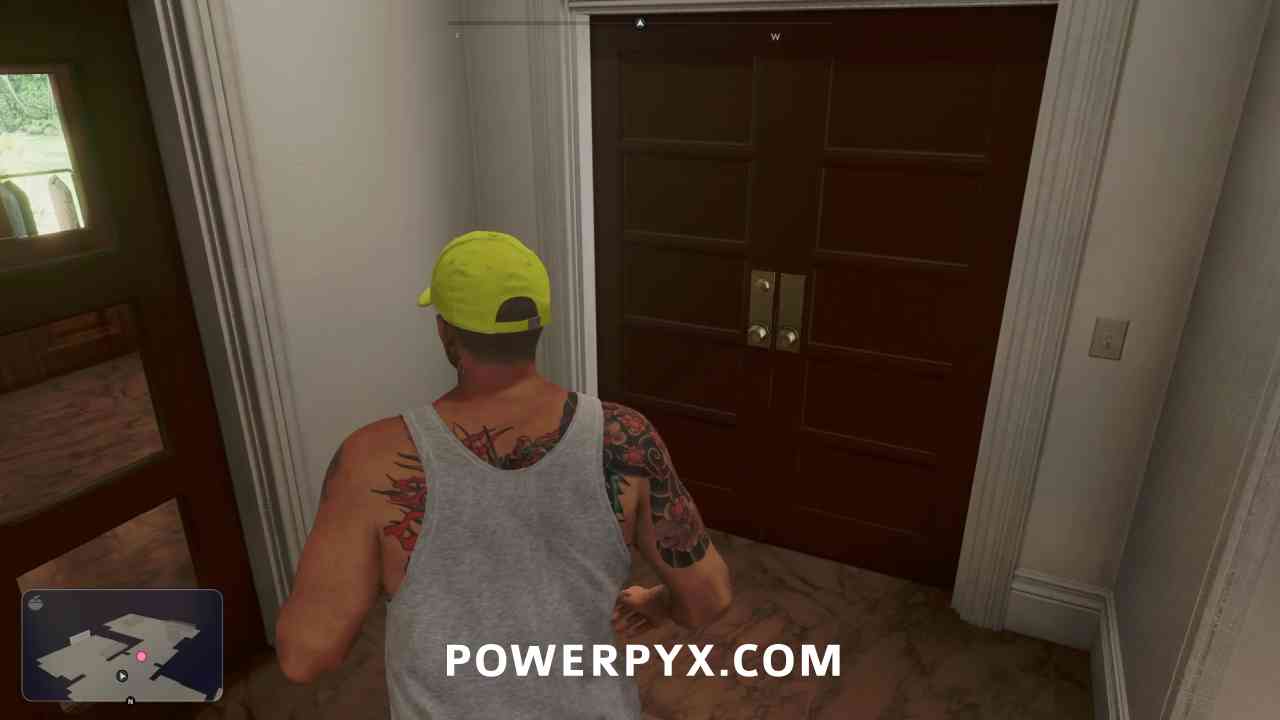
Search Gil’s office
In the office you can look around at different items if you want. To find the remote to access the safe, interact with the drawer on the left side of the desk.
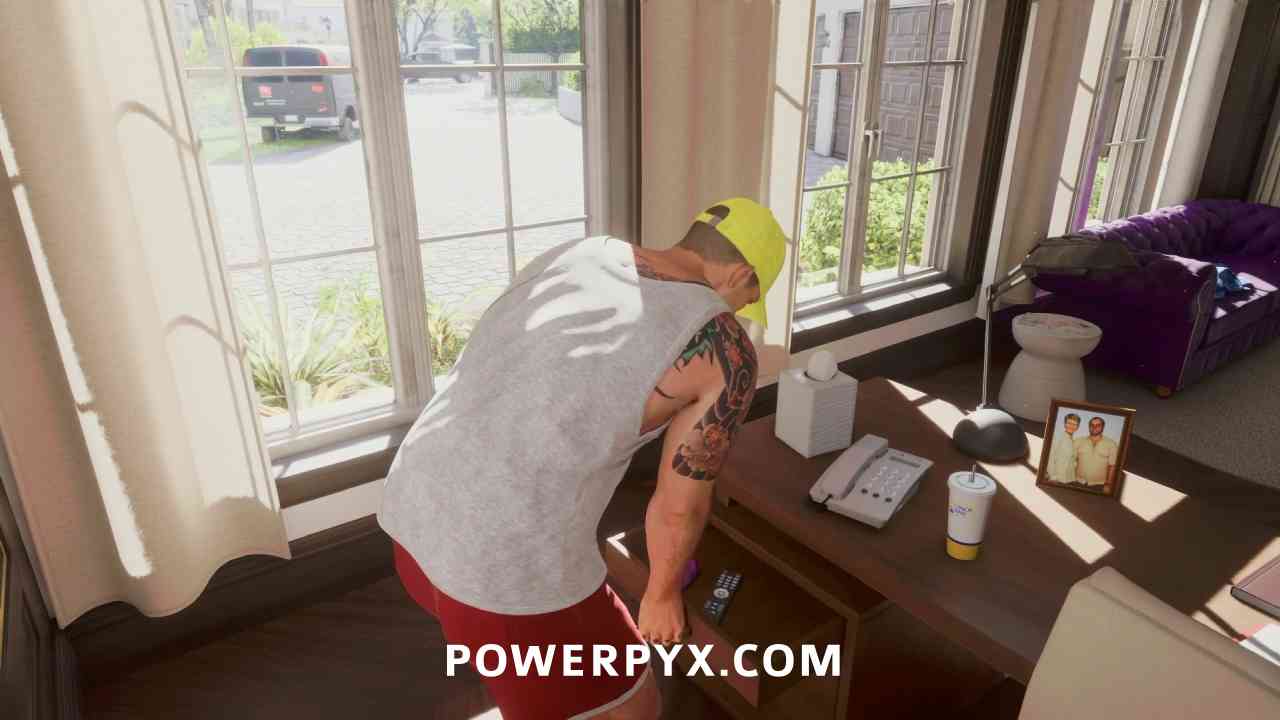
Open the window
Once Lucia backs the truck up, interact with the window to open it.
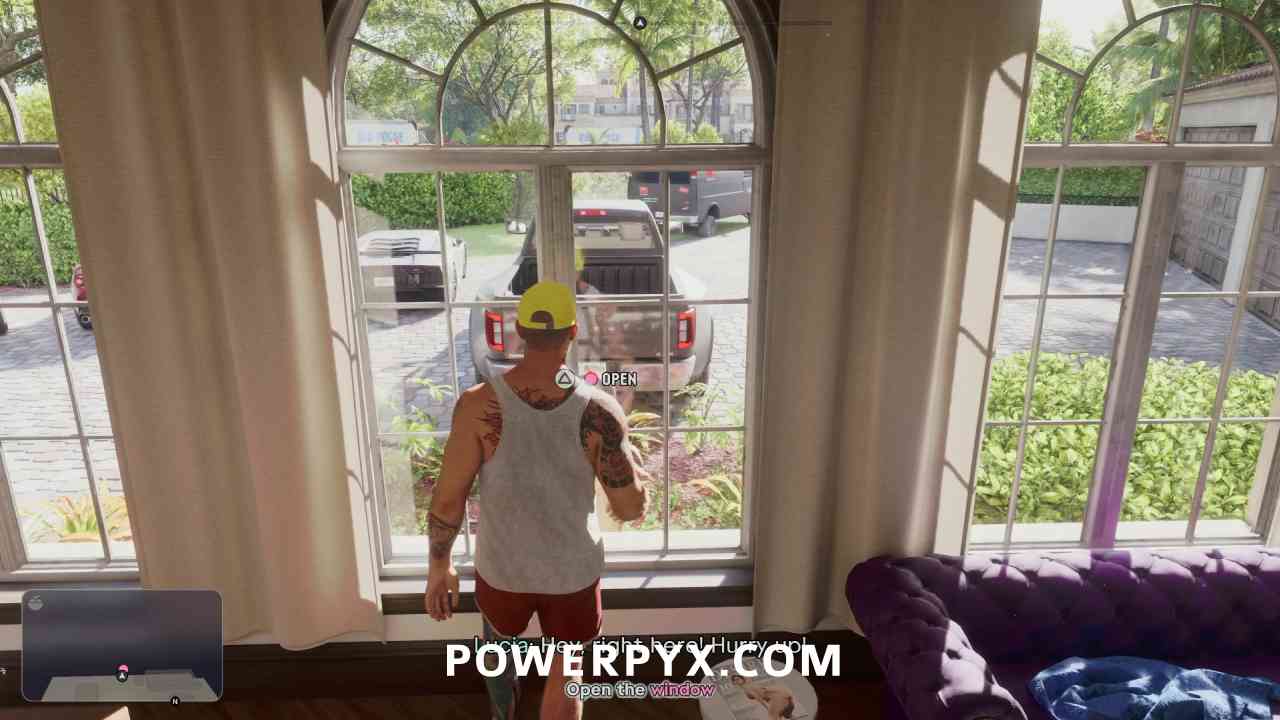
Attach the winch to the safe
Then interact with the safe to attach the winch to it. Then when you switch to Lucia hold  /
 until you pull the safe out of the house.
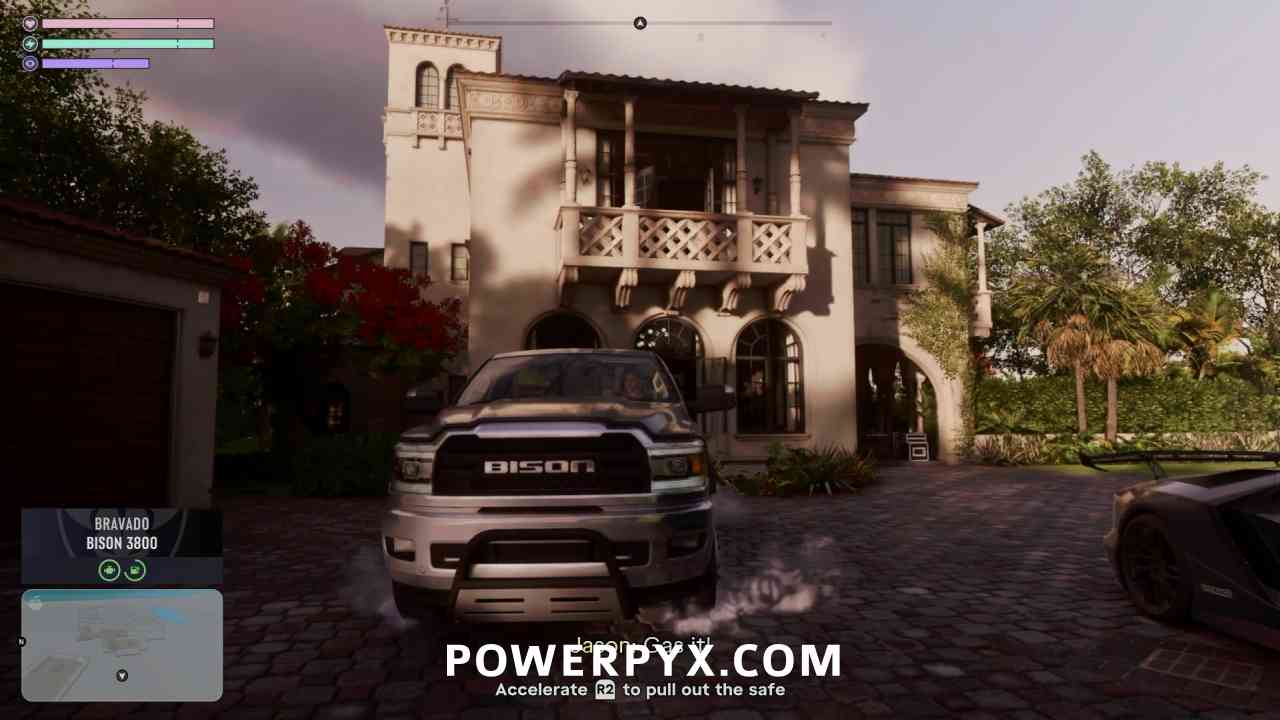
Escape with the safe
Now you will be driving the truck with the safe dragging behind. You can turn left and right to swing the safe behind the truck, allowing you to use it to hit the vehicles that are chasing after you.
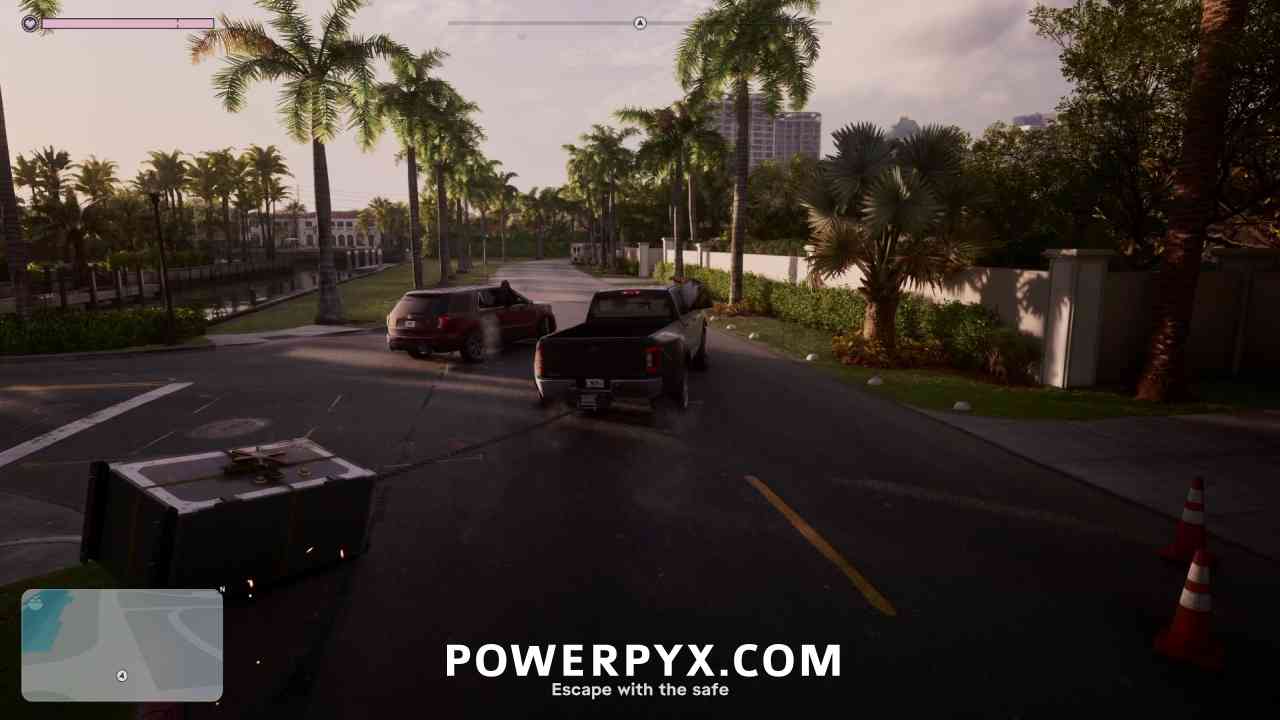
Deliver the safe to Felipe
You now need to make your way west toward the marked location to meet up with Felipe to drop off the safe. You will start to be chased by cops along the way, so keep using the safe to smash the cars that are chasing after you.
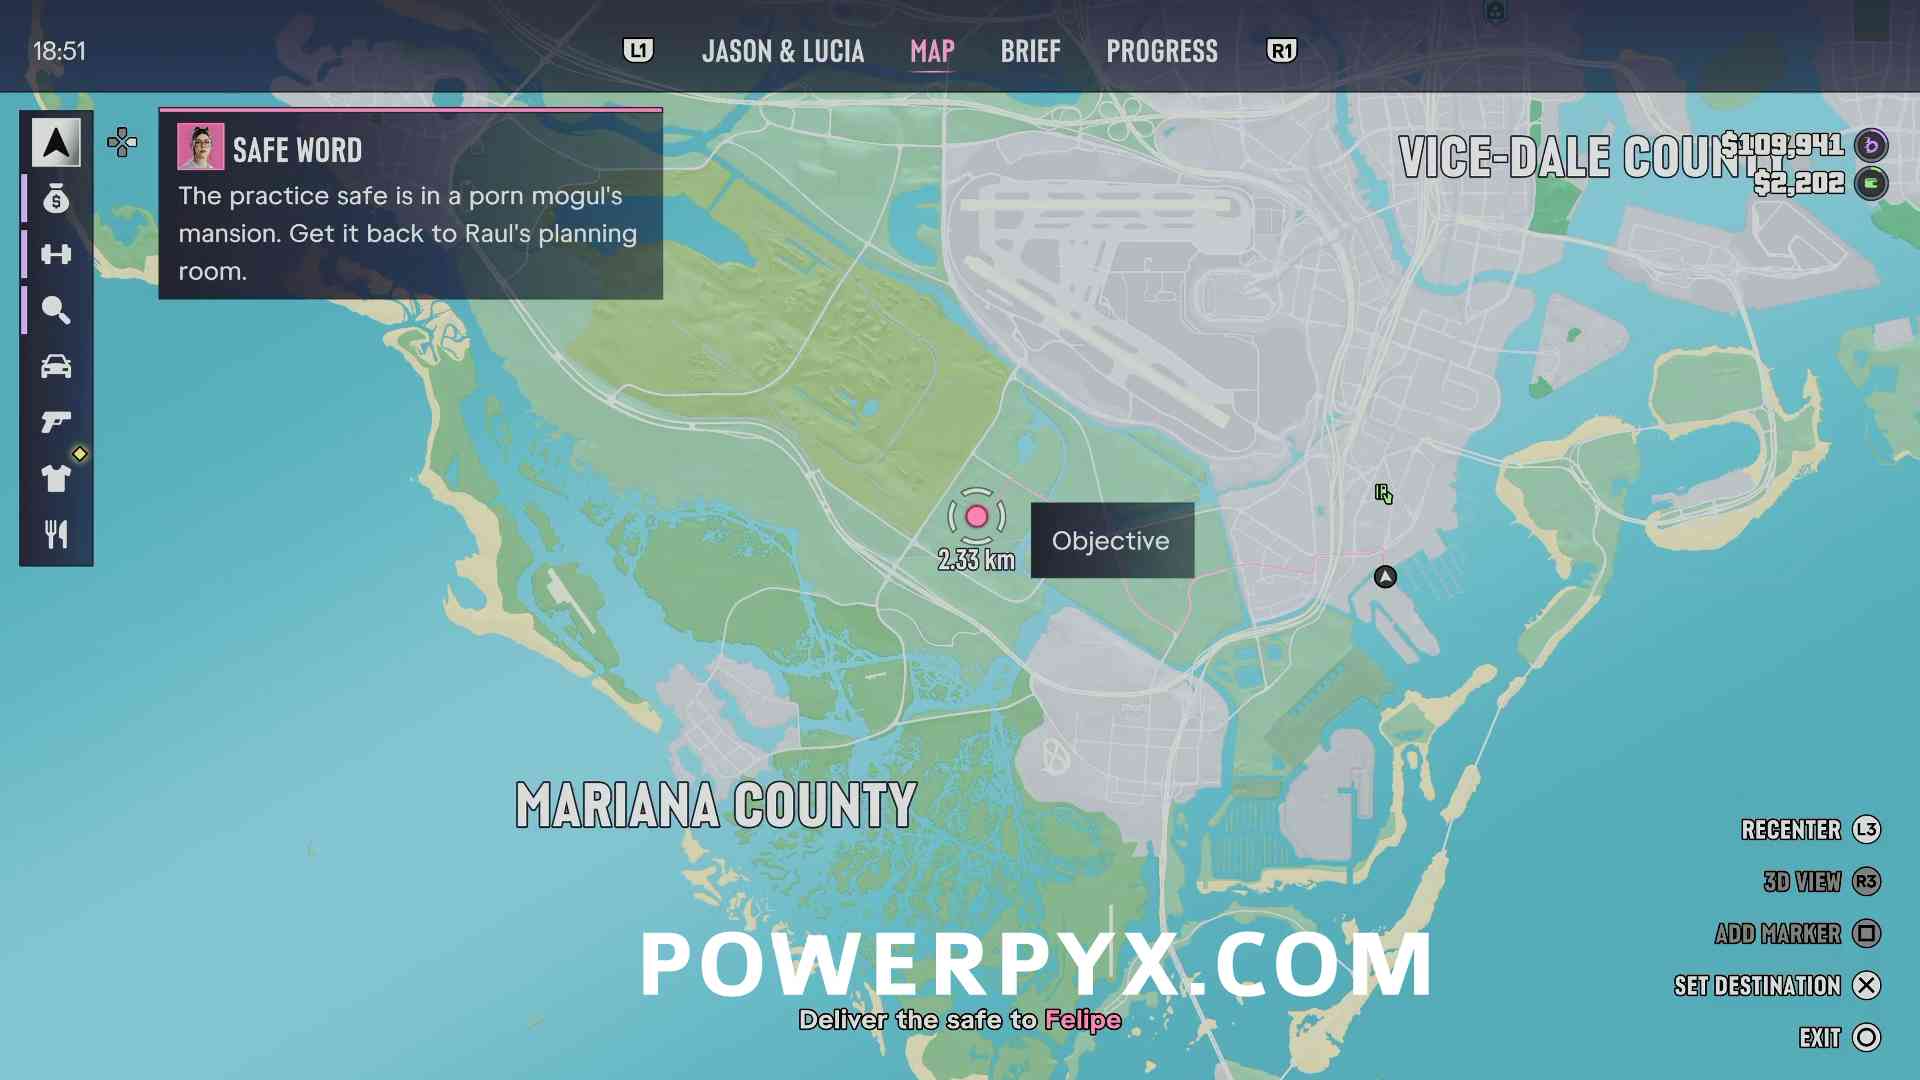
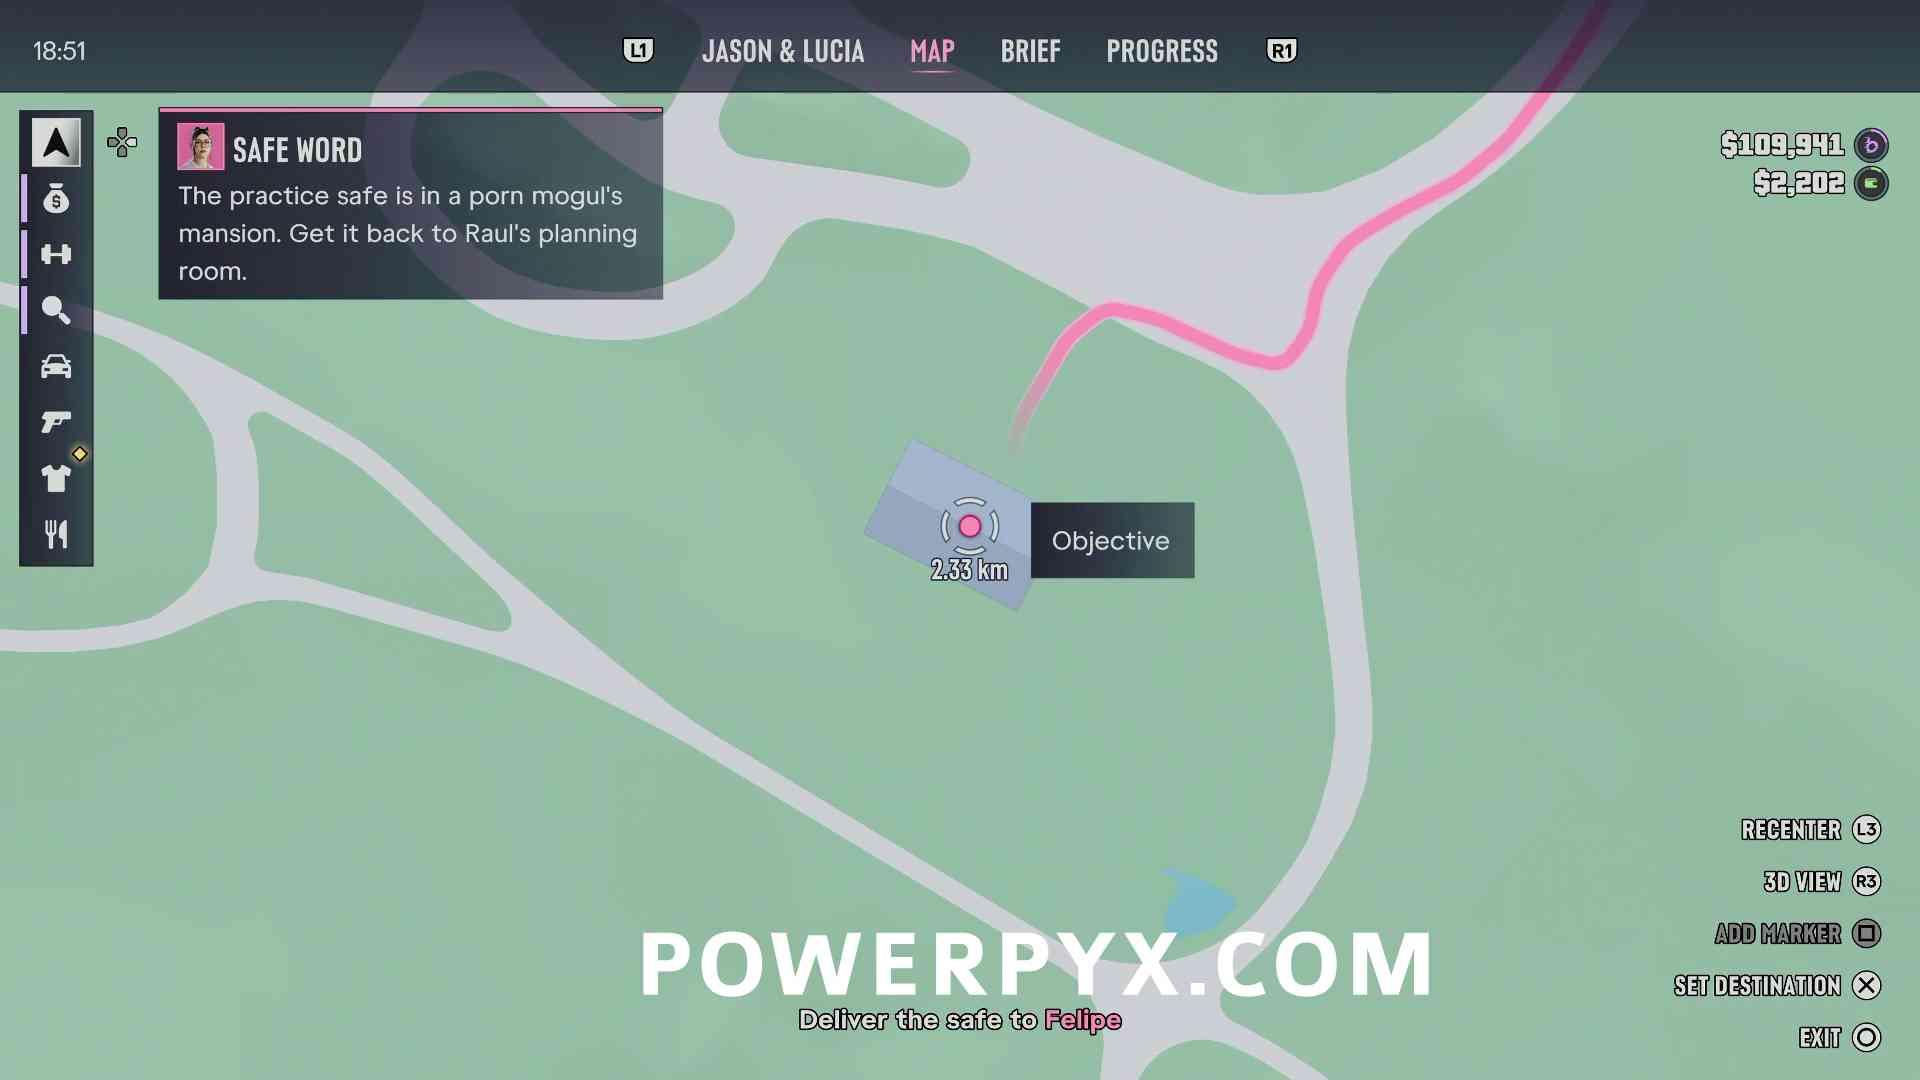
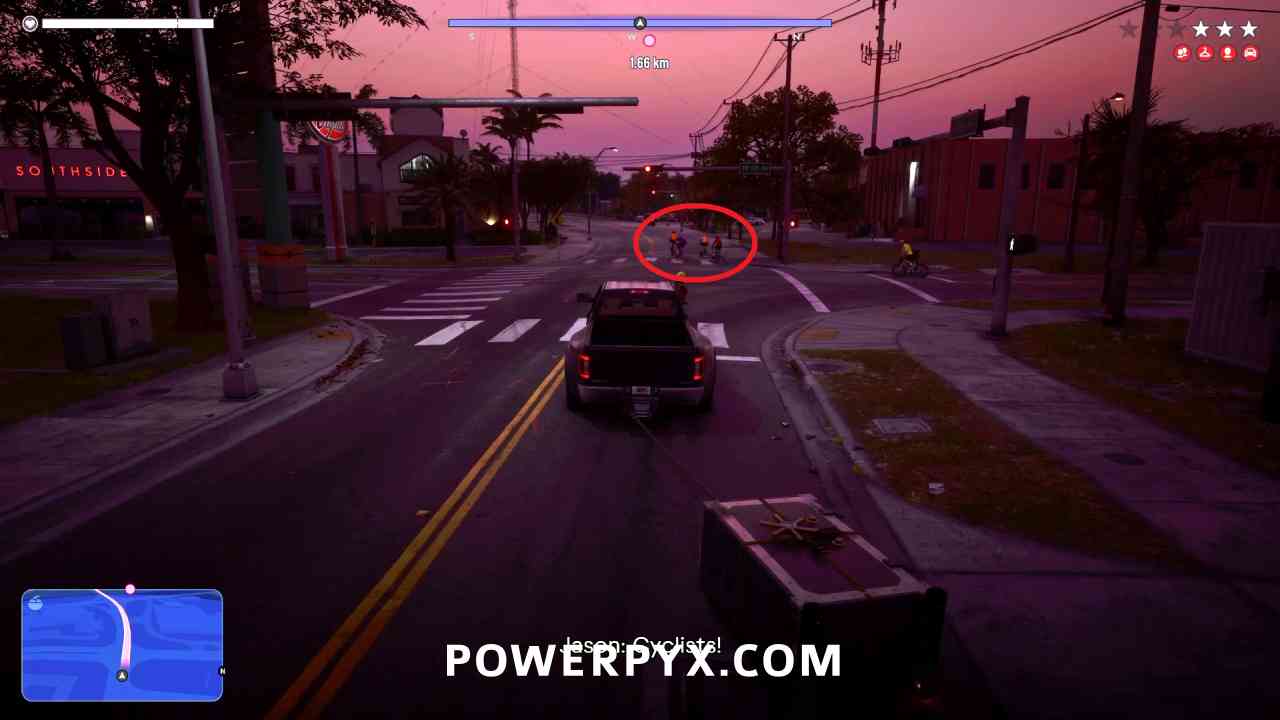
Watch out for the cyclists when Jason calls them out, you want to avoid hitting them with the safe or you’ll get a Psycho criminal rating.
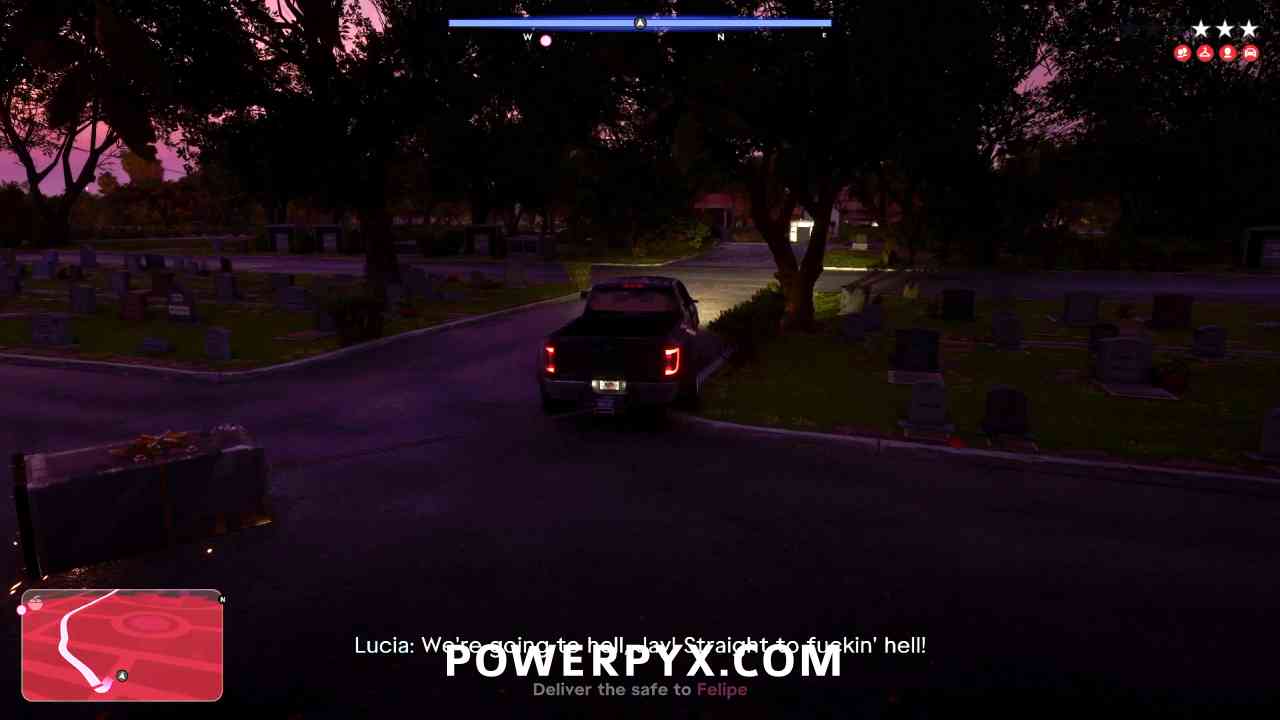
Same when you turn into the cemetery, you want to try to avoid hitting any of the gravestones with the safe if you want to avoid a Psycho rating.
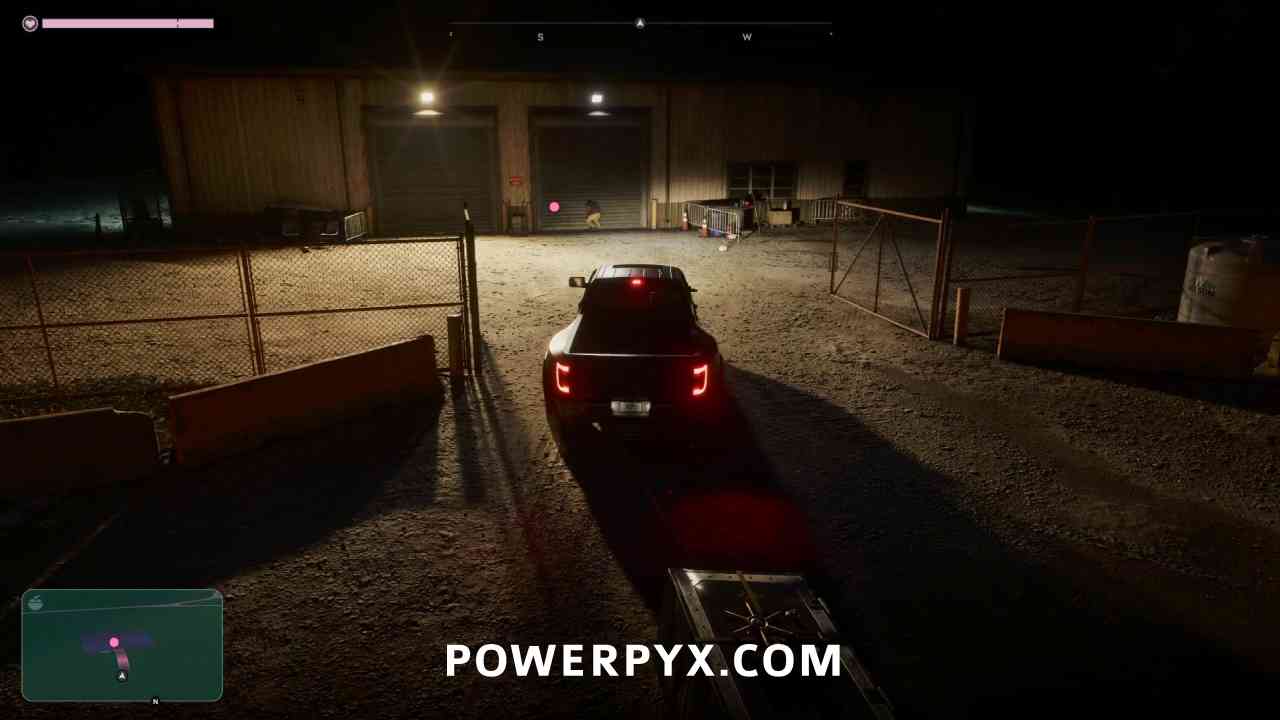
Keep following the path until you reach the garage, where you can drive in to deliver the safe.
Practice on the safe
You’ll then be taken back to Raul’s compound and have the opportunity to practice on the safe. It is recommended you do this, as the mechanics are the same as when you complete the heist at the end of the chapter. You can practice as many times as you want here to make it easier later. You also get a variant weapon for successfully completing the practice here.
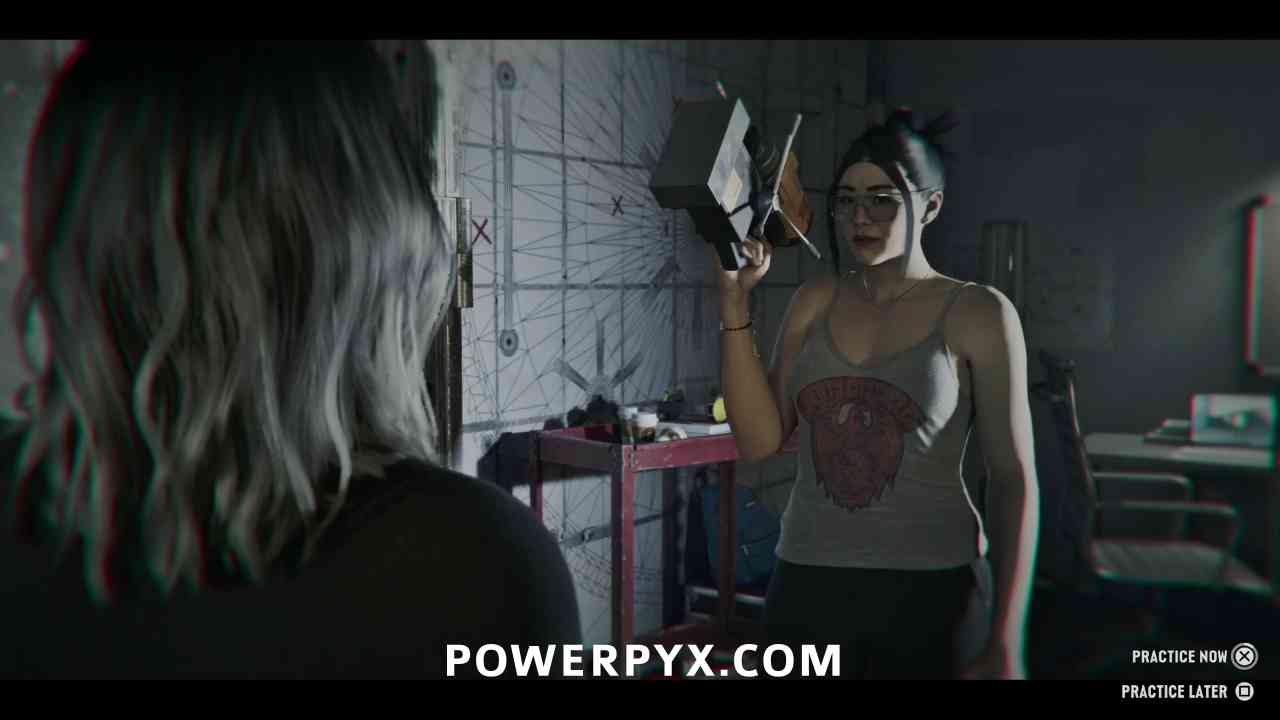
During the first part where you are drilling, you need to hold / + /:rt: at the correct position to correctly drill a hole. The left gauge slowly increases as you drill through the door so you need to adjust, but hold the right gauge in the same spot the entire time. The light on the back of the drill also conveys how you are doing, and you don’t want it to get to red.
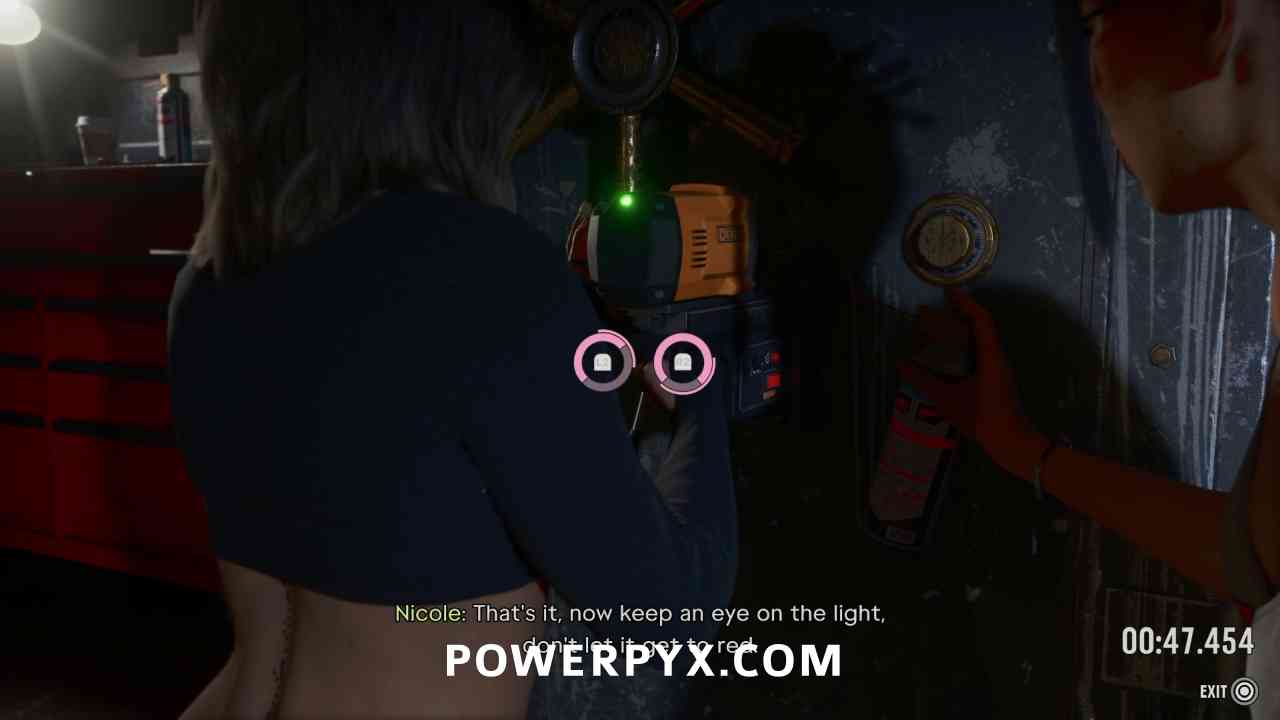
Now you are controlling the cable inside the safe door. Use to push the cable forward and backward, then to rotate the view left and right. Look for the cable in front of you, then follow along with the cable. You need to avoid touching the cable directly or the other walls within the area.
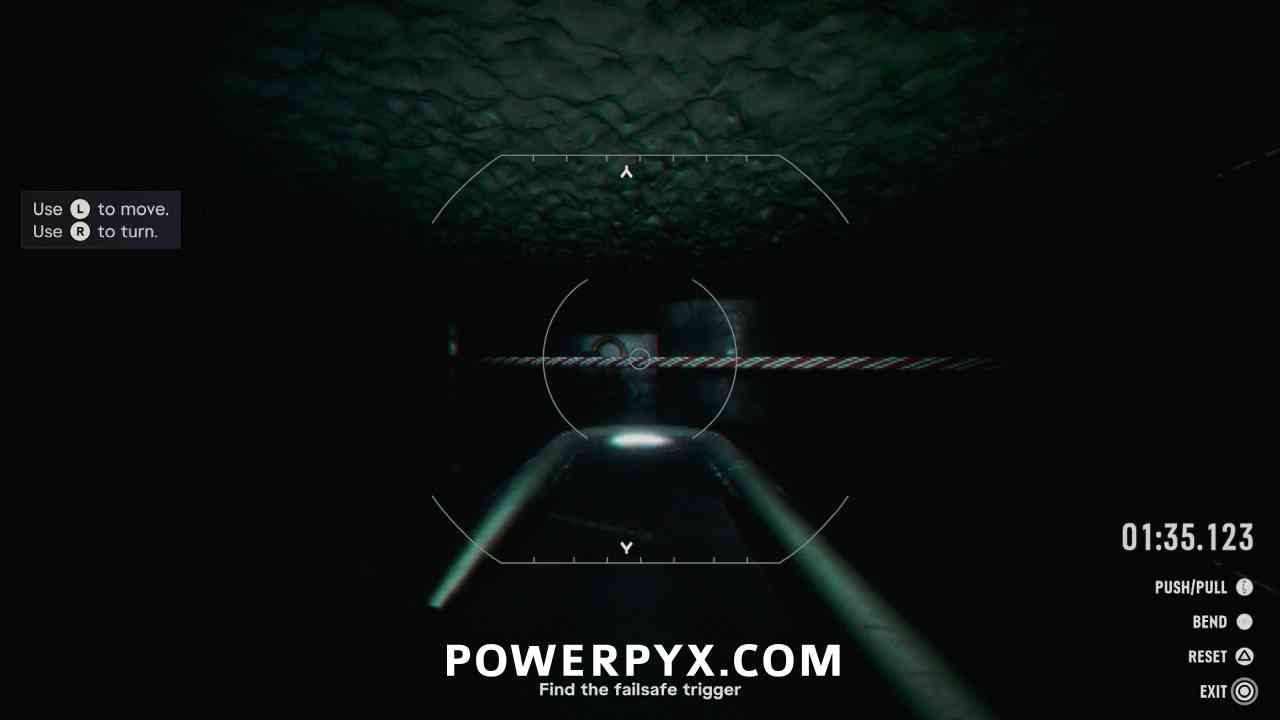
When you reach the gold ring at the end of the cable, press / to hook onto it.
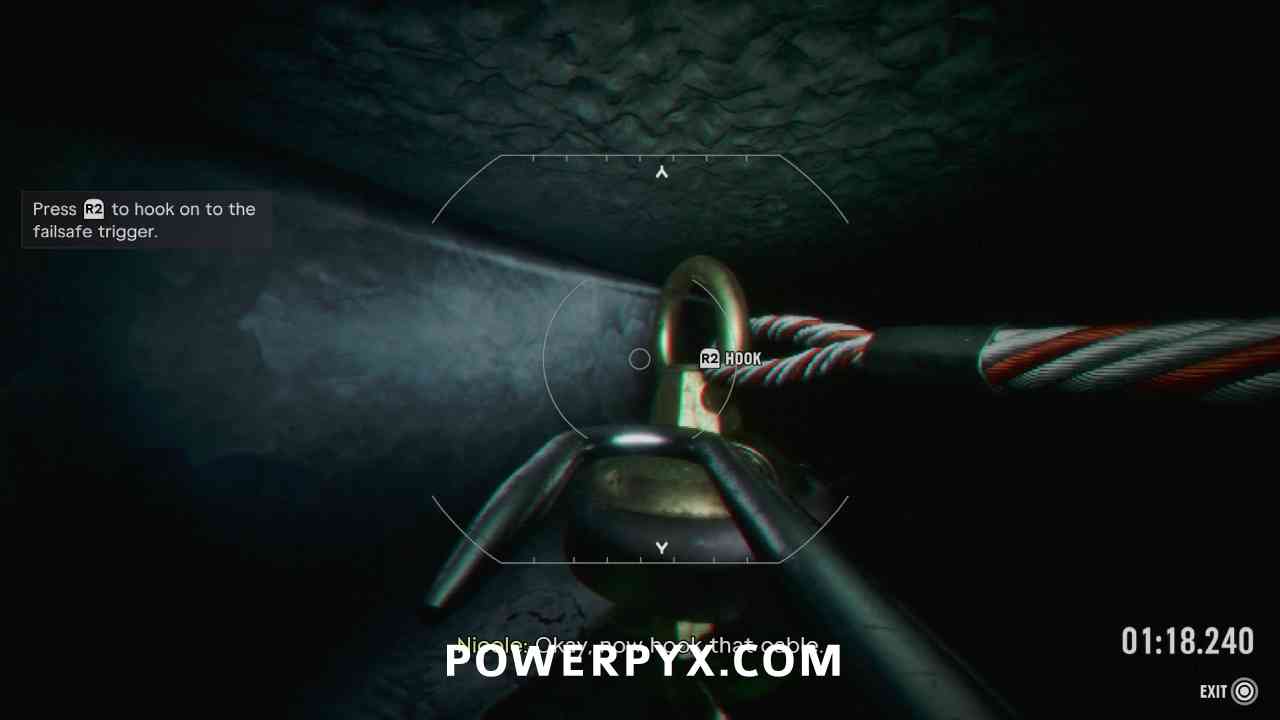
You then need to hold / + /:rt: and and mash  /
 to secure the door while Nicole drills and enters the combination.
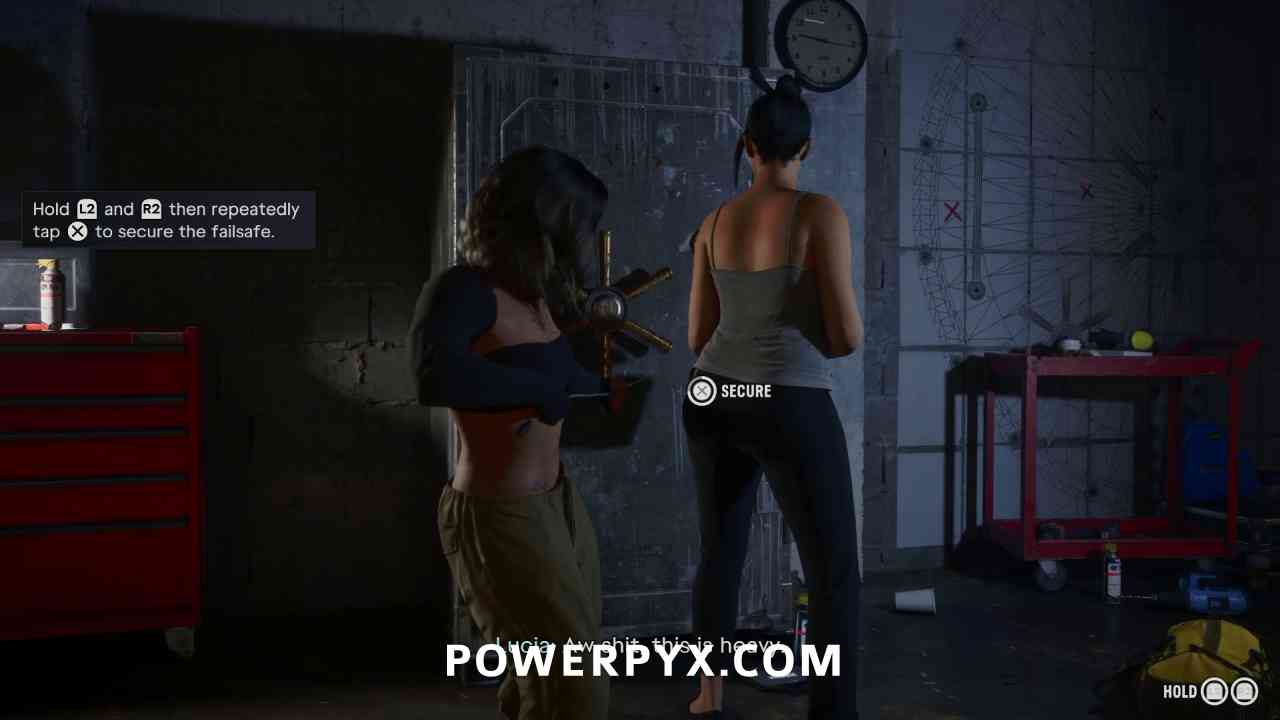
When you successfully open the safe you’ll receive the variant weapon Gil’s Kalinga .50, then can take the $1,500 cash from within the safe.
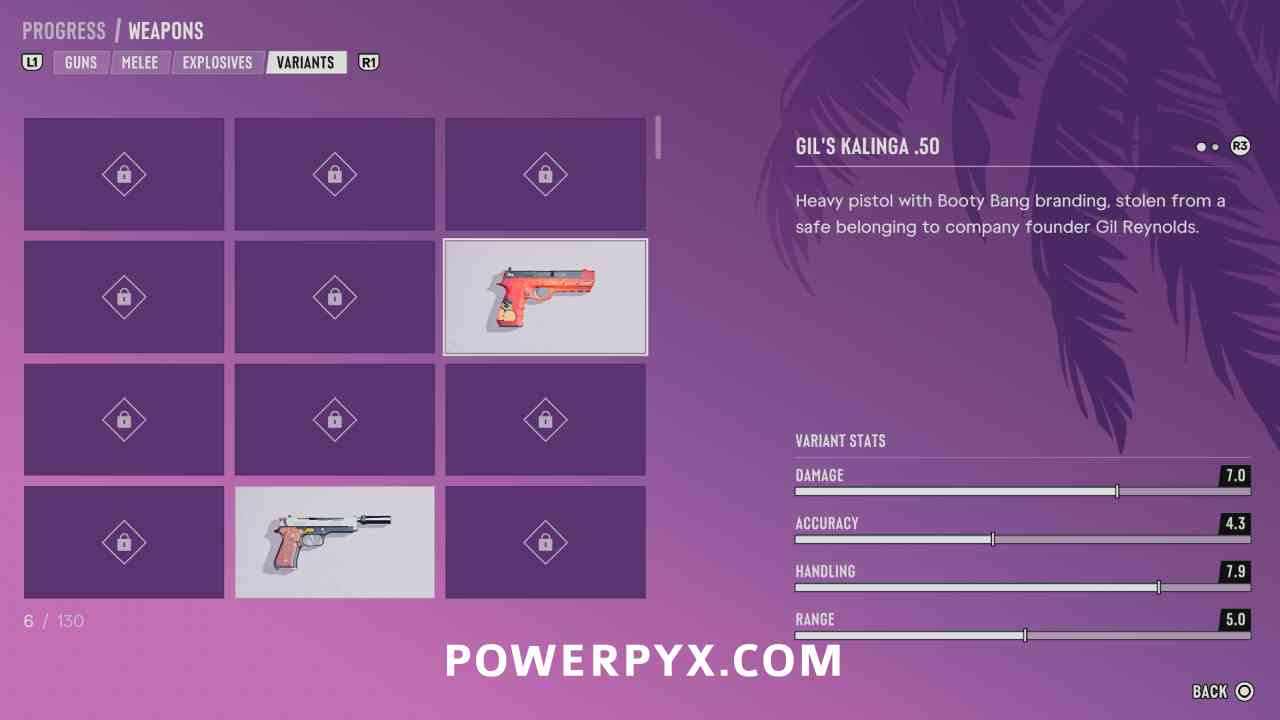
You can keep practising this point if you want, then when you’re finished you can quit to complete the mission.
This finishes Safe Word (Steal the Practice Safe) in GTA VI.
For all other Quests refer to GTA 6 Walkthrough.
Leave a Reply