PowerPyx.com

PowerPyx

  • Trophy Guides
  • Game Guides
  • Wikis
  • Trophy Lists
  • Next Guides
  • Contact
Show SearchHide Search
Home » Game Guides » GTA 6 (Grand Theft Auto VI) » GTA 6 Hidden Charges Walkthrough

GTA 6 Hidden Charges Walkthrough

November 18, 2026 by Gage Leave a Comment

Hidden Charges (Meet at the Planning Room / Prepping the Explosives) is the 71st main mission in GTA 6 (Grand Theft Auto VI). This walkthrough will guide you through all objectives of the Hidden Charges (Meet at the Planning Room / Prepping the Explosives) main quest.

  • Starting Location: Vice City > Stockyard
  • Chapter: Chapter 3
  • Quest Giver: Karim
  • Requirement: Complete Chapter 3 “Company Property” & “Cooties”
  • Can Be Started By: Lucia/Jason
  • Reward: Increased time limit in “The Cartel Heist” depending on how many bombs are placed
  • Quest Description: To create a distraction for the Sinfrontera heist and knock out emergency bank communications, Karim sends Jason and Lucia to plan explosives on critical cell towers in Vice City. They also explain their situation with Tomas and the hard drive to Raul, who says he’ll help them after the bank job.

Objectives:

  1. Get in the van
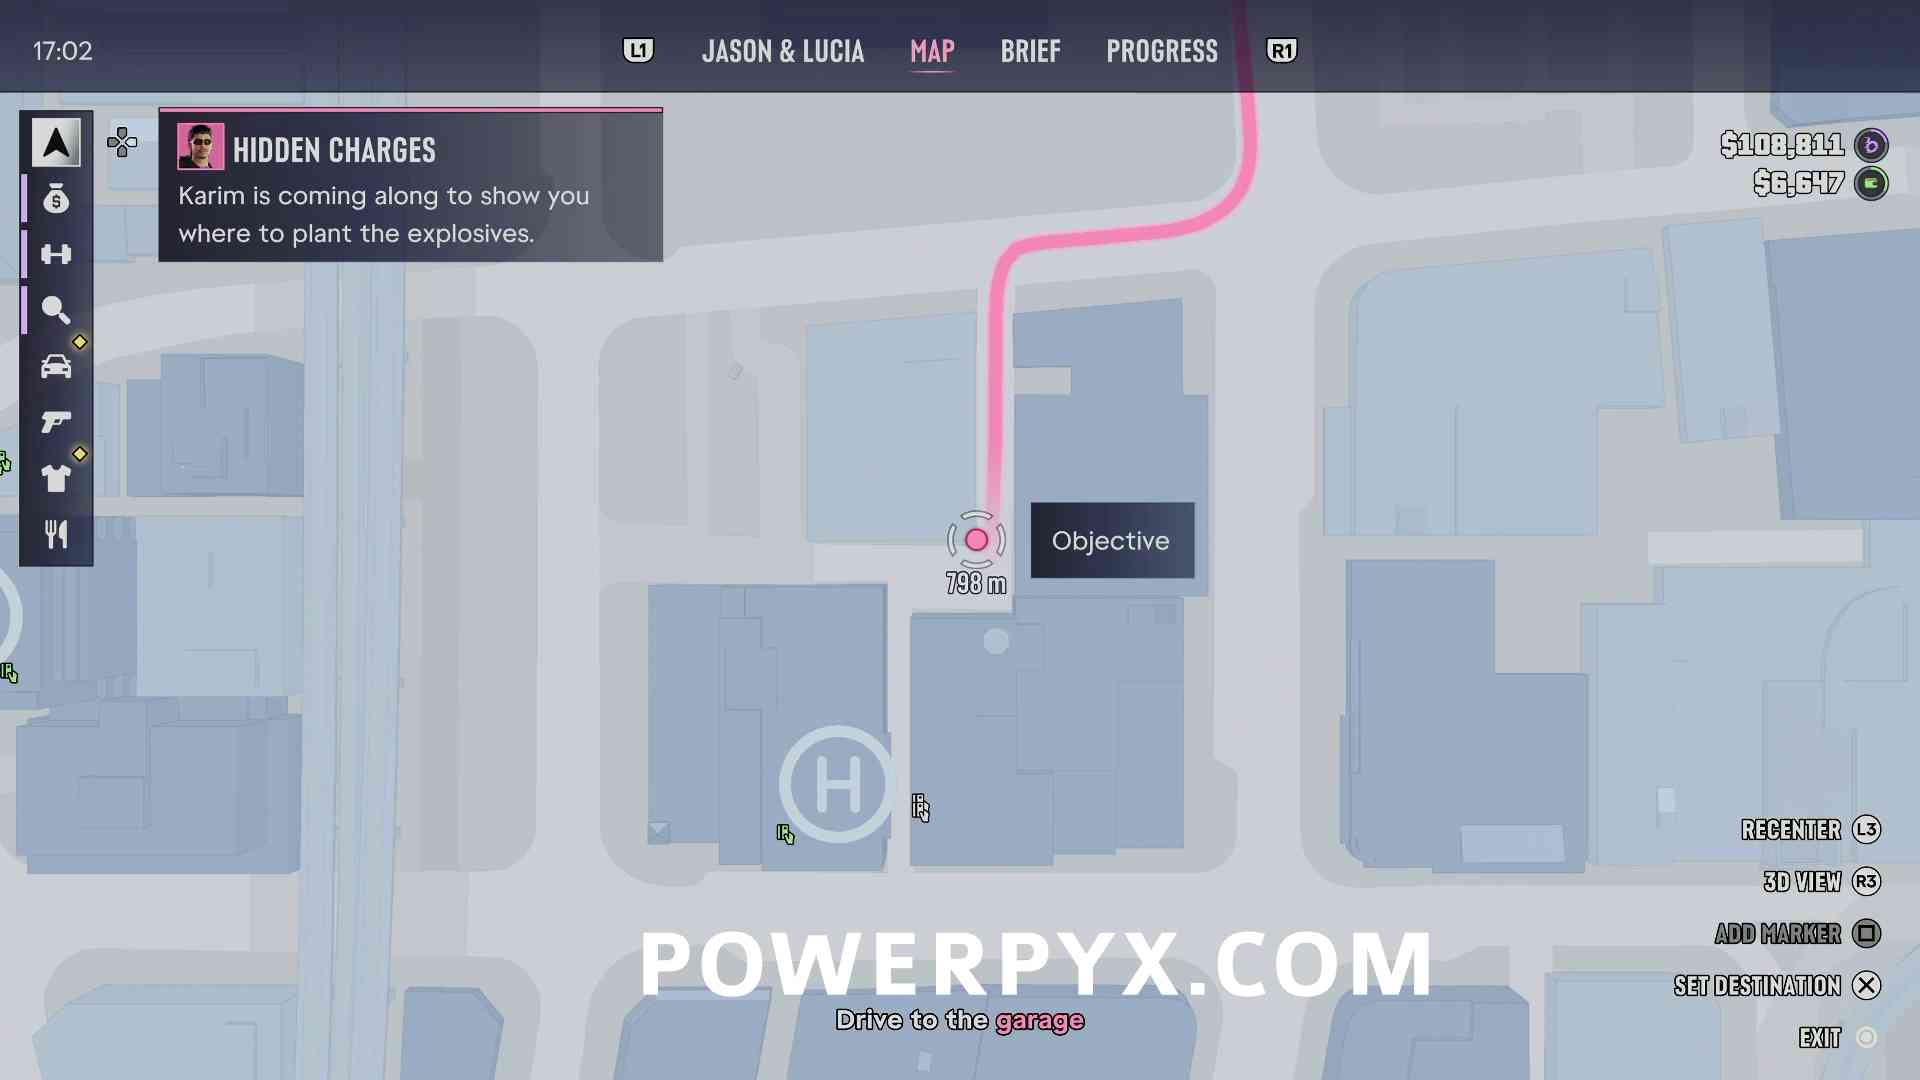
  2. Drive to the garage
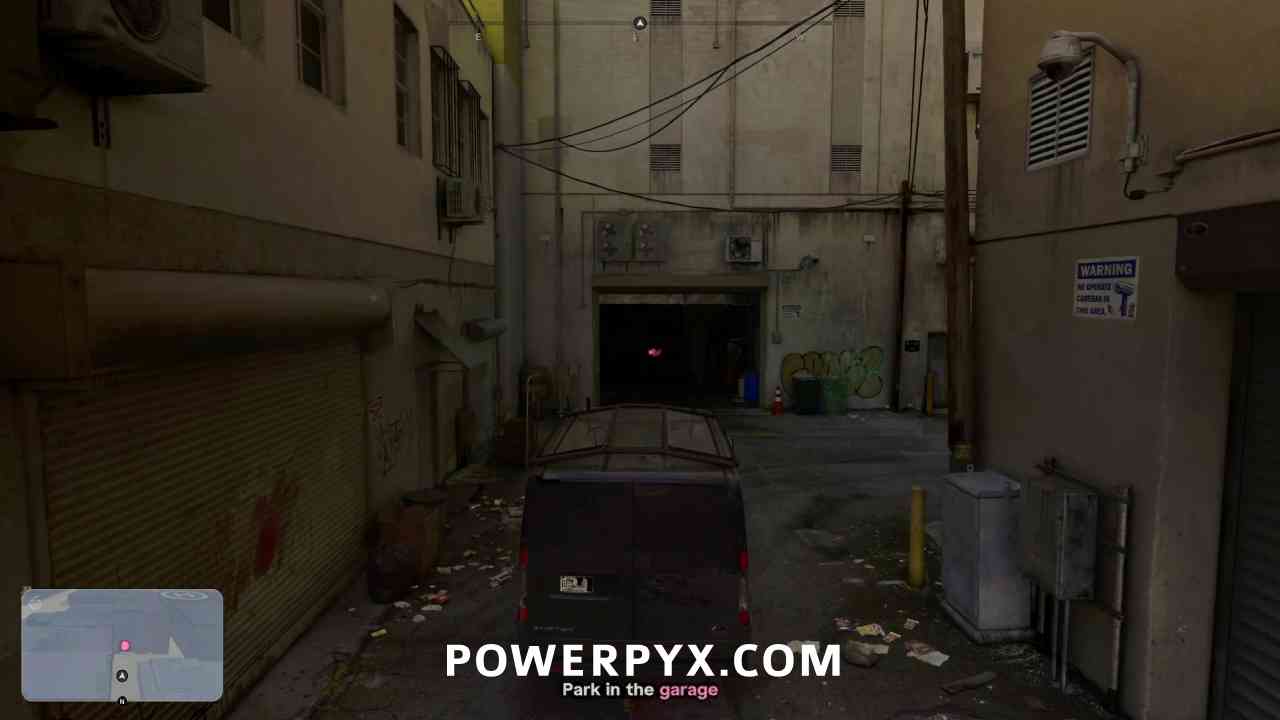
  3. Park in the garage
  4. Plant the charge at one of the cell towers
  5. Plant the charge at one of the cell towers
  6. Plant the charge at the cell tower

Starting Location: Hidden Charges (Meet at the Planning Room / Prepping the Explosives)

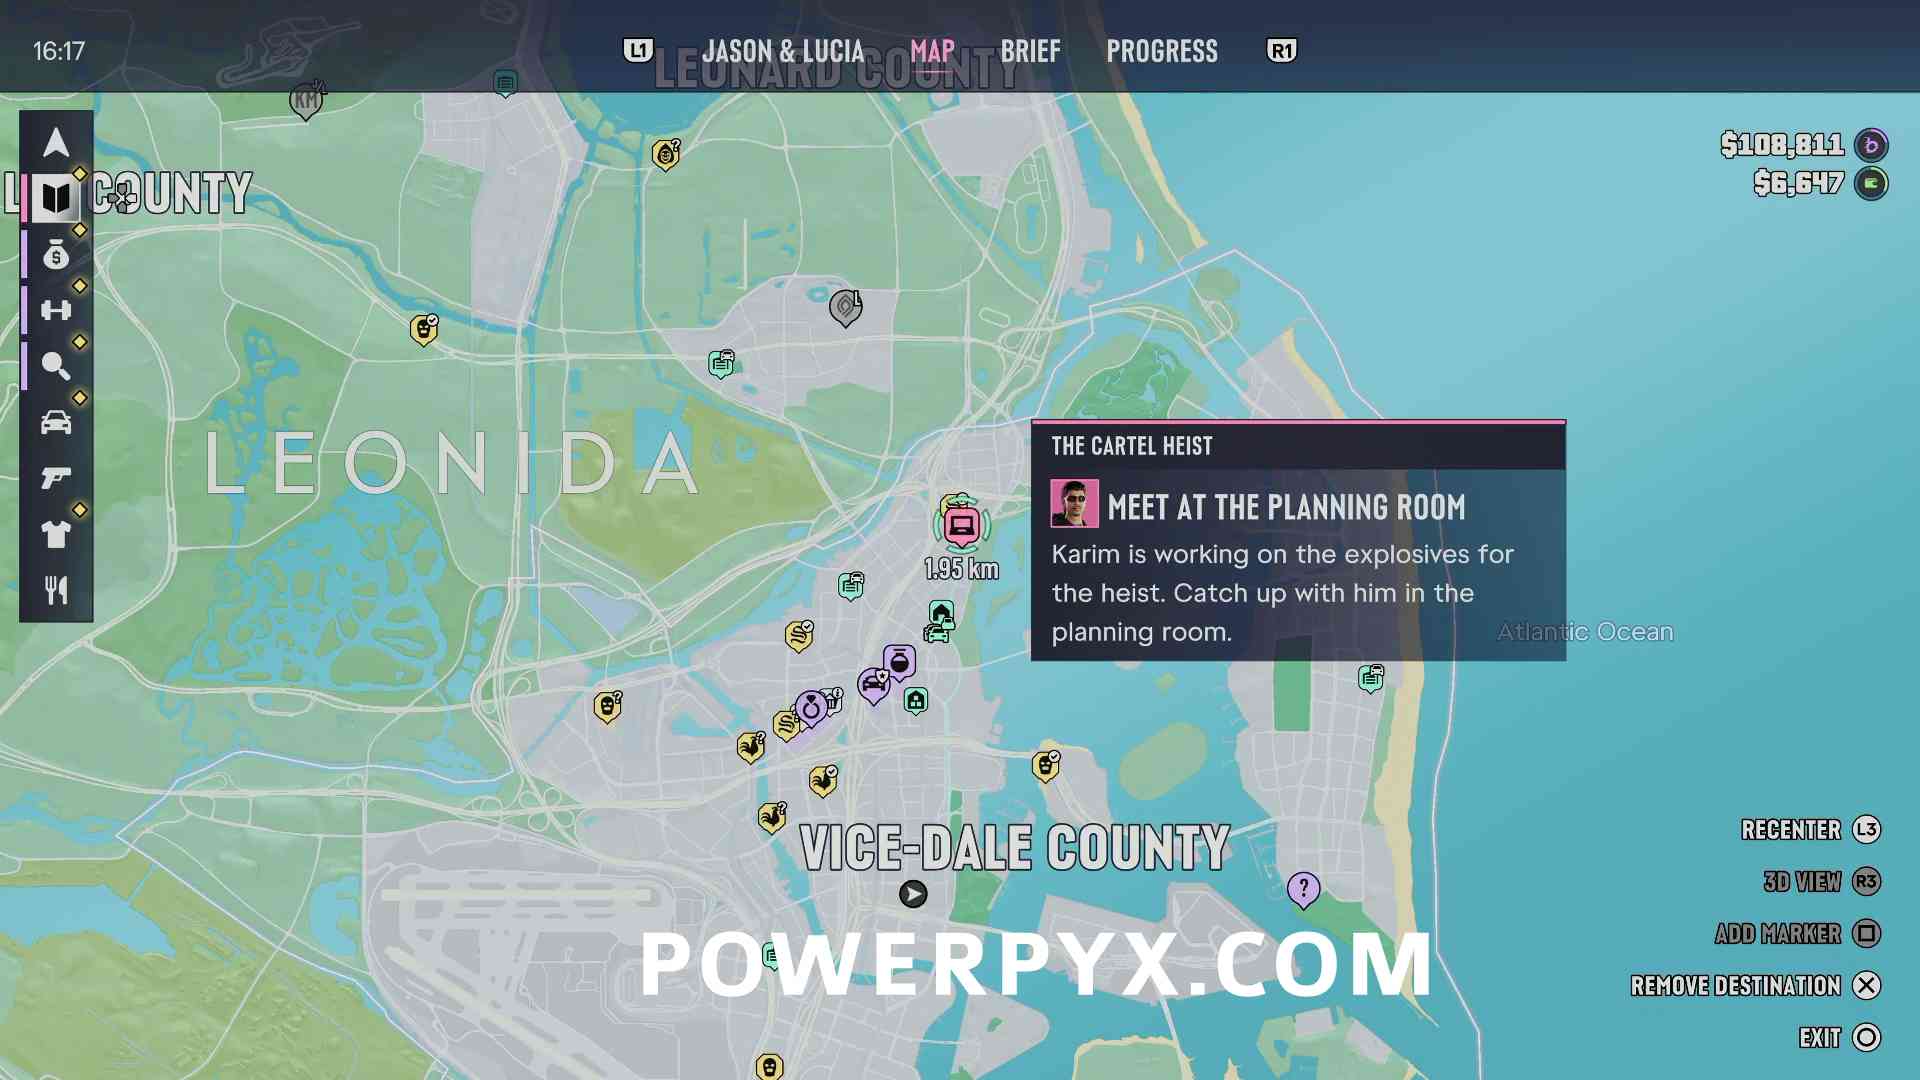
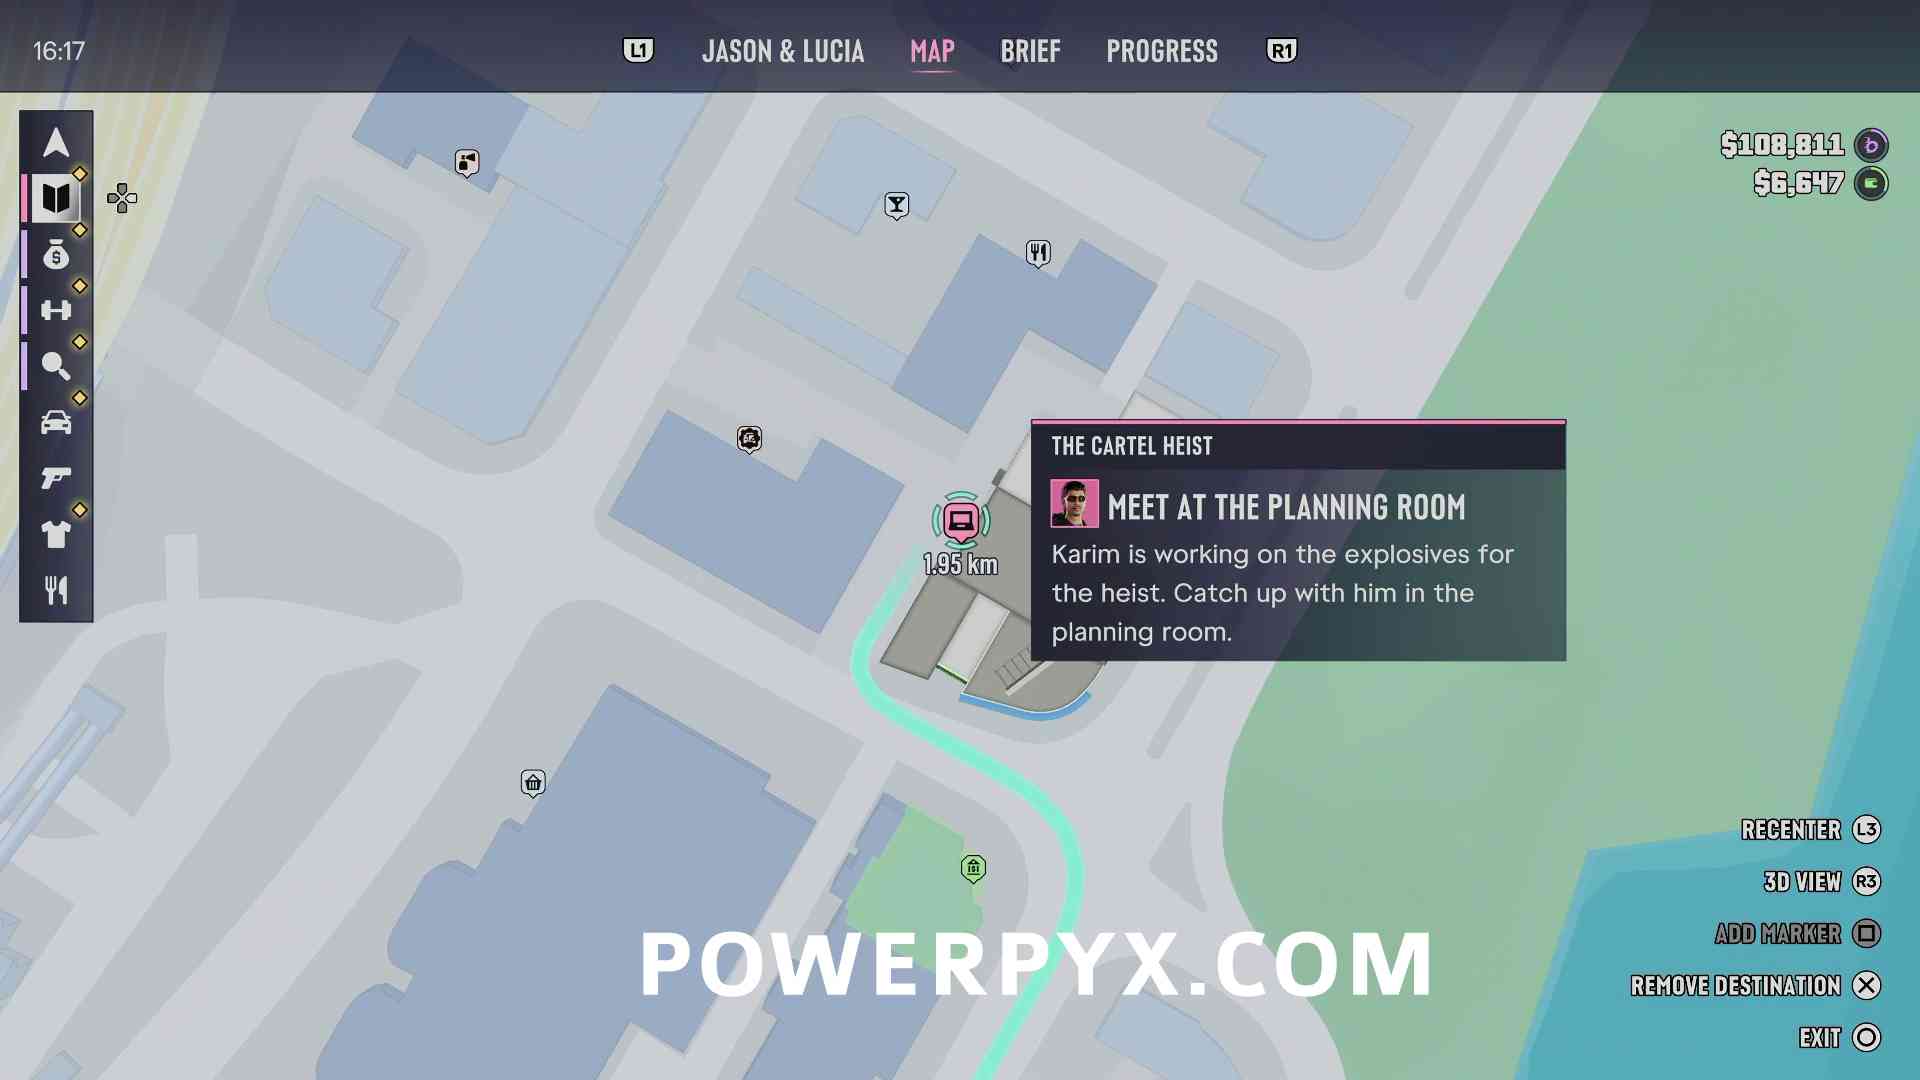
After completing “Company Property”, this mission will appear on the map with the description “Prepping the Explosives”. After completing most other main missions including “Cooties”, Karim will contact you to meet him to start the mission at the planning room.
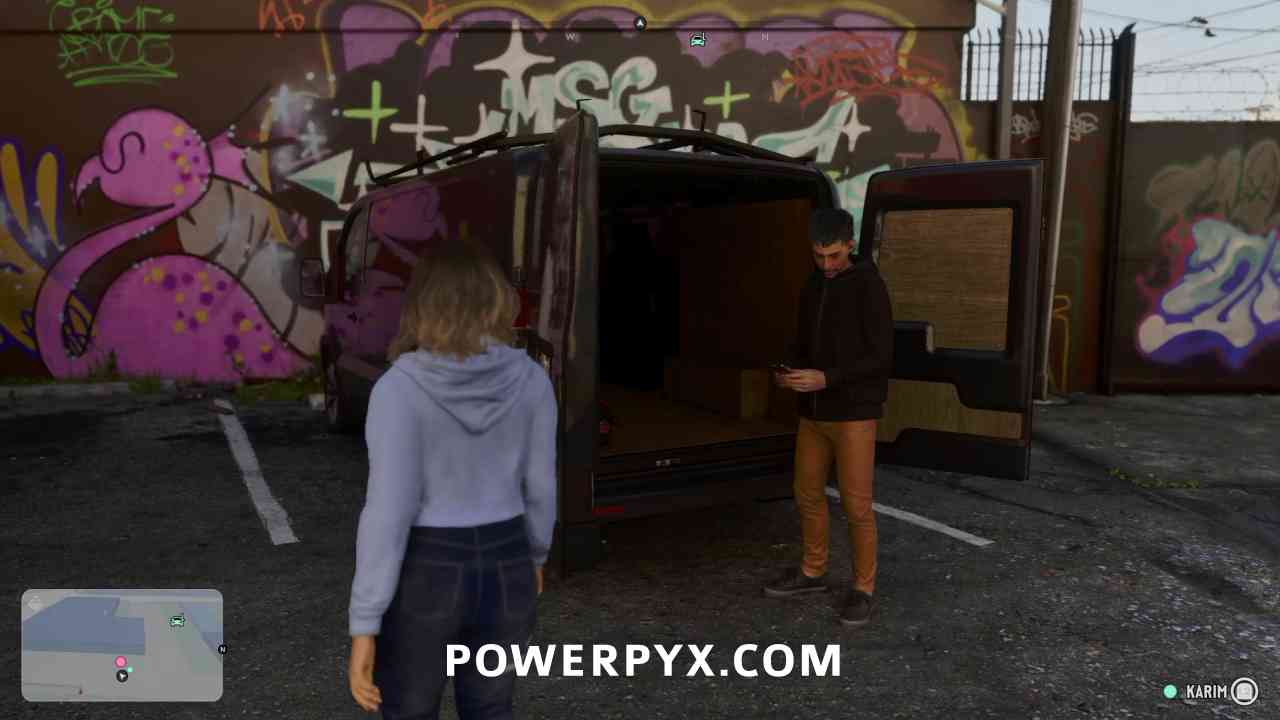
Get in the van

After speaking with Karim and Raul, get in the van that he is loading the explosives into outside.
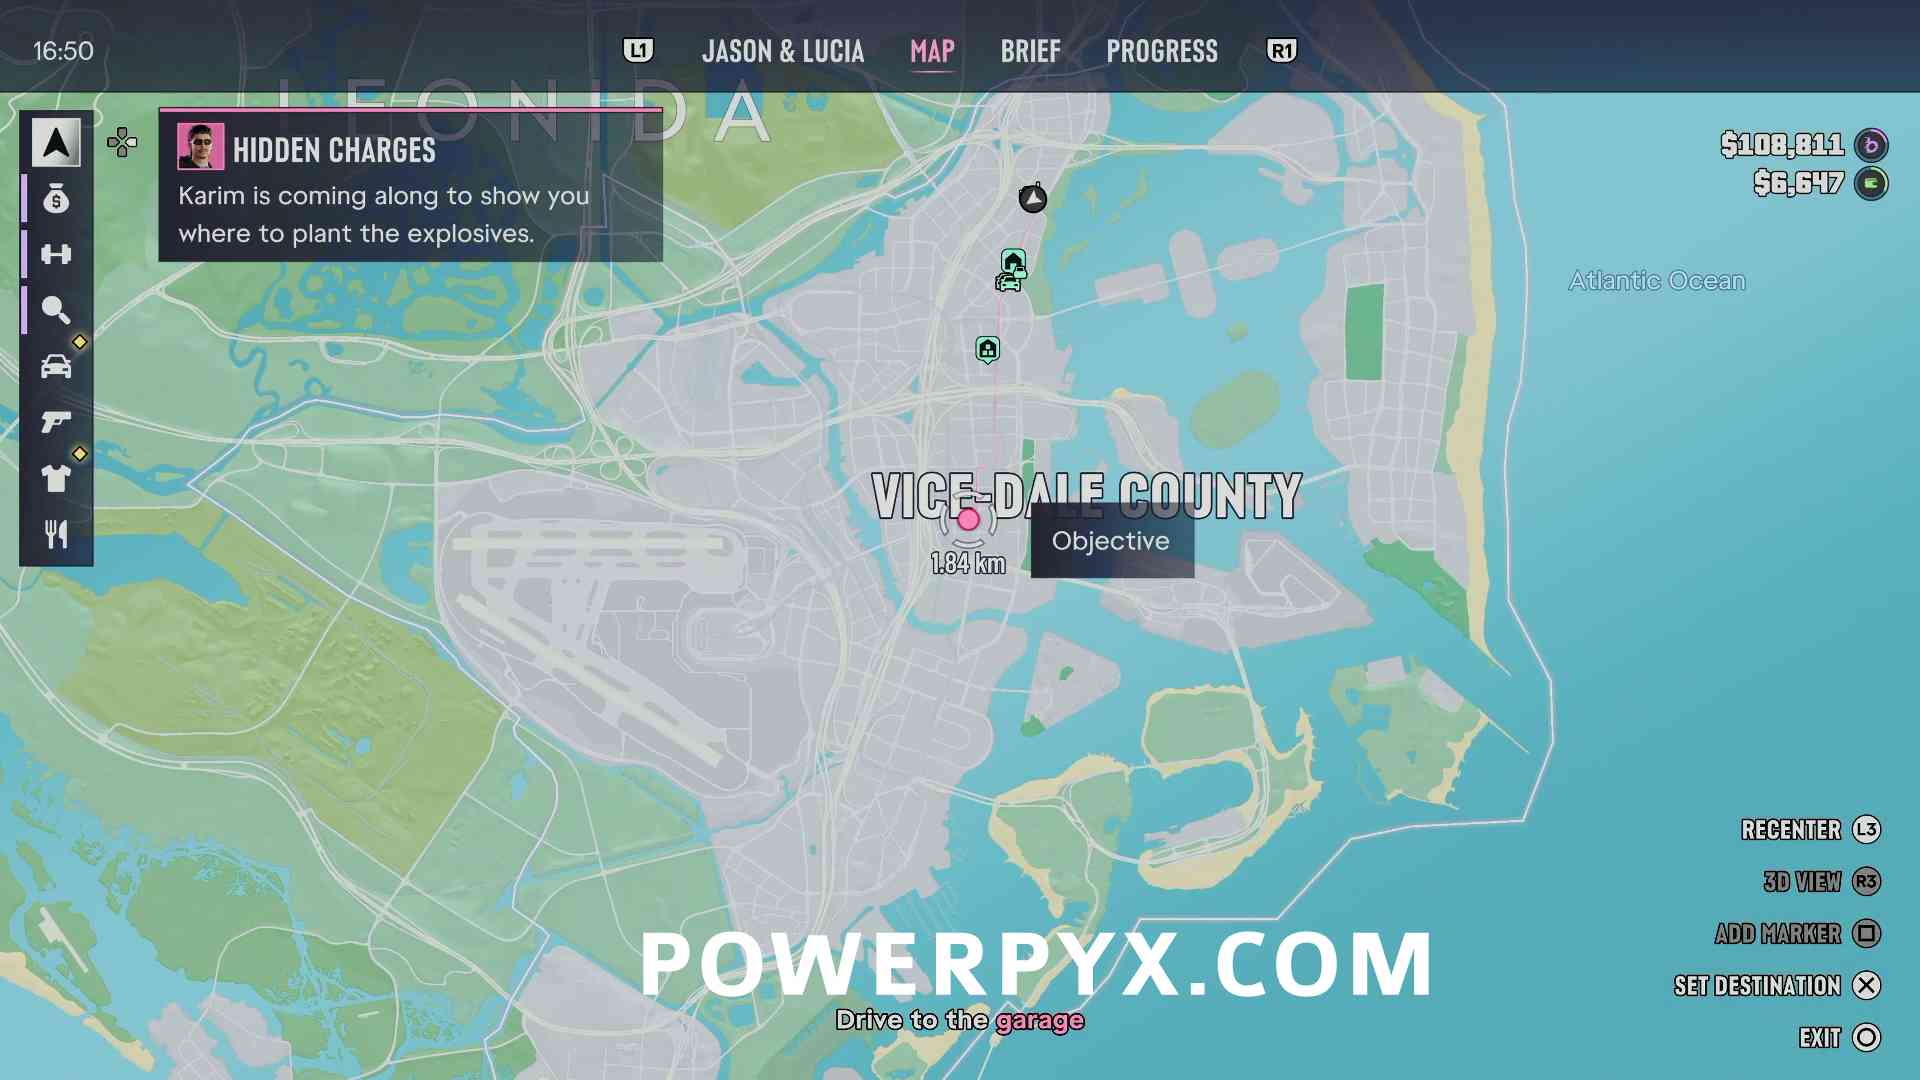
Drive to the garage

Karim makes a location to head to downtown.
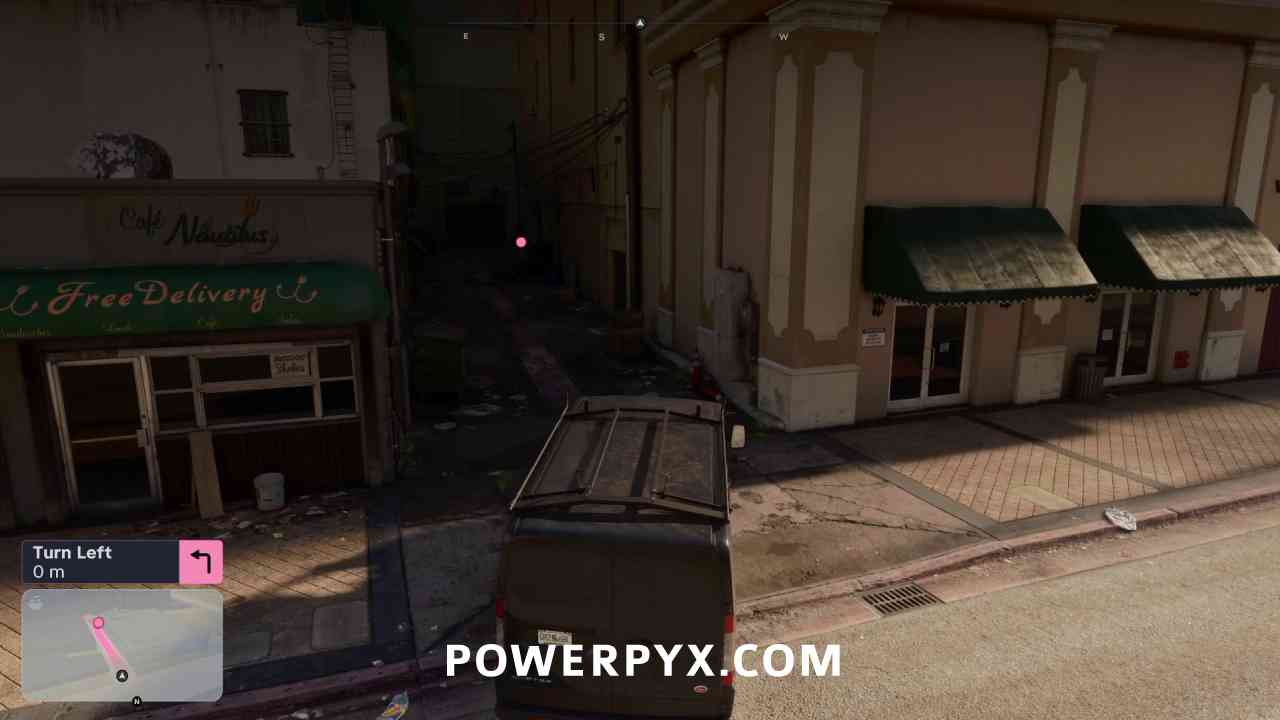
Park in the garage

In the alley park the van inside the marked garage.
You have the option of doing this with only one character, or having them both do it. Doing it together is faster because you don’t need to run back to the van with the one character each time, and also gives a relationship increase.

Depending on well you did in “Company Property” you will have up to 3 charges to plant on the towers. If you lost cargo you’ll have less, which affects the time you have during the heist.

Plant the charge at one of the cell towers

You can plant the bombs in whichever order you want, but the East Cell Tower is directly above the van so you can deal with this one first.
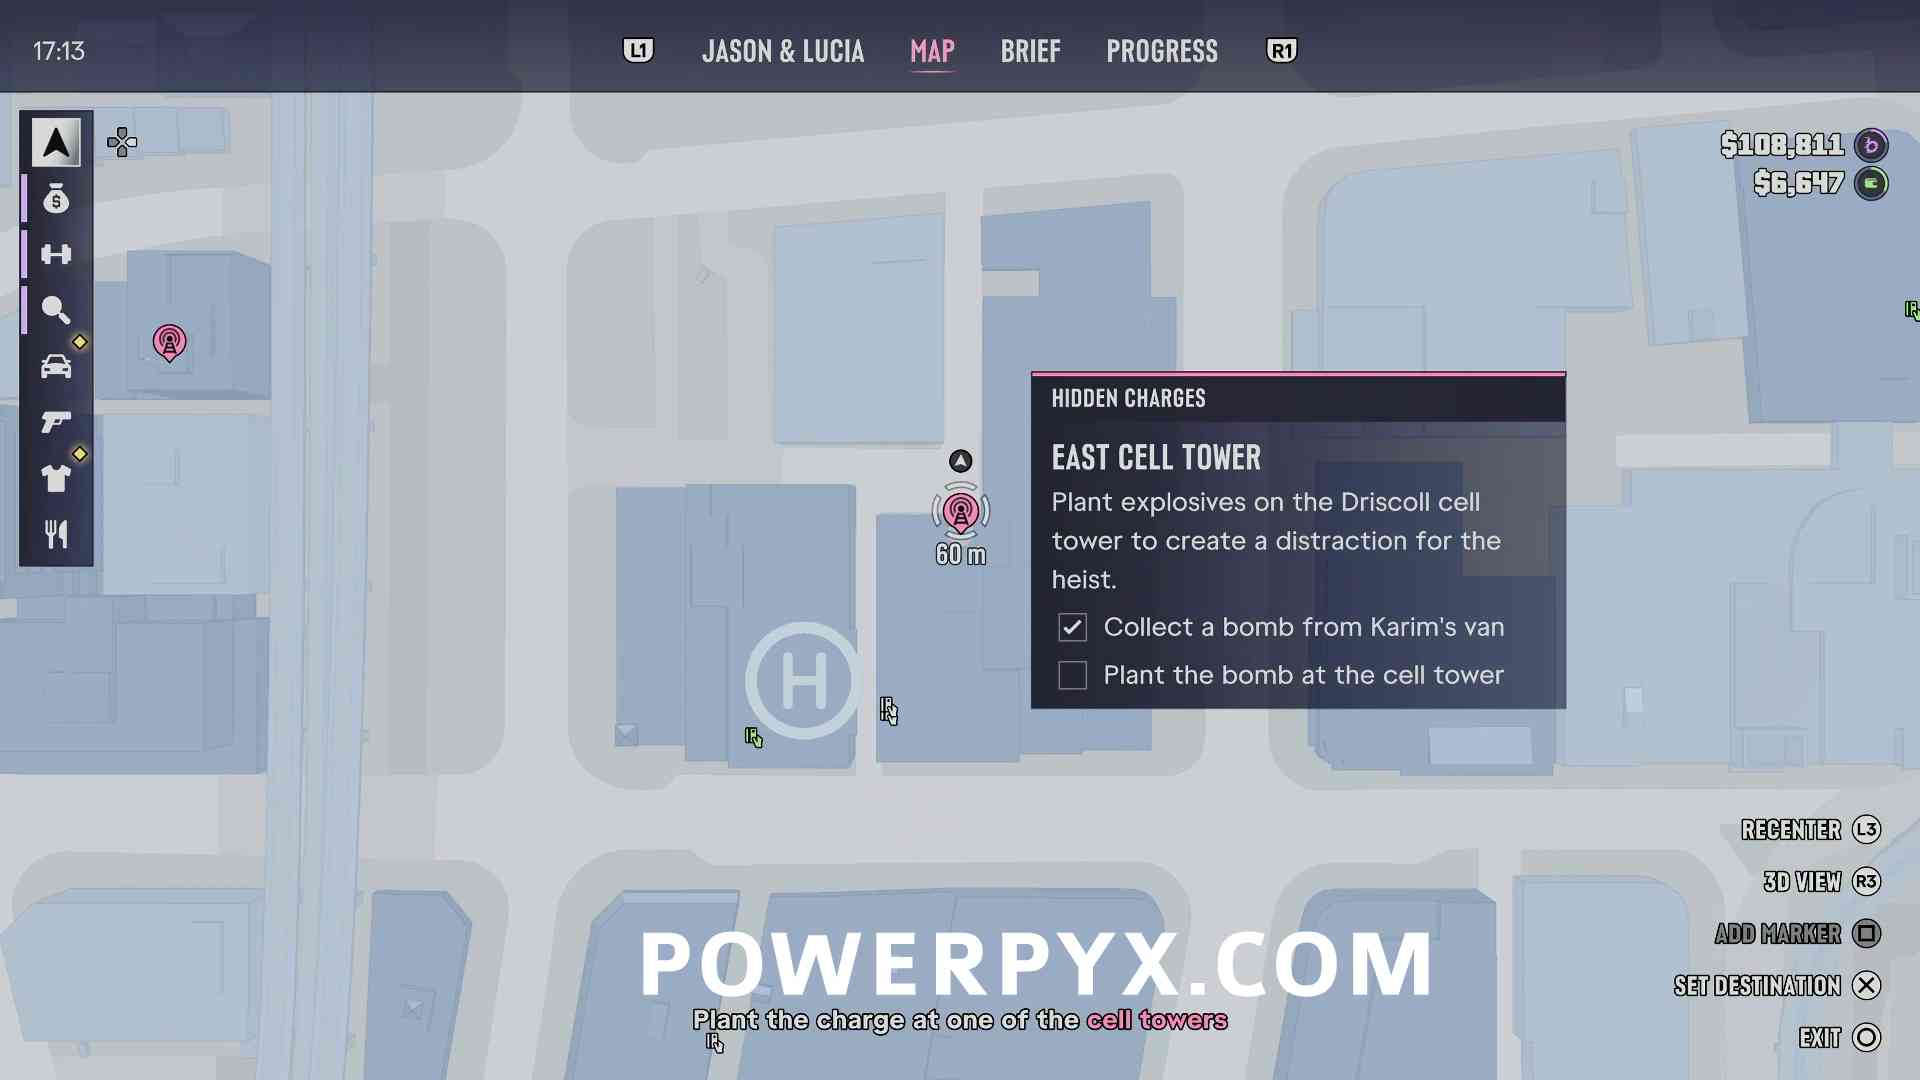
Go around to the front of the building to the west with the helicopter pad visible on the map. Inside there is an elevator that you can use to go to the roof.
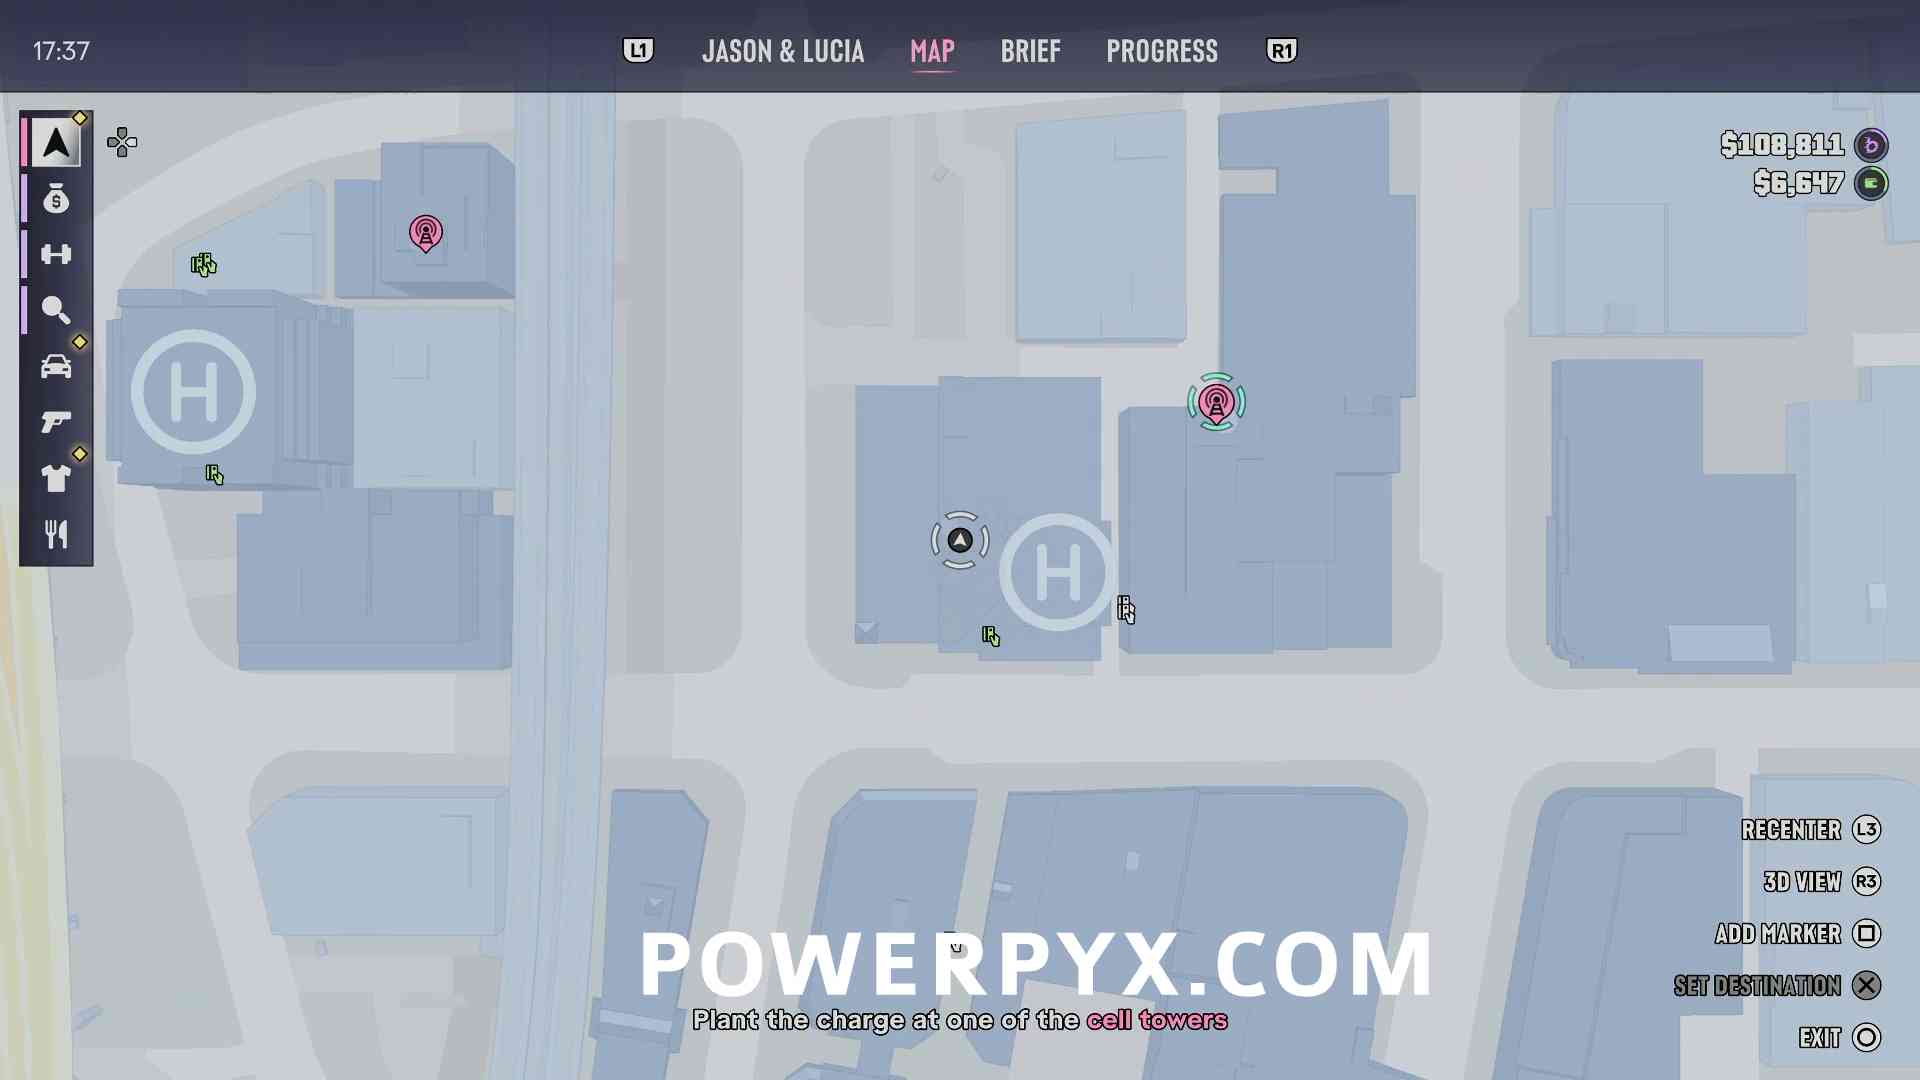
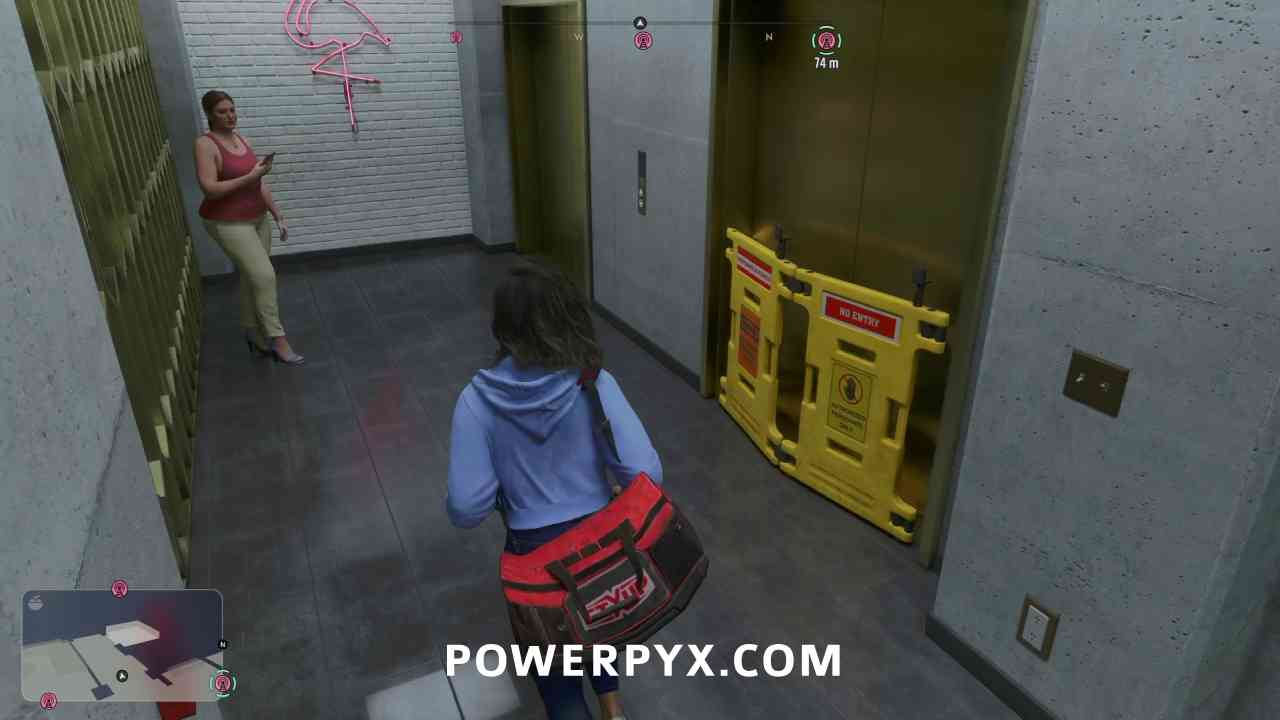
 

On the rooftop climb the stairs up to the helipad, then there is a walkway across to the rooftop with the tower.
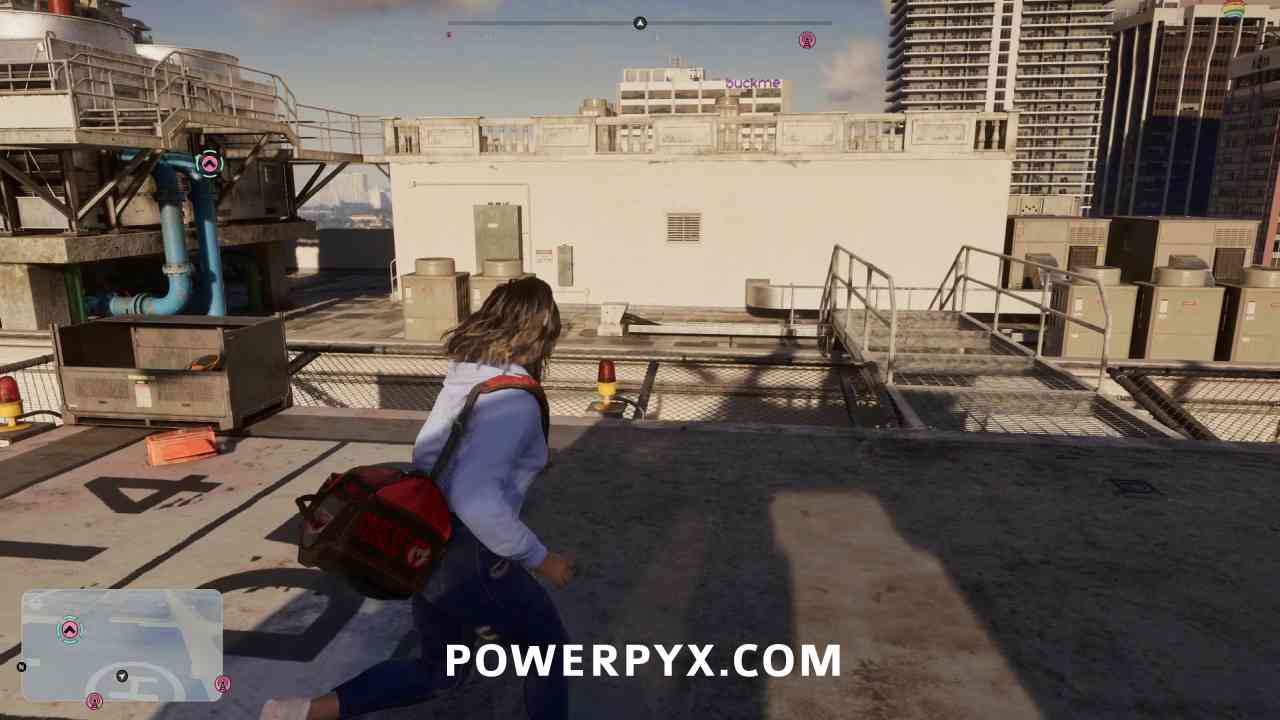
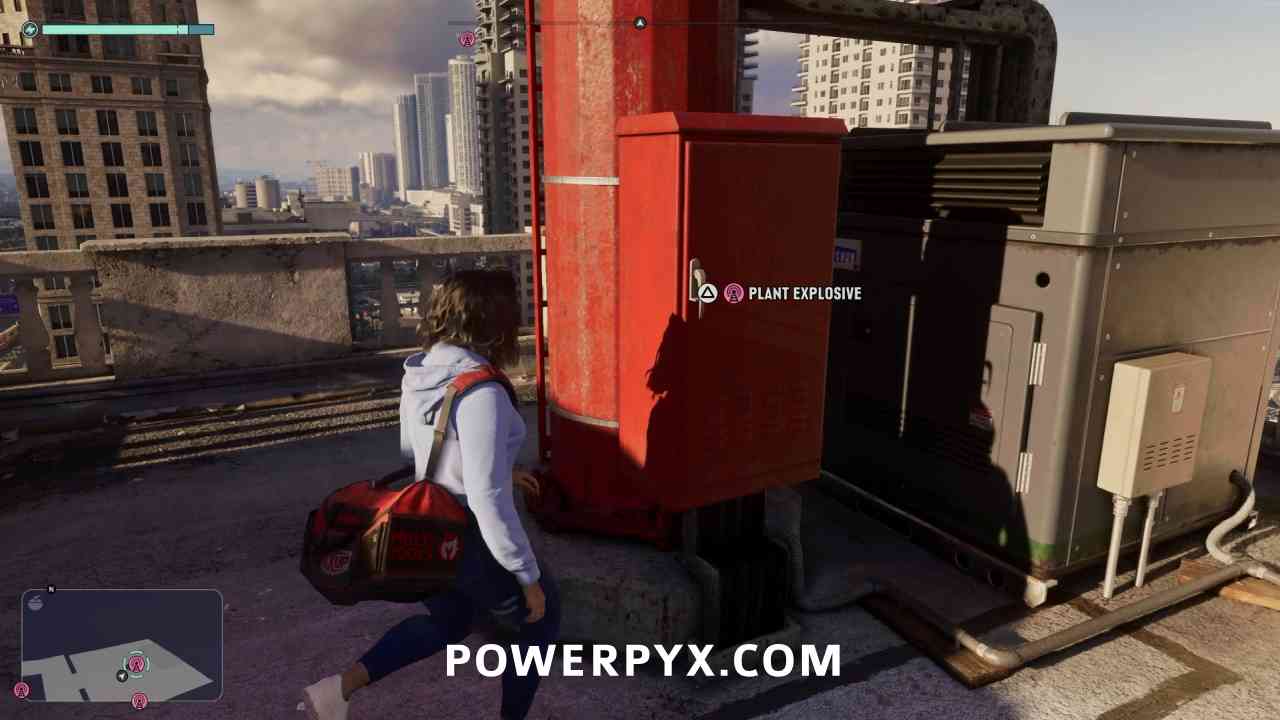
Climb up to where the tower is and interact with it to plant the explosives.
Plant the charge at one of the cell towers

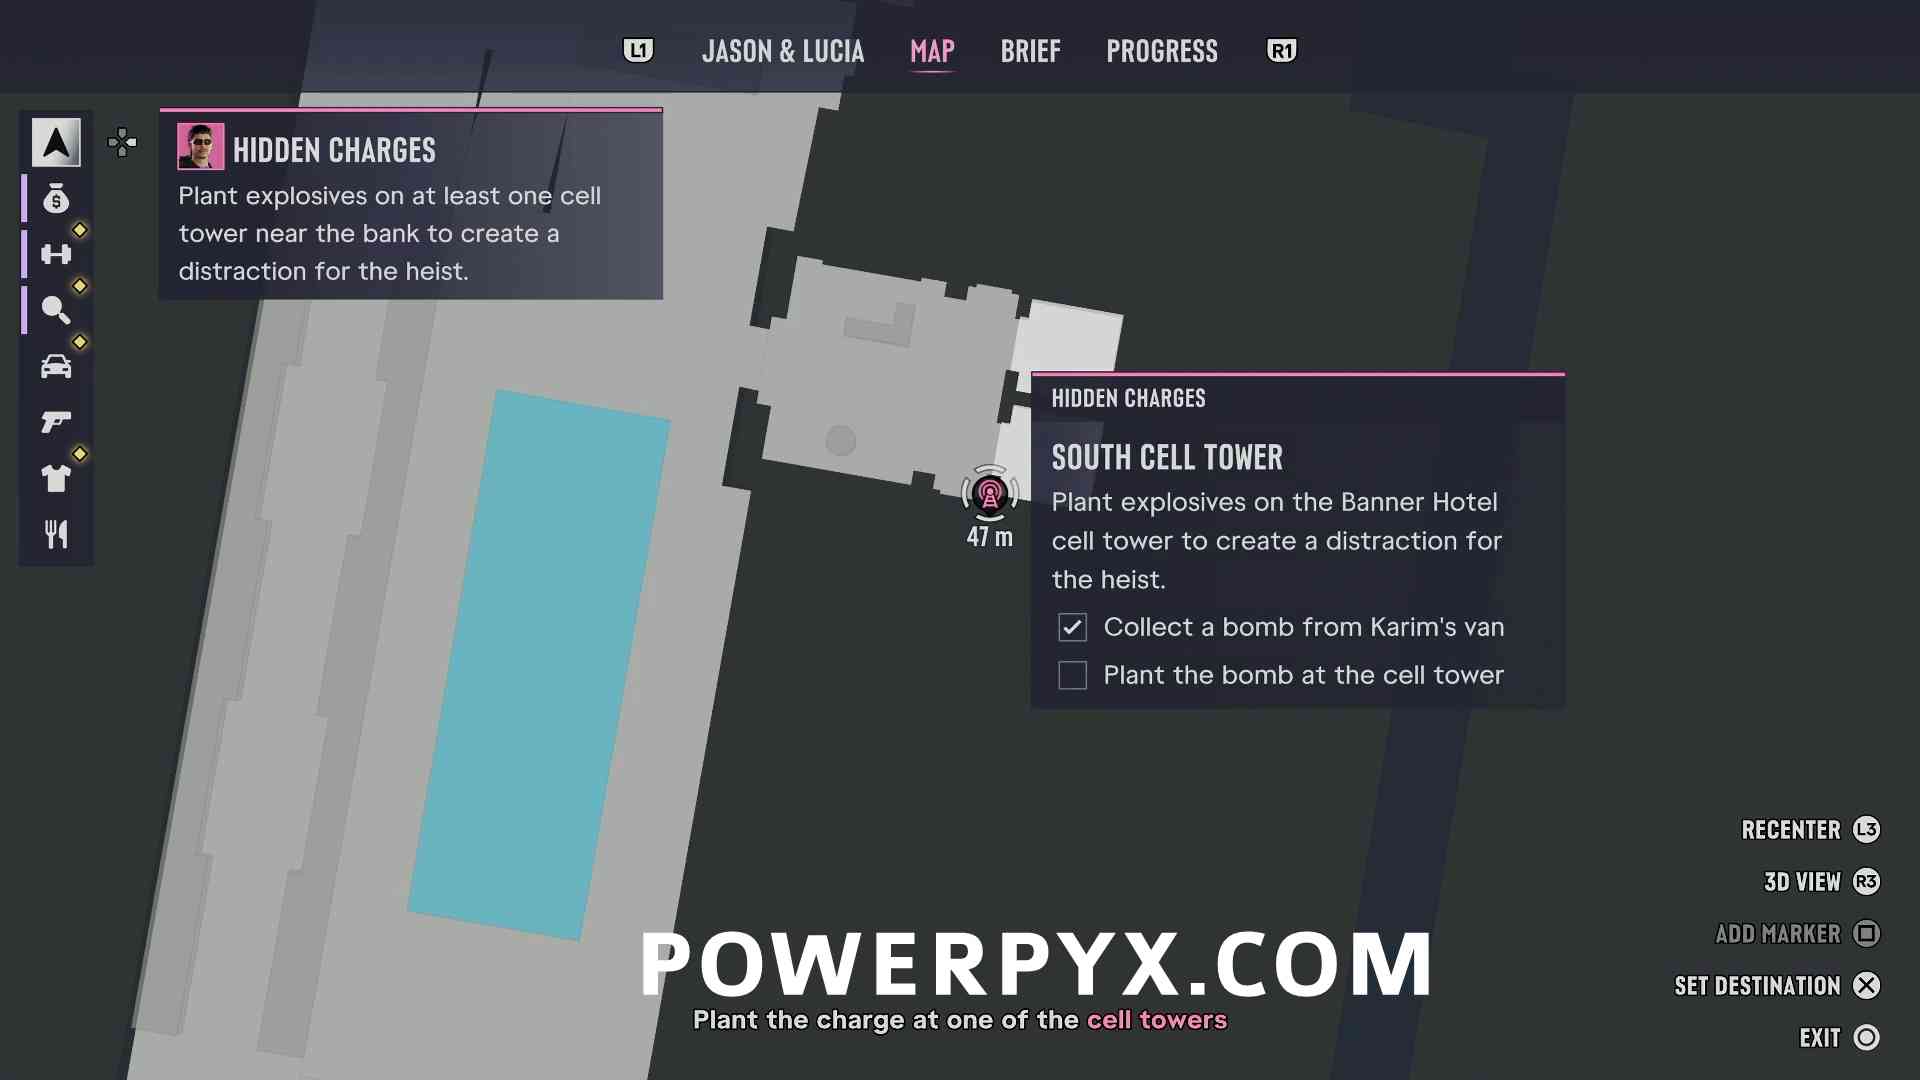
Switch to the other character and they should now be over by the South Cell Tower.
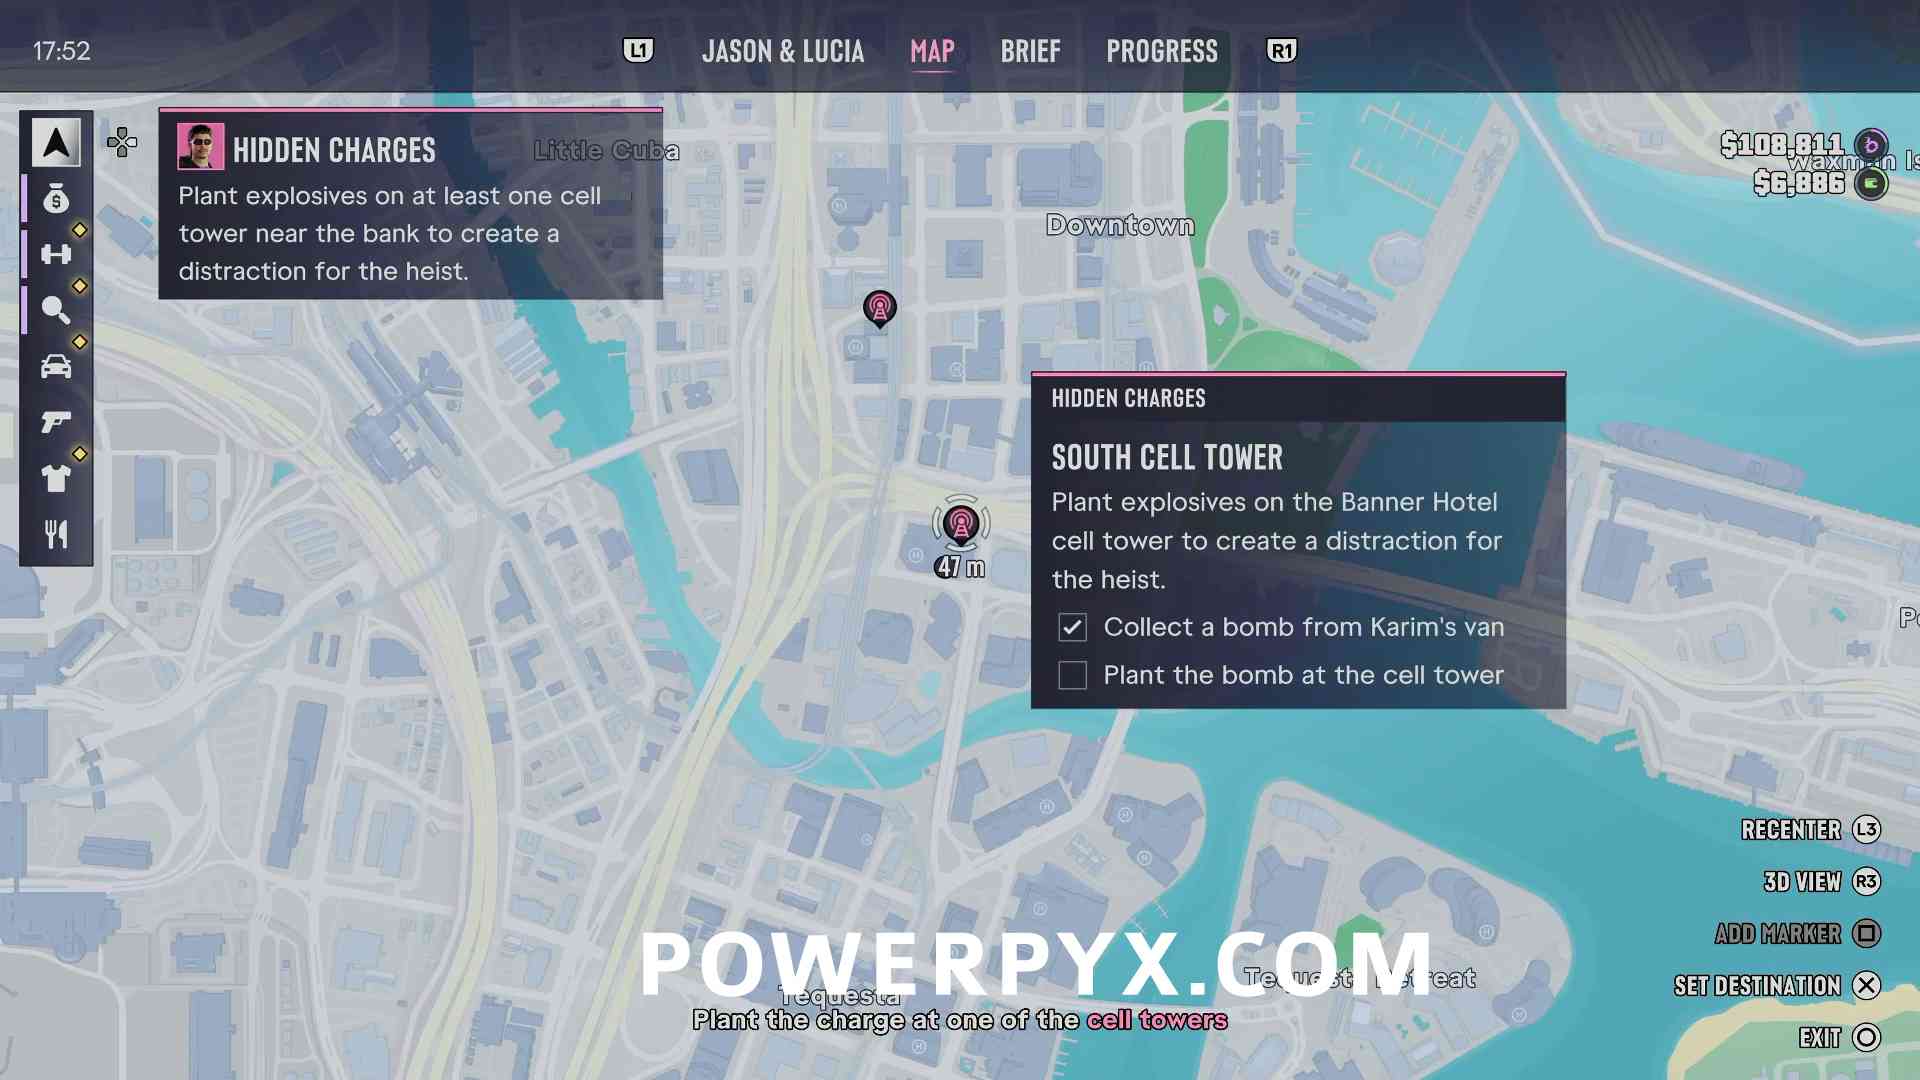
Go up past the pool where there is an elevator you can use to get to the roof.
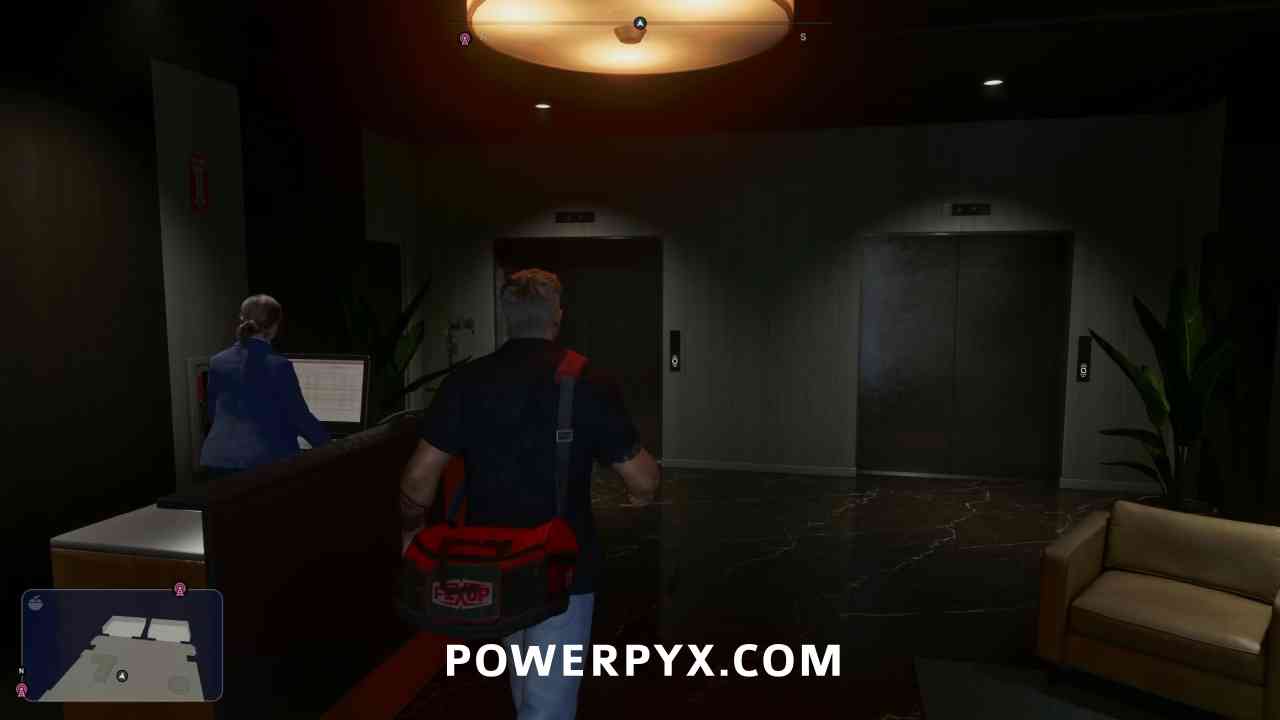
 

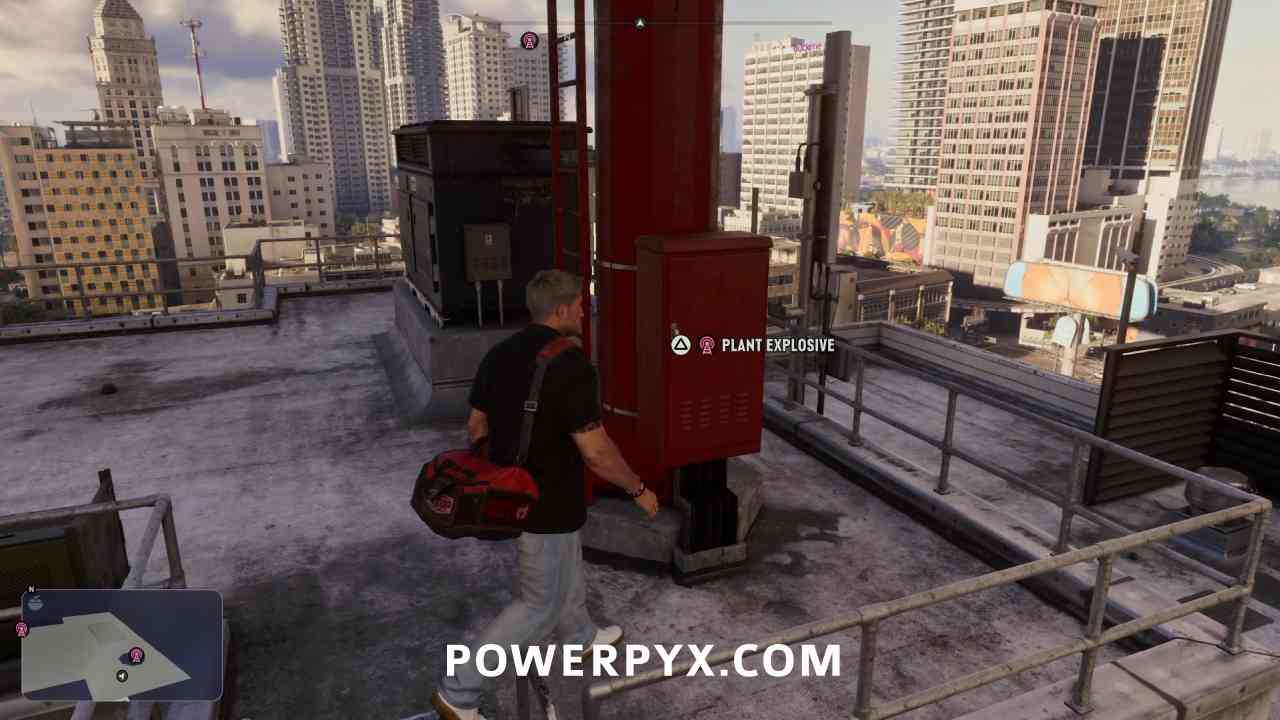
Climb up the ladder on the rooftop to find the tower and interact with it to place the charges.
Plant the charge at the cell tower

After planting the second charge if you have 3, you can choose who to place the last charge with. If you swap then you will be right back at the van with the other character, which is slightly faster.

After grabbing the bag the last one you should have is the West Cell Tower.
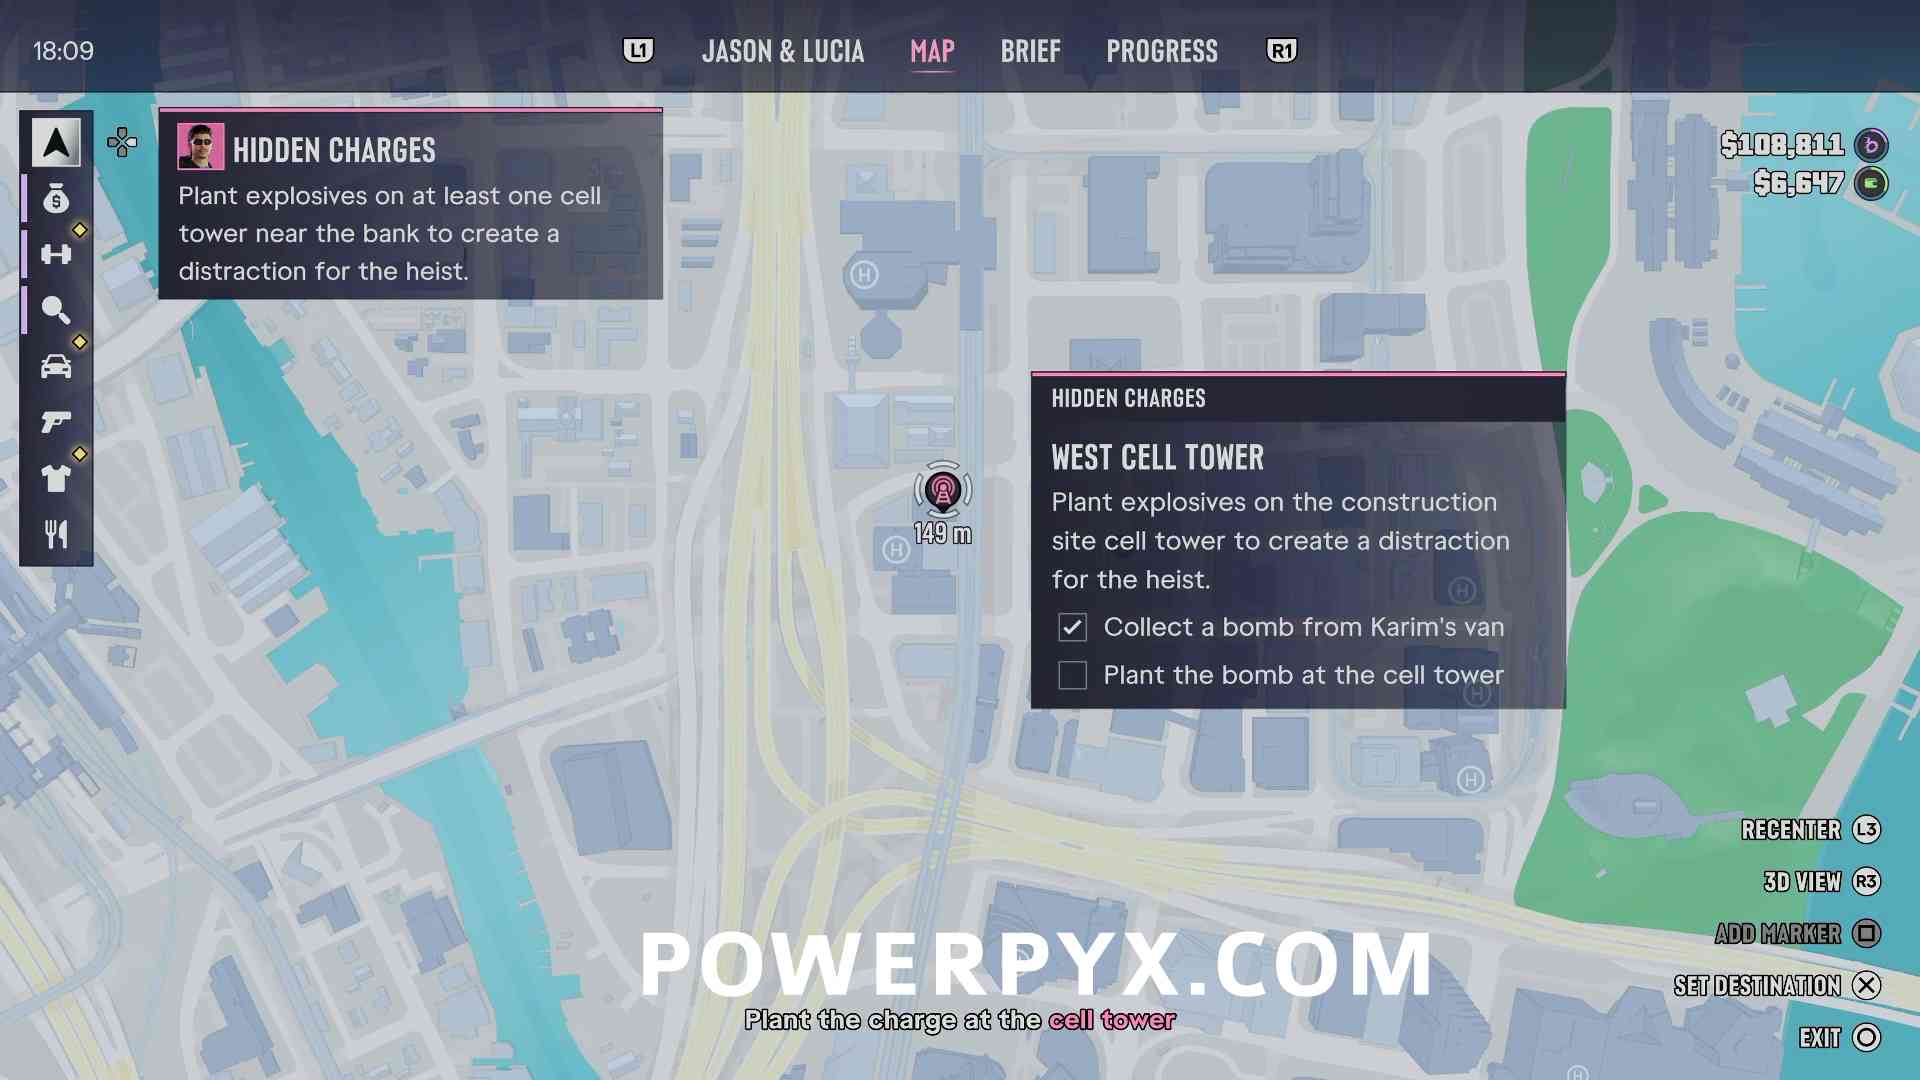
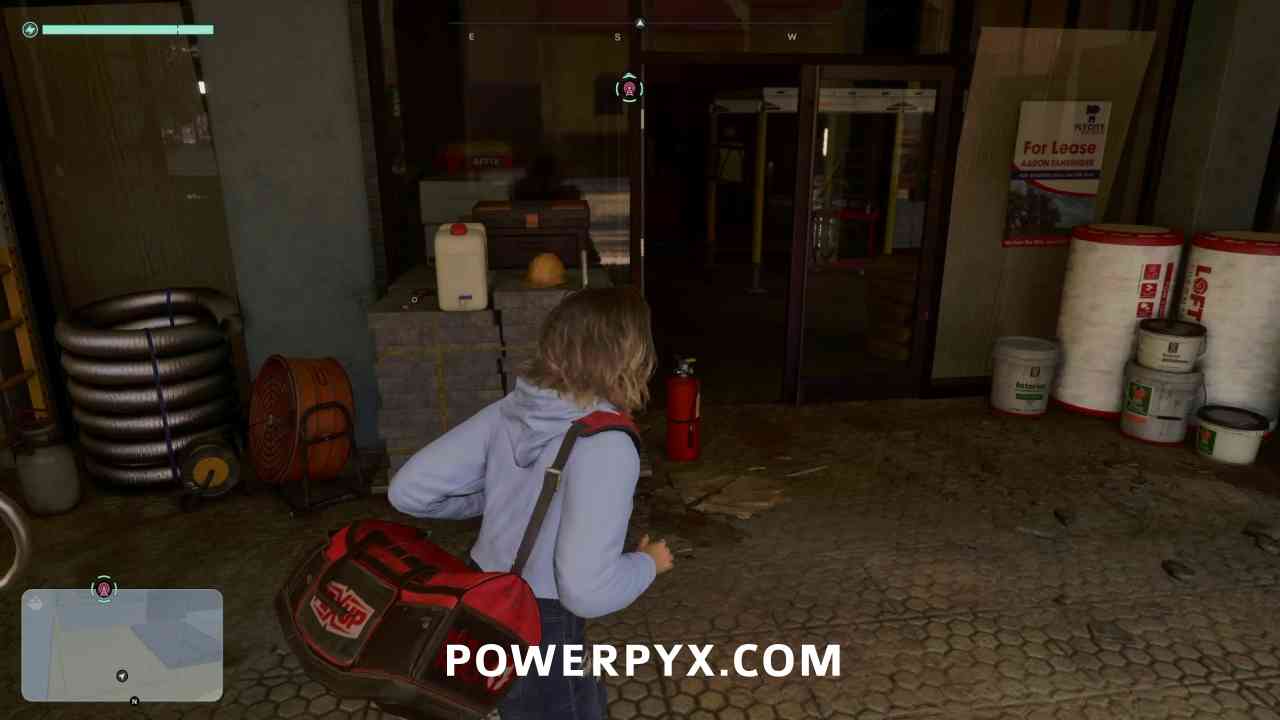
At the building on the north side is a door you can enter. This is a construction area and the workers will immediately spot and report you for trespassing, so you want to be quick getting in. The elevator is inside on the left.
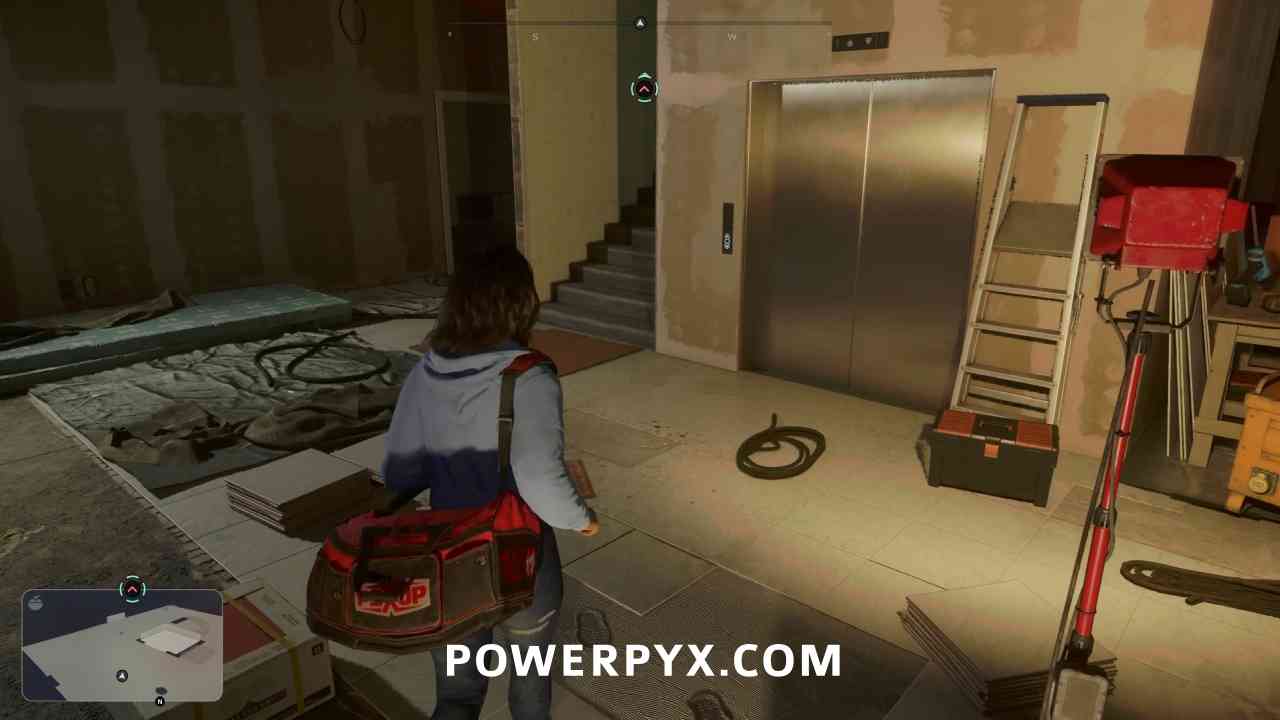
On the rooftop go around the opposite side of the grey tower where there is a ladder you can climb up, then interact with the box to place the explosives.
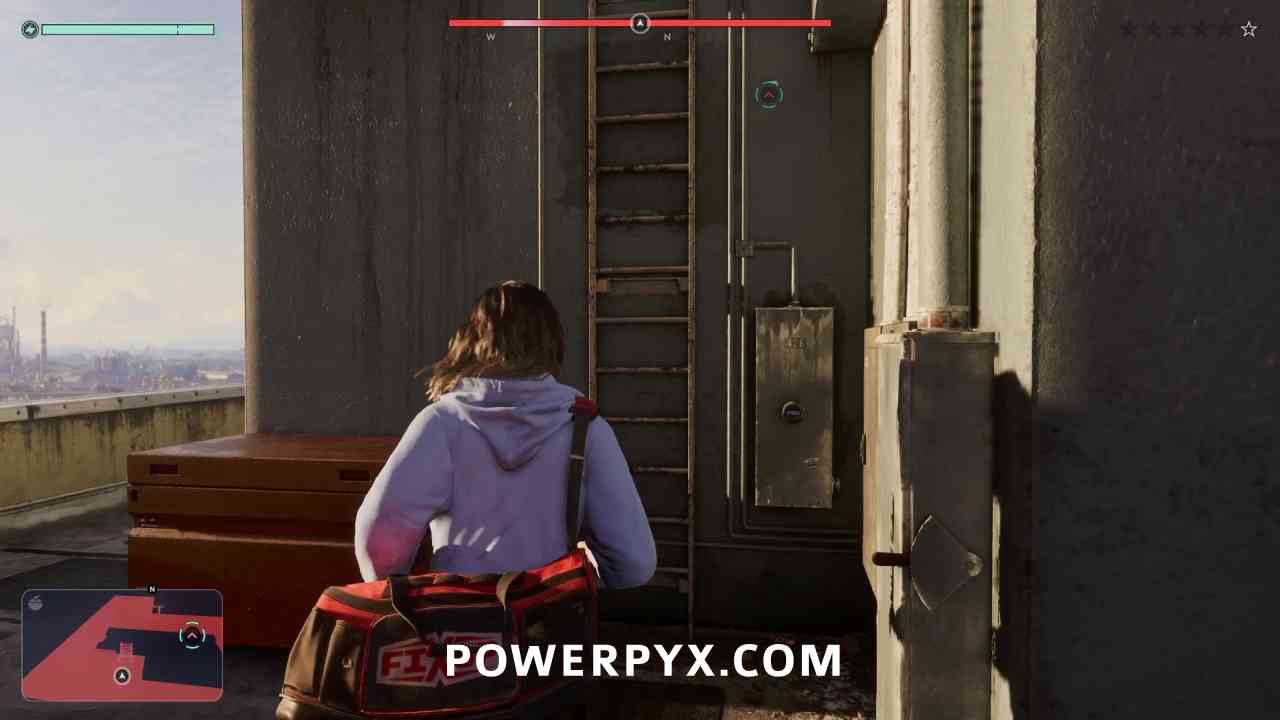
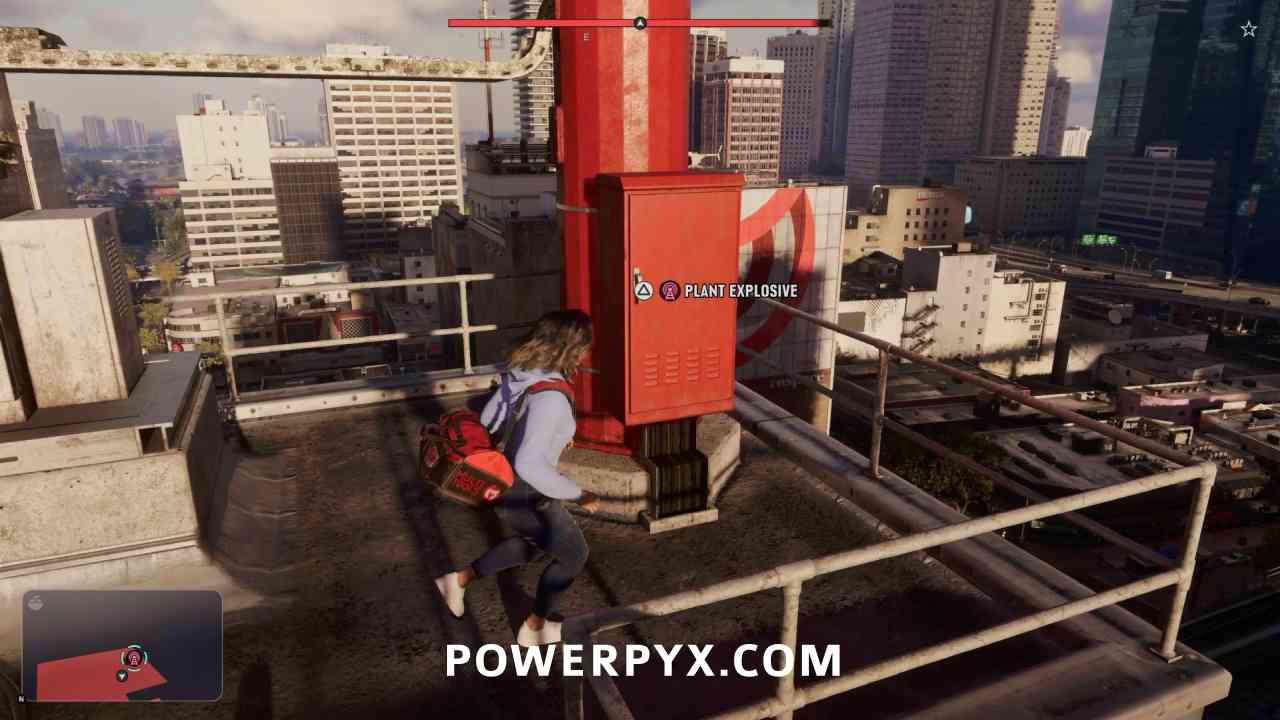
After planting you need to leave the area. If you don’t already have a parachute you should be able to pick one up from a box on the rooftop, then jump off and parachute away and run outside of the police search area. After you leave the area and the police stop searching you will complete the mission.

This finishes Hidden Charges (Meet at the Planning Room / Prepping the Explosives) in GTA VI.

For all other Quests refer to GTA 6 Walkthrough.

« PrevGTA 6 Cooties (Shoot the Music Video) WalkthroughNext »GTA 6 Bricked Up (Return to the Apartment) Walkthrough
Share
Tweet
Shares 0

Filed Under: Game Guides, GTA 6 (Grand Theft Auto VI)

Leave a Reply Cancel reply

Your email address will not be published. Required fields are marked *

Youtube 1,240,000Subscriber
Facebook 15,000Fans
Twitter 20,100Followers

Latest Trophy Guides

GTA 6 Trophy Guide

Phantom Blade Zero Trophy Guide

Final Fantasy Resonance Trophy Guide

Call of Duty Modern Warfare 4 Trophy Guide

Valor Mortis Trophy Guide

Clive Barker's Hellraiser: Revival Trophy Guide

Control Resonant Trophy Guide

Silent Hill Townfall Trophy Guide

Marvel's Wolverine Trophy Guide

Onimusha Way of the Sword Trophy Guide

The Blood of Dawnwalker Trophy Guide

Crimson Desert Trophy Guide

Ghost of Yotei Trophy Guide

Kingdom Come Deliverance 2 Trophy Guide

Red Dead Redemption 2 Trophy Guide

Latest Game Wikis

GTA 6 Wiki

Crimson Desert Wiki

Resident Evil Requiem Wiki

Ghost of Yotei Wiki

Borderlands 4 Wiki

Kingdom Come Deliverance 2 Wiki

Elden Ring Wiki

Hogwarts Legacy Wiki

God of War Ragnarok Wiki

Cyberpunk 2077 Wiki

Red Dead Redemption 2 Wiki

GTA V Wiki

Recent Posts

  • GTA 6 (Grand Theft Auto VI) Trophy Guide & Roadmap
  • GTA 6 (Grand Theft Auto VI) Wiki & Strategy Guide
  • GTA 6 100% Completion Checklist & Guide
  • GTA 6 All Cheats
  • GTA 6 Collectible Guide – Progress Database

GTA 6 Wiki

  • Wiki
  • 100% Checklist
  • Cheats
  • Challenges
  • Walkthrough
    • Prologue
    • Gone Fishing
    • Gear Up (Pick Up Another Gun)
    • Lab Fees (Collect Brian’s Rent)
    • Just a Scratch (Fix Your Car)
    • Unwanted Attention (Go See Cal)
    • Pipework (Collect Mandy’s Rent)
    • Hey Arnold! (Meet Brian)
    • Island Dreams (Work for Kenton)
    • Feng Shui (Meet Cal)
    • Optional – Pick up Groceries & Drop Off Groceries
    • Optional – Buy Flowers
    • Optional – Buy Lucia a Necklace
    • Optional – Get The Chop
    • Optional – Get Lucia’s Clothes
    • Coming Home (Lucia’s Release)
    • Clean Up After Donnie (Donnie’s Drop)
    • Buck Me (Set Up Bank Account)
    • Down to Earth (Meet Brian)
    • Deposit Cash Into BuckMe
    • Save for the Future
    • Optional – Find the Lost Drugs
    • Day Release (Meet Mattia & Kat)
    • Optional – Clock Out
    • Clear Skies (Join Donnie On A Job)
    • Building a Life
    • Swamped (Meet Brian)
    • Don Gone (Head to Donnie’s Trailer)
    • Donnie’s Lost Drugs
    • Recalibration (Talk to Lucia)
    • Tourist Trap (Take Up Mattia’s Offer)
    • Home Sweet Home
    • Discharge Time
    • What’s in the Bag?
    • Take Care of Jason (Play Nurse)
    • Overnight Charges (See Linda, The Manager)
    • Just Moved In
    • Girl’s Trip (Find Painkillers)
    • Optional – Pick Up A Gun
    • Moses (Take A Vehicle to Moses)
    • New Look
    • How Do I Look?
    • Painkiller Supplier
    • Ambulance Chaser (Move the Ambulance)
    • Behind on Payments
    • Slam Dunk (Find Painkillers)
    • Daily Driver (Steal the Crawler for Moses)
    • Breakfast Run (Check on Jason)
    • Coffee Break
    • Optional – Hit Avery Pawn
    • Optional – Hit Kingpin Bowling
    • Optional – Impounded Vehicle
    • Prepare for Vice City
    • Afternoon Delight (Rob Vicki’s Boss)
    • Checking Out (Move to Vice City)
    • Welcome to Vice City
    • Dealer’s Choice (Go See Dre’Quan)
    • Dubious Provenance (Visit the Antique Store)
    • Mami Knows Best (Catch Up With Mia)
    • Here, Kitty Kitty (Speak with Tyrone)
    • Boobie Time (Talk to Boobie)
    • Meet the Heders (Meet Brian & Lori)
    • Yasmani’s Jewelry Jobs
    • Car Service (Steal The Car for Raul)
    • Top Billing (Watch the Real Dimez)
    • First Impressions (Meeting with Raul)
    • Crosstown Traffic (Meet Raul)
    • Credit Check (Meet Raul’s Crew)
    • Clonin’ Keys, Makin’ GS (Steal the Zorrusso for Randy)
    • Ride Or Die (Meet Dre’Quan)
    • Sinfrontera National Bank (Scope Out the Bank)
    • Security Expert
    • Caught Slipping
    • Company Property (Meet Brian)
    • Safe Word (Steal the Practice Safe)
    • The Missing Link (Meet Andrea)
    • Mall Rats (Join Billy on a Job)
    • Mall Rats (Join Billy on a Job)
    • Brother To Brother (Back up Yago)
    • Cooties (Shoot the Music Video)
    • Hidden Charges
    • Bricked Up (Return to the Apartment)
    • South Leonida Real Estate (Meet Mia)
    • The Cartel Heist
  • Side Missions (Strangers & Freaks)
    • Shirley – Get Shirley’s Rum
    • Shirley – Steal the Scooter
    • Kirk – Search for the Skunk Ape (Skunk Apeology 101)
    • Kirk – Search for Tree Effigies
    • Kirk – Help Kirk Find Mr. Mangrove (Advanced Skunk Apeonomics)
    • Kyle – Check Out McKittrick Farm
    • Kyle – Collect Chemicals for Kyle
    • Kyle – Buddy? (Check on Kyle)
    • Bret – Veteran Hunted (Meet Bret)
    • Billy – Thrillbillies (Check Out the Mud Club)
    • Billy – Twist Wrist, Smash, Grab (Join Billy on a Job)
    • Billy – Mall Rats (Join Billy on a Job)
    • Billy – The Impaler (Steal the Impaler)
    • Billy – Hometown Heroes (Join Billy on a Job)
    • Yago – Join a Street Race
    • Yago – Bumper to Bumper (Mentor Yago)
    • Yago – Race Against Yago
    • Yago – Brother to Brother (Back Up Yago)
    • Andy – Climbing the Cellerichain
    • Andy – Pay the Cellerica Fee
    • Andy – Peach! (Join the Cellerica Initiation)
    • Andy – Read the Label (Retrieve the Cellerica Van)
    • Andy – Puff Puff Pass (Meet at the Warehouse)
    • Tyrone – Take Out Kitty Litter (Kitty Litter Labs)
    • Tyrone – Spin On This (Shut Down the Labs)
    • Eddie Acosta – Attend Eddie Acosta’s Party
    • Pilot Pete – The Last Mile: Passing the Torch (Recover Pete’s Plane)
    • Pilot Pete – The Last Mile: Backseat Pilot (Deliver Packages)
    • Pilot Pete – Pete’s Deliveries (3 Parts)
  • Collectibles
  • Collectible Card Sets
    • Vice City Flamingos
    • Vice City Narcos
    • Vice City Manatees
    • Vice City Club De Fútbol
    • Liberty City Swingers
    • Liberty City Penetrators
    • Liberty City Wrath
    • Los Santos Corkers
    • Los Santos Panic
    • Los Santos Pounders
    • Backyard Wrestling
    • America’s Next Top Hooker
    • Delights Dancers
    • Jack of Hearts Dancers
    • Nine1Nine Dancers
    • The Legend of Ratface
    • Right Wing: America’s Hero
    • Ed Comics Universe
  • Waink Scans
    • Waink Landmarks
    • Waink Curiosities
    • Waink Sculptures
    • No Flusher Tags
  • Magazines, Books & Comics
  • Books Swaps
  • Meditation Spots
  • Cocaine Flamingos
  • Unique Playlists
  • Golf Courses
  • Pool Opponents
  • Unique Races
  • Race Challenge Gold Medals
  • Shooting Range Challenge Gold Medals
  • Video Games
  • Stunt Jumps
  • Top Fun Drone Races
  • Fences
  • Gang Operations
  • Bank Jobs
  • Payday Loans
  • Smash ‘n’ Grabs
  • Mod Shops
  • Pay ‘n’ Sprays
  • Gas Stations
  • Car Washes
  • Ammu-Nations (Gun Stores)
  • Garages
  • Train Stations
  • Ferry Terminals
  • Clothing Stores
  • Footwear Stores
  • Hair & Beauty Salons
  • Tattoo Studios
  • Electronics Stores
  • Convenience Stores
  • Fast Food Stores
  • Cafes & Takeout
  • Liquor Stores
  • Bars
  • Street Food Vendors
  • How to Get Ultimate Edition Rewards
  • World Map
  • Trophy Guide
  • Terms of Service
  • Privacy Policy
  • Cookie Policy
  • GTA 6 Cheats
  • GTA 6 100% Checklist
  • GTA 6 Walkthrough
  • GTA 6 Collectibles Database
  • YouTube
  • Facebook
  • Twitter

© 2008-2026 PowerPyx.com, all rights reserved.