
GTA6 contains 14 Kitty Litter Lab locations. Finding and destroying these labs is required for Tyrone’s side mission chain, which awards the Spin on This trophy/achievement.
You are introduced to Tyrone automatically during the main story during the main mission Tyrone, then the mission Here, Kitty Kitty which furthers introduces the Kitty Litter storyline. After this you are prompted to work on destroying the labs where the Kitty Litter is made while finding out the main location it originates from.
Labs are marked on the map with a purple search area, where you then need to find the building where the pink gas is coming from. Inside the building will be a bunch of lab equipment which you can destroy with explosives or fire. You can obtain lab locations either by being given the locations by Tyrone or Dook, who will keep giving you more locations over time if you ask for them, or just by going to the locations yourself. Labs can be found without having the location given first, so you can just go to all locations and destroy labs on your own if you don’t want to wait for information from Tyrone and Dook. Some labs will have people in them making the drugs, who if you manage to stick up will sometimes give another location, but they normally attack you as soon as they see you.
After destroying a lab you will receive $2,000 or $2,500 from Tyrone via BuckMe. After you destroy enough labs and obtain enough information you will be prompted to start the mission Spin on This where you help Tyrone destroy the main lab.
Labs are not missable, and can still be destroyed after the story in free-roam.
Collectibles Overview:
- GTA6 Collectible Guide
Labs are listed by region. There isn’t a way to check if a lab has already been destroyed other than by going to the location and looking, they will stay destroyed and the building will generally look burnt when you visit one you have already dealt with.
Story Lab
This lab is the first one you are prompted to destroy before any others after completing Chapter 3 – Main Mission: Here, Kitty Kitty.
Location #1 – Reward: $2,000
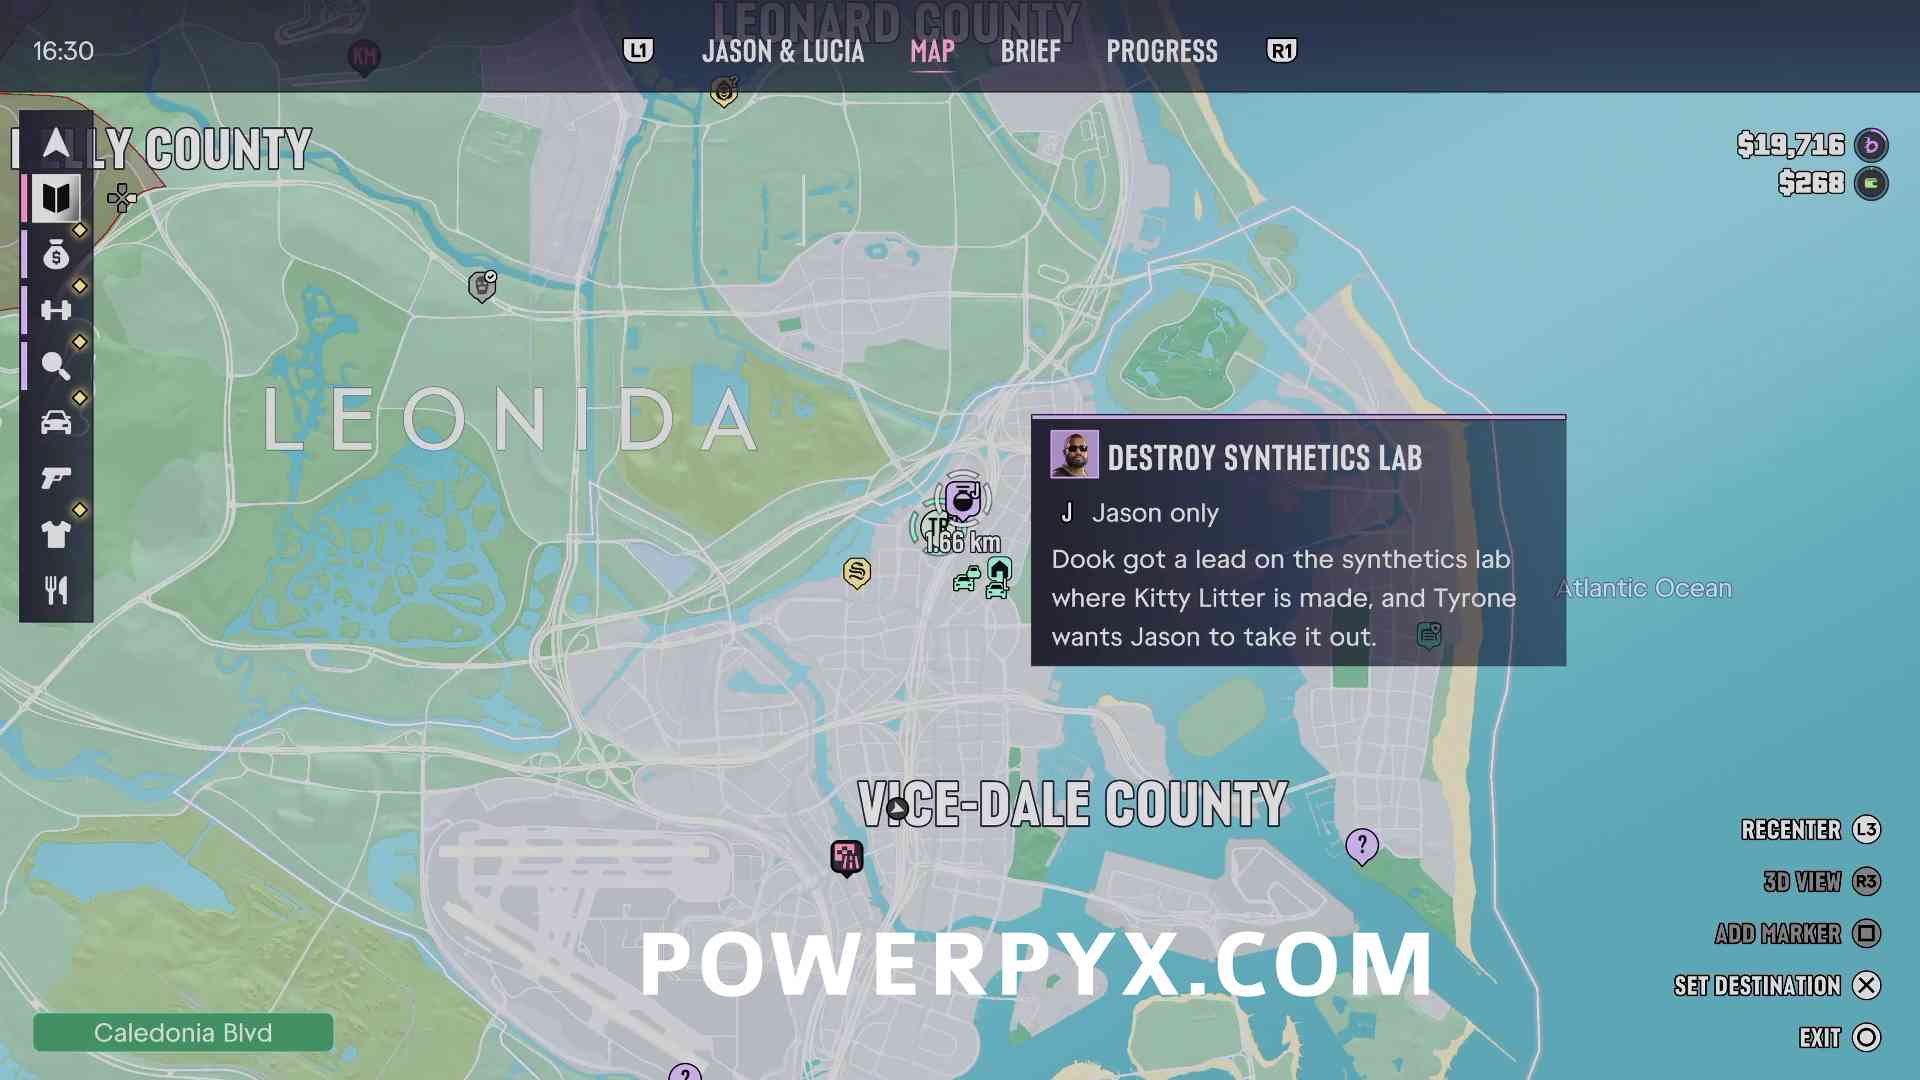
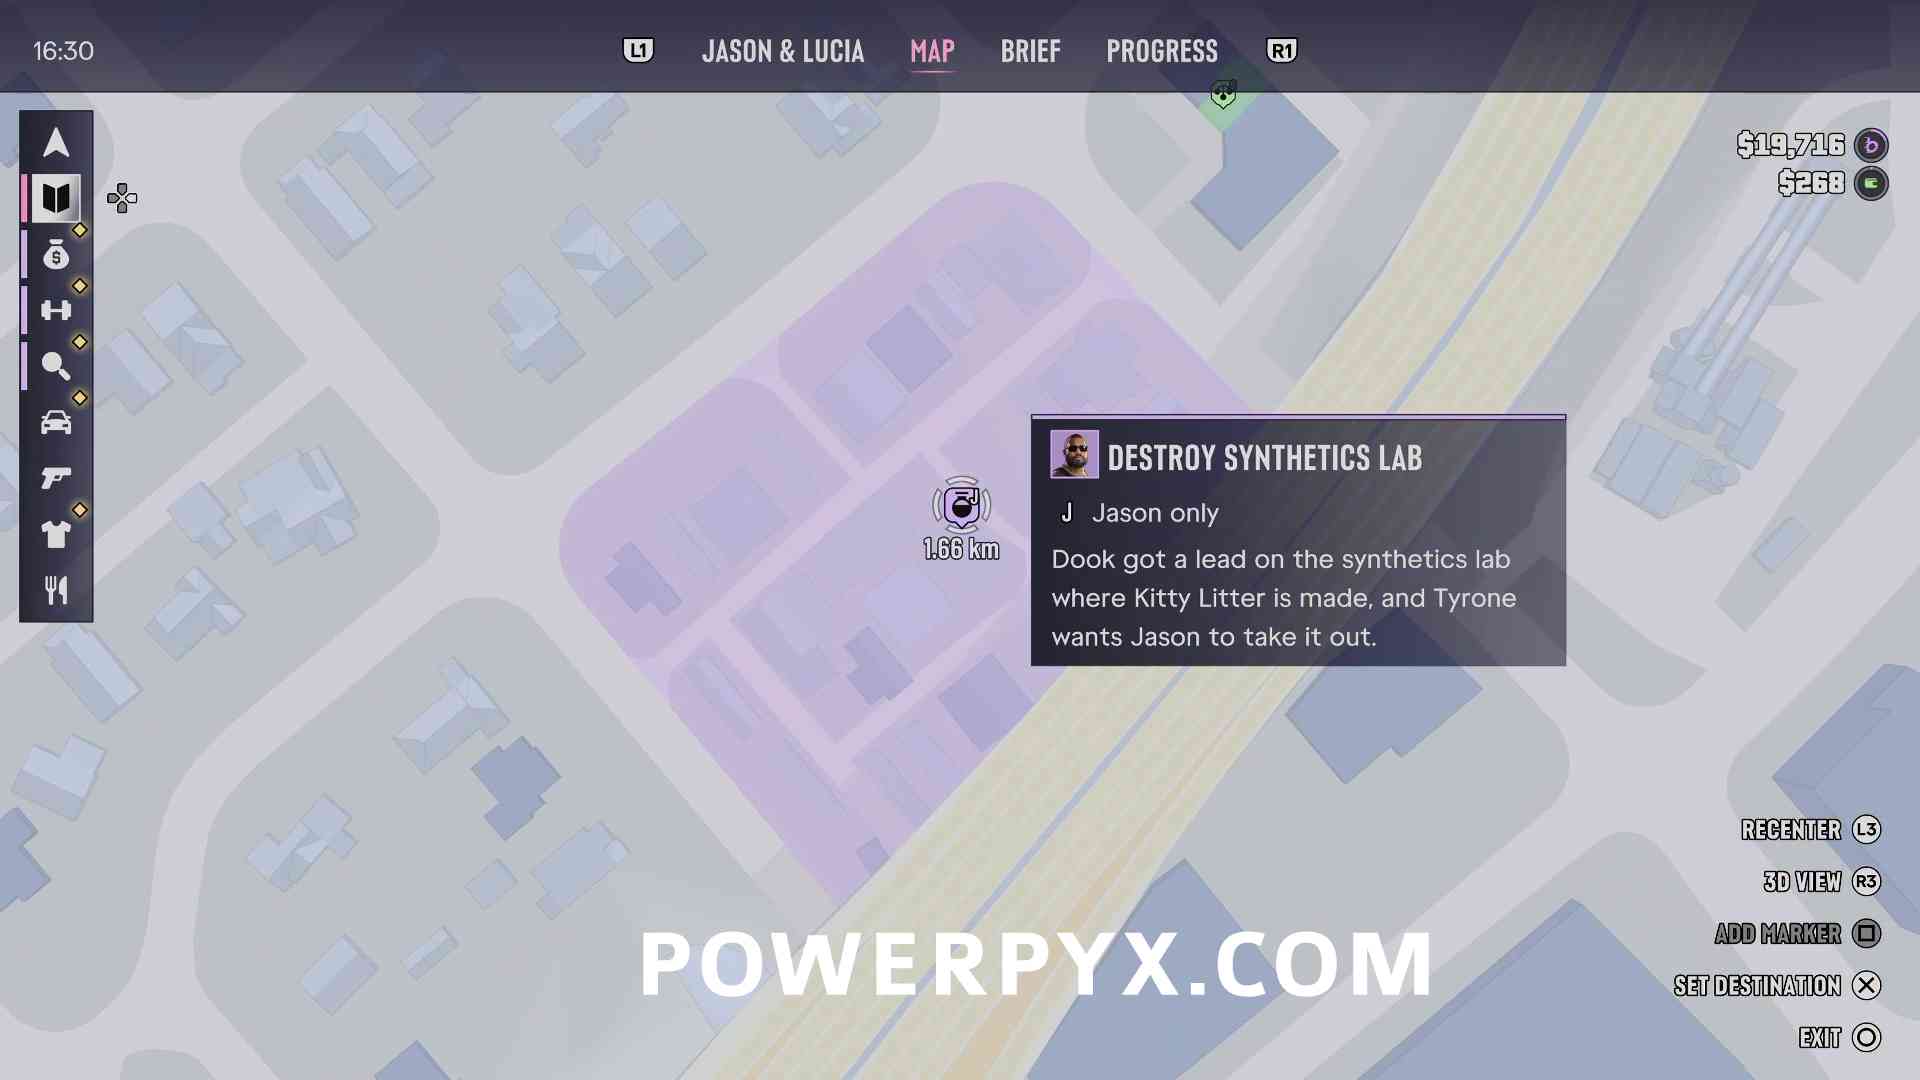
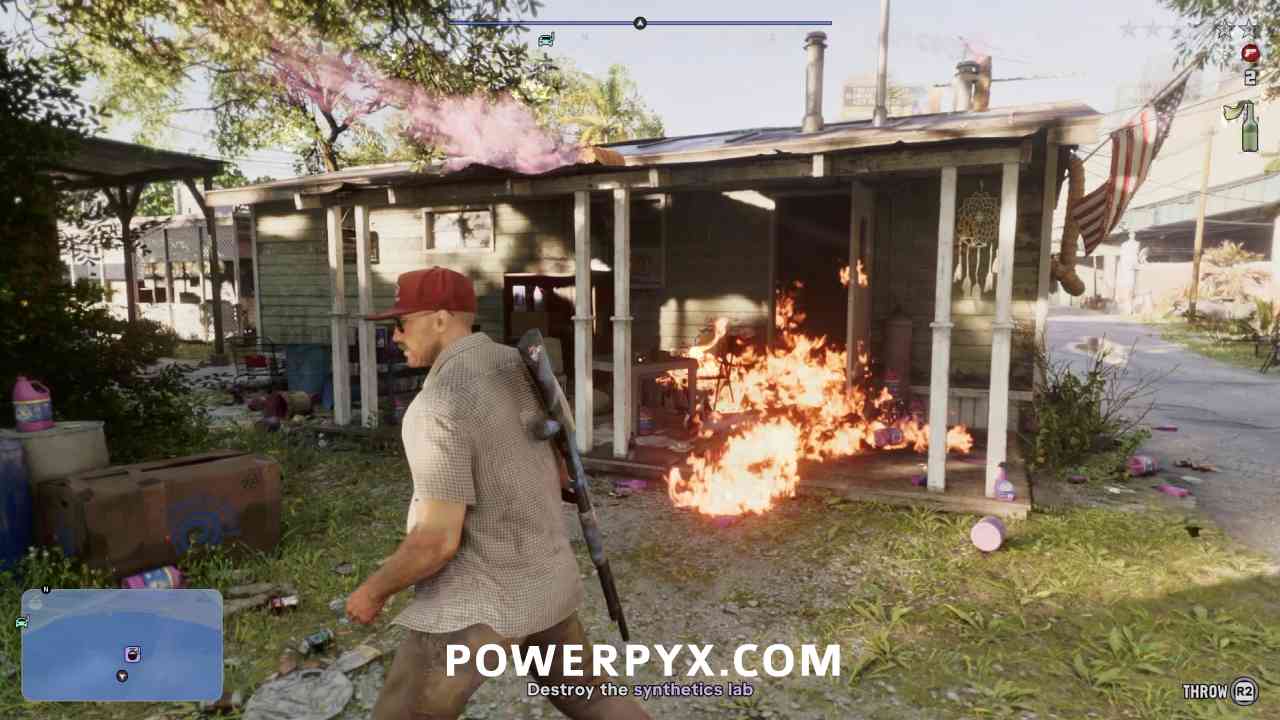
The lab is in a trailer in the southern center block, spotted by the pink smoke coming out the top and the yellow tubes from the windows. There will also be two guards standing outside complaining about the smoke, before one enters the trailer.
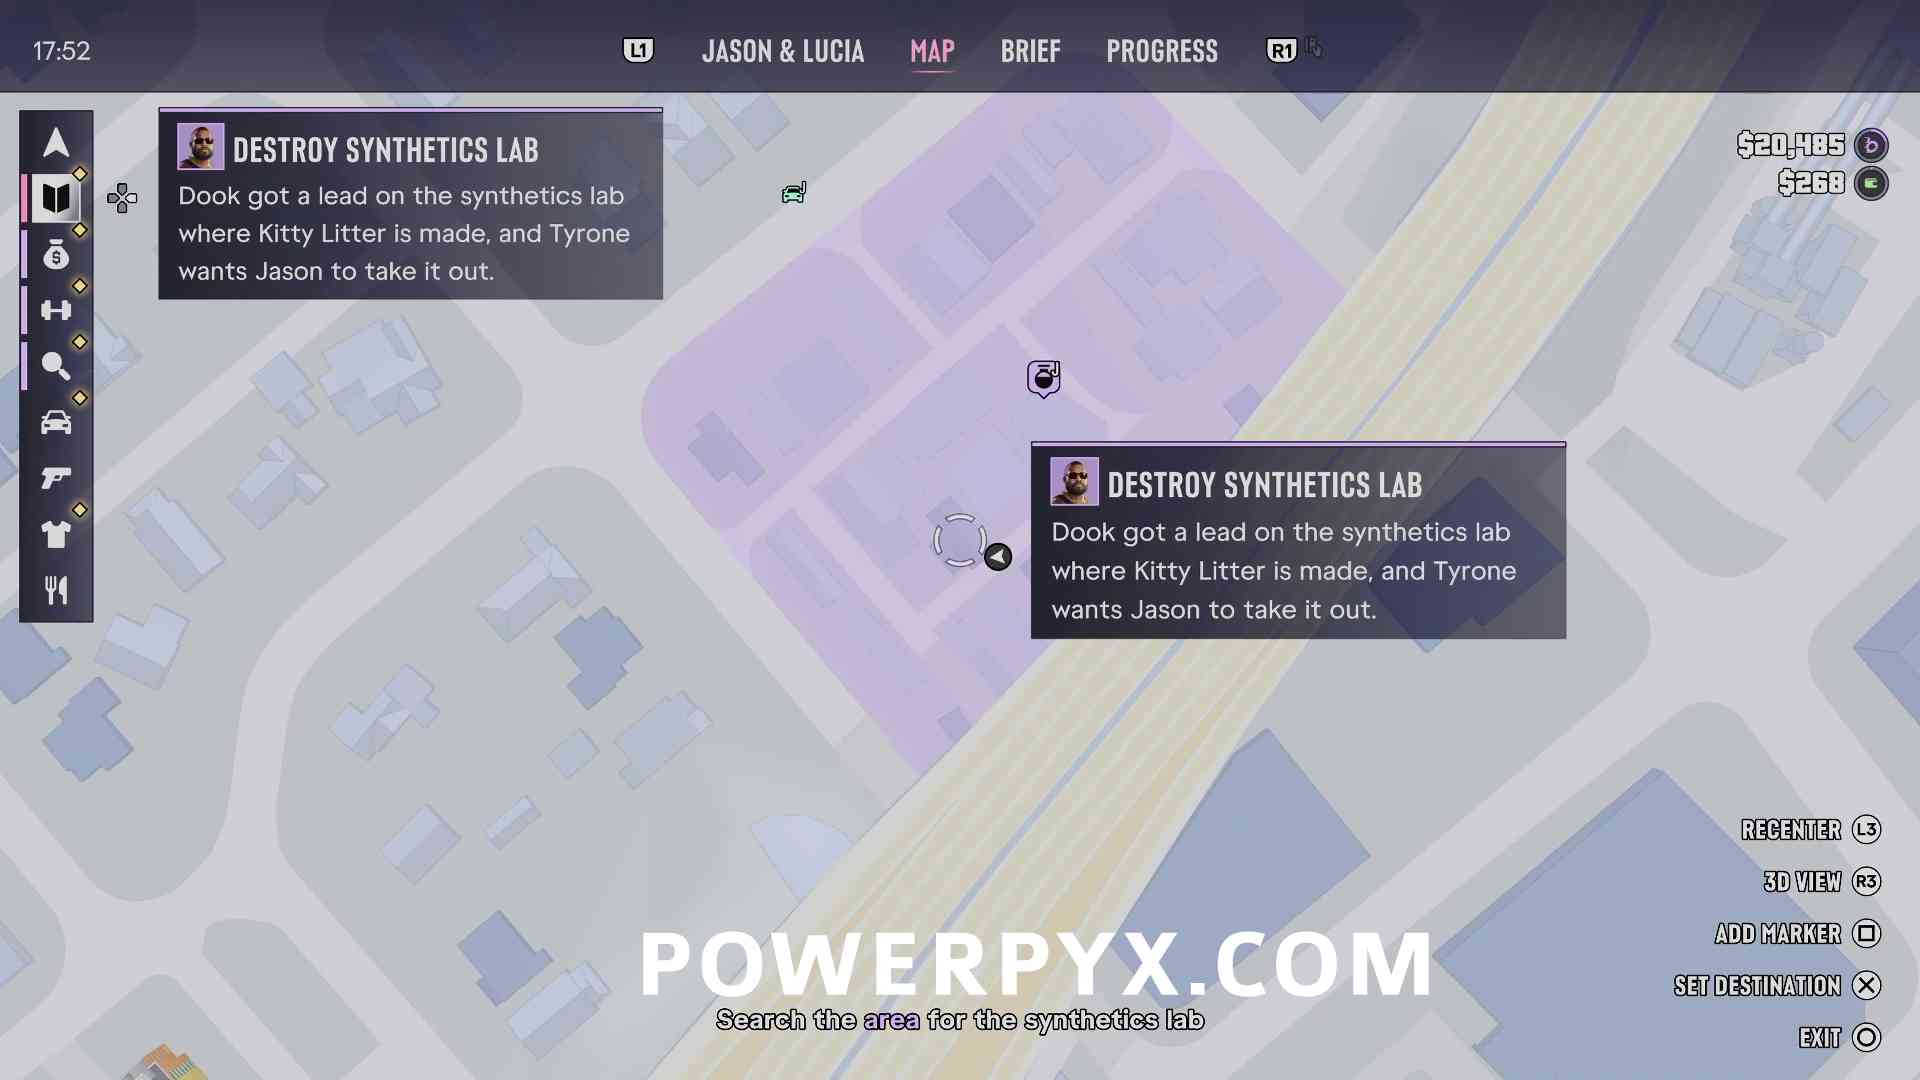
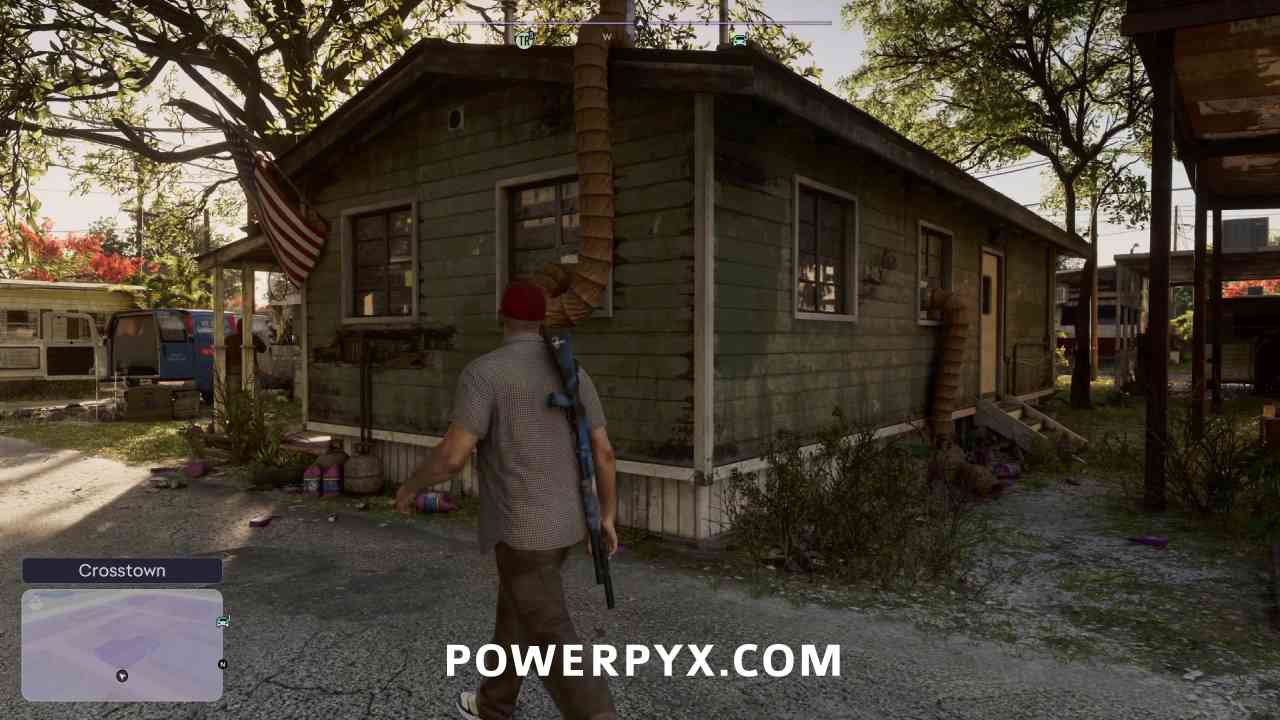
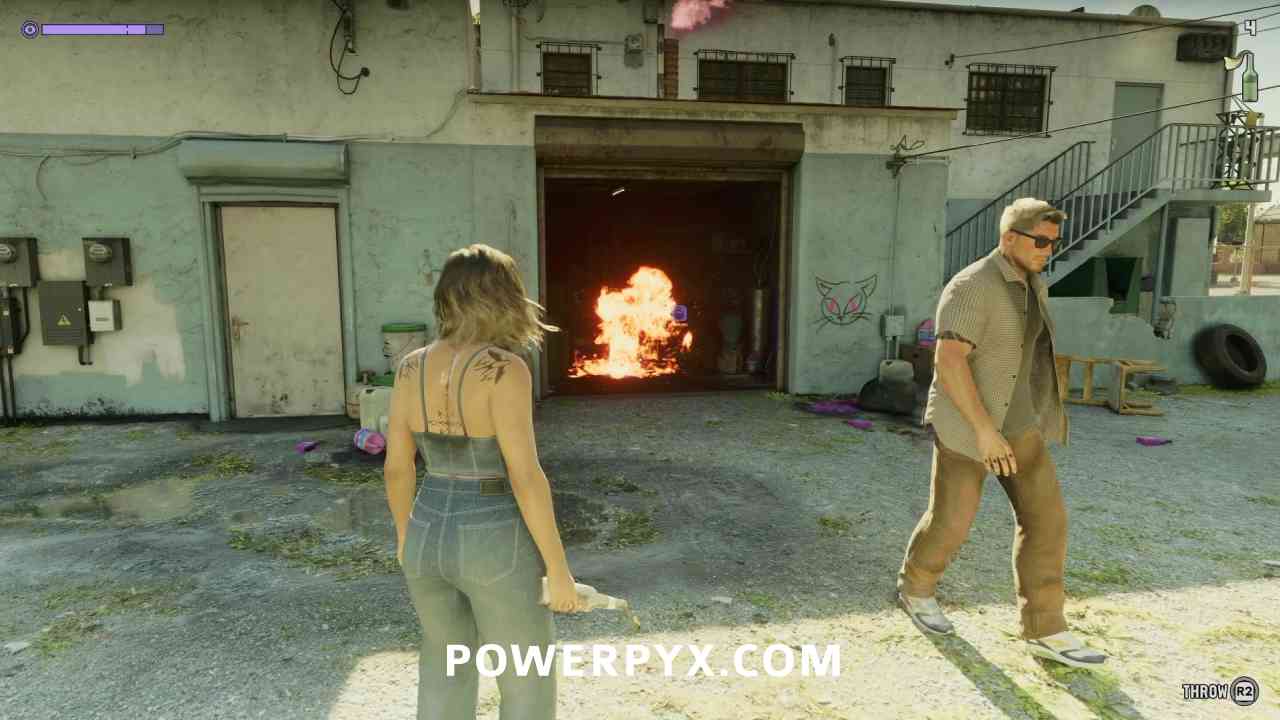
All labs typically have either propane canisters or gas canisters inside that you can shoot to blow up the lab, or if you are carrying molotovs you can just throw one into the main room through the doorway from outside which will light everything on fire and destroy the lab.
Balsero Labs
Location #1 – Reward: $2,000
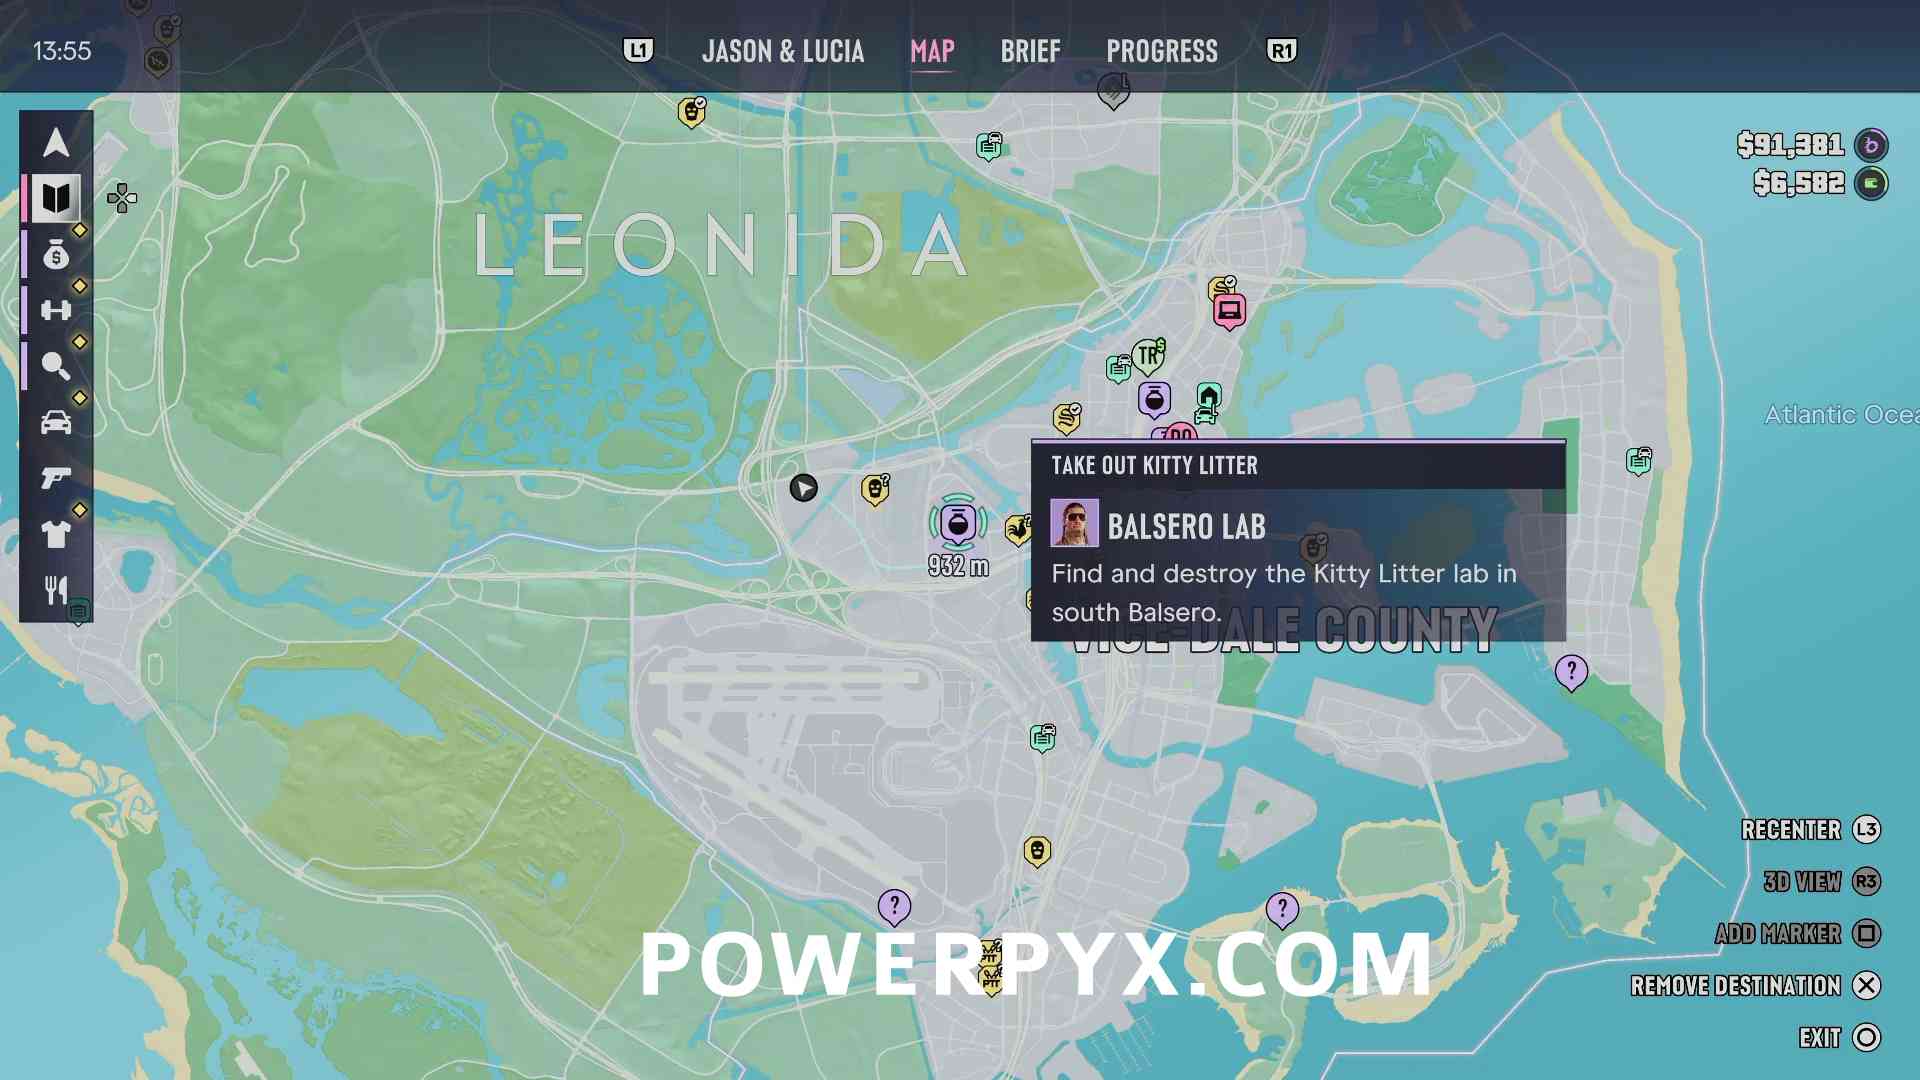
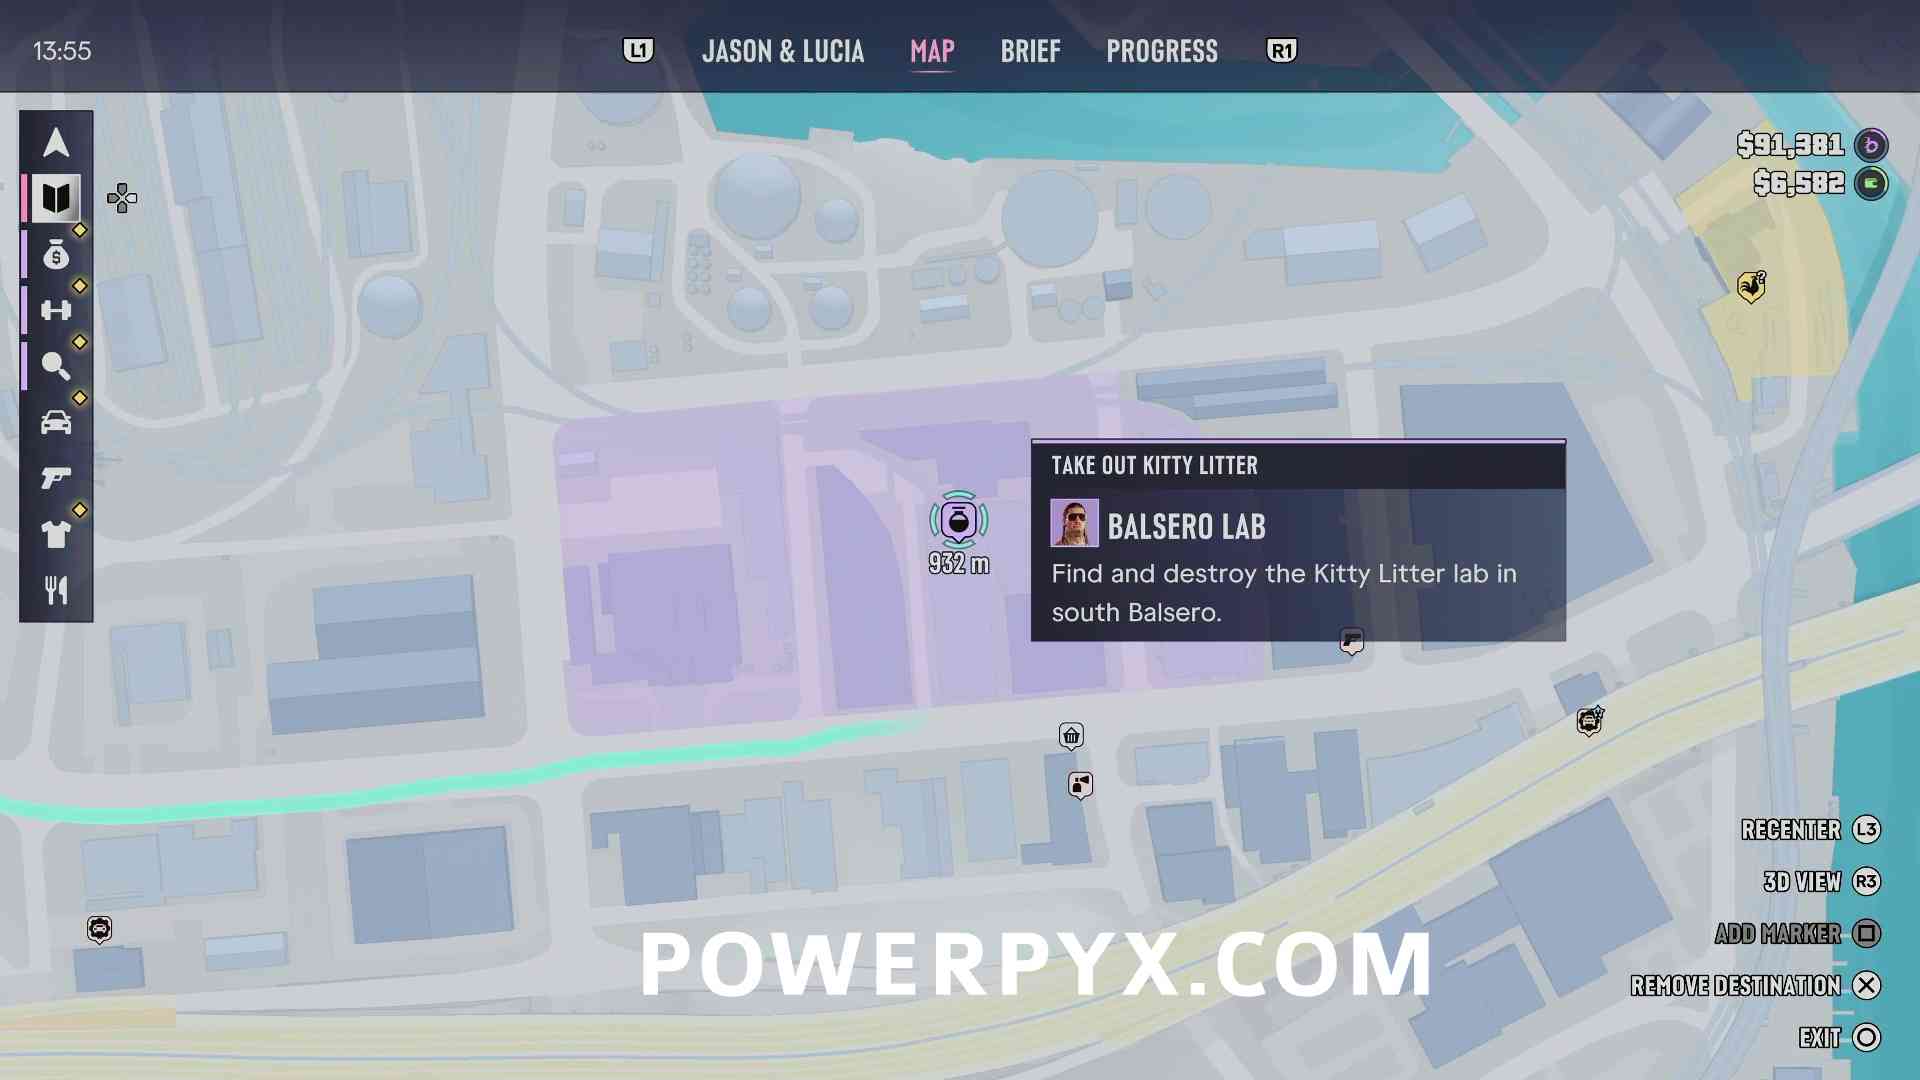
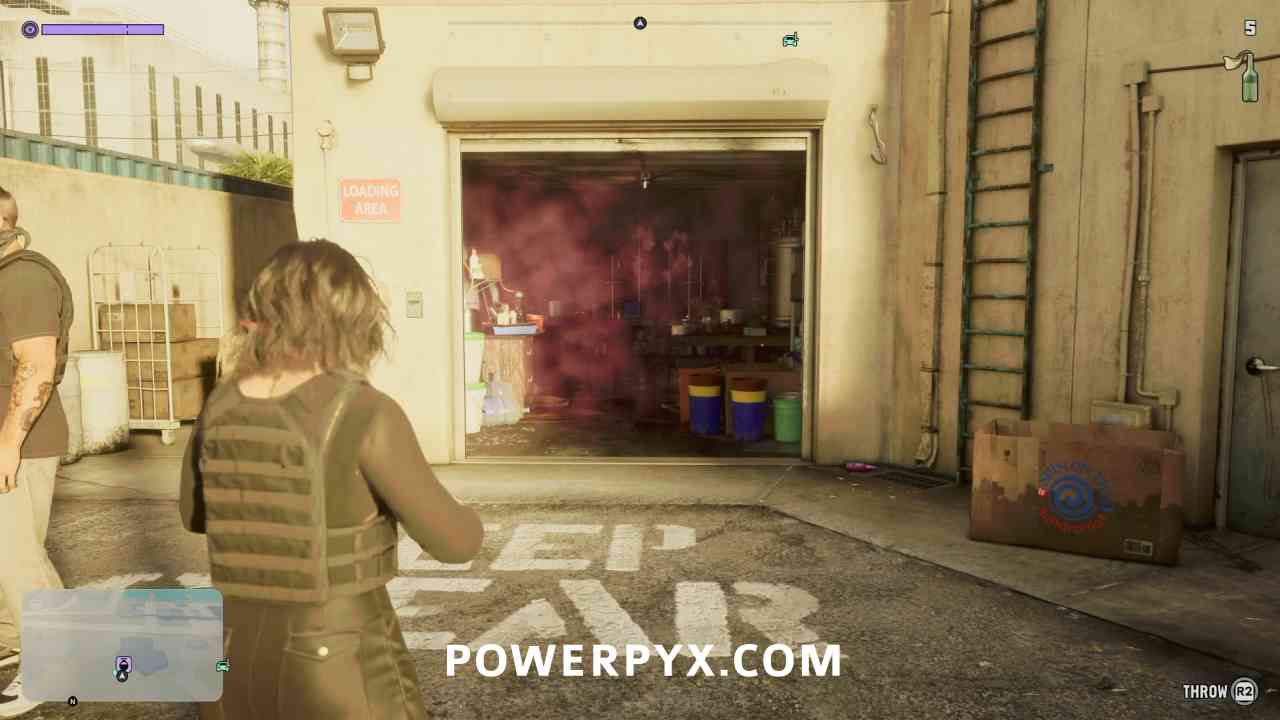
This lab is located in a garage on a building along the north edge of the search area. When you enter this area there are likely to be around 3 enemies who will immediately shoot you when you enter.
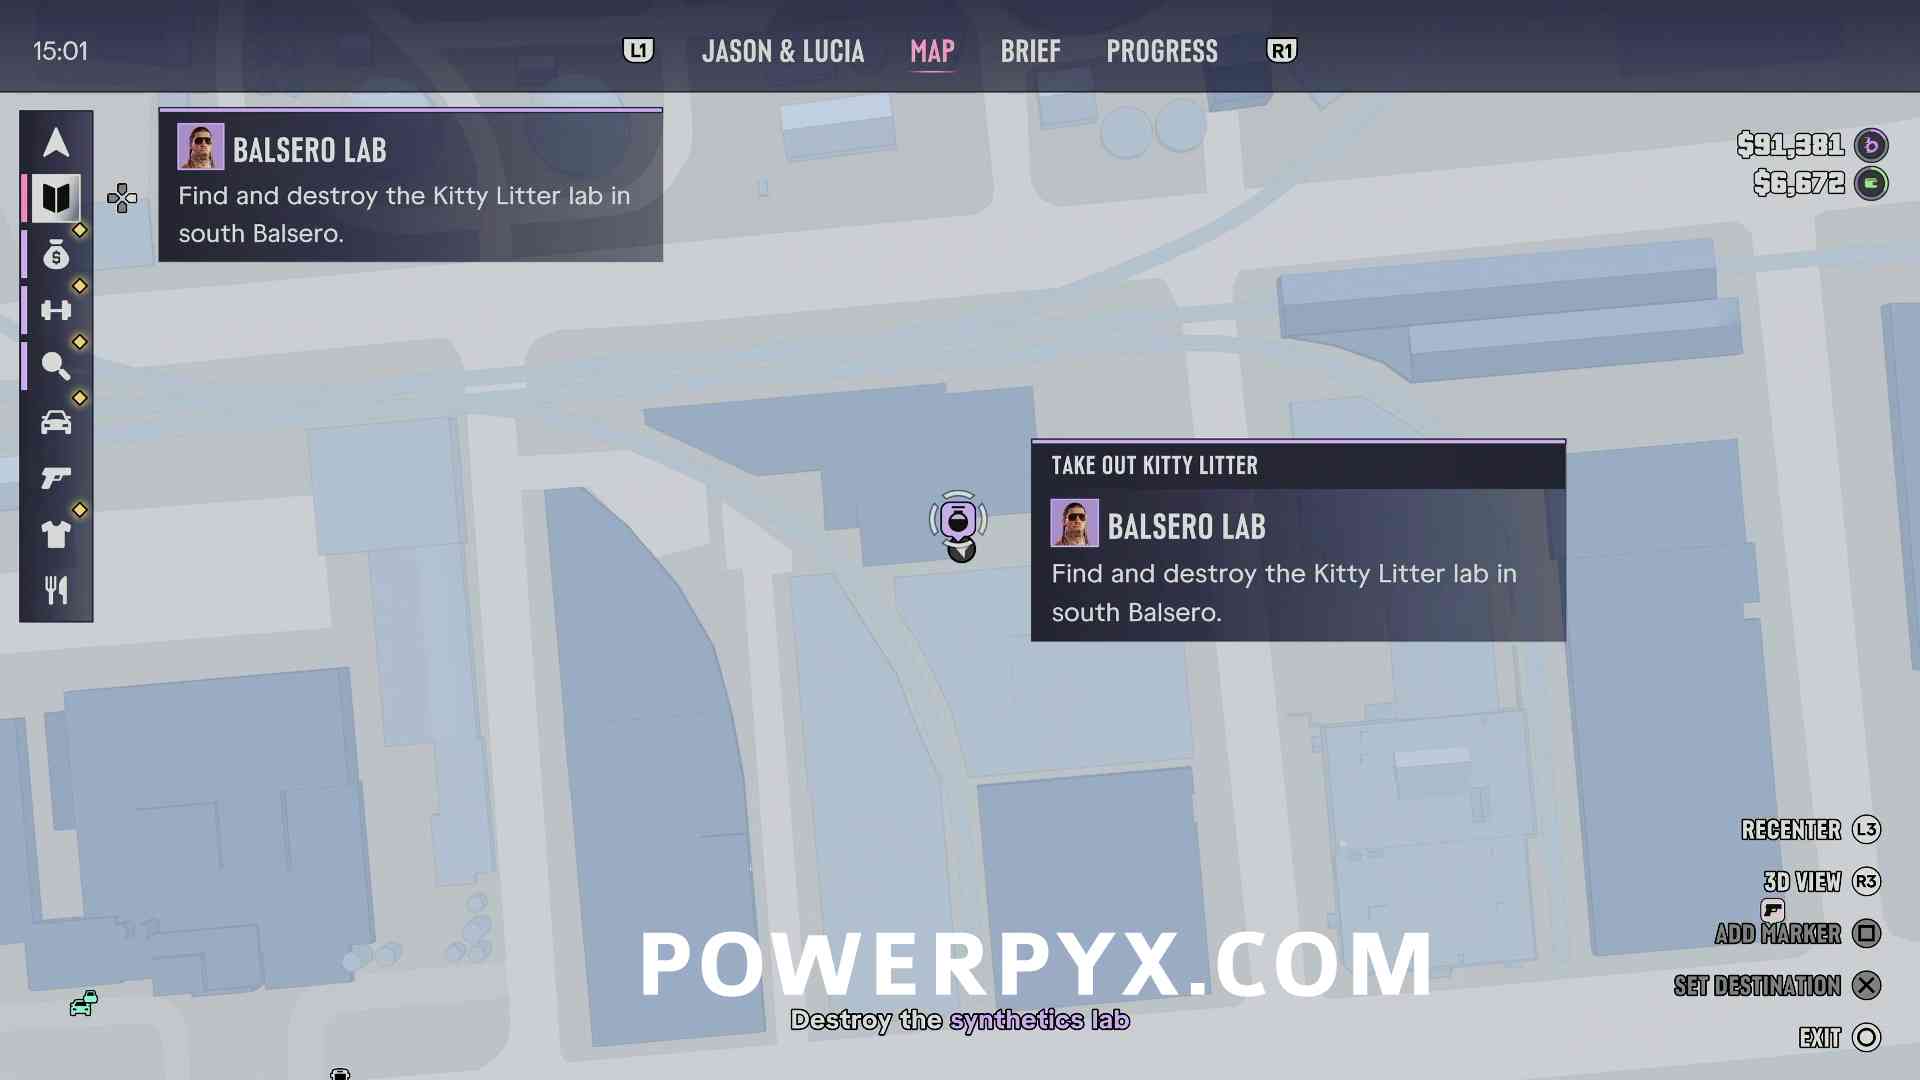
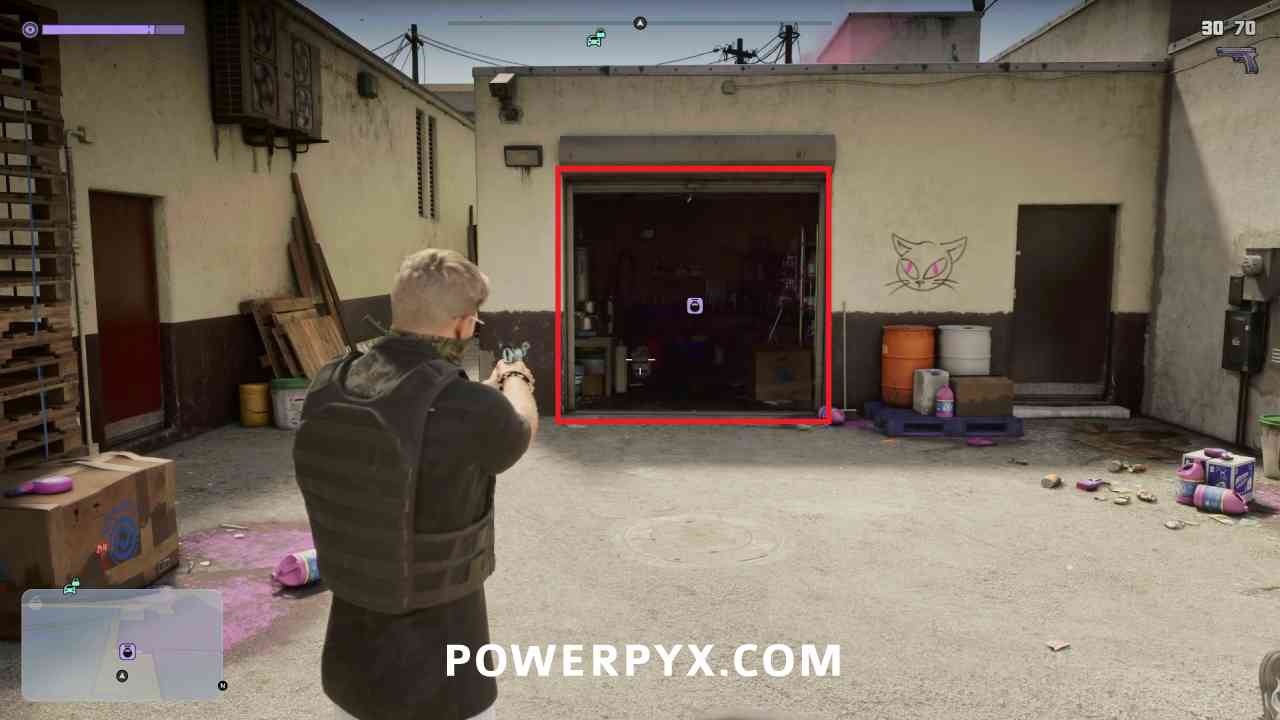
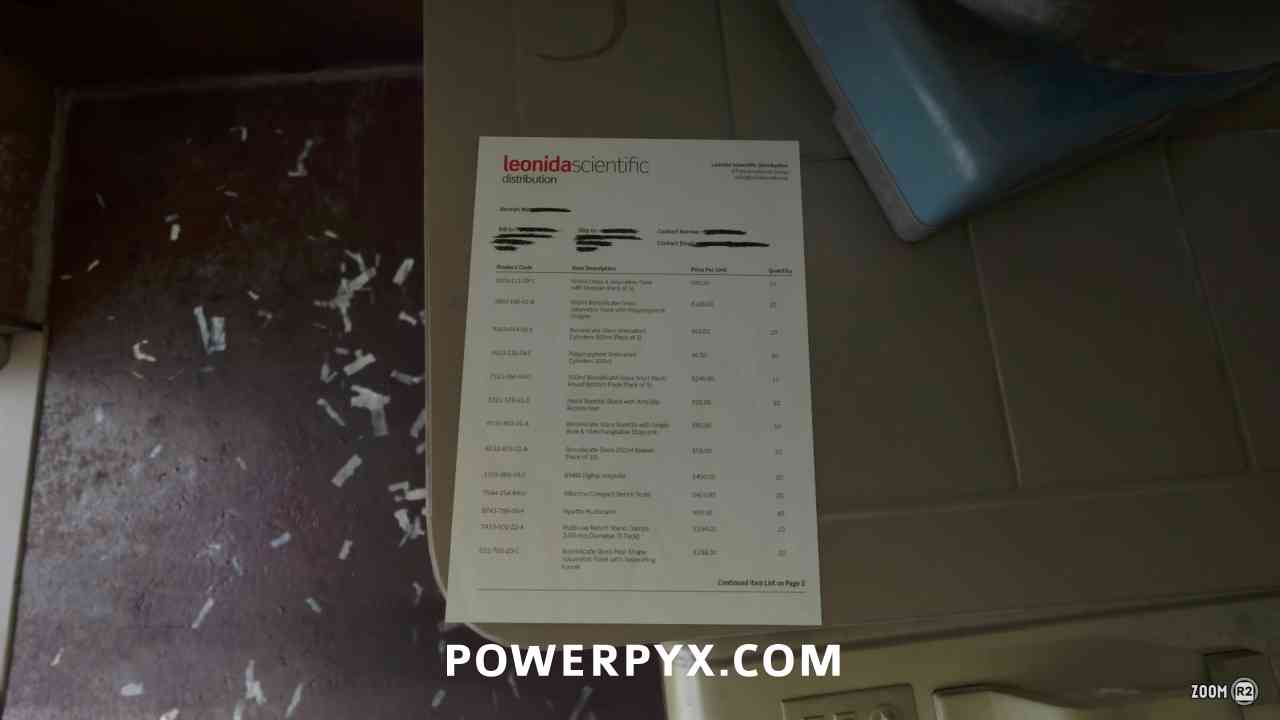
Before destroying the lab you can inspect a paper just inside the door on the left.
Location #2 – Reward: $2,500
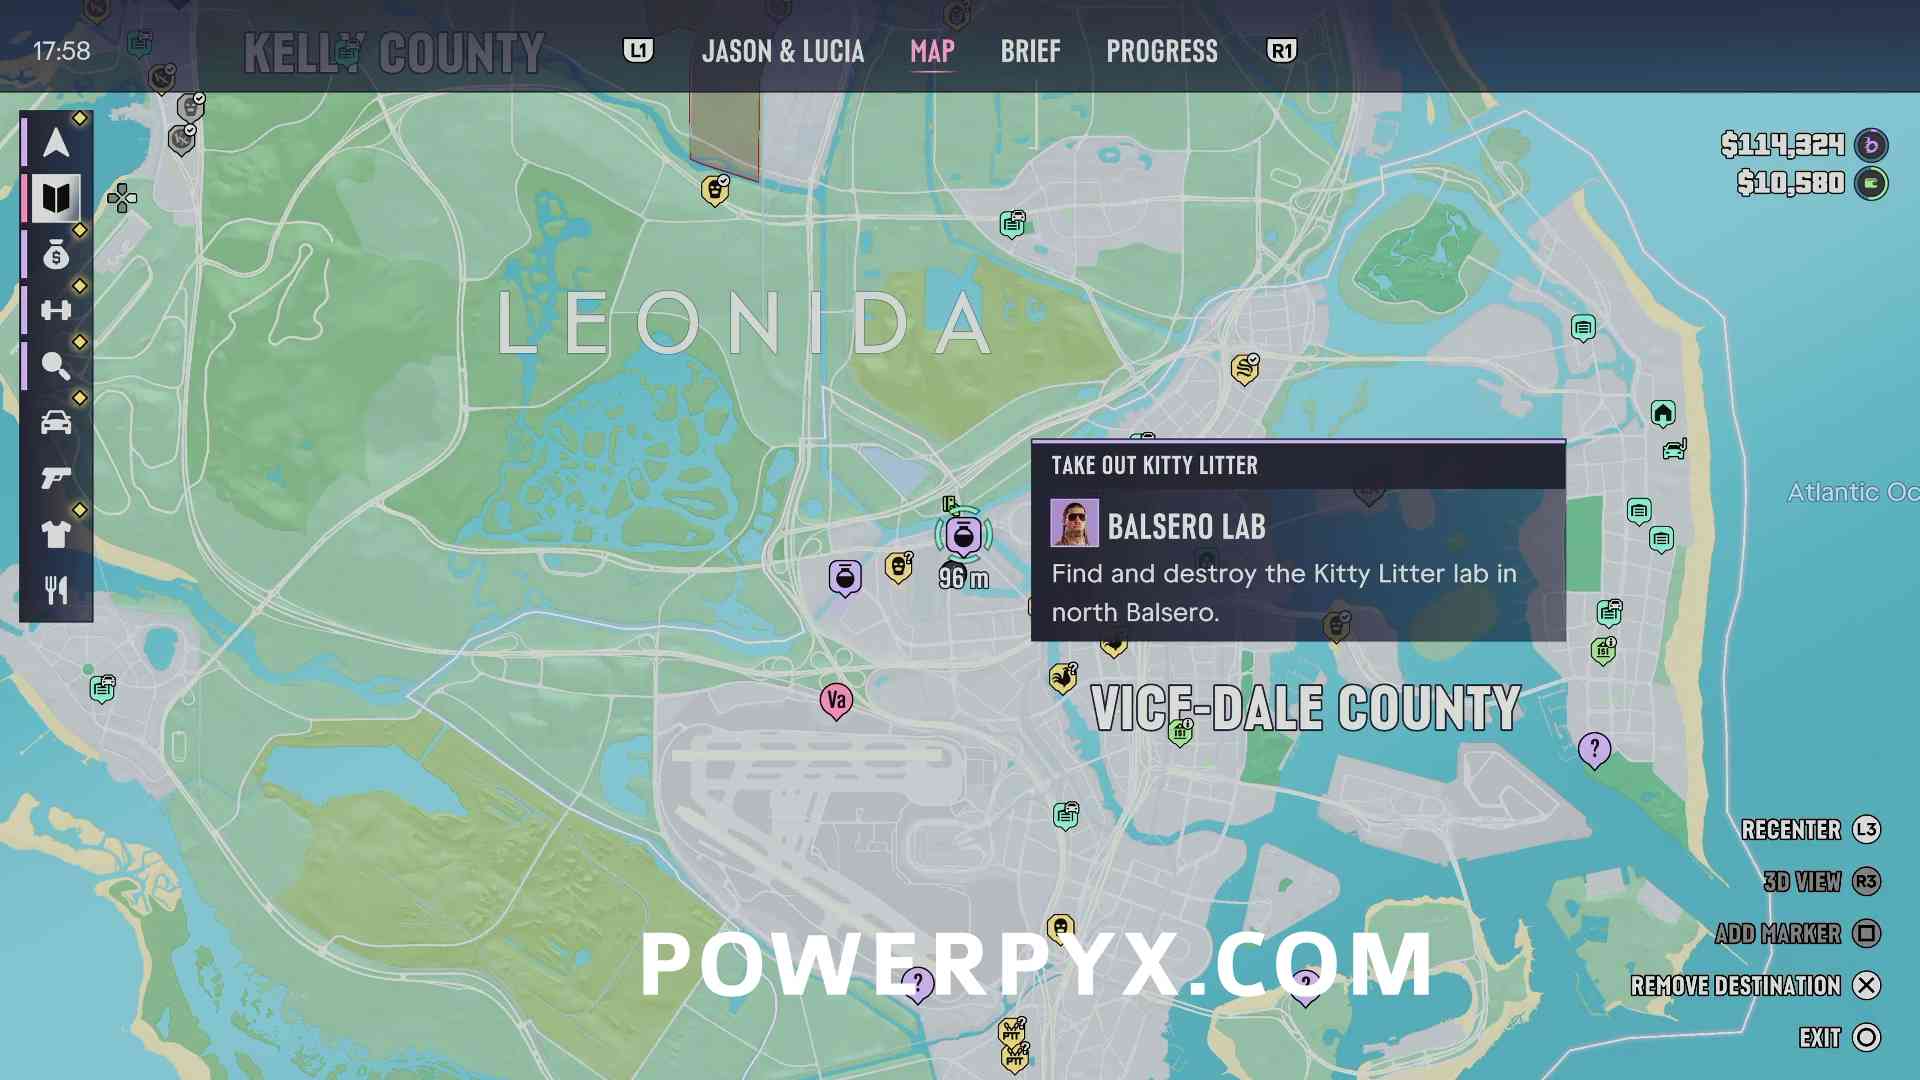
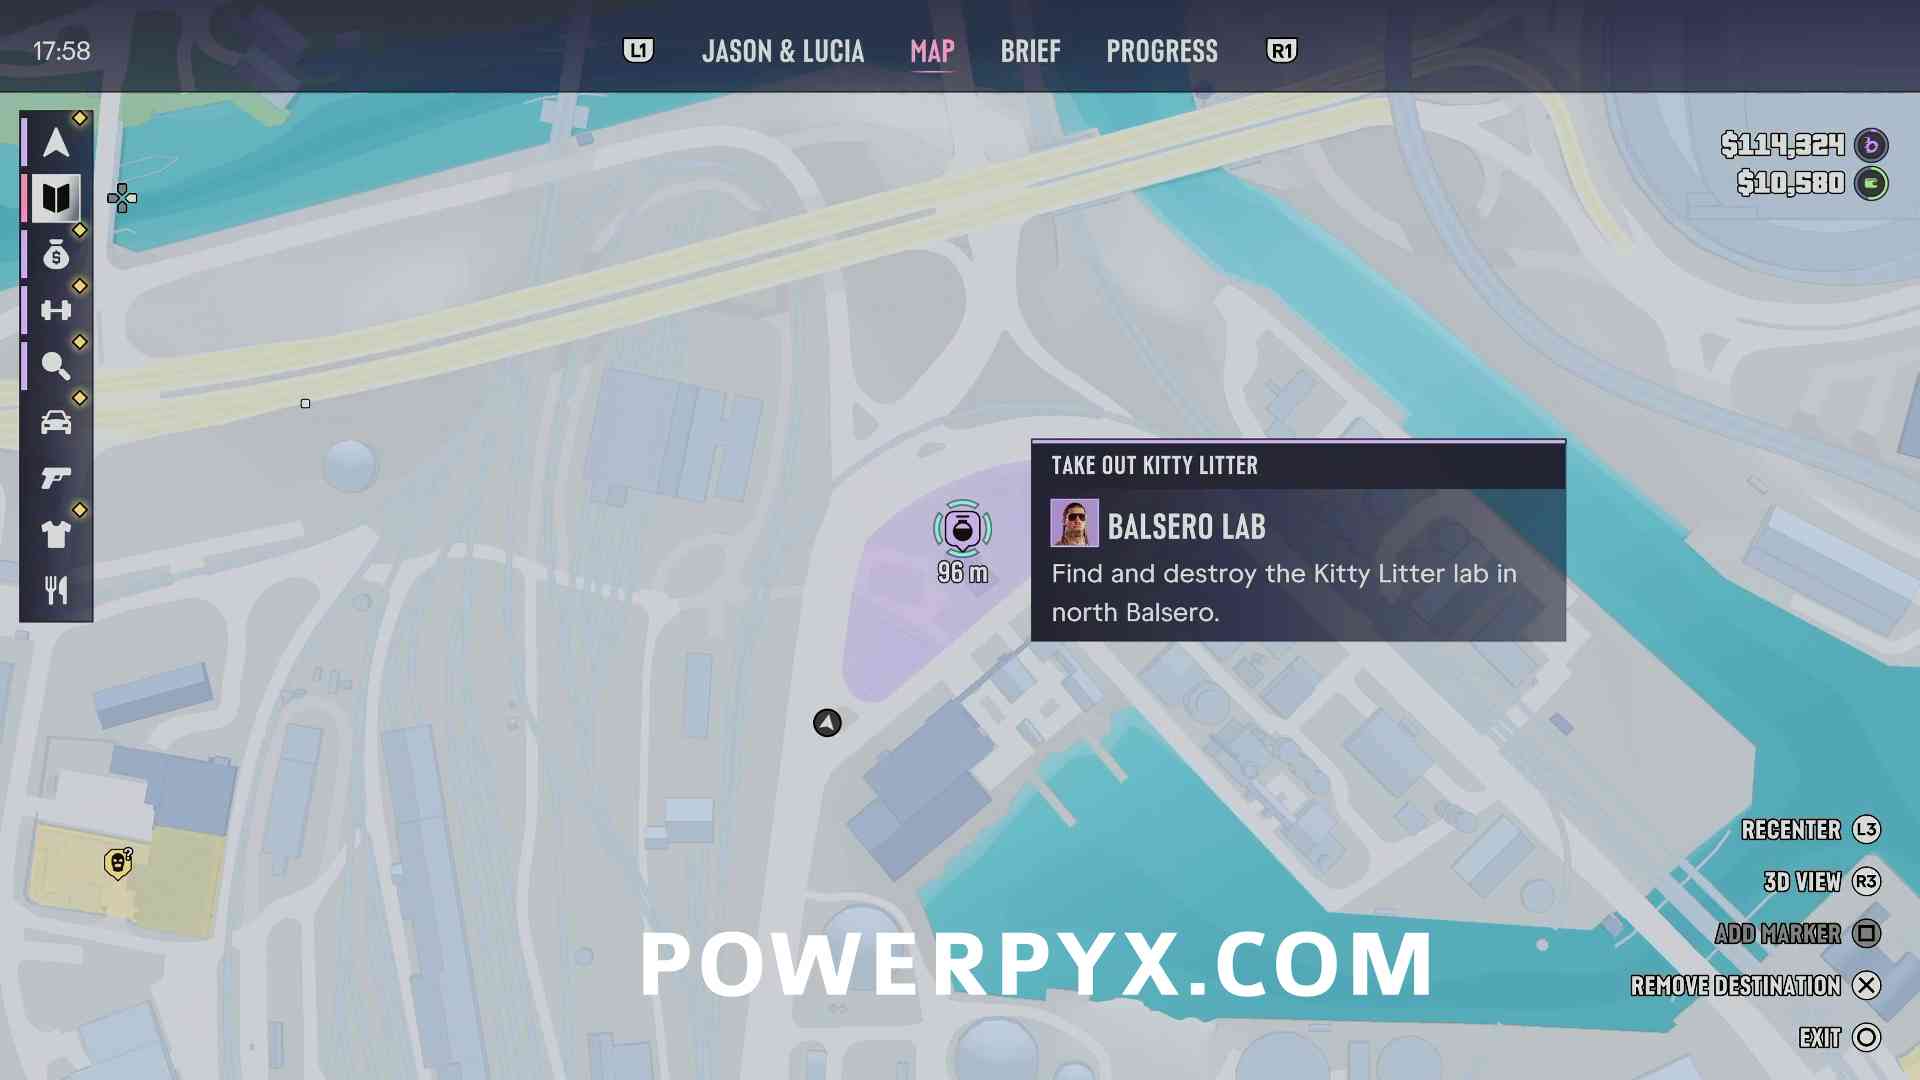
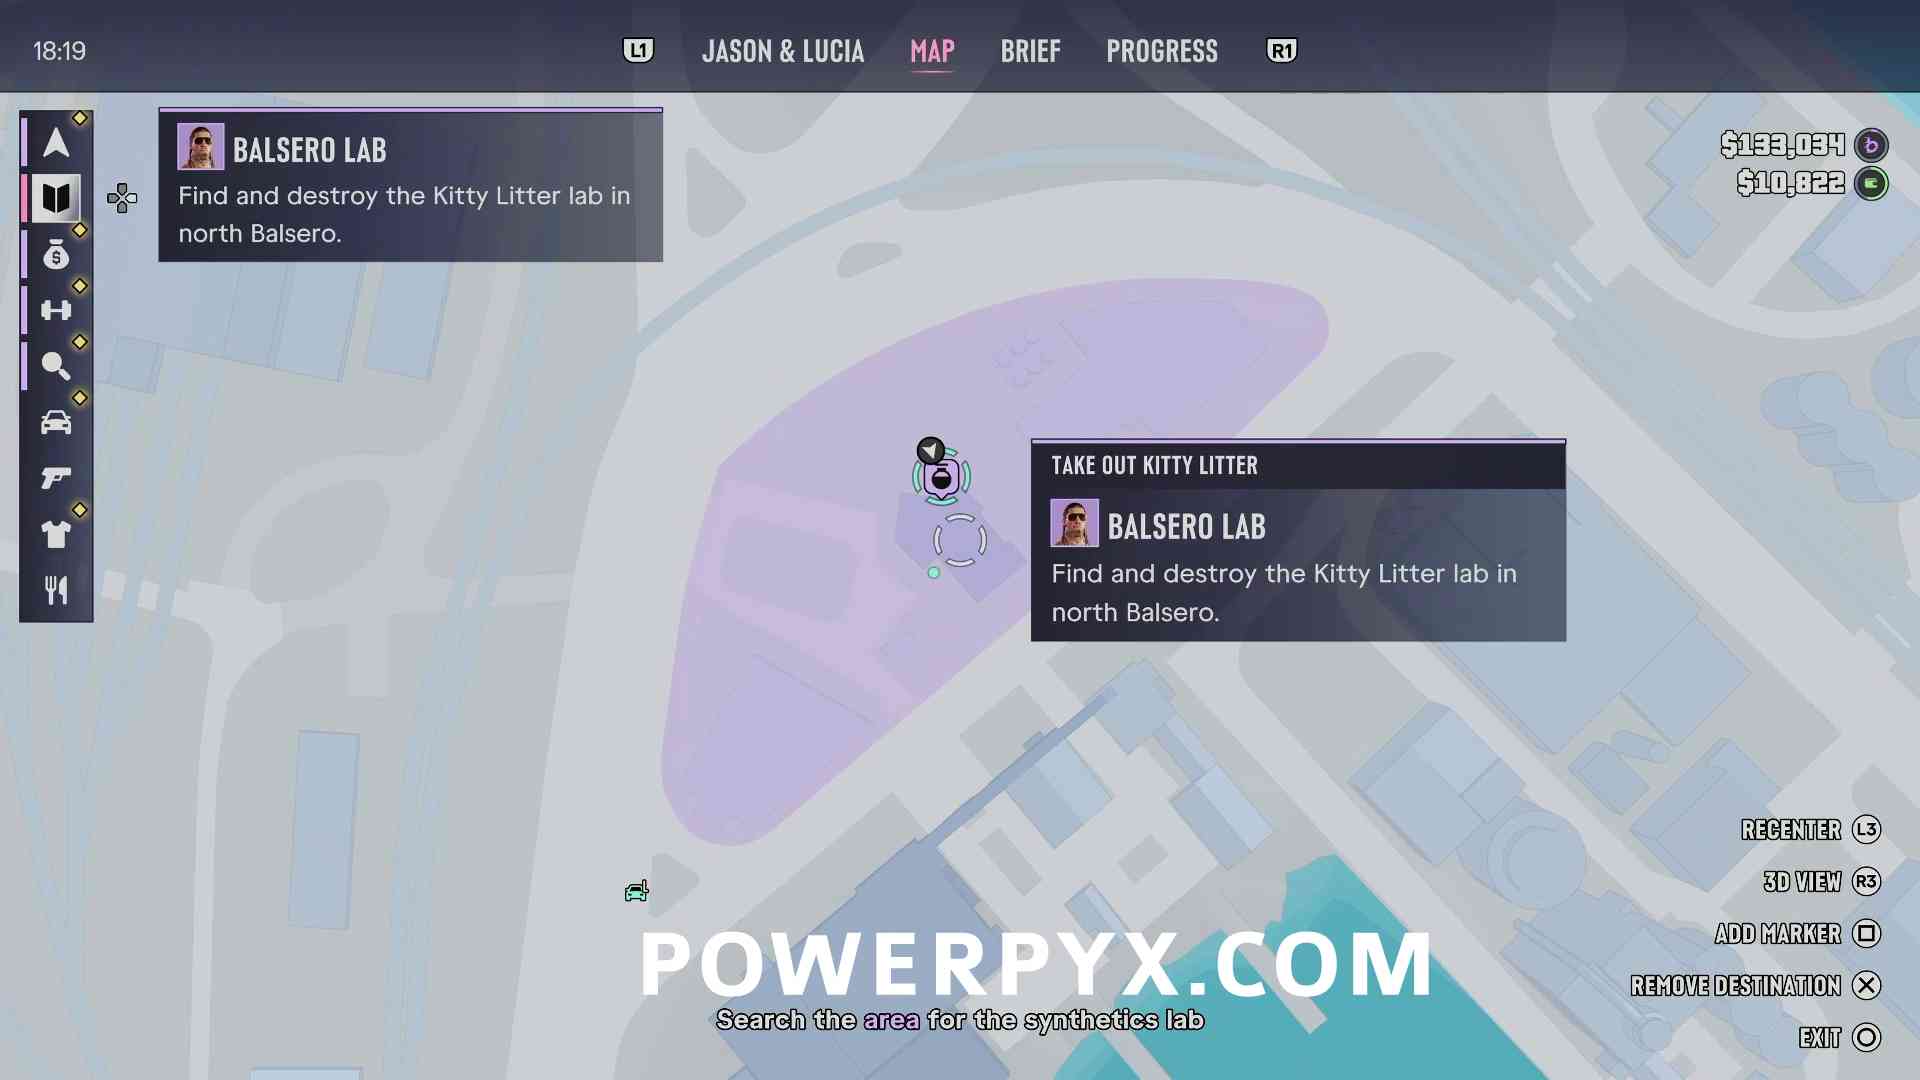
This lab is located in a garage in the building directly in the middle of the search area, exactly where the objective marker is. To enter it you need to interact with the keypad on the wall and enter the correct code.
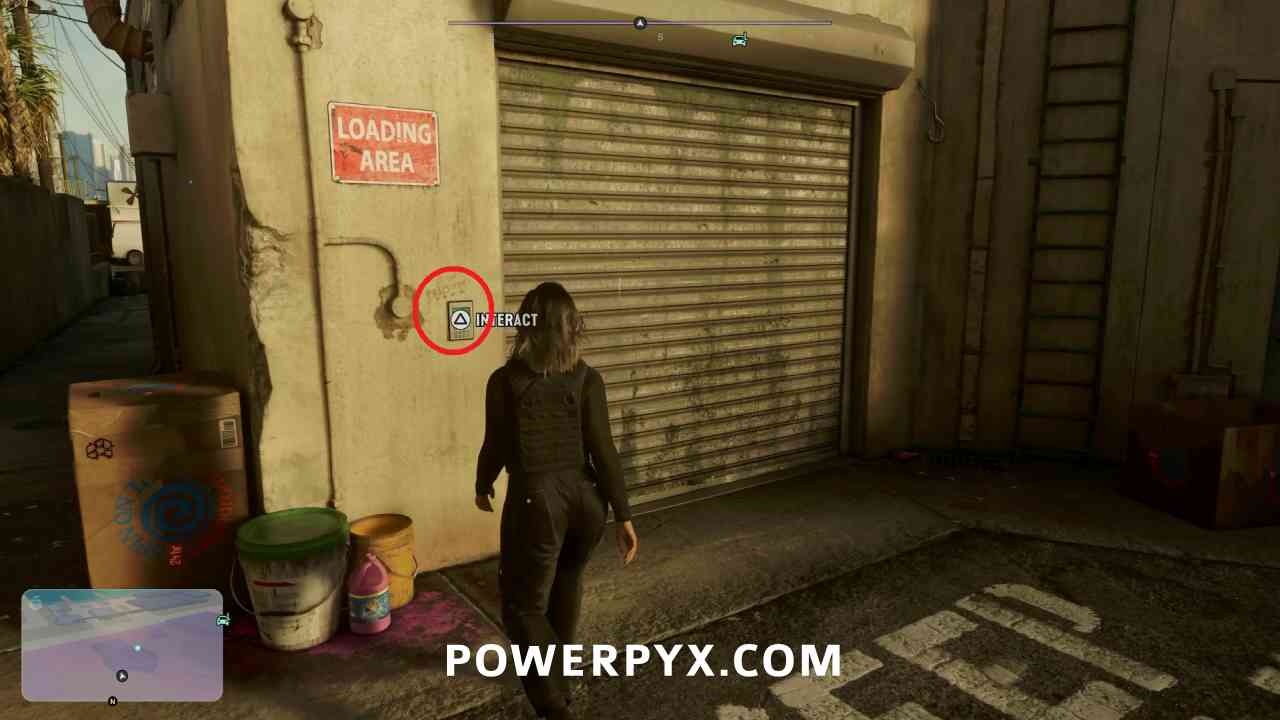
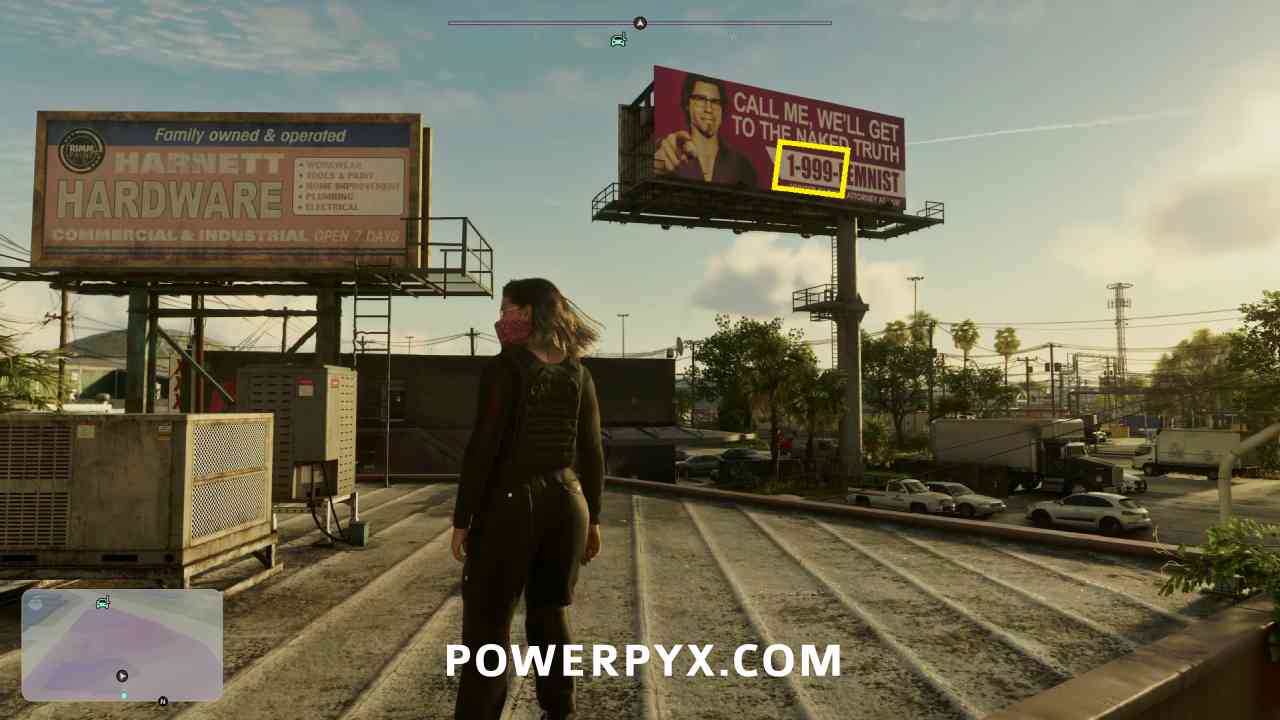
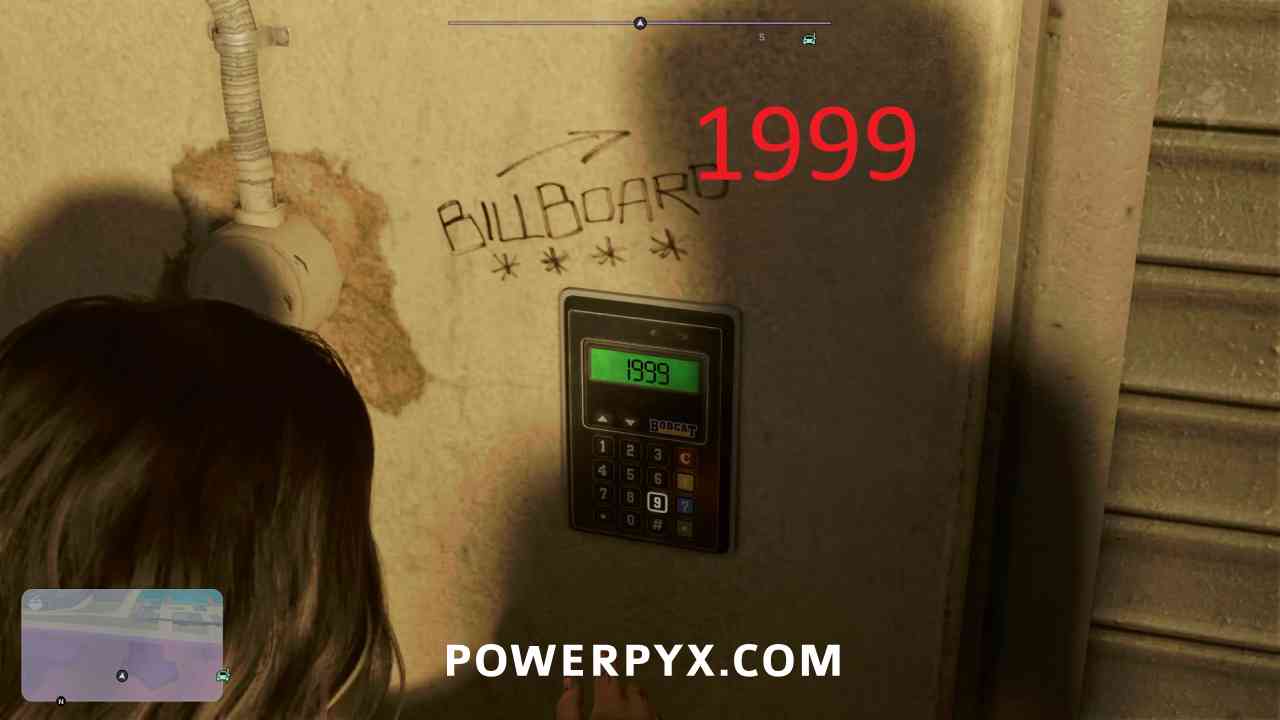
The code is 1999 which you can spot on the nearby billboard.
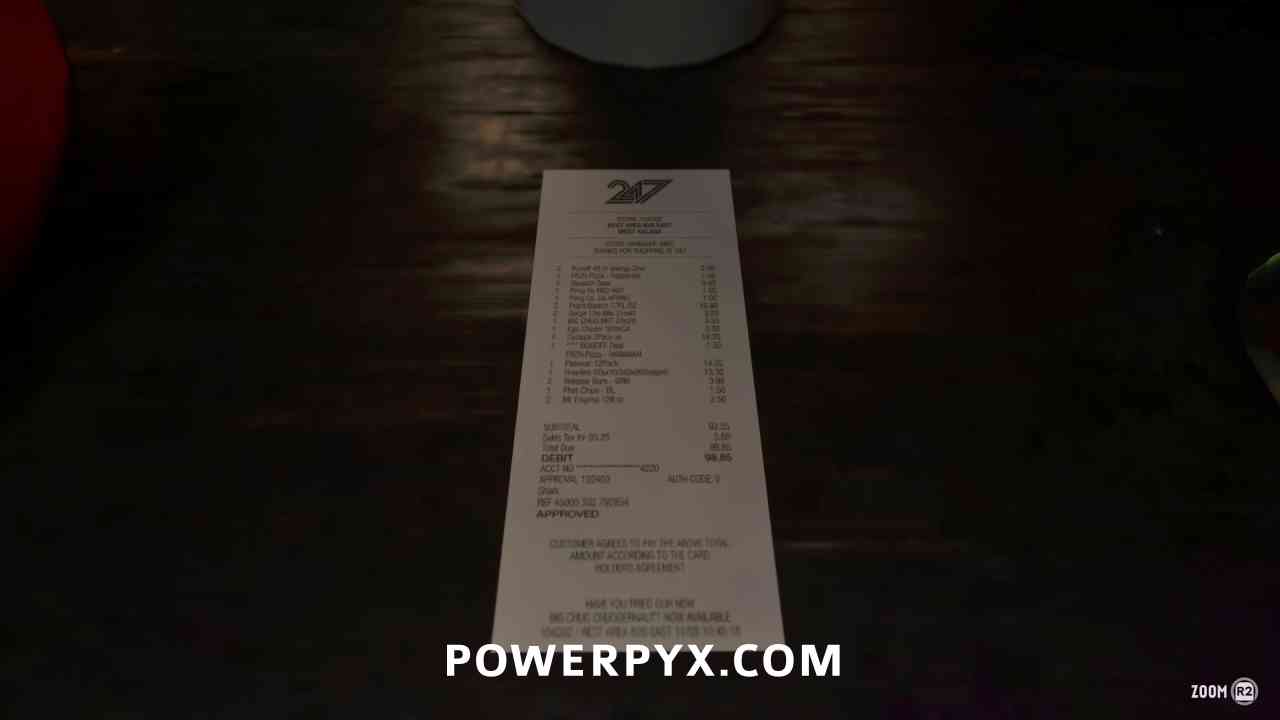
Before destroying the lab you can inspect a receipt on the counter in the back left corner.
Location #3 – Reward: $2,500
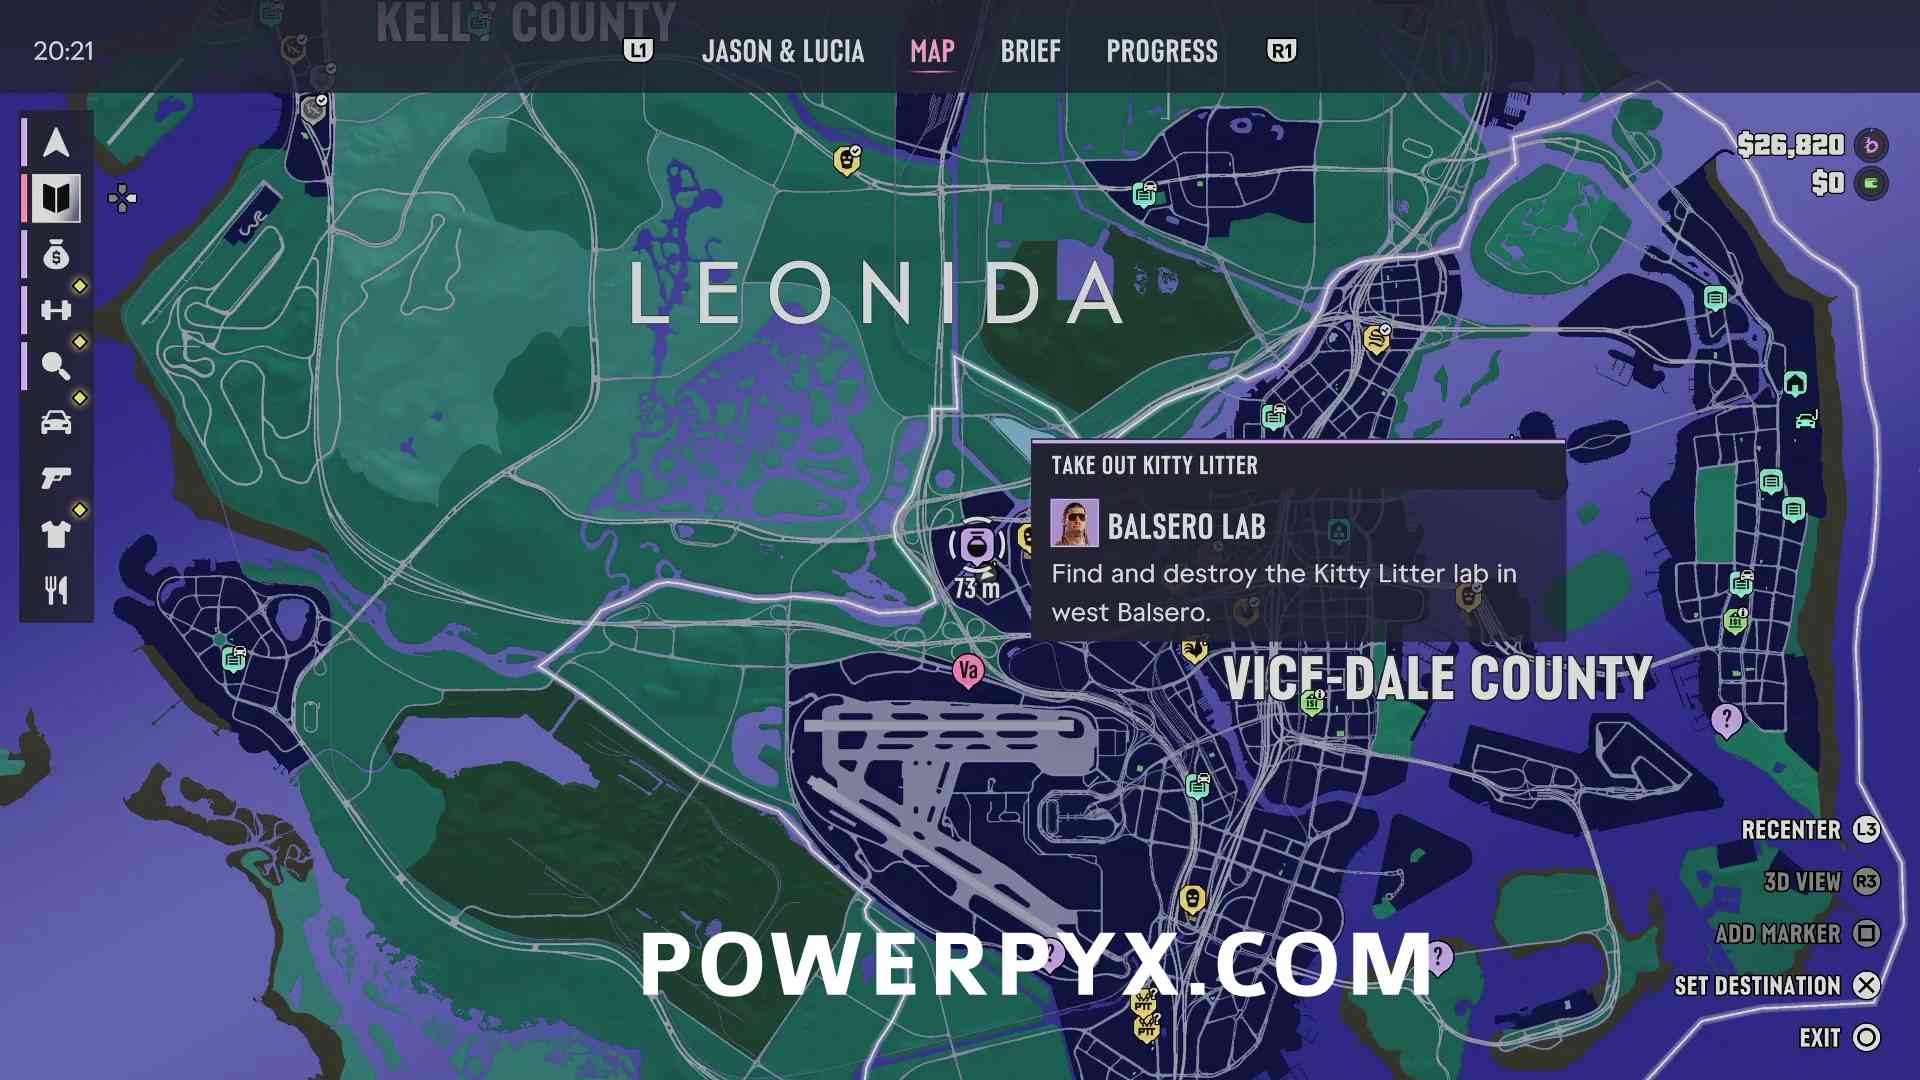
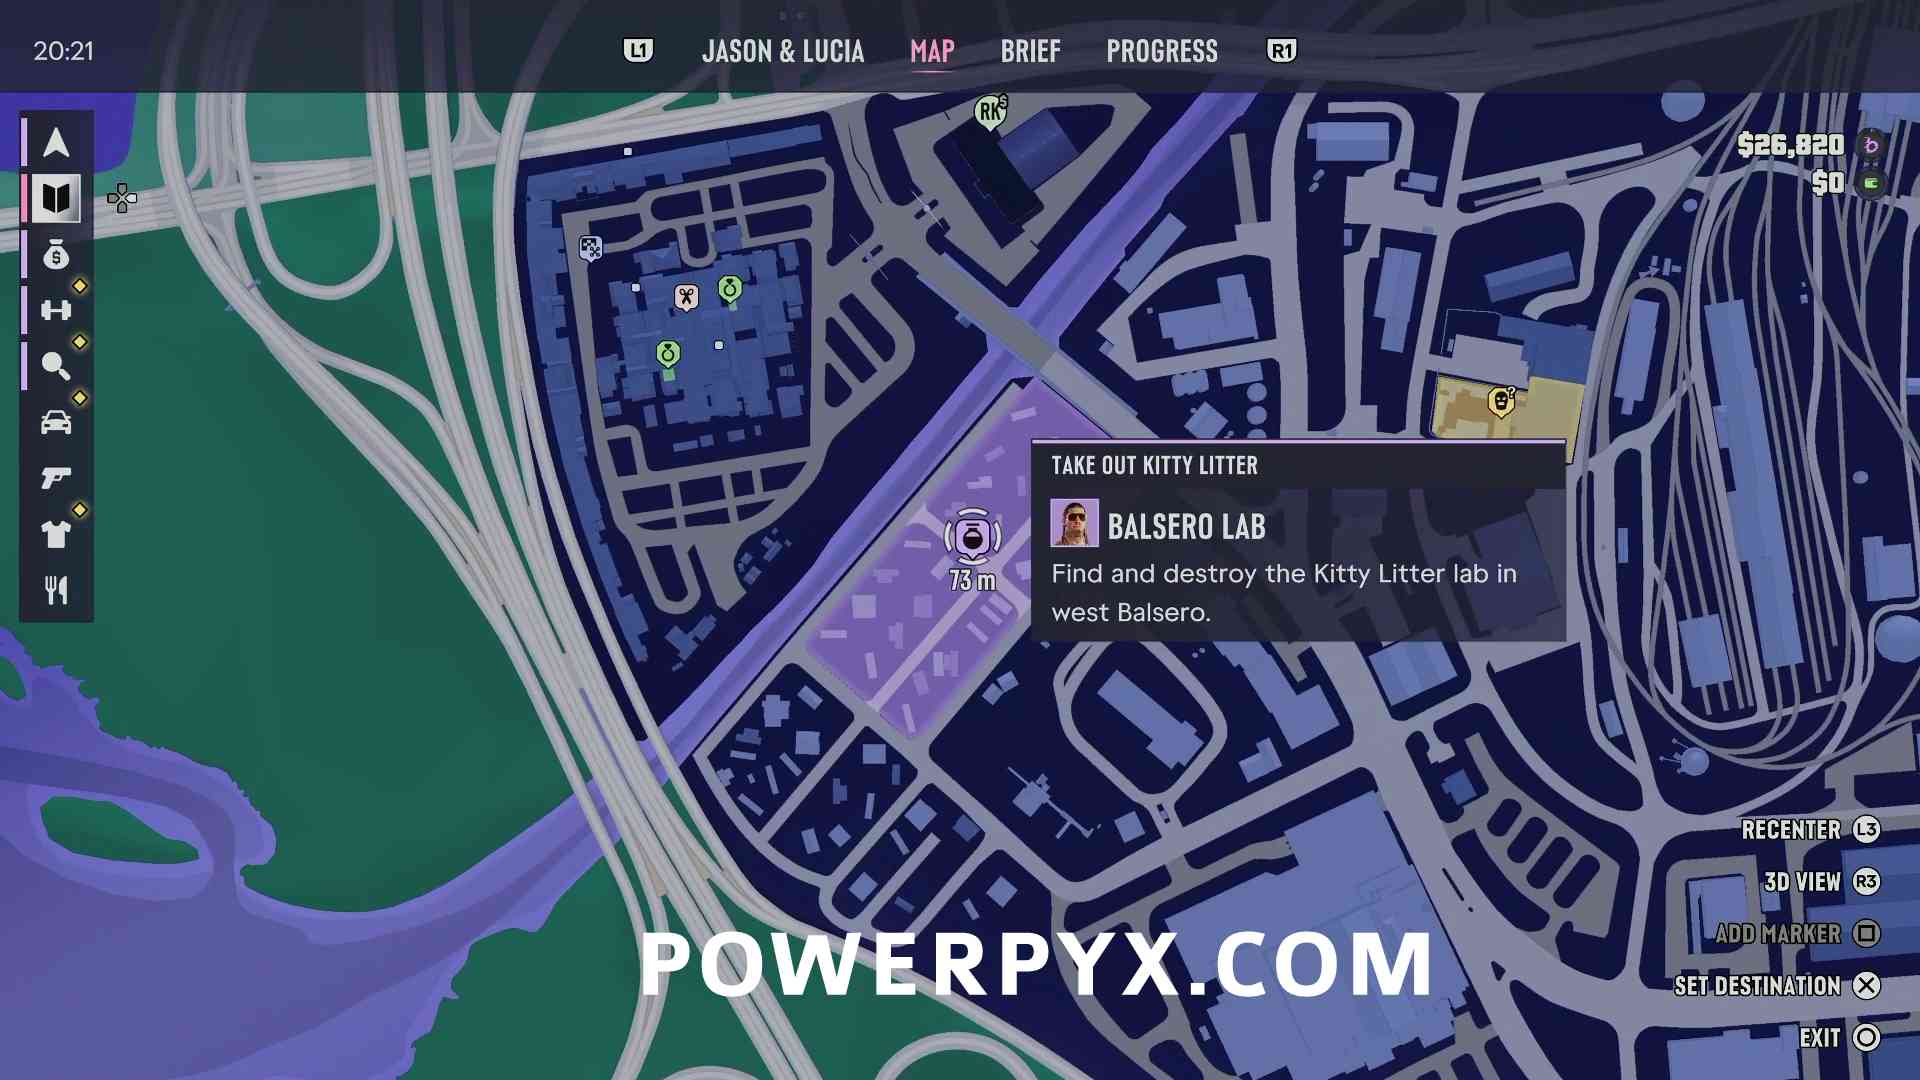
This lab is located in the second southernmost trailer in the search area. It will likely have a guard and a Spin on This van outside.
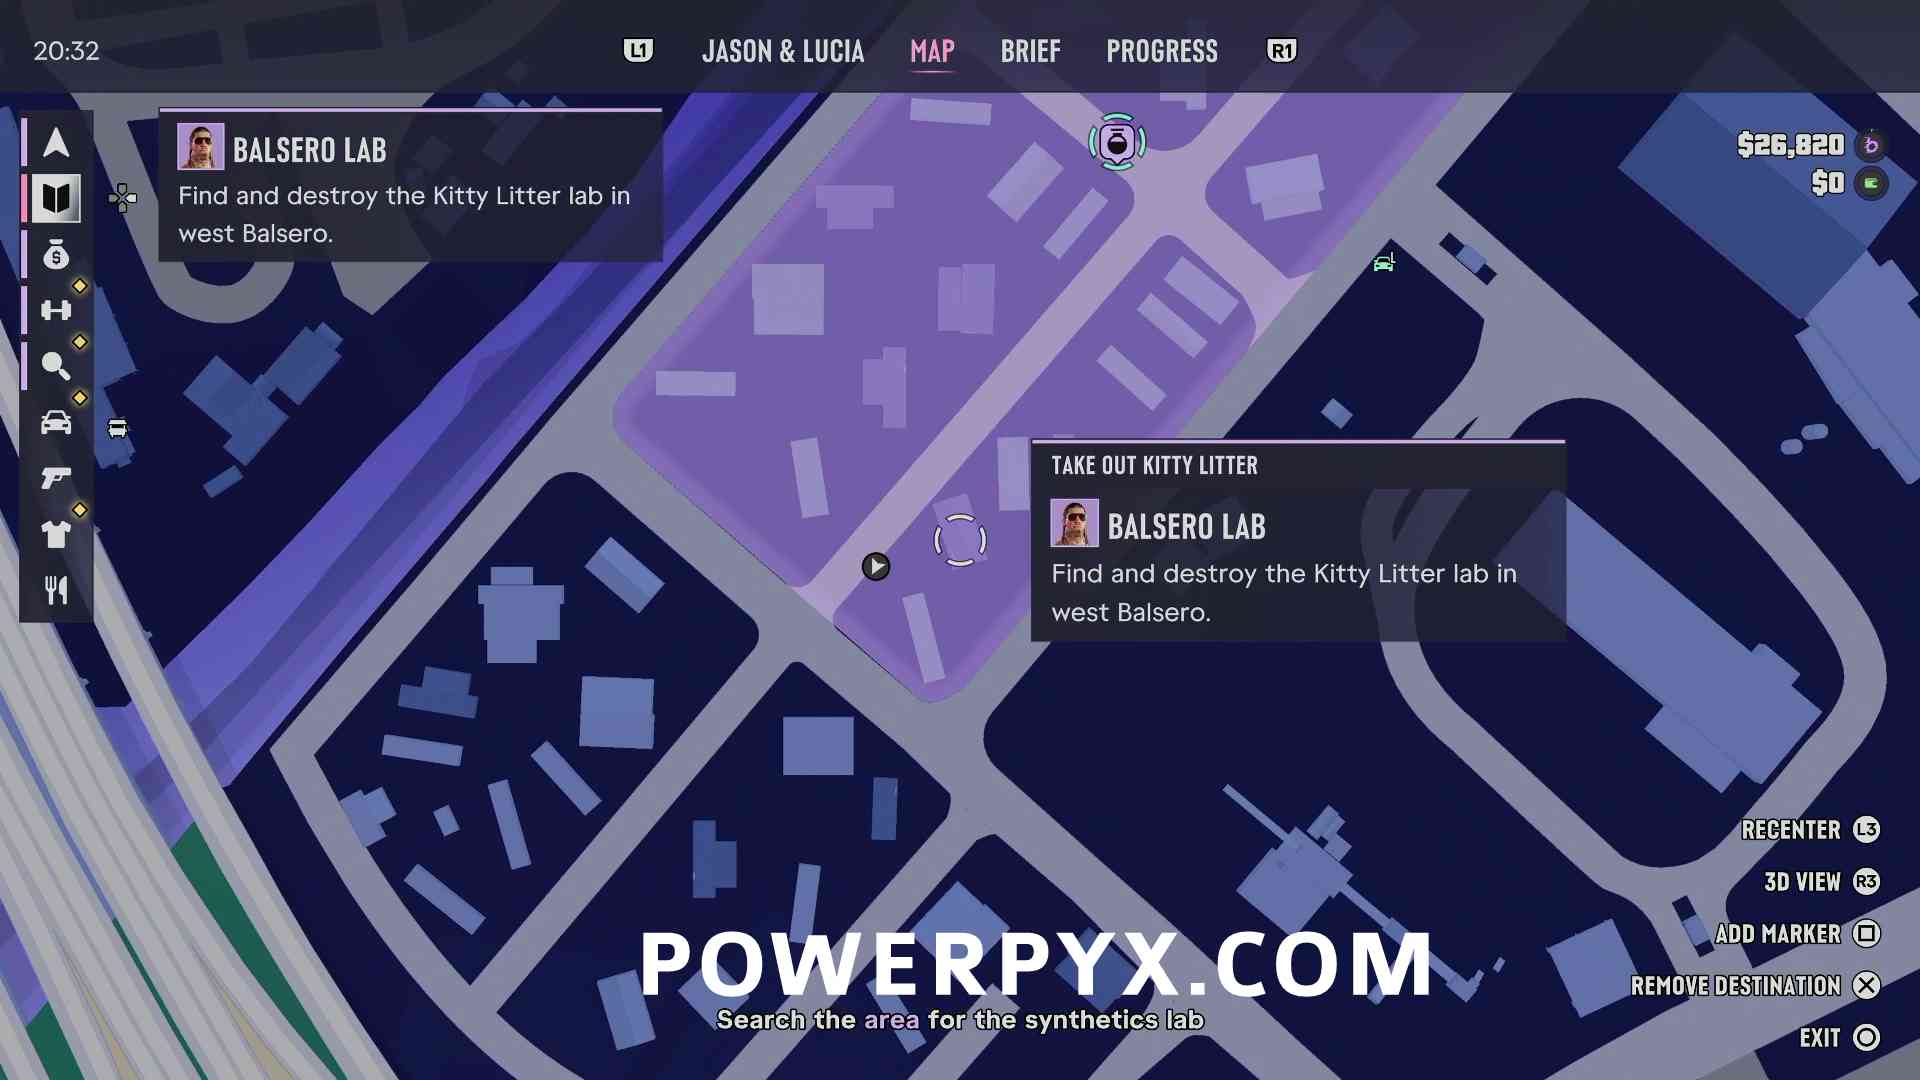
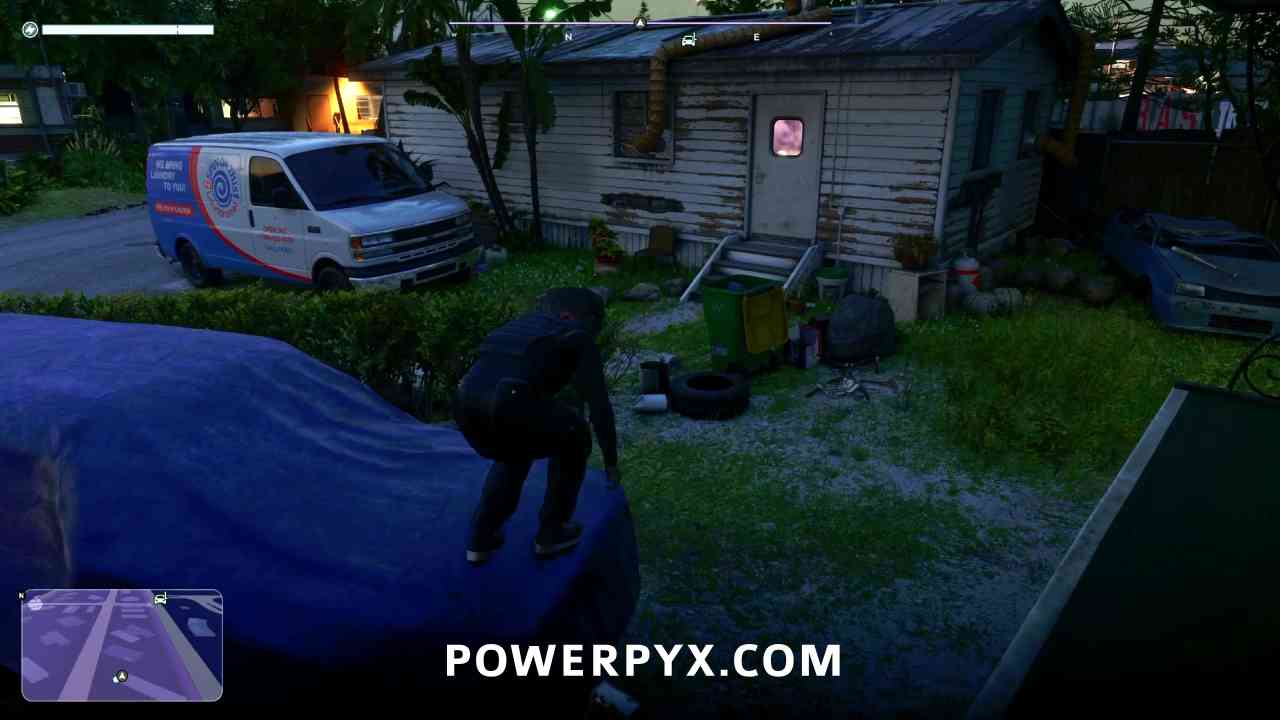
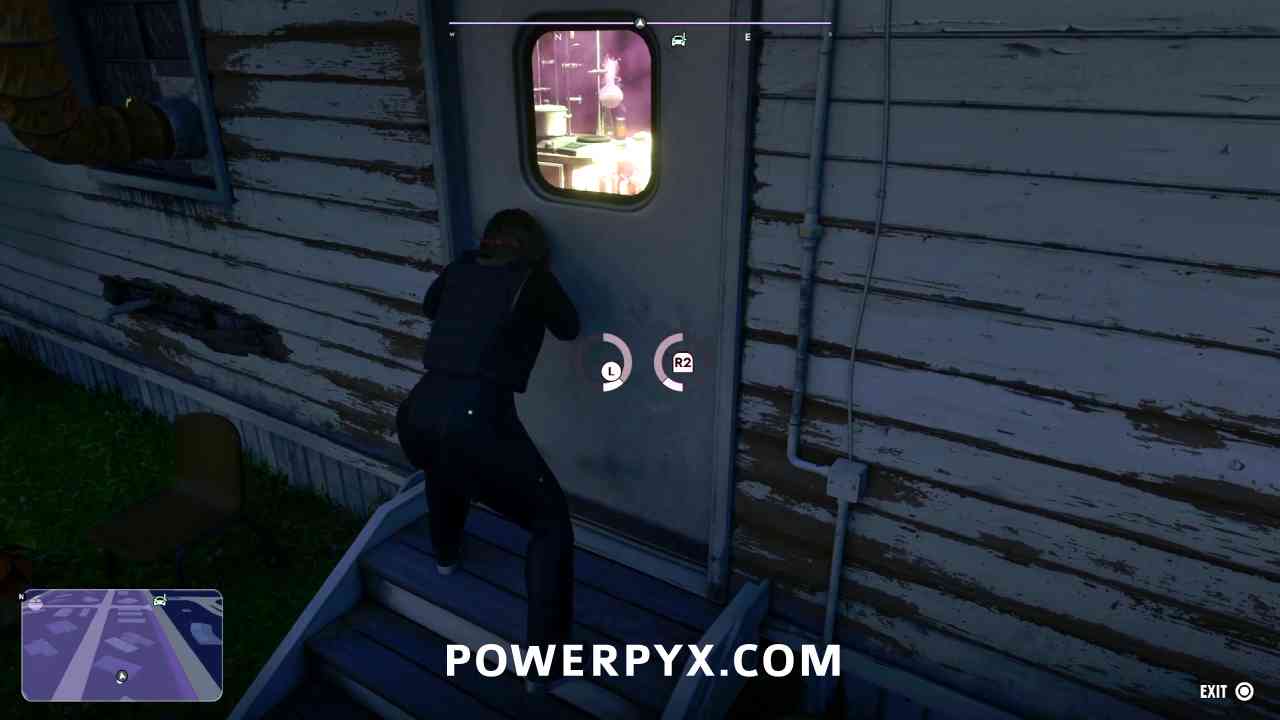
You will have to use the Snap Gun or just break down the door to enter, then destroy the lab.
Central Rockridge Labs
Location #1 – Reward: $2,500
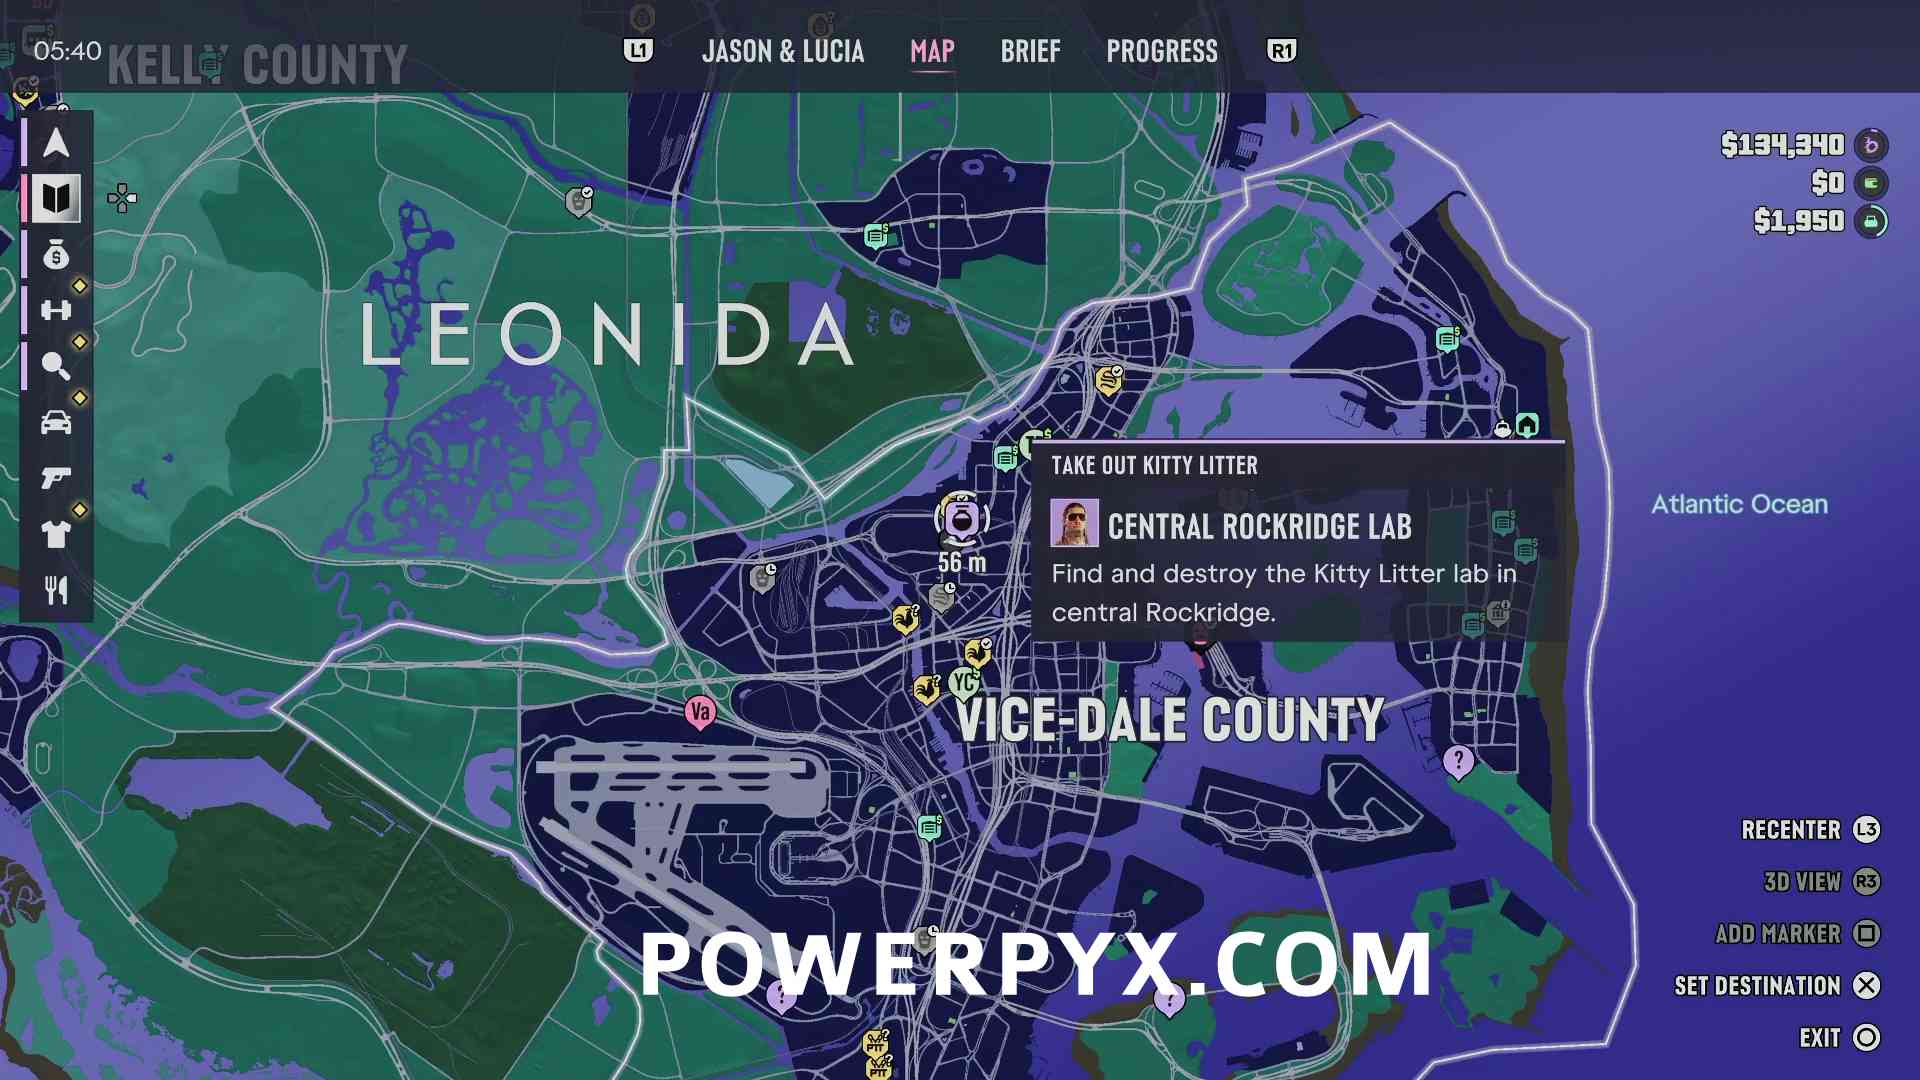
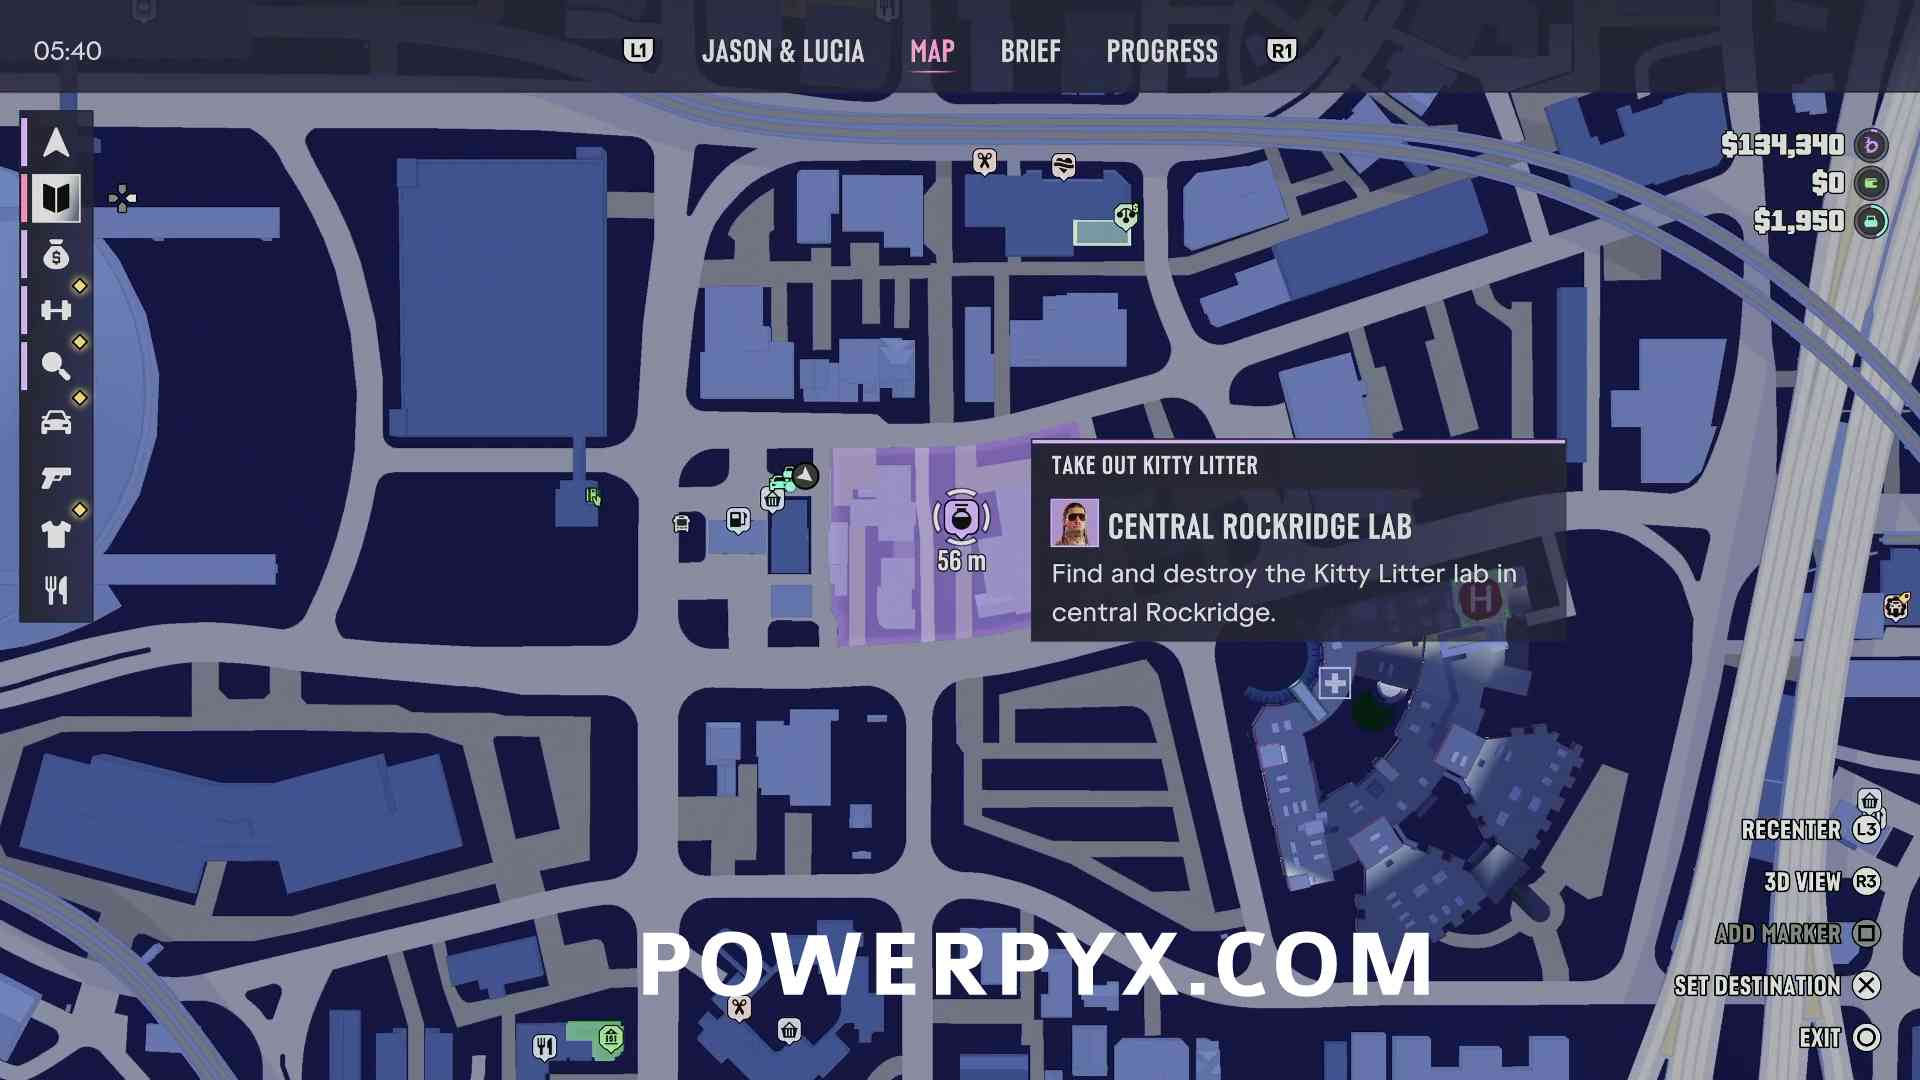
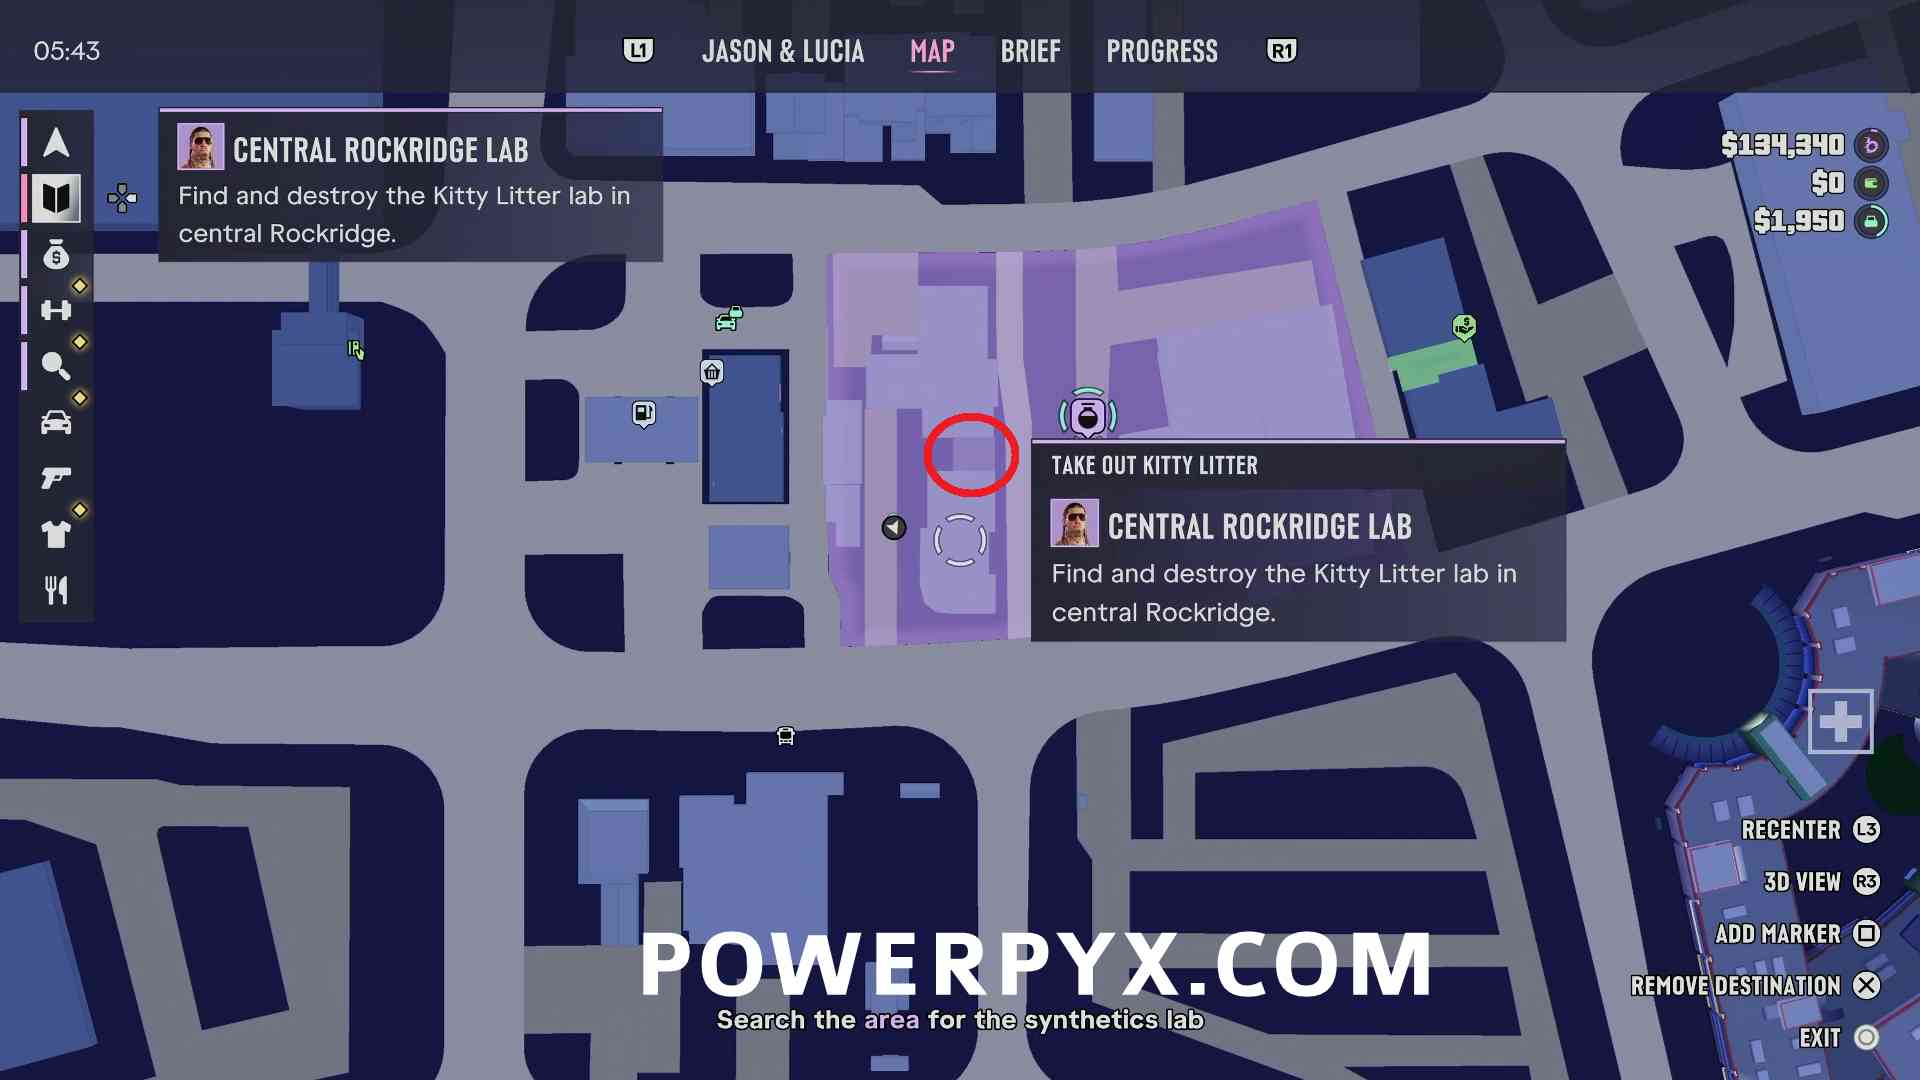
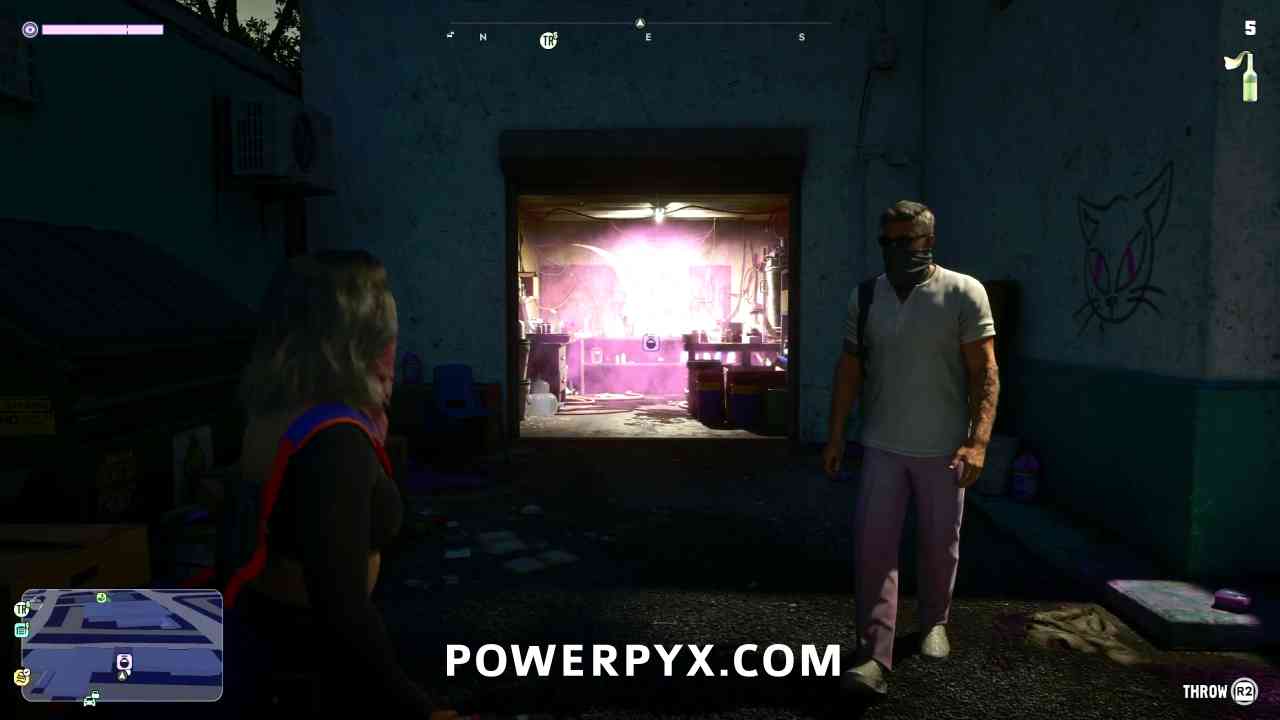
This lab is located in a garage in the center of the search area, easily spotted on the map due to being darker than the buildings around it. It is entered from the alley to the west.
Crosstown Labs
Location #1 – Reward: $2,000
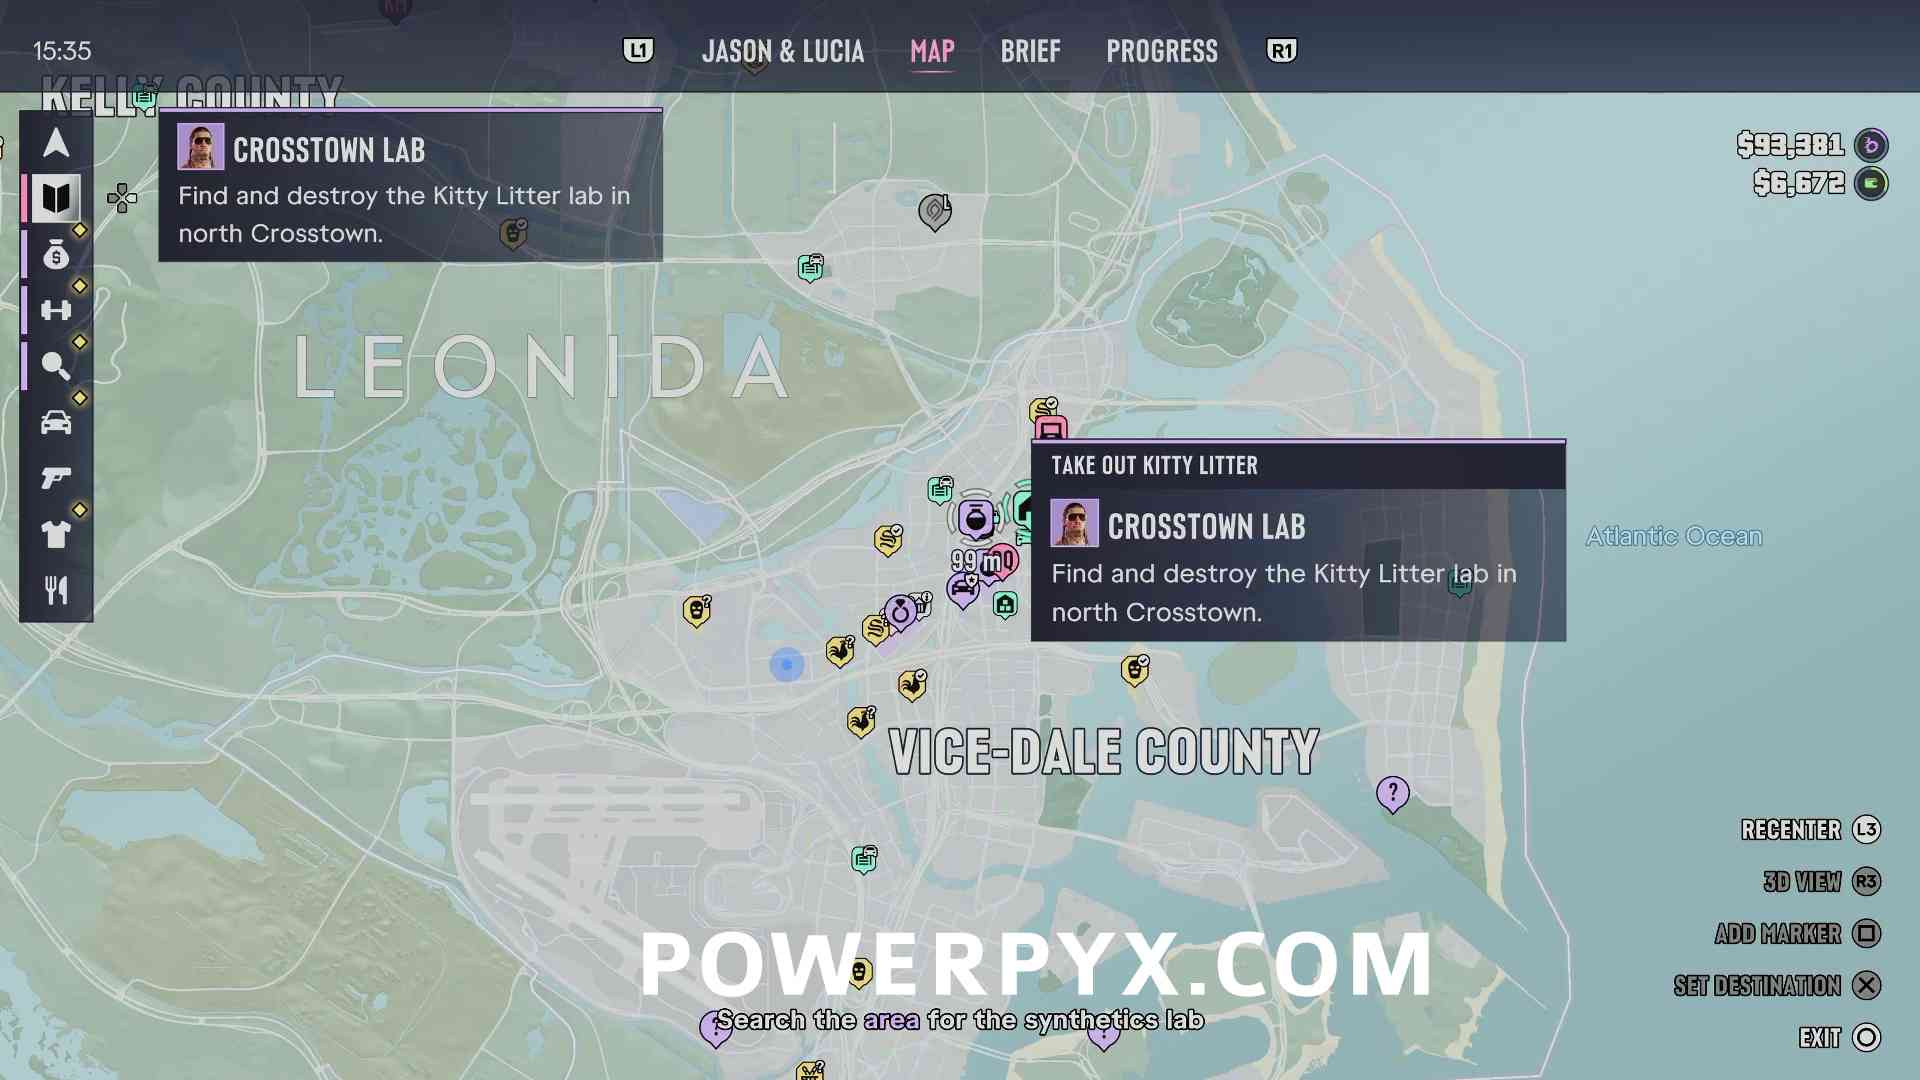
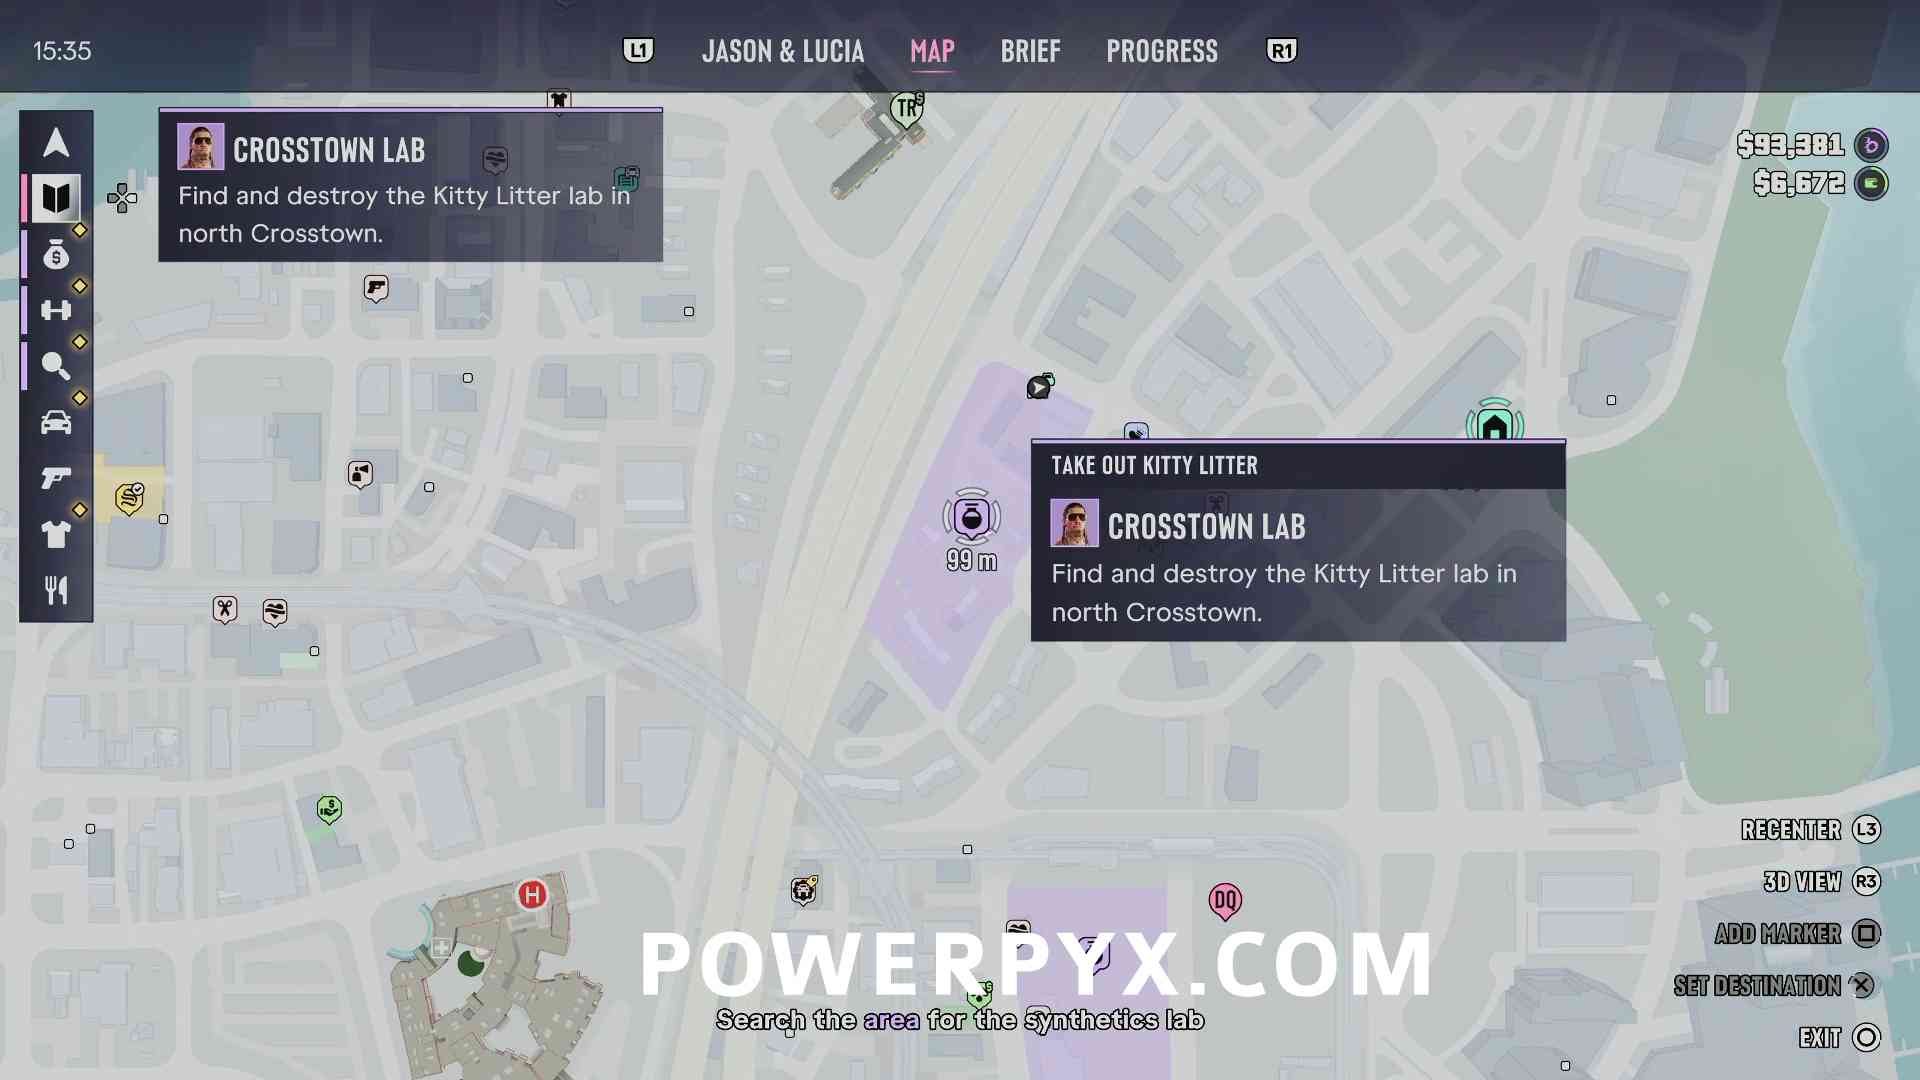
This lab is located in a second floor apartment building on the north side of the search area. There is a Spin on This van nearby and pink containers in front of the door to the apartment.
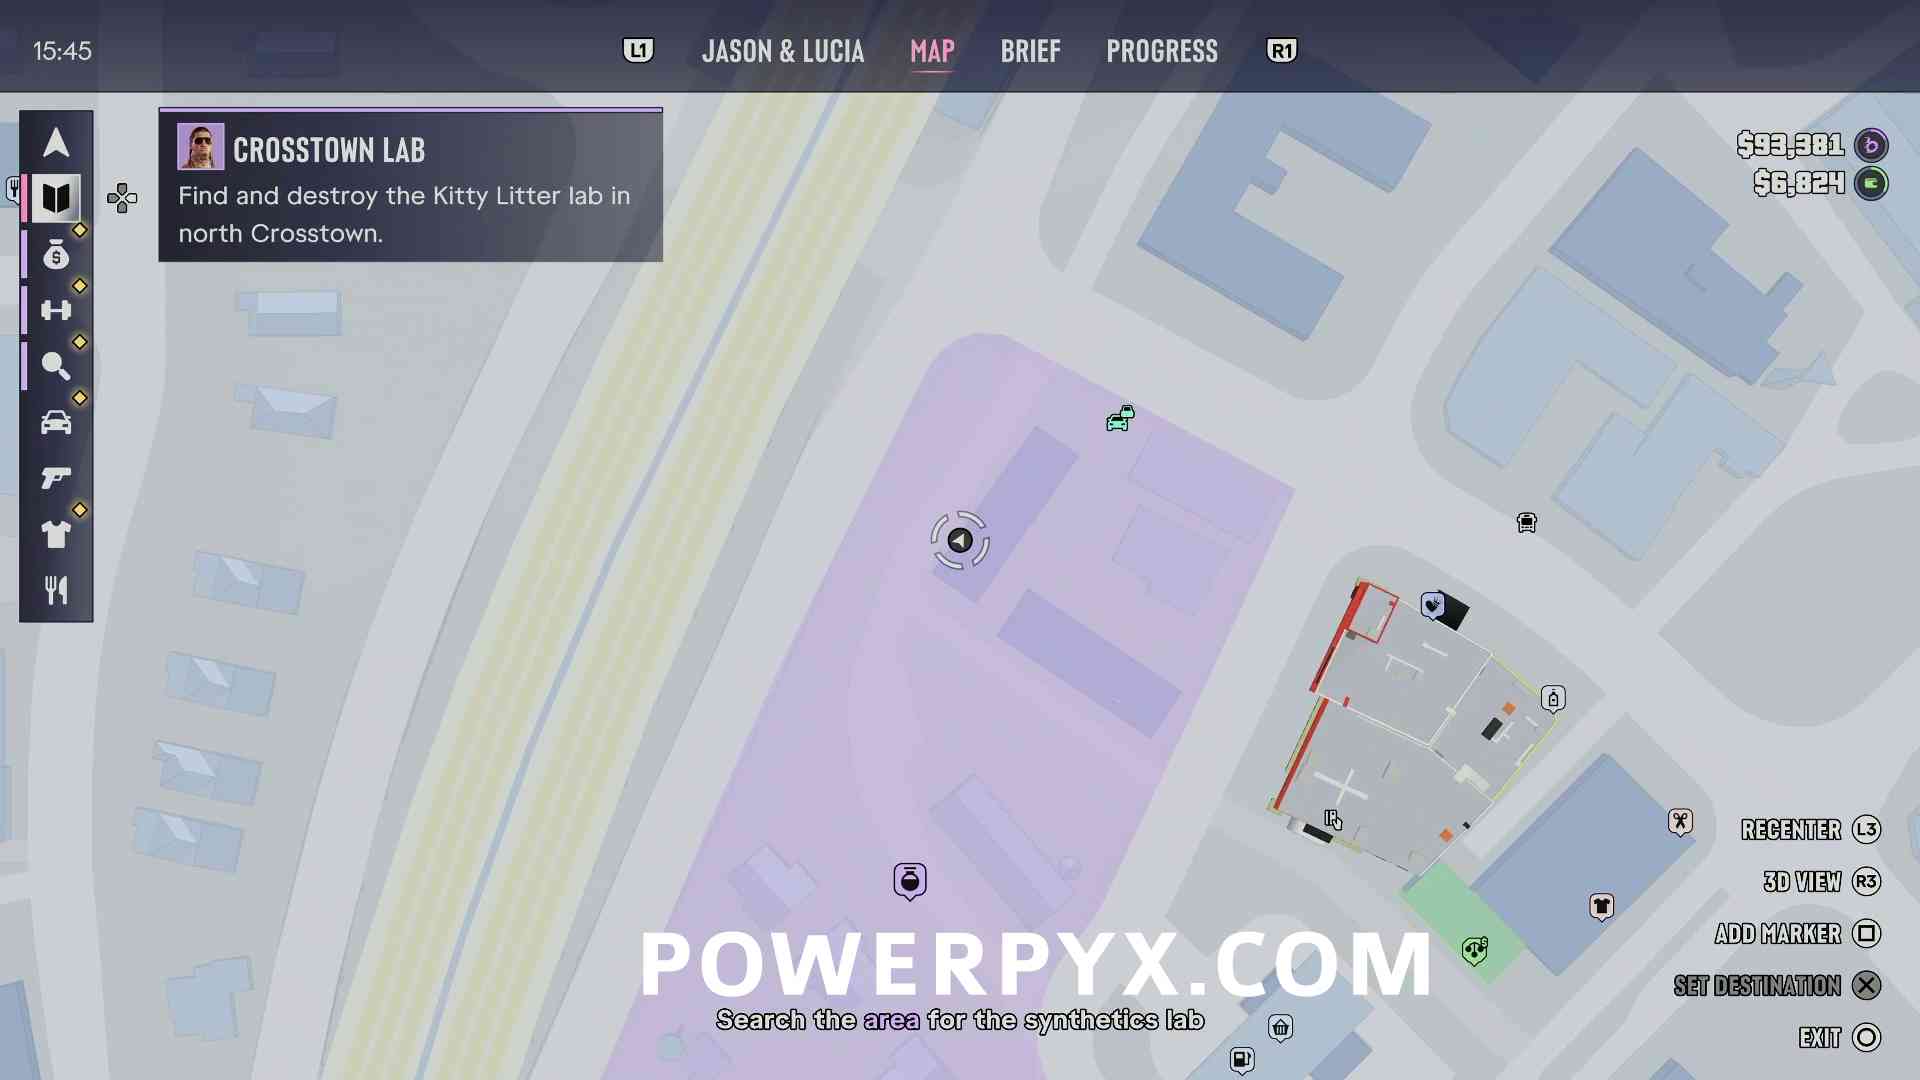
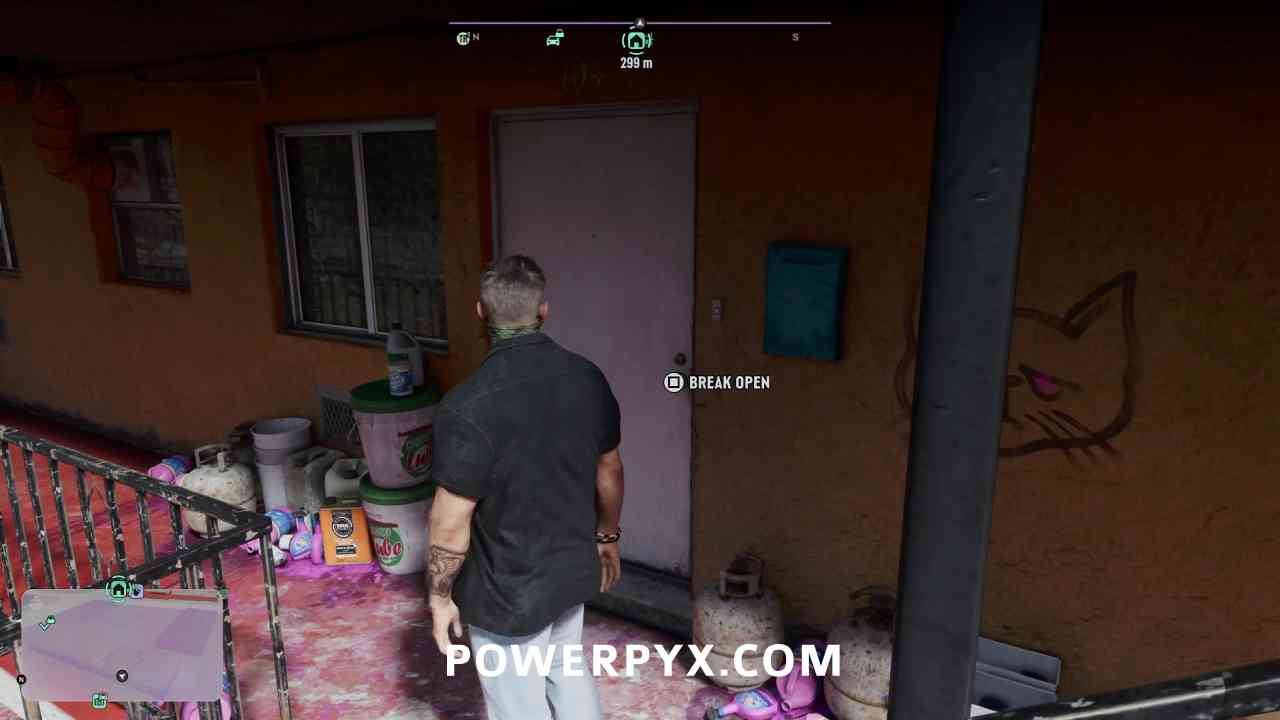
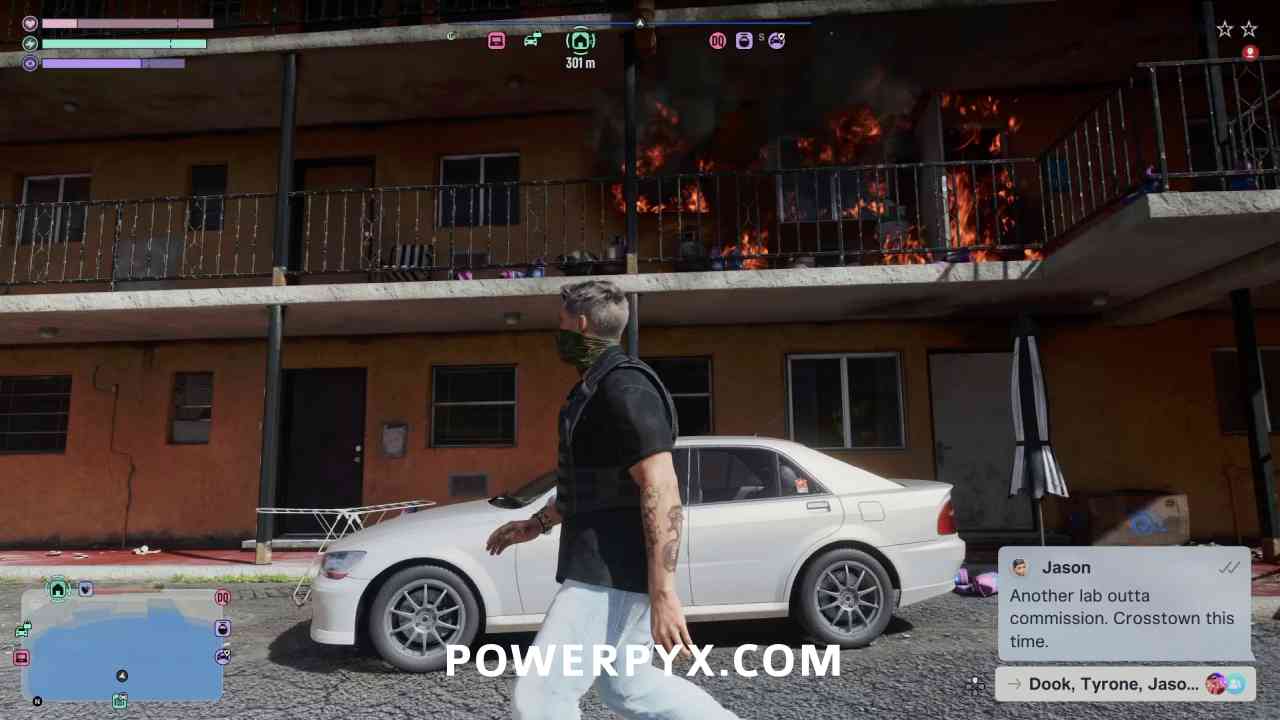
When you break open the door the person inside may immediately drop something which lights the room on fire, so don’t immediately run inside or you might get blown up along with the lab.
Location #2 – Reward: $2,500
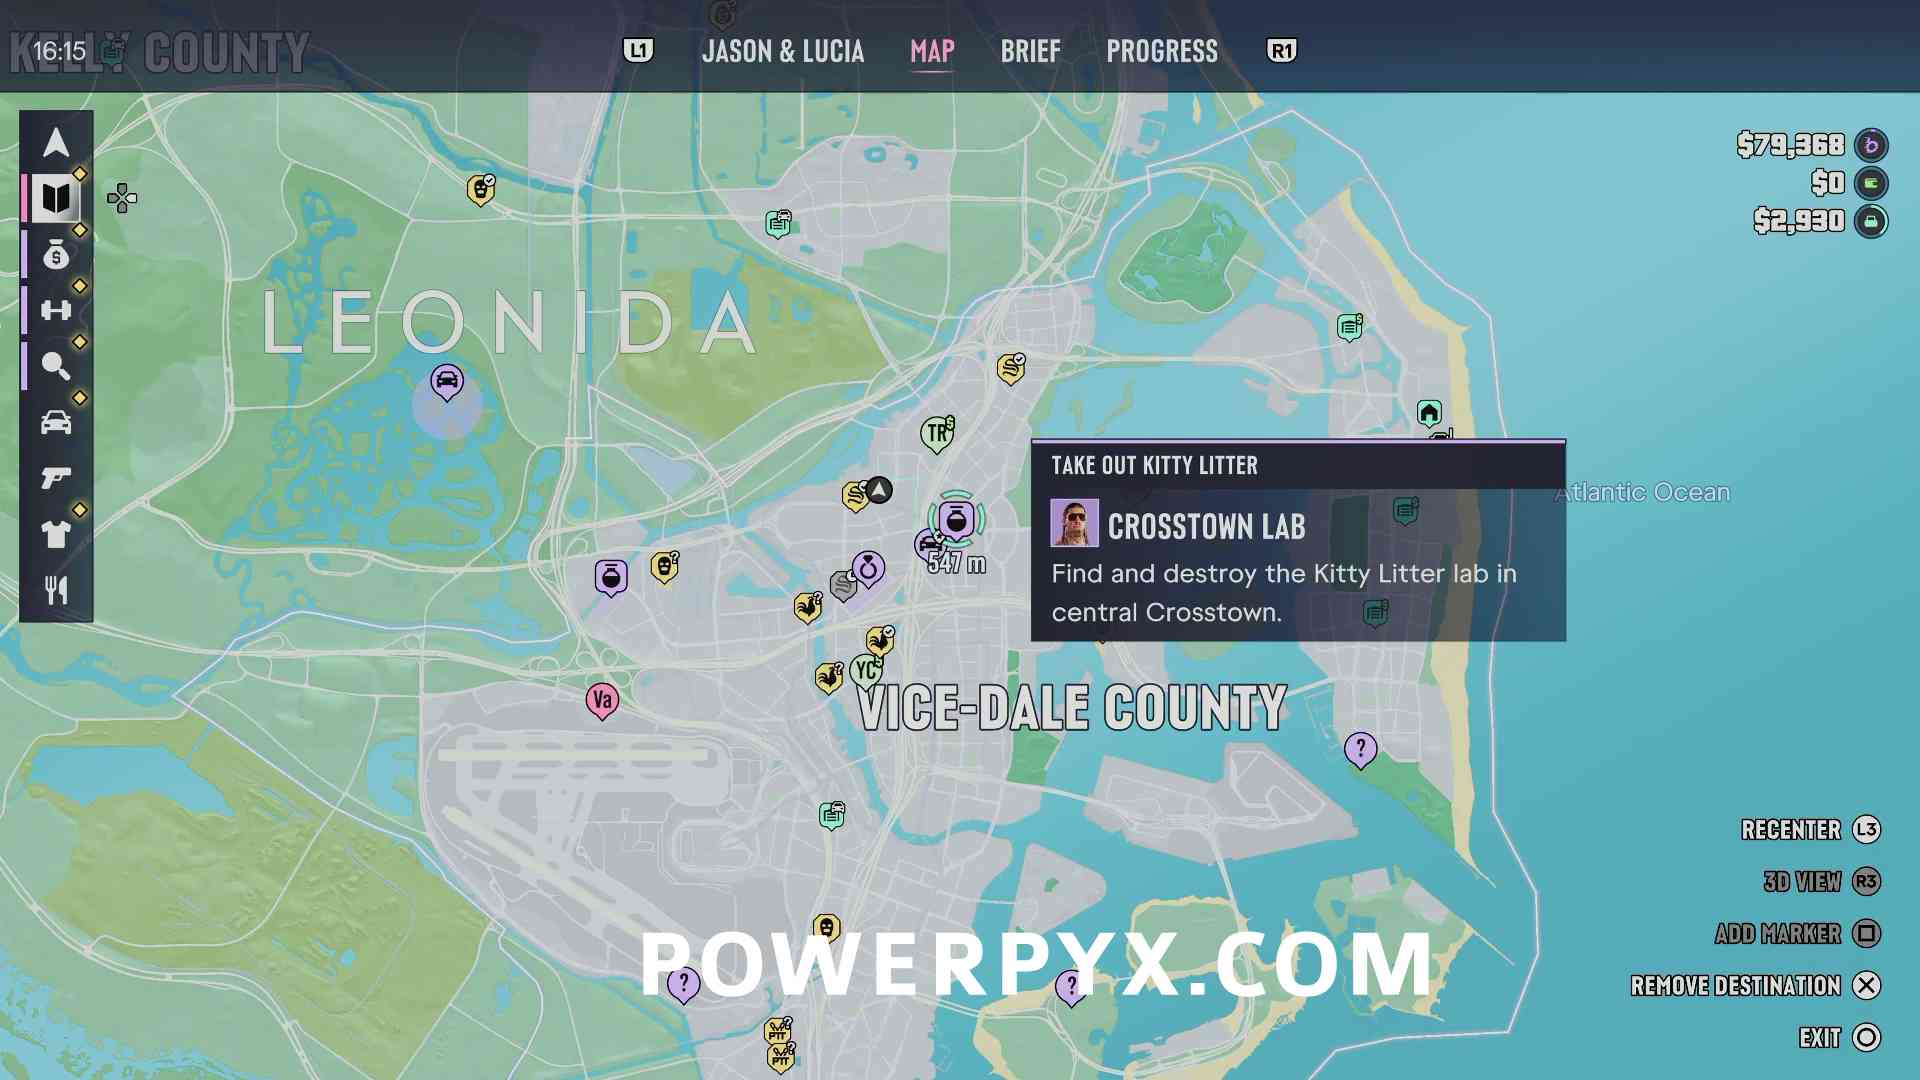
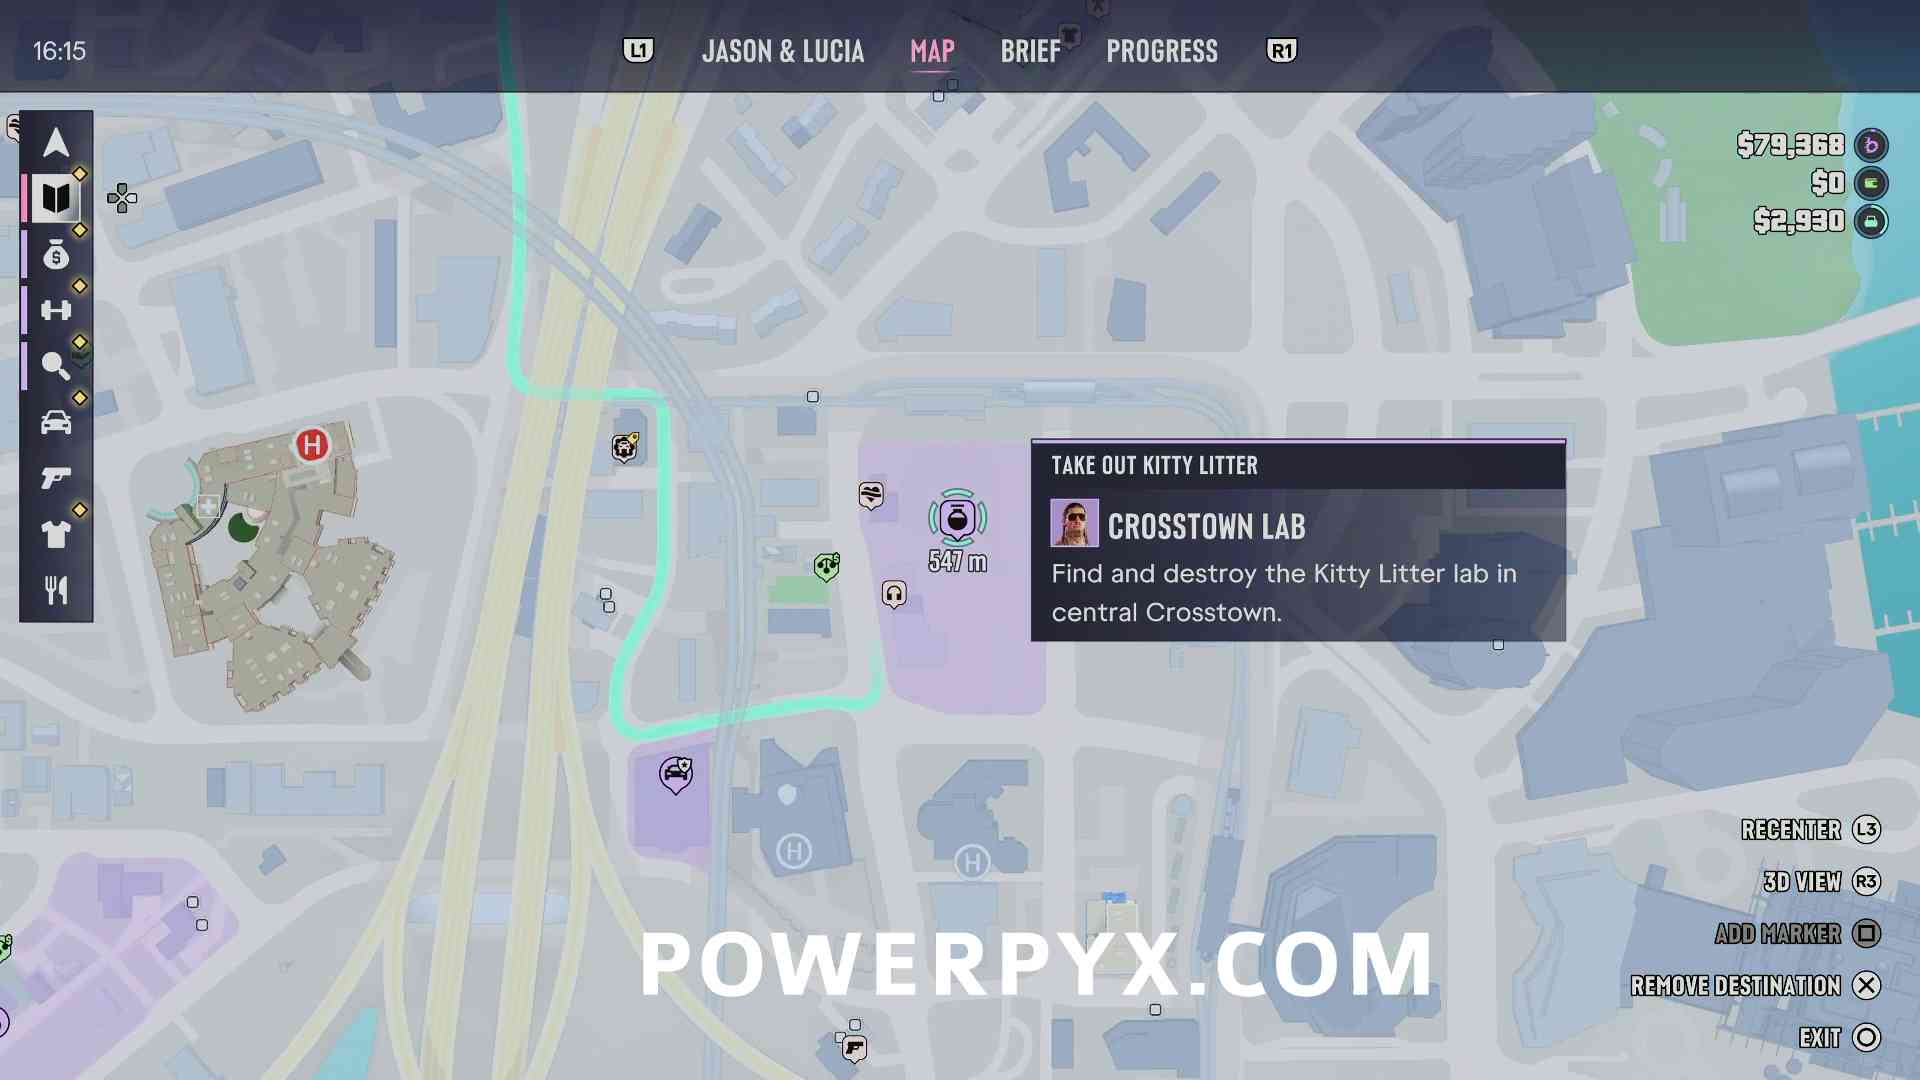
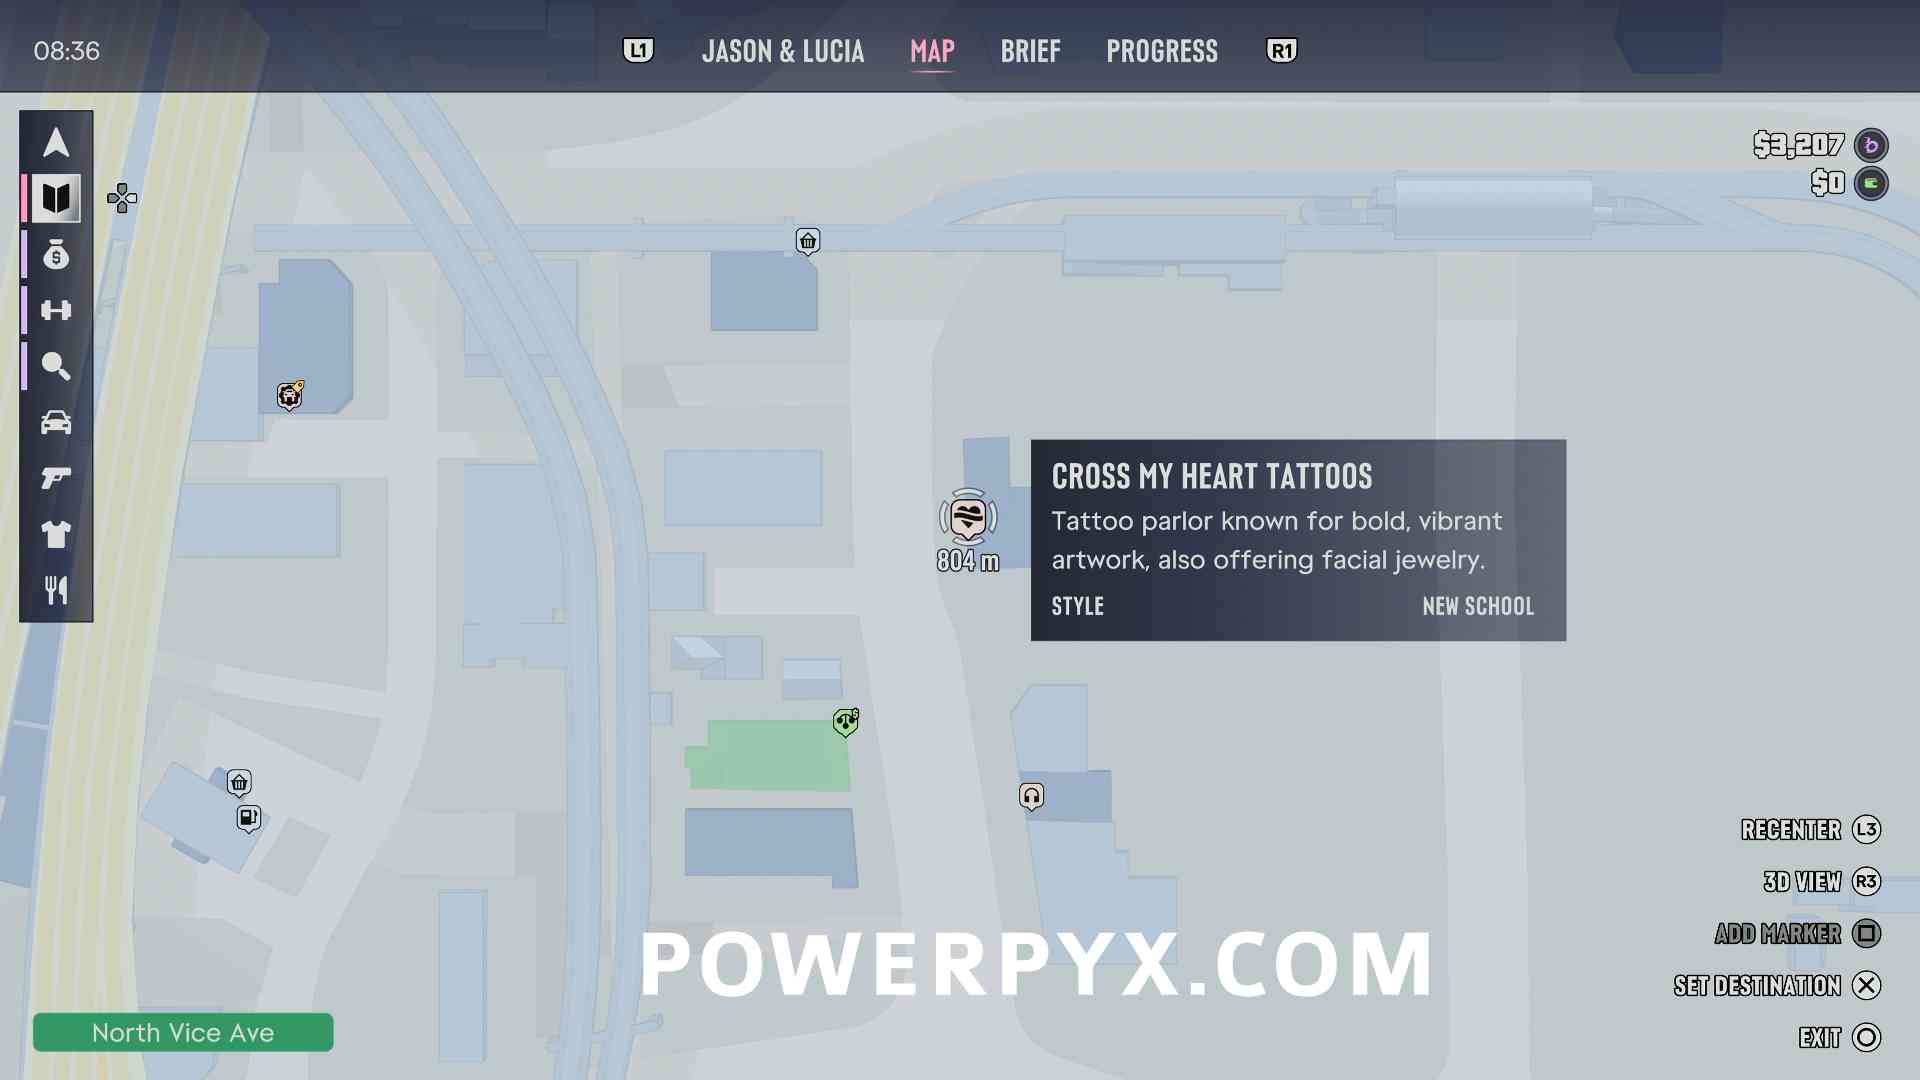
This lab is located in a garage, on the back of the same building where Cross My Heart Tattoos is located. There is likely to be a guard outside this lab.
Location #3 – Reward: $2,500
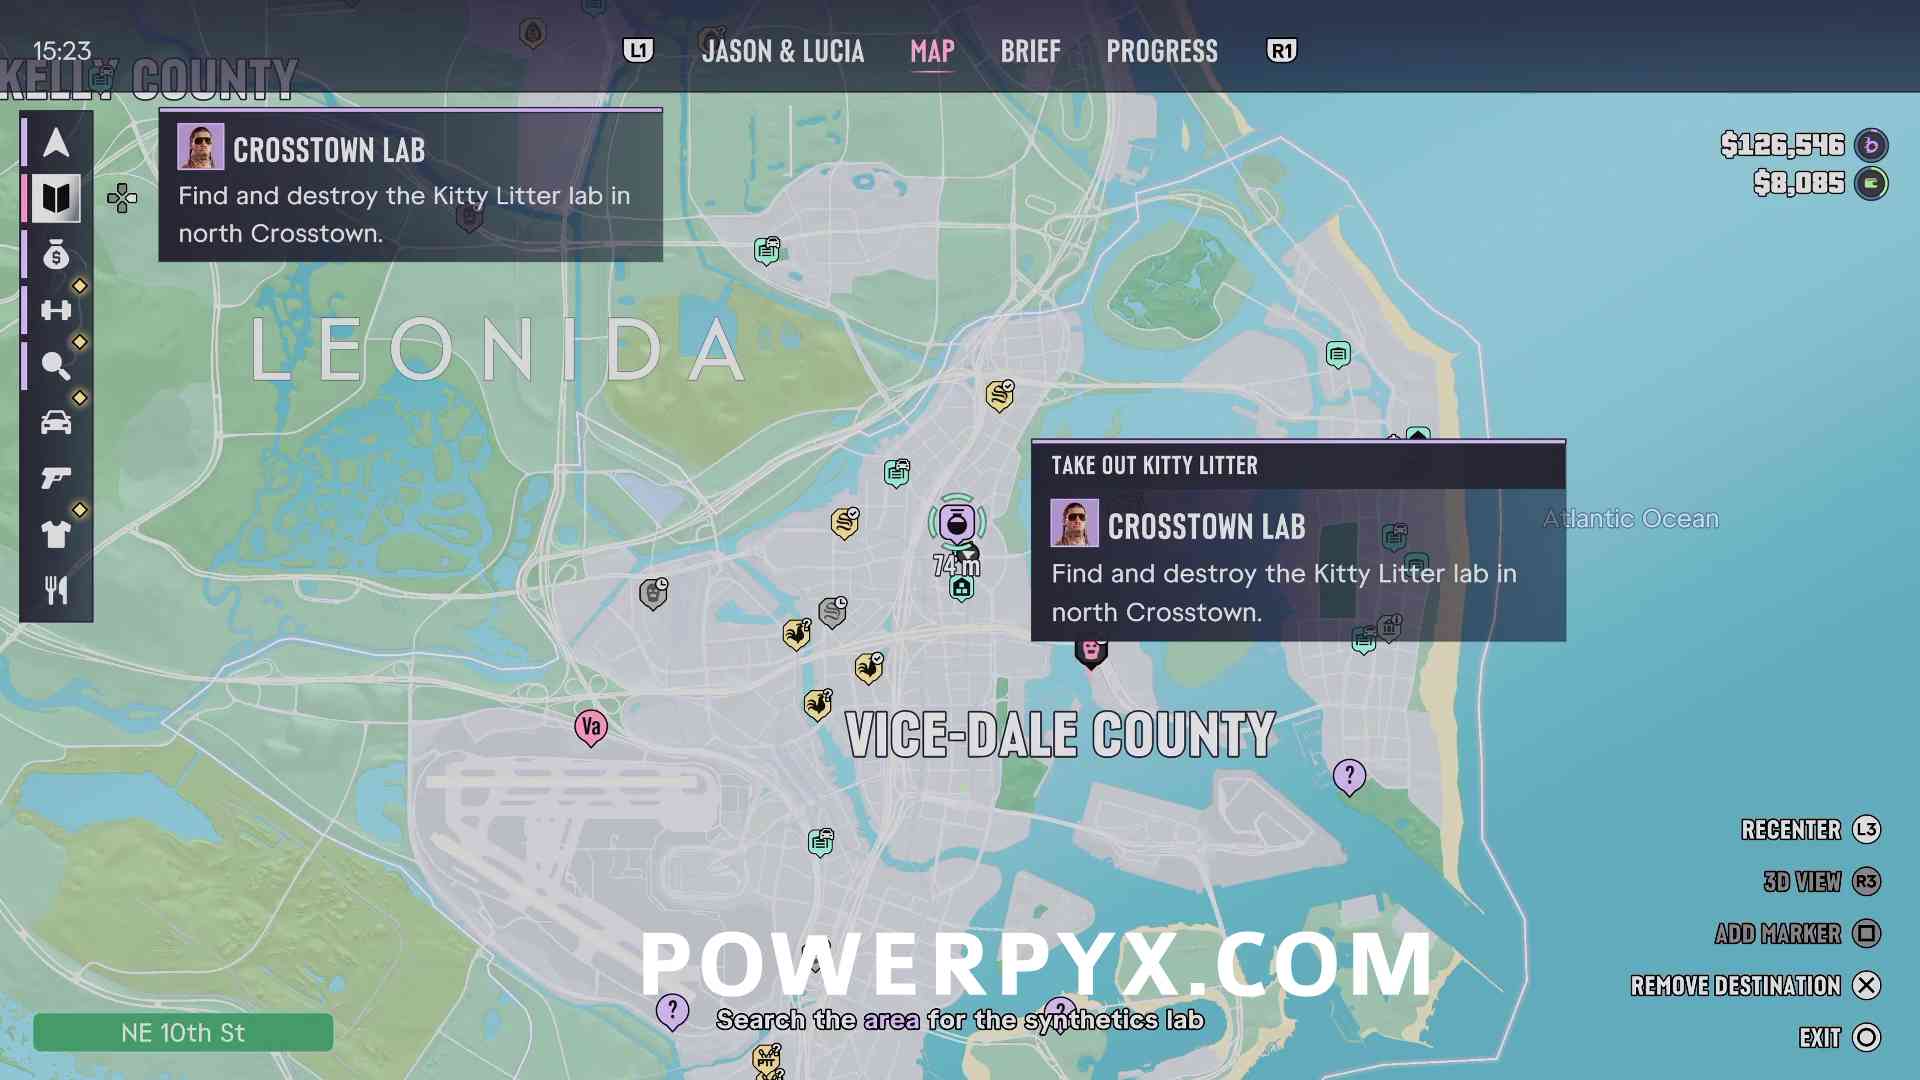
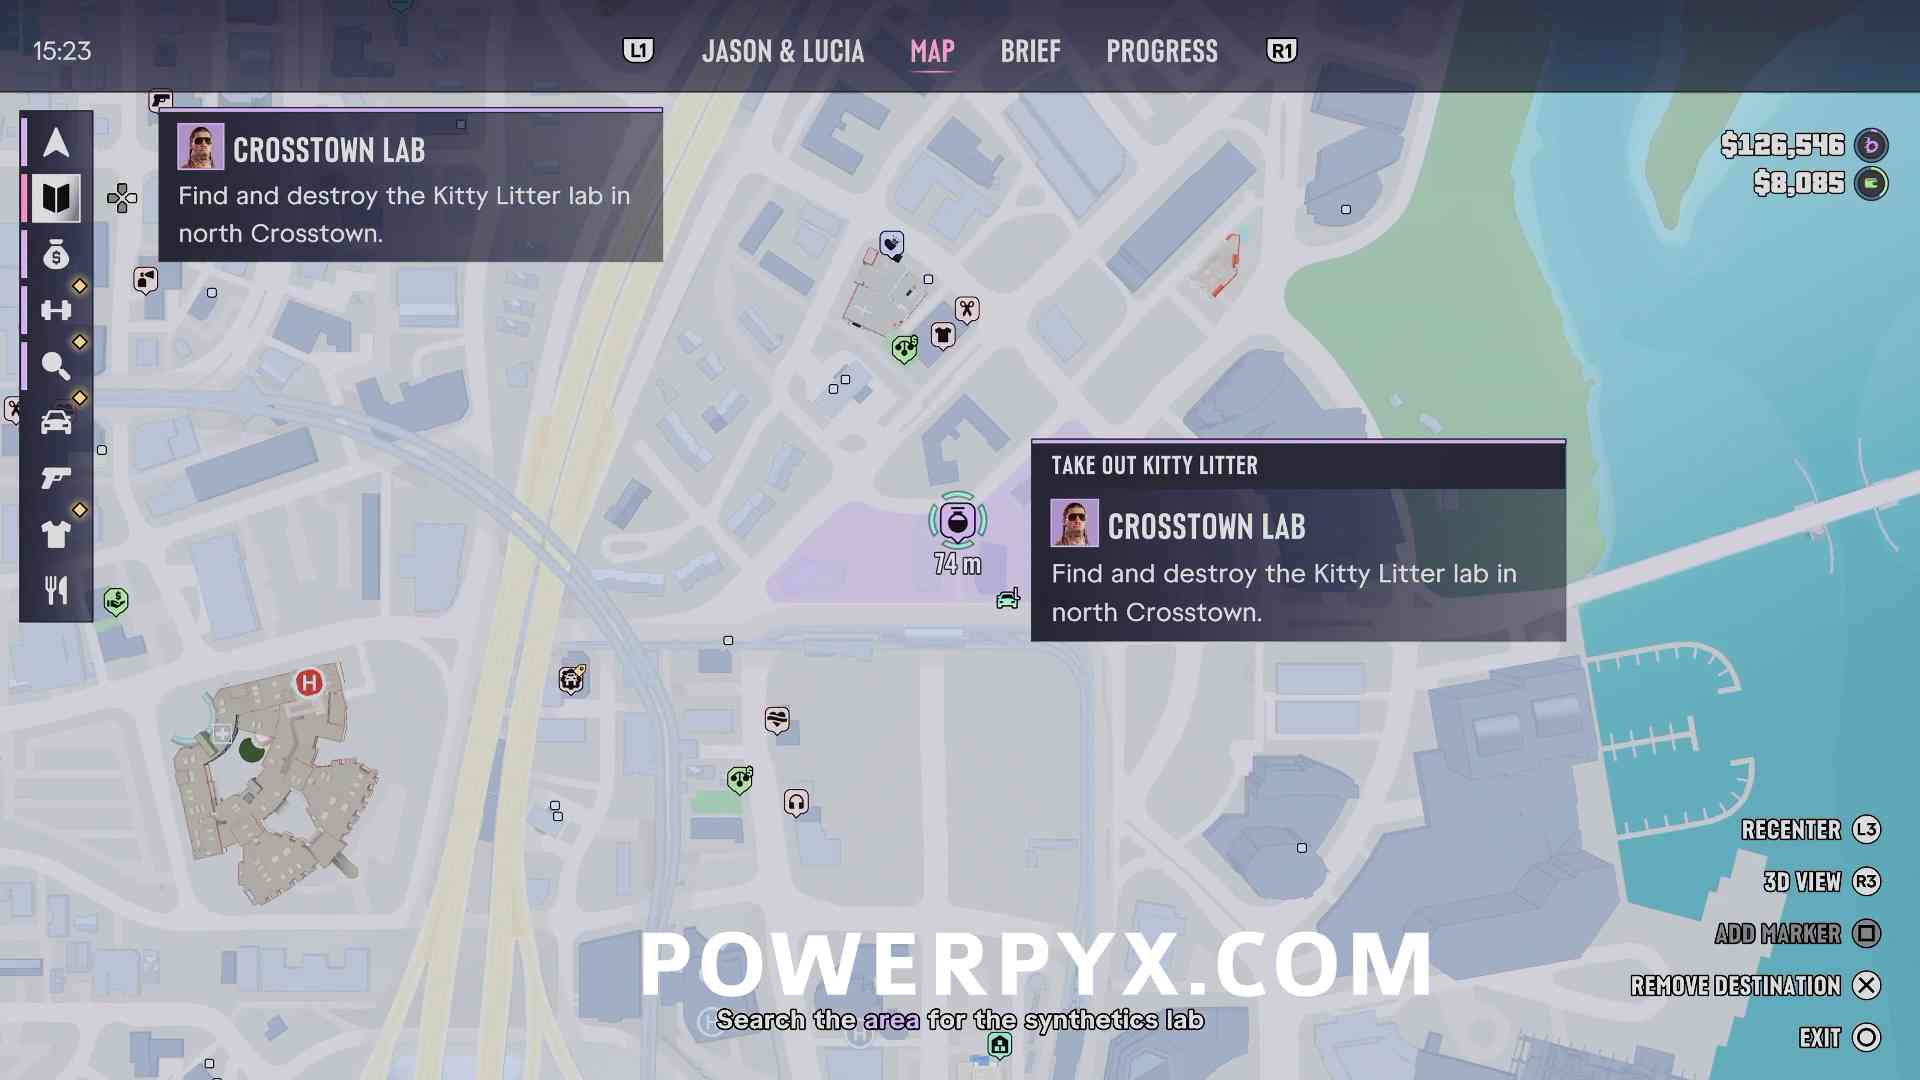
This lab is located in a garage on the east side of the building in the center of the search area.
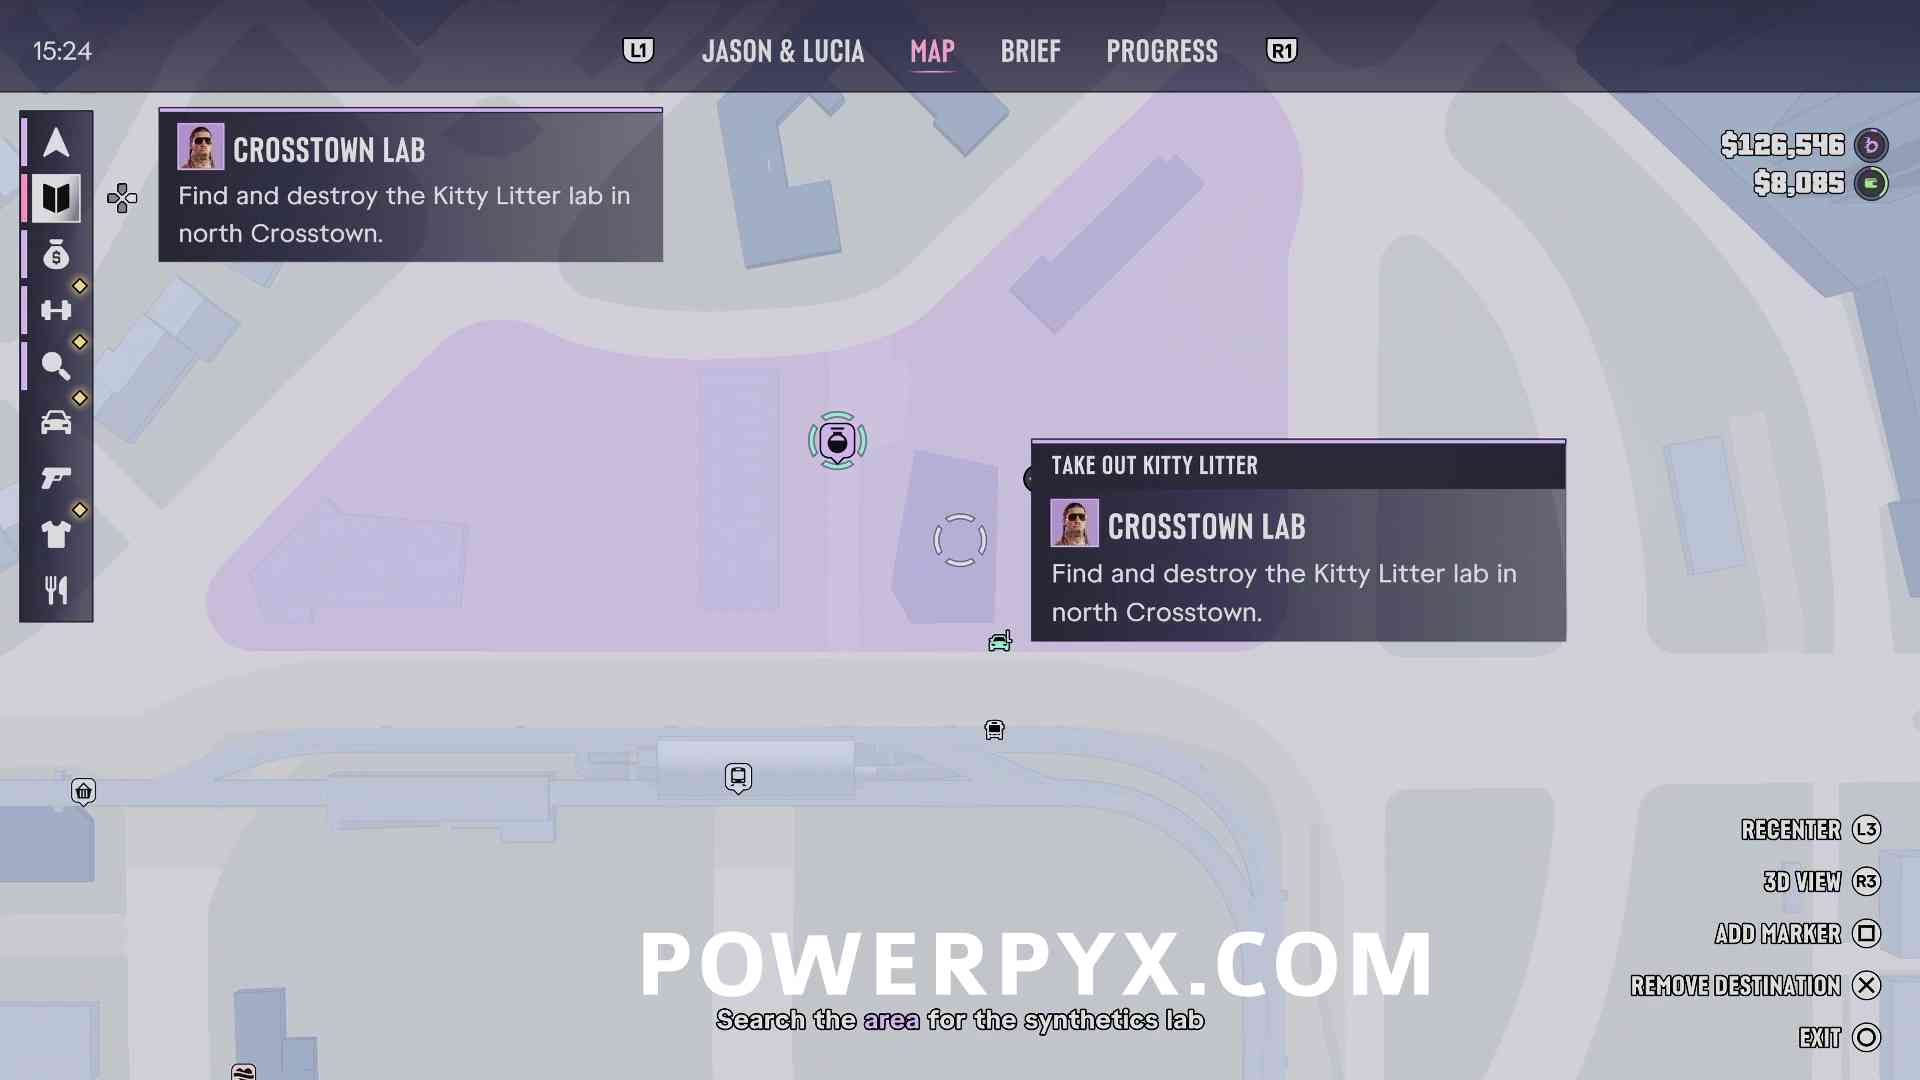
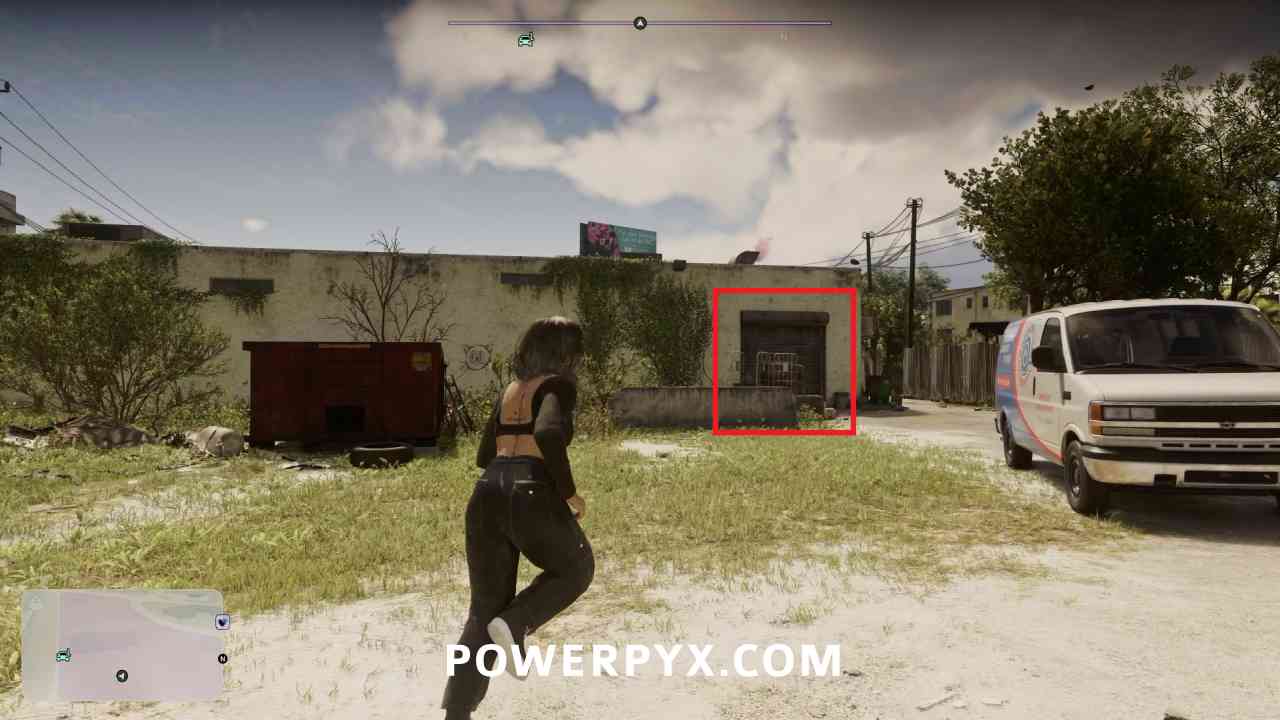
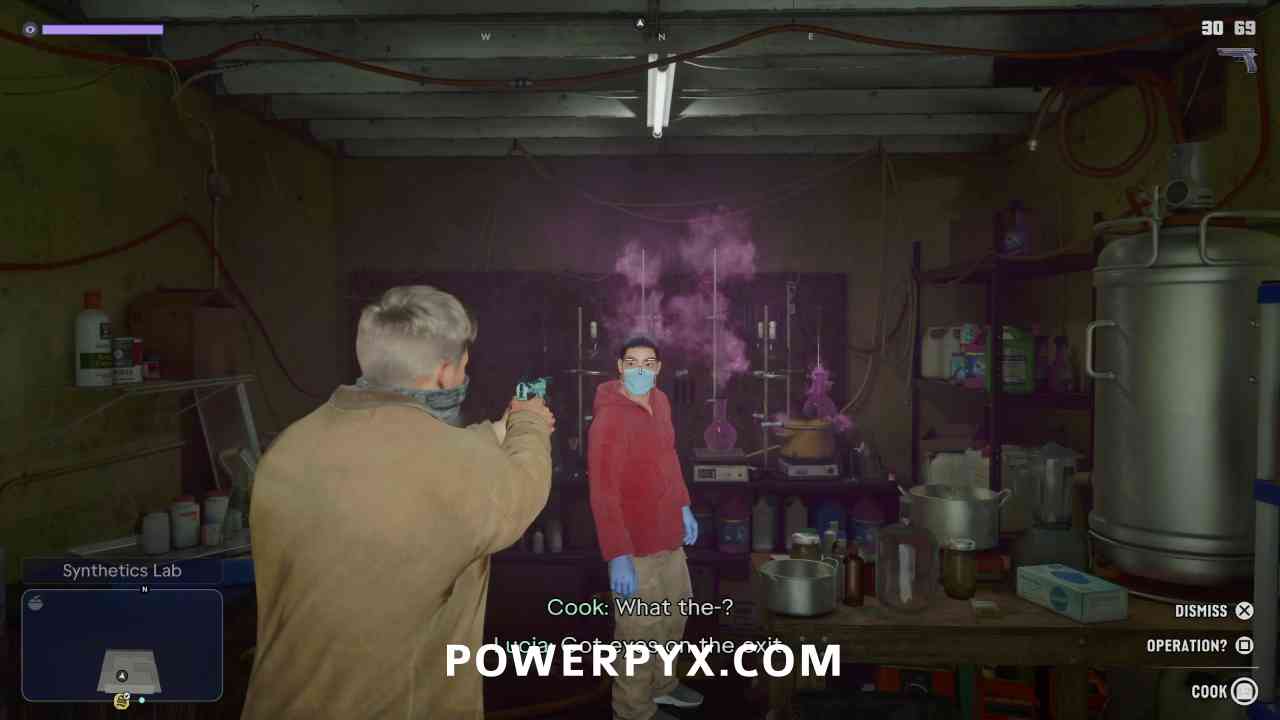
There will likely be a cook inside who you can question for a lab location before destroying the lab.
Decor District Labs
Location #1 – Reward: $2,500
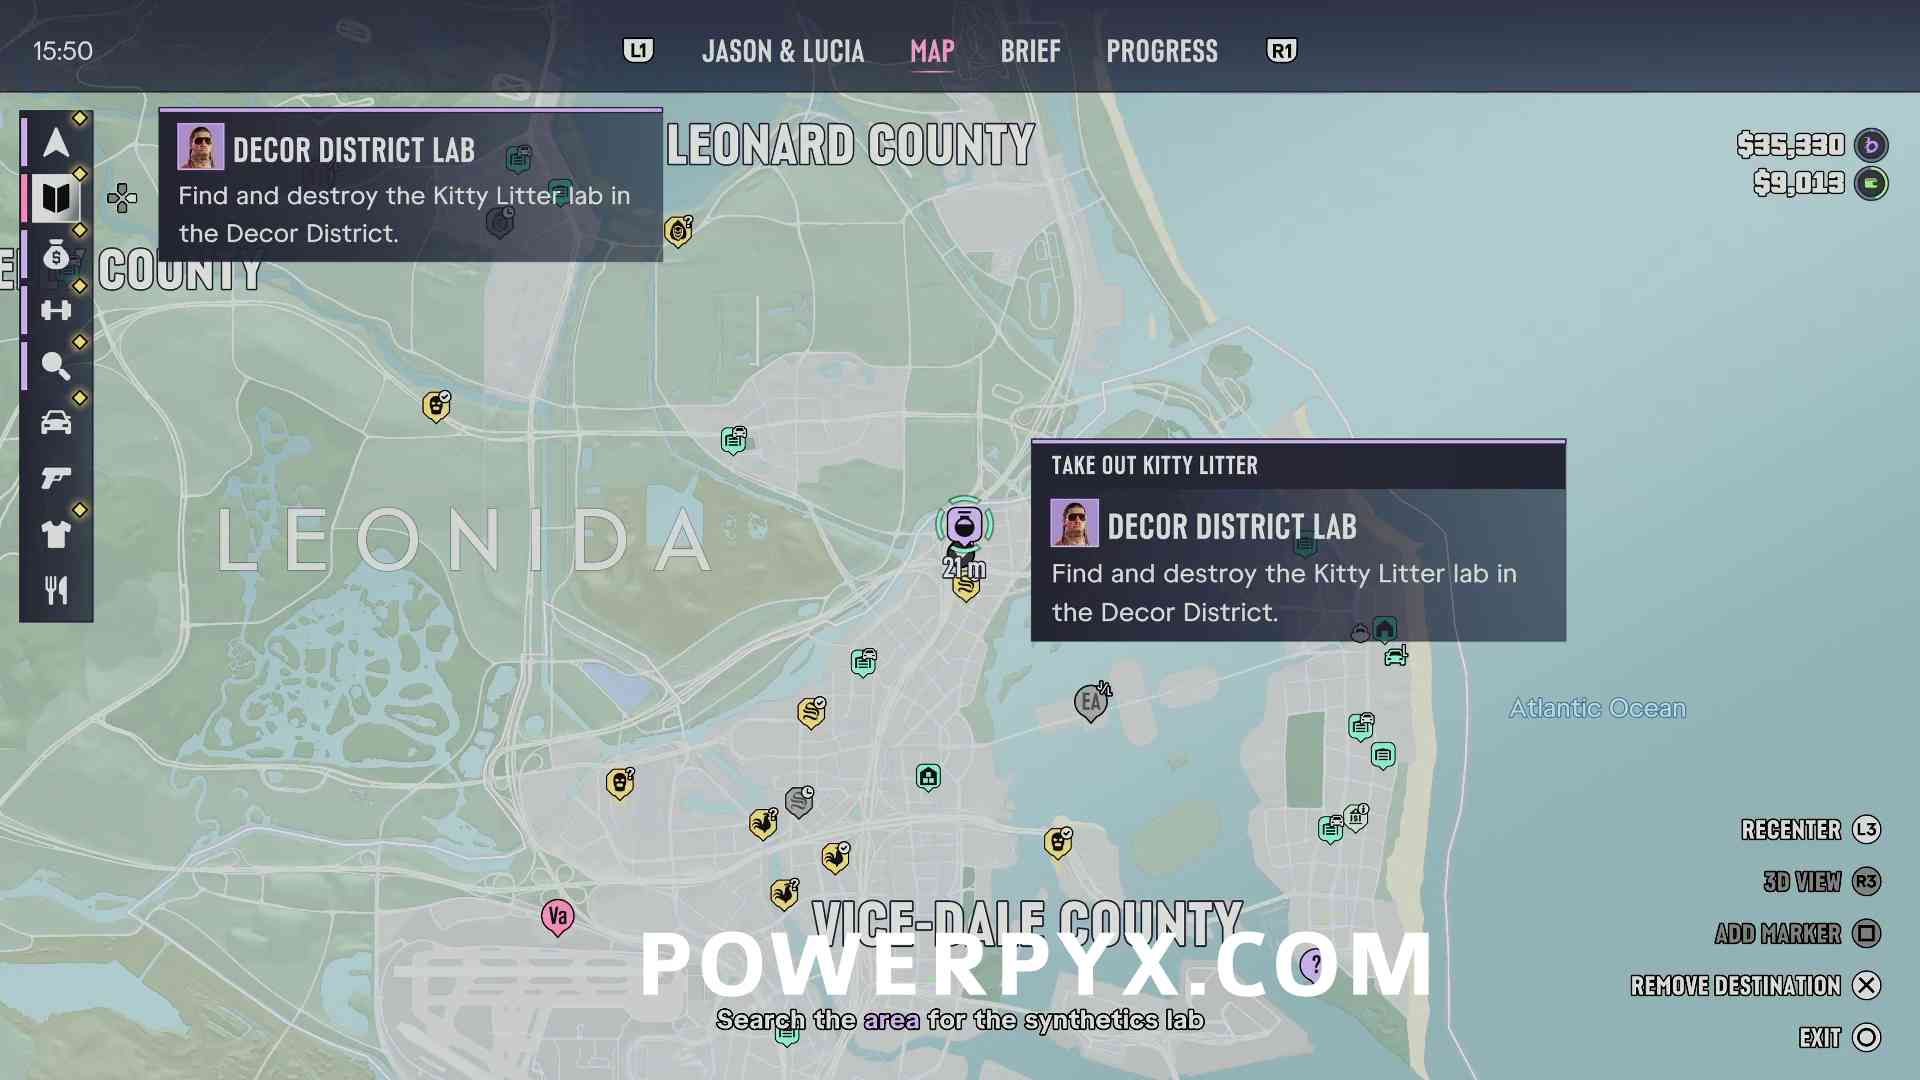
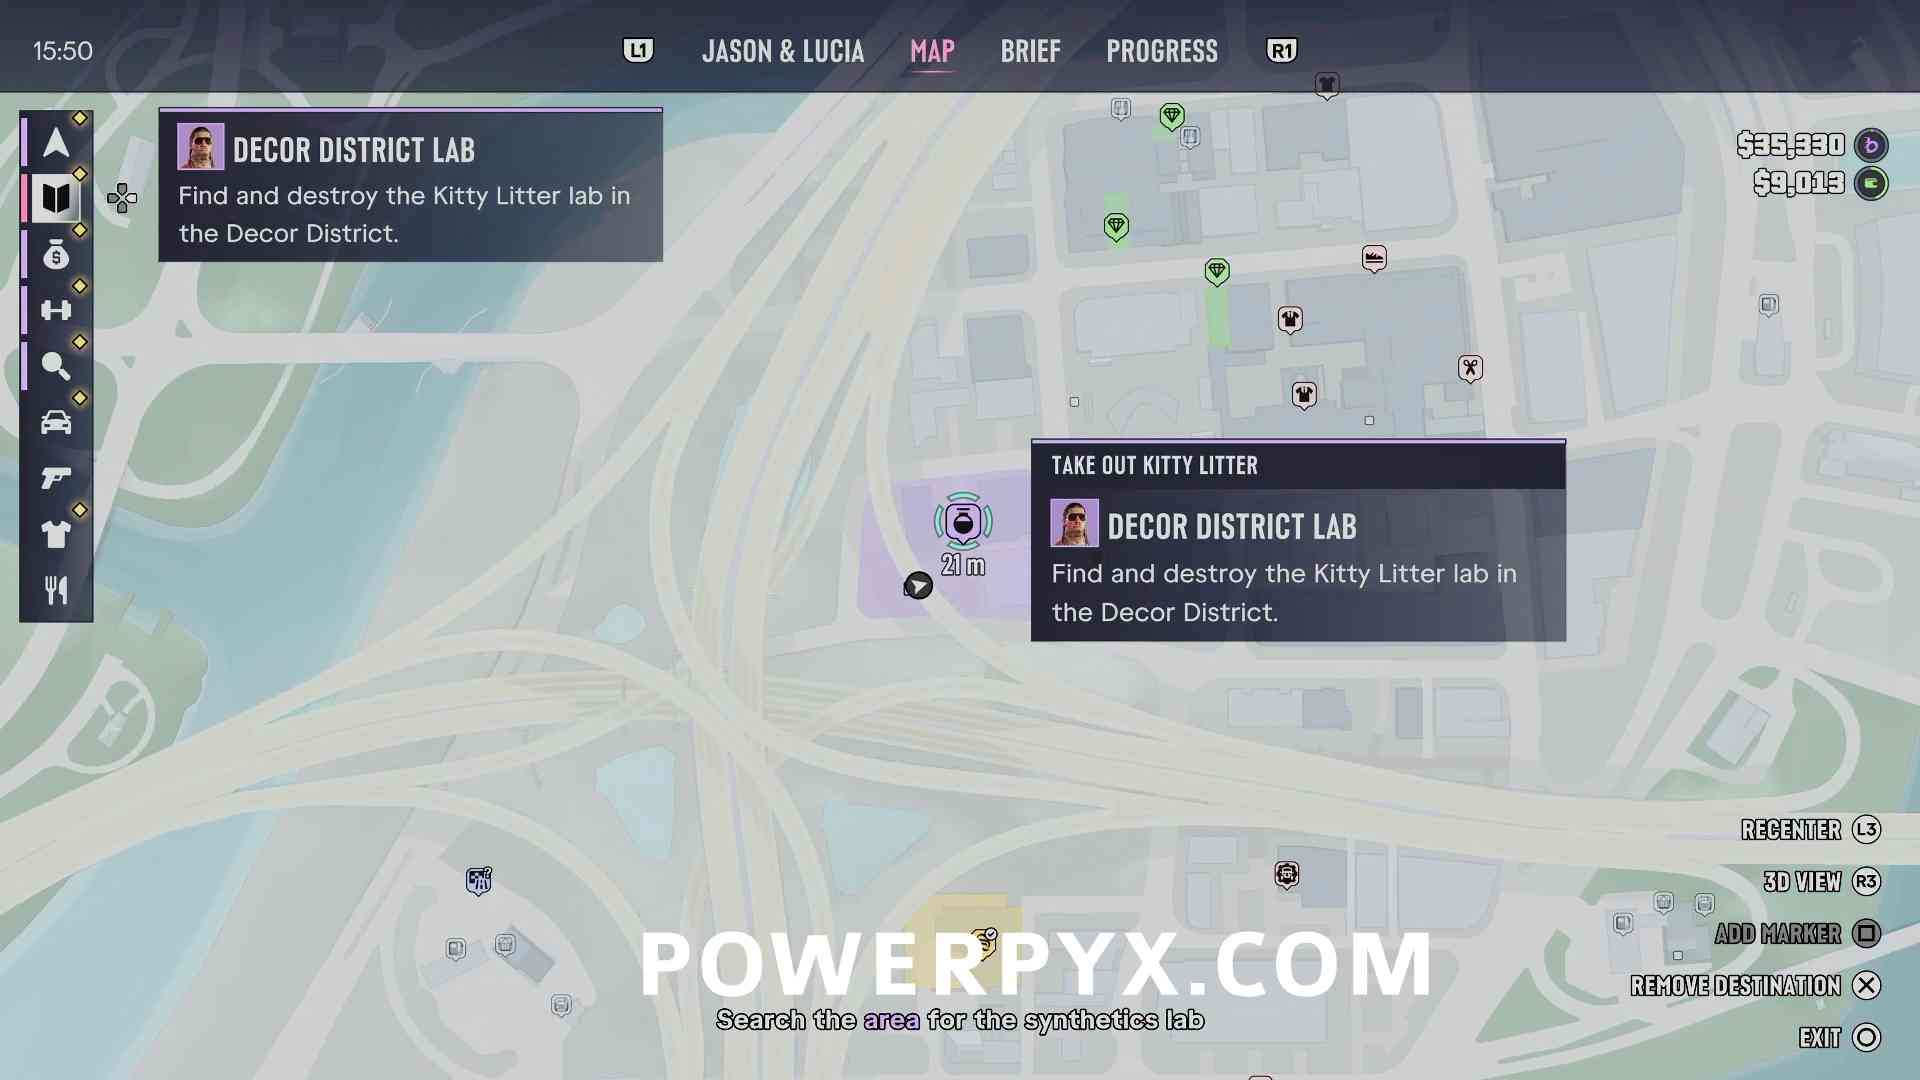
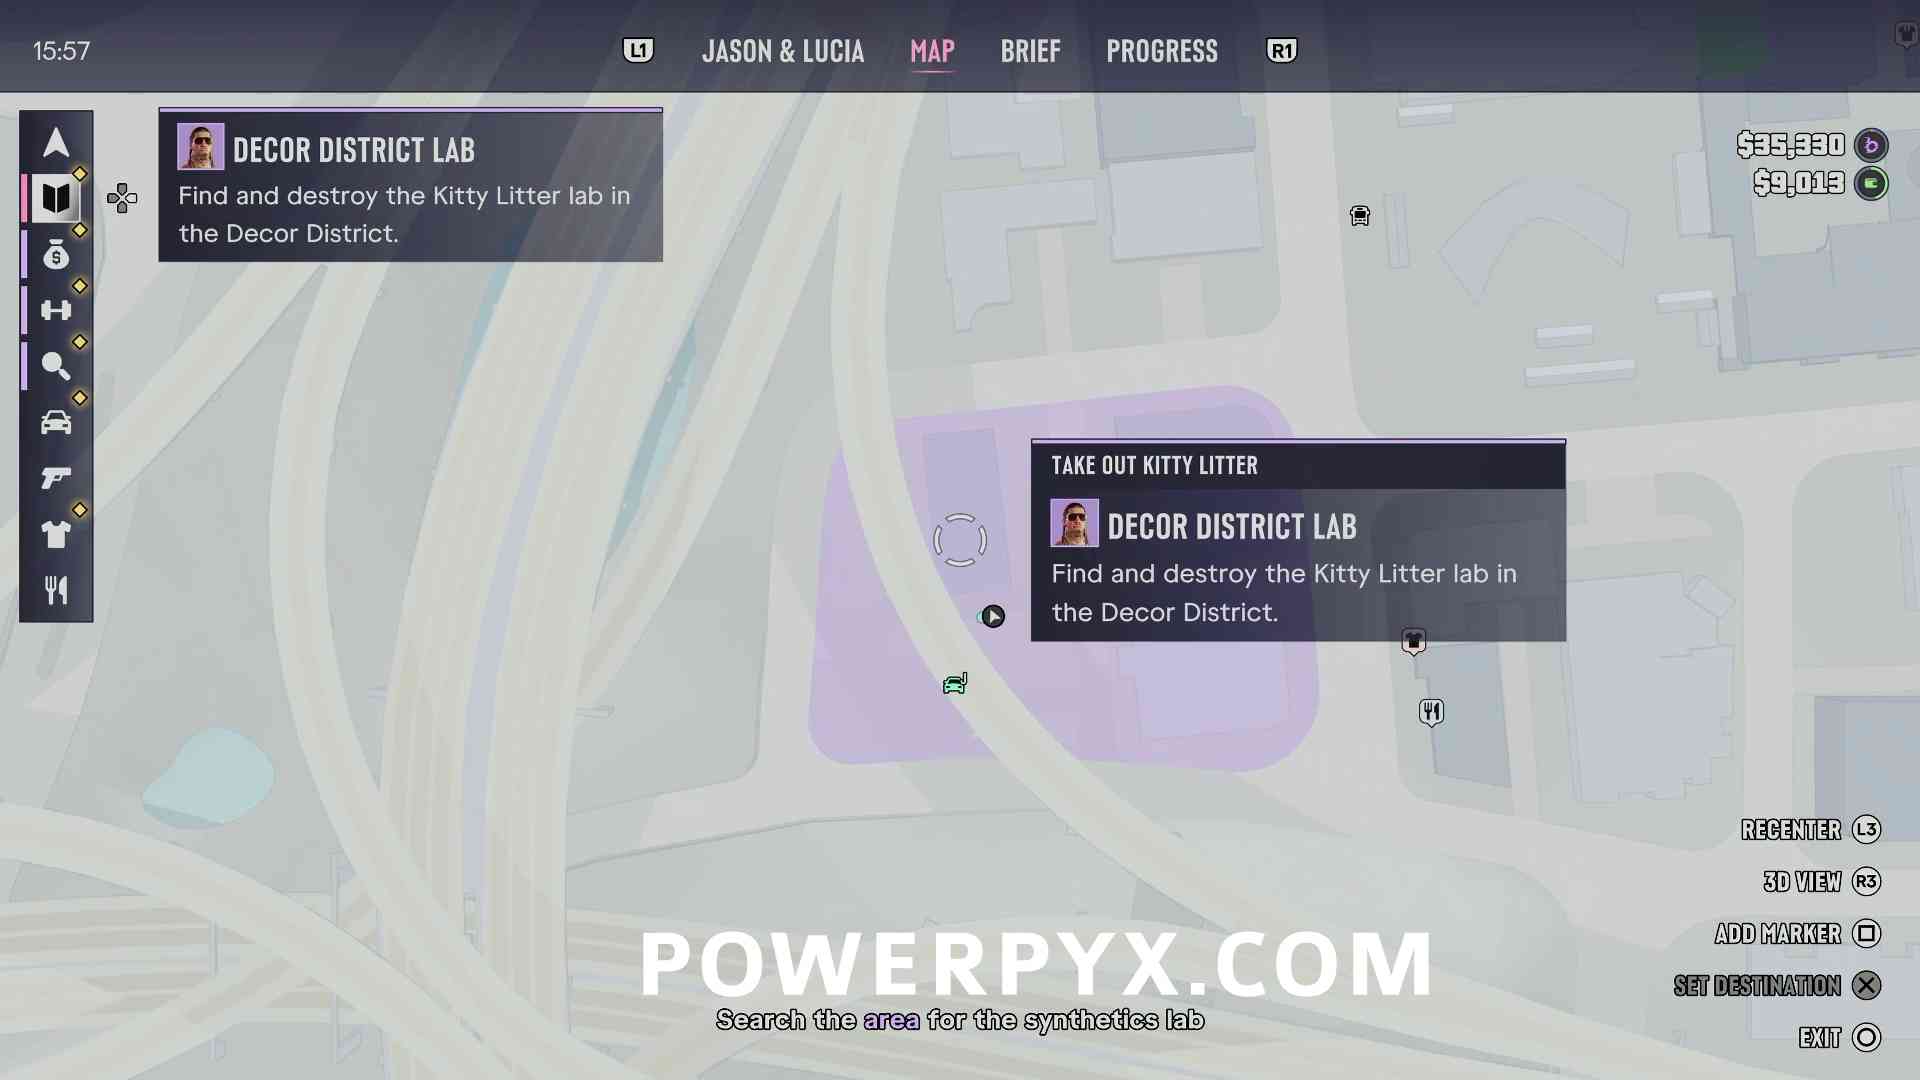
This lab is located in a garage the building in the northwest corner of the search area beside the highway.
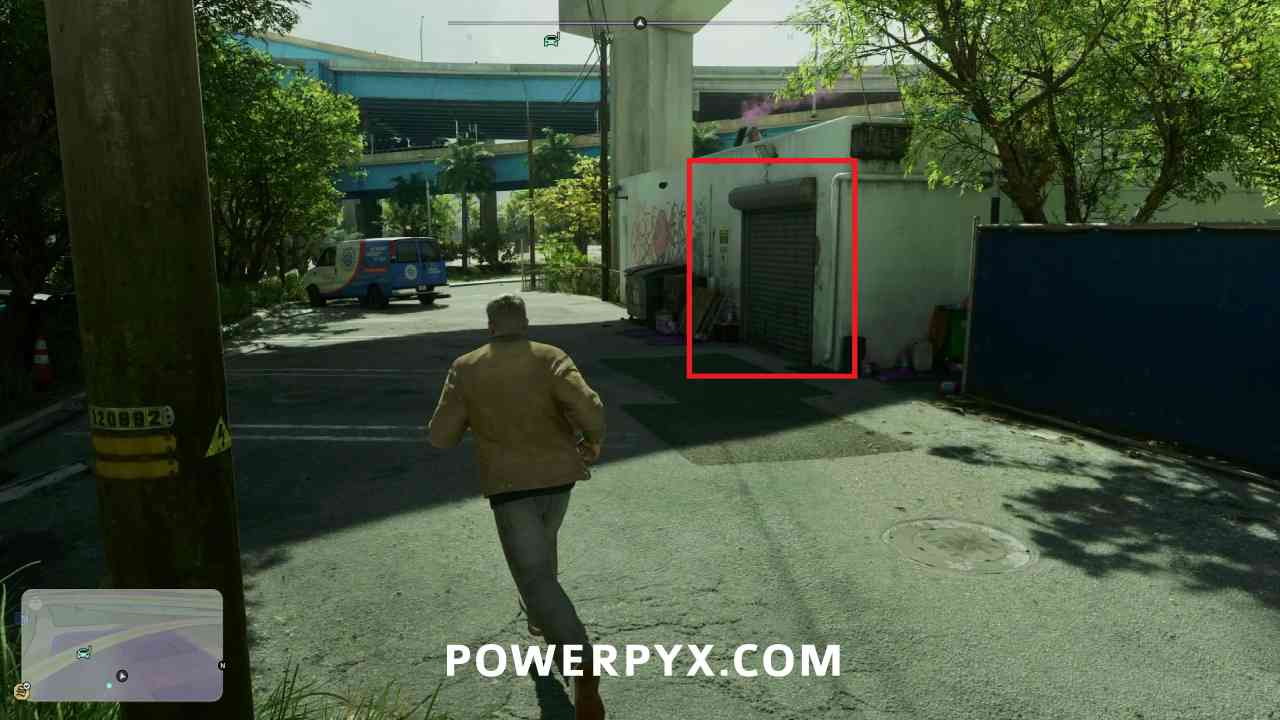
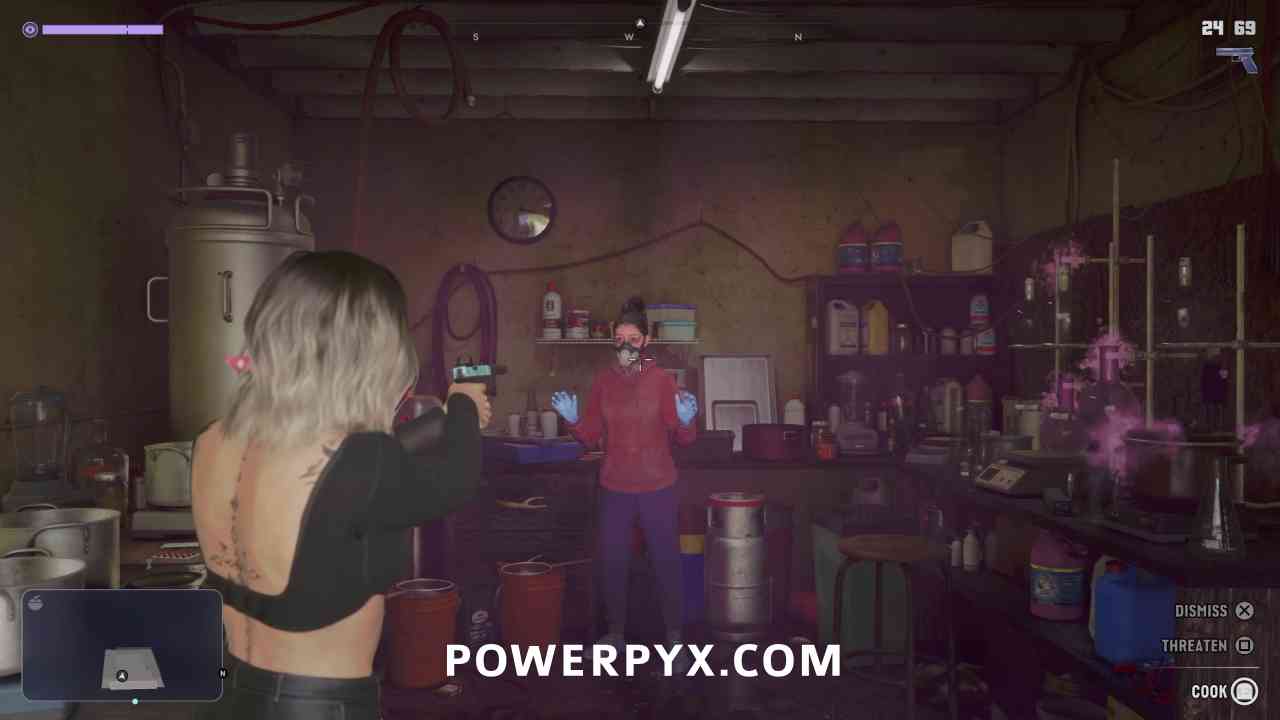
There will likely be a cook inside who you can question for a lab location before destroying the lab.
Little Cuba Labs
Location #1 – Reward: $2,500
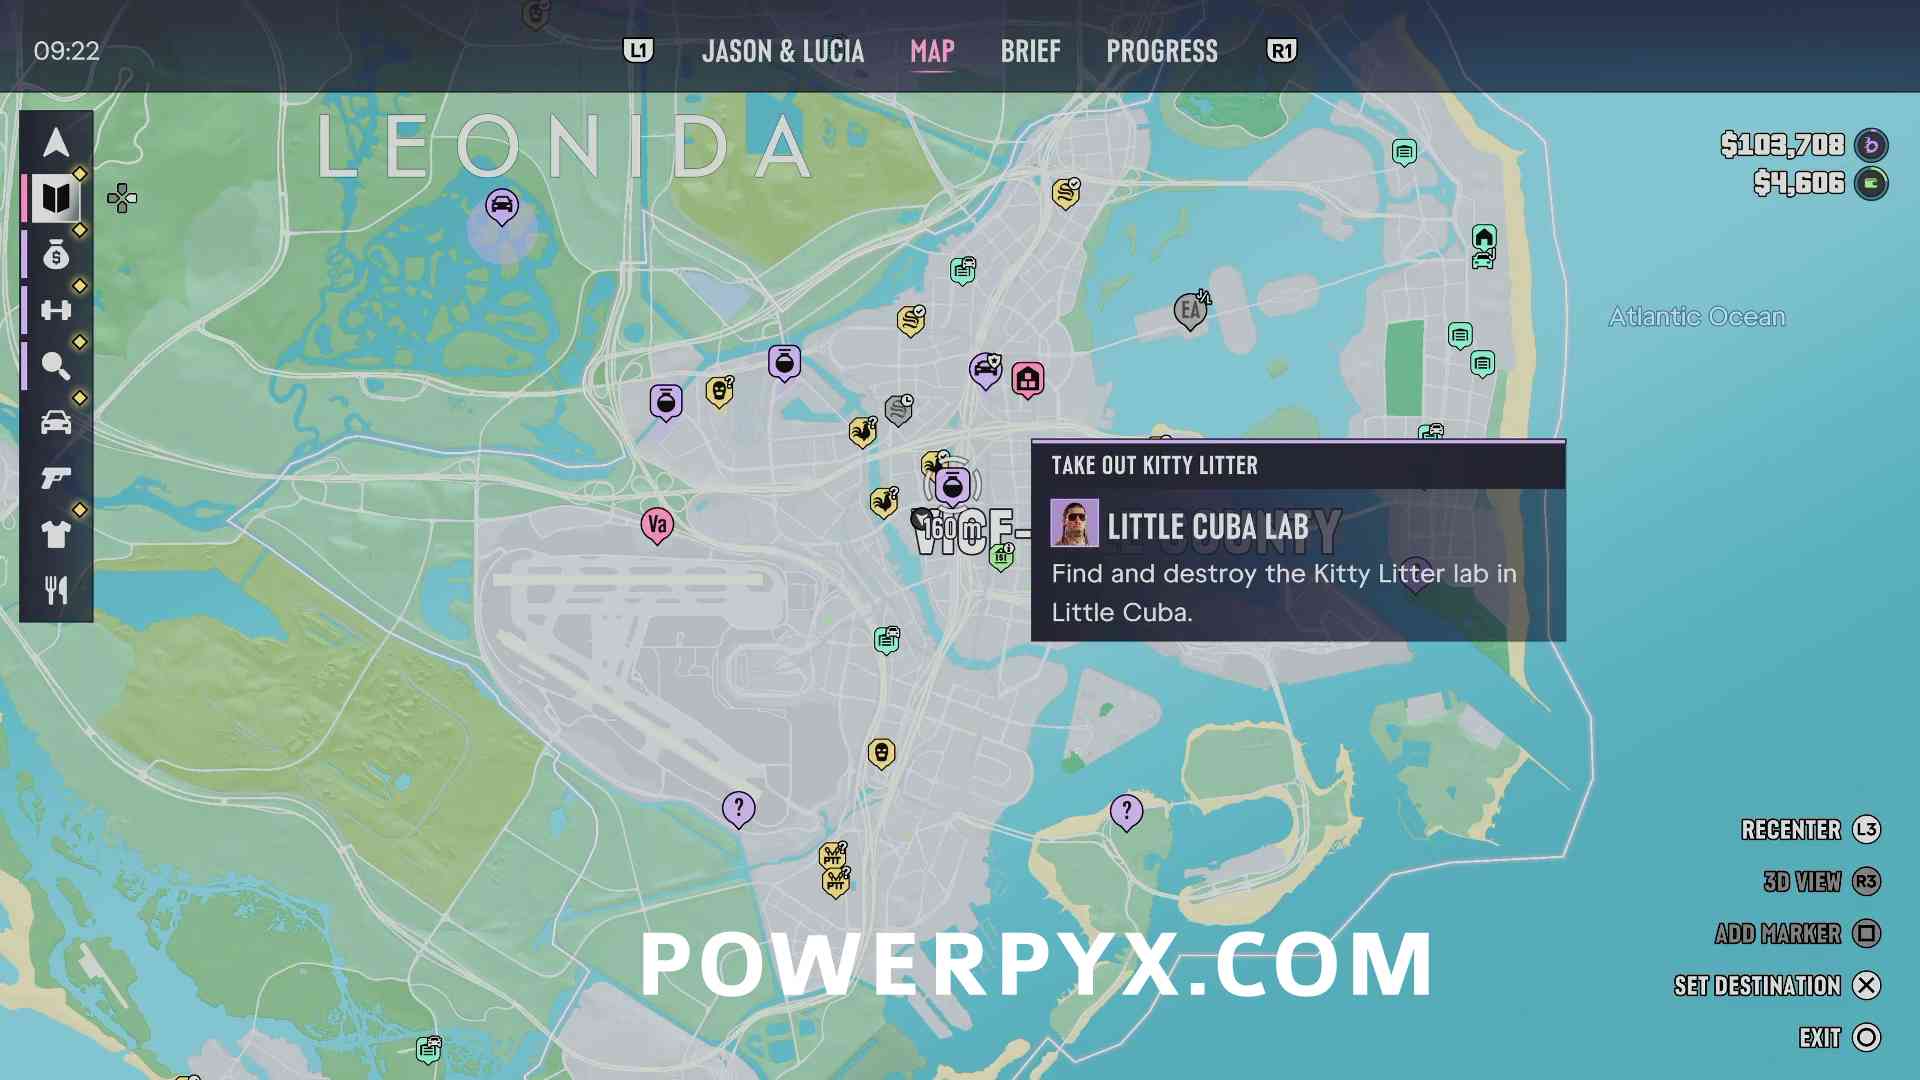
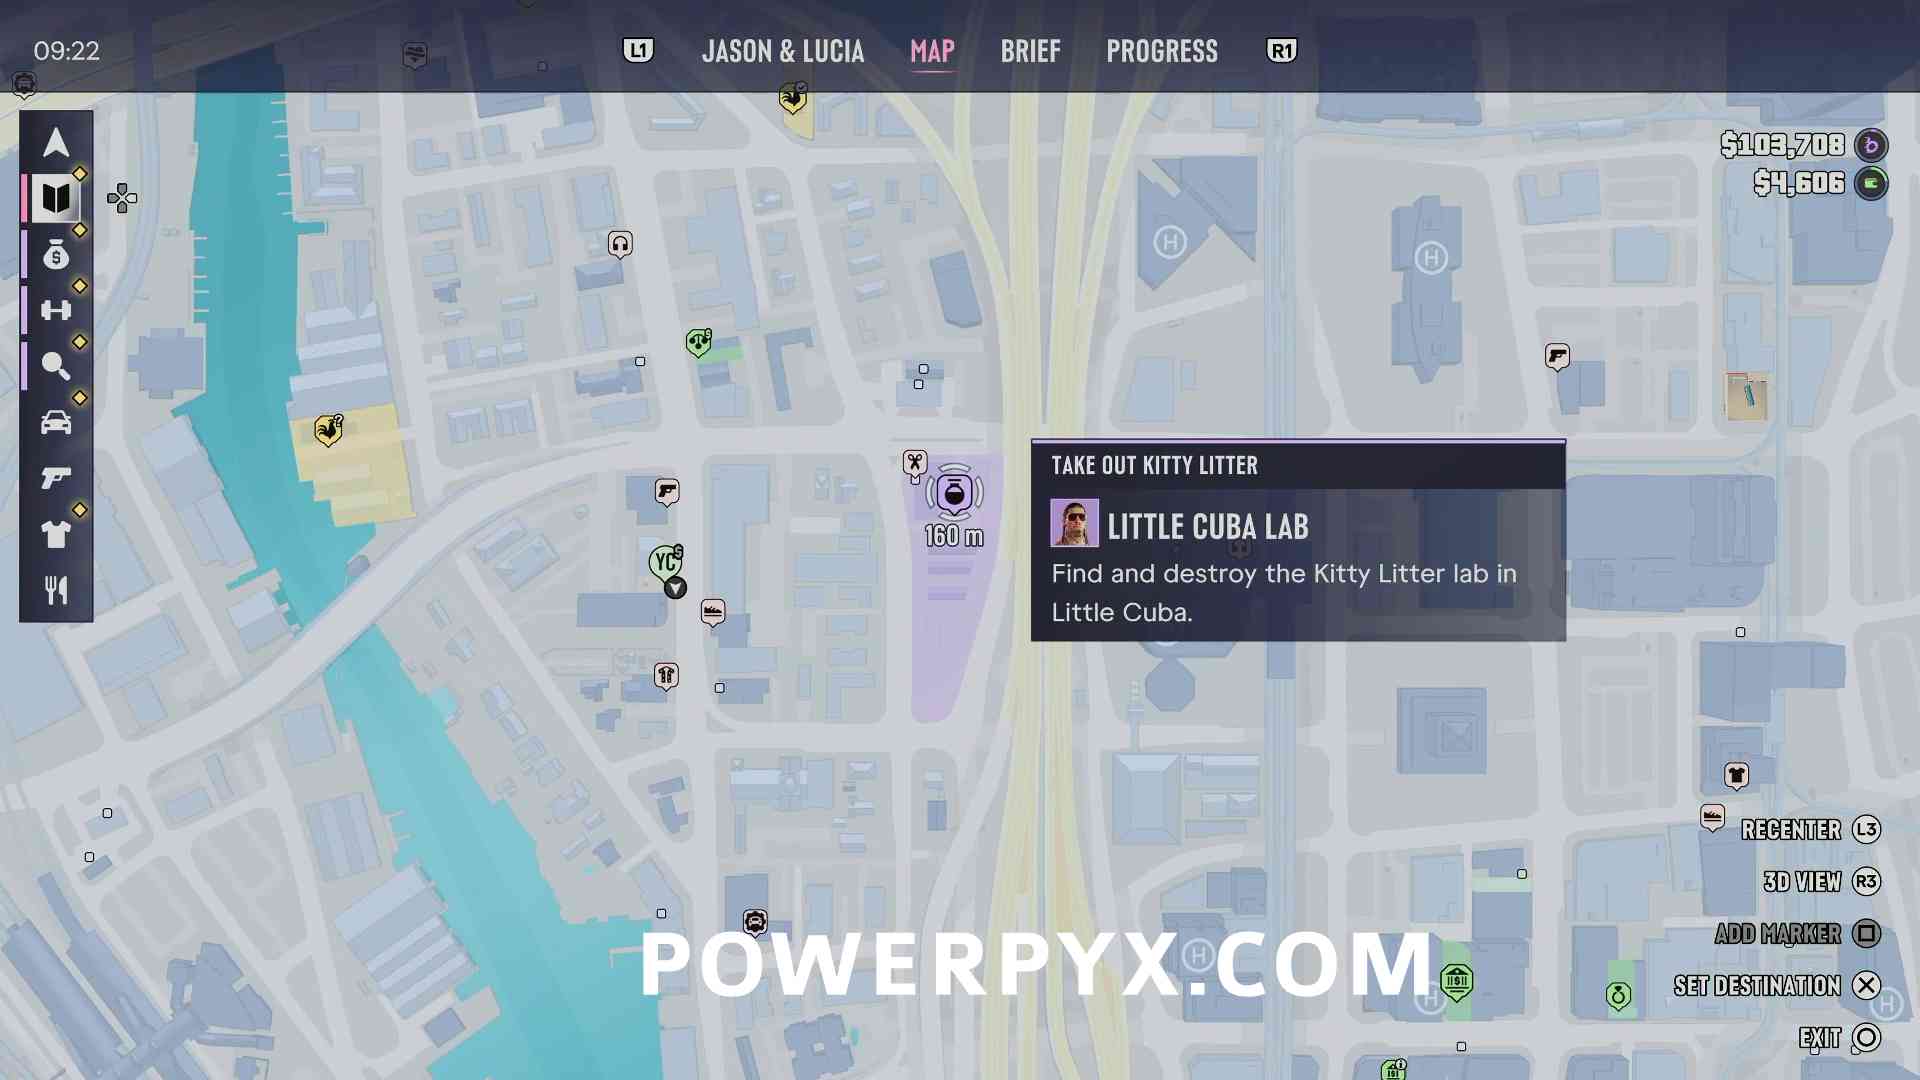
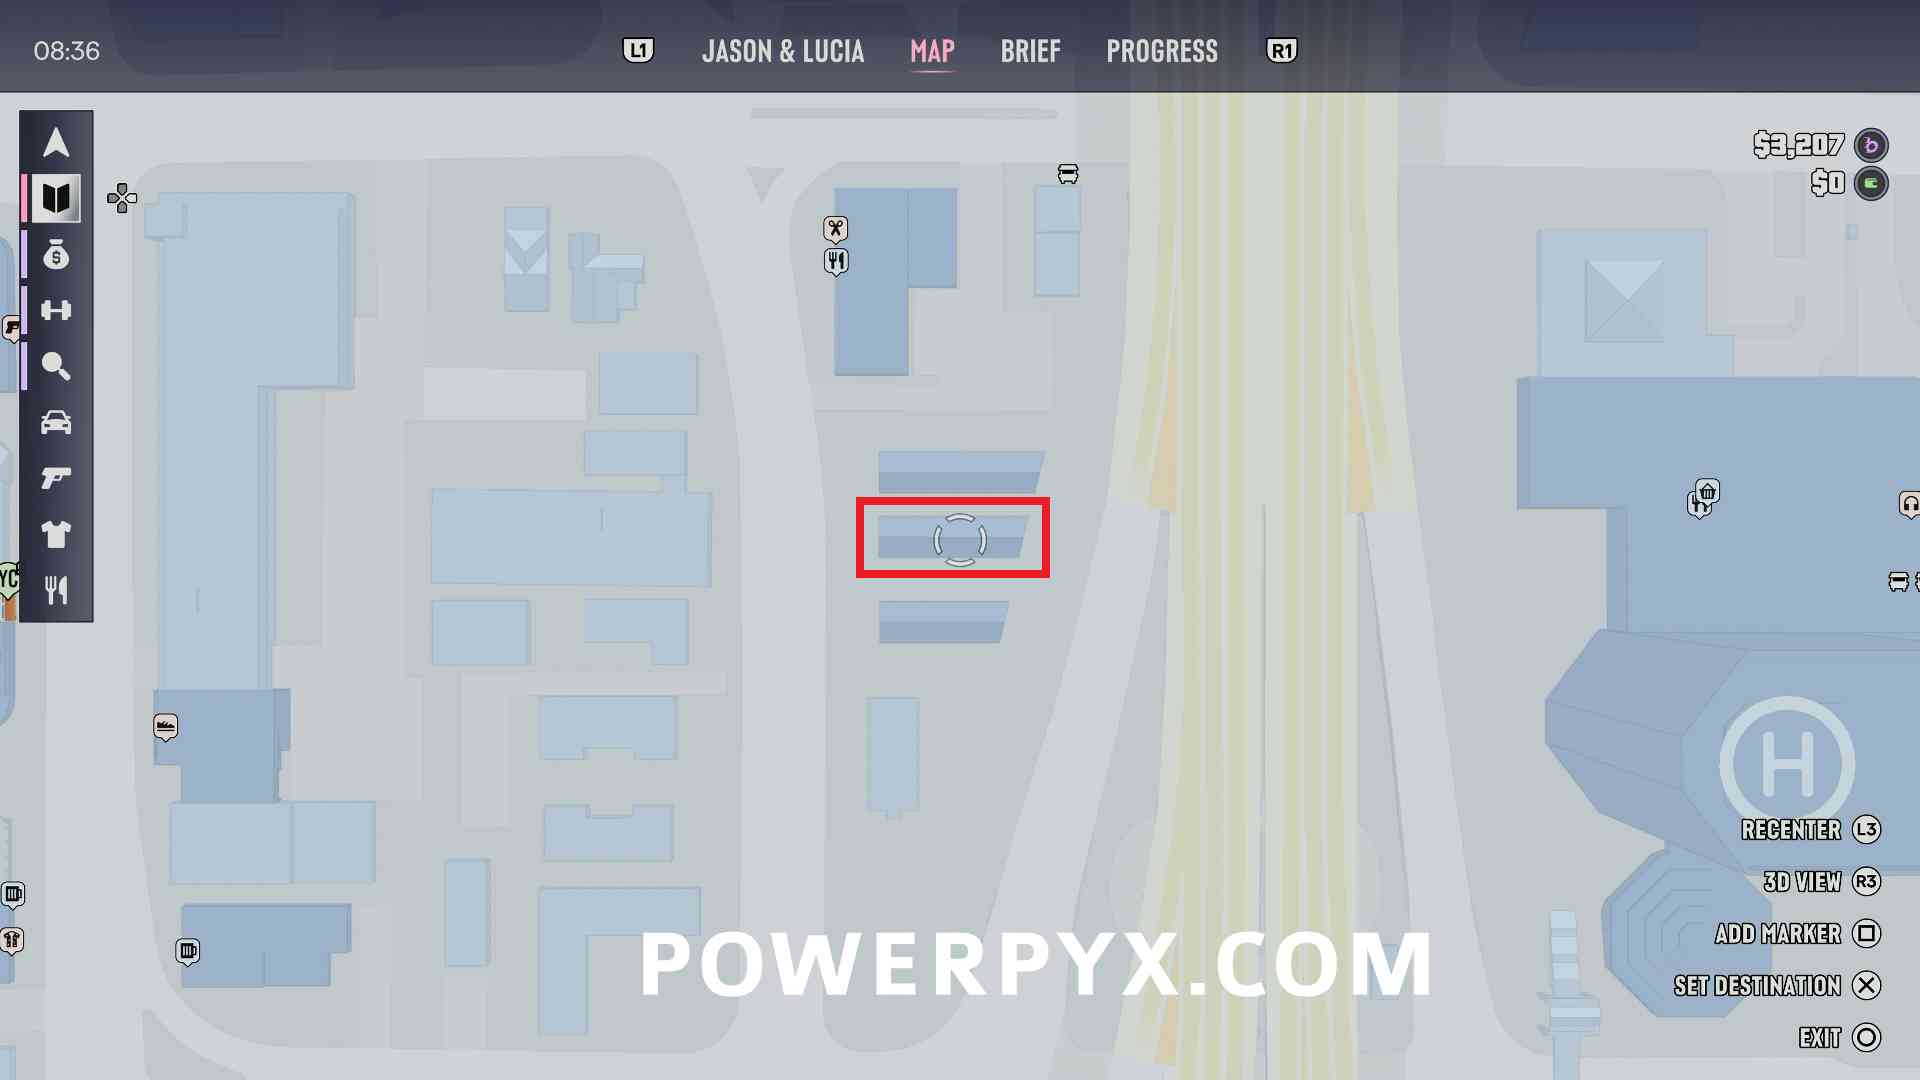
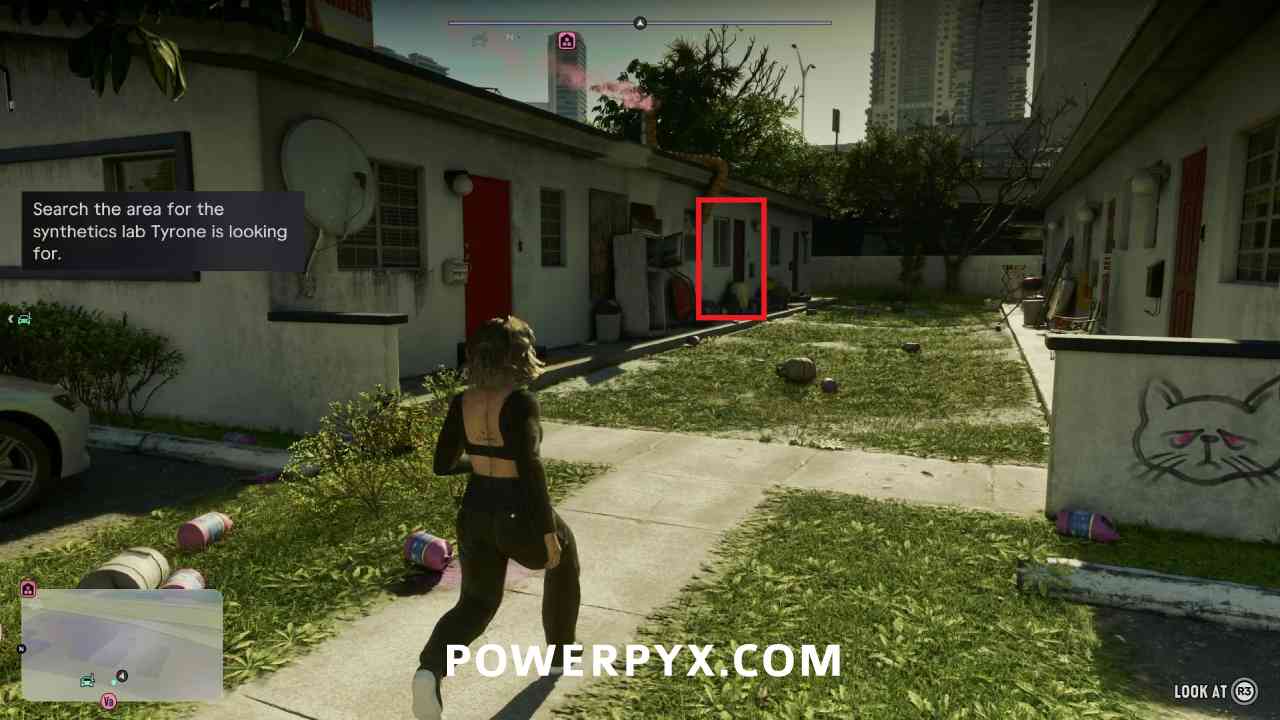
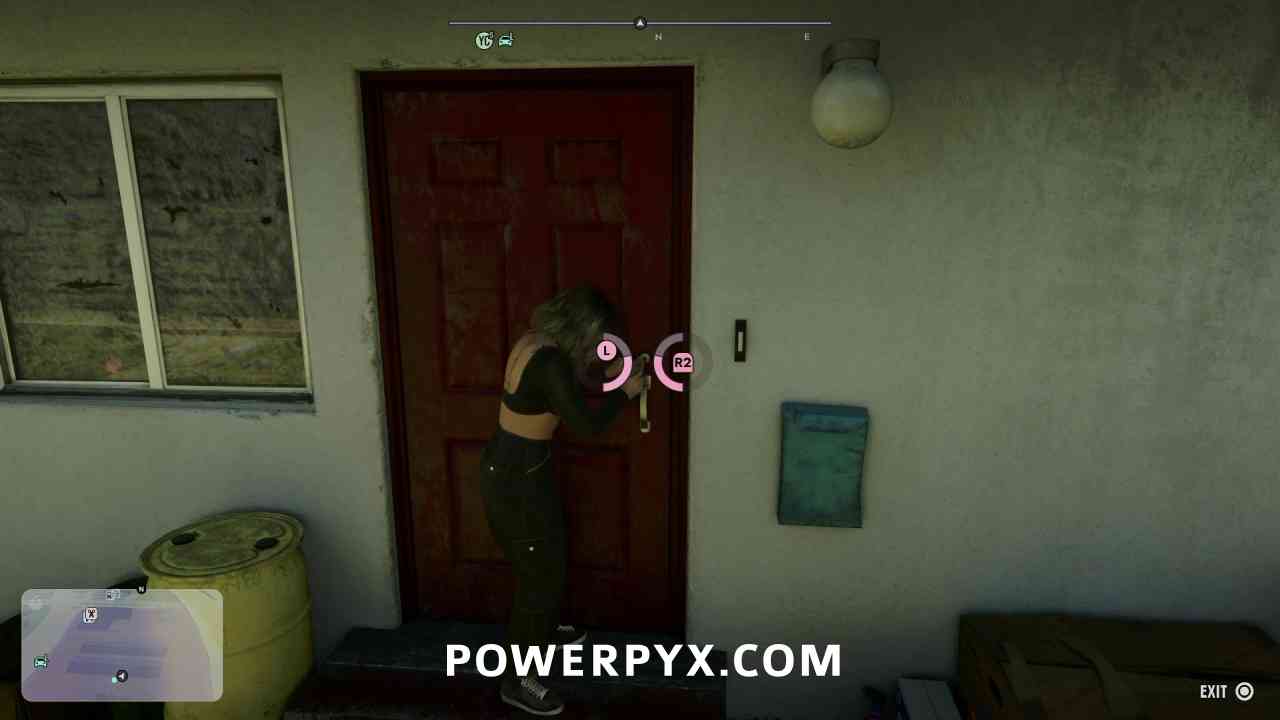
This lab is located in the center long building in the middle of the search area. You will need the Snap Gun or break open the door to enter.
Salton Labs
Location #1 – Reward: $2,000
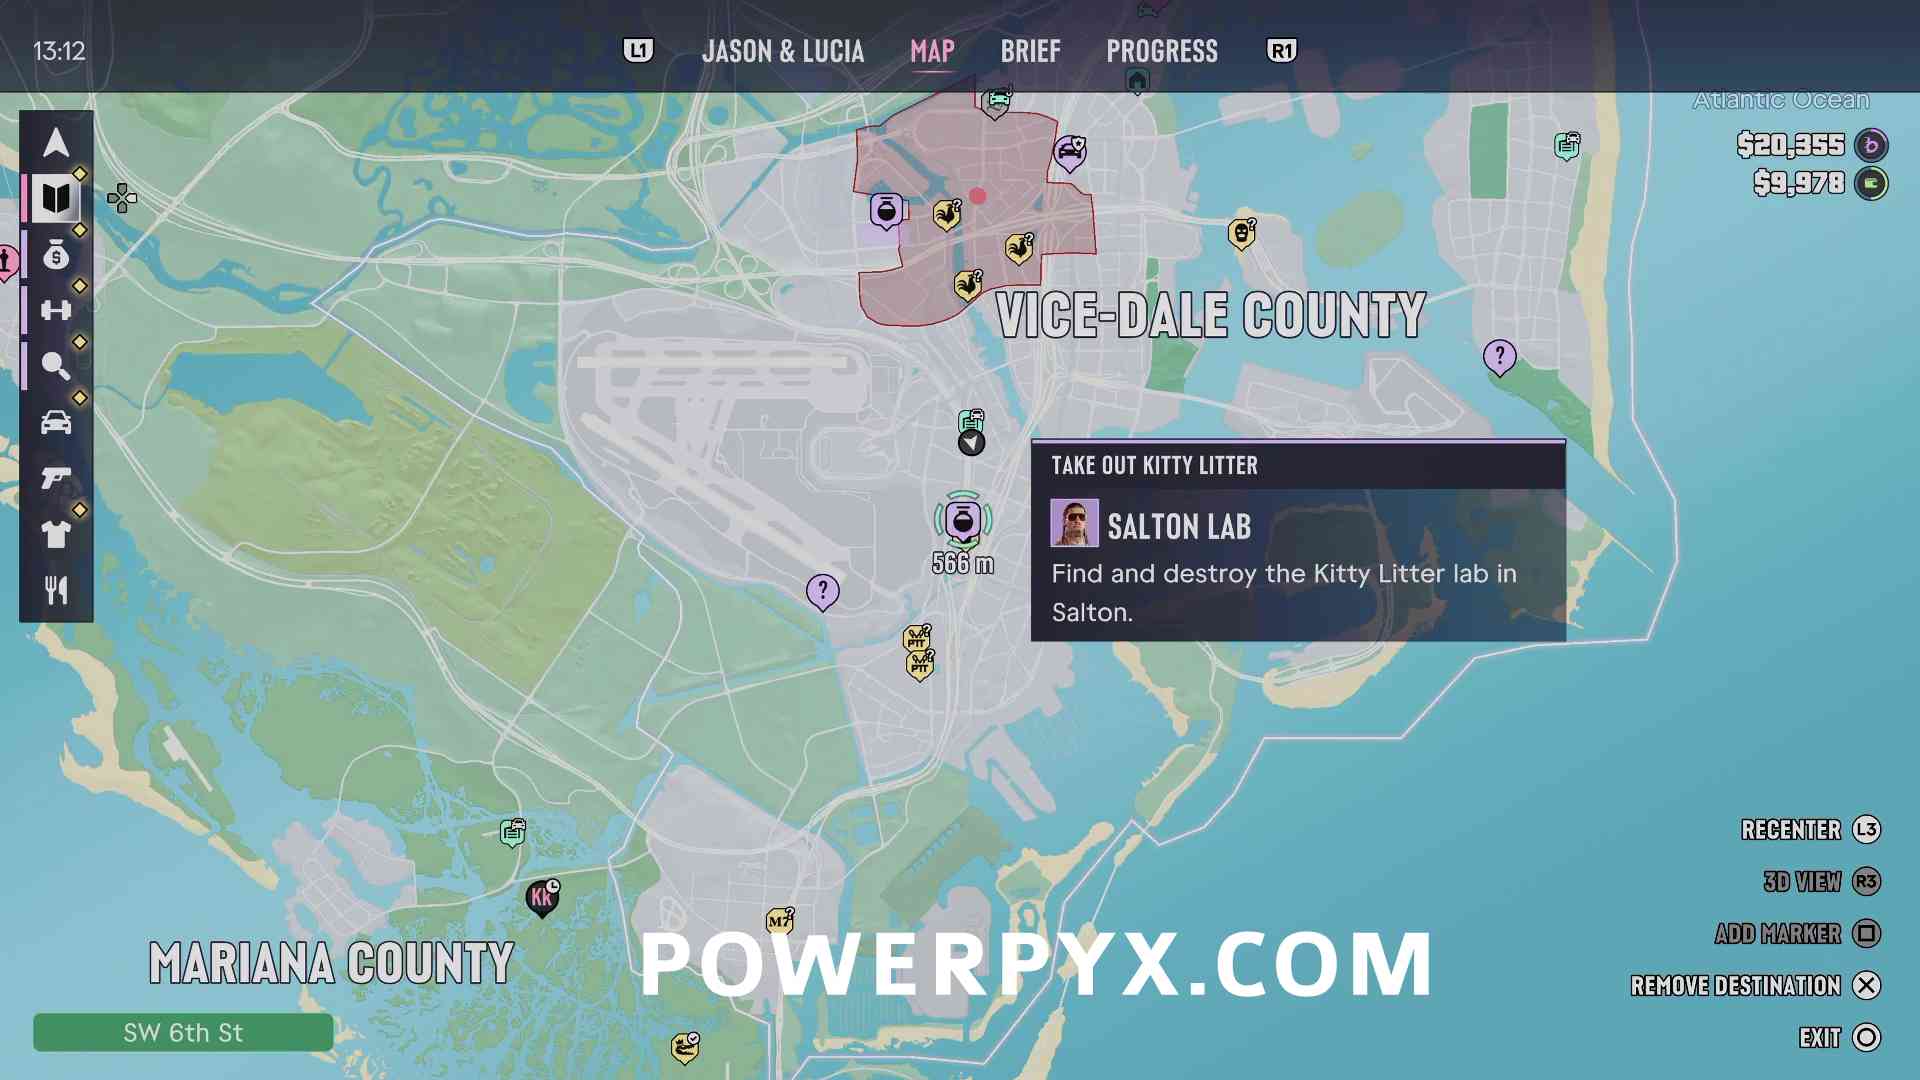
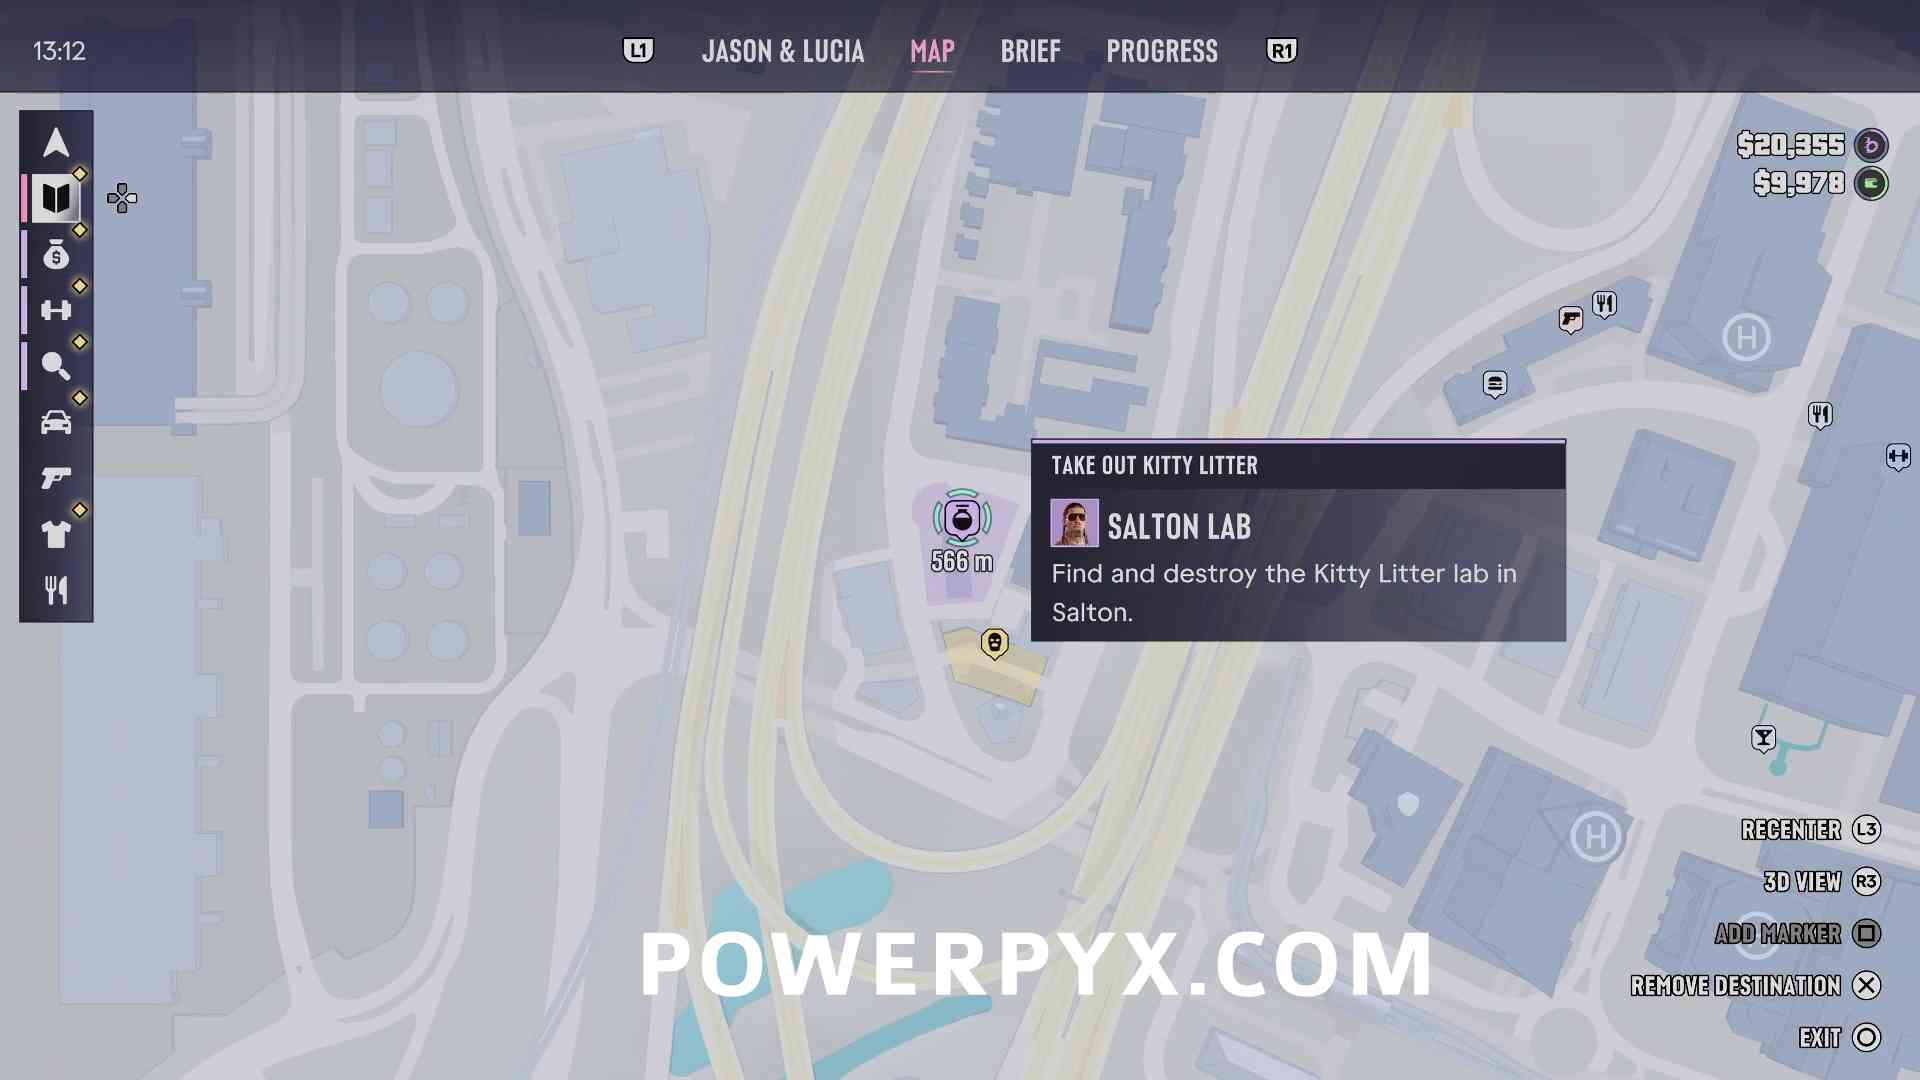
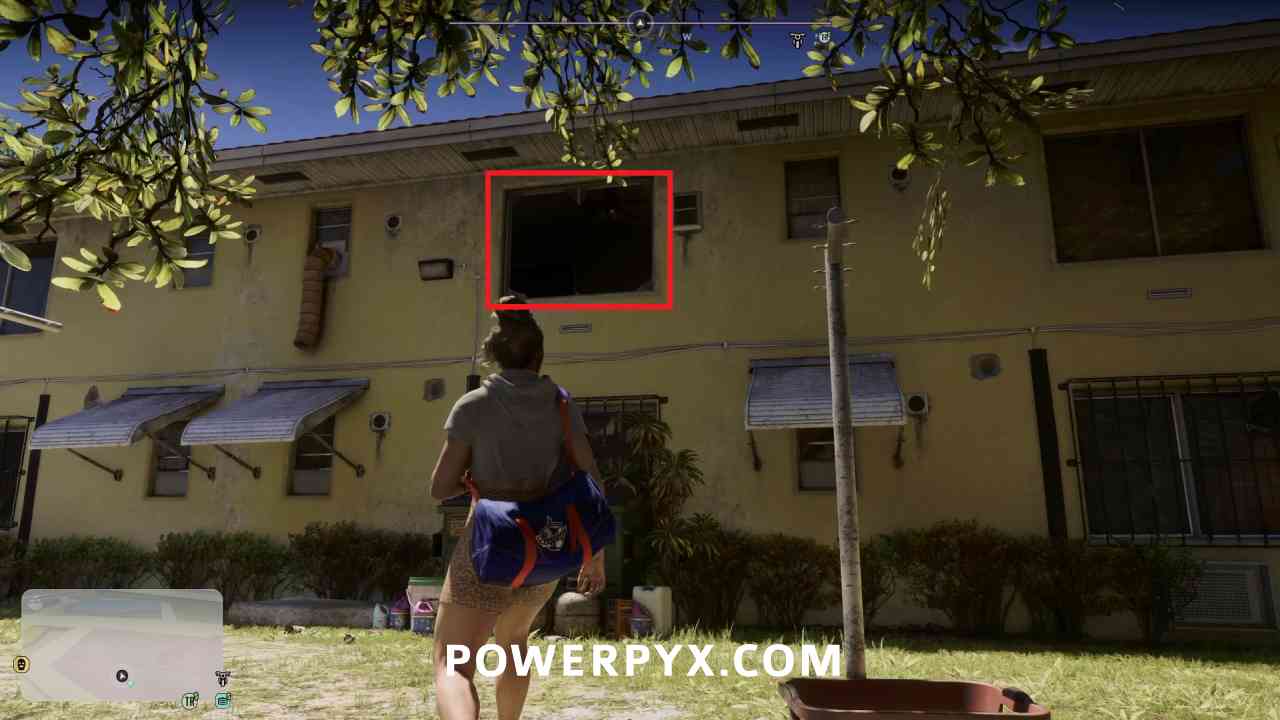
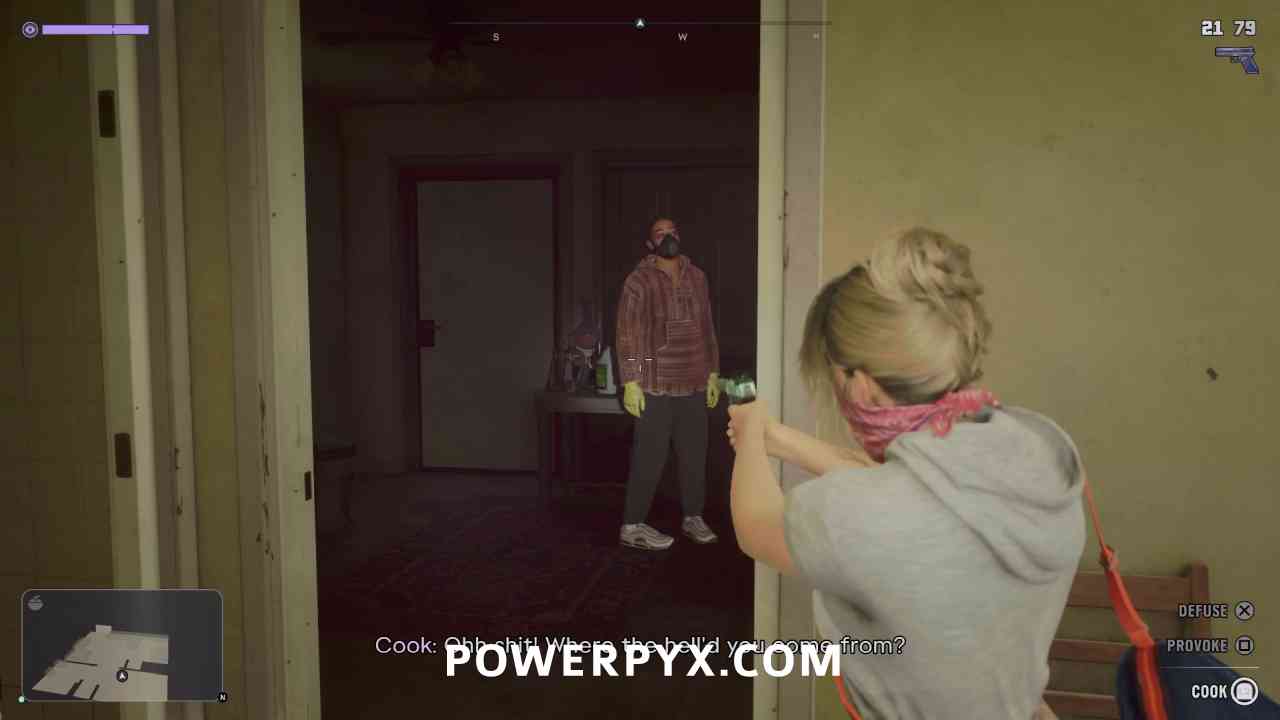
This lab is located in the apartment building that covers the whole search area. On the east side there is an open window that you need to climb into to enter a locked apartment where the lab is located. Be careful of the two cooks inside as they may immediately light the lab on fire if you shoot them.
Tequesta Labs
Location #1 – $2,500
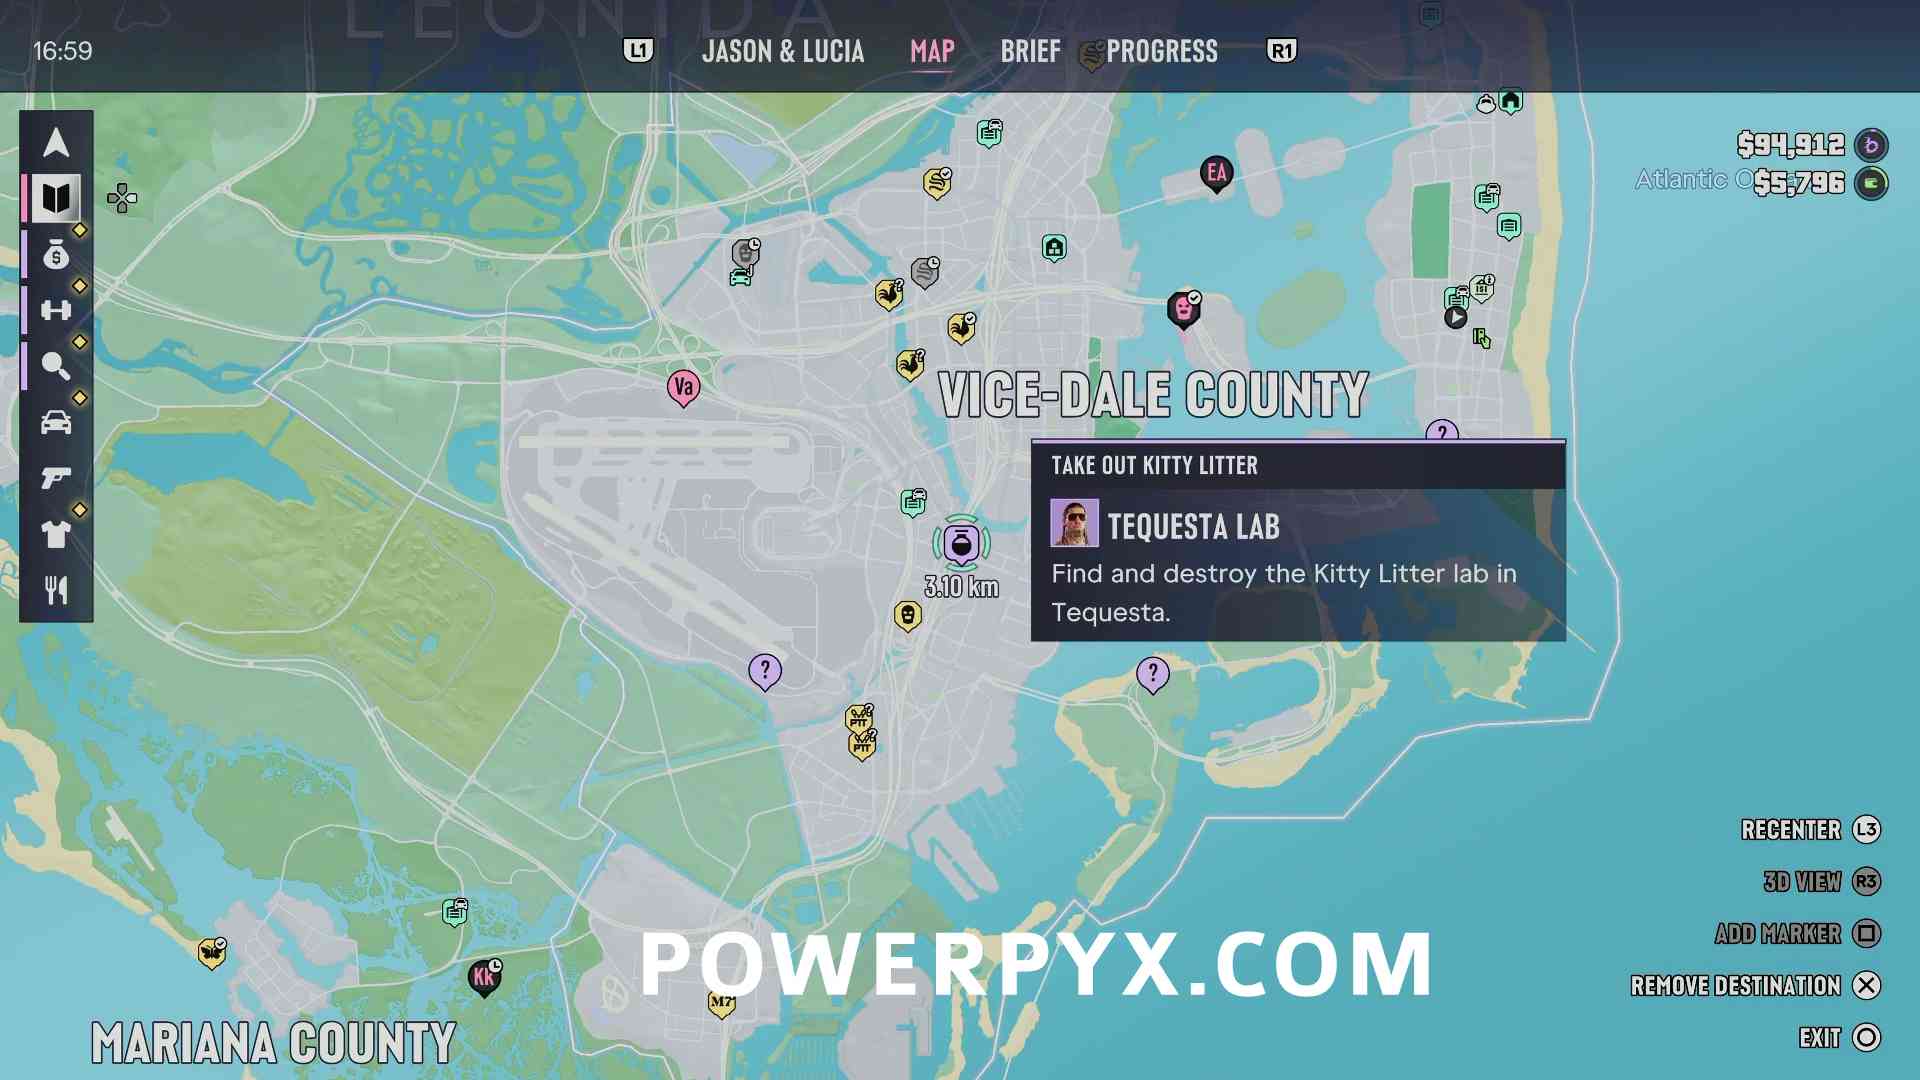
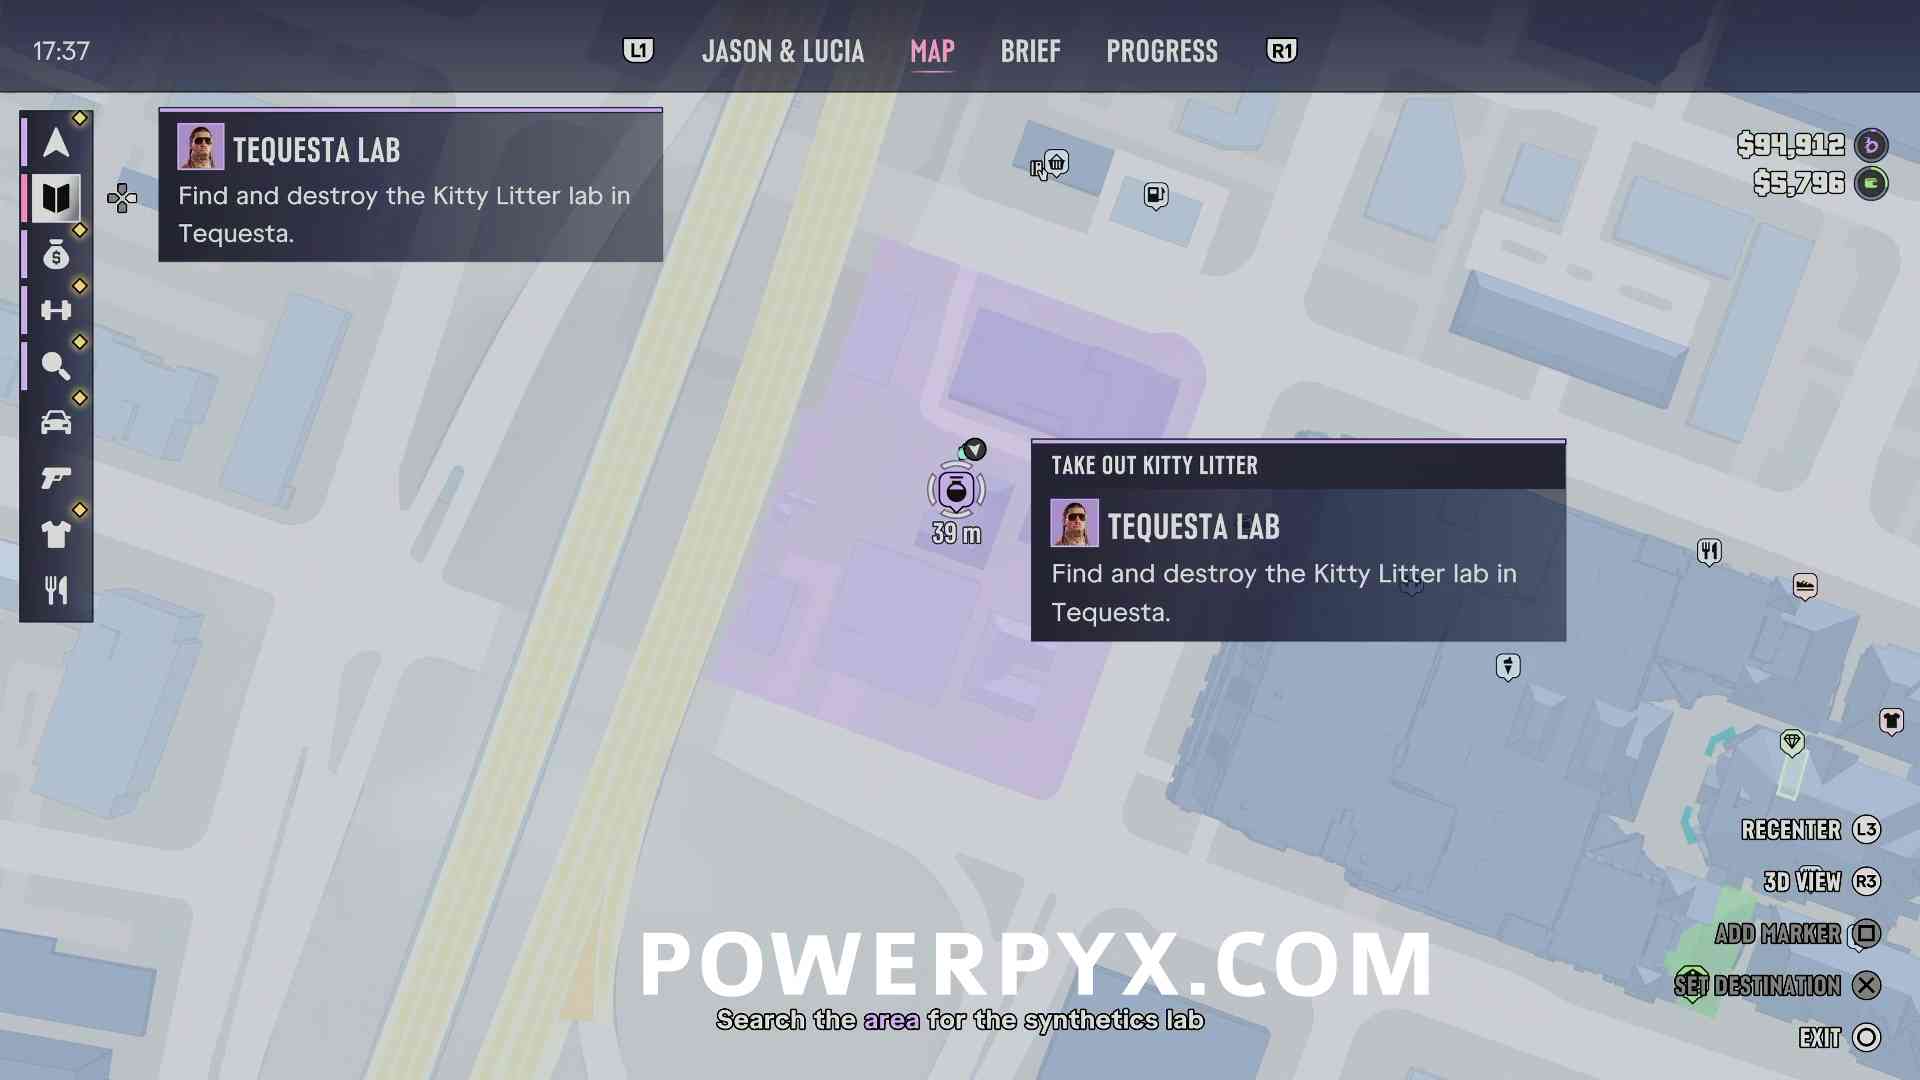
This lab is located on the upper floor of the eastern C shaped motel building in the search area. You will need to use the Snap Gun or break open the door to enter.
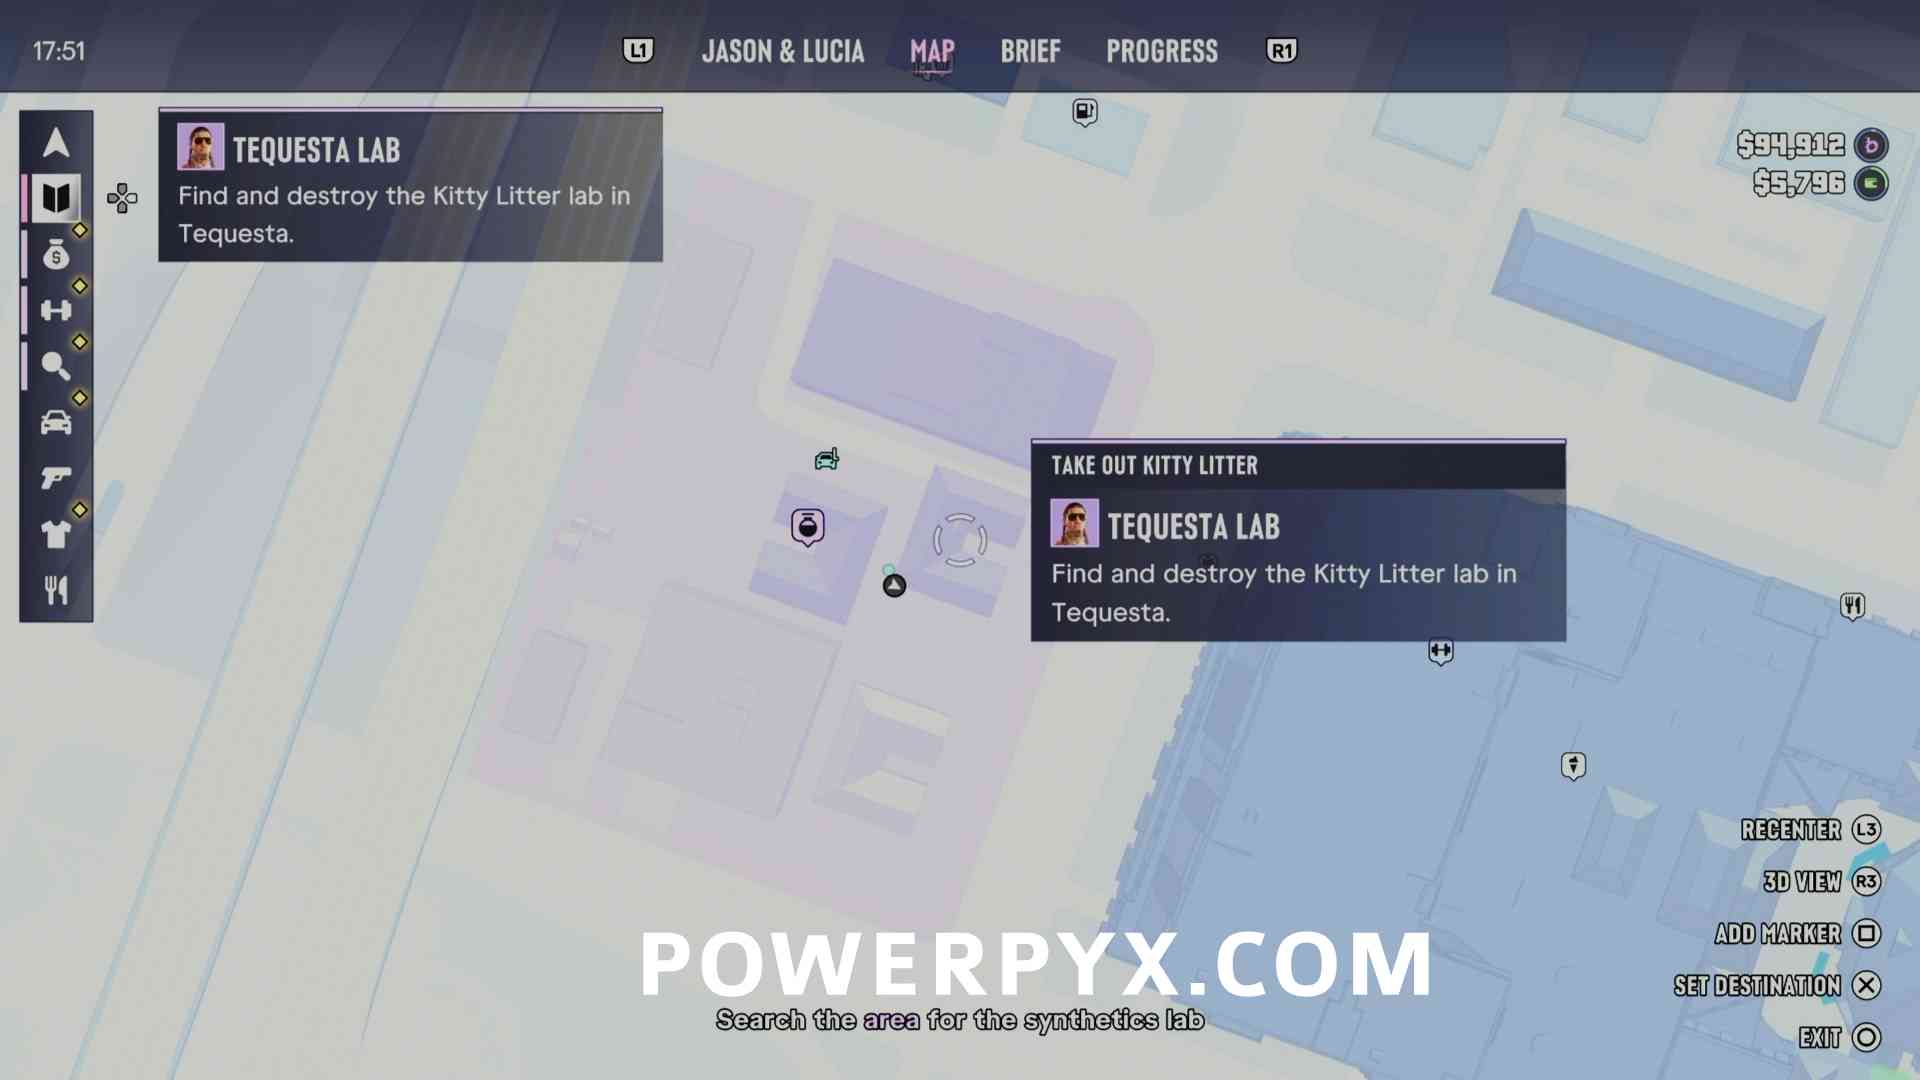
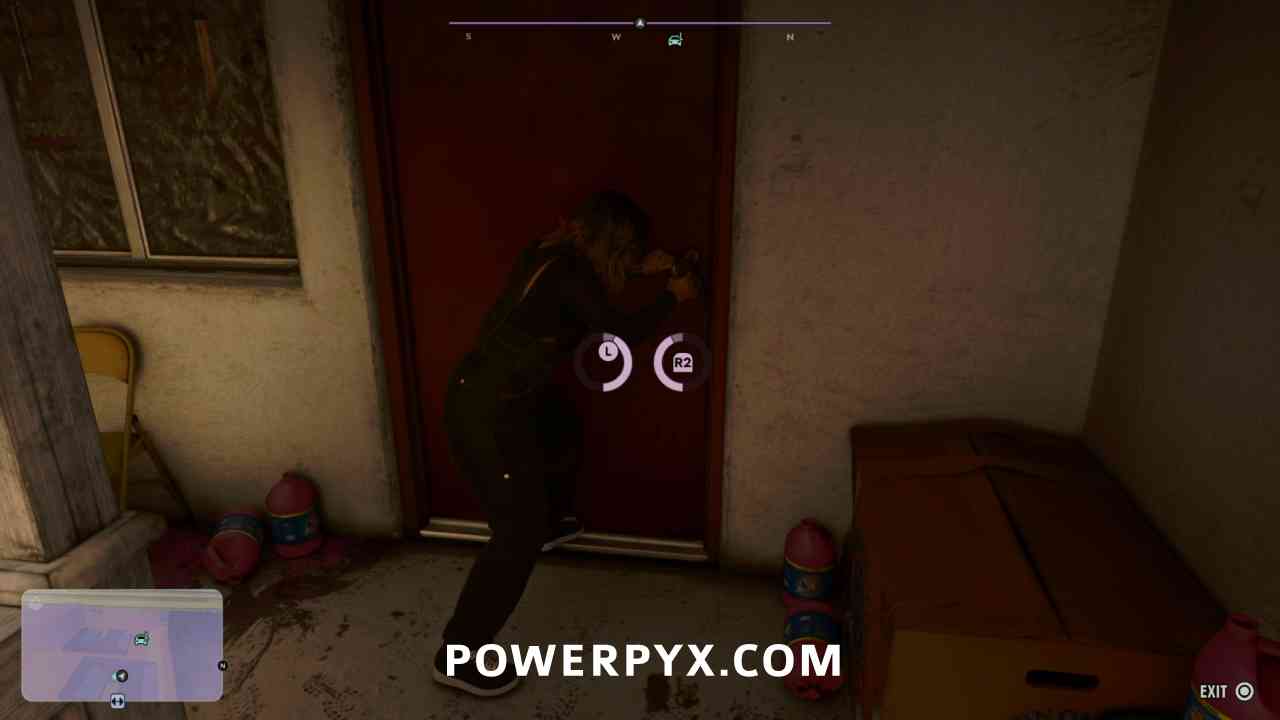
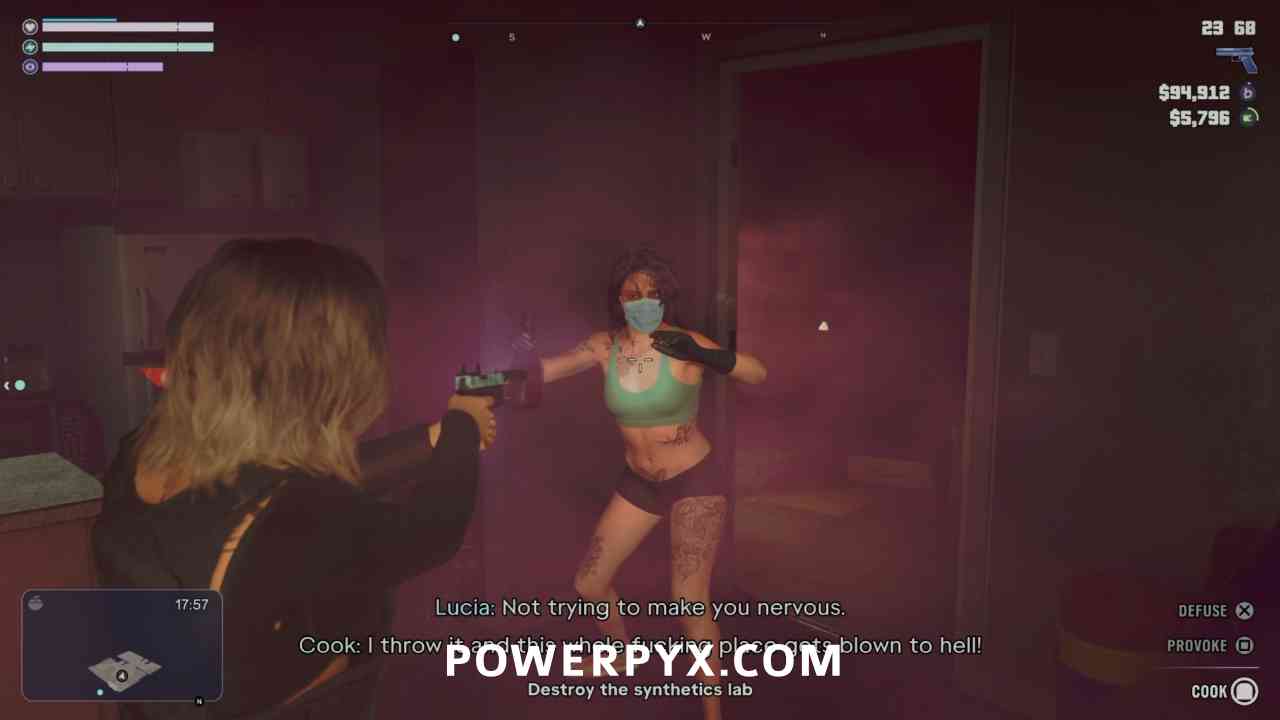
When you enter the cook inside will likely be holding a beaker, be careful as they will likely throw this at you, which will light the lab on fire.
Vice-Dale Labs
Location #1 – Reward: $2,500
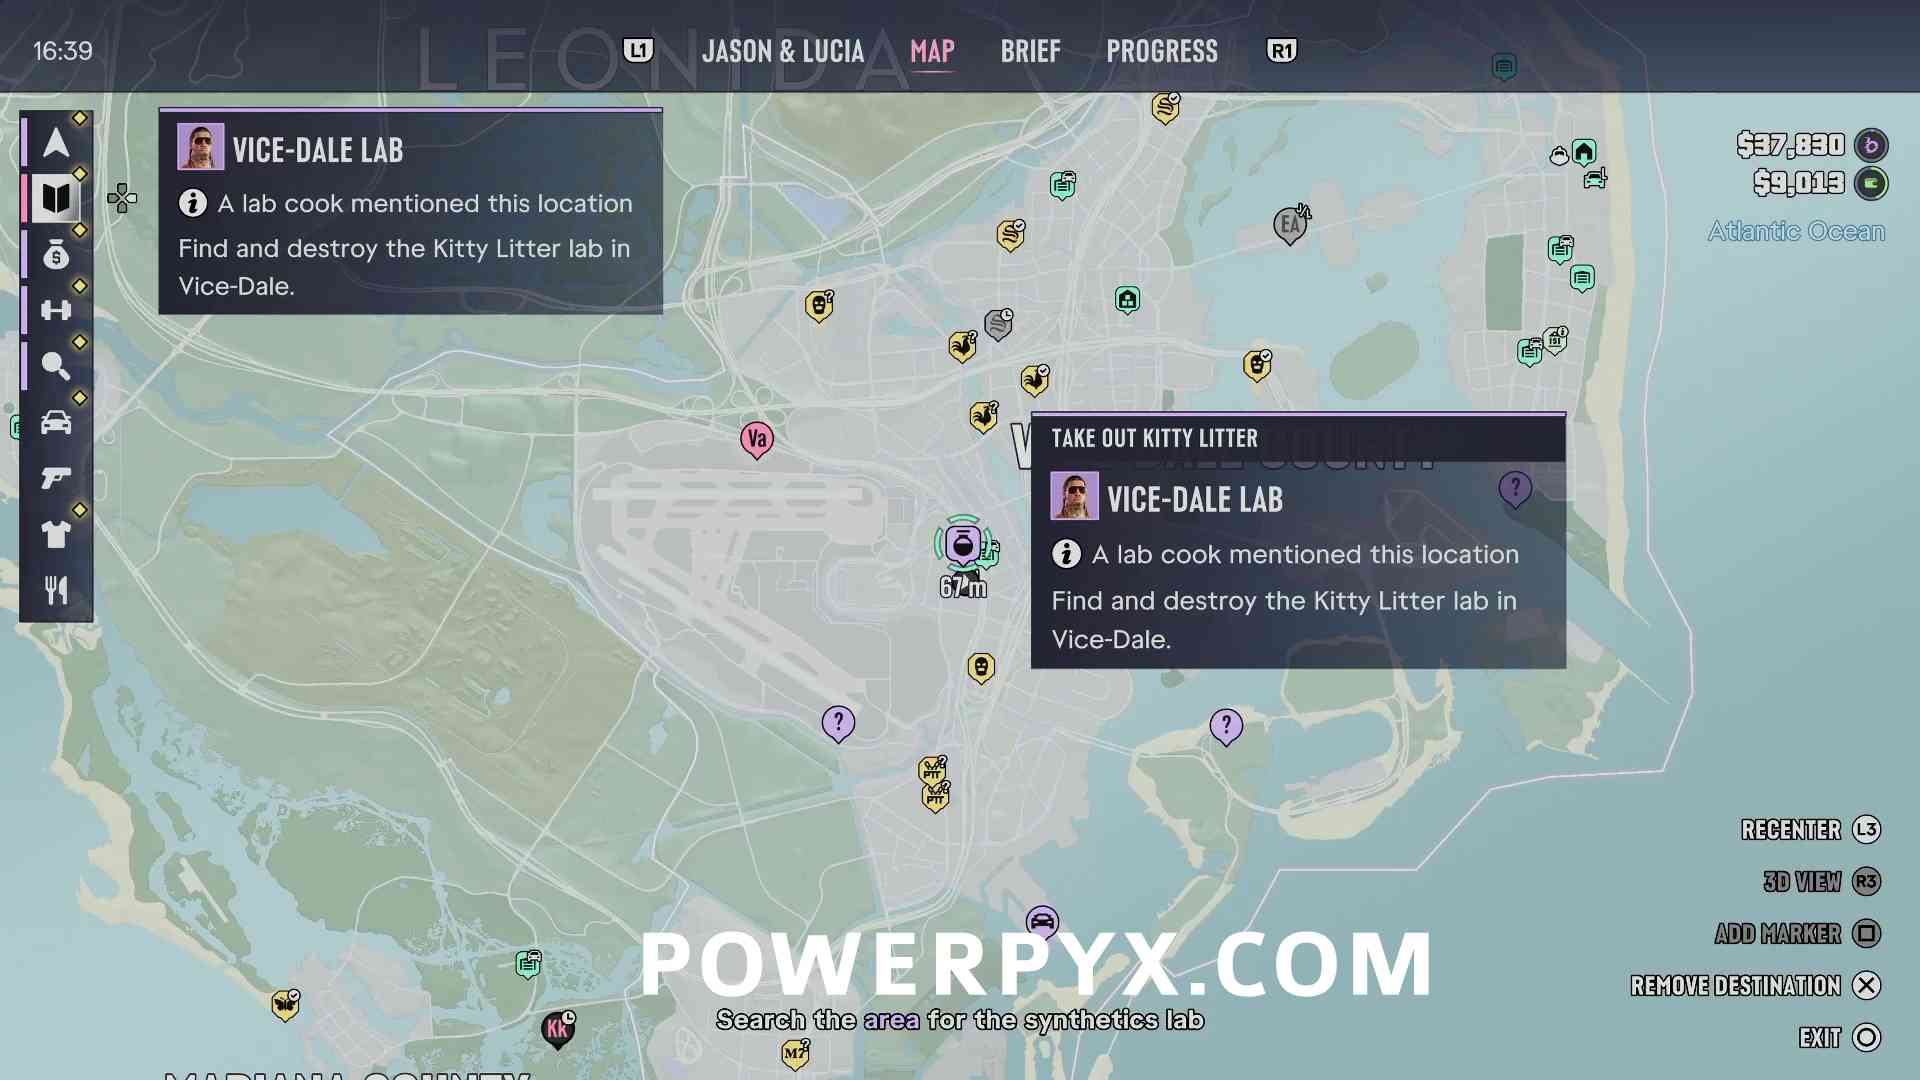
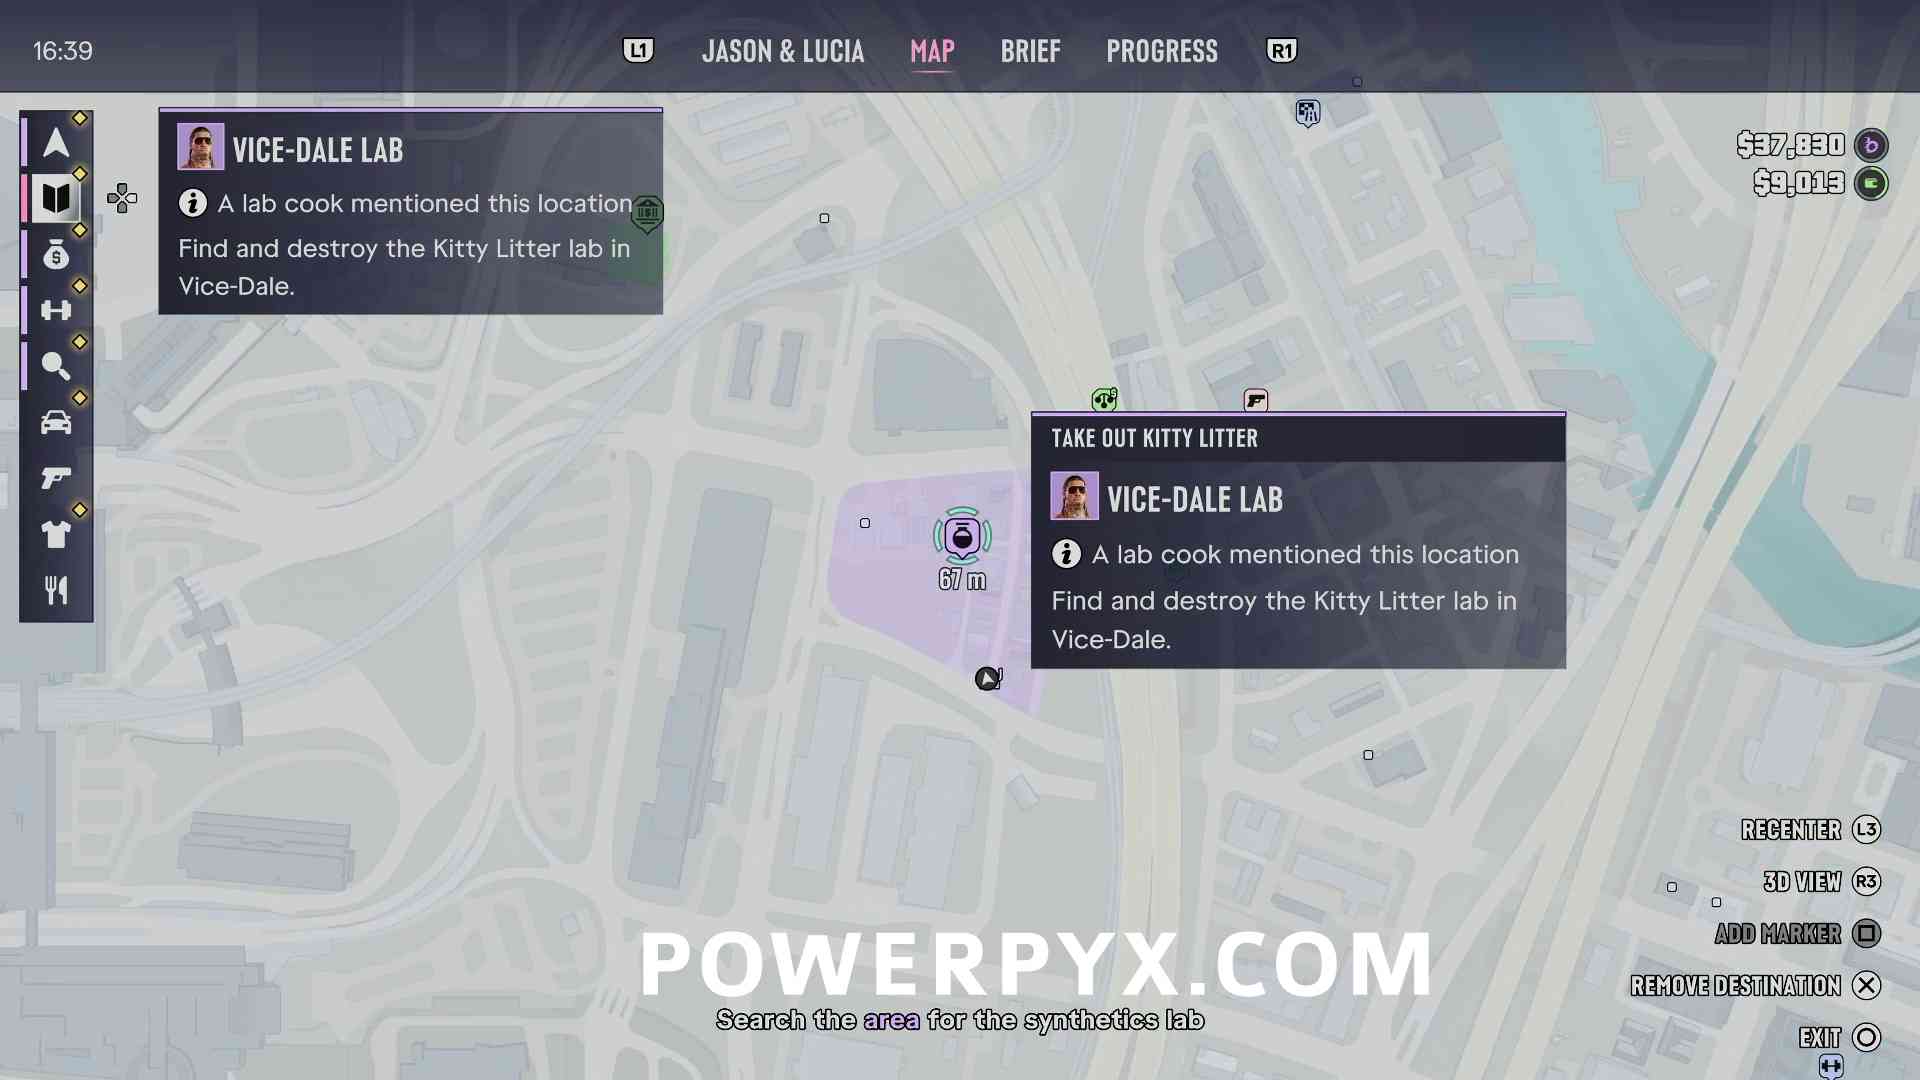
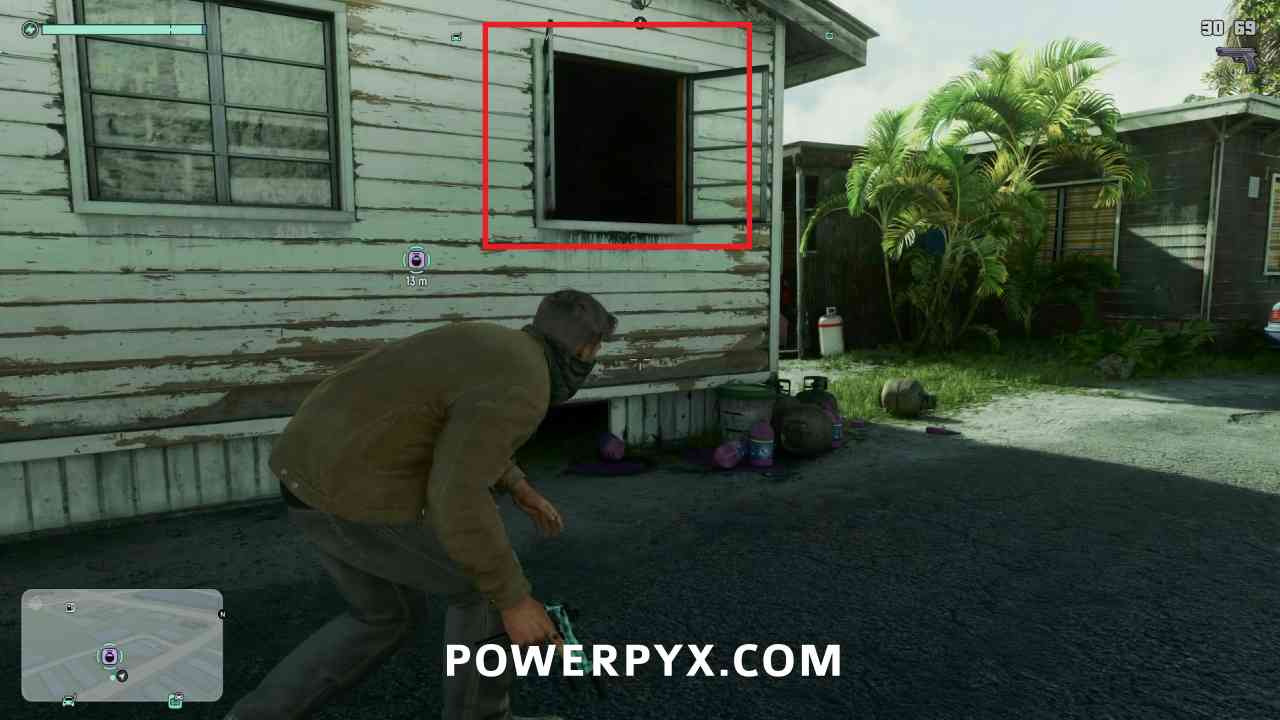
This lab is located in a trailer directly in the center of the search area. The exterior doors are locked, but there is a window on the east side that you can climb in to enter the lab.
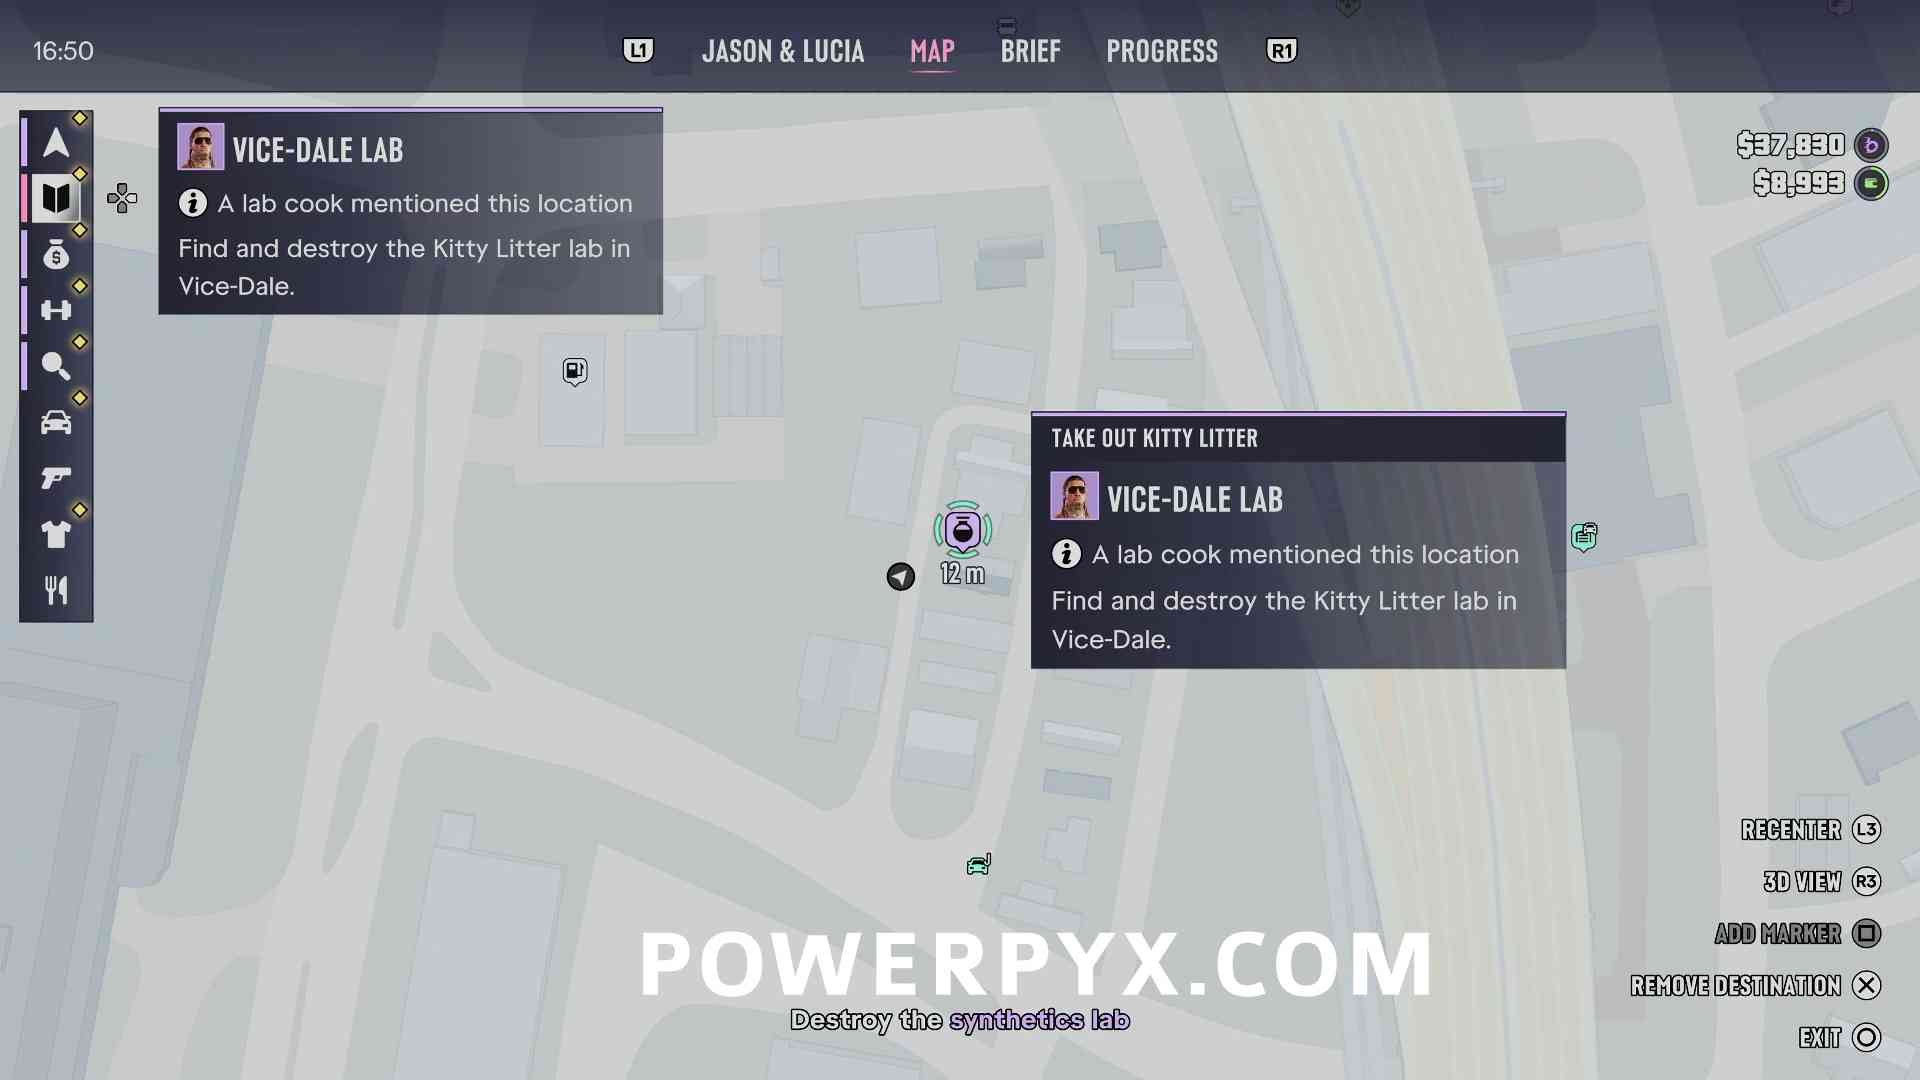
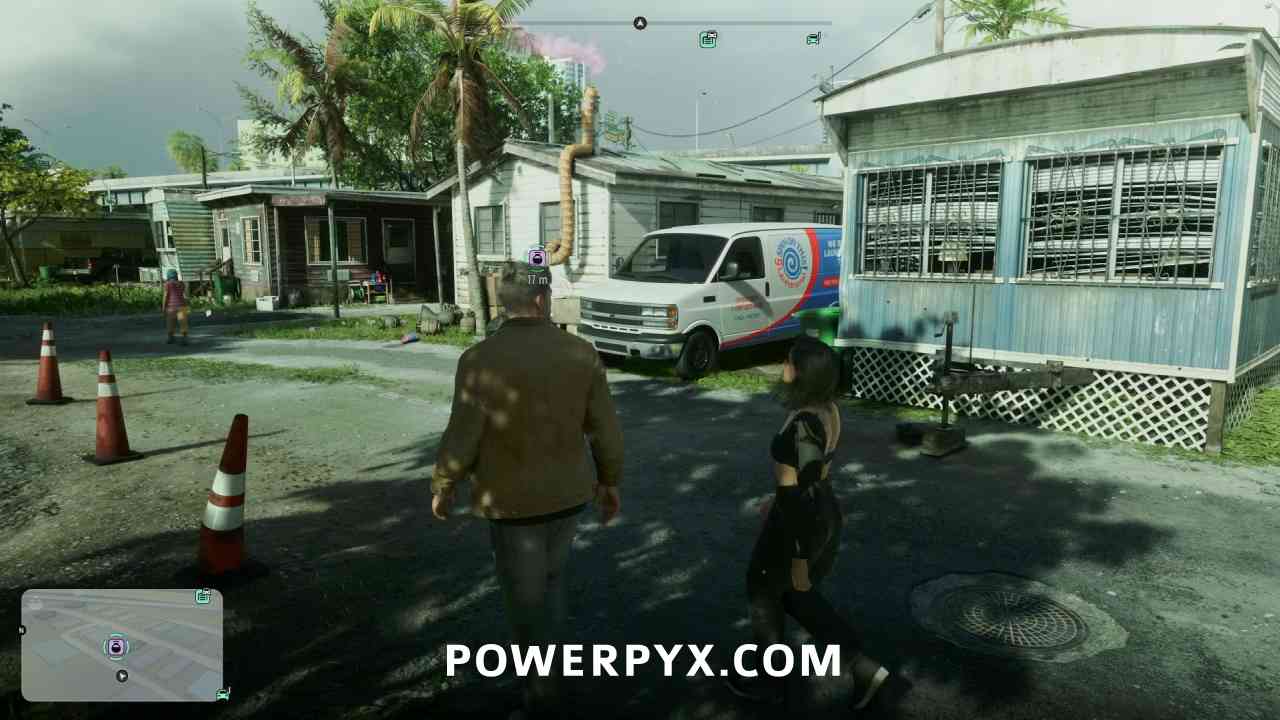
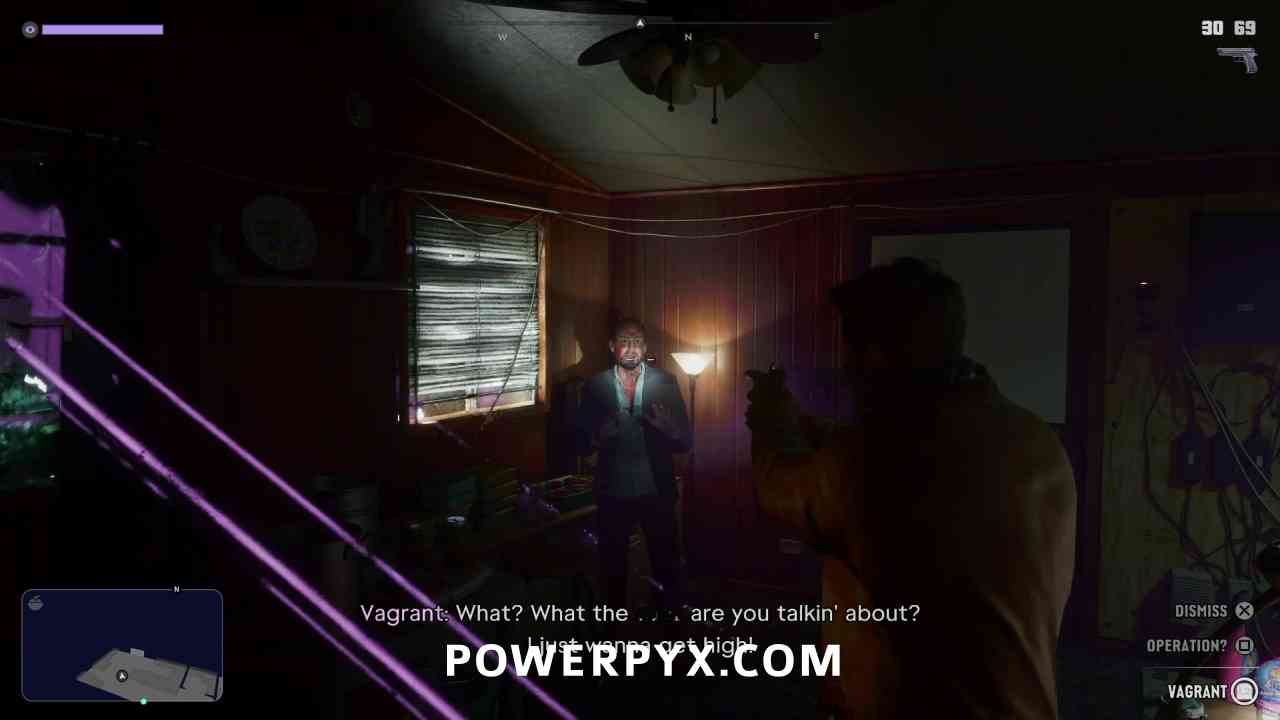
Inside this lab there is a Vagrant instead of a Cook who doesn’t know anything about the lab. You can tell him to leave and he’ll run away.
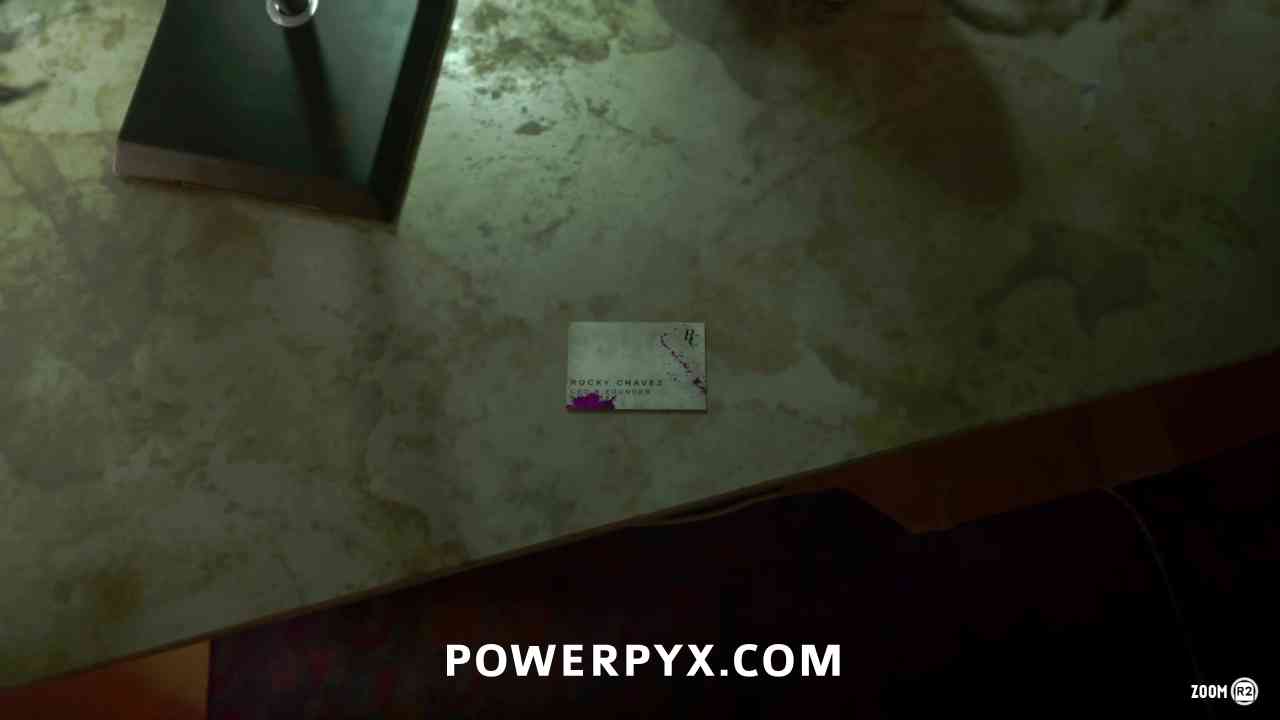
Before destroying the lab you can inspect the Rocky Chavez business card on the counter by all the equipment.
For all other Quests refer to the complete GTA 6 Walkthrough.
Leave a Reply