
Resident Evil 9: Requiem contains 5 Safe Locations. Finding and opening all safes unlocks the No Safe is Safe trophy and achievement. Each Safe requires a combination / code that is obtained from reading certain files. However, the safe codes are always the same and you can open them even without having read the associated file. The solutions are different on Insanity difficulty.
Each safe combination consists of 3 numbers and you need to spin the dial left/right or right/left onto the specific numbers. Then press  /
/  to open the safe. If the numbers or the dial direction was wrong, the safe dial will spin back to its default position and you can try again.
Everything in Resident Evil 9: Requiem is missable as there is no chapter select, but if you keep a manual save from each area you can still return everywhere. All Safes are found exclusively during Grace’s gameplay sections, none are found as Leon.
Care Center (Rhodes Hill) – Grace
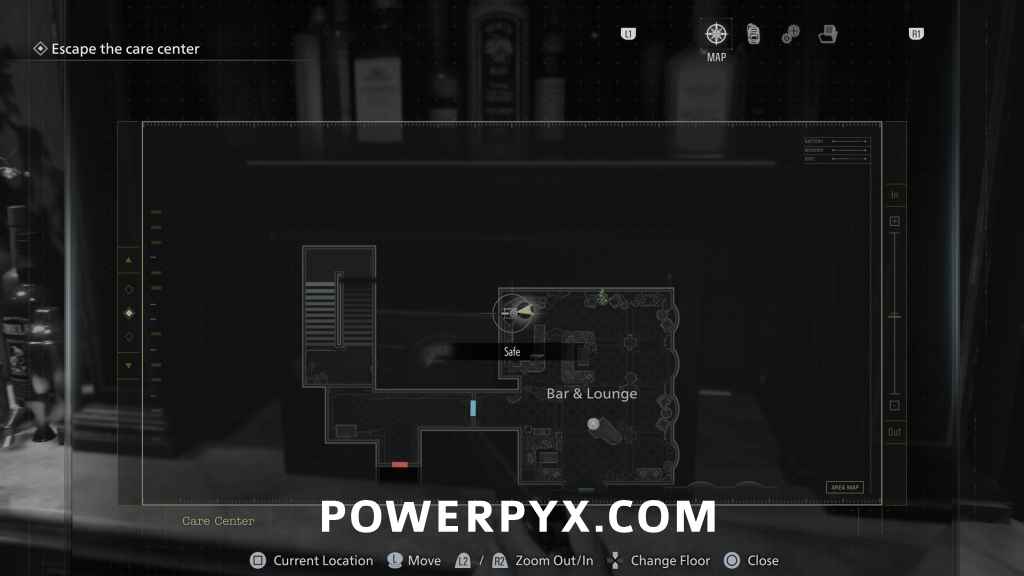
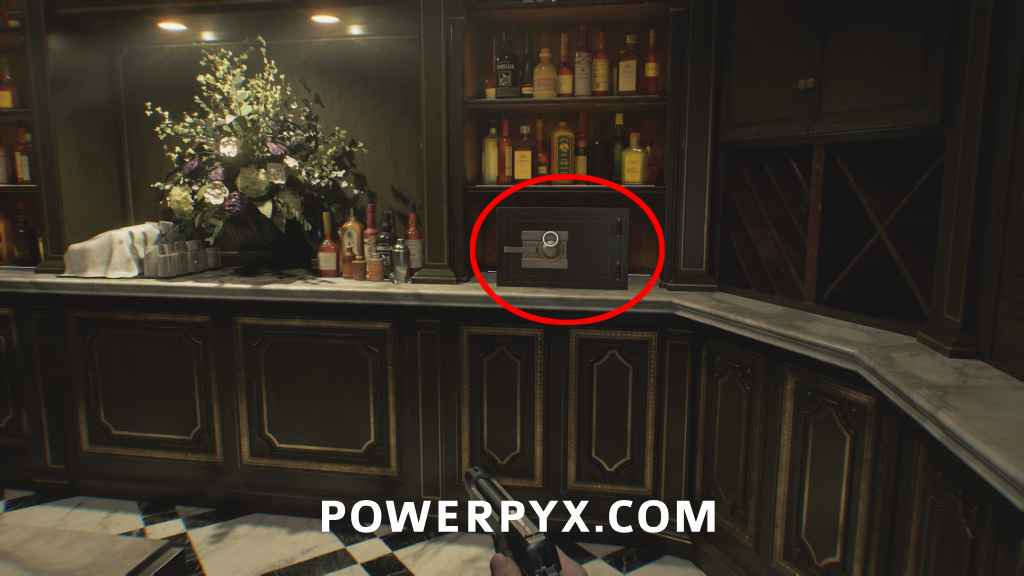
Safe #1 – Bar & Lounge
- Location: Bar & Lounge – First safe is found in Bar & Lounge, on the bar counter behind the enemies. You go through this room automatically for story progress, it’s the one with a singing zombie in a white dress, on the 2nd floor of the Care Center. Contains 3 Antique Coins.
- Combination (Casual): Left 10 – Right 80 – Left 30.
- Combination (Insanity): Right 20 – Left 50 – Right 30.
- How to find Solution: Normally you’d find the code later from “File: Bar & Lounge Safe Code“, but can open it without the file.
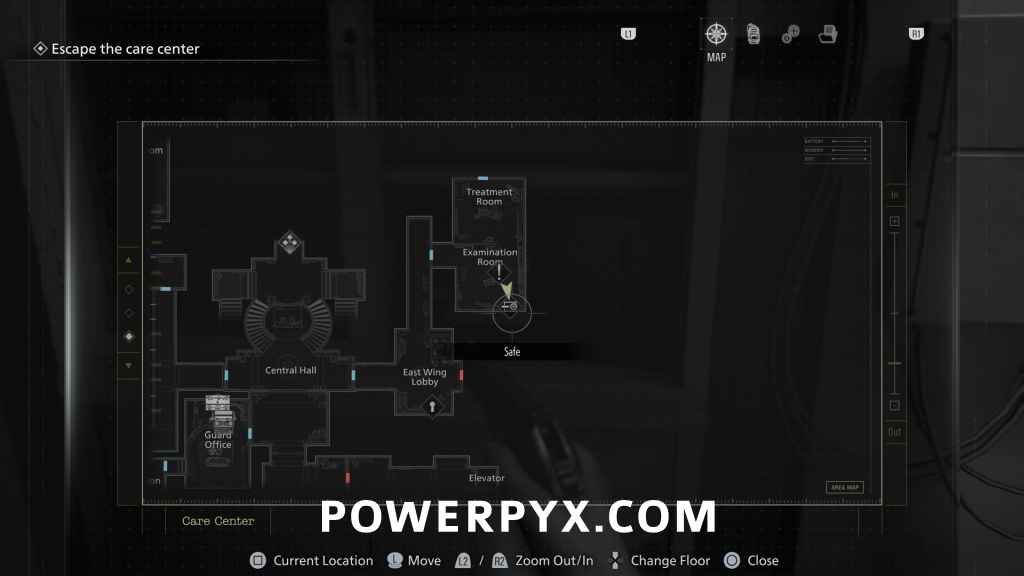
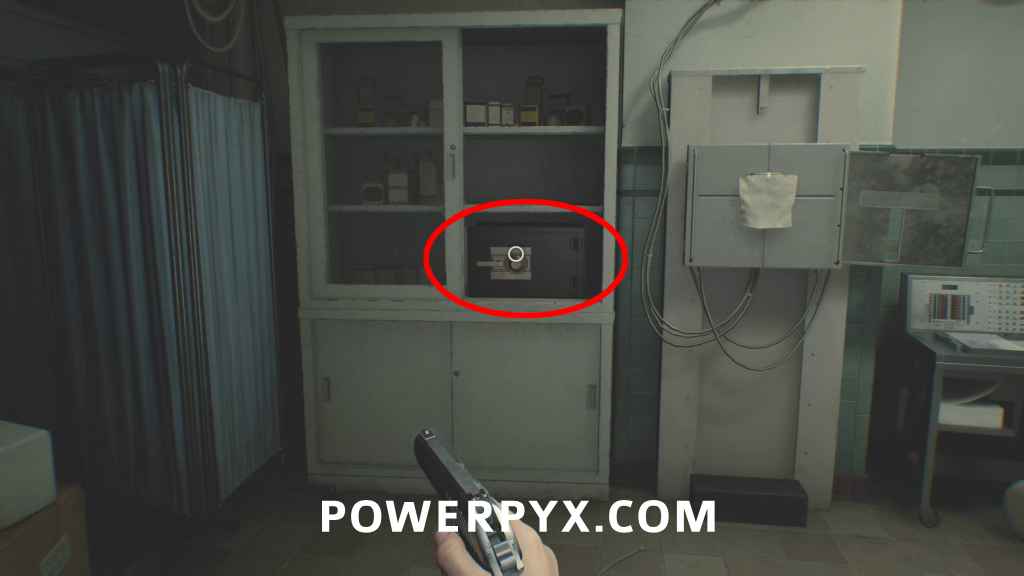
Safe #2 – Examination Room
- Location – Examination Room – After using the keycard in the Central Hall to open the east wing (story-related), you will reach the Examination Room. Safe is in the corner, inside the cabinet. Contains 3 Antique Coins.
- Combination (Casual): Right 30 – Left 10 – Right 50.
- Combination (Insanity): Left 50 – Right 30 – Left 90.
- How to find Solution: Normally you’d find the code later from “File: Examination Room Safe Code“, but can open it without the file.
Care Center Basement (Rhodes Hill) – Grace
Safe #3 – Furnace
- Location: Furnace – Take the Joint Plug from the Holding Cells Corridor and insert it in the Furnace room door (the central room). In the next room in a side office on the right you find the Safe. Contains a document that marks Mr. Raccoons on the map.
- Combination (Casual): Right 60 – Left 40 – Right 80.
- Combination (Insanity): Left 70 – Right 50 – Left 20.
- How to find Solution: The combination is obtained from “File: Basement Safe Code” which was found as Leon earlier in the attic, but can open it without the file.

ARK – Grace
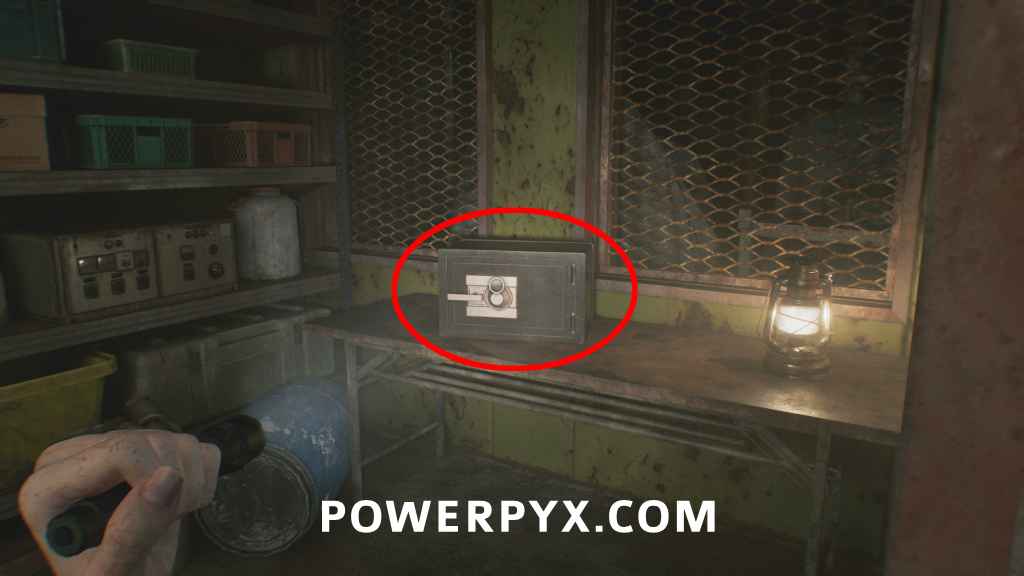
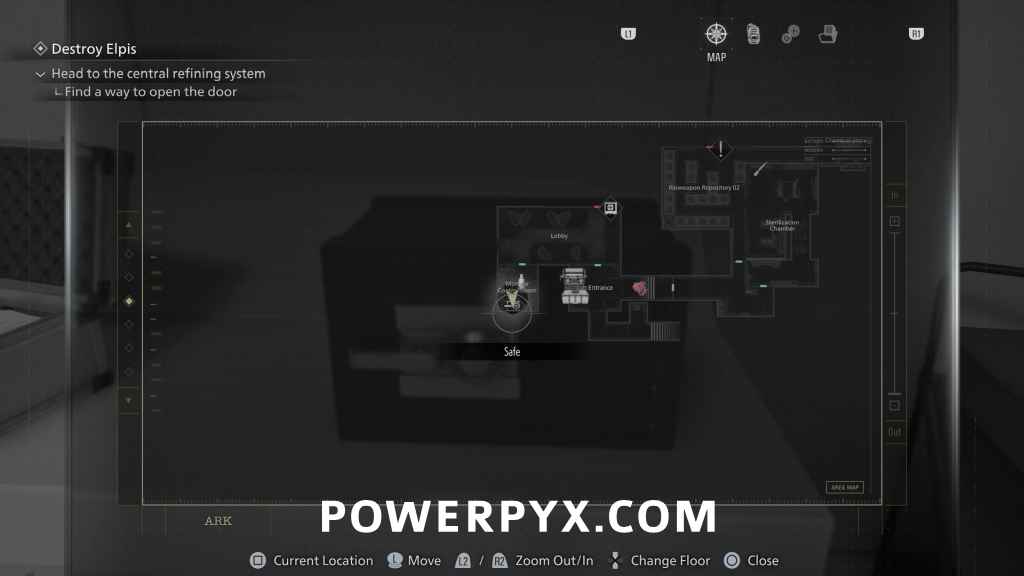
Safe #4 – Sterilization Chamber
- Location: Sterilization Chamber – After reaching the ARK area, you initially will play as Leon. Advance until you play as Grace again and reach the next typewriter save point. Then go through the open door on the right to reach the Sterilization Chamber. Here you encounter the first licker enemy. The safe sits on the window directly in front of where you enter the room. Sneak around the Licker to reach it.
- Combination (Casual): Right 10 – Left 90 – Right 20.
- Combination (Insanity): Left 80 – Right 50 – Left 0.
- How to find Solution: Code is obtained from “File: Sterilization Chamber Safe“, but can open it without the file.

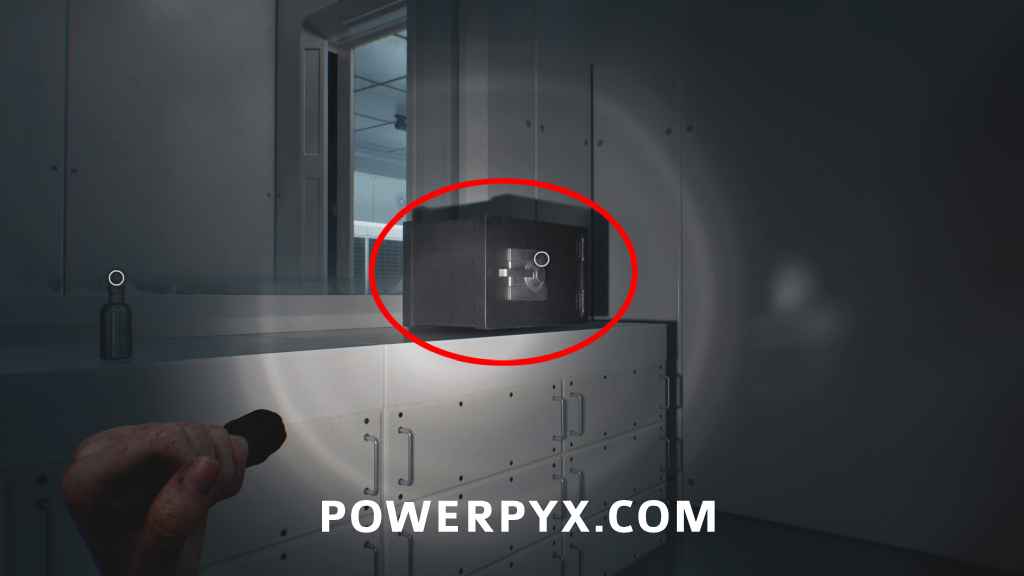
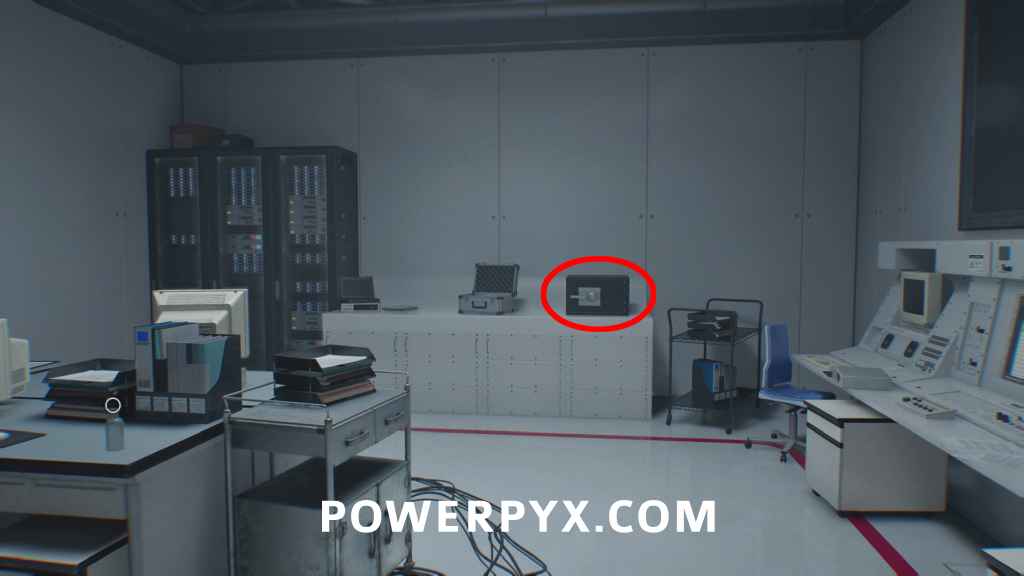
Safe #5 – Monitor Control Room
- Location: Monitor Control Room – After grabbing the Magnetic Key (story item), use it on the red door by the typewriter upstairs. This leads to the “Lobby” with red floor paint. Enter the first green door on the left and inspect the monitor on the right side.
- Combination (Casual): Left 50 – Right 60 – Left 80.
- Combination (Insanity): Right 20 – Left 0 – Right 70.
- How to find Solution: You get the code from “File: Monitor Control Room Safe“, but can open it without the file.
Leave a Reply