
Love that Begins with Lies is the third main mission in NTE (Neverness to Everness). This walkthrough will guide you through all objectives of the Love that Begins with Lies main quest.
- Starting District: Old Town
- Quest Giver: Automatically appears in quest log after reaching Hunter Level 10
- Requirement: Completed Prologue 2: Good Business, Better Treasure, reached Hunter Level 10
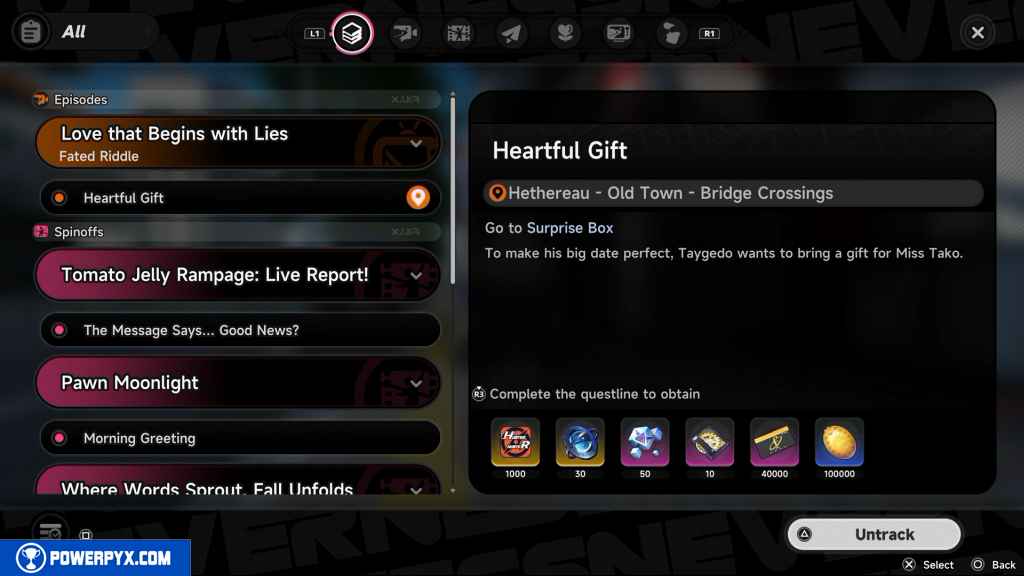
- Reward: Hunter Level EXP x1000, Annulith x30, Heterogenous Unit x50, Expansion Core x10, Fons x40k, Beetle Coin x100k
- Quest Description: Taygedo is whispering to others. Seems like they’re in trouble…
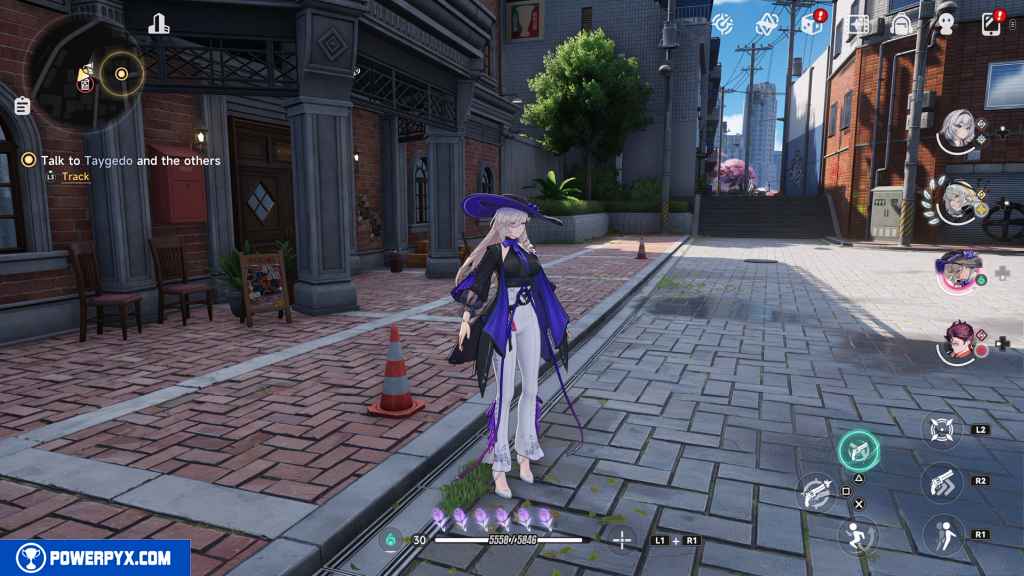
Talk to Taygedo and the others (The Future of Eibon?)
You can find Taygedo and the others just east of Eibon.
Approach them to progress.
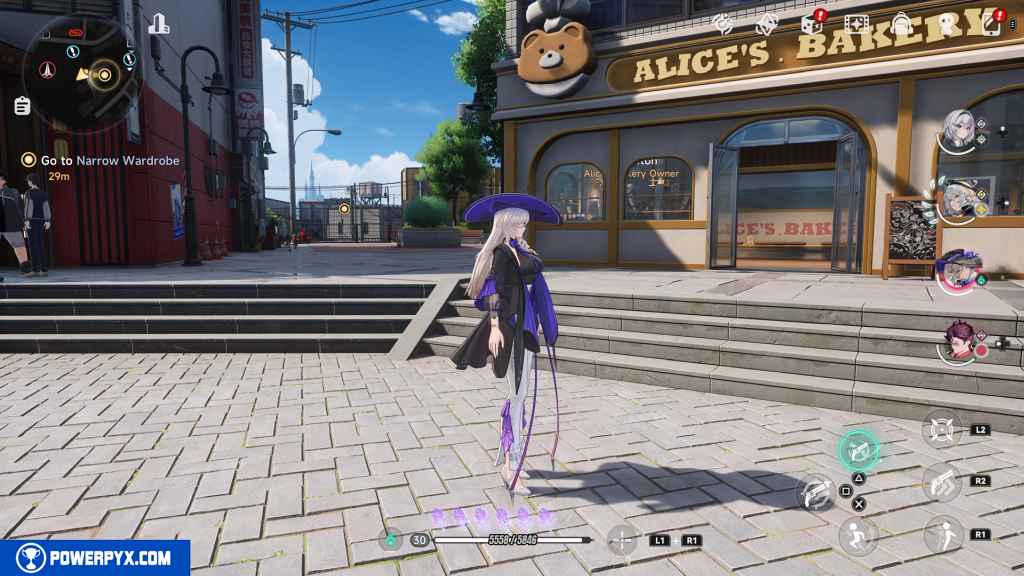
Go to Narrow Wardrobe (Dress to Impress)
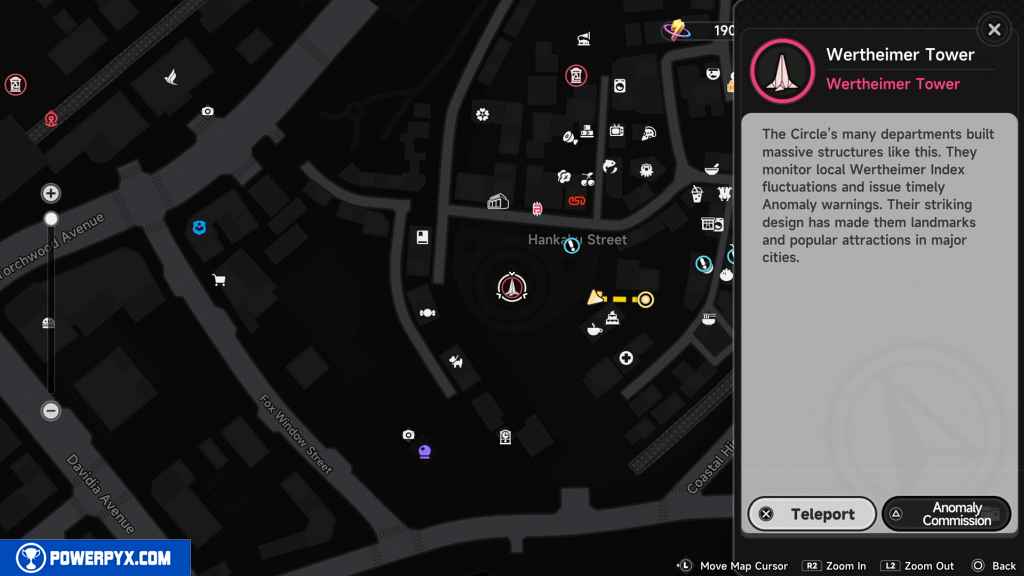
Head south of Hankaku Street. You can also use the Wertheimer Tower there to teleport to the plaza.
Go into the alley just to the left of Alice’s Bakery.
Go to Q3 Fashion (Appearance Level Up!)
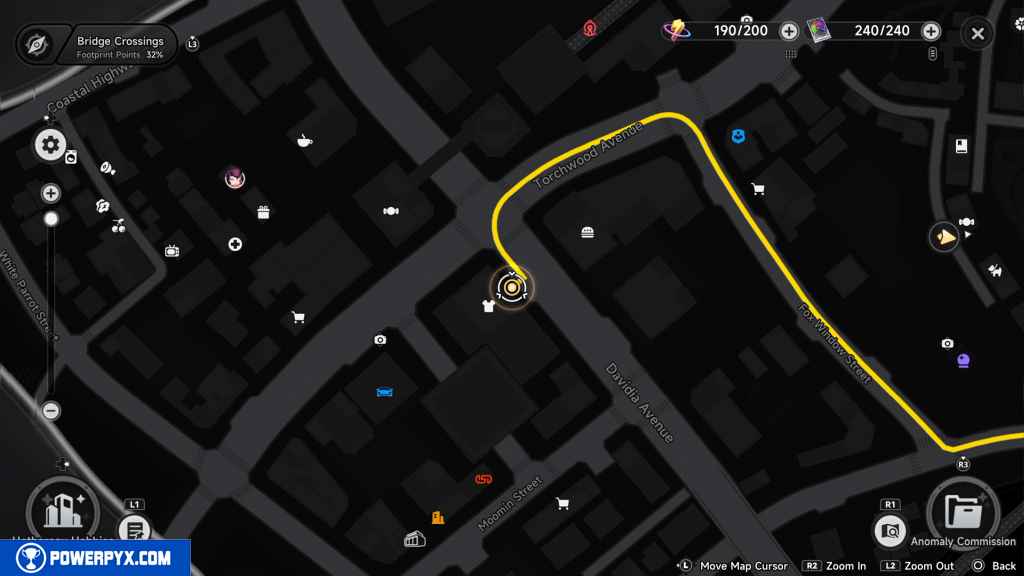
Make your way to Q3 Fashion near the corner of Torchwood Avenue and Davidia Avenue.
Expectations Met (Boss, Stylish!)
When you arrive at Q3 Fashion, the objective changes automatically.
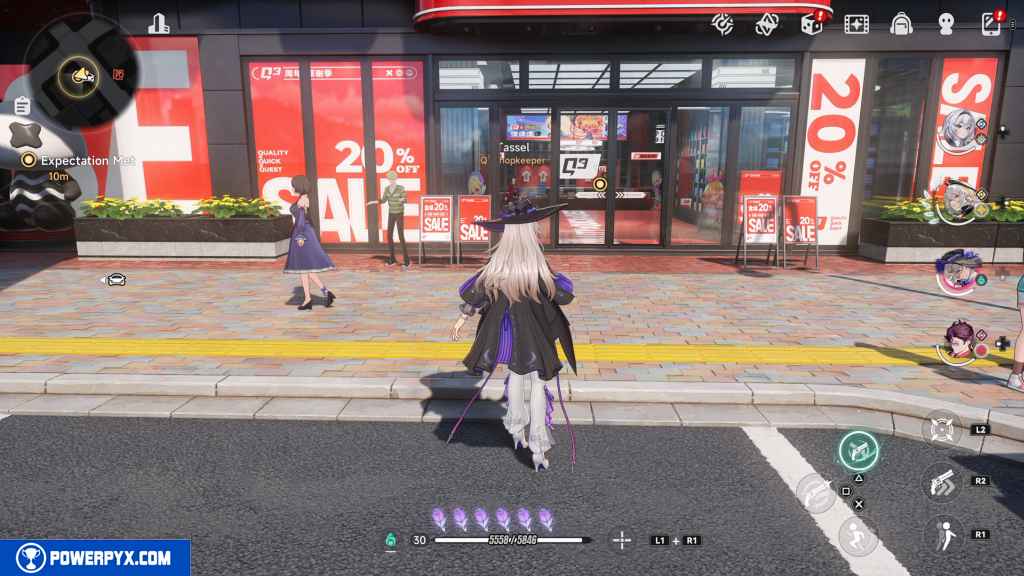
Head inside and approach the back right of the store to progress.
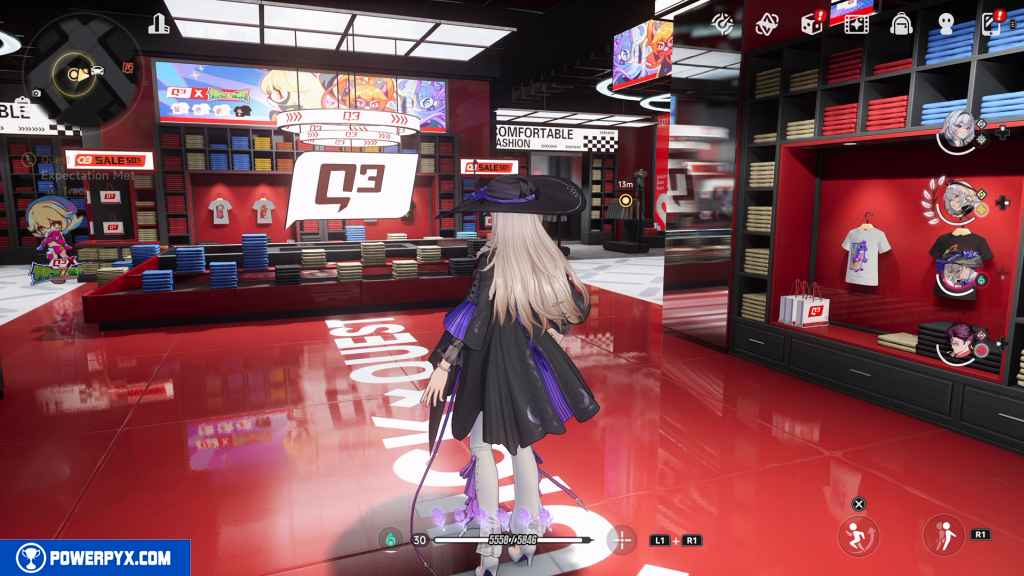
Inquire with the Staff (Clothes for Oddities?)
Turn around and go to the opposite corner of the store to the southeast.
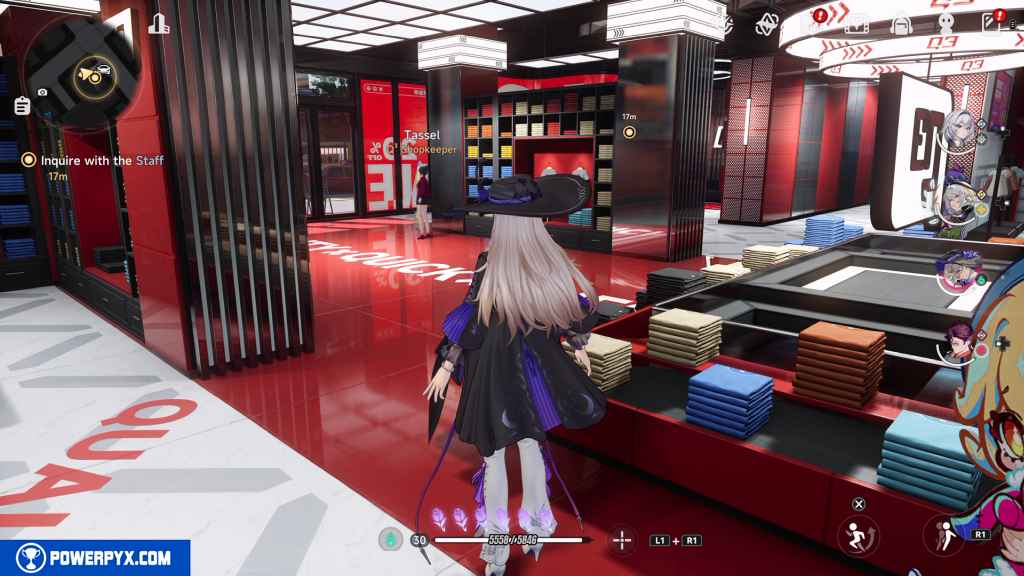
Approach the staff member in the cat beanie.

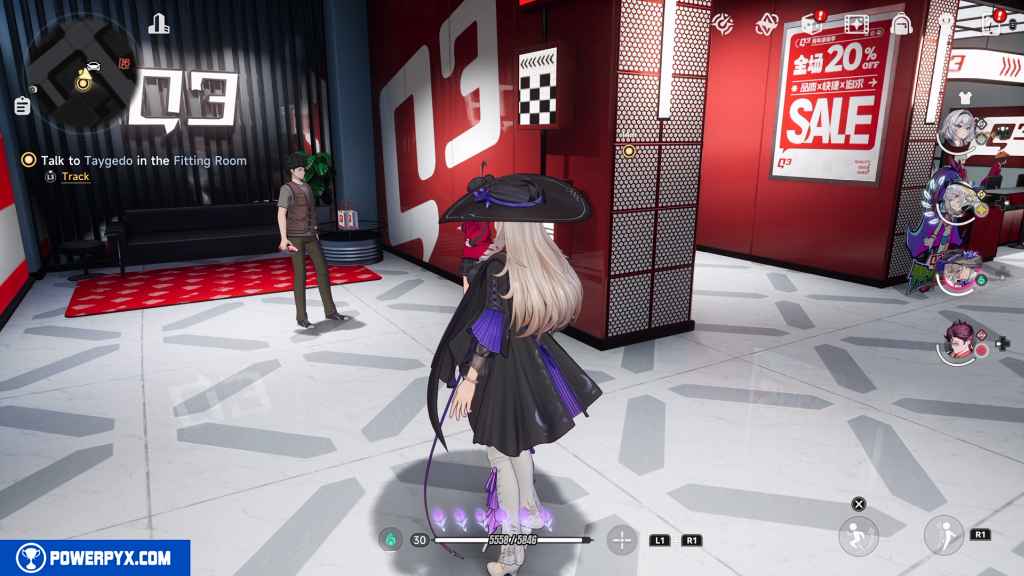
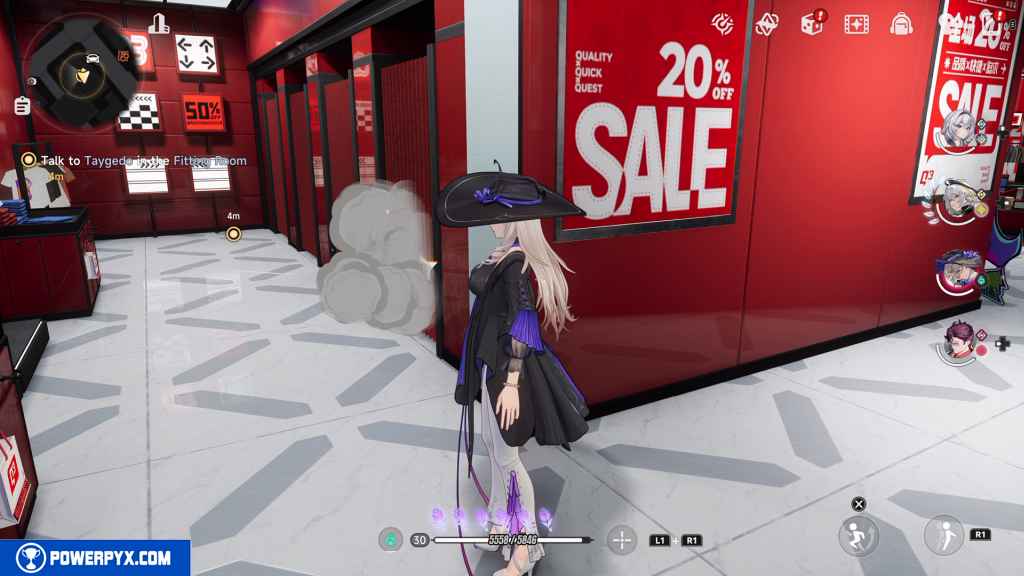
Talk to Taygedo in the Fitting Room (Taygedo-ish Inspiration)
Go down the hallway to your immediate right and approach the changing room with a bunch of clouds coming out of it.
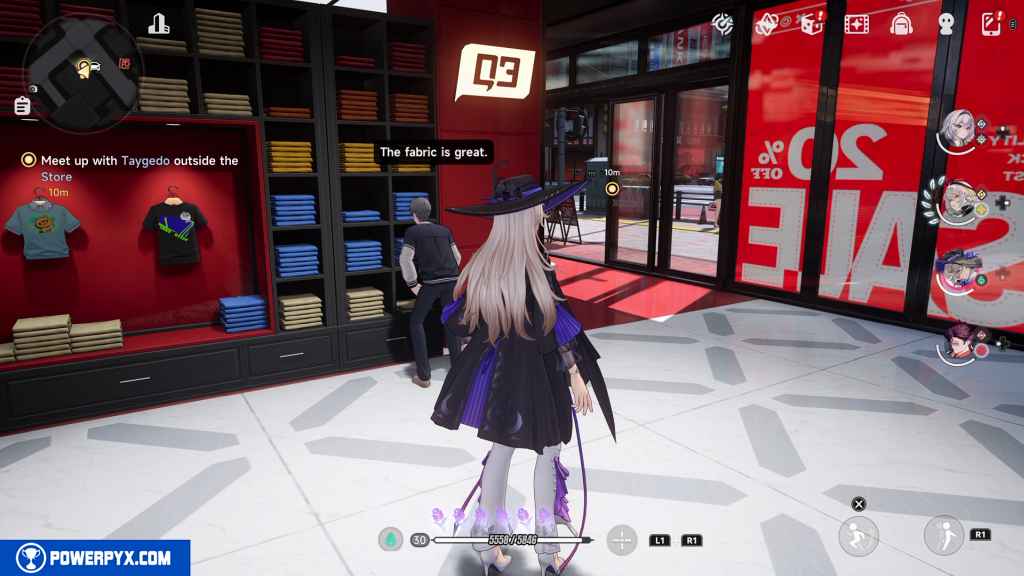
Meet up with Taygedo outside the Store (Taygedo in Suit)
Leave the store to progress.
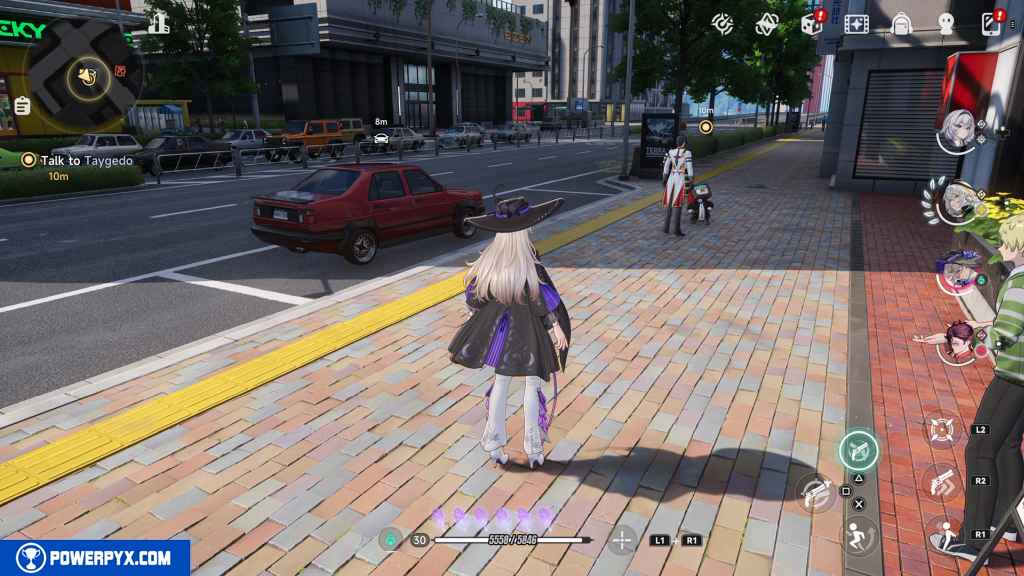
Talk to Taygedo (Head Turner)
Immediately turn right and approach Taygedo and Adler.
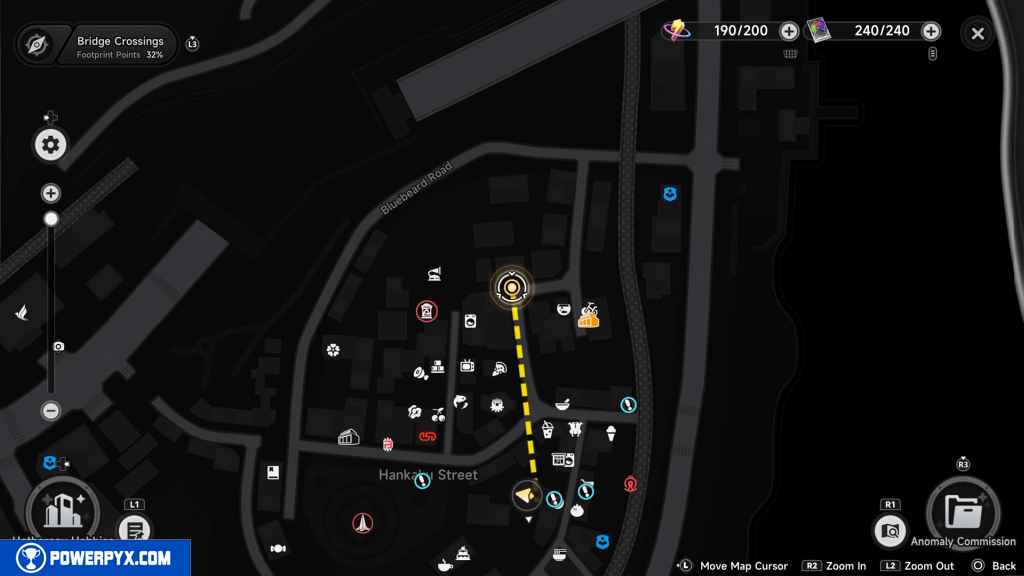
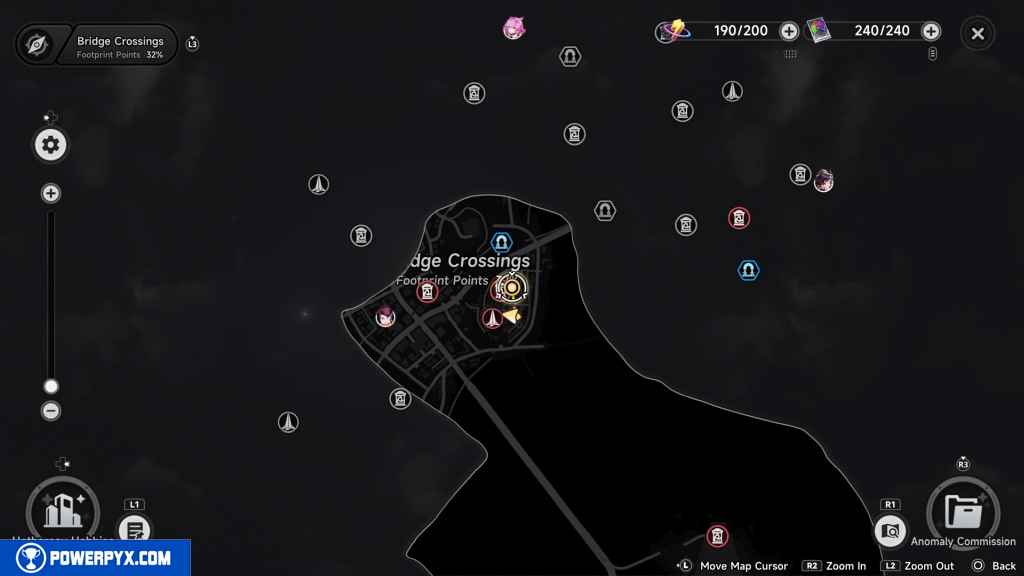
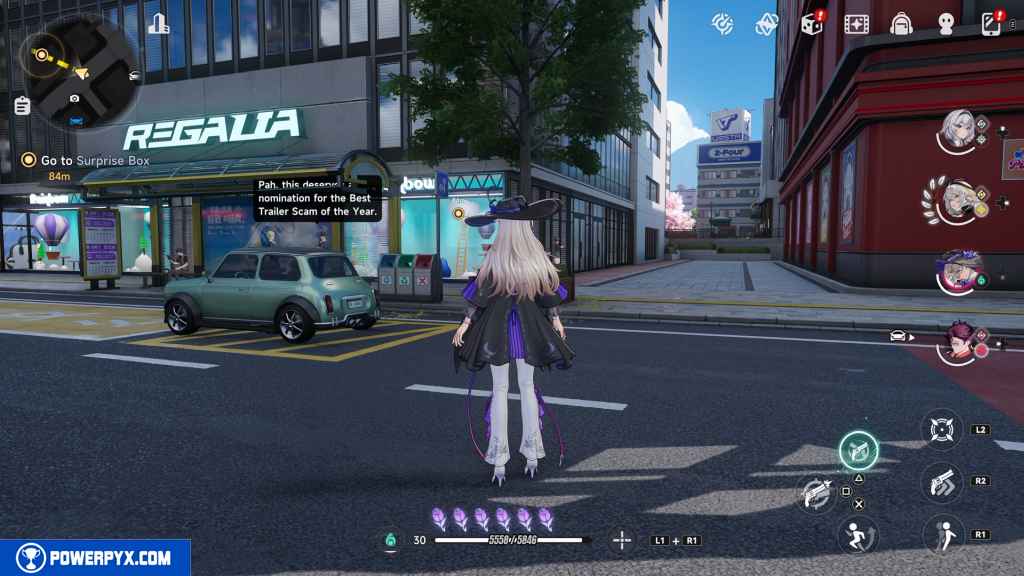
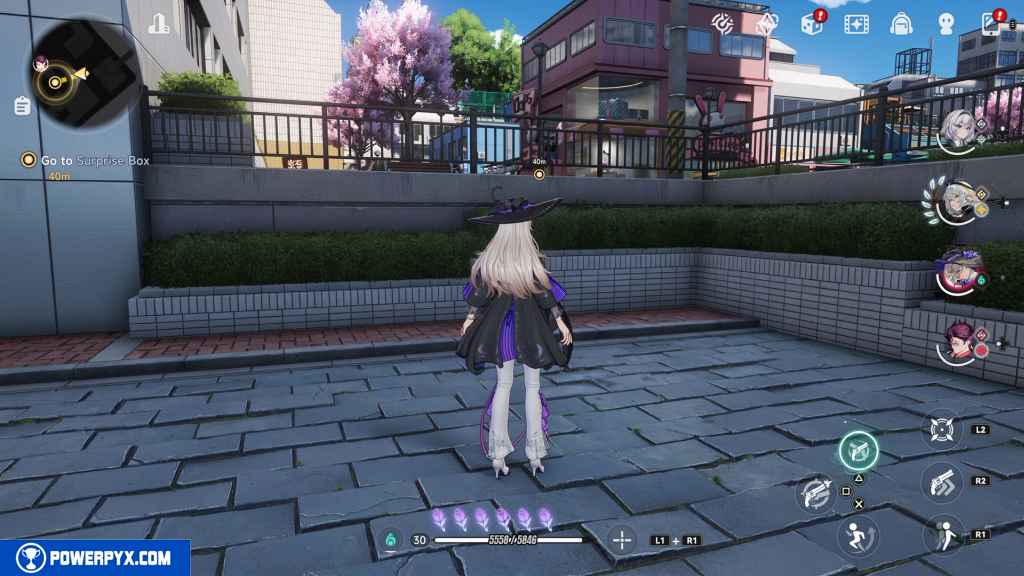
Go to Surprise Box (Heartful Gift)
Head further west down Torchwood Avenue.
Go down the alley to the right of Regalia.
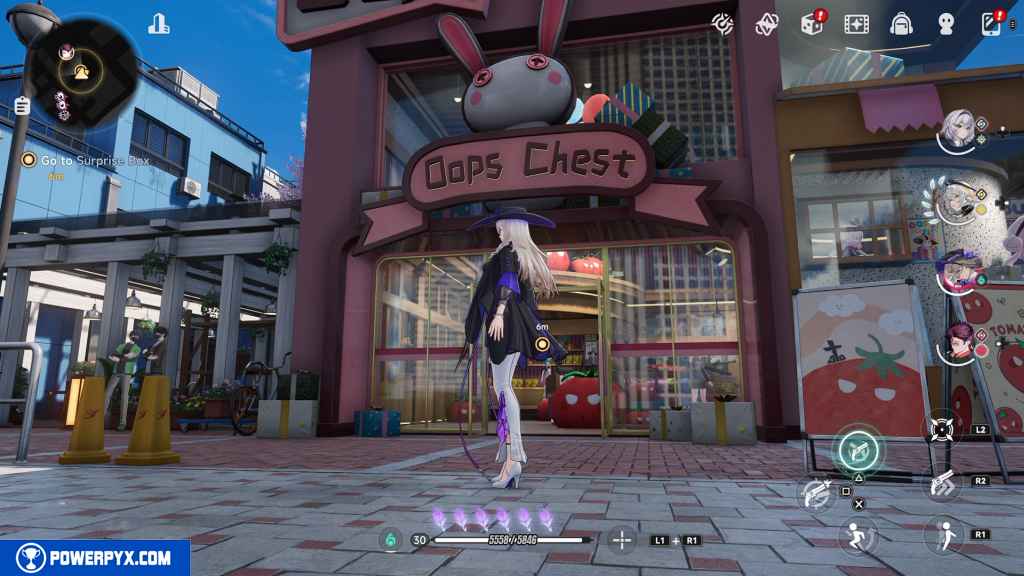
Hop the fence to your left and then enter Oops Chest.
You will earn a mid-mission reward at this point:
- Reward: Hunter Level EXP x1000, Annulith x30, Elite Hunter Guide x15, Chaotic Dye x15, Fons x40k, Beetle Coin x100k.
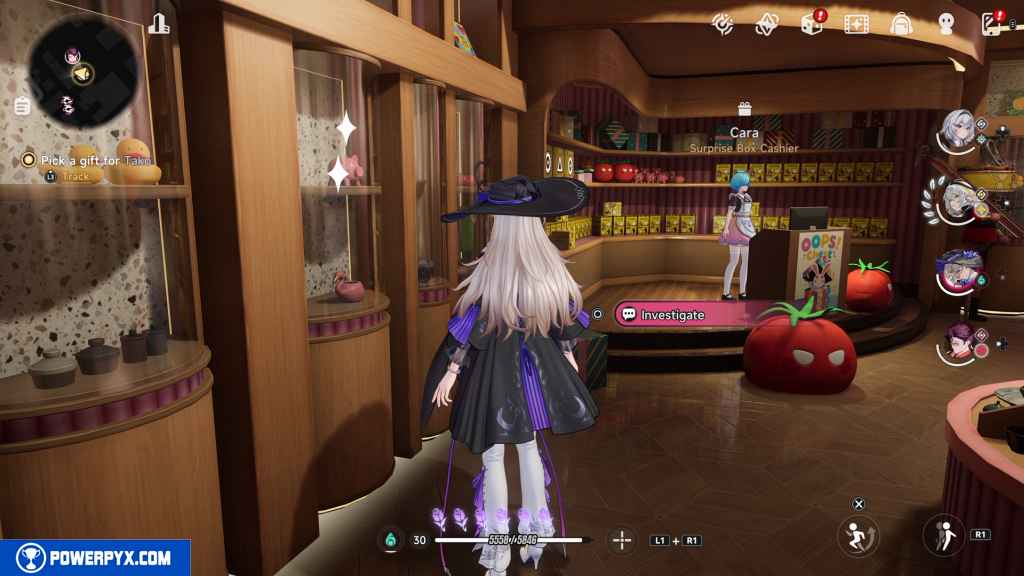
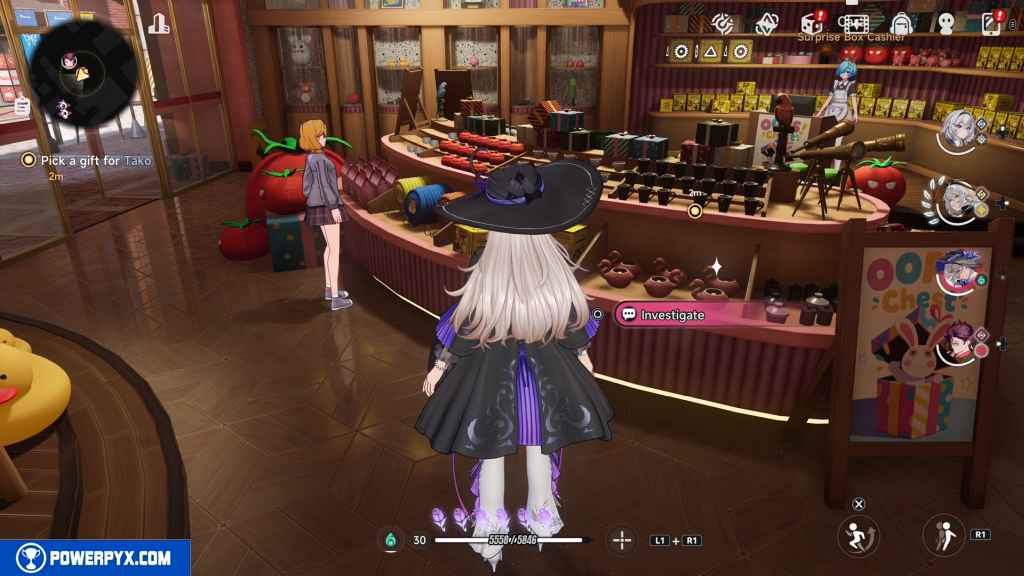
Pick a gift for Tako (Decision Fatigue)
Head inside Oops Chest.
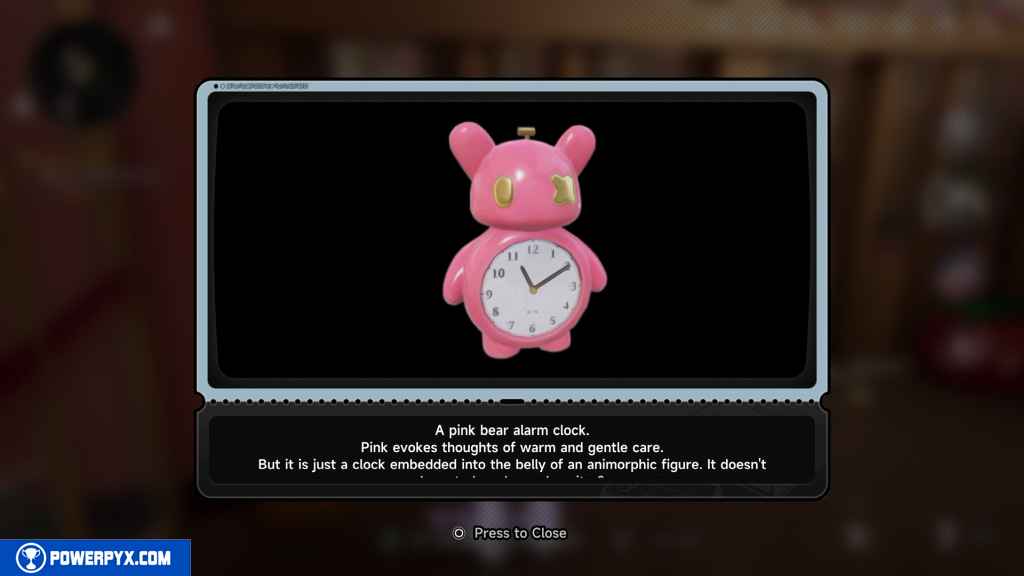
To your immediate left, find a pink bear alarm clock.
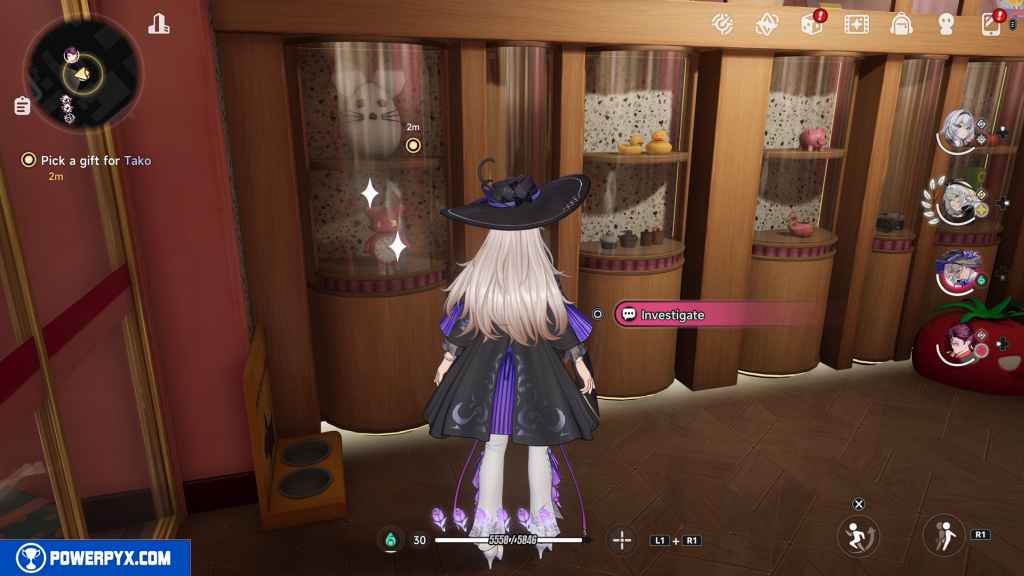
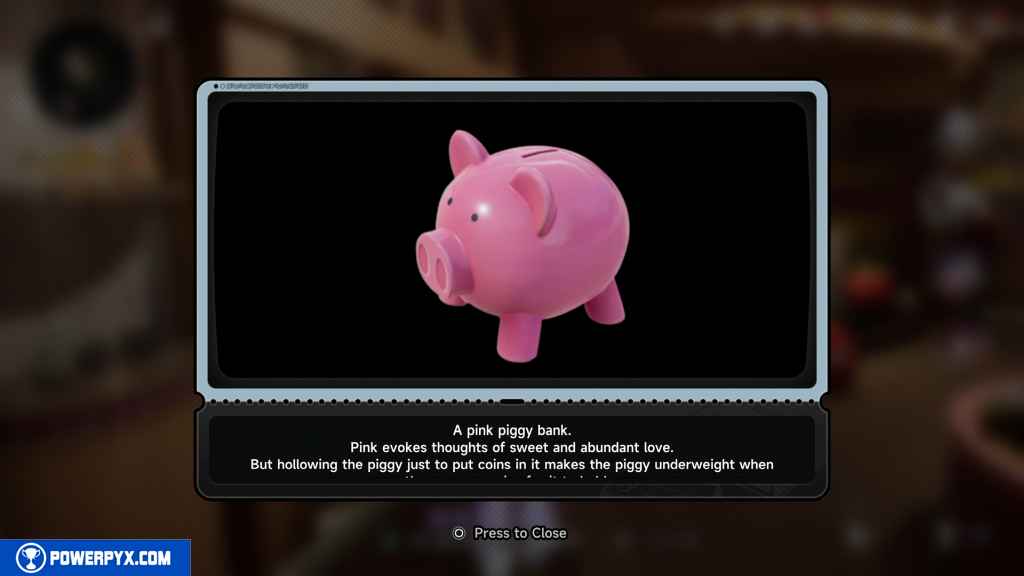
Just to the right of that, find a piggy bank on the shelf that’s sparkling.
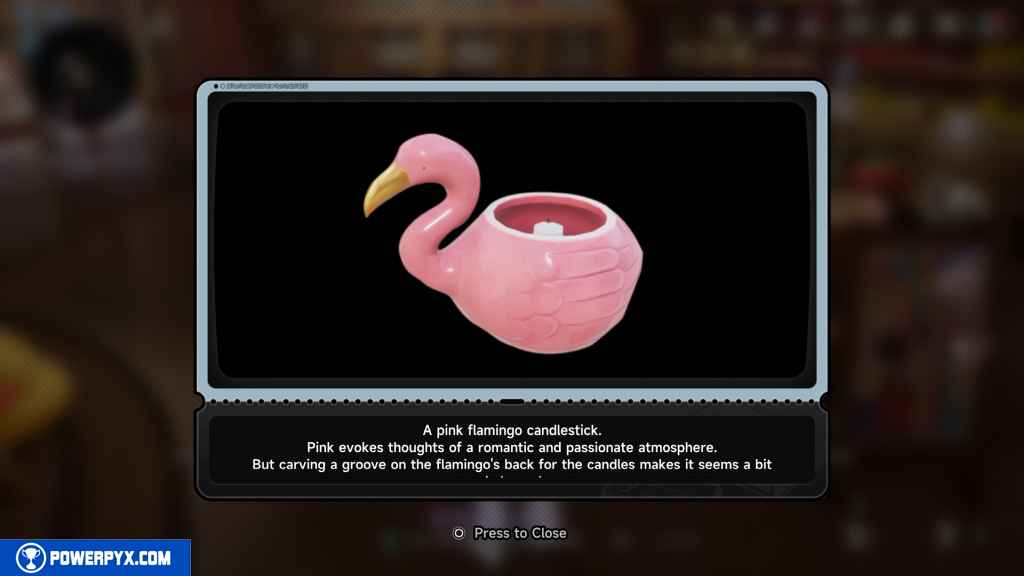
Then, on the island, find the pot planters that look like flamingos.
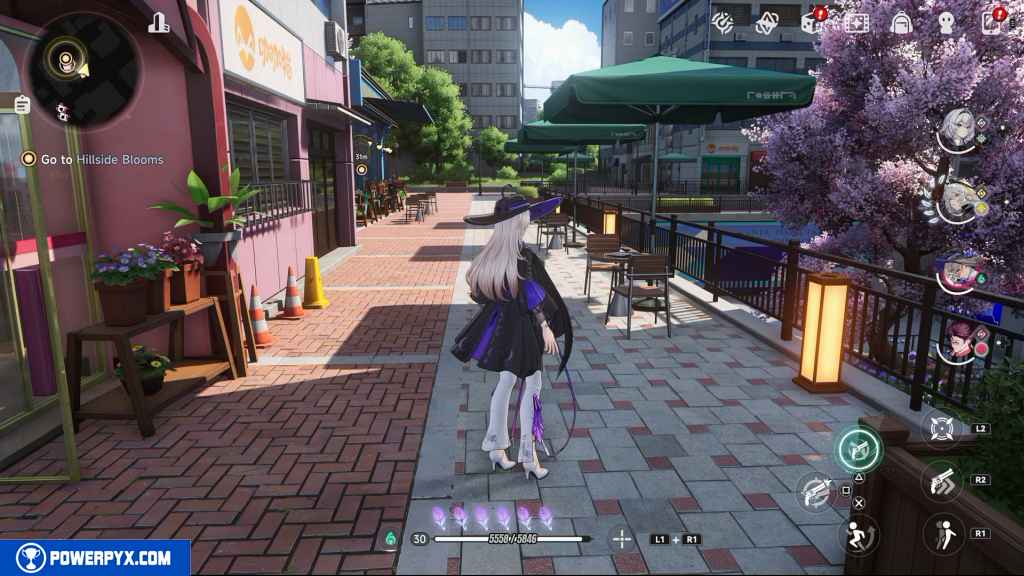
Go to Hillside Blooms (Bouquet)
Leave the store.
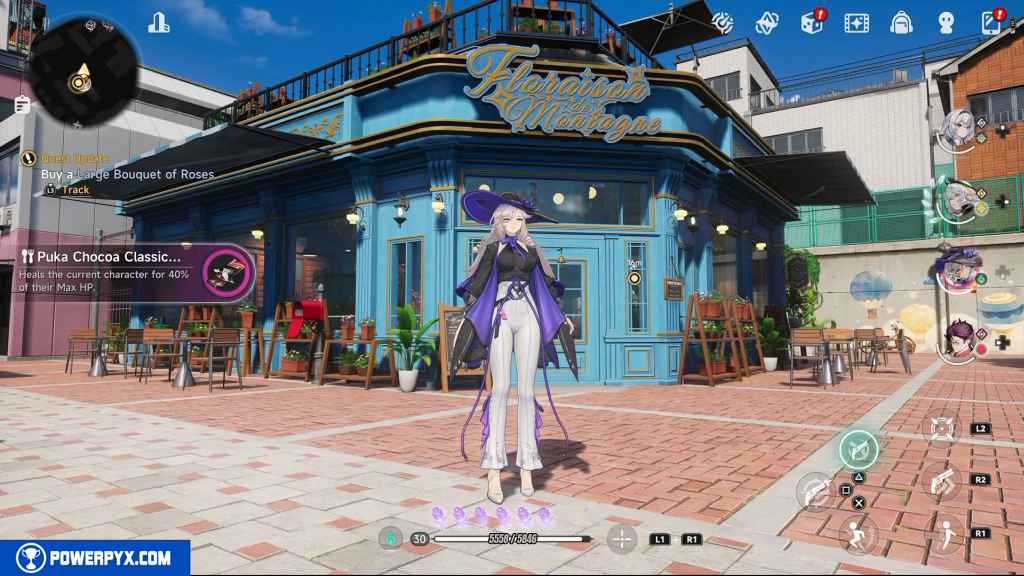
Head northwest to the blue flower shop on the corner, Floraison de Montagne.
Buy a Large Bouquet of Roses (Red Roses)
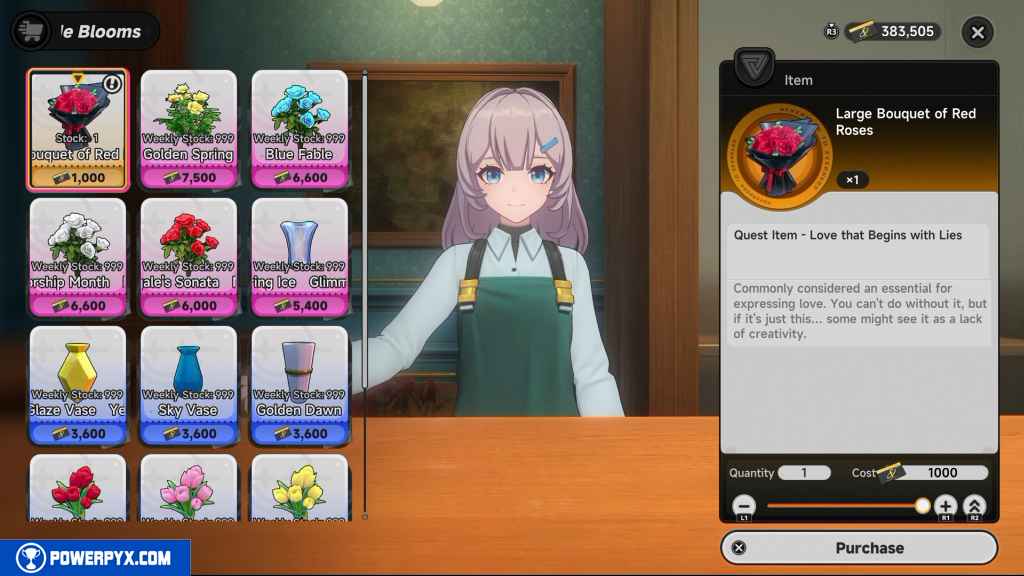
Enter the flower shop.
Interact with Lillian to open the store.
Purchase the Large Bouquet of Red Roses, the only yellow item in the inventory.
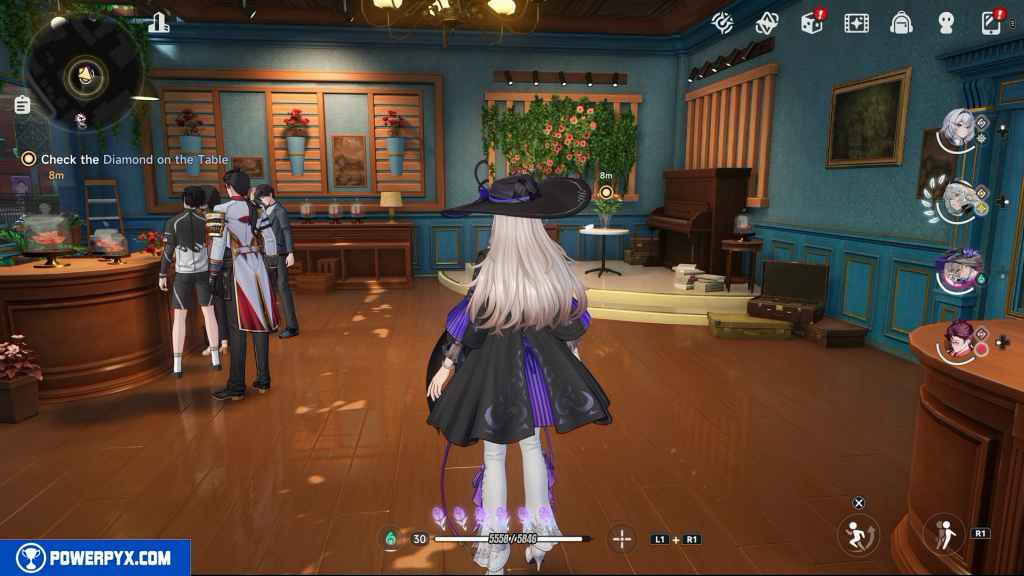
Check the Diamond on the Table
To your immediate left, go and approach the diamond on the table by the piano.
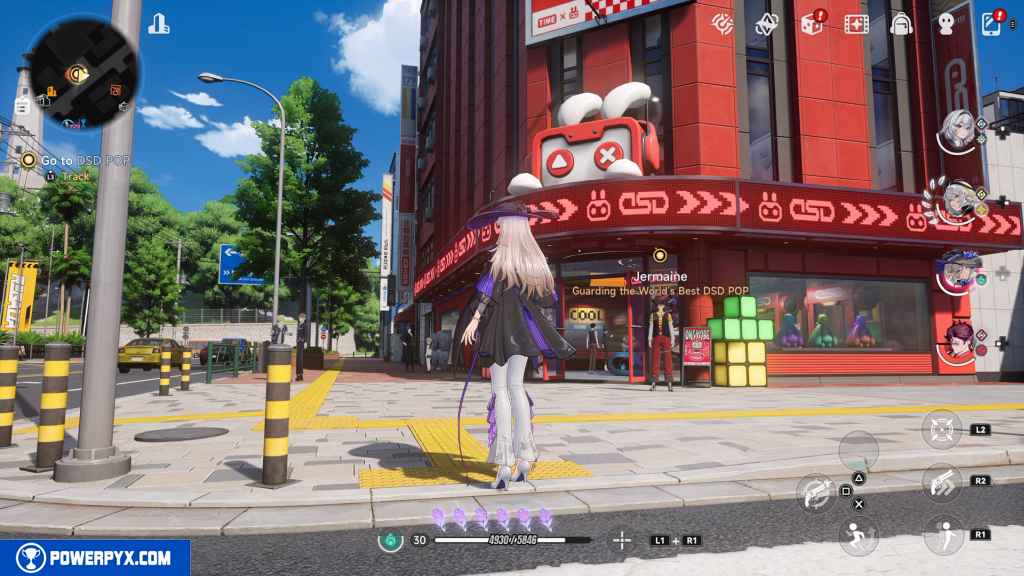
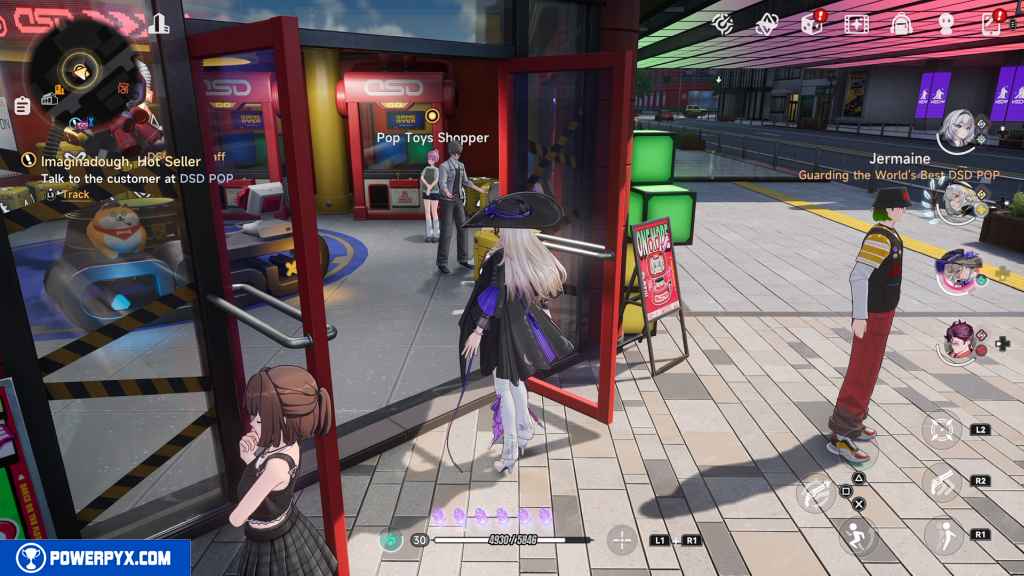
Go to DSD POP (Imaginadough, Handle with Care!)
Head southeast to Moomin Street.
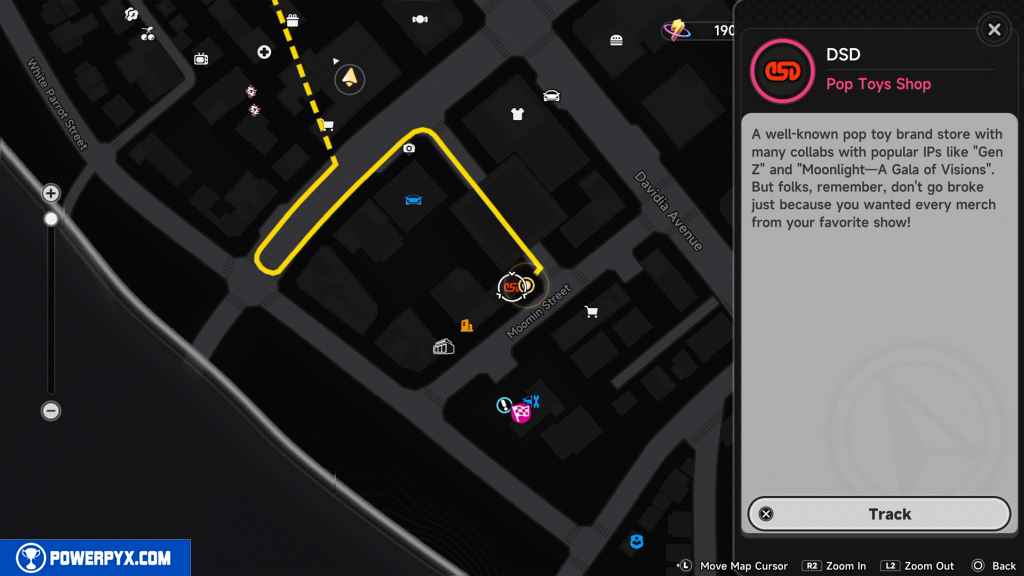
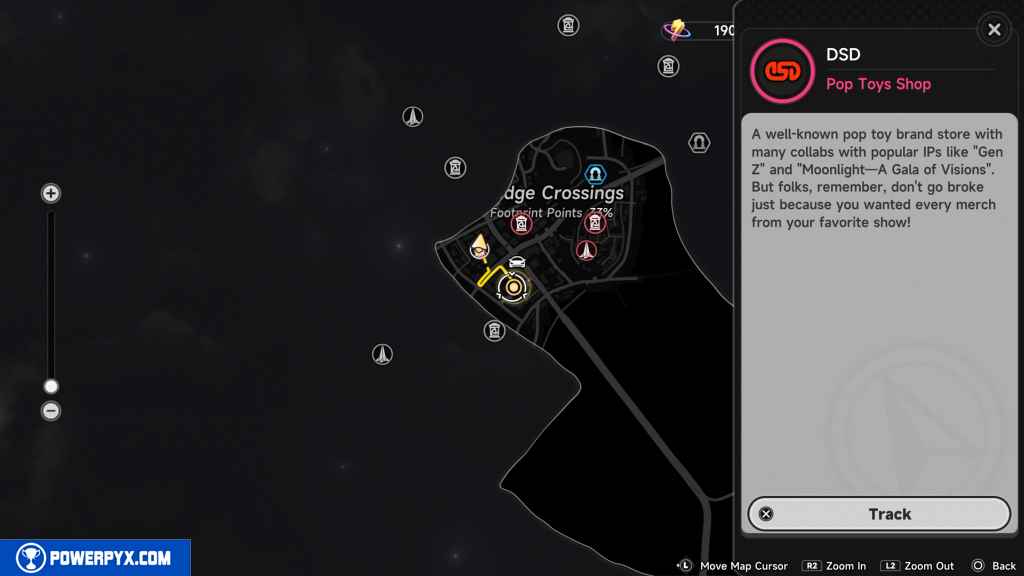
Approach Jermaine outside of DSD POP to progress.
Talk to the customer at DSD POP (Imaginadough, Hot Seller)
Head inside DSD POP and approach the Pop Toys Shopper to the right.
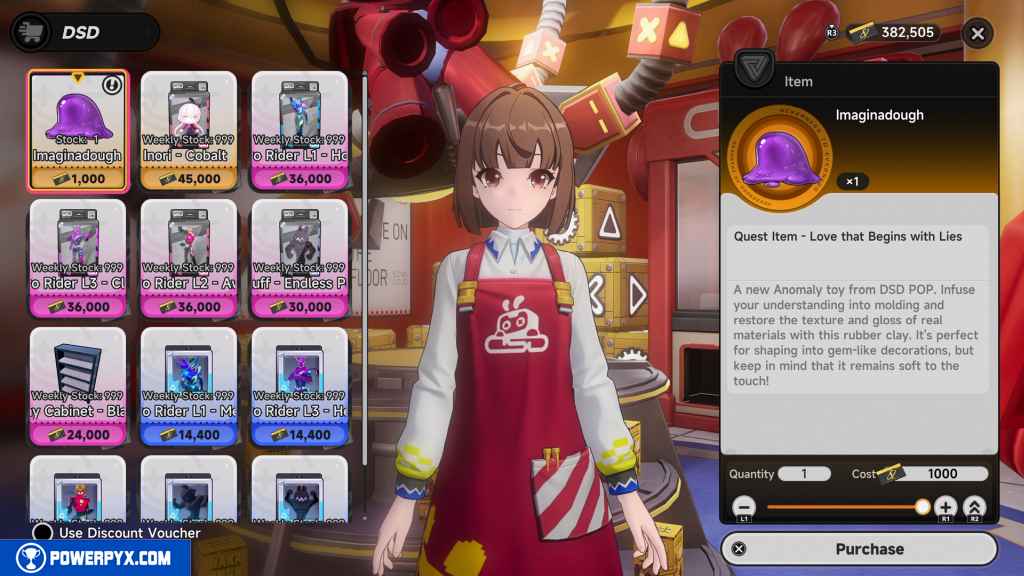
Buy Imaginadough (Great Value)
Interact with Ada and purchase the Imaginadough.

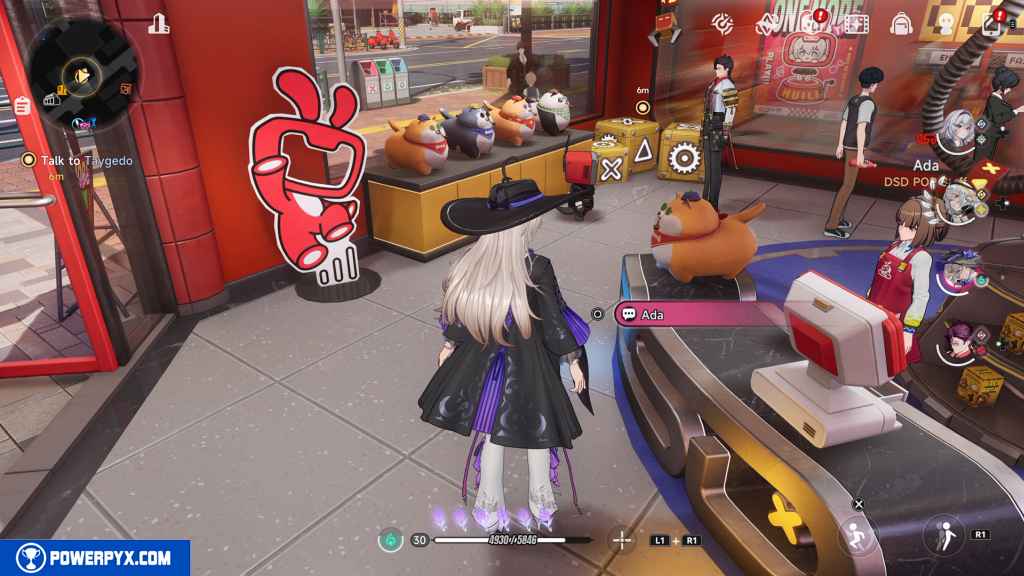
Talk to Taygedo (Great Value)
Approach Taygedo, who stands just to your left in the store.
Leave the store.
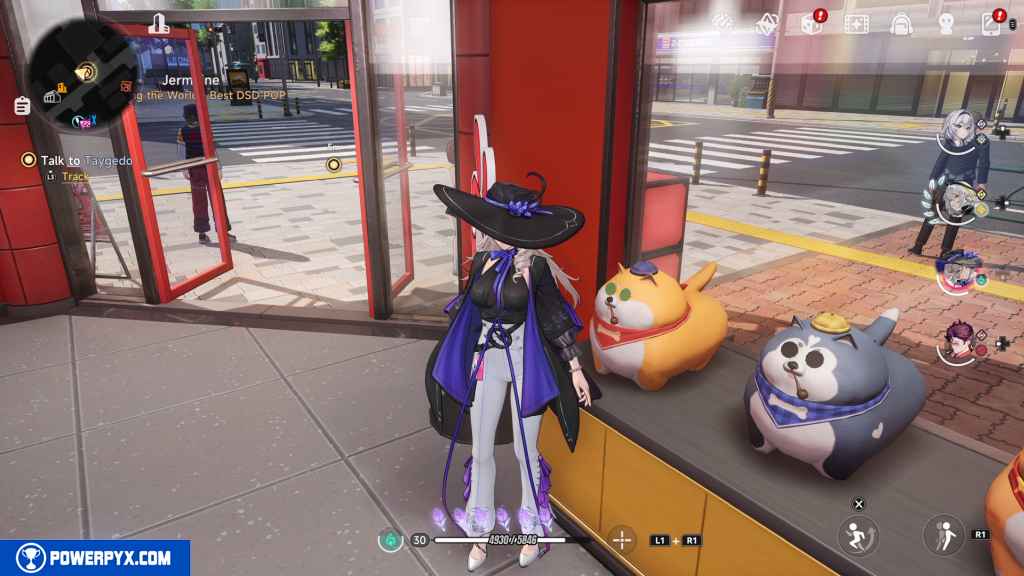
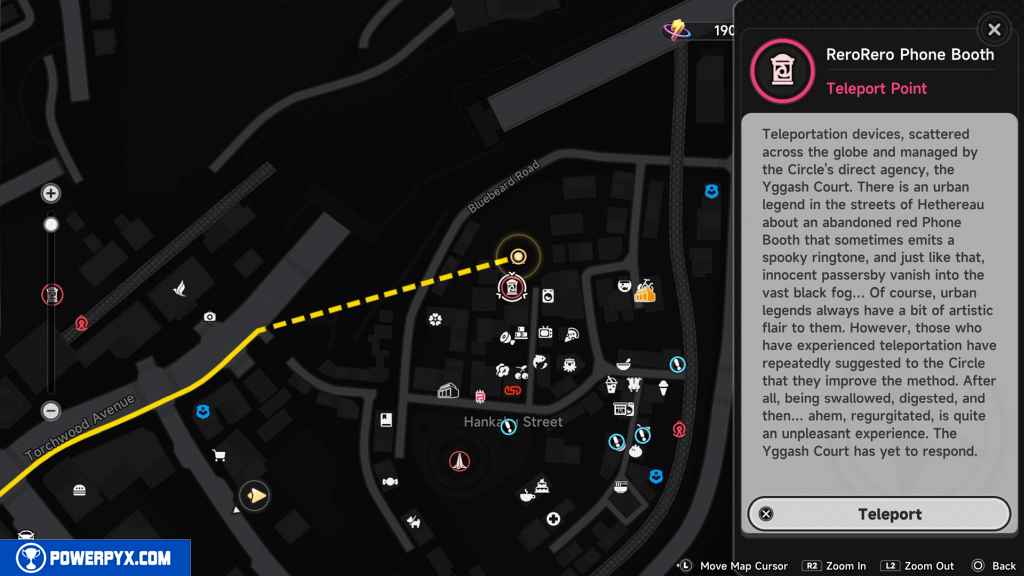
Return to Eibon (Anticipation for the Date)
Head back to Eibon using the ReroRero Phone Booth just south of Eibon.
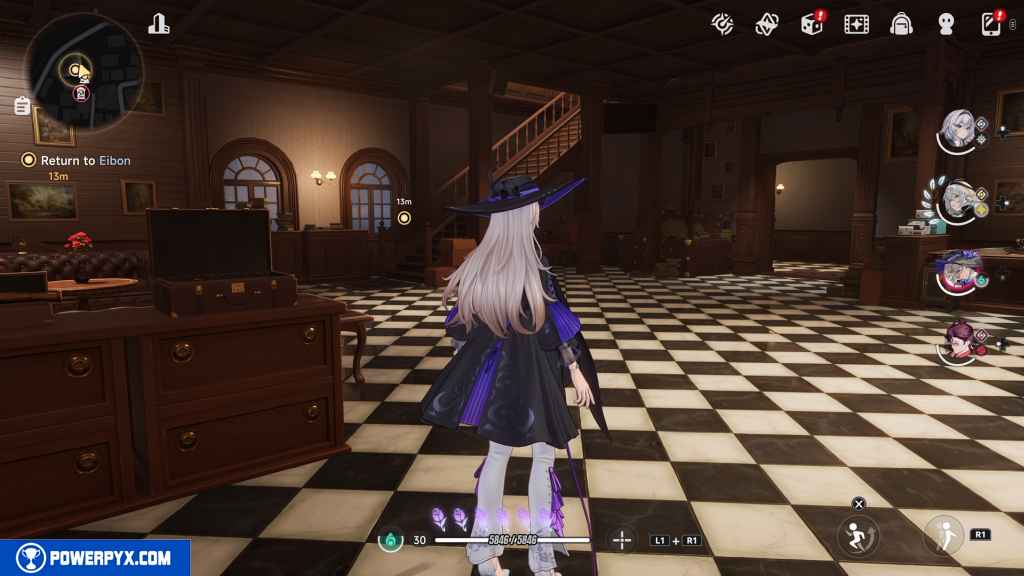
Go to the second floor and enter the common room just right of the stairs.
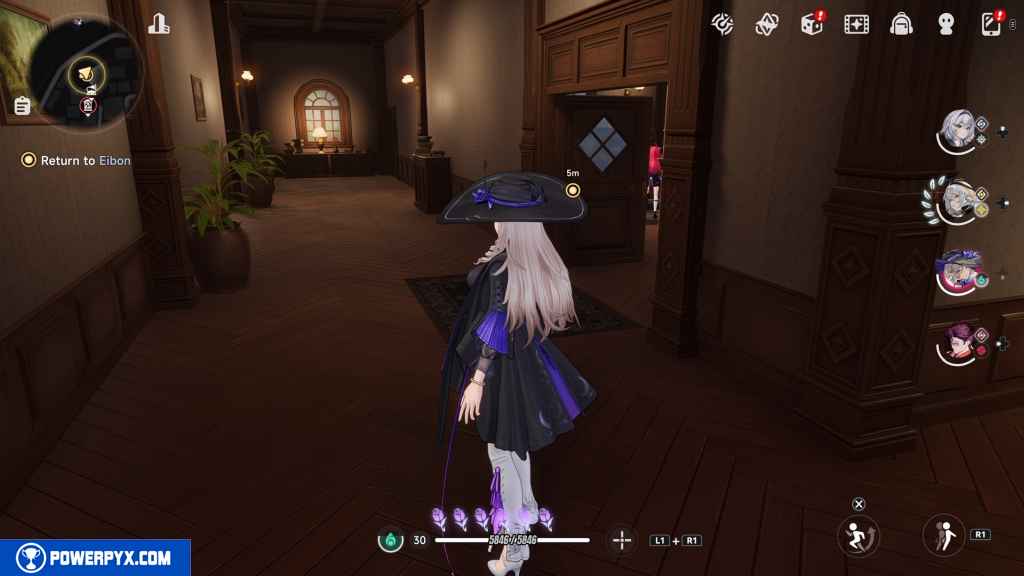
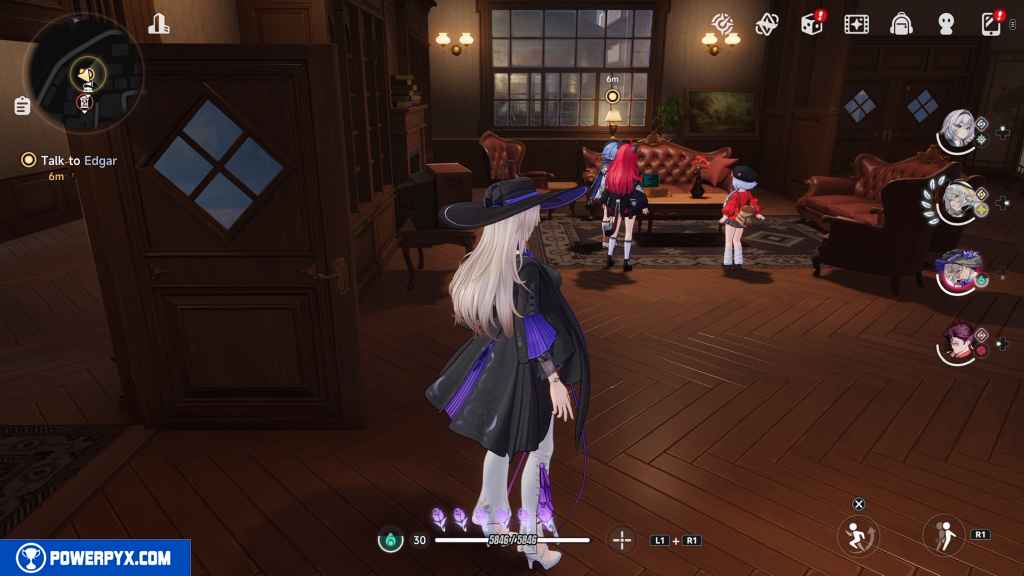
Talk to Edgar (Operation Heartstorm)
Approach Edgar, Nanally, and Sakiri.
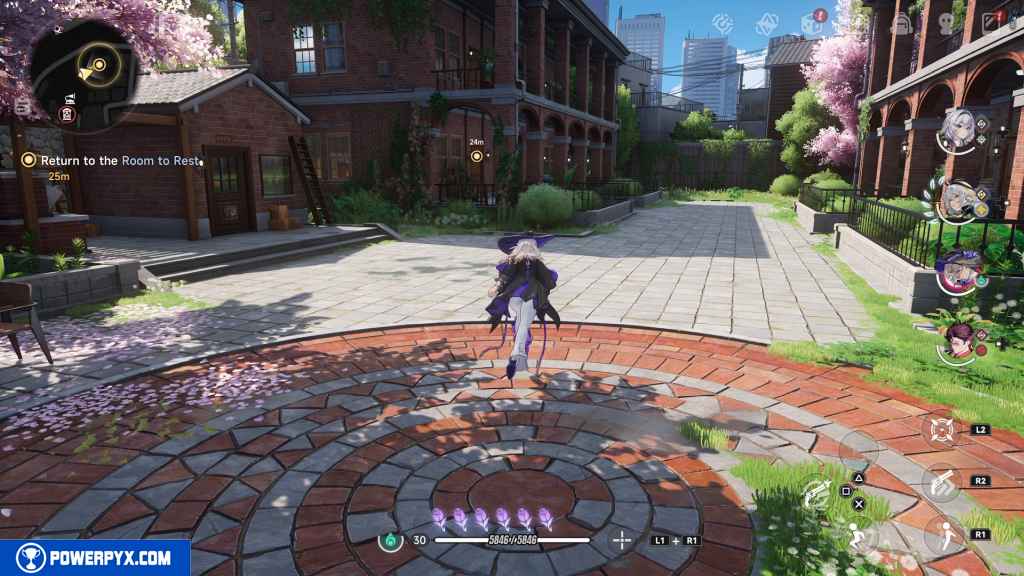
Return to the Room to Rest (Preparation)
Go back downstairs and head to your Dormitory out back behind Eibon.
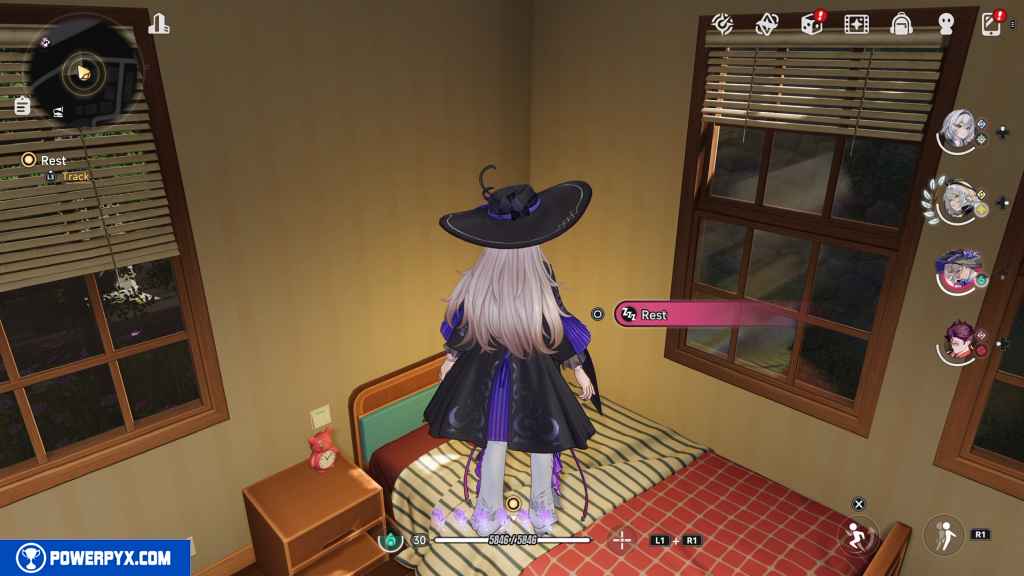
Rest (Preparation)
Sleep in your dorm.
Go to the Entrance of Eibon (Preparation)
Leave your dorm and head to the entrance of Eibon. Feel free to use the phone booth again if you wish.
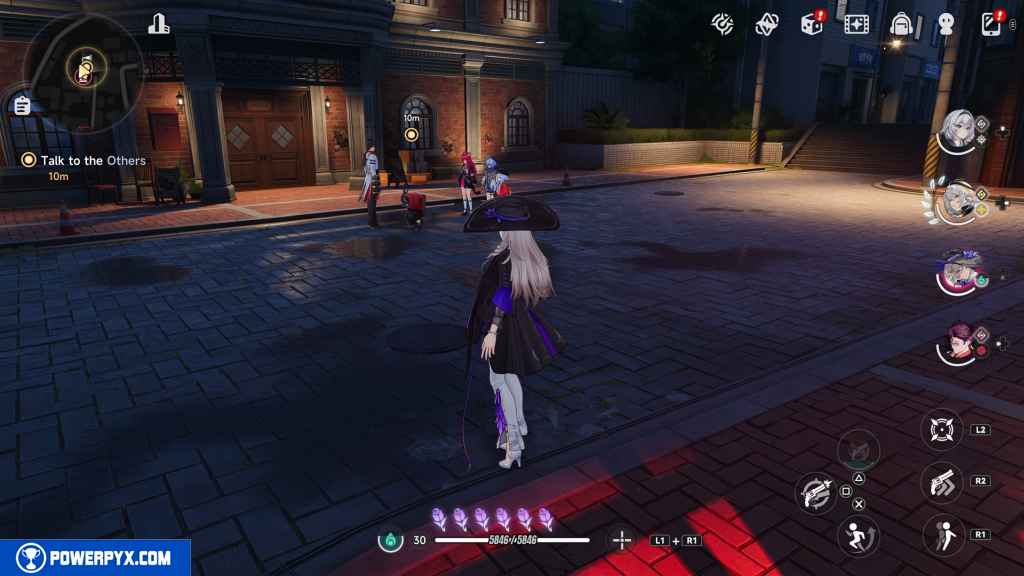
Talk to the Others (Readied)
This objective appears immediately after leaving your dorm.
Approach the group standing outside Eibon.
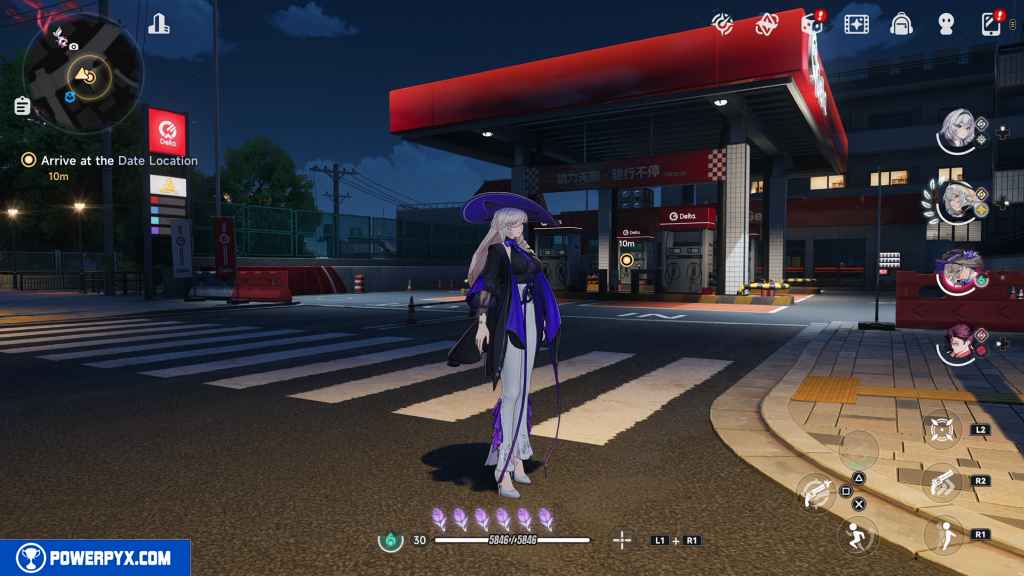
Go to the Date Location (First Stop)
Make your way southwest to this location, near a Security Office.
Approach the Delta gas station to progress.
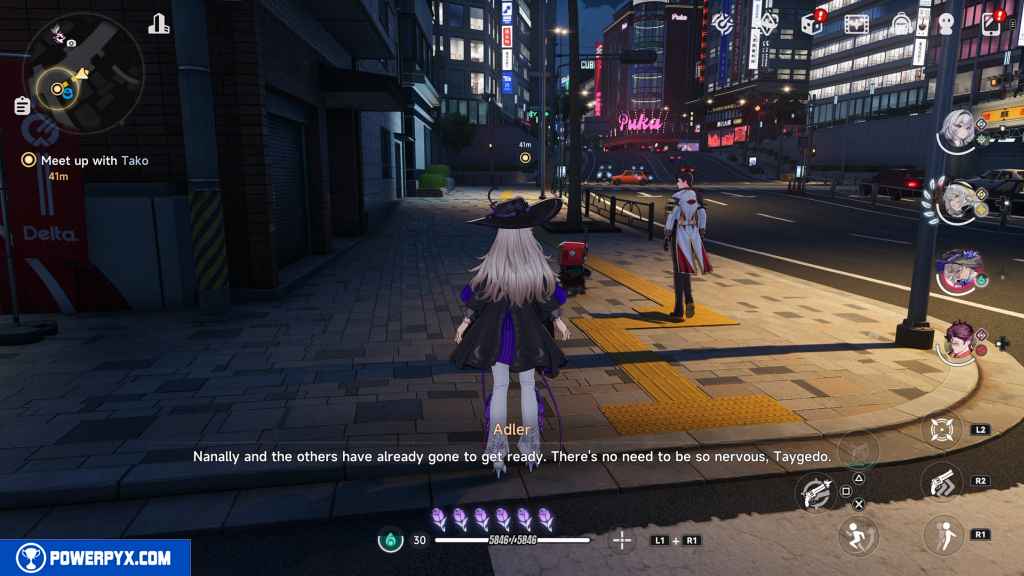
Meet up with Tako (First Steps)
Head down the sidewalk with Adler and Taygedo past the Security Office and approach the corner sidewalk to progress. You can just run past them to progress faster if you wish. Just stay on the sidewalk.
Go to the Arcade (Change of Destination)
Cross the street and then head west until you reach the corner.

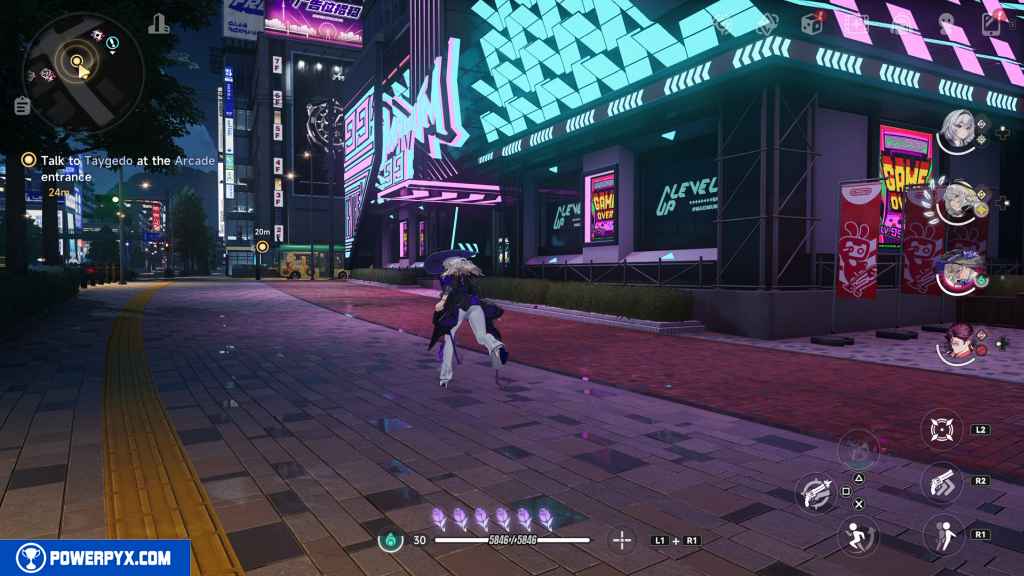
Talk to Taygedo at the Arcade Entrance (Taygedo’s Stories)
Turn right onto Davidia Avenue and follow the road to the next corner.
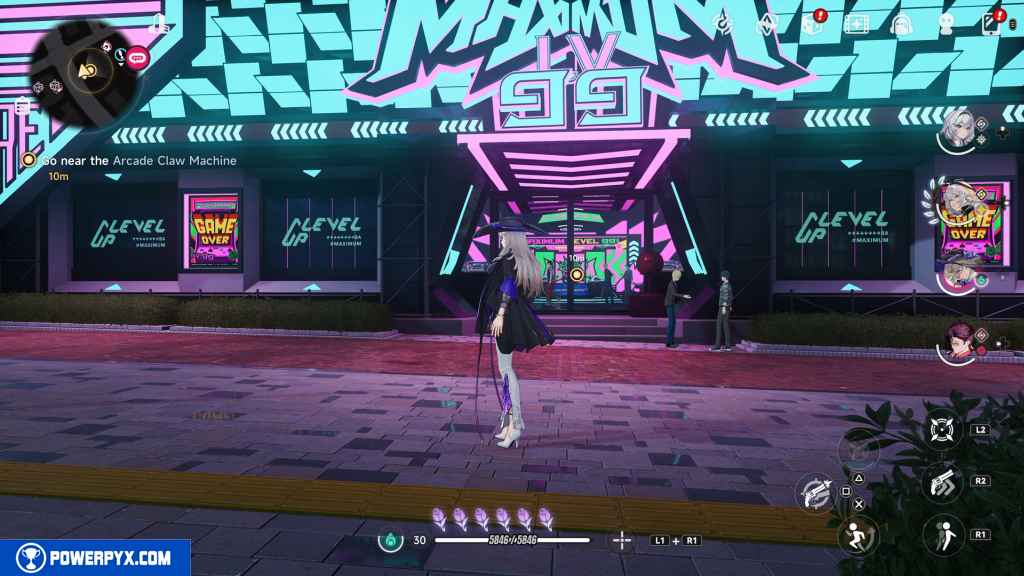
Approach the arcade, Maximum Lv 99, to progress.
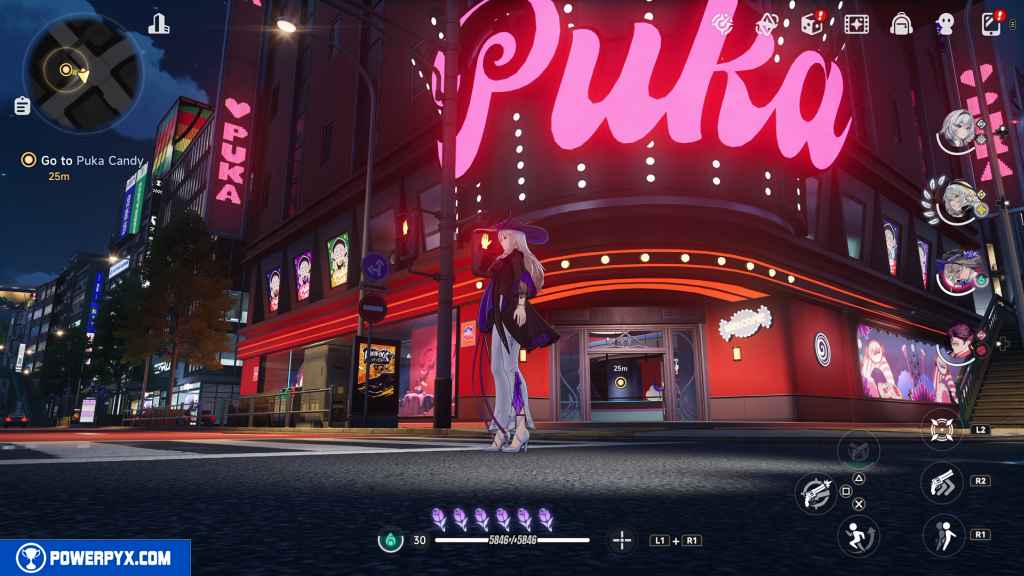
Go to Puka Candy (Candy Purchasing Agent)
Head back south to the corner of Davidia Avenue and Torchwood Avenue to progress.
Enter Puka Candy.
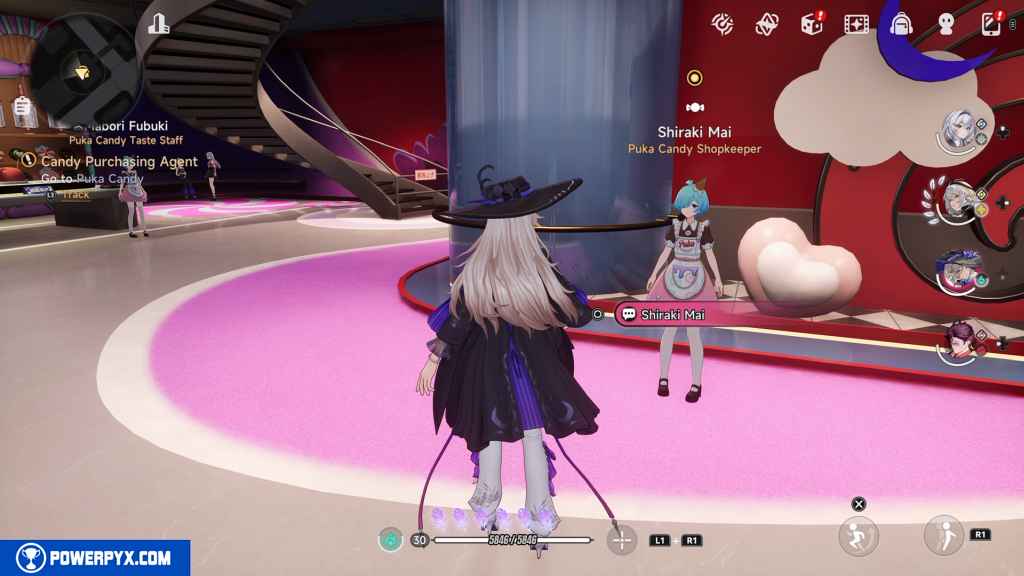
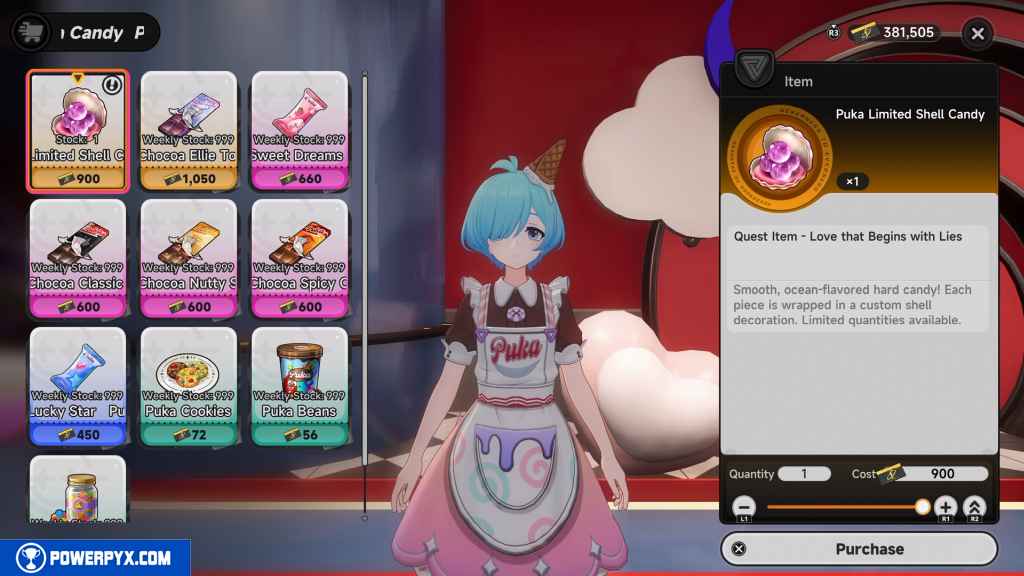
Buy Puka Limited Shell Candy (Candy Purchasing Agent)
Interact with Shiraki Mai and purchase the Puka Limited Shell Candy.
Go near the Arcade Claw Machine (Meet at the Arcade)
Head back up Torchwood Avenue to the Arcade. Enter the arcade.
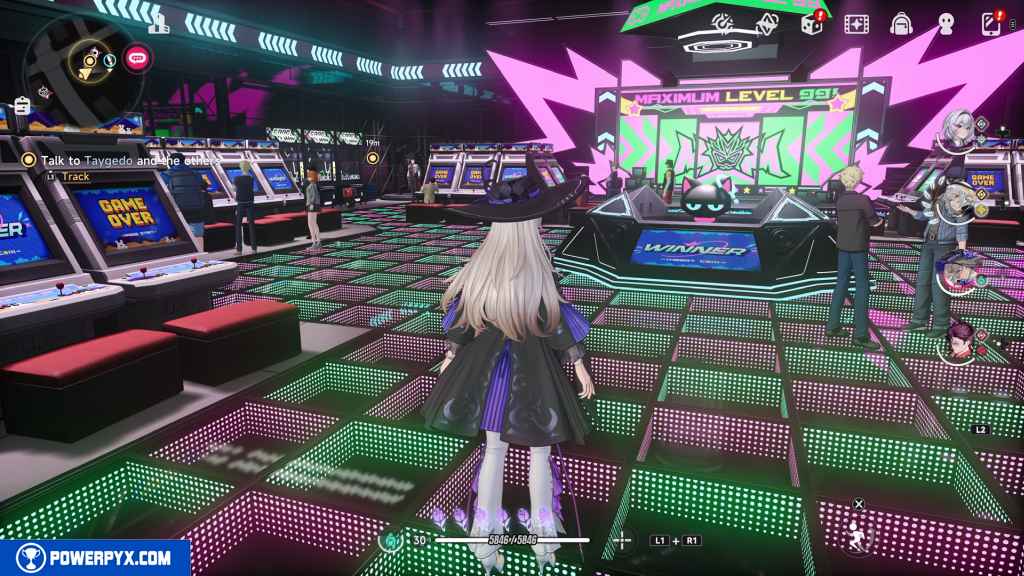
Talk to Taygedo and the others (Accidents)
Find the gang in the back left corner of the arcade.
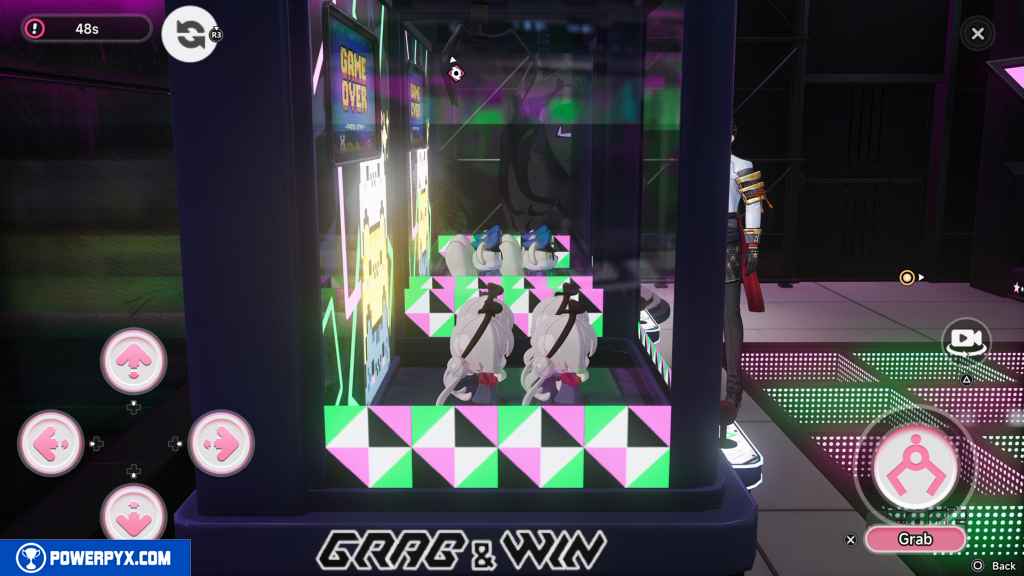
Try the Claw Machine (Showdown! The Faulty Claw Machine)
Interact with the claw machine in front of you. It costs 5000 Fons per attempt.
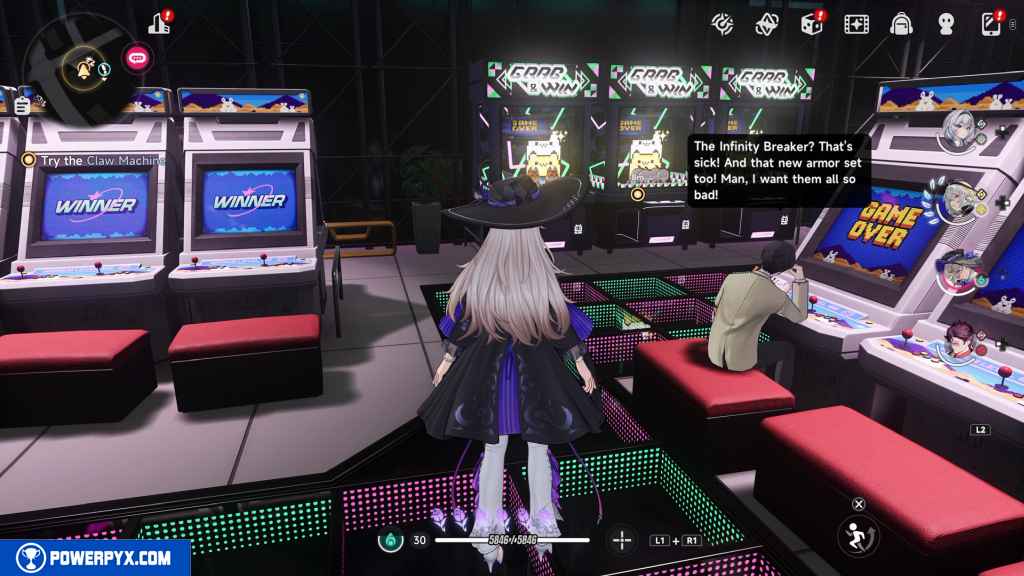
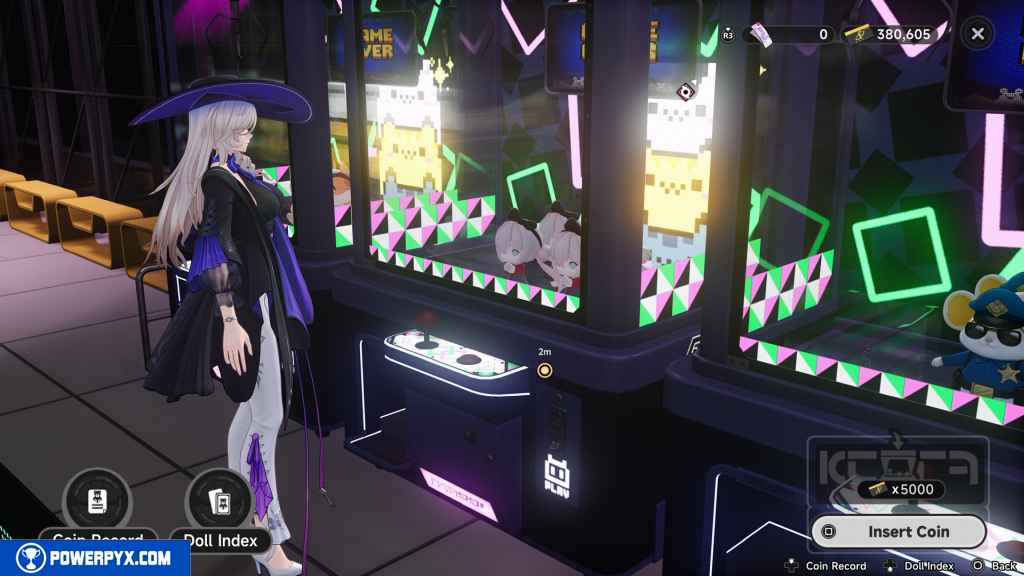
You can keep trying more than one time, but you only need to do it once in order to progress.

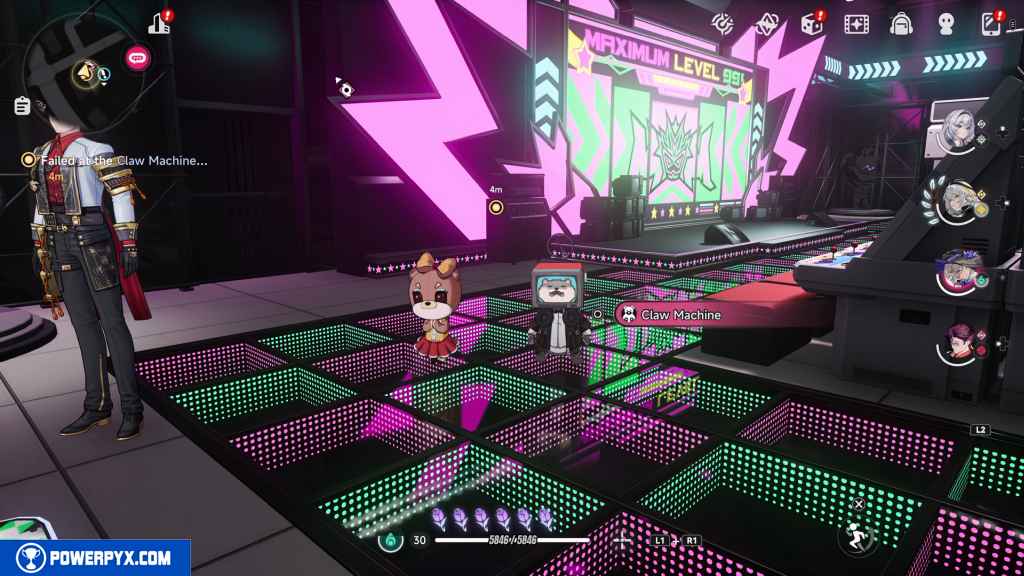
Failed at the Claw Machine… (Offering of a Reliable Lieutenant)
Turn around and approach Taygedo.
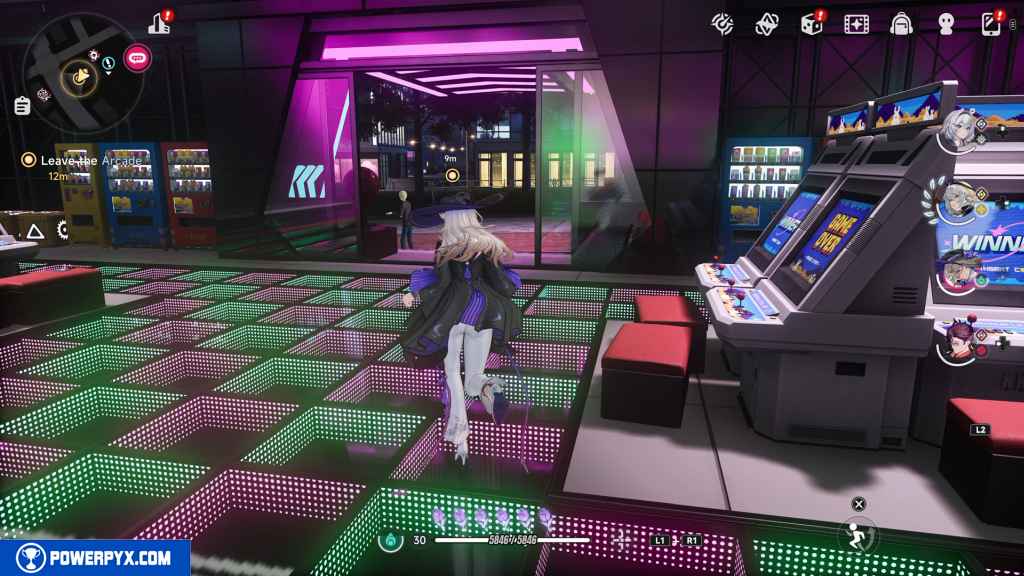
Leave the Arcade (Leave the Arcade)
Exit the building.
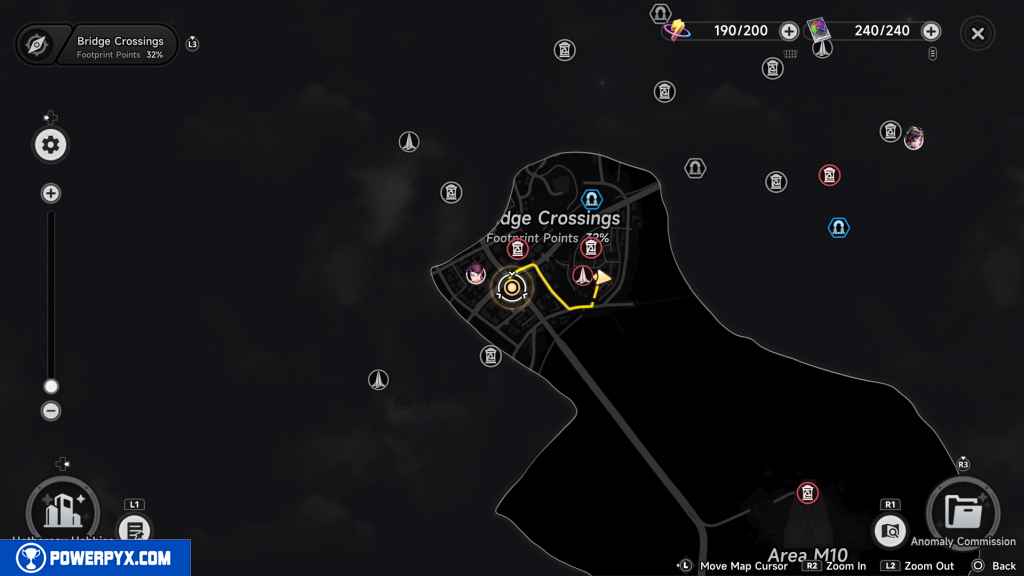
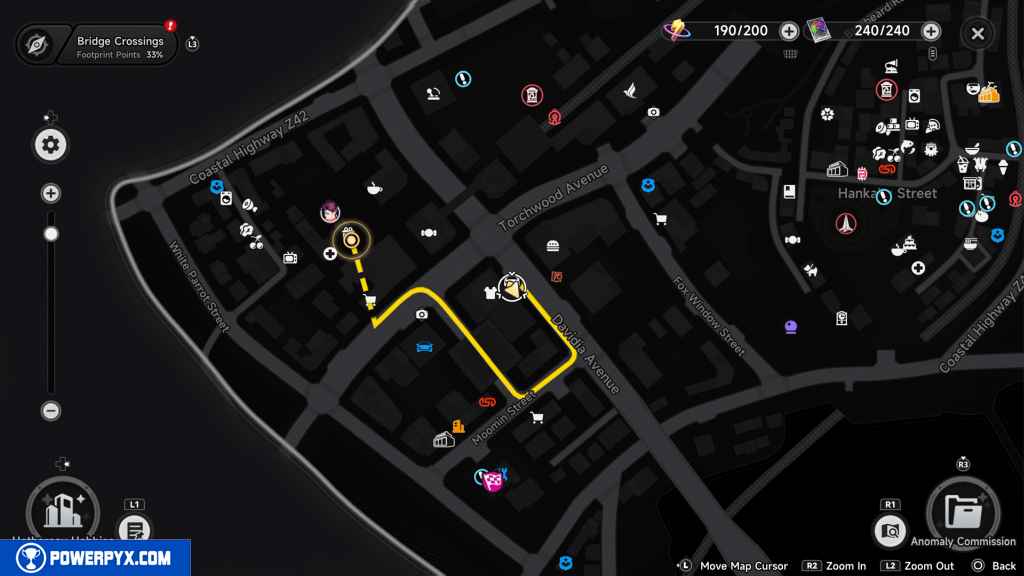
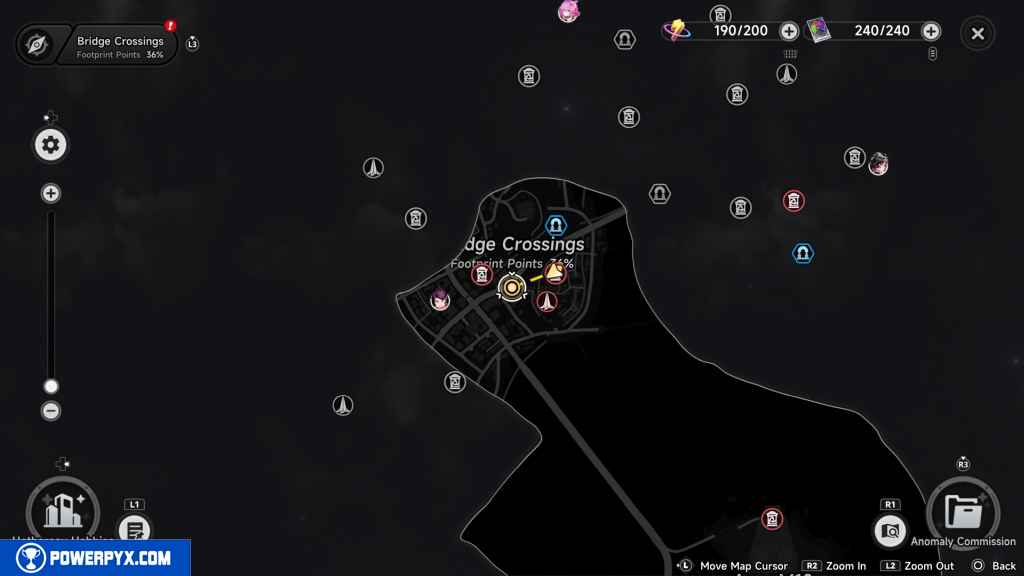
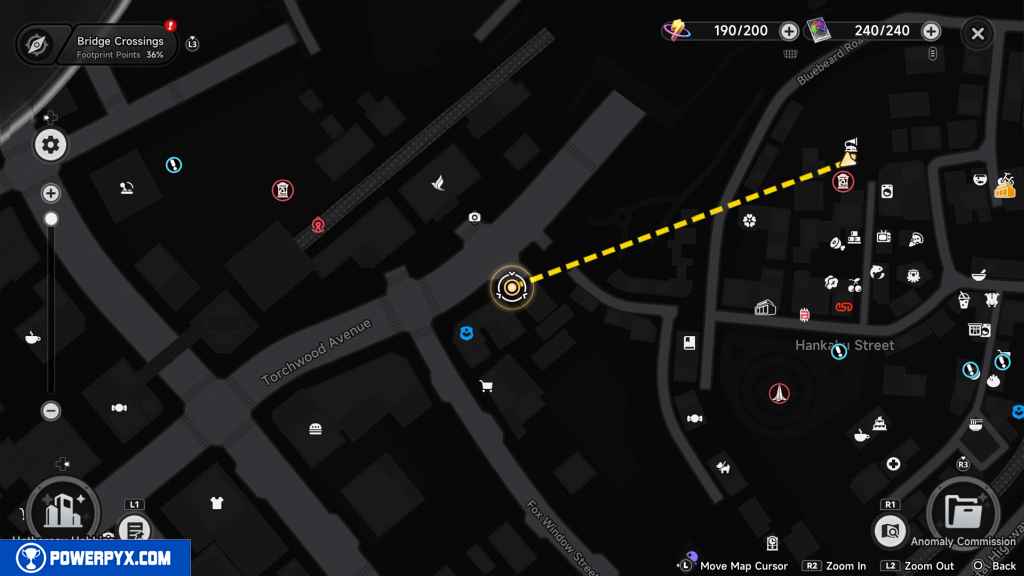
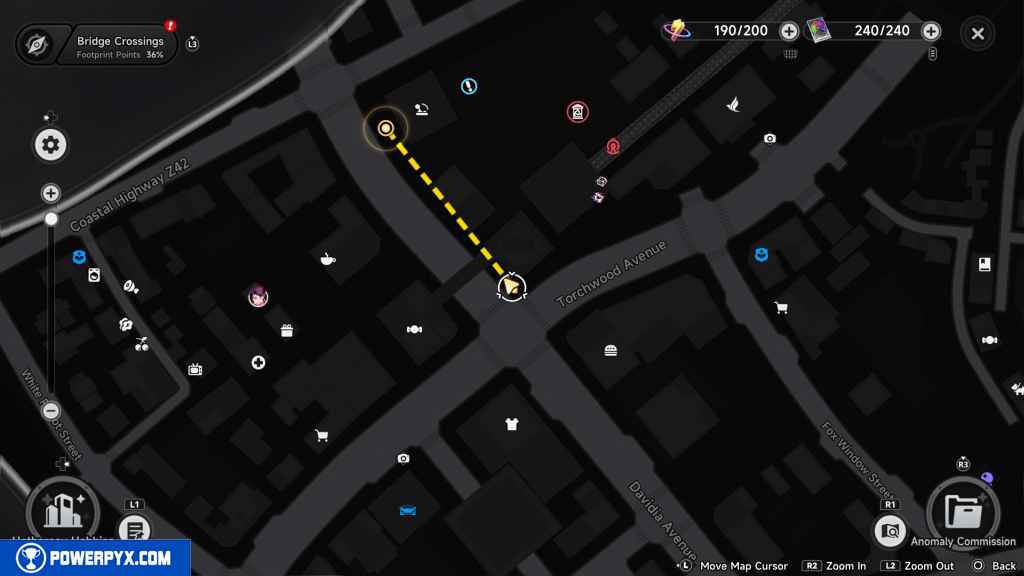
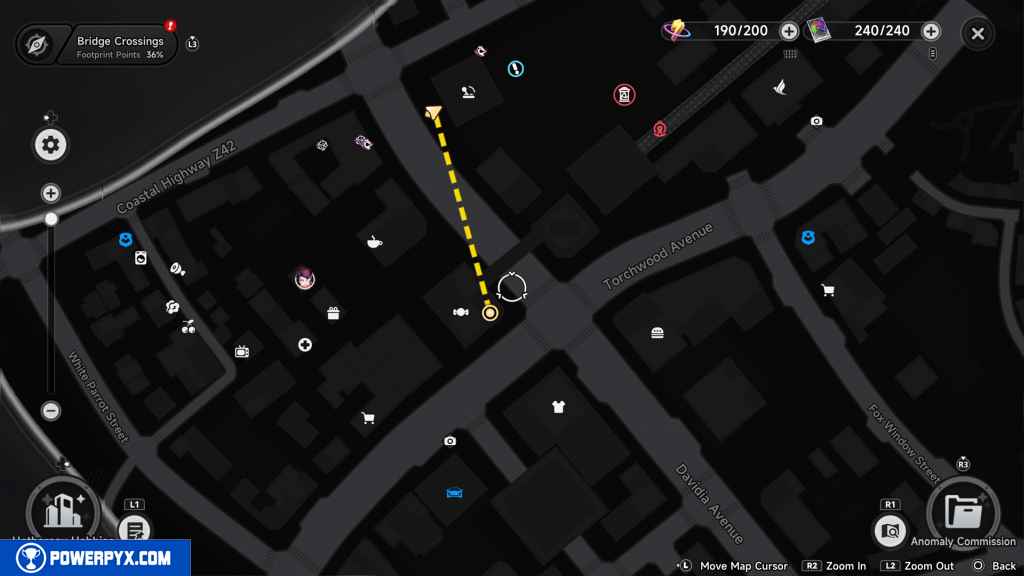
Go to the intersection at White Parrot Street (Preparation at White Parrot Street)
Head south again to the corner of Torchwood Avenue and Davidia Avenue.
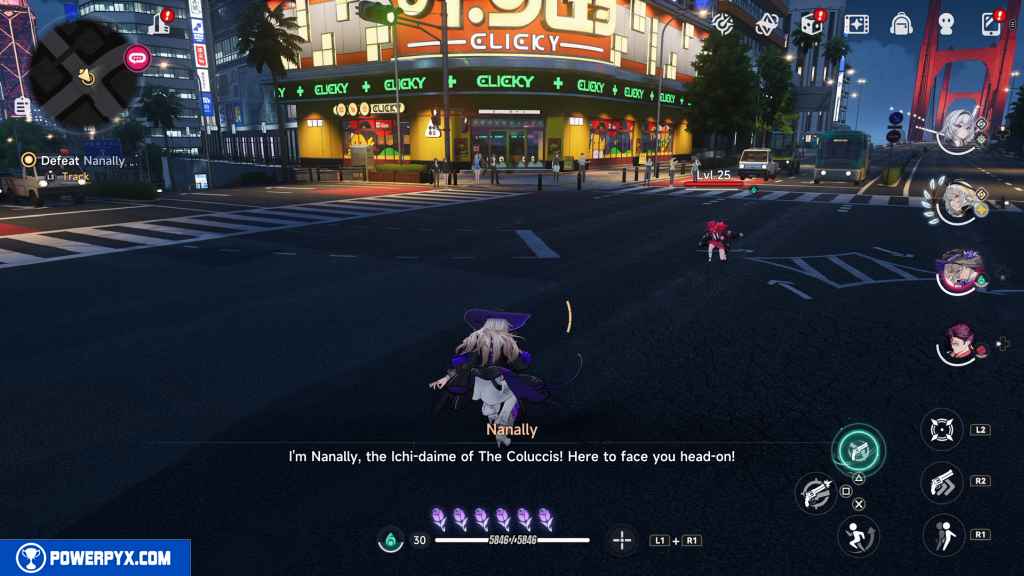
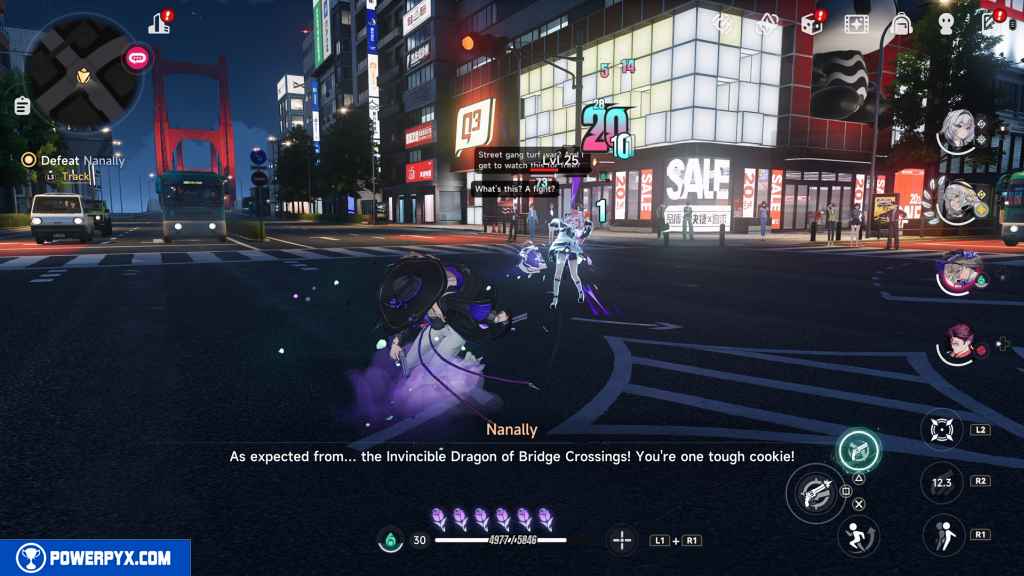
Defeat Nanally (Bridge Crossings Brawl)
You now face level 25 Nanally. As long as you have your characters ascended to level 30, you won’t have much issue. In fact, all of Nanally’s attacks are just her combos. She doesn’t use any complicated skills or even her Ultimate. Just dodge her attacks and chip away at her until a cutscene starts.
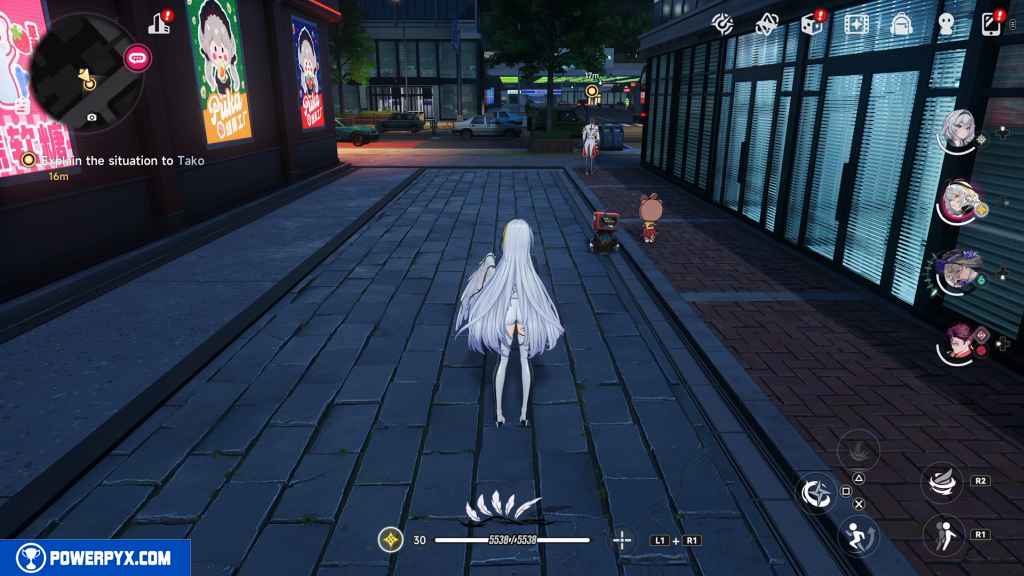
Explain the situation to Tako (Avoid Trouble)
Approach Adler at the end of the alley ahead of you. Even though the quest says to talk to Tako, you actually need to interact with Adler.
Go to Azure Vista (Azure Vista)
Head west down Torchwood Avenue until it intersects with White Parrot Street.
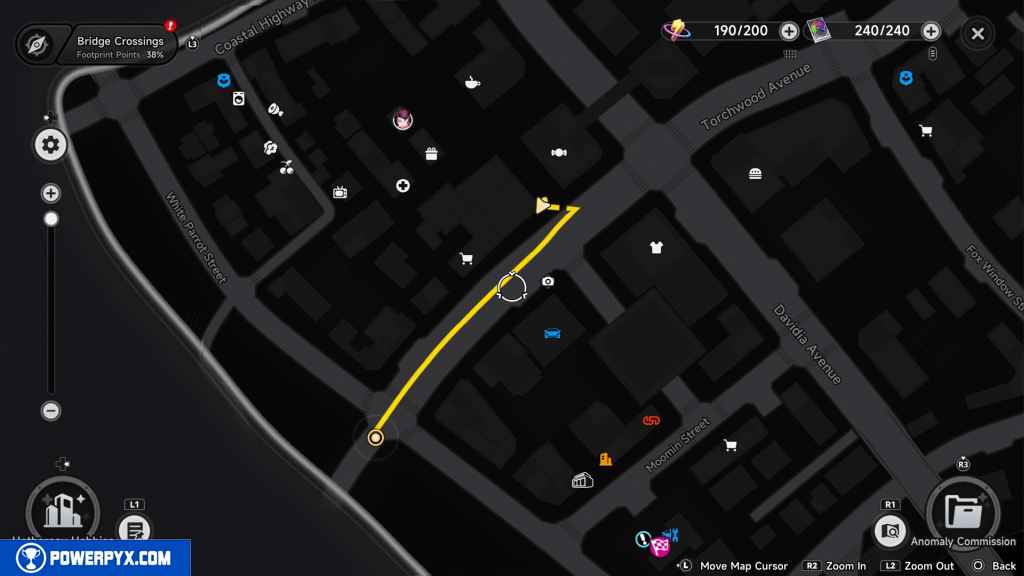
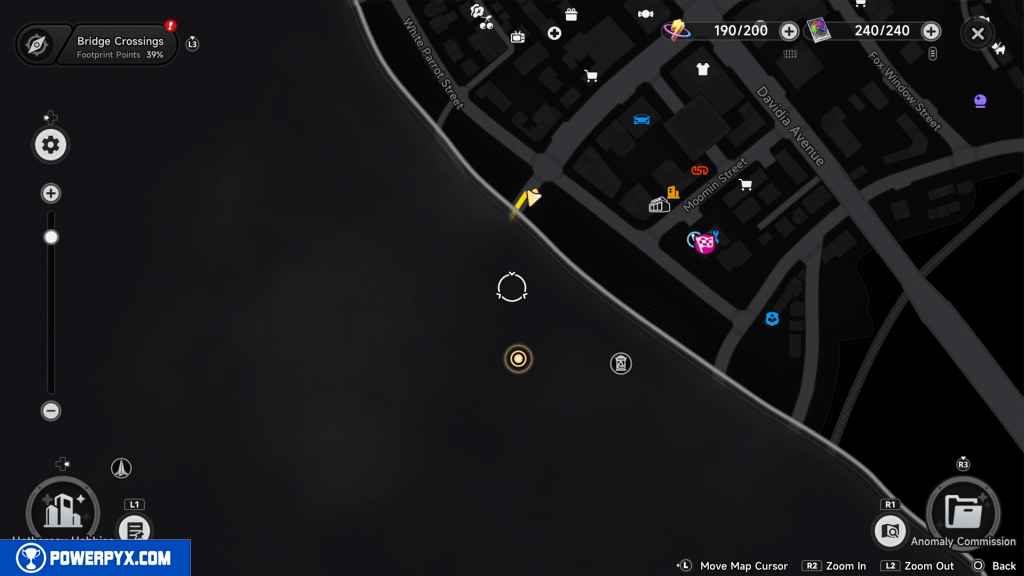
Continue southwest down Torchwood Avenue. This path sees you leave Bridge Crossings.
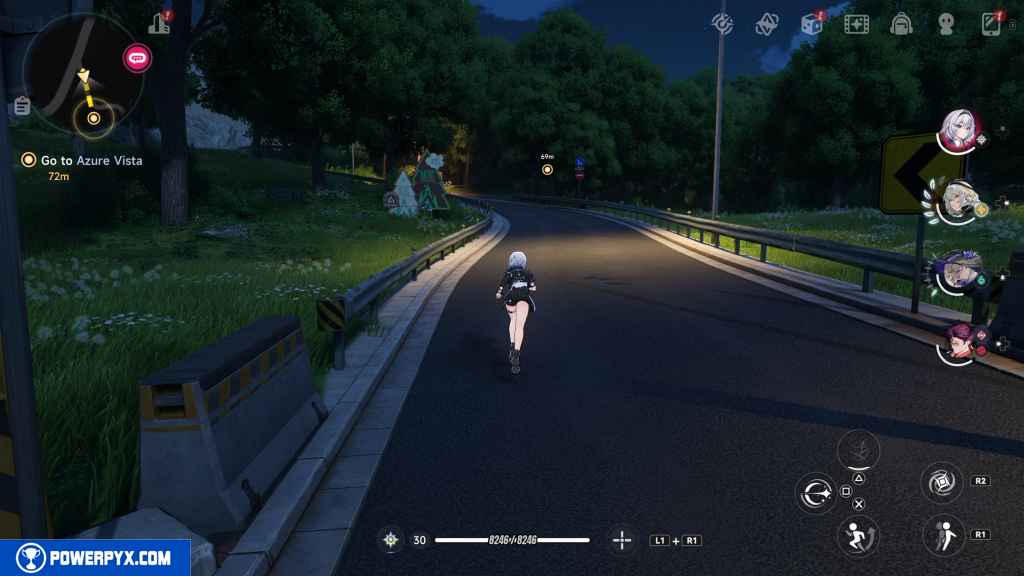
Go off the highway and find your way into Bluegaze campground.
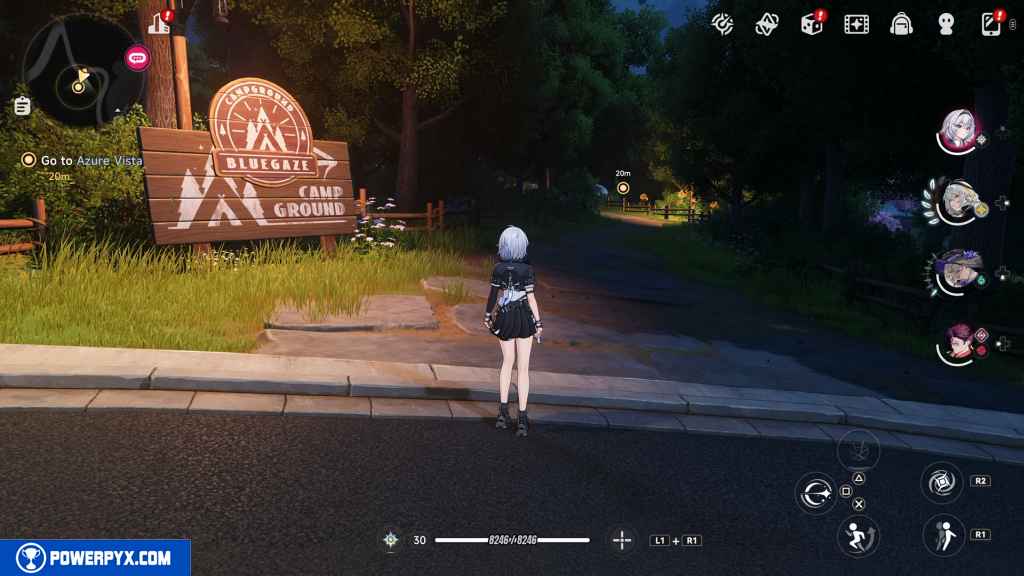
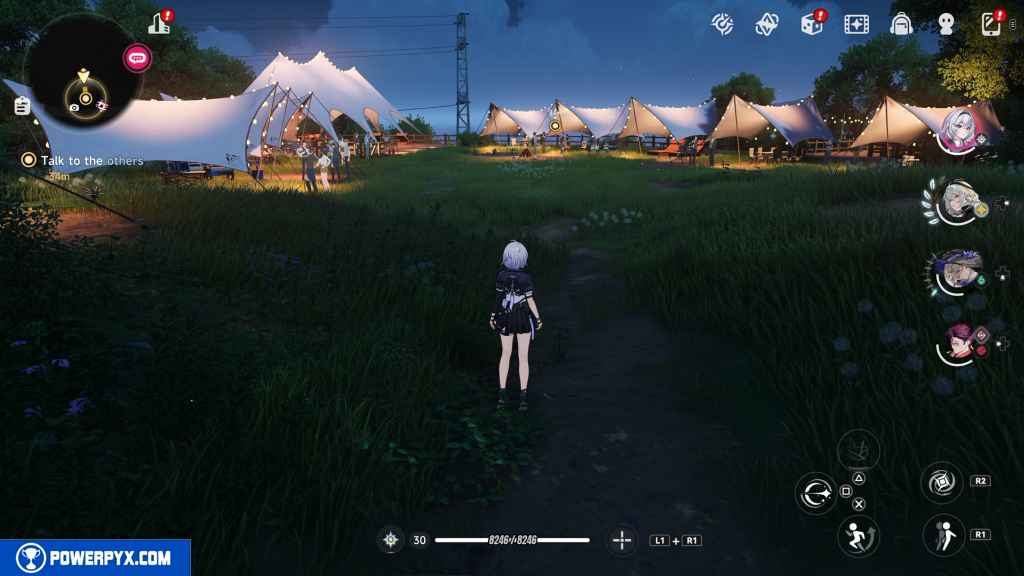
Talk to the others (Night at the Campsite)
Continue down the beaten path, following the signs along the way.
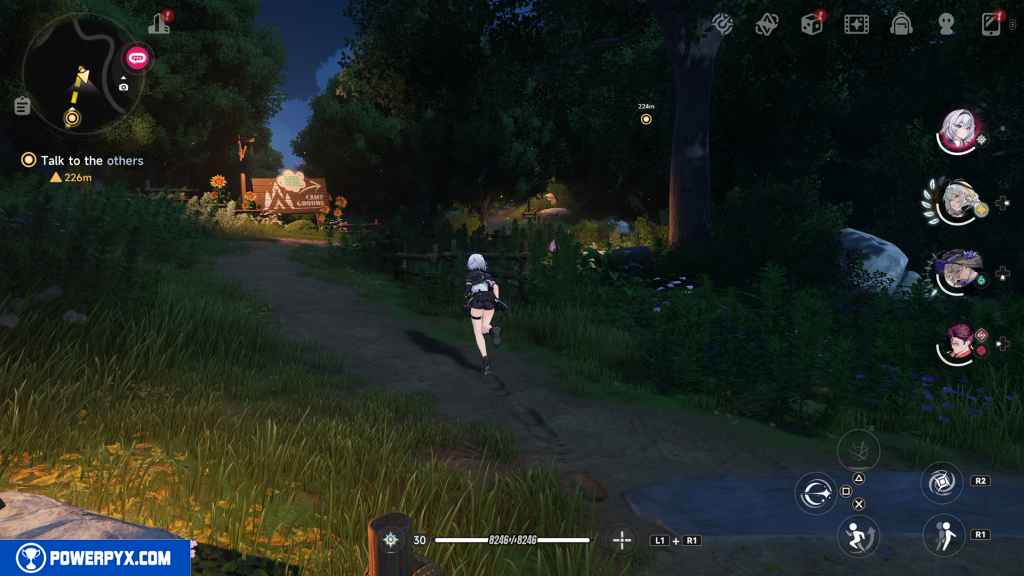
After passing the overhead sign, take the stone steps to your left. That leads to an open campsite.
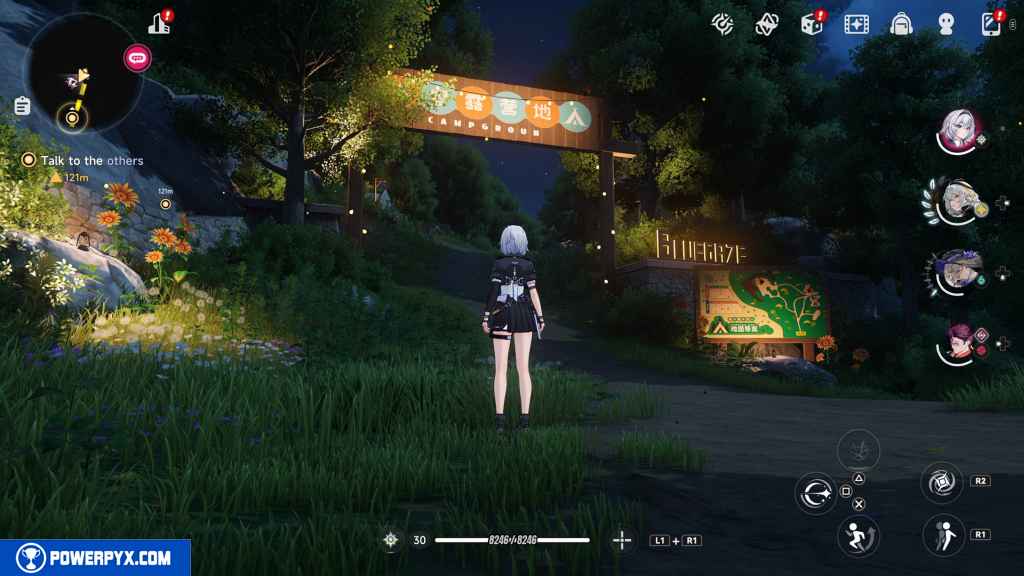

Approach the campfire in the middle to progress.
Talk to Adler (Operation Love Confession)
Approach Adler just in front of you.
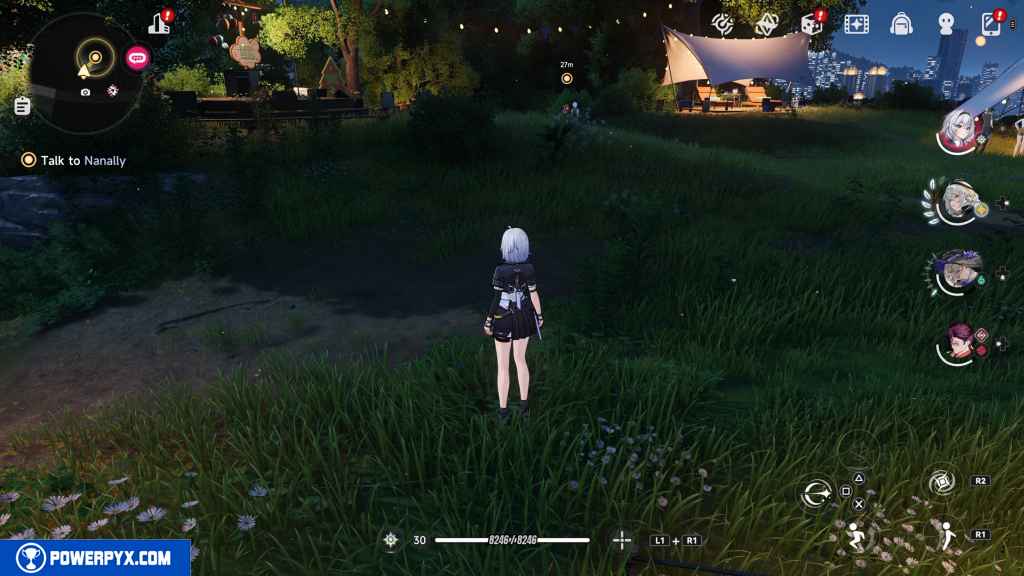
Talk to Nanally (Imaginadough Ready)
Head over the small hill in front of you and approach Nanally.
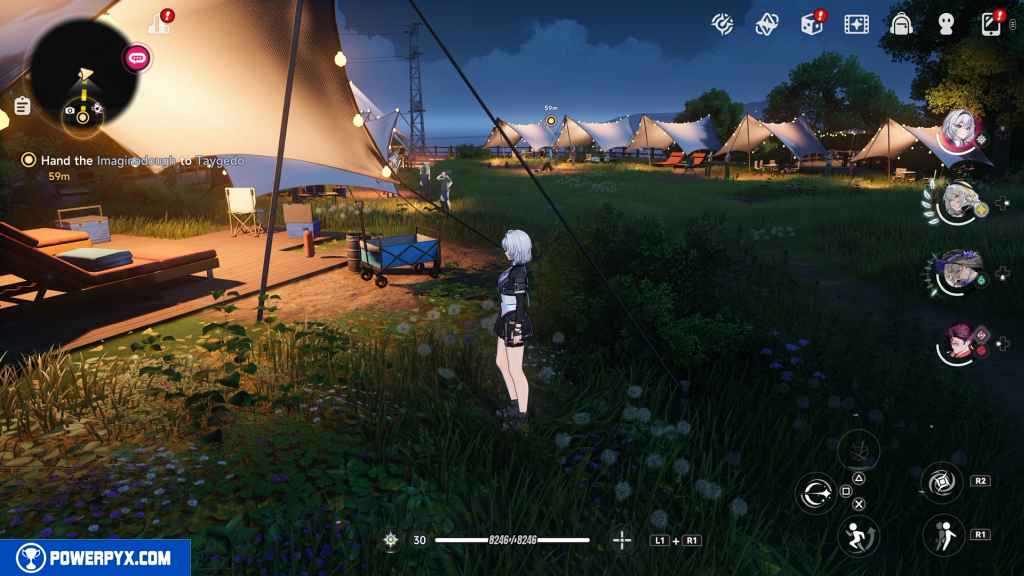
Hand the Imaginadough to Taygedo (Unforgettable Memories)
Head south past the campfire and approach Taygedo and Tako at the fenceline.
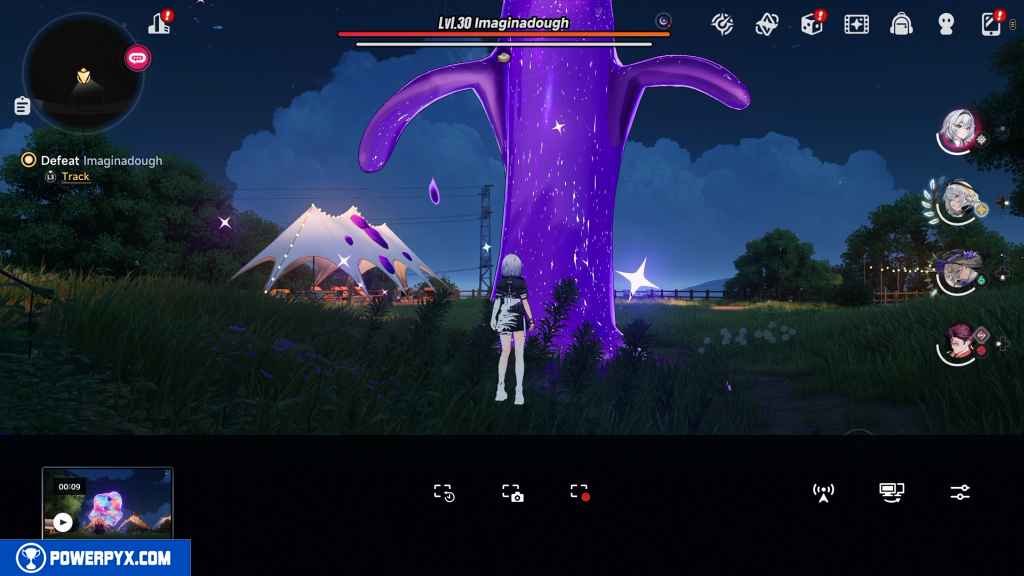
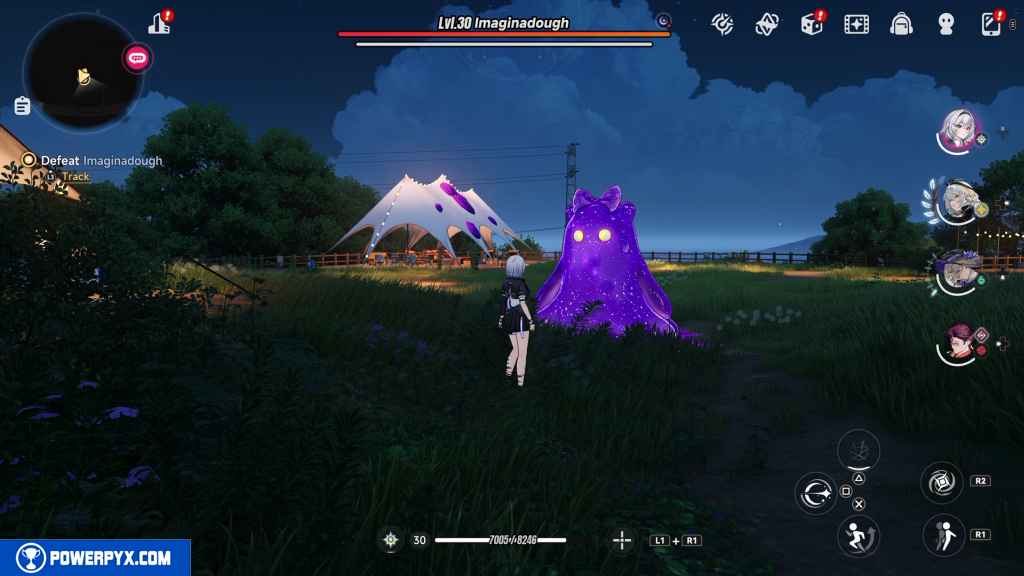
Defeat Imaginadough (Did Taygedo Mess Up?)
You now face a level 30 Imaginadough. This blob of slime executes a lot of ground slam and sweeping attacks. Make sure to dodge whenever you see the red prompt.
After about a third of its health is gone, it splits into two smaller level 26 versions of itself. They follow the same attack patterns at the Imaginadough, but now you need to contend with two of them.
When a third of its health remains, the pair starts to do combination attacks before forming back into the Imaginadough once again.
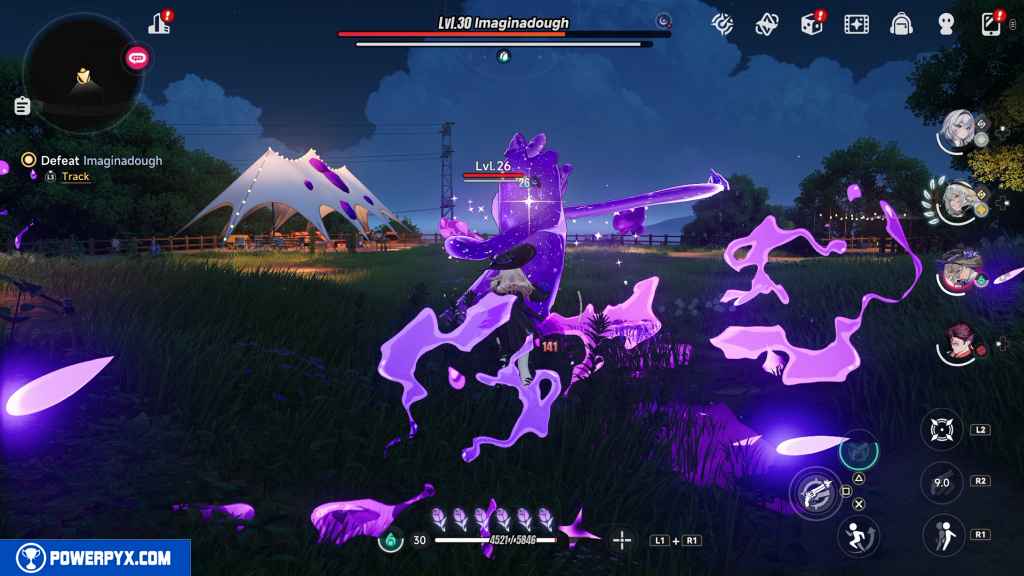
Near the end of the fight, the Imaginadough splits itself into the copies once again. By this time, you end up finishing it off.
Talk to the People at Eibon (Dough Cleaners)
This objective automatically progresses shortly after you regain control again at the camp.
This finishes Love that Begins with Lies main quest in NTE (Neverness to Everness).
NEXT: Deal? Deal!
For all other Quests refer to NTE (Neverness to Everness) Walkthrough.
Leave a Reply