
Prologue 2: Good Business, Better Treasure is the 2nd chapter in NTE (Neverness to Everness). This walkthrough will guide you through all objectives of the Prologue 2: Good Business, Better Treasure main quest.
- Starting District: Bridge Crossing
- Chapter: Prologue
- Requirement: Complete Prologue 1: Unforeseen Yet Foretold
- Reward: Hunter Level EXP x900, Annulith x60, Mind Shard – Zero, Expansion Core x10, Elite Hunter Guide x15, Chaotic Dye x15, Manhole Boss x30, Fons x60k, Beetle Coin x90k
- Quest Description: Shortly after leaving the Bureau of Anomaly Control, I’ve reached my destination. Let me have a chat with Mint.

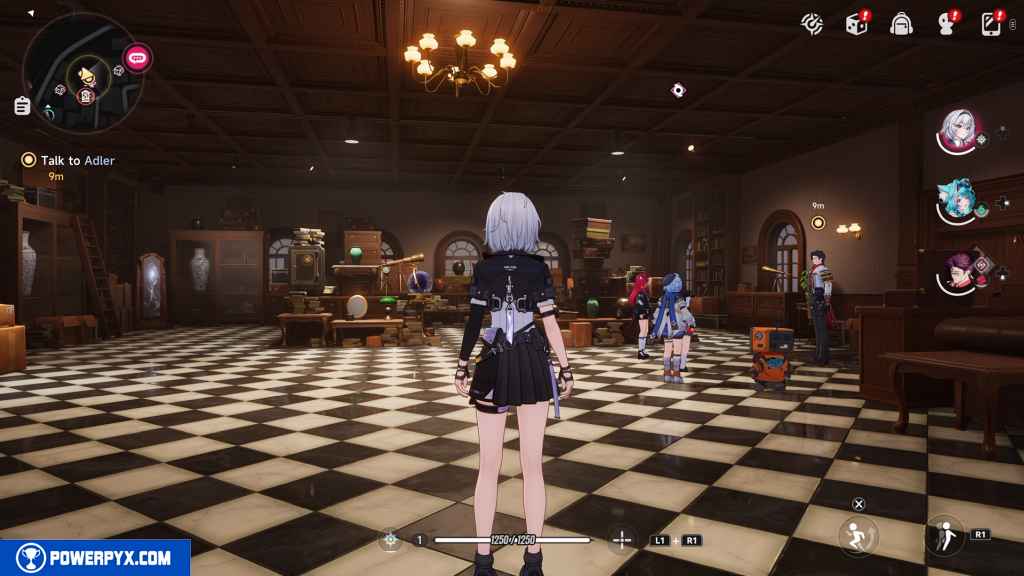
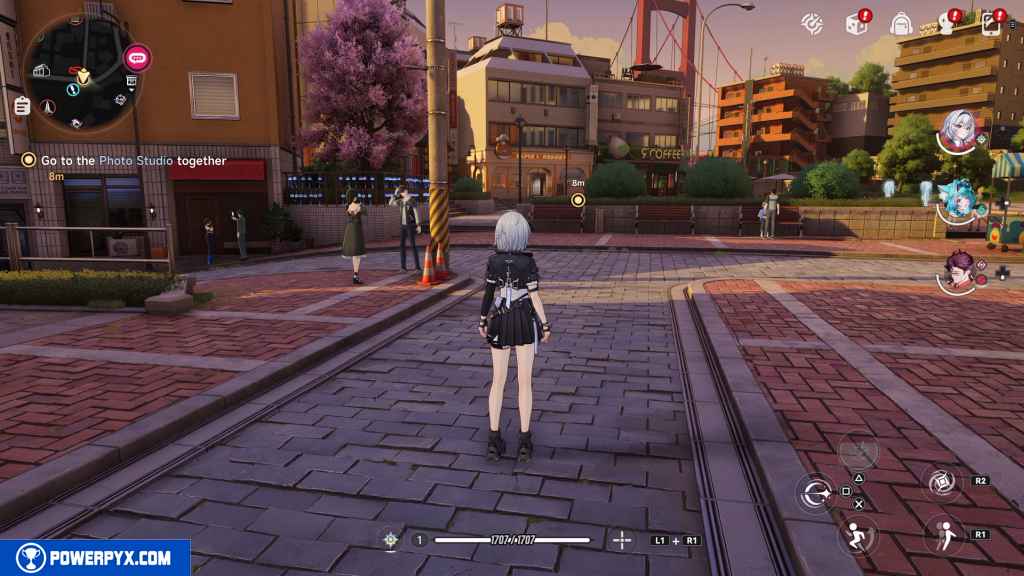
Have a talk with Mint
Approach Mint just in front of you to progress.

Pass through the railway and continue forward
Head across the railroad tracks directly in front of you.
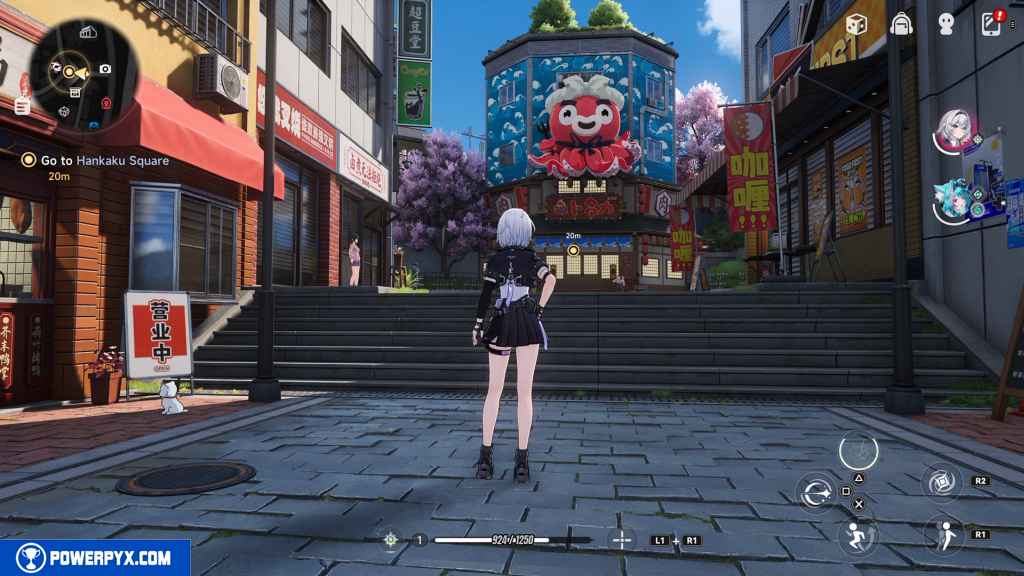
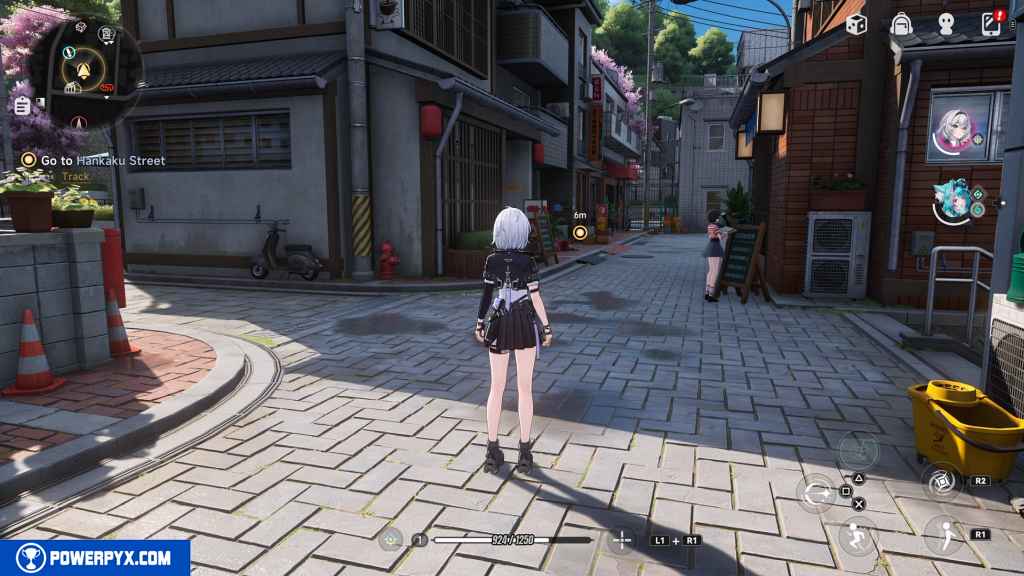
Go to Hankaku Street
Continue west and approach the building ahead of you with a cartoon octopus above the entrance.
Just to the right of the entrance to the octopus building, you can find your first Oracle Stone collectible. Approach the raven to collect the Oracle Stone.
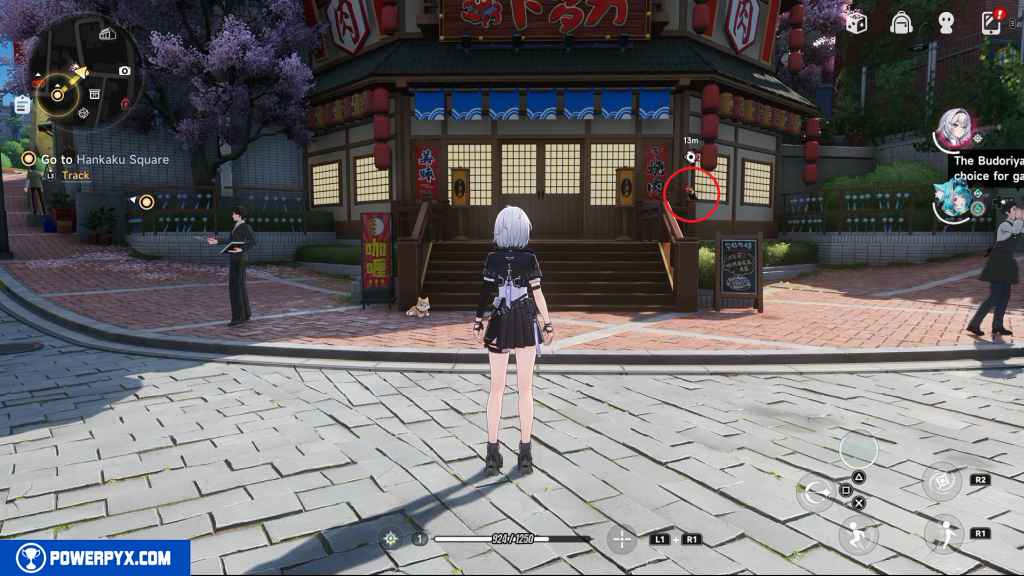
Then, head left up the path to the southwest.
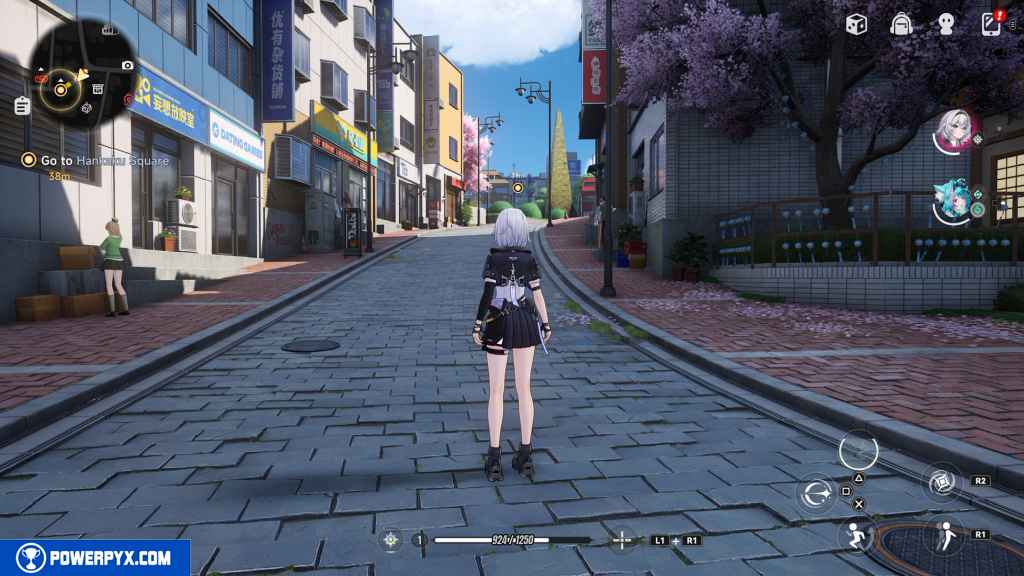
In the plaza, approach the pillar in the middle of the clearing to progress.

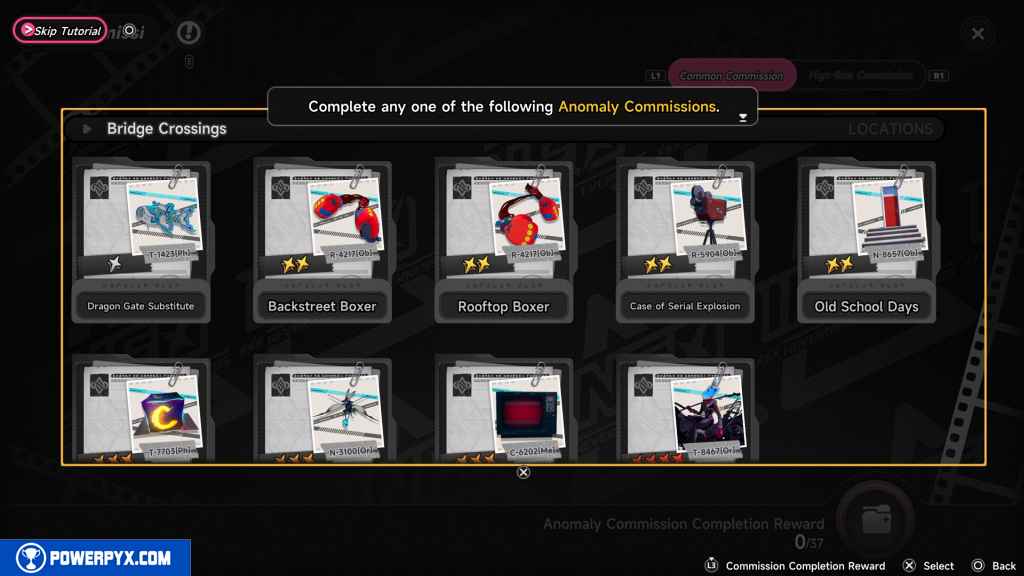
Check the Wertheimer Tower
Go to the tower and Sync with it using Circle.
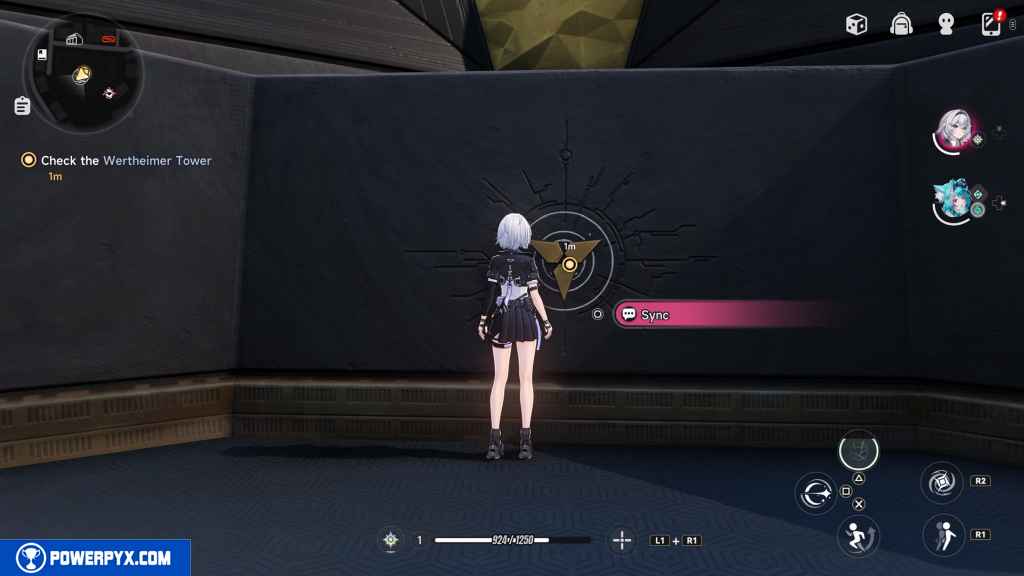
This unlocks Anomaly Commissions. These commissions are bosses you can take out for extra experience and resources, and especially Arcs which are passive stat buffs. Back out of the menu to finish the tutorial.
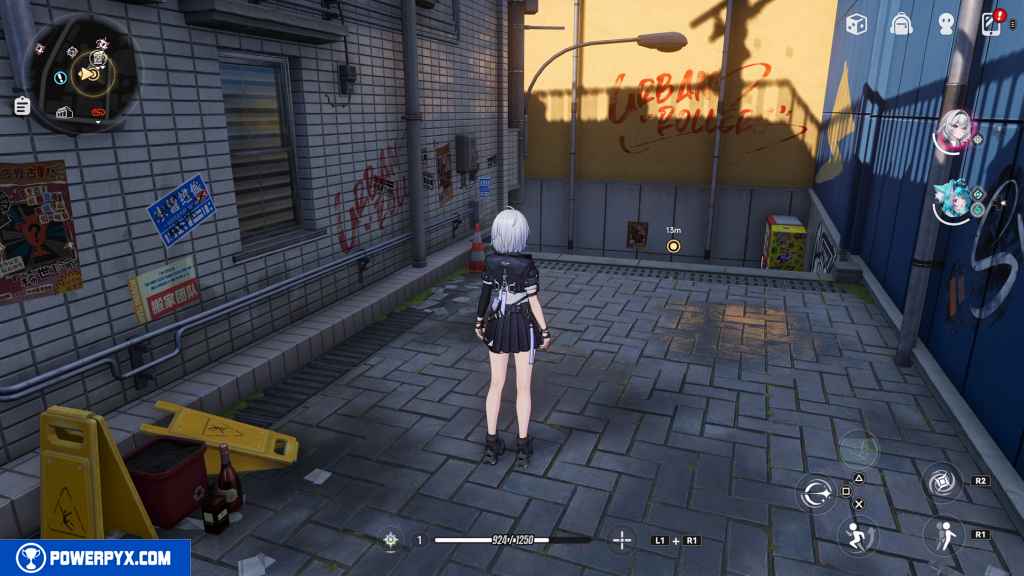
Go to Hankaku Street
Head north and go into the alley just left of the Pink Paws Bank.

Continue north until the alley turns to the right.
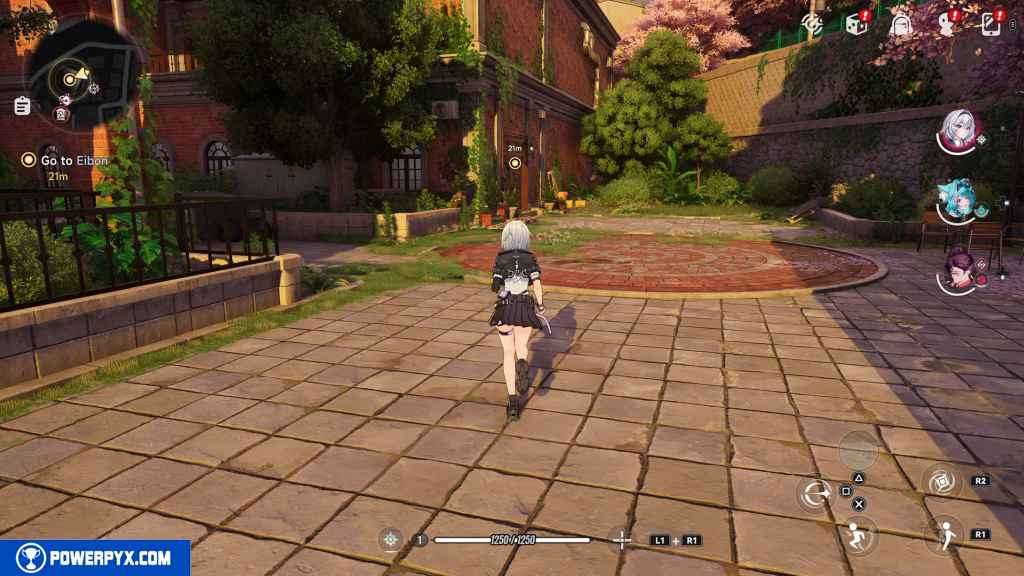
Go to Eibon
Follow the alley down the stairs to the left.
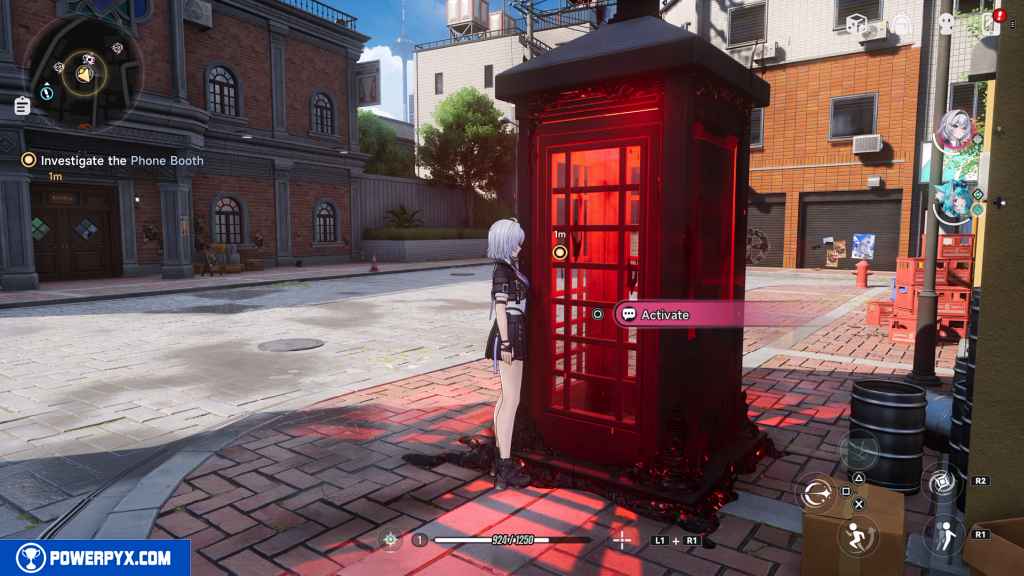
When you come out of the alley, you find a phone booth to your immediate right.
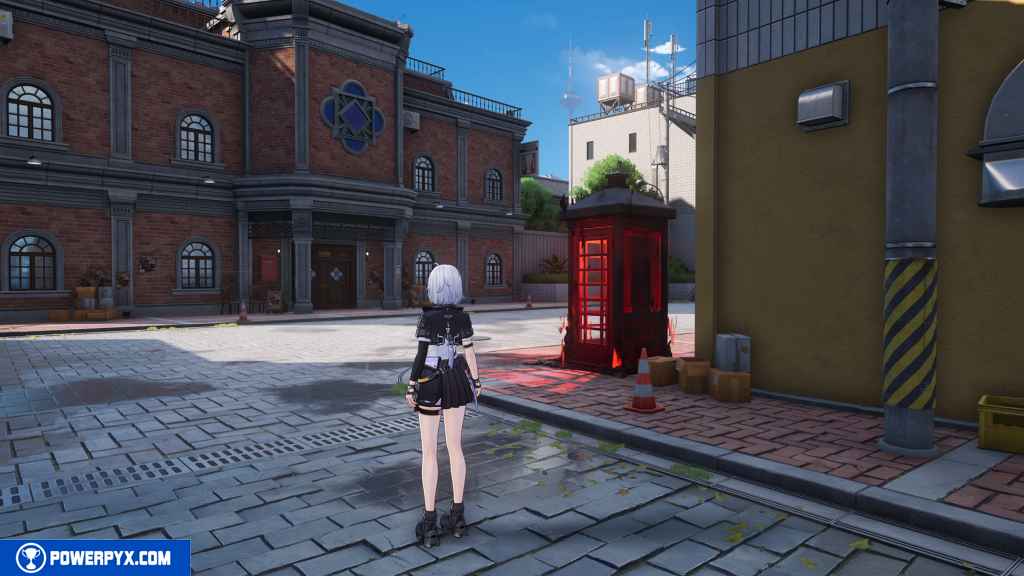
Investigate the Phone Booth
Interact with the Phone Booth with  .
.
Enter Eibon
Head north across the street and approach the building.
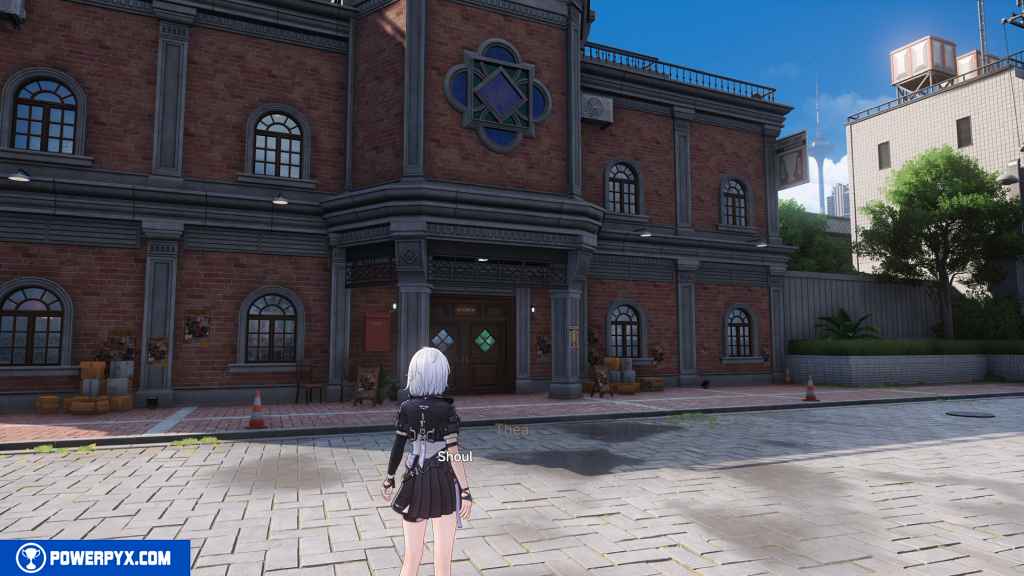
First, investigate the door. Then, open it to progress.

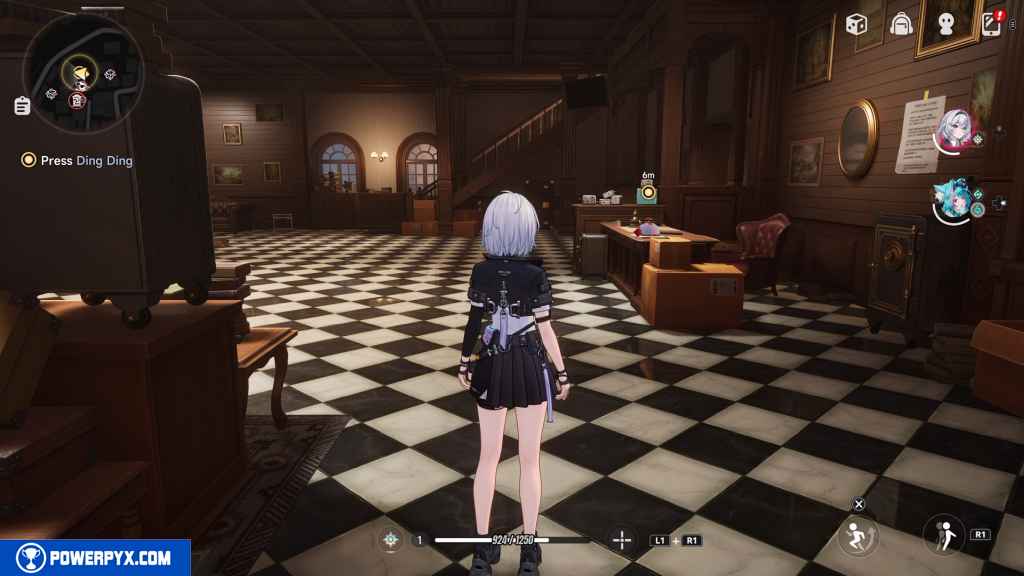
Press Ding Ding
Interact with the bell-looking crab on the front desk.

Talk to the Person
A man appears next to you. Approach him to progress.
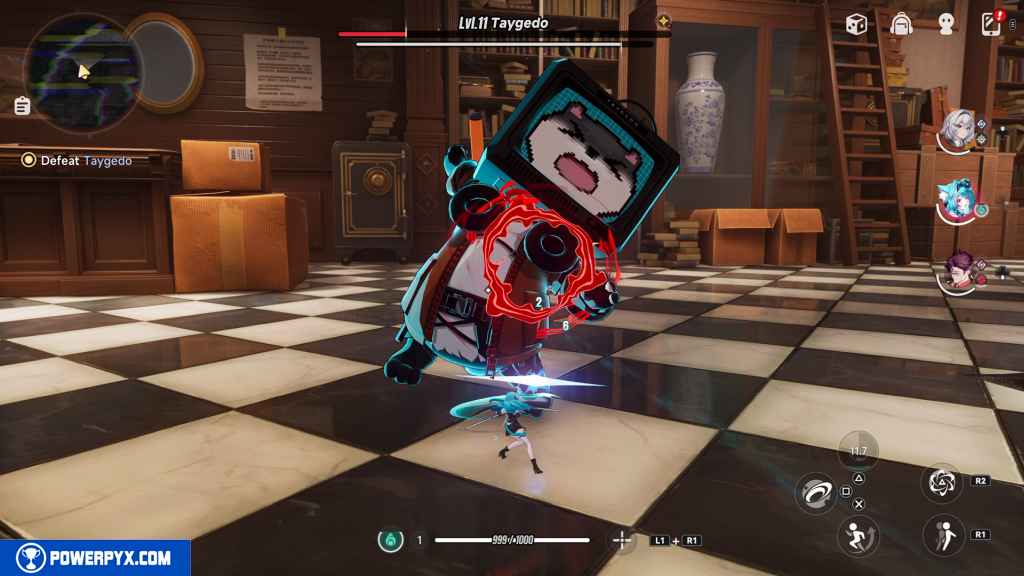
Defeat Taygedo
A new boss appears, the level 11 Taygedo. It’s a fairly straightforward fight. First, it sprays green gunk on the floor. Standing in the green gunk inflicts passive damage on you.

He also drops random items on the ground. Pass through them to throw them back at Taygedo and inflict damage.
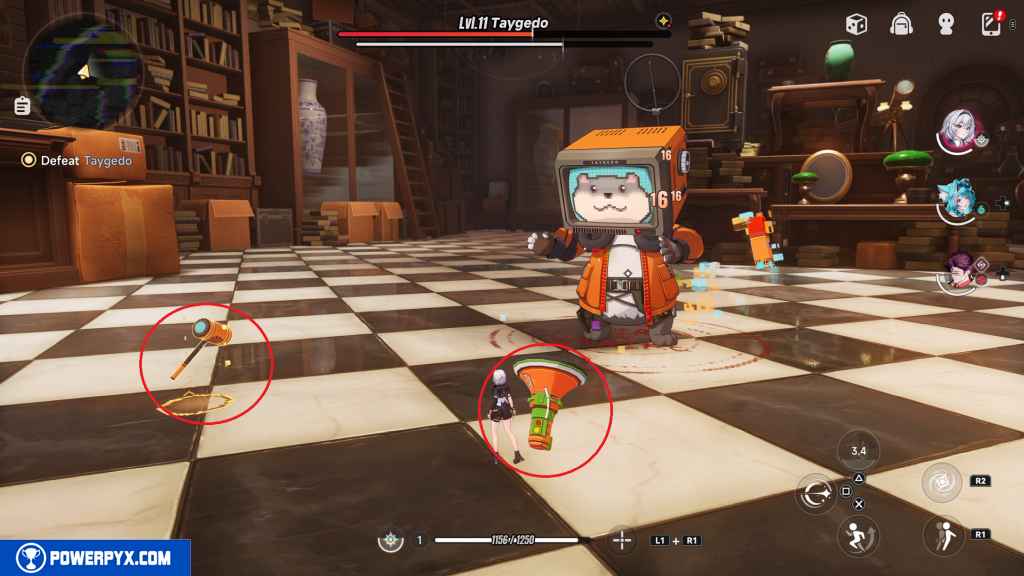
Otherwise, parry its one prompt and dodge any of its attacks as you chip away at its health.
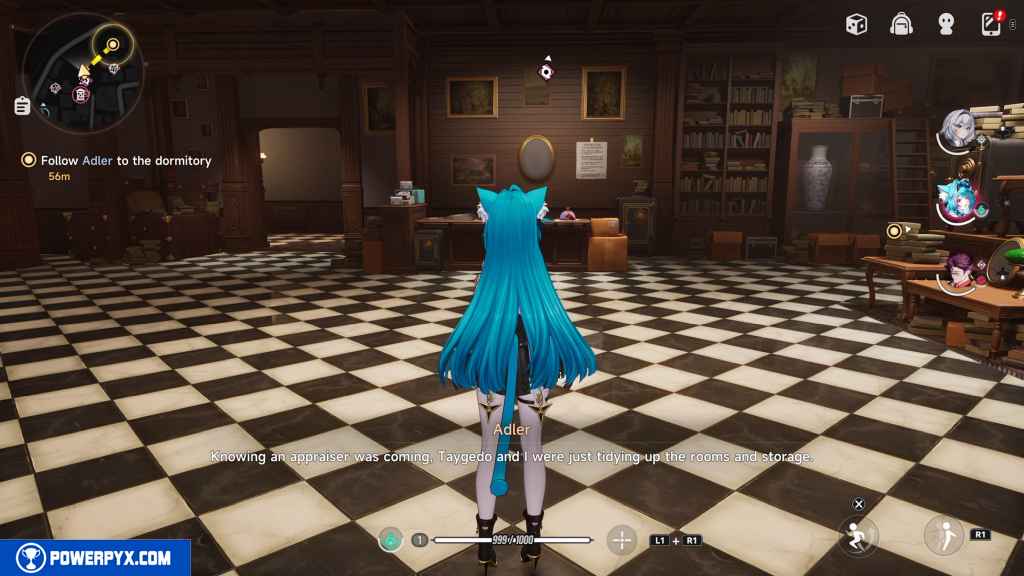
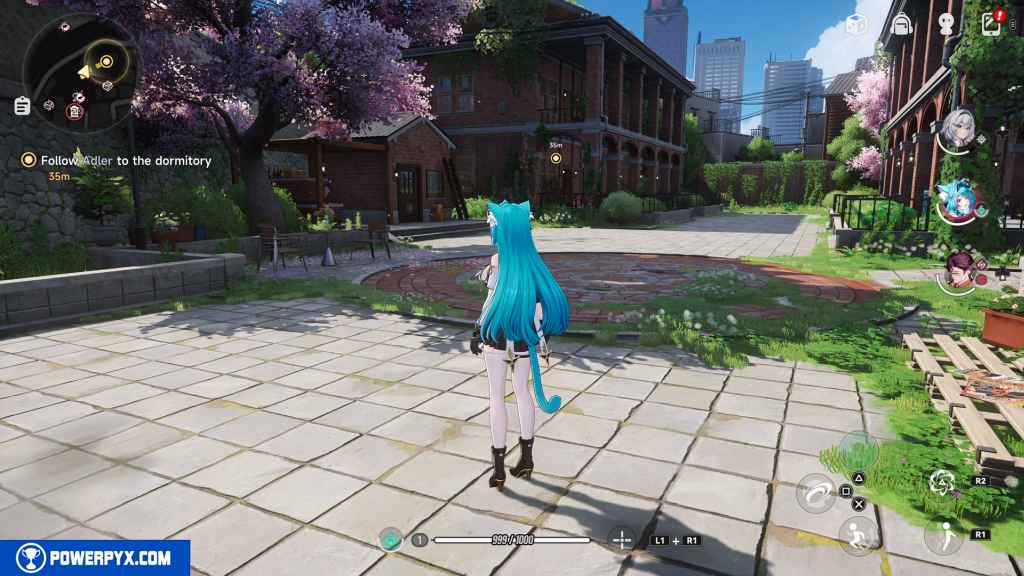
Follow Adler to the dormitory
Re-enter Eibon and head through the door to the left of the front desk.
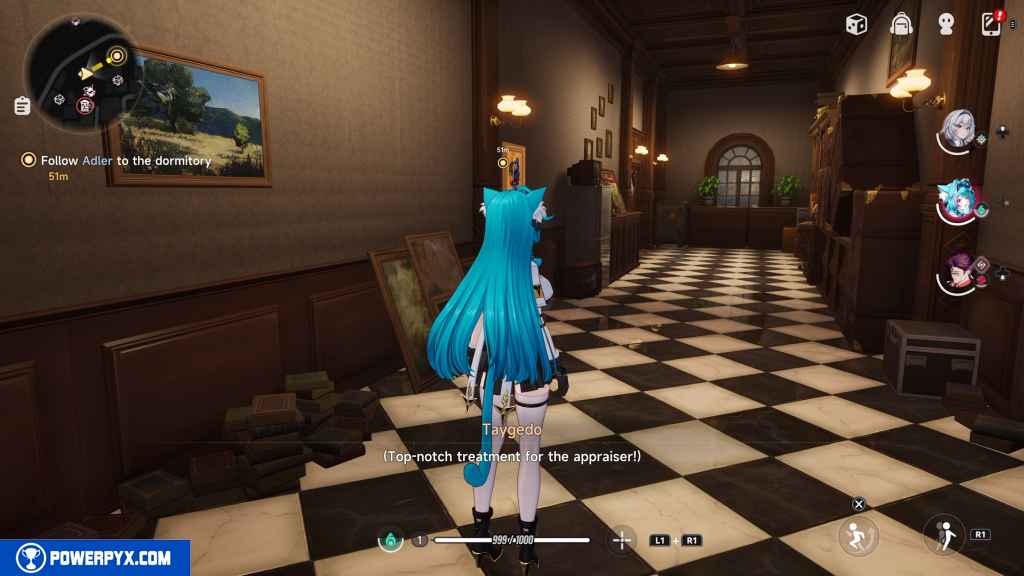
Turn right down the hall. Head out the door to your left.
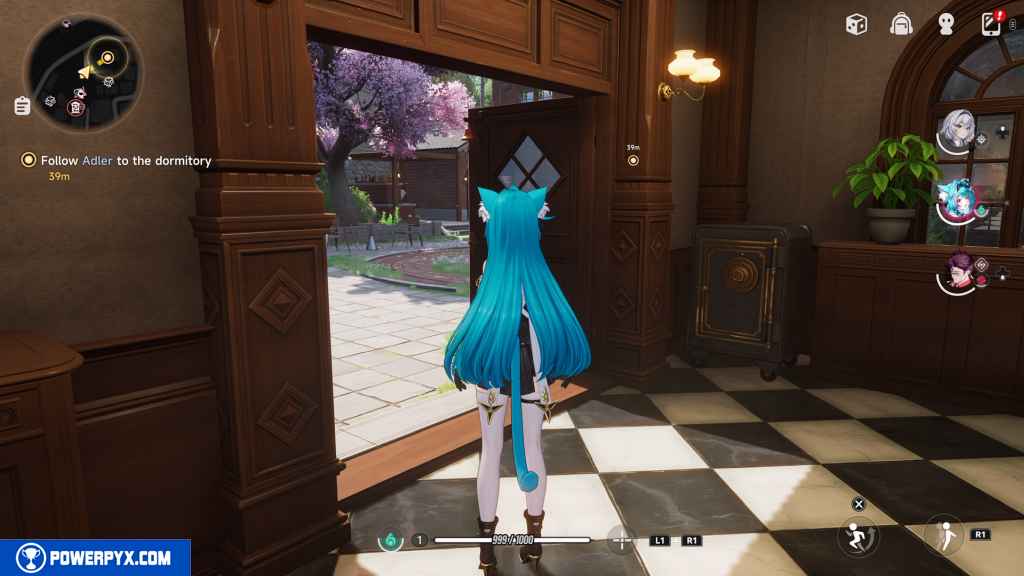
Go right and enter the larger building to the northeast.
Enter the open door to progress.
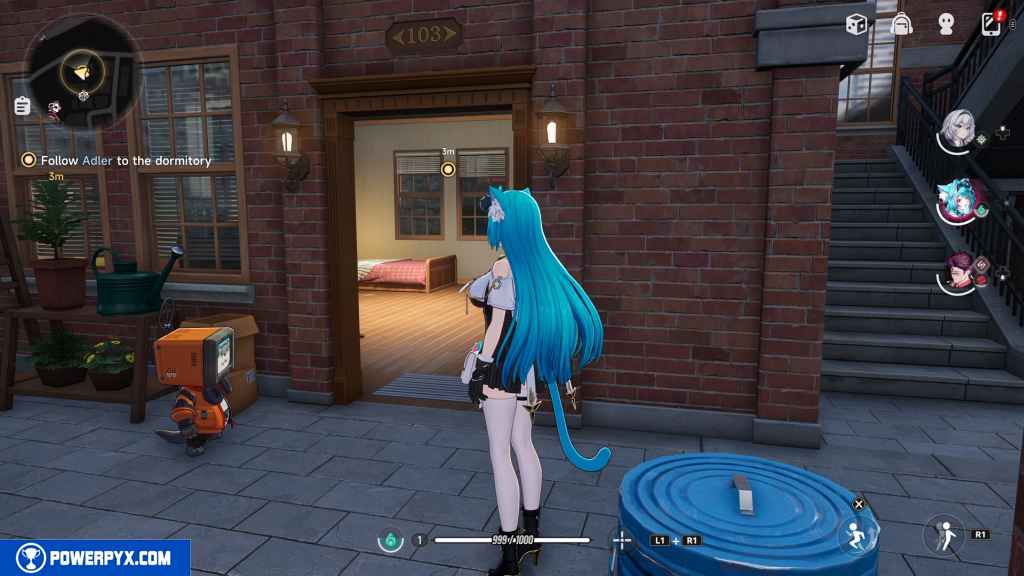
Rest in the Dormitory
Turn around and interact with the bed behind you to rest.
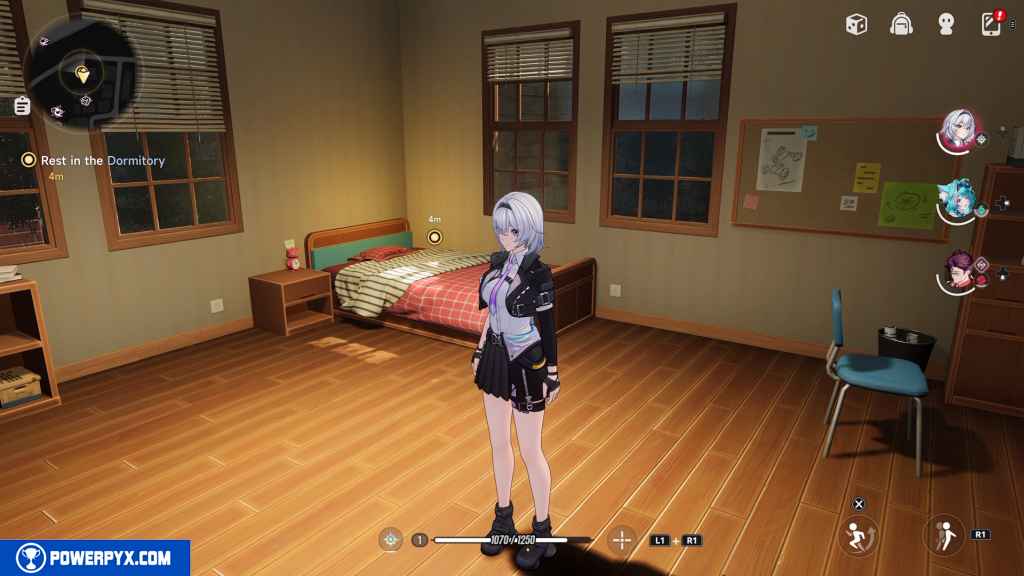
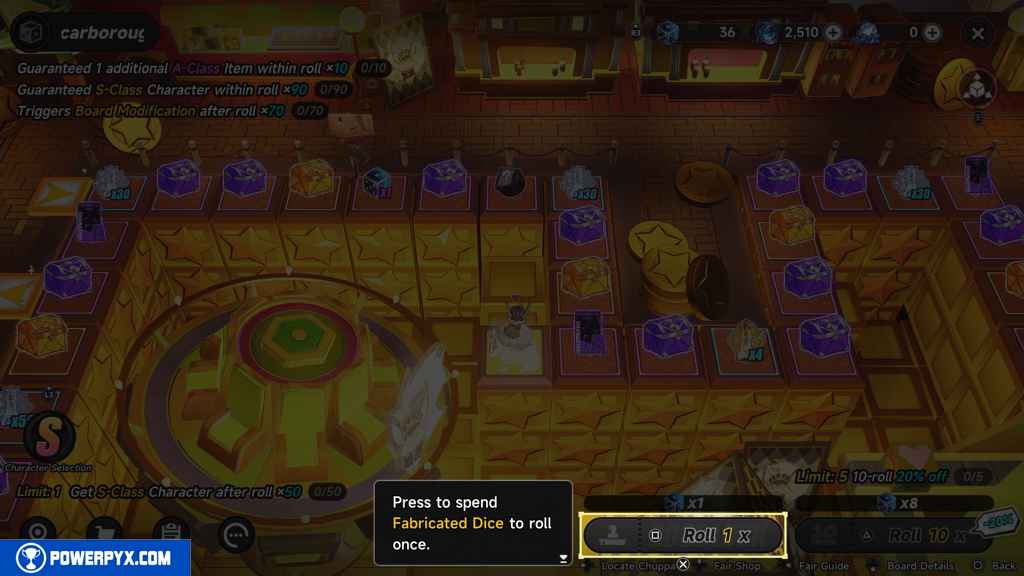
Here, you get a tutorial about the Strange Encounters. This works as the standard banner to pull characters.

Go to Eibon
Go back to Eibon using the same path you came from.
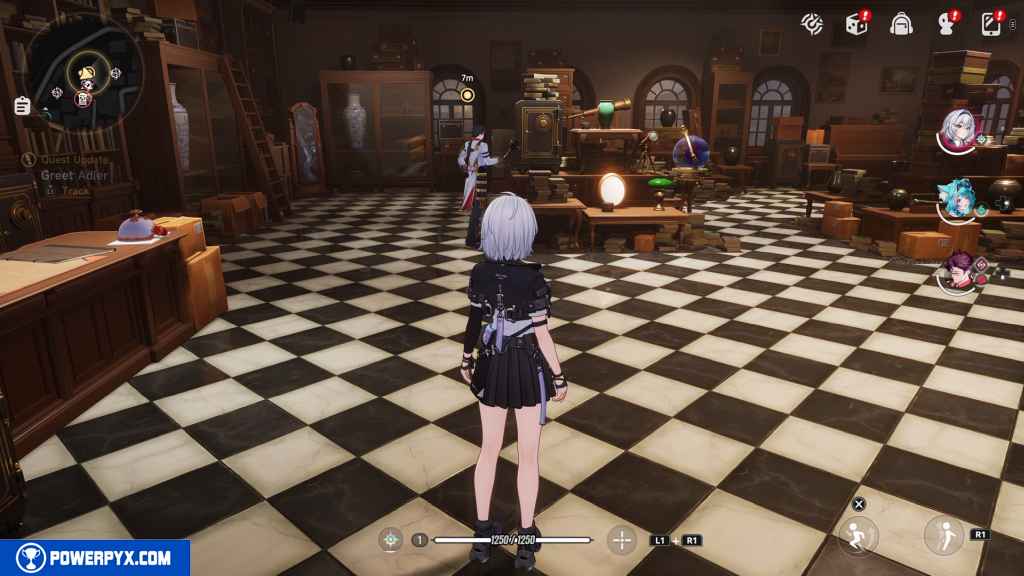
Greet Adler
Approach Adler in the entrance to progress.
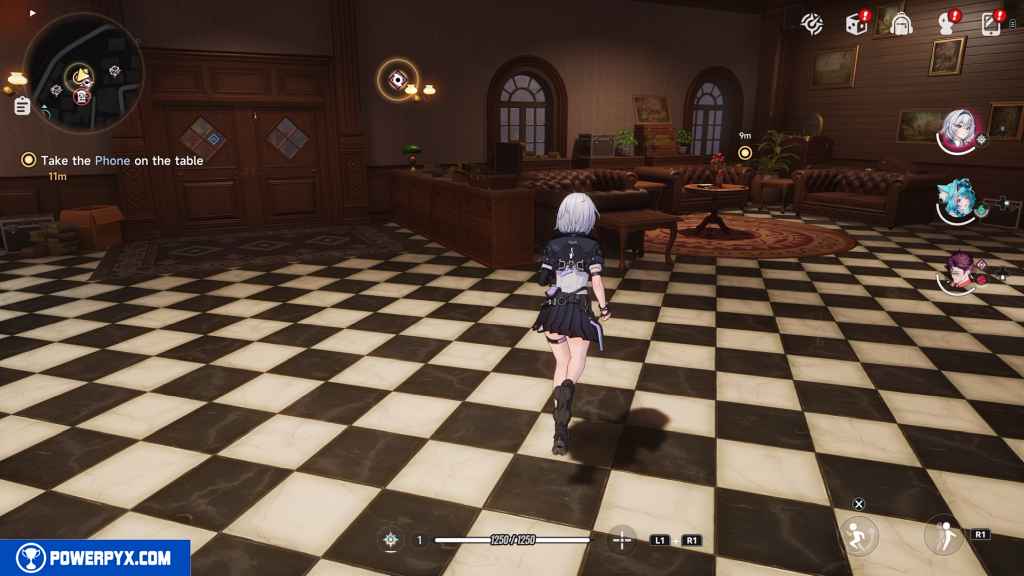
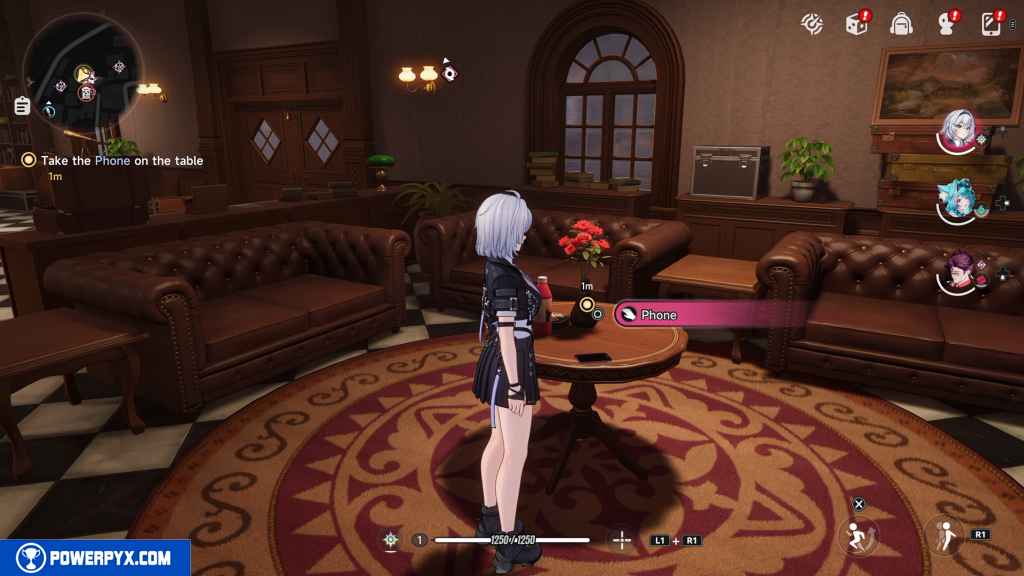
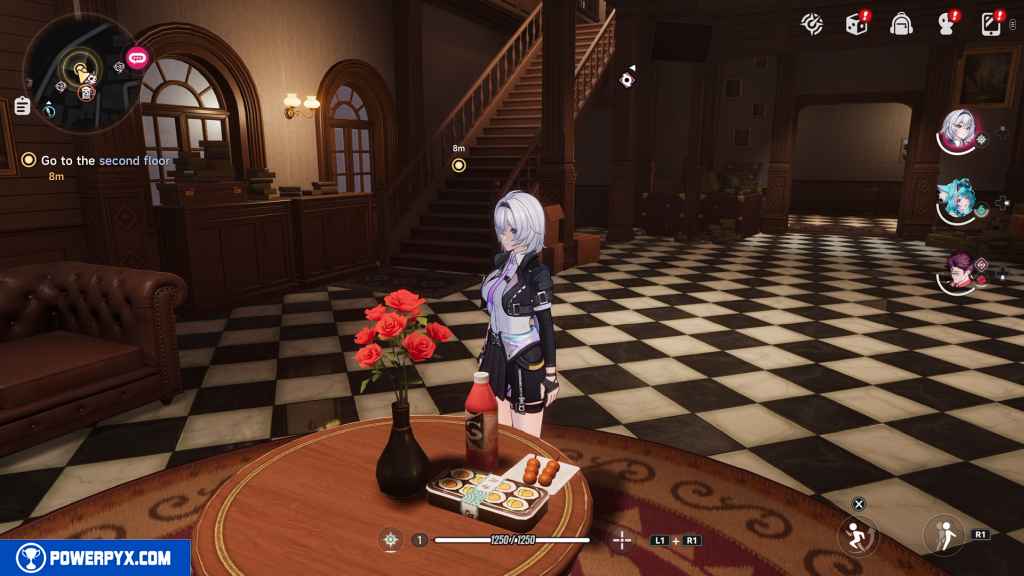
Take the Phone on the table
Turn around and approach the coffee table by the brown couches. Interact with the phone.
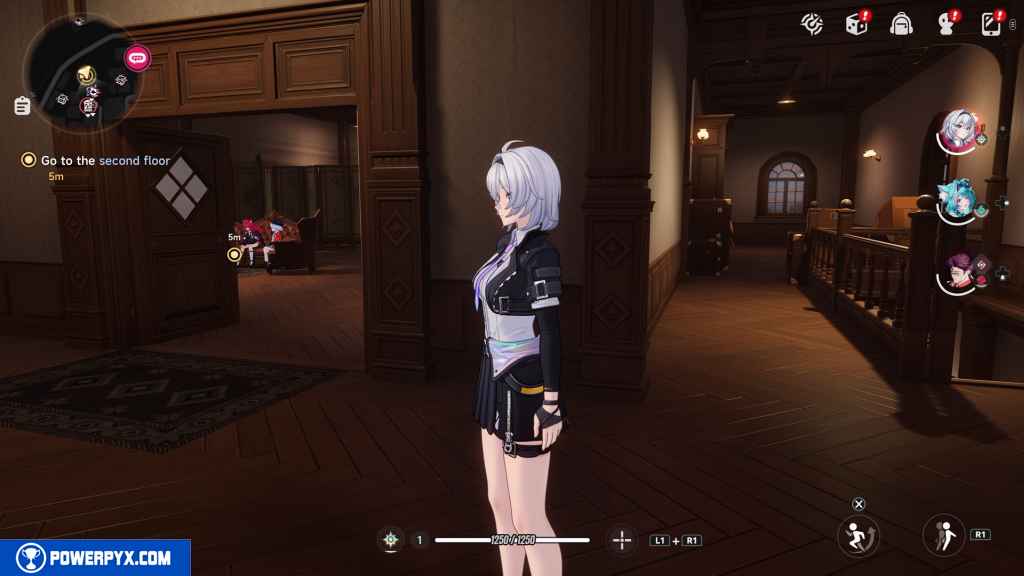
Go to the second floor
Head up the stairs to your right.
Enter the open door to your right.
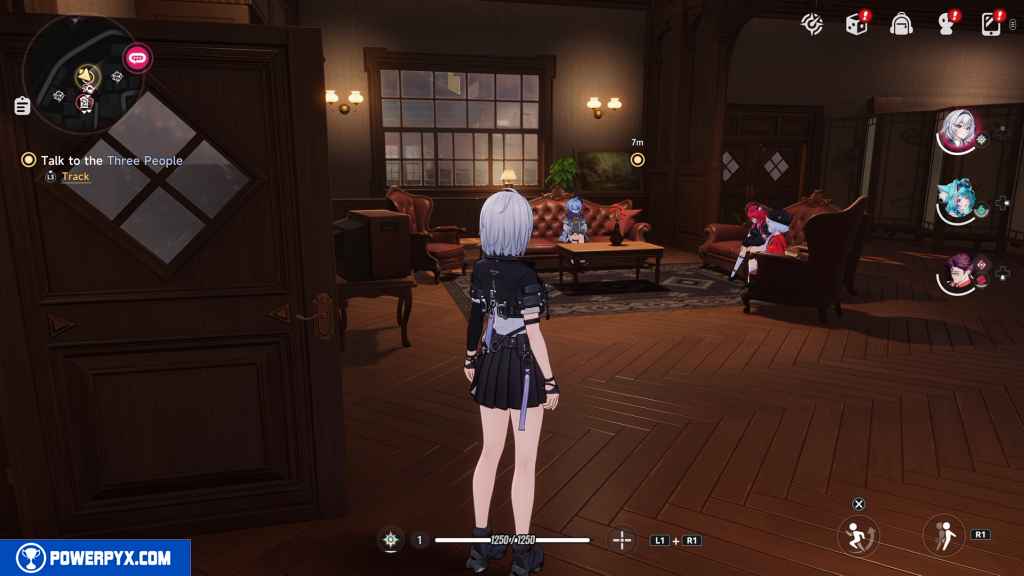
Talk to the Three People
Approach the couches to progress.
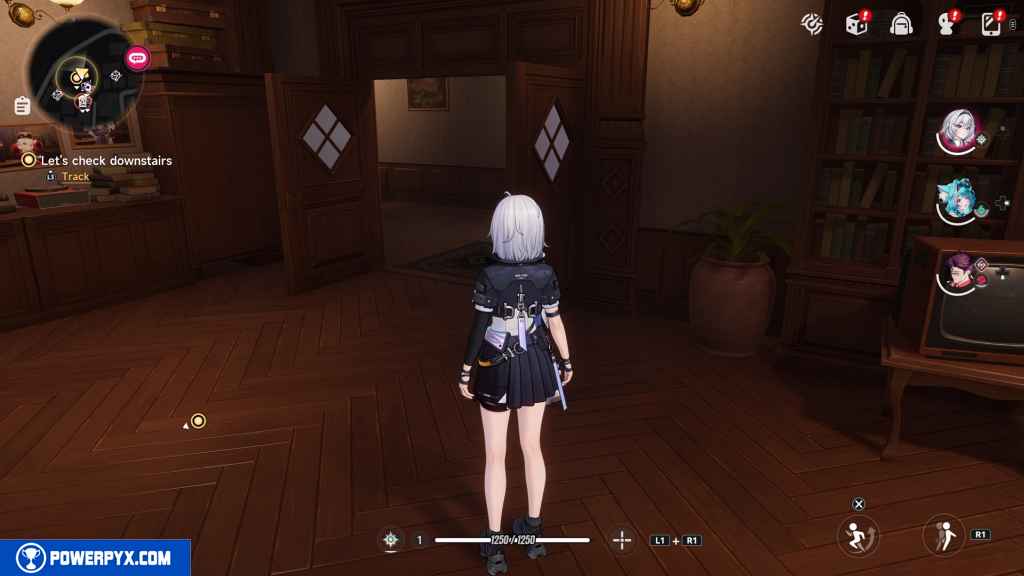
Let’s check downstairs
Head back down to the entrance of Eibon.
Hear about the Commission
This objective appears as soon as you descend the stairs and a cutscene starts.
Talk to Adler
Approach Adler in front of you to progress.
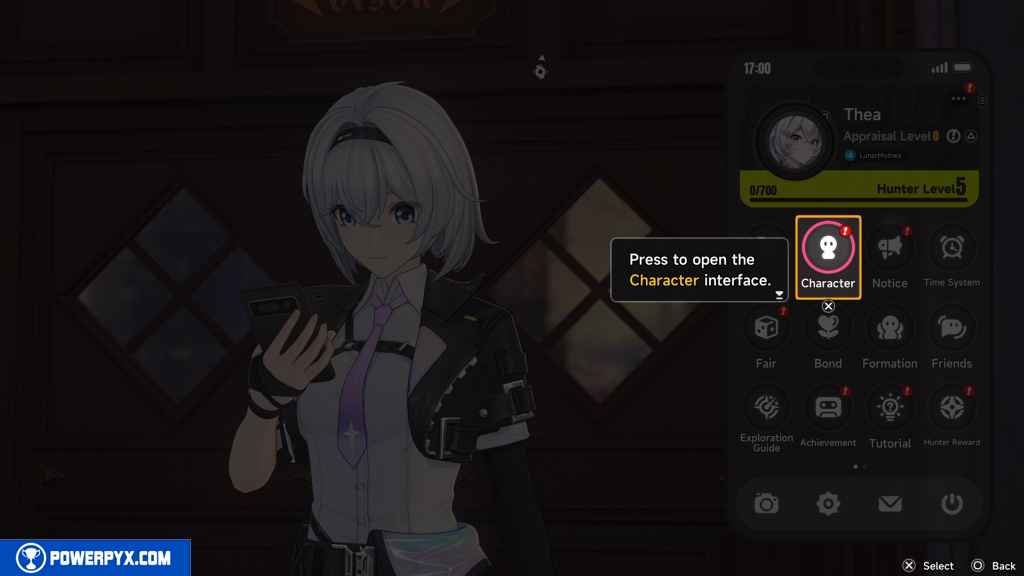
This introduces you to the Console menu. Here, you learn about Cartridges, which act as gear for your characters and grant passive stat buffs, similar to Arcs.

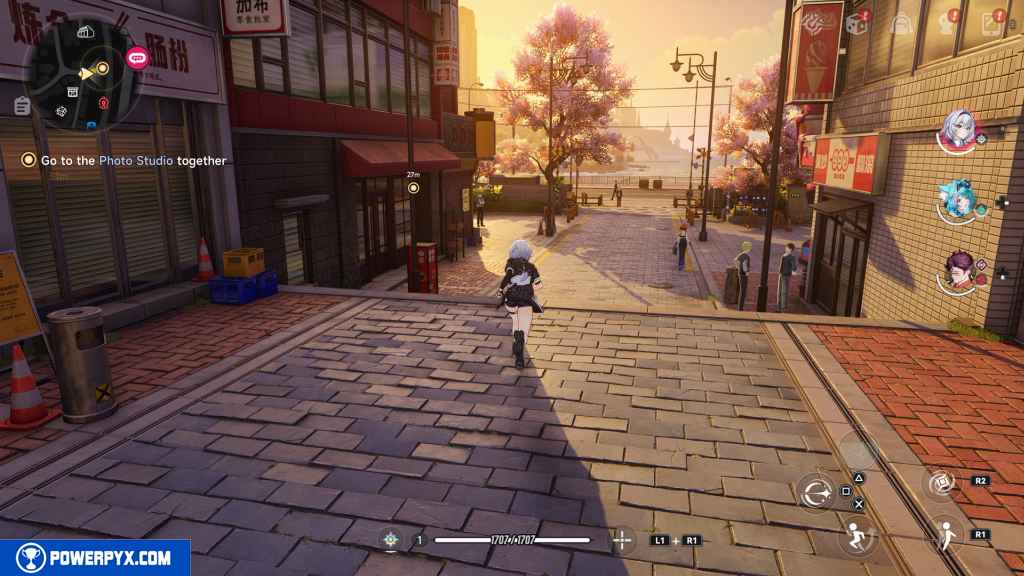
Go to the Photo Studio
Follow the path south and then head east.
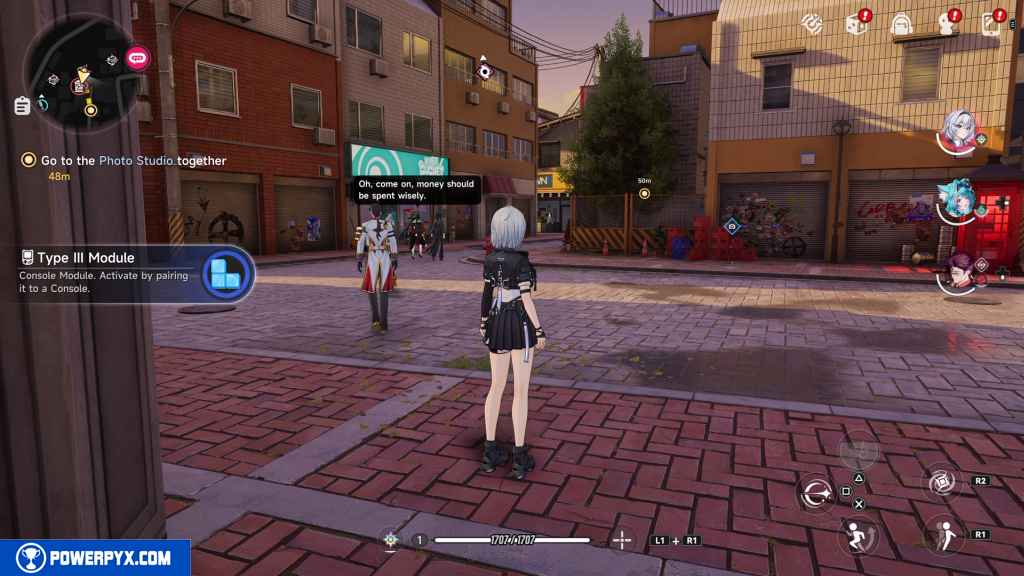
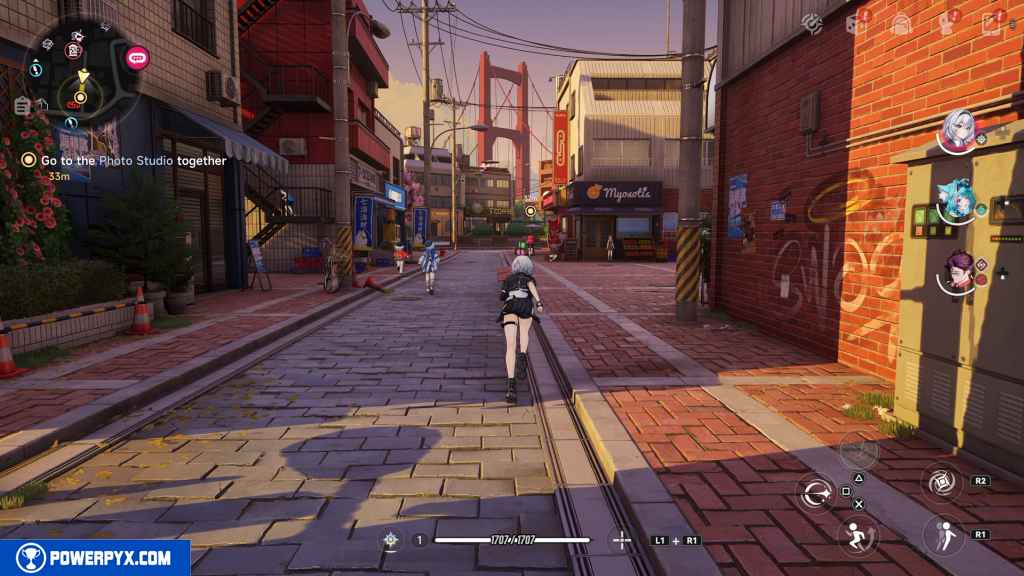
Continue east until you reach a highway.
Approach the Photo Studio to your left.
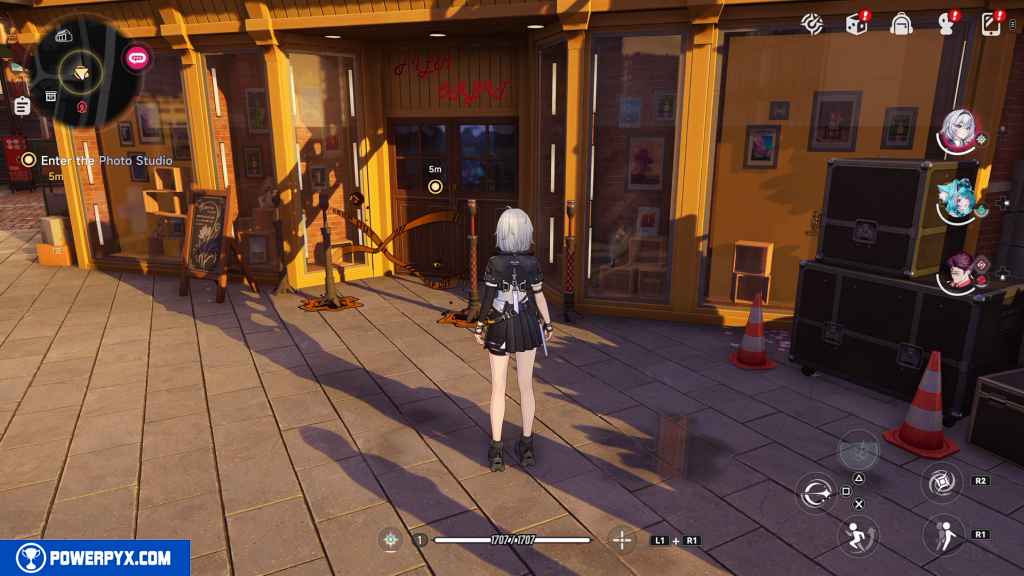
Enter the Photo Studio
Interact with the entrance to the Photo Studio to enter.
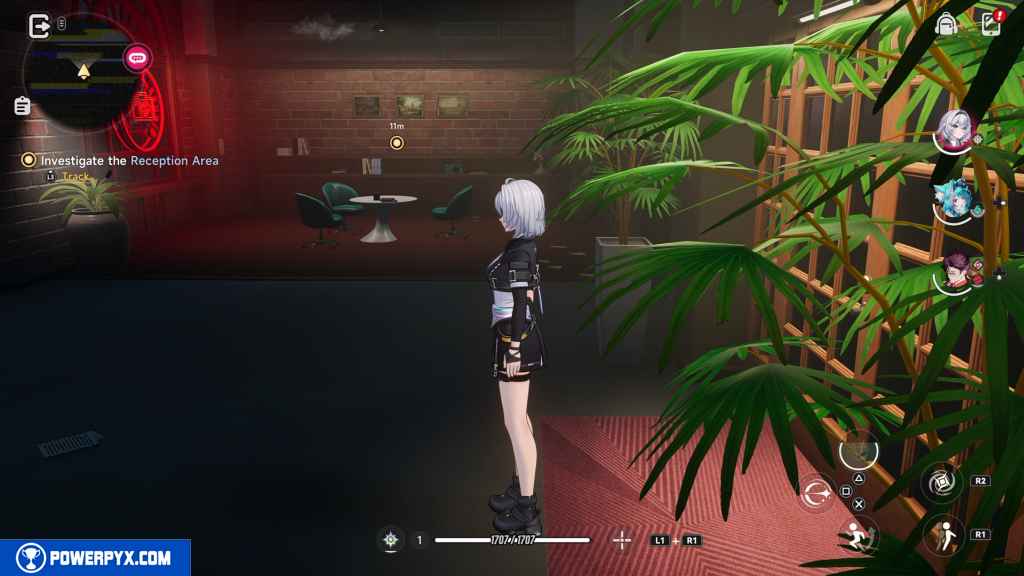
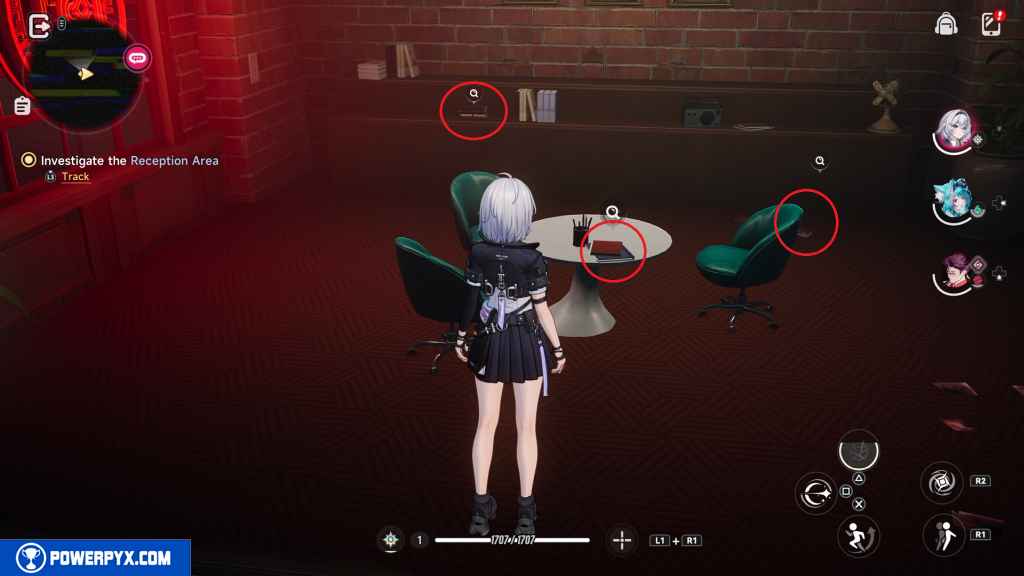
Investigate the Reception Area
Head to your immediate right and interact with these three objects.
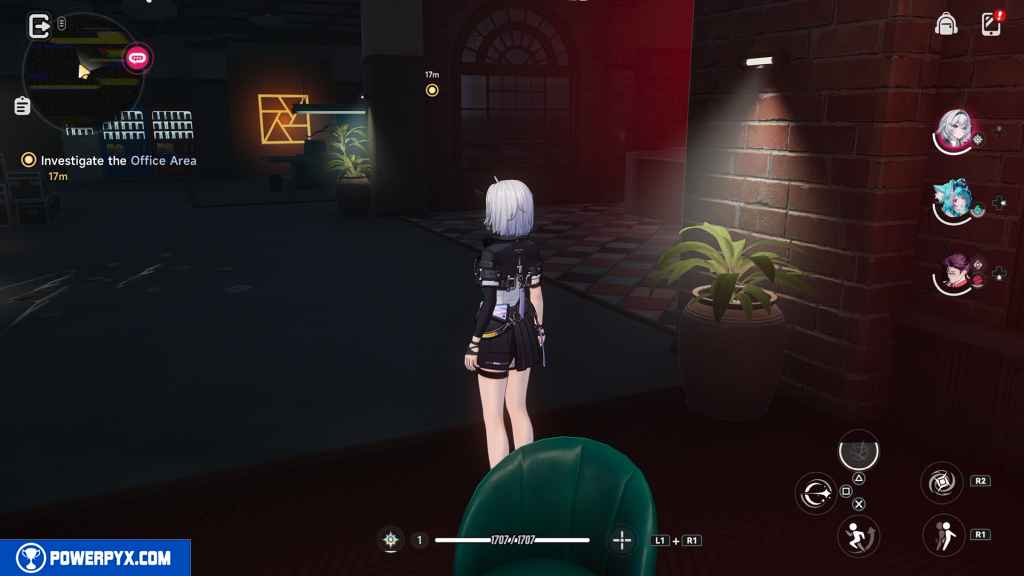
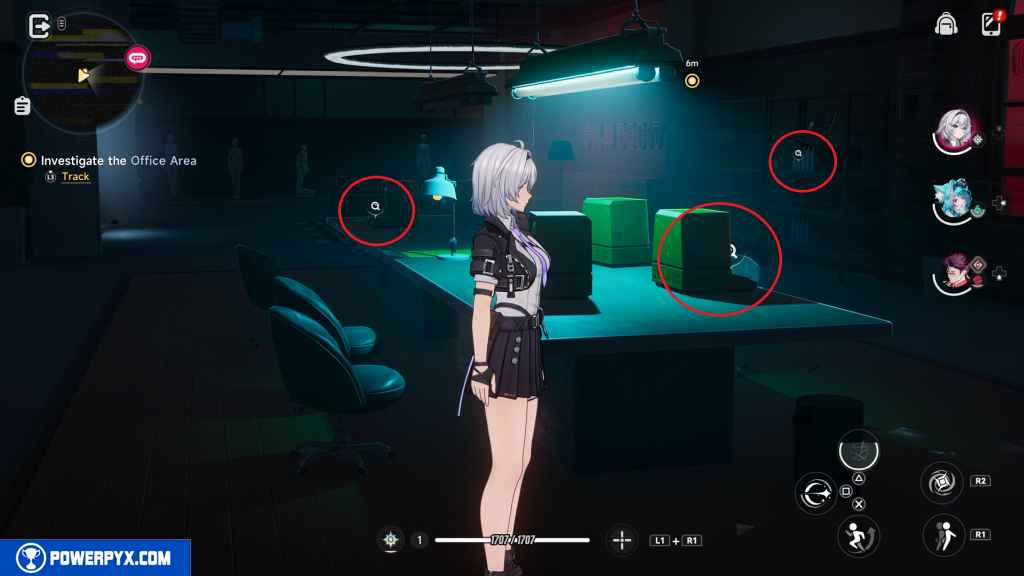
Investigate the Office Area
Head west and interact with these three objects in the office.
Investigate the Rest Area
Head north into the office to progress.
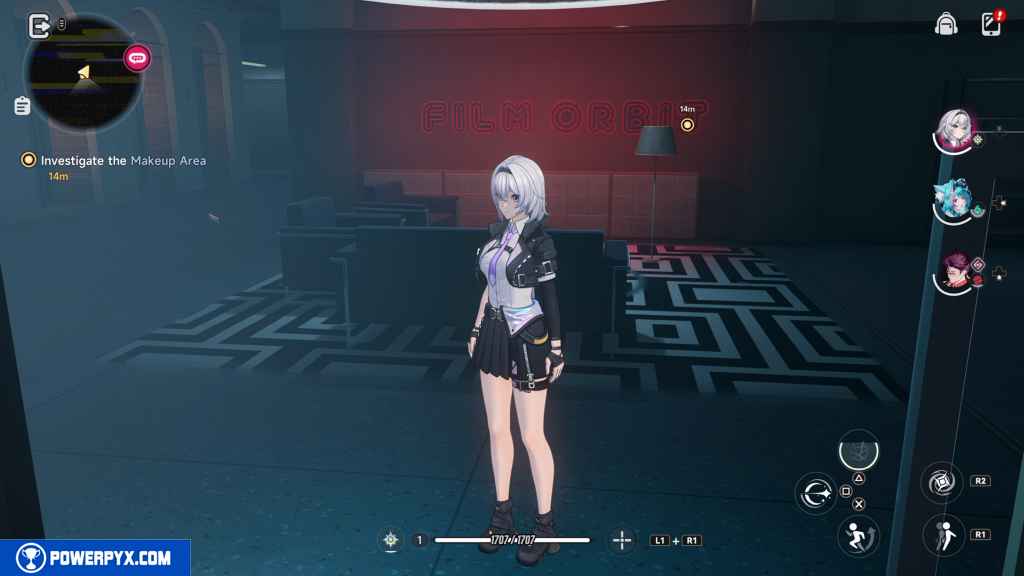
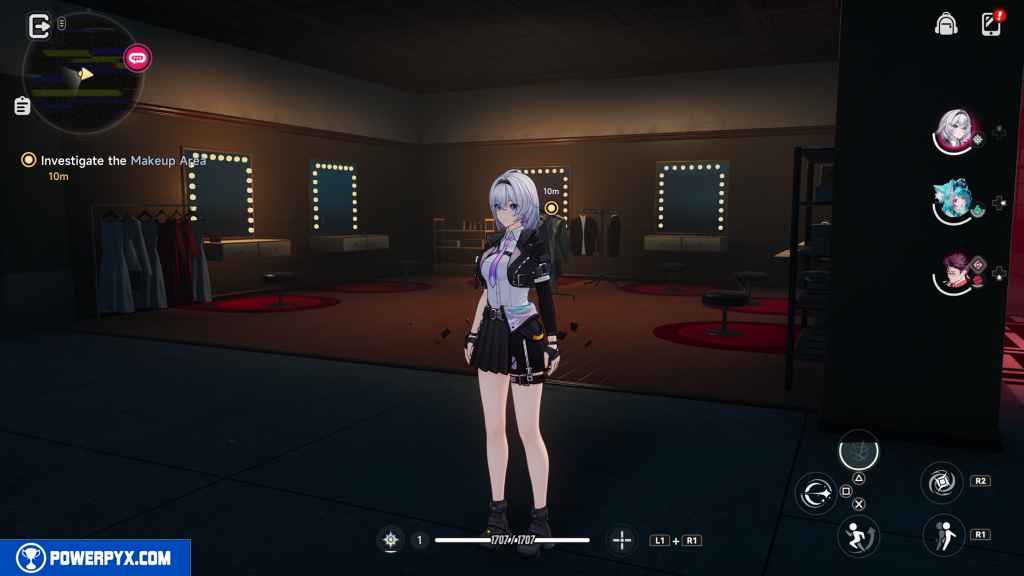
Investigate the Makeup Area
Go around the left of the wall behind you. Step into the Makeup Area to progress.
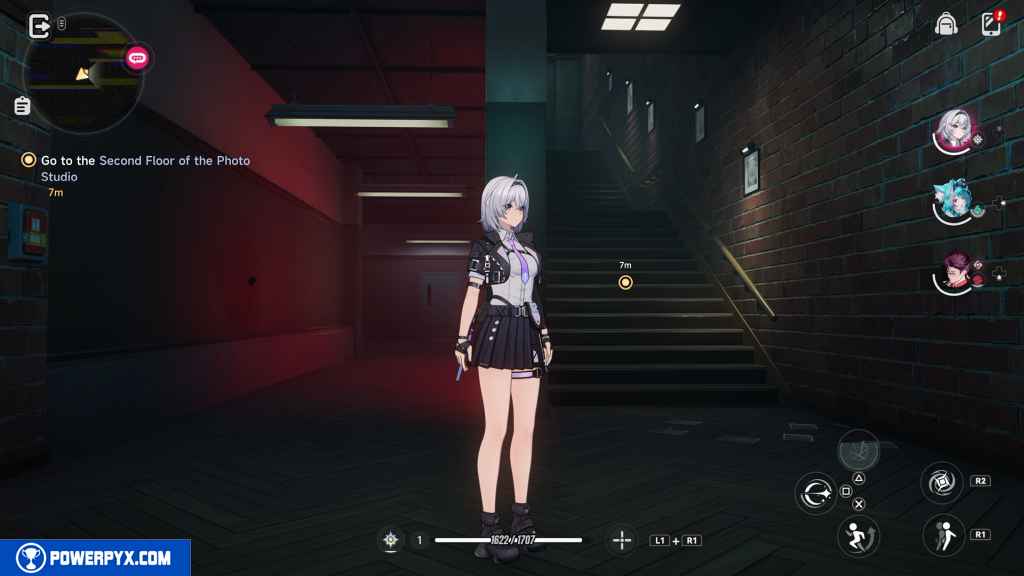
Go to the Second Floor of the Photo Studio
Go west behind the next wall and head down the hall.
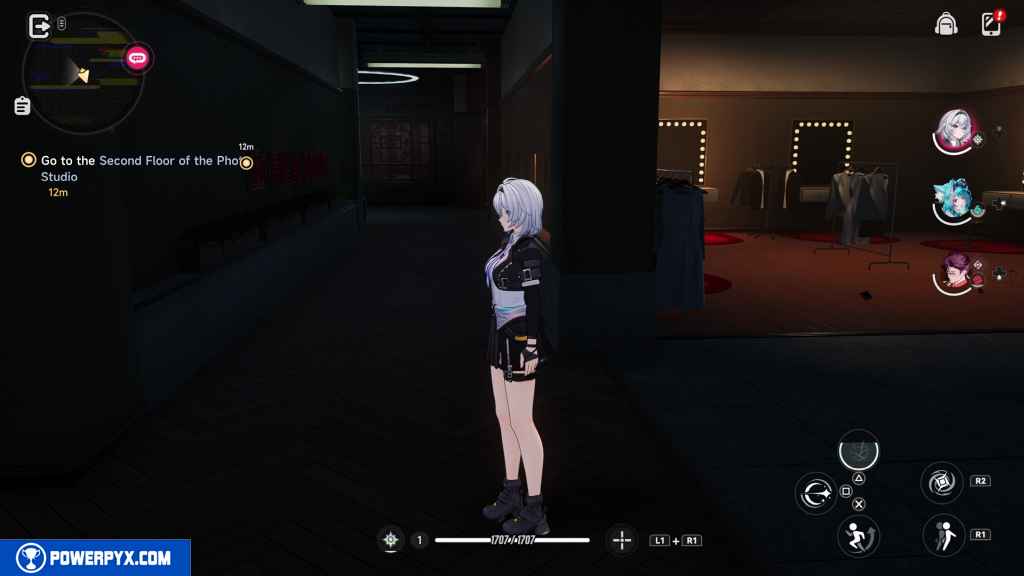
Take an immediate left at the end of the hall and go up the stairs.
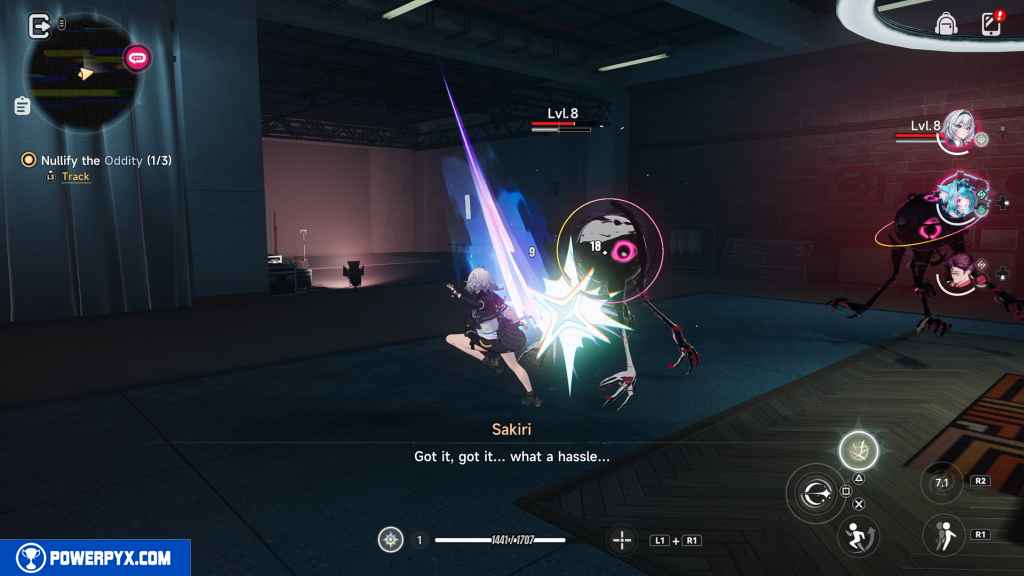
Nullify the Oddity (3)
Take out the three level 8 Oddities in the room at the top of the stairs.
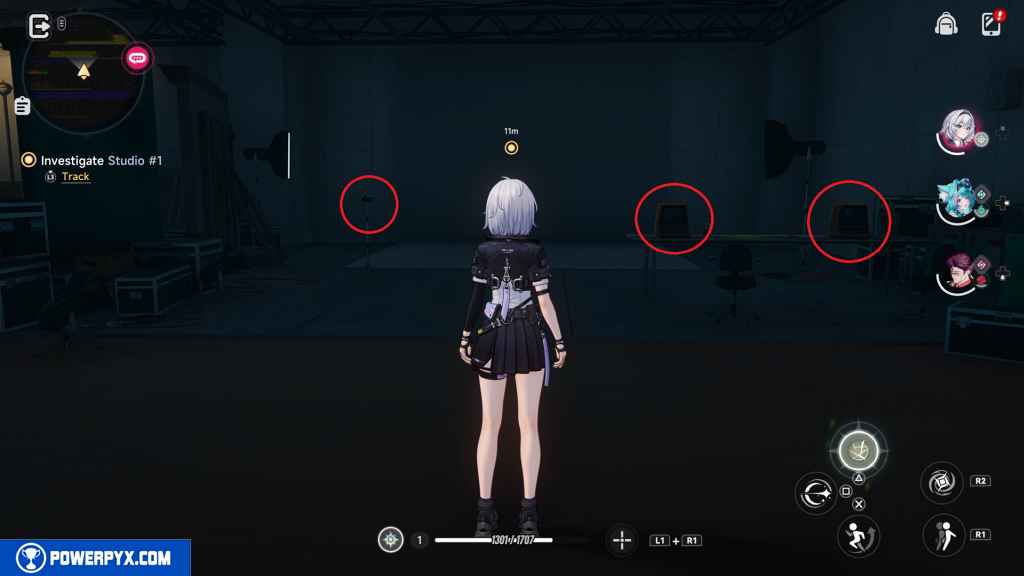
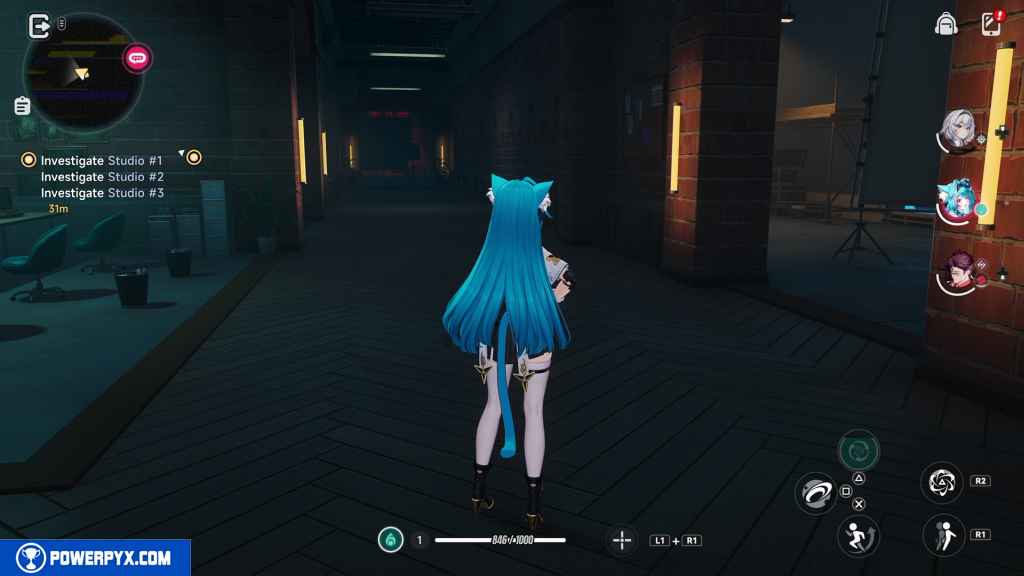
Investigate Studio #1
Interact with these three objects to progress.
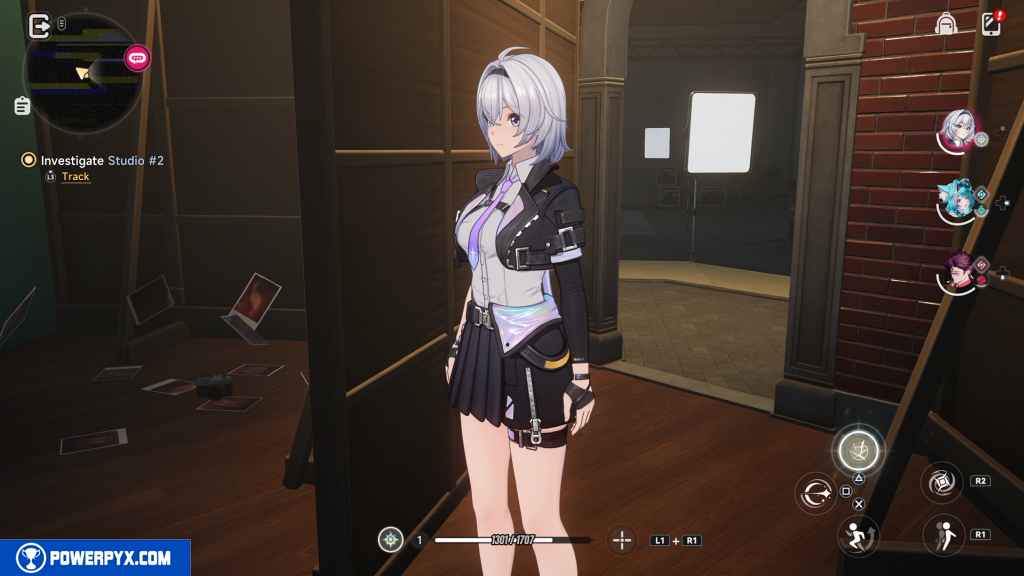
Investigate Studio #2
You get automatically transported to the next studio.
Enter the stage structure and turn right.
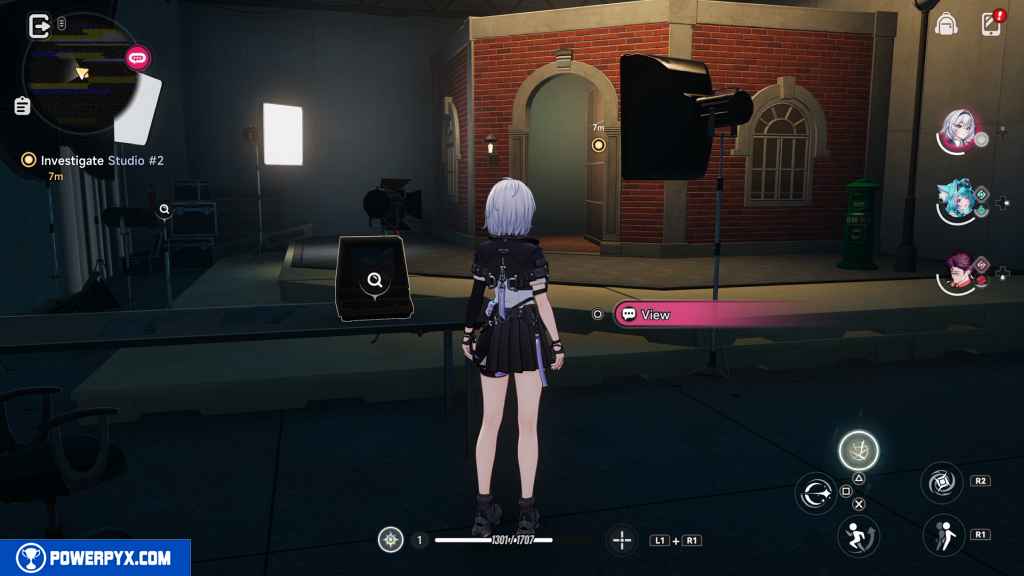
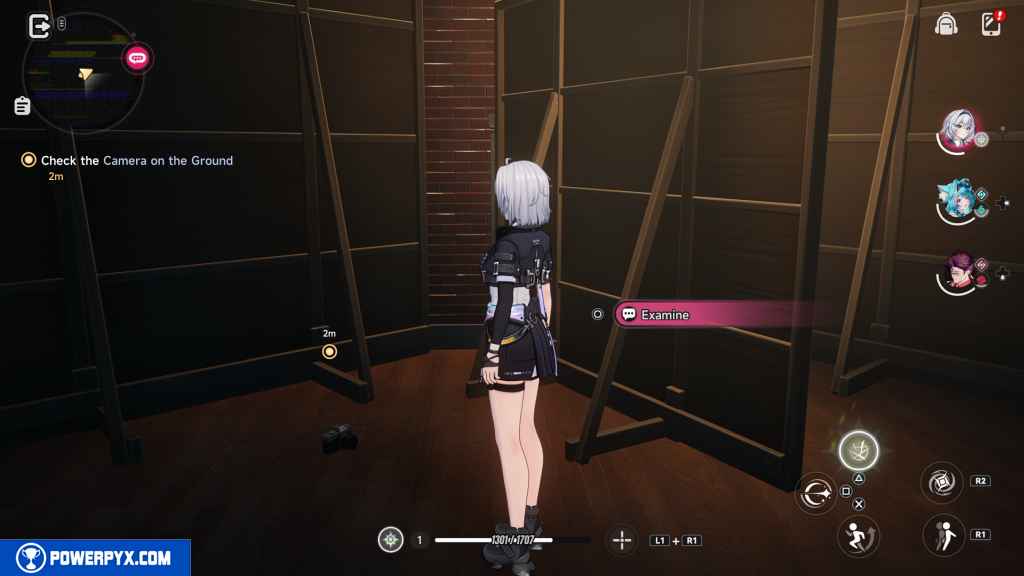
Check the Camera on the Ground.
Interact with the camera you find there.
Continue investigating
Leave the stage structure.
Nullify the Oddity (3)
Take out the three level 8 Oddities that automatically appear when you leave the stage structure.

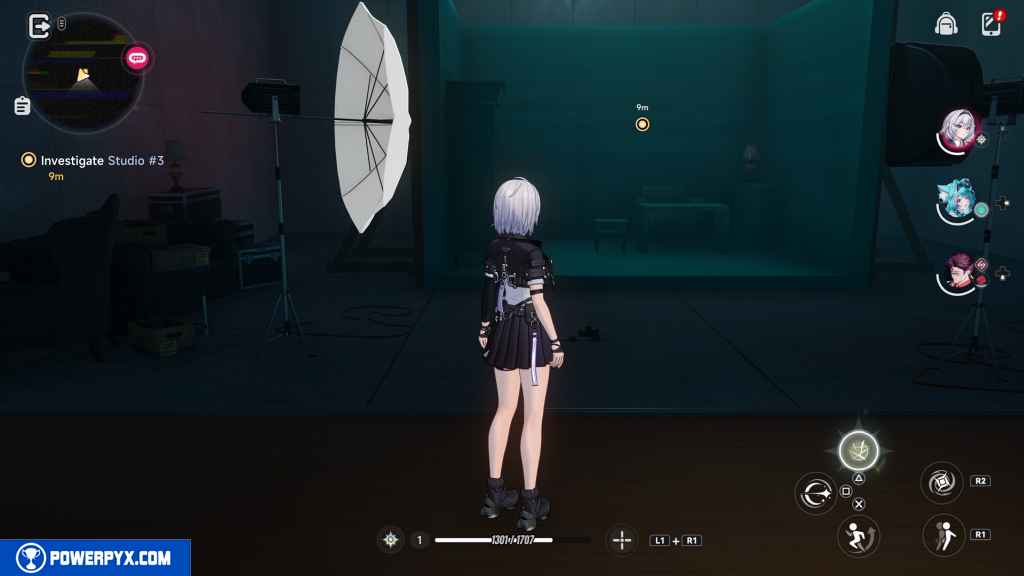
Investigate Studio #3
Approach the translucent curtain to open it.
Approach the stage. After an animation, the door at the back of the stage opens. Interact with it.
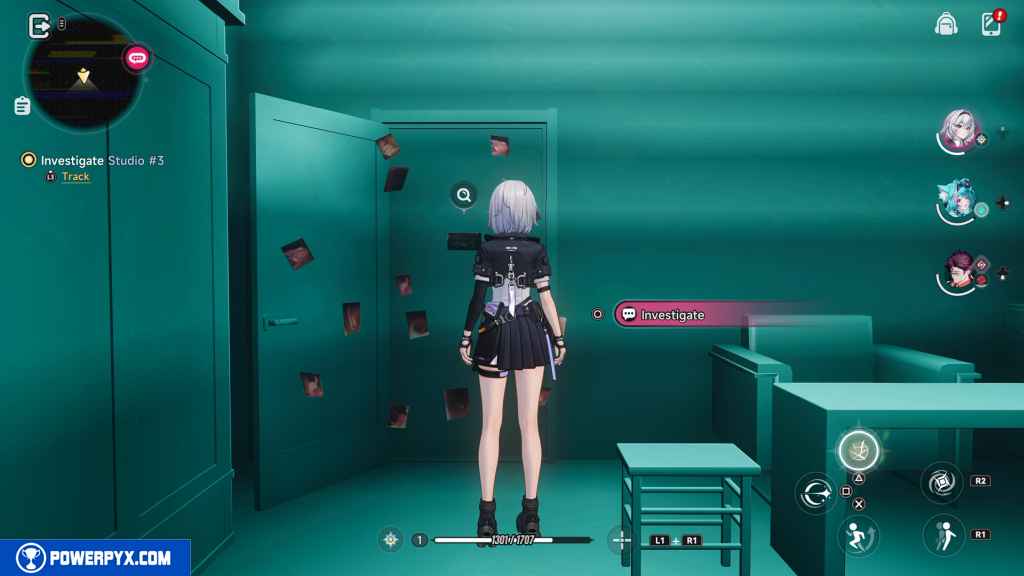
Then, head east to another curtain. It disappears when you approach it.
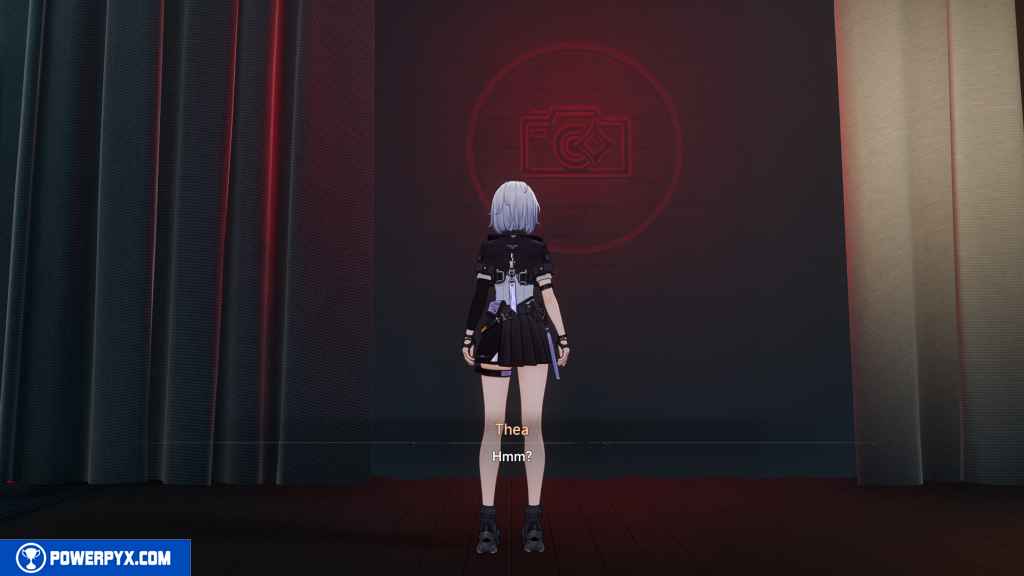
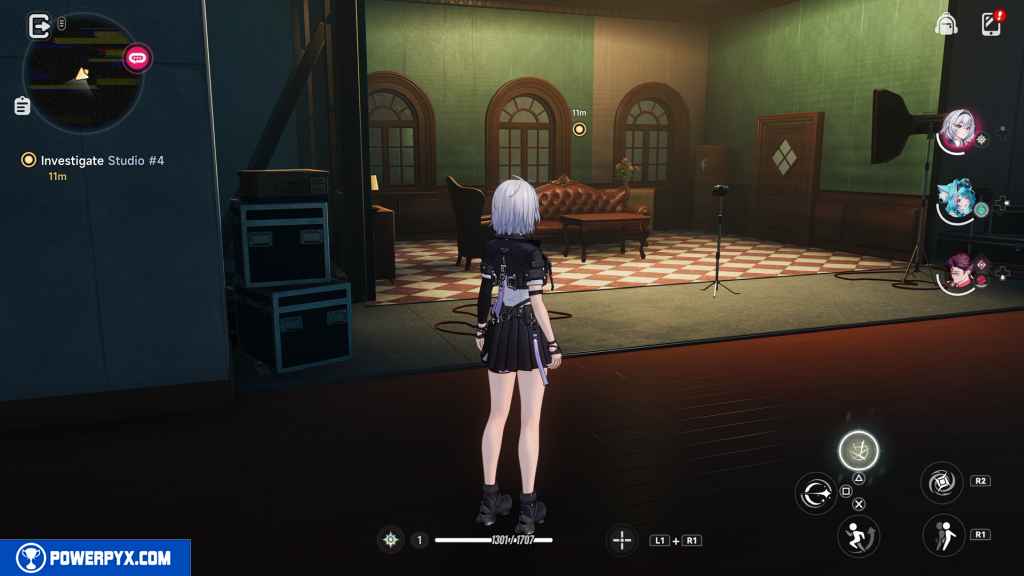
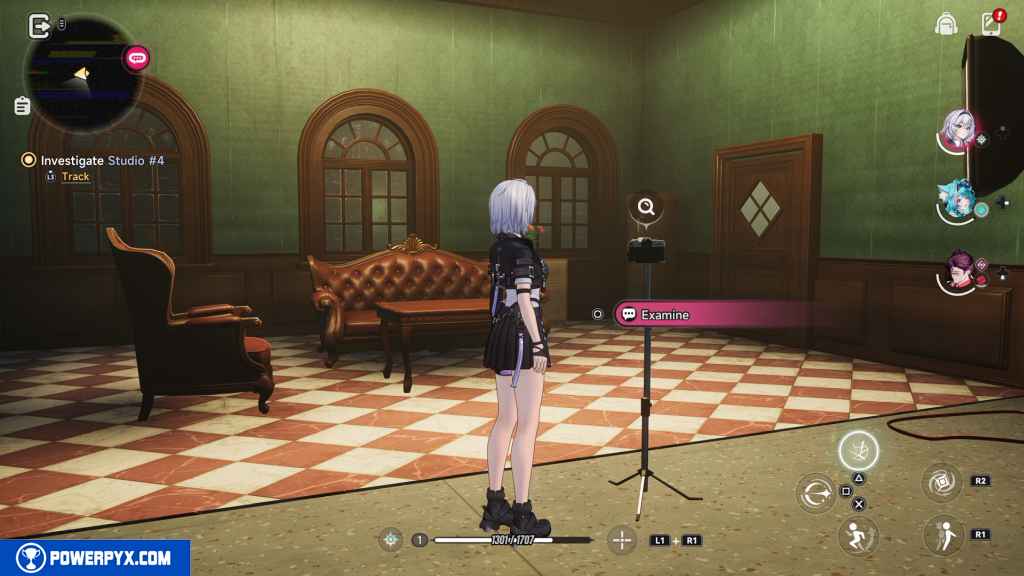
Investigate Studio #4
Enter the new stage to your left.
Interact with the camera.
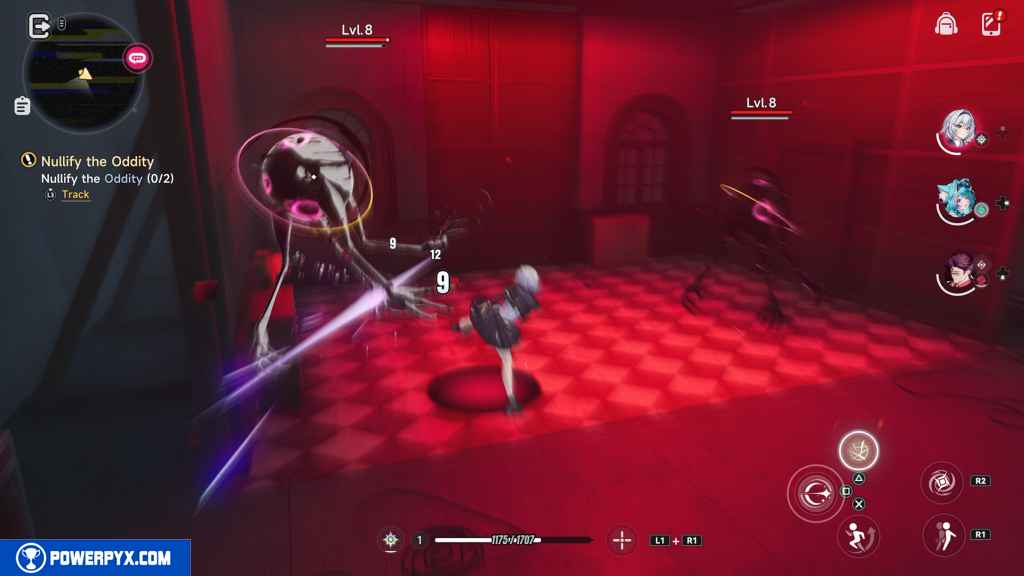
Nullify the Oddity (2)
Take out the two level 8 Oddities in the room that appear on the stage.
Continue investigating Studio #4
After a few seconds, this objective completes on its own.
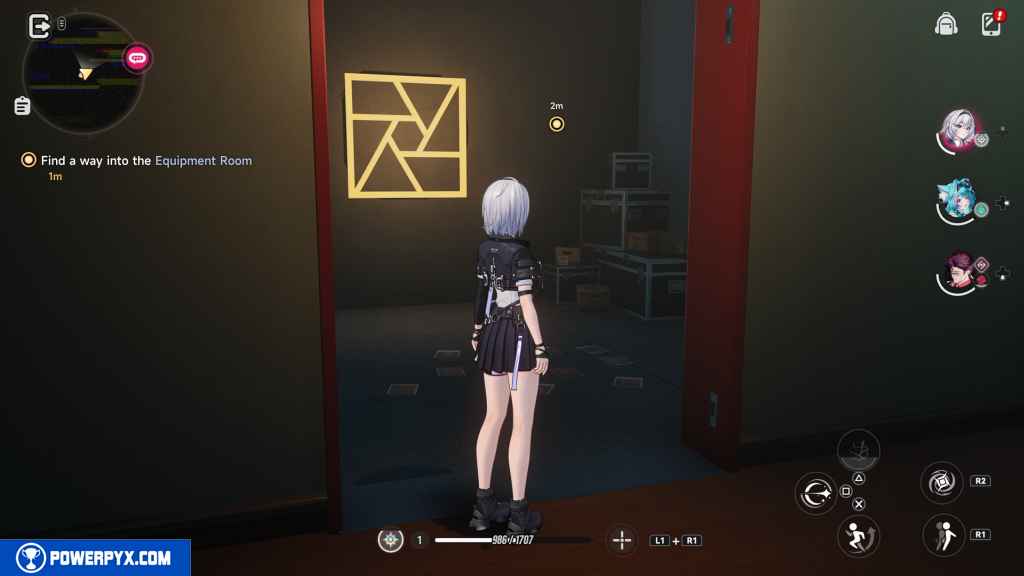
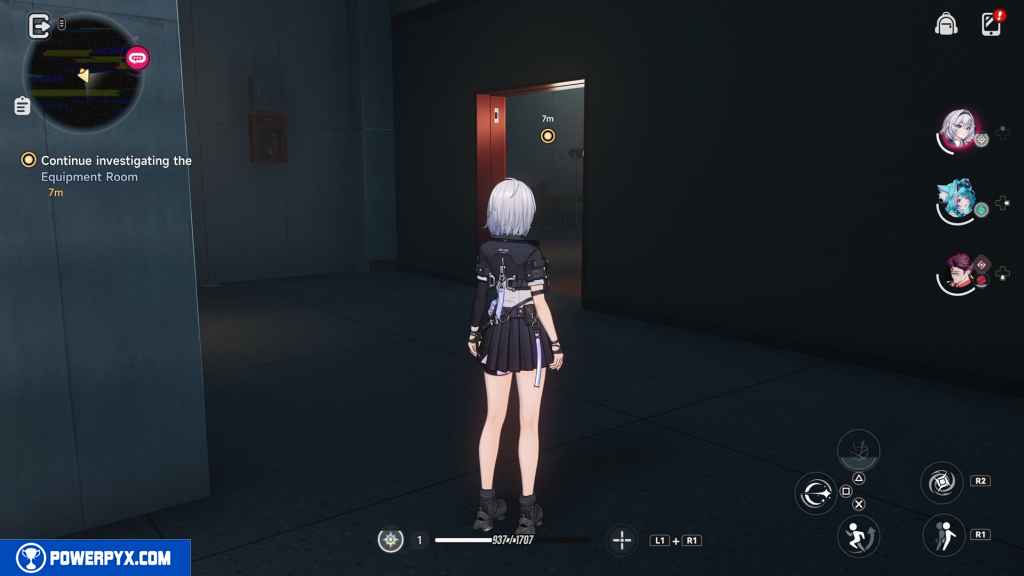
Investigate the door of the Equipment Room
Leave the stage to the right and enter the red door.
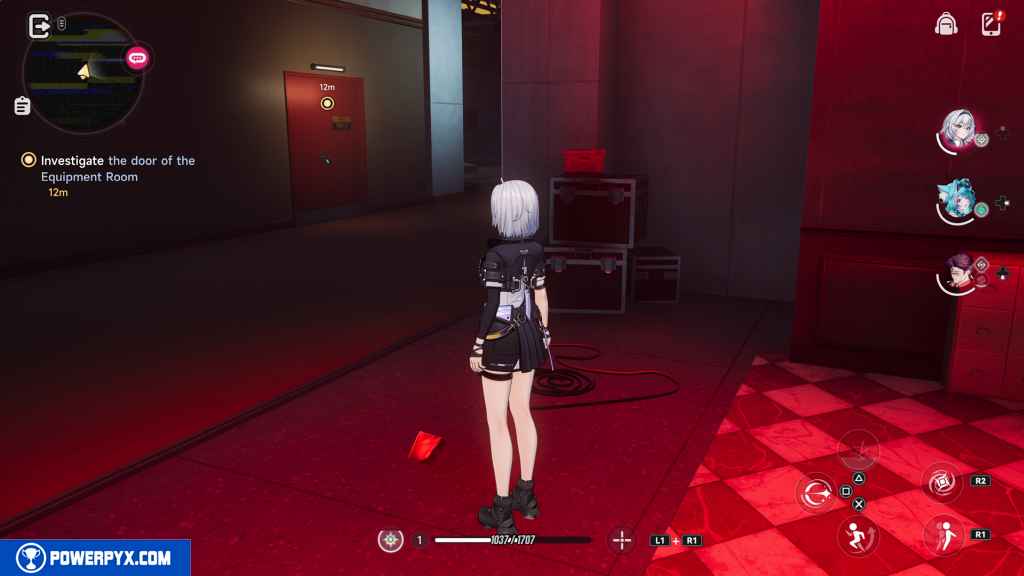
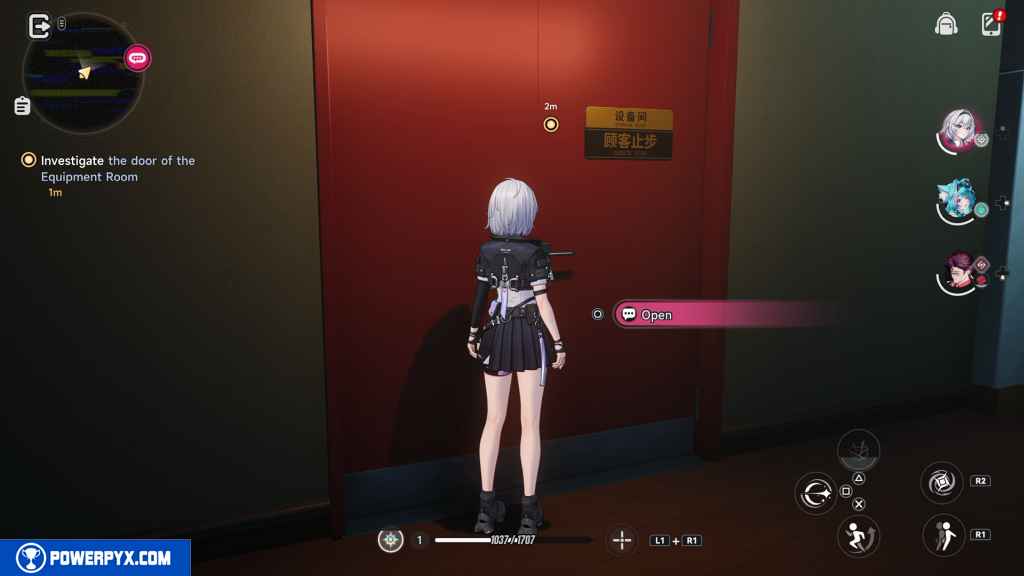
Just wait at the door until the door disappears. Enter the Equipment Room.
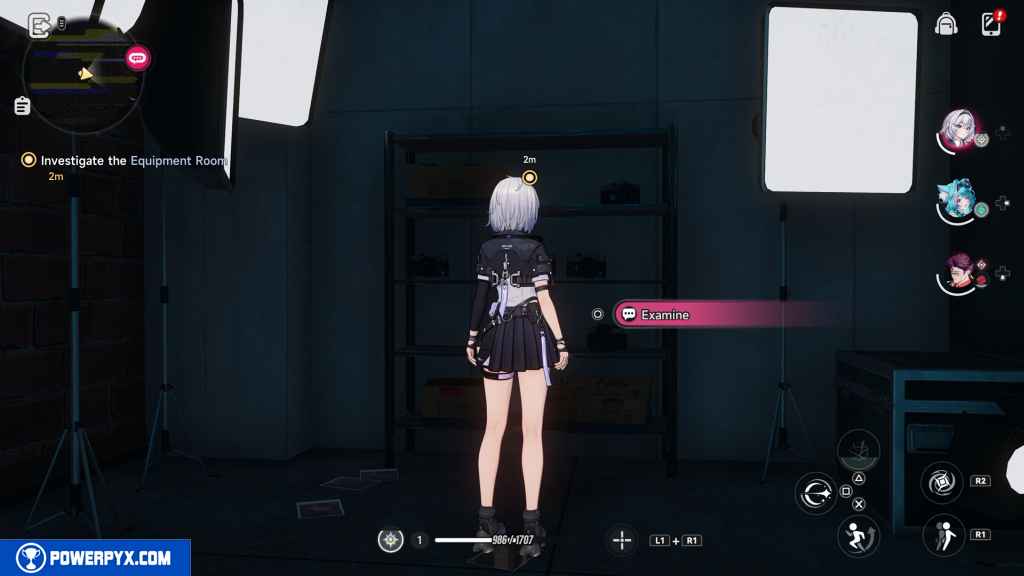
Investigate the Equipment Room
Enter the room and go right around the wall in front of you.
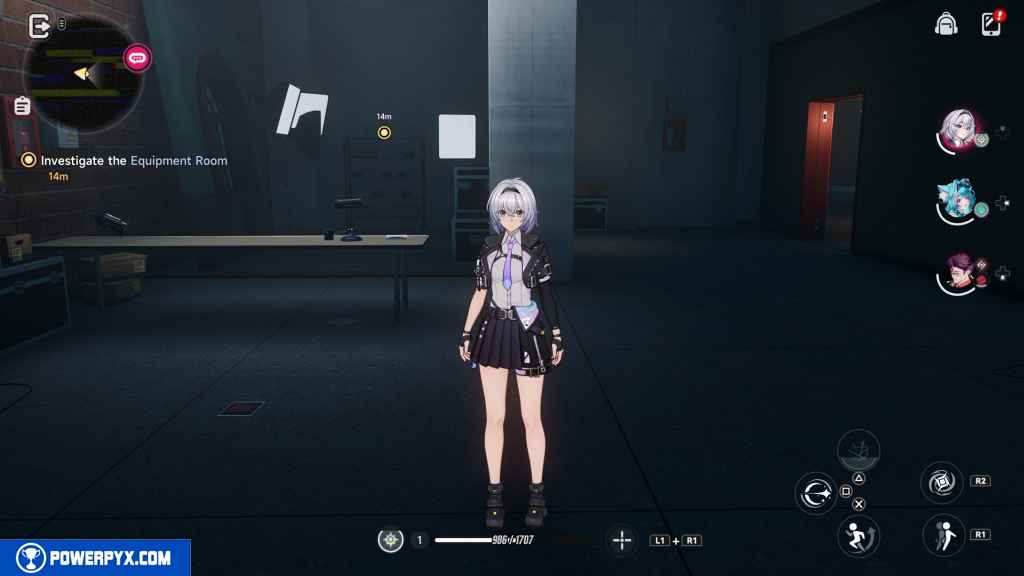
Interact with the shelf at the back of the room.
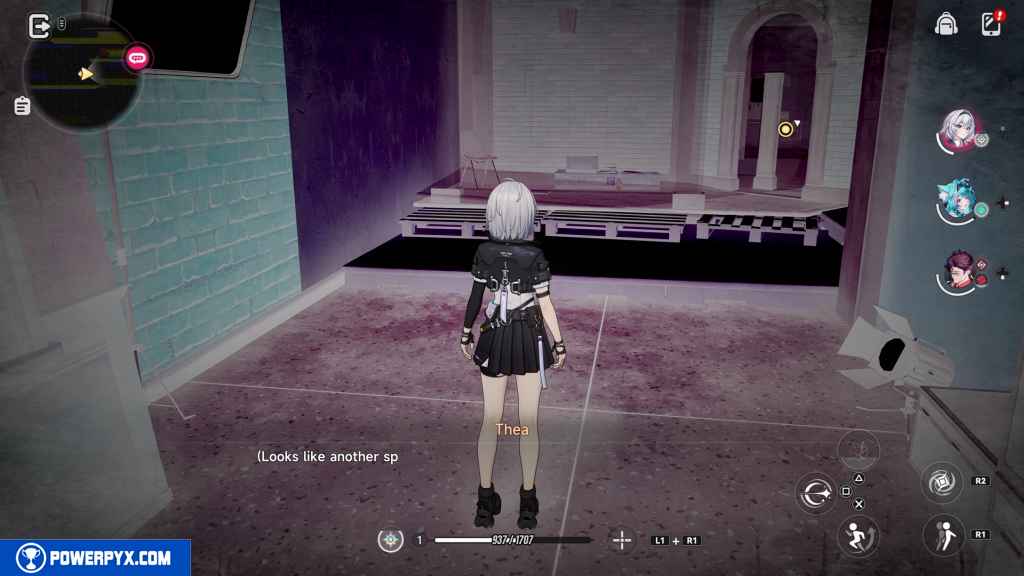
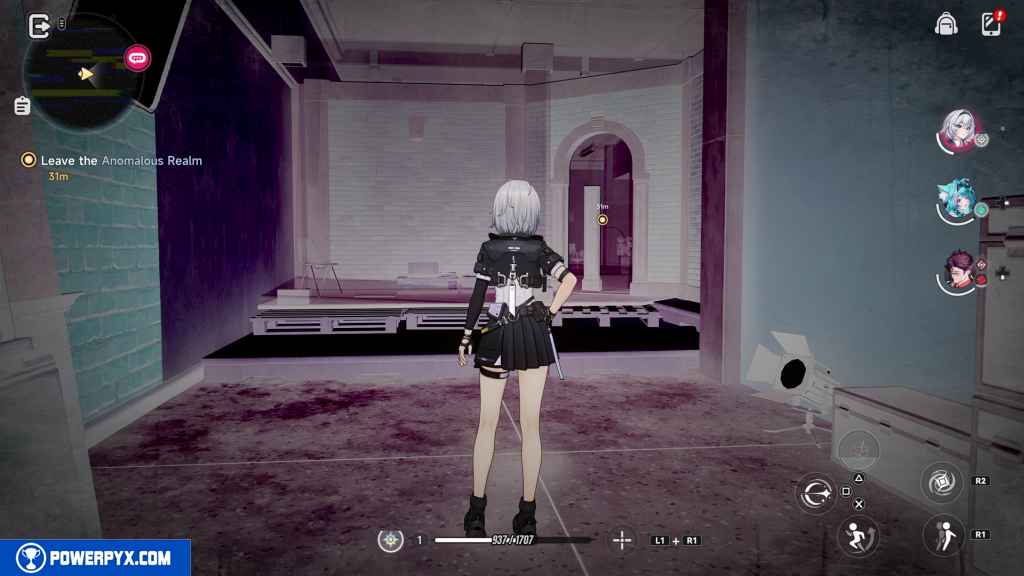
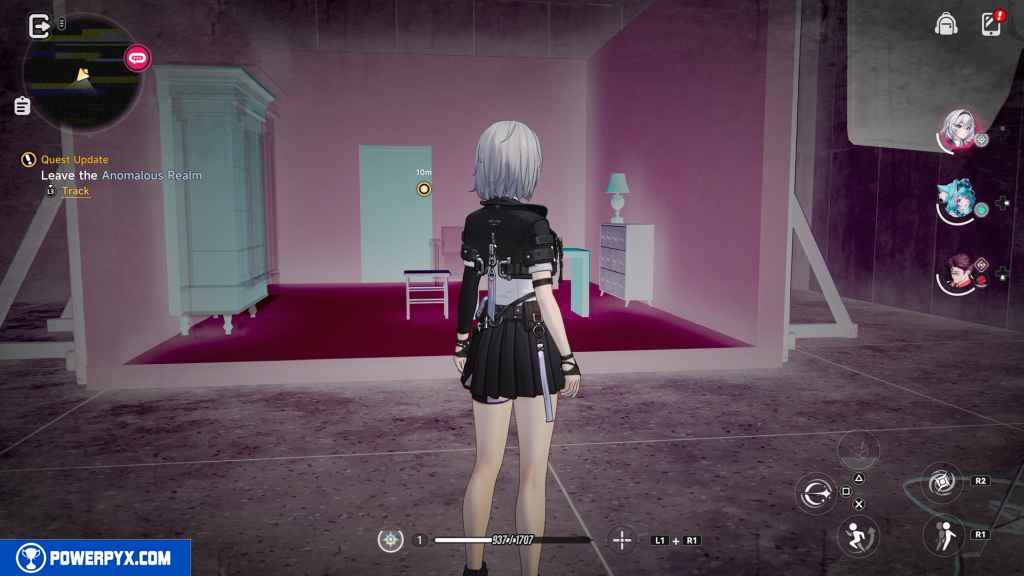
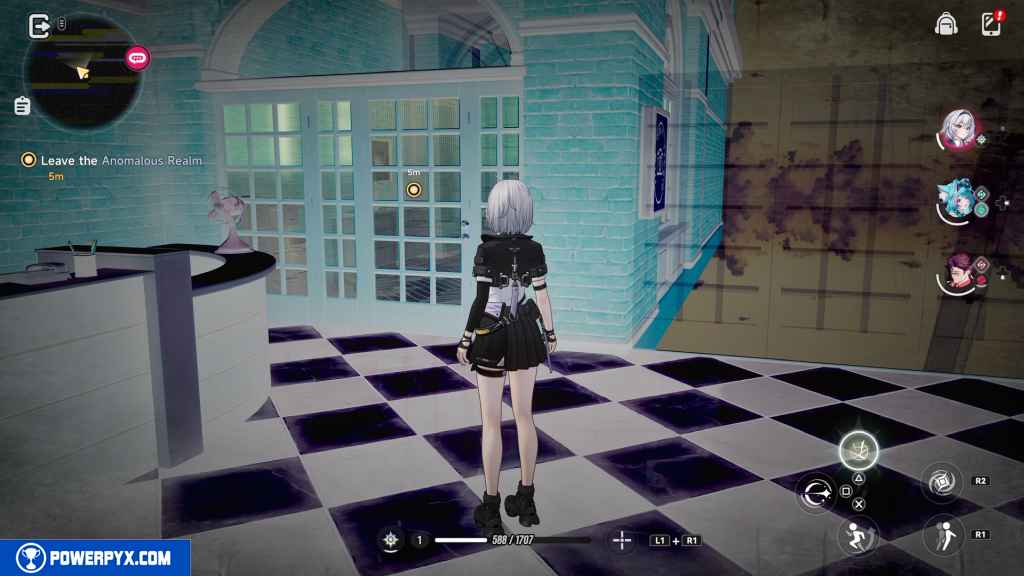
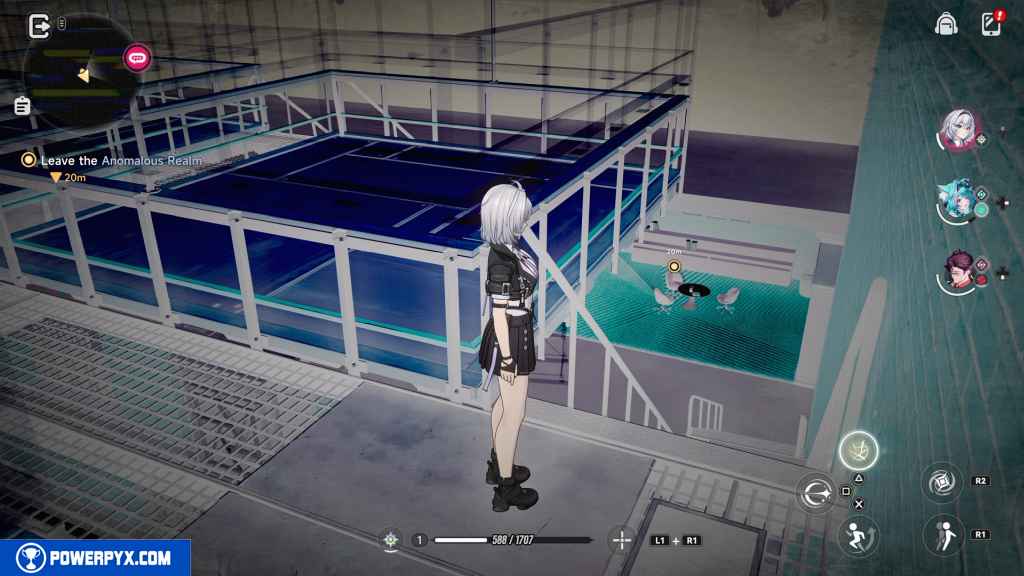
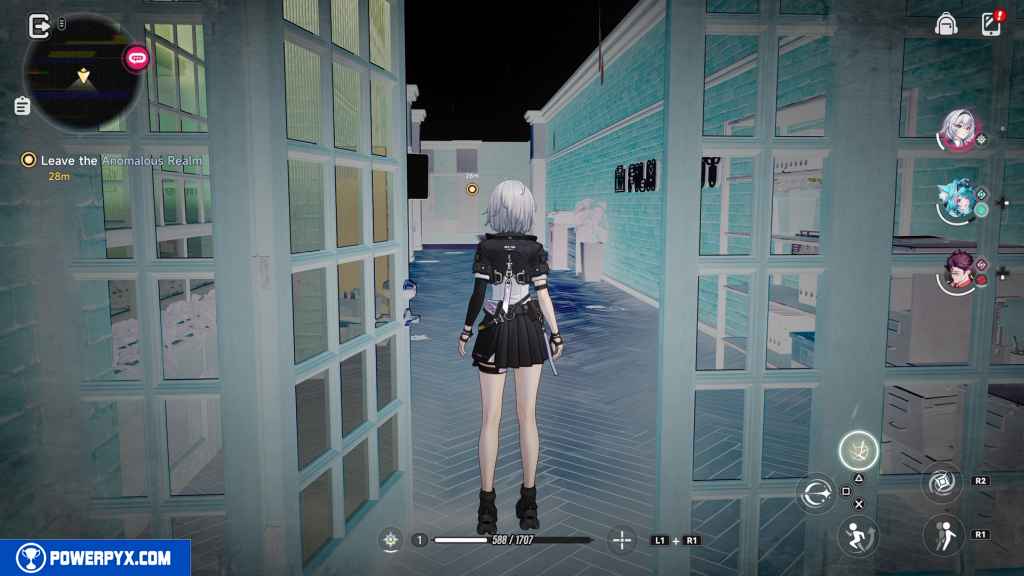
Leave the Anomalous Realm
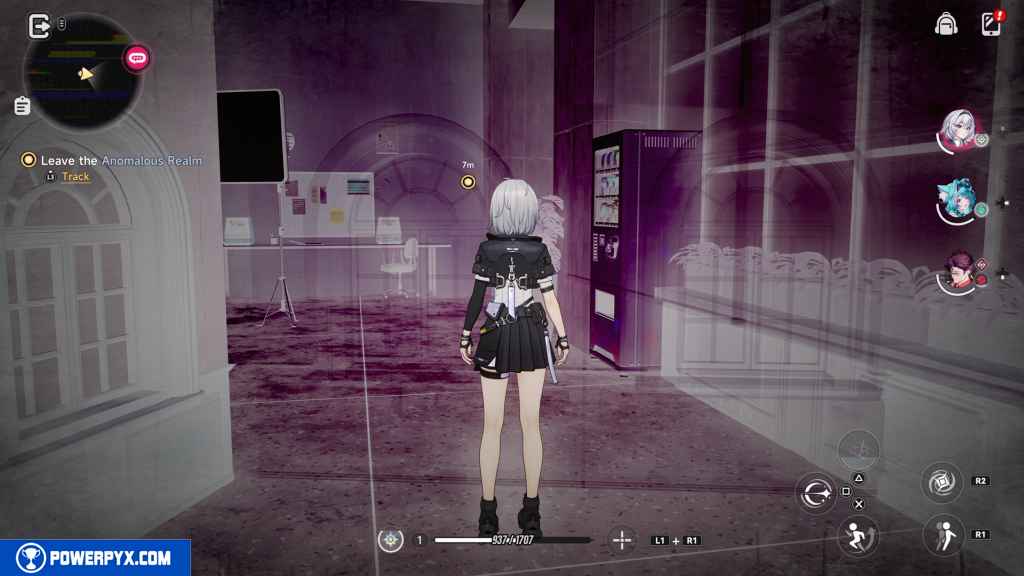
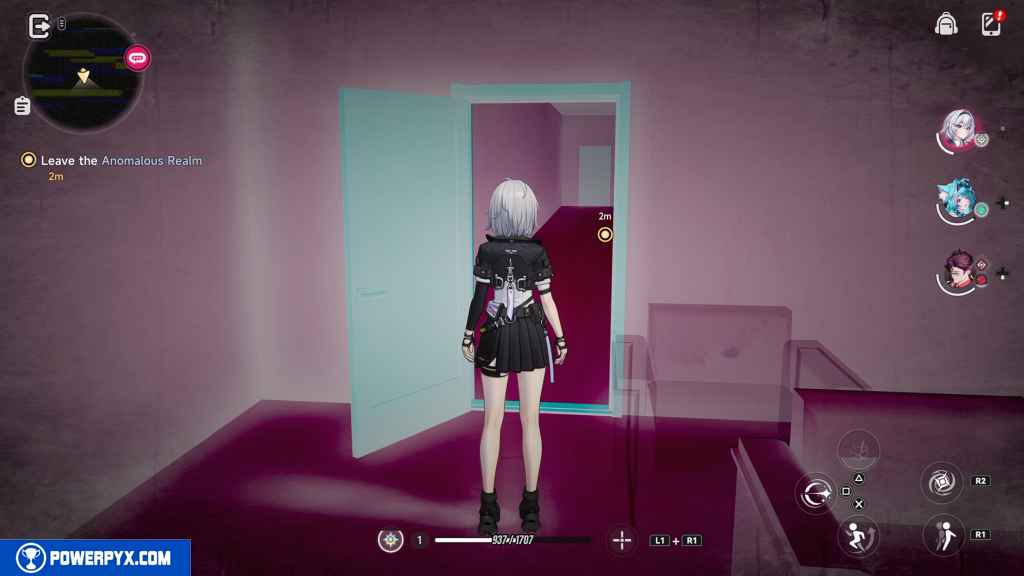
You automatically get transported to a different area. Head through the open door in front of you.
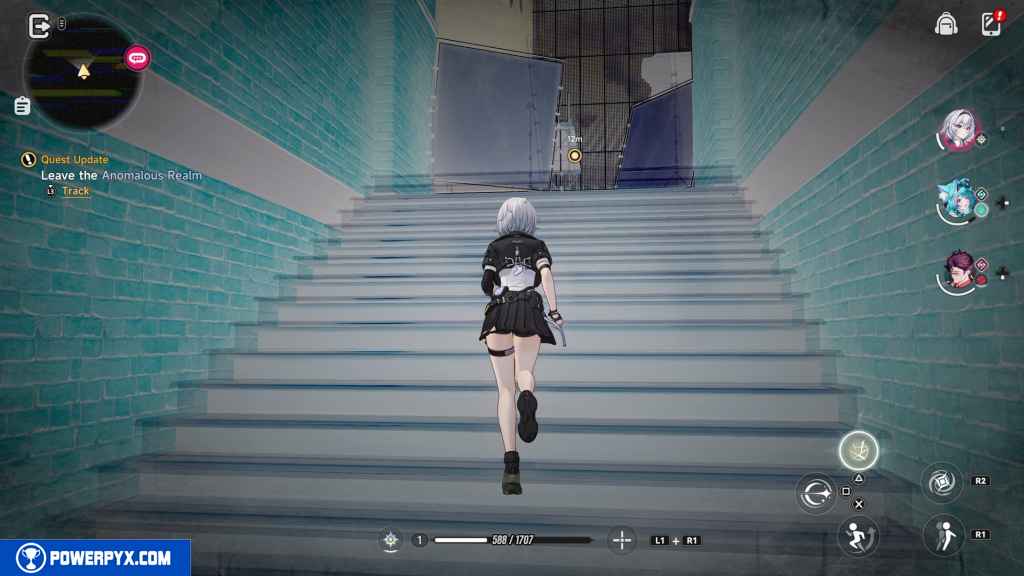
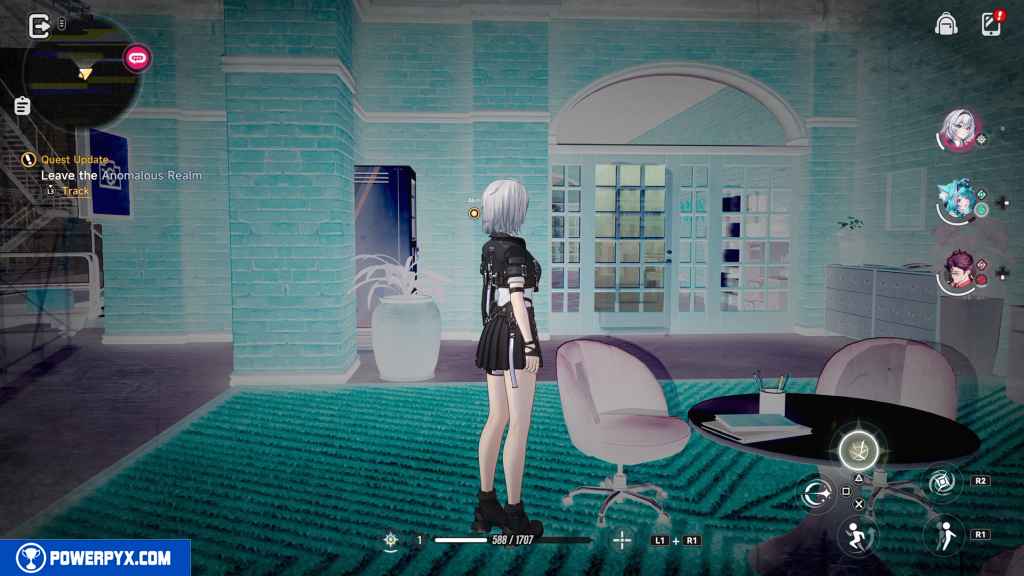
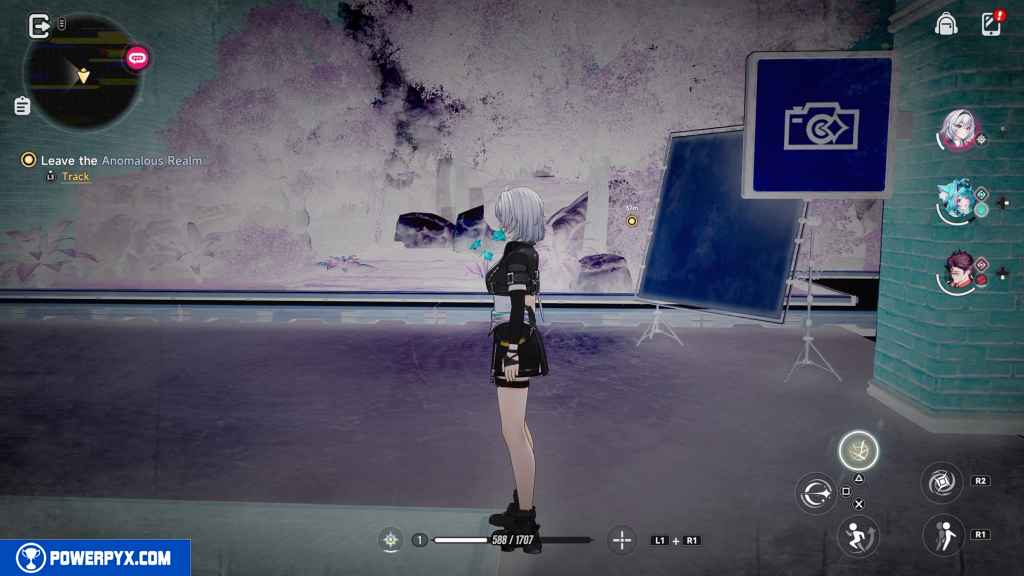
Continue east and then turn right up the stairs.
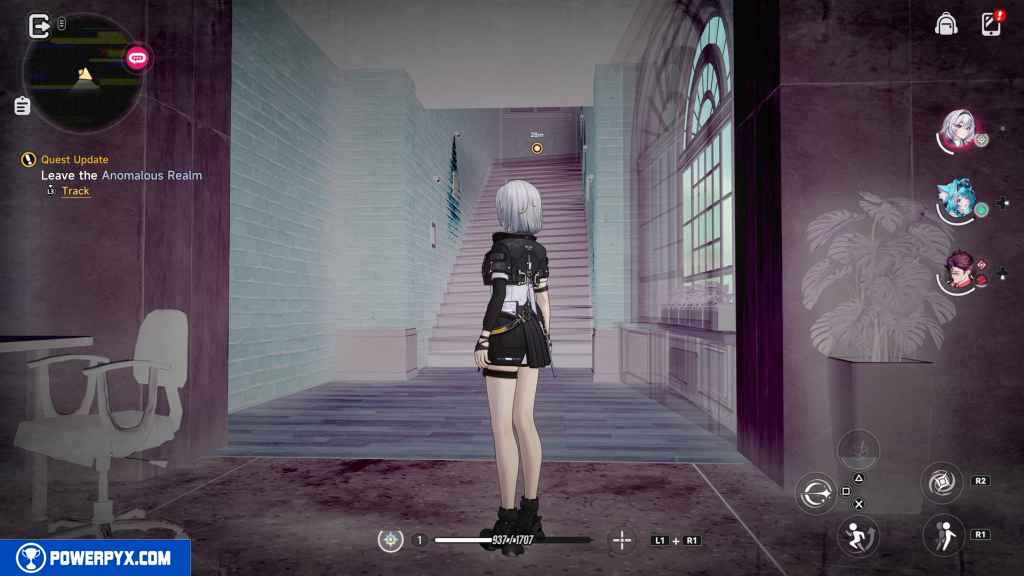
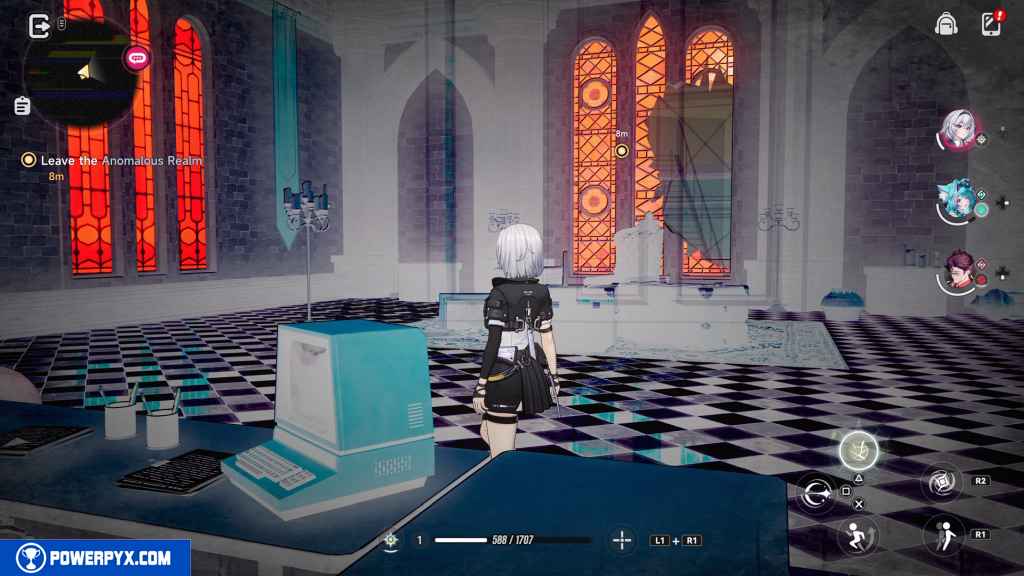
Turn right again and follow the hallway.
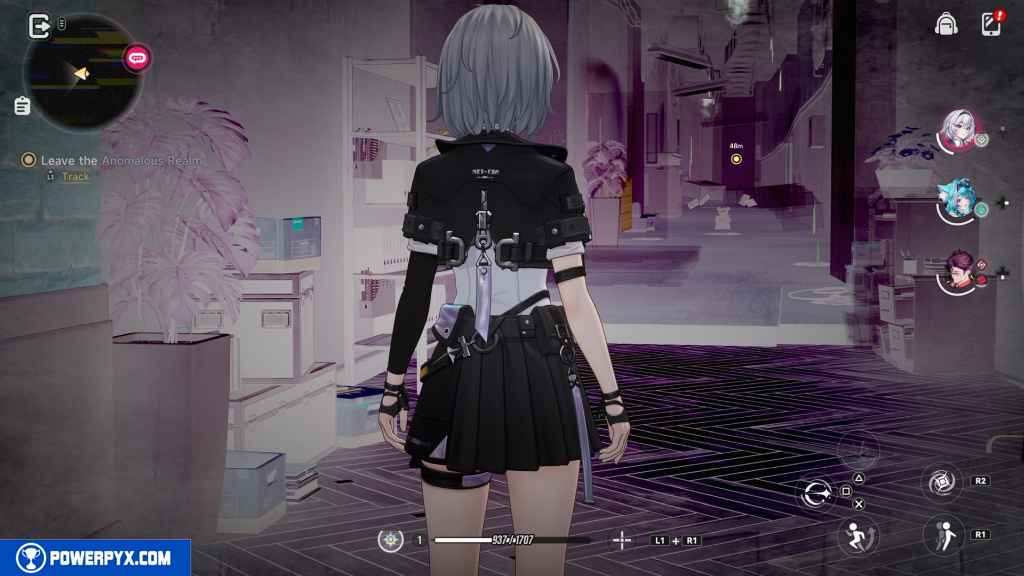
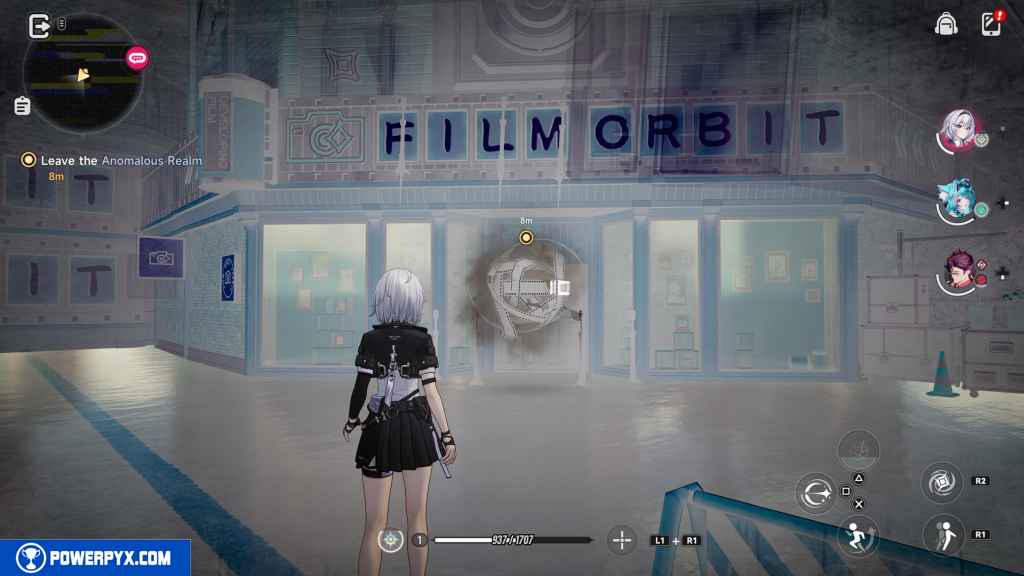
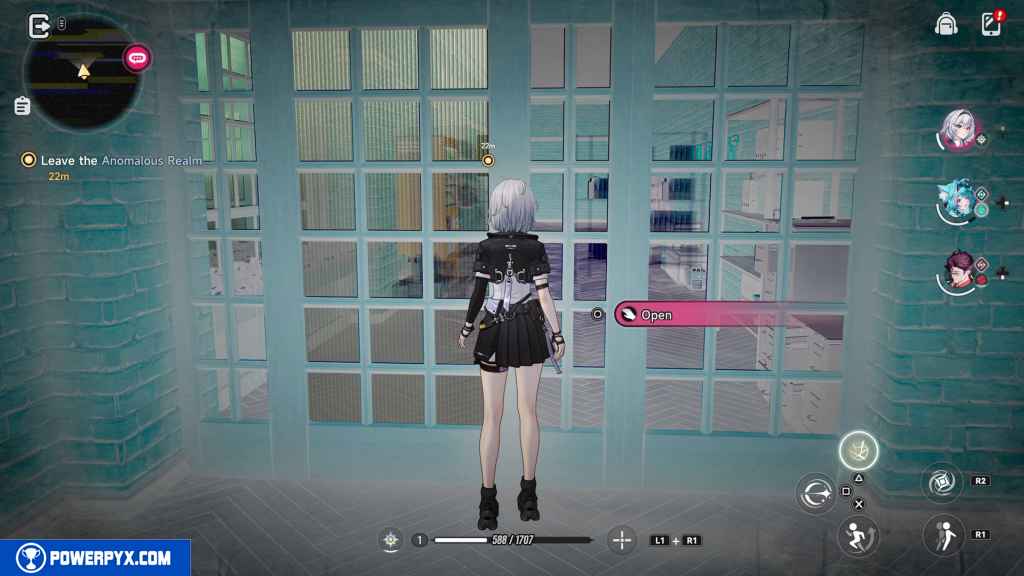
At the next studio, head through the door on the stage and go down the hall through another door.
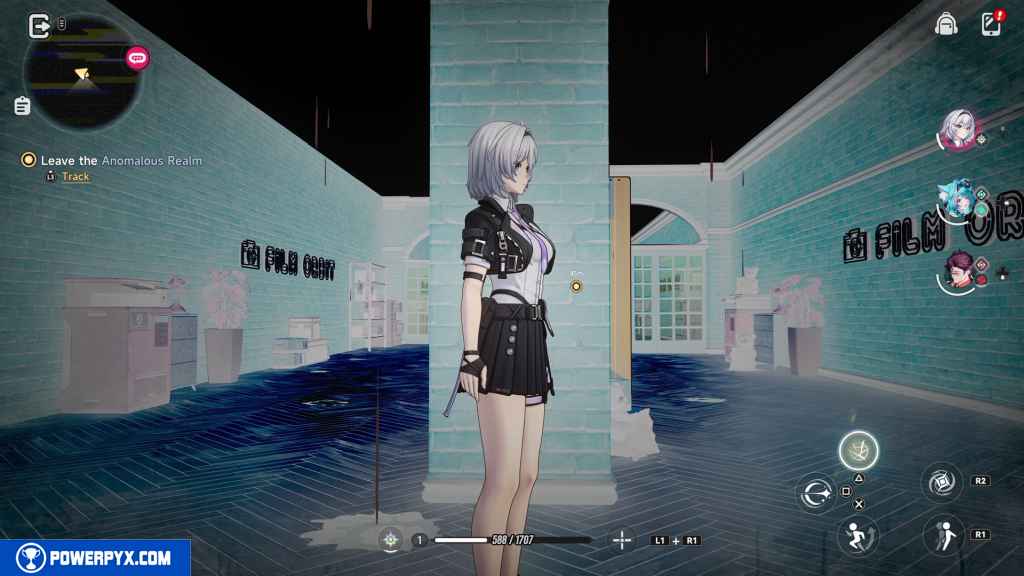
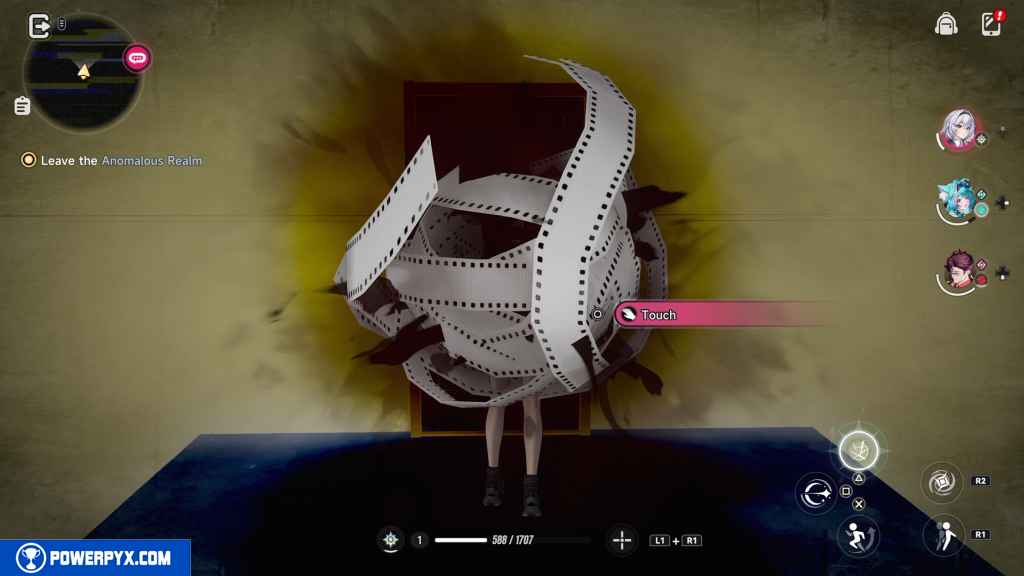
Cross the street and interact with the rolling ball of film.

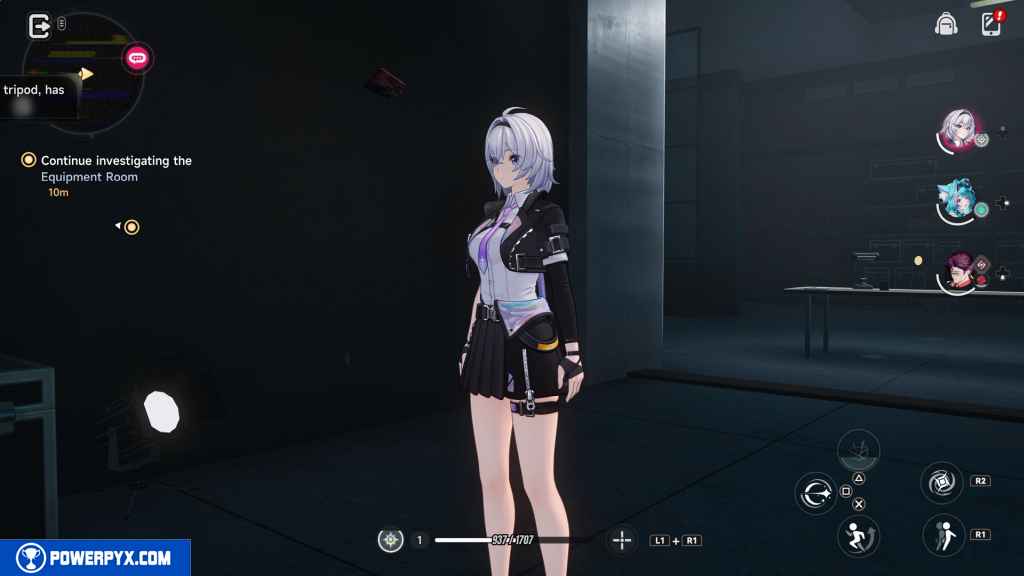
Continue investigating the Equipment Room
Turn around and then head left around the corner. Go through the red door you find there.
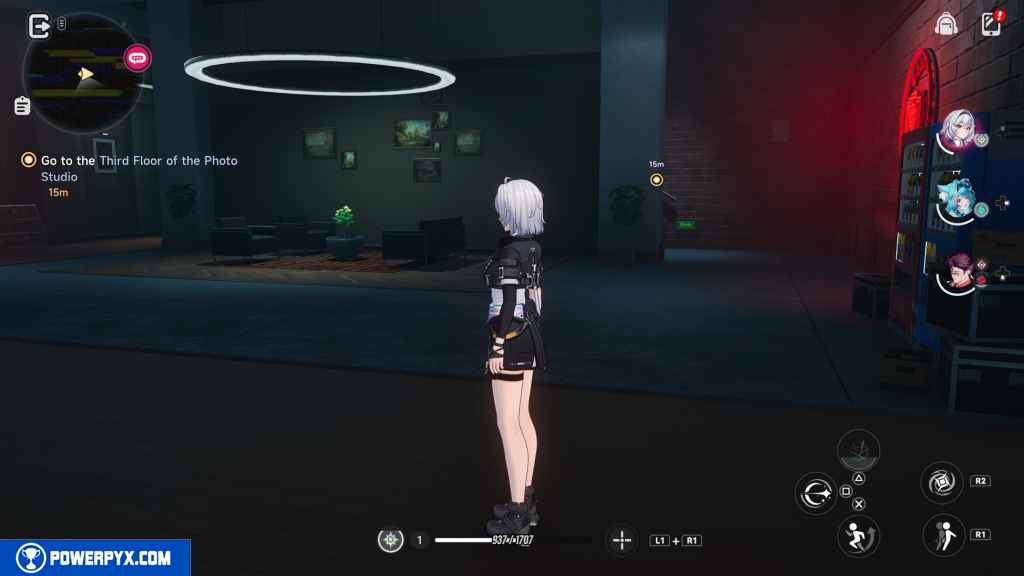
Go to the Third Floor of the Photo Studio
Head east past the first studio.
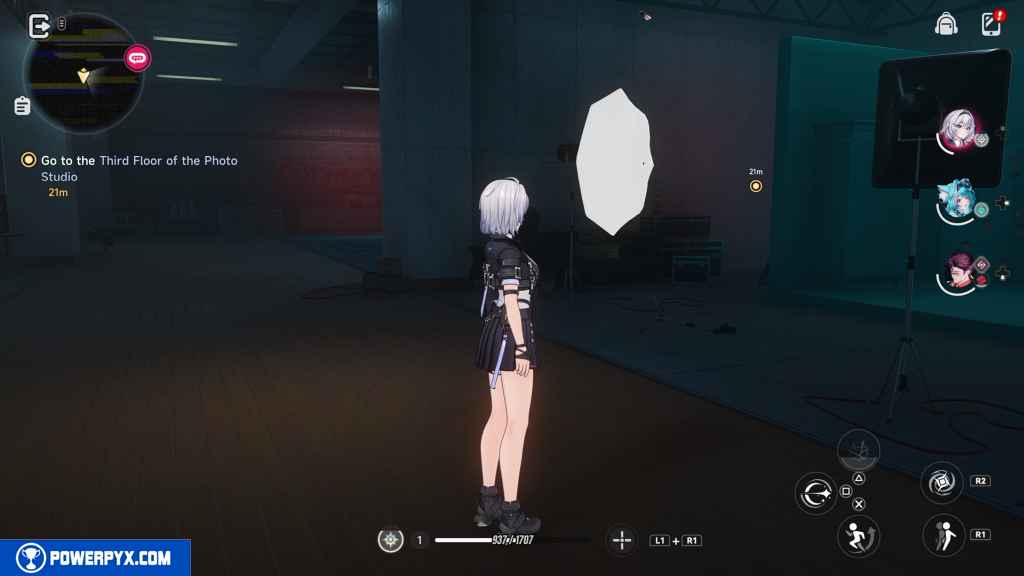
Then go into the next studio and climb the stairs at the back.
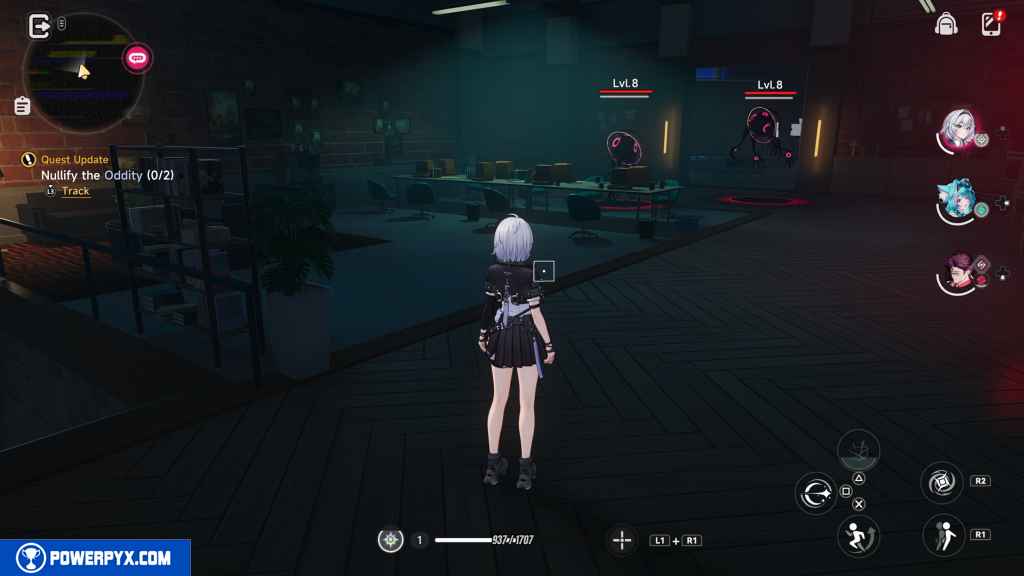
Nullify the Oddity (2)
Take out the two level 8 Oddities that you find in the room.
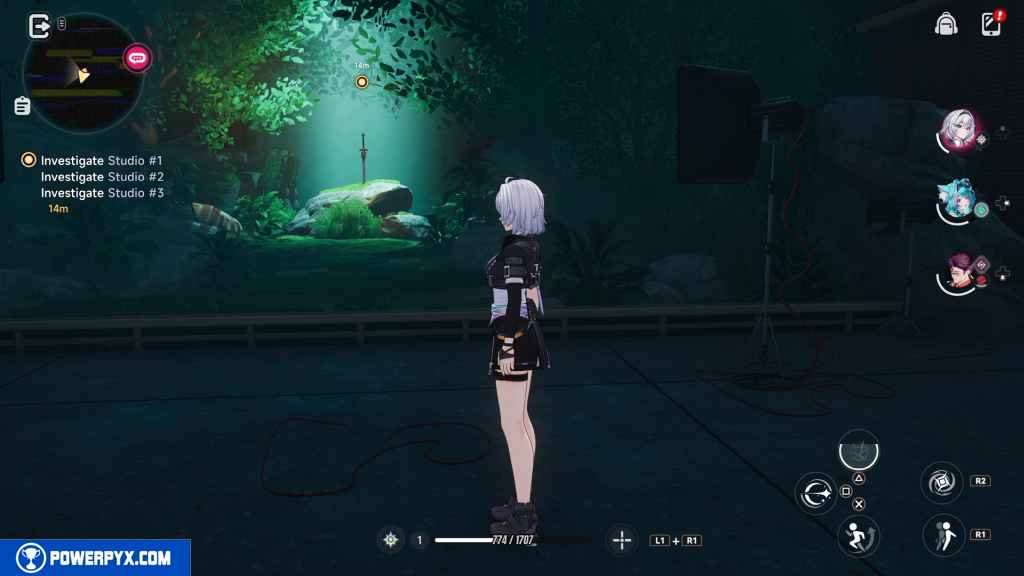
Investigate Studio #1
Enter the studio to your left and interact with the sword in the stone.
Investigate Studio #2
Leave the previous studio and head right into the studio stage. Two Oddities appear for you to take out.


Investigate Studio #3
Leave the previous studio and head east down the hall.
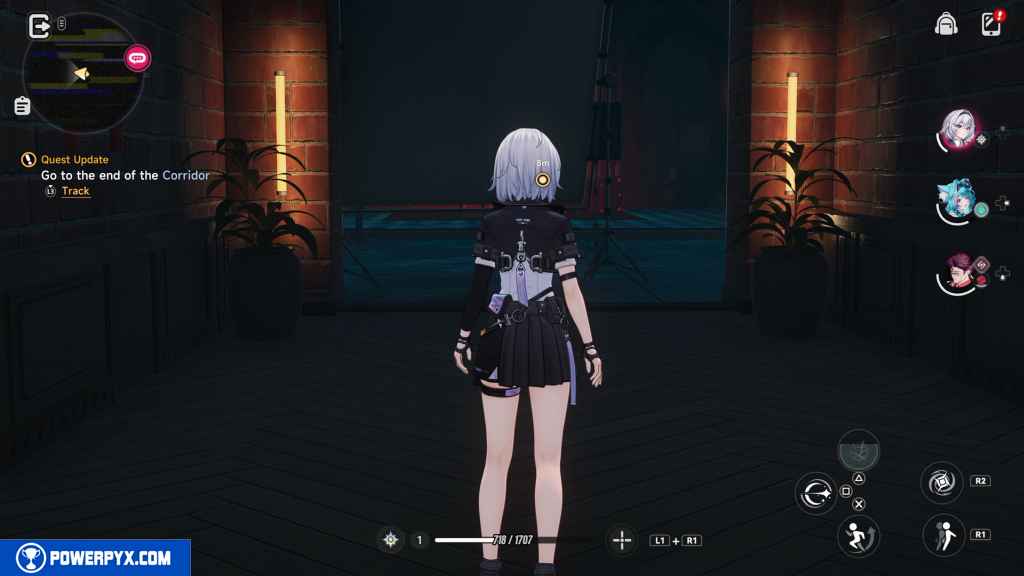
Go to the end of the Corridor
This objectives changes while you run down the hall.
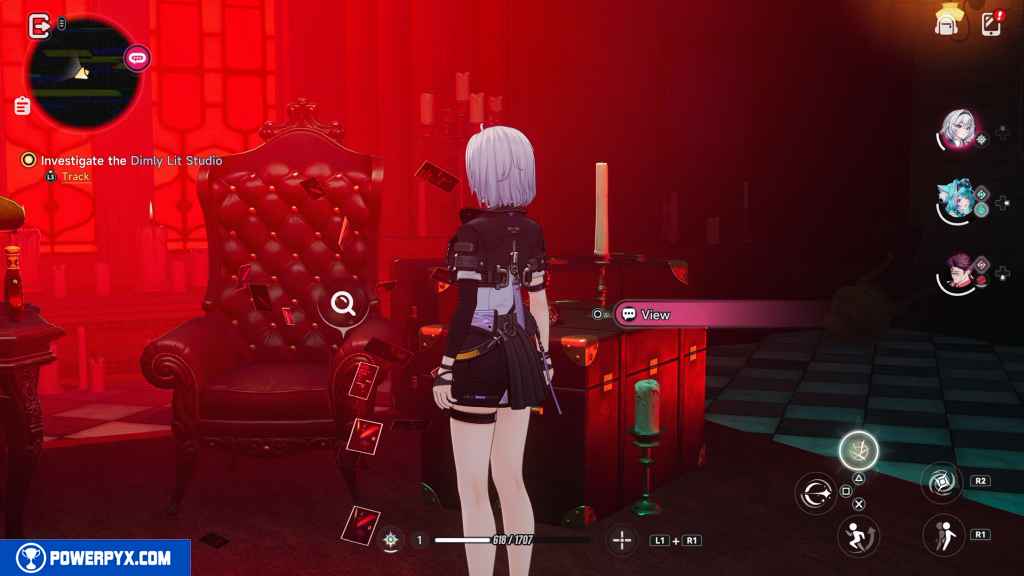
Investigate the Dimly-Lit Studio
This objective appears when you enter the studio at the end of the hall.
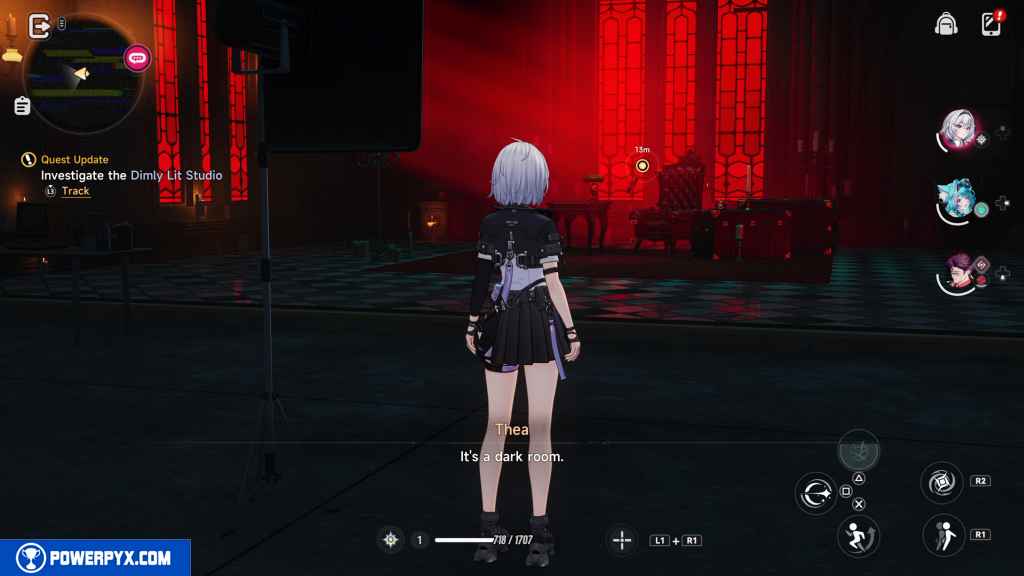
Interact with the floating pictures to progress.
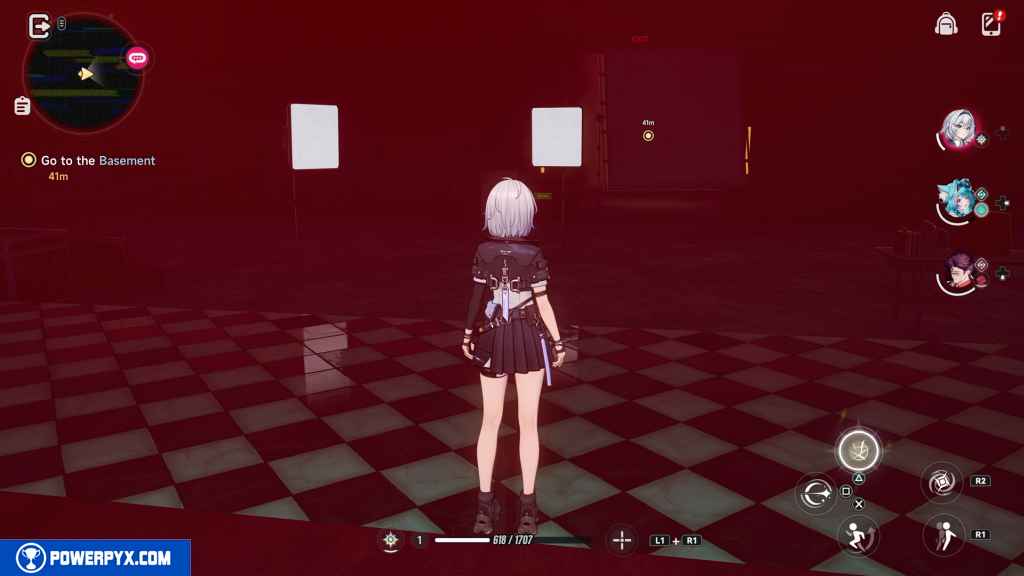
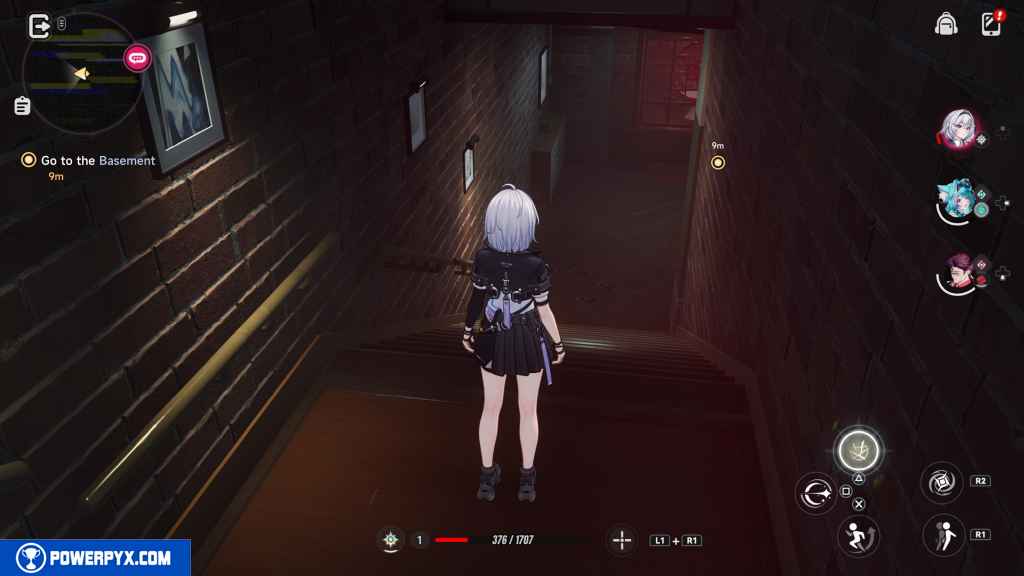
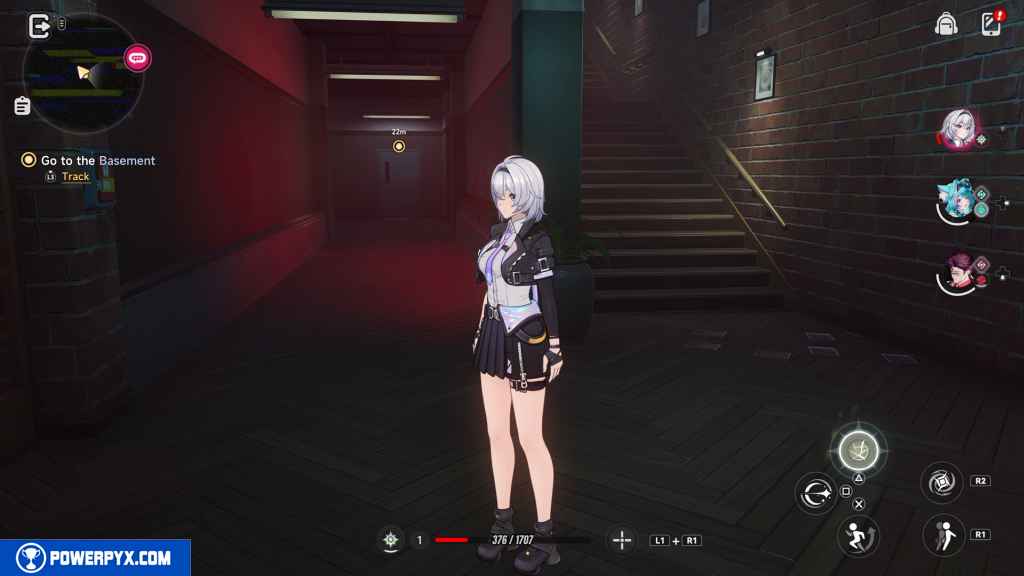
Go to the Basement
Leave the studio the way you came.
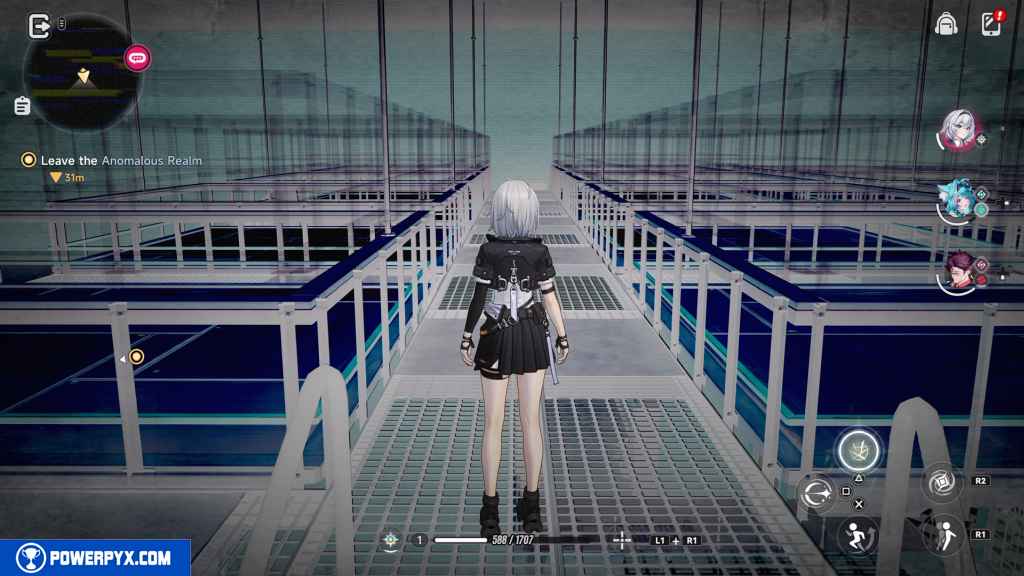
Leave the Anomalous Realm
Head down the corridor and go outside.
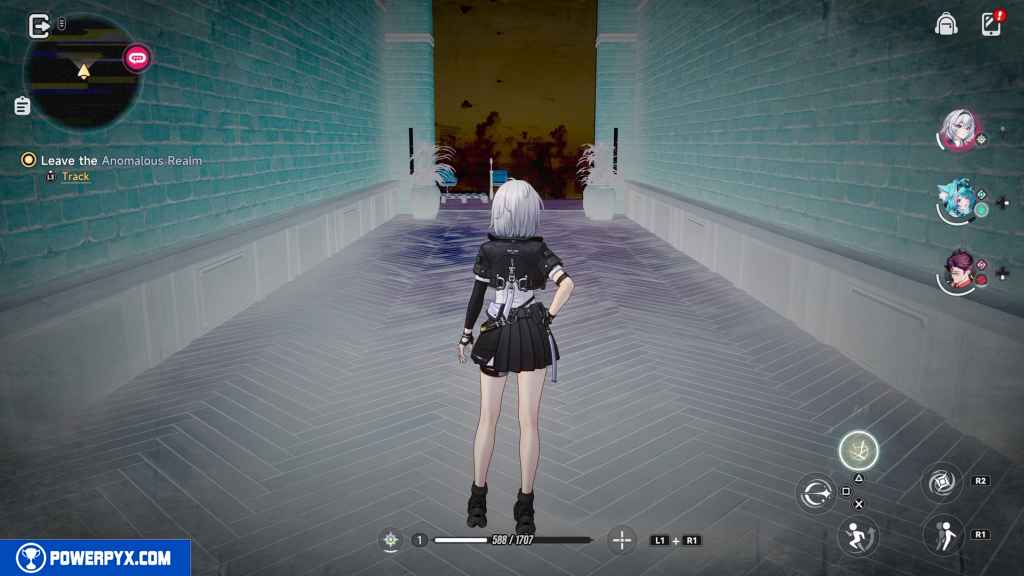
Go left along the ledge and back into the building.
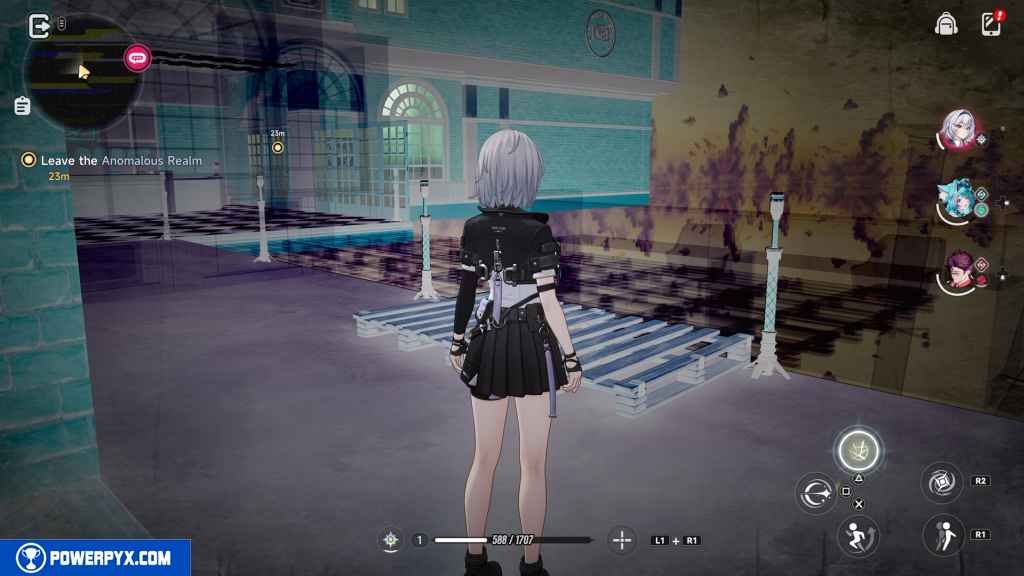
Note: The railing along the ledge does not stop you from falling off. If you do fall off, it will just take you back to the ledge.
Head up the stairs and then turn into the building.
Go through the room, pass through the window, and climb the stairs on the ledge.

Follow south to the end of the path. Then, turn left down the stairs.
Interact with the door in the new room and go down the hallway.
Open the second door and follow the hall around the corner to the left.
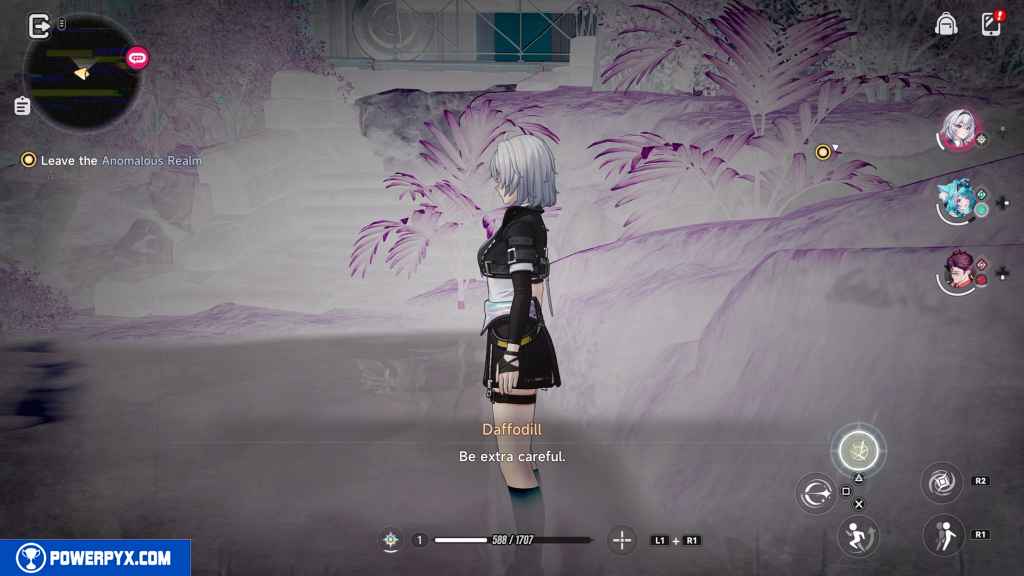
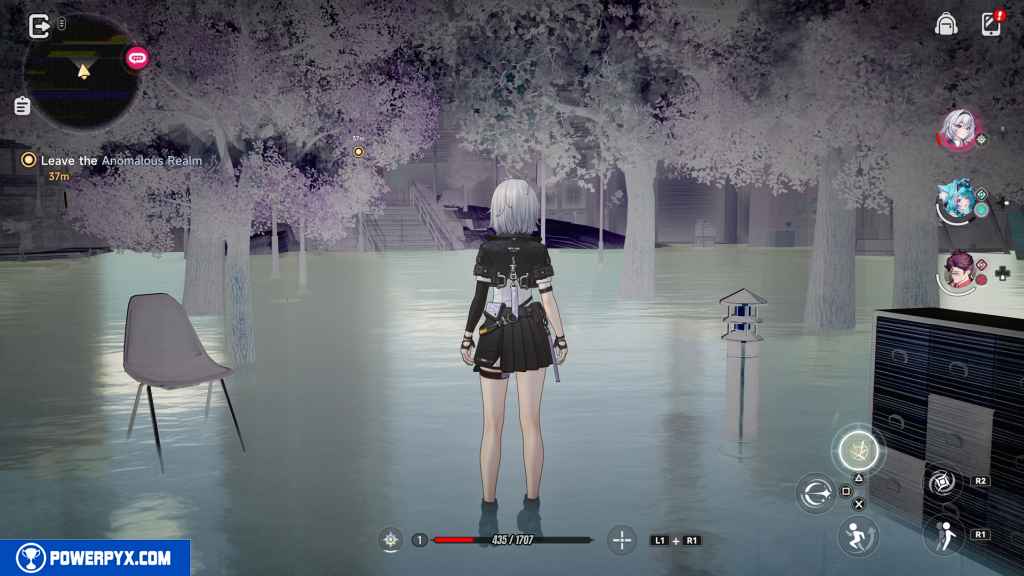
Pass through the door and head right into the forest.
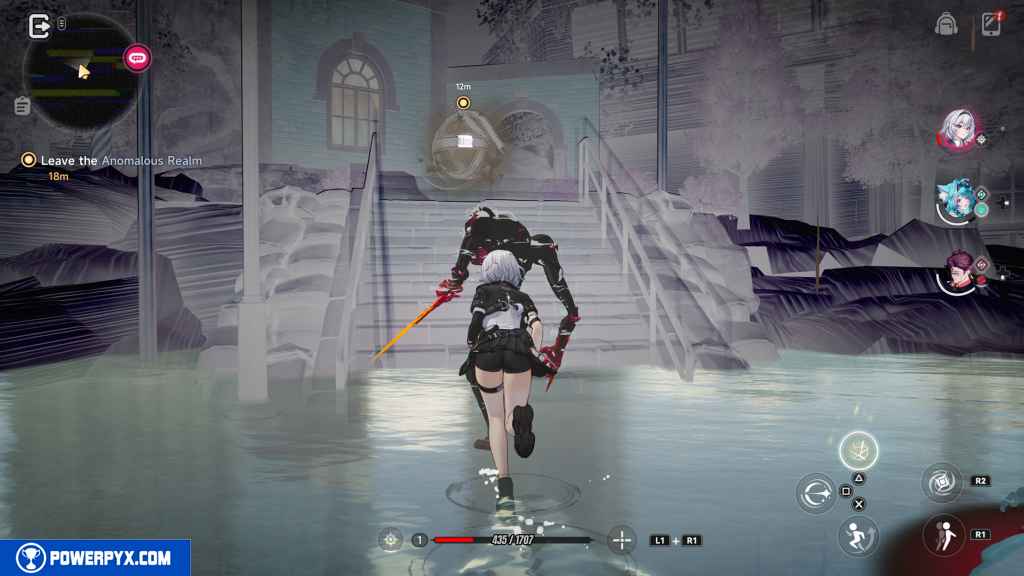
When you drop down a short ledge into a pond, turn right and follow the new path.
Climb up the stairs you find and interact with the ball of film.
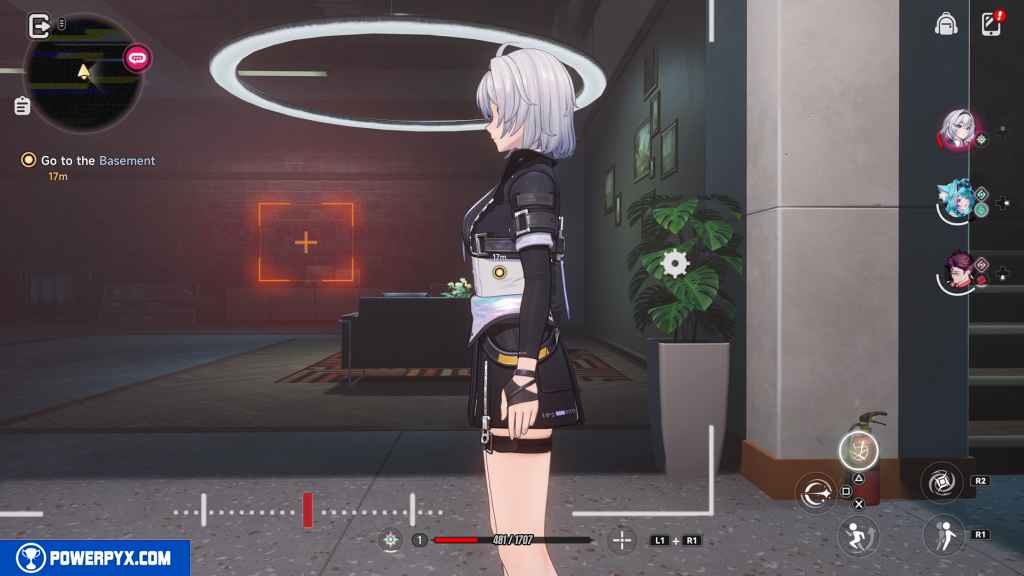
Go to the Basement
Head into the next room and go all the way to the back.
Then turn right and descend the stairs.
Go around the wall to your right and descend another set of stairs.
Leave the Anomalous Realm
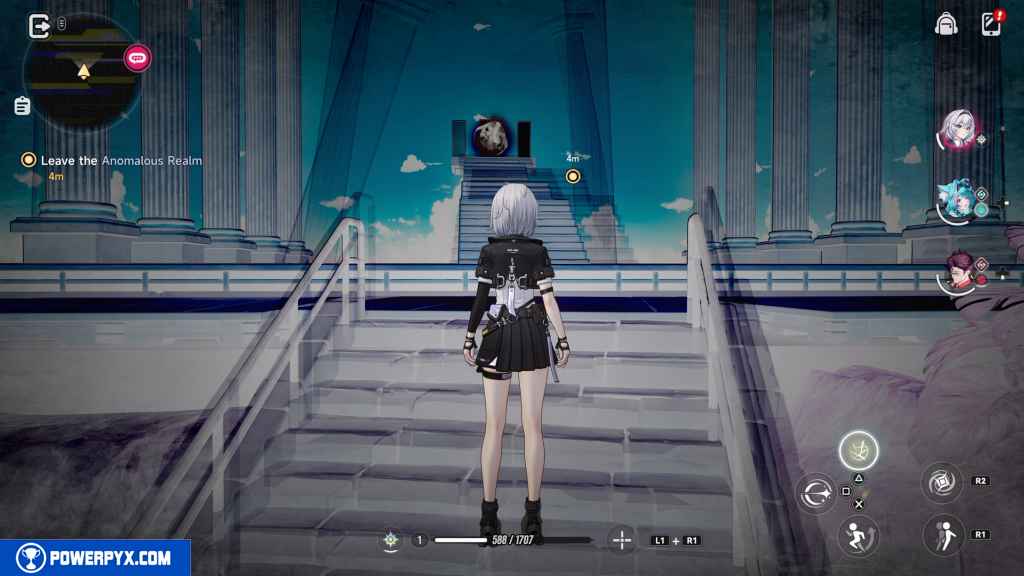
Head down the stairs and approach a door.
In the next area, go forward and climb the stairs.
Some Oddities appear, but you can ignore them if you wish.
At the top of the stairs, interact with the ball of film.
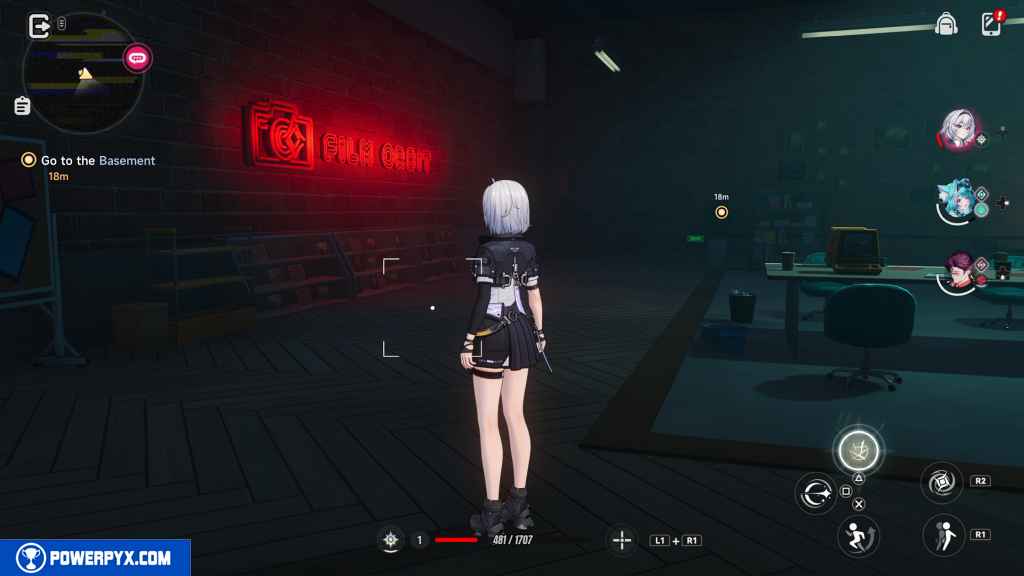
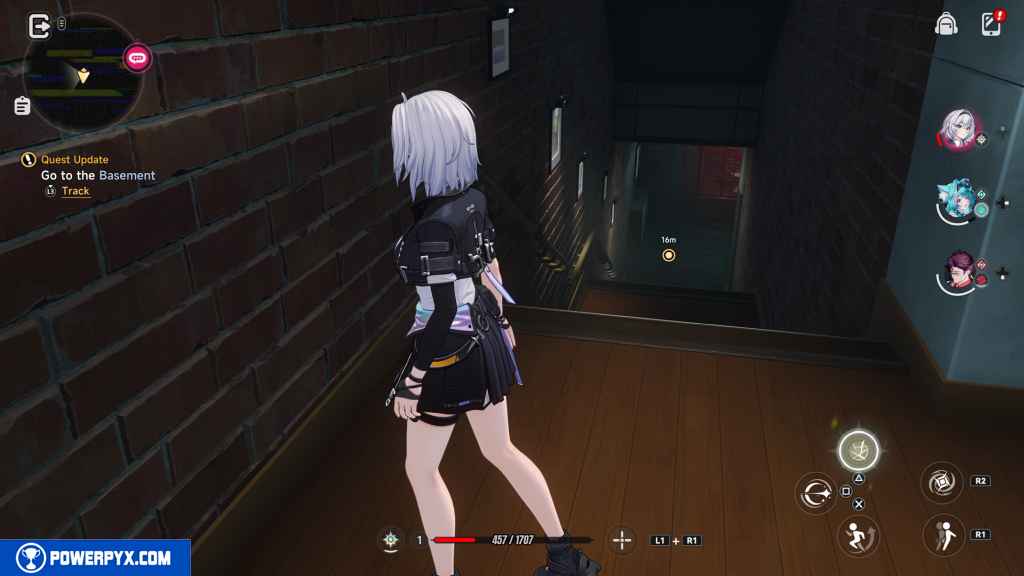
Go to the Basement
Continue down the stairs.
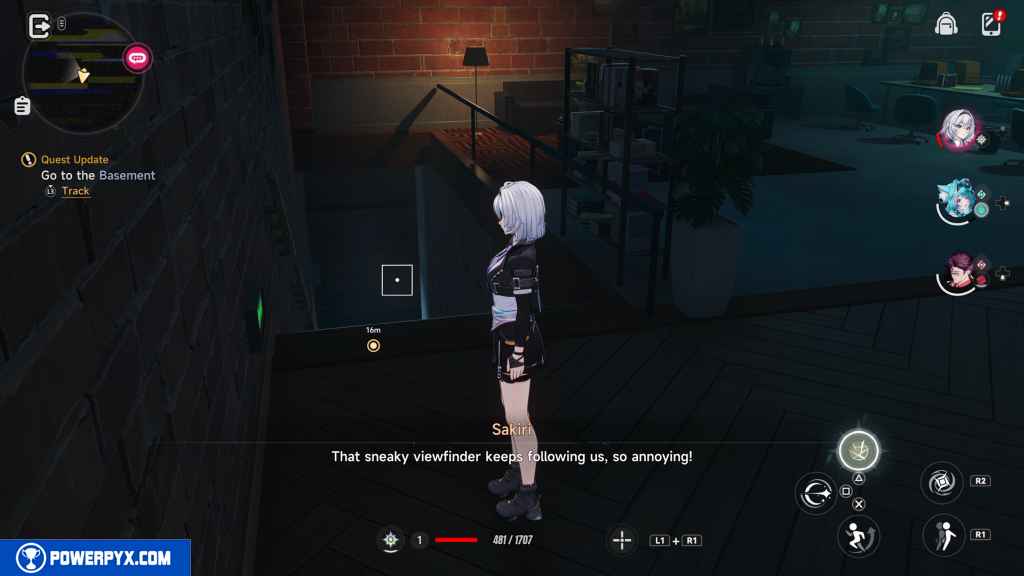
Turn immediately right and go through the door at the end of the hall.
Walk down the stairs. You cannot run in this stretch.
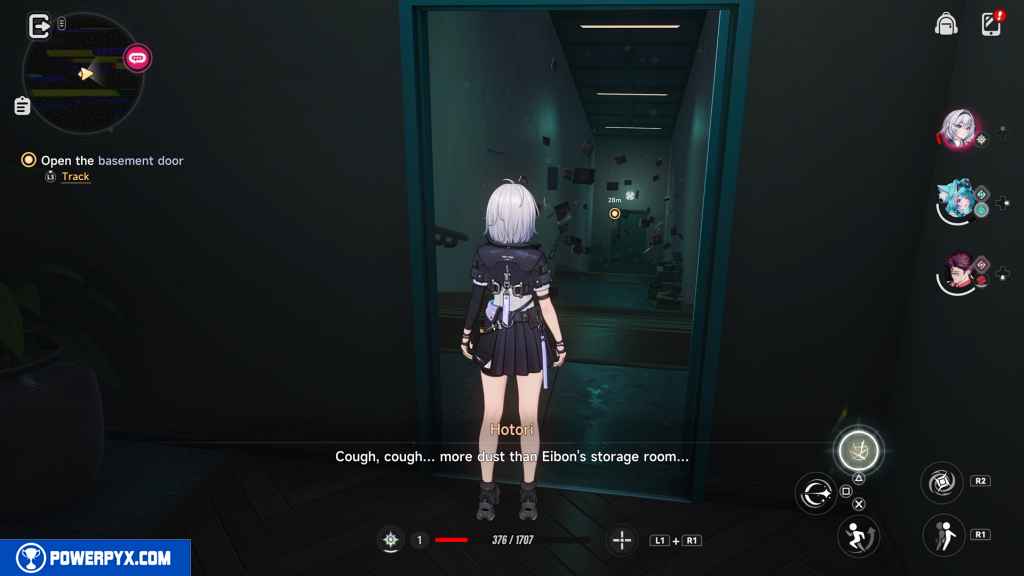
Investigate the Basement
Enter the room at the bottom of the stairs to progress.
Nullify Manish
Manish is a fairly straightforward fight. The first stretch of the fight just asks you to dodge basic attacks and trigger parry prompts.

Soon, it starts throwing objects at you. Dodge those.
After losing half its health, it summons copies of Sakiri for you to defeat. Take them out to make Manish show itself again.
After that, the sky goes red and the Manish occasionally throws trains at you. Dodge these.
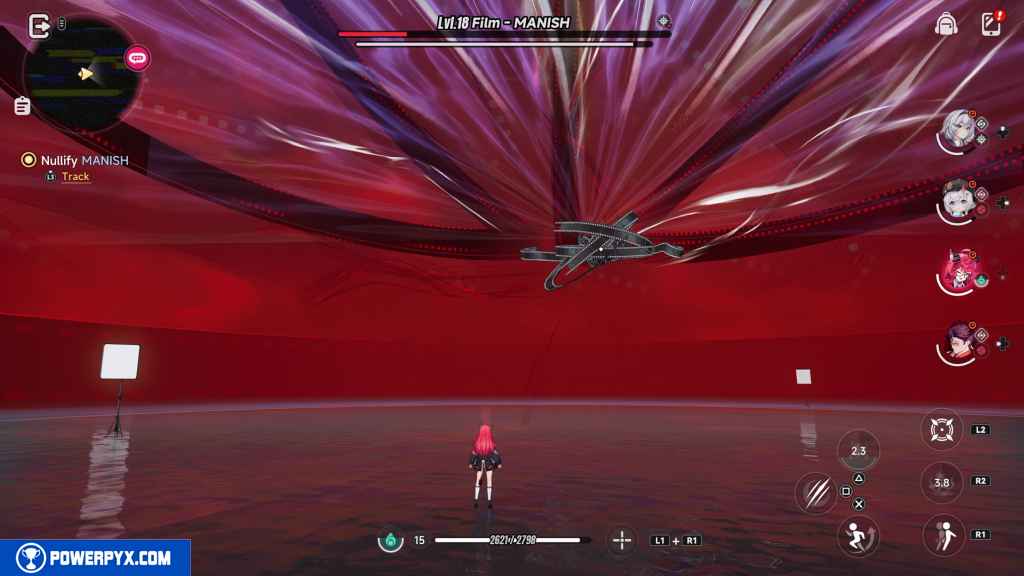

Ultimately, Manish doesn’t do a great deal of damage anyway. Just use what you’ve learned so far, and you should be fine to beat it.
Say goodbye to Kodak
When you regain control, approach Kodak to your immediate right to progress.
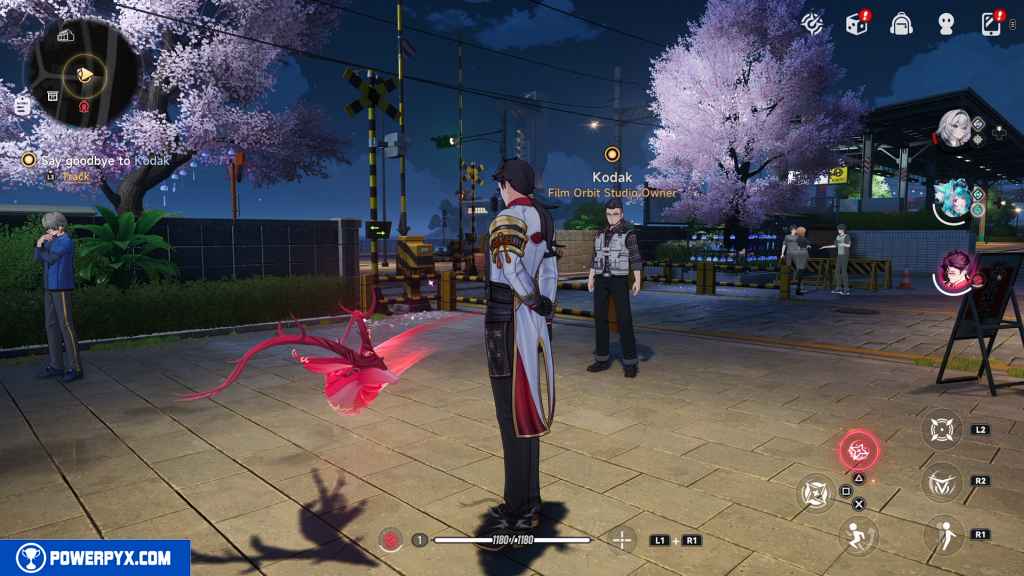
Completing this cutscene unlocks the  First Ride.
Return to Eibon
You can walk back to Eibon if you wish. Otherwise, press the Touch Pad to bring up the map. Select the ReroRero Phone Booth next to the objective and teleport to it.
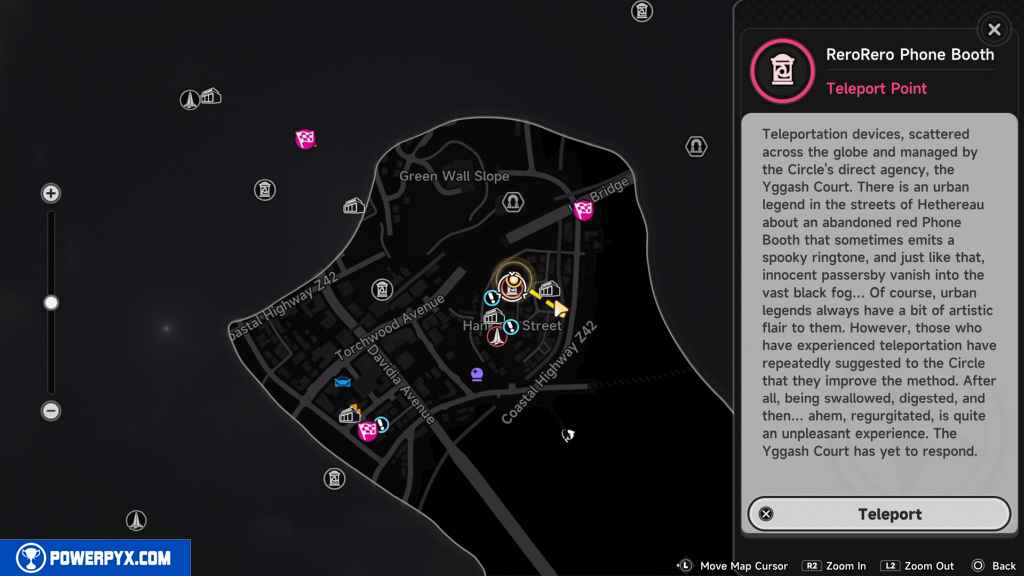
Enter the Eibon to progress.
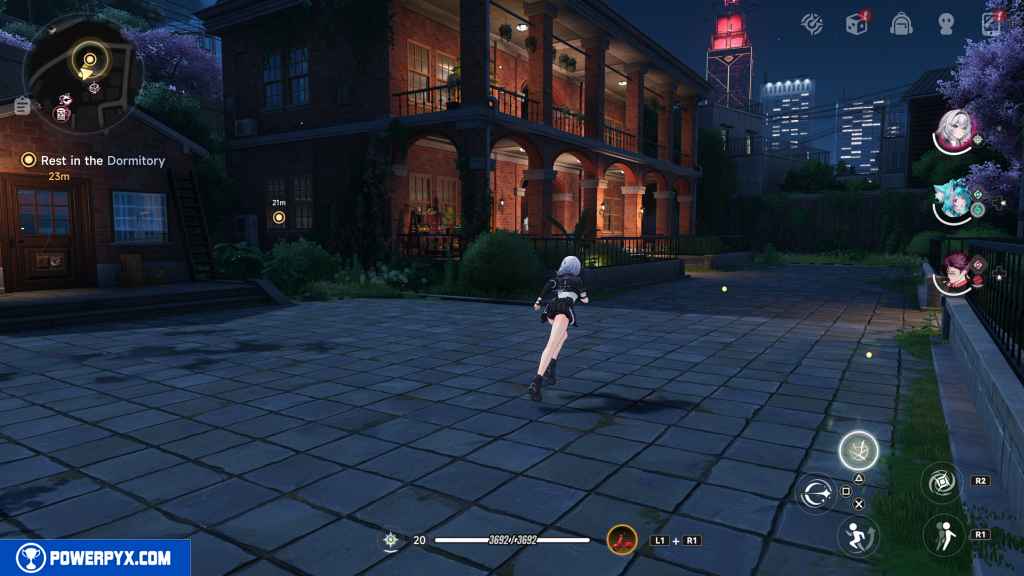
Rest in the Dormitory
Head back through the Eibon to the Dormitory out back.
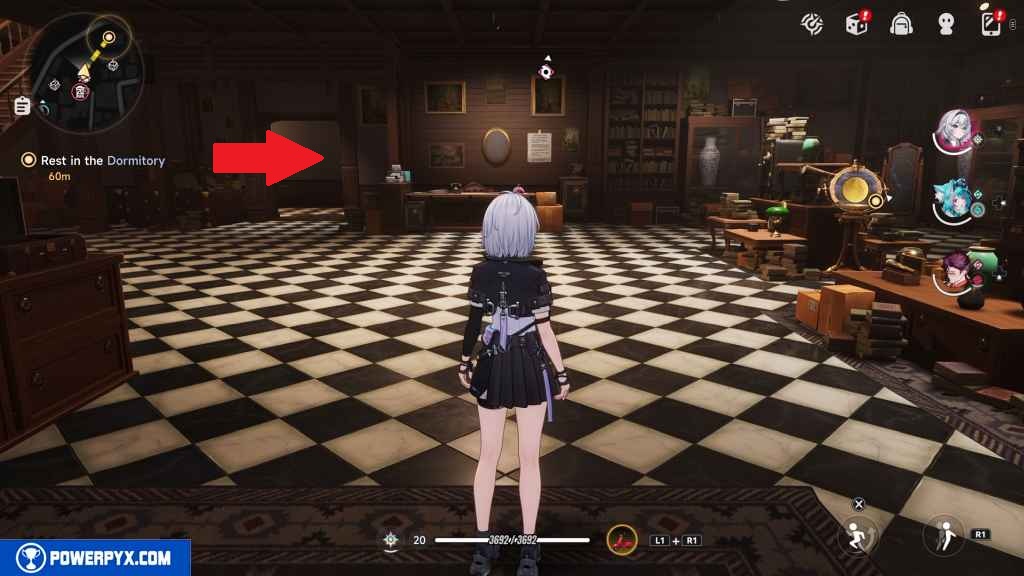
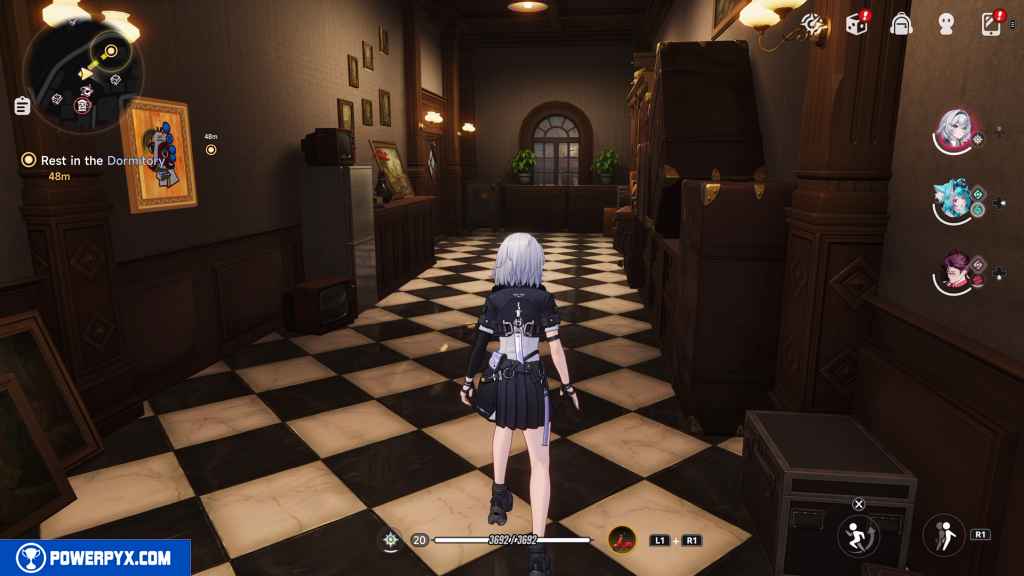
Enter the Dormitory and rest in your bed.

This finishes Prologue 2: Good Business, Better Treasure main quest in NTE (Neverness to Everness).
NEXT: Love that Begins with Lies (after reaching Hunter Level 10)
For all other Quests refer to NTE (Neverness to Everness) Walkthrough.
Leave a Reply