
Deal? Deal! is the fourth main mission in NTE (Neverness to Everness). This walkthrough will guide you through all objectives of the Deal? Deal! main quest.
- Starting District: Old Town
- Quest Giver: Automatically appears in quest log after third main mission Love that Begins with Lies
- Requirement: Complete third main mission Love that Begins with Lies
- Reward: Hunter Level EXP x1000, Annulith x60, Expansion Core x10, Fons x40k, Beetle Coin x100k
- Quest Description: It’s a rare peaceful morning. Ask Adler if there’s anything you can help with.
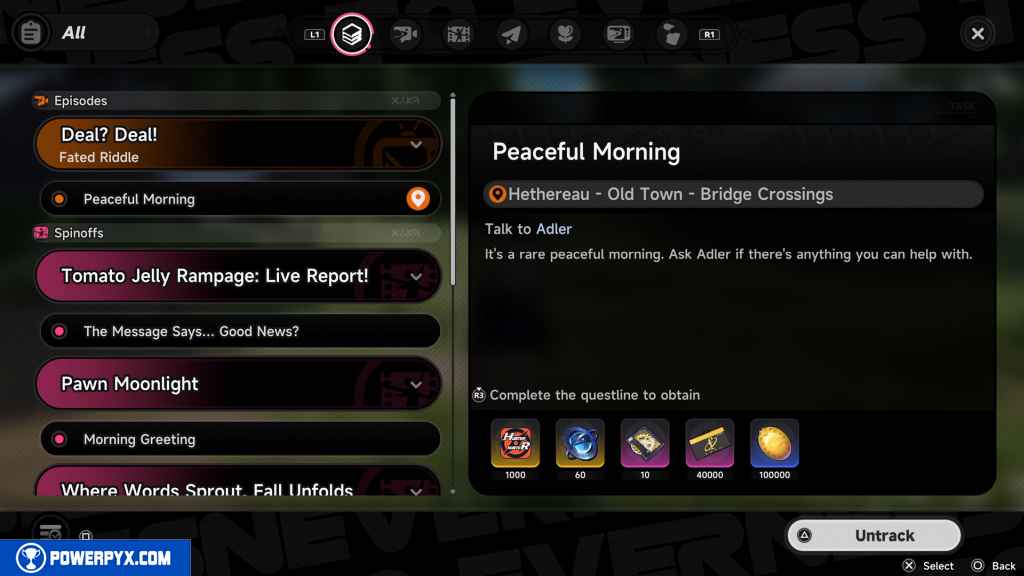
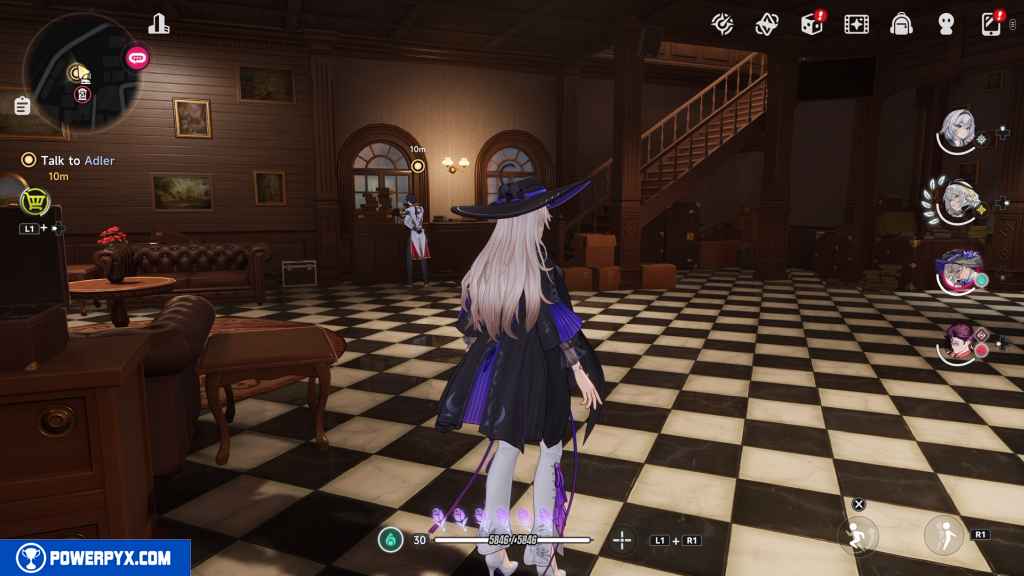
Talk to Adler (Peaceful Morning)
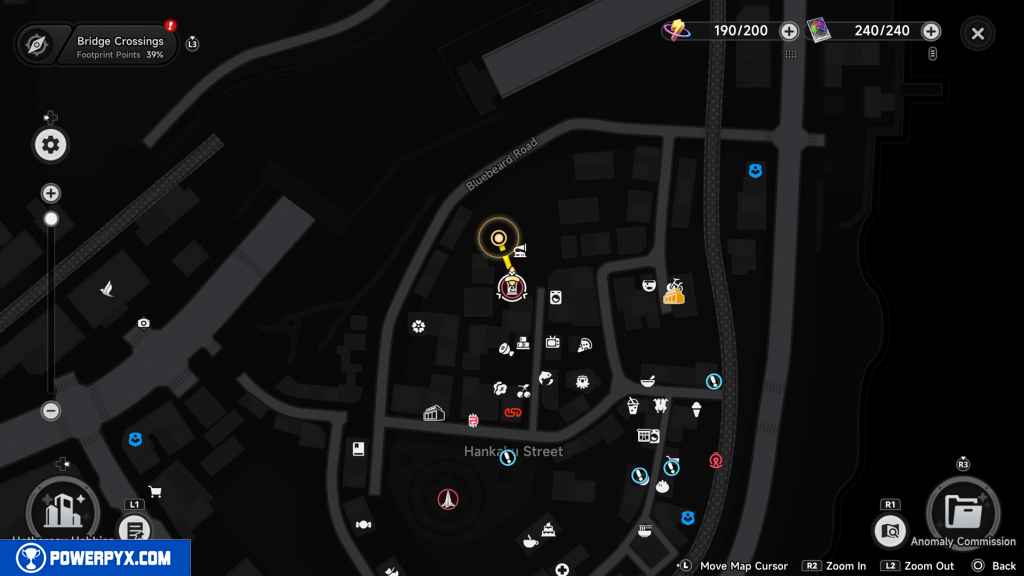
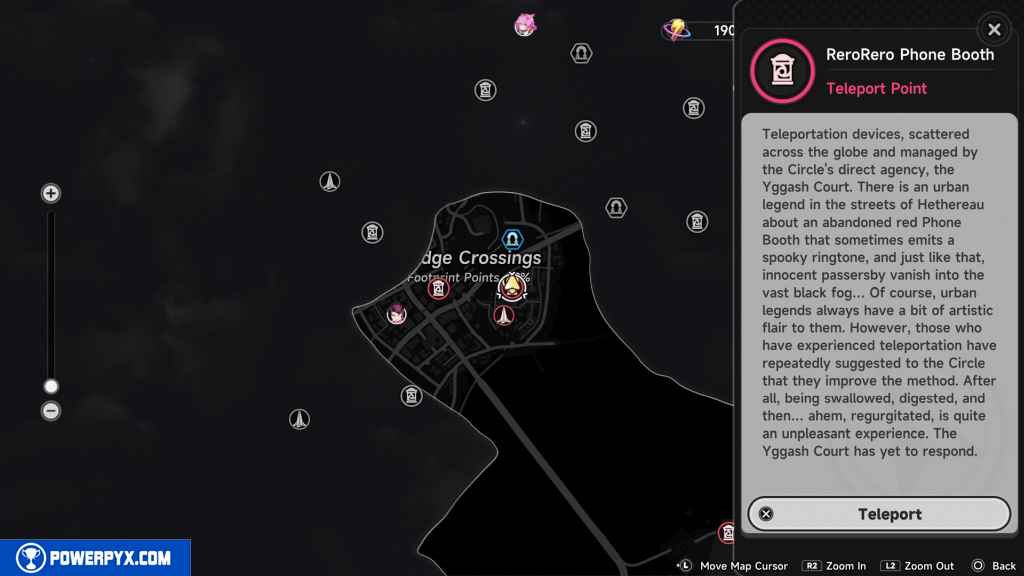
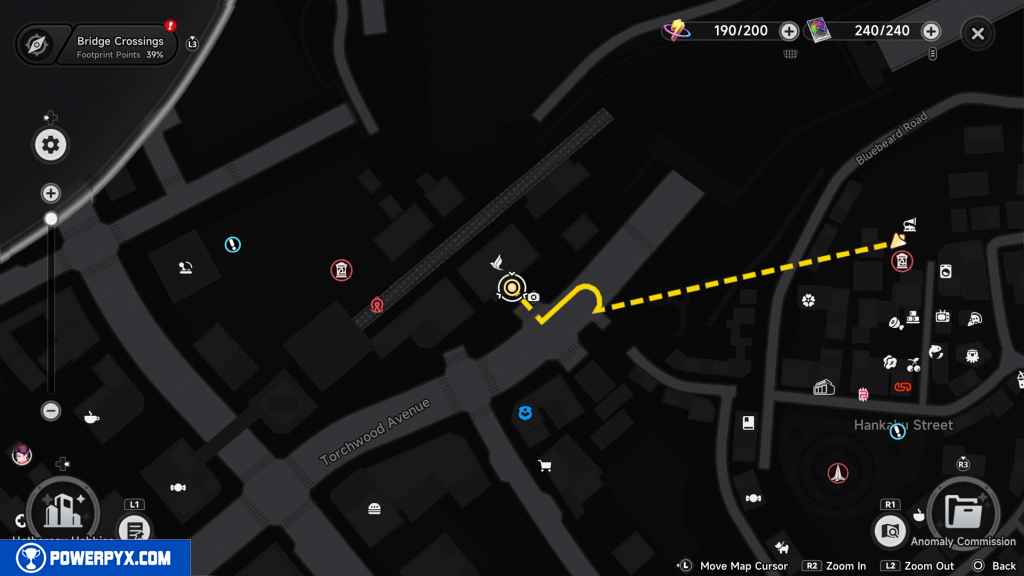
Reach Eibon by teleporting to the nearest phone booth by Bluebeard Road.
Approach Adler by the stairs.
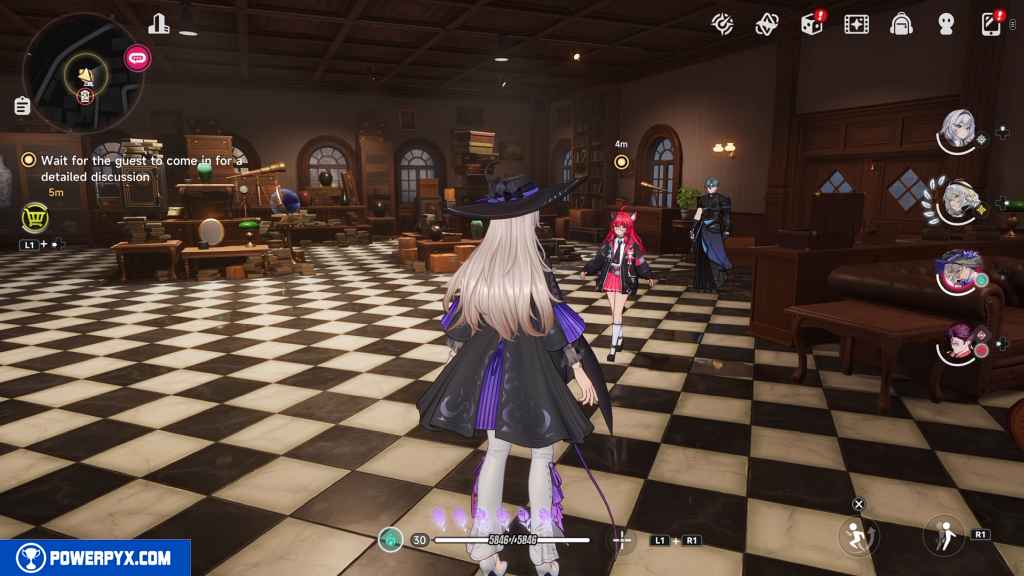
Wait for the guest to come in for a detailed discussion (Unexpected Visitor)
Simply wait for Nanally to walk into Eibon.
Talk to Jensen (Commission from Sterry)
Jensen comes in behind Nanally. Approach him once he stops walking.
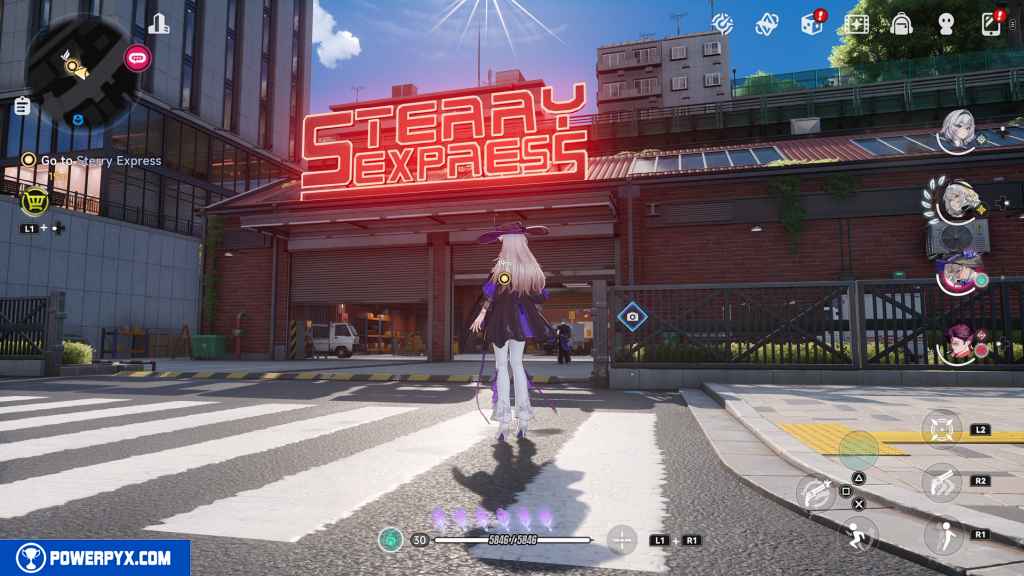
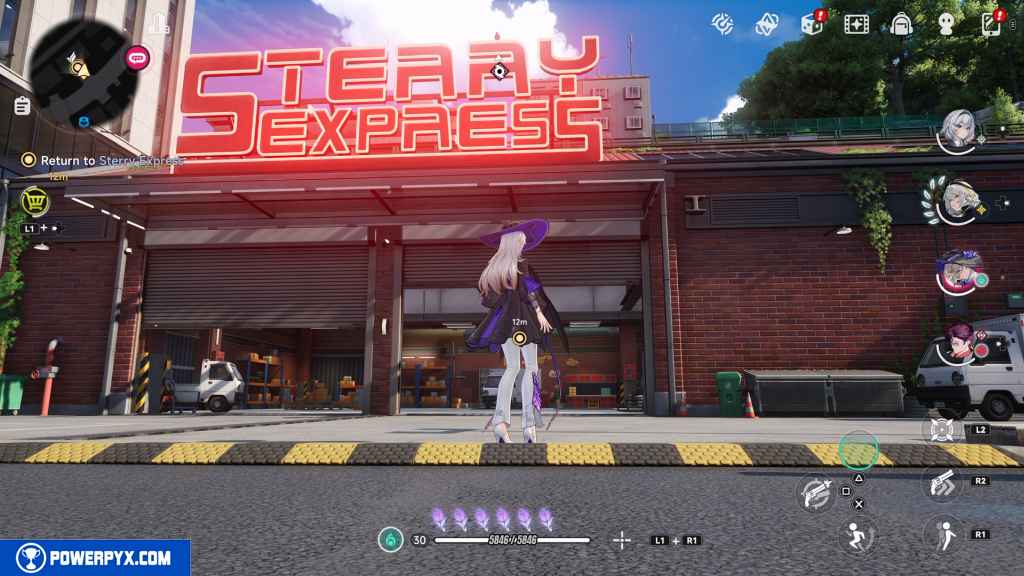
Go to Sterry Express (Sterry’s Invitation)
Leave Eibon and head west to the northern end of Torchwood Avenue.
Approach the Sterry Express building.
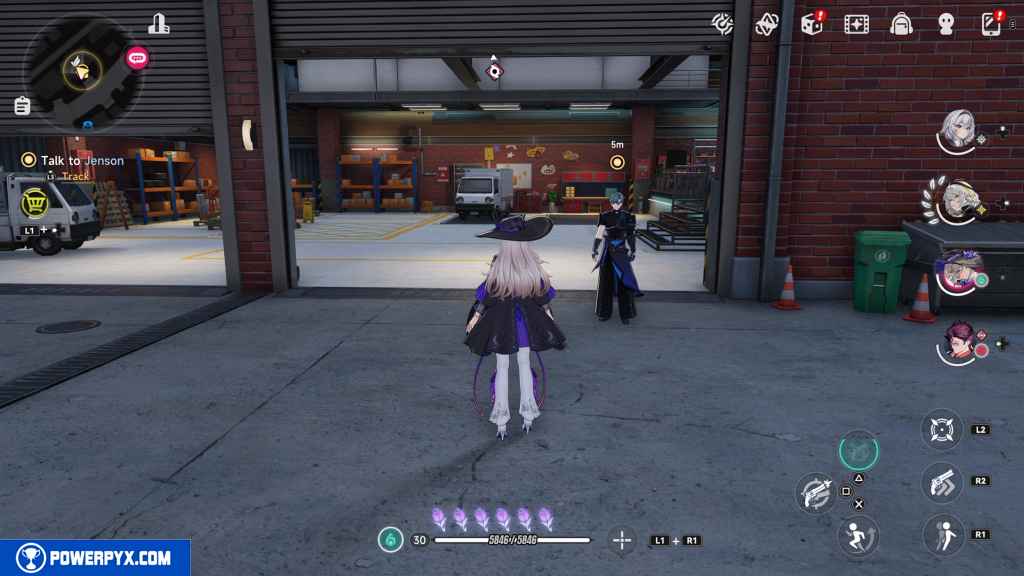
Talk to Jenson (Host’s Hospitality)
Approach Jenson, who stands in the garage doorway.
Follow Jenson (Return Visit)
Head inside, following Jenson.
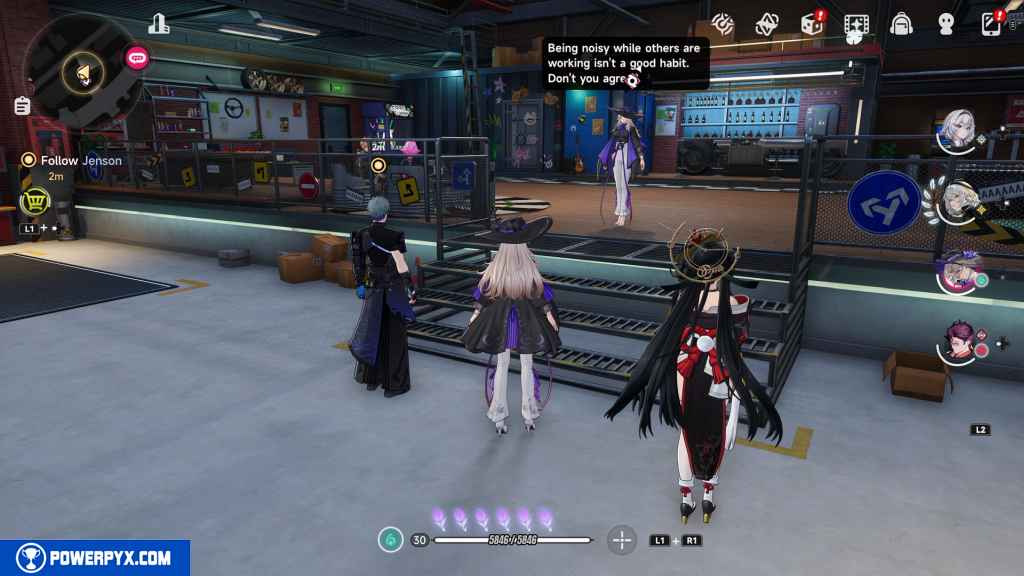
Wait for a little dialogue before a cutscene plays.
Chat with everyone (5) (Action Is Better Than Waiting)
Speak with all five of the people in the garage, located in these spots. There are dialogue options as part of these conversations, but the choices don’t affect the outcome.

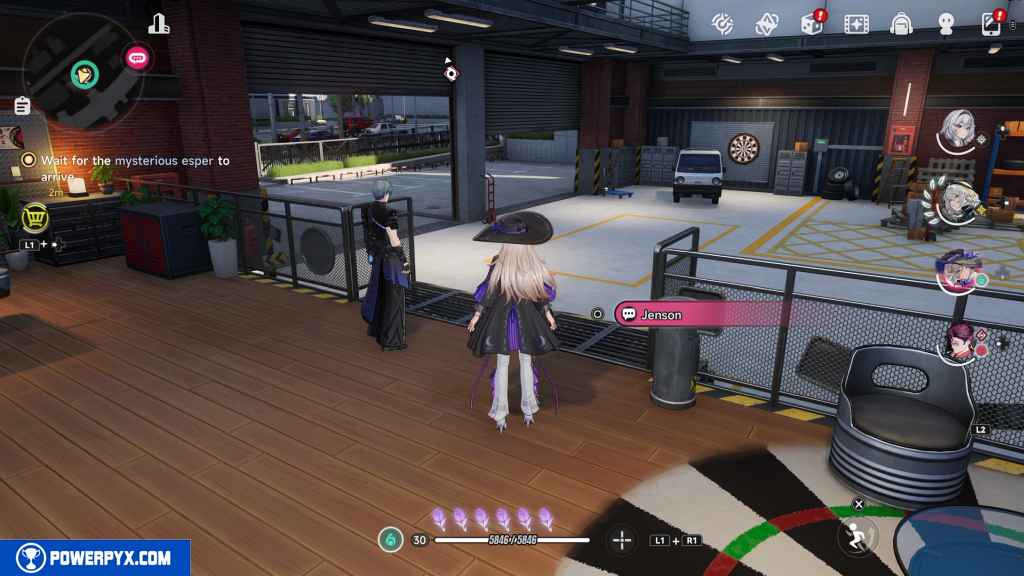
Wait for the mysterious esper to arrive (All Waiting Will Eventually Be Answered)
Stand by Jenson for a few moments until a cutscene begins.
Return to Eibon Antique Shop (Time To Head Back!)
Use the phone booth by Eibon to get back to it quickly. Then, head inside.
Talk to Hotori (A Topic Just for Us)
Once inside, approach the front desk to trigger a cutscene.
A dialogue option appears here, but you can choose whichever option you want.
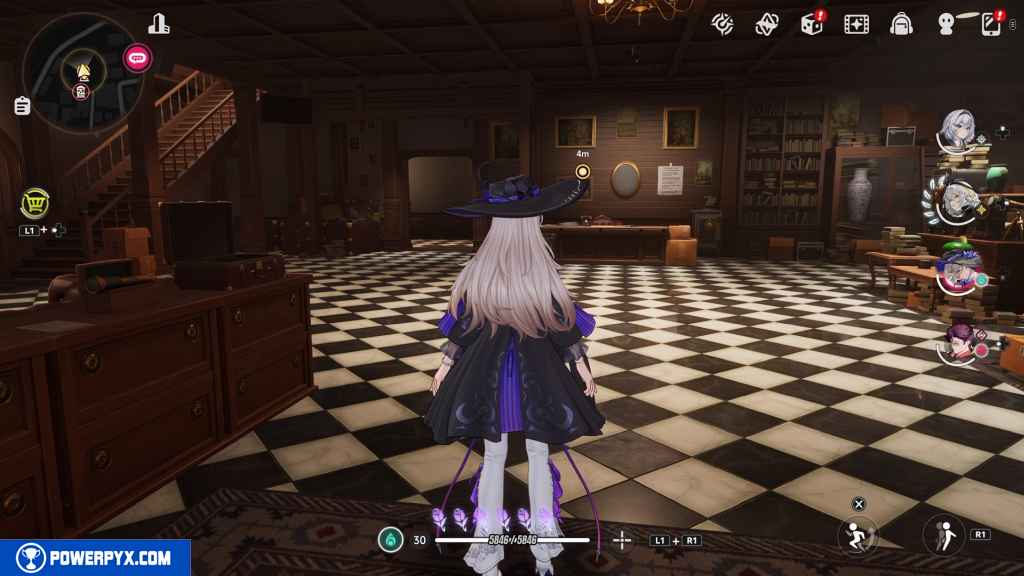
Talk to Jiuyuan (Promise with Sterry)
Make your way back to Sterry Express.
Approach Jiuyuan, who sits on her red car.
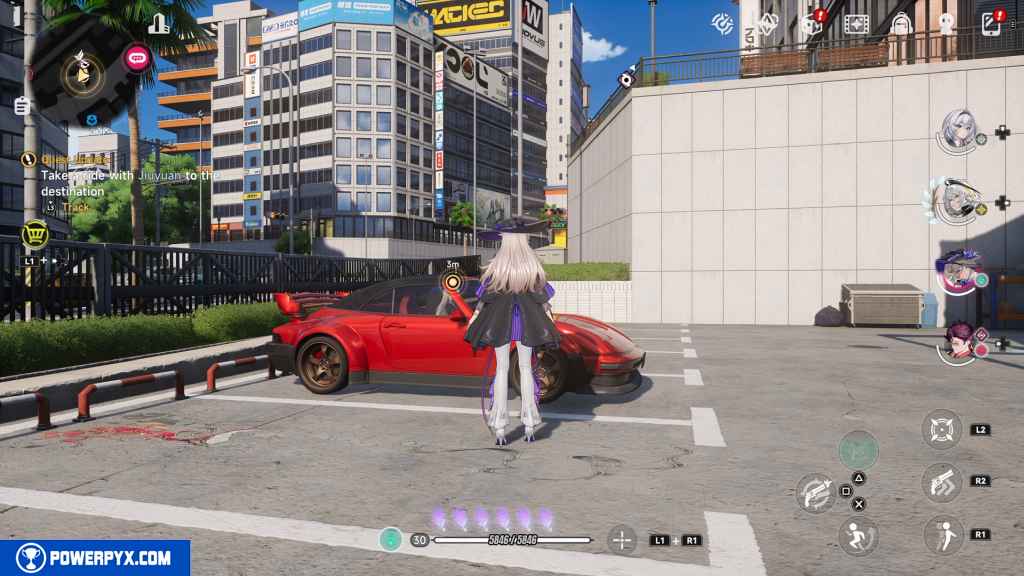
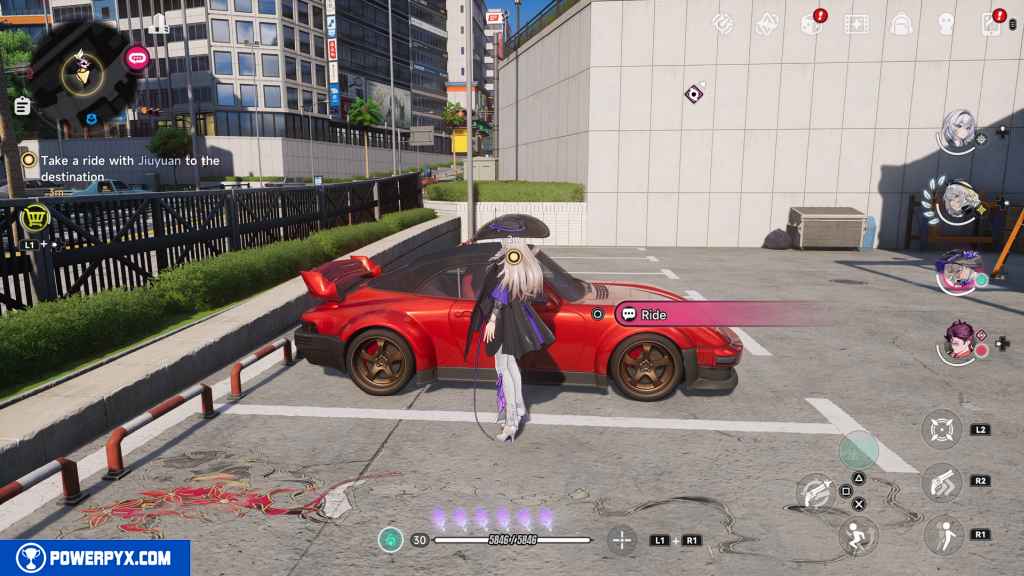
Take a ride with Jiuyuan to the destination (Moment of Action)
Interact with the car to get in.
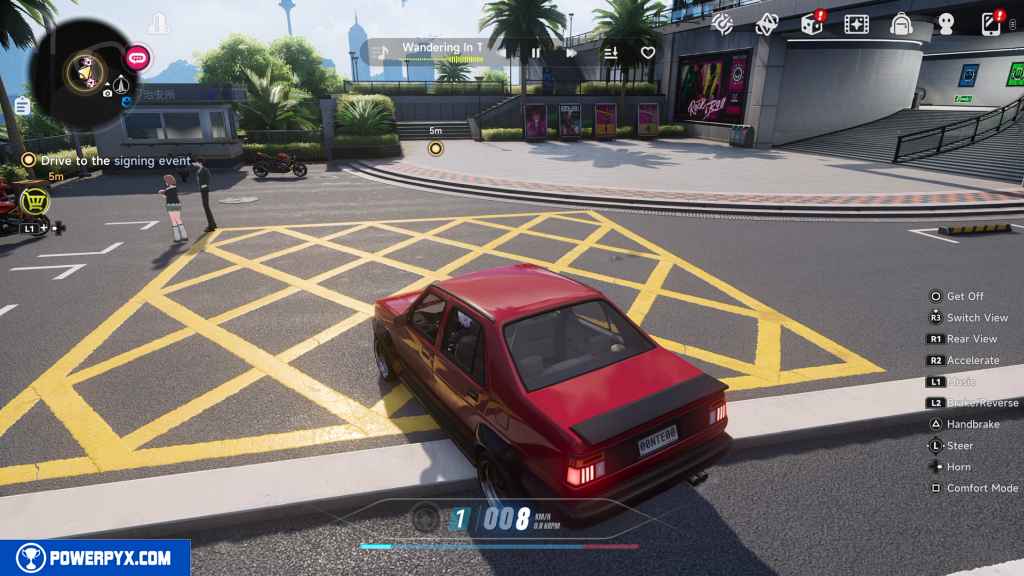
Drive to the signing event (Road to the Signing Event)
Drive the car down the highway to the destination. Park in the space marked with yellow paint.
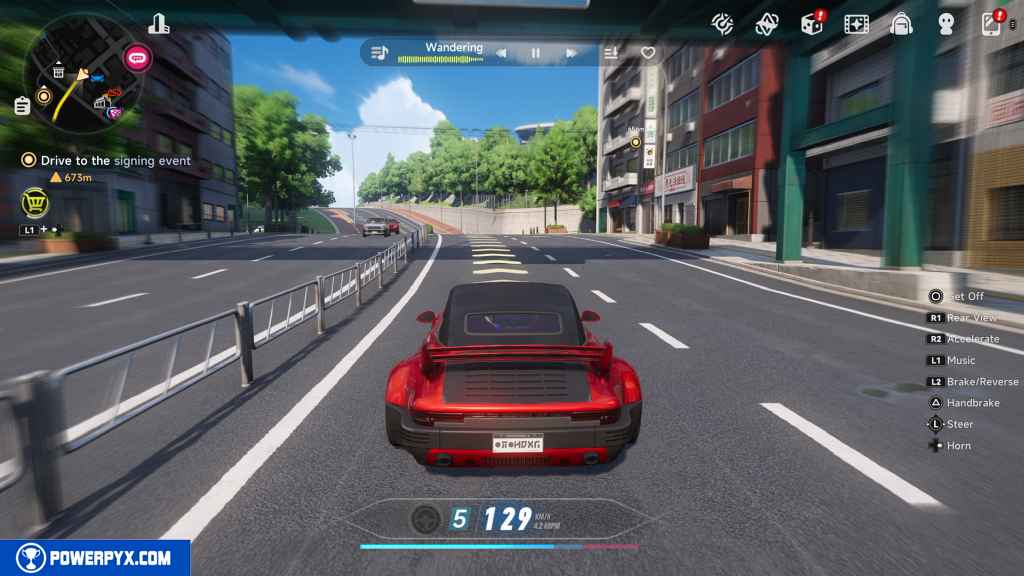
It’s worth knowing that if you decide to hop out of this car for any reason during this objective, then you need to find your own way to the destination. You can’t use this car for the rest of the trip.
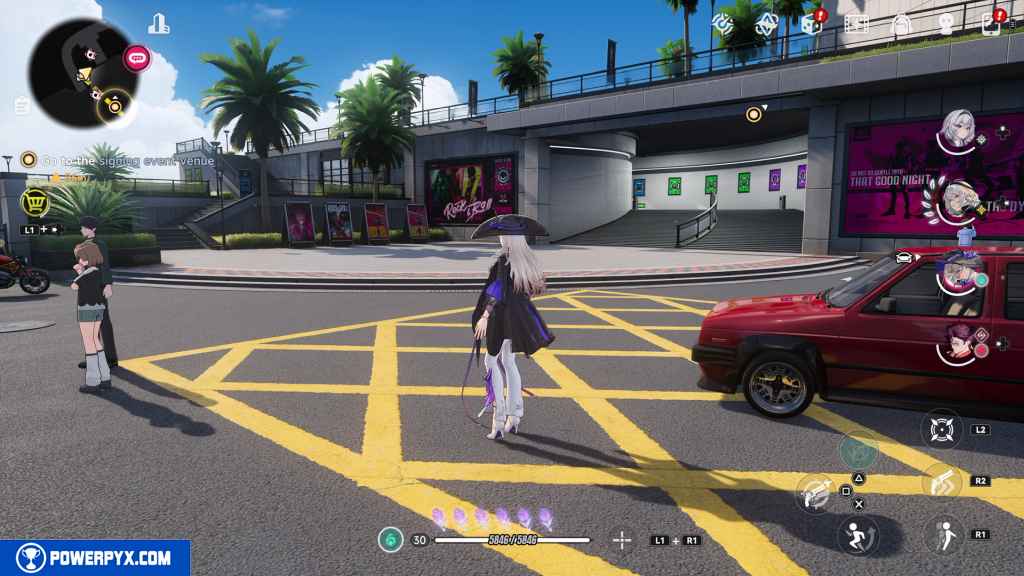
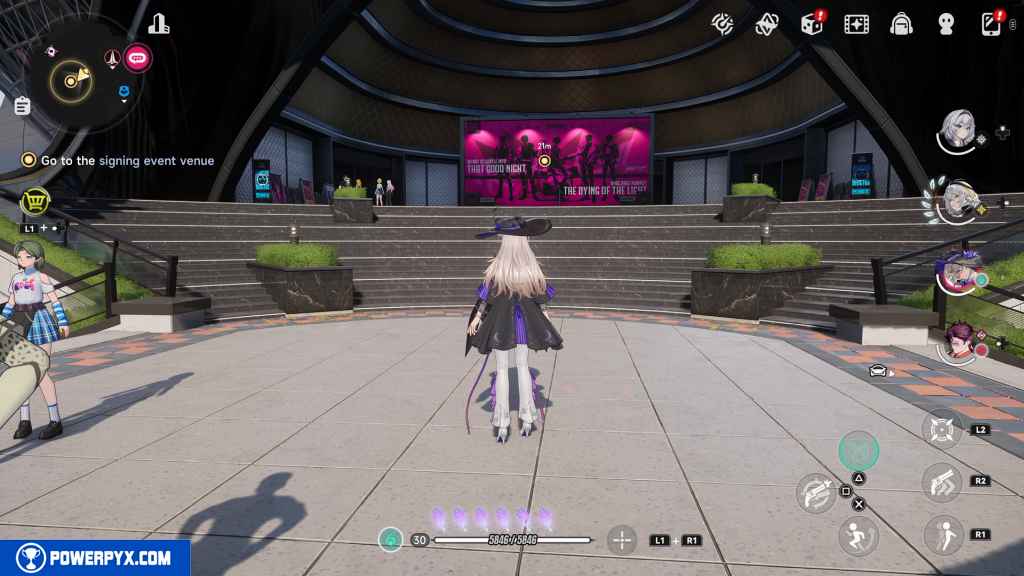
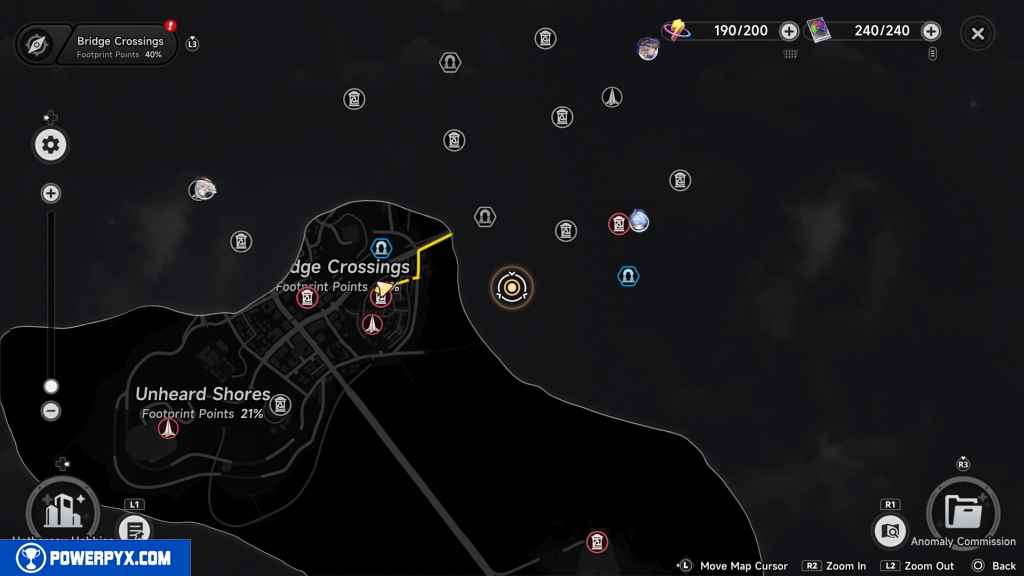
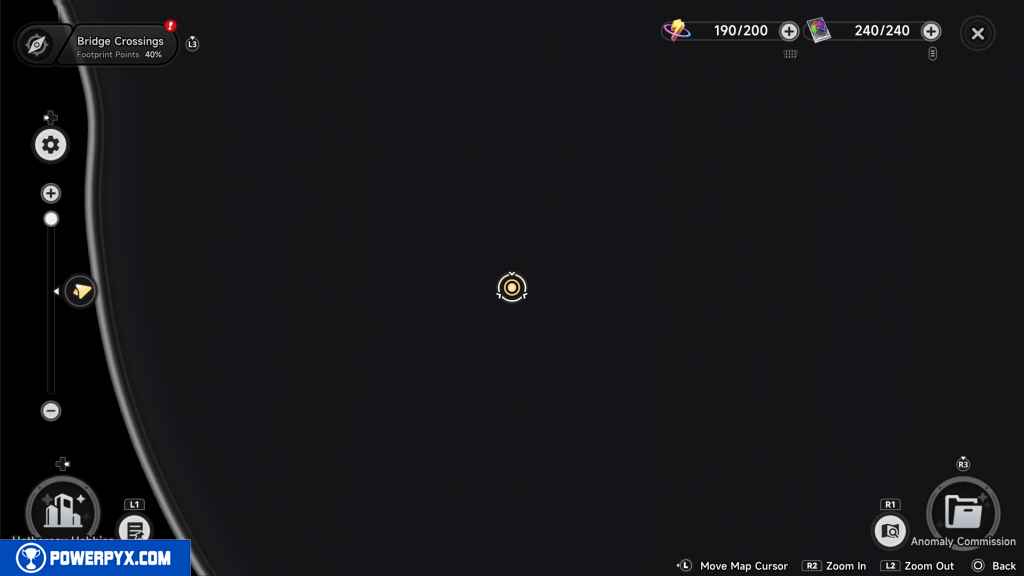
Go to the signing event venue (Road to the Signing Event)
Get out of the car and take the stairs on the east side of the venue.
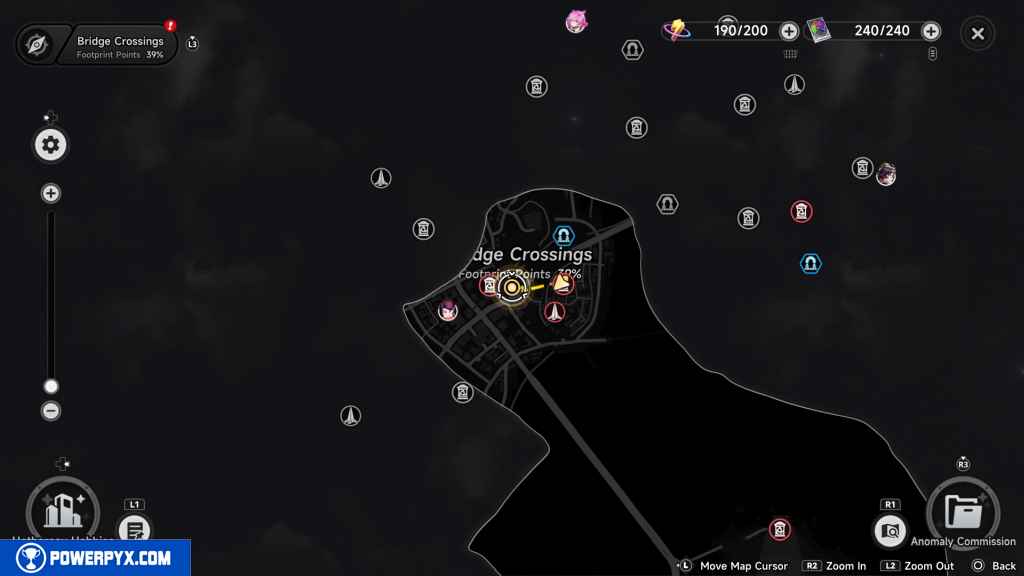
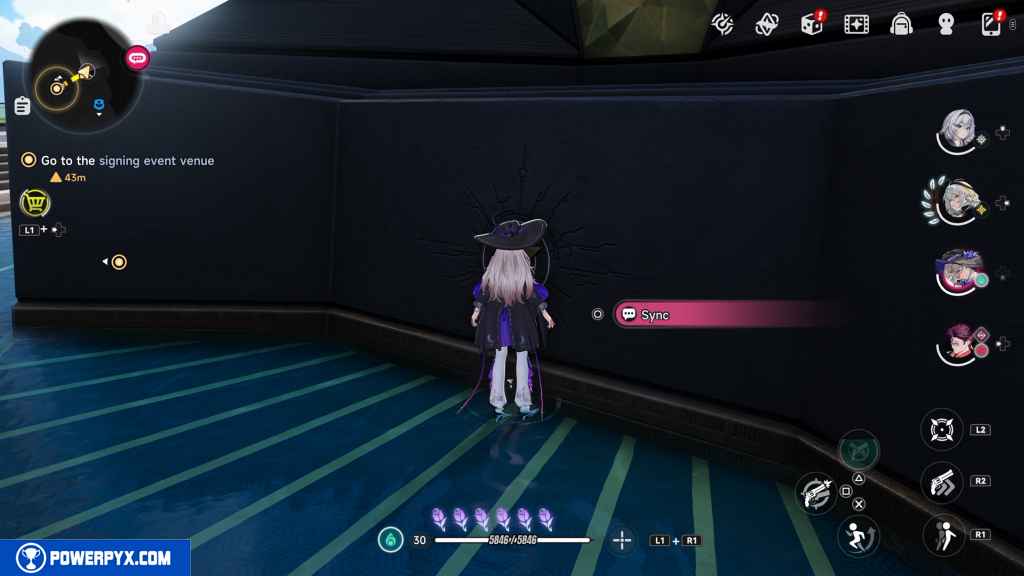
Before going up the rest of the way, go to your left and sync with the Wertheimer Tower. This unlocks the entire map for the Unheard Shores region.
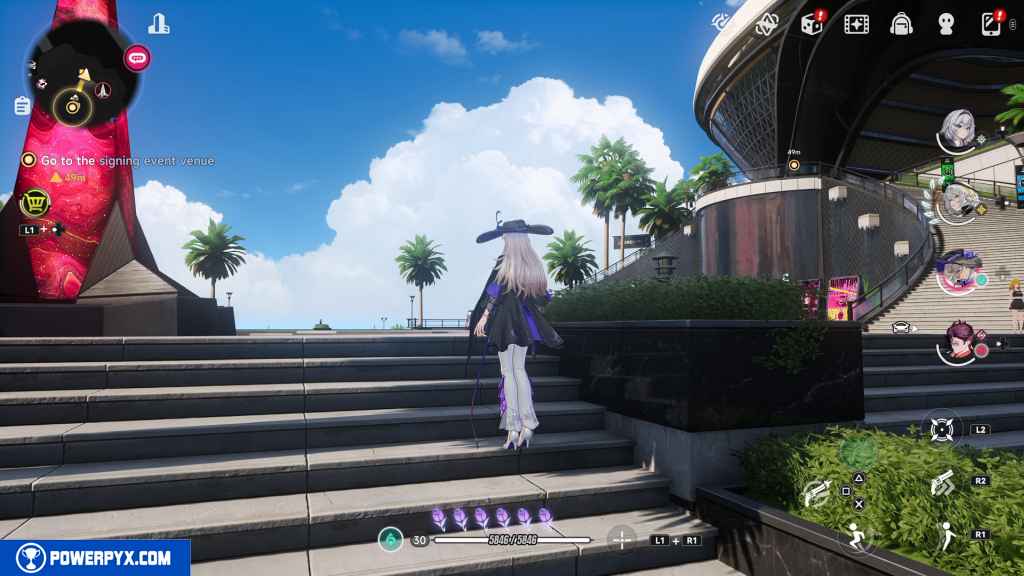
At the top of the stairs, walk into the stage area.
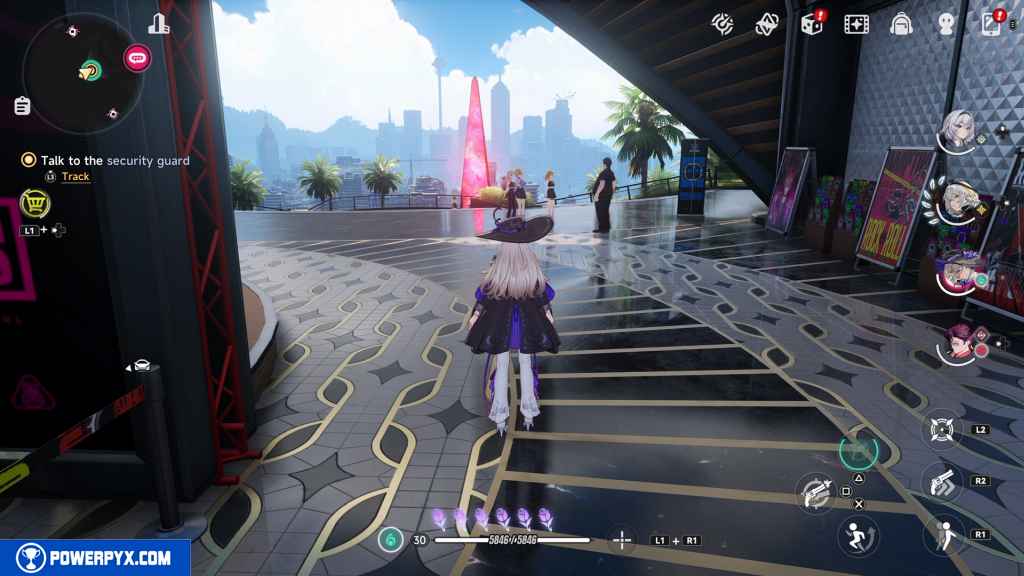
Talk to the security guard (Plan A in Progress?)
Turn back around and approach the security guard on the east side of the venue entrance.
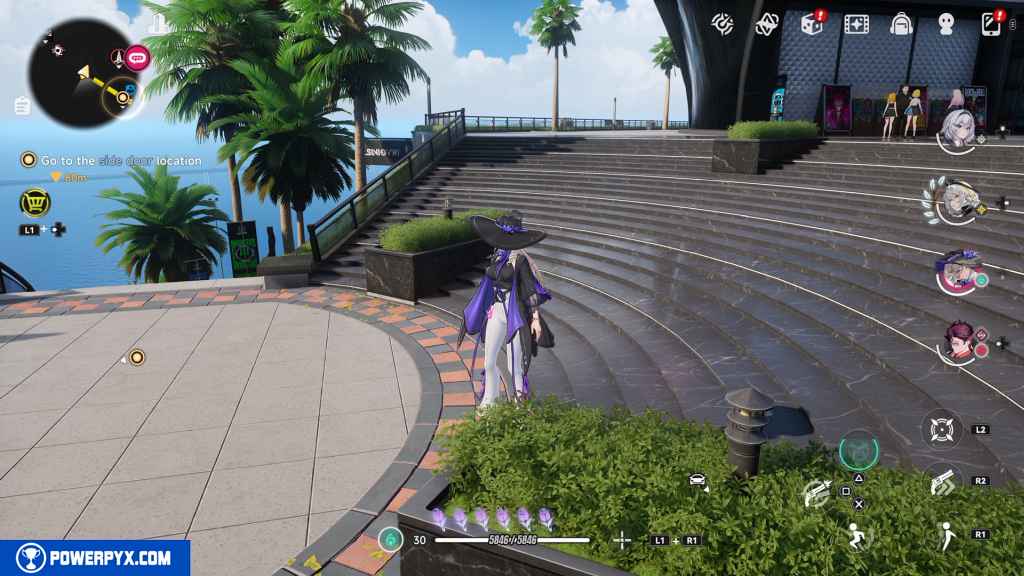
Go to the side door location (Plan B, Activate)
Go down the stairs to the east and make your way to the parking lot there.
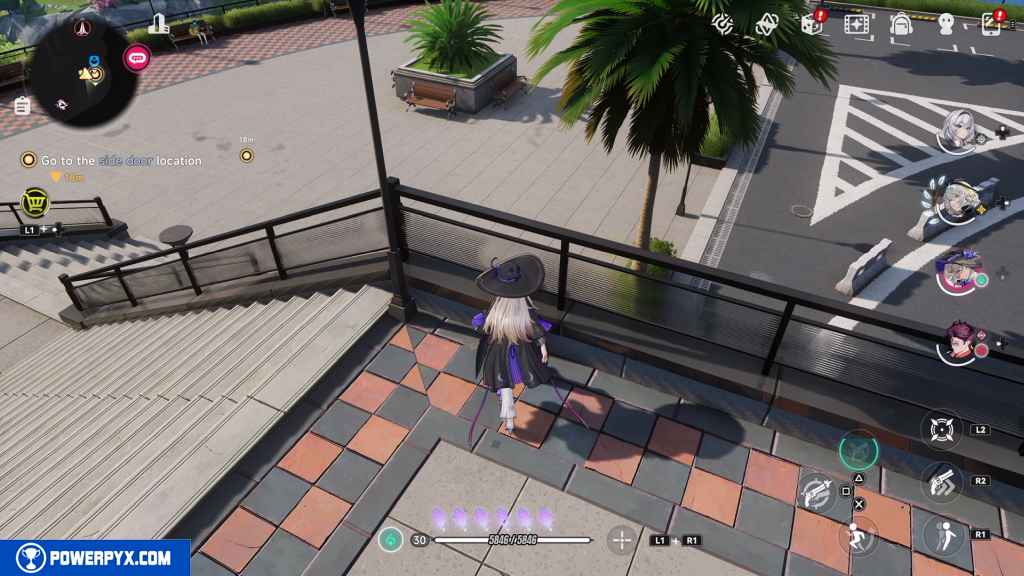
Wait for Settyn to appear
This objective prompts when you reach the bottom of the stairs and a cutscene begins.
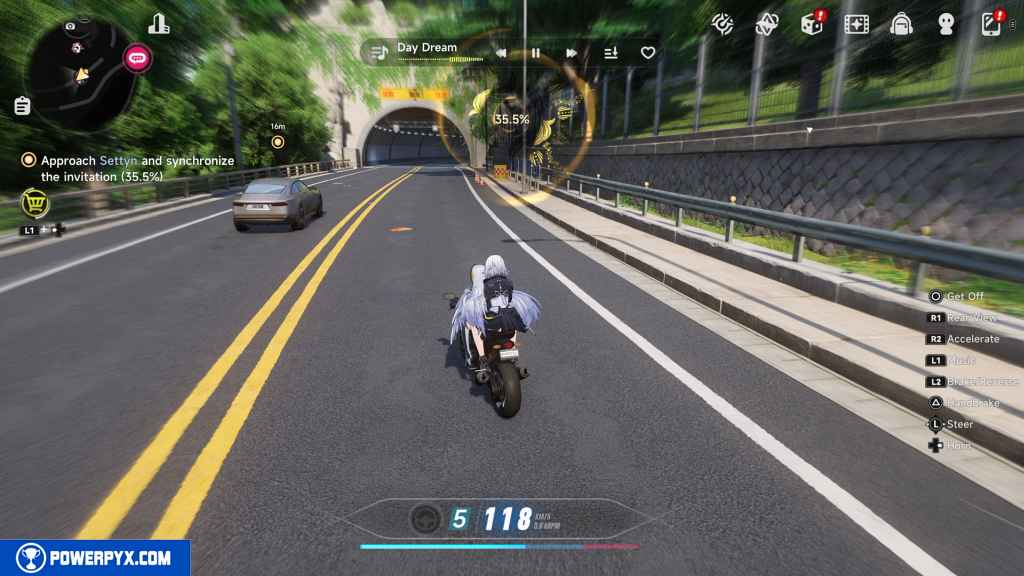
Approach Settyn and synchronize the invitation 100% (Real Rock vs. Fake Invitation Showdown)
You regain control on a motorcycle. Follow Settyn’s car.
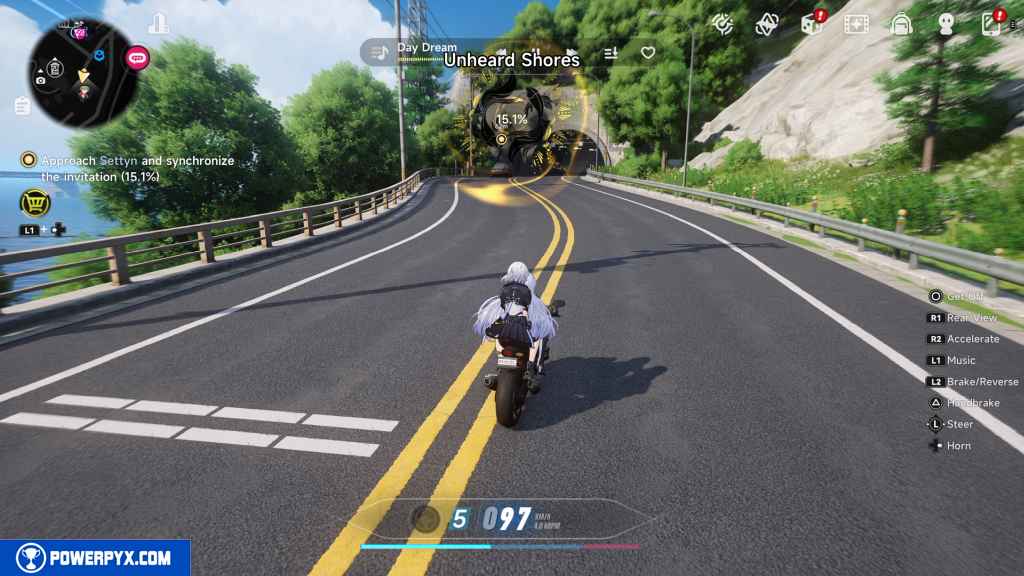
You need to maintain close proximity to the car in order to sync information from Settyn. The range required is quite generous, and you know when it’s working by the yellow percentage gauge that appears in the middle of the screen. Just follow the car until the gauge reaches 100%.
Return to Sterry Express (Everything Is Under Control)
Return to Sterry Express by either driving or teleporting to a nearby phone booth.
Talk to Jenson
Enter the garage for this objective to prompt just before a cutscene begins.
Return to Eibon Antique Shop (Good News to Share!)
Head back to Eibon.
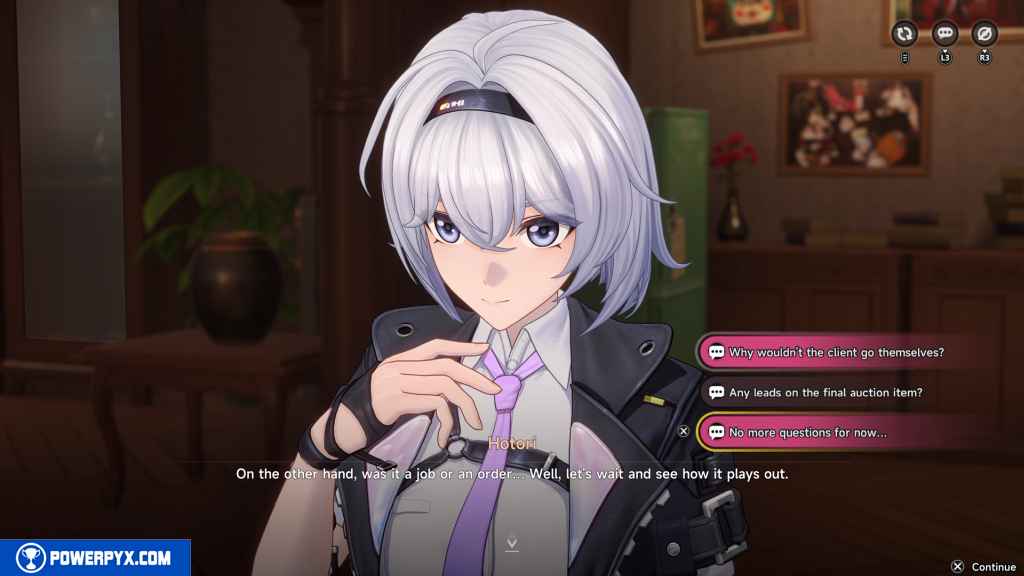
Talk to Hotori (Ask, Ask, Ask)
Head upstairs and approach Hotori in the common room.
Hotori lets you ask questions of her here. Ask whatever options you wish. However, you need to select “No more questions for now…” in order to progress the quest.
You will earn a mid-mission reward now:
- Hunter Level EXP x1000, Annulith x120, Mind Shard – Zero, Elite Hunter Guide x15, Chaotic Dye x15, Fons x40k, Beetle Coin x100k.
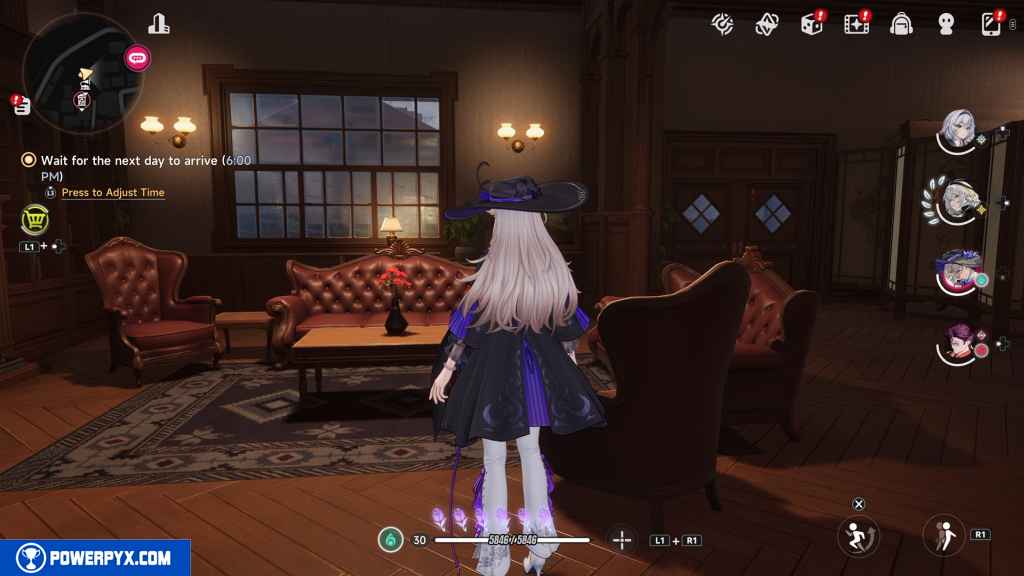
Wait for the next day to arrive (6:00PM) (Punctuality is a Basic Rule)
While tracking the quest, press  to automatically switch the time.

Go to the Kape Grand Hotel (This Trip Has Only One Purpose)
Unless you’ve done a bunch of exploration beforehand, New Herland District will still be grayed out for you.
Hop in your vehicle and follow the tracking that the game gives you to reach the hotel.
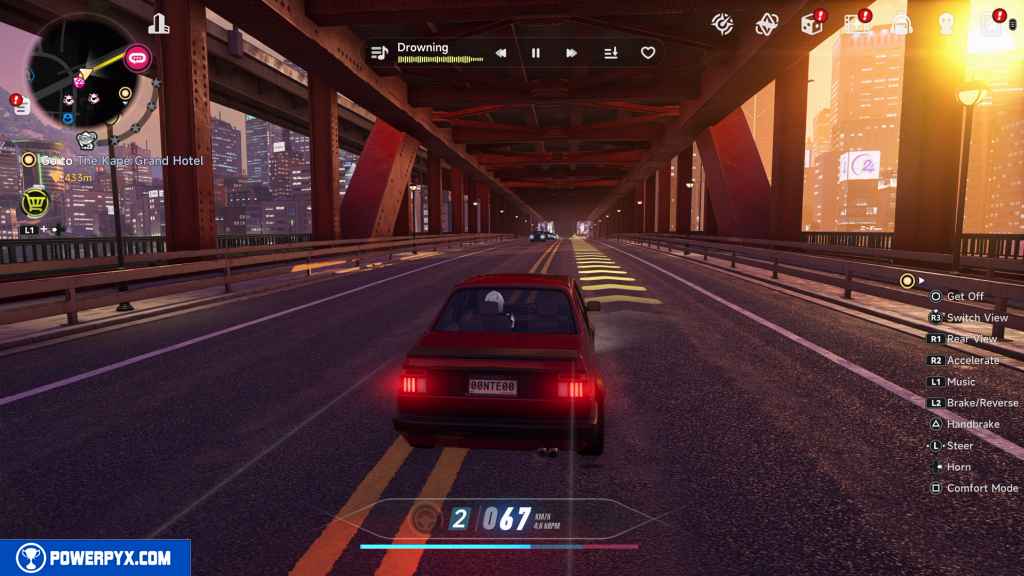
Approach the entrance.

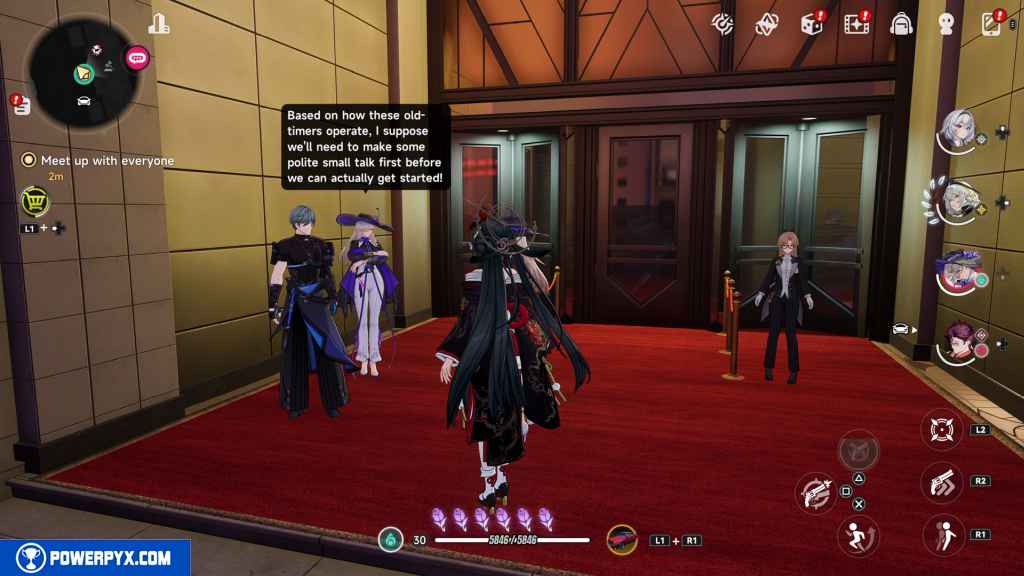
Meet up with everyone (Wait for the Echo)
Wait at the entrance until the objective changes.
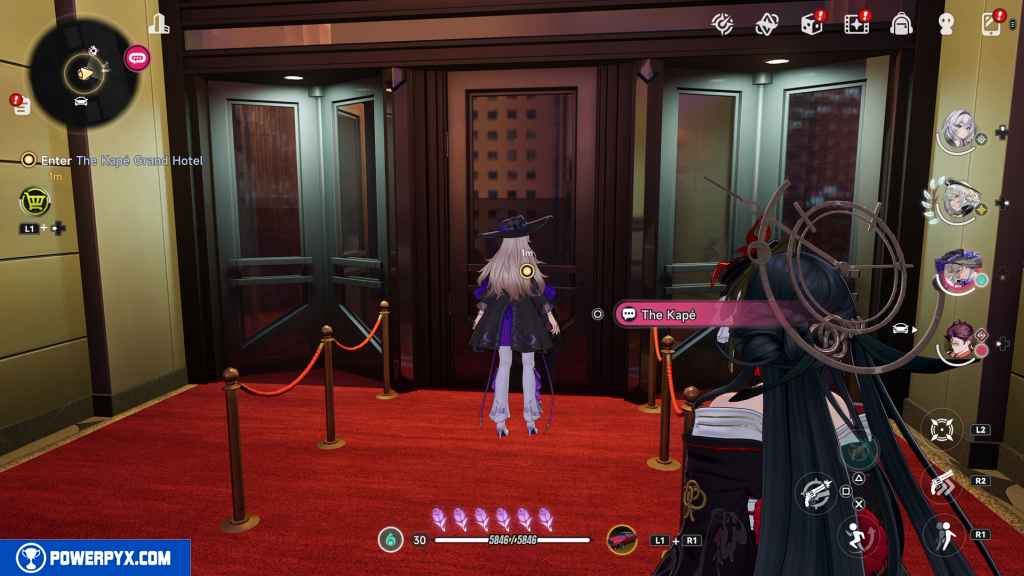
Enter the Kape Grand Hotel (I’m Ready)
Interact with the front door to progress.
Follow Jenson (Walking Observer)
You can walk with the group if you wish. Otherwise, run up the stairs to reach the gold elevator door.

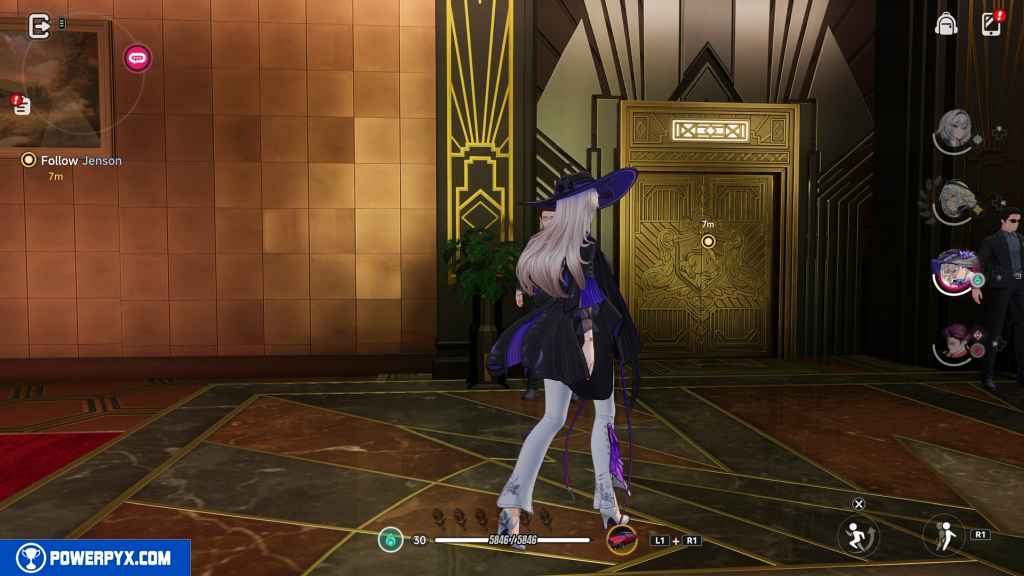
Show the Ebitsu Invitation
This triggers automatically when you approach the gold elevator door.
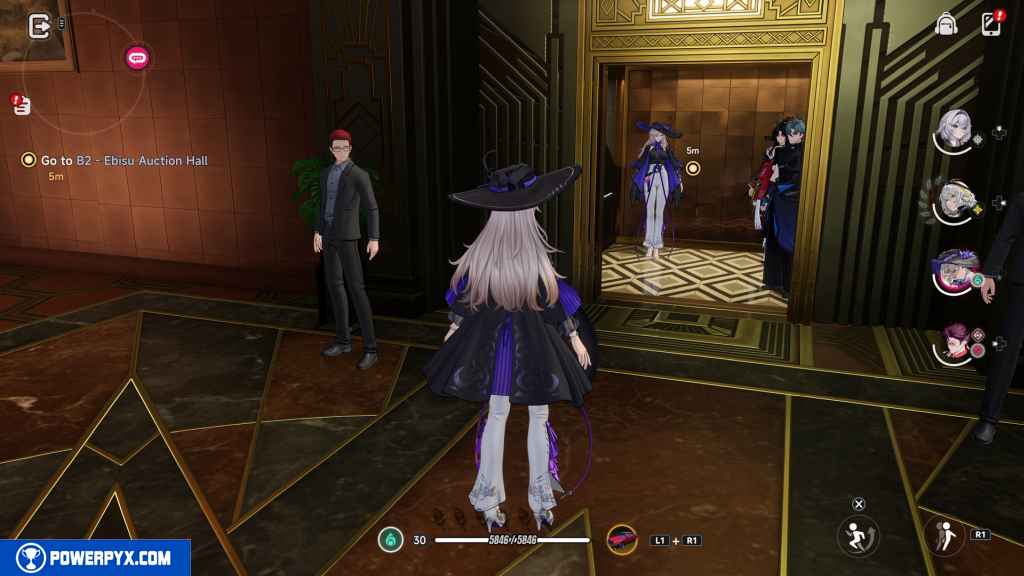
Go to B2 – Ebisu Auction Hall (Descent Has Begun)
Step into the elevator.
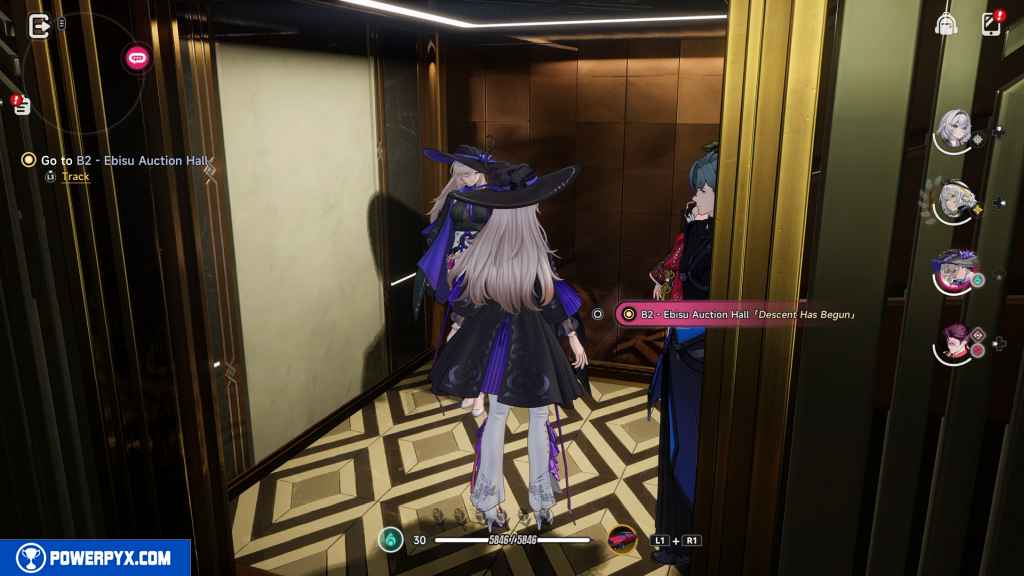
Once inside, press  to descend.
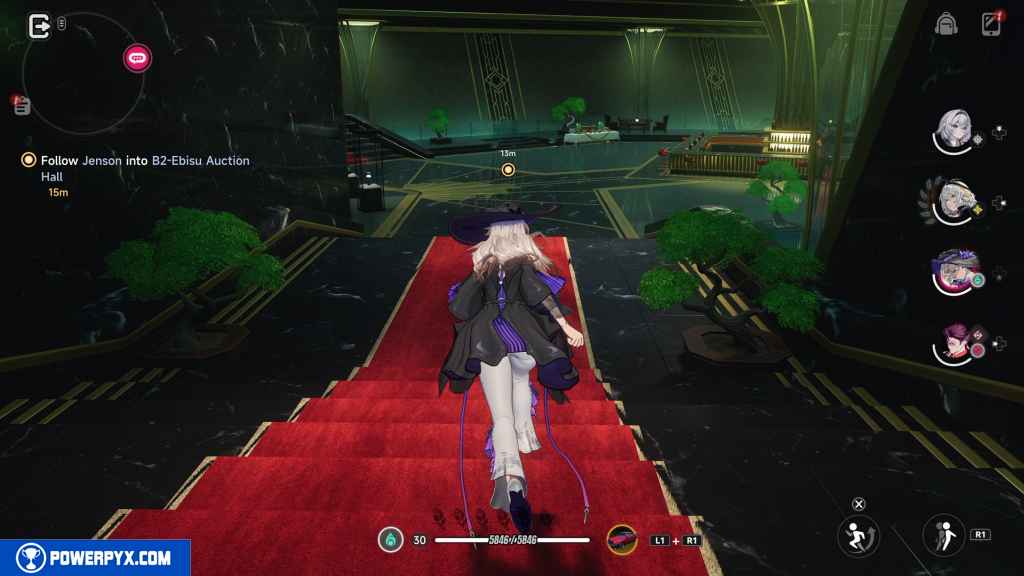
Follow Jenson into B2-Ebisu Auction Hall (When the Door Begins Moving Again)
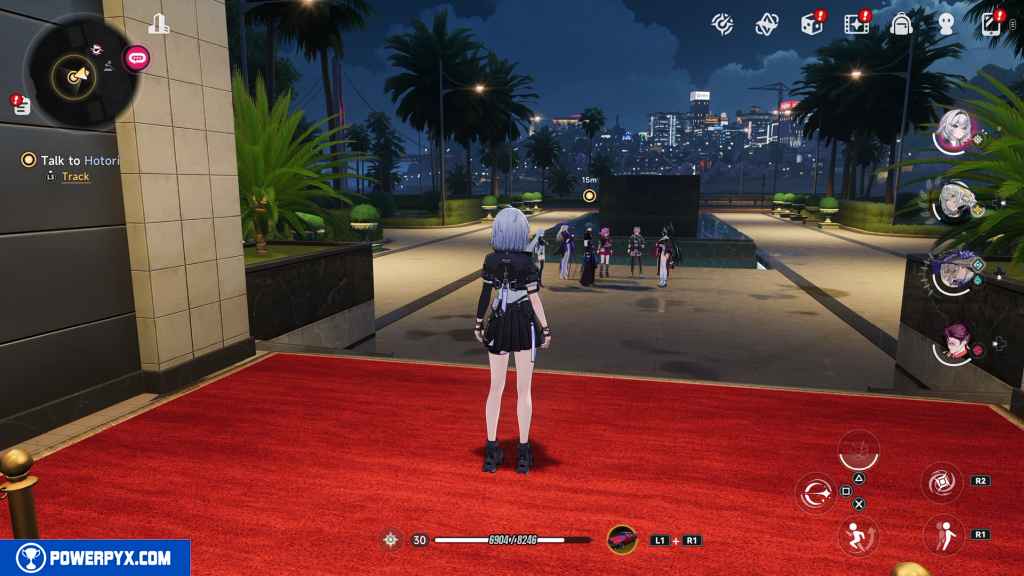
Follow the red carpet until you reach the auction hall.

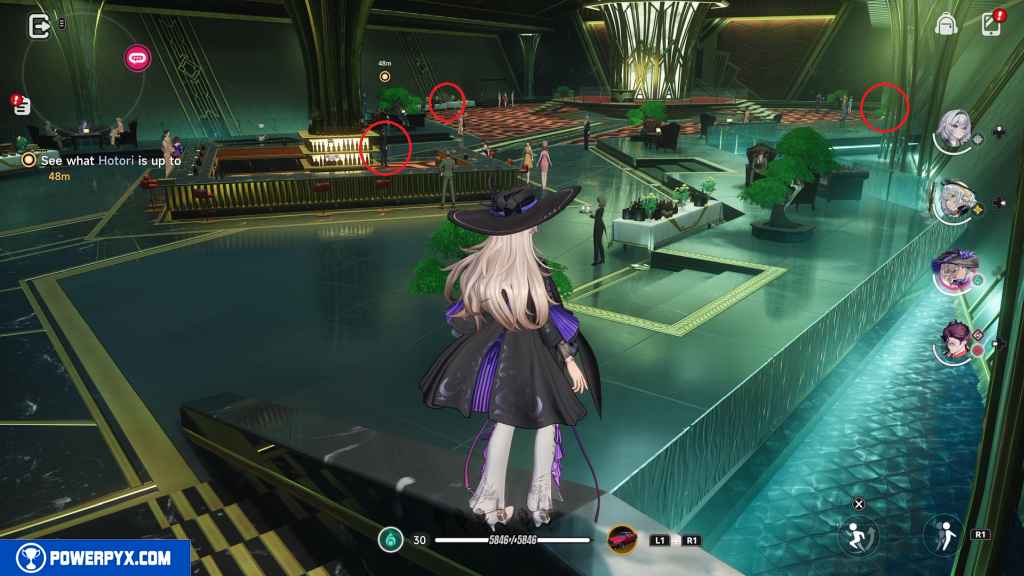
Find Illica / Find Haniel / Find Hathor (Time for Infiltratation!)
All three of these people are disguised as Bell Boys. Interact with them and they reveal their identities to you.
Wait for the Auction to Begin
Head over to the table where the group is seated.
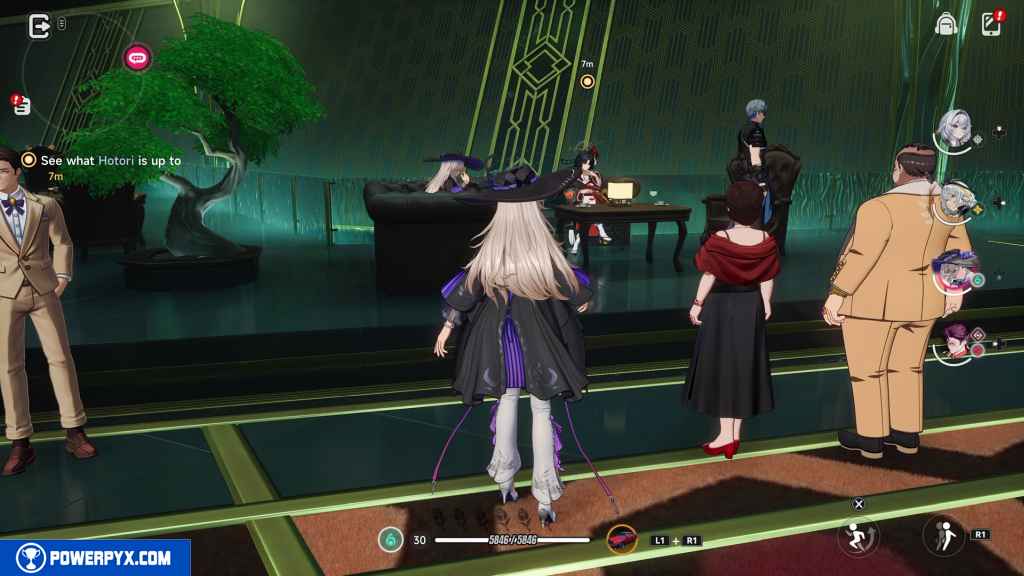
See what Hotori is up to (The Temptation of Bacchus)
Approach the table to trigger a cutscene.
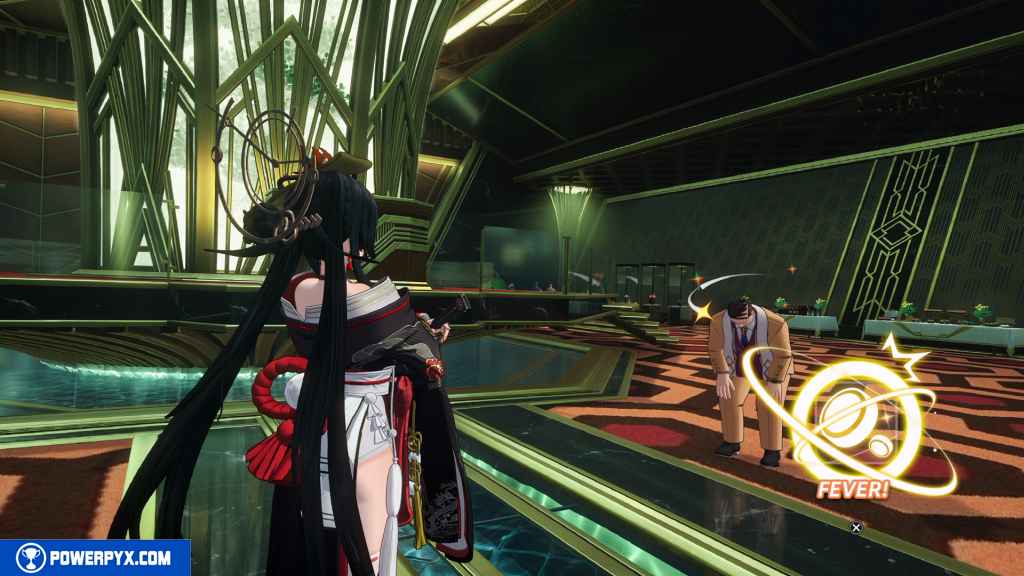
After the scene, you take control of Hotori in a bid duel.
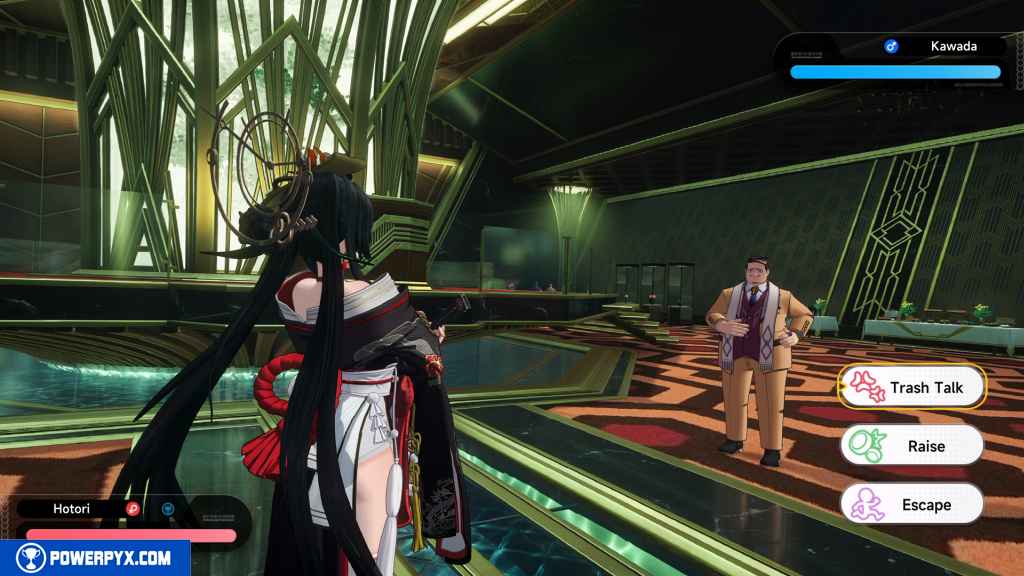
Just keep selecting “Raise” and it always lands as a super effective hit.
After three rounds, select Fever.
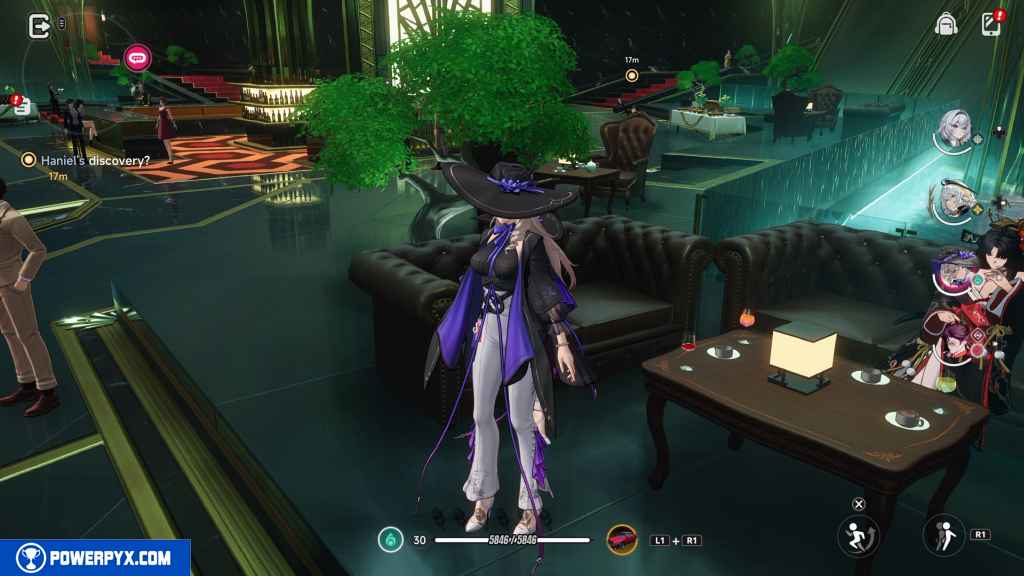
Haniel’s discovery? (Time for Tea Break!)
Turn around and follow the Bell Boy that’s waving you down. It leads you to a bunch of pastries.

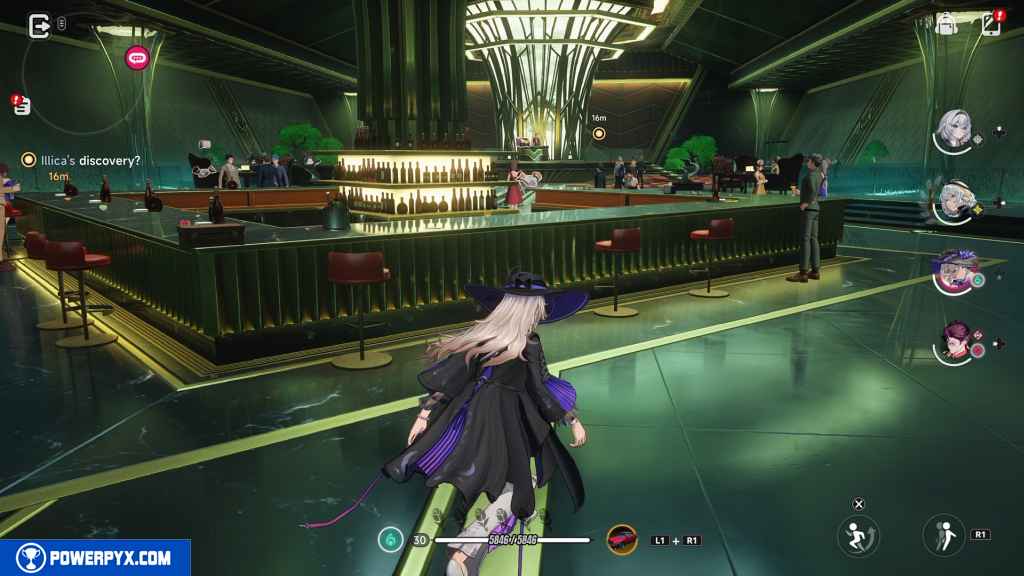
Illica’s discovery? (Time for Tea Break!)
Head back into the hall and find the Bell Boy standing by the bar. Interact with him to continue.
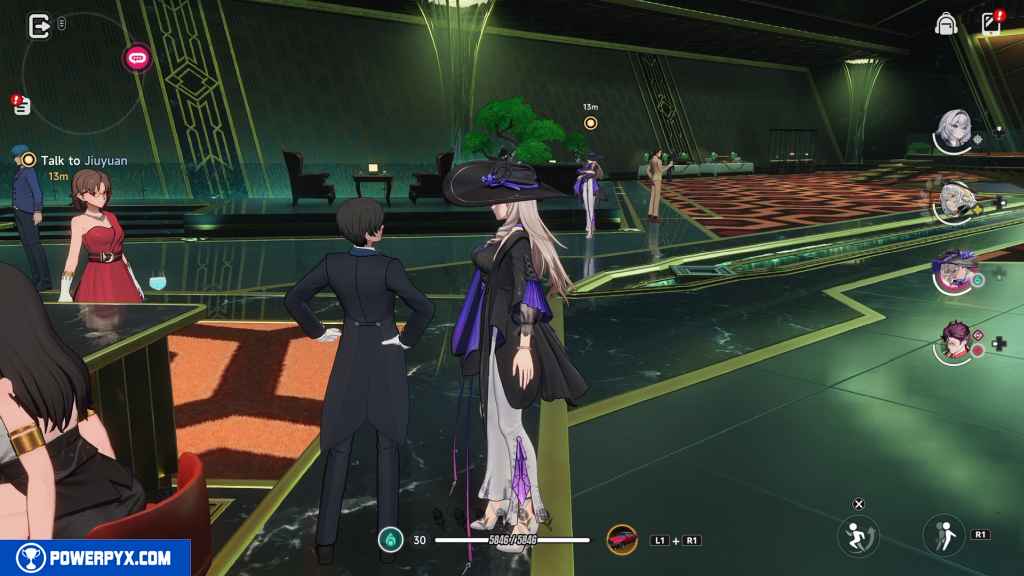
Talk to Jiuyuan (Nothing to Do at Halftime but Gossip)
Interact with Jiuyuan, who stands to your immediate right.
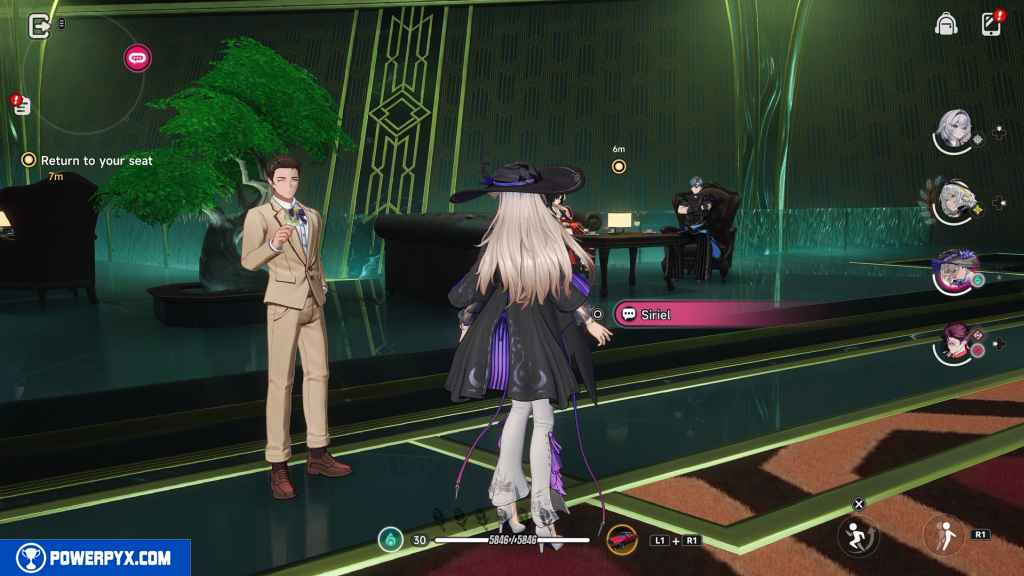
Return to your seat (Everyone Returns to Their Seats)
Head back up to the table with Hotori and Jenson.
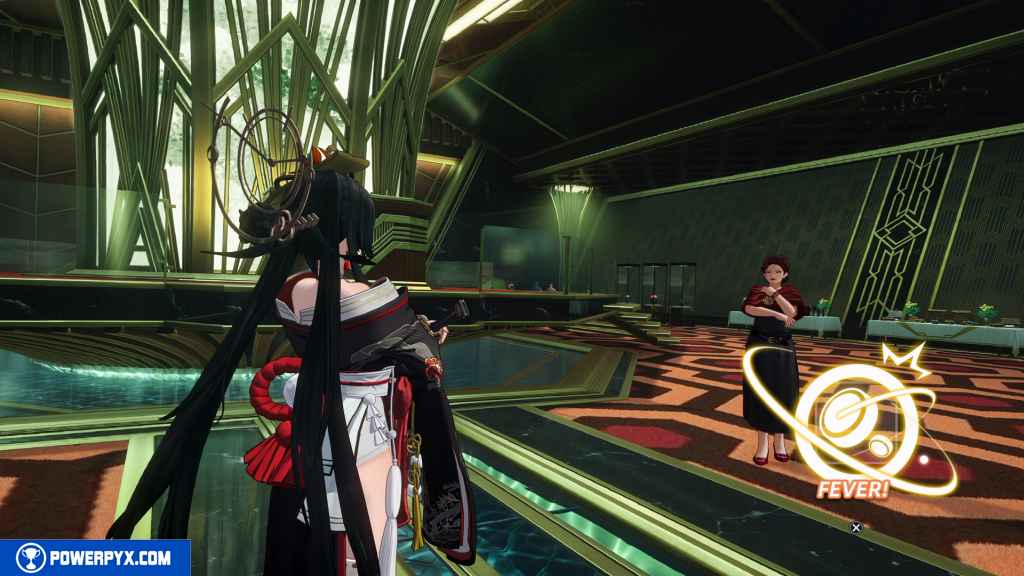
After the scene, you find yourself in a bid duel once again.
Choose Raise for her as well. Then, select Fever.
Catch up to the mysterious visitor (Trapped in the Maze)
Go straight ahead and then leave the hall up the stairs to your left.
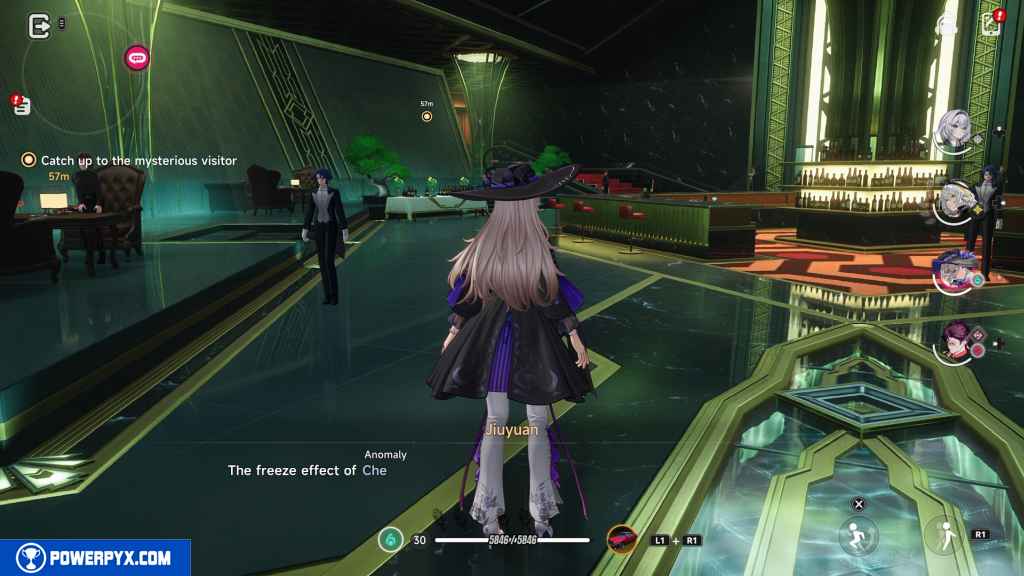
Try to leave the building, and it returns you automatically to the auction hall.
Return to Auction Hall (An Endless, Unsolvable Predicament)
Walk toward the bar to trigger a cutscene.
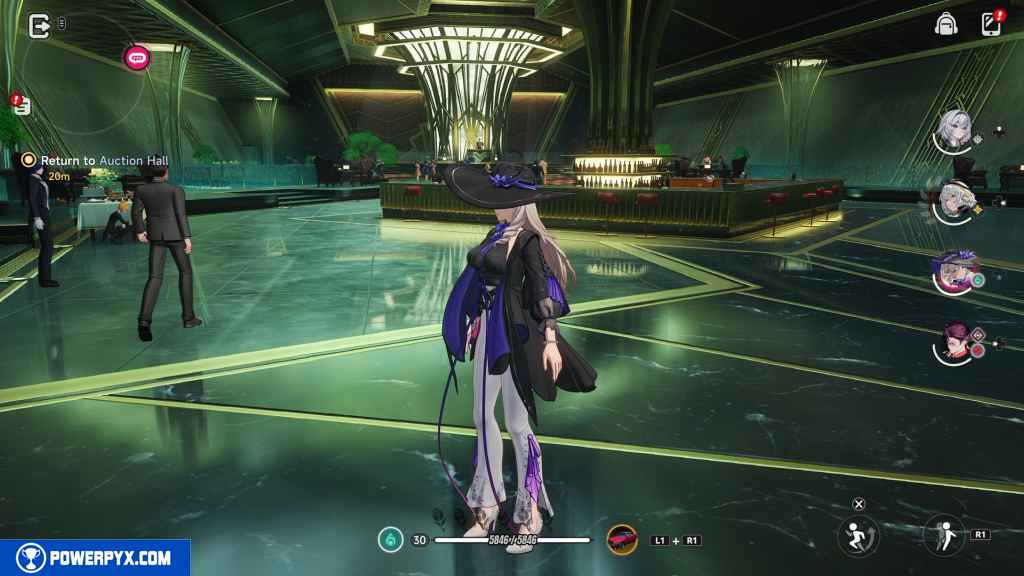
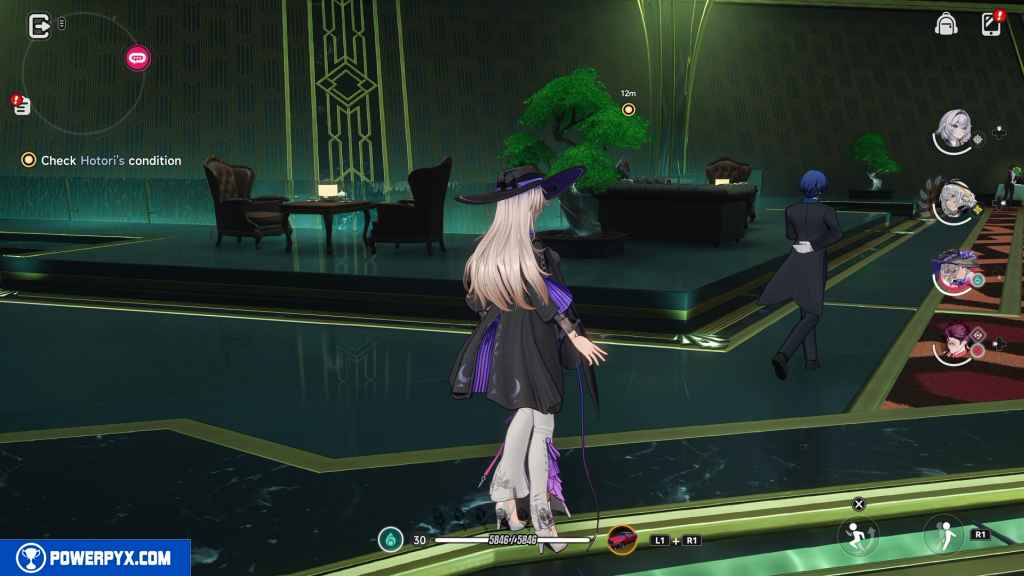
Check Hotori’s condition (Tipsy and Hazy)
Return to the table with Hotori.
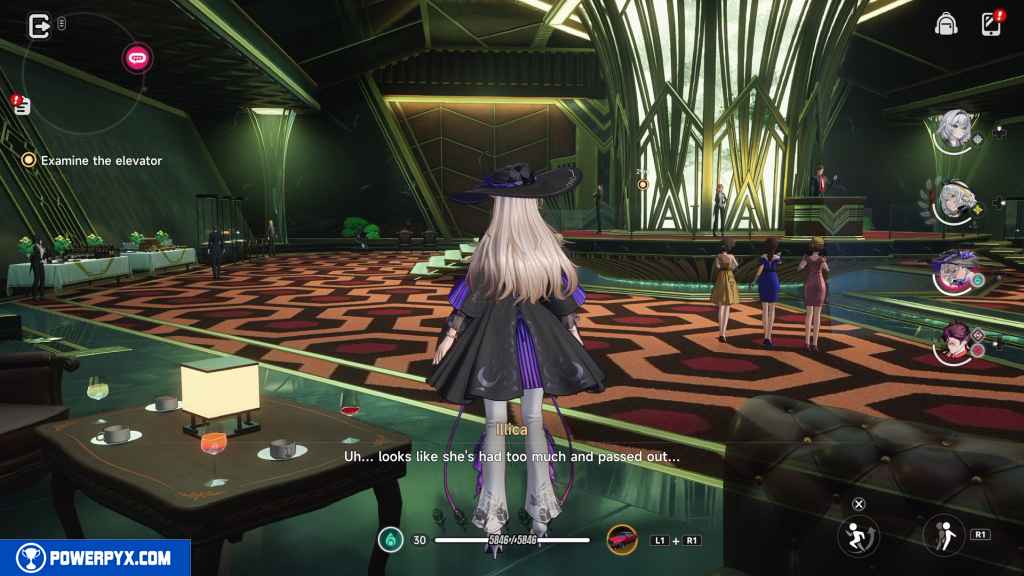
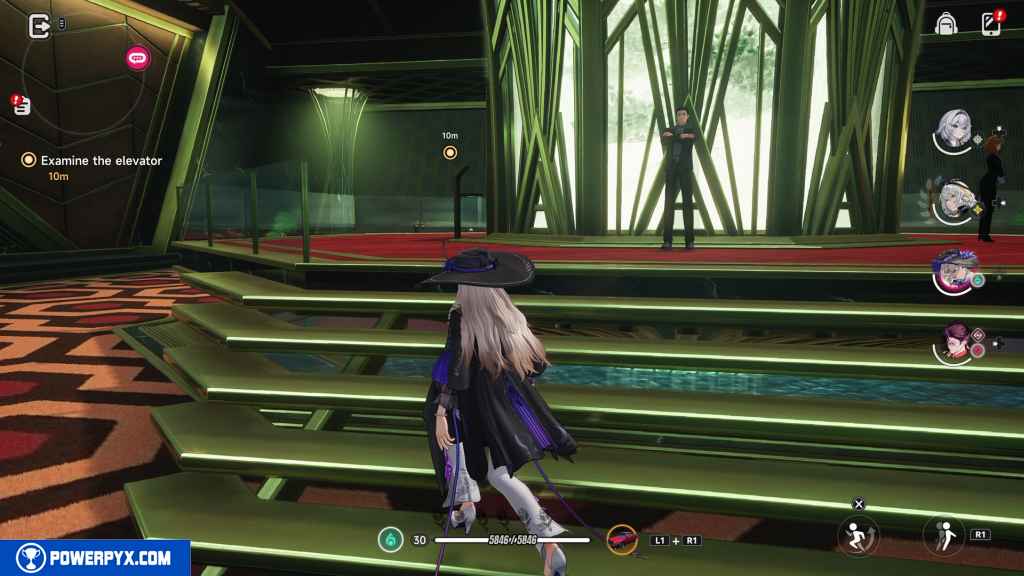
Examine the elevator (Careful Investigation)
Turn around and interact with the elevator in the center of the room.
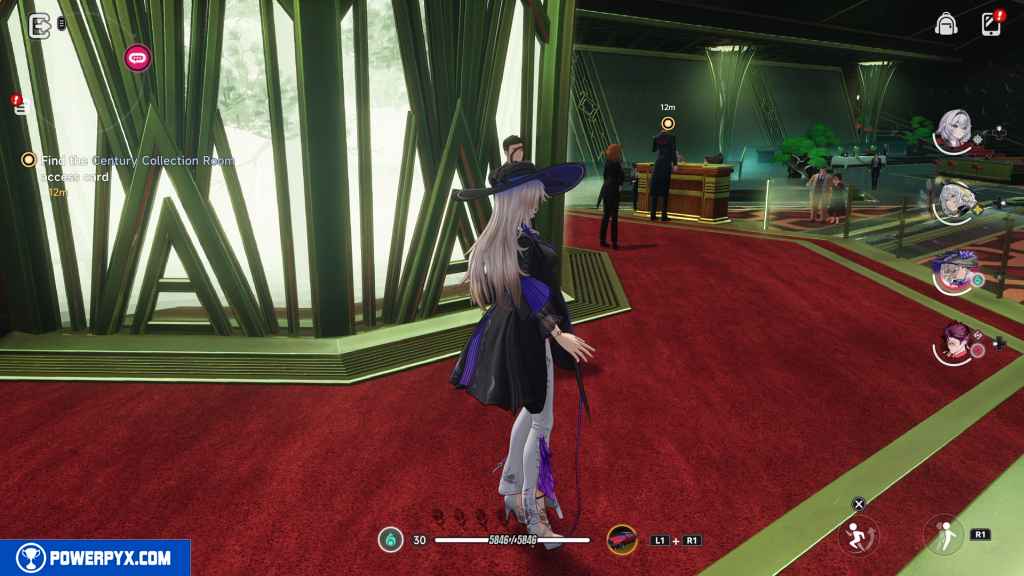
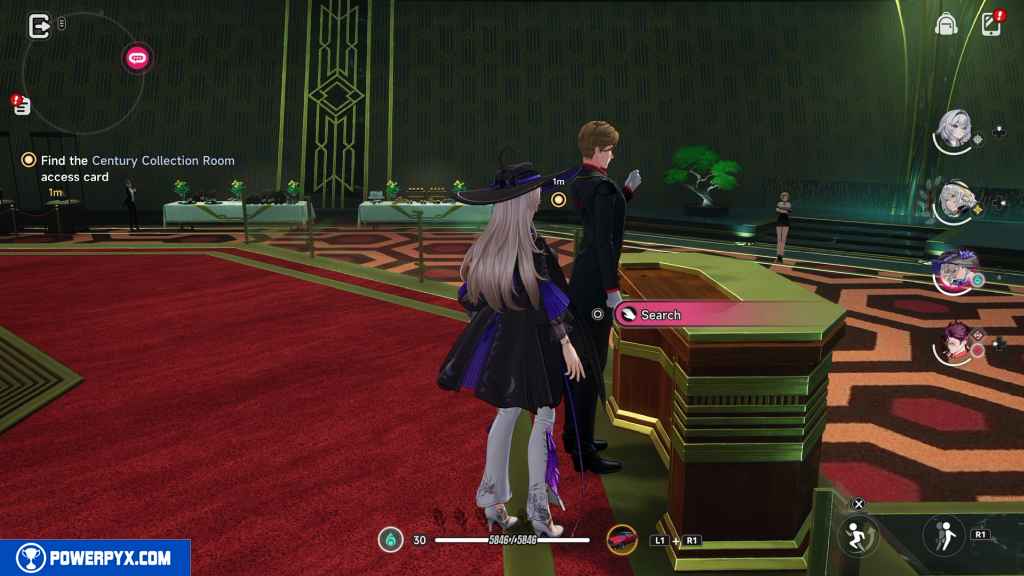
Find the Century Collection Room access card (The Great Access Card Hunt)
Go to the other side of the elevator and interact with the auctioneer standing at the podium. You take the access card from his pocket.
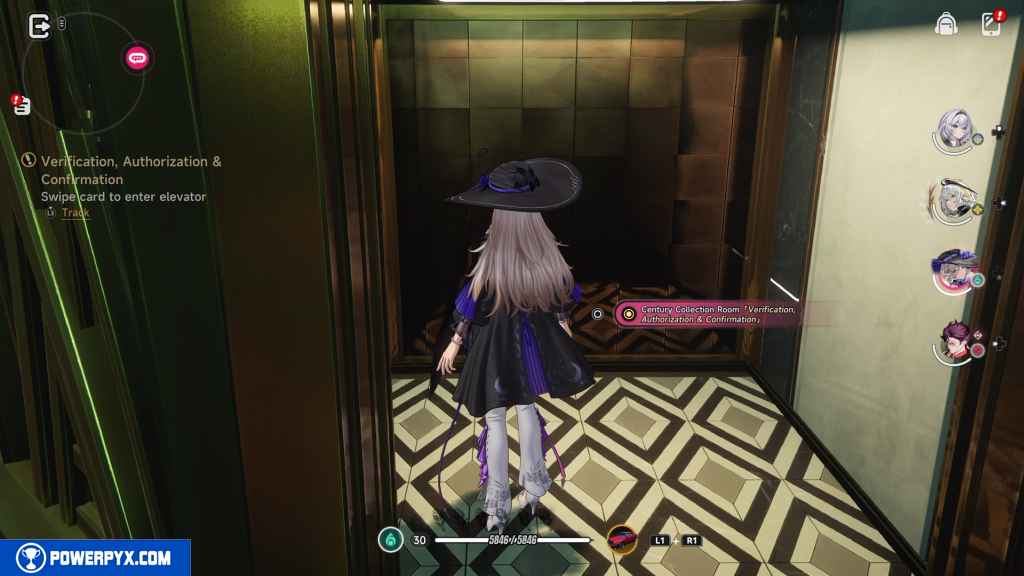
Swipe card to enter elevator (Verification, Authorization & Confirmation)
Go back and interact with the elevator again.
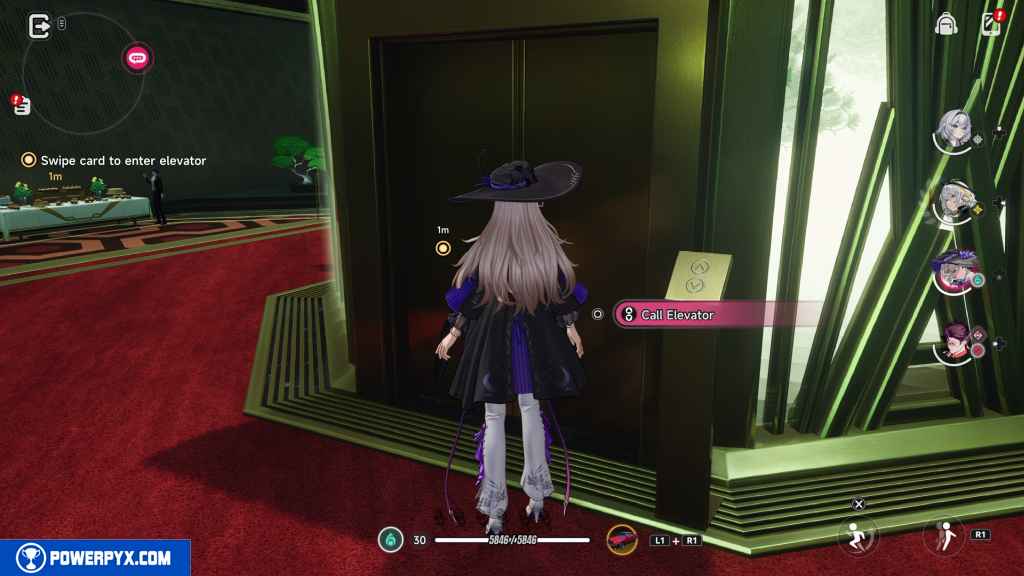
Step inside the elevator and interact with it.
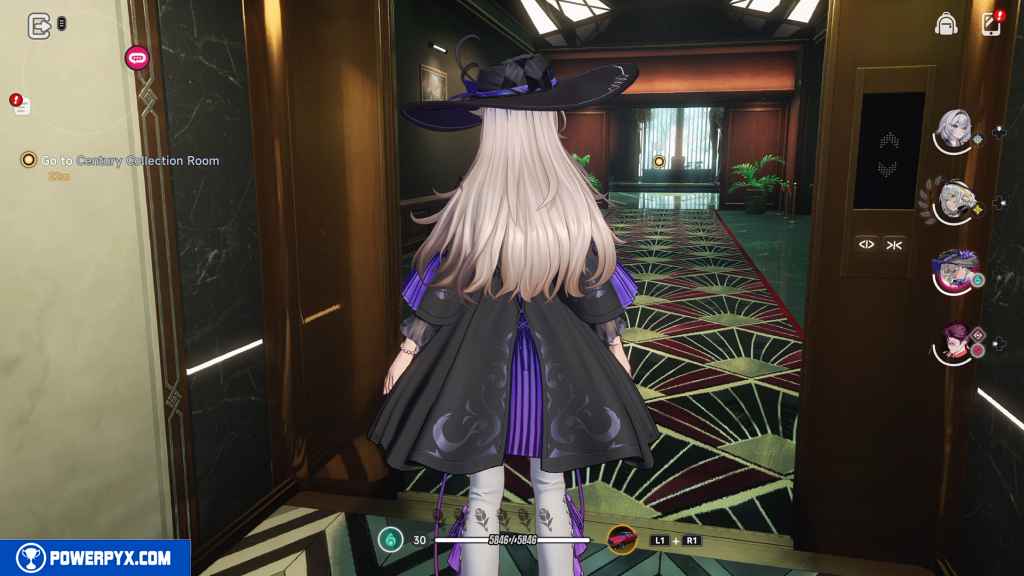
Go to Century Collection Room (The Sealed Truth)
Follow the fancy carpet into the main office.
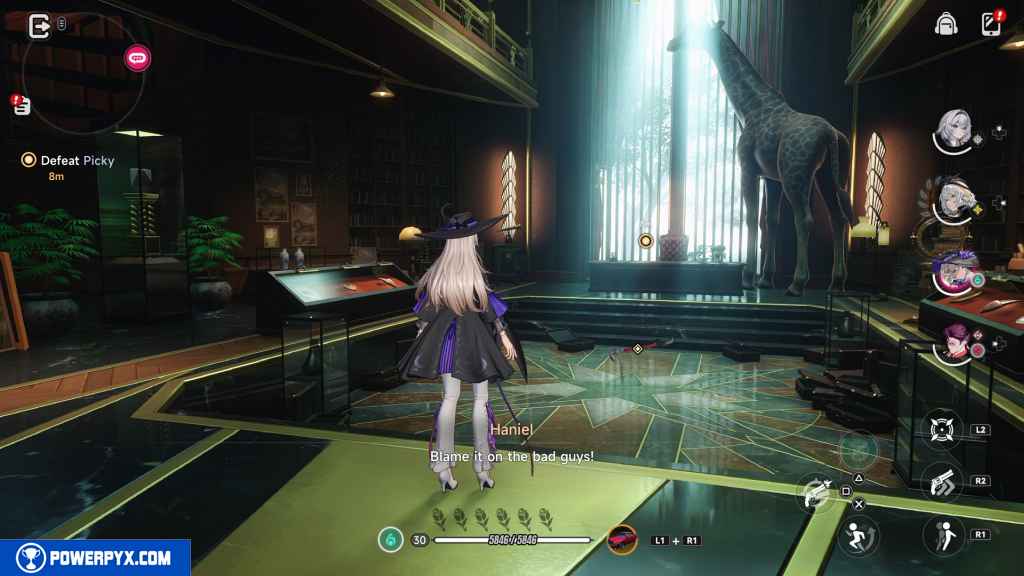
Defeat Picky (Defeat Picky)
Picky is invisible, but his weapon can be seen. He stands in the middle of the office. Press  to lock onto him. Then take him out. He offers little opposition.
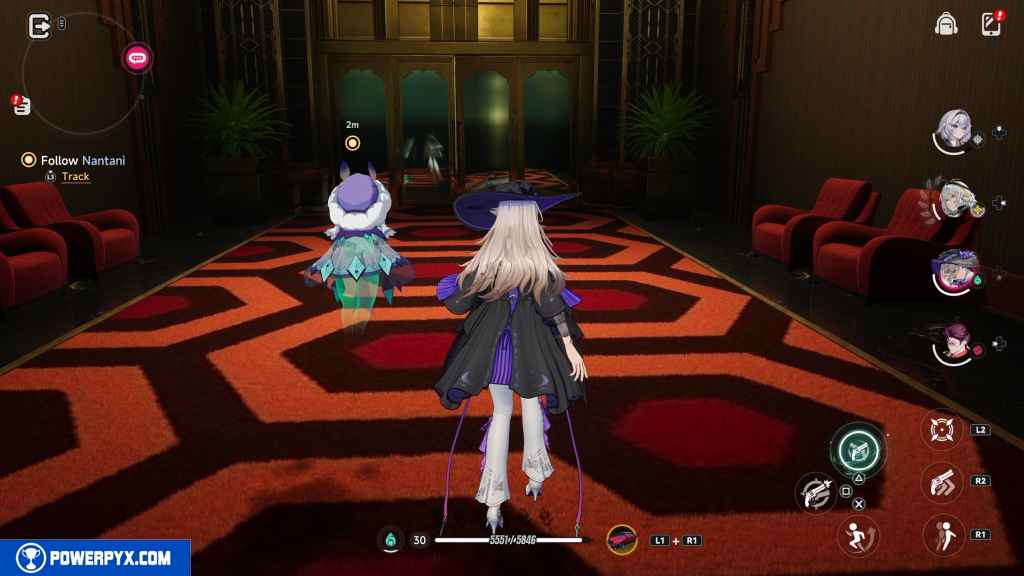
Follow Nantani (Step by Step)
Head back to the elevator.
Once inside, interact with it again to go back to the auction hall.
Go to B2 – Ebisu Auction House (A Moment Between Floors)
Wait until the elevator makes it to the auction hall.
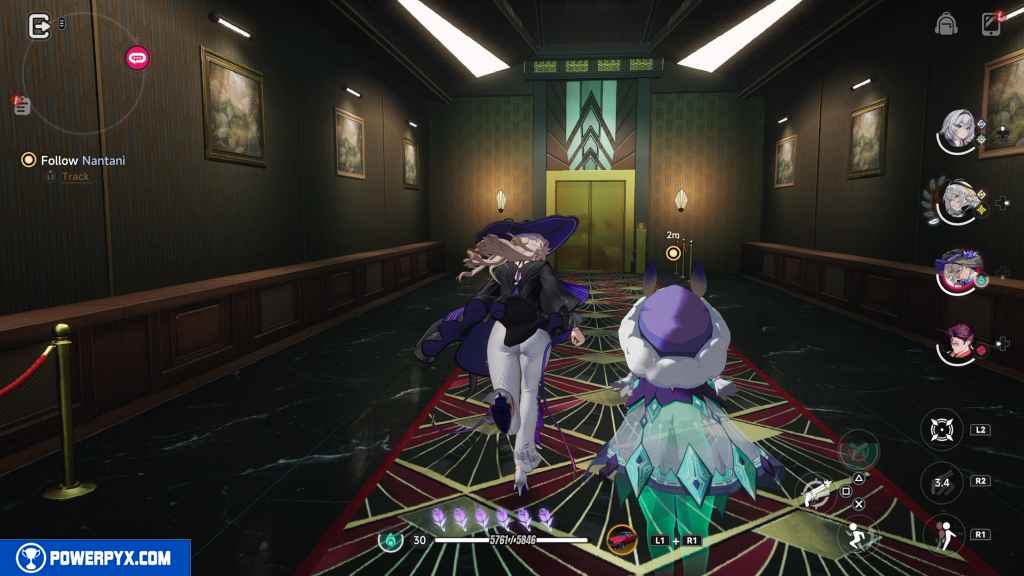
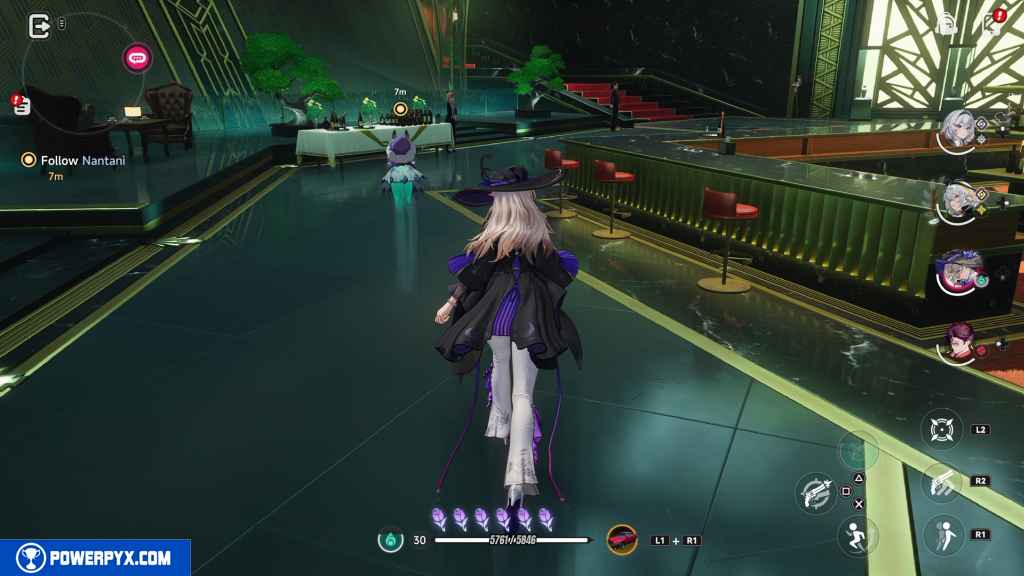
Follow Nantani (Following Along)
Nantani ultimately leads you to the exit to the building. You can run ahead if you wish.
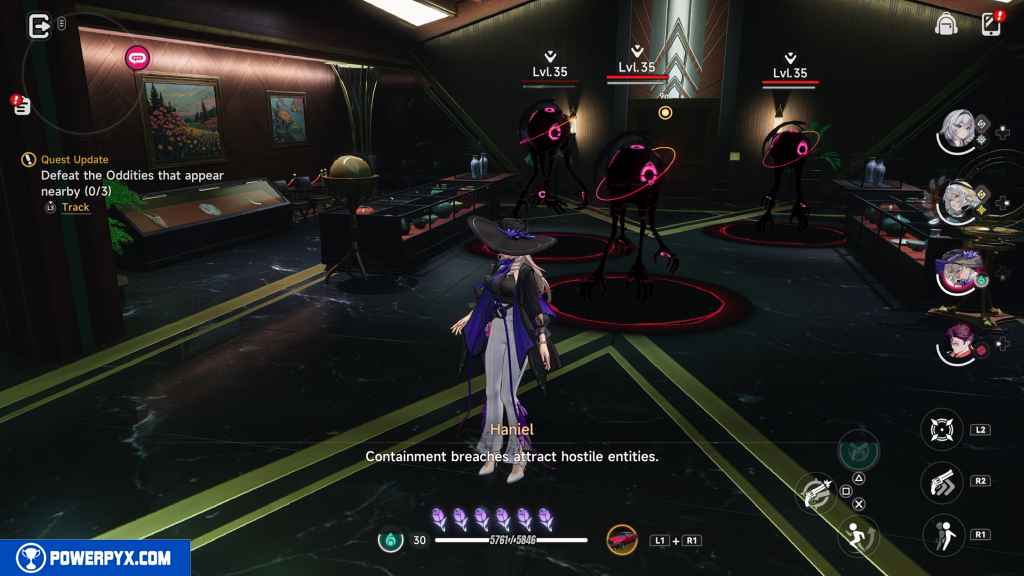
Defeat the Oddities that appear nearby (3) (Daily Emergency Response)
Three level 35 Oddities appear. Take them out.
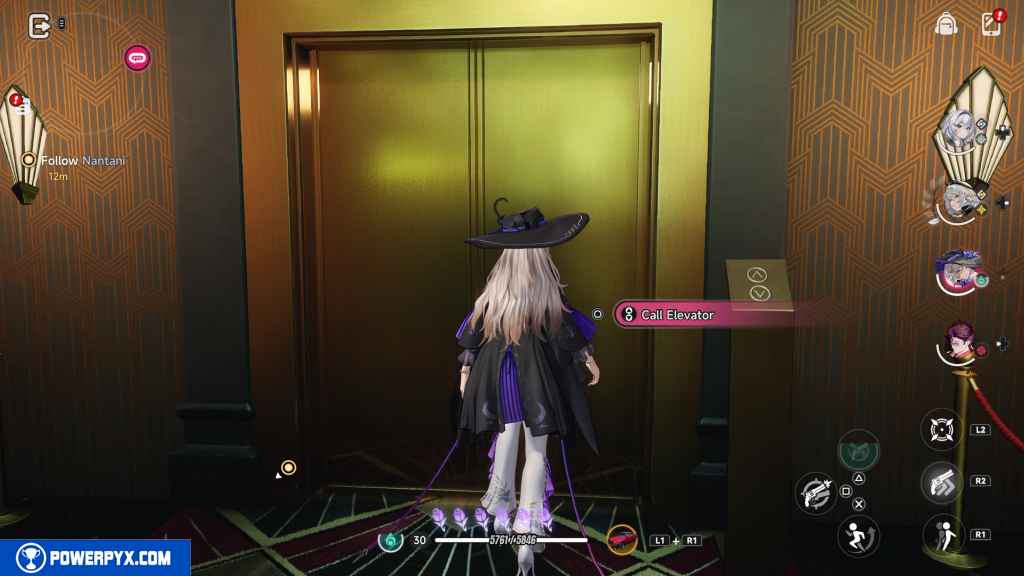
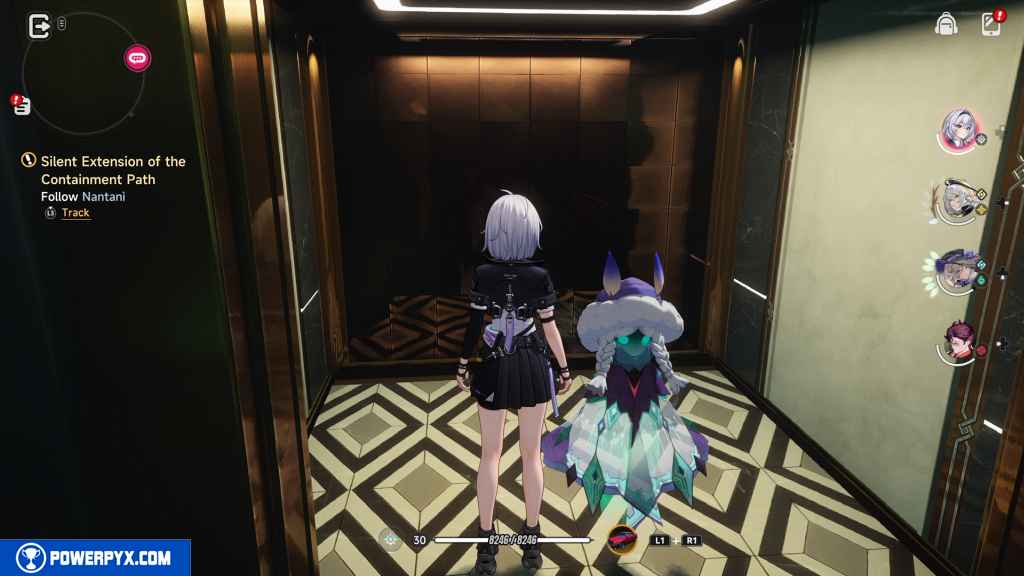
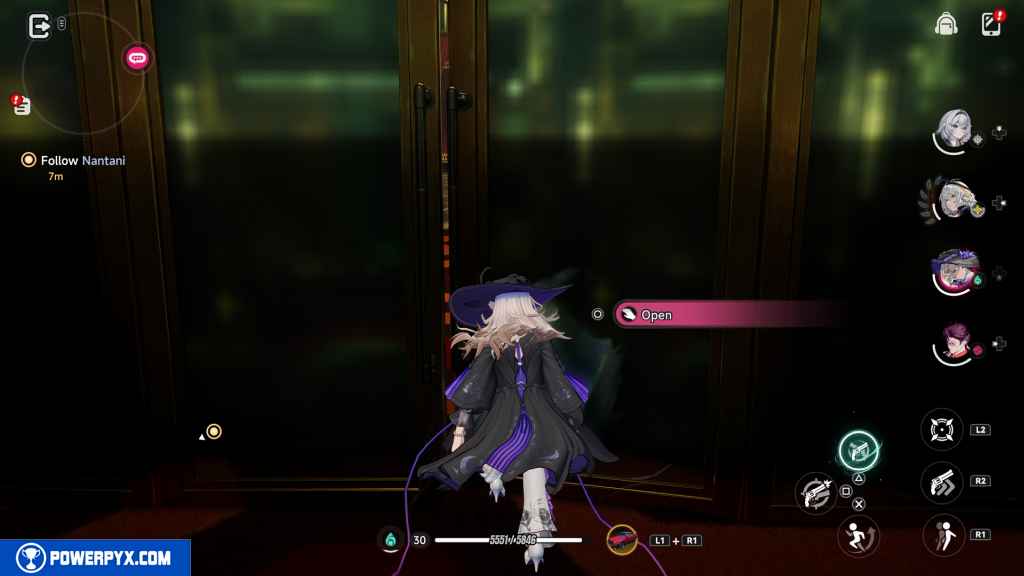
Follow Nantani (Silent Extension of the Containment Path)
Hop into the elevator with Nantani.
Ride the elevator to 1L-VIP Reception (With a Gentle Touch, the Space Closes)
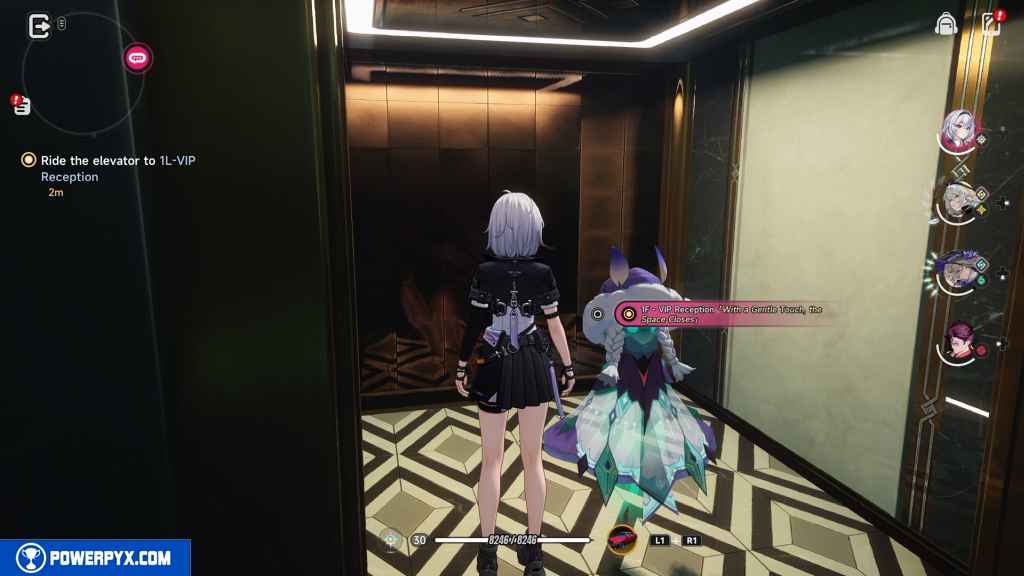
Interact with the elevator to continue.
Talk to people (Words Intertwining in Cramped Space)
Just wait until the elevator opens.
Follow Nantani (Domain on the Verge of Collapse)
Step out of the elevator into the new area.
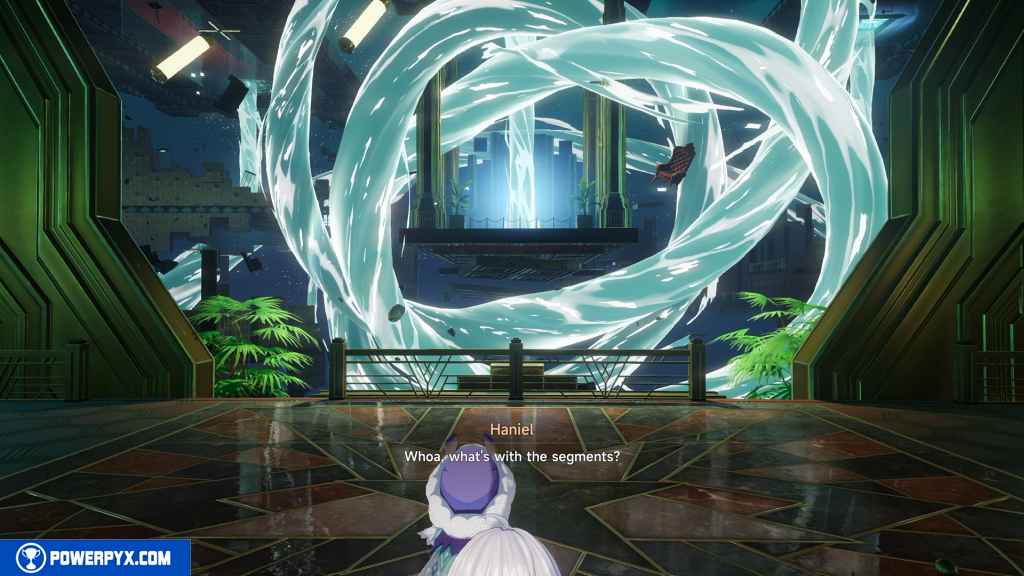
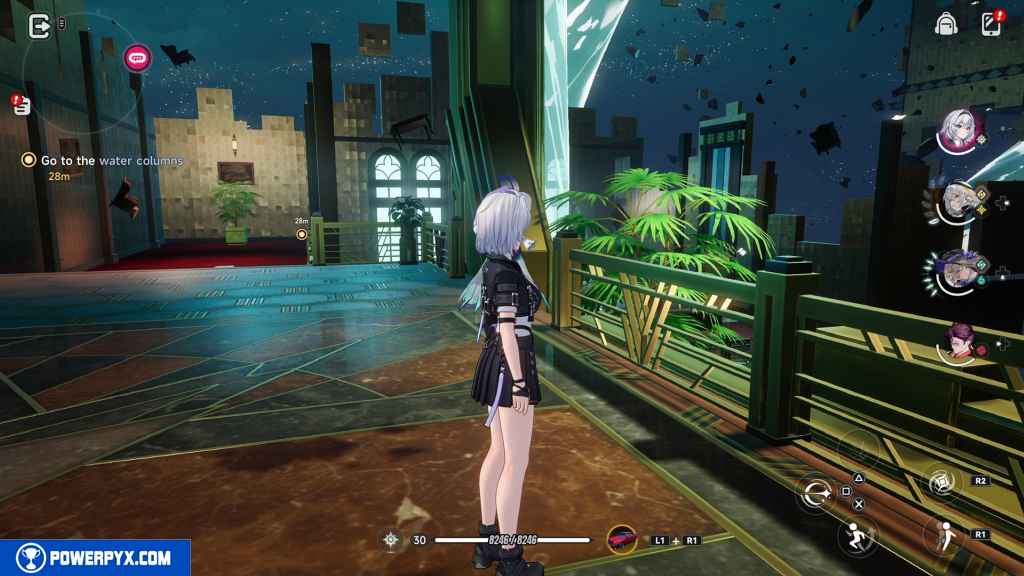
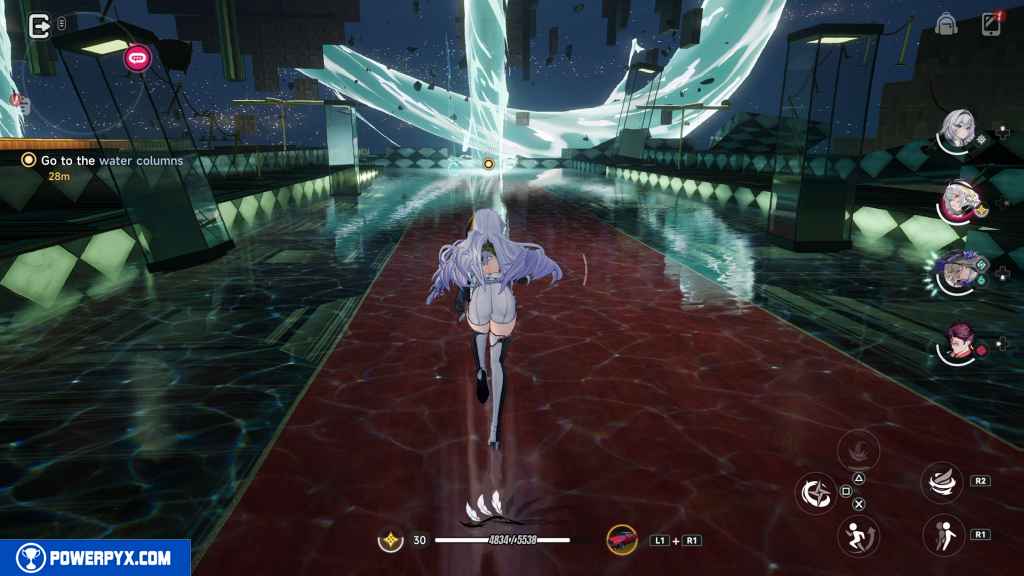
Go to the water columns (Next Stop, the Water Columns!)
Head left down the stairs to continue.
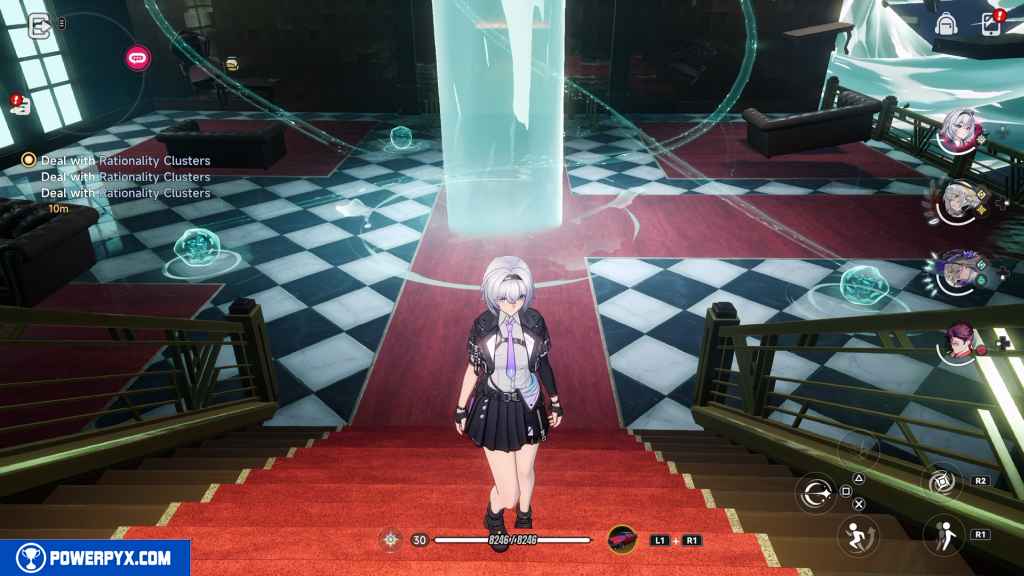
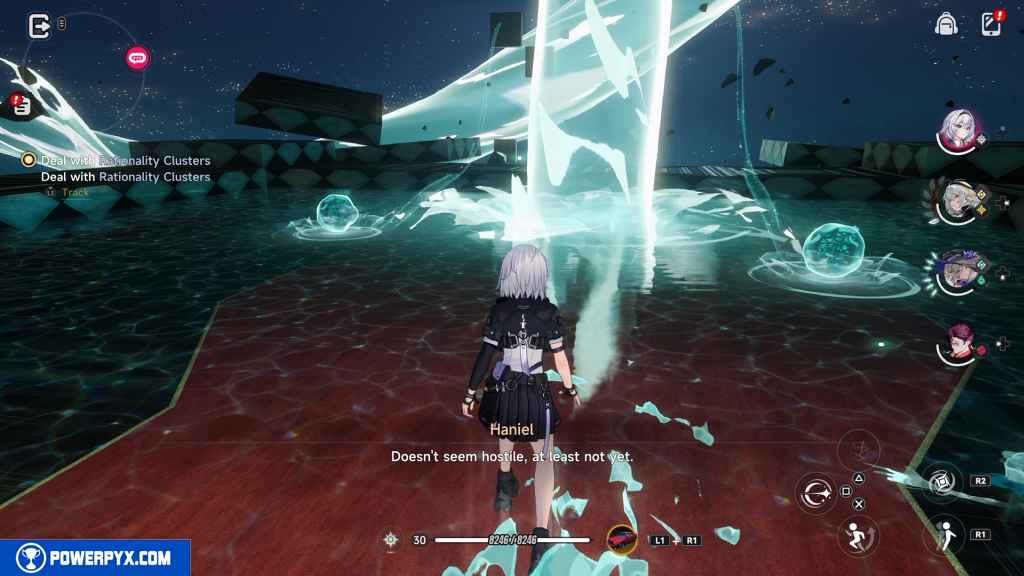
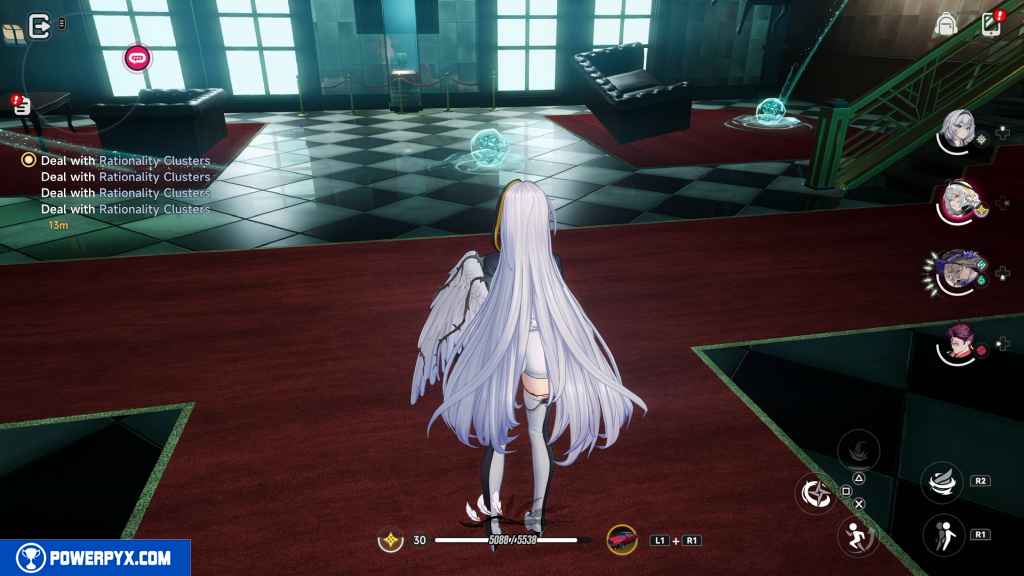
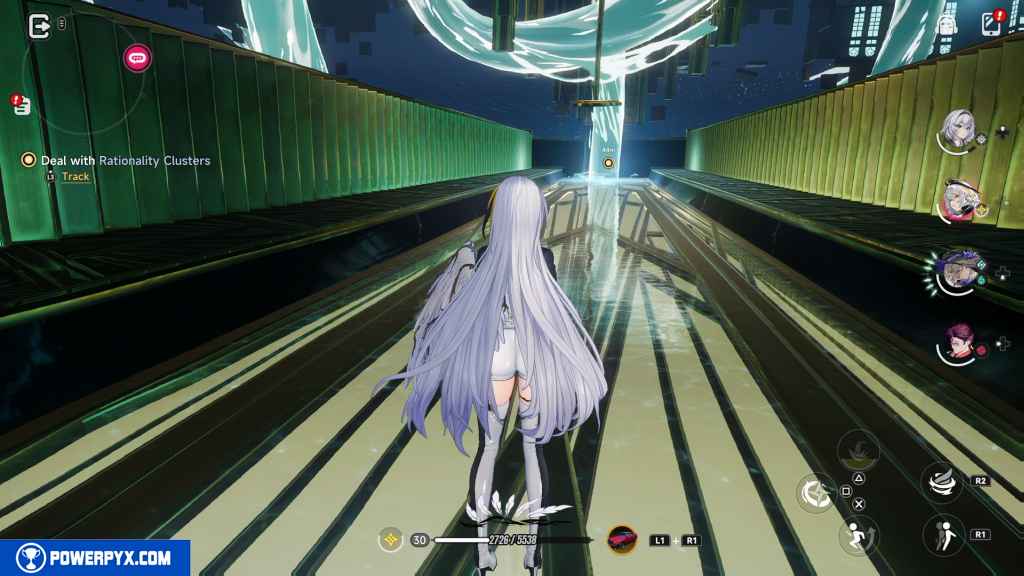
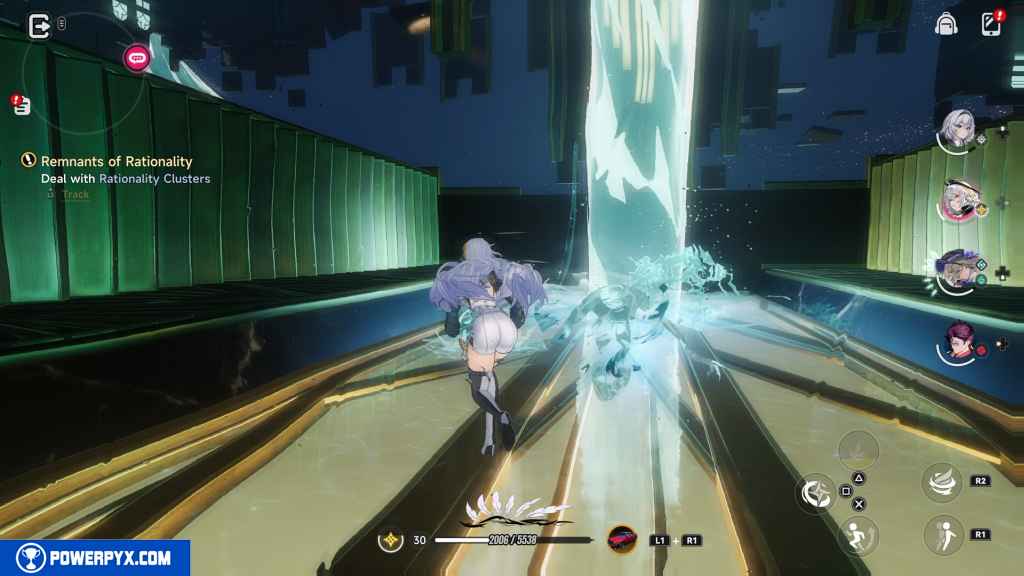
Deal with the Rationality Clusters (3) (Remnants of Rationality)
In front of you are three bubble-looking things around the water column. Destroy them.
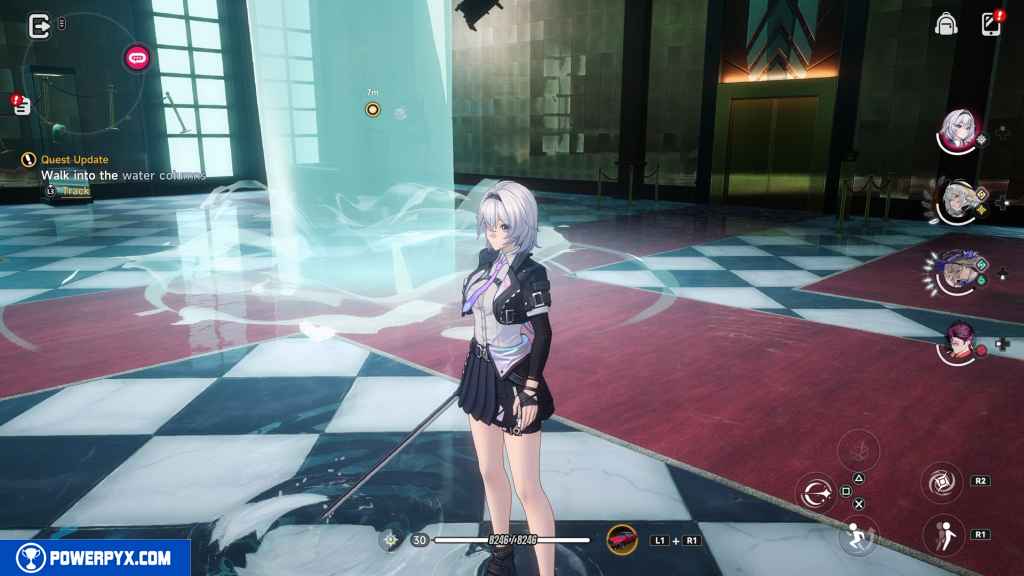
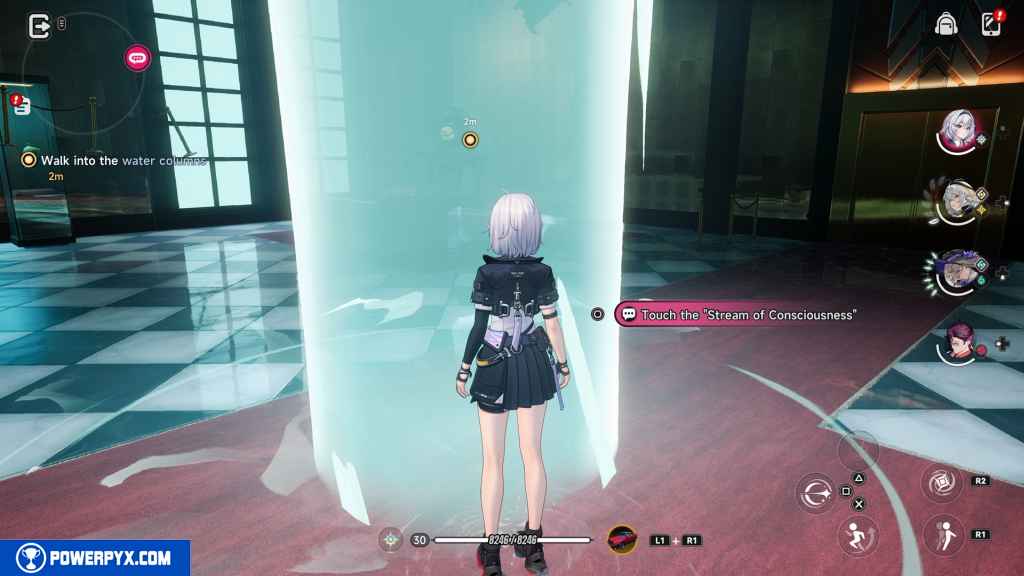
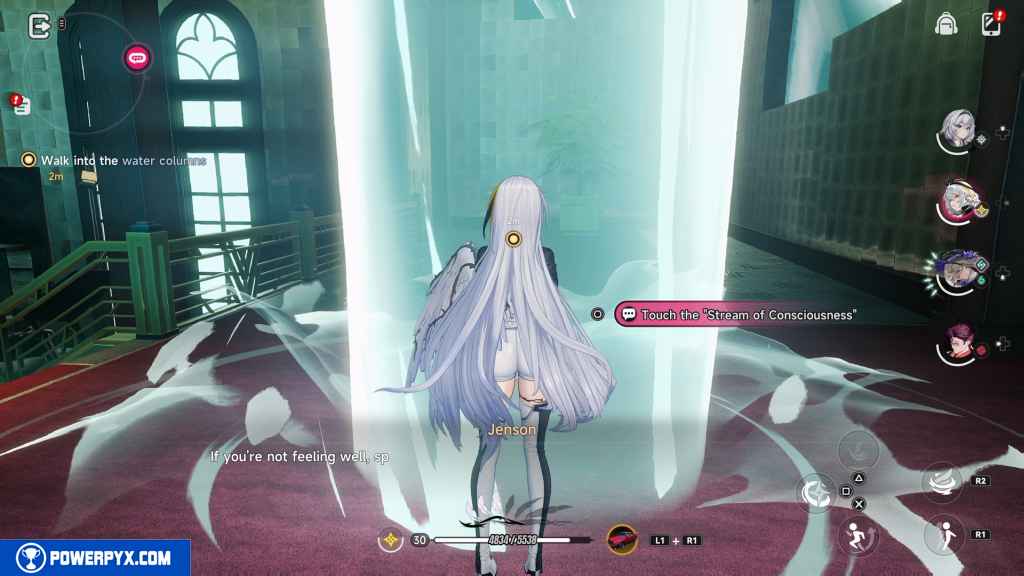
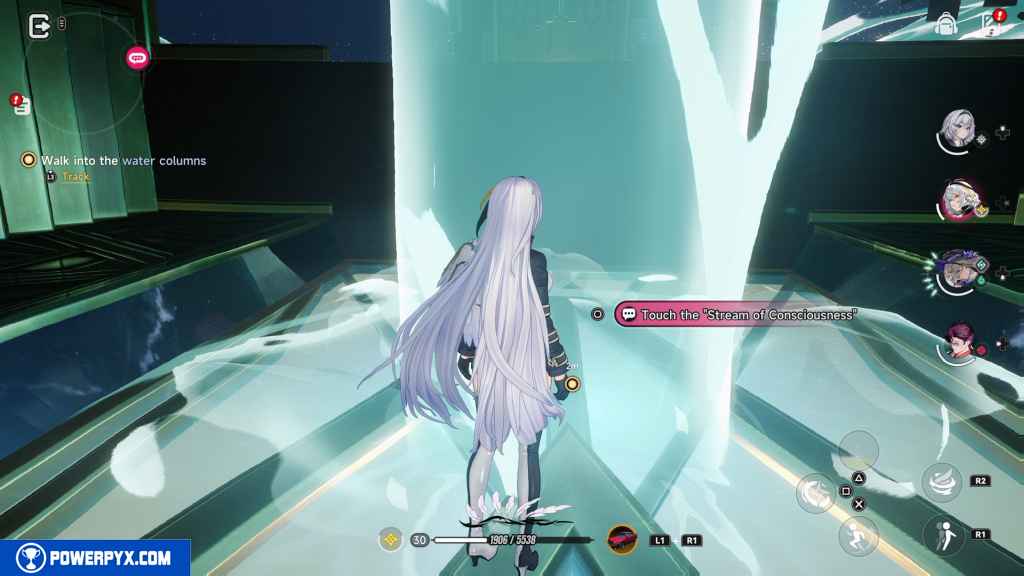
Walk into the water columns (Into Waters)
Interact with the water column. Note that you need to be inside the actual column for your interaction to work.
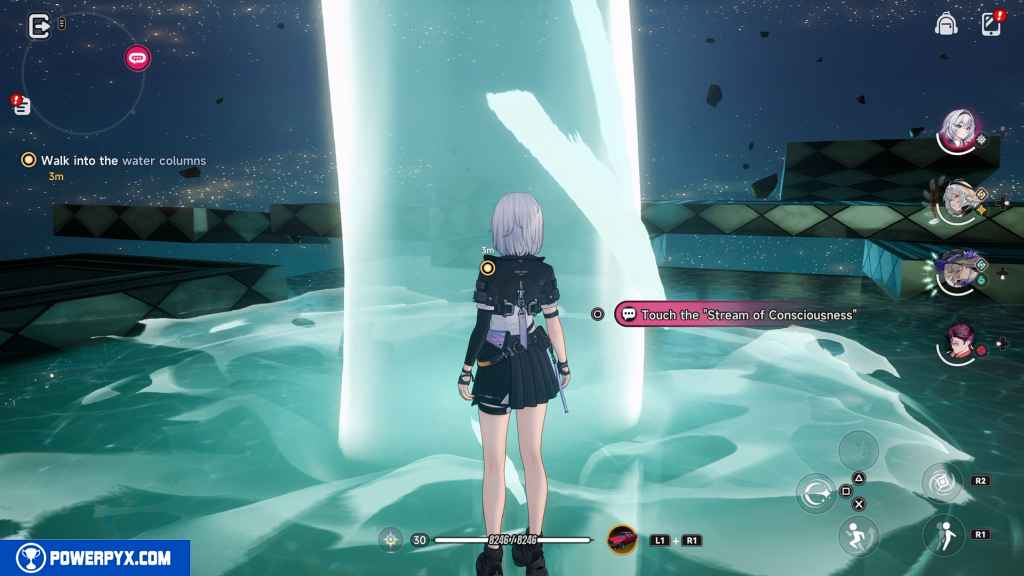
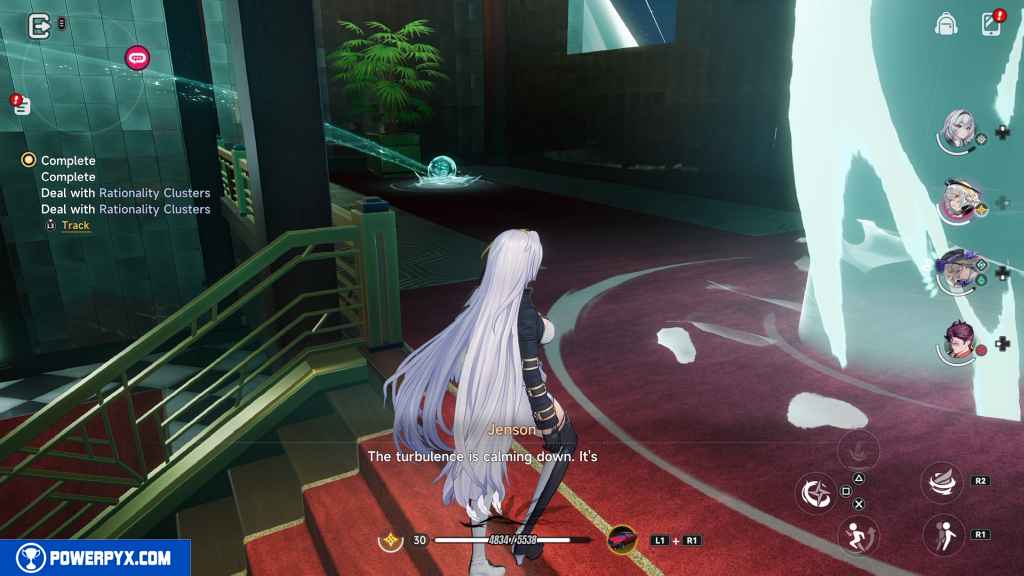
Go to the water columns (Follow the Lights and Shadows)
Follow the linear path to the water column. Destroy the two Rationality Clusters by the water column.

Walk into the water columns (Into Waters)
Interact with the water column to progress.
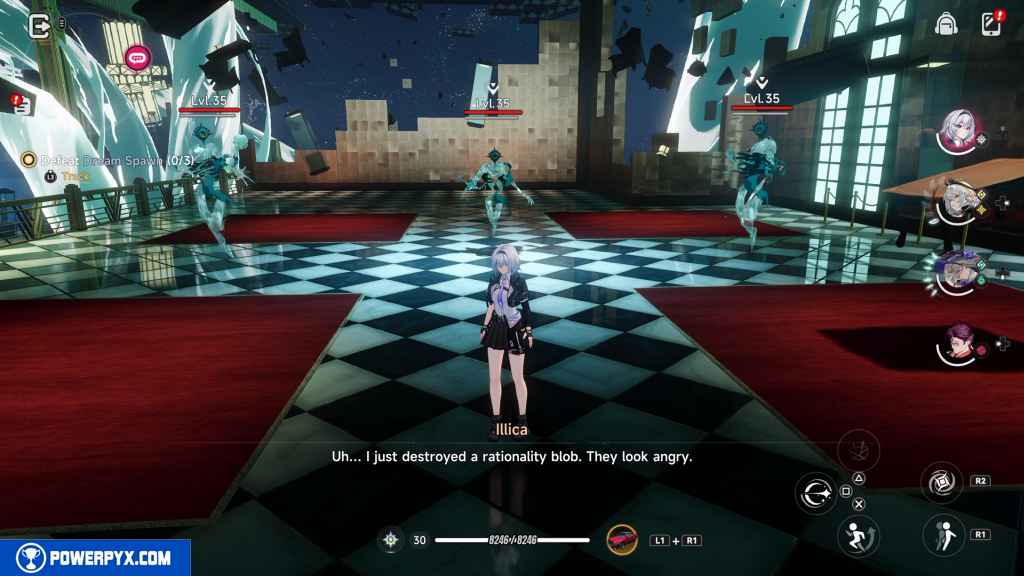
Defeat Dream Spawn (3) (Purify the Lost Seekers of Knowledge)
Three level 35 Dream Spawn appear. Watch out for their water column attacks and take them out.
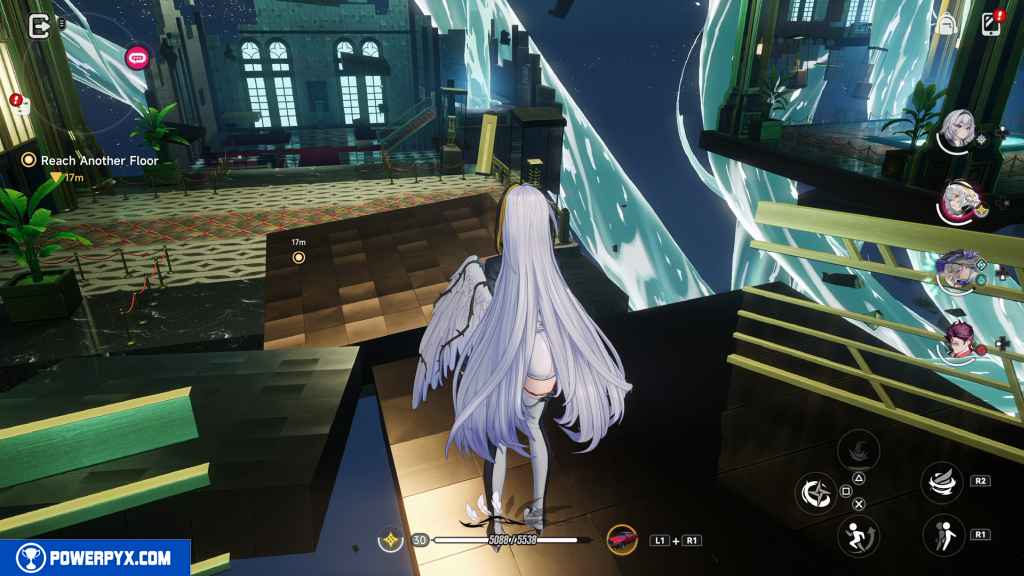
Cross the Broken Platforms (Jump Across! Hop, Hop, Hop!)
Destroy the Rationality Cluster by the gold railing.
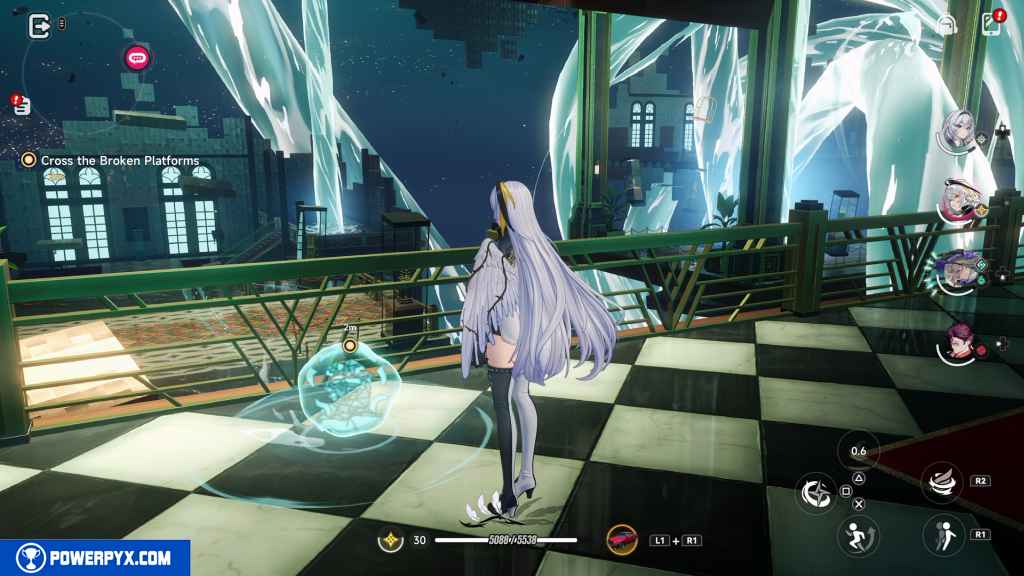
Then, jump across the gap using the blocks in front of you. You cannot float in this area.
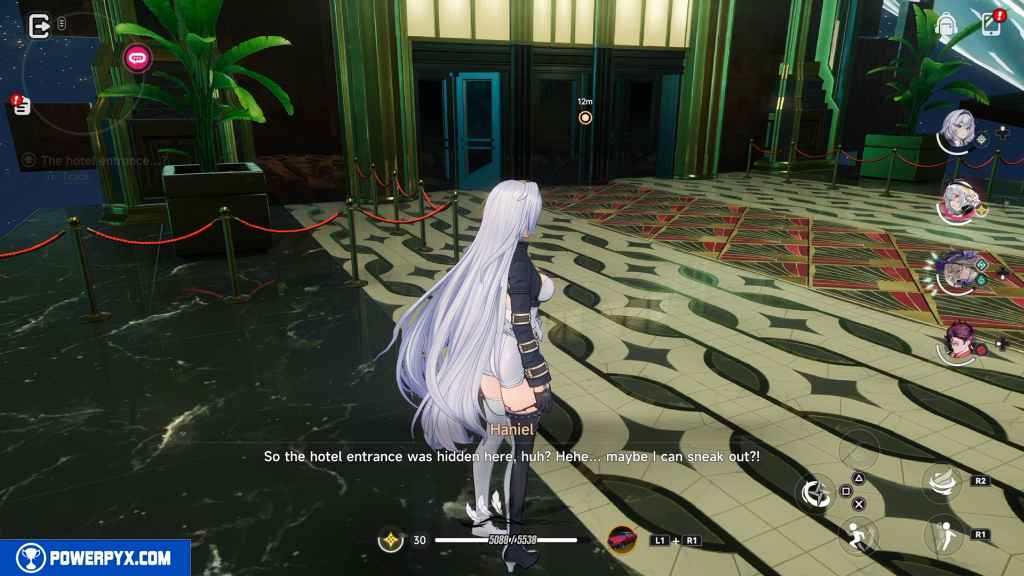
The hotel entrance…? (A New Escape Plan…?)
Approach the “entrance” to your left.
The escape plan failed… (The Escape Plan Fell Through…)
Wait a few moments for the objective to change.
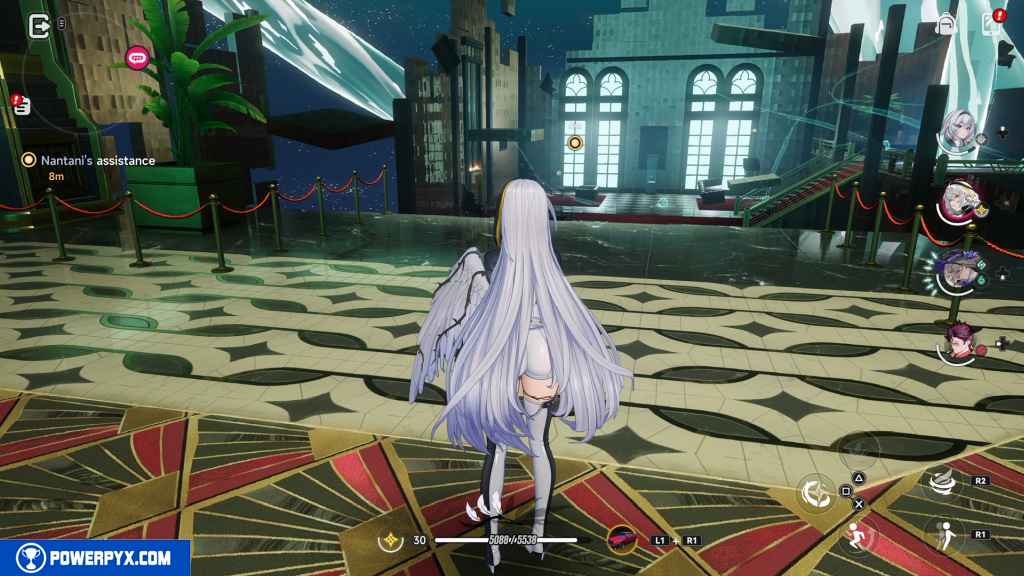
Nantani’s assistance (Mutual Assistance)
Approach the gap to your left. Wait until the setting shifts.
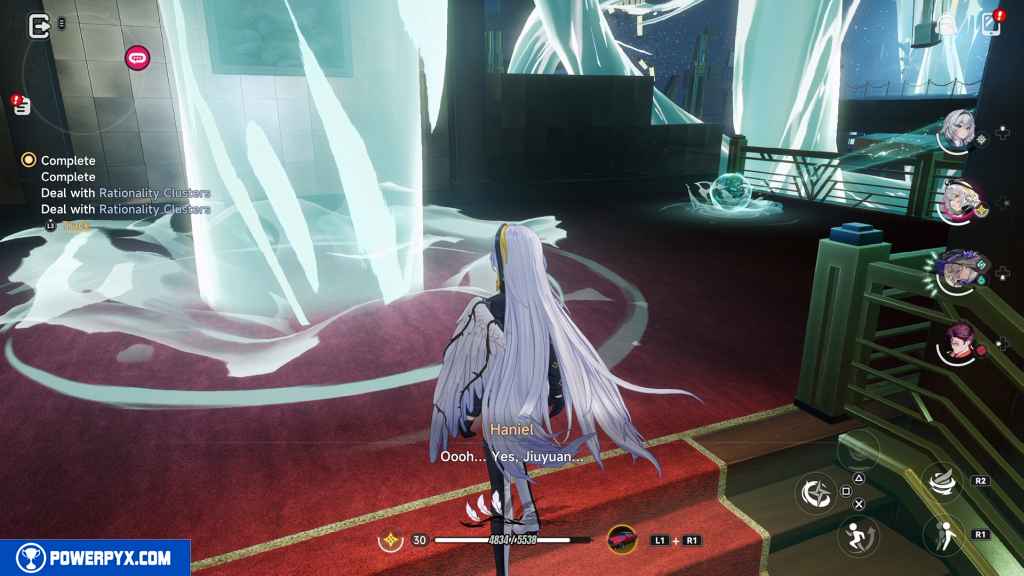
Deal with Rationality Clusters (4) (Remnants of Rationality)
Right away, there are two clusters in front of you. Destroy them, then head up the stairs to your right.
At the top of the stairs, destroy the clusters to the left and right of the column.
Walk into the water columns (Into Waters)
Interact with the column.
Go to the water columns (Remnants of Rationality)
Head straight forward and destroy the one cluster in front of the column.
Walk into the water columns (Into Waters)
Interact with the water column.
Deal with Rationality Clusters (5) (Remnants of Rationality)
In the next area, you also face 3 level 35 Dream Spawns. You can either defeat them then destroy the clusters or just destroy the clusters right away.

Walk into the water columns (Into Waters)
Interact with the water column.
Deal with Rationality Clusters (Remnants of Rationality)
Go forward and destroy the cluster in front of the column. Some spawns will fly at you and do minimal damage. These hits cannot be avoided.
Walk into the water columns (Into Waters)
Interact with the water column for the final time.
Follow Nantani (Trace the Anomaly’s Shifting Patterns)
Follow Nantani to a new elevator to the left.
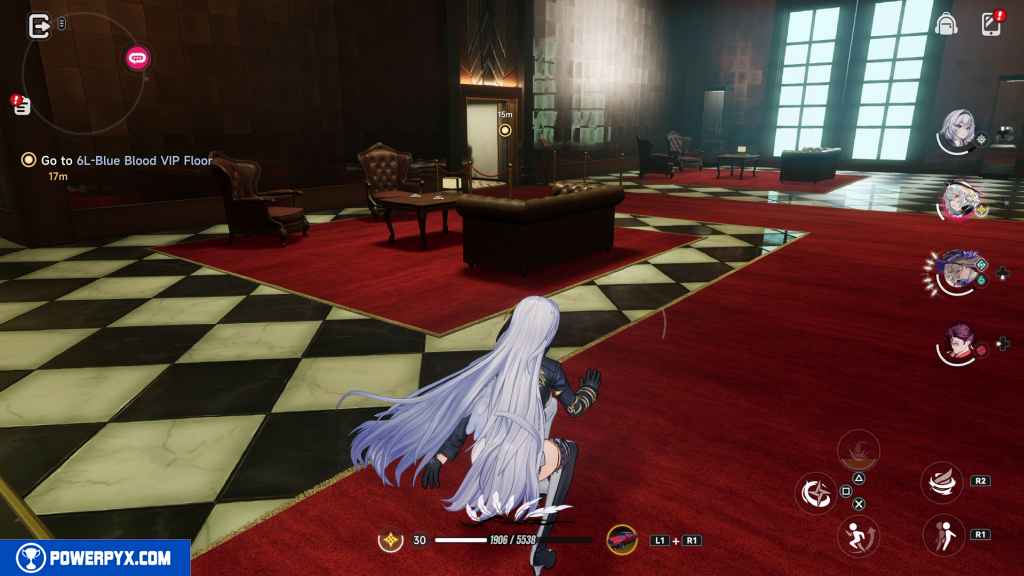
Go to 6L-Blue Blood VIP Floor (Ascend to Unknown Heights)
Step into the elevator and interact with it.
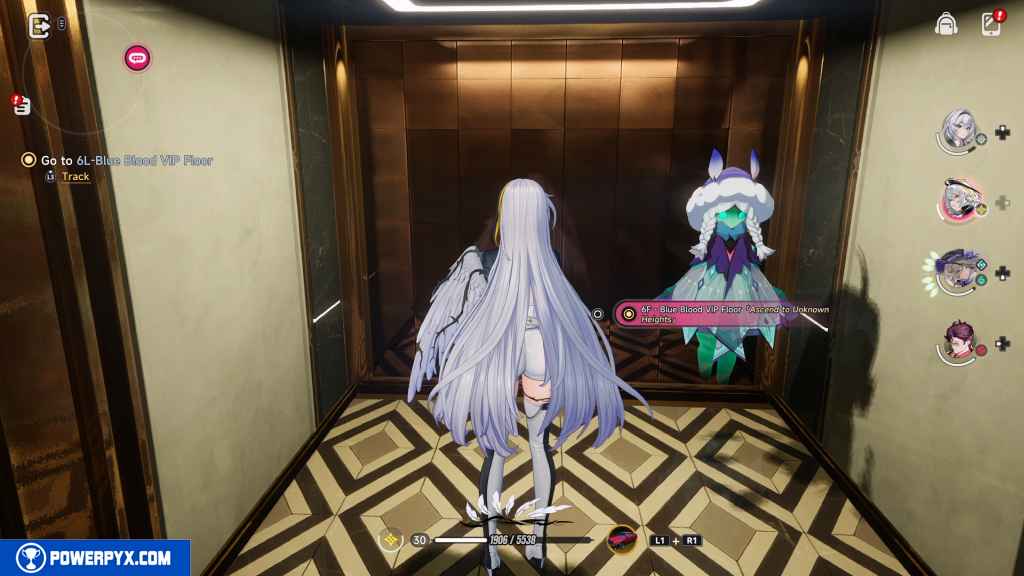
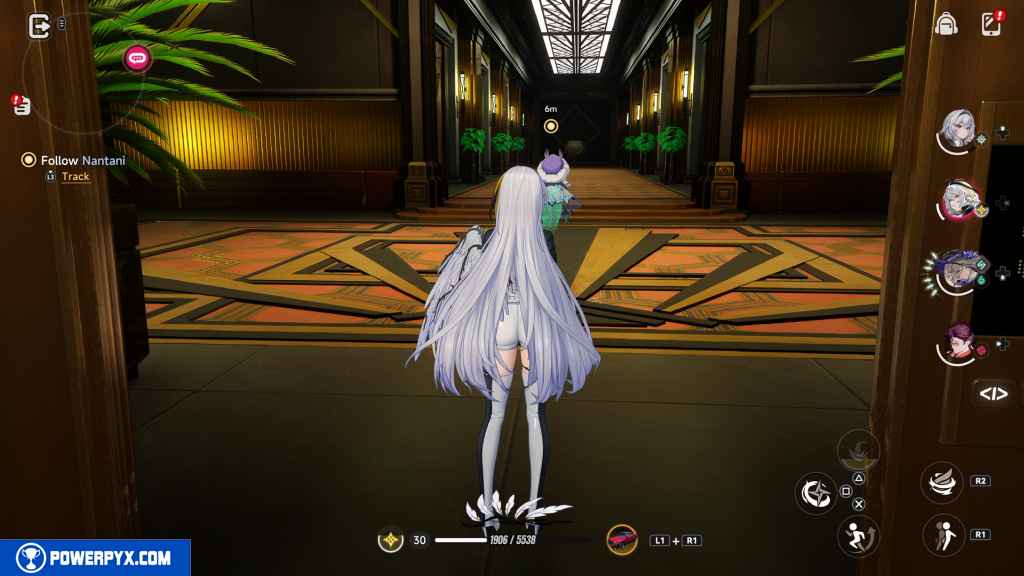
Follow Nantani (The Lights Are Out!)
Run straight into the next area for a cutscene to trigger.
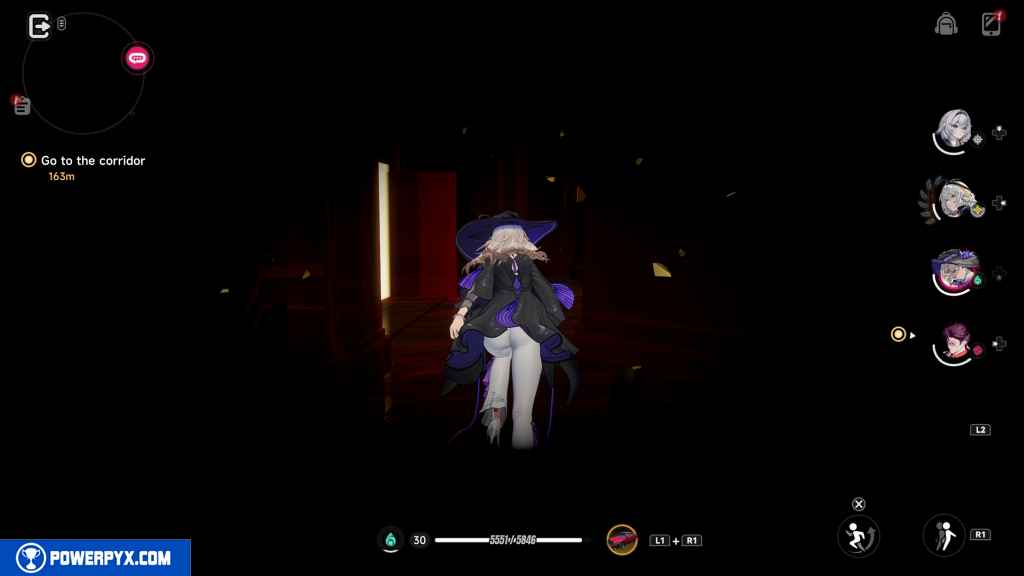
Go to the corridor (The Lights Are Out!)
Run straight down the corridor.
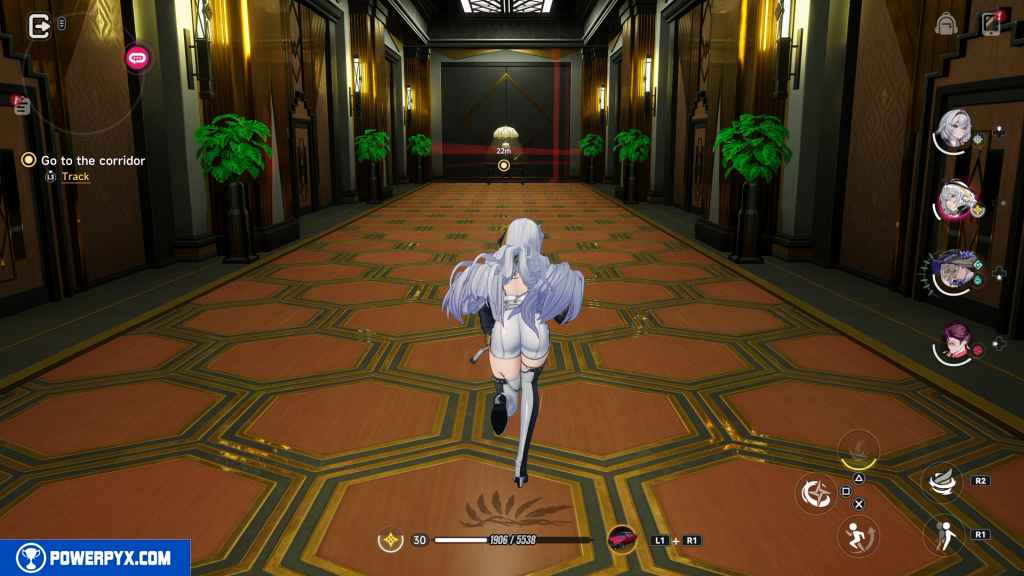
Find the Nexus (Escape the Chaos Behind You)
Just keep running straight until the scene changes again.
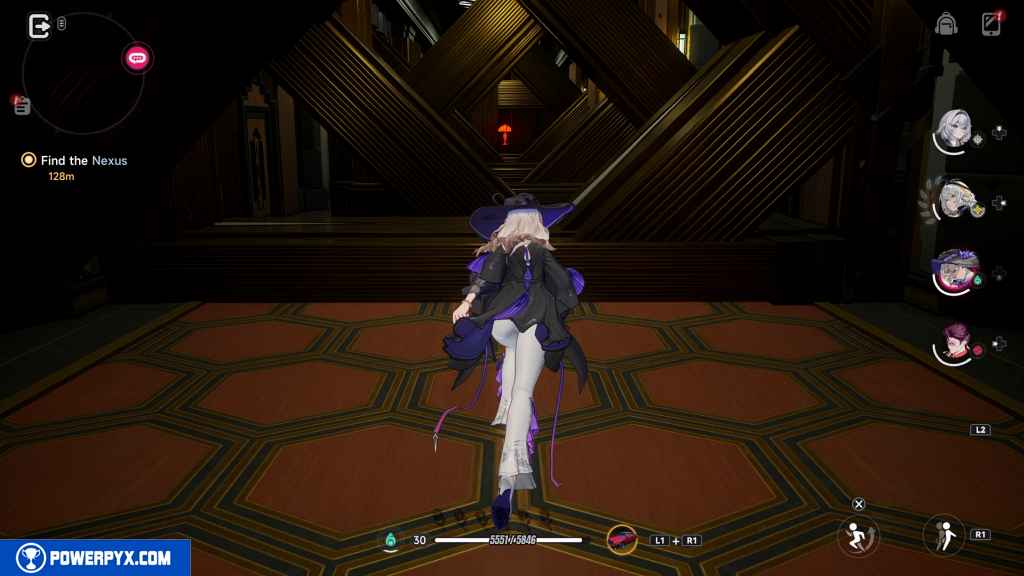
Go to the corridor (The Lights Are Out!)
Run down the corridor, dodging the obstacles that appear in your path.
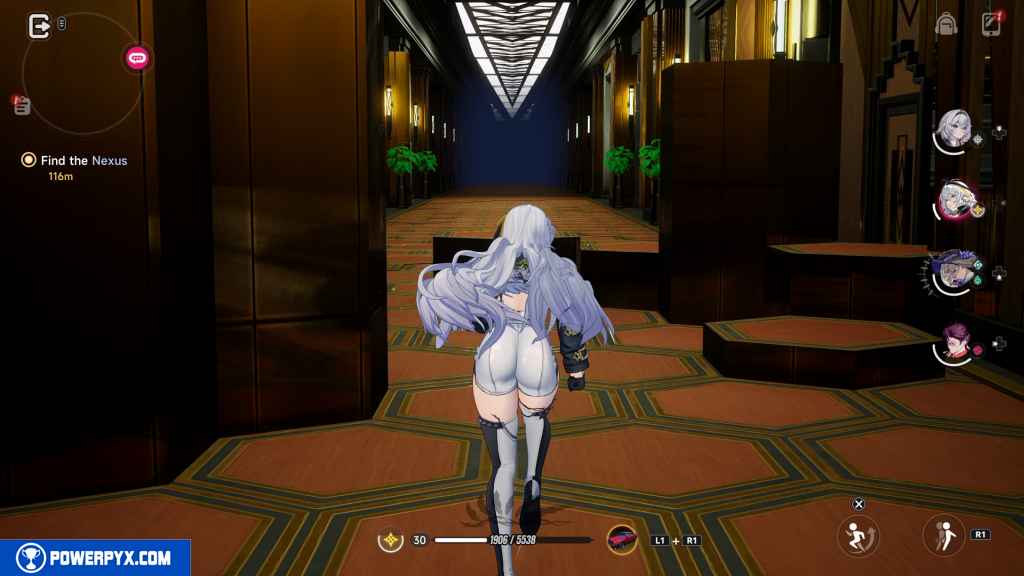
Soon, a door opens to your right. Go through it.

Continue straight through a couple different phases until you hit a loading screen.
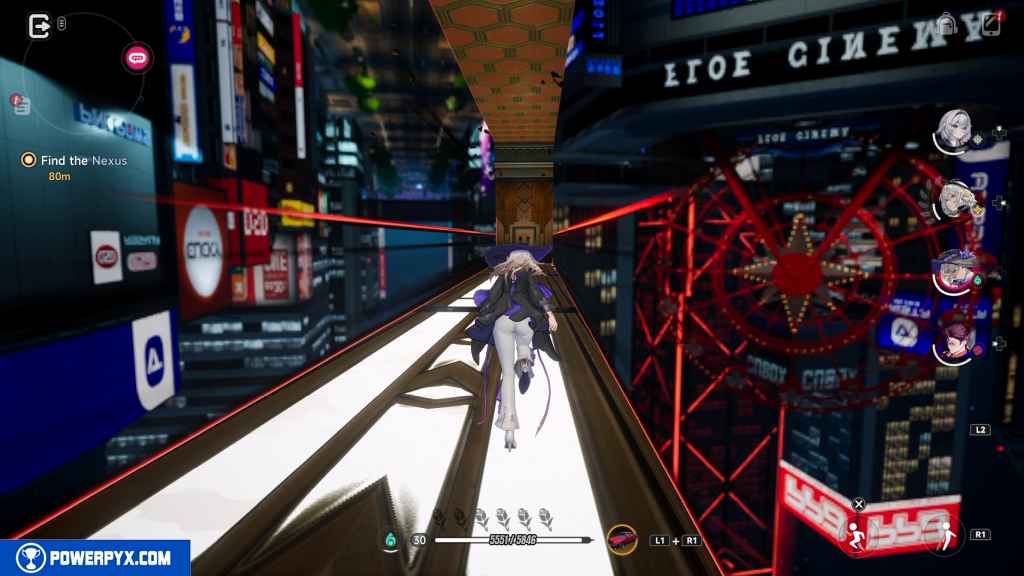
Do it all over again. However, after you cross the bridge overlooking the cityscape, you find a door to your left this time.
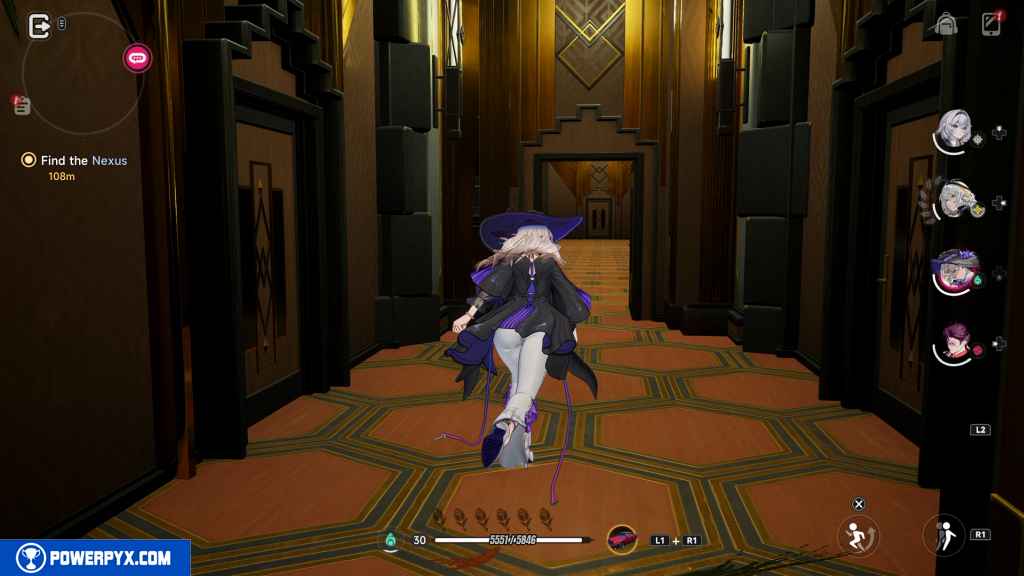
Third time’s the charm. Follow the same path, going through the left door you found on your previous run.

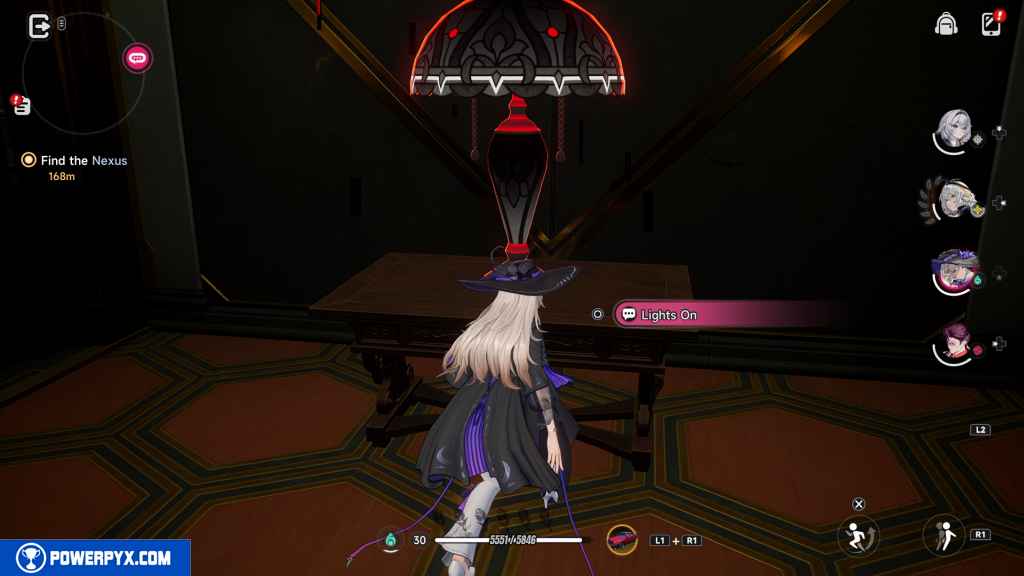
Continue forward as the space shifts until you finally manage to reach the lamp. Interact with it.
Follow Nantani (Journey Between Floors)
Head forward to the new elevator.
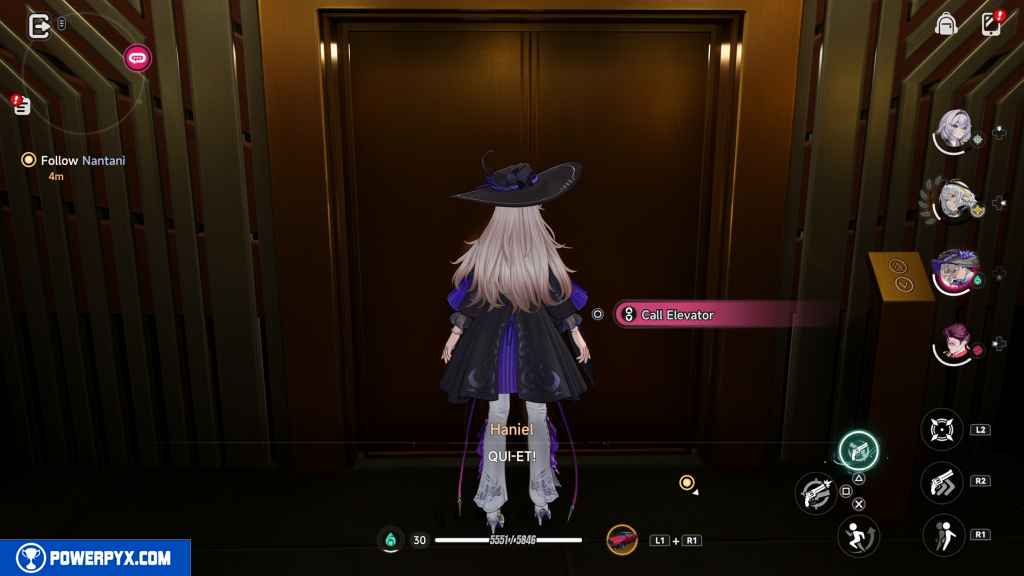
Go to 20L-Splending Banquet Hall (Waiting Woven with Words)
Interact with the elevator.
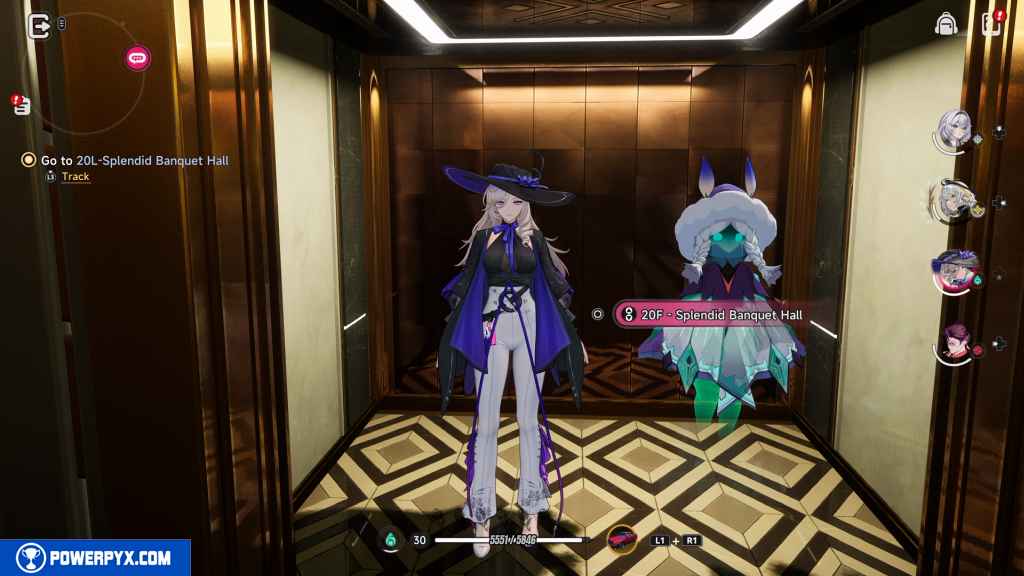
Follow Nantani (Banquet’s Prelude)
Interact with the doors ahead of you.
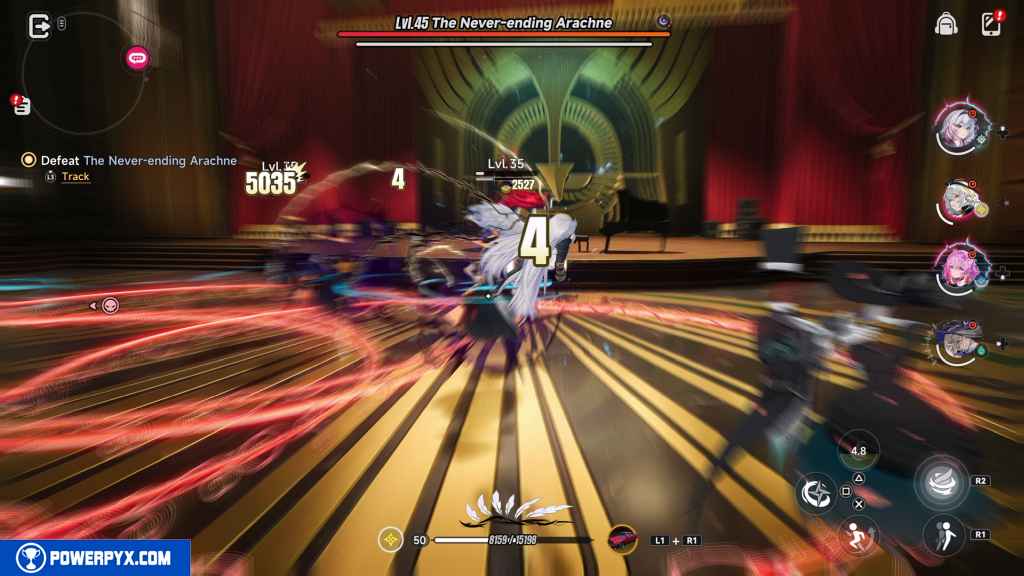
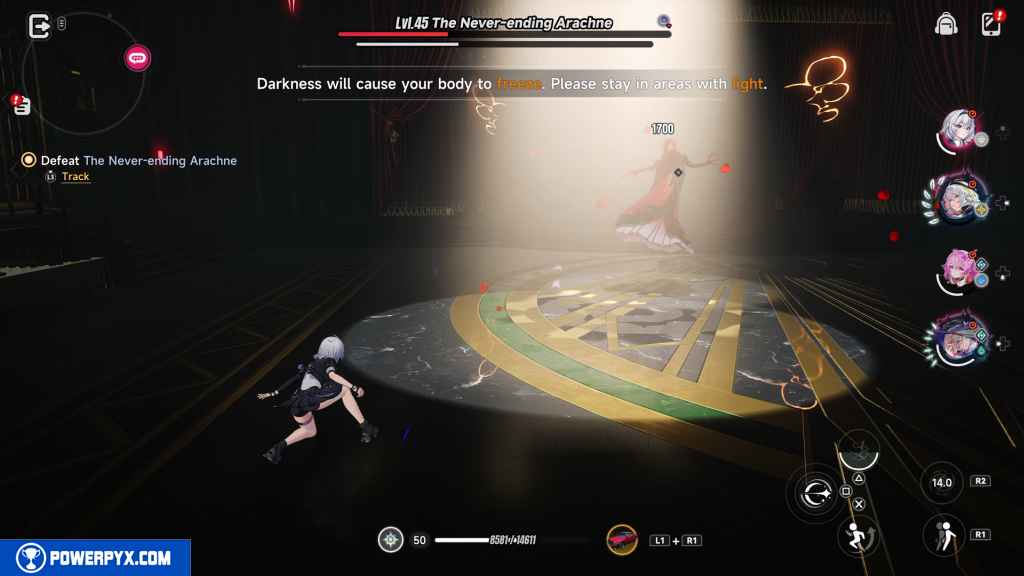
Defeat The Never-ending Arachne (Dance Until Dawn)
Before fighting the level 45 Arachne, you need to contend with five level 35 Oddities.
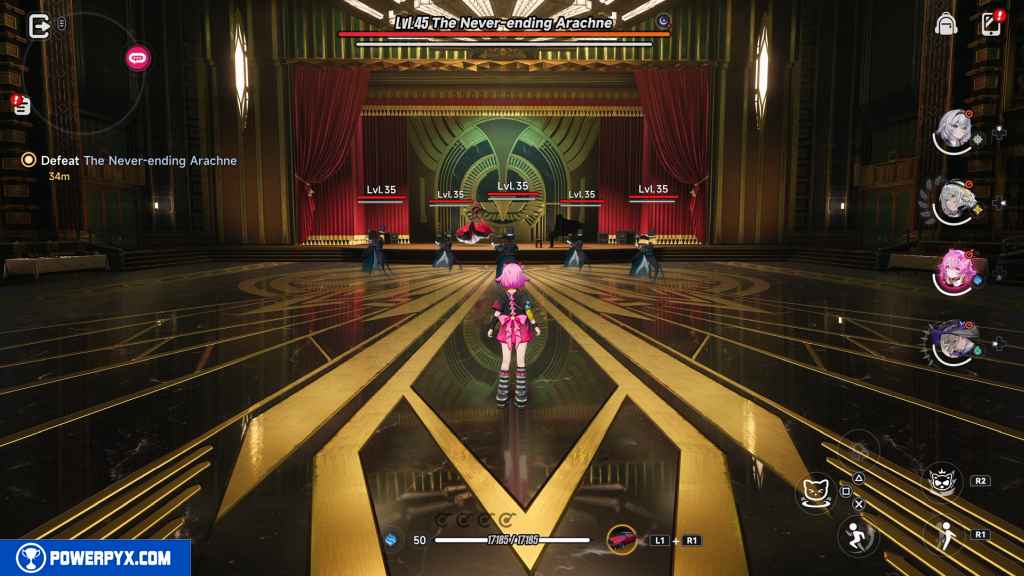
These Oddities do two things you must avoid. First, they send out red pulses on the floor that deal damage and stagger you. You can either dodge or jump over them. Then, they do area-of-effect air bursts. Dodge through those as well. This part is frustrating simply because of the volume of animations to avoid on the screen at once. Otherwise, once they stop spamming those attacks, take them out one by one.
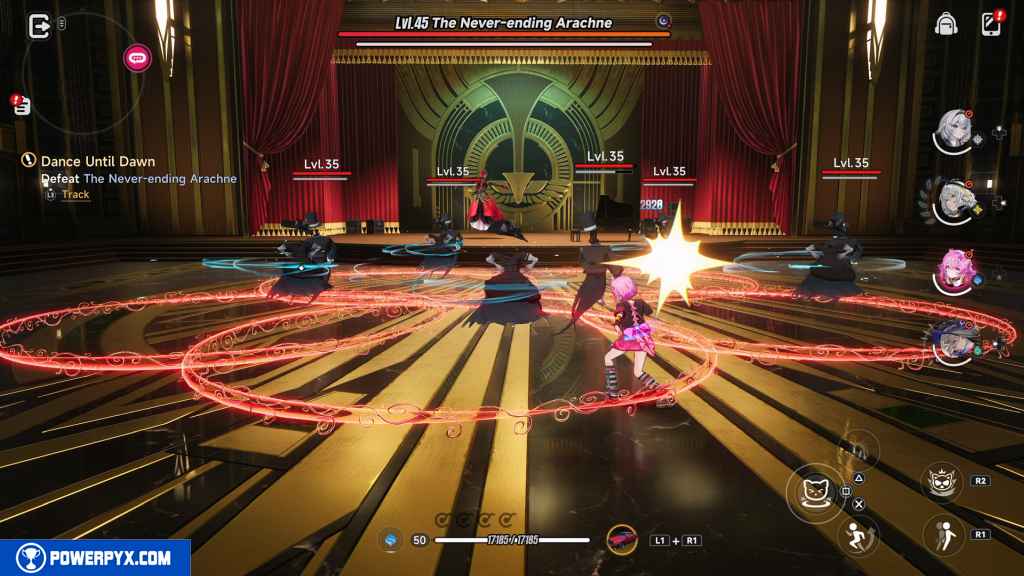
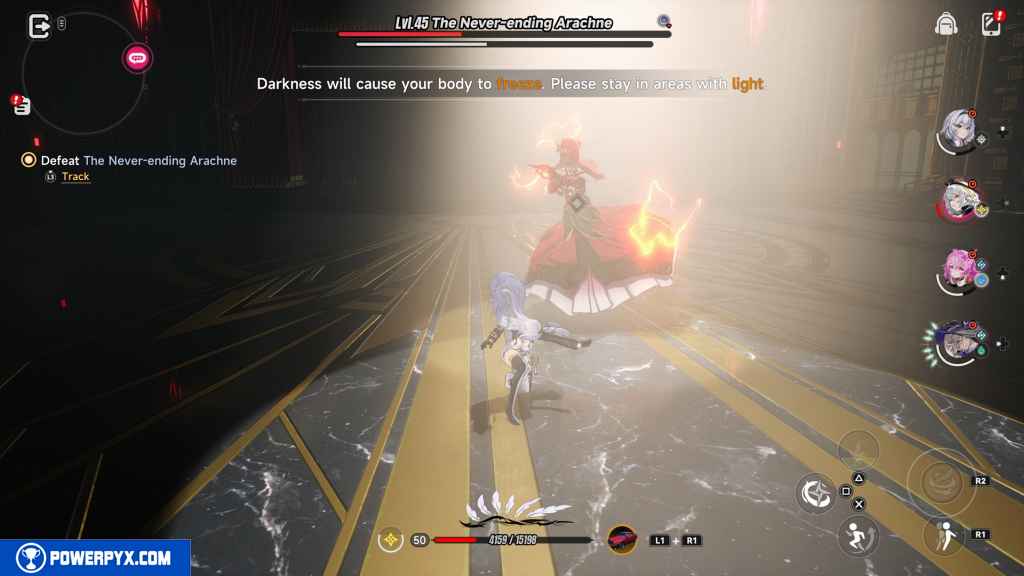
After that, Arachne steps off the stage. It occasionally shoots lasers at you that you must dodge. Then, it does sweeping attacks. It also has an attack you can parry with  once the yellow prompt appears.
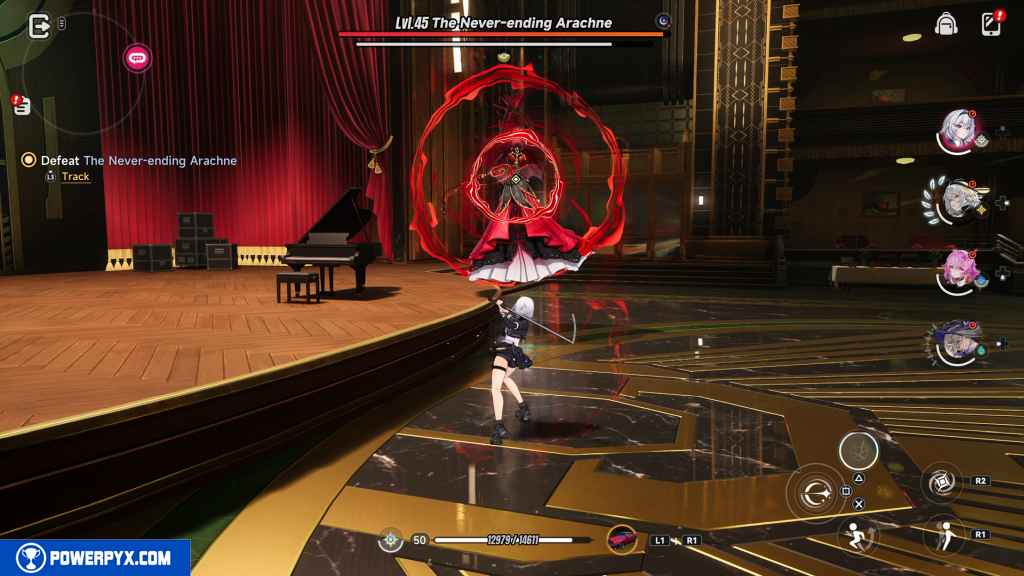
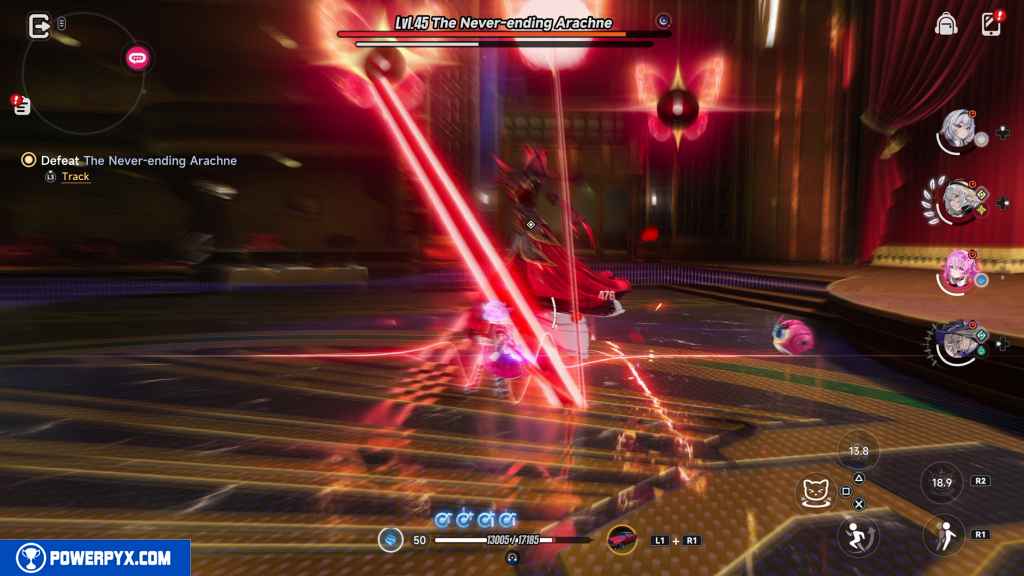
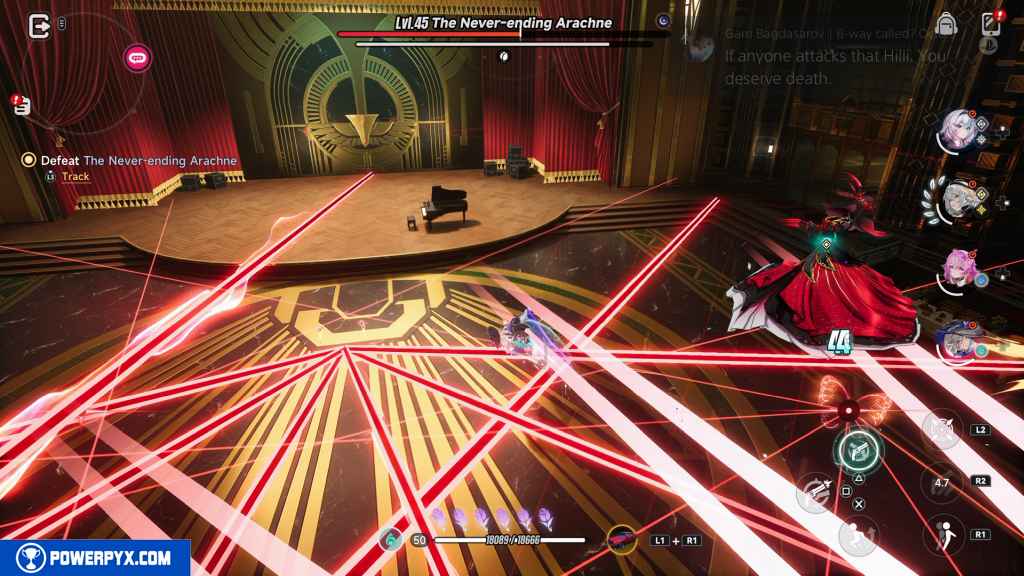
At about halfway through its health, it triggers a series of lasers that shoot in different directions. Move around to avoid them. It also does a version of it shortly after that with the ground pulses from earlier.
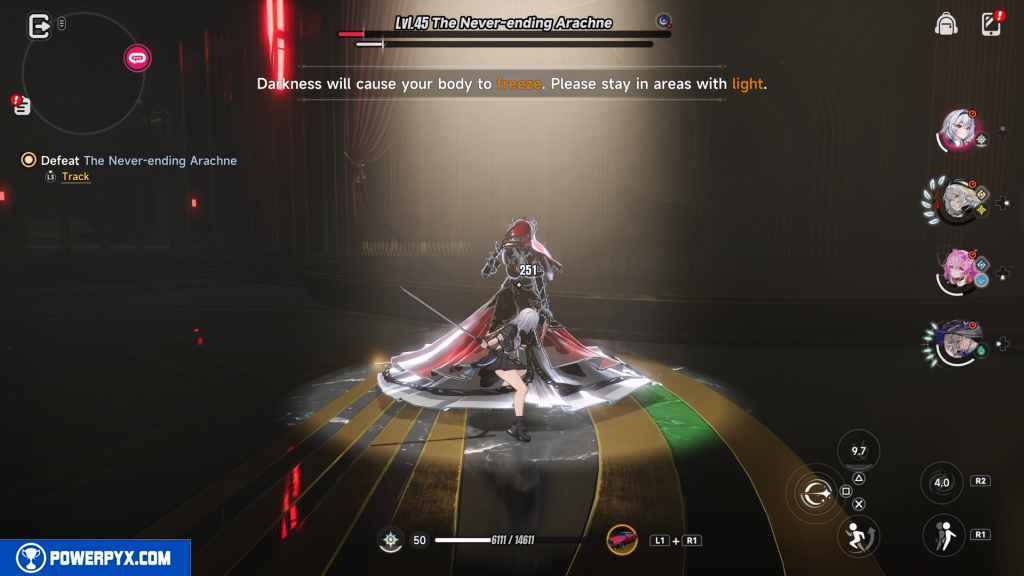
At about a third of its health remaining, a cutscene plays where she takes control of the Appraiser. After that, her health bar disappears.
The lights go out and spotlights show up on the dance floor. Stand in the spotlights or the darkness quickly slows you down, giving Arachne free reign to do damage to you.
After a little preamble, Arachne executes a parry attack. Use this opportunity to deal damage to her. If you miss the parry, you can still do some damage to her before she disappears again.
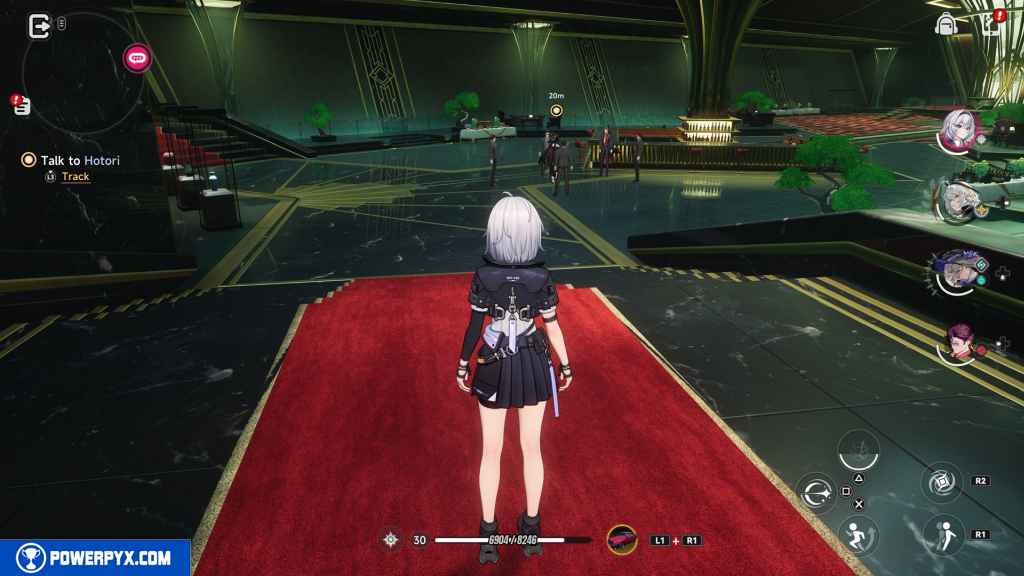
Talk to Hotori (False Accusations)
Approach Hotori ahead of you to progress.
Talk to Hotori (Return to Tranquility)
Approach the gang ahead of you to progress.
This finishes the first part of Deal? Deal! main quest in NTE (Neverness to Everness).
For all other Quests refer to NTE (Neverness to Everness) Walkthrough.
Leave a Reply