
Debt Collector is the 5th main mission in NTE (Neverness to Everness). This walkthrough will guide you through all objectives of the Debt Collector main quest.
- Starting District: Bridge Crossings
- Requirement: Reach Hunter Level 24 & finished the 4th main quest Deal? Deal!
- Reward: Hunter Level EXP x1000, Annulith x120, Expansion Core x10. Fons x80,000, Beetle Coin x100,000
- Quest Description: Looks like everyone in Eibon is buzzing about something.
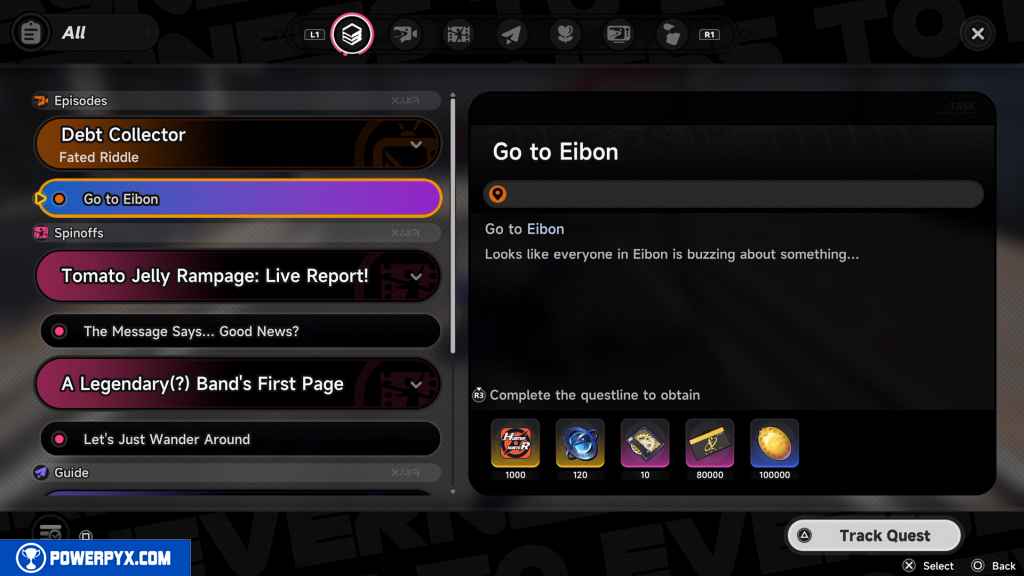
Go to Eibon
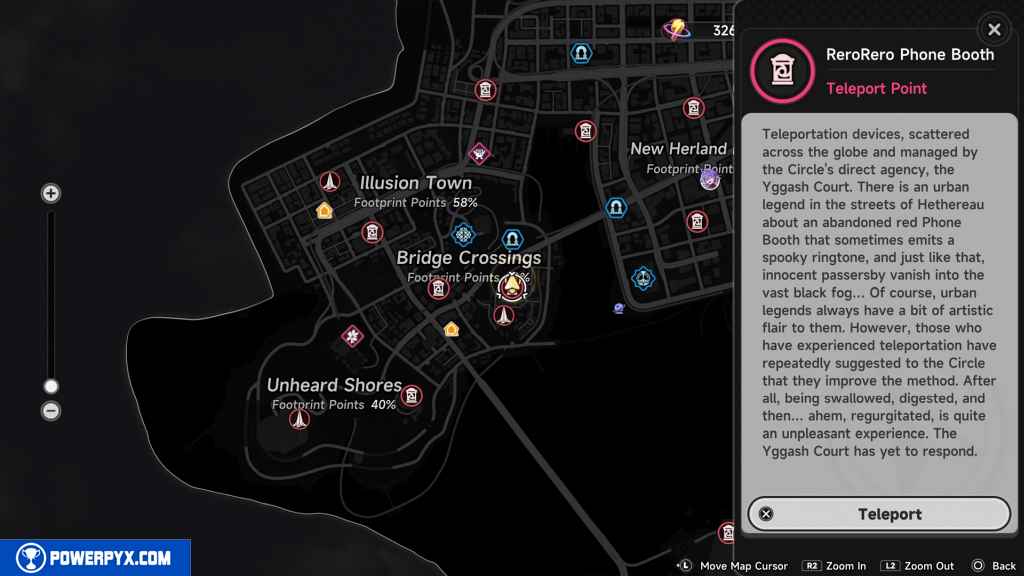
Teleport to Eibon using the phone booth just south of it.

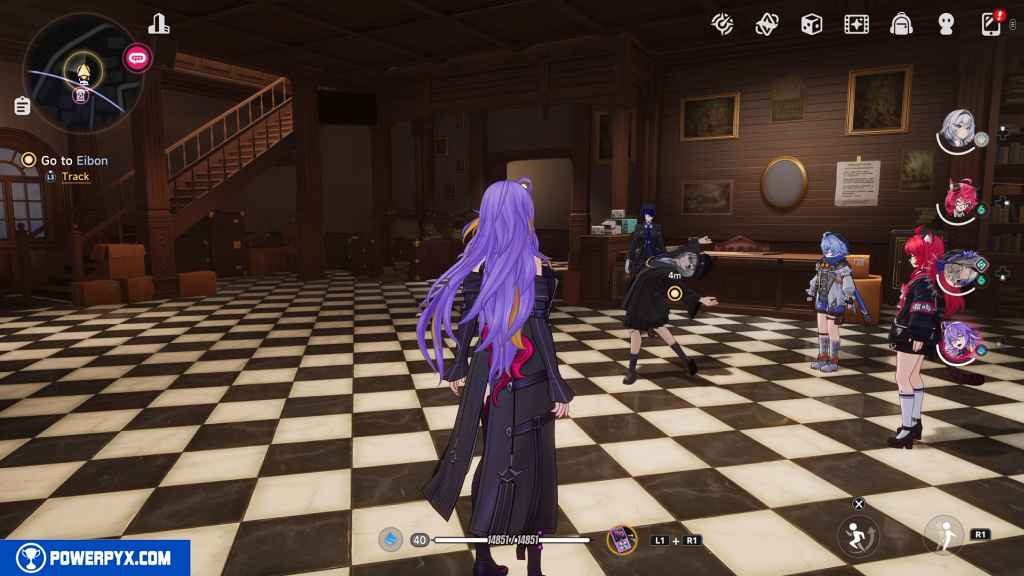
Head inside the building and approach the group at the counter.
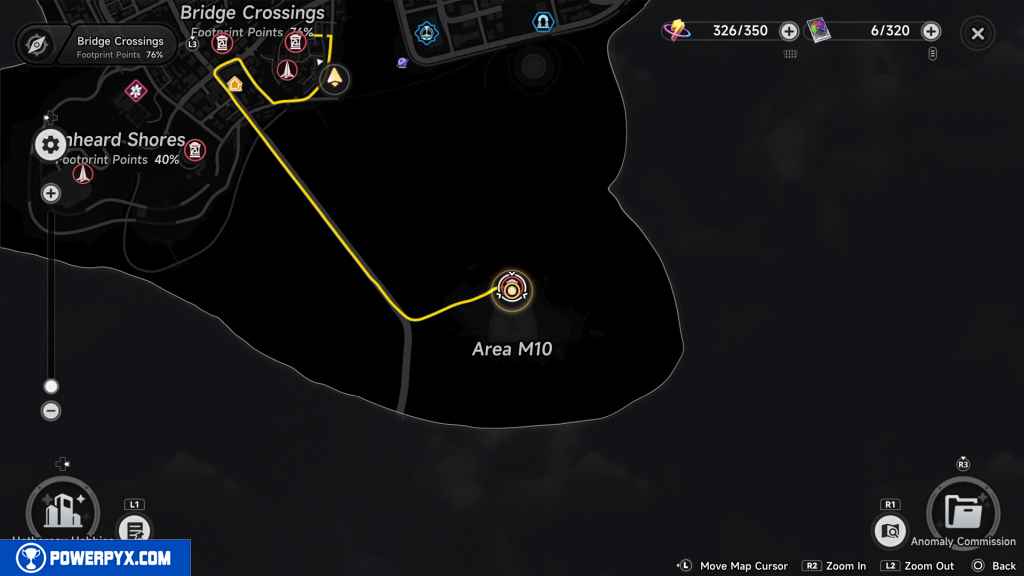
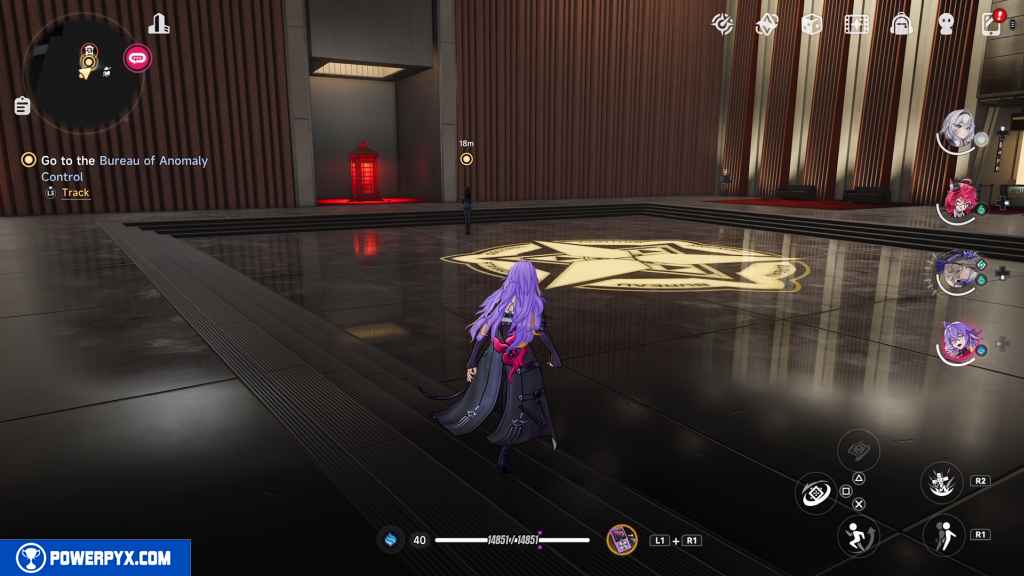
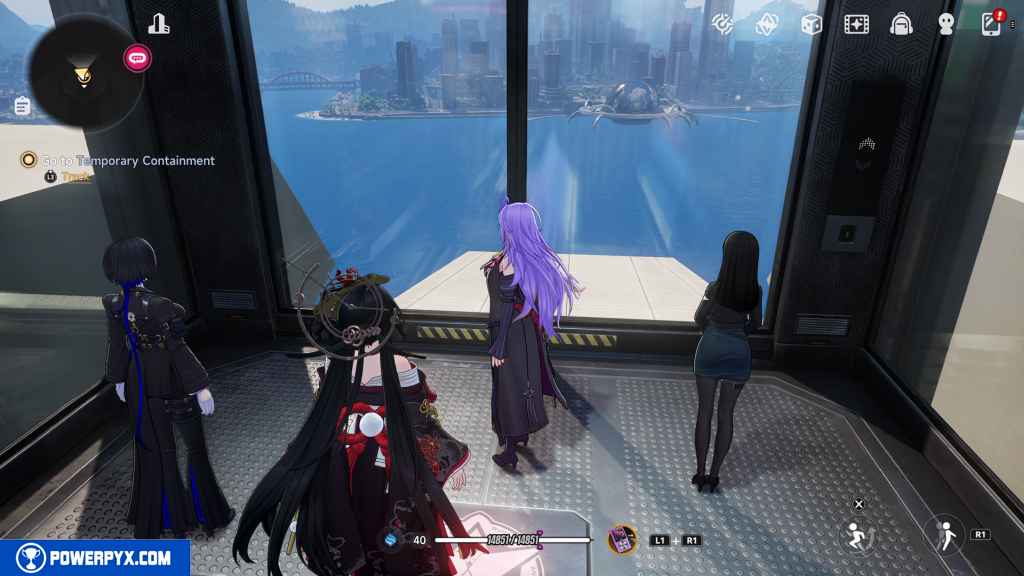
Go to the Bureau of Anomaly Control
Make your way down to Area M10. Use the phone booth there if you already have it unlocked.
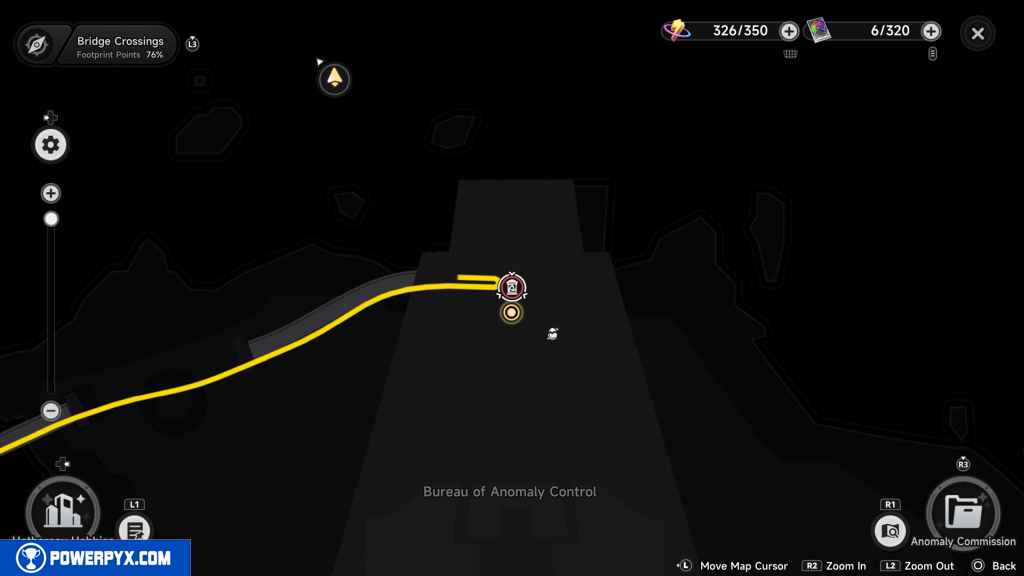
Approach the woman, Nelly, standing next to the phone booth.
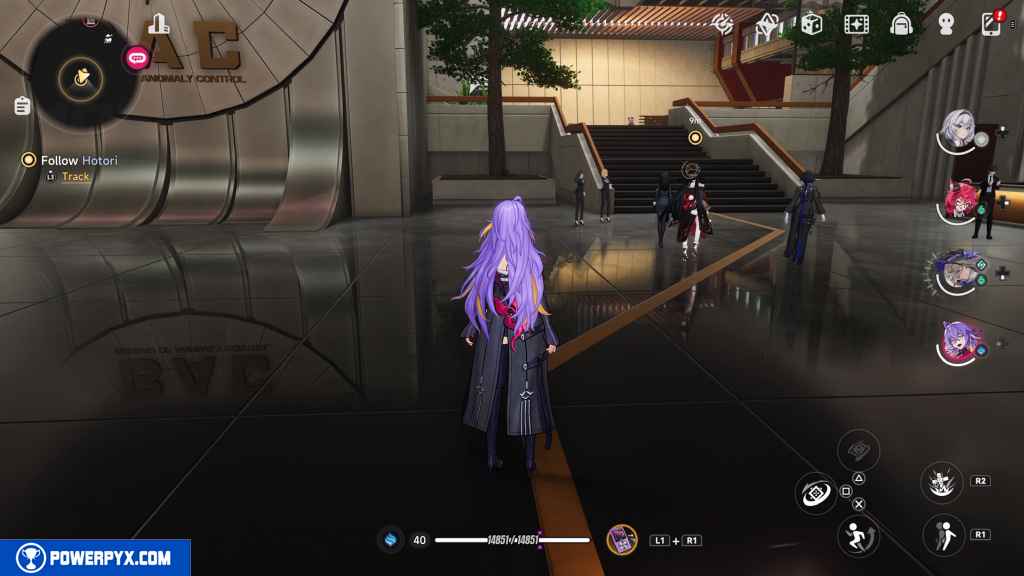
Follow Hotori (The Fabled…)
Run up the stairs to the south and take a left at the top.
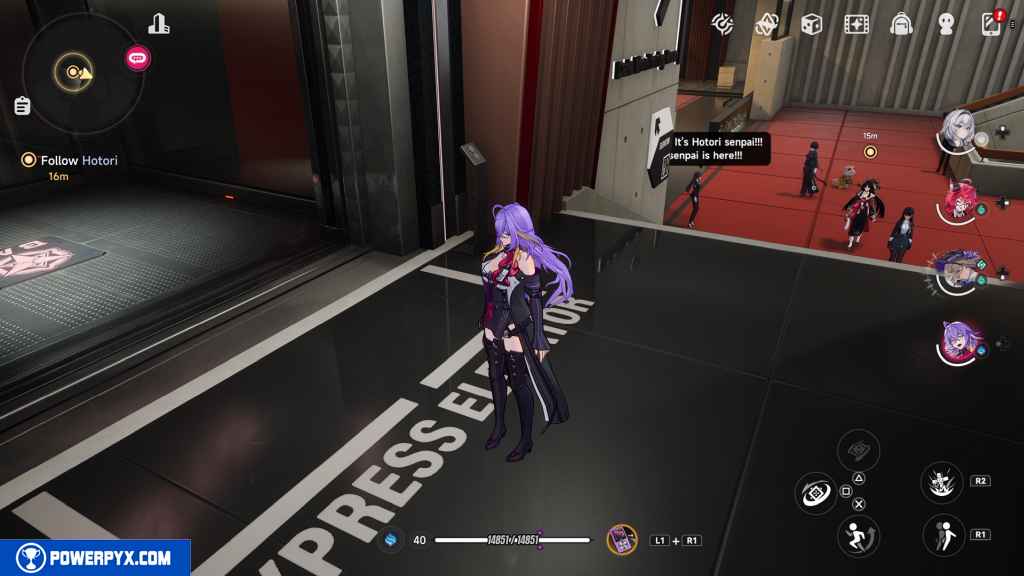
Go into the opened elevator and wait for Hotori to arrive.
Go to Temporary Containment (The Fabled…)
Wait as the elevator takes you up. A scene starts at the top of the lift.
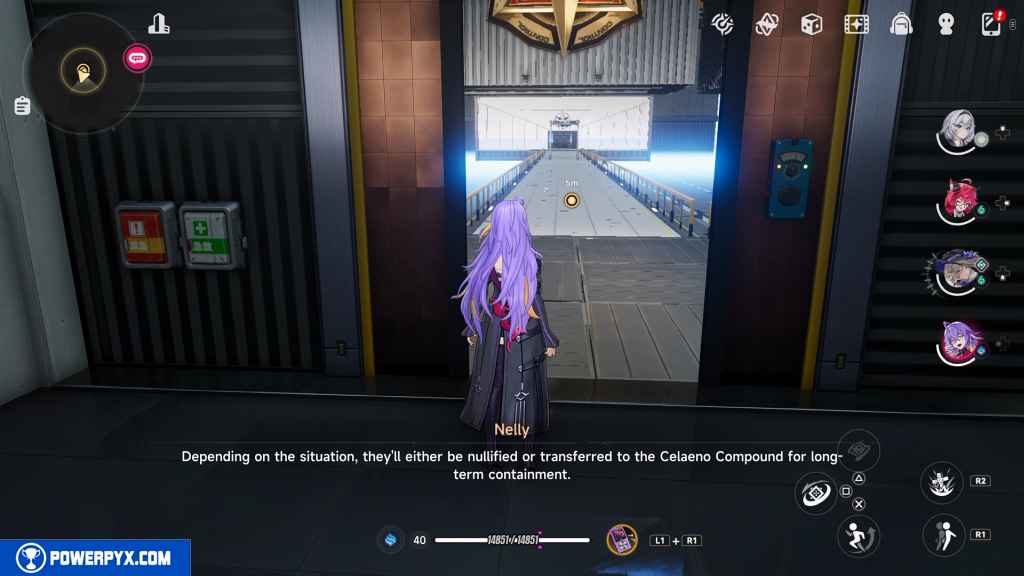
Follow Nelly (Temporary Containment)
When you regain control, turn around and head out toward the door. The door will open once Nelly gets close enough to it.
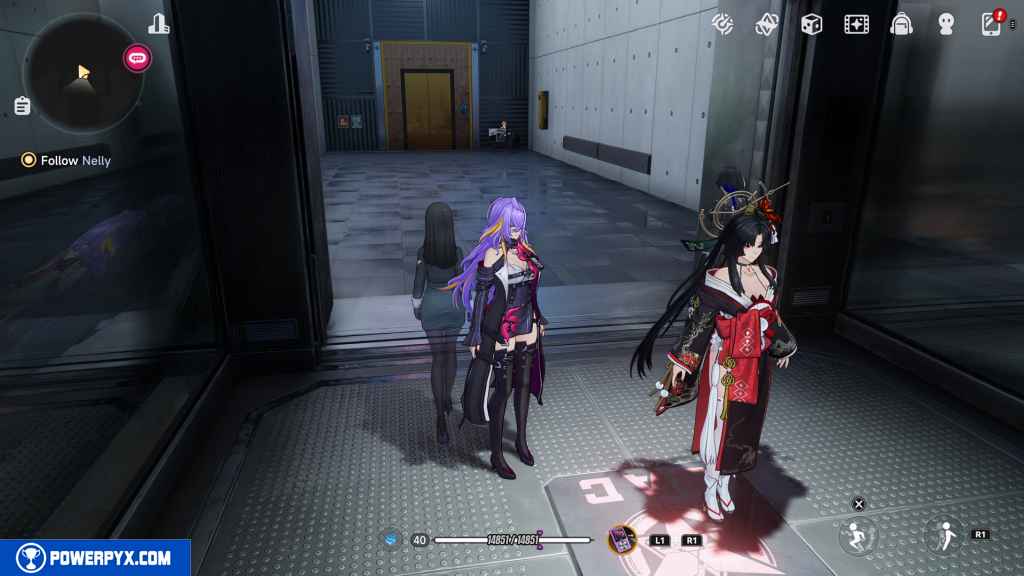
Pass through the door and cross the bridge until a scene starts.

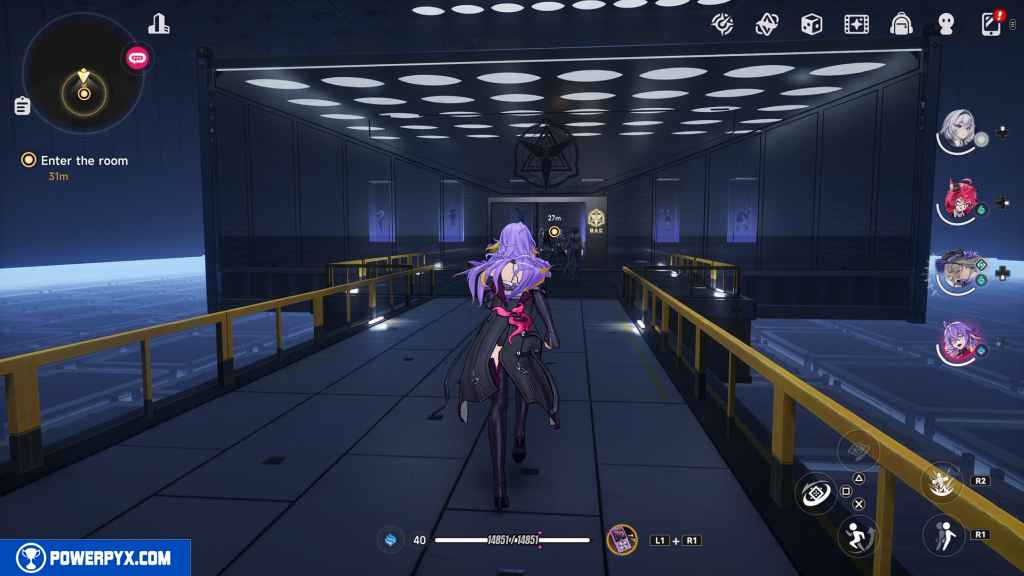
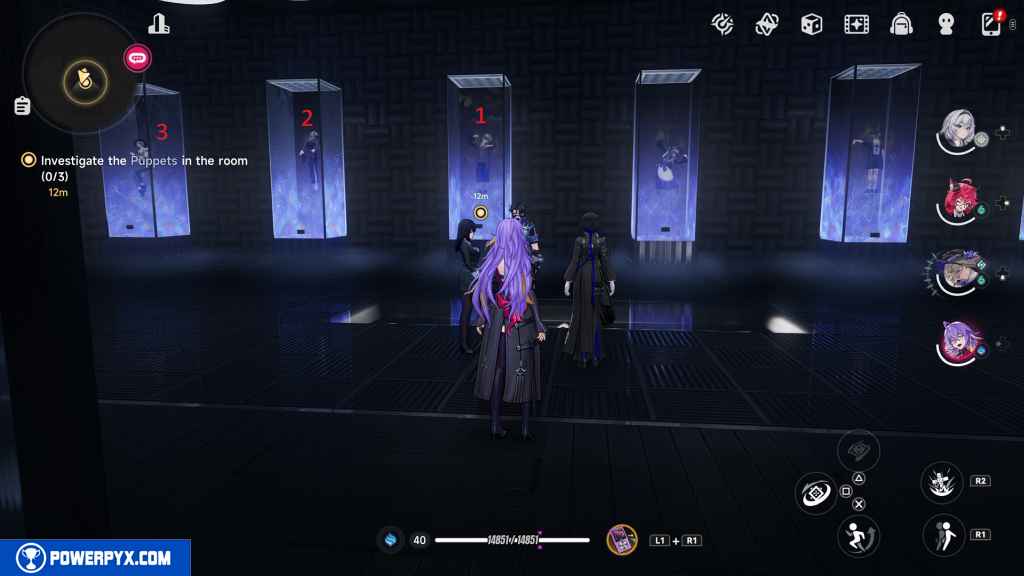
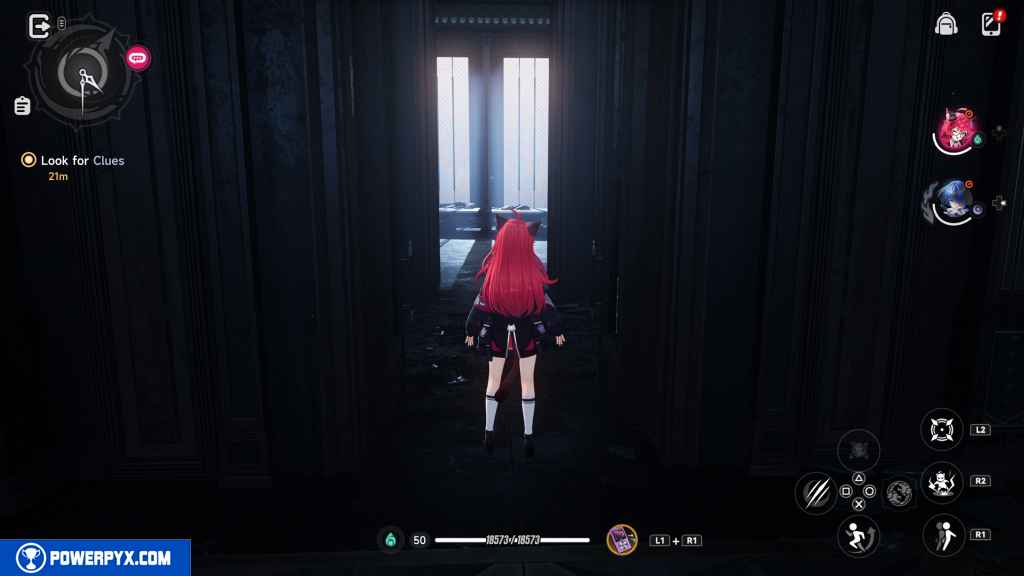
Enter the room (Interdimensional Containment Array)
Keep going forward into the room in front of you.
Investigate the Puppets in the room (3) (Elementary Induction)
Interact with these three puppets in the order below.
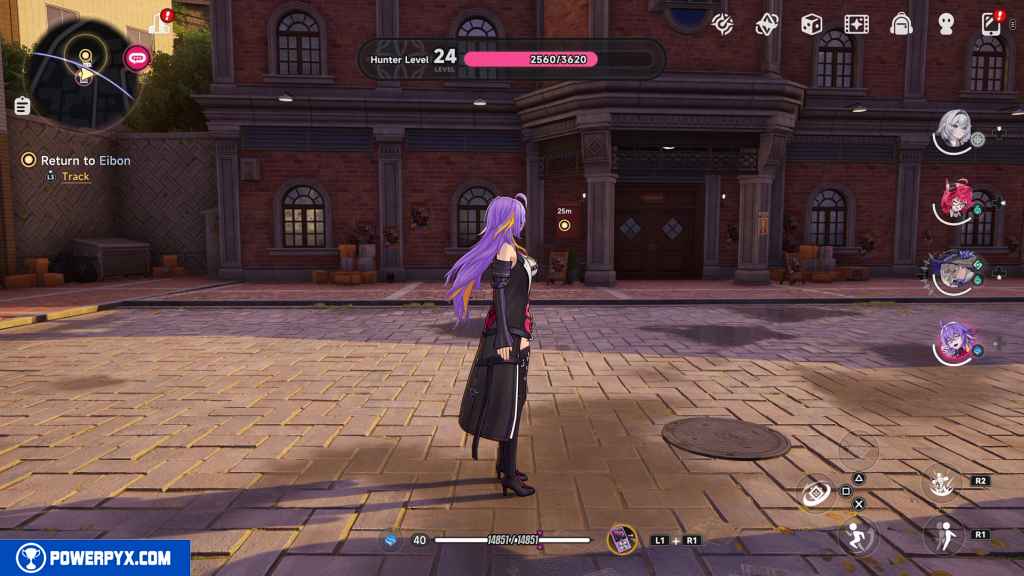
Return to Eibon (Day’s End)
Before you leave, make sure you have the phone booth unlocked here at the bureau. It’ll save a lot of time later on.
Teleport back to Eibon and enter the building to trigger a scene.
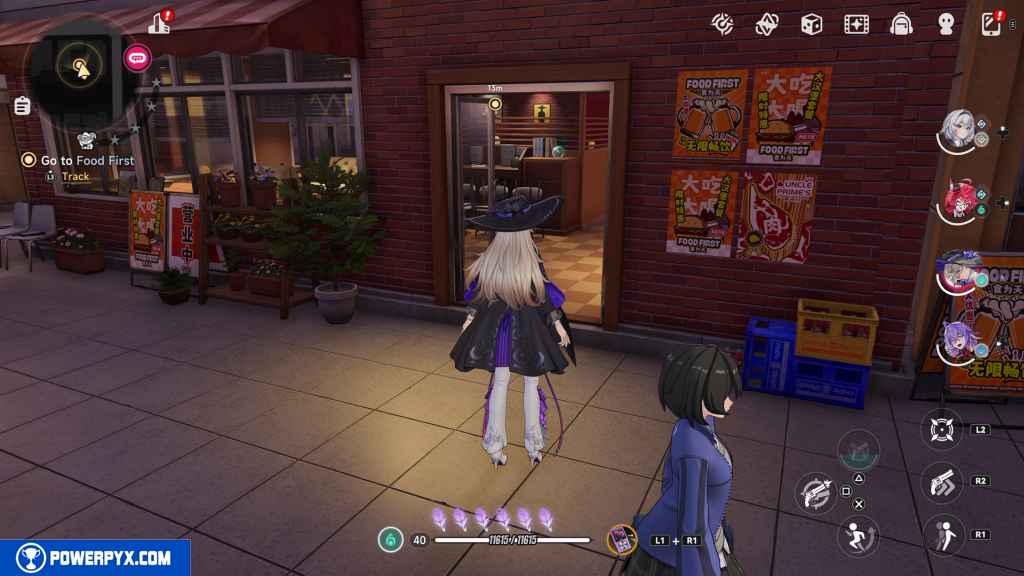
Go to Food First (A Cloaked Weirdo?)
Find Food First to the north on Ironheart 9th Avenue.
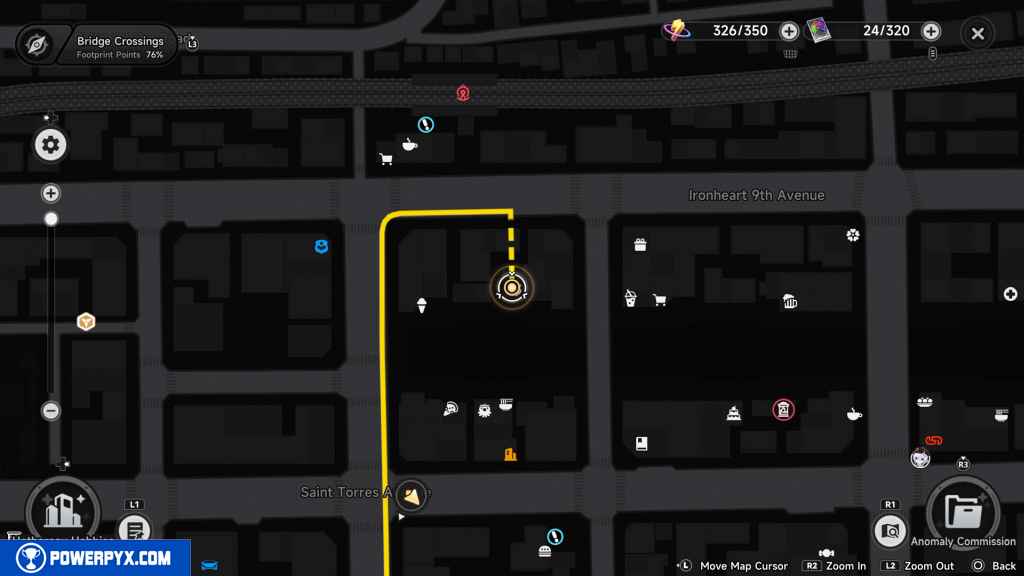
Access Food First from the river sidewalk just south of it.
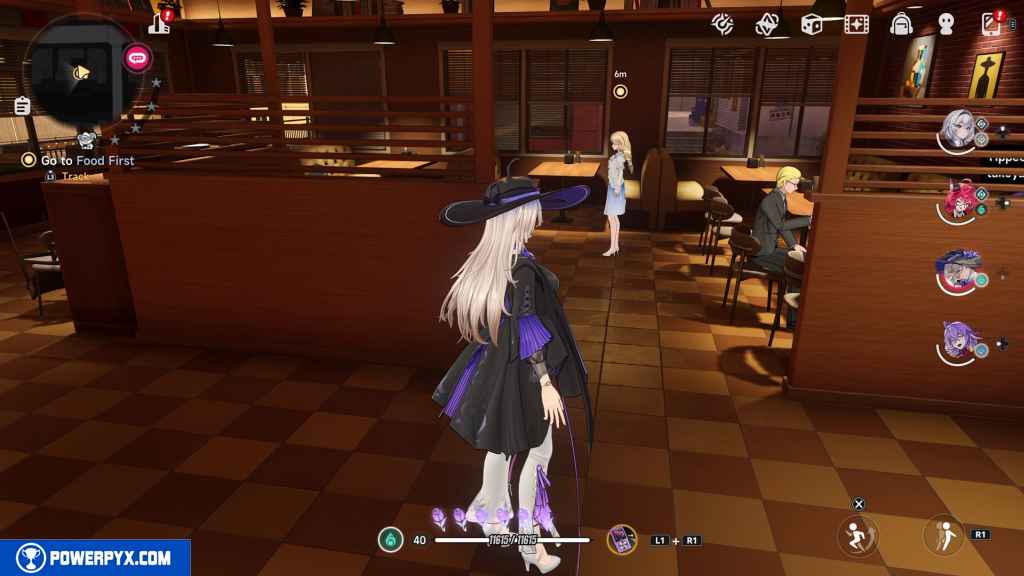
Once inside, approach a woman in a white dress.
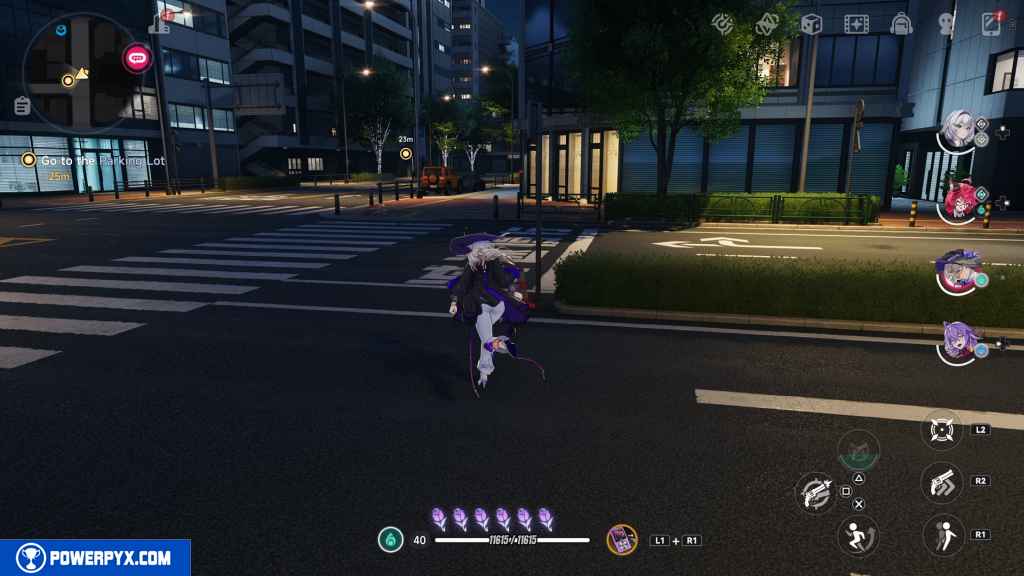
Go to the Parking Lot (The Debt Collector Arrives)
Leave the way you came, and head west-by-southwest to the street corner across the street.
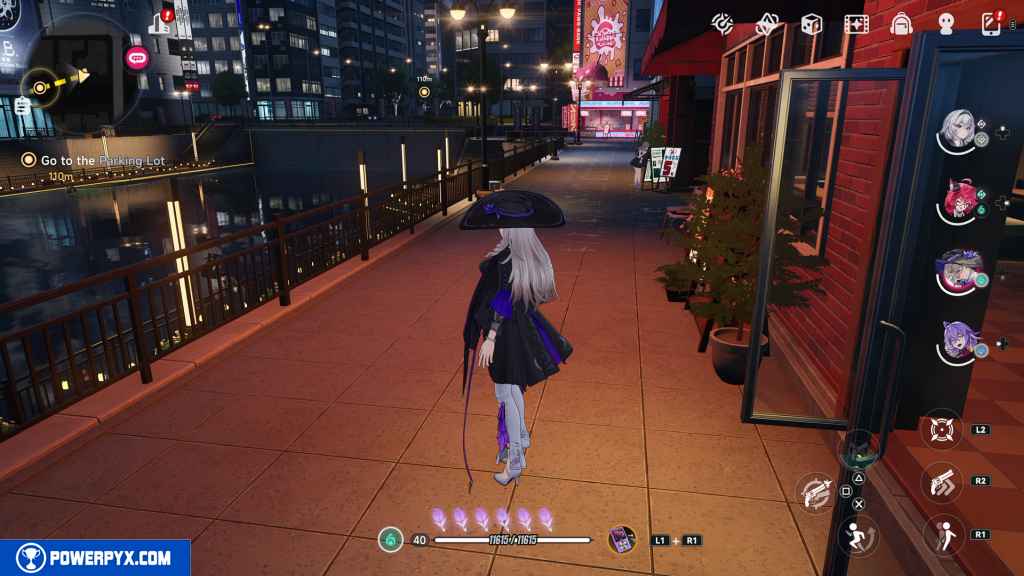
The destination doesn’t actually send you to a Parking Lot but rather some on-street parking.
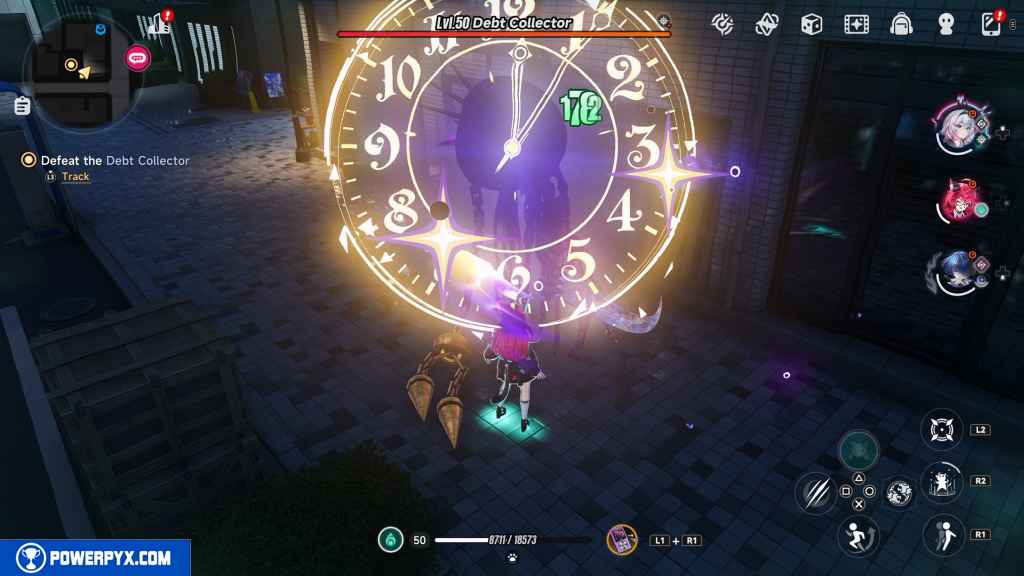
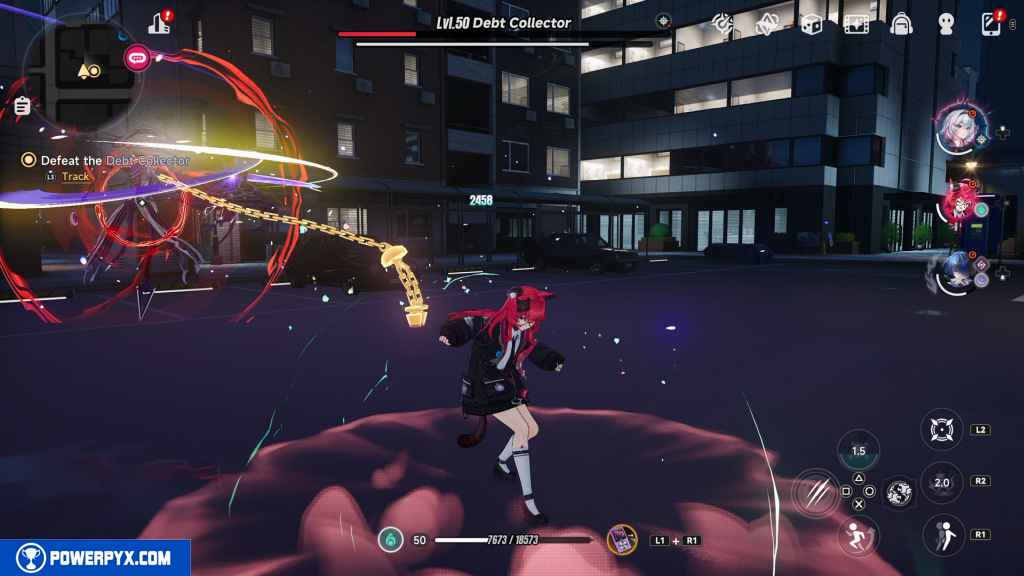
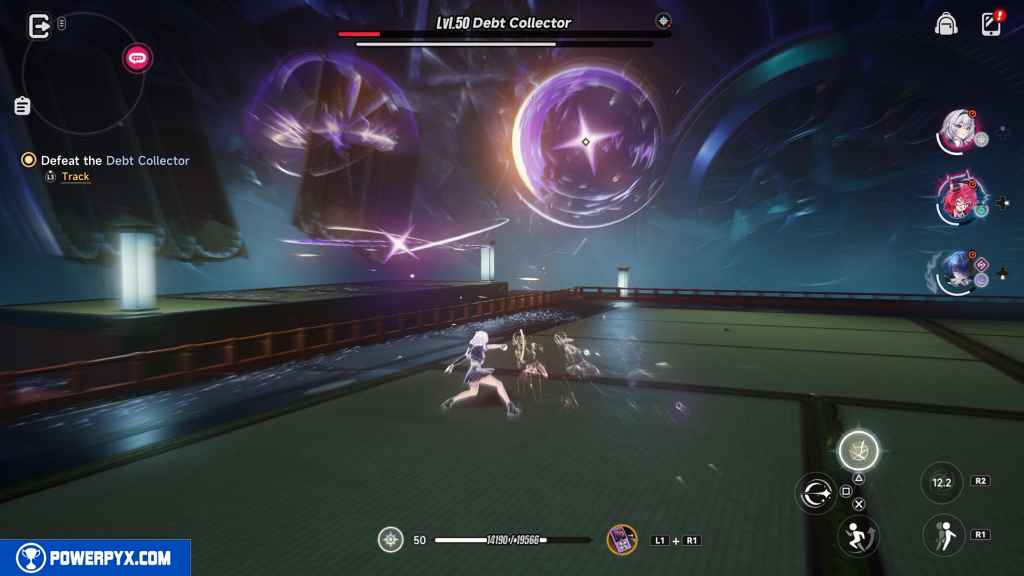
Defeat the Debt Collector (Protect the Client)
You now face a level 50 Debt Collector. You don’t need to worry about your character builds just yet because this fight sees you controlling a pre-built team that consists of level 50 characters. Besides, you likely cannot yet level up your characters to level 50 by this point unless you are doing this quest well after reaching Hunter Rank 30.
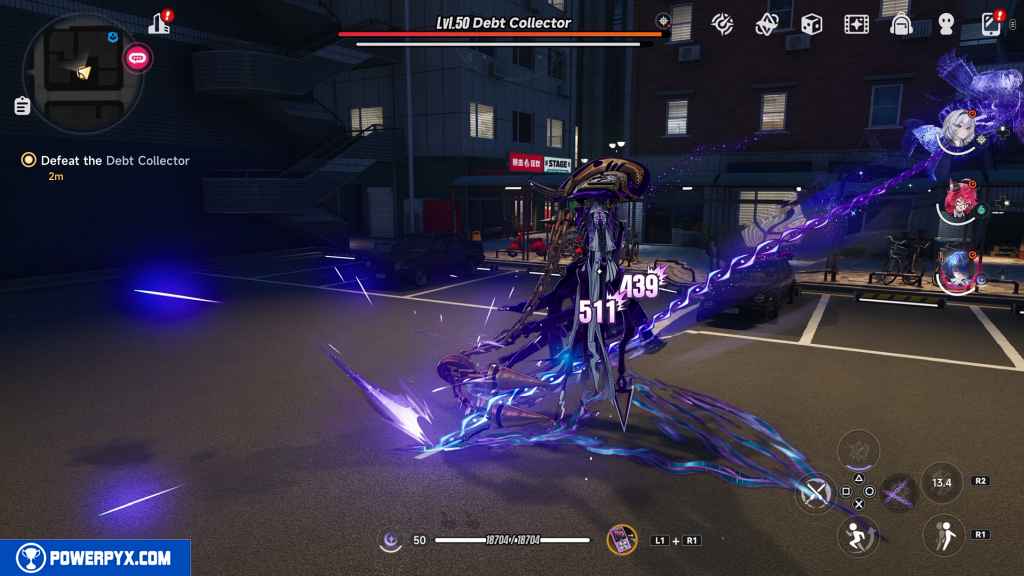
In case you don’t already have her, Daffodill is a character that specializes in breaking enemies. So, use her abilities to deplete the enemy’s break bar more quickly. Then, switch to Nanally and Zero to deal extra damage.
The Debt Collector has a lot of sweeping attacks that you can dodge, and it combos most of its attacks as well. Be mindful and keep dodging as you chip away at its health.
It does have a parry attack, but it’s a standalone attack.
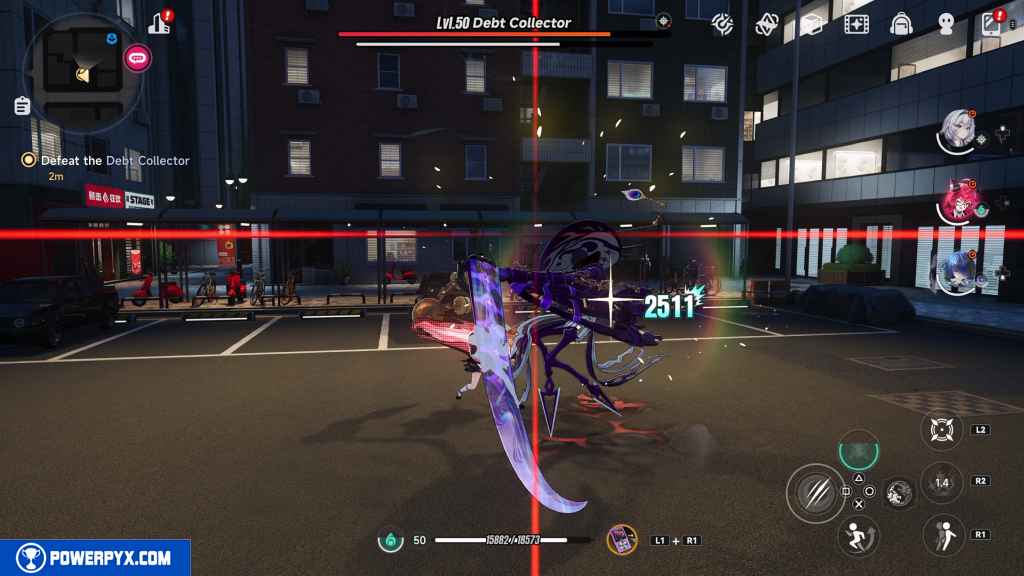
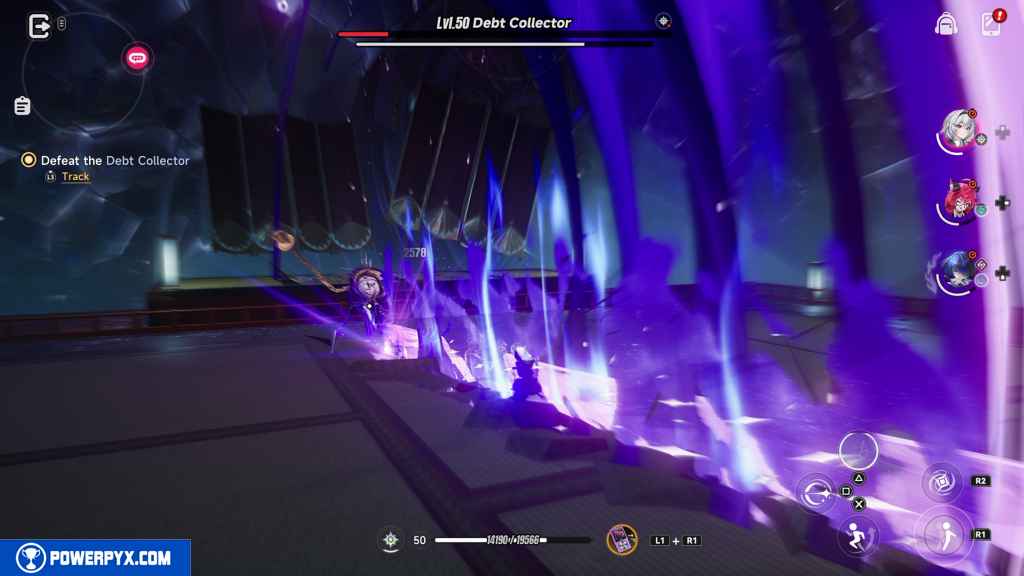
When you empty its health bar, it regenerates itself to full health. This fight is much of the same as the first except the Debt Collector adds in some extra sweeping attacks.
The one new attack to be mindful of is when it anchors itself to the ground and starts spinning. With this attack, it executes several parry attacks in a row.
When you take it down the second time, the quest continues.
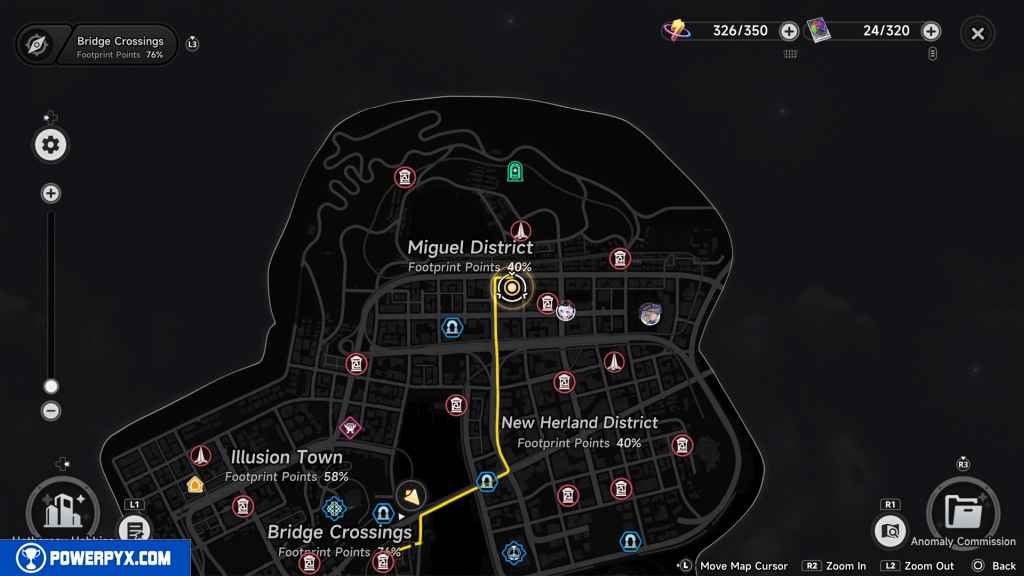
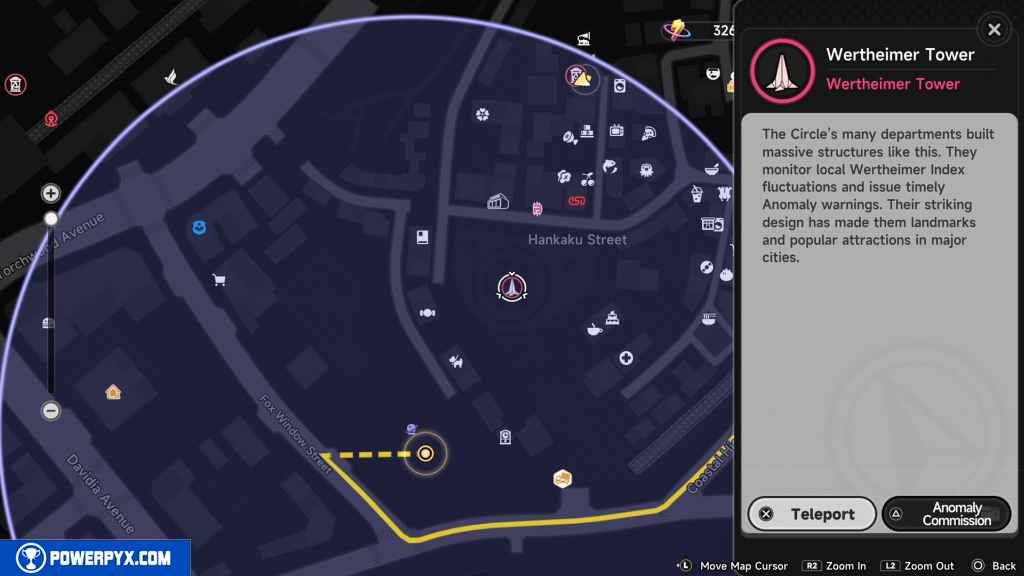
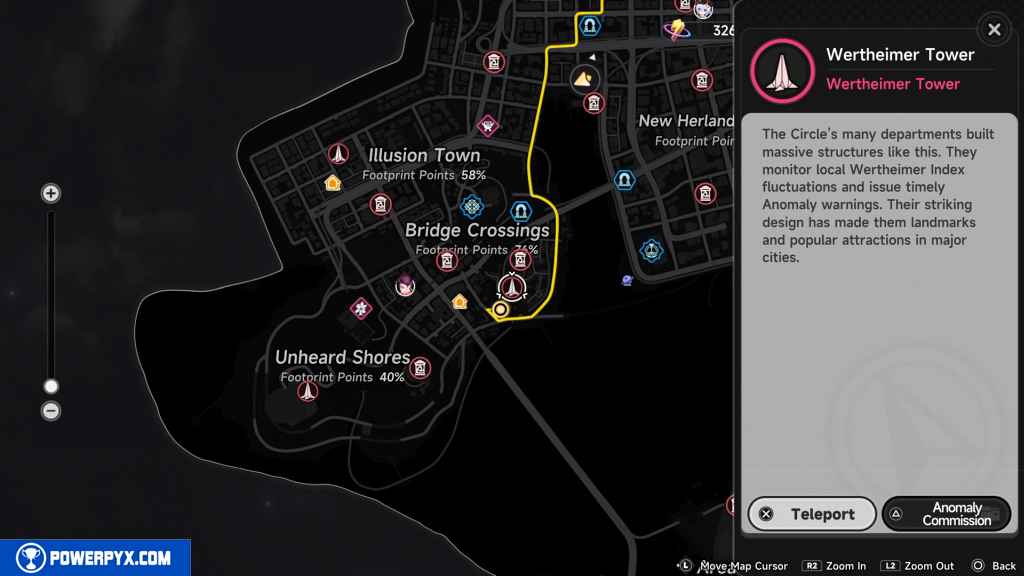
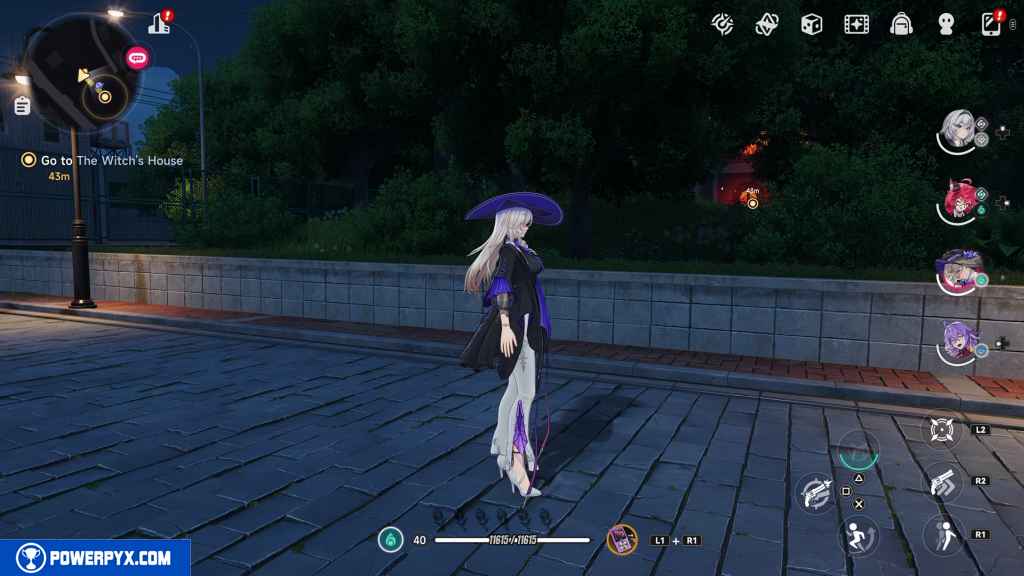
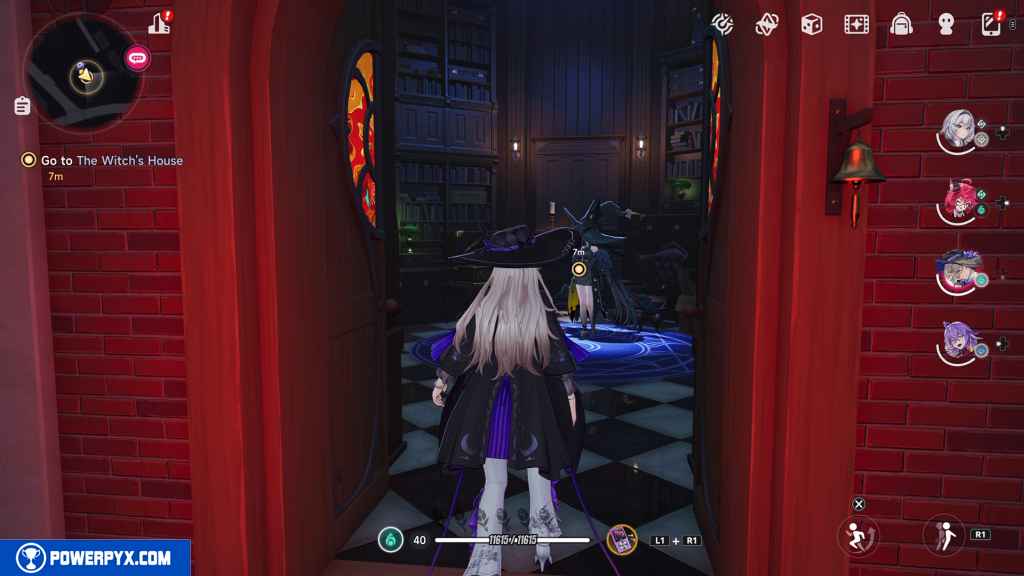
Go to the Witch’s House (Questioning Fate)
Teleport to the Werheimer Tower in Hankaku Plaza in Bridge Crossings. Then make your way southwest to see the Witch, Blackbird, where you turn in Oracle Gems.
If you haven’t been there before, it’s an orange, glowing house in the middle of a small forest.
Return to Eibon (Undercurrents)
Teleport back to Eibon and enter the building.
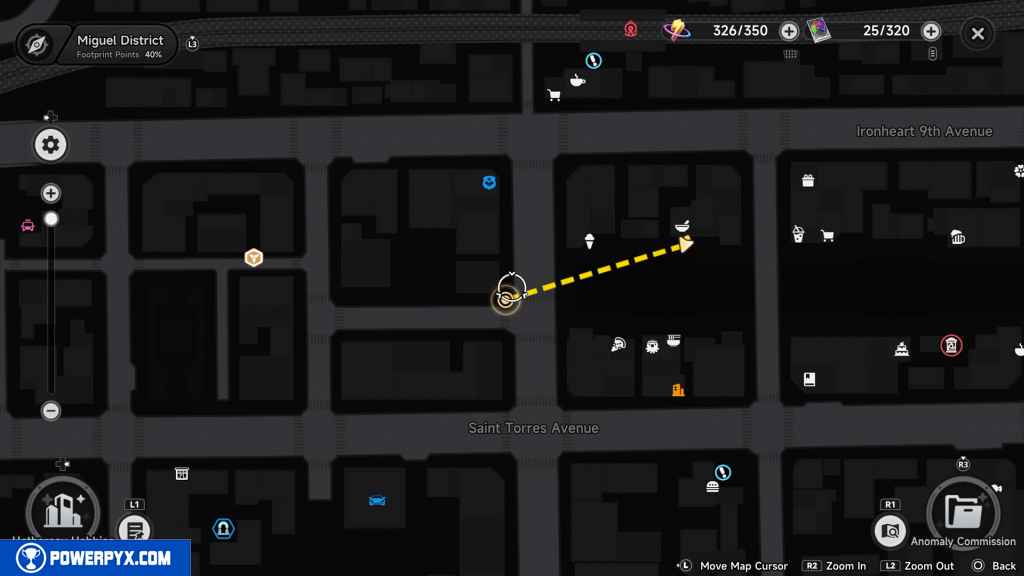
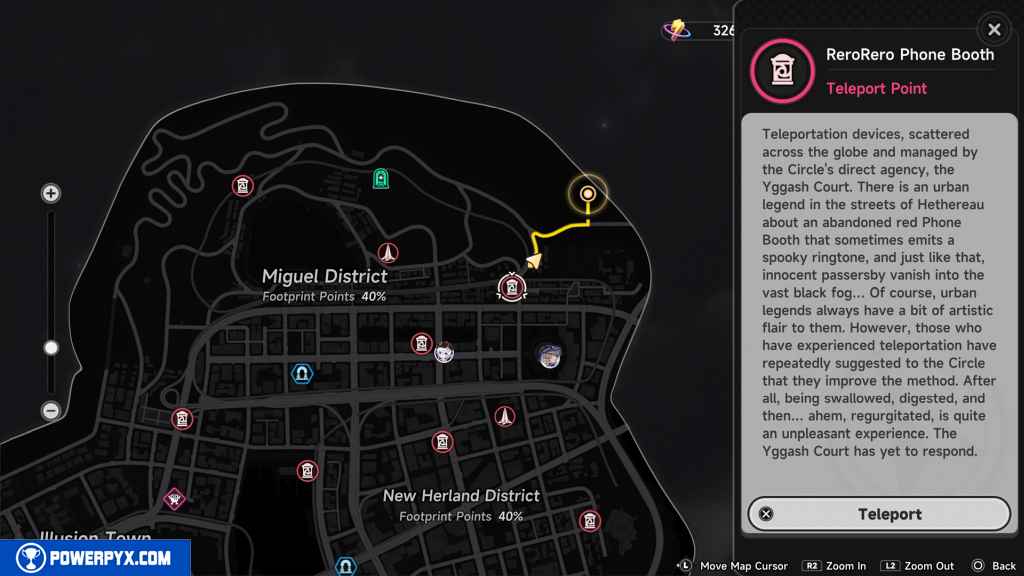
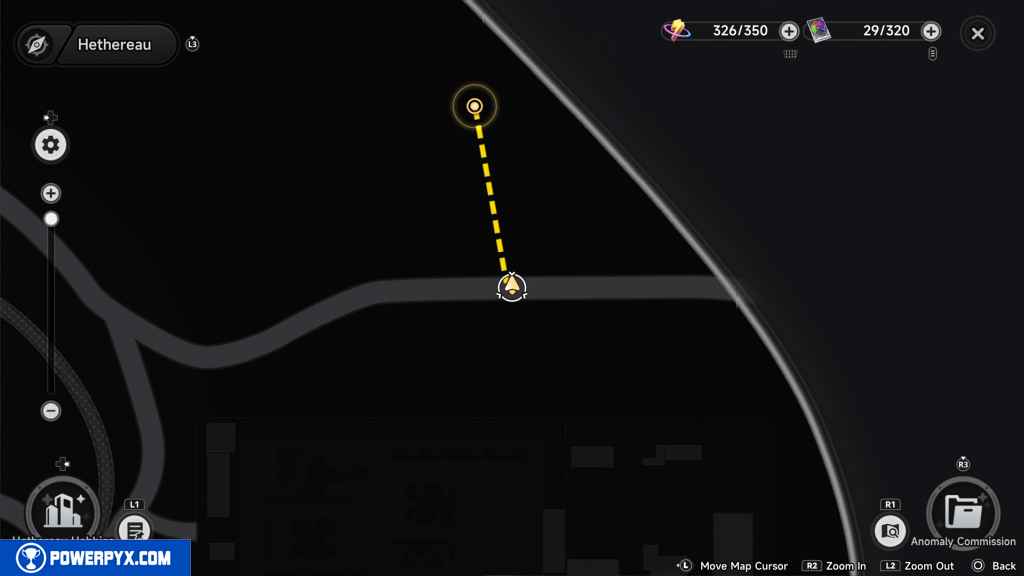
Go to the Address on the Card (Step Into My Trap)
The location is all the way to the northeast in Miguel District, on the very edge of the available map as of version 1.0.
If you haven’t done so already, you might as well unlock the phone booth closest to this point.
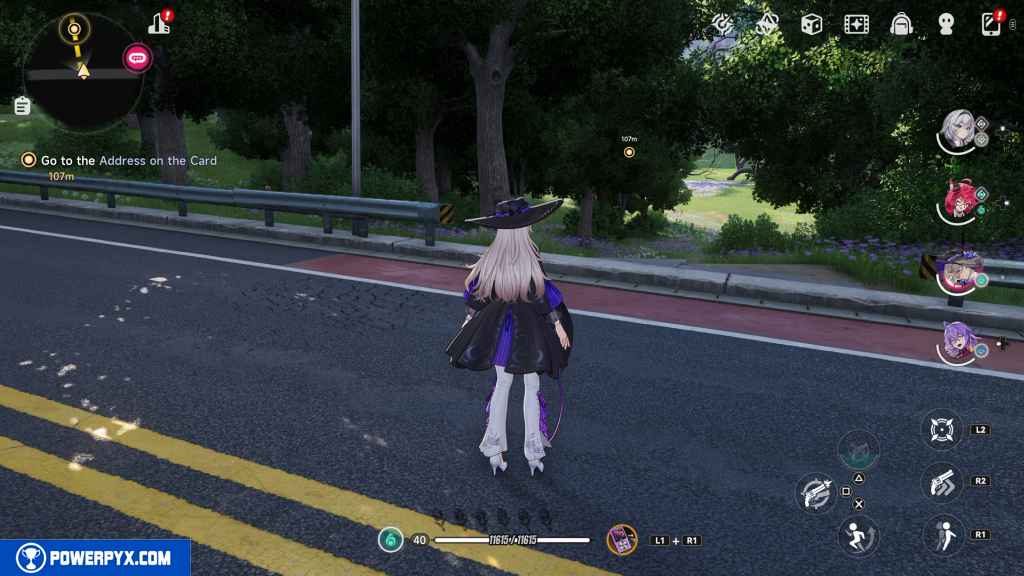
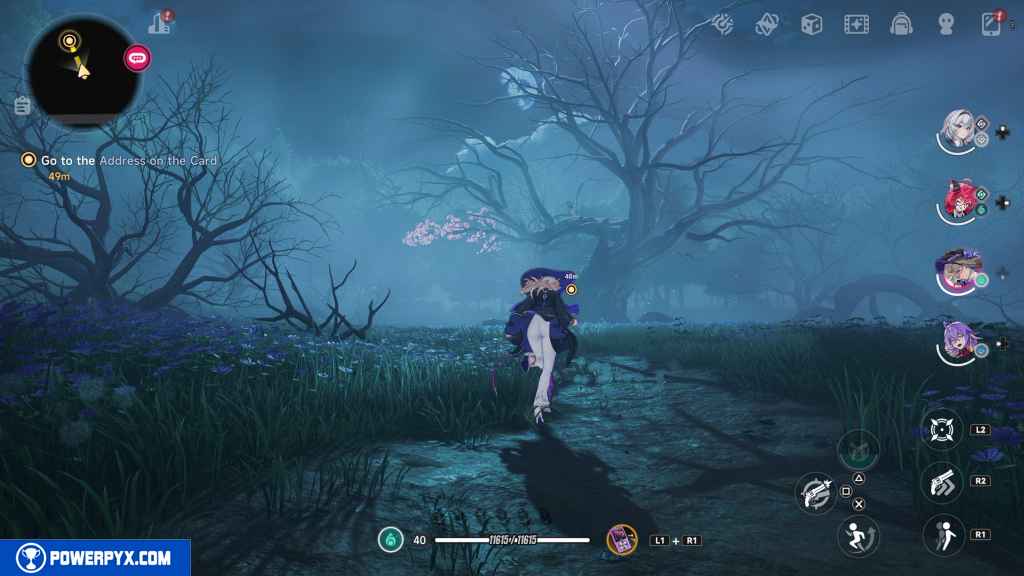
There is no actual road to this location but instead a dirt path that leads off Whitetail Ridge Road.

The path leads to an old tree. Approach it to progress the quest and trigger a cutscene.
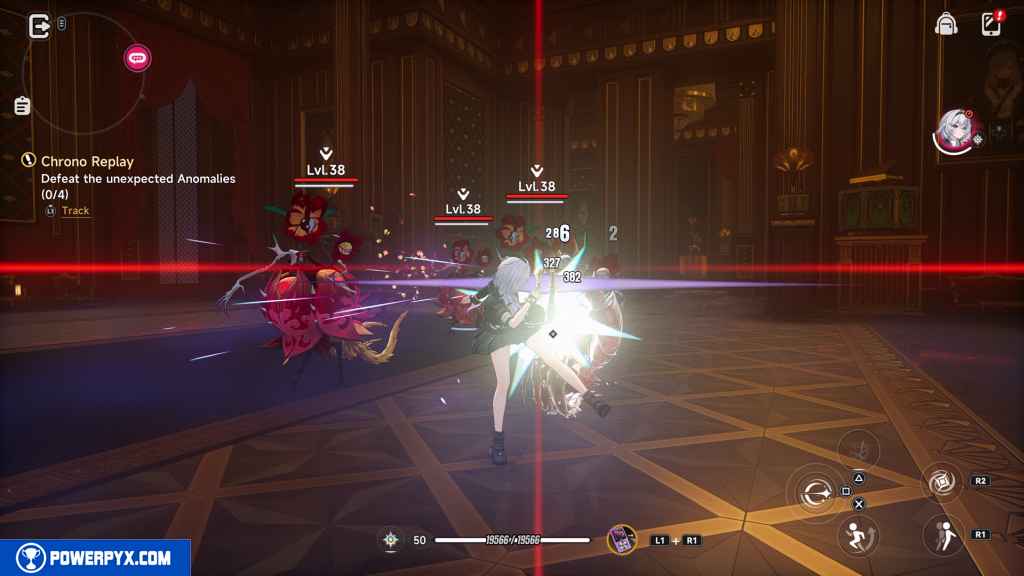
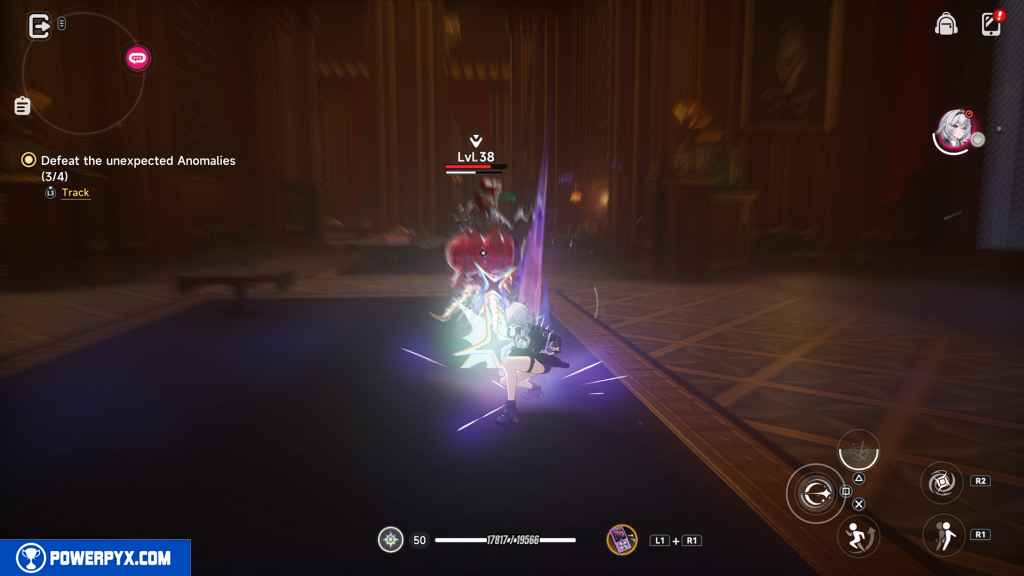
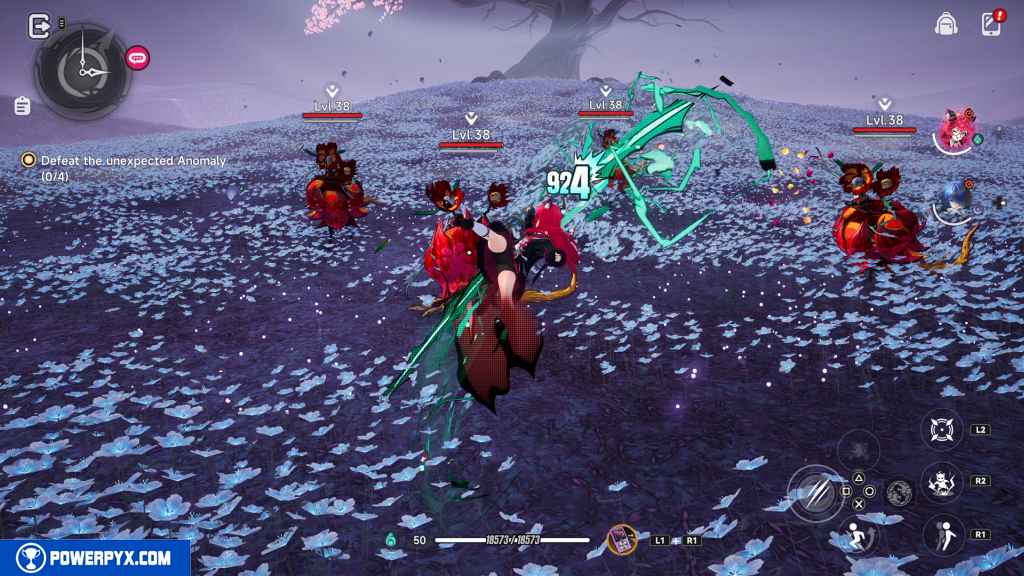
Defeat the unexpected Anomalies (4) (Chrono Replay)
Four level 38 Bulb Anomalies come after you. They are pretty straightforward apart from a pollen mist they throw out, which does passive damage while you stand in the mist.
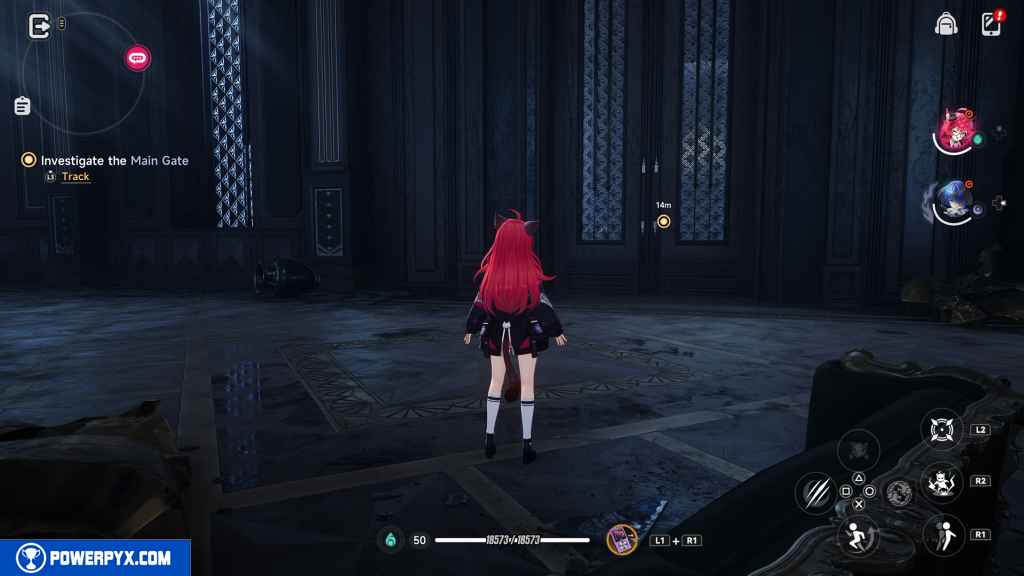
Investigate the Main Gate (Traces in the Abandoned Manor)
Here, you control Nanally. Interact with the door ahead of you.
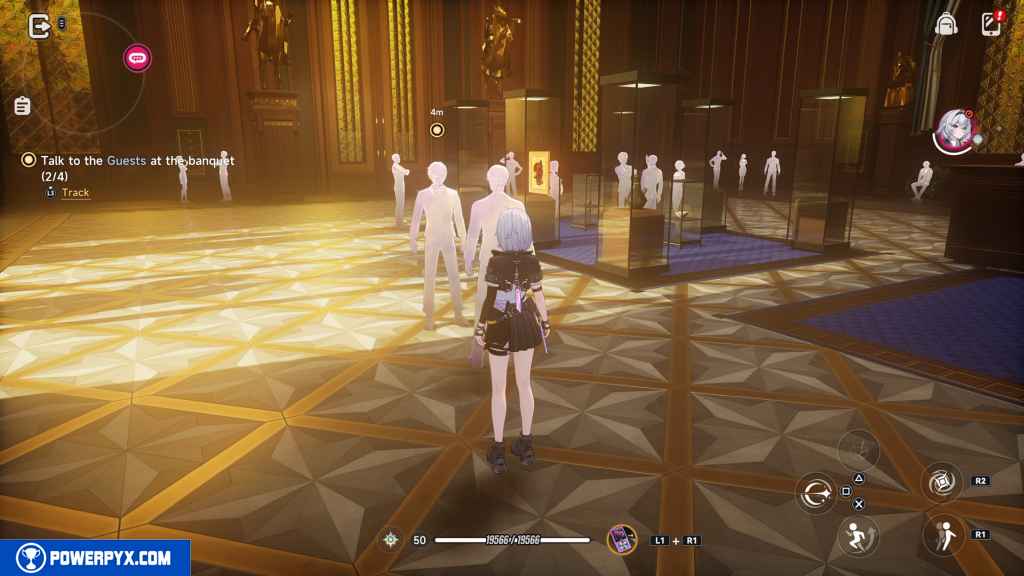
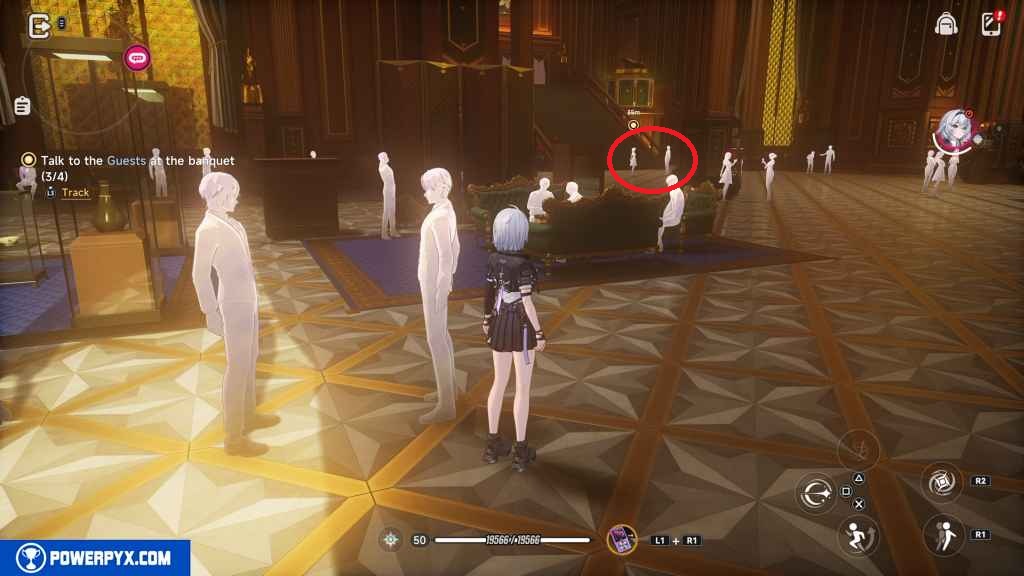
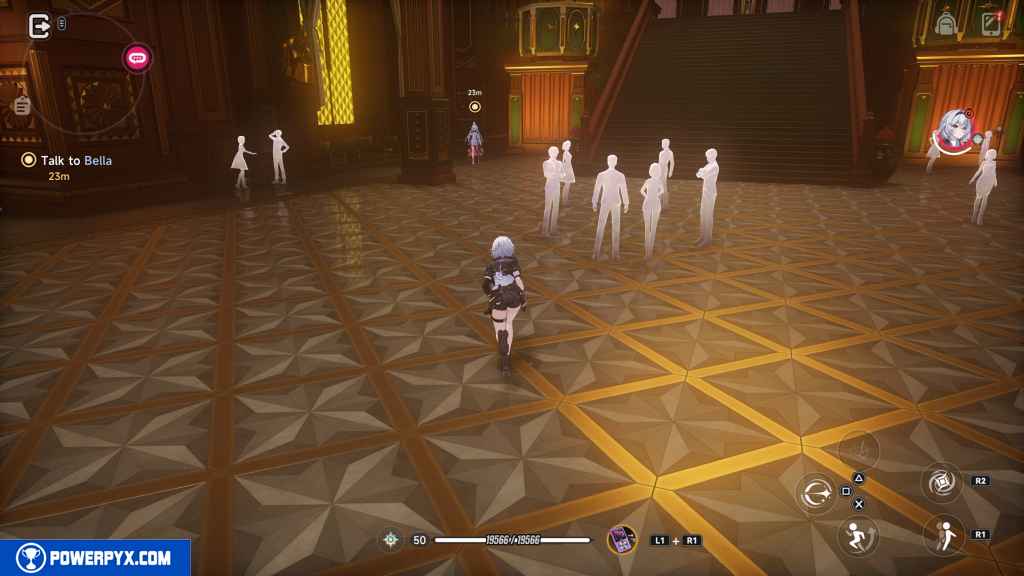
Talk to the Guests at the banquet (4) (The Actors?)
First, talk to the duo to the right of the carpeted chairs.

Next, talk to the two girls behind the fake wall.
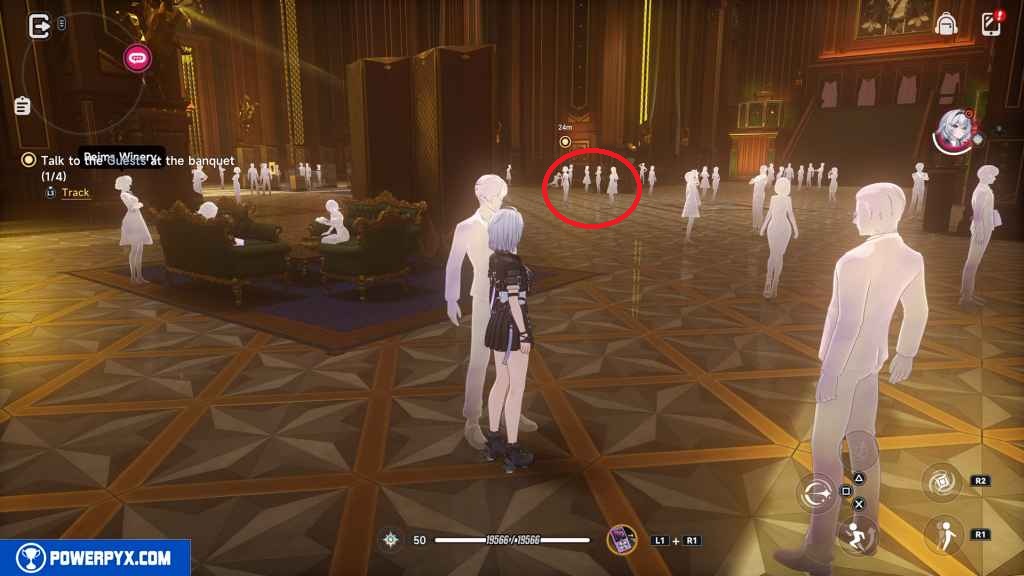
Then, go past the pillar to your left and interact with the two guys by the glass display.
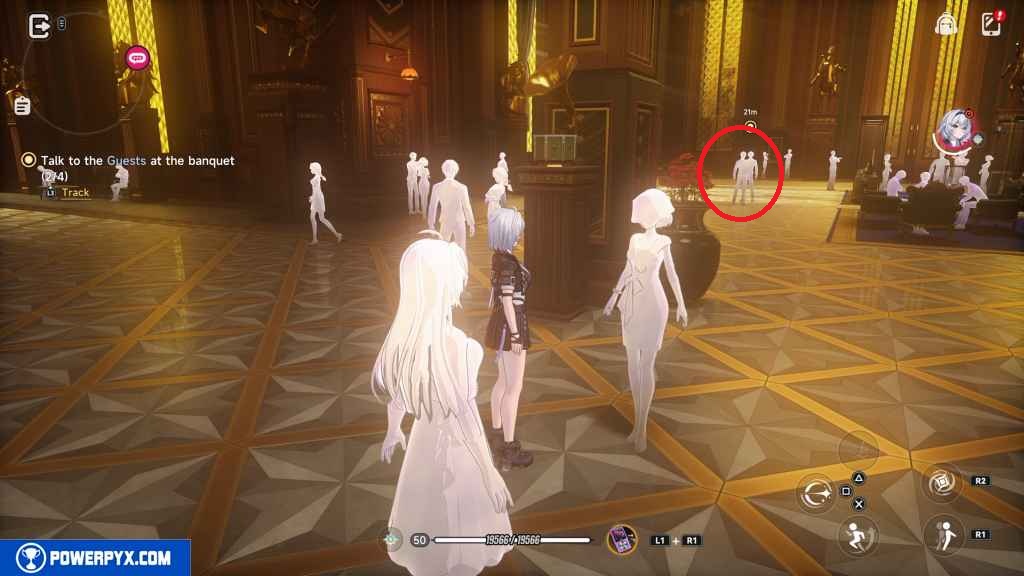
Finally, speak to the boy and girl in front of the stairs.
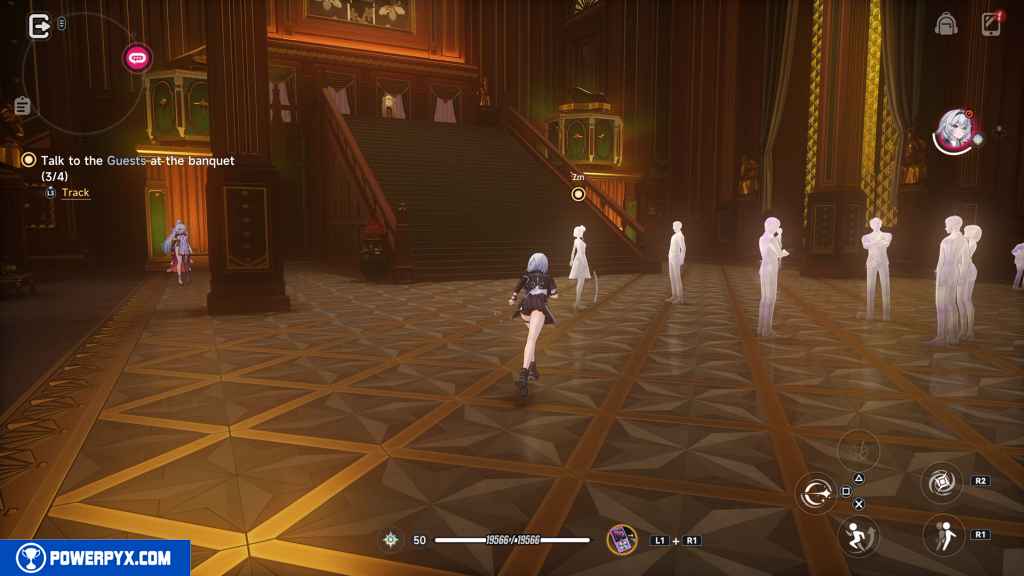
Talk to Bella (The Heroine?)
Find Bella to the left of the stairs.

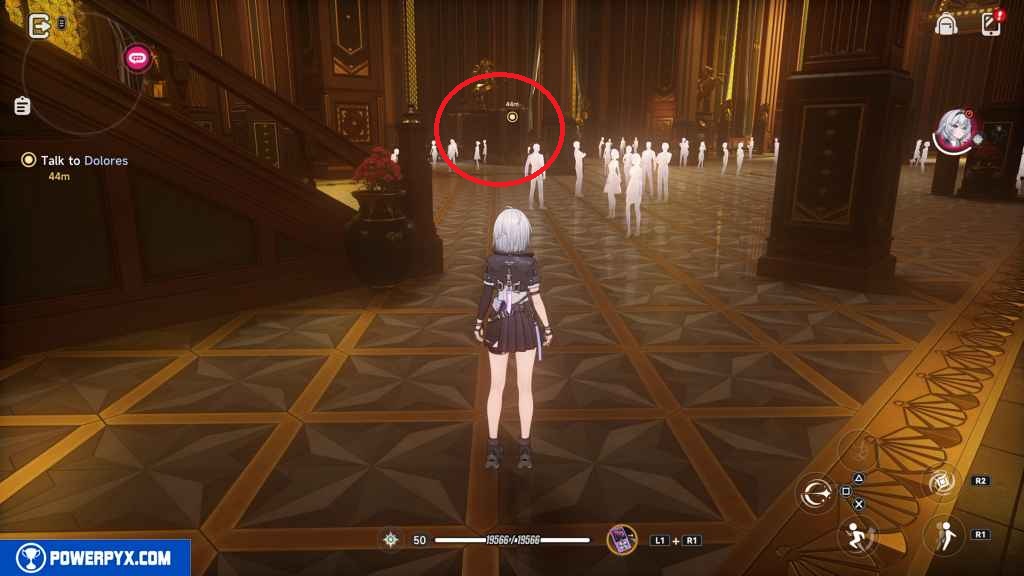
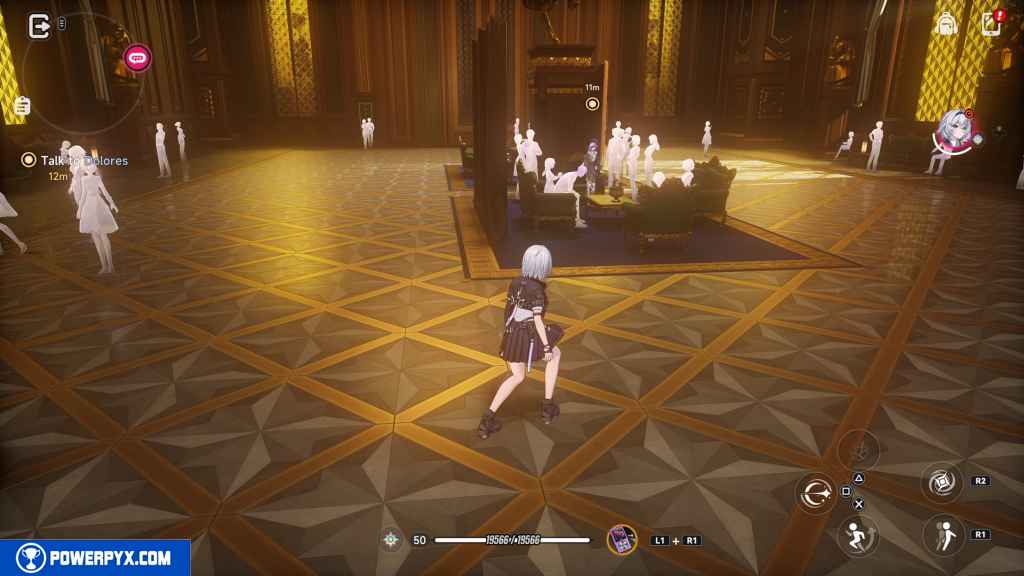
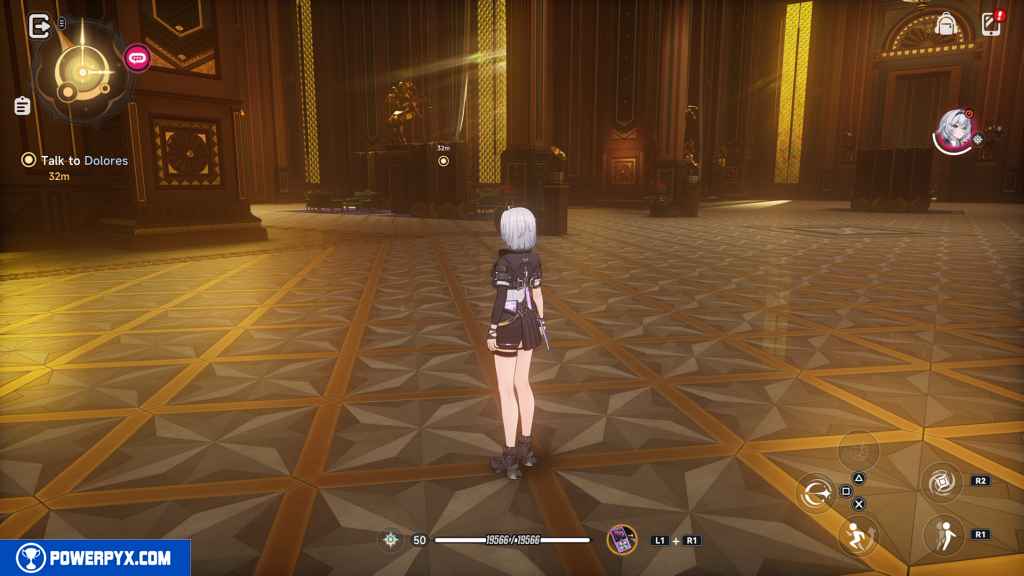
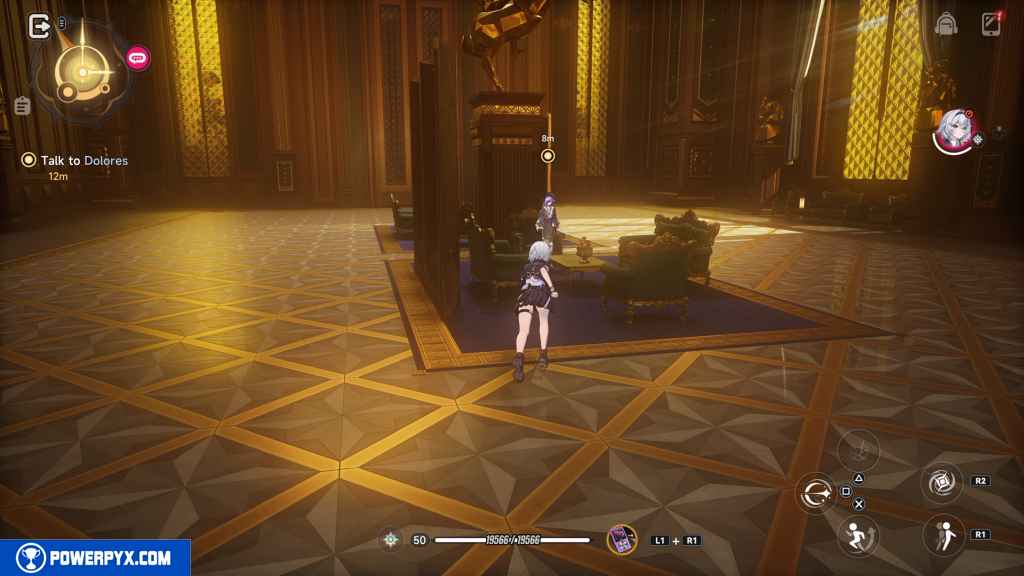
Talk to Delores (The Heroine?)
Head past the leftmost middle pillar and approach the lounge setup.
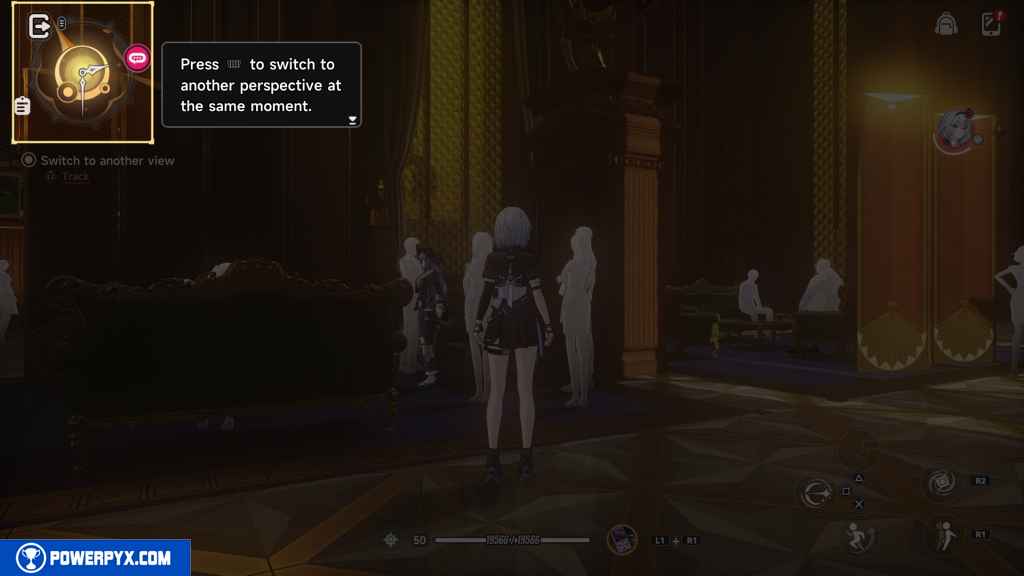
Switch to another view (Party’s Over? II)
Press the Touch Pad to switch to Nanally.
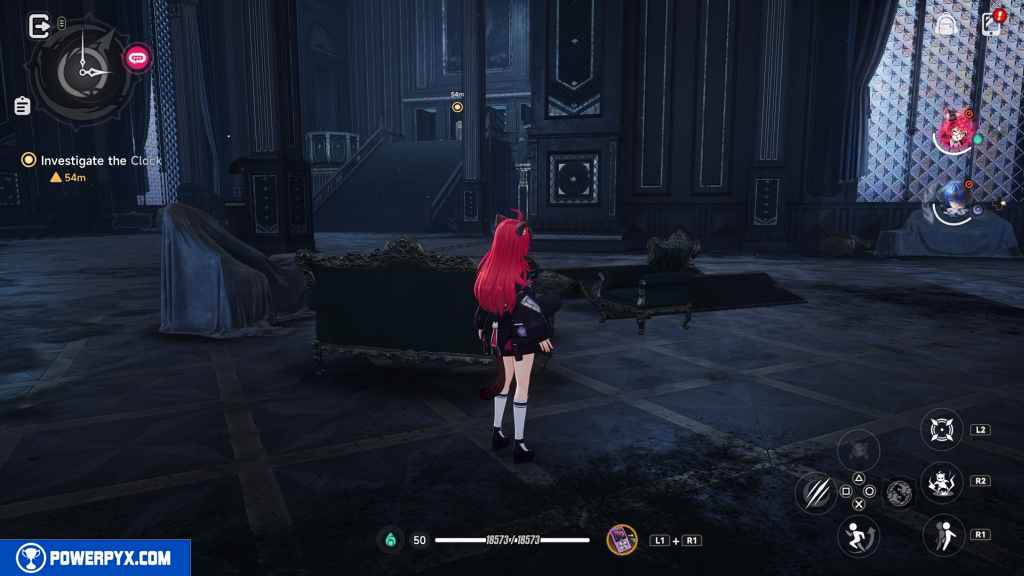
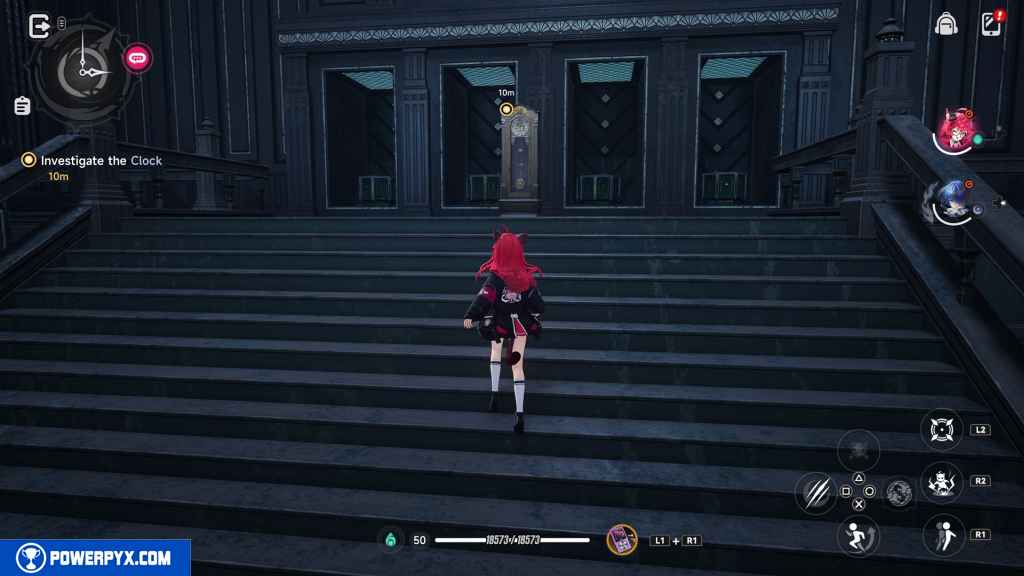
Investigate the Clock (Bide Your Time I)
Go up the stairs and approach the clock.
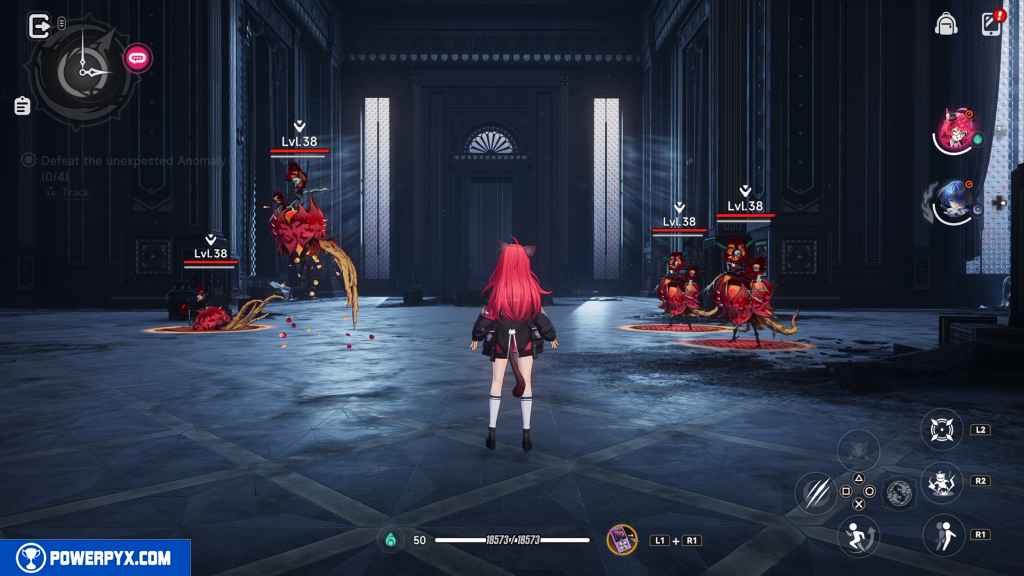
Defeat the unexpected Anomaly (4) (Bide Your Time I)
Four more of the Bulb Anomalies appear. Take them out.
Switch to another view (Bide Your Time II)
Press the Touch Pad to switch to Zero. This triggers a cutscene.
Talk to Delores (Happiness and Eternity)
Go back to the lounge setup past the leftmost middle pillar once again.
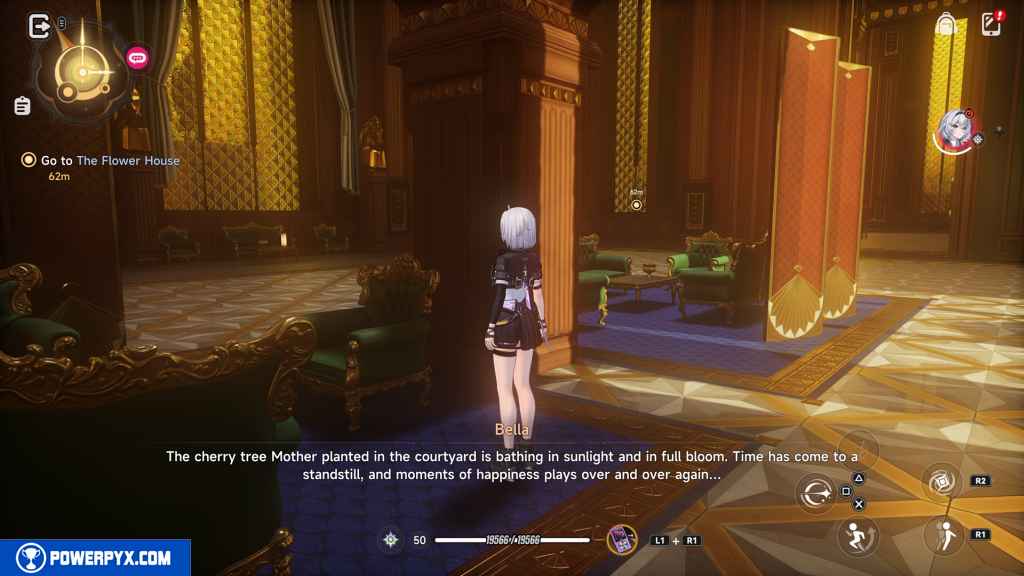
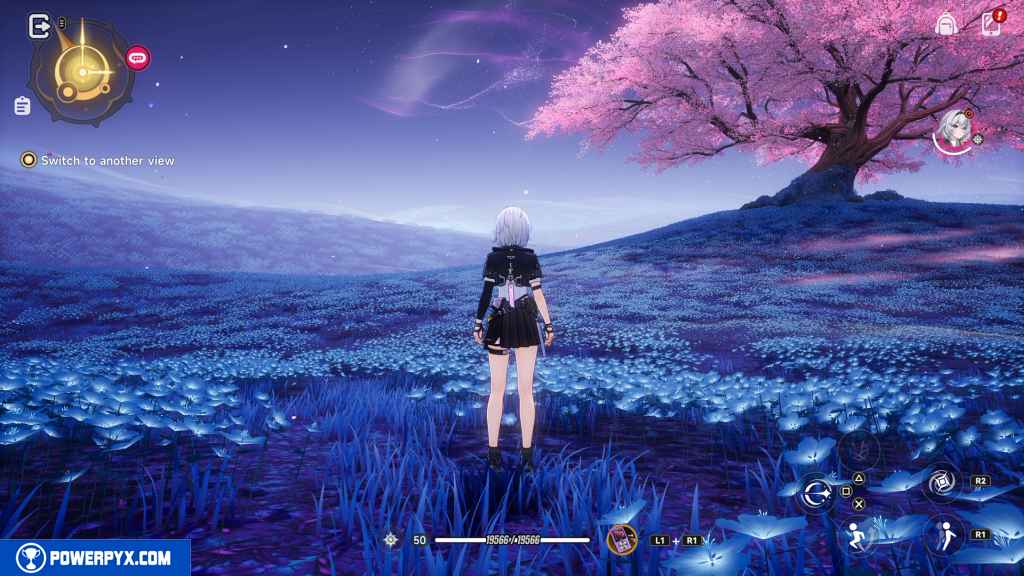
Go to the Flower House (Cherry Blossom-Tinted Memories I)
When you regain control, leave the room using the door to your right.
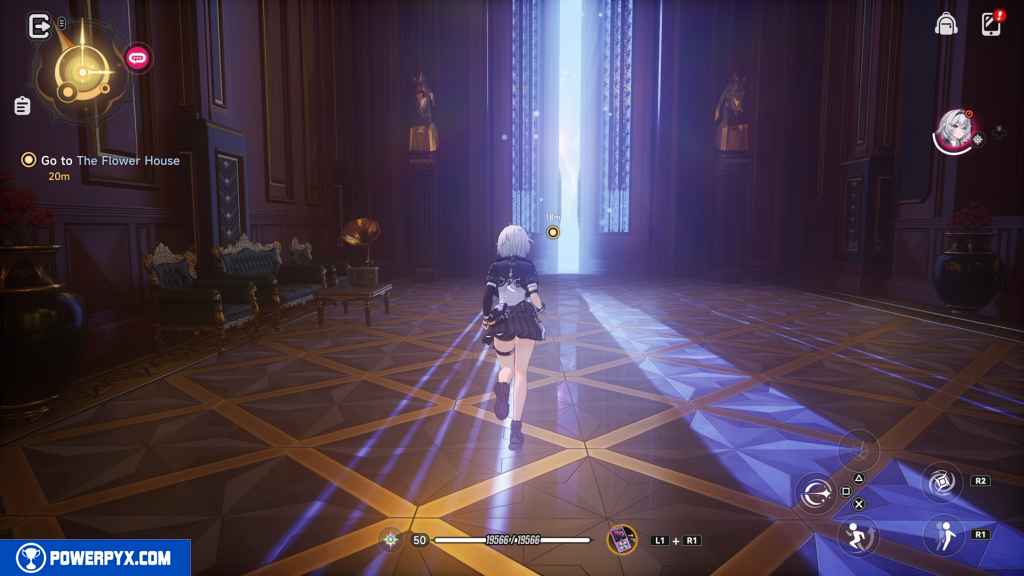
Go left and pass through the glowing doorway.
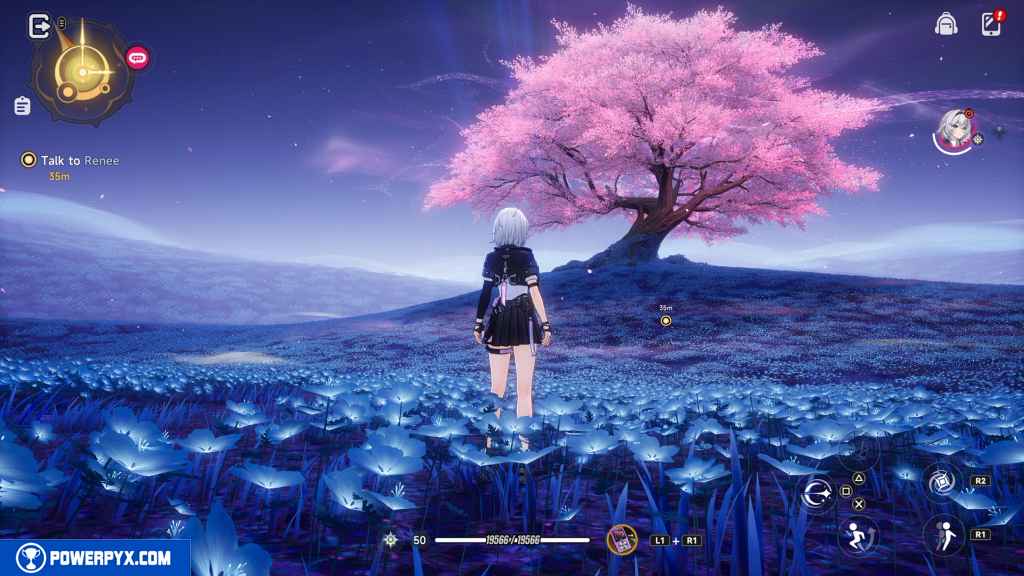
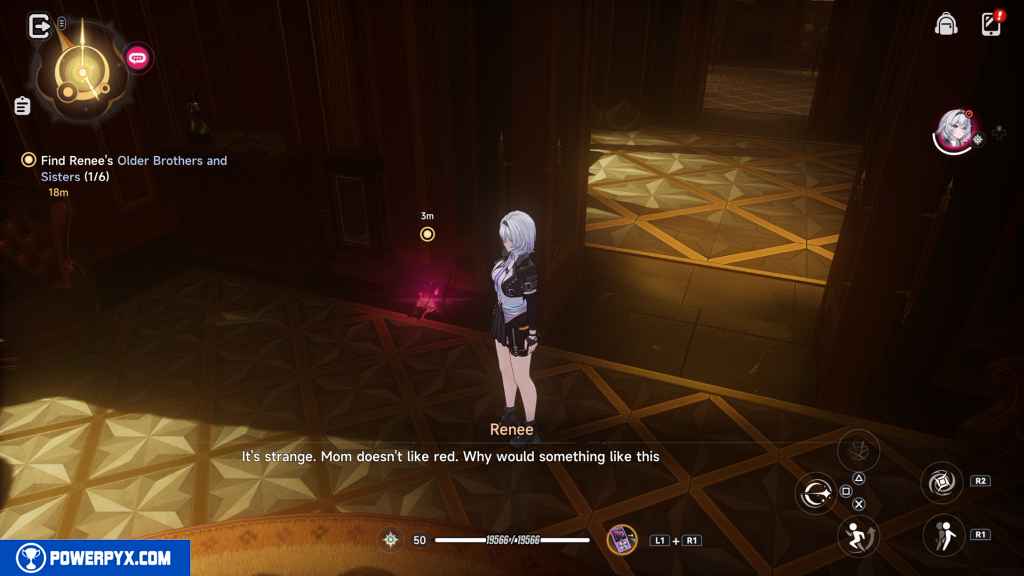
Talk to Renee (Cherry Blossom-Tinted Memories I)
Approach the large cherry blossom tree.
Switch to another view (Cherry Blossom-Tinted Memories II)
Press the Touch Pad to switch to Nanally. This triggers a cutscene.
Defeat the unexpected Anomaly (4) (Faded Echoes I)
Take out the four Bulb Anomalies.
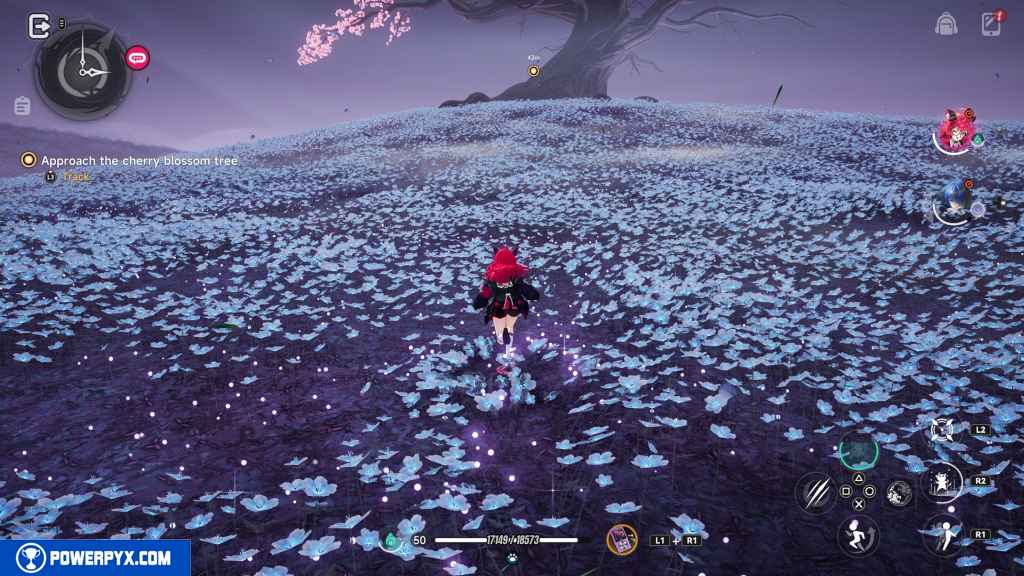
Approach the cherry blossom tree (Faded Echoes II)
Run up to the tree to progress the quest.
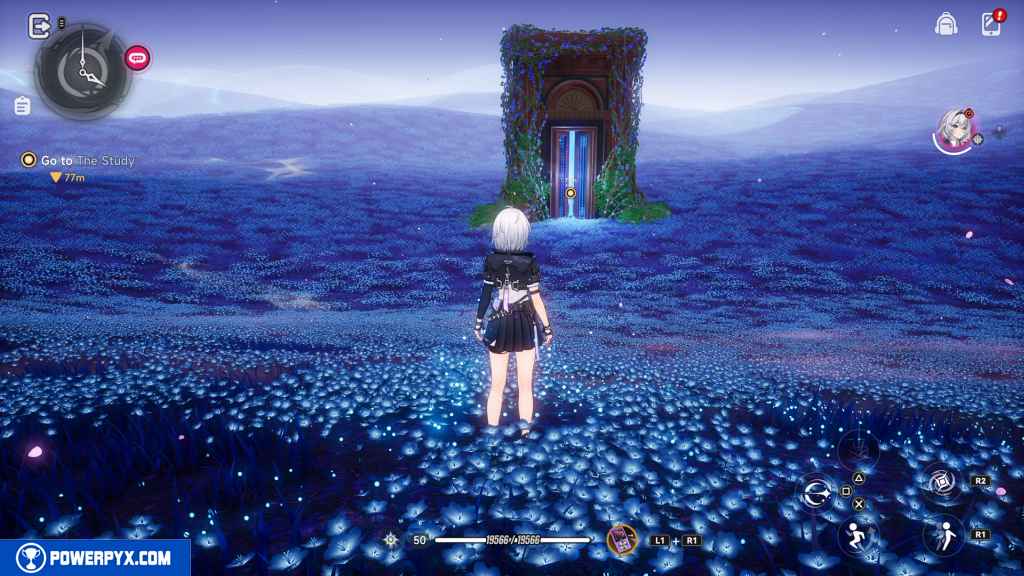
Go to The Study (Unsealing the Past I)
Turn around and go back through the glowing doorway.
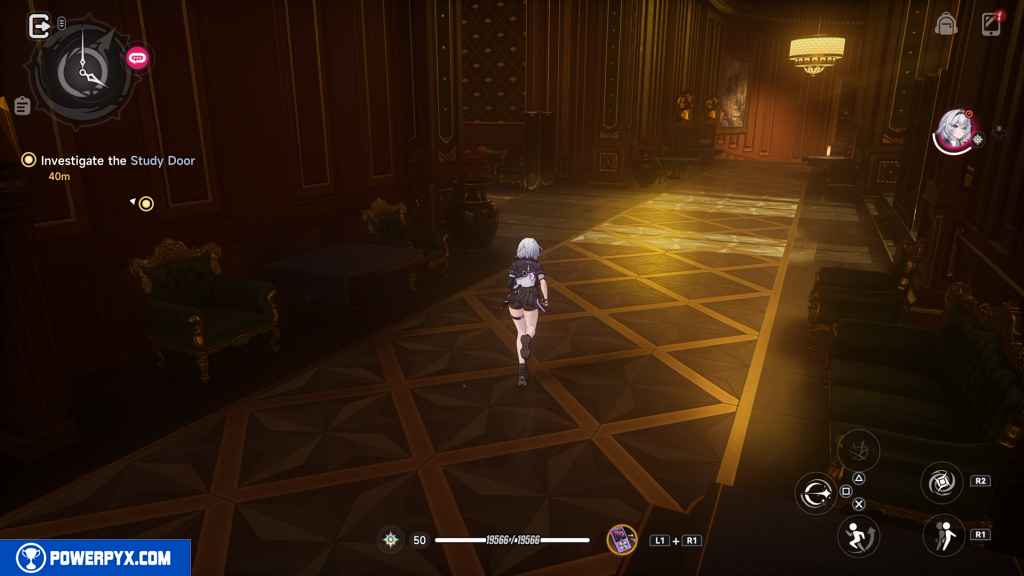
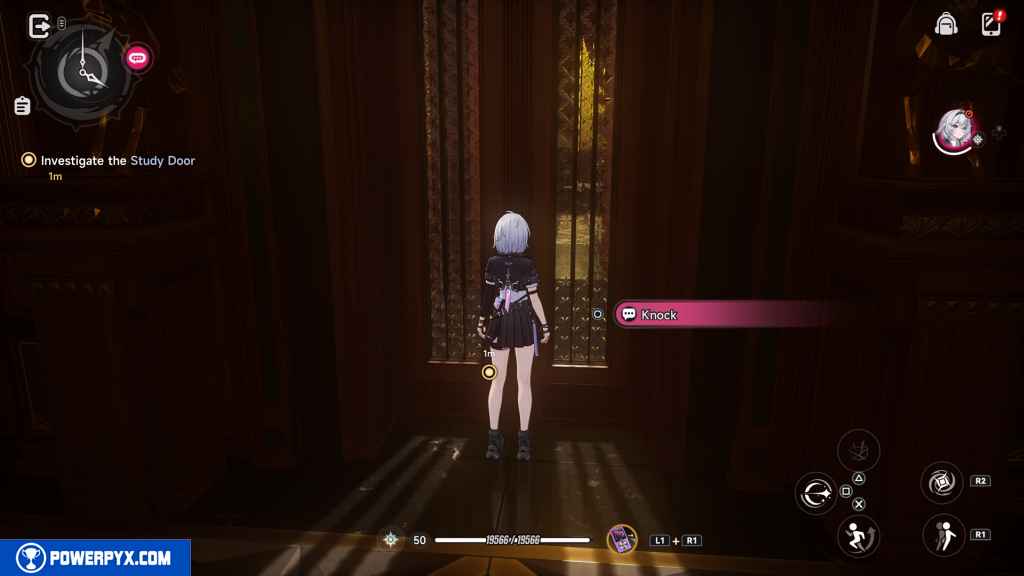
Investigate the Study Door (Unsealing the Past I)
Go left back into the room with pillars and climb the stairs.
At the top, go either left or right up some winding steps.
At the top, take the only turn and interact with the door at the end of the new hallway.
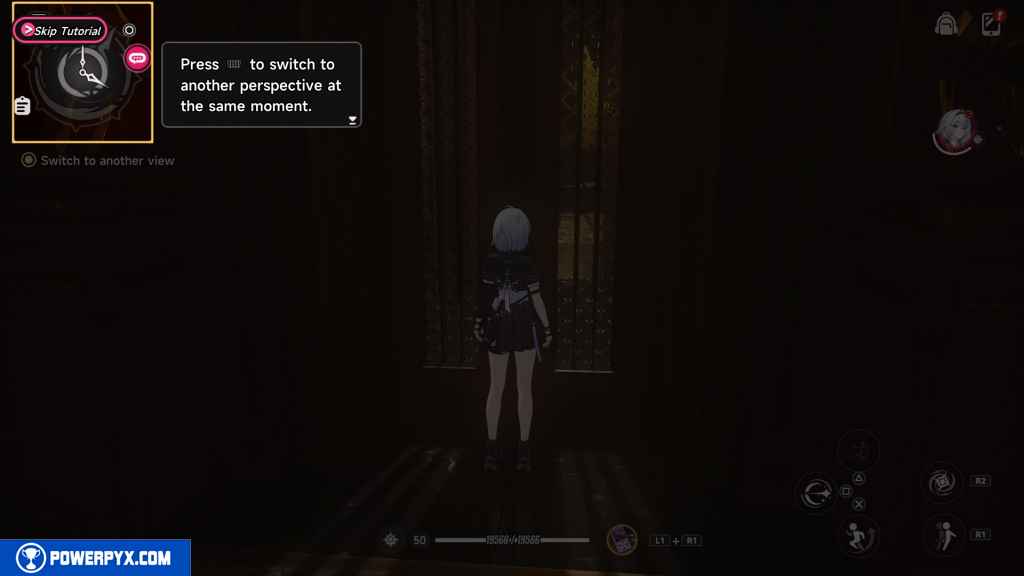
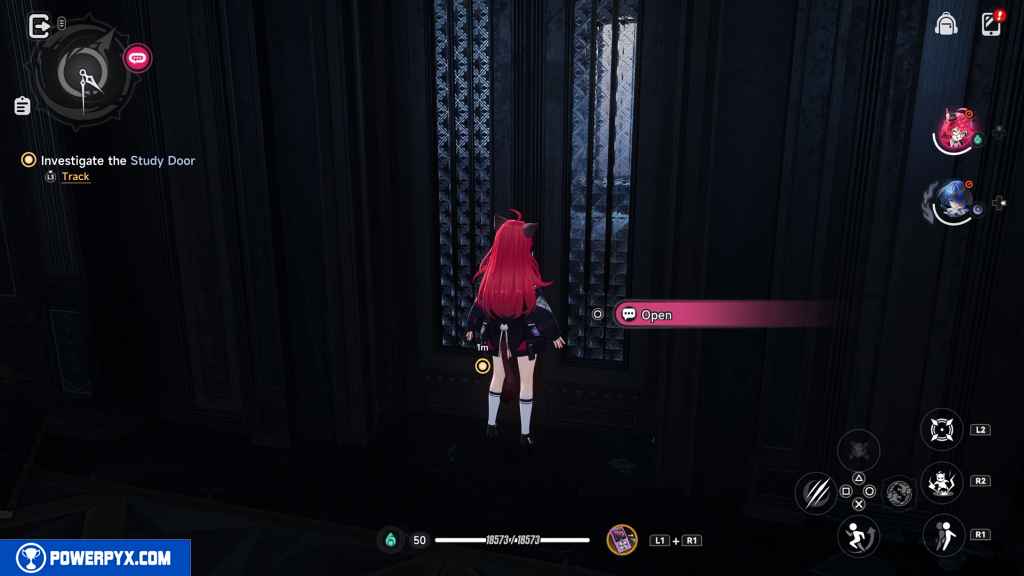
Press the Touch Pad to switch to Nanally.
Interact with the door again to progress the quest.
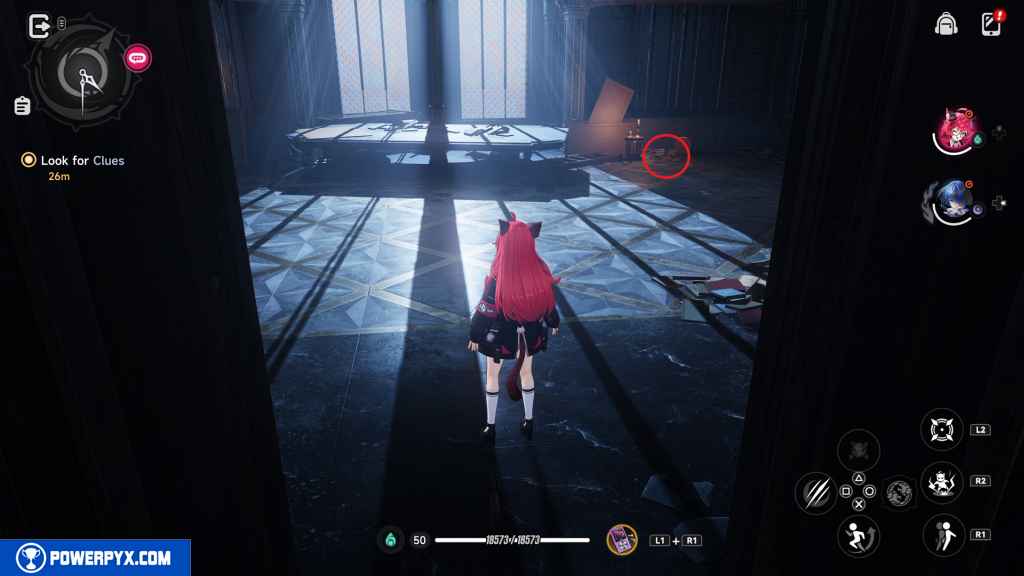
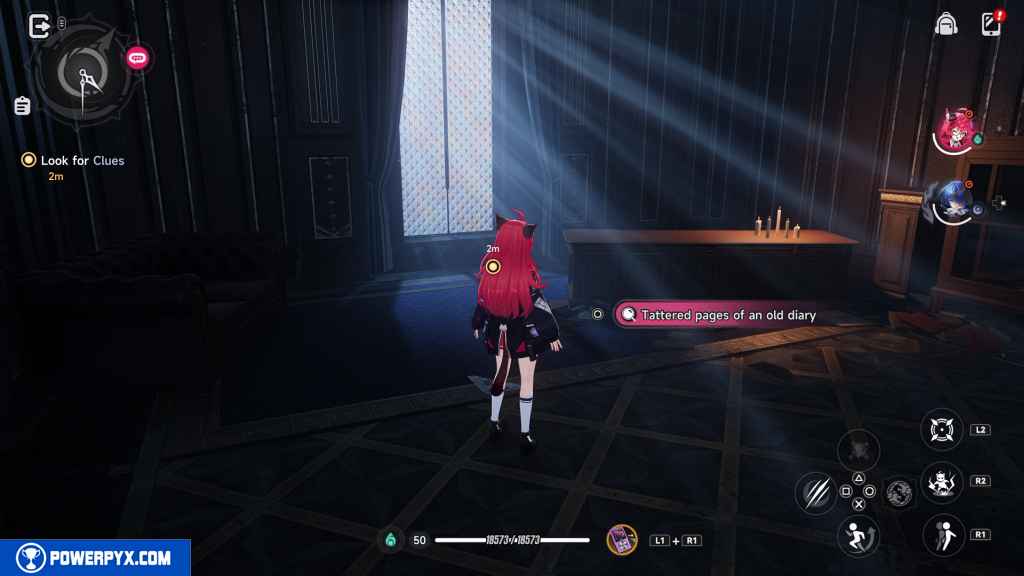
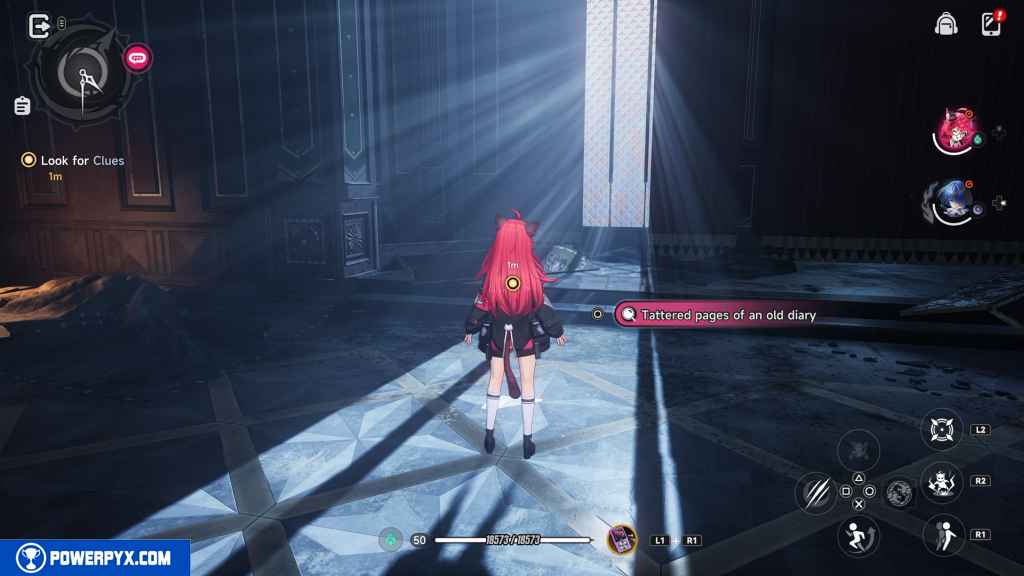
Look for Clues (Scattered Memories)
Step inside and interact with the fragile paper on the desk.
Leave the room again and go right into a different area and take another right into a new room.
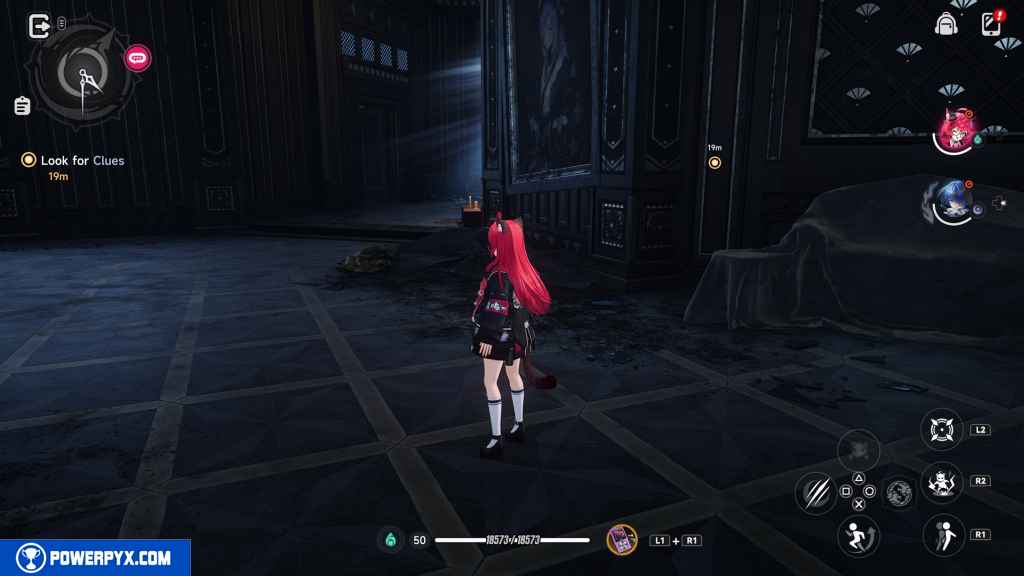
Interact with a Tattered pages of an old diary.
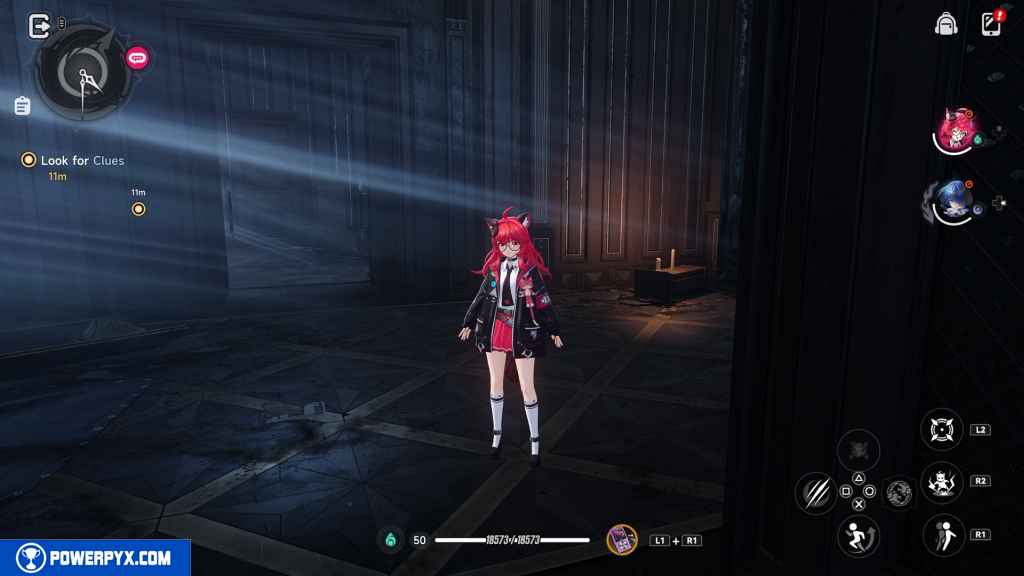
Leave this room and interact with another tattered page of an old diary in the hall.
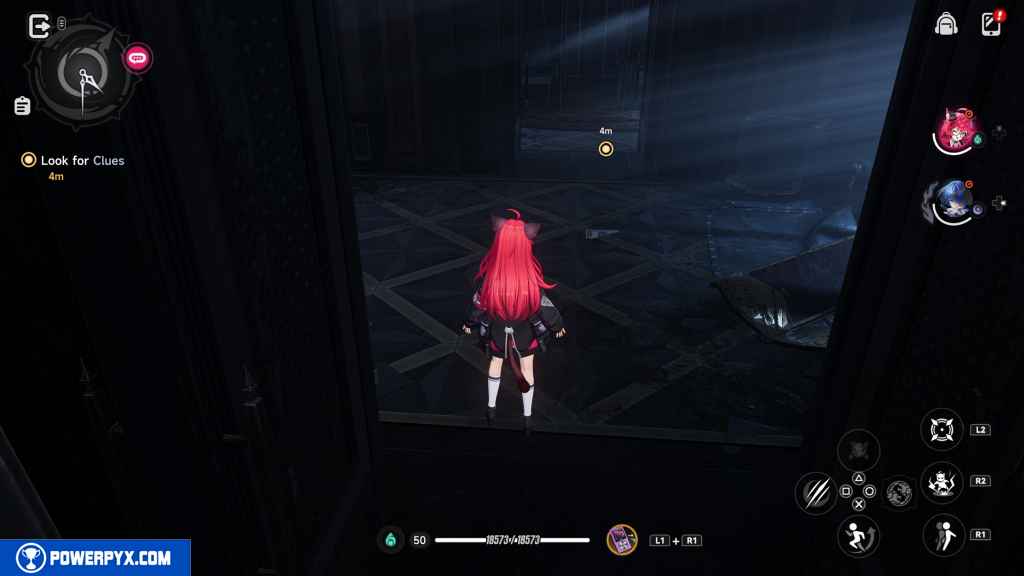
Turn left and cross the hall. Find another page on the floor in front of the couch.

Turn around and go left.
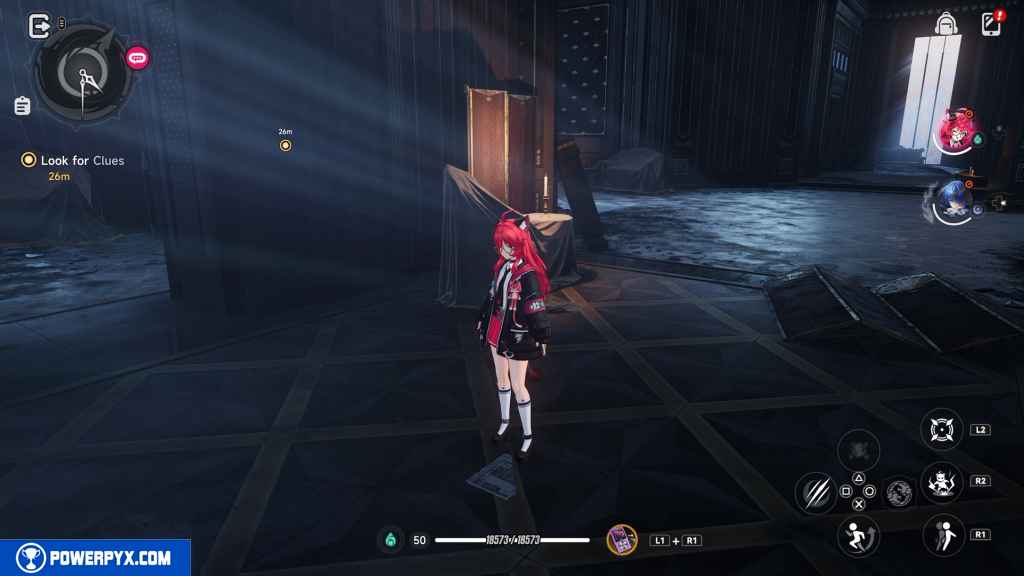
Find another page in front of the glowing window.
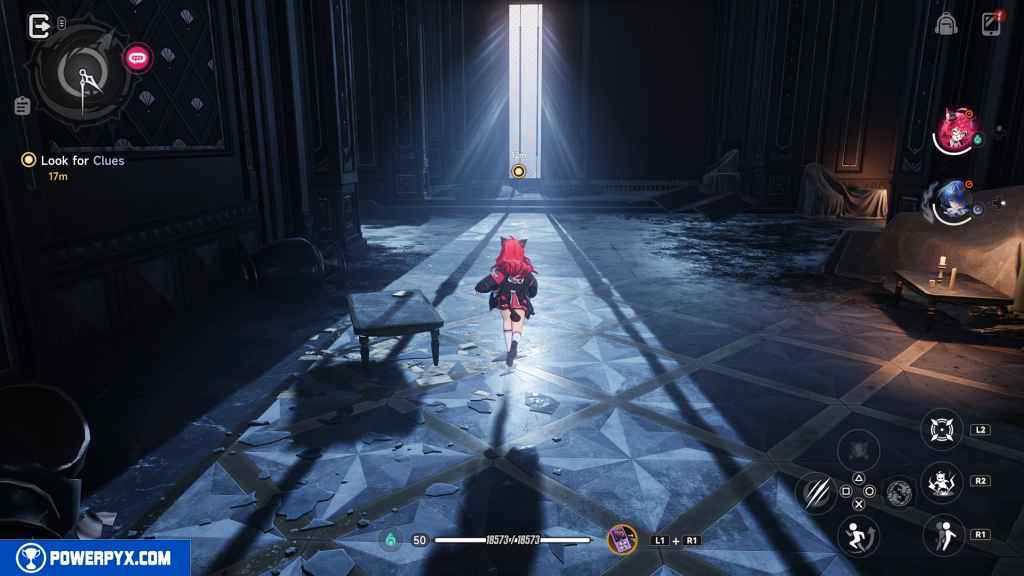
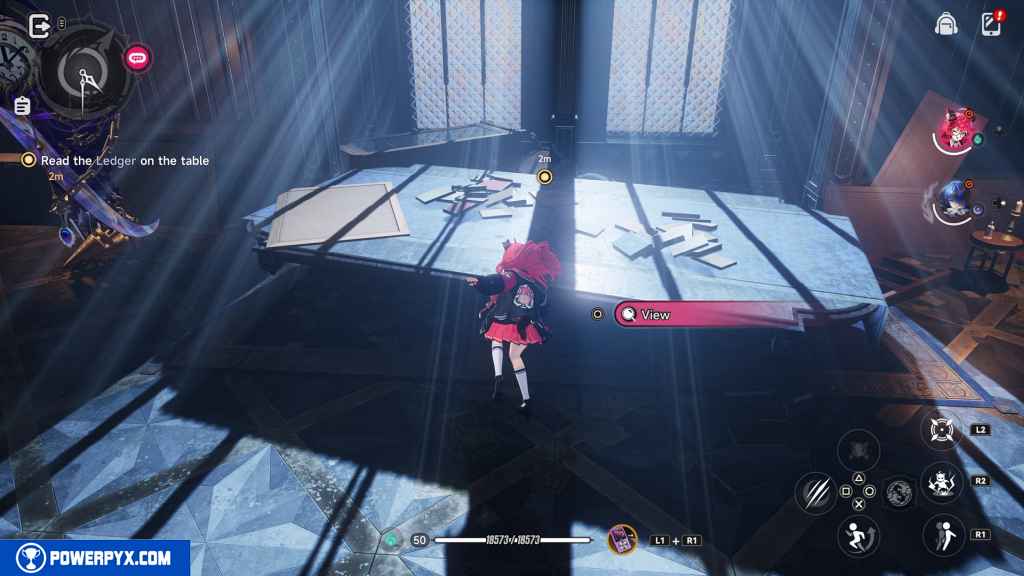
Read the Ledger on the table (Debt of Time I)
Turn around and head back into the room at the end of the hall.

Click on the ledger on the table.
Switch to another time (Debt of Time II)
Press the Touch Pad to switch to Zero. This triggers a scene.
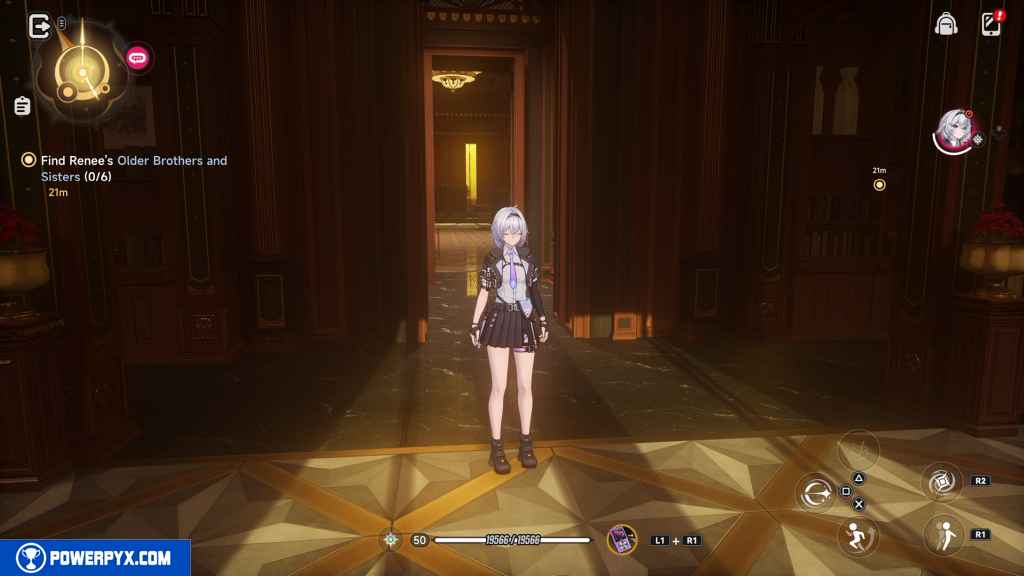
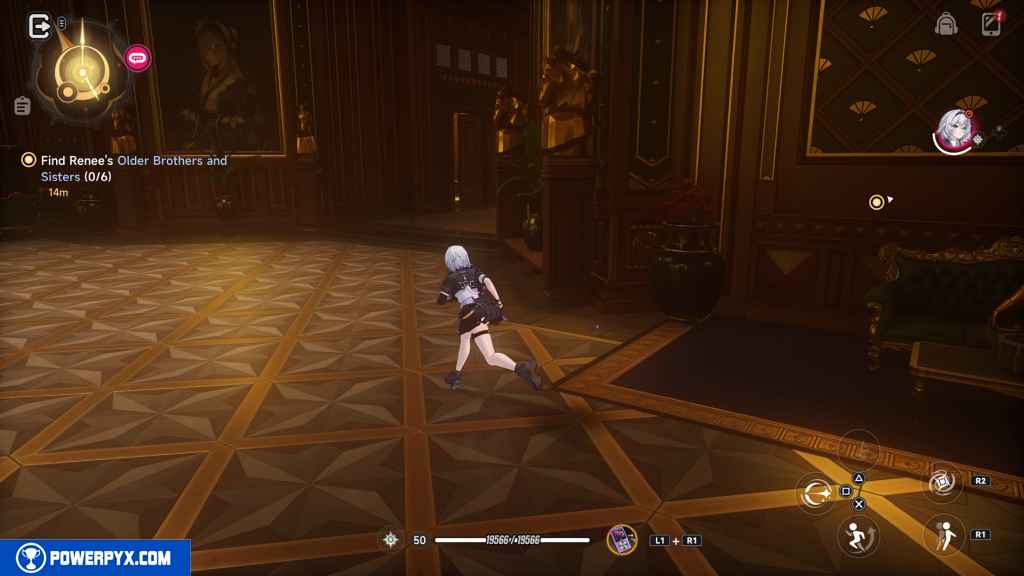
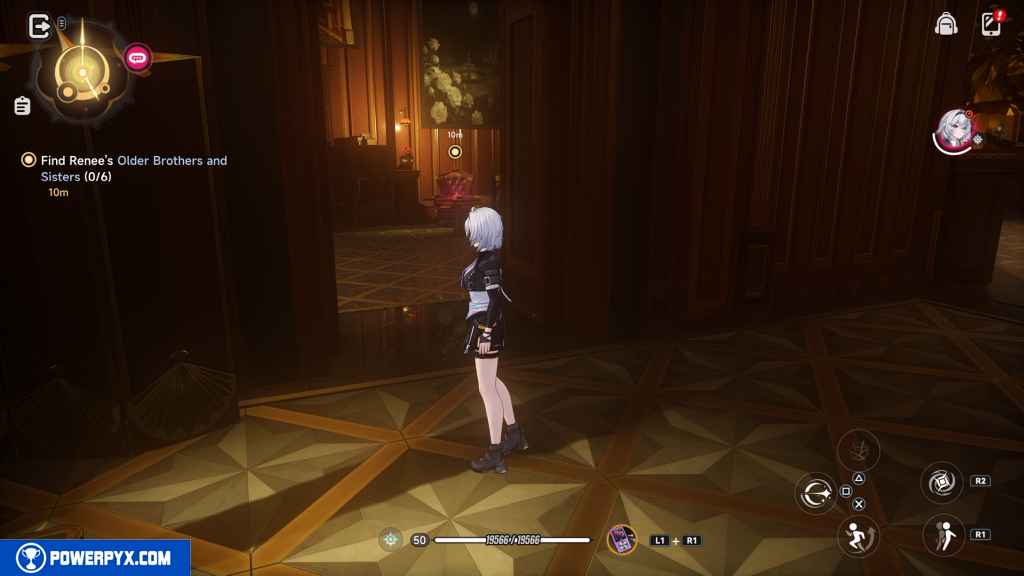
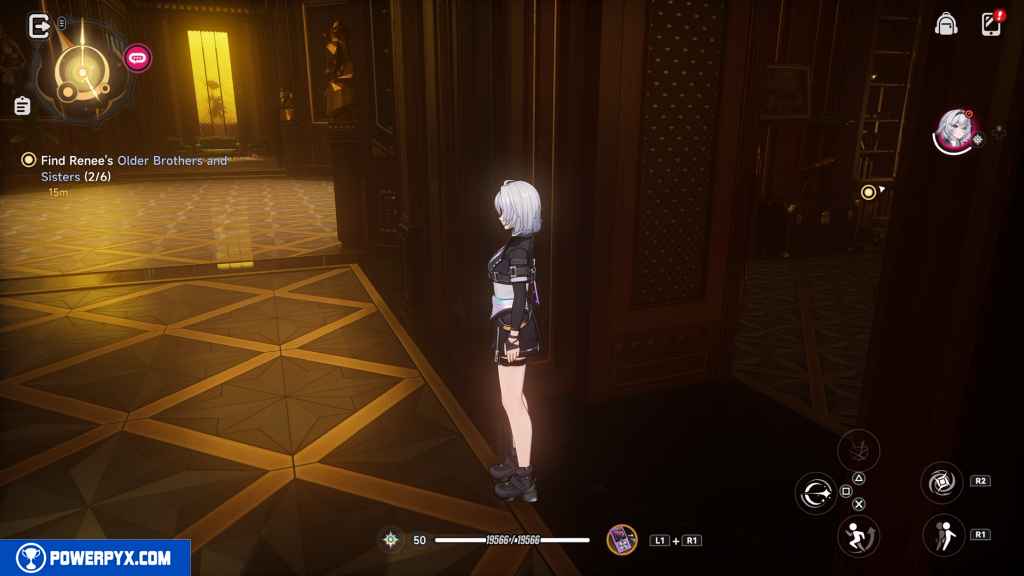
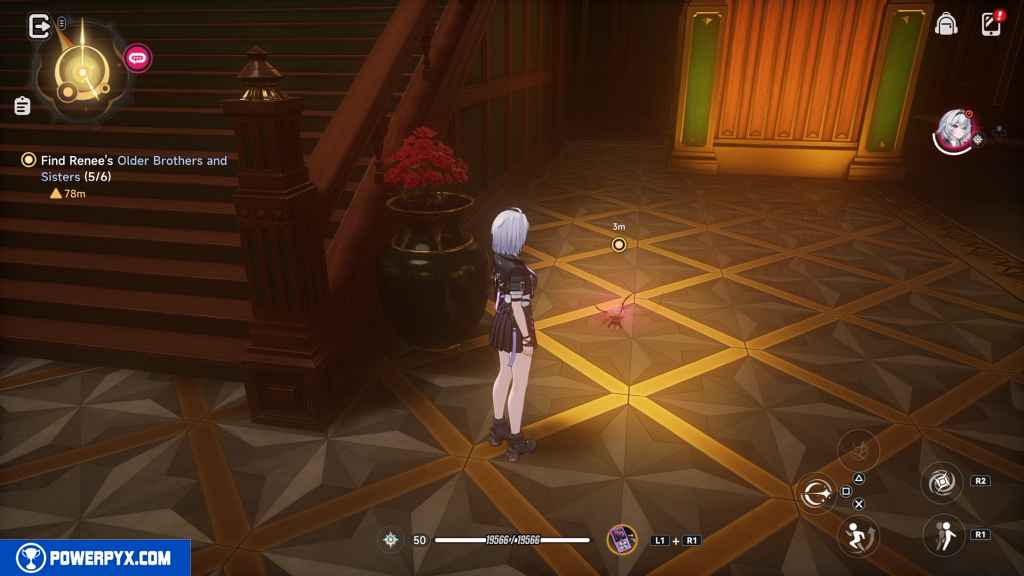
Find Renee’s Older Brothers and Sisters (6) (Find “Them”)
Leave the room and go right.
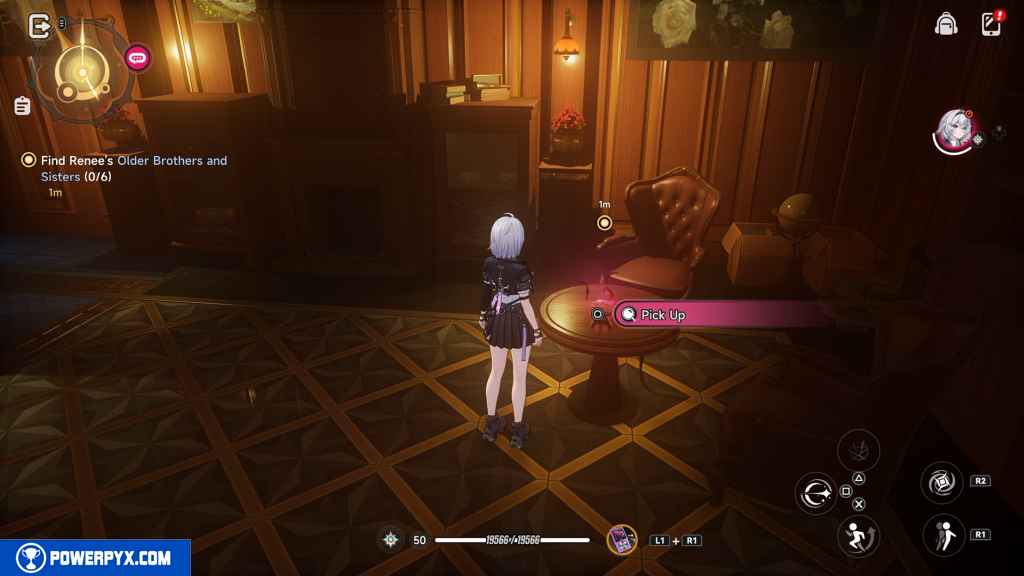
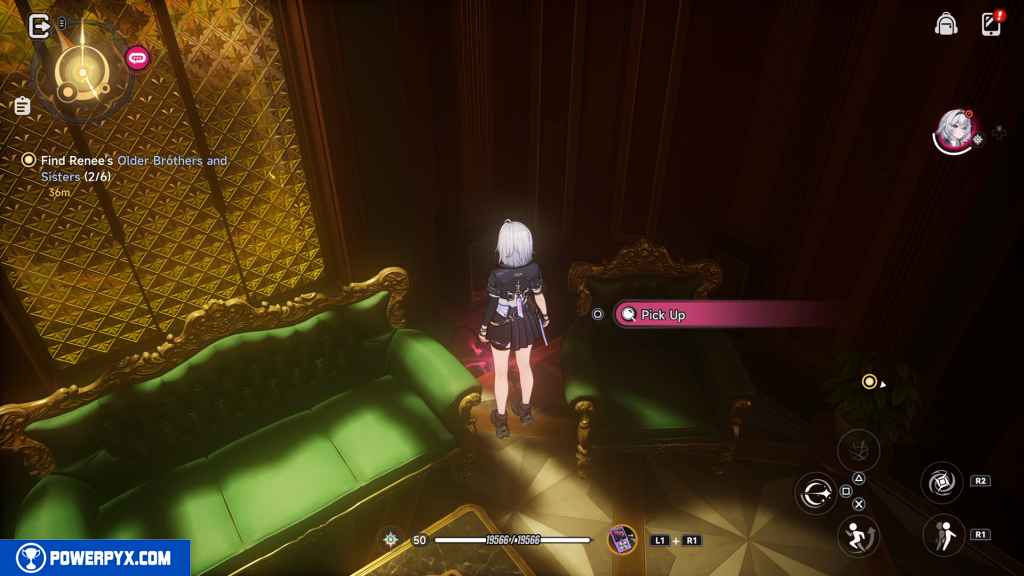
Take another right into the room. Pick up the doll on the table.
Leave the room and enter the one directly across the way.
The next one is on the floor just inside the door to your right.
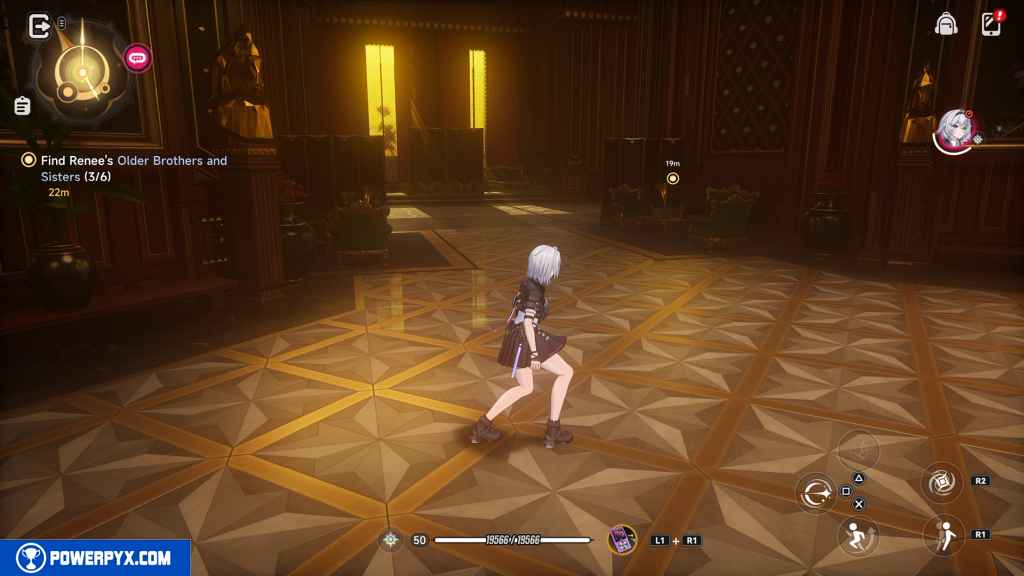
Go right out of the room and run across to the area across the hall. The marker says to go right, but you can actually pick these up out of order.
Pick this up from between the couch and the chair to your right.
Turn around and head left.
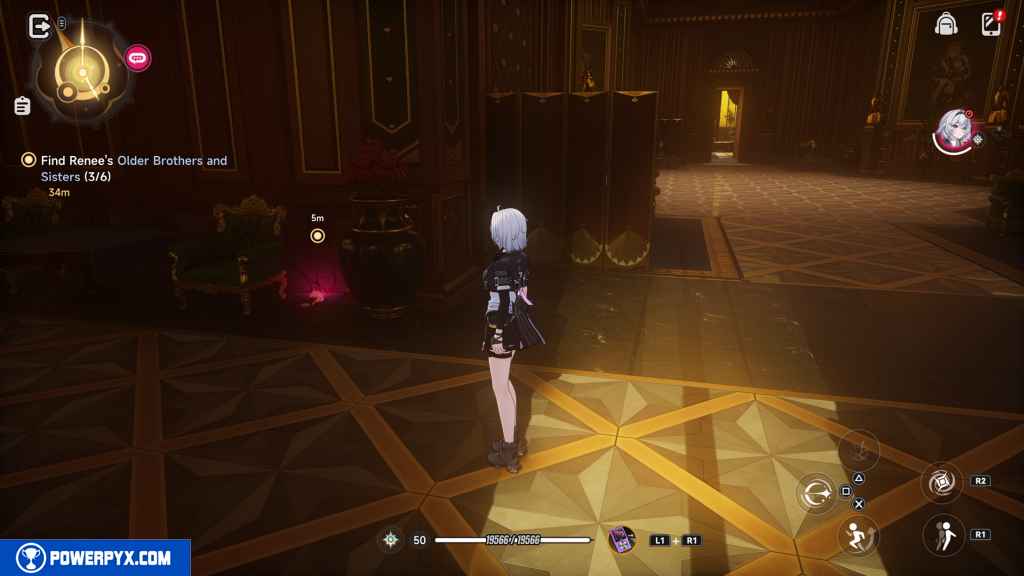
Find the fourth one to your right just behind a large vase on the ground.
Turn around and grab the doll from behind the false wall opposite the vase.
Now, head back down the winding stairs that led you up to this area a while ago.
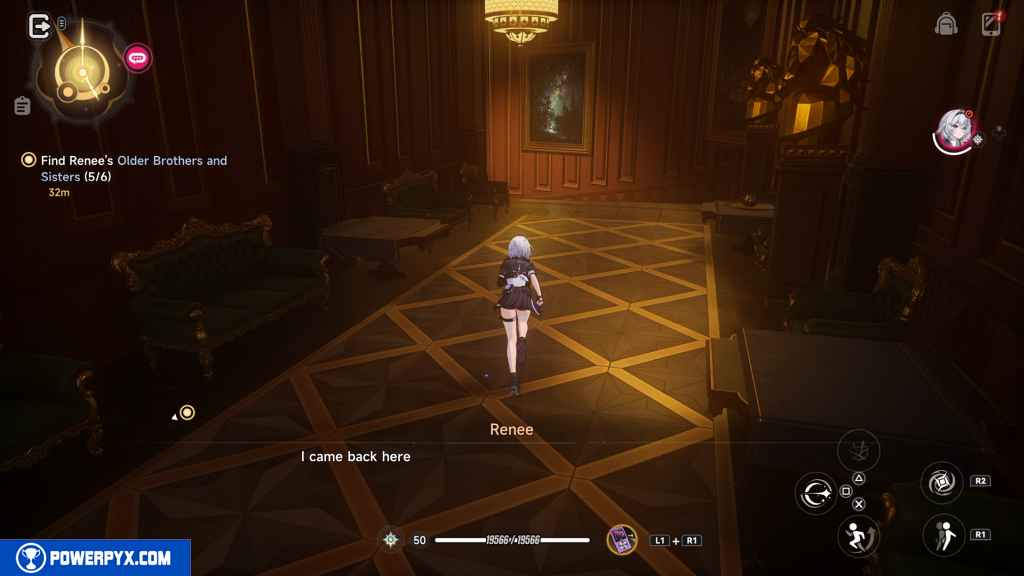
Go down the stairs and find the last doll to your left just off the stairs. This triggers a cutscene.
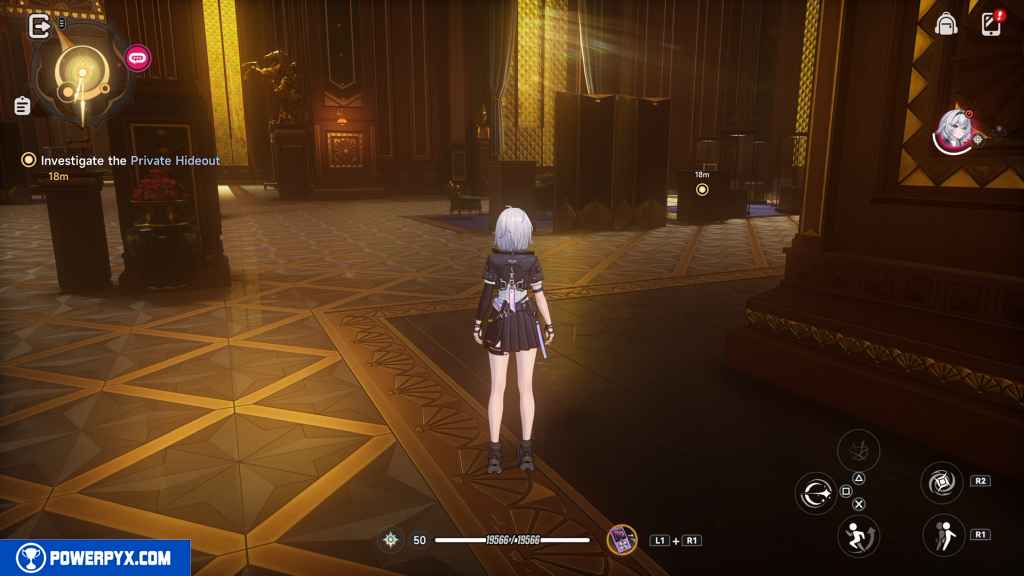
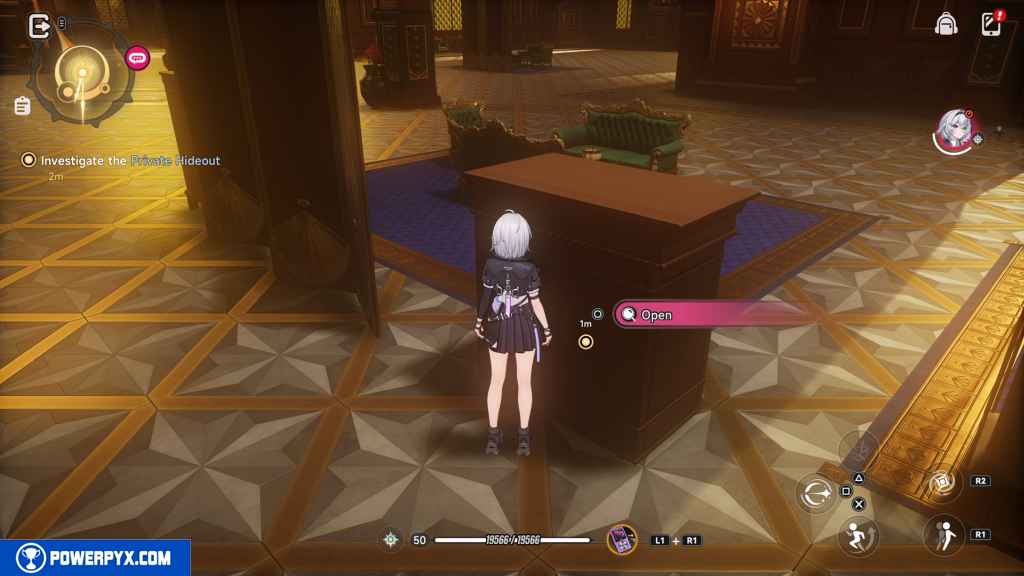
Investigate the Private Hideout (And “Her”)
Approach the lounge area in front of you. Interact with the display on the right.
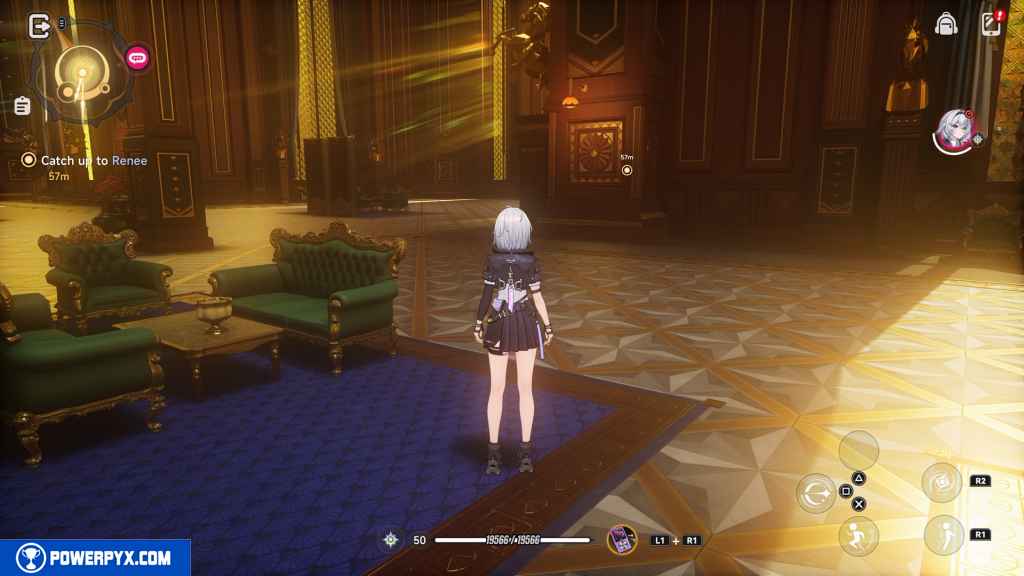
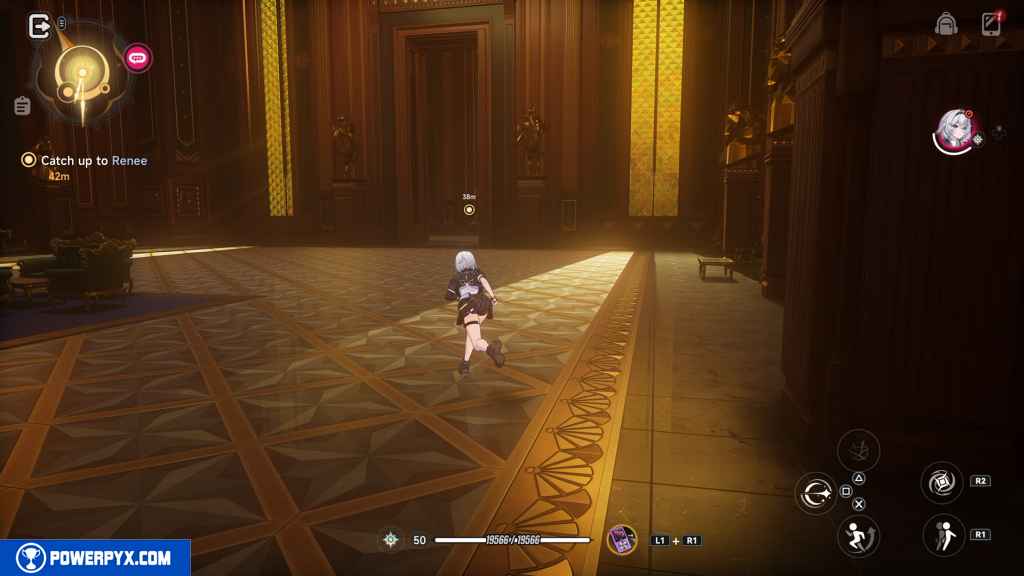
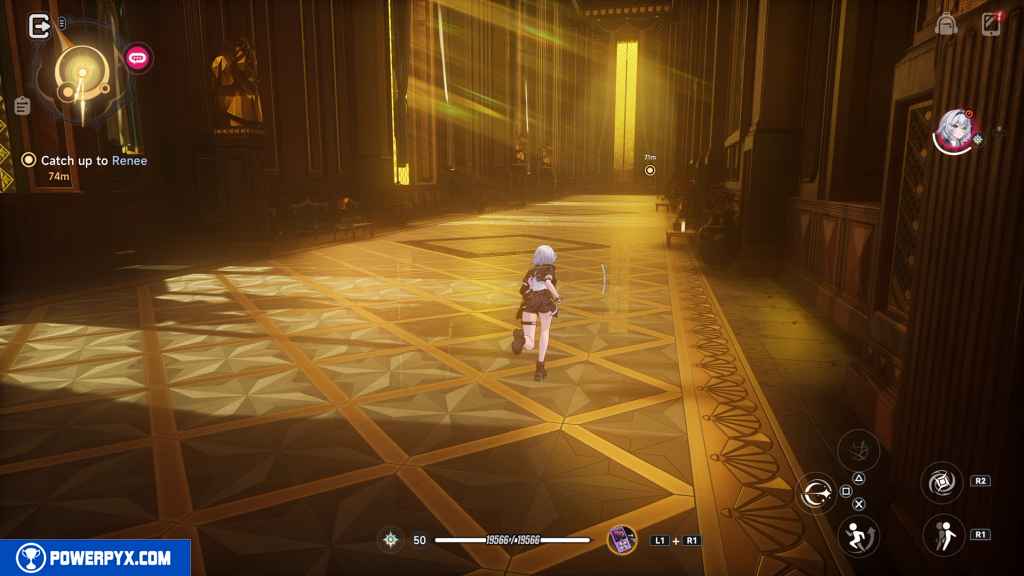
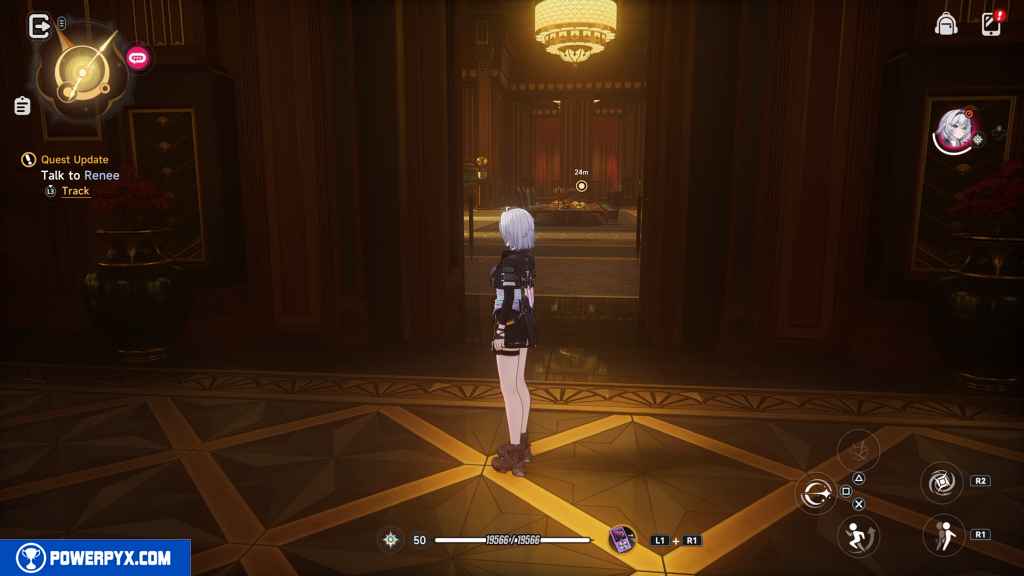
Catch up to Renee (The Betrayer)
When you regain control, go forward and pass through the large doors.
Turn right and run down the hall until you find a door on your right.
Enter the dining room.
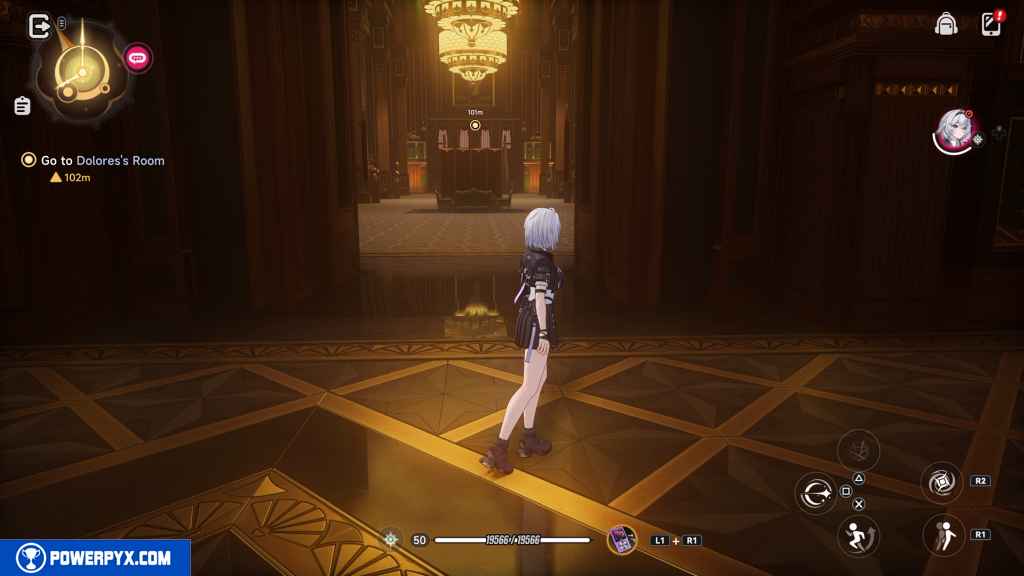
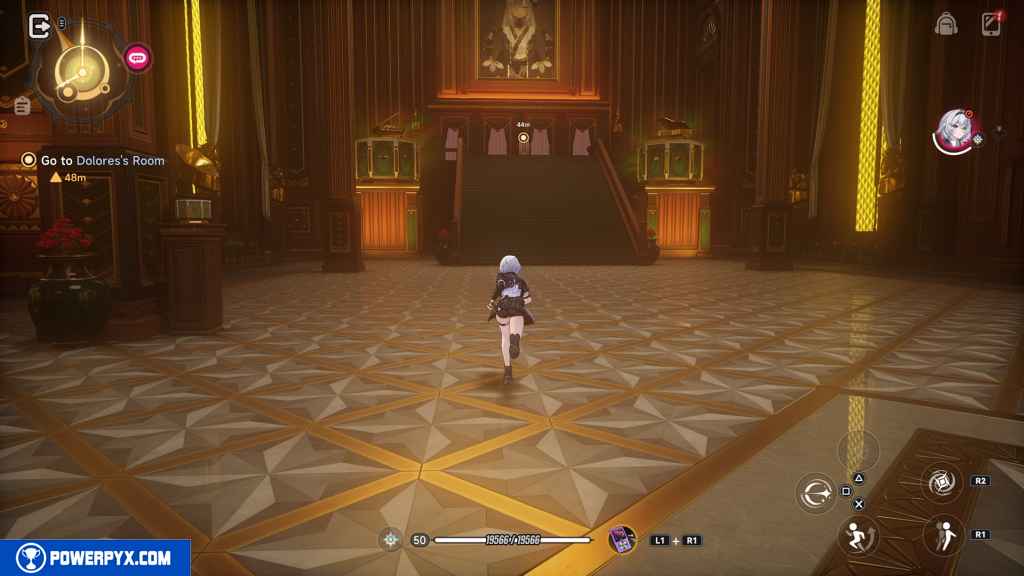
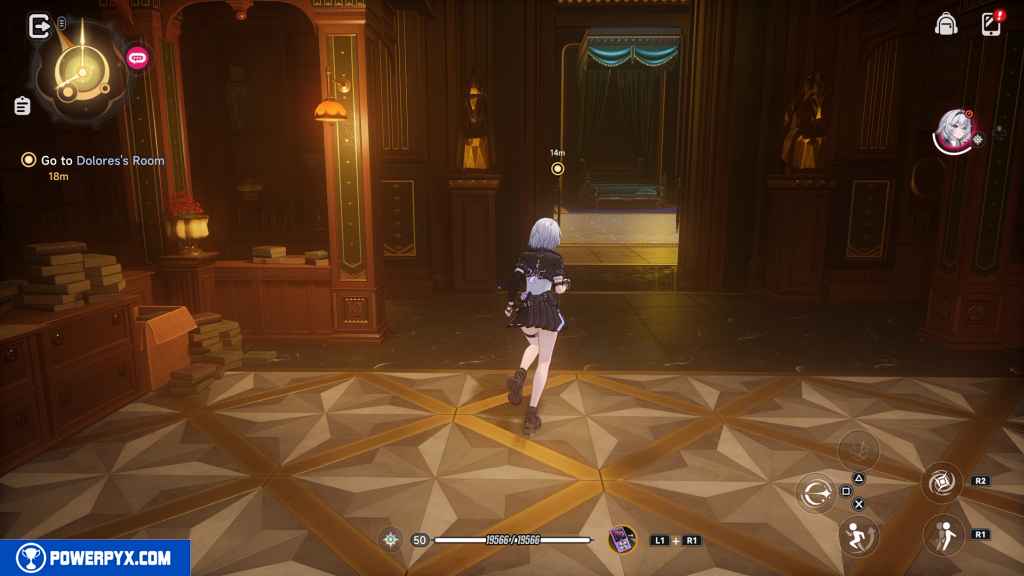
Go to Dolores’s Room (Love, Death & Puppets)
Leave the dining room the way you entered it.
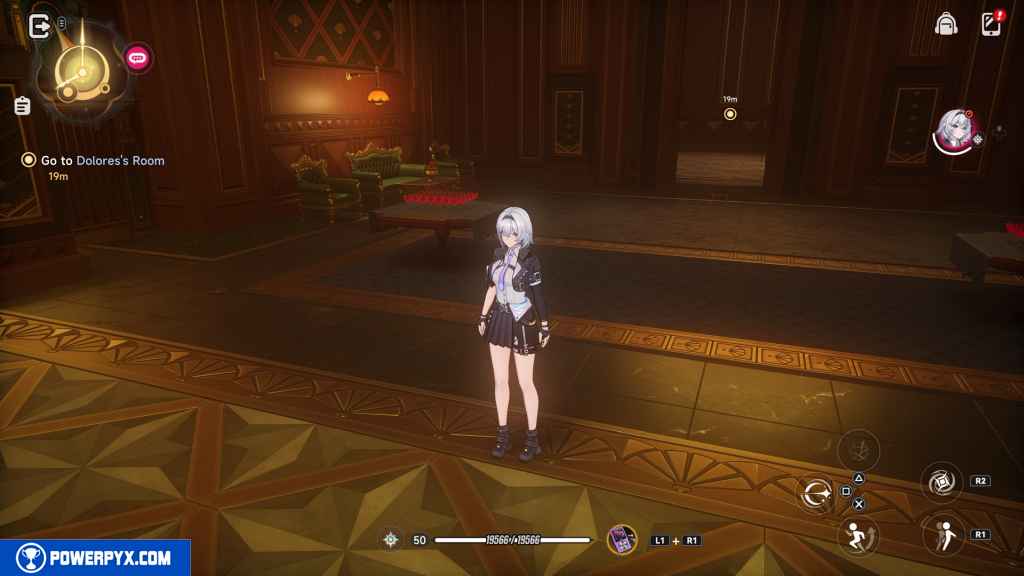
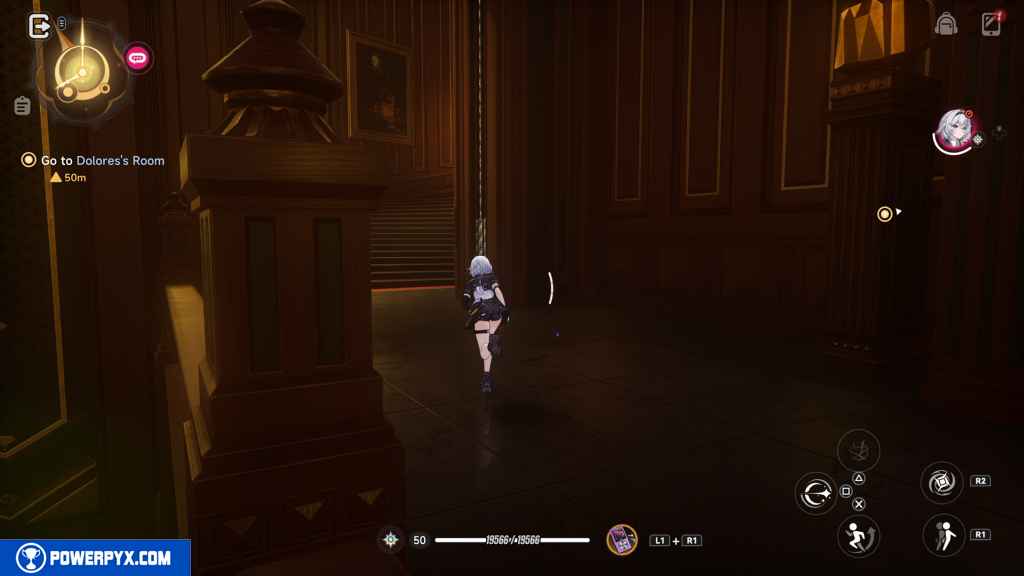
Head back down the hall and re-enter the pillar room.
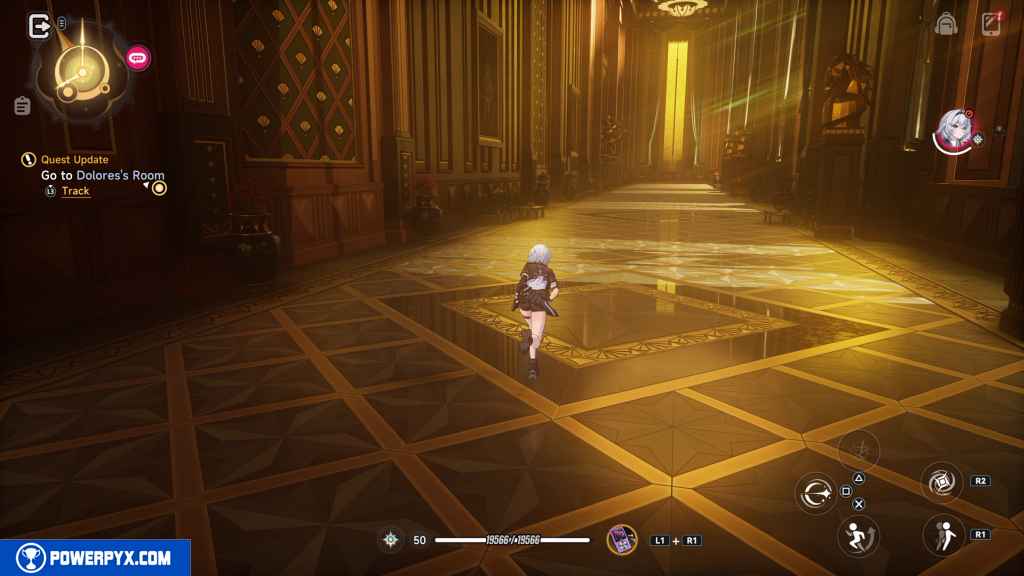
Climb the stairs once again.
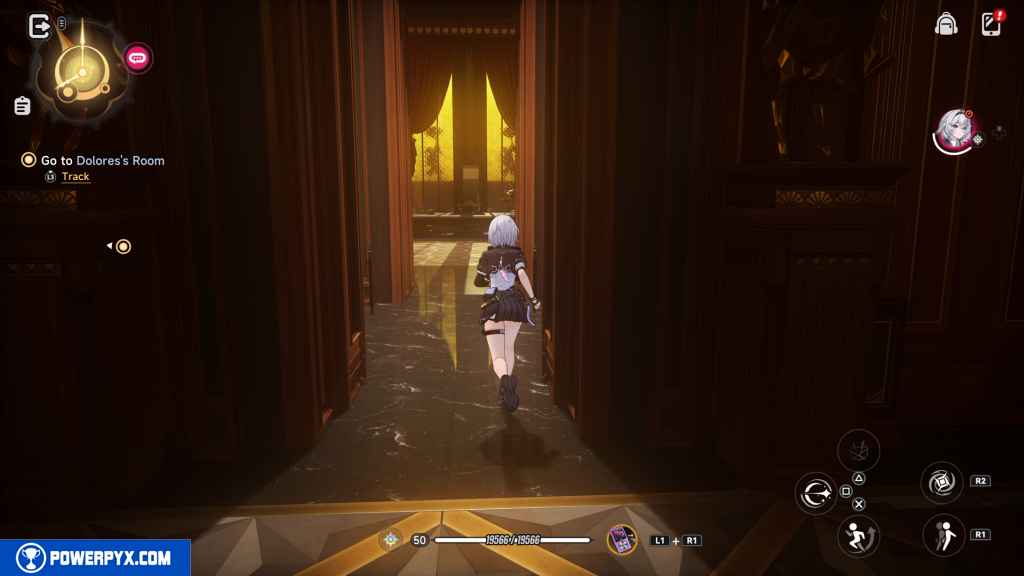
Go back up the winding stairs one more time.
Turn at the T-intersection and go into the office at the end of the hall.

Inside the office, go left into the newly-opened room to progress the story.
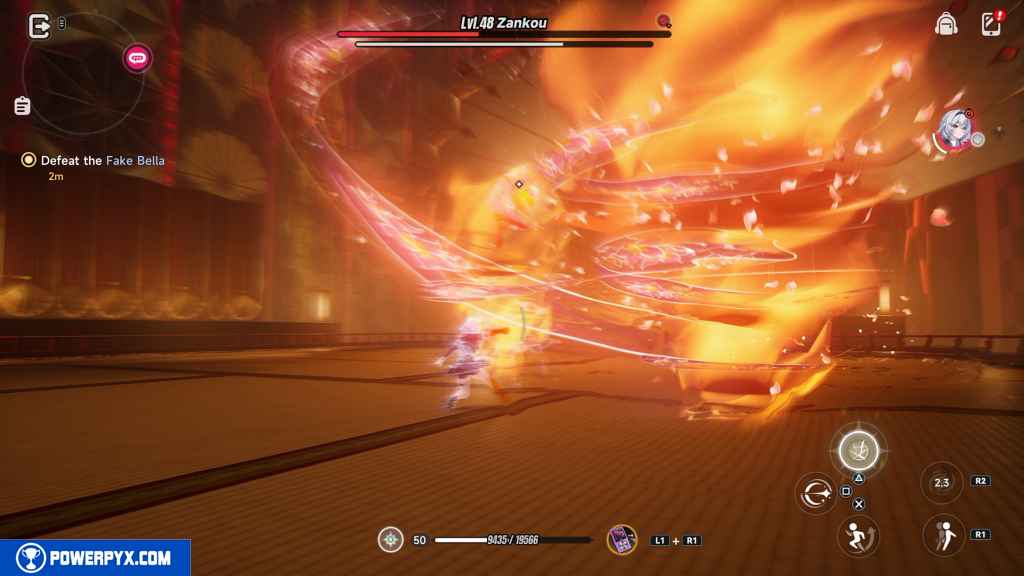
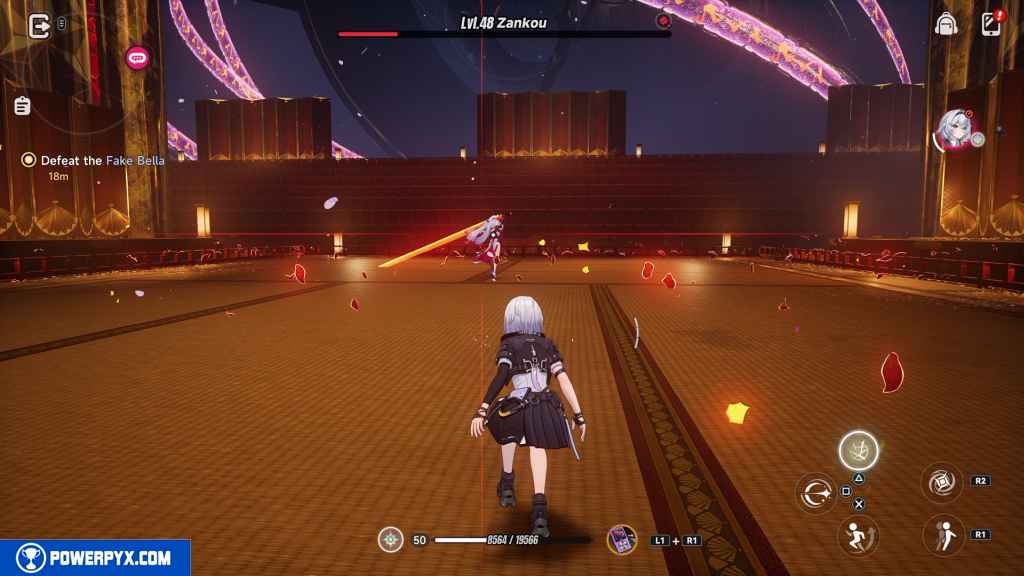
Defeat the Fake Bella (Race Against Time)
Like the other fights in this quest, you play as a pre-set version of Zero.
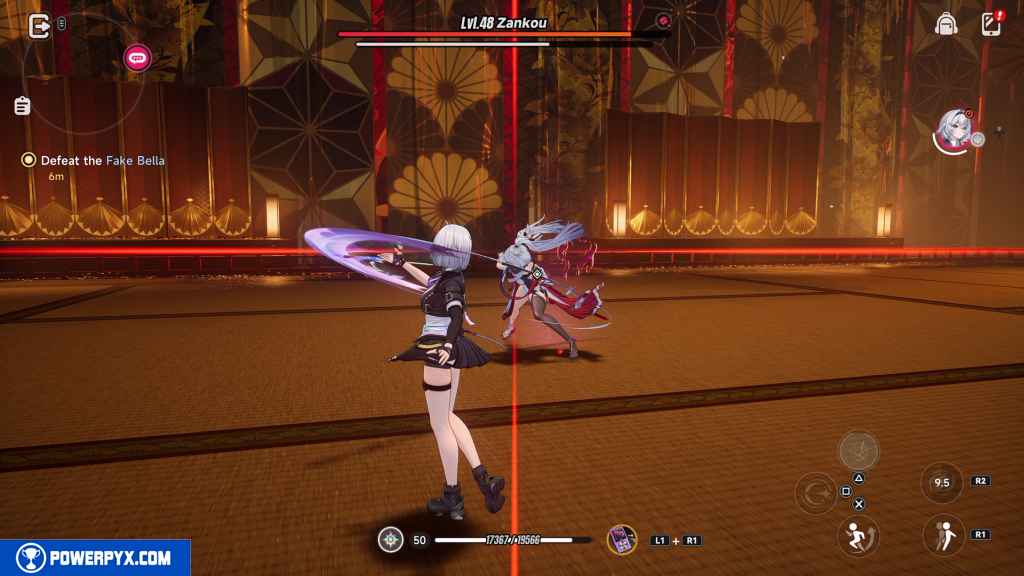
You now face the Level 48 Zankou. She uses a large sword and attacks rather slowly with it. This makes her attacks easy to follow.
She executes fiery swings that you can dodge. When she shoots the flames at you, you can attack the flames to send them back at her.
Other than that, there’s a parry attack you can counter.
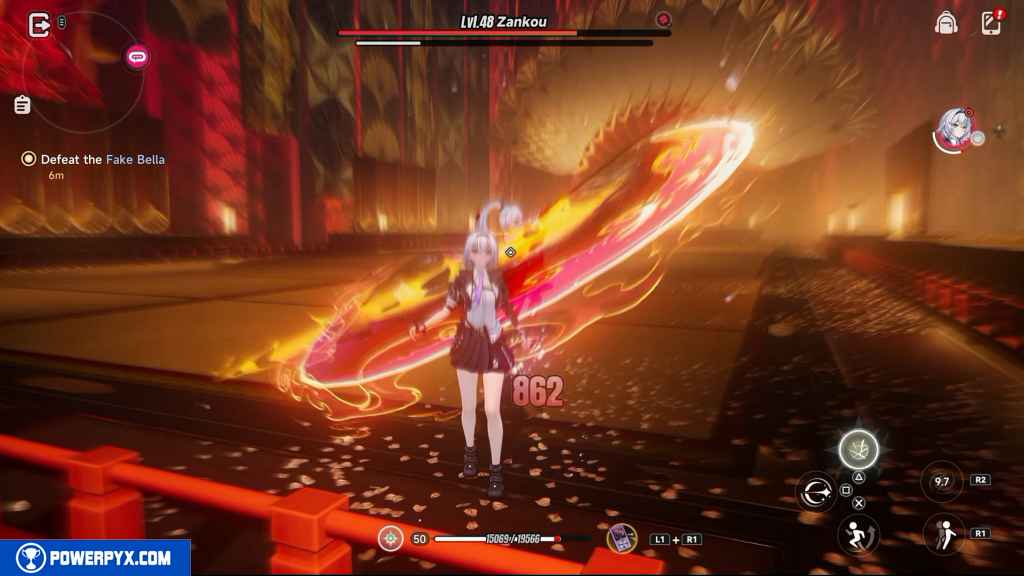
At half health, she jumps away and sends a series of fiery blasts at you from different directions.
She then creates four red shadows of herself that you cannot hit. So, dodge their attacks until they disappear and Zankou returns.
For the rest of the fight, she does a couple new versions of her old attacks. She stops using parry attacks as well. Instead of fiery blasts, she now sends out fiery tornadoes when she swings her blade.
Later, she charges up a big attack that makes her sword incredibly long and starts winging it at you.
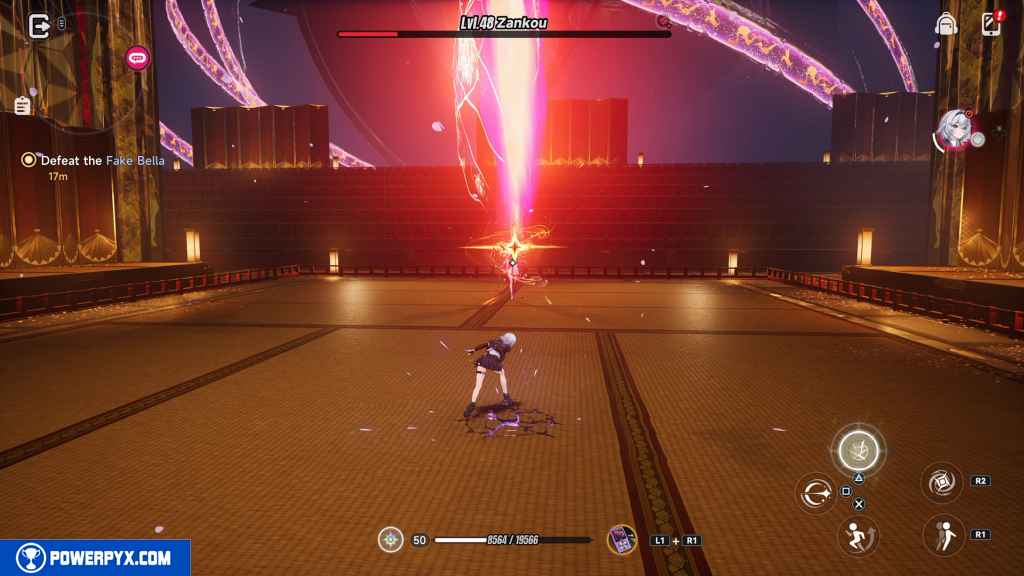
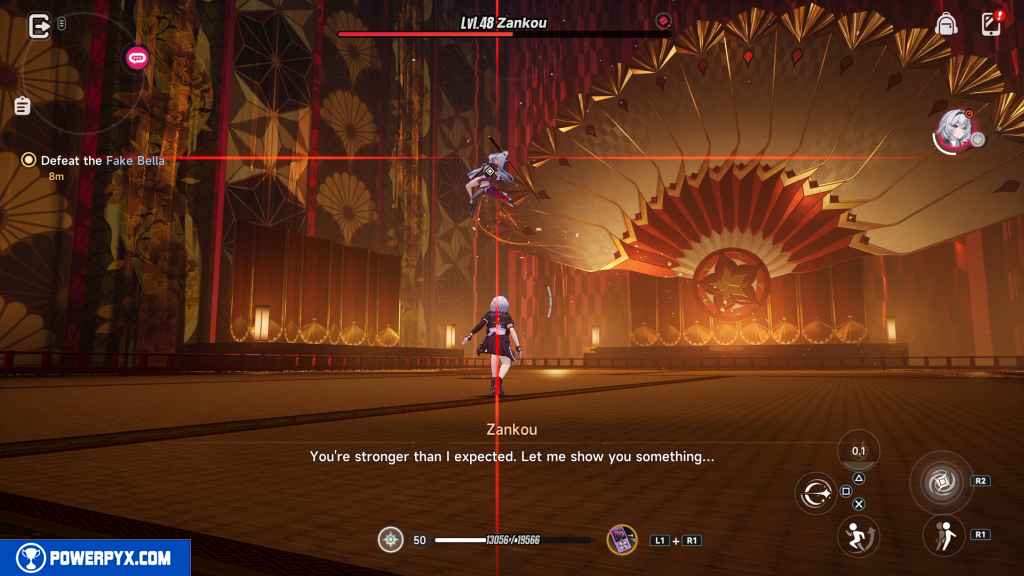
A cutscene triggers when there’s about 10% health left.
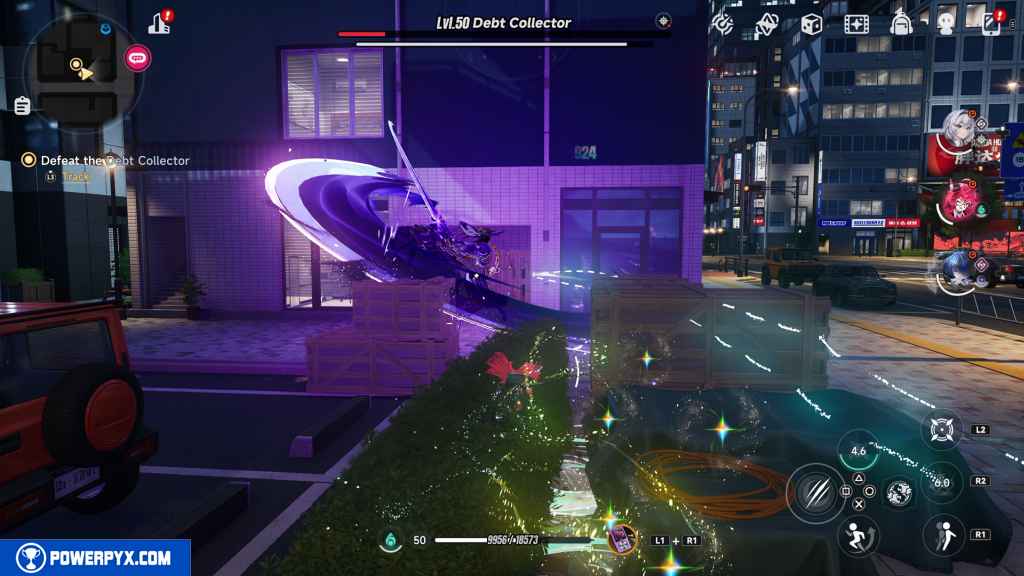
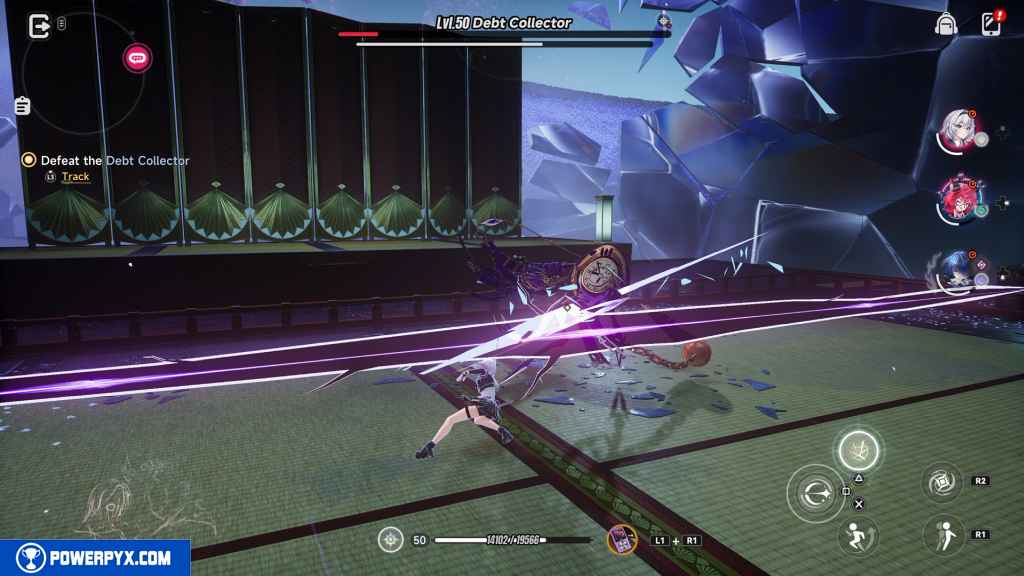
Defeat the Debt Collector (Race Against Time)
You now control the same team that you controlled when you first fought the Debt Collector at the beginning of this quest.
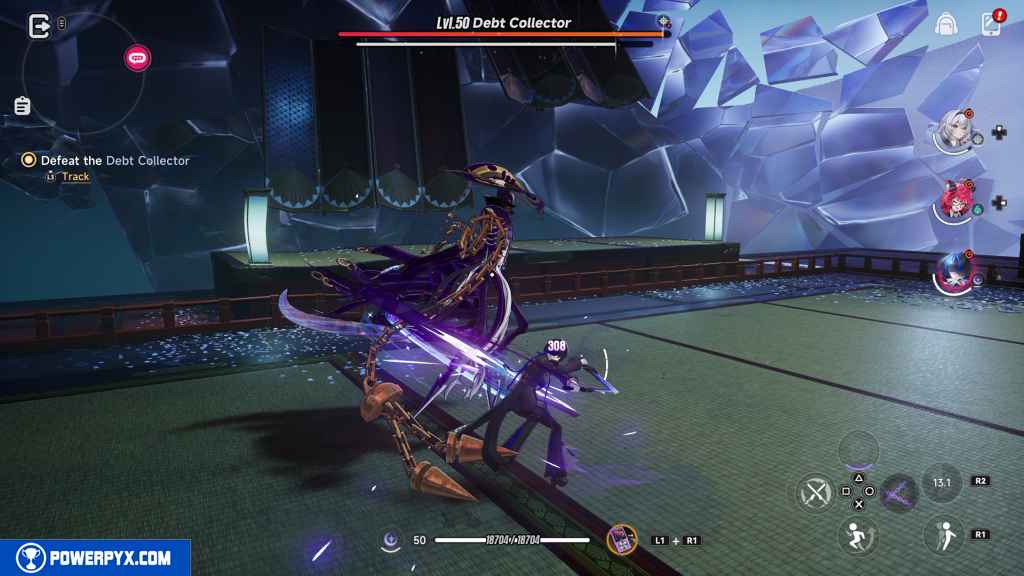
The fight is pretty much the same except for a few new additions. In the second half of the fight, the Debt Collector starts using spinning blades and throws them at you. Dodge these.

The other addition is a massive sweeping attack with an enlarged weapon. These are especially choreographed attacks, so they’re easy to respond to. You cannot parry them, so dodge them. However, do not stand in the way of the energy blasts that they leave behind. Position yourself behind the Debt Collector during these attacks and do extra damage while he’s tied up with the attack.
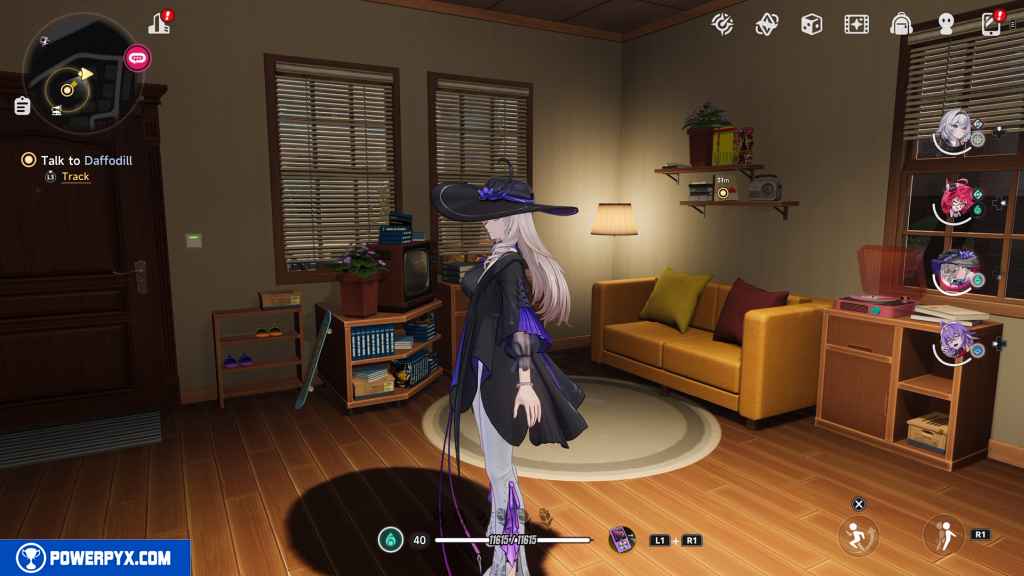
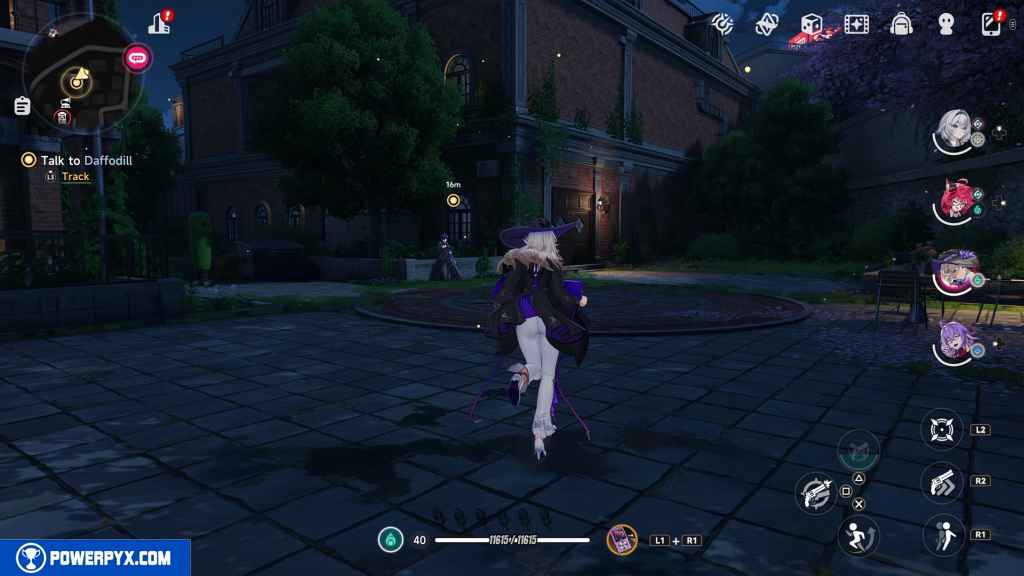
Talk to Daffodill (Unsettled Debts)
Leave your dorm. Find Daffodill standing next to the door leading back into Eibon.
This finishes Debt Collector main quest in NTE (Neverness to Everness).
At the time of the game’s launch in version 1.00 this also marks the end of the story, until it gets expanded with future updates. No new main quests appear in the quest log after this.
For all other Quests refer to NTE (Neverness to Everness) Walkthrough.
Leave a Reply