
Chapter XI: Patera is the 11th chapter in Resonance: A Plague Tale Legacy and contains 28 collectible locations. This walkthrough will guide you to all the Chapter 11 collectibles in Resonance: A Plague Tale Legacy. If you missed anything you can get it via chapter select, except Resonance Points which don’t carry over. Everything needed for 100% completion is included.
- Artefacts: 3
- Charms: 2
- Resonance Points: 23
Collectibles Overview:
Chapter 11: Patera
Sub-Chapter 1 – Under the statue
1 Resonance Point
Sub-Chapter: 1 – Under the statue
Objective: Follow the beam
At the very beginning of this chapter, turn right and climb up the ledge. The point is between the two mirrors.
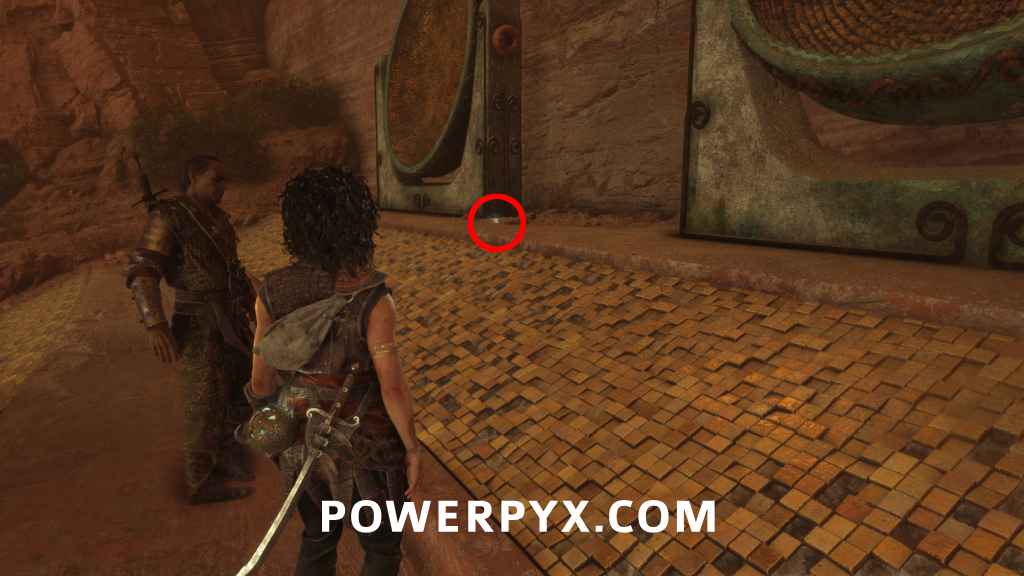
1 Resonance Point
Sub-Chapter: 1 – Under the statue
Objective: Follow the beam
After sliding down a cave, in next room on the left path.
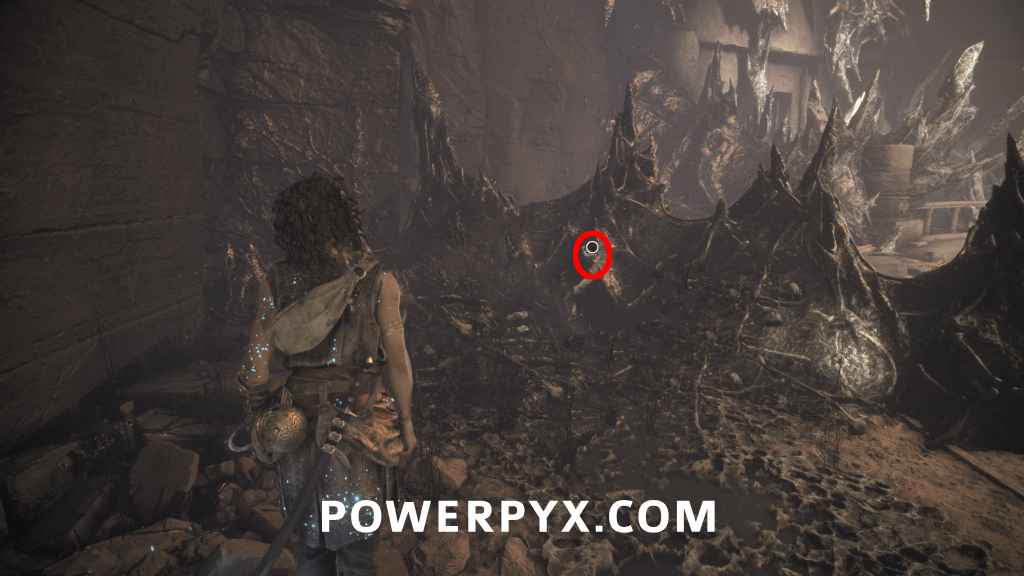
Light Beam Puzzle: Use the rightmost lever, then let go of it, Faro will use it. Then you pull the left lever back to melt away the dust with the light.
Sub-Chapter 2 – Prisoners of the factory
1 Resonance Point
Sub-Chapter: 2 – Prisoners of the factory
Objective: Realign the lens
After an elevator ride, you will find it at the end of the path.
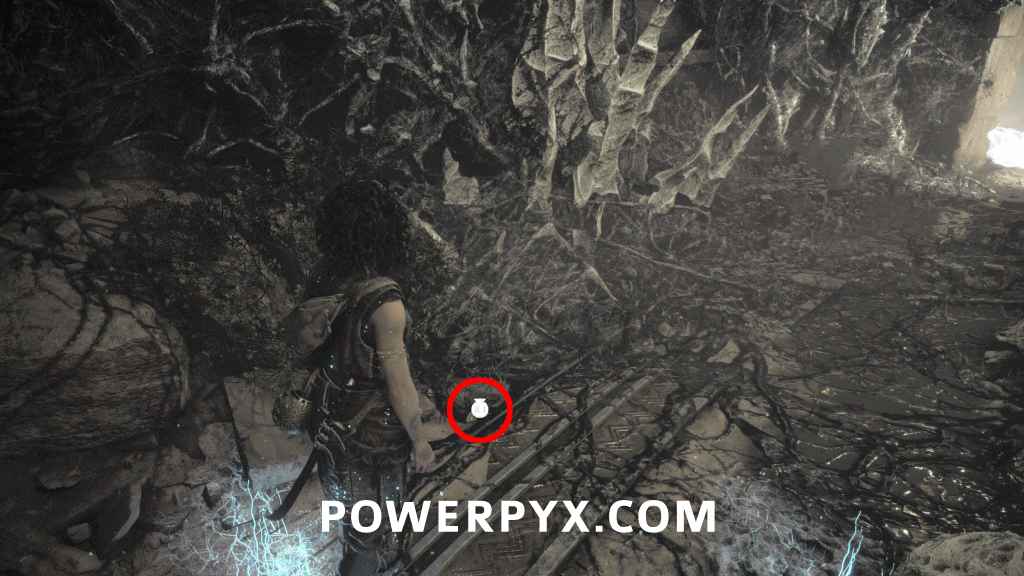
Petrified Crank Puzzle: At the end of the path is a weight you can pull forward to rotate the cover (note: sometimes the pushable weight doesn’t spawn, in which case restart the sub-chapter). Push this forward until you reach the lever to create a cover from the light. Then pull the lever to rotate the light all the way forward to the 2nd crank. Then use the crank at the start of the area. Rotate this crank all the way by pulling the left stick clockwise. Now the light is gone and you can walk through the end of the path.
1 Resonance Point
Sub-Chapter: 2 – Prisoners of the factory
Objective: Follow the beam
Automatic combat reward, from the next group of enemies.
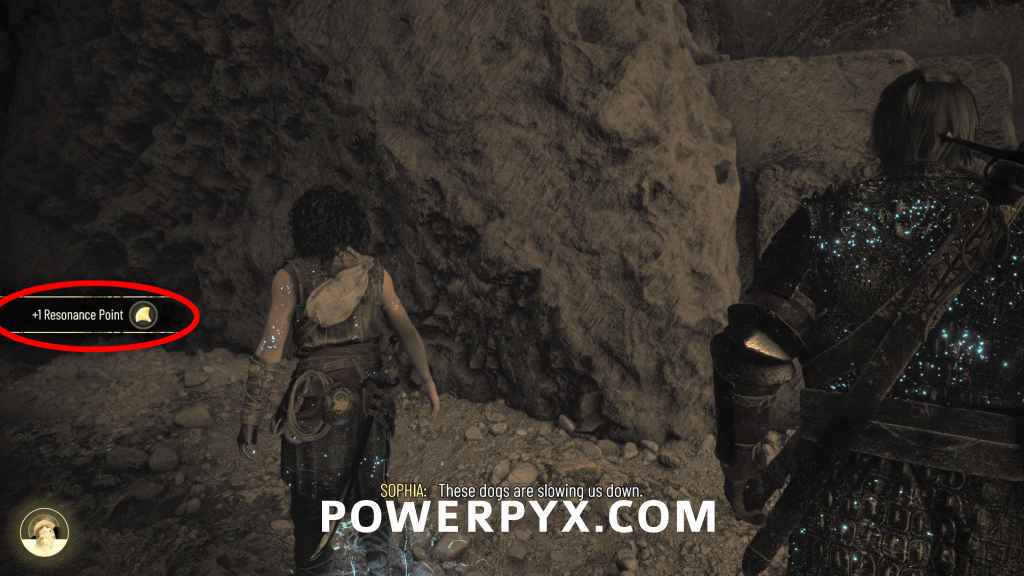
Artefact – Relics of the Past: Olden Abacus
Sub-Chapter: 2 – Prisoners of the factory
Objective: Follow the beam
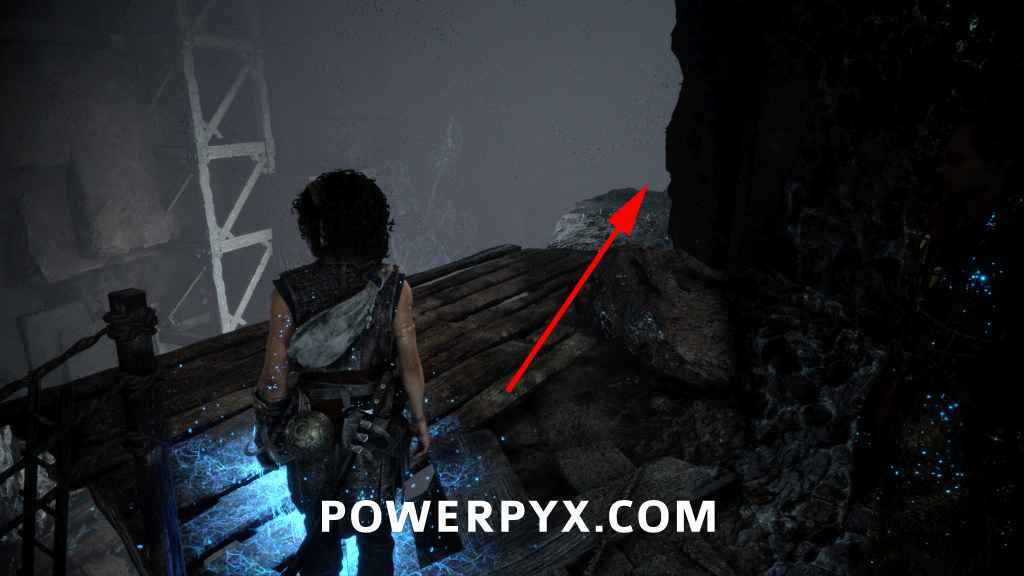
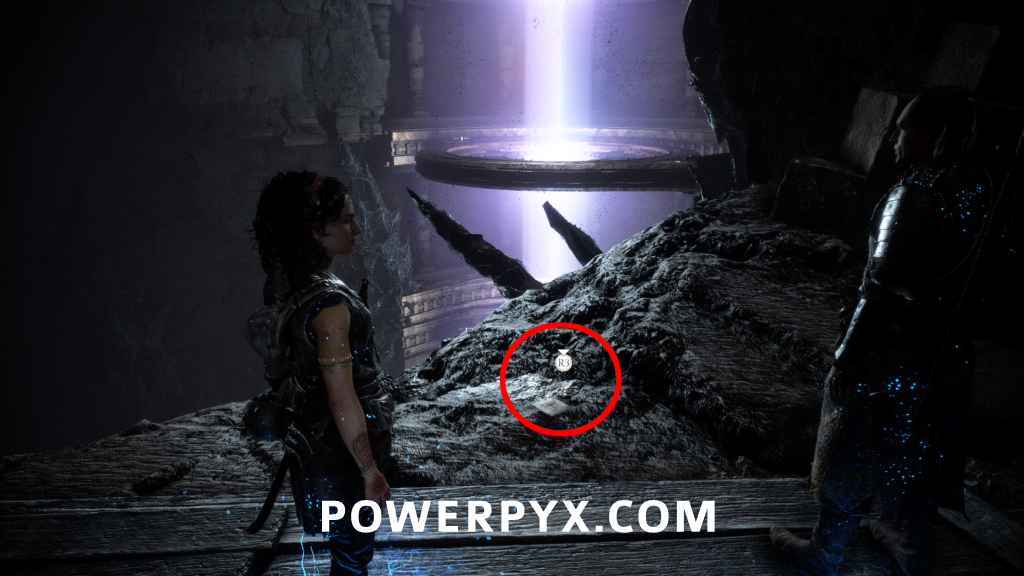
Immediately after the enemy encounter, squeeze through the hole, drop down the next ledge, jump to the cliff on the right (BEFORE going down a ladder).
Sub-Chapter 3 – Puppets
1 Resonance Point
Sub-Chapter: 3 – Puppets
Objective: Follow the beam
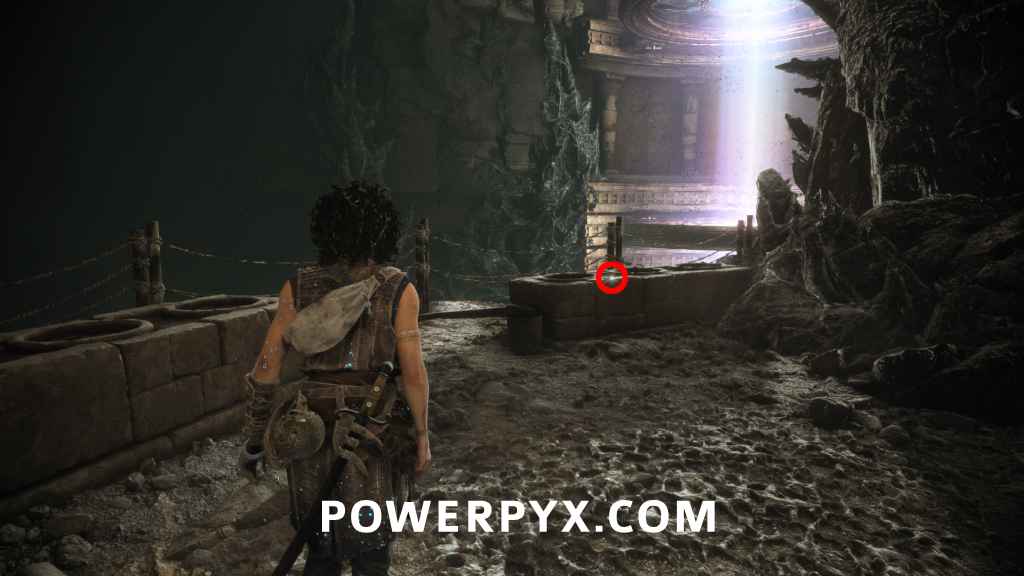
From the previous collectible, proceed until you’ve used a zipline and reached the next area. Behind a light you’re supposed to turn on, check the back left corner.
1 Resonance Point
Sub-Chapter: 3 – Puppets
Objective: Follow the beam
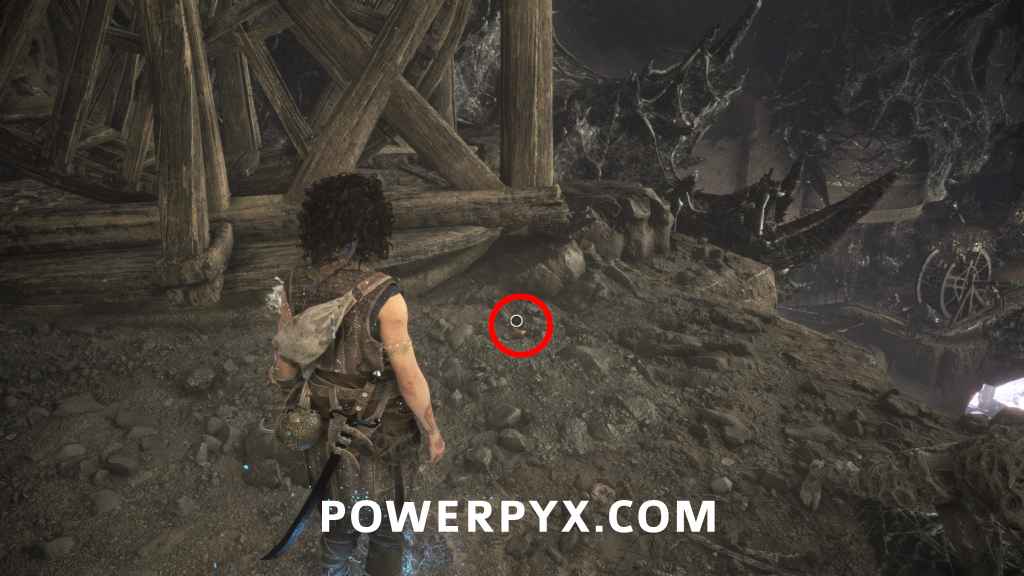
After the next elevator ride, turn left to find this at a wooden wheel.
1 Resonance Point
Sub-Chapter: 3 – Puppets
Objective: Follow the beam
From the wooden wheel, turn around and go around the corner to the right of the elevator to find this point.
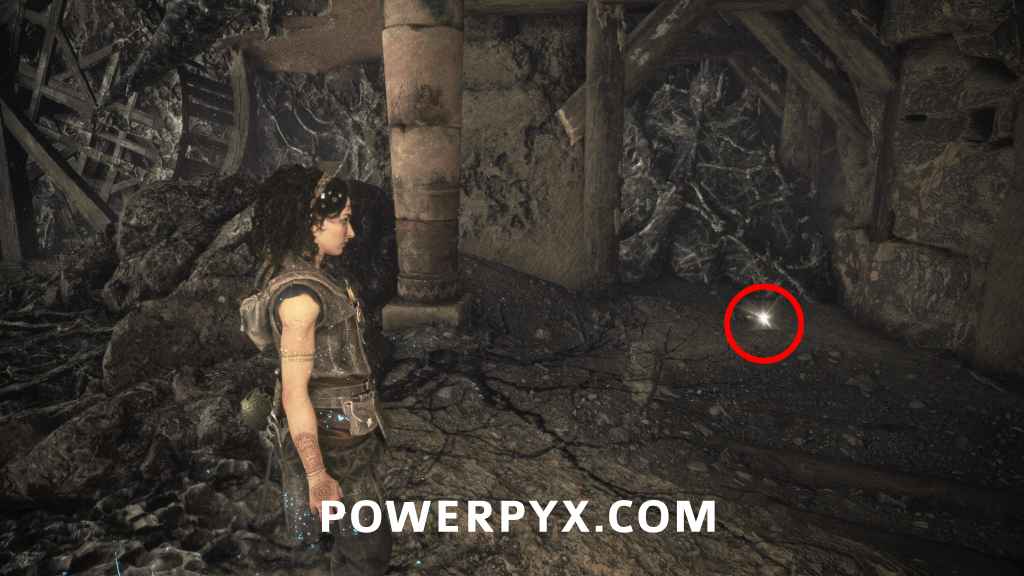
1 Resonance Point
Sub-Chapter: 3 – Puppets
Objective: Follow the beam
After the next enemy encounter and boosting Faro up a platform, he will pull you up and this will be straight in front of you.
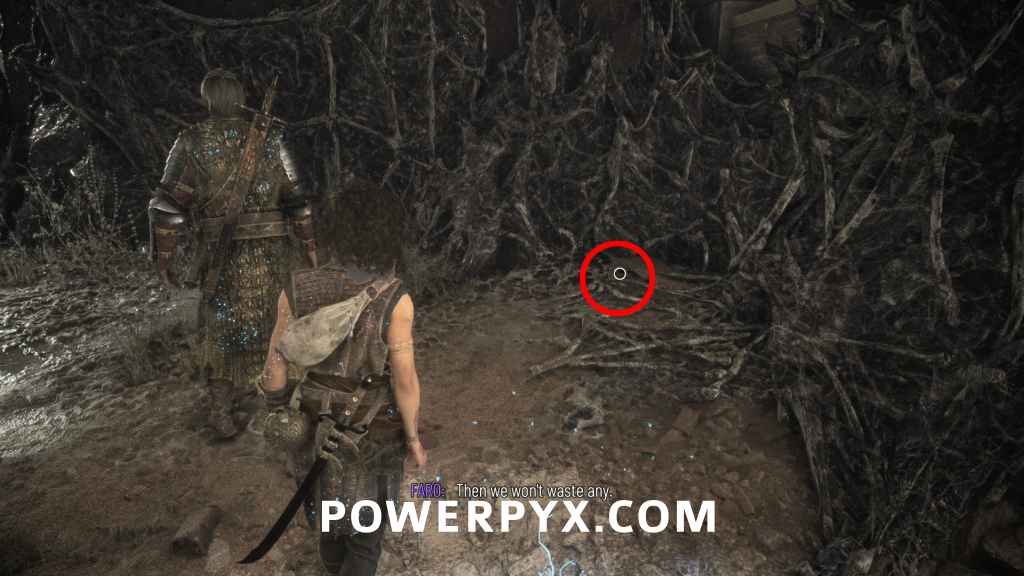
1 Resonance Point
Sub-Chapter: 3 – Puppets
Objective: Follow the beam
From the last point go forward to reach a big lens, check the right corner.
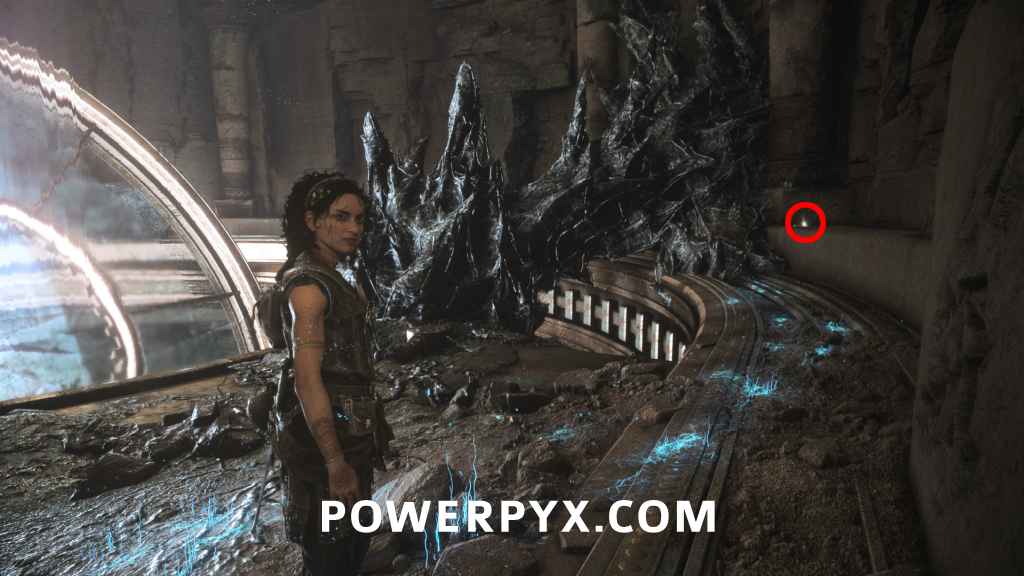
Charm: Arm Band #5
Sub-Chapter: 3 – Puppets
Objective: Follow the beam
After you passed the light, you will soon see a door to your left and a mirror to your right. Go to the mirror on the right and kill both enemies, then you can find the chest near the mirror.
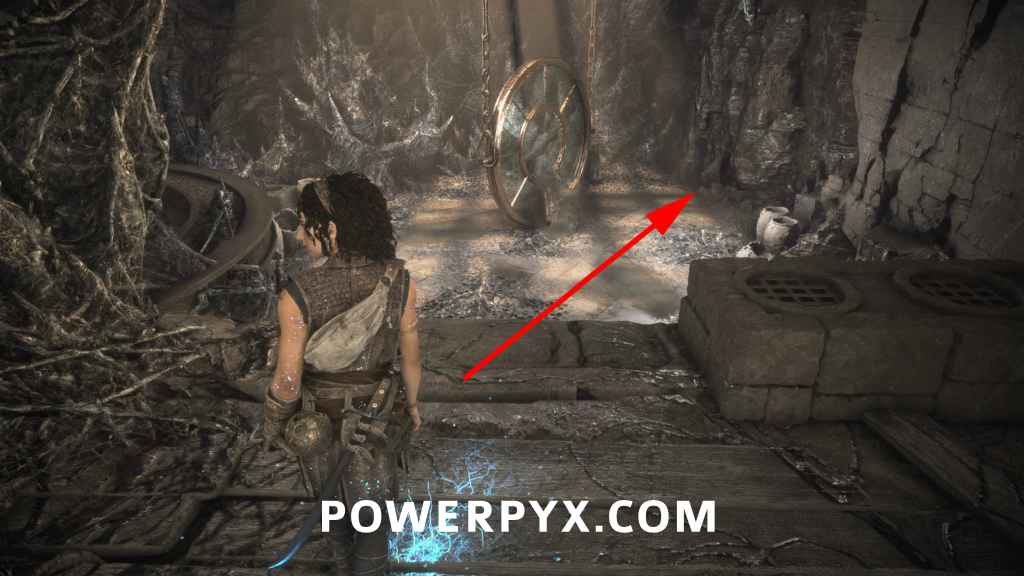
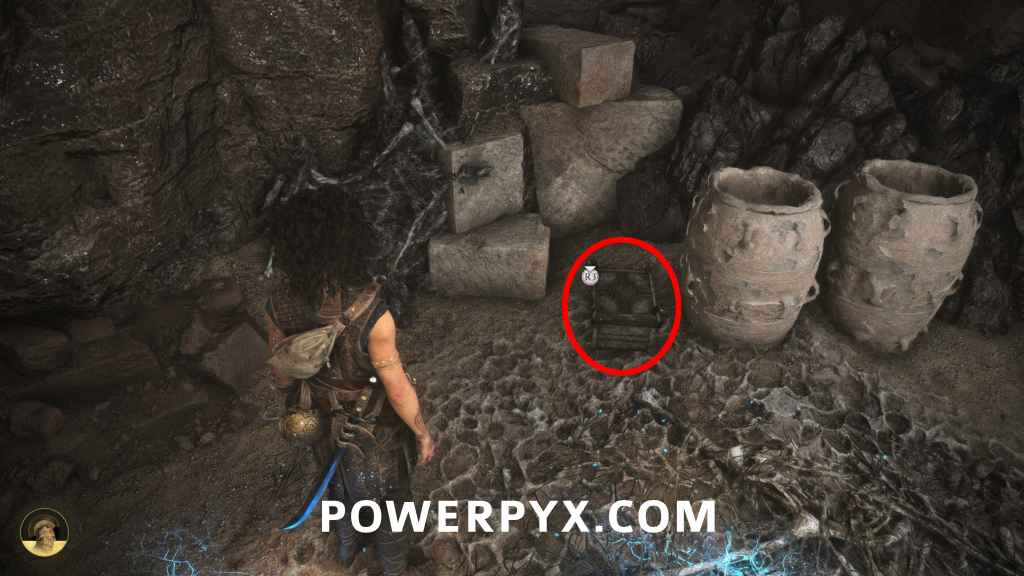
1 Resonance Point
Sub-Chapter: 3 – Puppets
Objective: Follow the beam
After getting the charm, go through the door now and immediately turn left.
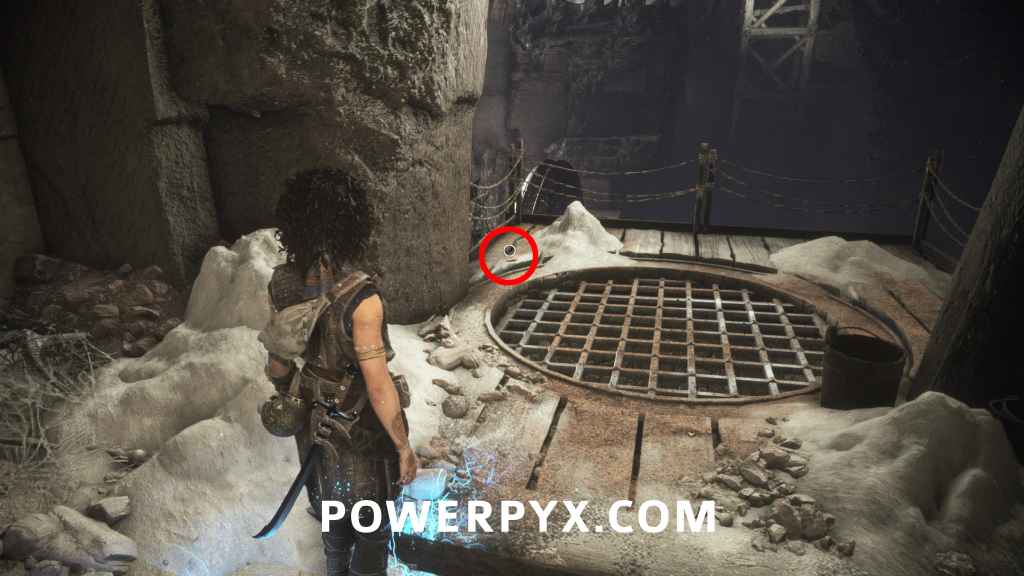
1 Resonance Point
Sub-Chapter: 3 – Puppets
Objective: Follow the beam
Then go further down the path to find another point in front of a mechanical structure.
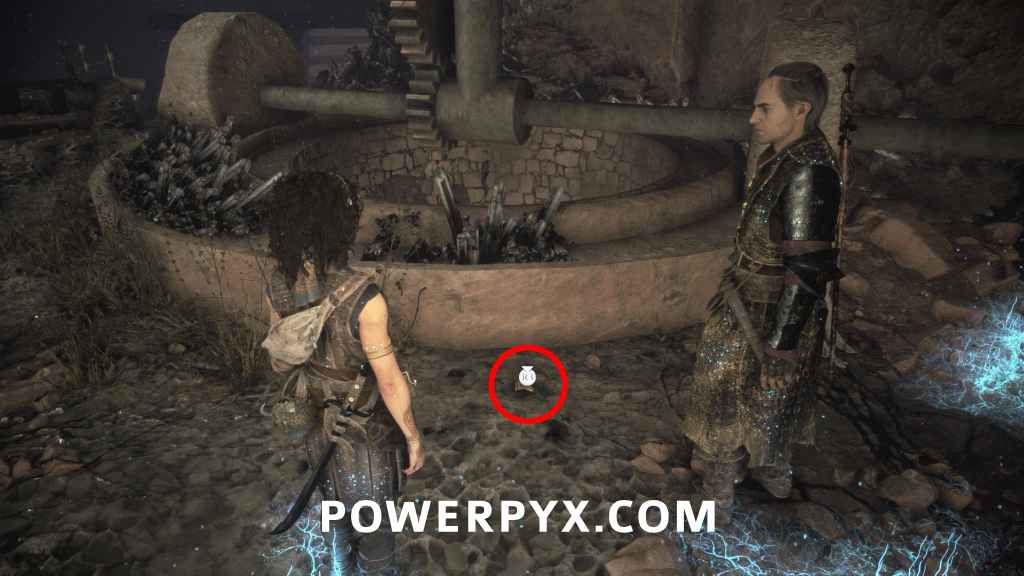
Sub-Chapter 4 – The last lens
1 Resonance Point
Sub-Chapter: 4 – The last lens
Objective: Realign the lens
Automatic combat reward, from next enemy encounter.
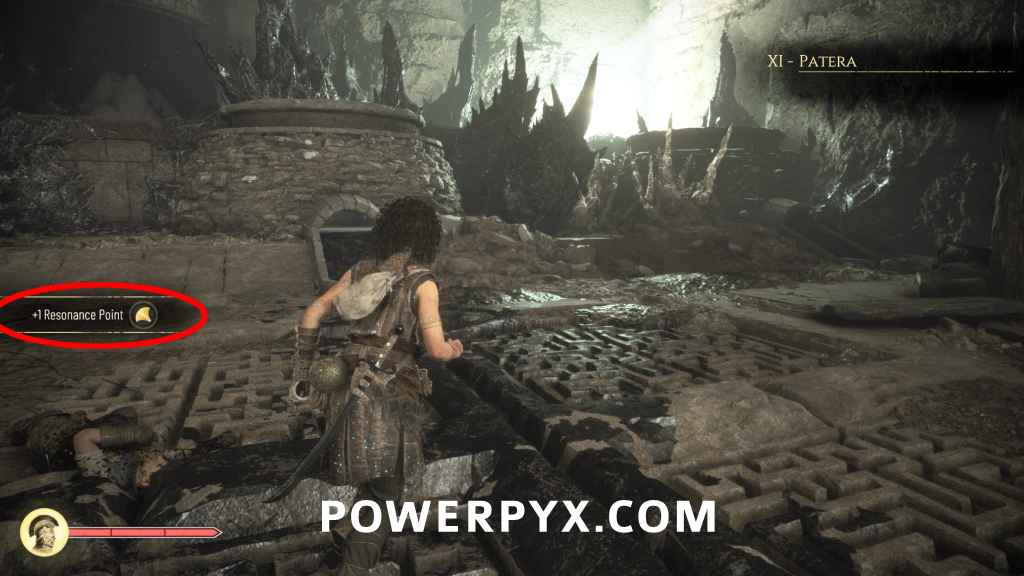
Charm: Bracelet #5
Sub-Chapter: 4 – The last lens
Objective: Realign the lens
After the enemy encounter, boost Faro up the ledge and cross to the other side of the room. In the back of the room open the chest, to the right of the elevator lever.
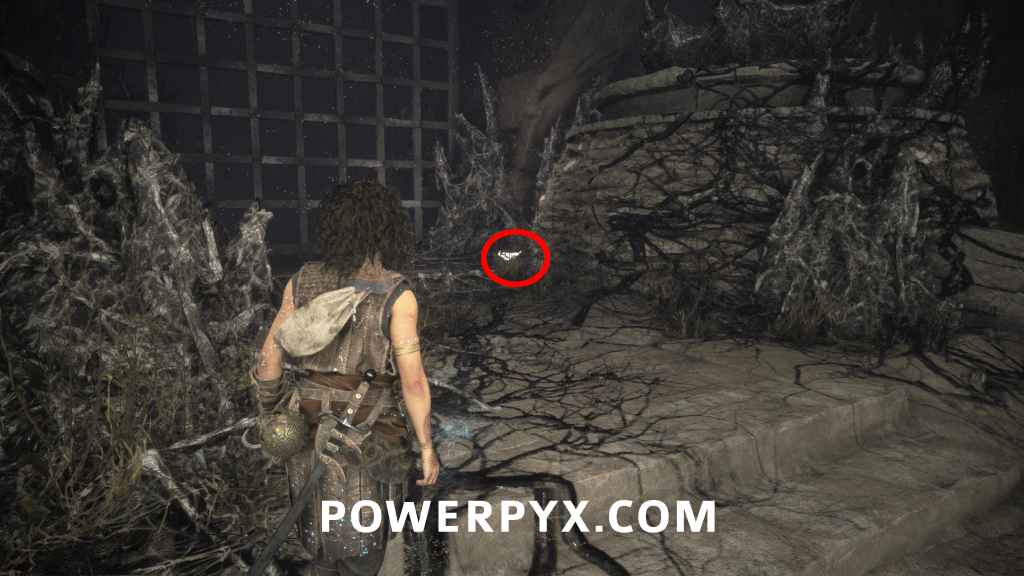
Light Beam Puzzle: Stand on the elevator and wait for Faro to lift you up. Go to the end of the corridor and take the right path, stay crouched so the petrified enemies don’t hear you. You’ll reach a well-lit room, use your sphere to burn away the dust on the chain with the crank. Push the crank all the way forward so the light burns away the dust.
2 Resonance Points
Sub-Chapter: 4 – The last lens
Objective: Realign the lens
After you used the light to clear the back, backtrack toward the elevator and this will be accessible next to the round crank.
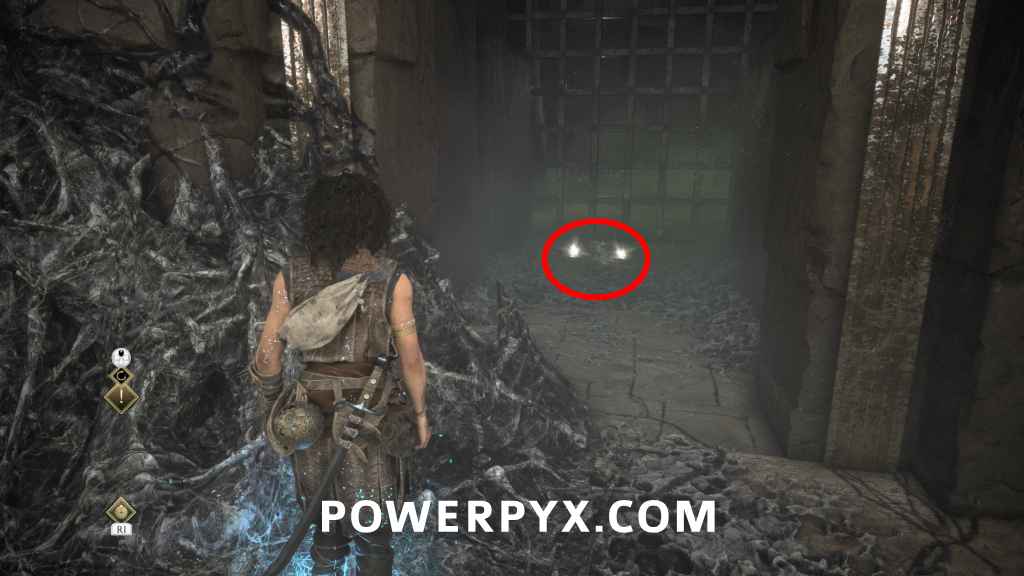
Artefact – Relic of the Past: Burnt Mosaic
Sub-Chapter: 4 – The last lens
Objective: Follow the beam
Now use the round crank and rotate the left stick all the way to realign the lens. Then use the rope to climb down at the end of the path. Defeat the enemies, then stand in the light and burn away the white dusty spikes in the right corner between two kilns. This reveals the path to the relic.
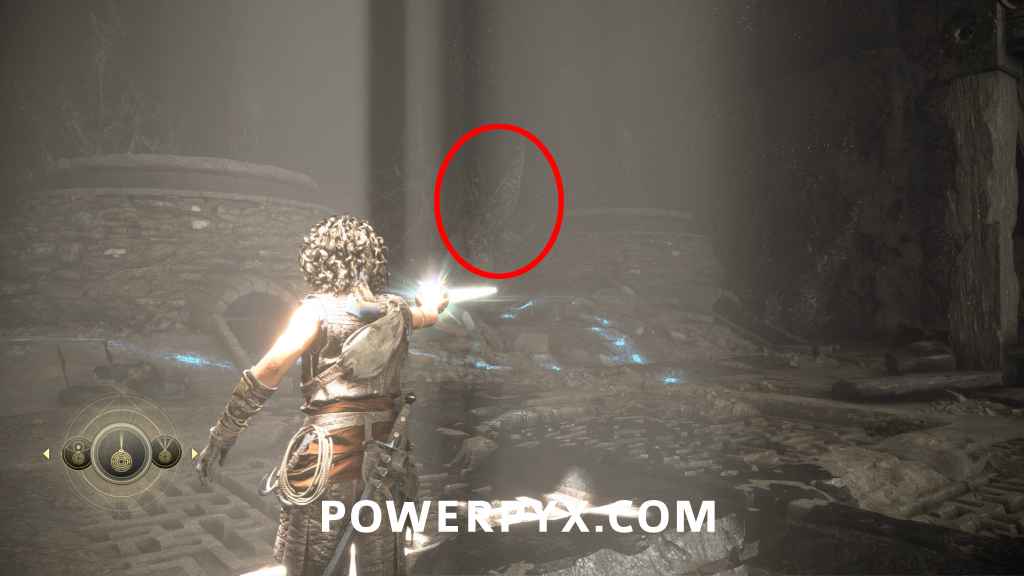
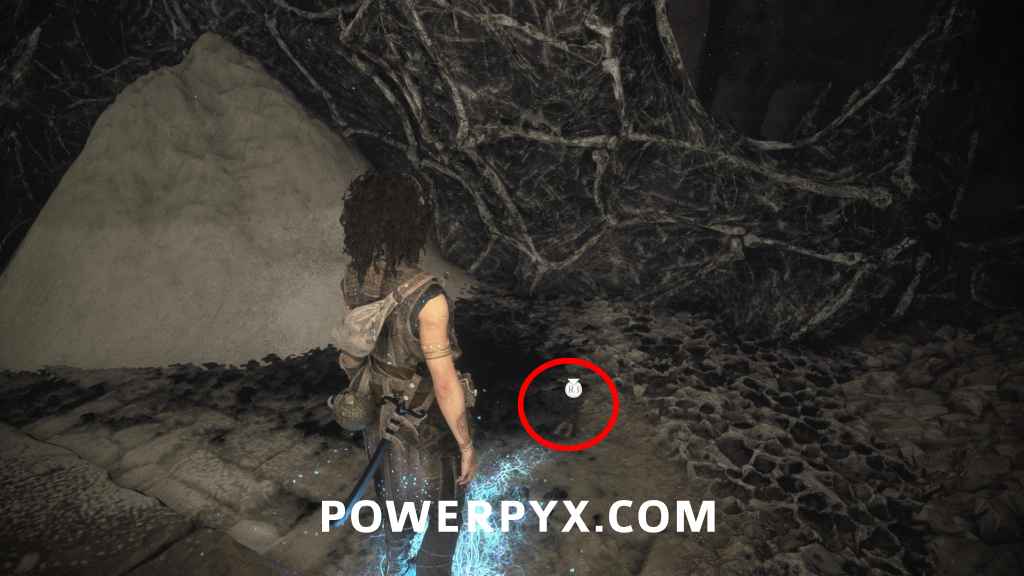
1 Resonance Point
Sub-Chapter: 4 – The last lens
Objective: Follow the beam
After using the light to burn away the white dusty spikes at the gate, you crouch under the gate to an area with petrified enemies. Take the left path to find this at the ledge.
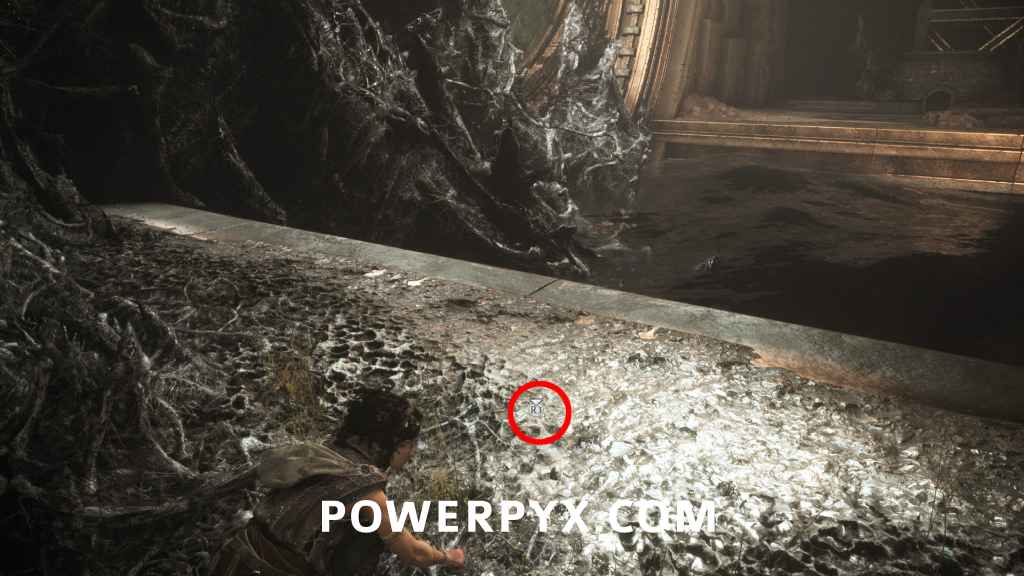
1 Resonance Point
Sub-Chapter: 4 – The last lens
Objective: Follow the beam
From the previous point, turn around and go the opposite path (the story path). Once you enter the path, move forward, then turn right to find the point.
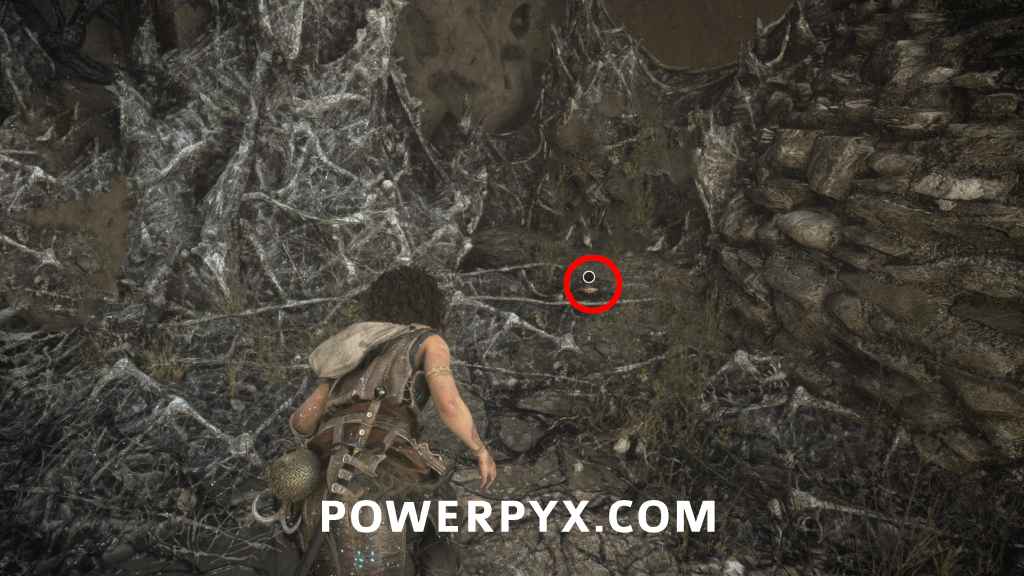
Sub-Chapter 5 – In the bowels of the mechanism
1 Resonance Point
Sub-Chapter: 5 – In the bowels of the mechanism
Objective: Open the way
After you run over the rotating platforms, you will squeeze through a gap to a room with more petrified enemies. Get to the end to find it behind a box.
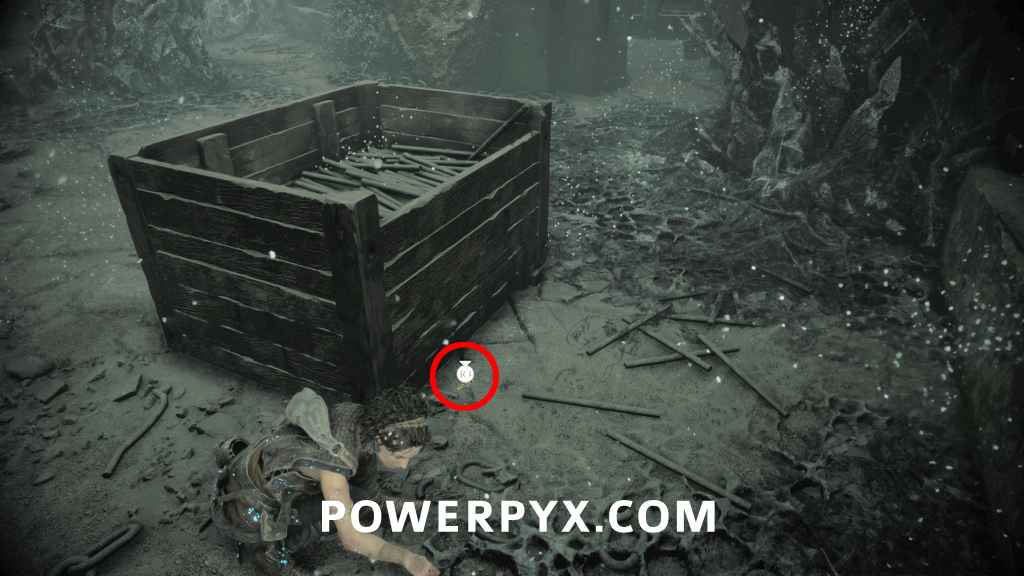
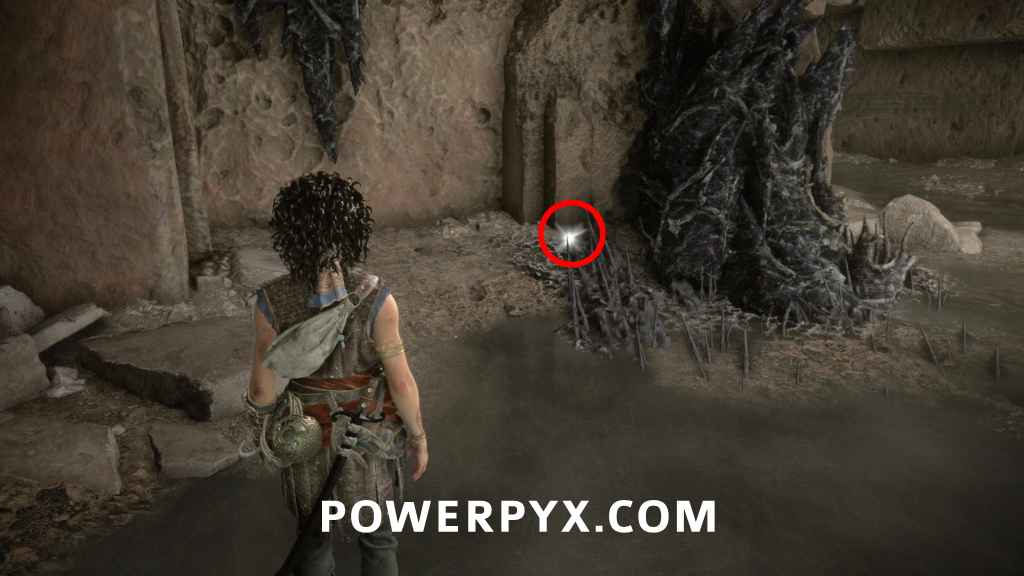
2 Resonance Points
Sub-Chapter: 5 – In the bowels of the mechanism
Objective: Follow the beam
After escaping the big worm monster again, you have to pass the big beam. After that, you swing over to the side where Faro is above you. Here, turn left to find the two points near each other.
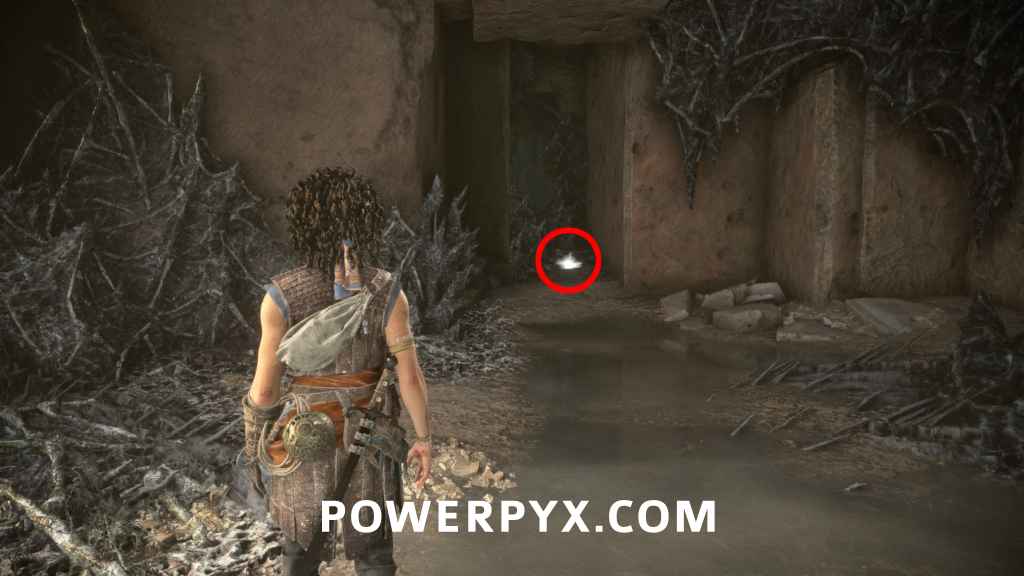
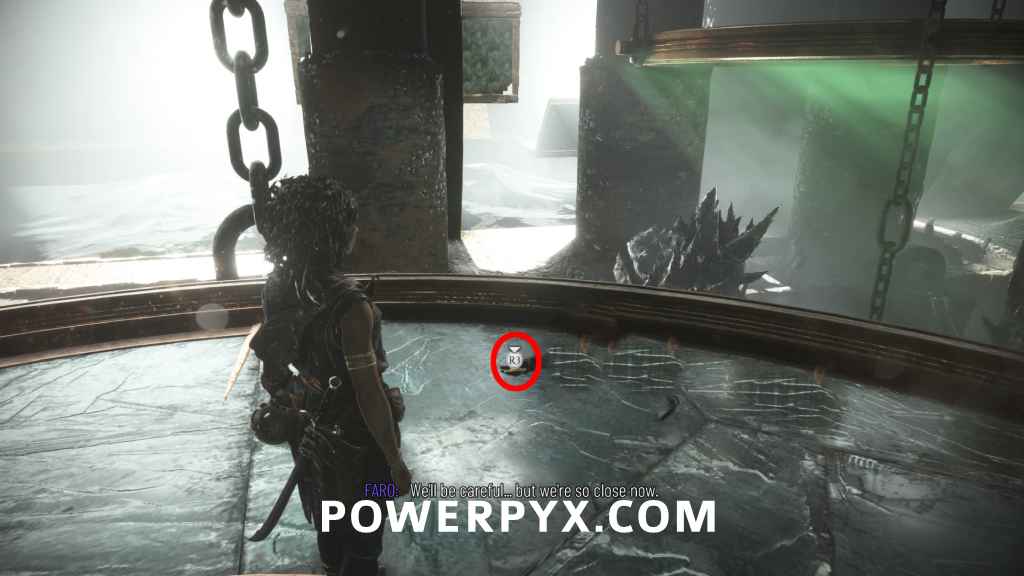
1 Resonance Point
Sub-Chapter: 5 – In the bowels of the mechanism
Objective: Follow the beam
After the next group of enemies, use the grappling hook to swing across and defeat another wave of enemies. After that, use your grappling hook to get up. When you jump over the big lenses, look on the right side of the biggest lens to find it next to a body.
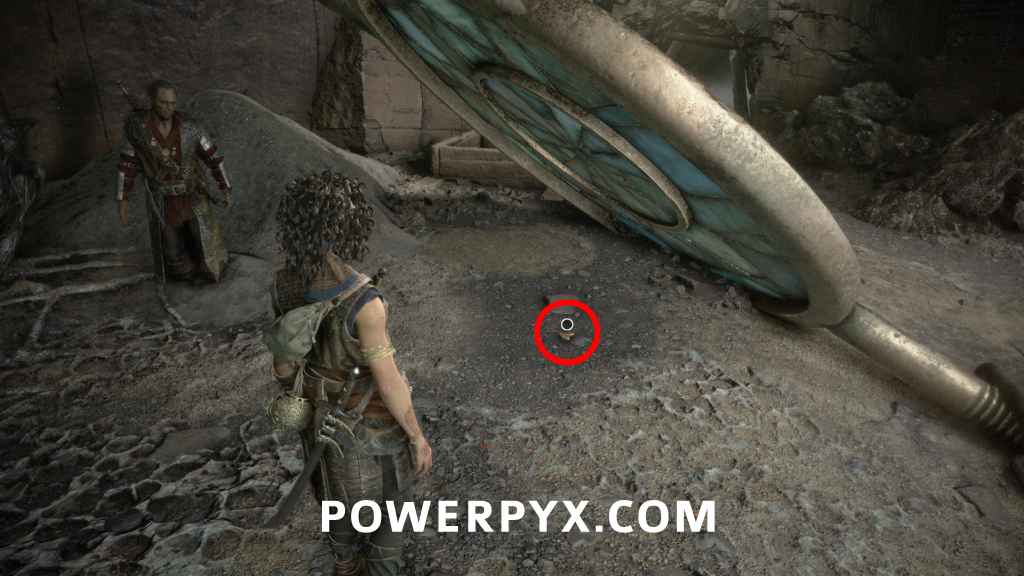
1 Resonance Point
Sub-Chapter: 5 – In the bowels of the mechanism
Objective: Follow the beam
It’s below the last lens you drop onto to reunite with Faro.
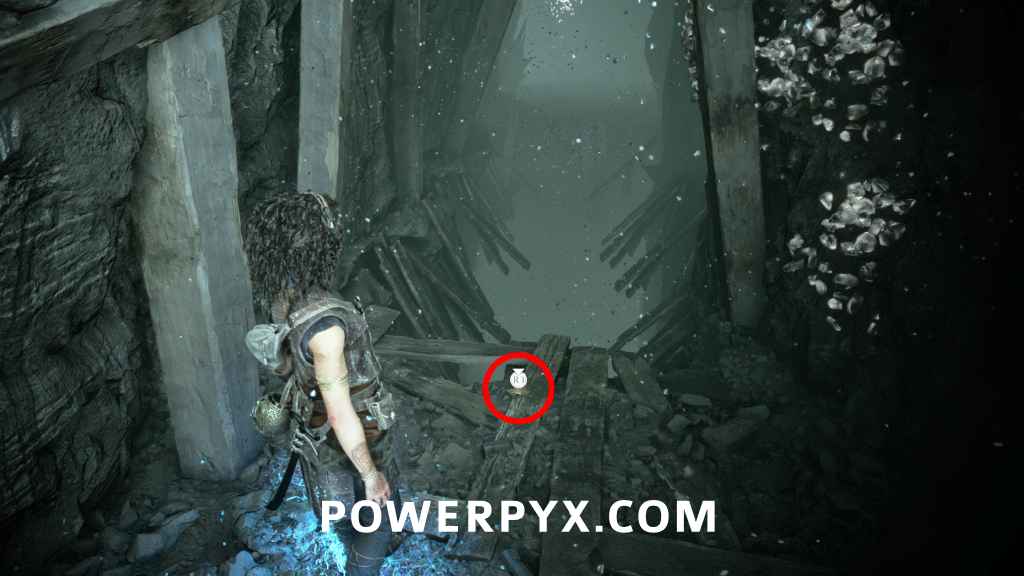
Sub-Chapter 6 – The mines
1 Resonance Point
Sub-Chapter: 6 – The mines
Objective: Find your way through the mines
When you reunite with Faro, you will enter the mines right after. Soon after entering the mines, you can either go forward or right. Go right to find it at a dead end.
Artefact – Relics of the Present: Weasel Foot + 1 Resonance Point
Sub-Chapter: 6 – The mines
Objective: Find your way through the mines
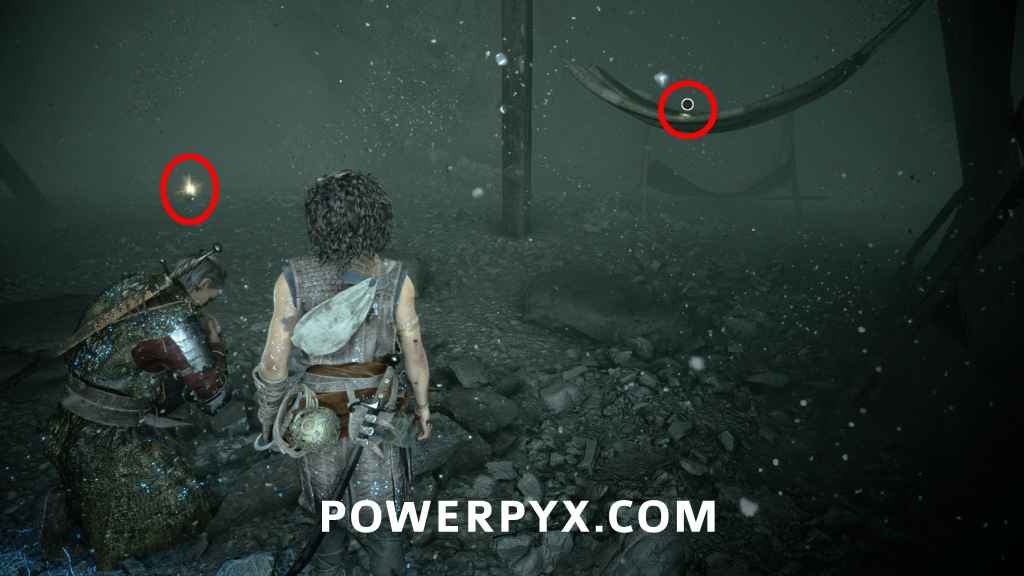
From the previous point, turn around, then jump over the gap to follow the story path. You will then enter a little camp. Here you can see the point to the right on a hammock, and the relic is on the left on the ground next to the wall.
That’s 100% of the collectibles you can find in Chapter XI: Patera of Resonance: A Plague Tale Legacy.
NEXT: Chapter 12
For all other Chapters, check out the complete Resonance: A Plague Tale Legacy Collectibles Guide.
Gackt68 says
1 Resonance Point
Sub-Chapter: 1 – Under the statue
Objective: Follow the beam
At the very beginning of this chapter, turn right and climb up the ledge. The point is between the two mirrors.
Nothing here.
Gackt68 says
2 Resonance Points
Sub-Chapter: 5 – In the bowels of the mechanism
Objective: Follow the beam
After escaping the big worm monster again, you have to pass the big beam. After that, you swing over to the side where Faro is above you. Here, turn left to find the two points near each other.
Only the first one was here.