
Chapter X: Parallel Paths is the 10th chapter in Resonance: A Plague Tale Legacy and contains 33 collectible locations. This walkthrough will guide you to all the Chapter 10 collectibles in Resonance: A Plague Tale Legacy. If you missed anything you can get it via chapter select, except Resonance Points which don’t carry over. Everything needed for 100% completion is included.
- Blades: 1
- Artefacts: 4
- Charms: 3
- Resonance Points: 25
Collectibles Overview:
Chapter 10: Parallel paths
Sub-Chapter 1 – The bridge
Artefact – Relic of the Past: Sun Dial
Sub-Chapter: 1 – The bridge
Objective: Reach the door to get to the beam
From the start of the chapter, follow the linear path forward until you squeeze through a gap. Then follow the cliffside until you reach a ladder. To the right of the ladder squeeze through the gap.
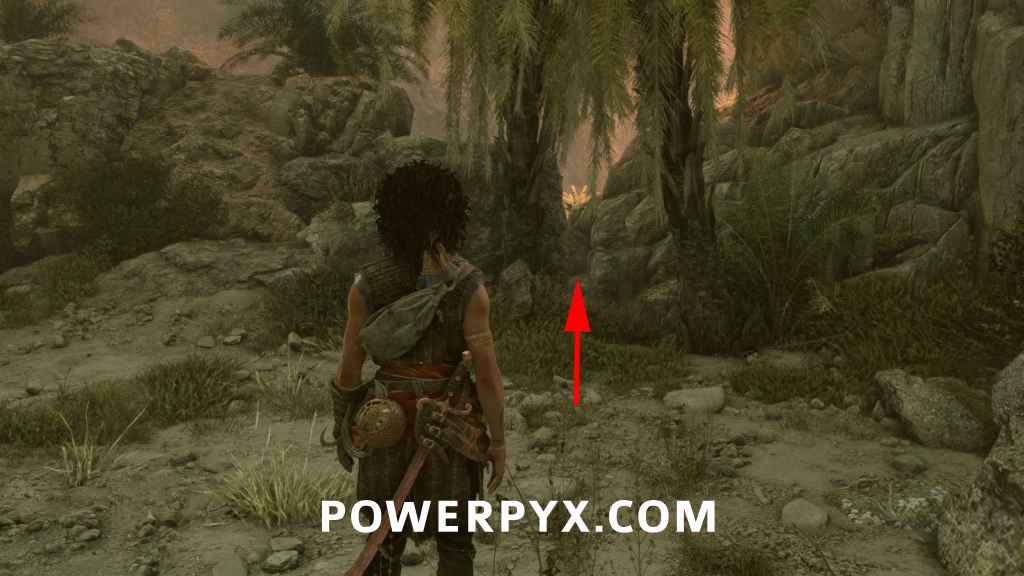
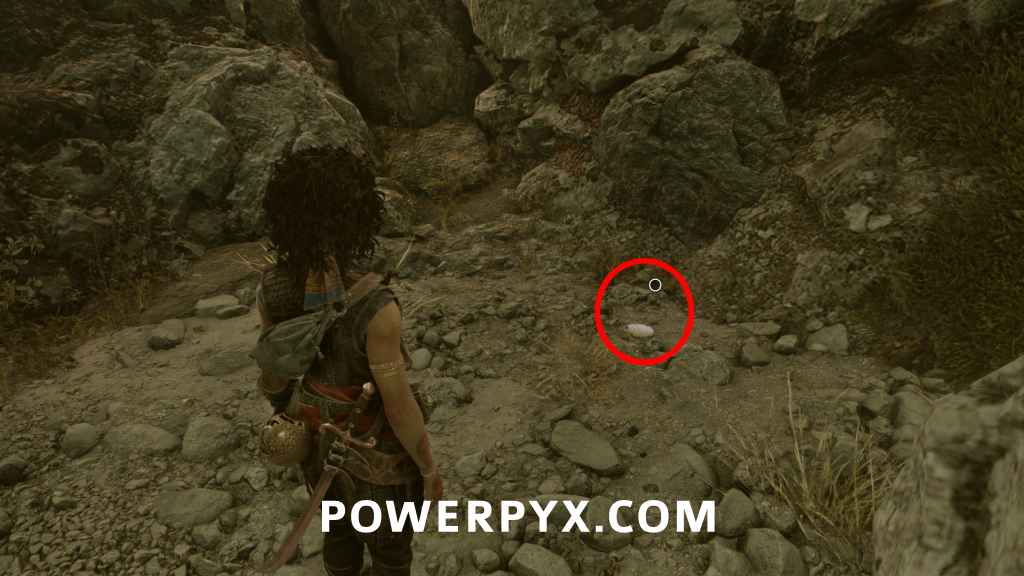
1 Resonance Point
Sub-Chapter: 1 – The bridge
Objective: Reach the door to get to the beam
Now climb the ladder and it’ll be straight in front of you, before the wooden bridge.
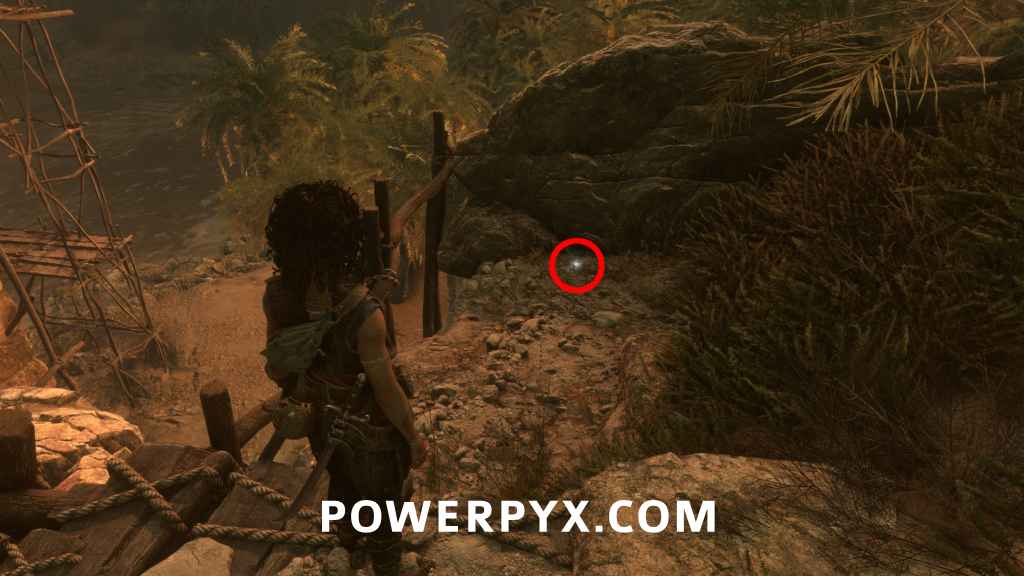
2 Resonance Points
Sub-Chapter: 1 – The bridge
Objective: Fight the army
Automatic reward, after the next combat encounter and cutscene.
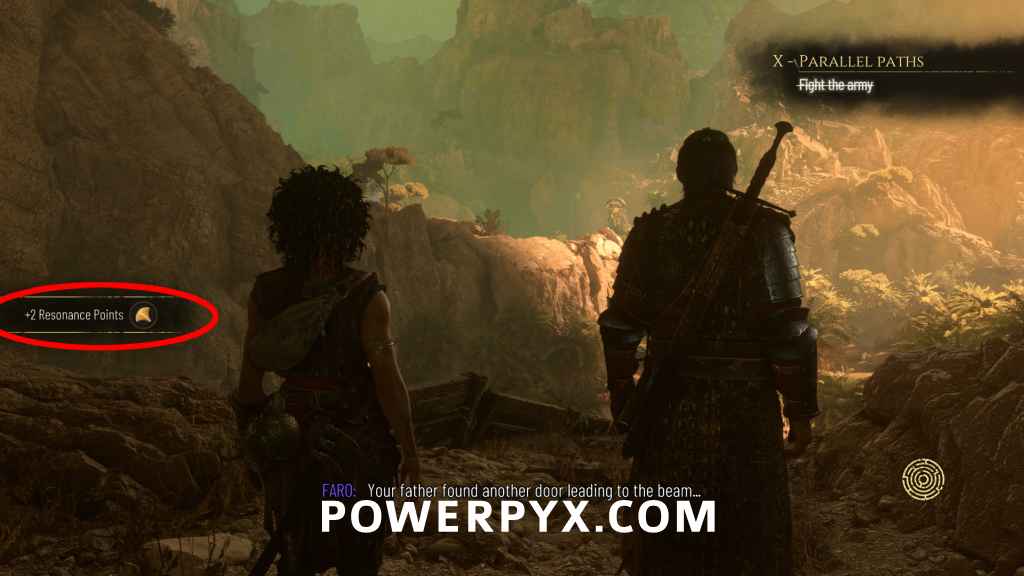
1 Resonance Point
Sub-Chapter: 1 – The bridge
Objective: Find a way inside the mountain
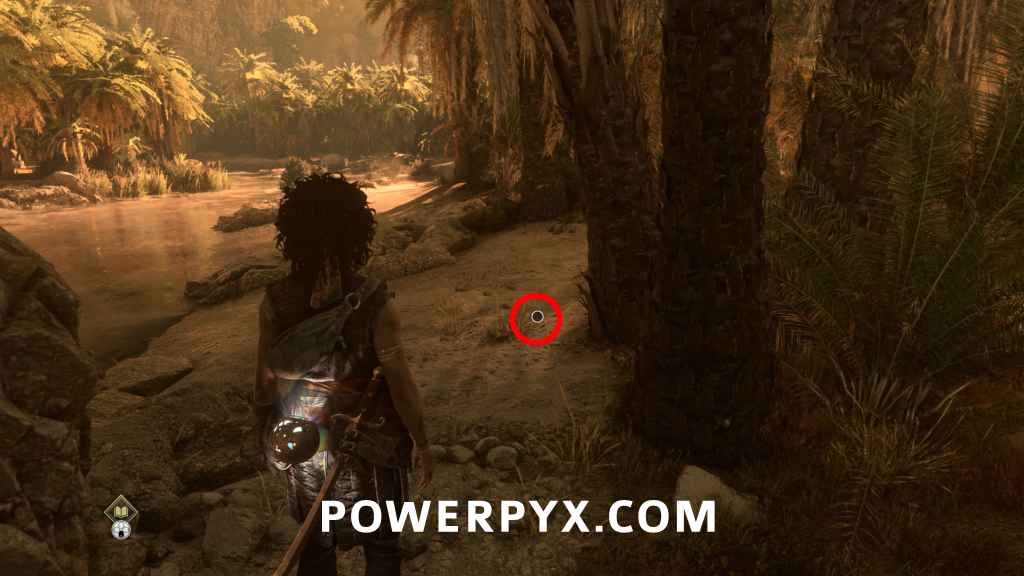
Right after you slide down the wooden slope, look left behind the trees to find it (on the right side of the river).
Artefact – Relic of the Present: Terra Incognita
Sub-Chapter: 1 – The bridge
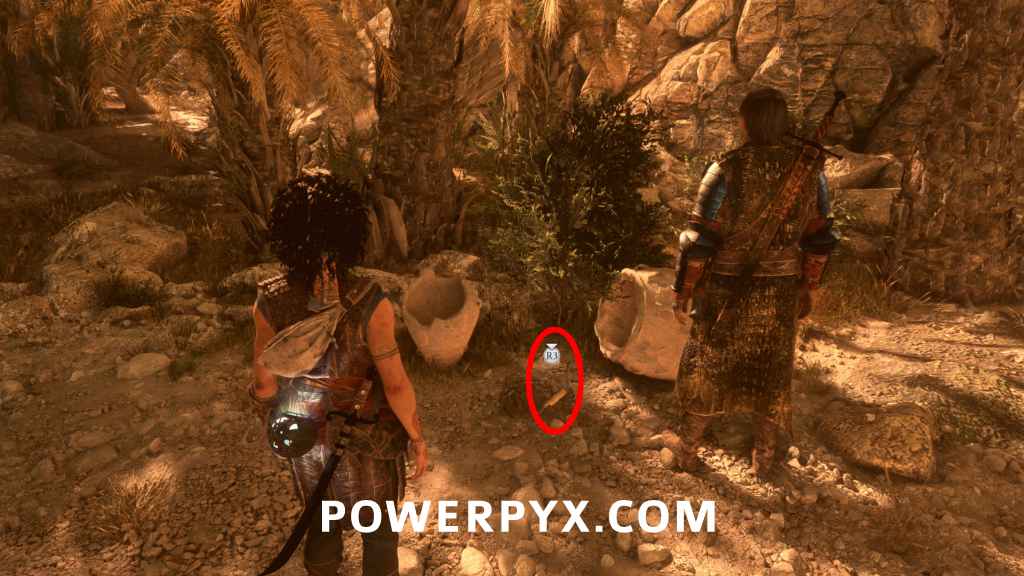
Objective: Find a way inside the mountain
Stick to the far right edge of the area and you’ll find it between two broken vases. Approximately 30 meters forward and to the right from the prior location, at the right edge of the area.
1 Resonance Point
Sub-Chapter: 1 – The bridge
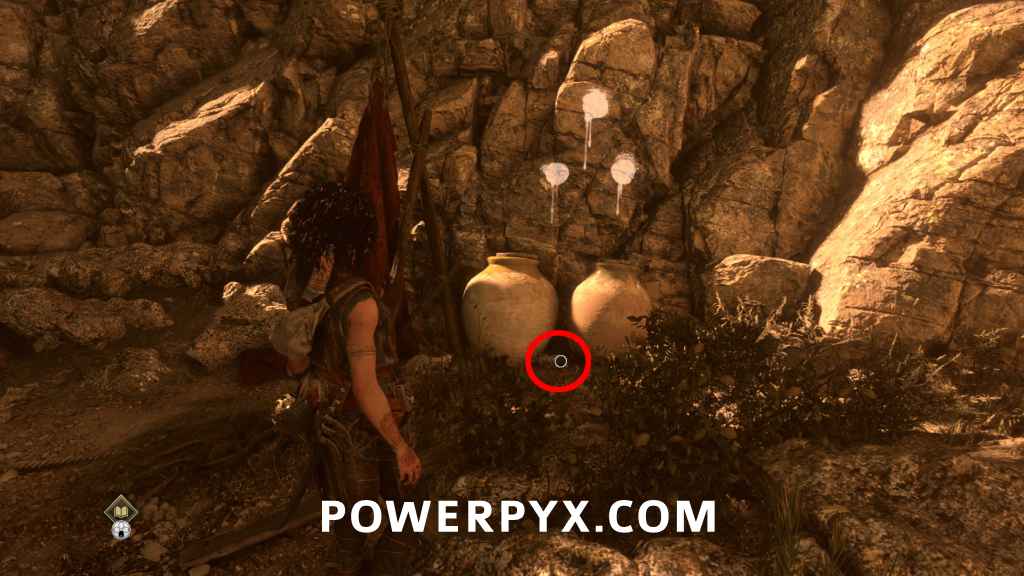
Objective: Find a way inside the mountain
Keep following the right edge of the area until you come to a wall with 3 white dots, it’s below the dots.
Charm: Beads #5
Sub-Chapter: 1 – The bridge
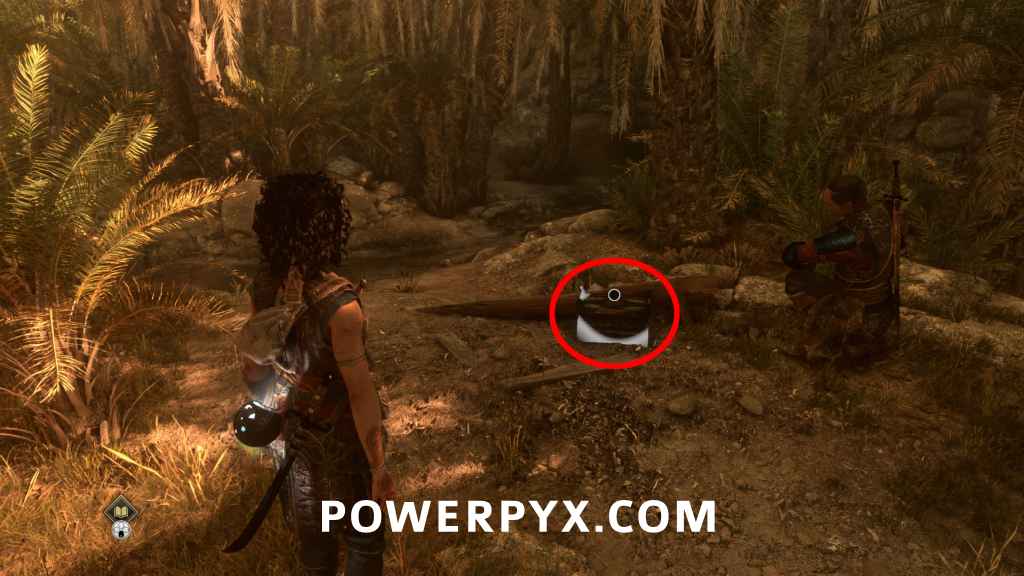
Objective: Find a way inside the mountain
From the 3 white dots, turn around 180° and go in a straight line to find a chest, you’ll see it glimmering white from afar. Next to a small river that flows into the bigger river.
1 Resonance Point
Sub-Chapter: 1 – The bridge
Objective: Find a way inside the mountain
Go upriver through the middle of the area, you’ll see a big cliff with 2 waterfalls in the distance. On the last stretch of land to the left of the river you’ll find it behind a broken vase.
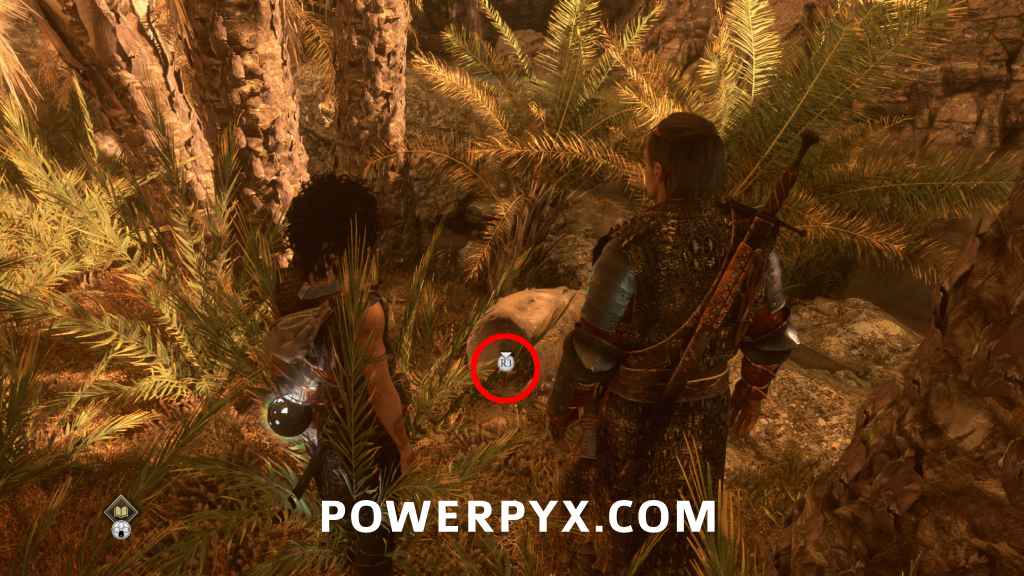
1 Resonance Point
Sub-Chapter: 1 – The bridge
Objective: Find a way inside the mountain
On the right side of the woods area follow the cable on the ground to reach a cave with a ladder. Climb up and proceed to use the zipline. Then you enter a camp and this will be on the left where you enter.
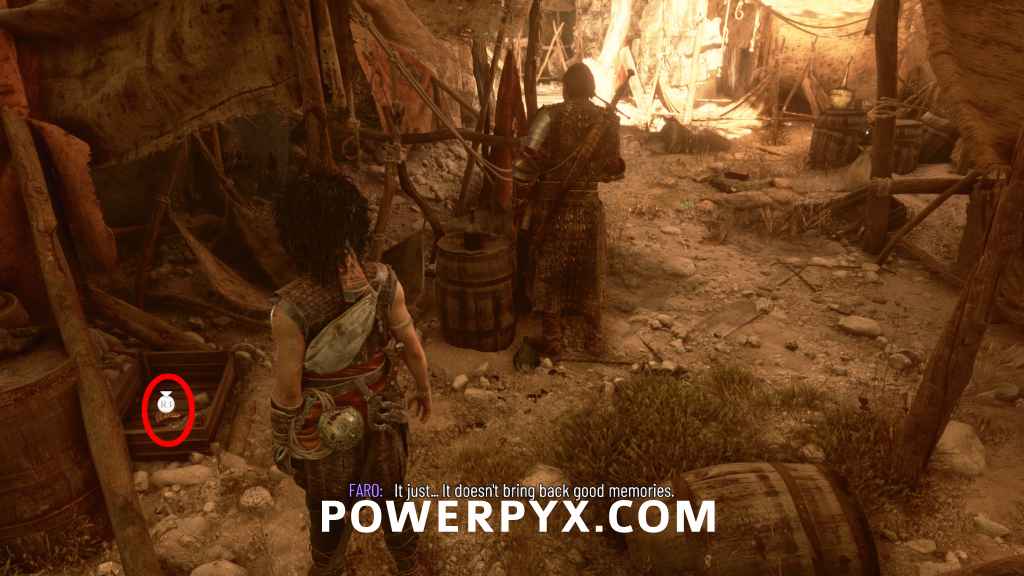
Charm: Trinket #4
Sub-Chapter: 1 – The bridge
Objective: Find a way inside the mountain
From the previous point, move forward, you will find it in the second tent on the right.
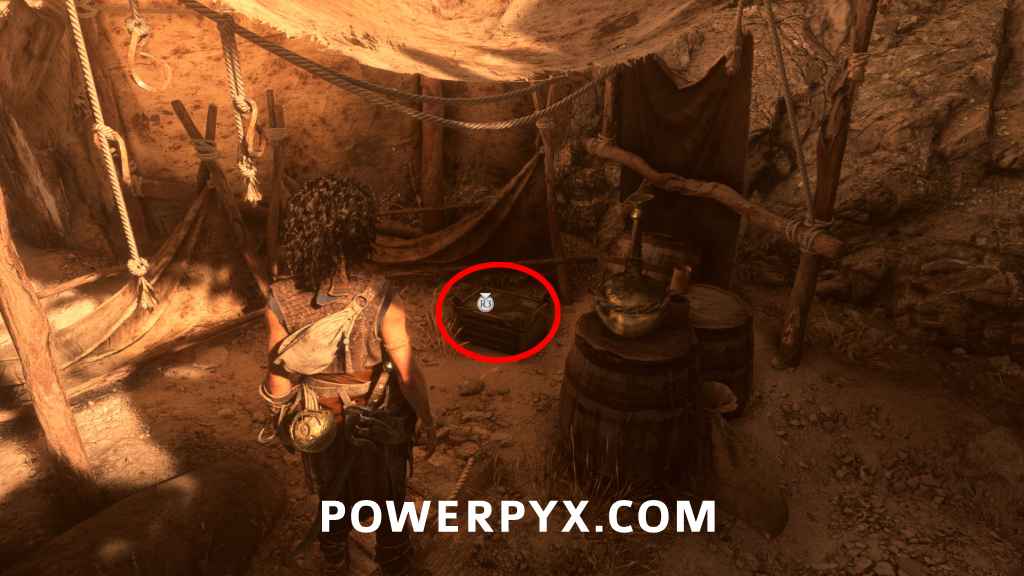
1 Resonance Point
Sub-Chapter: 1 – The bridge
Objective: Find a way inside the mountain
After the camp you enter a cave, turn left to find the point at a dead end.
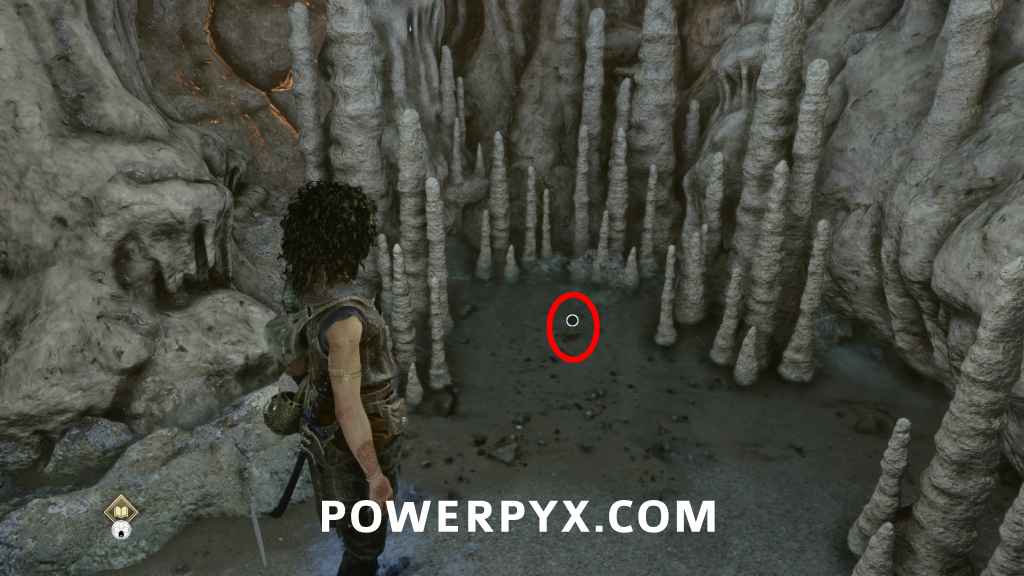
1 Resonance Point
Sub-Chapter: 1 – The bridge
Objective: Find a way inside the mountain
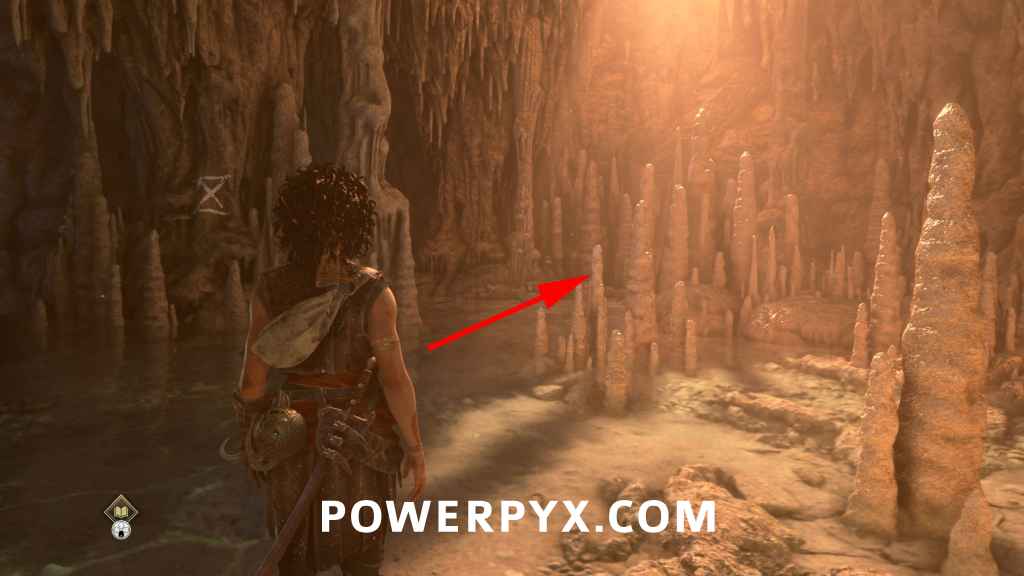
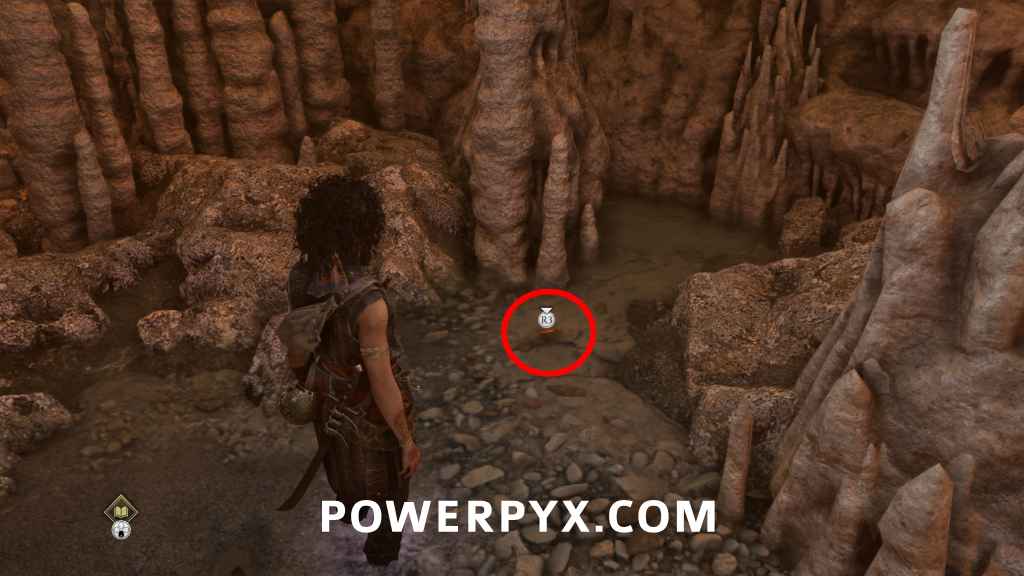
During the labyrinth/cave section, in a well-lit room with the hourglass icon on the wall and many stalagtites/stalagmites. From the start of the cave (circle icon), always go right and you’ll reach this room. It’s the room before squeezing through the well-lit gap for story progress.
Sub-Chapter 2 – In the plunderers’ wake
1 Resonance Point
Sub-Chapter: 2 – In the plunderers’ wake
Objective: Find a way inside the mountain
From the last location go through the next corridor to find a well lit gap you can squeeze through, it leads outside (story path). In this new area follow the right wall to find it in front of a metallic floor plate.
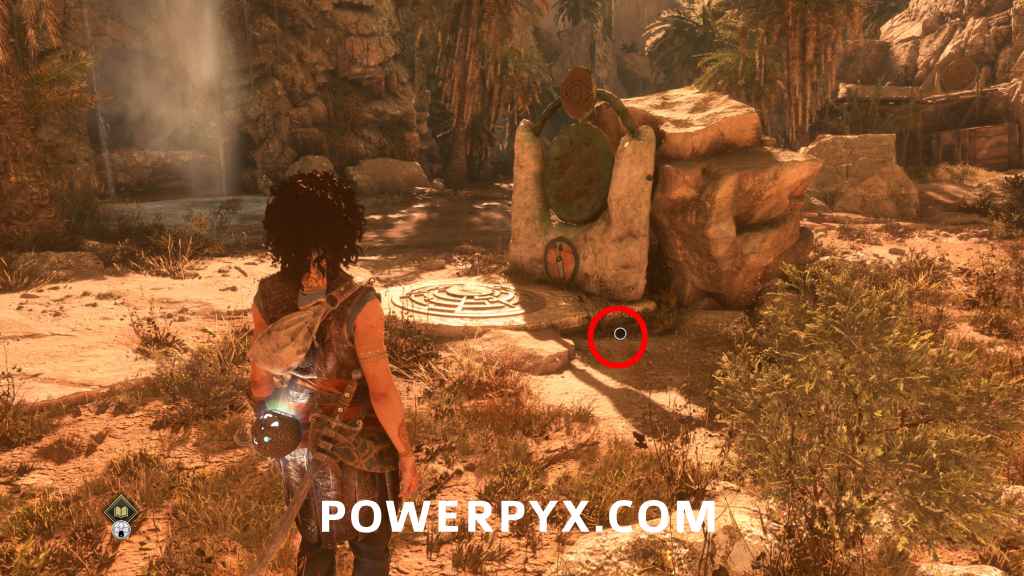
1 Resonance Point
Sub-Chapter: 2 – In the plunderers’ wake
Objective: Find a way inside the mountain
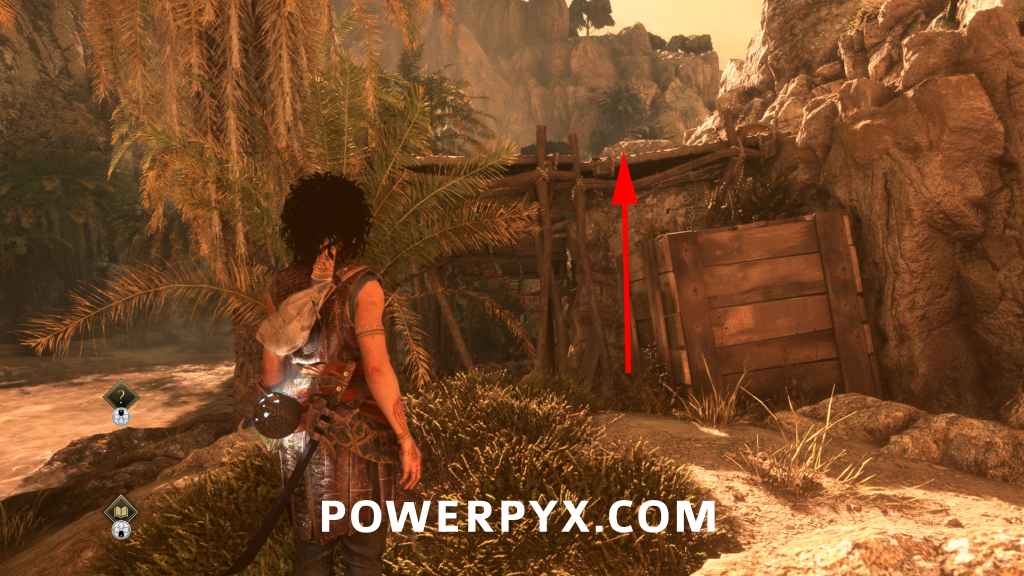
From the previous point, turn right, move forward, and you will see a little wooden scaffolding. Climb it to reach the mirror, then climb the ledge left of the mirror.
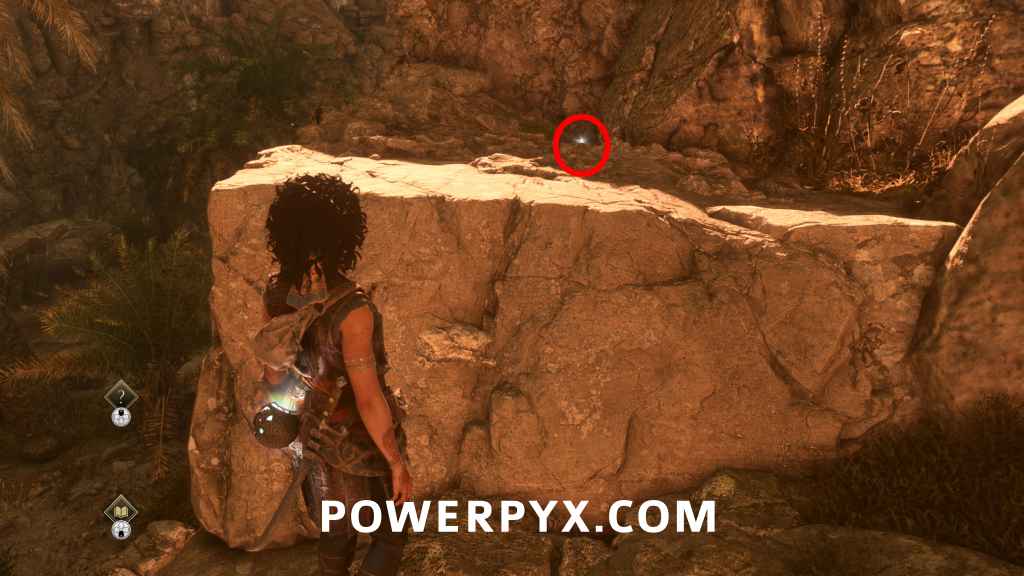
Artefact – Relics from the Present: Thakourth Ball
Sub-Chapter: 2 – In the plunderers’ wake
Objective: Find a way inside the mountain
From the previous point, get down from the scaffolding and follow the right side of the river to find it at the end.
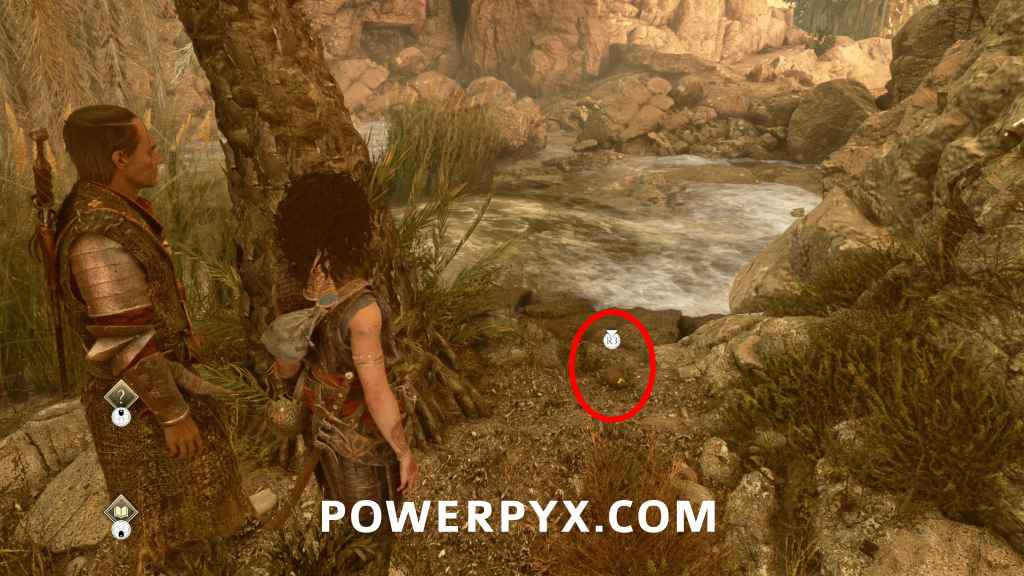
1 Resonance Point
Sub-Chapter: 2 – In the plunderers’ wake
Objective: Find a way inside the mountain
From the relic, turn left and cross the water to find it in front of a cave.
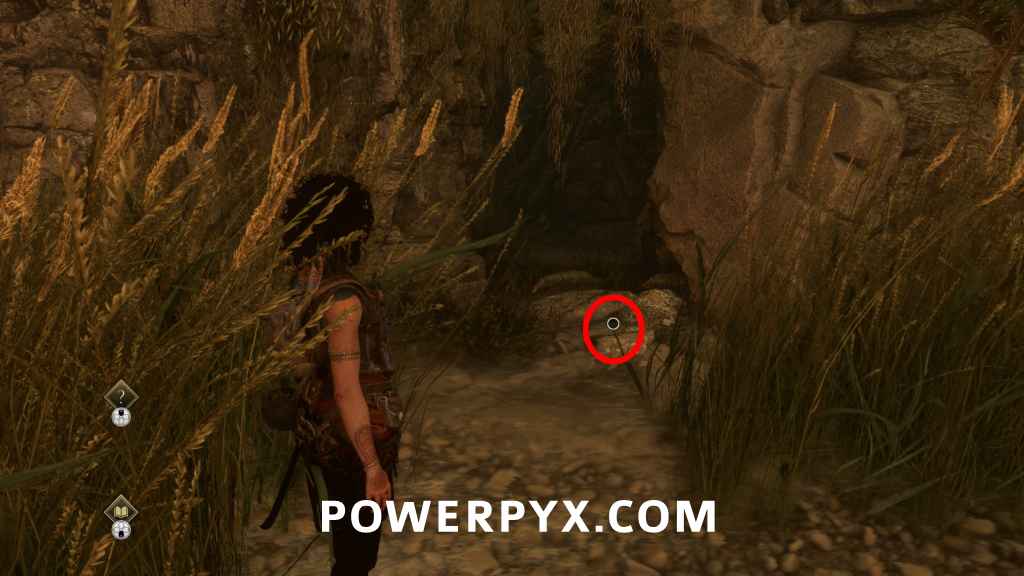
1 Resonance Point
Sub-Chapter: 2 – In the plunderers’ wake
Objective: Find a way inside the mountain
From the previous point, enter the cave. After the cave, you have to use your grappling hook to get up a wall. Immediately in front of you, destroy the vases to find it hidden underneath.
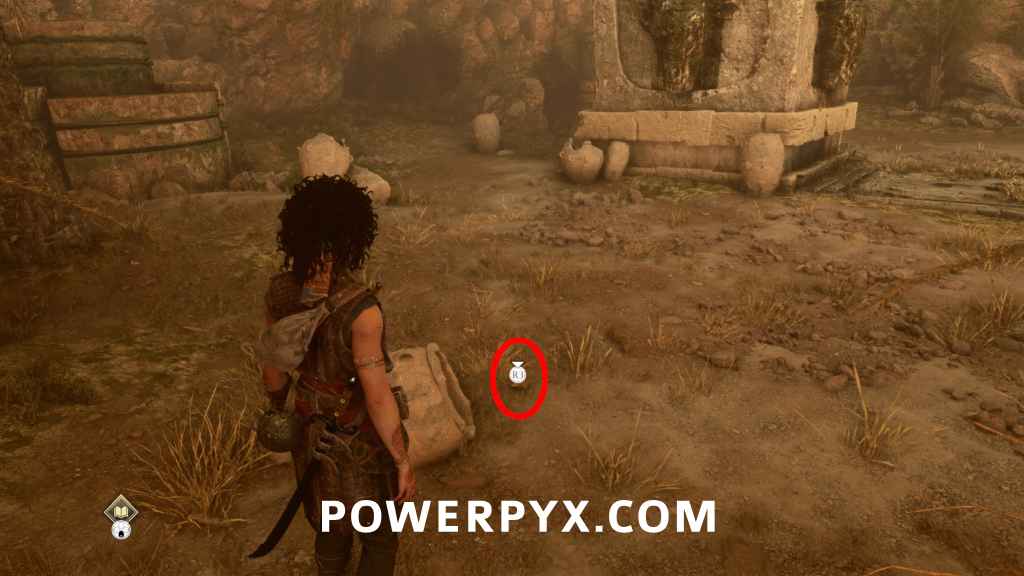
Blade: Xiphos [Blades from the Heroes’ Graves #6]
Sub-Chapter: 2 – In the plunderers’ wake
Objective: Find a way inside the mountain
In the same area is a bull statue. First, destroy the vases in the area to reveal the blue gem underneath. Then use the pedestal in front of the statue to turn on the lights. Then get onto the light platform in the right corner and align the lights (Red = Left / Green = Middle / Blue = Right, hidden below vase). This opens the crypt in front of the pedestal, drop down and open the chest.
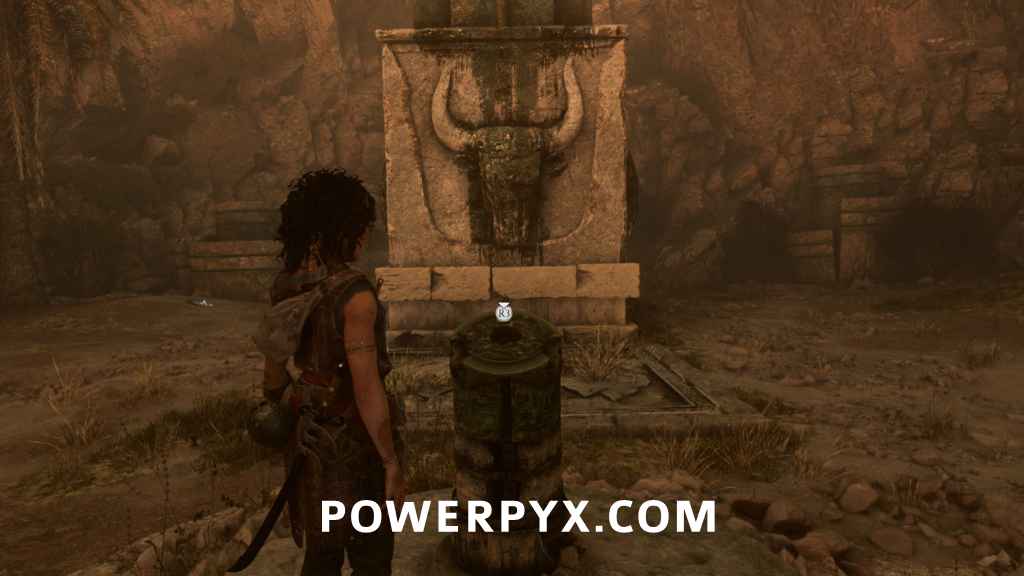
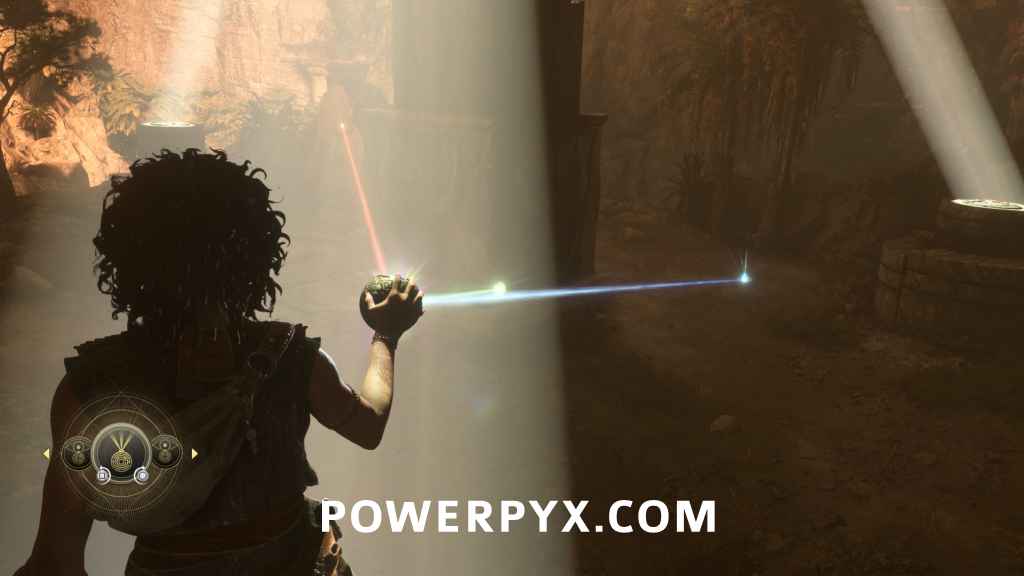
1 Resonance Point + Mirror Light Puzzle
To proceed with the story, you have to solve a light puzzle in the previous area. First, enter the waterfall cave on the side of the area and you will find a mirror you can interact with. You must interact with the wheel in the middle of the mirror and turn the left stick clockwise until the light turns on (not the small side wheels that aim the mirror).
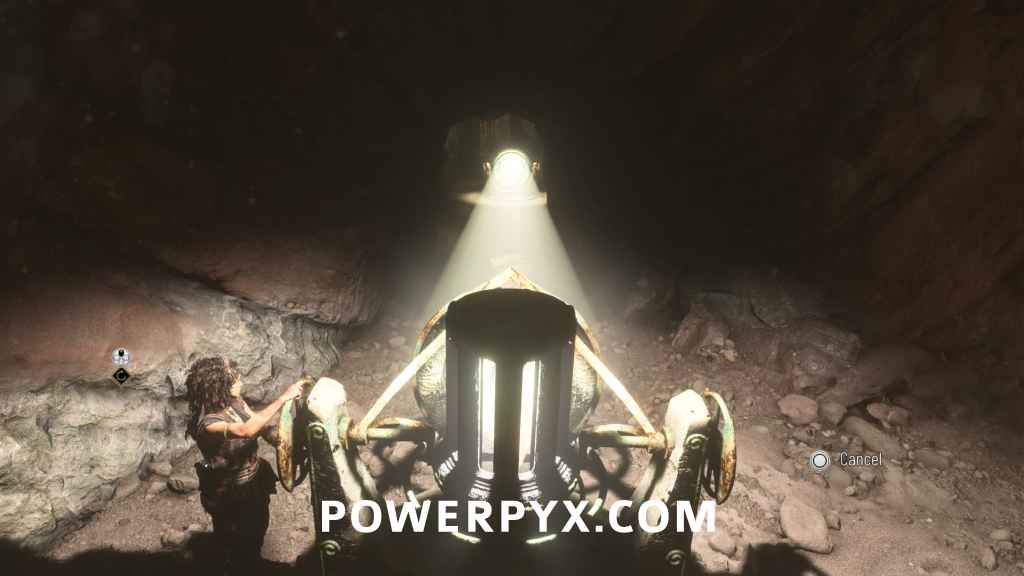
Now you must reflect the light from one mirror to the next until it reaches the door with the 3 pedestals.
1) From waterfall cave shine at the mirror behind the cave.
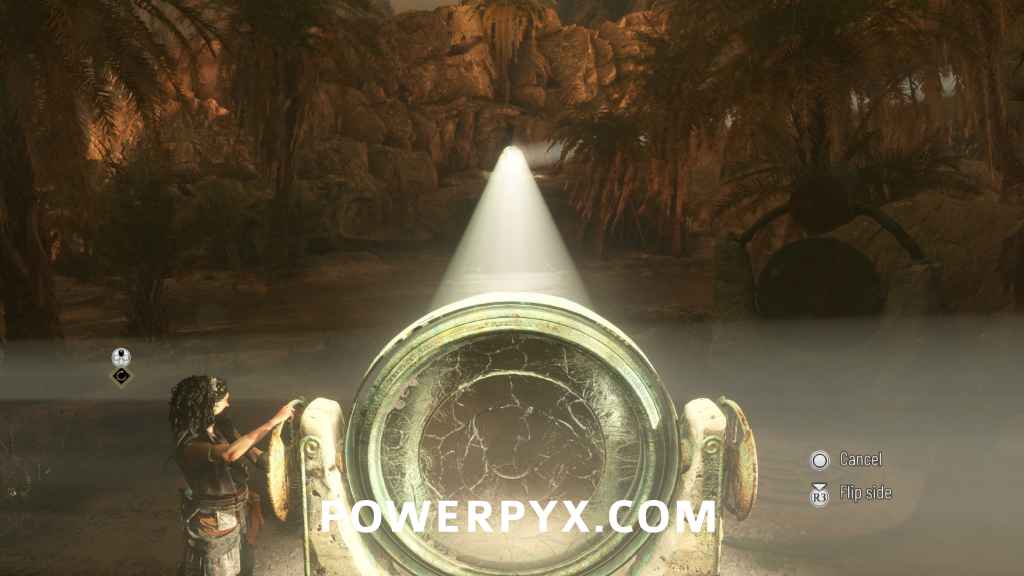
2) Mirror on scaffold on side of area.
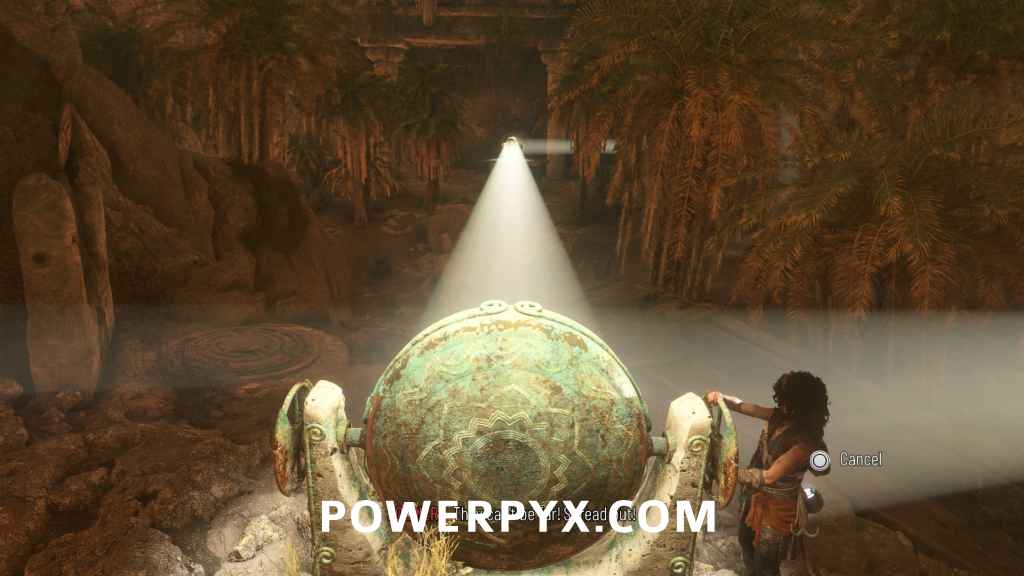
3) Mirror on platform in middle of area.
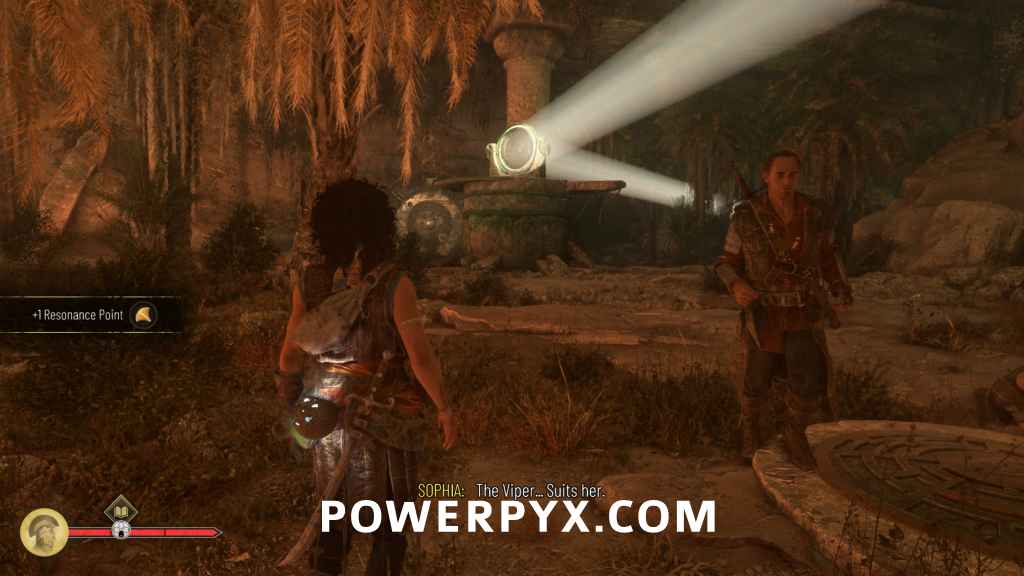
4) Boost Faro up that platform. Enemies will appear, defeating them gives 1 Resonance Point.
Faro will now shine the light at the corner to the right of the puzzle door. Stand on the floor plate and he’ll shine the light at you, then use the sphere to look at the round green metal piece to reveal a hidden blue icon. Sophia will scribble it in her journal.
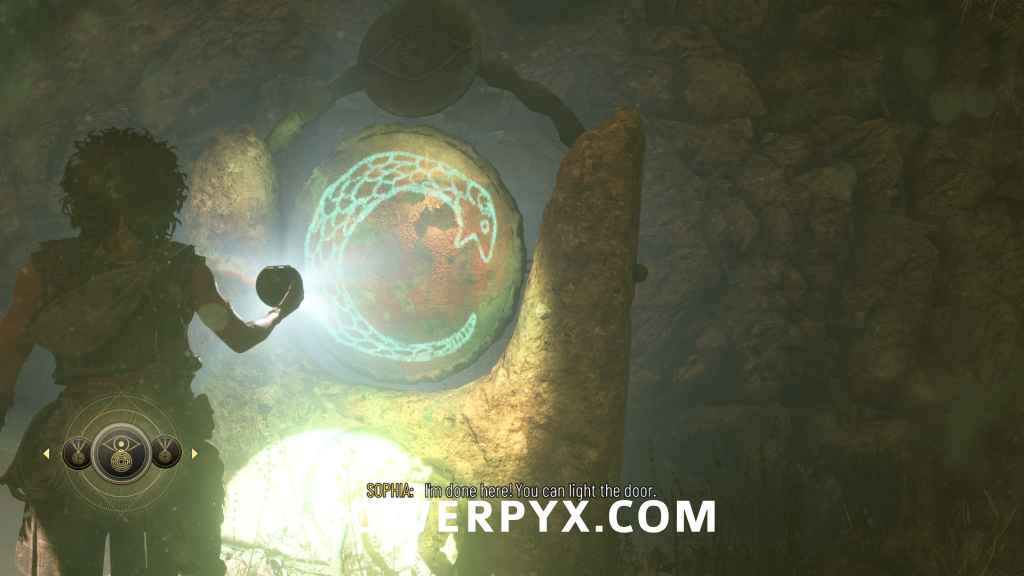
Now for the door puzzle, you are supposed to walk to the stelae in the light and use the sphere to reveal the 6 symbols and then move the red/green/blue crystal on the door accordingly.
This part is a bit complicated, simply copy the solution shown below. Use the 3 pedestals to move the gems on the door into that same position. Stand in the light at the door to shine the colored lights at the gems.
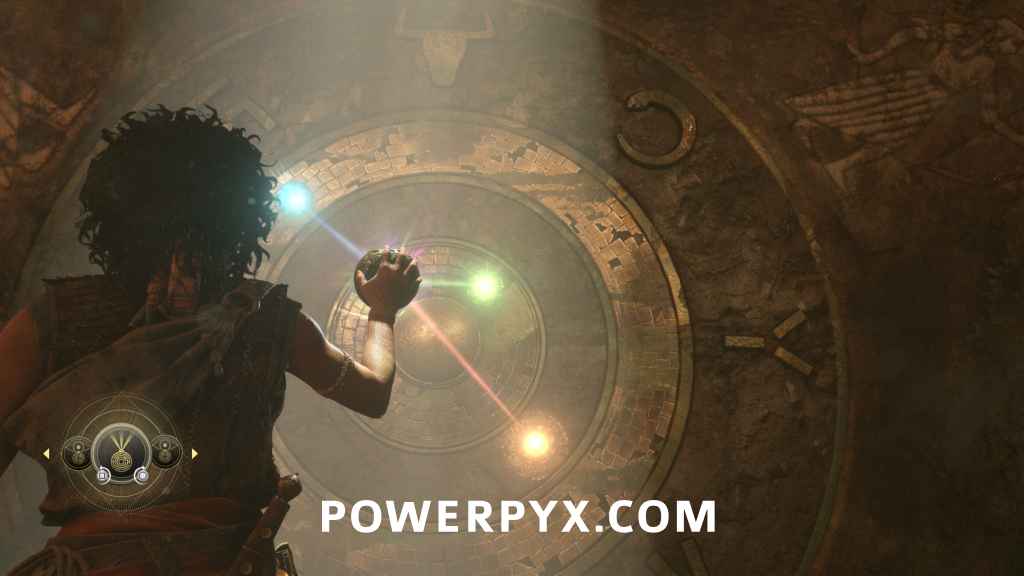
1 Resonance Point
Sub-Chapter: 2 – In the plunderers’ wake
Objective: Find a way inside the mountain
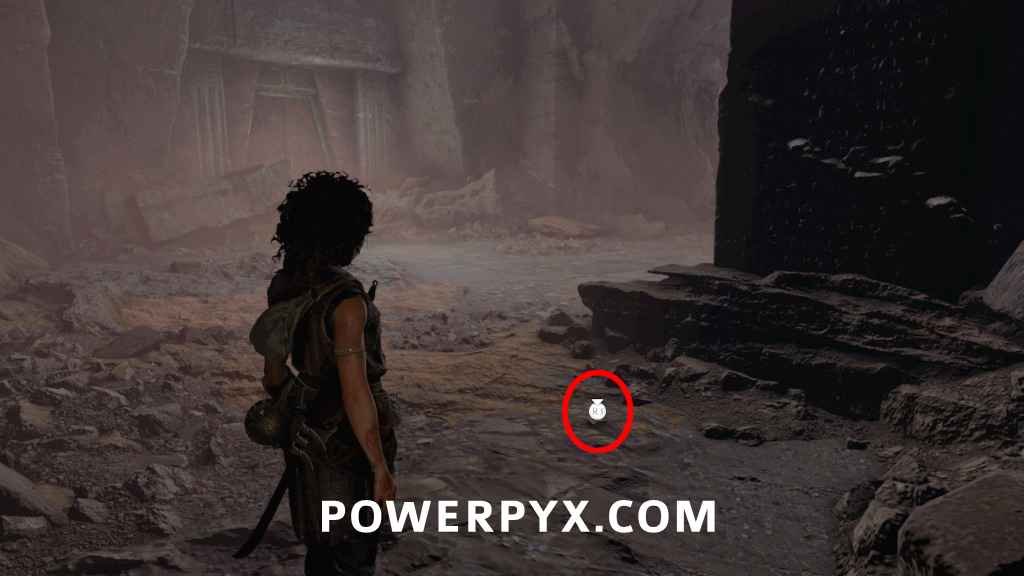
After you solved the puzzle, enter the now open door. In this new area check the left corner at the end of the room, behind the pillar.
Sub-Chapter 3 – Daedalus’ workshop
Artefact – Relics of the Past: Impossible Mechanism
Sub-Chapter: 3 – Daedalus’ workshop
Objective: Explore Daedalus’ workshop
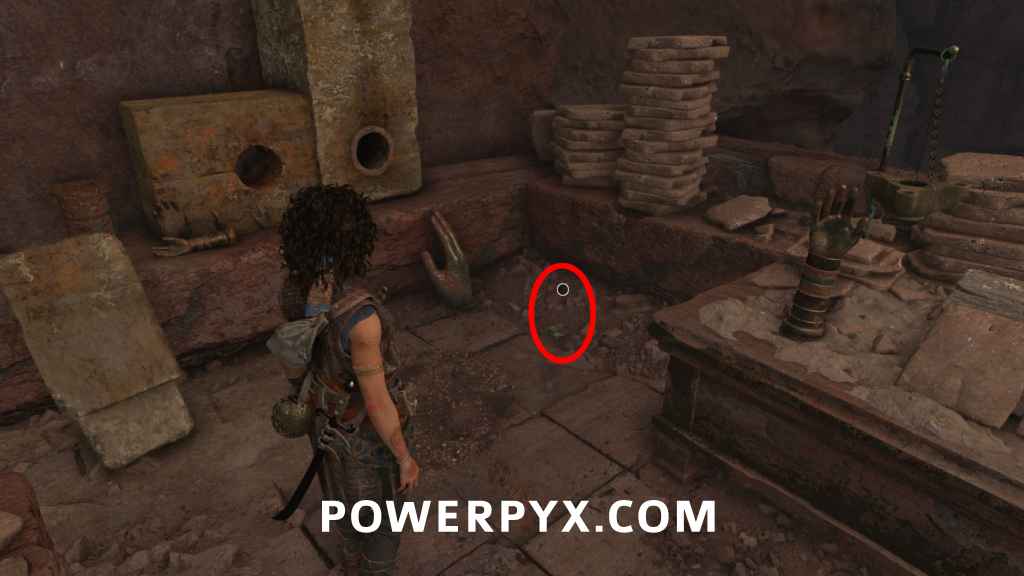
From the previous point, open the door and you’ll enter the workshop. Go downstairs, then go right over the bridge to find it in the right corner.
1 Resonance Point
Sub-Chapter: 3 – Daedalus’ workshop
Objective: Explore Daedalus’ workshop
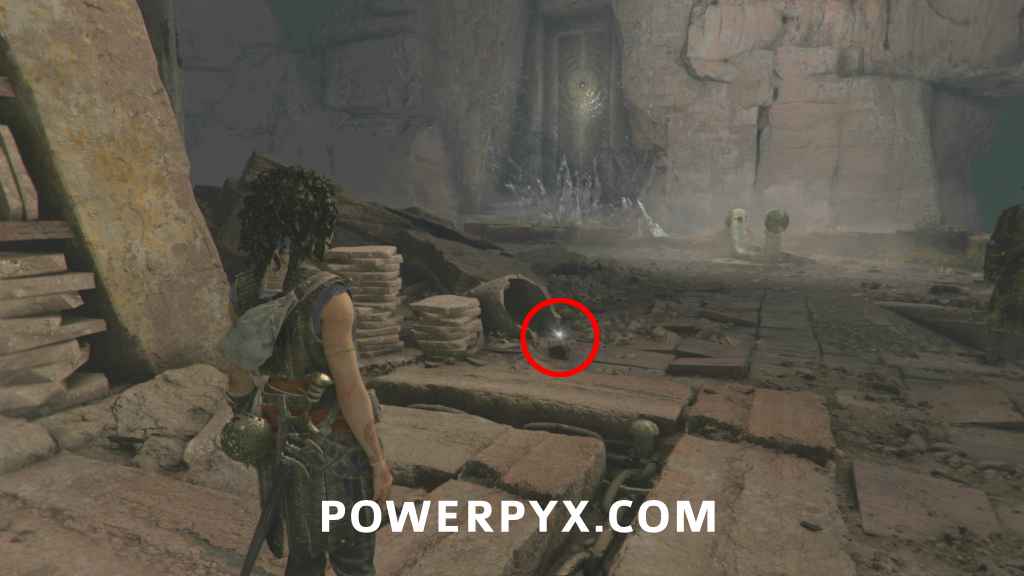
Go back over the bridge. The point is in front of the second bookshelf to your left.
Charm: Pierced Coin #5
Sub-Chapter: 3 – Daedalus’ workshop
Objective: Explore Daedalus’ workshop
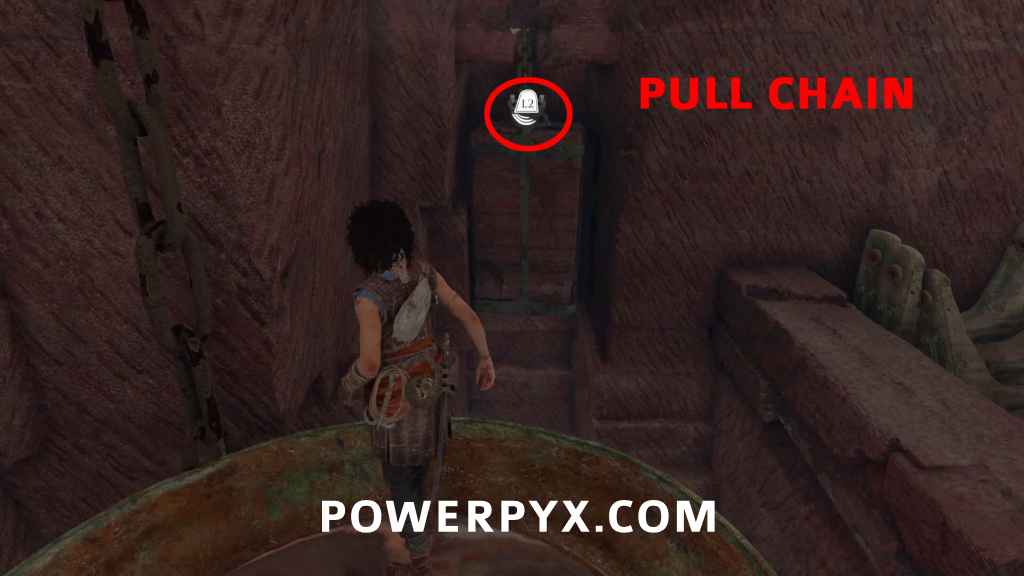
From the previous point, go right down the stairs. Turn right again and you’ll see a mirror hanging from chains. Jump on it and look at the wall, there is a grappling point with L2/LT prompt. Pull on it to drop down a weight, it will open a tomb upstairs. Go back up and head downstairs into the tomb.
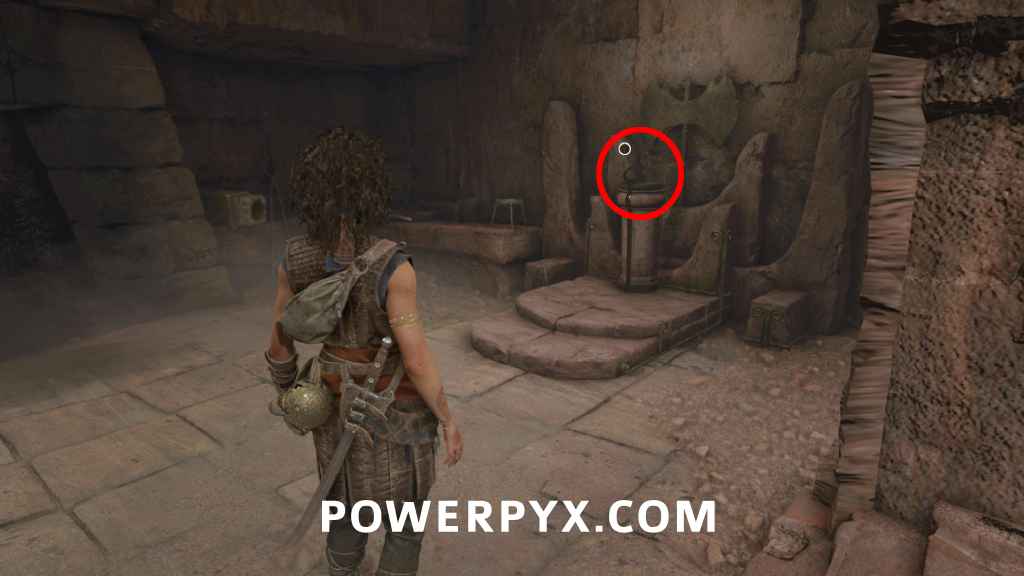
1 Resonance Point
Sub-Chapter: 3 – Daedalus’ workshop
Objective: Explore Daedalus’ workshop
To the left of the Charm, same room.
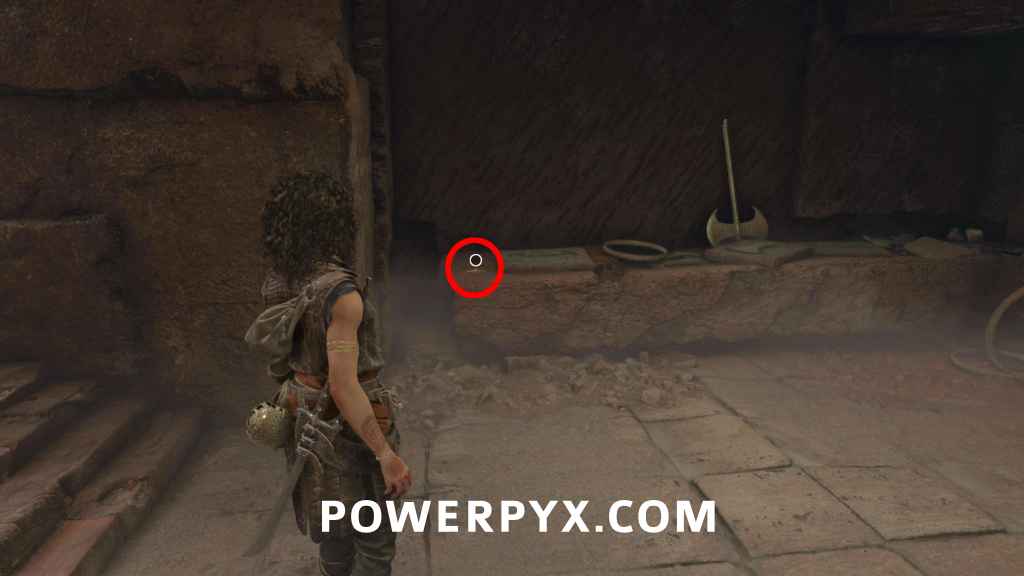
2 Resonance Points
Sub-Chapter: 3 – Daedalus’ workshop
Objective: Explore Daedalus’ workshop
From the previous location, follow the path to the left till the end, go up the stairs to the left and you’ll find a mirror. Climb up the ledge behind the mirror and interact with the green “wings” on the wall. Sophia will insert something and the left wall will open up, revealing two resonance points.
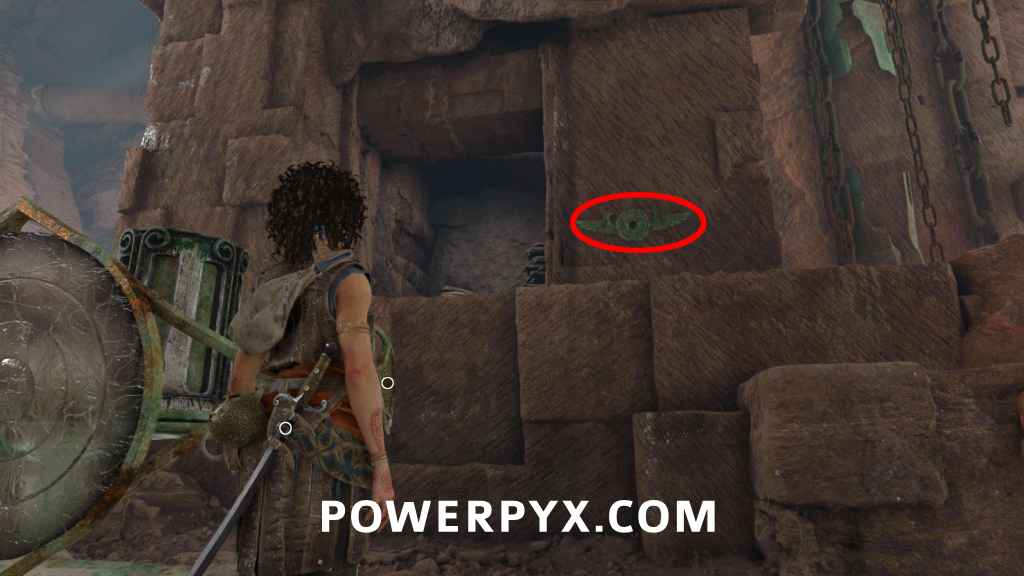
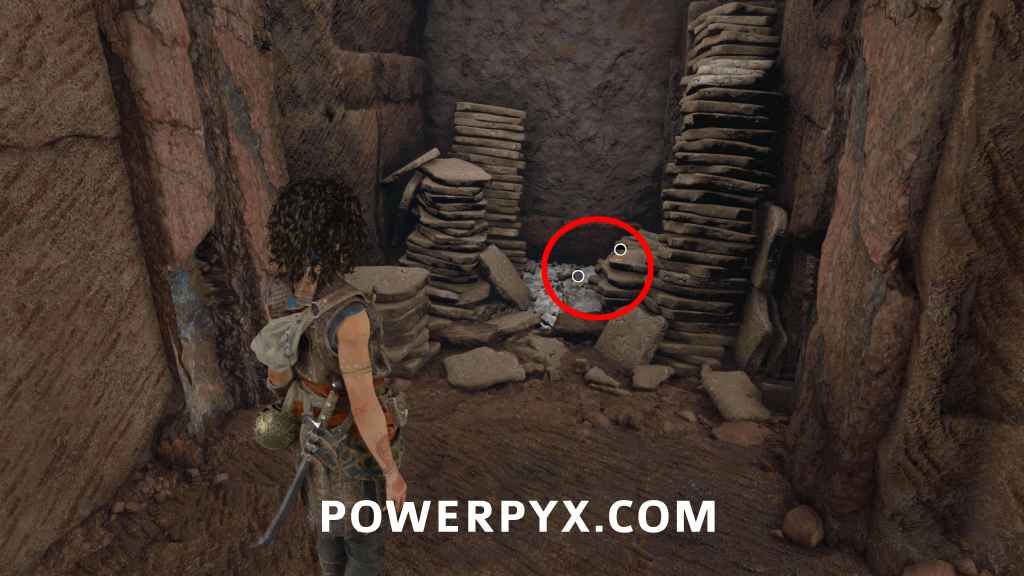
How to proceed: turn on the mirror below the last 2 resonance points (spin the middle wheel clockwise with left stick), aim the mirror at the dust in front to melt it away. Head through the now-open path to proceed. Note: you can’t open the right-side path yet, it will be opened later at the end of sub-chapter 5.
Sub-Chapter 4 – The test Trial
No collectibles.
Sub-Chapter 5 – A light that burns
1 Resonance Point
Sub-Chapter: 5 – A light that burns
Objective: Leave the test trial
Right after the test trial, when you are reunited with Faro, turn around to find the point (very beginning of the subchapter).
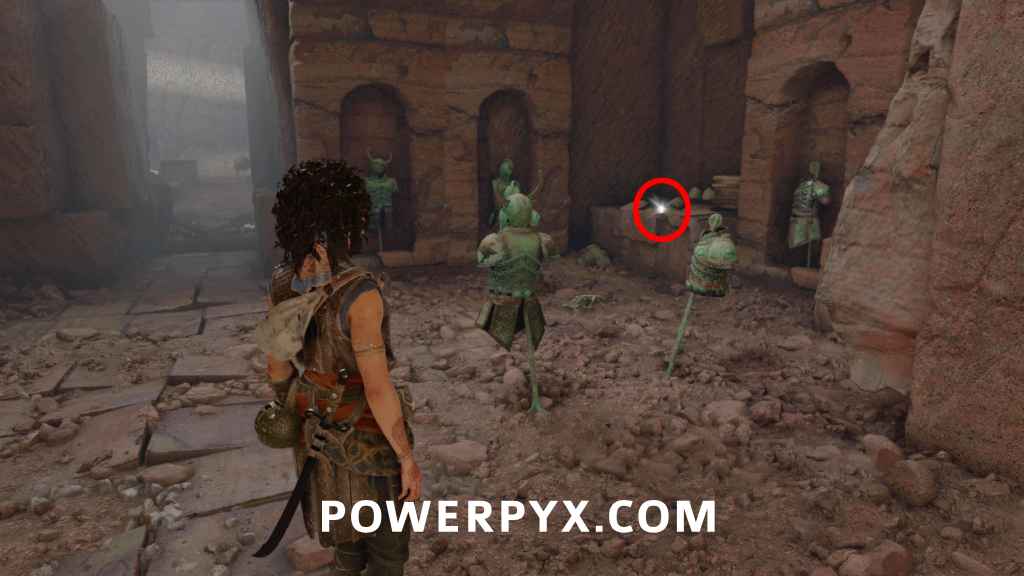
1 Resonance Point
Sub-Chapter: 5 – A light that burns
Objective: Obtain the new sphere upgrade
Soon after the previous point, you will enter the trial room in the present, here you make your way through the room. Halfway through the room, you will slide down a slope after the ground falls apart. Now you can go either the upper path or the path downward. Take the upper path, use your grappling hook to swing to the other side, and turn right to find the point.
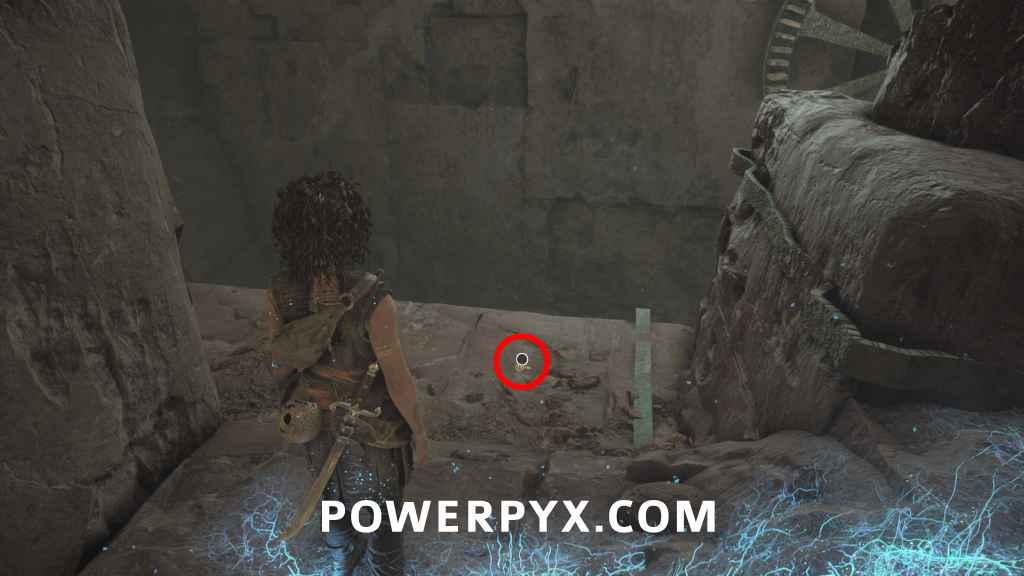
1 Resonance Point
Sub-Chapter: 5 – A light that burns
Objective: Obtain the new sphere upgrade
From the last point drop to the area directly below to find it on the side (the side of the bottom path you could have taken instead of the upper path).
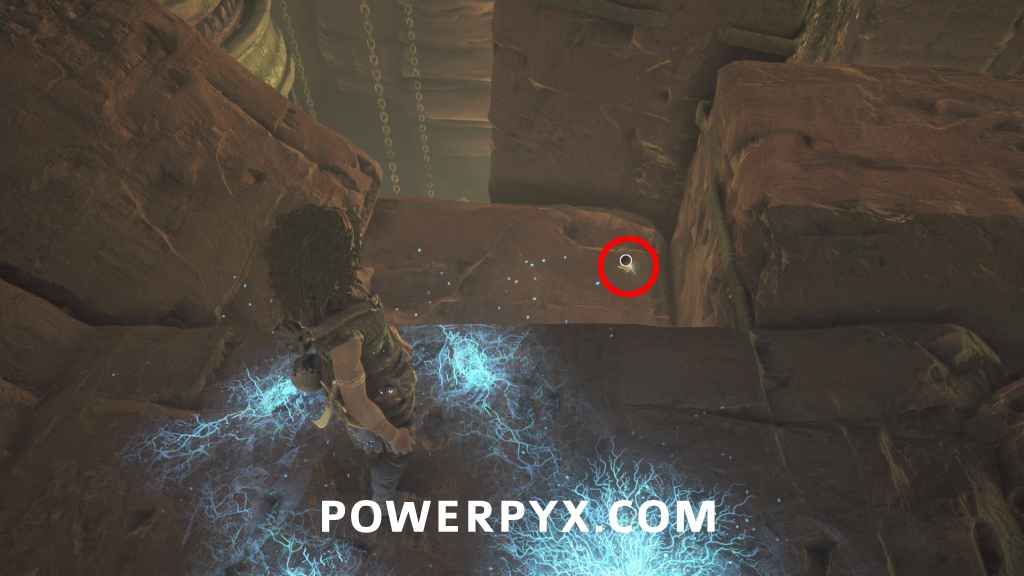
1 Resonance Point
Sub-Chapter: 5 – A light that burns
Objective: Obtain the new sphere upgrade
From the previous point, continue on the path, and you will see a tree shortly after. The point is just below the tree.
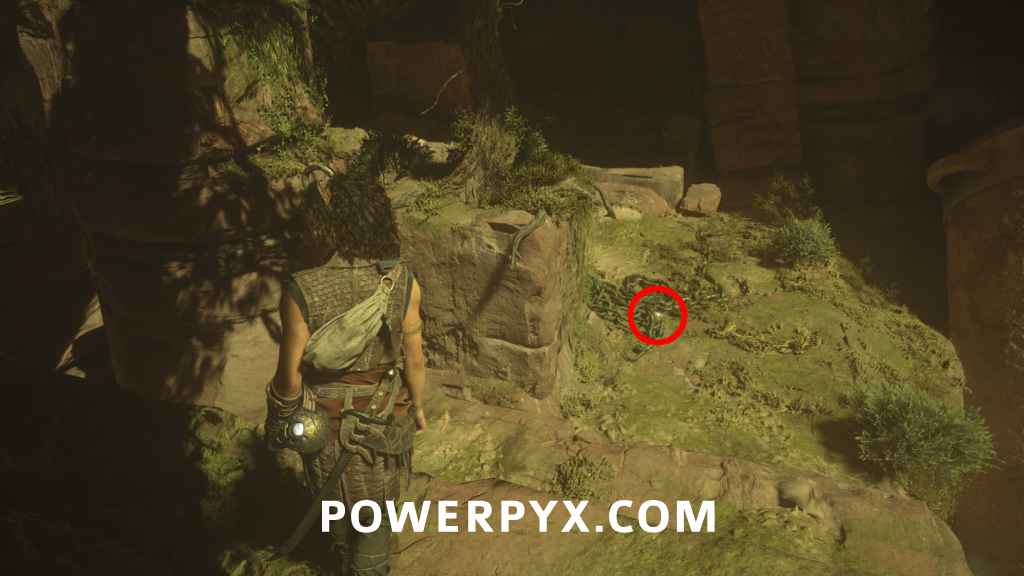
1 Resonance Point
Sub-Chapter: 5 – A light that burns
Objective: Obtain the new sphere upgrade
After the previous point, you will use a mirror with light to clear a path. After that, you use your grappling hook once, then you slide down a slope and use your grappling hook again. Right after that, turn right and climb up the ledge to find the point.
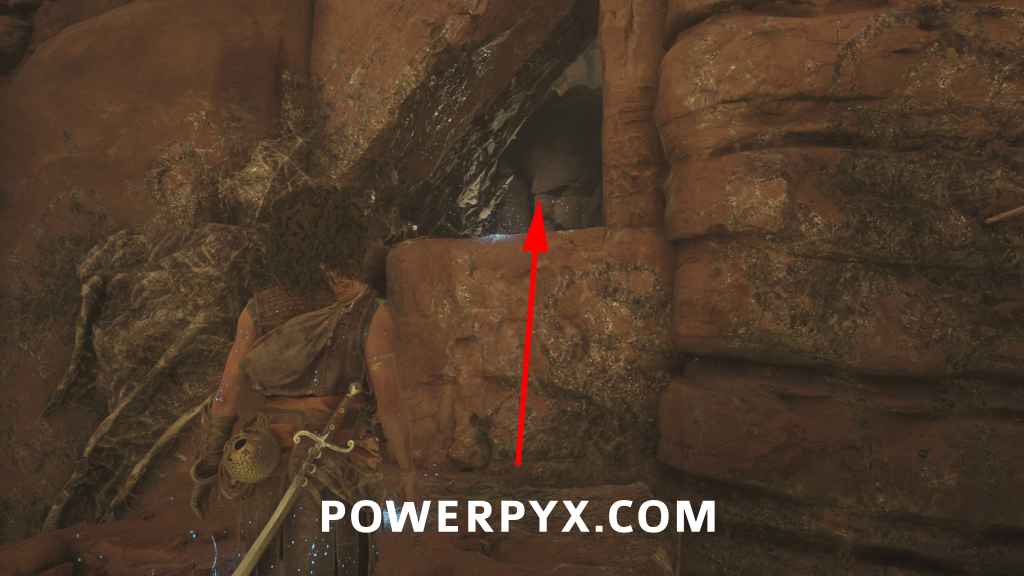
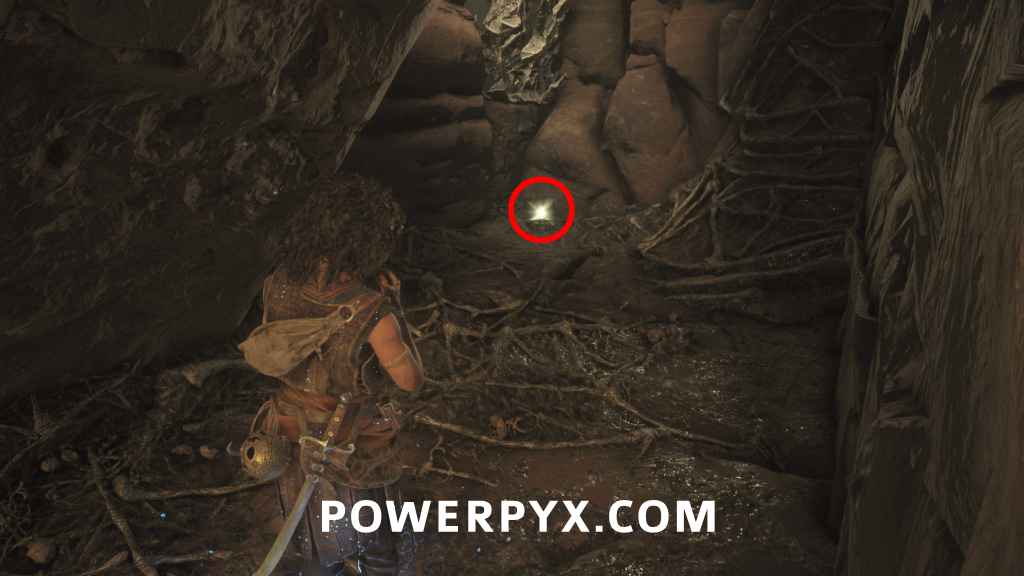
1 Resonance Point
Sub-Chapter: 5 – A light that burns
Objective: Exit Daedalus’ workshop
After you got the sphere upgrade, you will go back into Daedalus’ workshop an open up an entrance with the sphere upgrade (story path, can’t miss it). The point is exactly at the entrance.
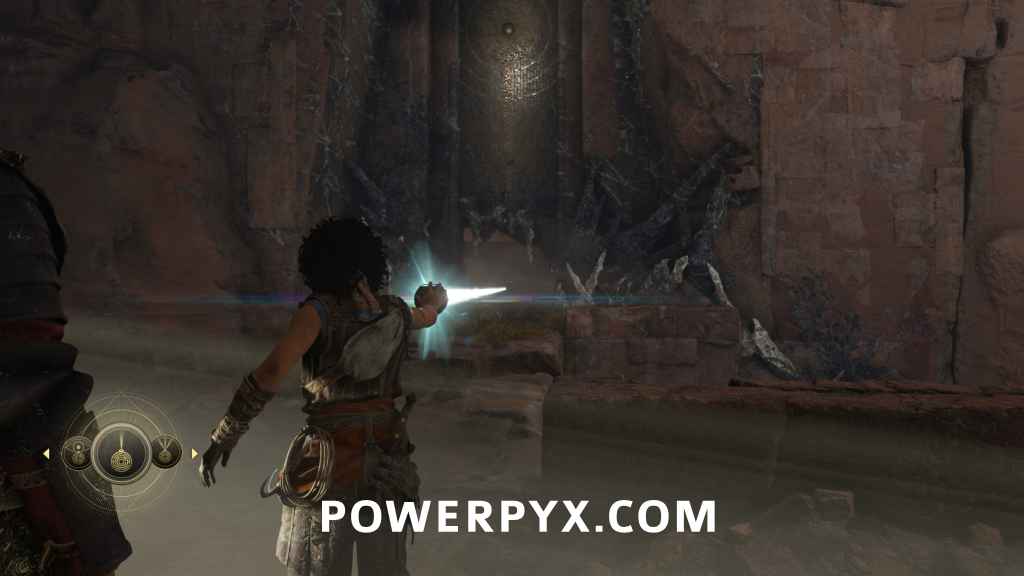
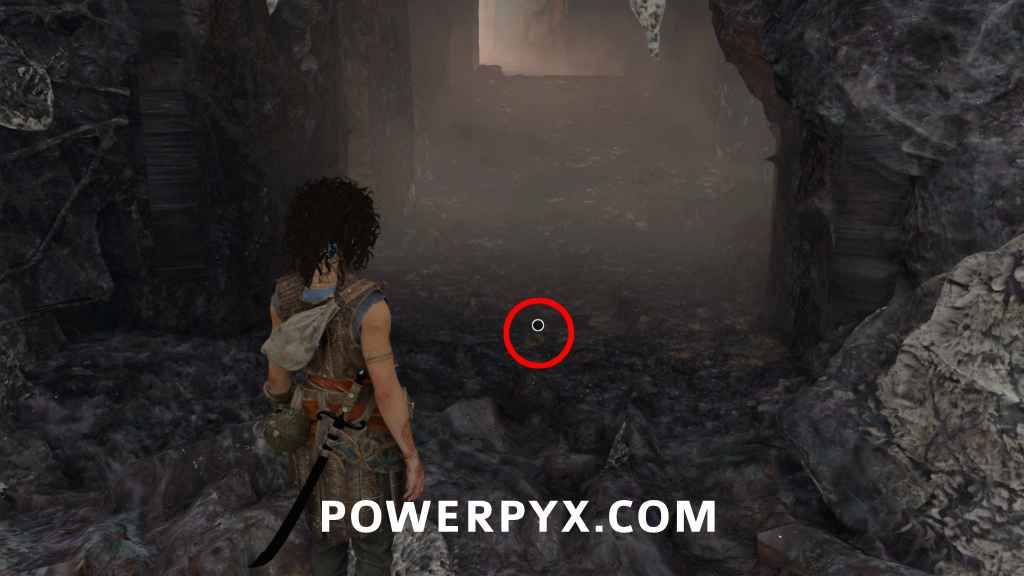
That’s 100% of the collectibles you can find in Chapter X: Parallel Paths of Resonance: A Plague Tale Legacy.
NEXT: Chapter 11
For all other Chapters, check out the complete Resonance: A Plague Tale Legacy Collectibles Guide.
Gediminas says
Didn’t find any Resonance in the Cave Maze.
Ended up still with 25 points.
Matha says
There were no Resonance points inside the cave/maze during my playthrough.. 29.08.26
Gackt68 says
1 Resonance Point
Sub-Chapter: 1 – The bridge
Objective: Find a way inside the mountain
After the camp you enter a cave, turn left to find the point at a dead end.
Nothing here.
Gackt68 says
1 Resonance Point
Sub-Chapter: 1 – The bridge
Objective: Find a way inside the mountain
During the labyrinth/cave section, in a well-lit room with the hourglass icon on the wall and many stalagtites/stalagmites. From the start of the cave (circle icon), always go right and you’ll reach this room. It’s the room before squeezing through the well-lit gap for story progress.
Nothing here either.
Hindsight says
I have noticed many are missing but I am also getting 3 for combat not 2 as listed, referring to the points