
Marvel’s Wolverine has 14 Nightmare Door Locations and 15 Nightmare Trials total. The first 14 Nightmare Trials are accessed through doors hidden throughout the campaign, then the secret 15th trial spawns in the Nightmare Cabin after the story. Discovering all Nightmare Doors unlocks the Pathways of the Mind trophy, and beating all 15 trials with at least bronze unlocks the hidden memory for the Repressed Memories trophy.
Nothing is missable, you can still get everything through chapter select after the story by interacting with the bed in the Nightmare Cabin. The Collectible Tracker in the pause menu and Nightmare Cabin will show how much you’ve found.
For trophies & Platinum you only need Adamantium (highest rank) in one trial. Getting bronze in the others will suffice, but getting higher scores gives more Adaptation XP to reach Adaptation Levl 10 sooner. You can replay all trials after the story from the Nightmare Cabin when you’ve unlocked more skills, to make them easier. You can also play on the easiest difficulty “The Man”, on which you have godmode and can’t die. This makes the gauntlet trials trivial, just switch to a higher difficulty after reaching the maximum score so you can die to finish the trial.
The Nightmare Doors are all indicated by big purple roots leading to the doors, they are all in plain sight on the main story path and almost impossible to miss. Some trials are combat tasks, and some are timed platforming sections. They are all very easy however and nothing really challenging.
Collectibles Overview:
Homecoming
Nightmare Door #1 – The Enemy of My Enemy
Objective: Recover your lost memories
Unmissable and required for story progression. You’ll automatically enter this door after a cutscene with Essex.
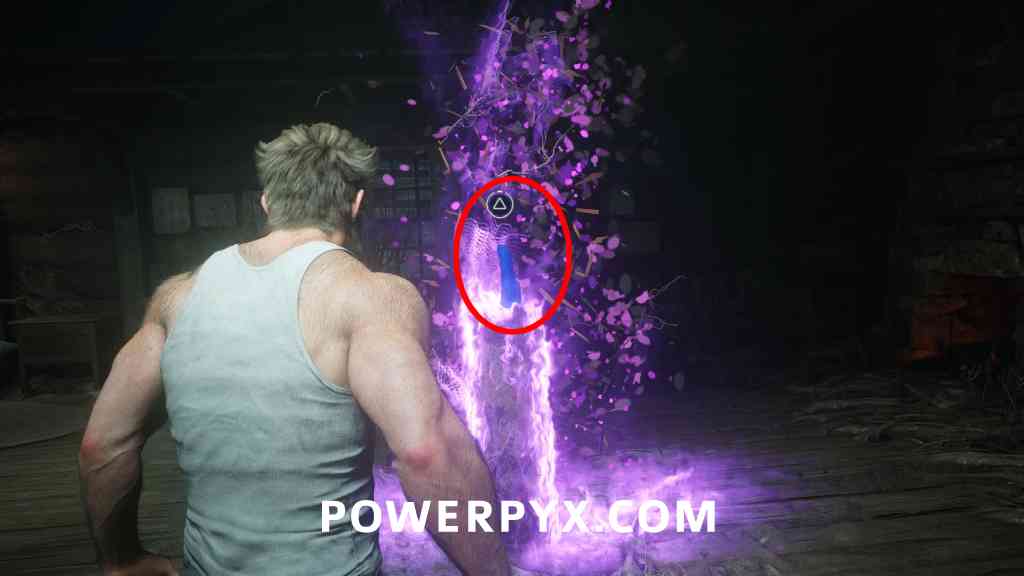
The One That Got Away
Nightmare Door #2 – Can’t Outrun the Past
Objective: Track the red-haired mutant
Unmissable, after fighting through a few more groups of reavers you will come across this one automatically when you reach a small river.

Raise Some Hell
Nightmare Door #3 – Hunting the Hunter
Objective: Track the captured mutants
After the furnace building and coming outside to an area with many containers, drop down and follow the purple roots on the floor to this door.
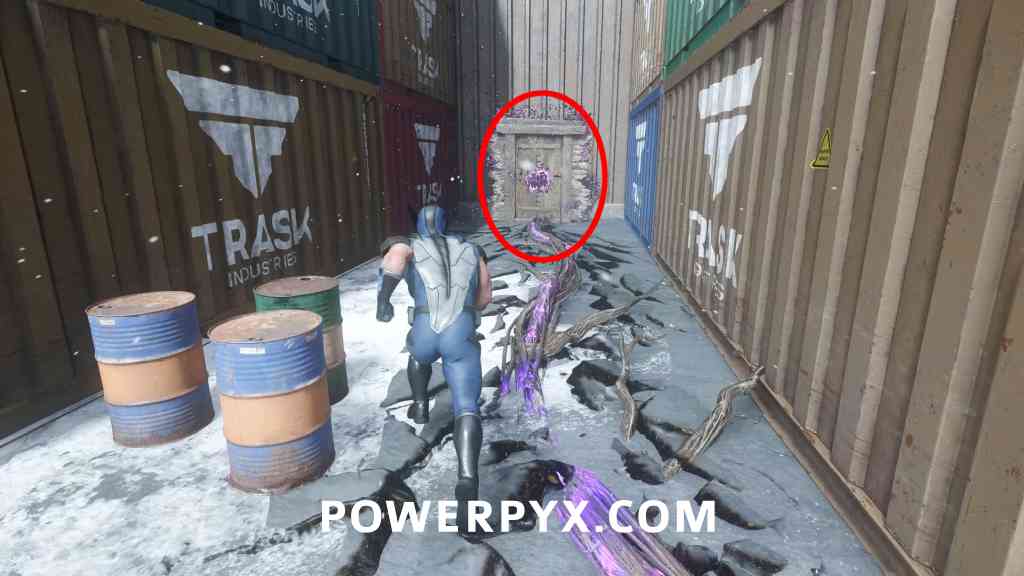
Something Much Stronger
Nightmare Door #4 – Fallen on Hard Times
Objective: Get to the cabin
After freeing the wolf from the branches, you’ll come across some roots leading to a nightmare door.
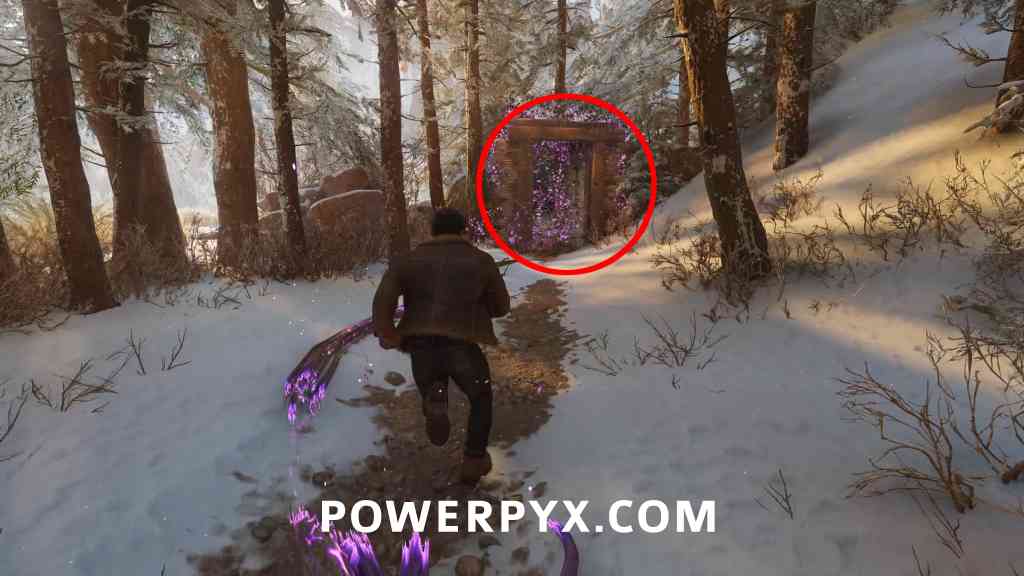
Mutant Detected
Nightmare Door #5 – Bad Inhibitions
Objective: Track and kill Trask
After going through the portal and the sequence in the jet engine, walk forward and enter the hallway on the right. Here go through the door and look left to see another door you can go through, at the end of this corridor is a nightmare door.
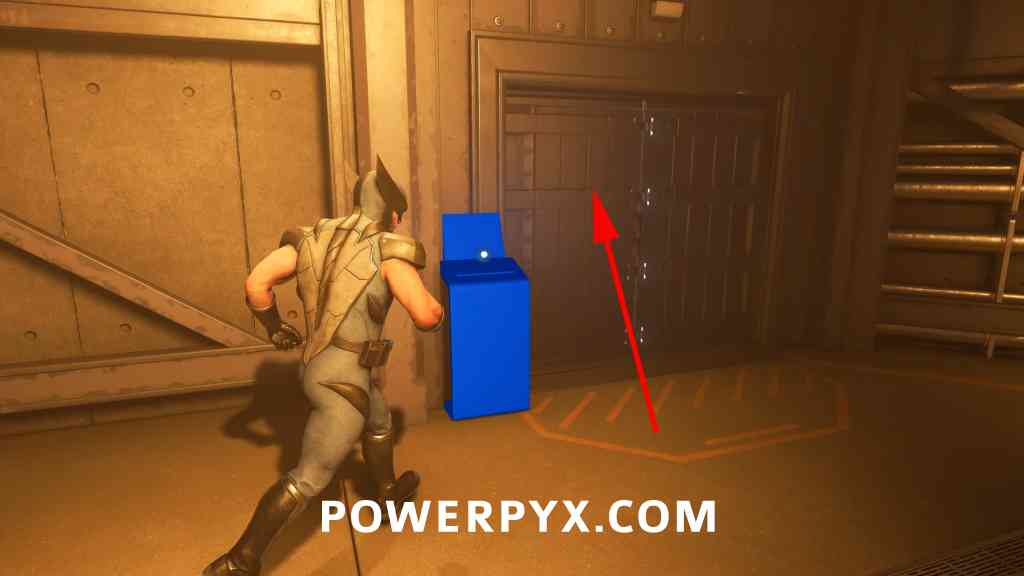
One Last Mission
Nightmare Door #6 – Last Stand at Cold Pines
Objective: Track down Jean
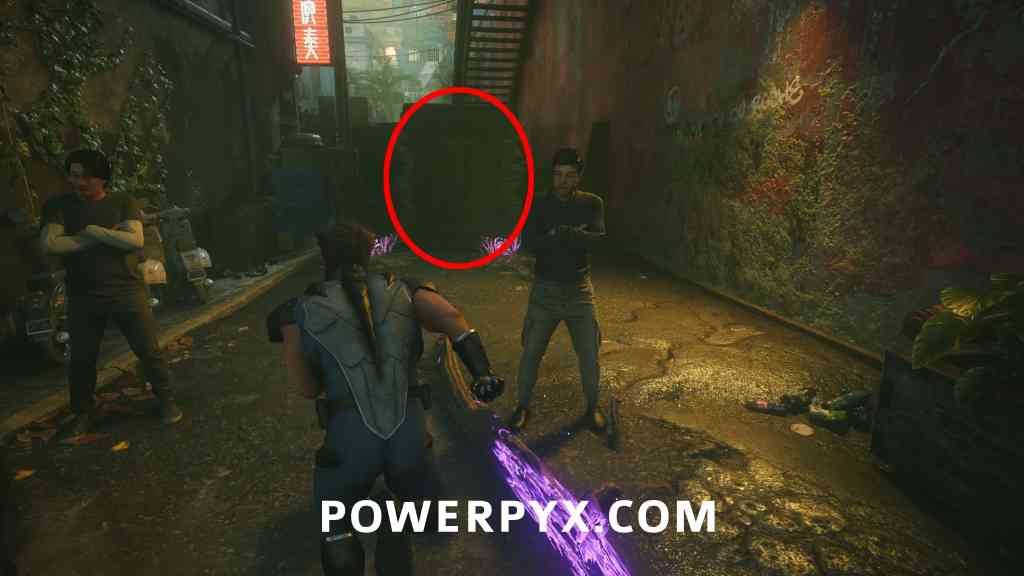
Once you leave the bar, follow the main path, you’ll see some roots leading to the door close by. This is a multi-wave gauntlet fight, if you play on The Man you can’t die, after reaching the required points you can raise the difficulty in gameplay settings so you can die to end the challenge.
Get Angry
Nightmare Door #7 – Death By 1000 Cuts
Objective: Look for signs of Walter
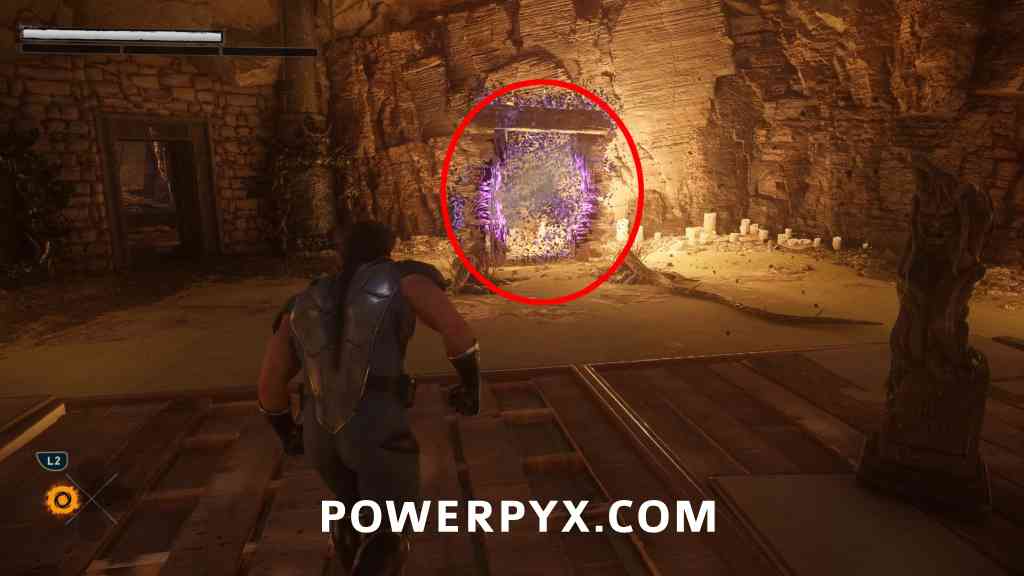
Once you finish the hallucination sequence, you’ll end up in another cave, the door is right here in front of you, impossible to miss. In the trial you must defeat 3 enemies with Critical Strikes, which you perform by pressing  +
+  . When enemies use yellow attacks, they will impale you with a sword, then you can use + to use the sword to impale one of them. Alternatively you can reach Rage Tier 3 to do Critical Attacks, equipping the Adaptations that increase Rage gain rate is helpful.
Bad Blood
Nightmare Door #8 – Shinjuku Shuffle
Objective: Meet Jean outside Shiro’s building
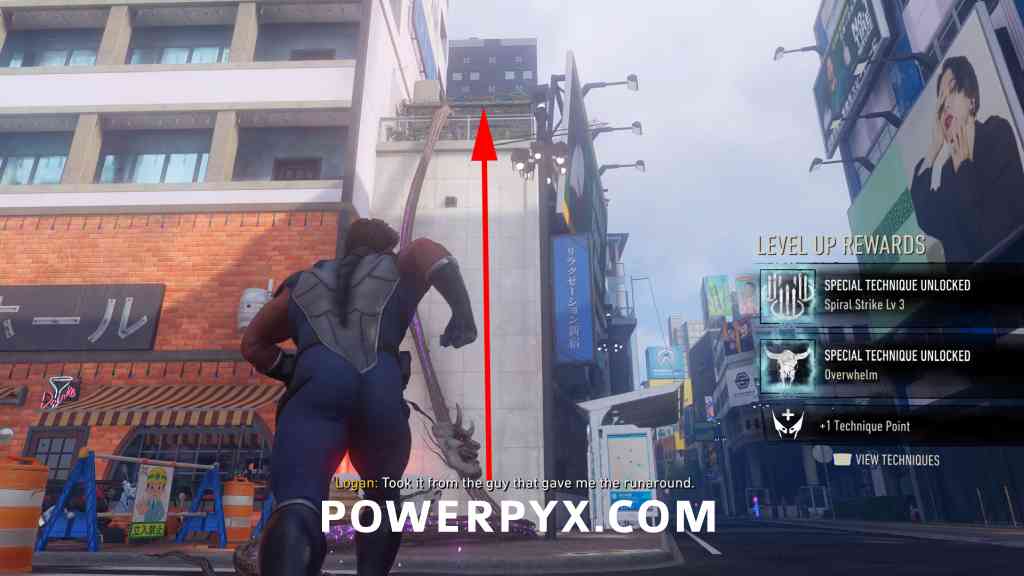
After fighting a bunch of enemies you will be on the street again, some roots appear immediately in front of you, follow these up the building to the door.
Death Comes to Death
Nightmare Door #9 – Rockbottom Blues
Objective: Locate the Helix Engine
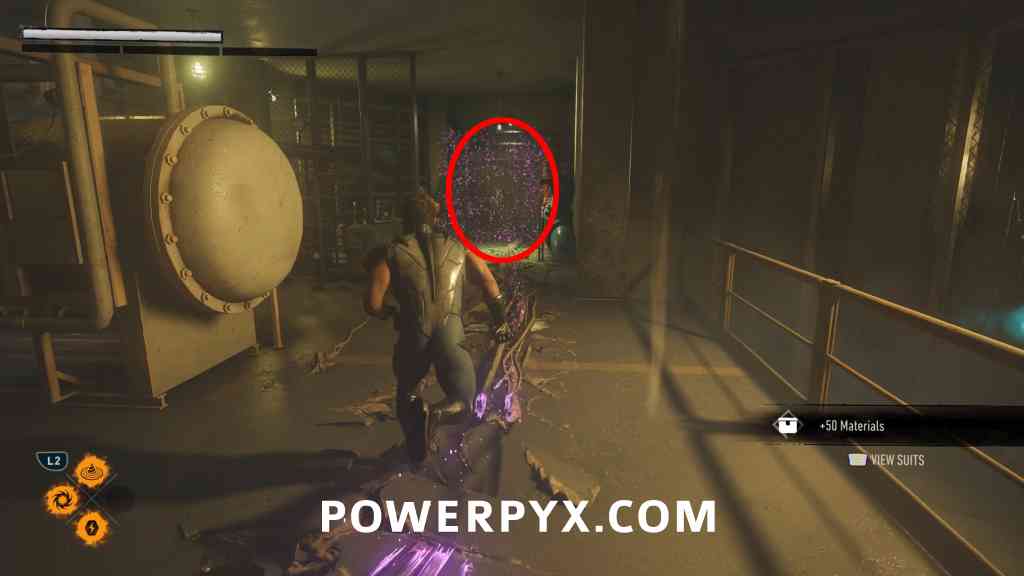
After fighting some enemies in the restaurant, you will have to check the security footage (story objective). Exit the security office, then follow the roots to the door toward the left side. For this trial you just need to reach the exit in 47 seconds.
Sinister Tidings
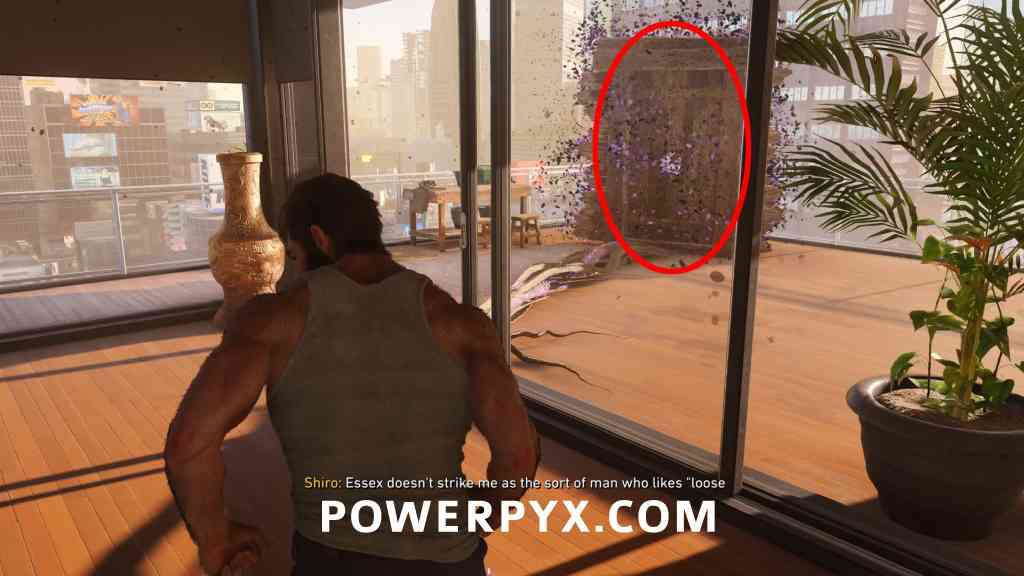
Nightmare Door #10 – Crucible of Tears
Objective: Maybe there’s something in the kitchen…
The door is outside on the balcony upstairs, only available after interacting with the sink in the bathroom.
Way Down Low
Nightmare Door #11 – Blood in the Jungle
Objective: Meet Jean at the Arsenal
After reaching the radio tower where Jean will pick up the microphone, you’ll ride down a zipline, follow the roots that appear to the door, impossible to miss.

Roll The Dice
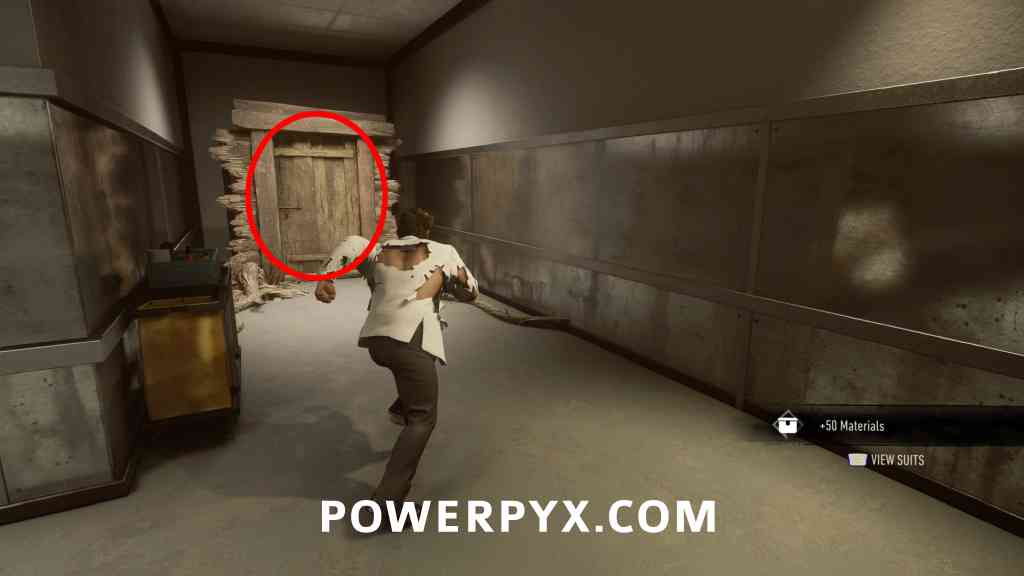
Nightmare Door #12 – Run the Tables
Objective: Service elevator, going up
After fighting all the reavers in the casino backroom, before using the elevator look left and follow the roots.
I’m Still Here
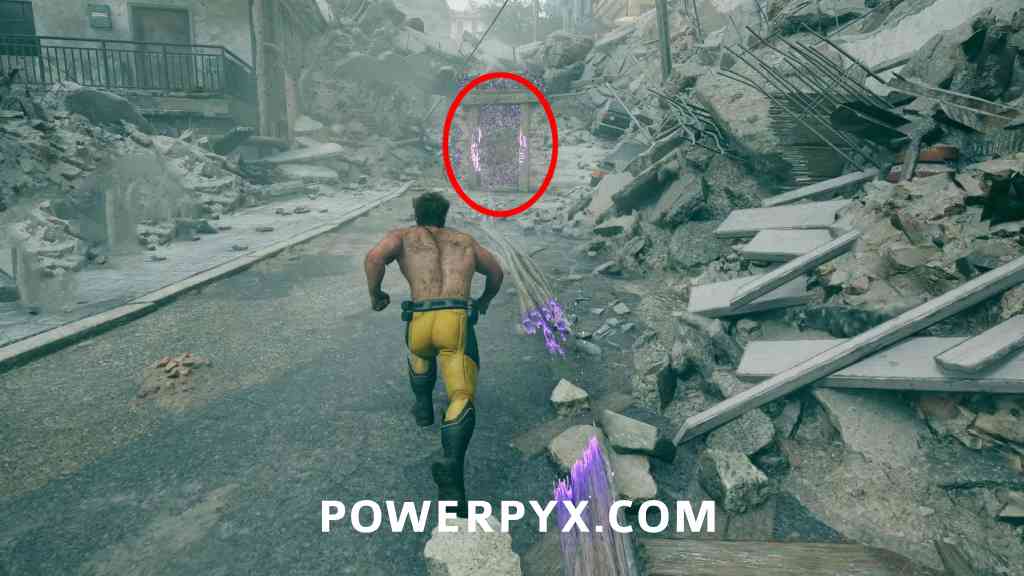
Nightmare Door #13 – Edge of a Knife
Objective: Find Jean
The roots to this door will appear on the main path in plain sight, just after an area with lots of enemies that you can pass through stealthily. The roots lead to the right of the main path.
This Was The Dream
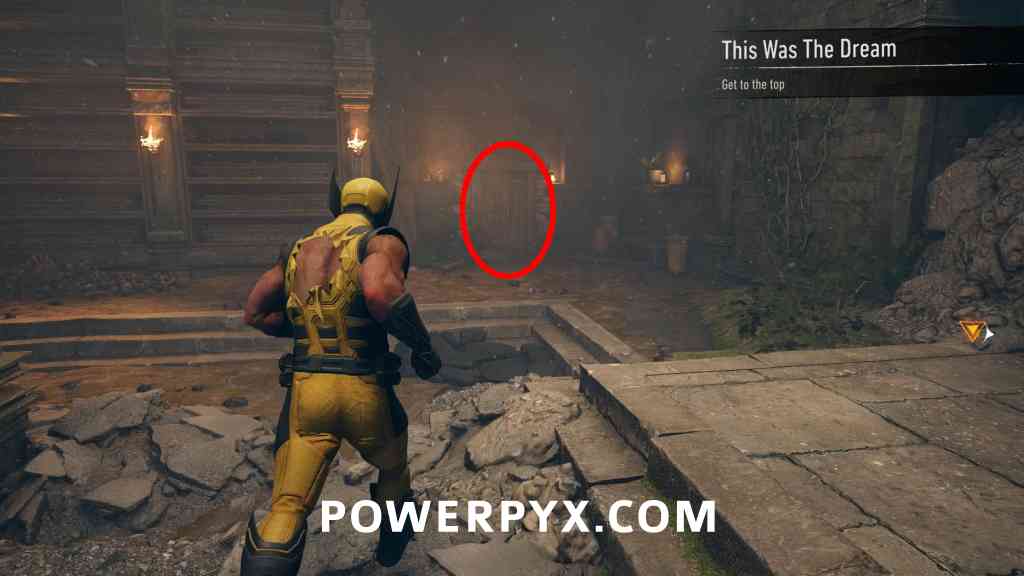
Nightmare Door #14 – Savage Showdown
Objective: Get to the top
After falling down and fighting some reavers, the door will appear in the starting room.
Epilogue After Story – Nightmare Cabin
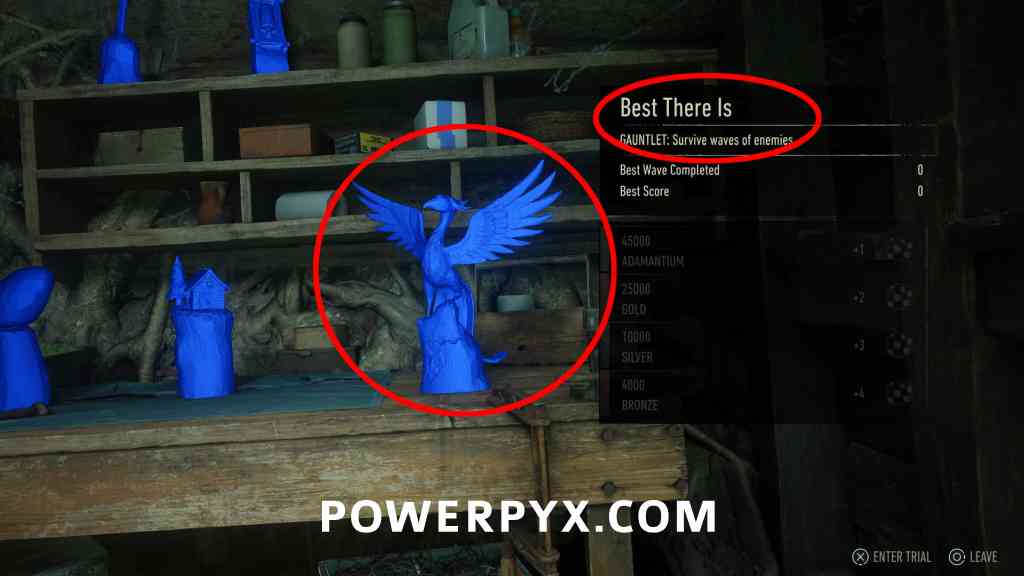
Nightmare Trial #15 – Best There Is
Unlocks in the Nightmare Cabin after the story. It’s the bottom right figurine on the shelf. Click through the figurines until it shows the “Best There Is” challenge and beat it with at least bronze score to count it as completed, then you can unlock the hidden memory.
For all other Collectibles, check out the complete Marvel’s Wolverine Collectibles Guide.
Leave a Reply