
Marvel’s Wolverine contains 20 Whiskey Bottle Locations. Finding all Whisky Bottles unlocks the Full Barrel trophy. When a Whisky Bottle is nearby you will see a blue scent trail leading to it.
You can also equip the Adaptations “Crate Finder” and “Whisky Finder” to mark collectibles from a great distance and through walls. To make it even easier use the visual accessibility setting that marks collectibles under Settings > Visuals > Collectibles and Interact Shader.
Nothing is missable, you can still get everything through chapter select after the story by interacting with the bed in the Nightmare Cabin. The Collectible Tracker in the pause menu and Nightmare Cabin will show how much you’ve found.
Collectibles Overview:
Homecoming
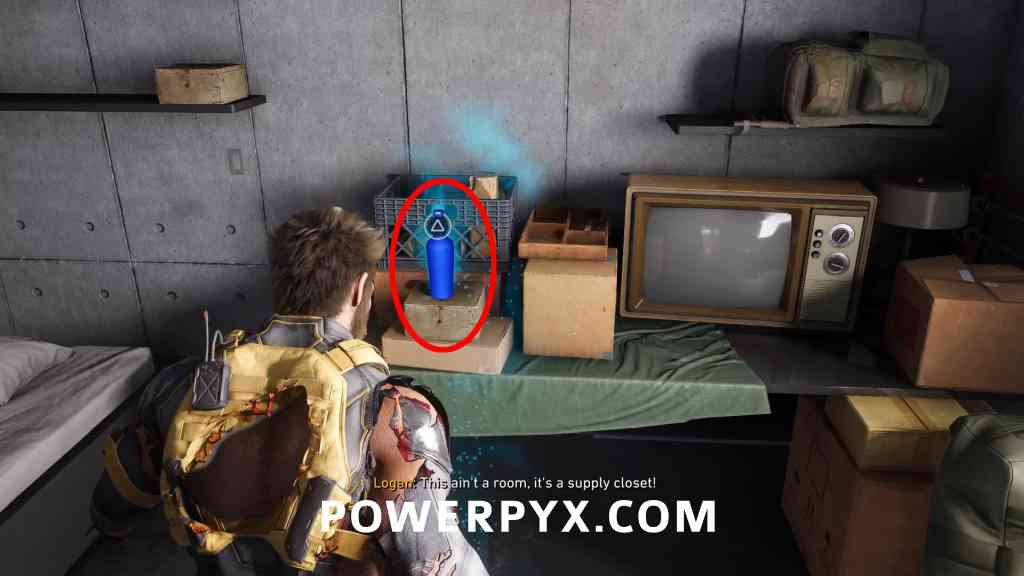
Whisky Bottle #1 – Uncanny Whisky
Objective: Investigate the Scent
This is unmissable and required for story progression. When you go to your room, you will be told your stuff has been moved, follow the scent to the next objective marker to find the bottle.
The One That Got Away
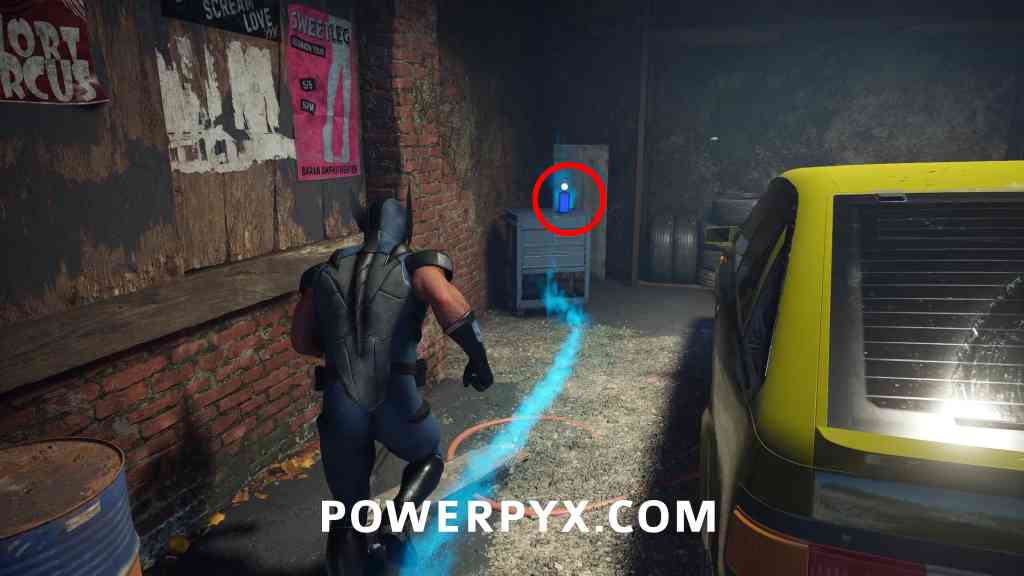
Whisky Bottle #2 – Incredible 181
Objective: Track the red-haired mutant
When you slide down a pole from the roof of the building, go forward to the end of the industrial park to see some wood panels that say “Do not enter” on them, break these with your claws, go inside and you find this on the left.
Raise Some Hell
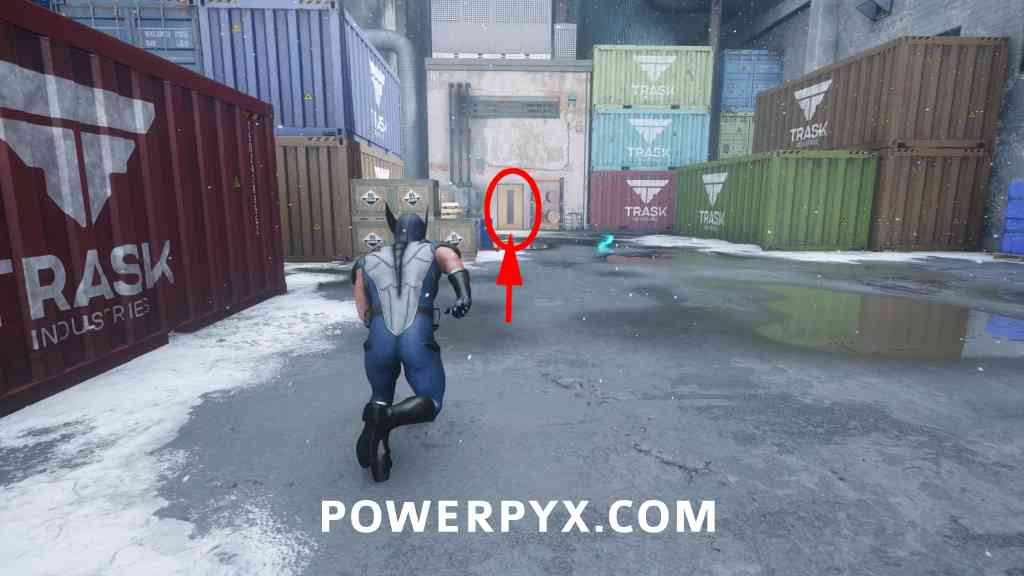
Whisky Bottle #3 – Cold Lake
Objective: Track the captured mutants
After the furnace building and coming outside to an area with many containers, drop down head to the left corner to find a yellow door you can smash through. Bottle is behind this door (same area has a Nightmare Door).
Strays
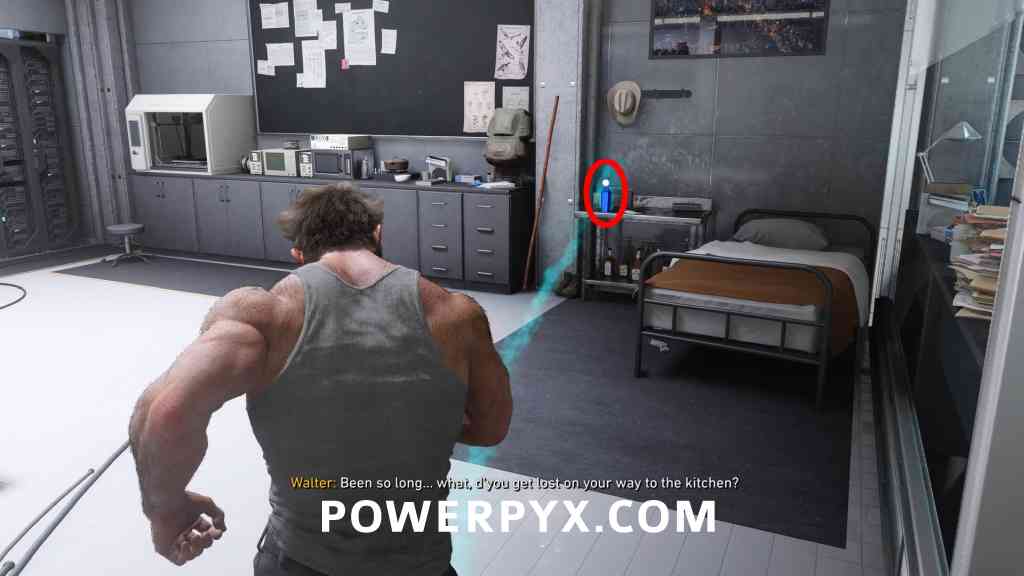
Whisky Bottle #4 – Blood Debt
Objective: Follow Leech’s scent to find his drawings.
After being tasked with finding the 4 drawings for Leech, go into the lab to find this in the back.
Something Much Stronger
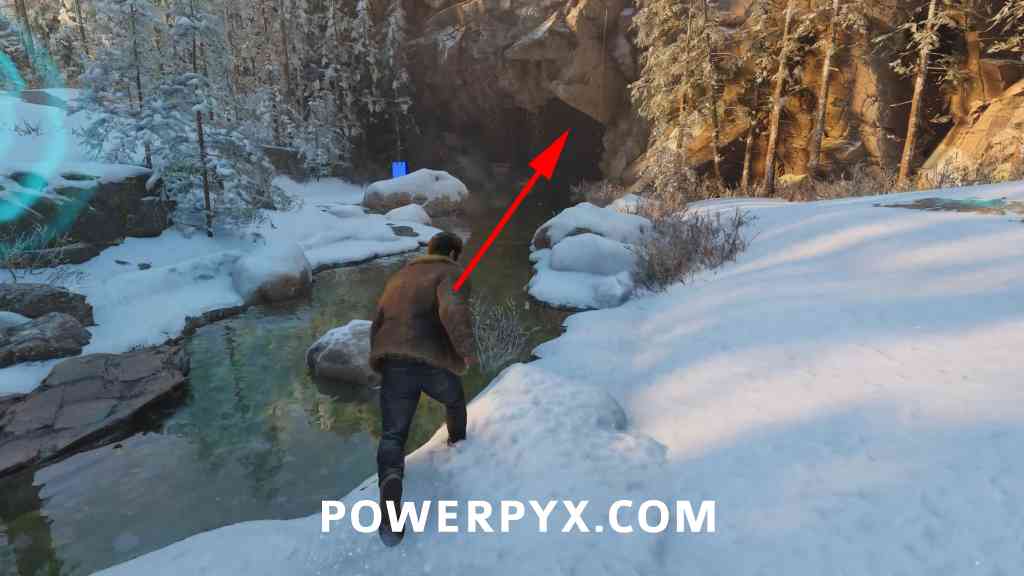
Whisky Bottle #5 – Not Dead Yet
Objective: Find the injured animal
Moving down the area at the start, you will reach a small stream. Follow the stream to the end into a cave and climb up. (just before rescuing the wolf)
Knock Knock
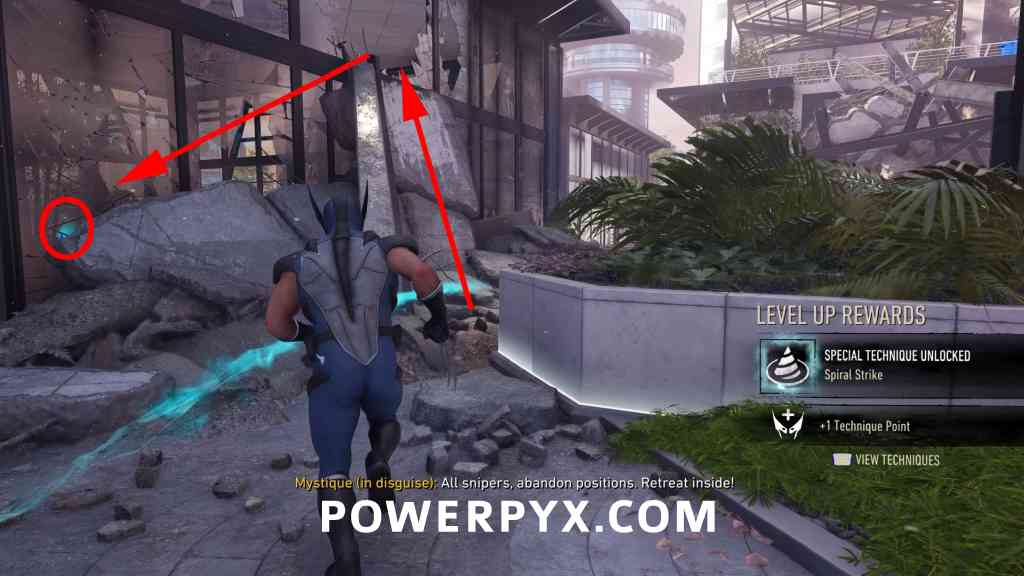
Whisky Bottle #6 – Tenth Man
Objective: Reach Trask Tower
As soon as Victor frees you from the rubble after destroying the relay tower, you will see a scent you can follow, this leads into the building right next to you with the bottle inside.
Mutant Detected
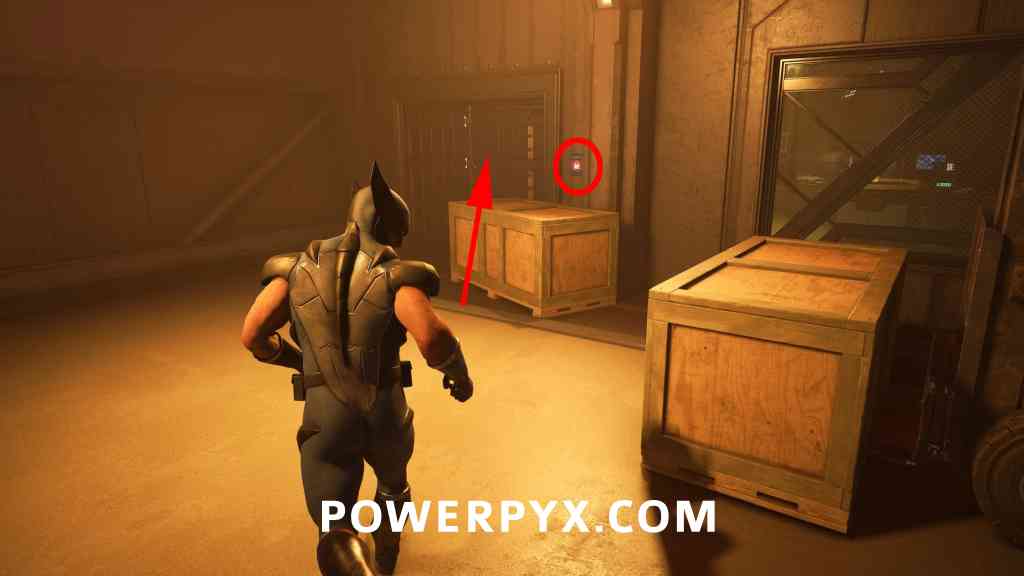
Whisky Bottle #7 – Fist of Legend
Objective: Track and kill Trask
After going through the portal and the sequence in the jet engine, walk forward and past the fire, go through the corridor on the right. In the next room, immediately go left and into the corner where there is another locked door, destroy the crate in front of the door panel and enter code 5413. In here is a vent you can go through, leading to another room, the bottle is in here on a table.
One Last Mission
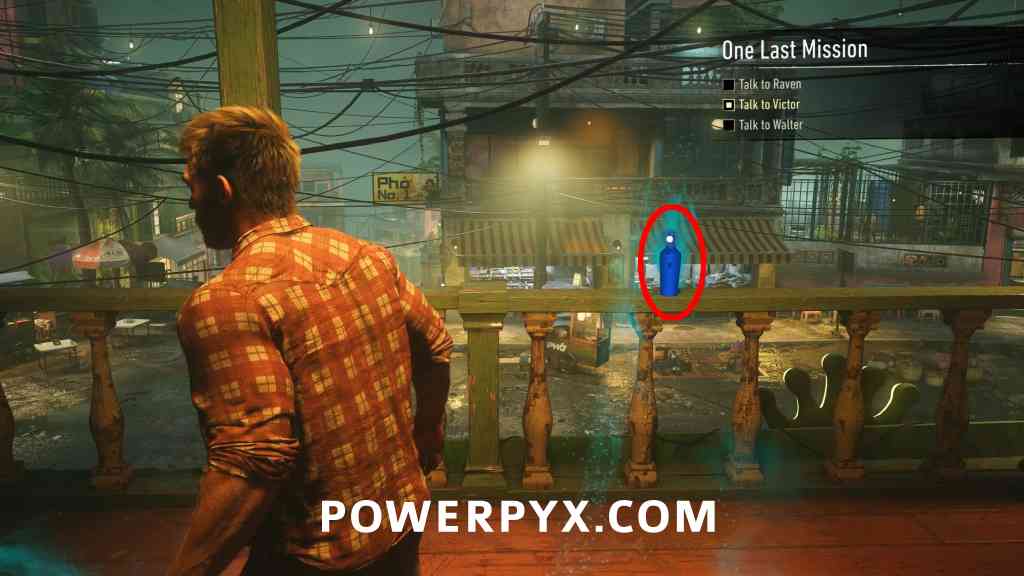
Whisky Bottle #8 – The Old Man
Objective: Talk to Raven, Talk to Victor, Talk to Walter
After talking to Victor, turn around and pick up the bottle that Logan just put down.
Get Angry
Whisky Bottle #9 – Patch
Objective: Locate the bar from Jean’s vision
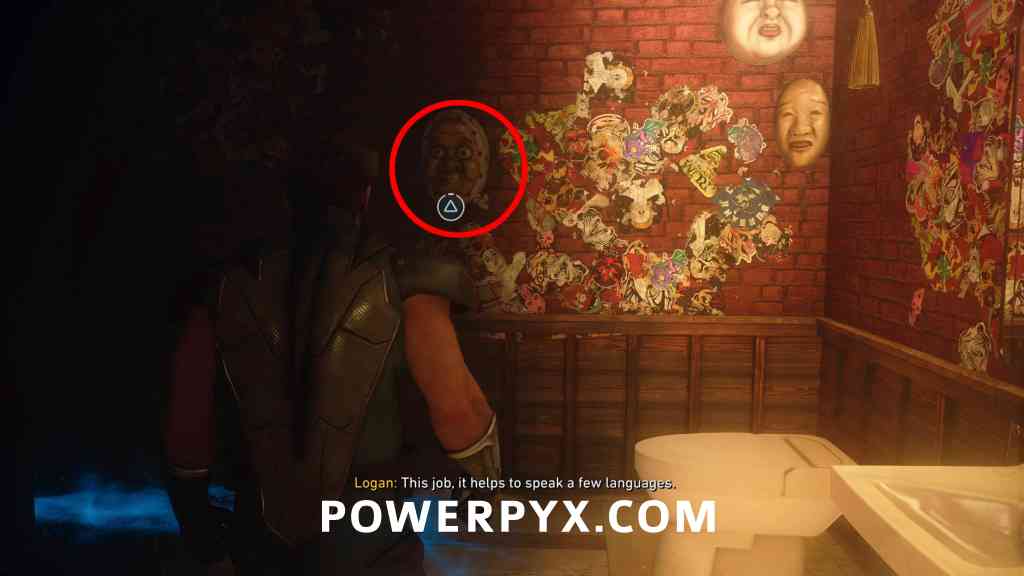
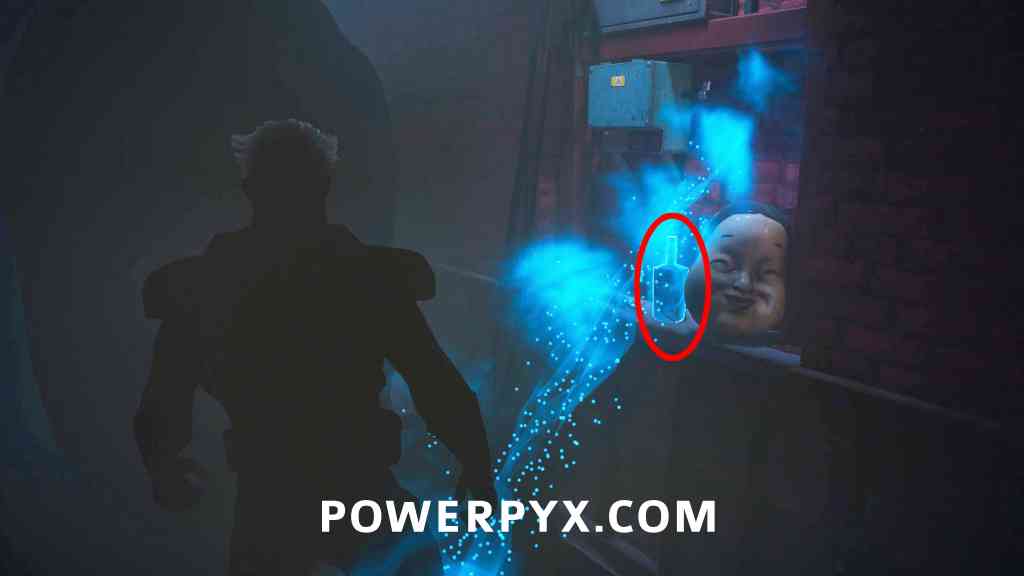
After a big fight against the snipers in the plaza, you will enter the Sleepy Kiss bar (story path). Go downstairs and right into the bathroom, interact with the face on the wall which will activate the kissing toilet, once it’s moved back and out of the way you will see a bottle. Also unlocks Poseidon’s Kiss trophy.
Bad Blood
Whisky Bottle #10 – Fatal Attractions
Objective: Climb to Shiro’s penthouse
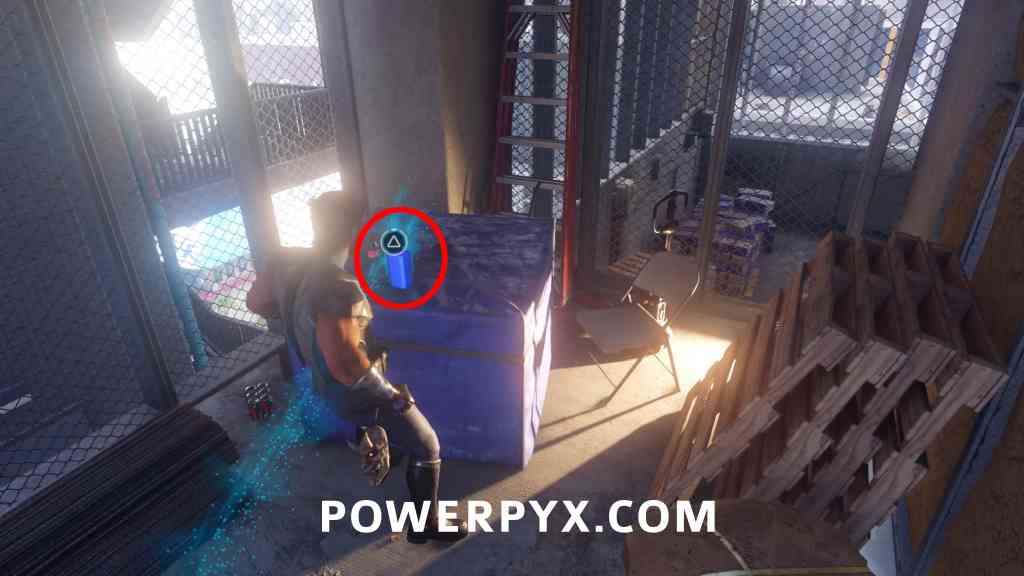
Once you meet Jean outside Shiro’s building, climb up the scaffolding to enter a building. Here you can go left where Jean is hovering above a blue lift, or drop down to the right, drop down to find a Material Crate. From the crate turn around and climb up on the side to find the bottle.
In the Shadows
Whisky Bottle #11 – Best There Is
Objective: Destroy more detectors
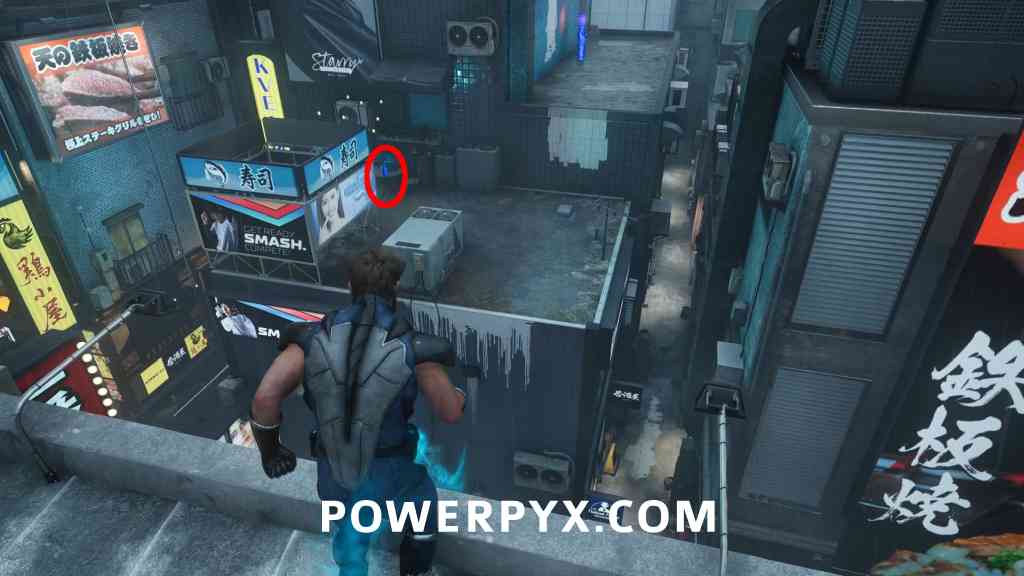
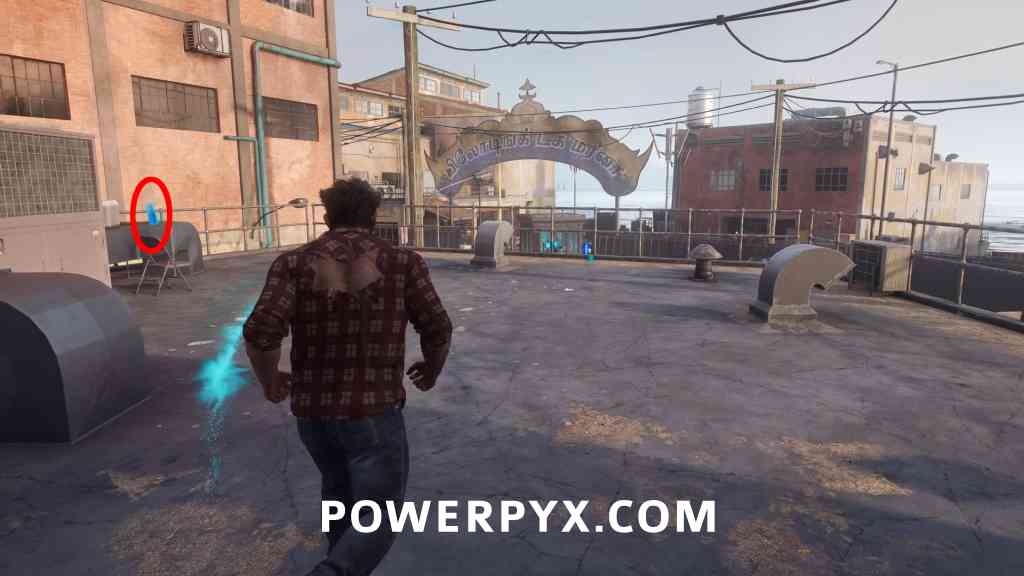
When you run around the streets to destroy the detectors (power boxes on walls), this is on the building between the 3rd detector (the one on roof) and the 4th detector (the one past a zipline). On a roof near the 3rd detector you will see a scent line leading to it.
Whisky Bottle #12 – Berserker Brew
Objective: Speak to The Chosen
After you meet up with Jean in The Hand hideout (short cutscene where you meet Jean), there is a bottle on a table in the back left corner of The Hand hideout. It’s the red-lit room where you speak with the 3 chosen for story objectives.
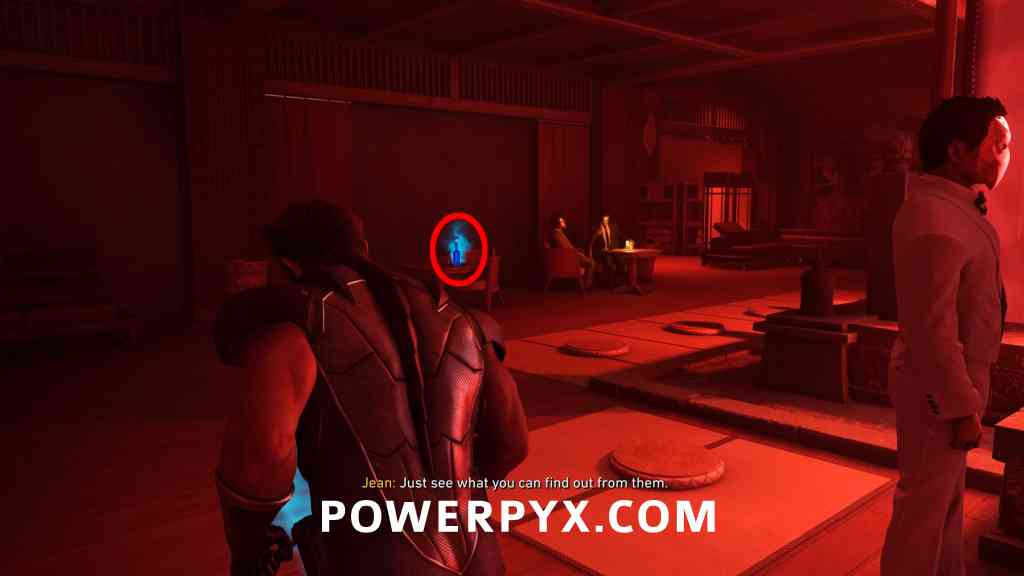
Death Comes to Death
Whisky Bottle #13 – Hand of God
Objective: Find the Hand discussing Jean
This is in your direct path after fighting some enemies in the restaurant near the start of the level, impossible to miss.
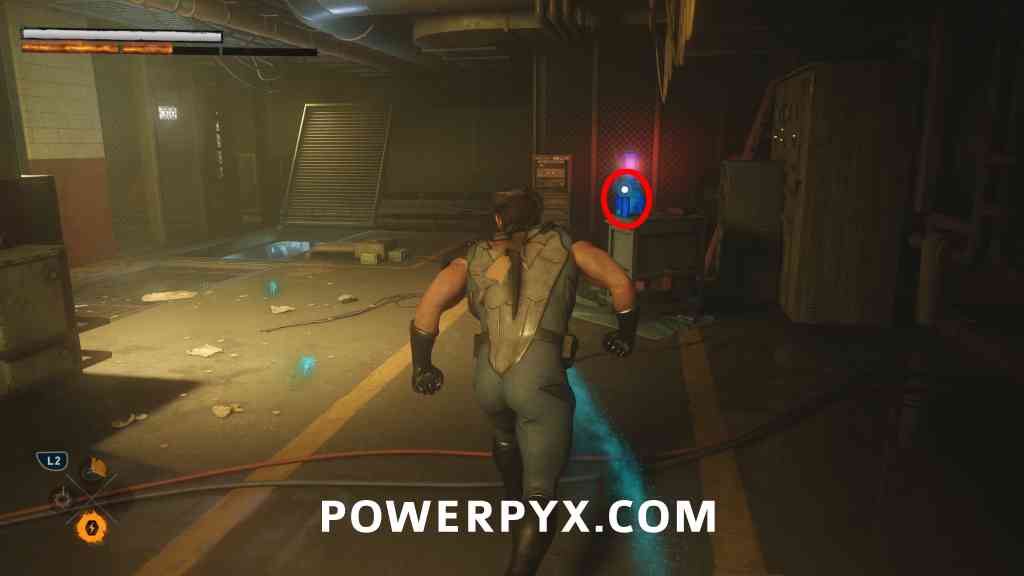
We Were Wrong
Whisky Bottle #14 – Revolto
Objective: Track the Hand mutant who took the Helix Engine
Once you get back outside and start tracking the footprints, you’ll come to a split path with a truck to the left, the bottle is behind it.
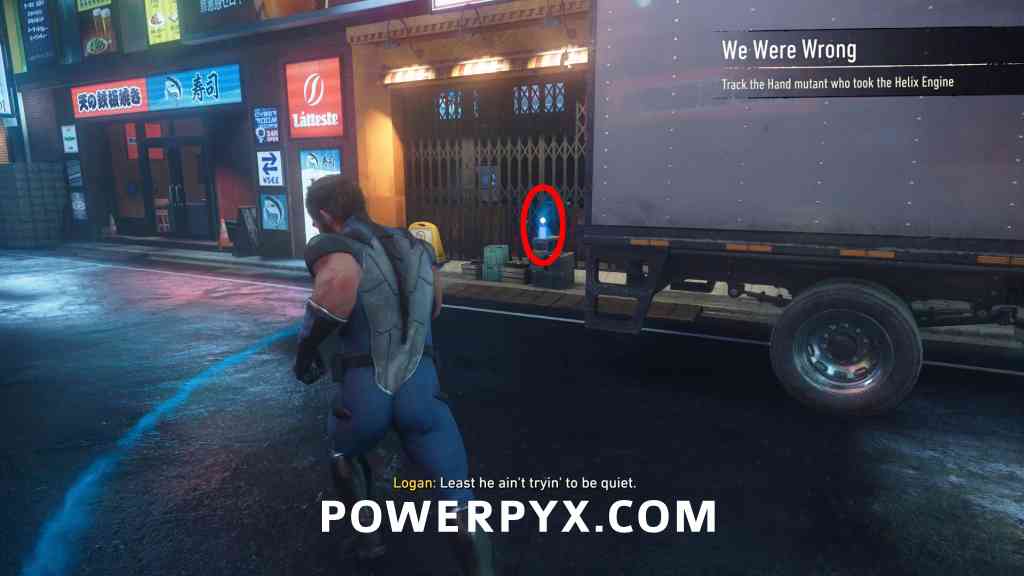
Hell Followed With Him
Whisky Bottle #15 – The Itsu Single Malt
Objective: Scale the cliff; more Hand to kill up top
After Jean suspends two rocks to help you climb up, drop down from this small hut to see the bottle right here.
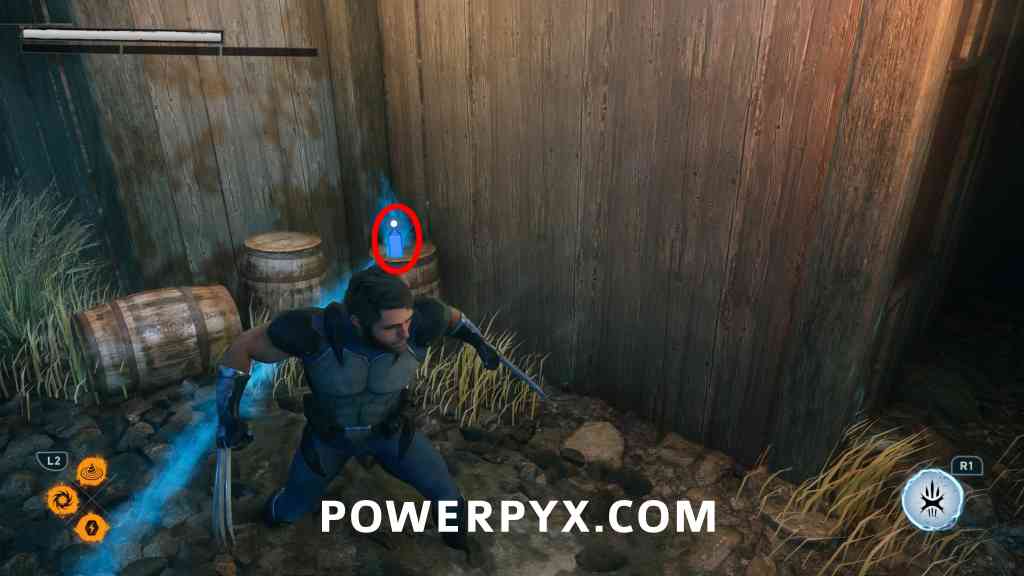
Way Down Low
Whisky Bottle #16 – Wild Canadian Whisky
Objective: Follow Jean
After the section finding the reaver key, once you climb up the building using the hook, turn around and look left, follow the short path around to find the bottle.
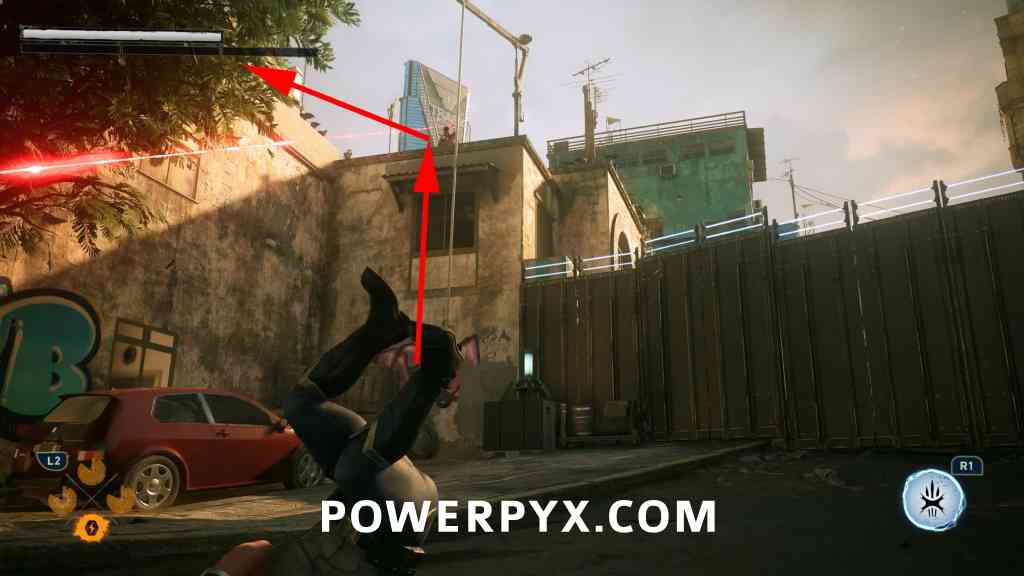
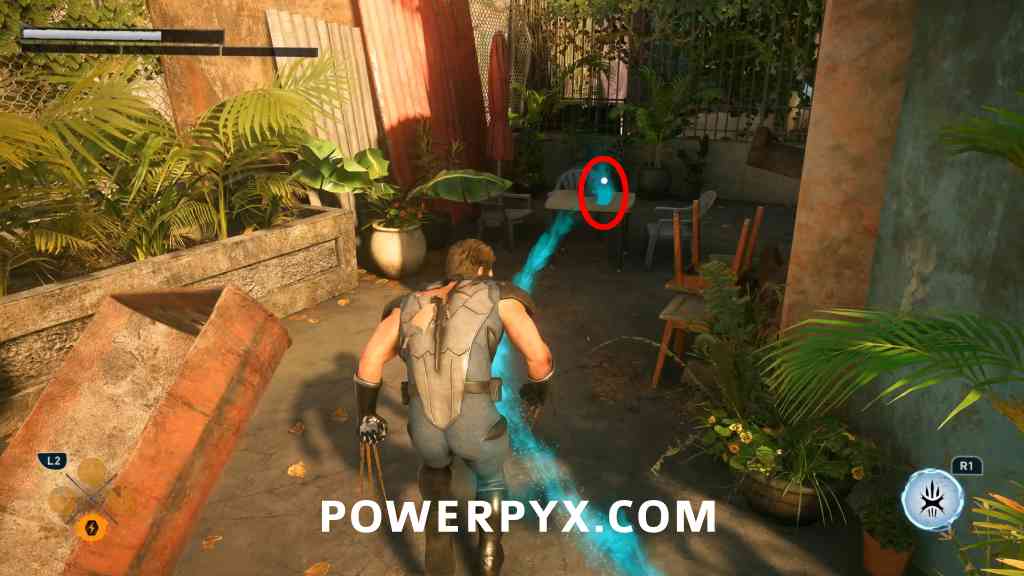
Whisky Bottle #17 – Little Uncle
Objective Meet Jean at the Arsenal
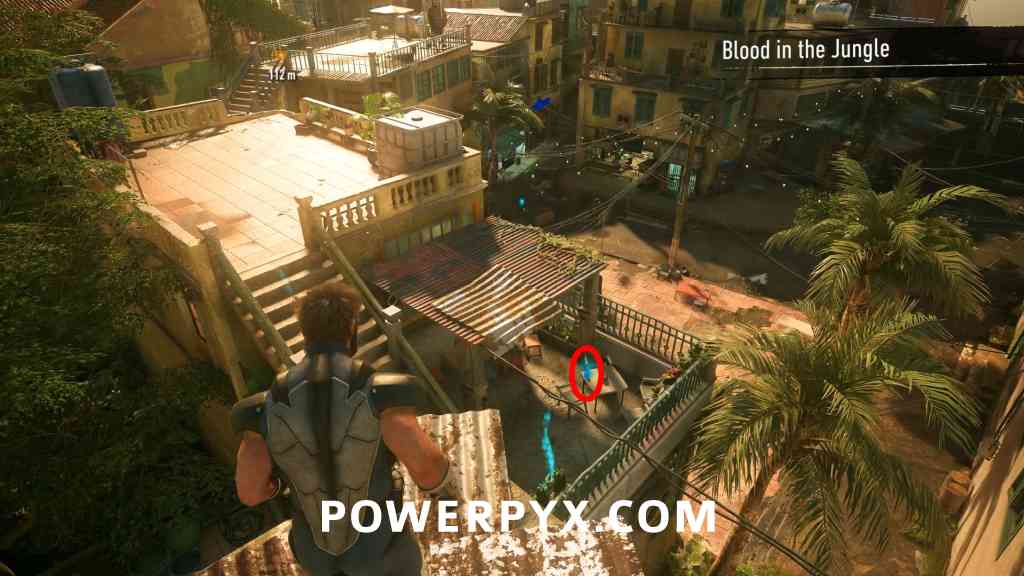
After reaching the radio tower and ziplining down to the next buildings, jump down to the building below to see the bottle, basically on your main path.
Roll The Dice
Whisky Bottle #18 – Blood and Bourbon
Objective: Hit the dance floor
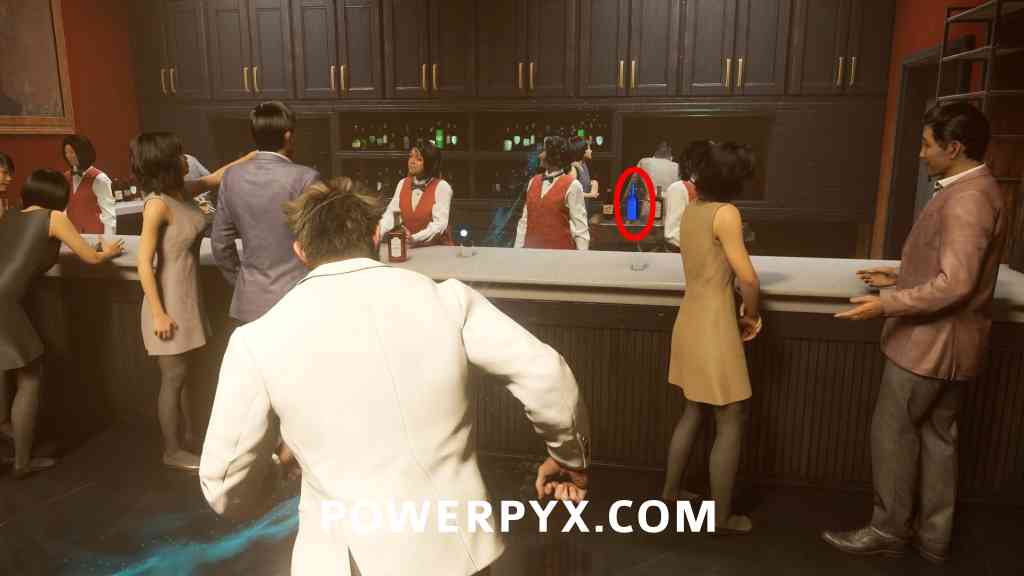
As soon as you enter the casino, head up to the bar on the 2nd floor. Interact with the bartender to get the bottle.
Field Test
Whisky Bottle #19 – Captain Terror
Objective: Get to the fish market
After the third fight in this mission, against a group of sentinels (robots) inside a warehouse, when you leave the warehouse the bottle will be straight in front of you.
I’m Still Here
Whisky Bottle #20 – Ol’ Canucklehead
Objective: Learn what happened to Jean
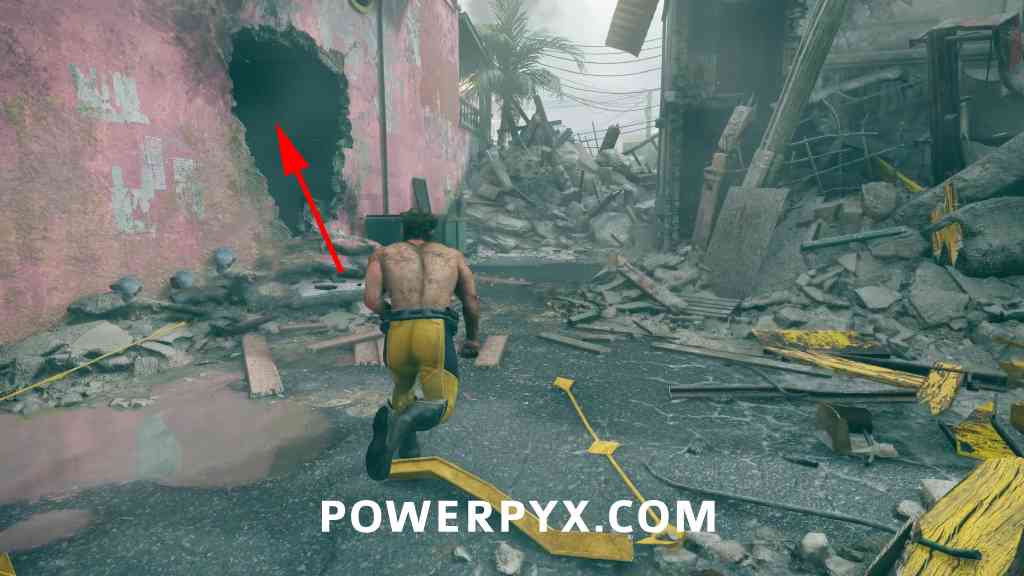
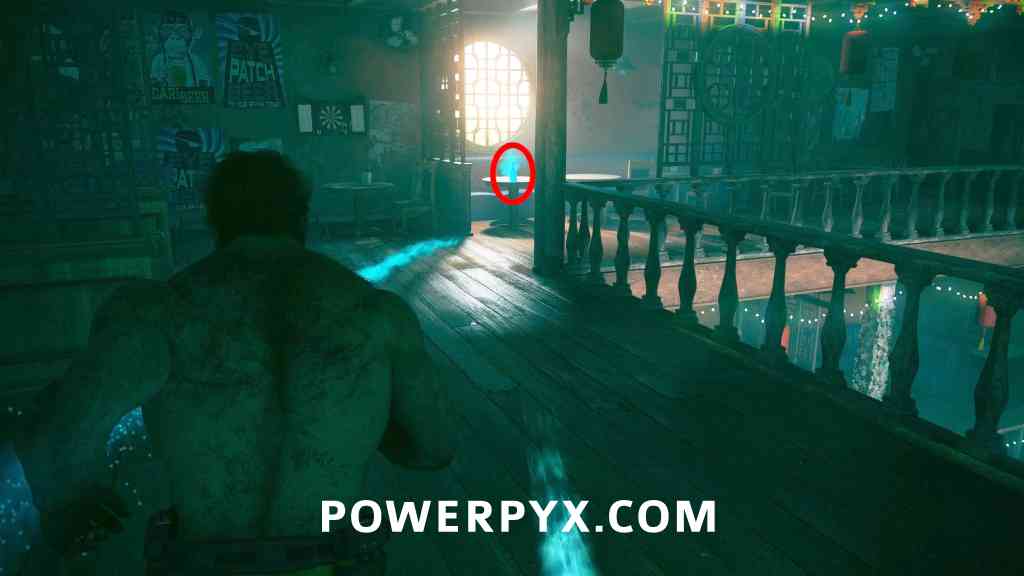
After beating the big purple sentinel (robot), you will slash away some debris. Then you can go left or right, go left and through the buildings (this is the main path). Take care of the next sentinel and go left back into Tyger’s bar, the bottle is upstairs on a table.
For all other Collectibles, check out the complete Marvel’s Wolverine Collectibles Guide.
Leave a Reply