
Downtown is the 1st zone in Control Resonant and contains 9 collectible locations. This guide covers all trophy and achievement related collectibles to collect everything efficiently with minimal fast travel required (FBC Taskboards, Dylan’s Sketchbooks, Dogs, Secret Hideouts, Testing Facilities, Taxis, Cameras).
- FBC Taskboards: 1
- Dylan’s Sketchbooks: 2
- Dogs: 1
- Secret Hideouts: 1
- Testing Facilities: 1
- Taxis: 1
- Freeze Frame Cameras: 2
Collectibles Overview:
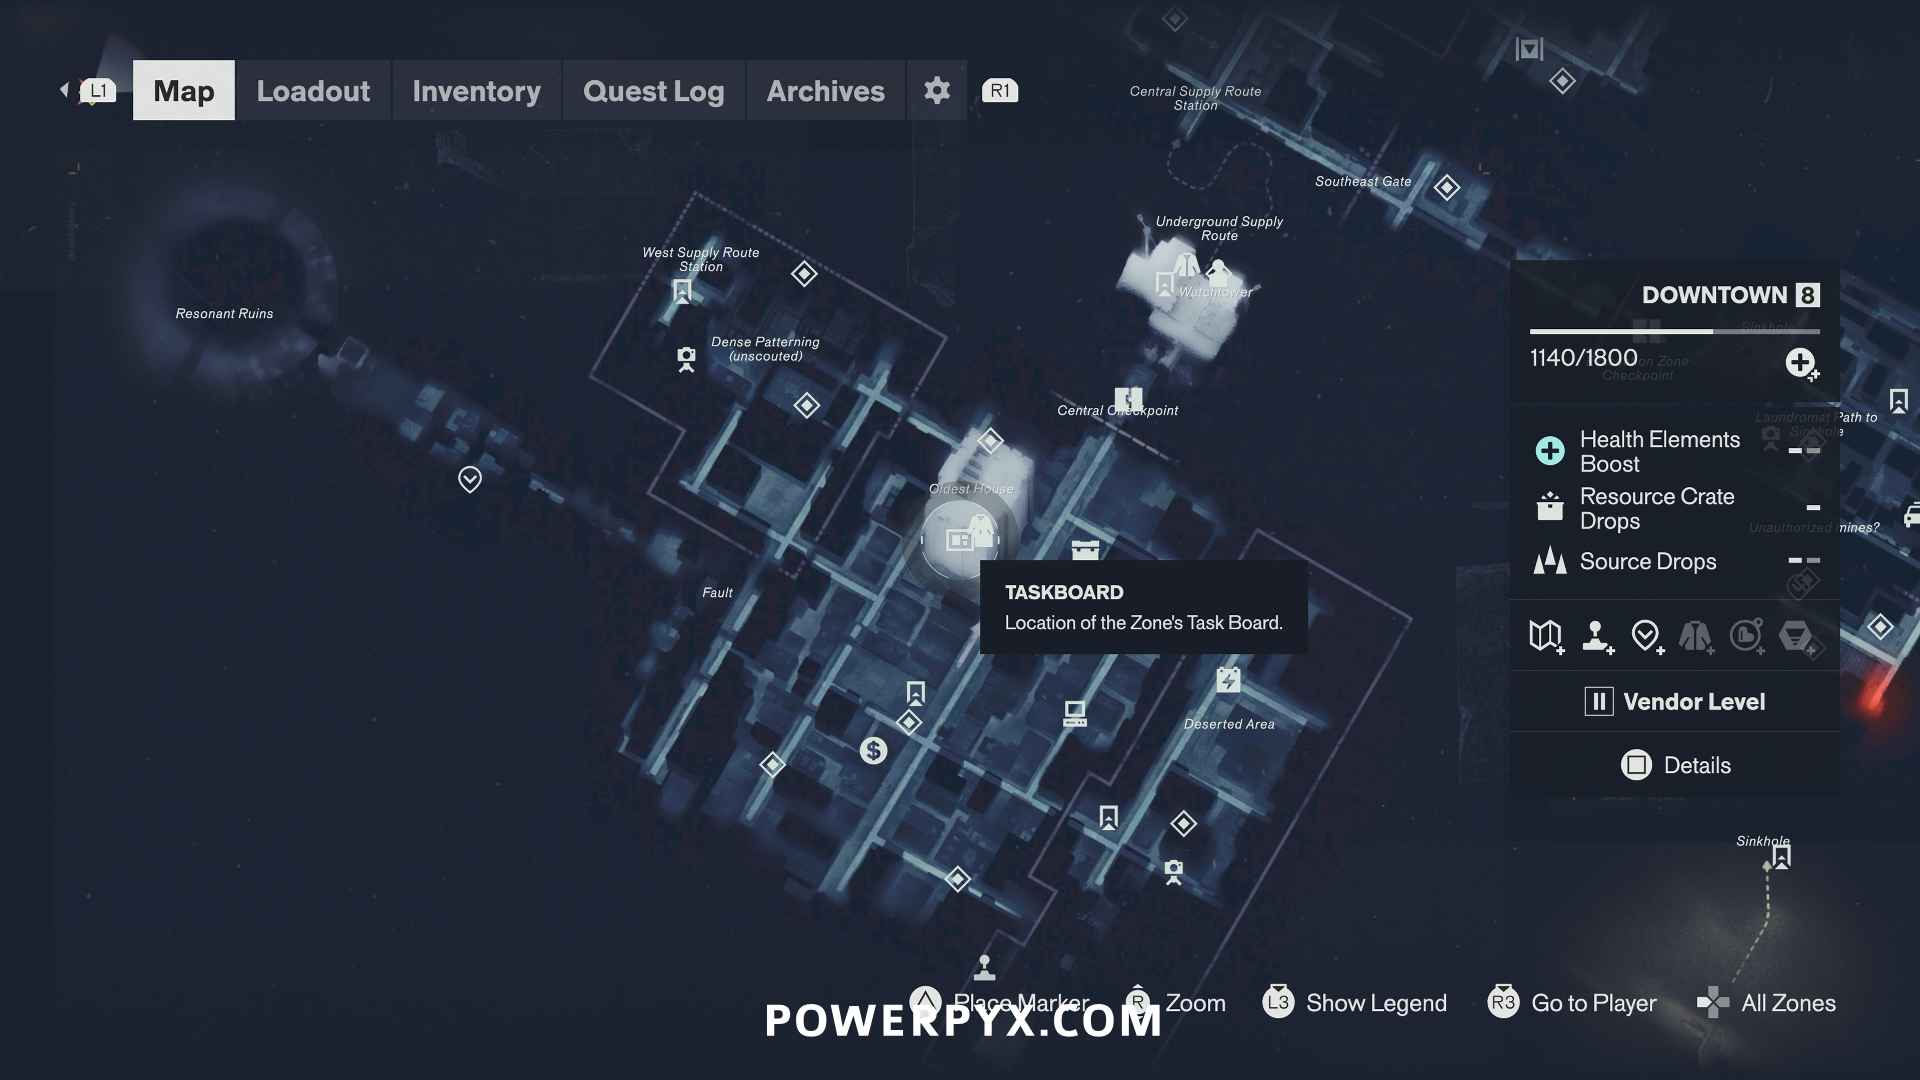
#1 – FBC Taskboard
Inside the Oldest House in Downtown. Only spawns after unlocking the Central Zone Taskboard.
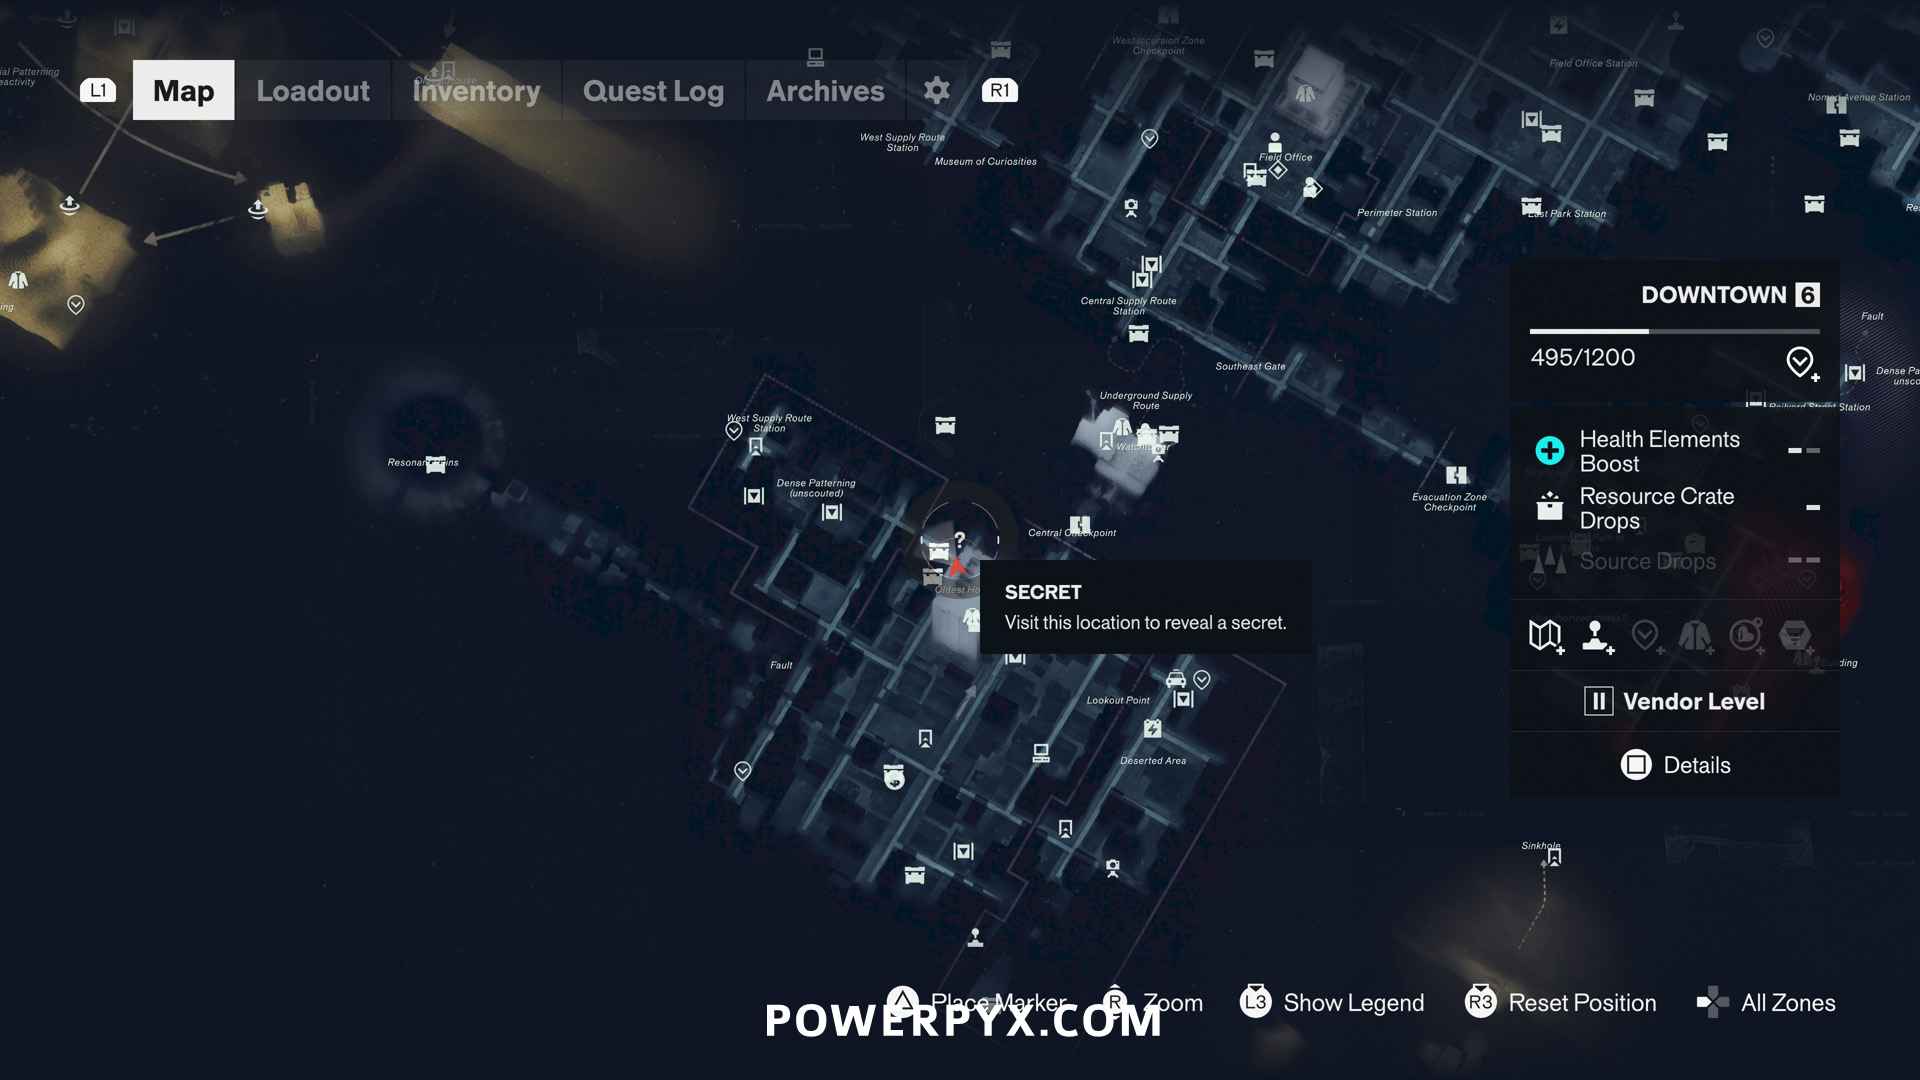
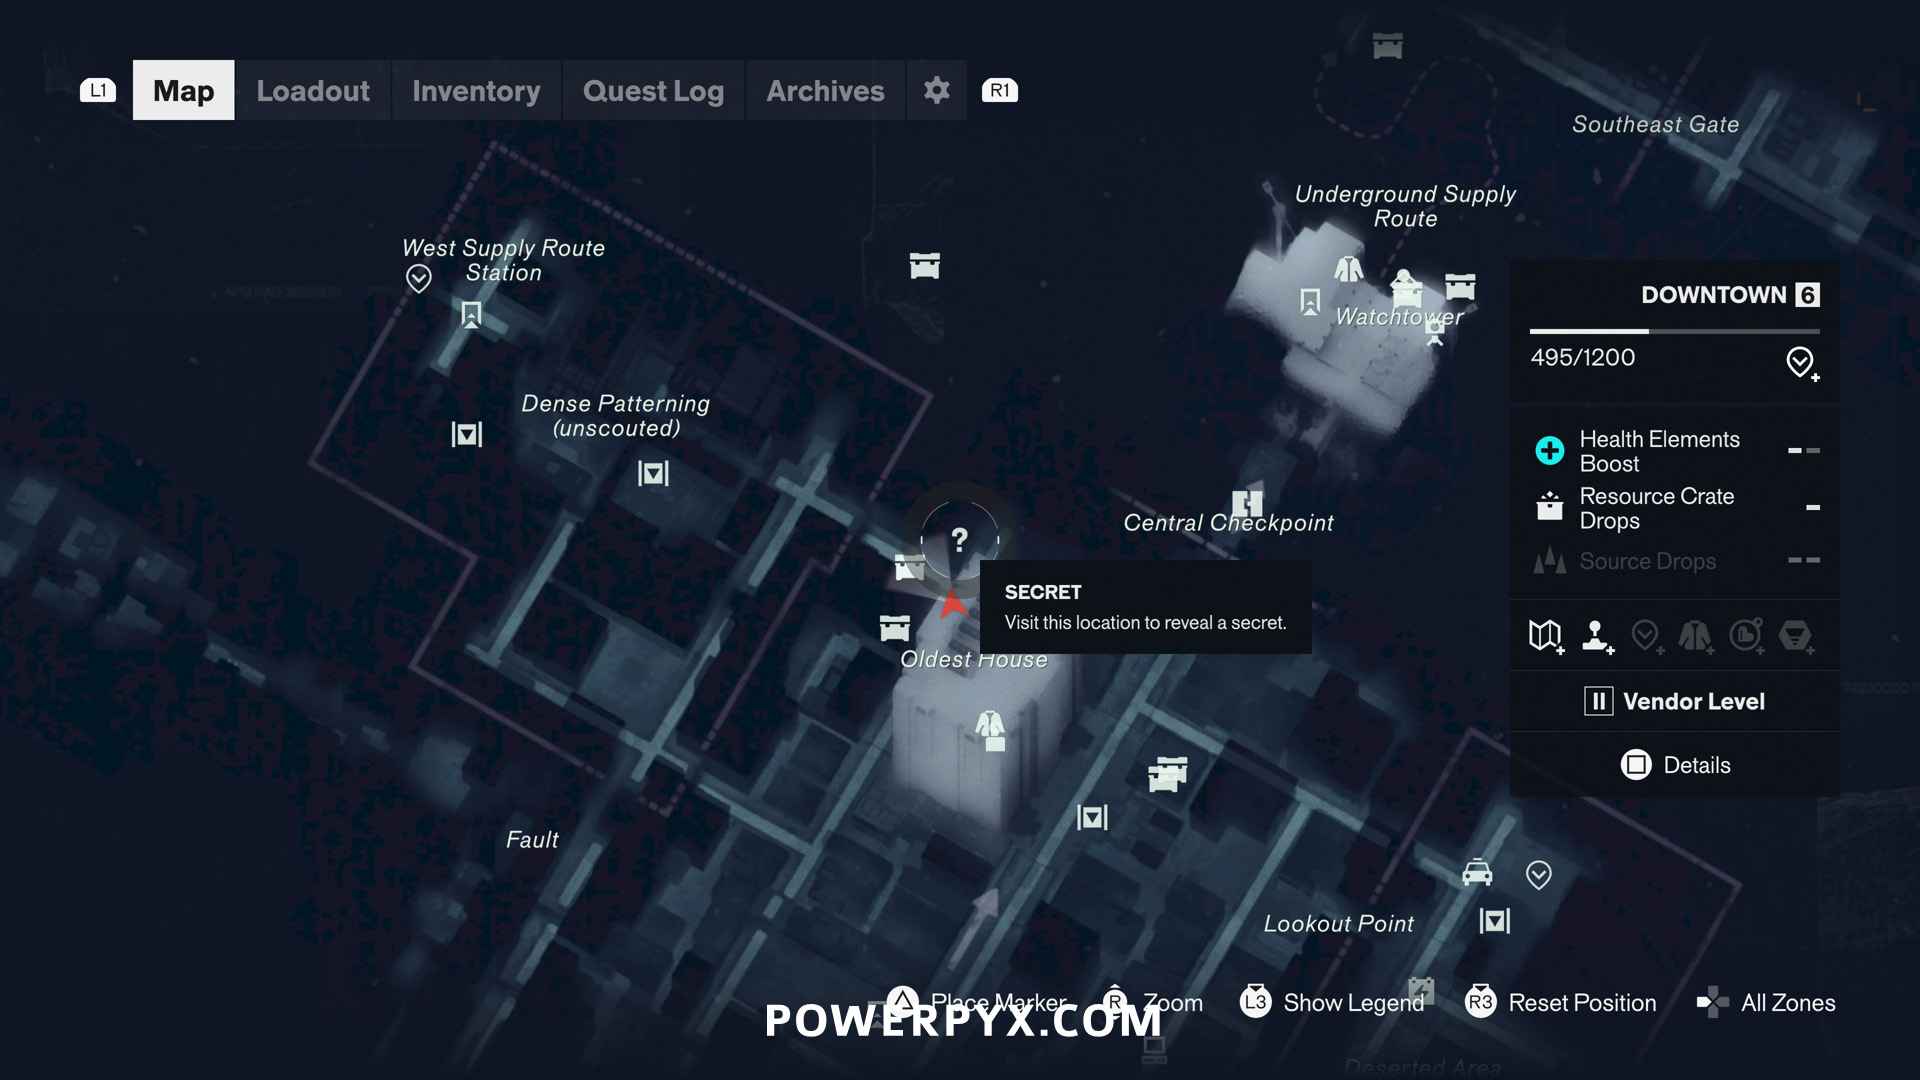
#2 – Secret Hideout
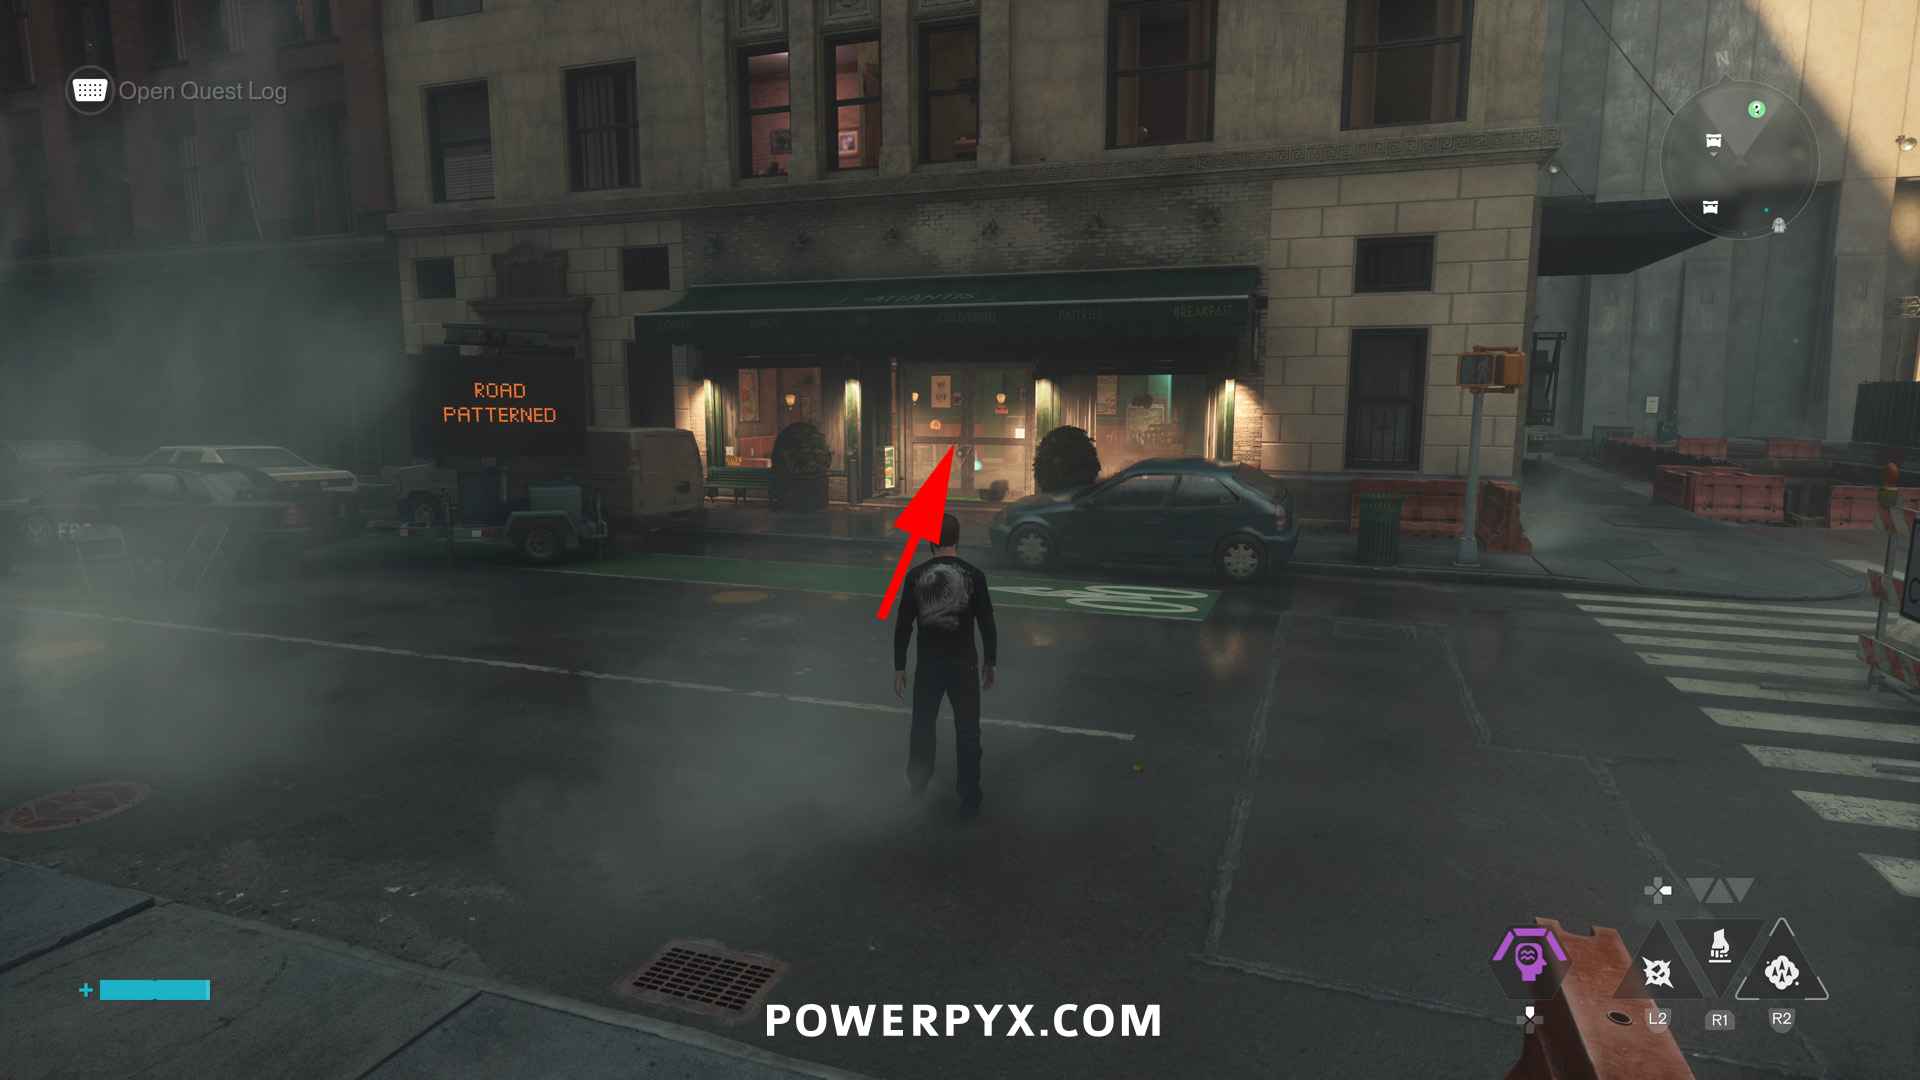
From the street enter the “Atlantis Restaurant”, the one with a green entrance.
Now interact with the objects in the restaurant in correct order to open the wall:
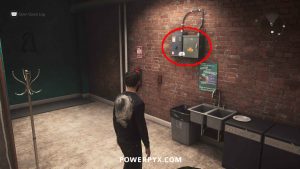
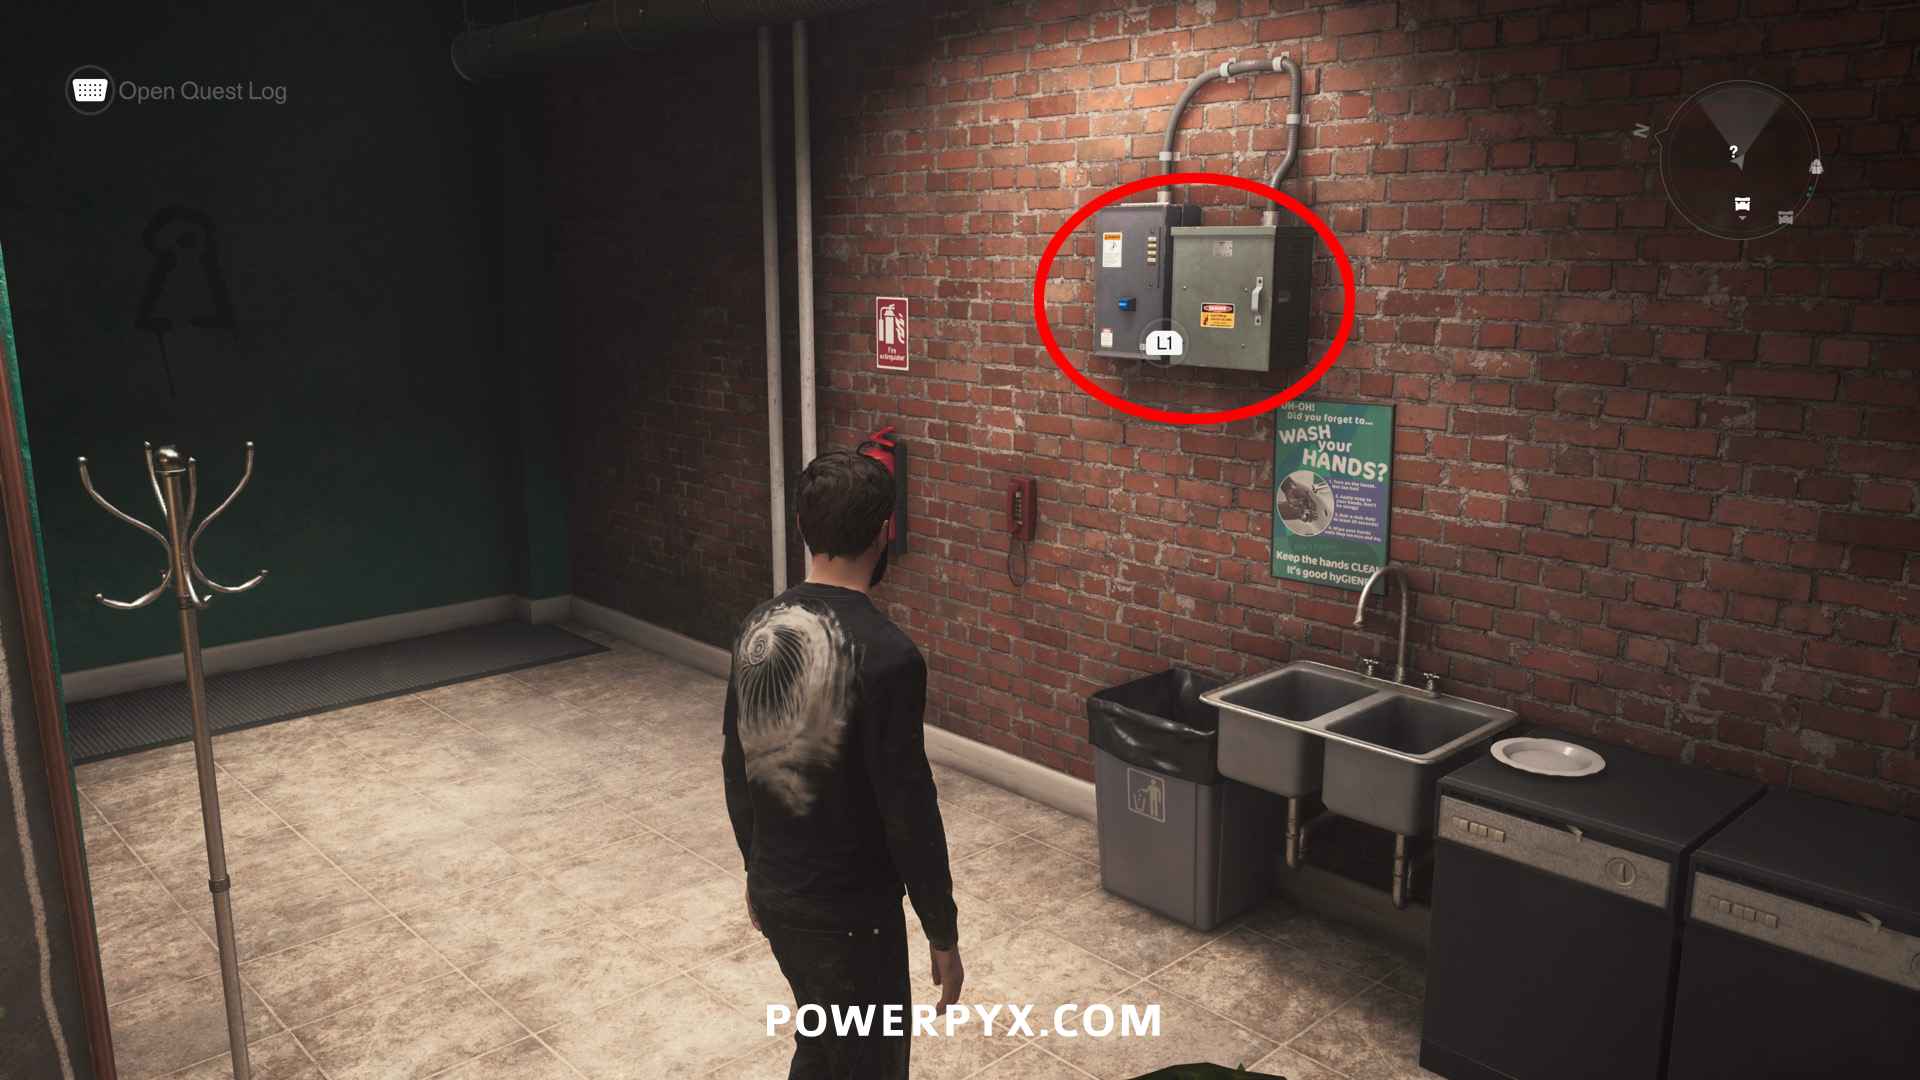
- Wall box in back right corner, it will have an L1/LB prompt
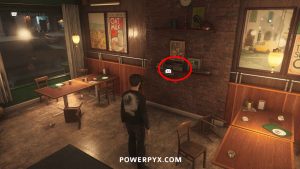
- Radio (left side from where you entered)
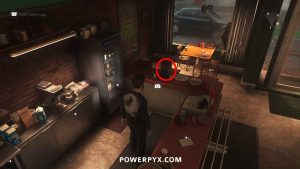
- Dark Coffee Maker (on counter)
- White Coffee Maker (on metal shelf behind counter)
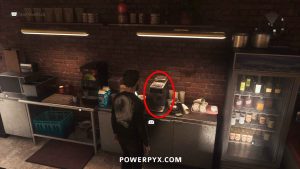
- Soda machine (next to coffee maker)
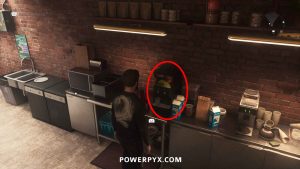
- Microwave (next to coffee maker)
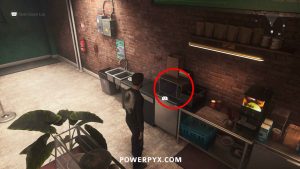
- Fridge (behind counter in corner)
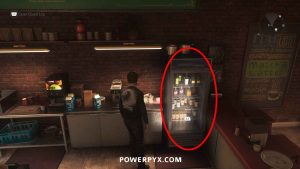
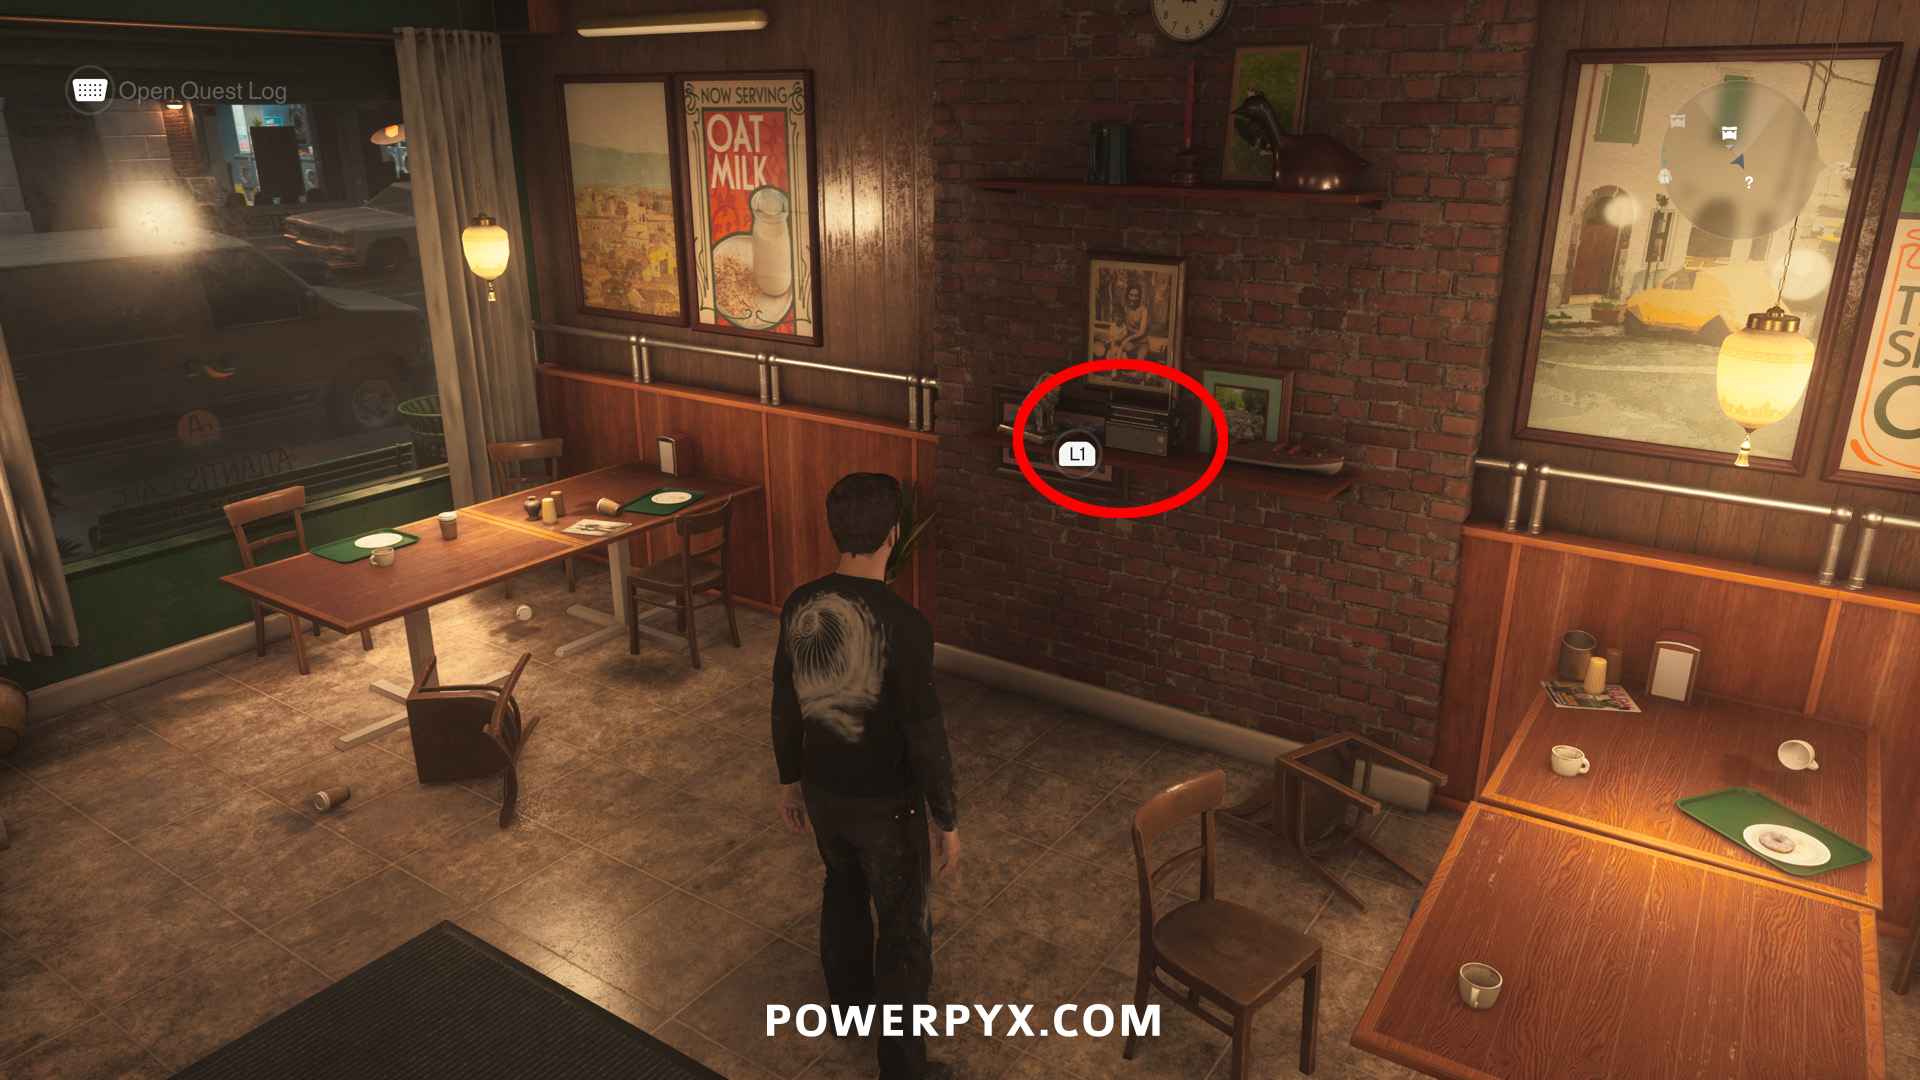
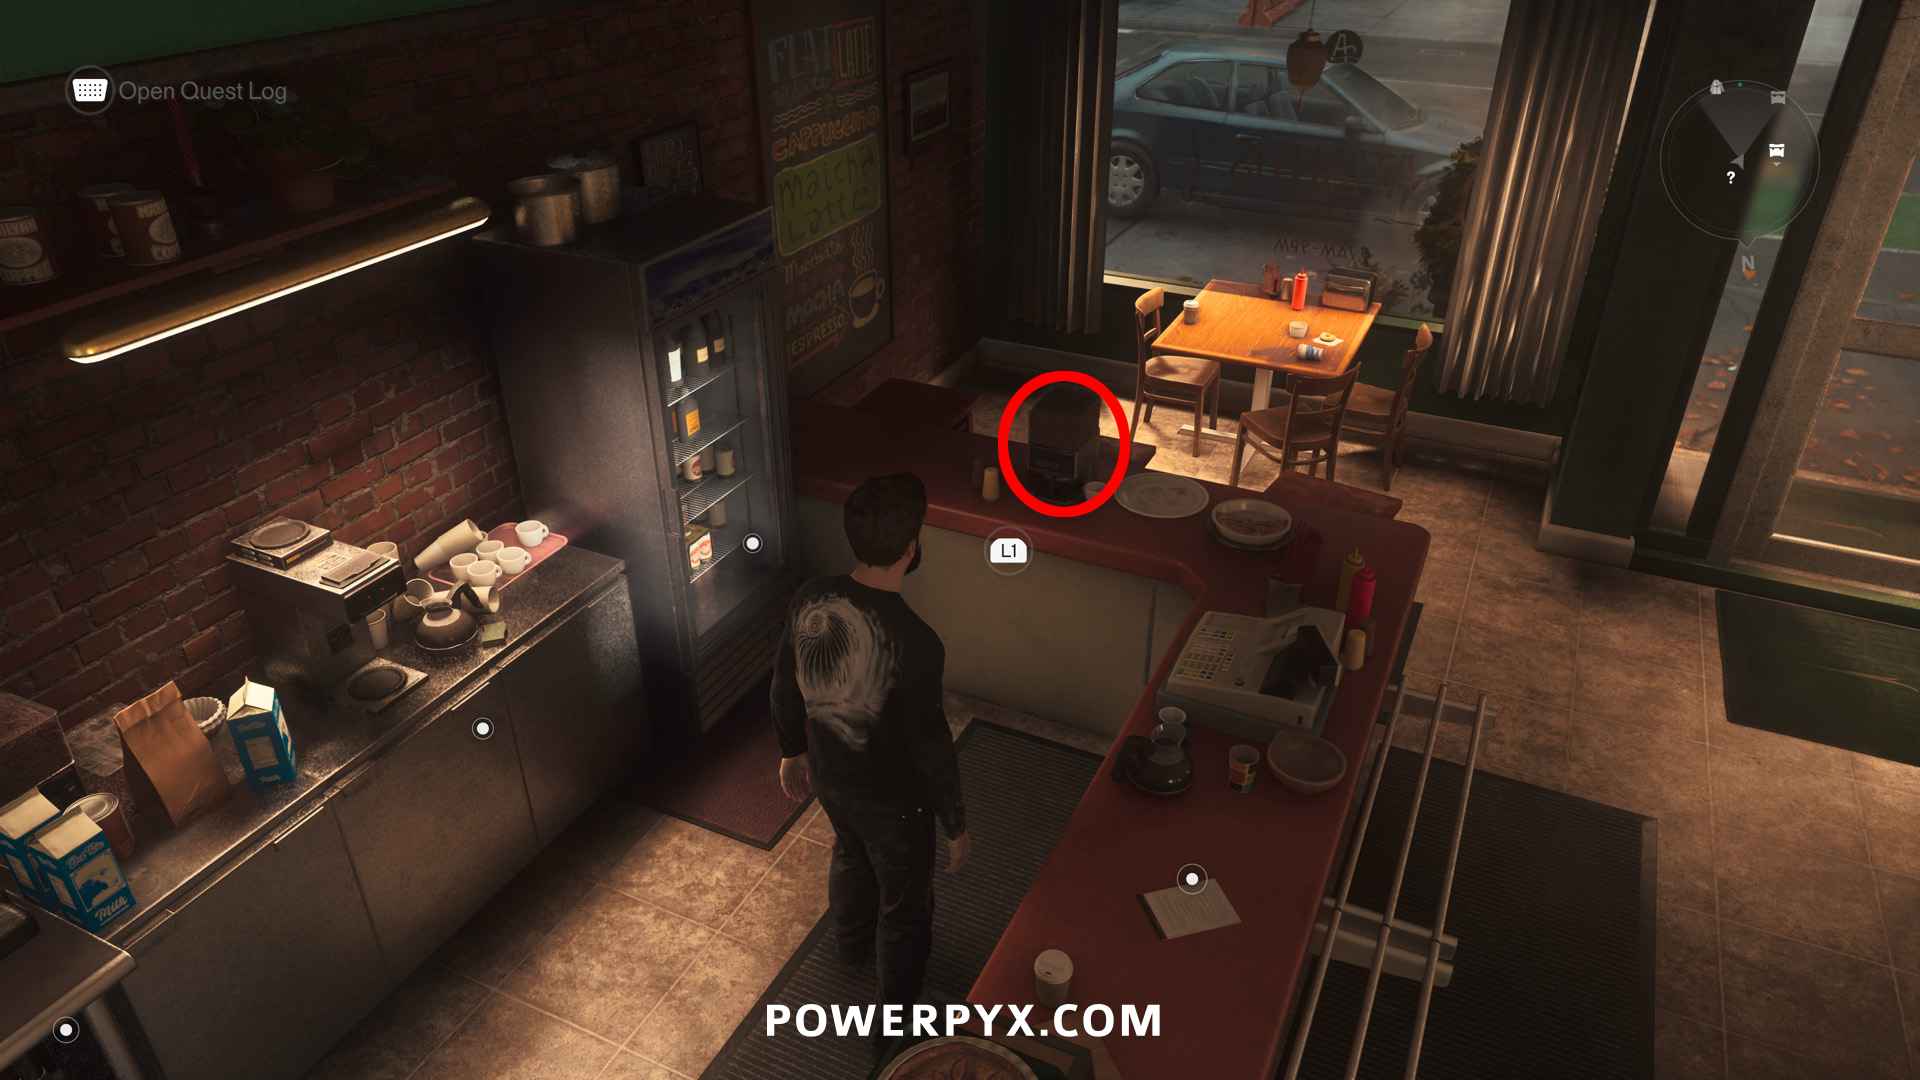
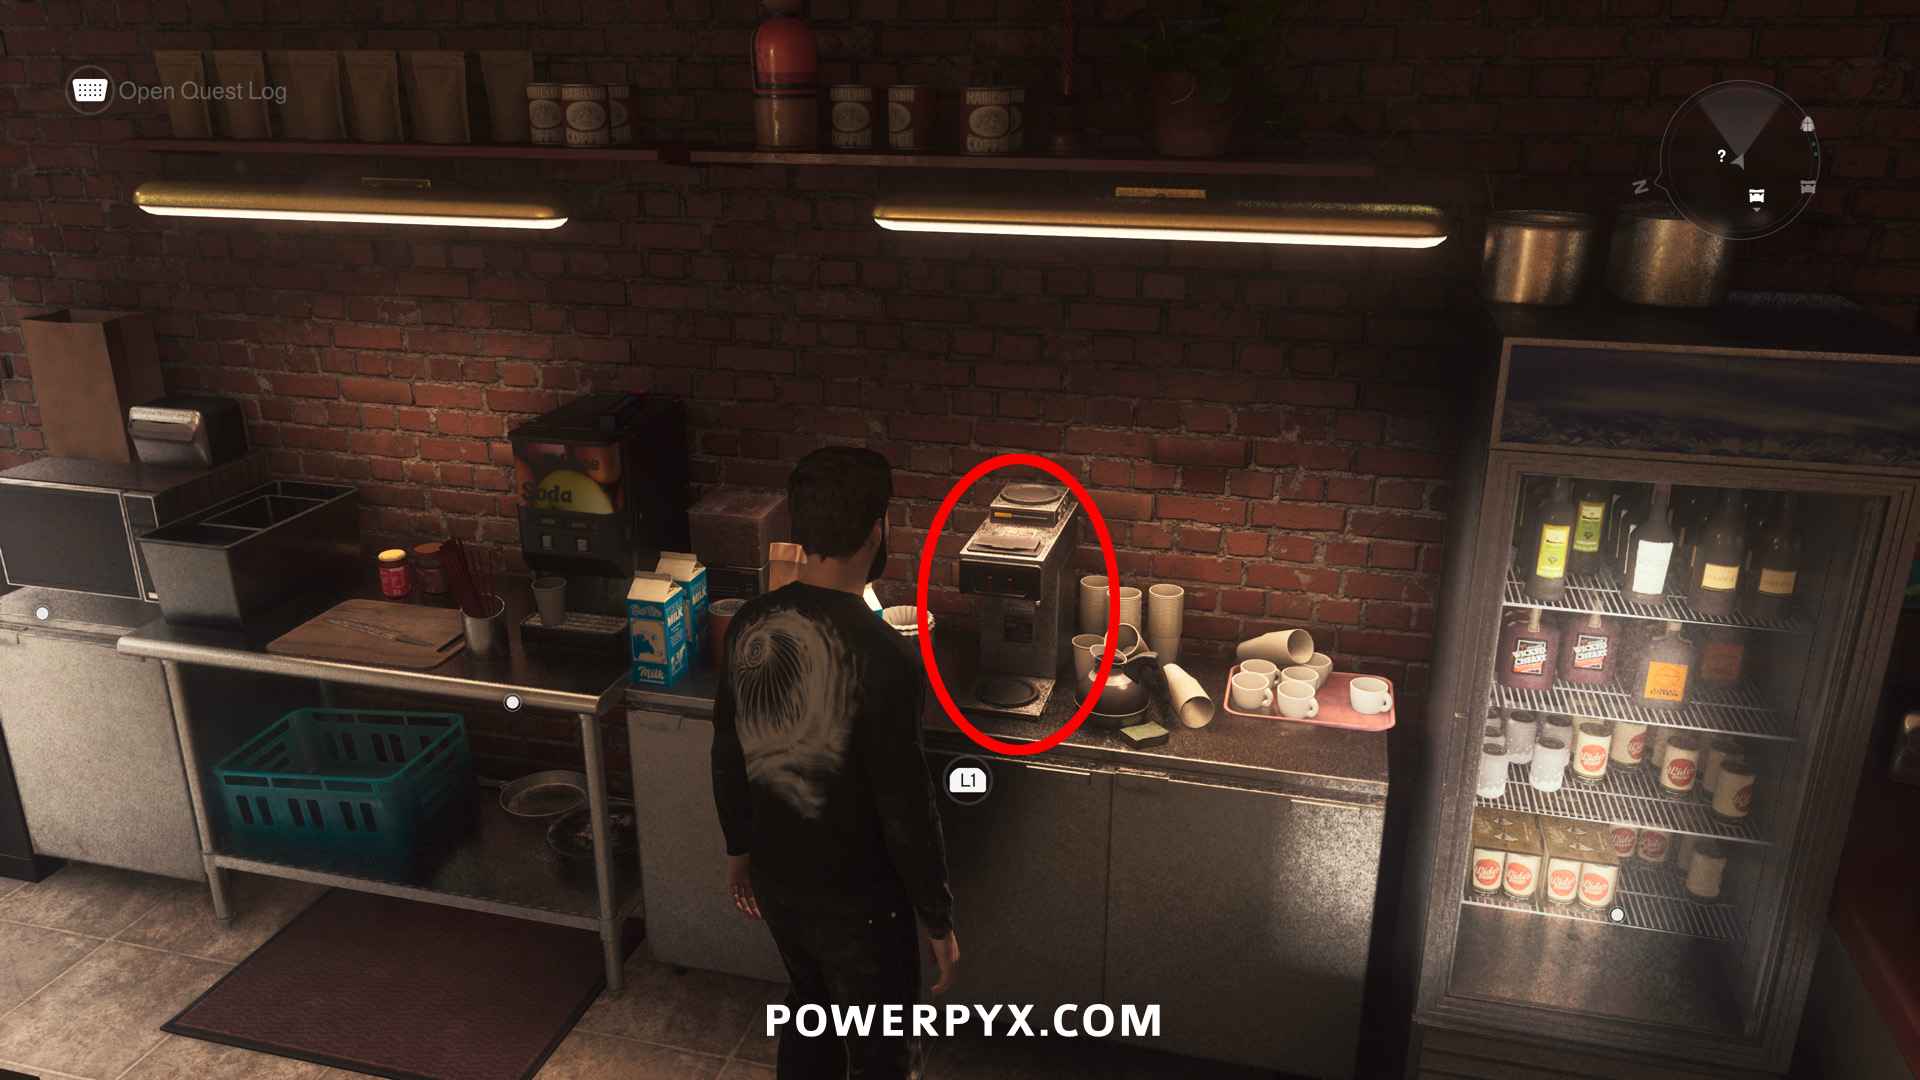
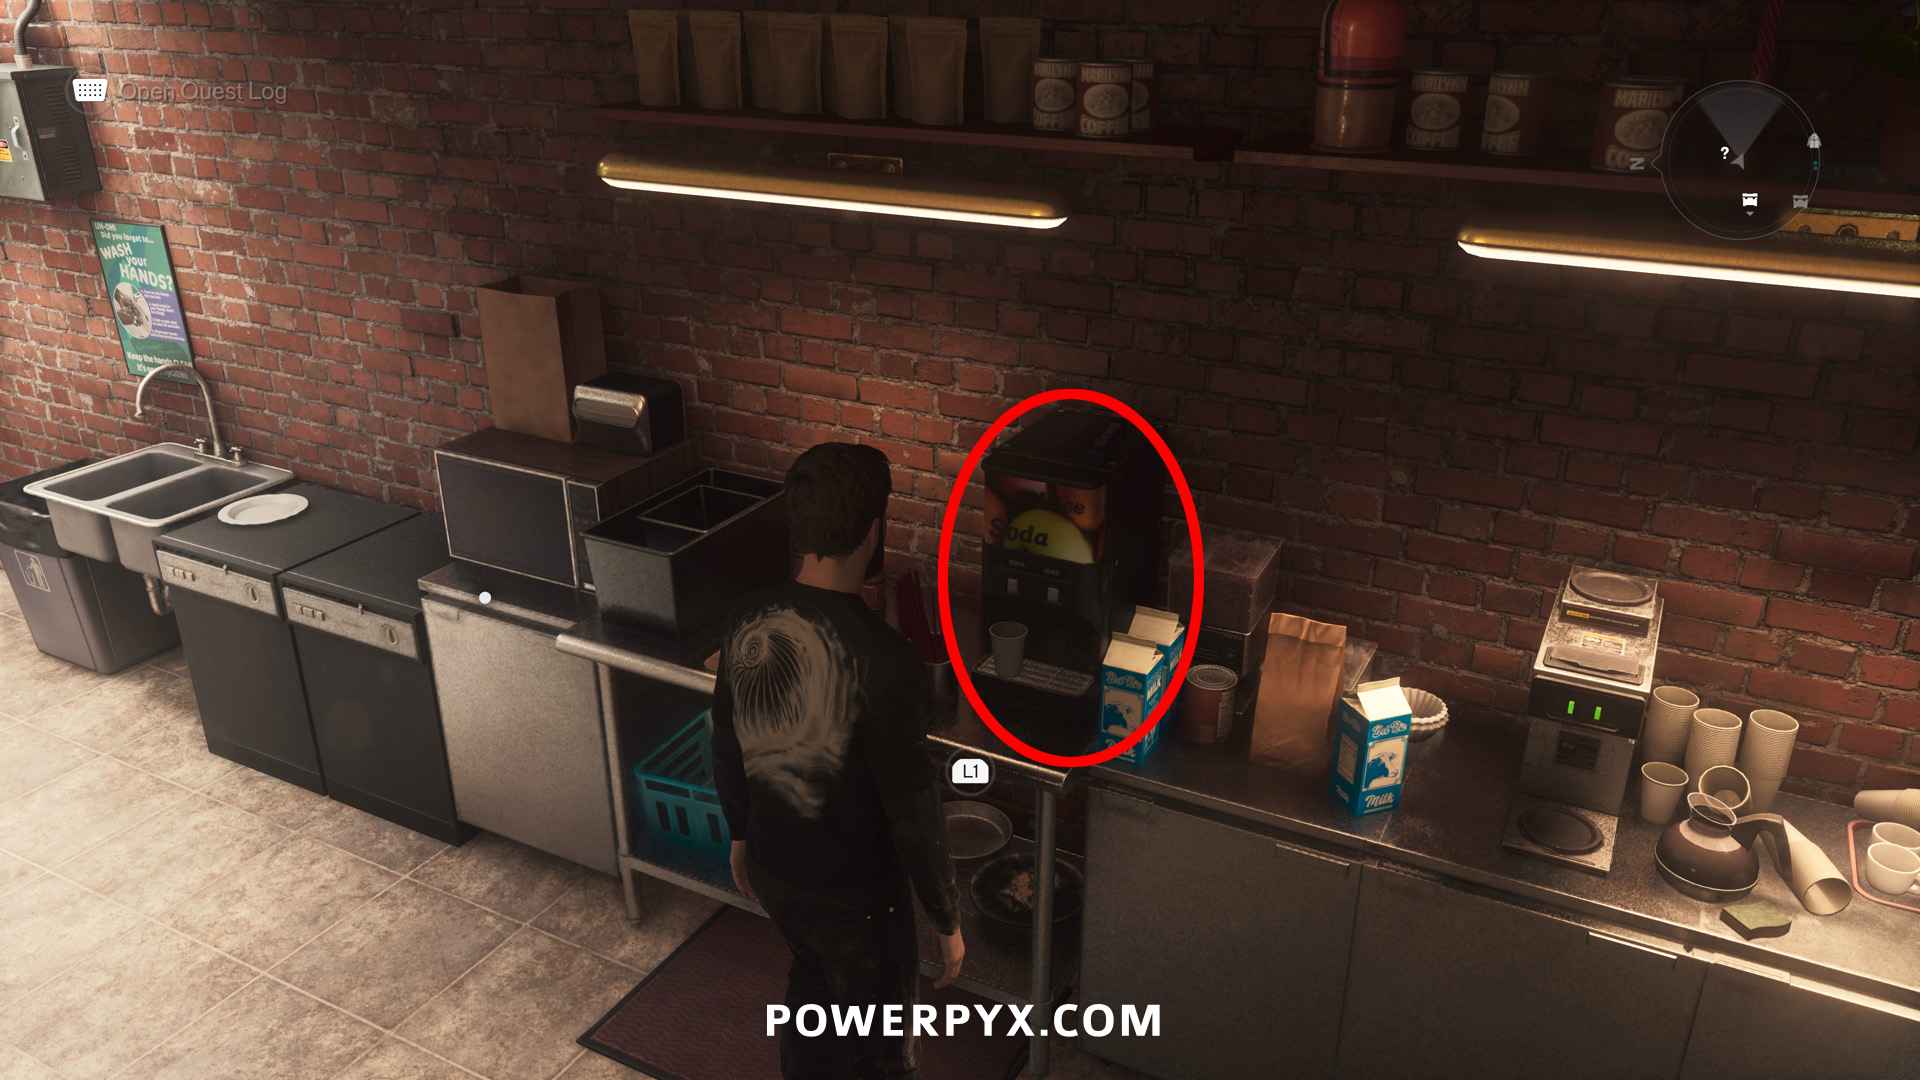
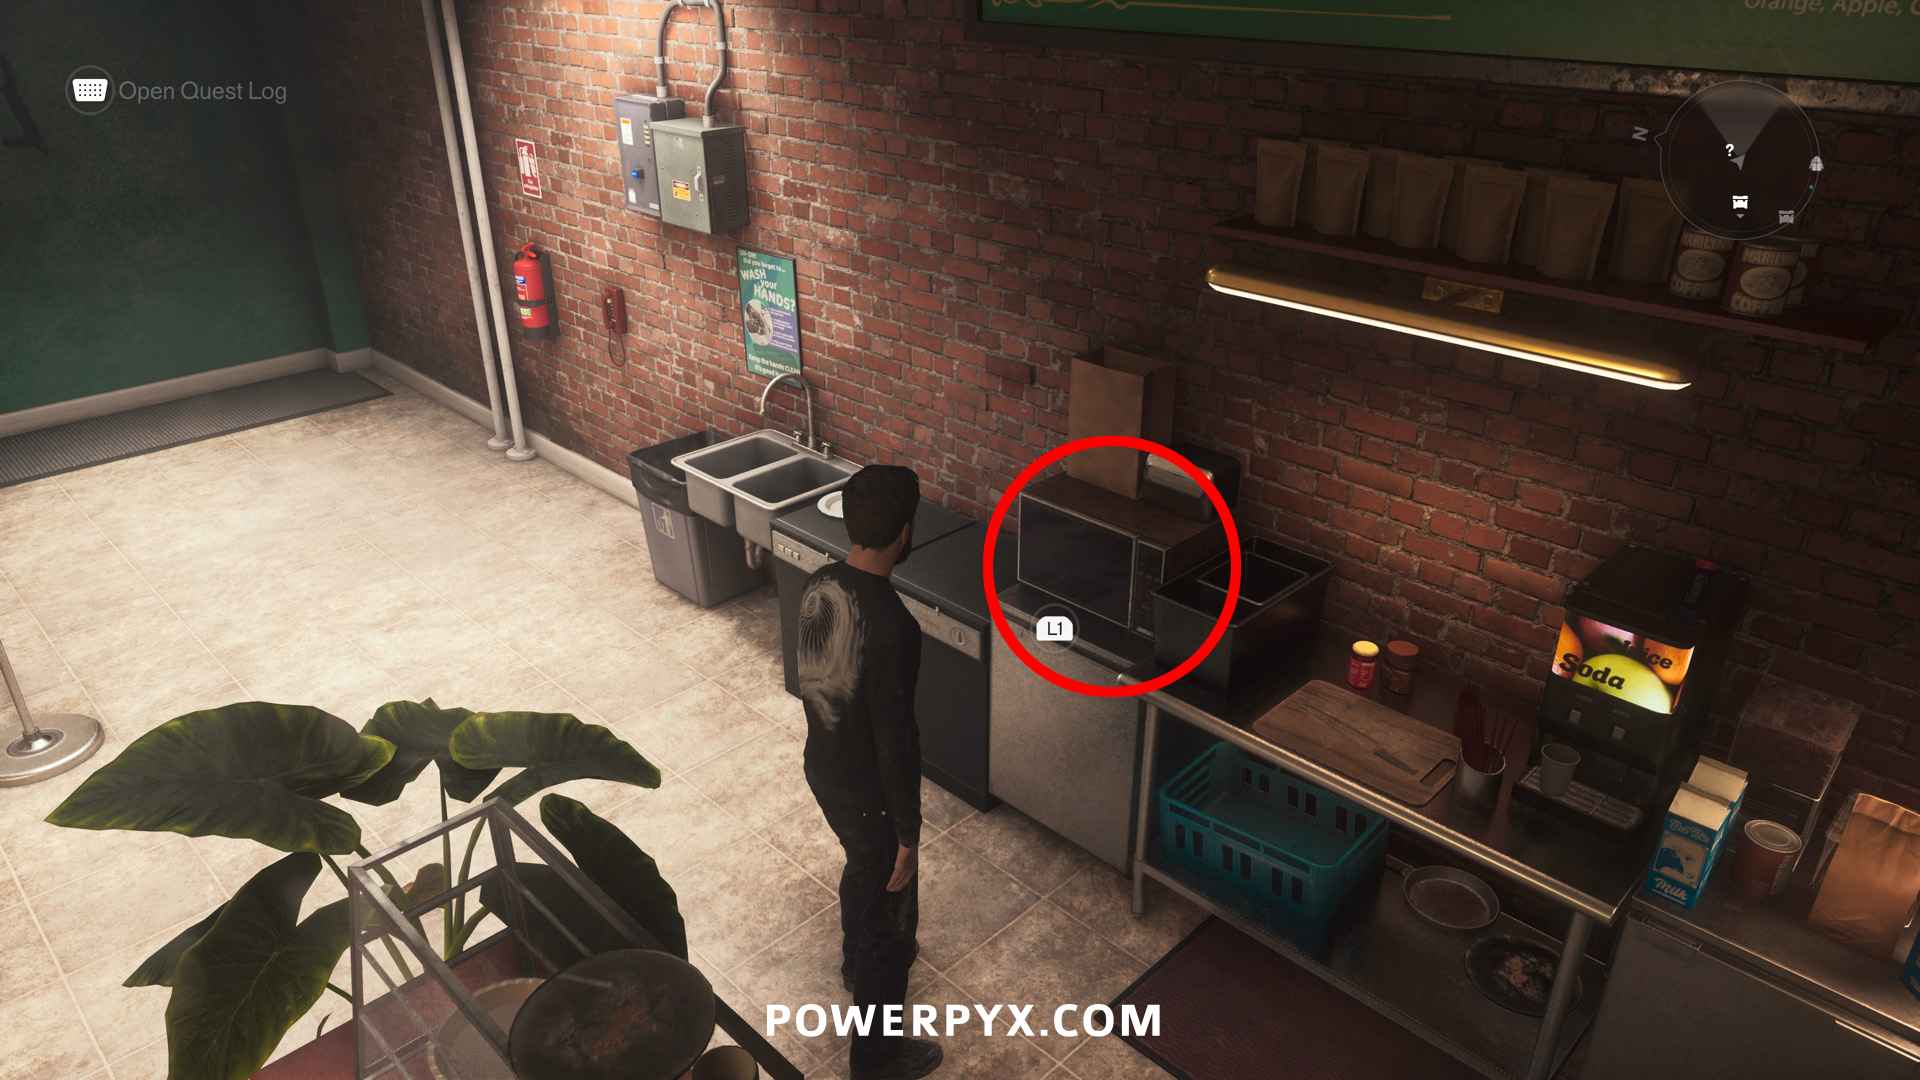
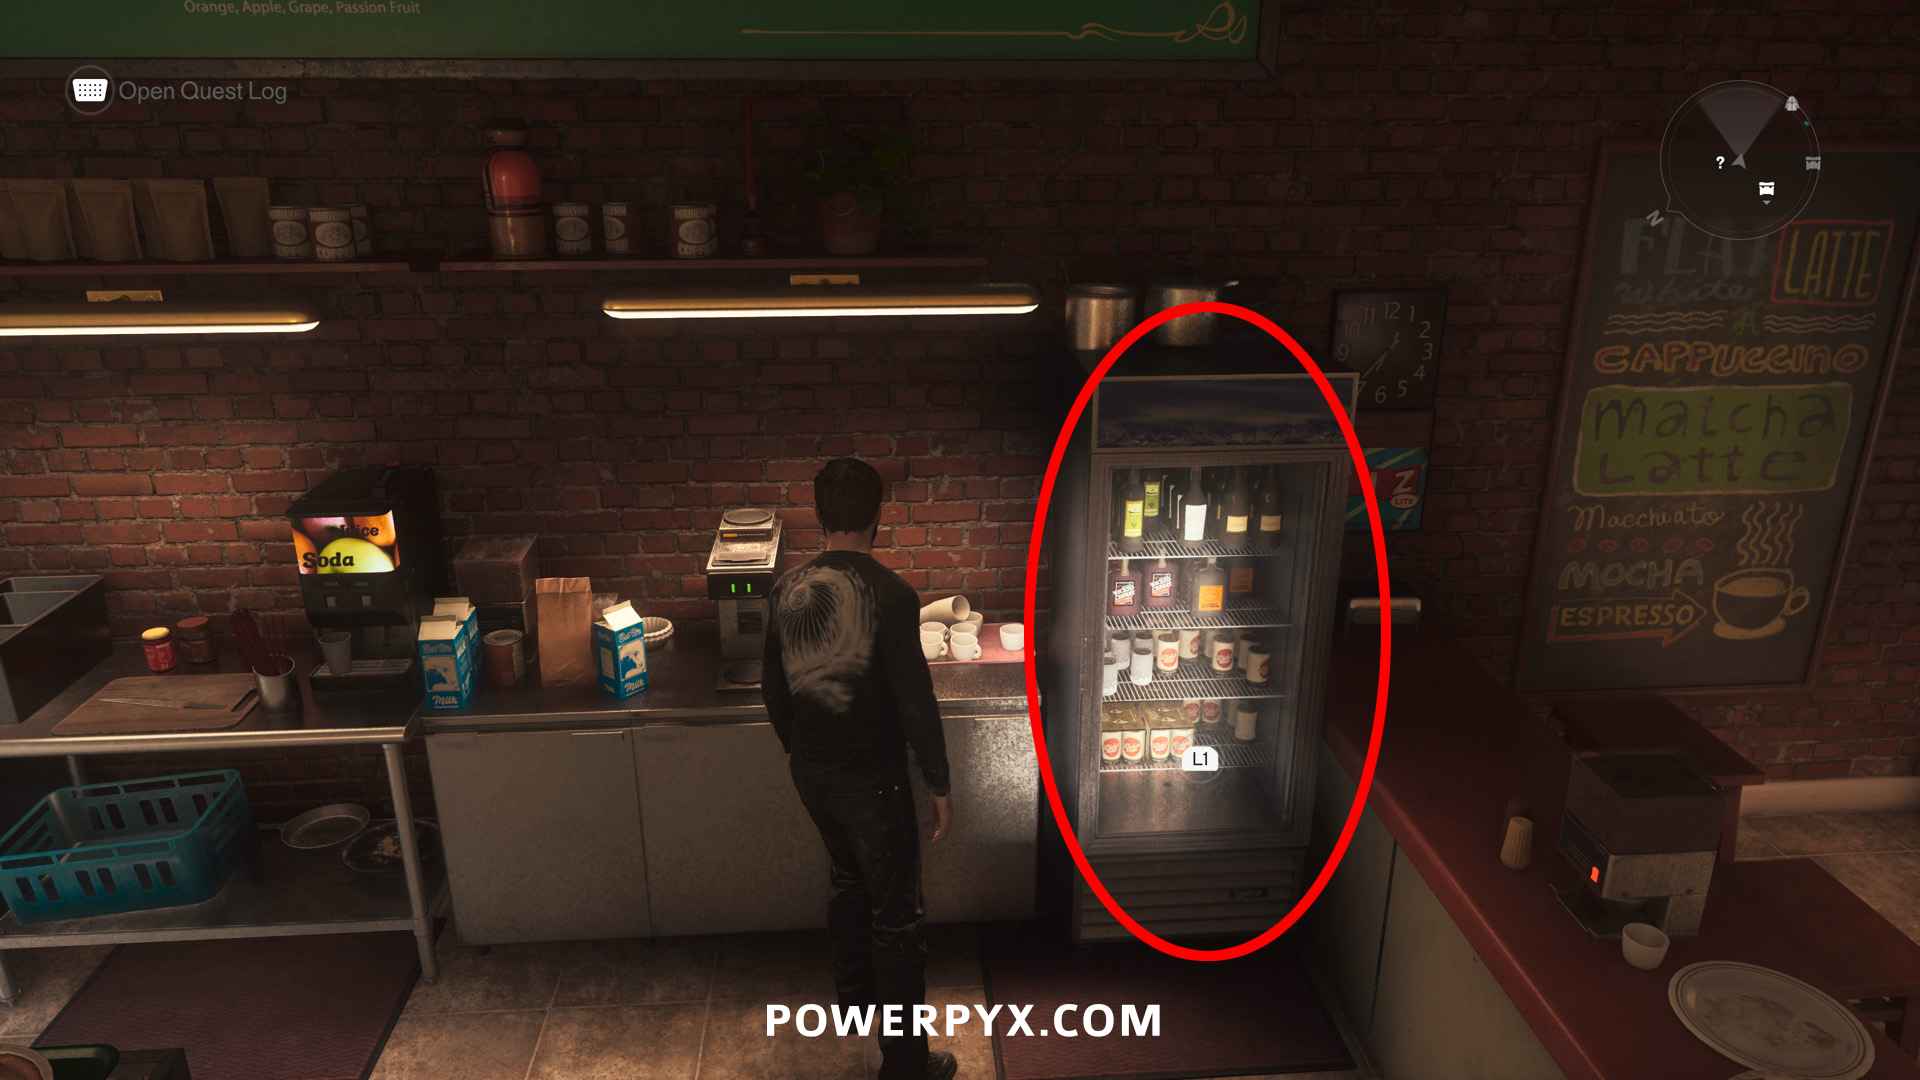
Then the door opens, go inside and open the health upgrade box.
#3 – Dylan’s Sketchbook – Rooftop Oasis
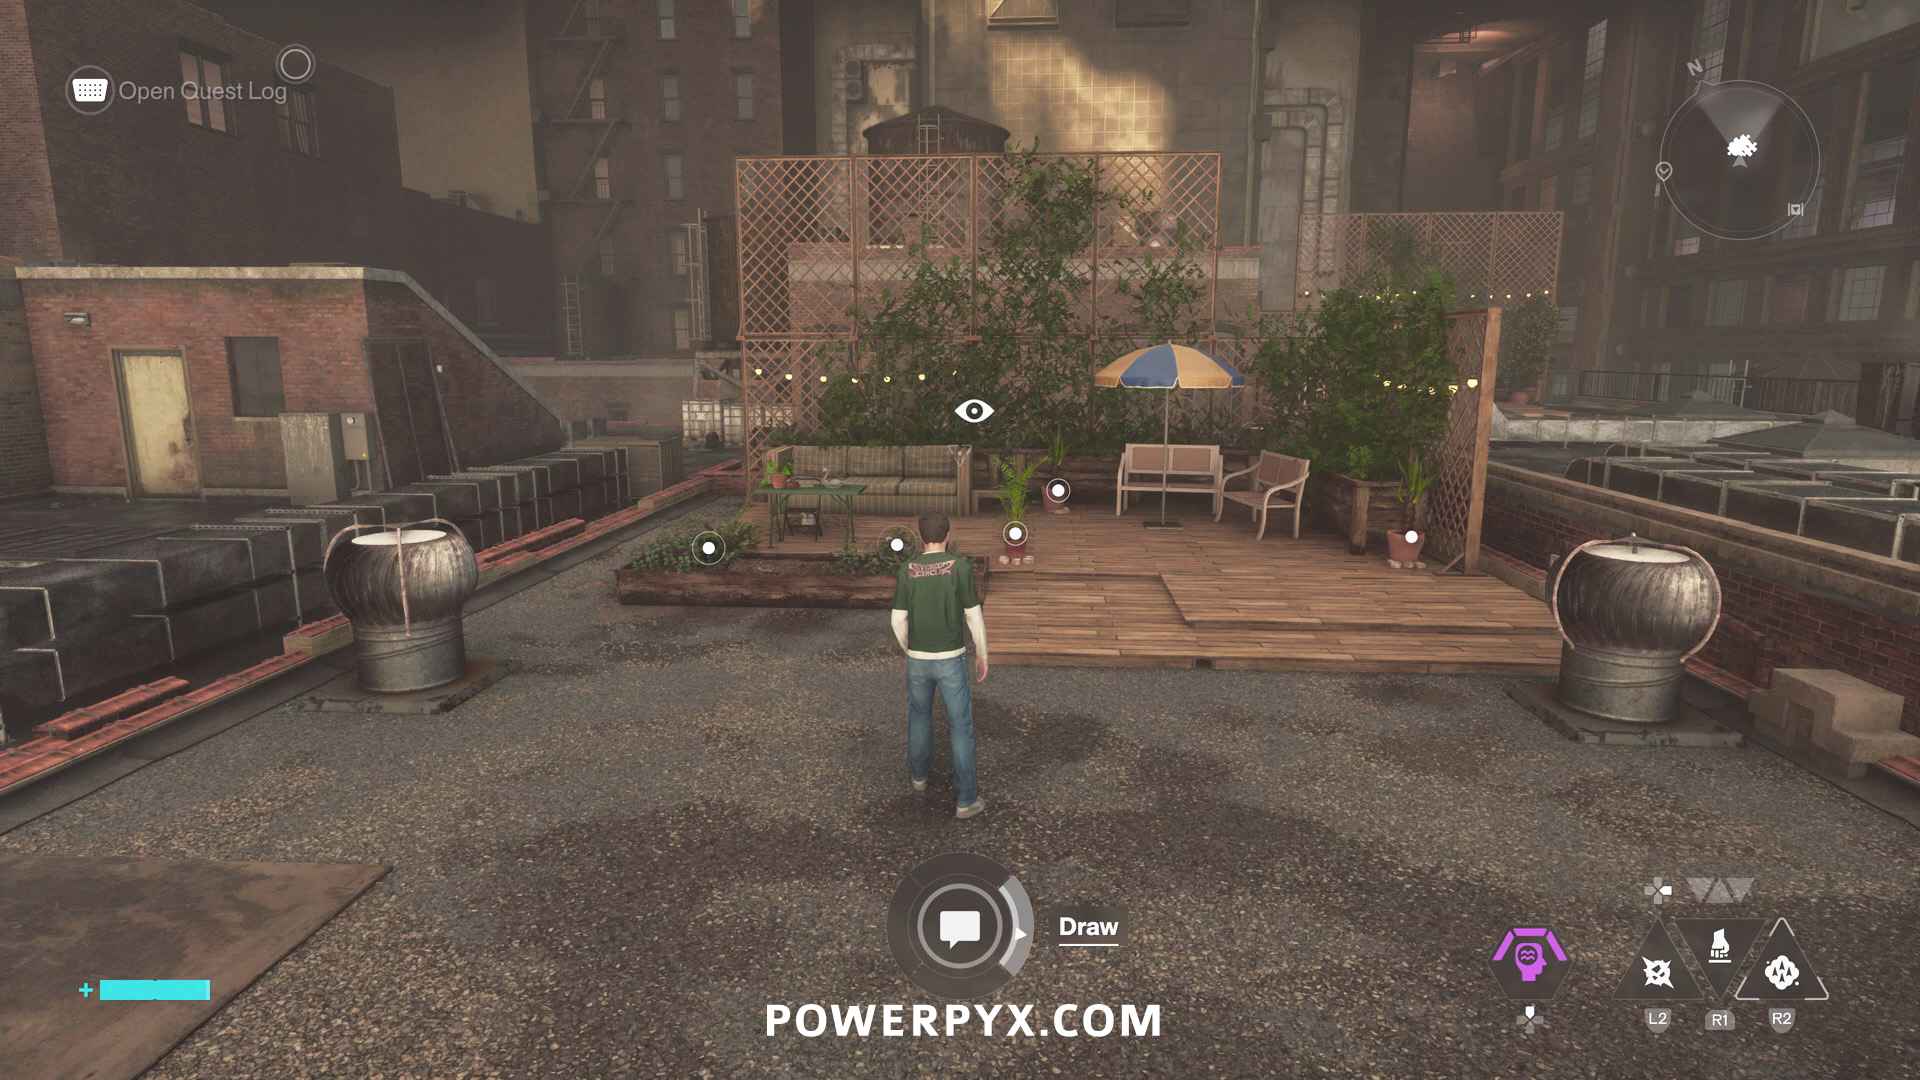
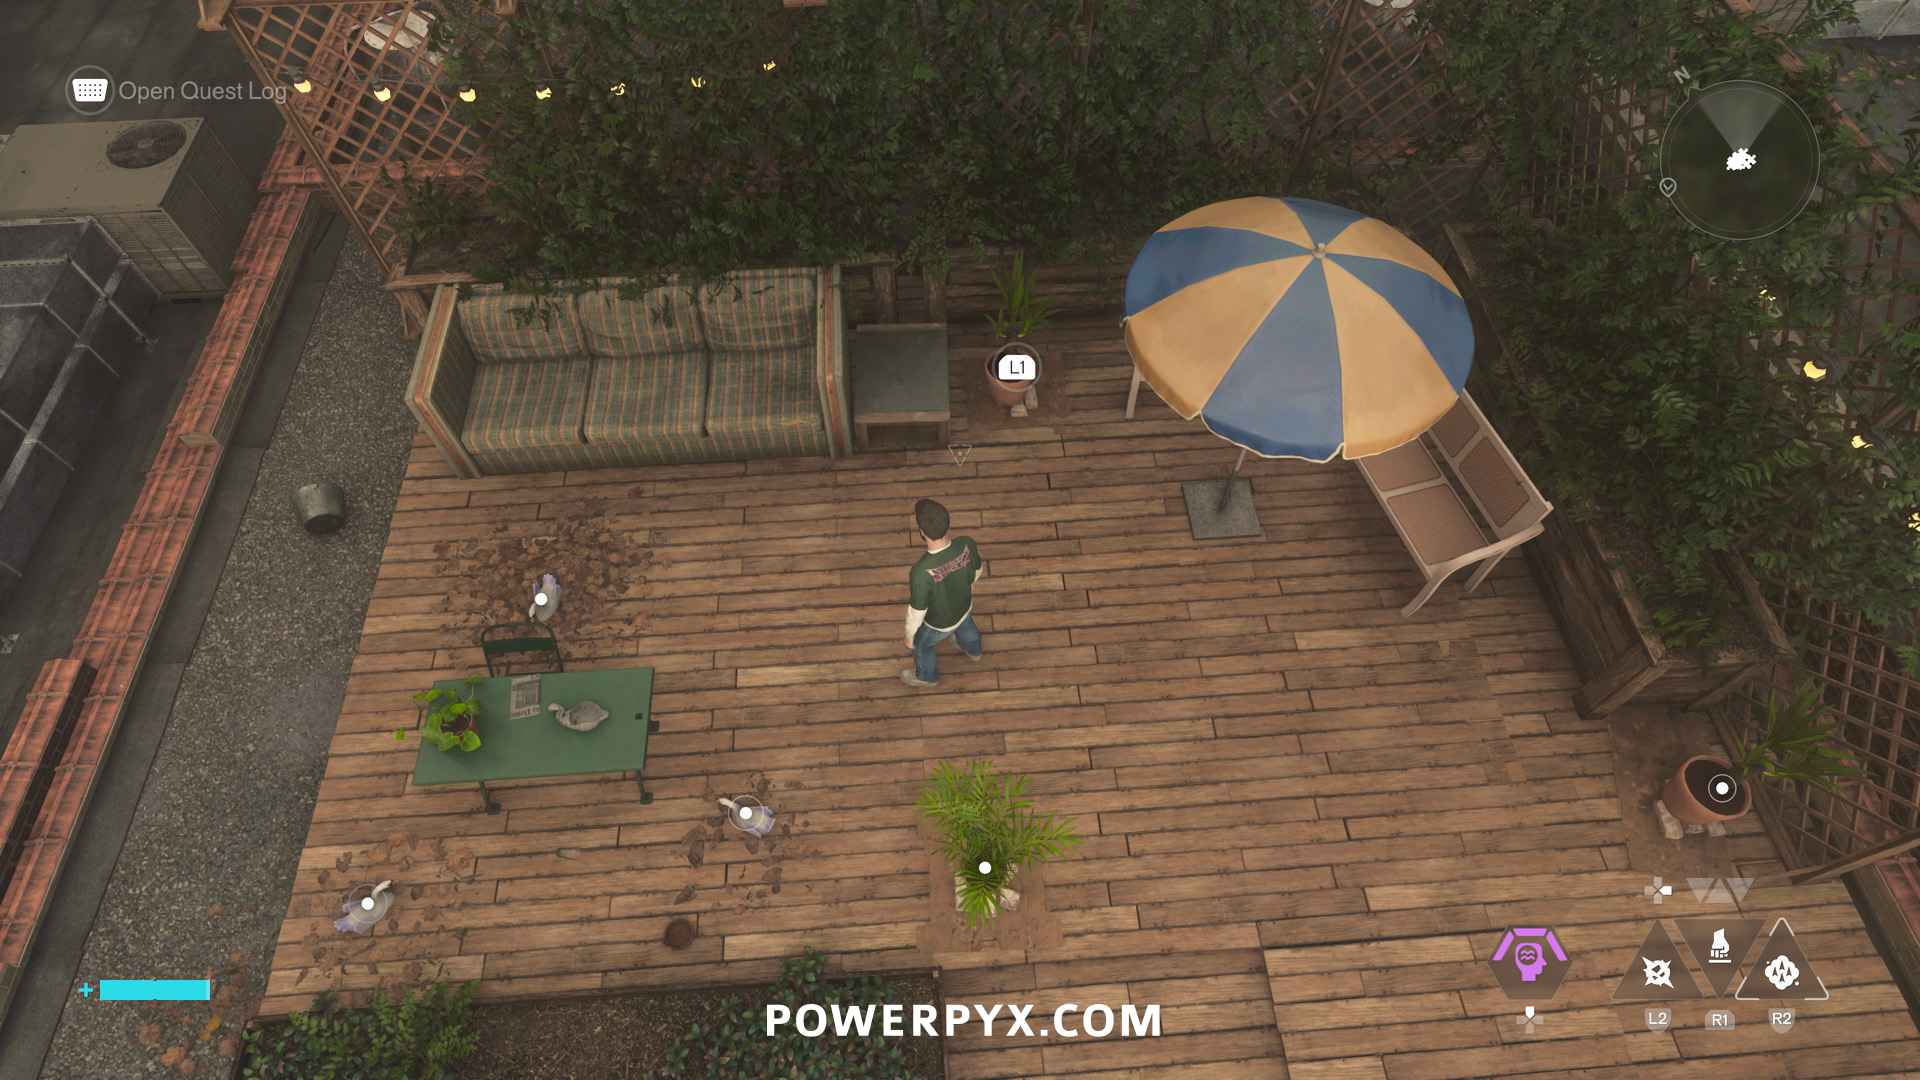
In the north-west corner of Downtown, on the rooftop where the “Dense Patterning” text is on the map. Must use the “Reach” ability to get up there, unlocked from Jesse Sightings: The Subway Fault. Inspect the table on the roof, then 6 items get marked with puzzle pieces on the minimap. Place the 3 swans closest to the table (the spots without stones on the ground), and place the 3 plants furthest from the table (the spots that do have stones on the ground).
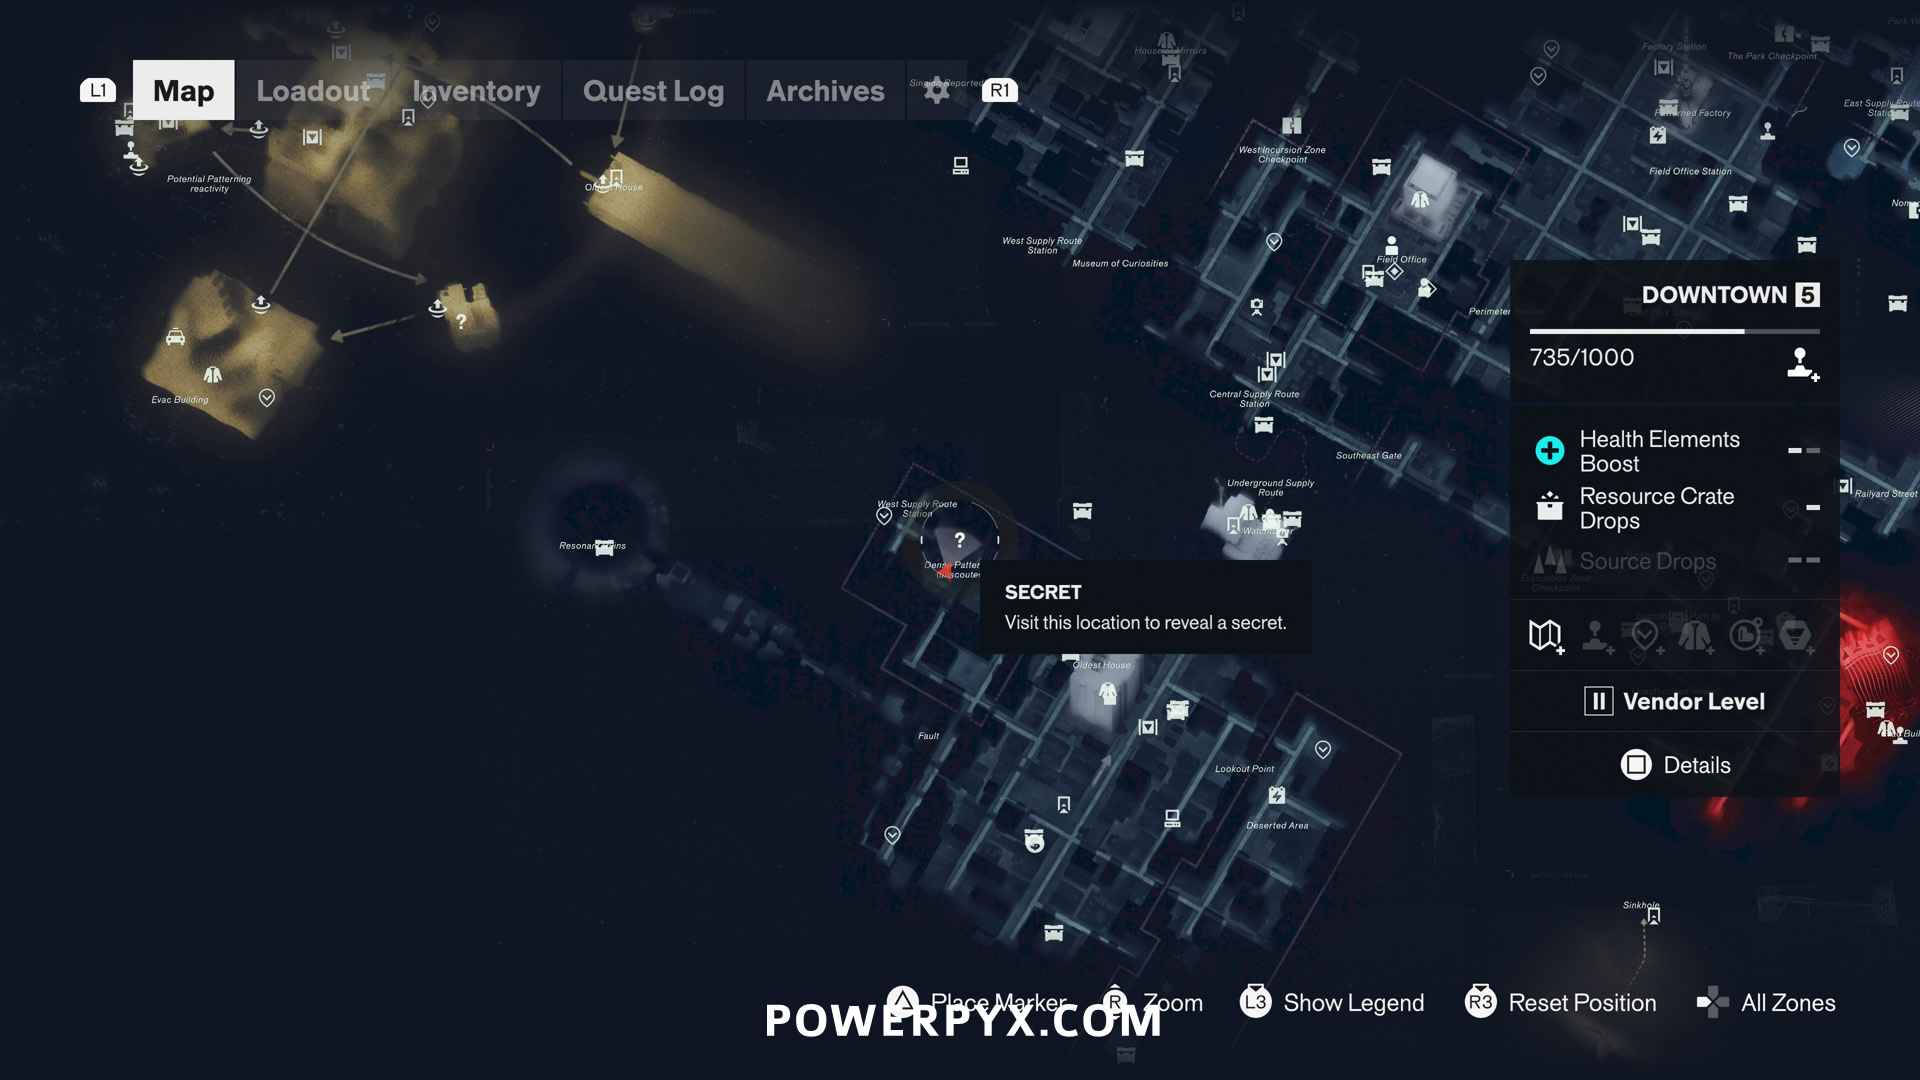
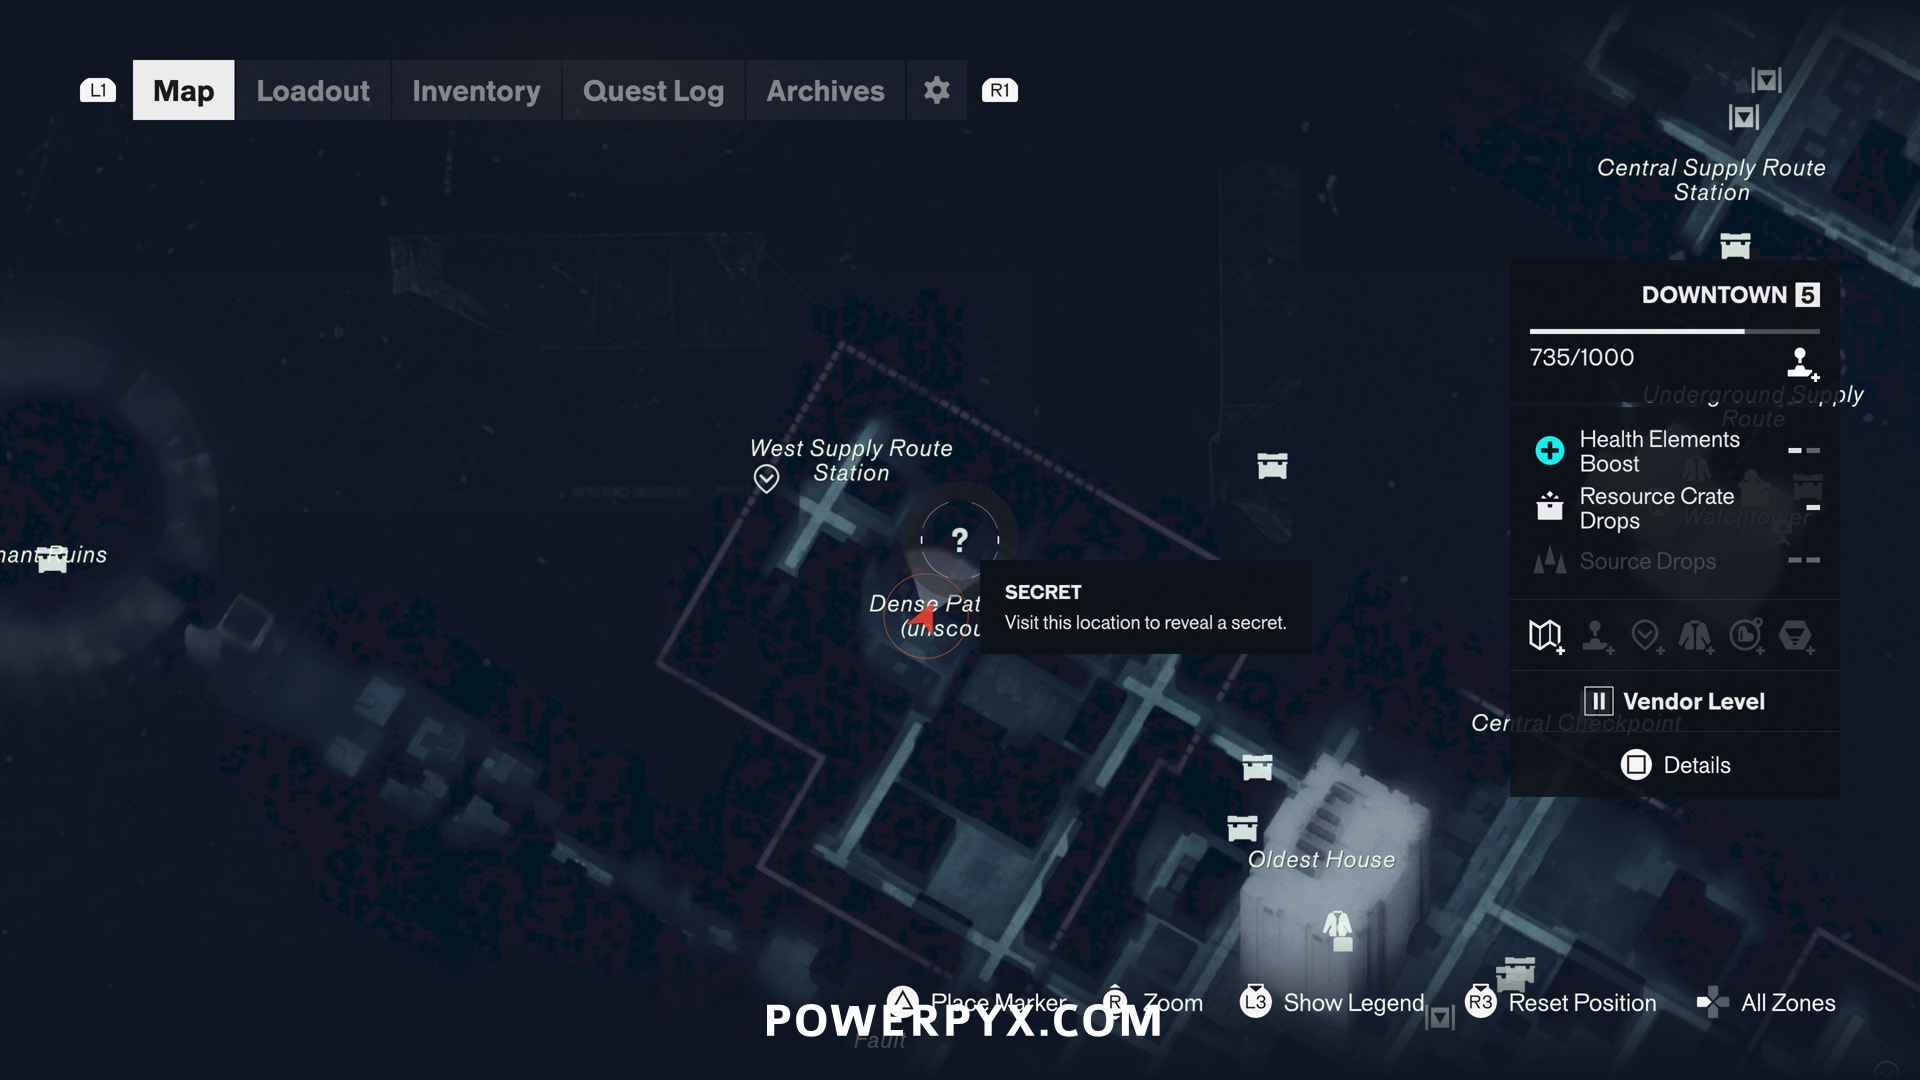
#4 – Camera
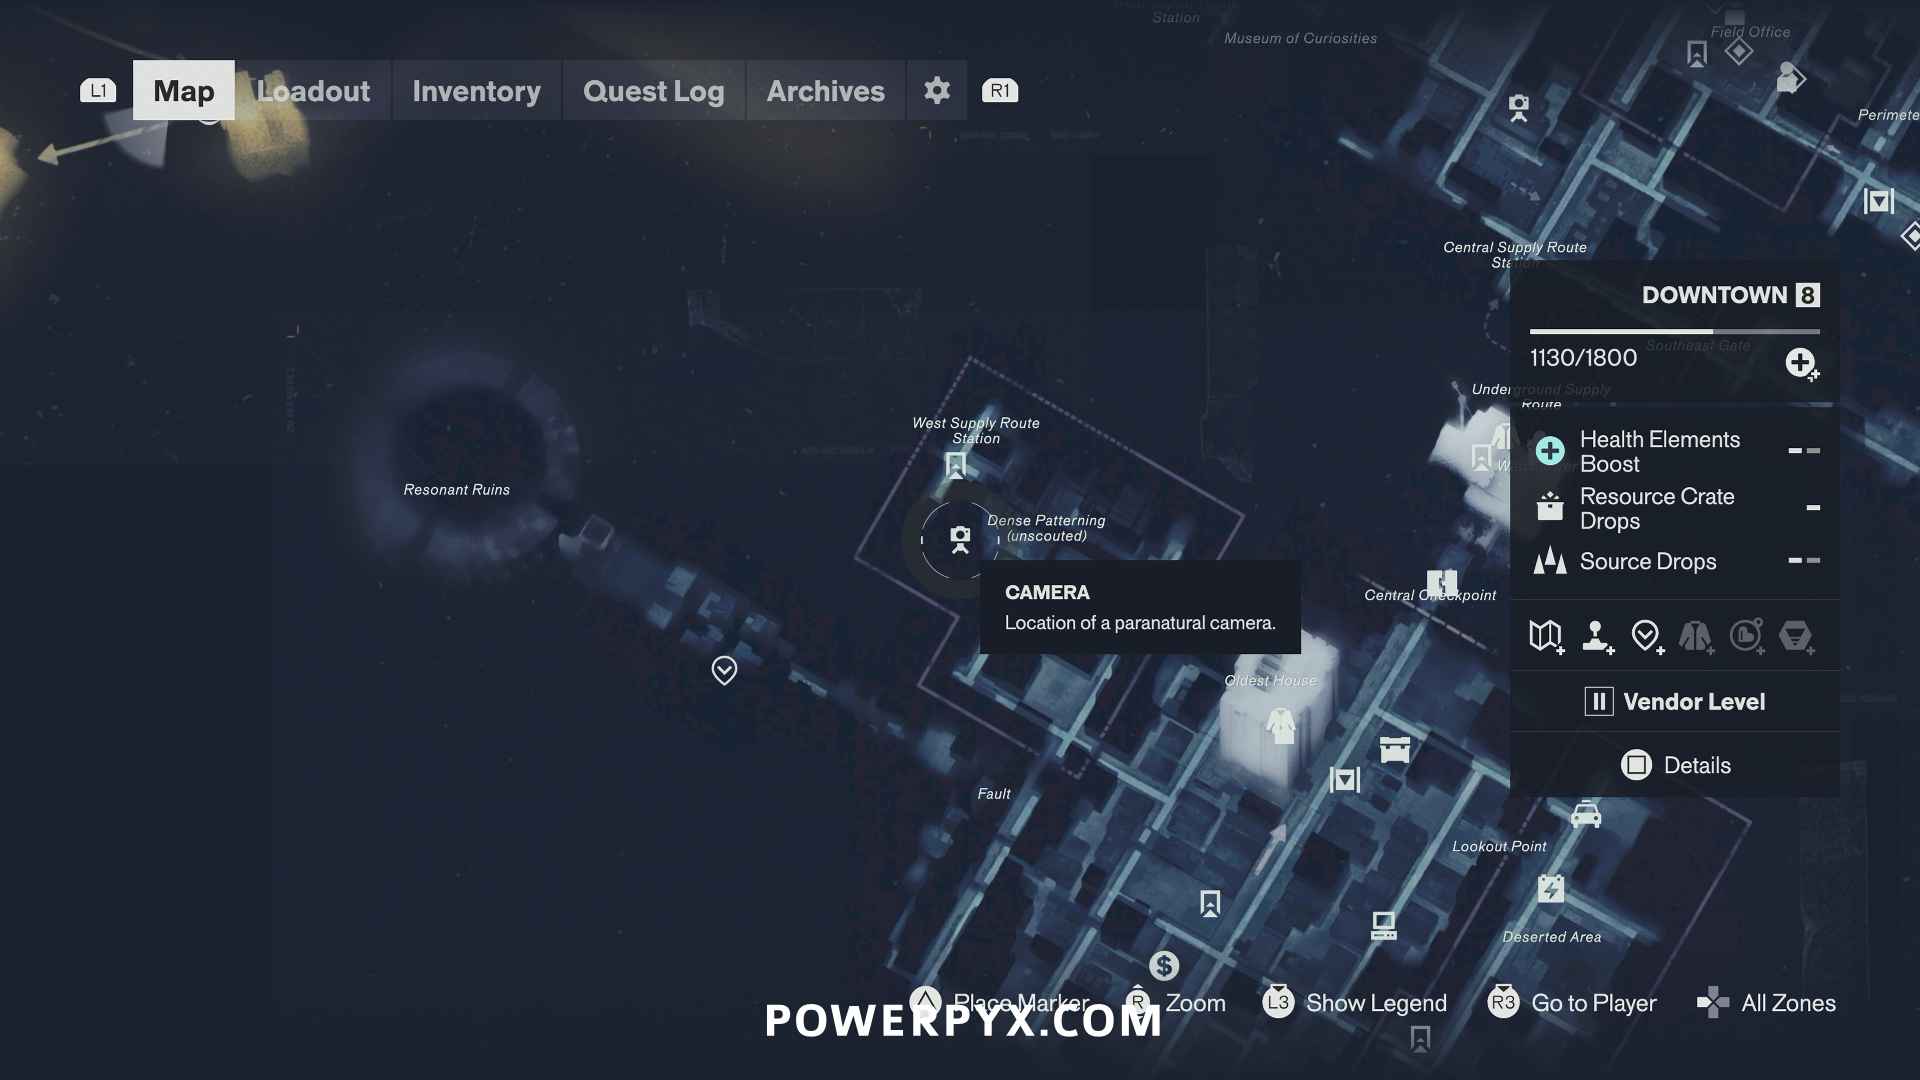
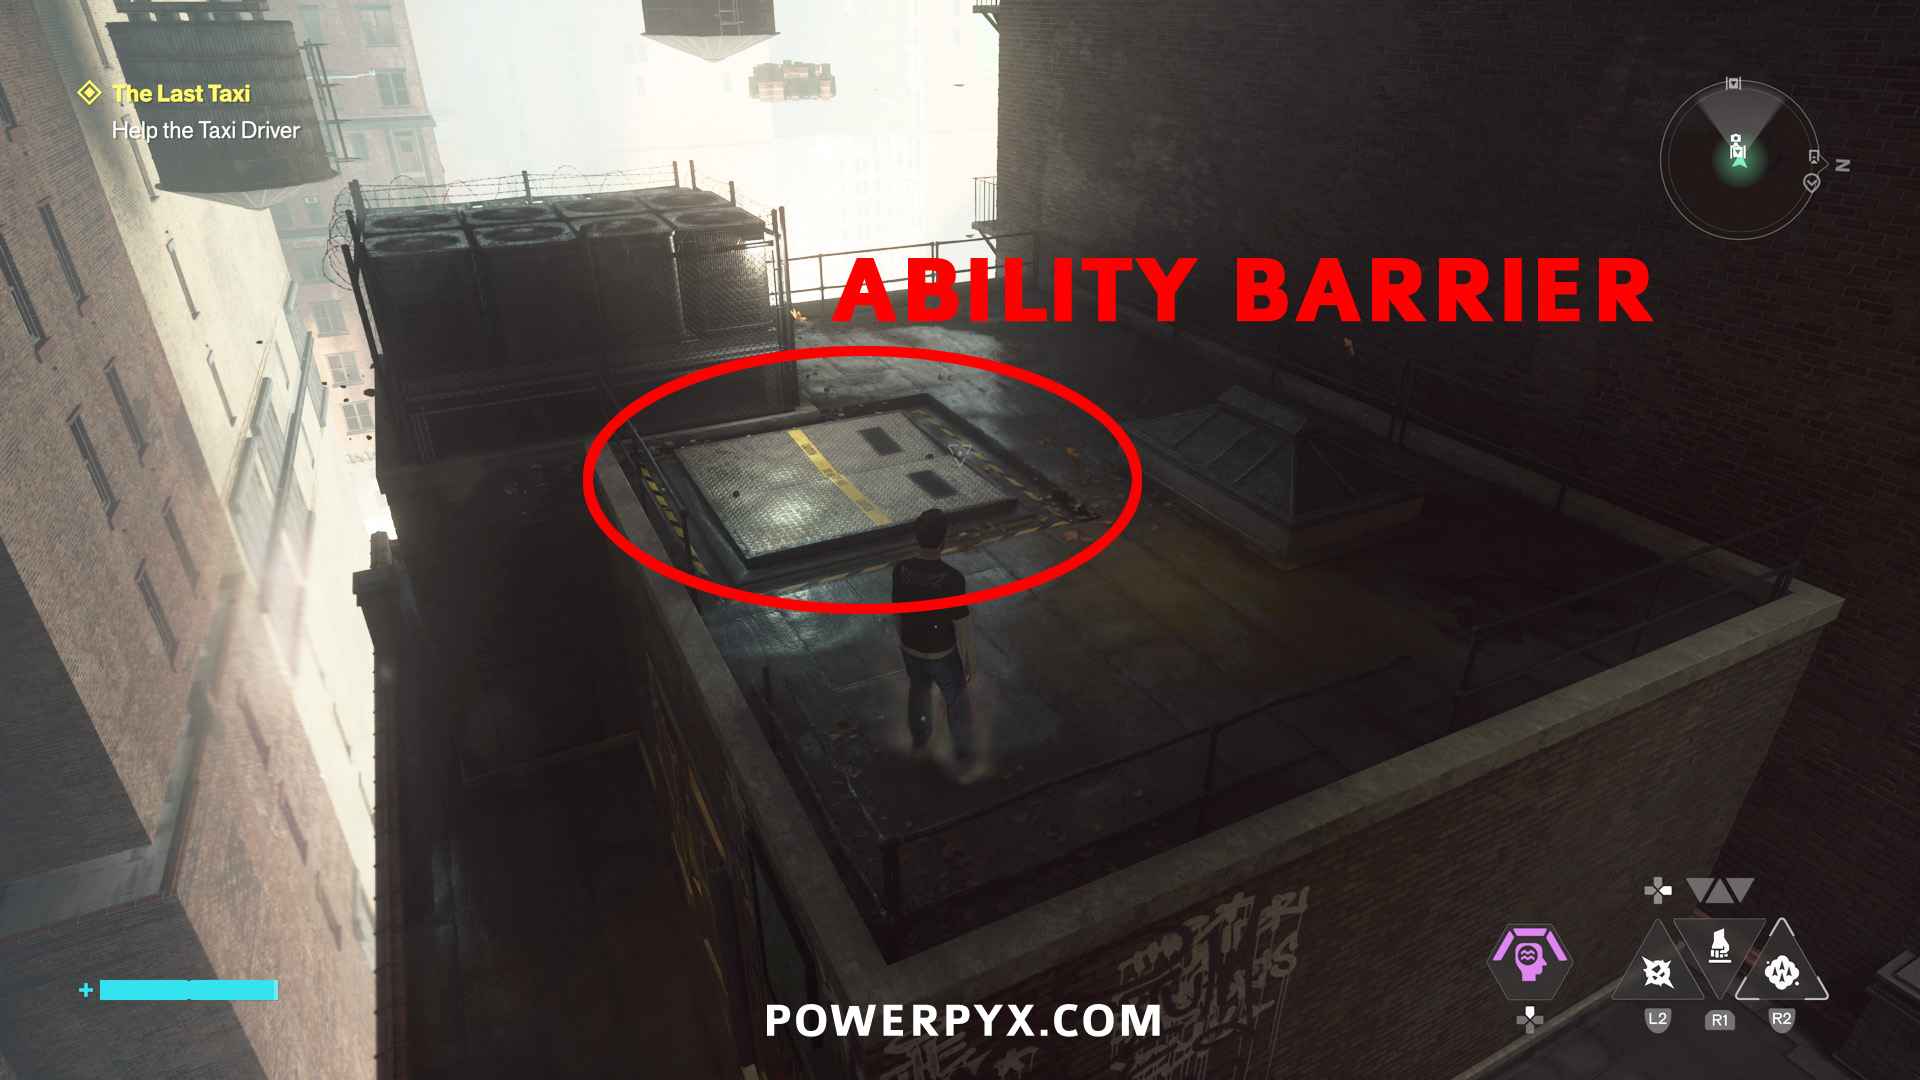
Smash through the ability barrier on the roof above the camera (use Ground Slam ability), it will be marked with a map icon. To reach the roof without the camera spotting you, approach from the street slightly north-west of the camera and use the Shift Gravity ability to walk up the side of the roof.
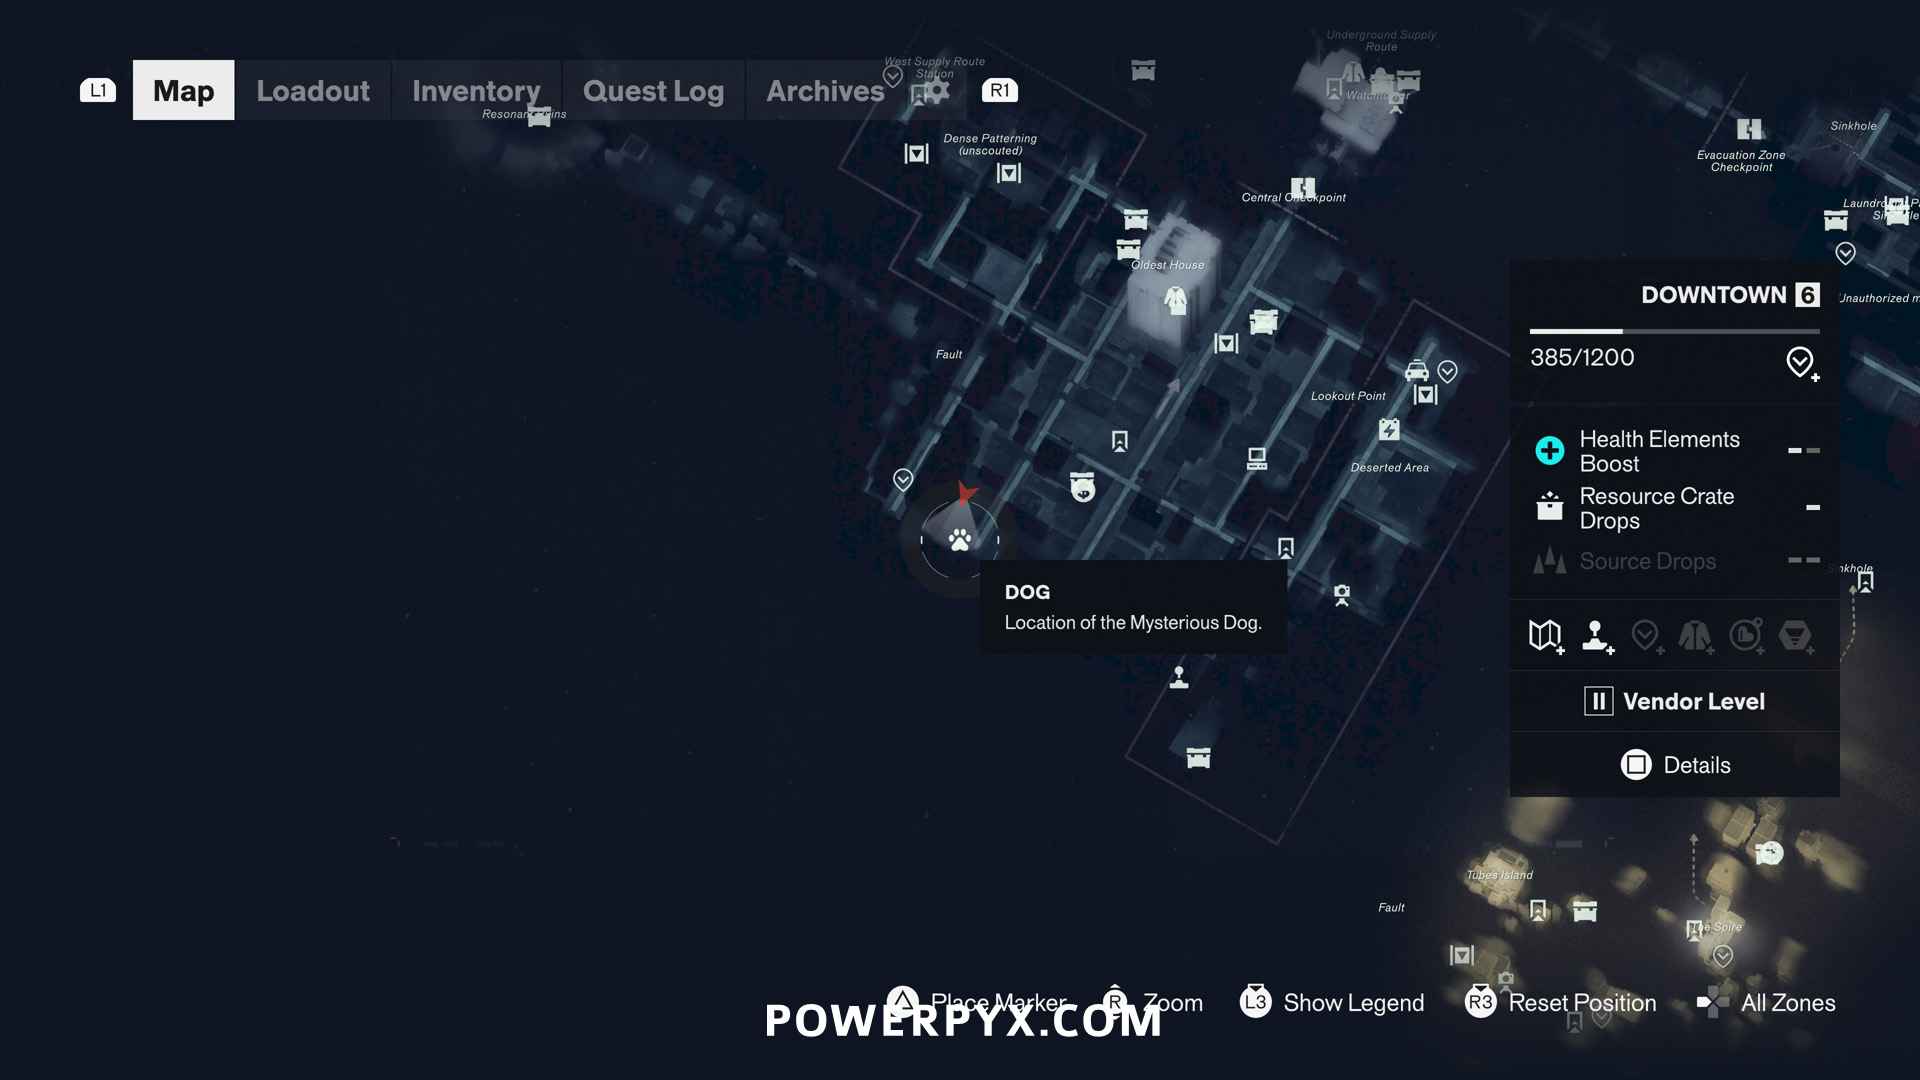
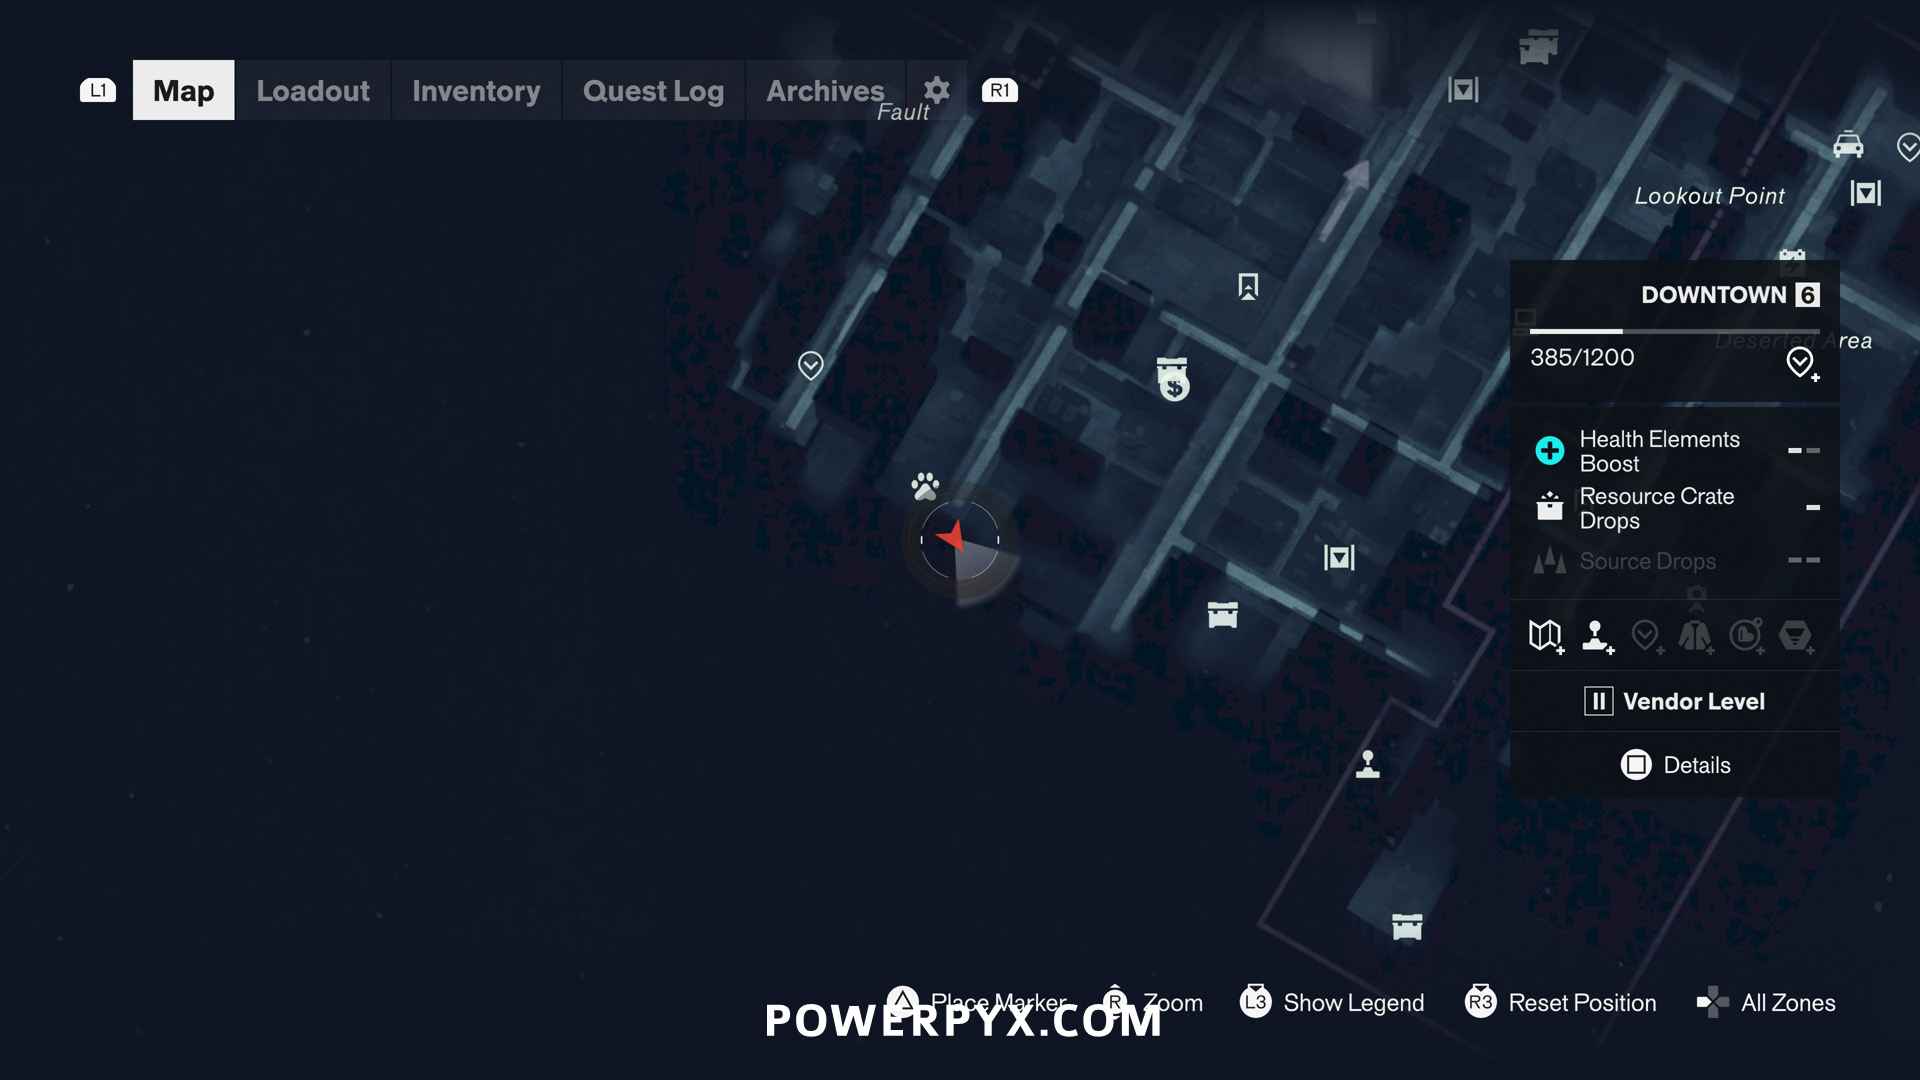
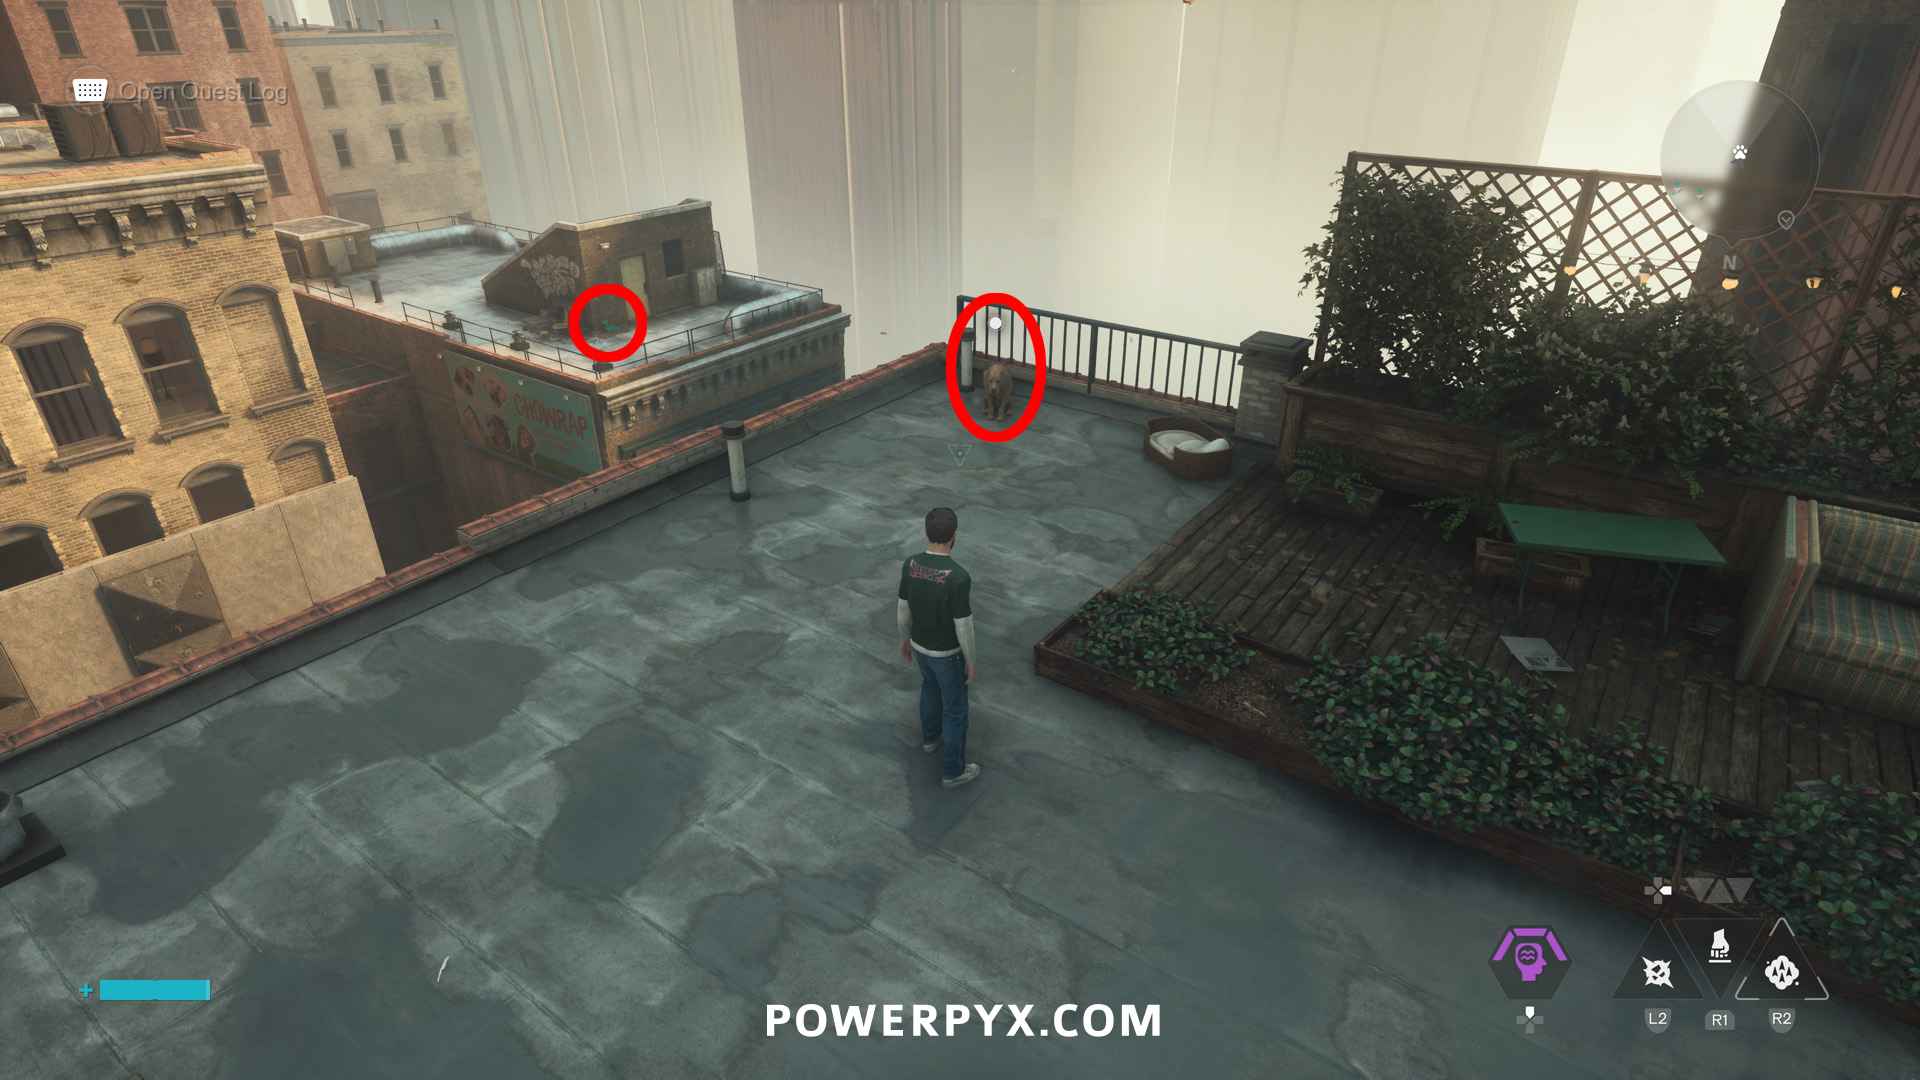
#5 – Dog
In the south-west corner of Downtown on a roof. The toy is on the next roof left of the dog.
#6 – Dylan’s Sketchbook – Beach Day
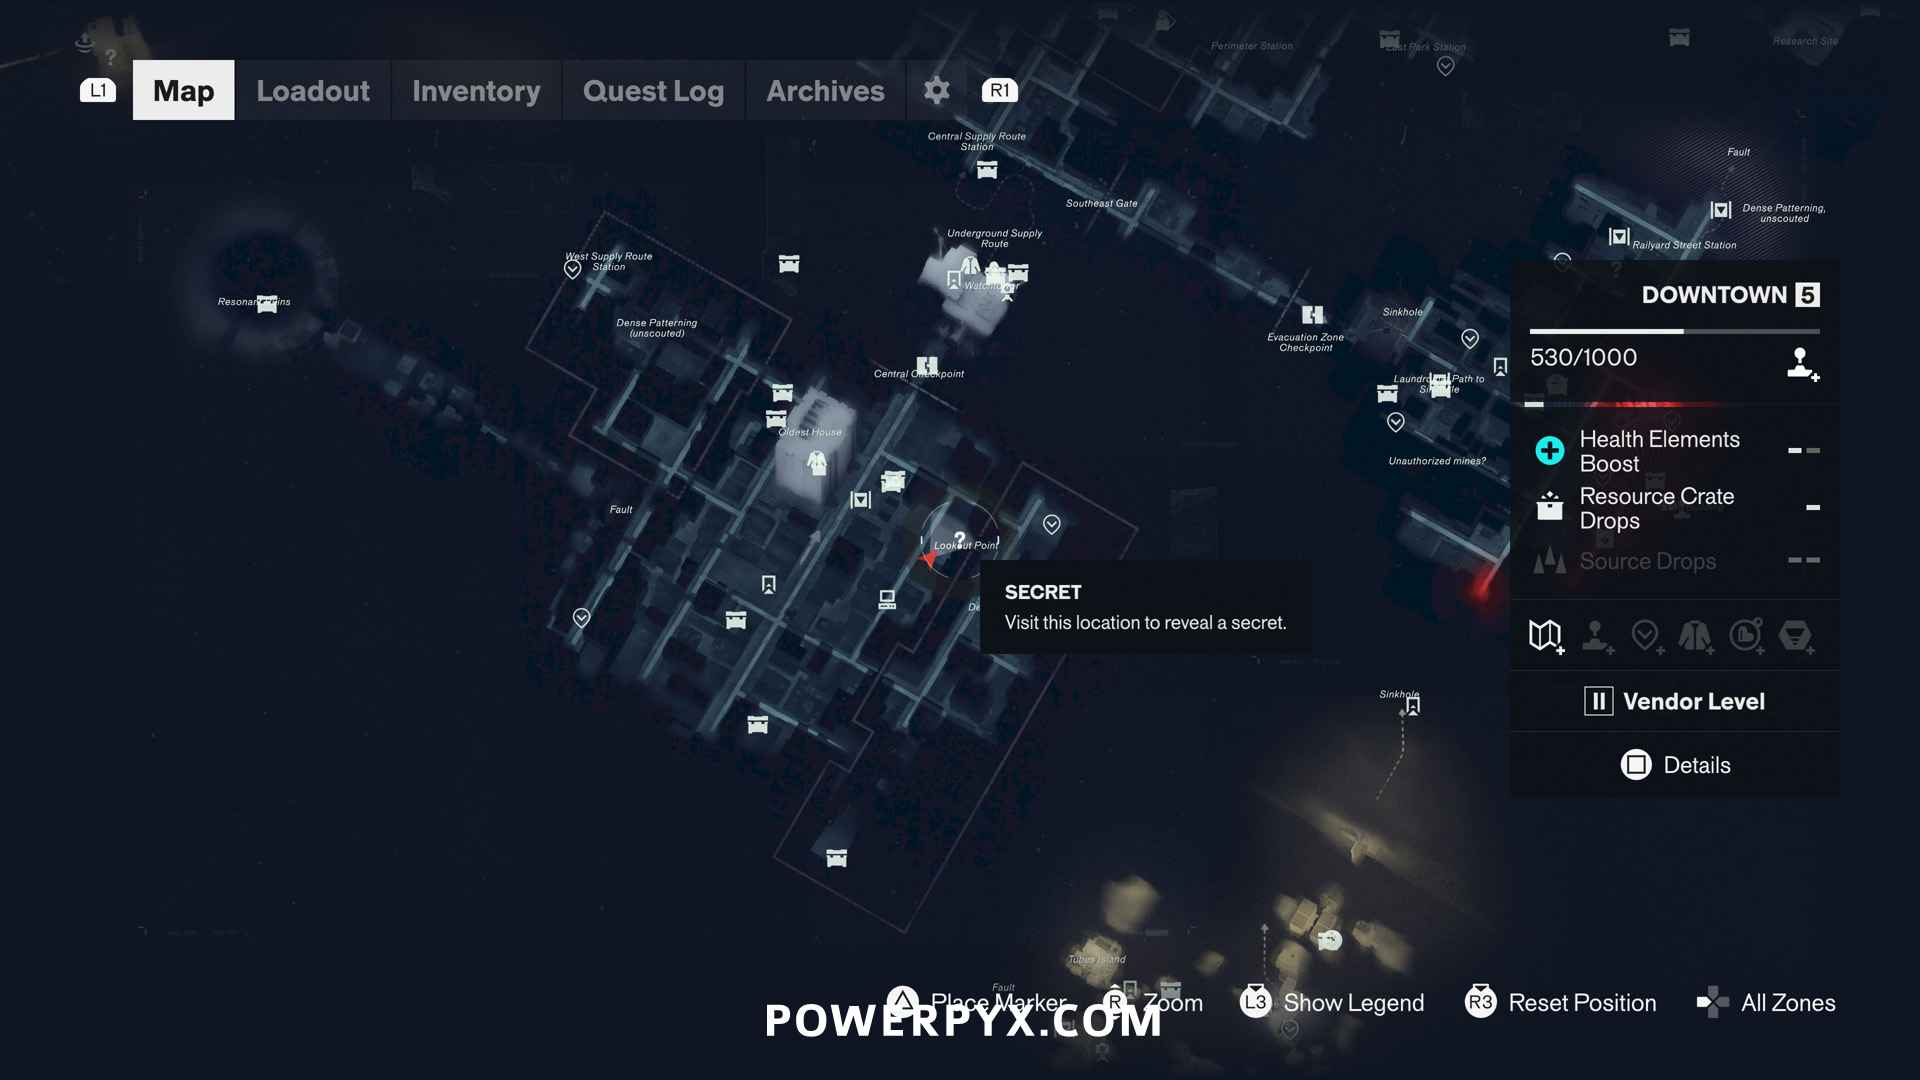
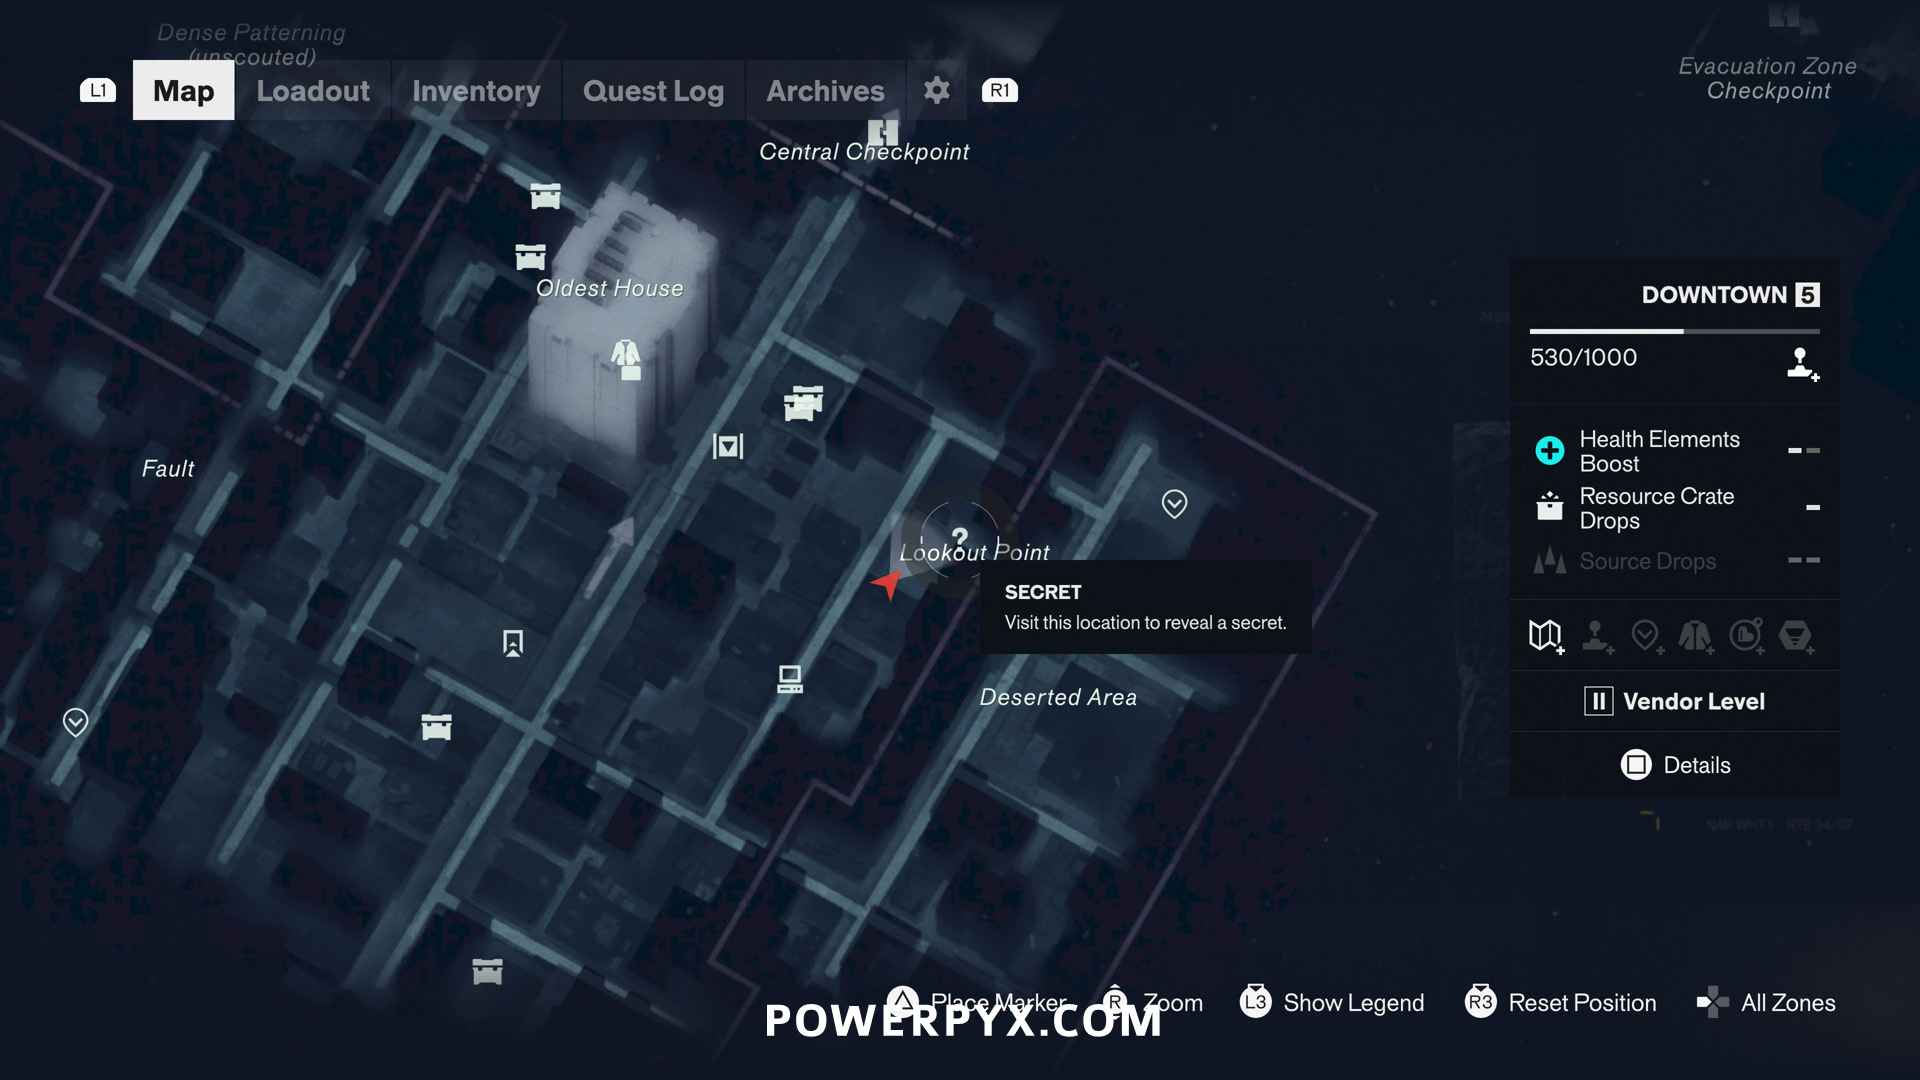
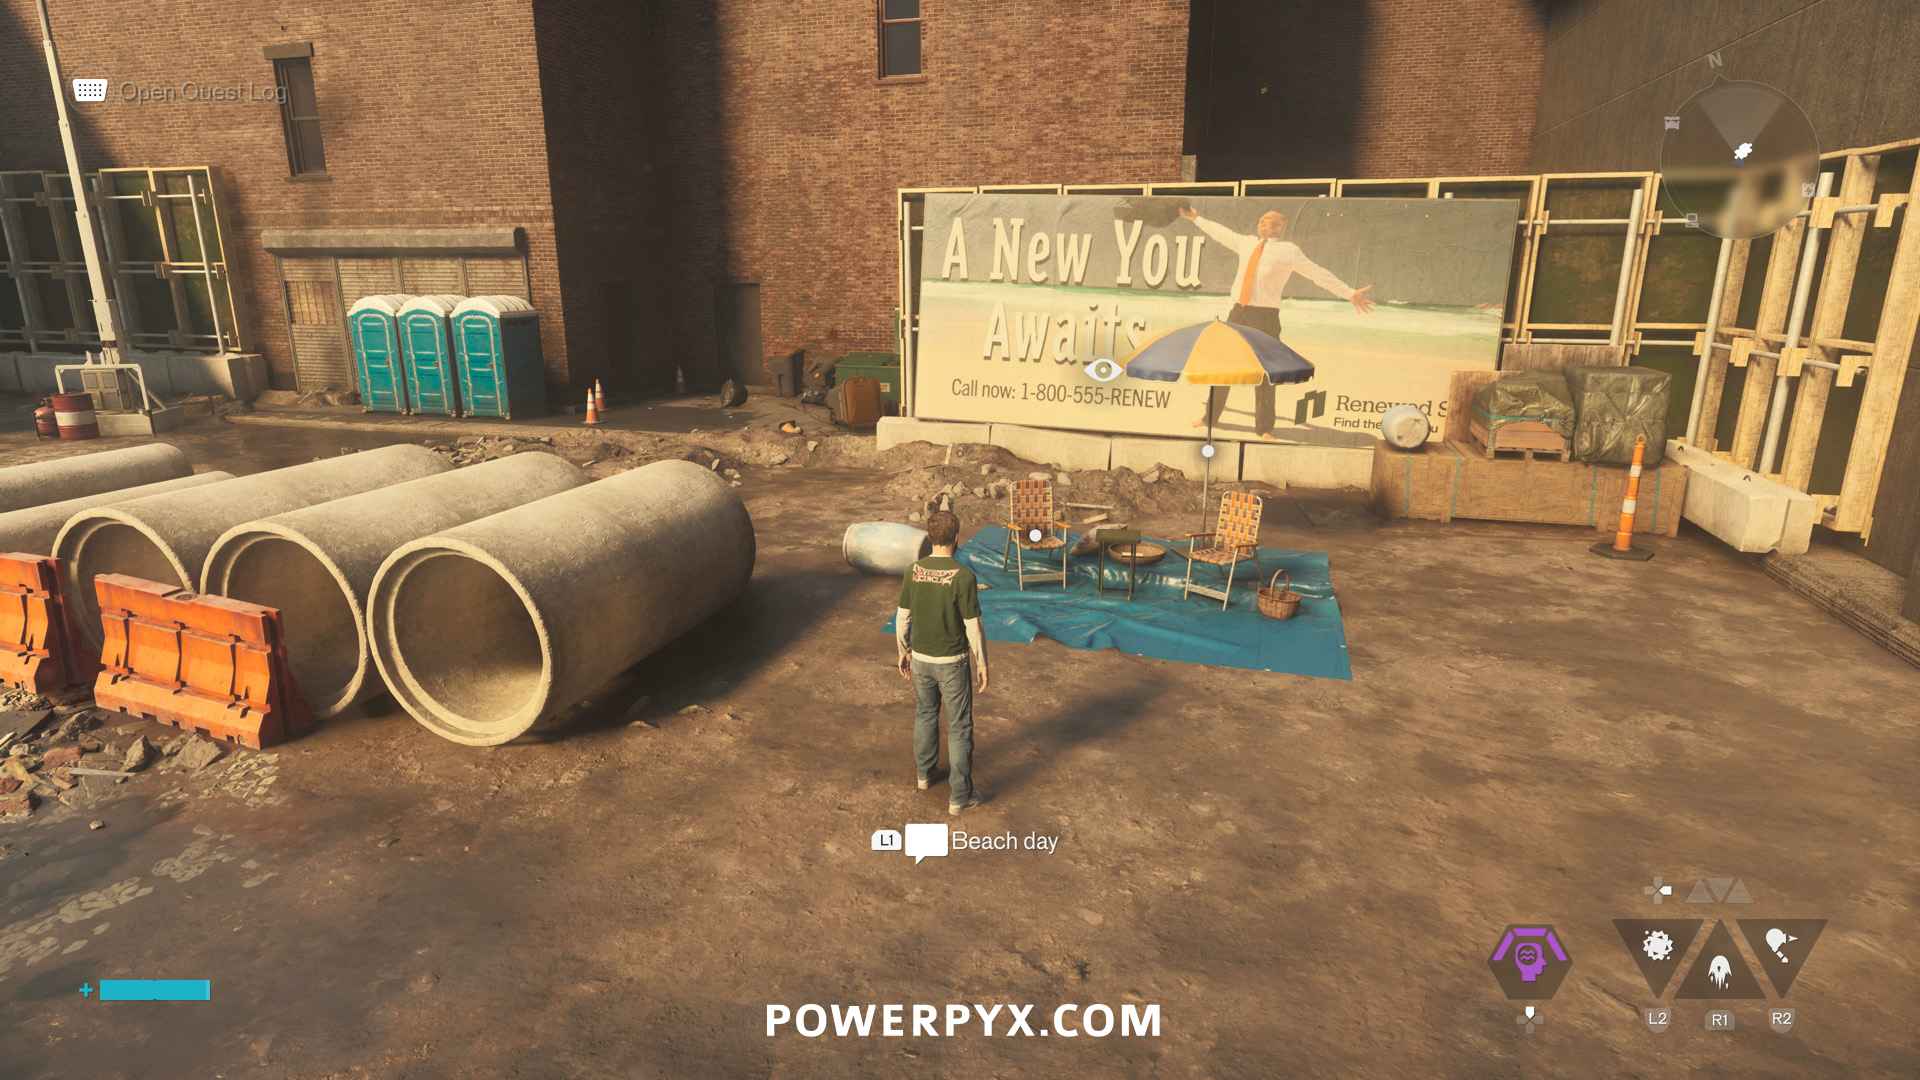
In the north-east of Downtown zone, where the white text “Lookout Point” is on the map. There you find a construction site. In the corner of the construction site is a blue tarp on the ground. Inspect the “eye” icon on it. Then go behind the “A New You Awaits” sign to find a beach umbrella and a beach chair at the end of the alley (they will have puzzle icons on the minimap). Place them on blue tarp as shown below (chairs next to each other facing forward, umbrella behind chairs). Then you inspect with L1/LB to draw the sketchbook entry.
#7 – Testing Facility
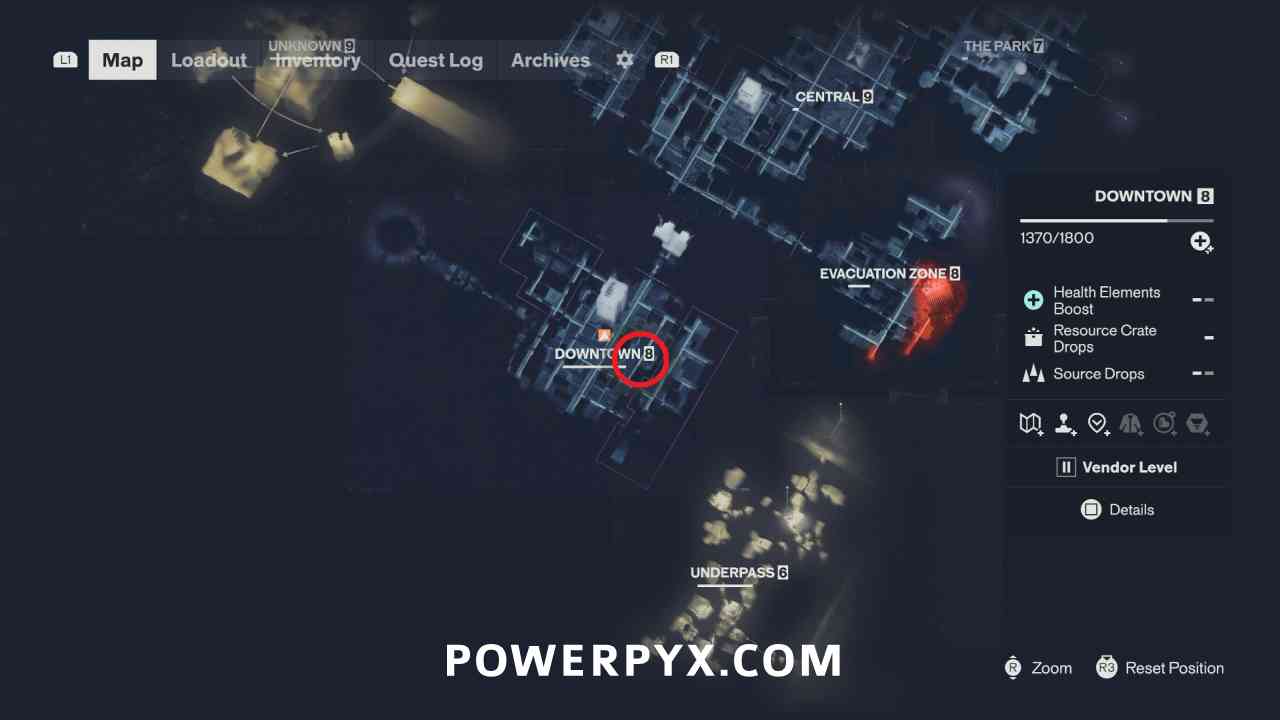
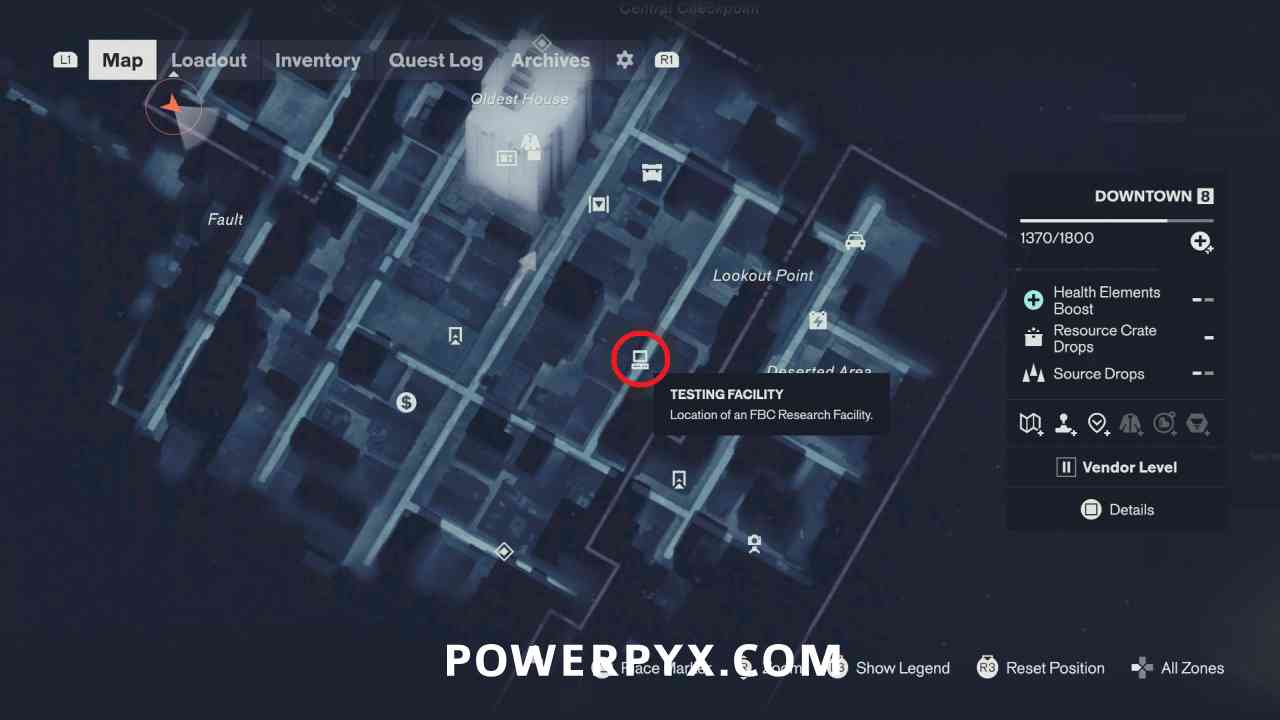
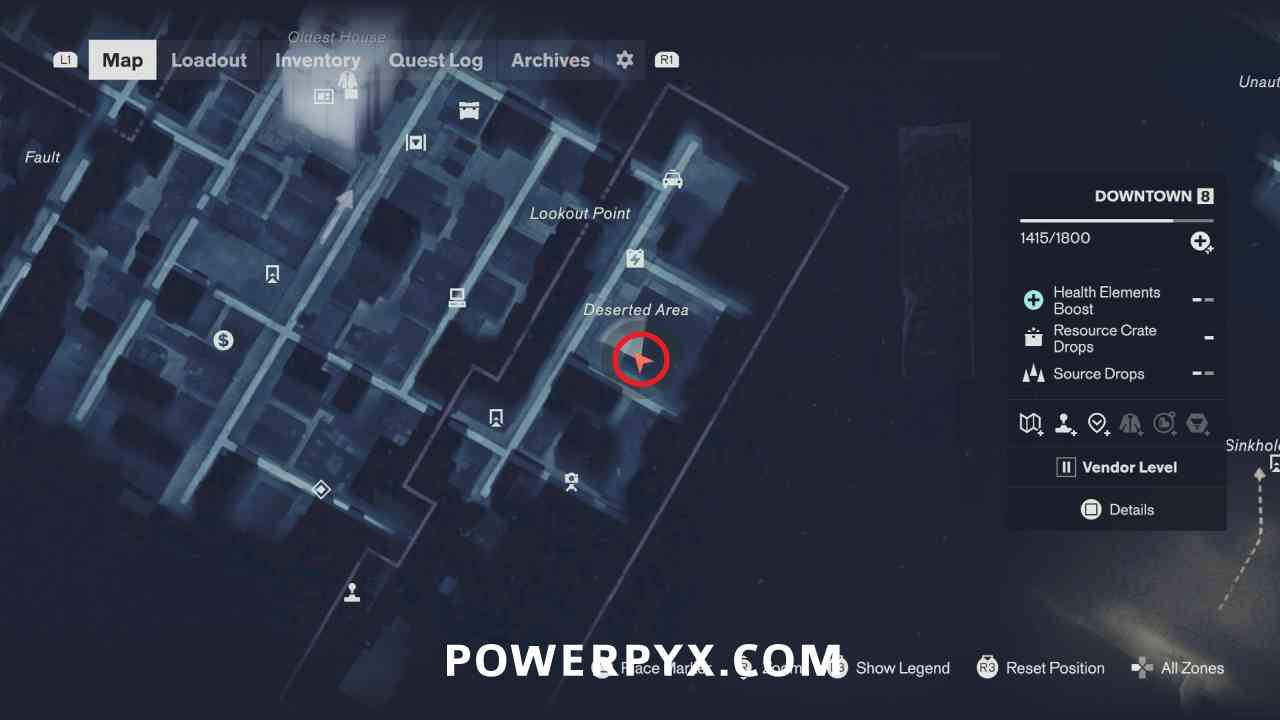
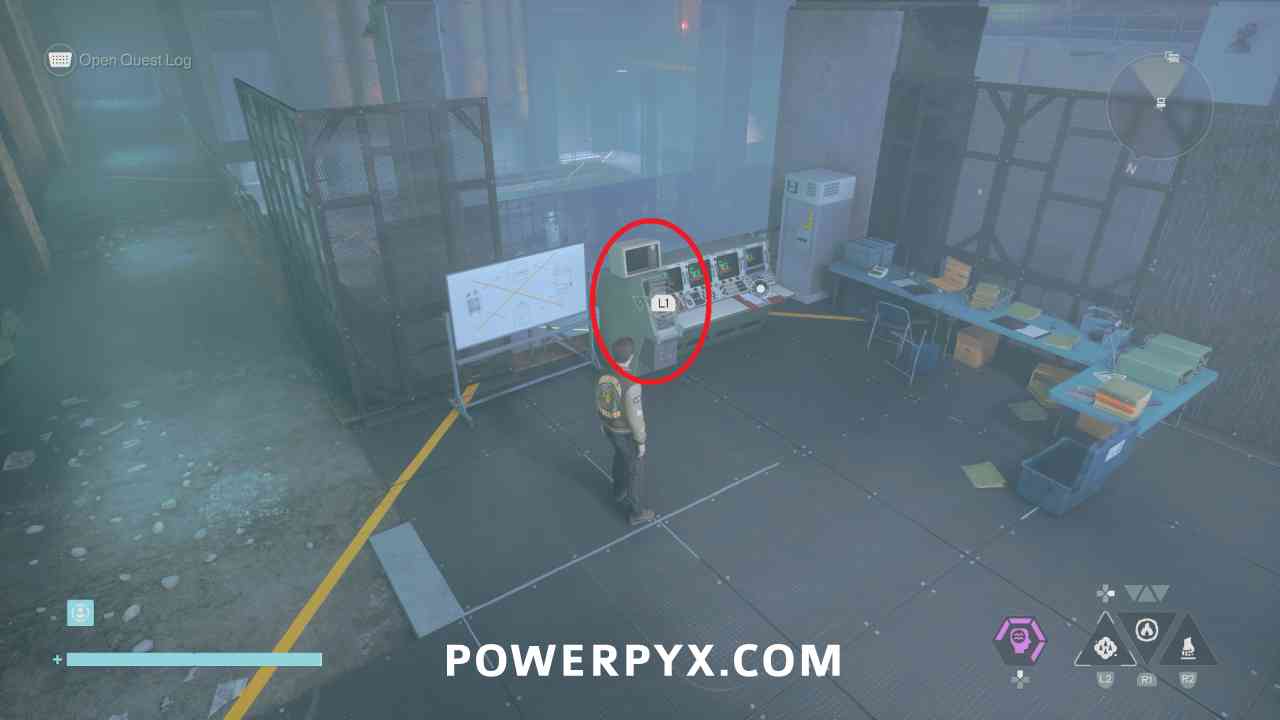
The Testing Facility in Downtown is reached through the inside of the construction site in the Deserted Area. On the ground floor there is a pipe that you can drop into leading east to the Testing Facility.
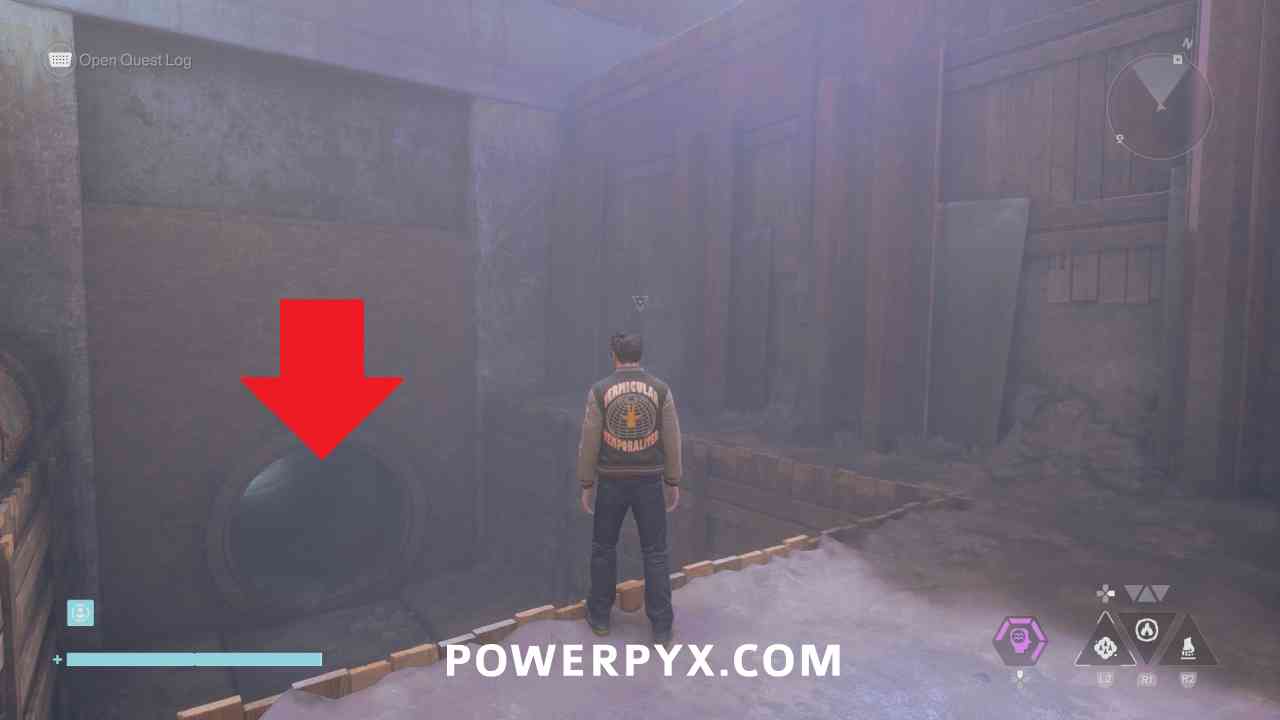
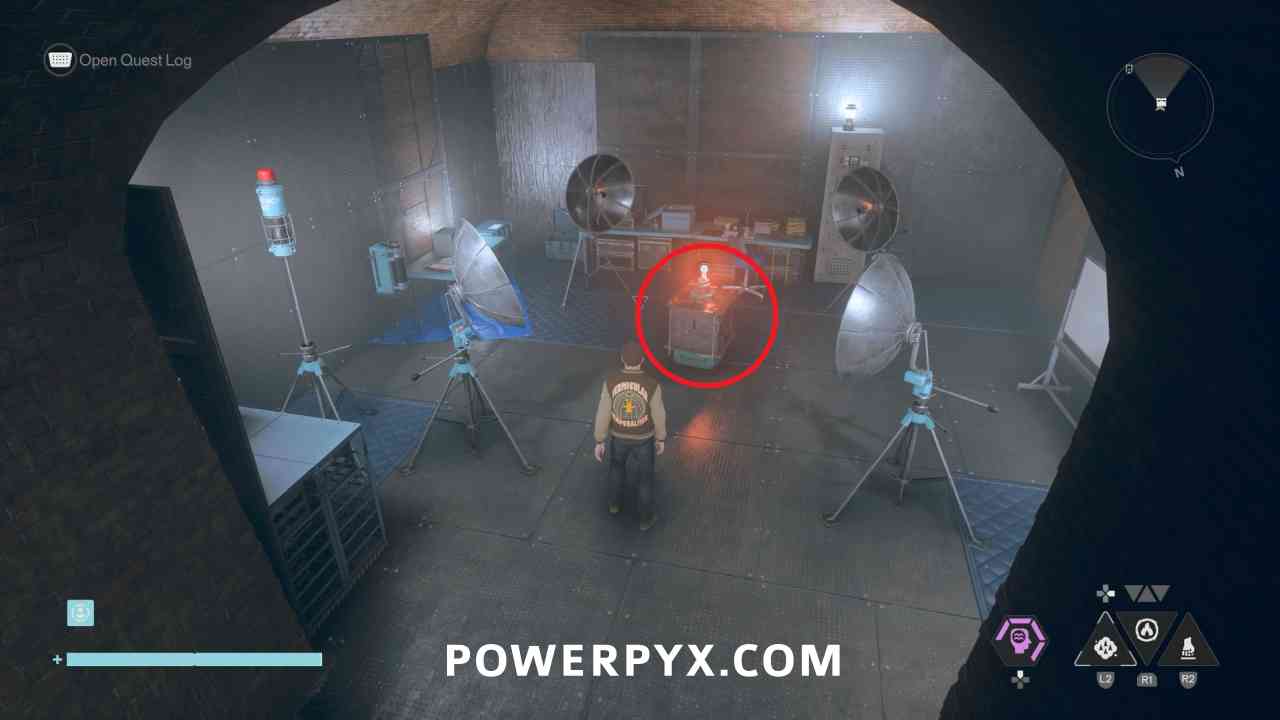
In this area there are 5 objects around the room, and you need to carry them to the squares in the middle. While carrying them when you cross the lines, the objects change what form they are. You need to get all objects into the middle of the room while they are changed into soda machines.
First on the east side of the room grab the sink, then walk it immediately east across the two lines to turn it into a soda machine and place it on the square.
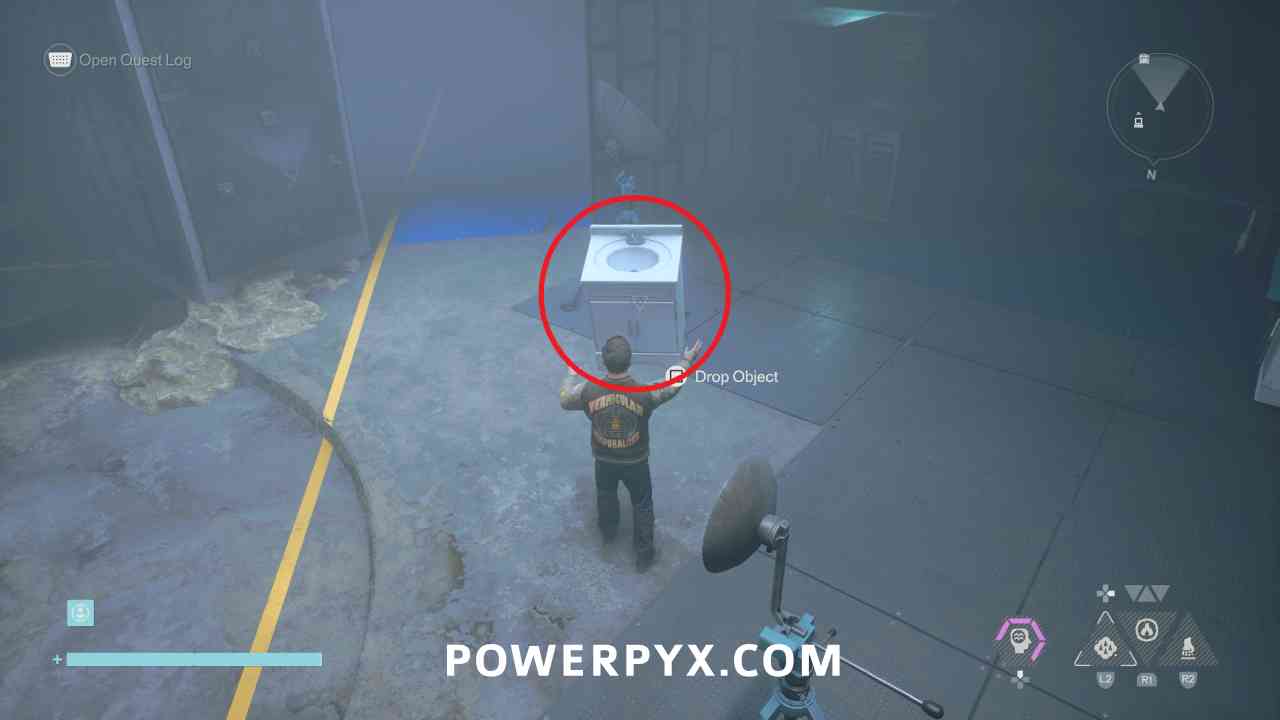
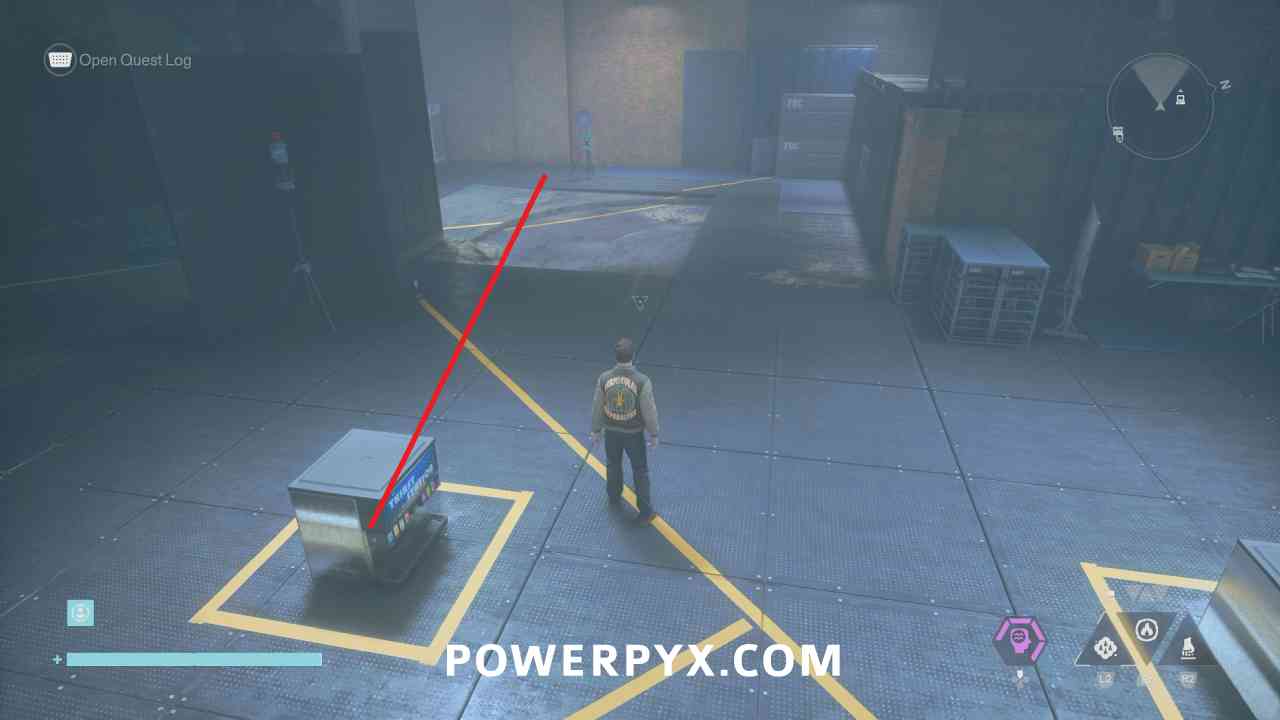
On the south side of the room grab the grill, and walk it across one line north and place it in the square.
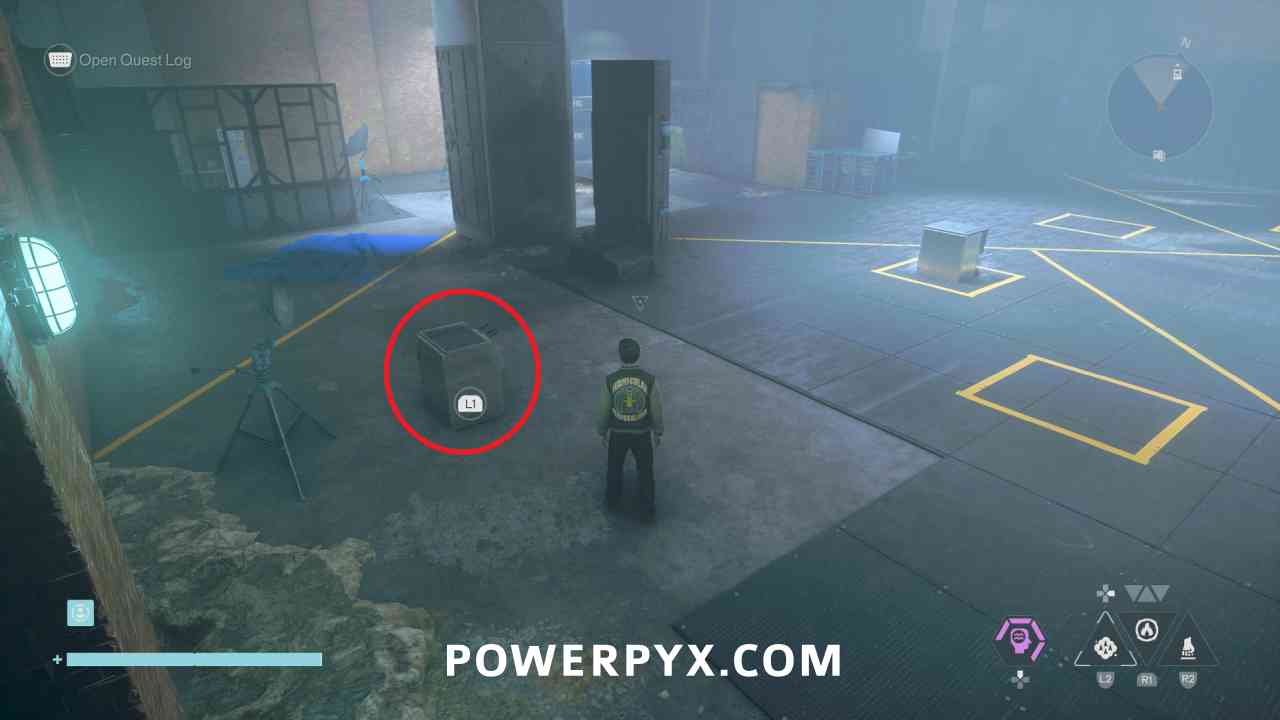
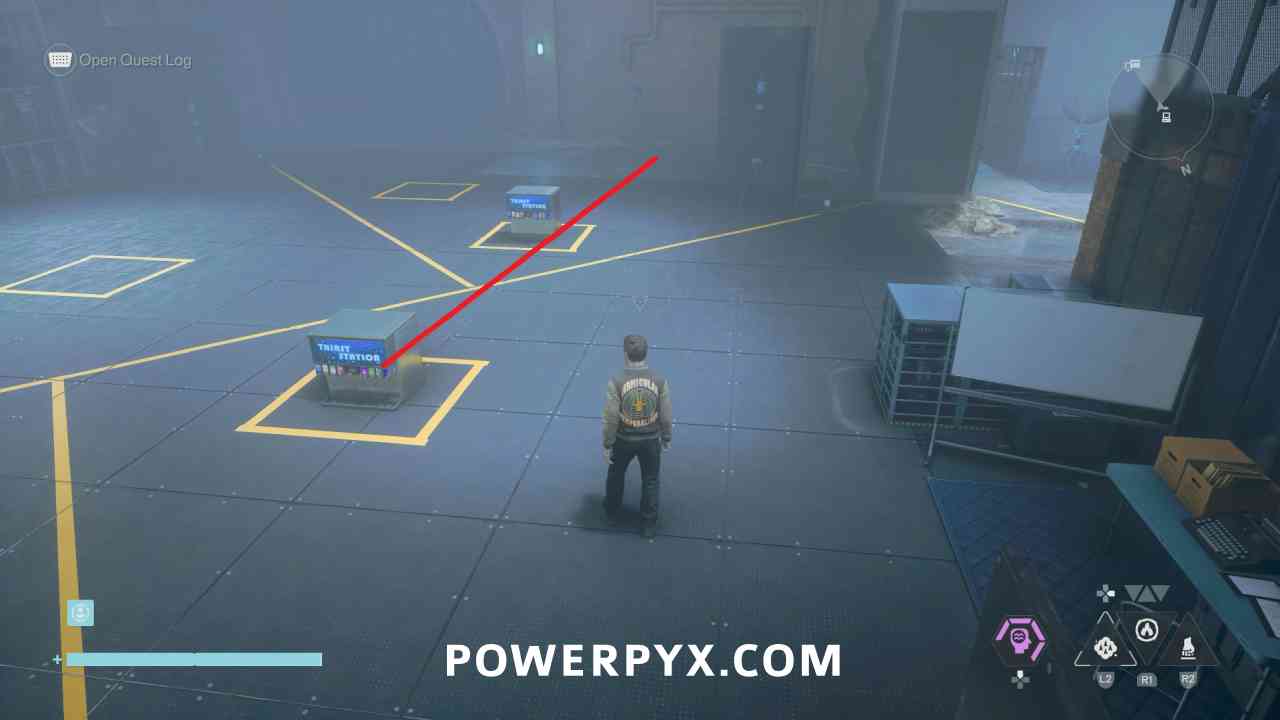
On the southeast side of the room grab the copier, and walk it east, then north across the lines and place it in the north square.
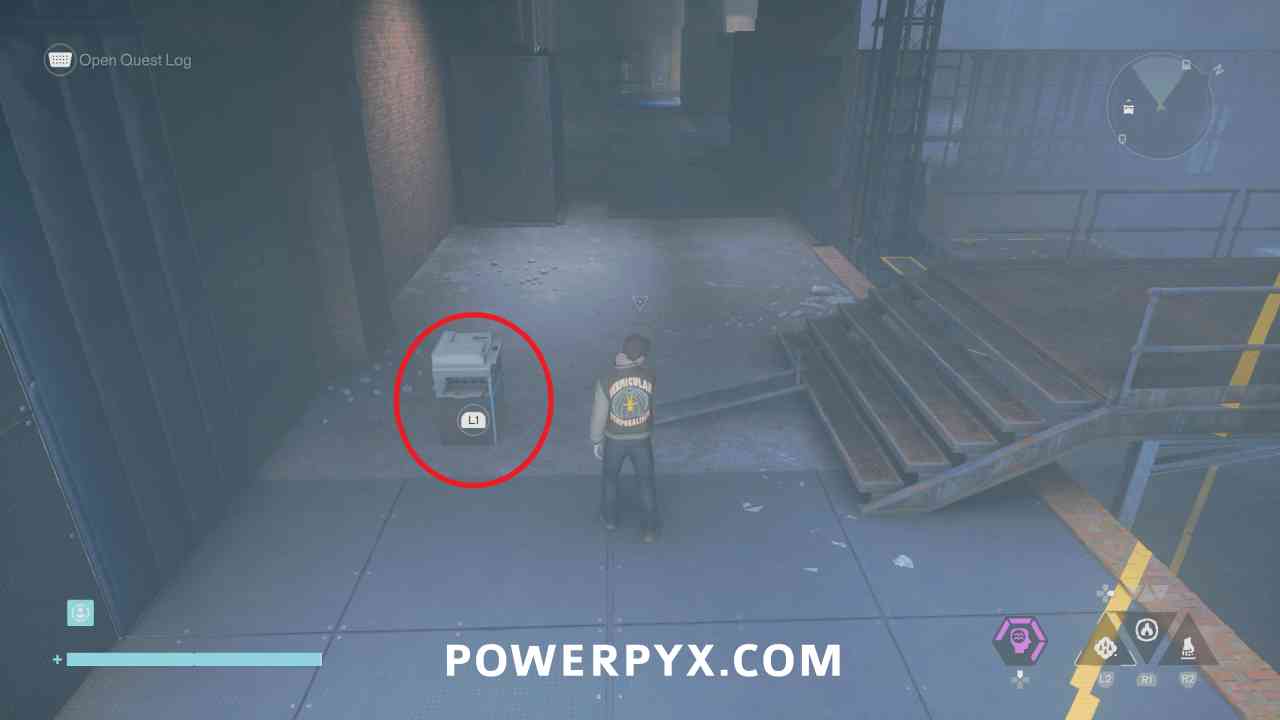
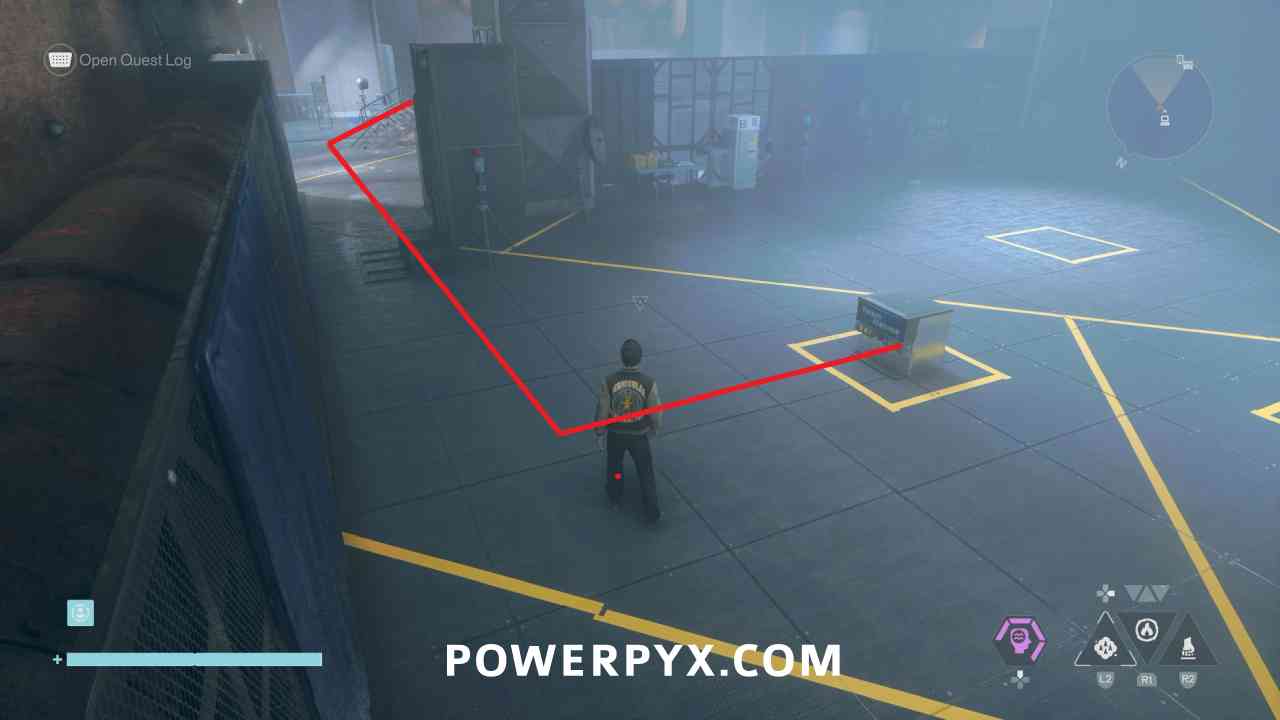
On the north side of the room up on the ledge, grab the soda machine and walk it in a loop around the middle of the area to turn it into every other item then back to a soda machine and place it in the square in the same section as the previous one.
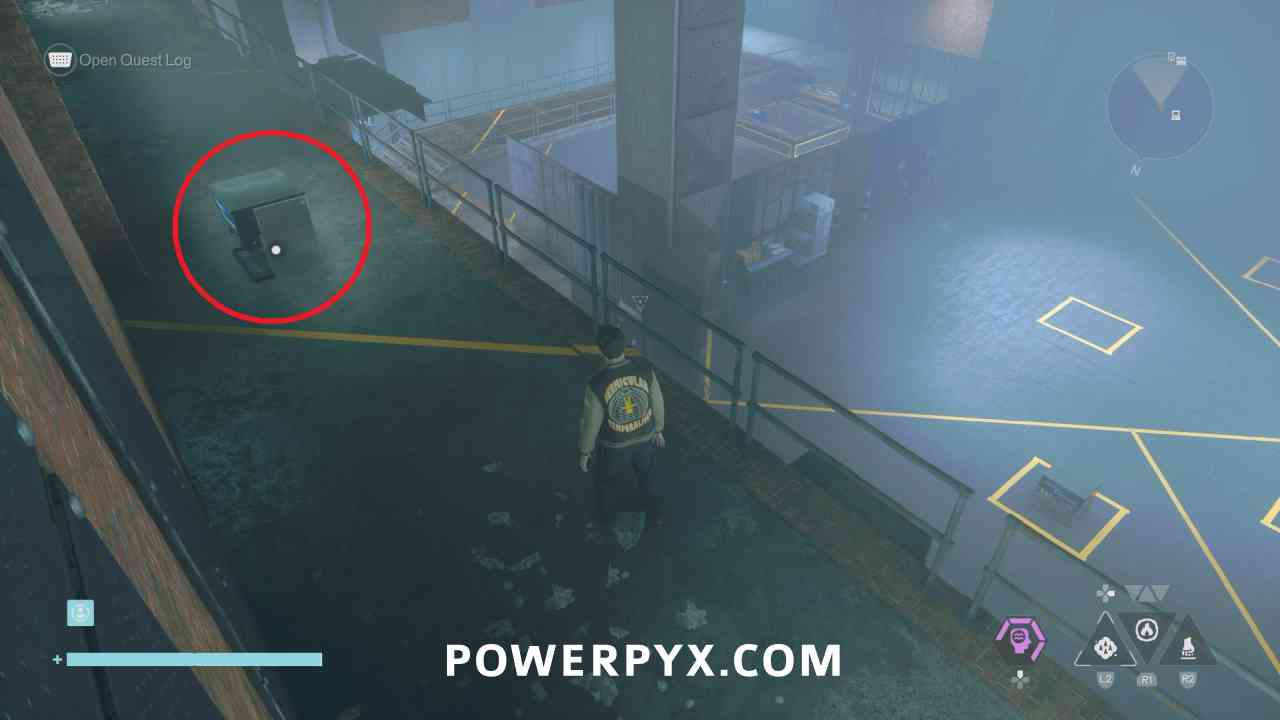
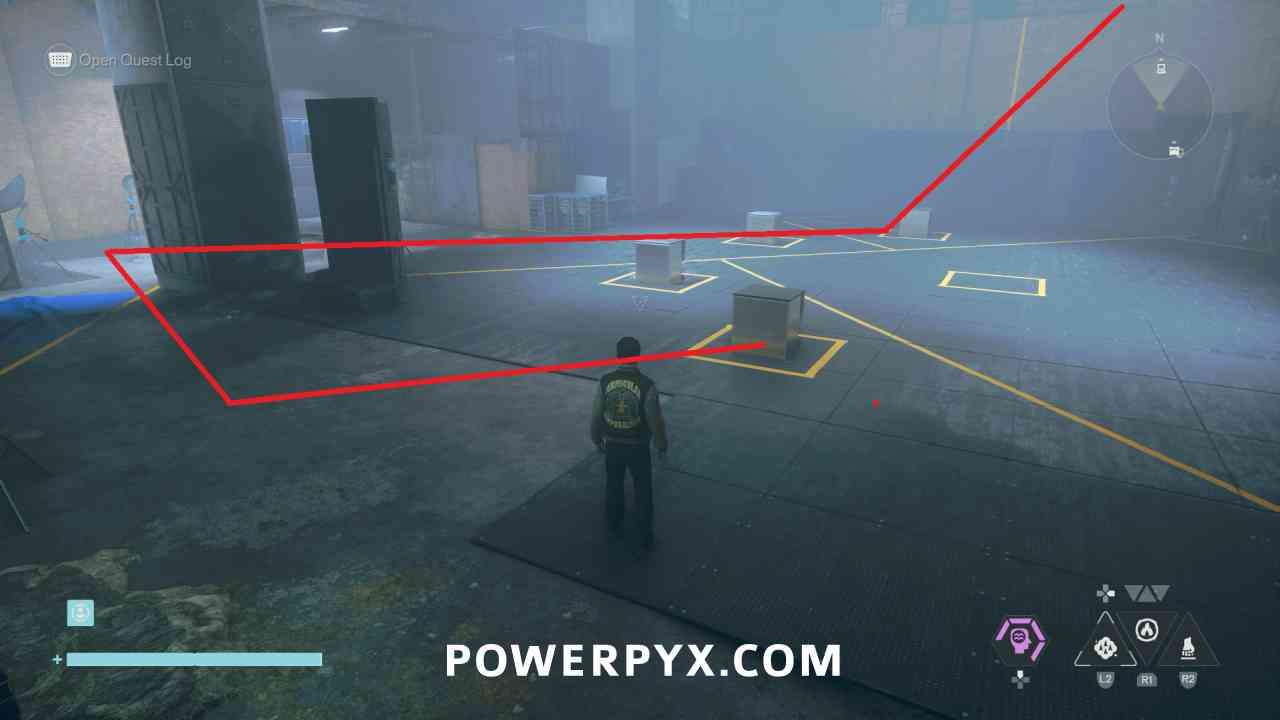
Finally on the east side of the room grab the soda machine, then jump up to the north and walk in a lap around the center of the area to switch it between each, then back to the soda machine and place it in the last square.
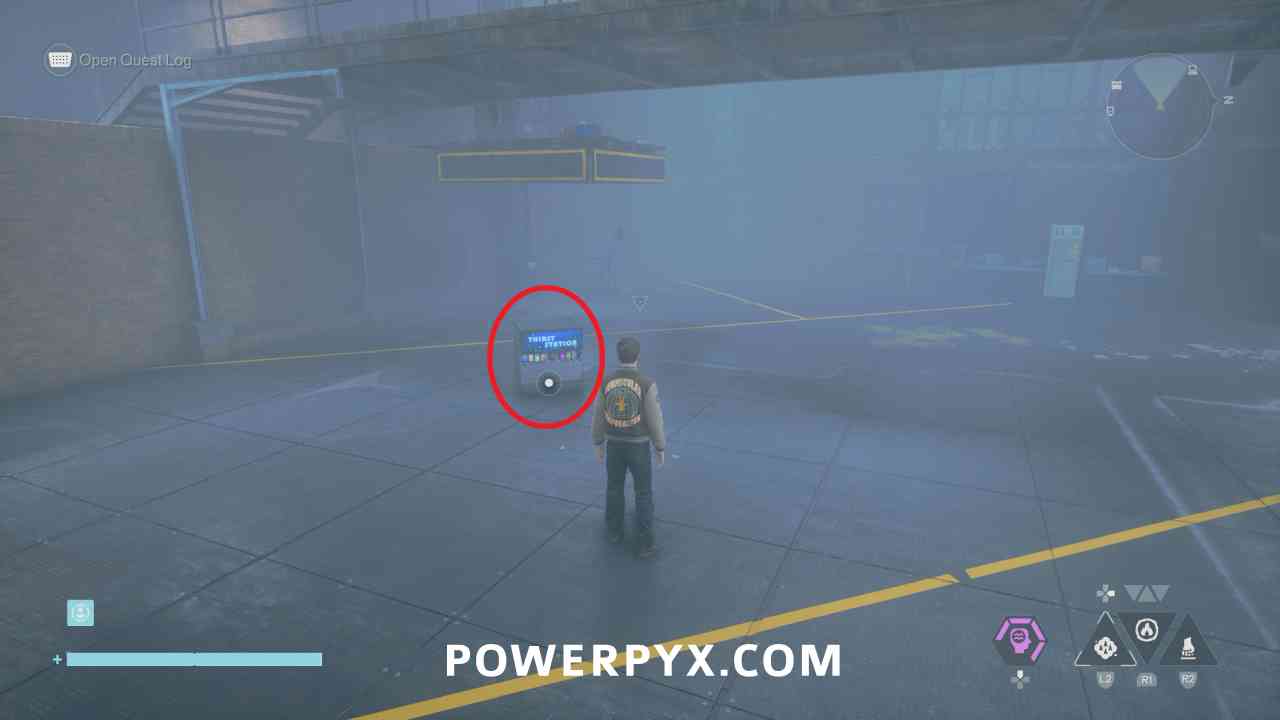
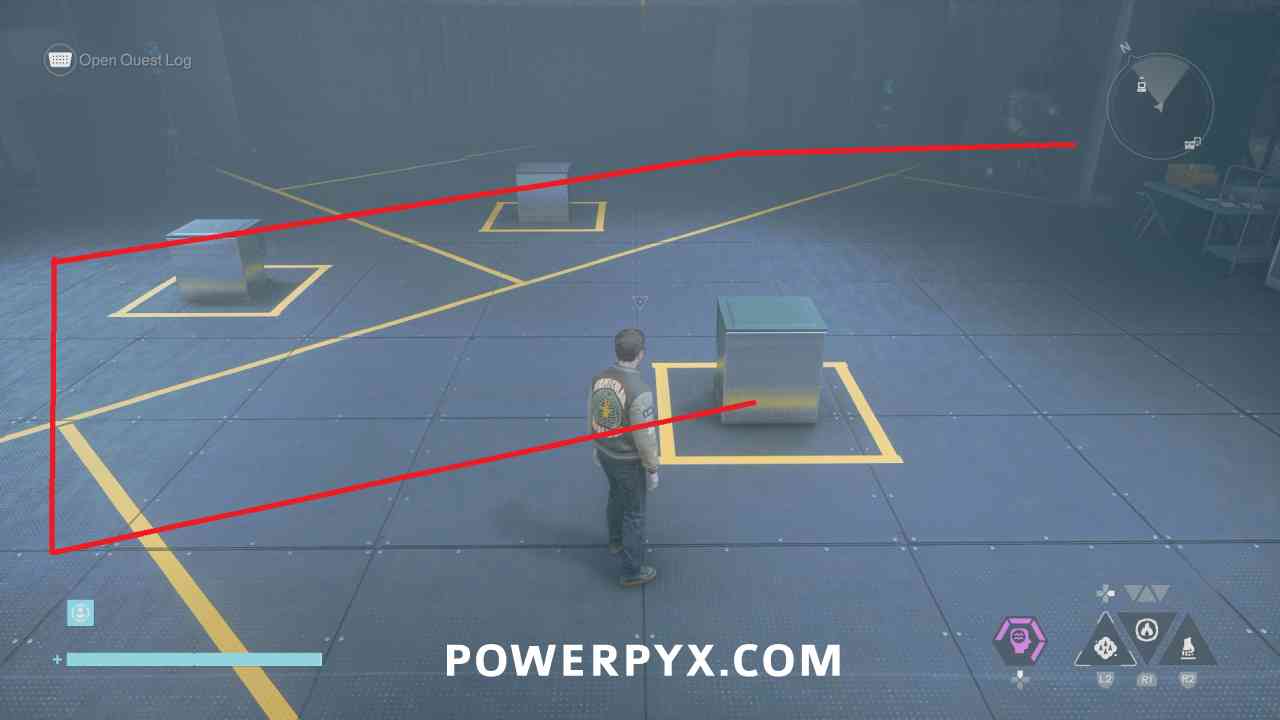
If you accidentally mess up any of the objects you can bring them to the middle and start walking in circles around the T intersections and you should eventually be able to switch it to the soda machine in the correct location, as the objects rotate through 4 states, and you can switch them between 3 states at the intersections beside each placement spot.
When you have correctly placed all soda machines, go back up near the computer icon and interact with the switch. You can go to the unlocked door in the corner to collect a Power Upgrade crate.
#8 – Taxi
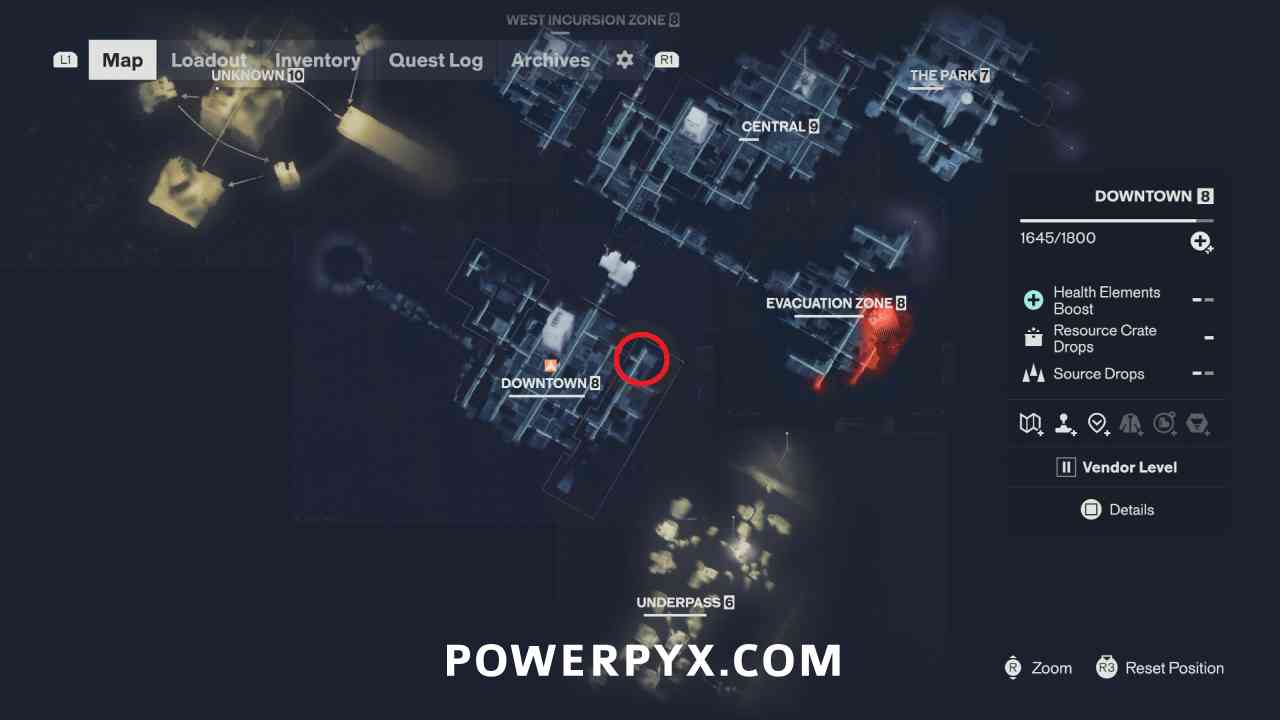
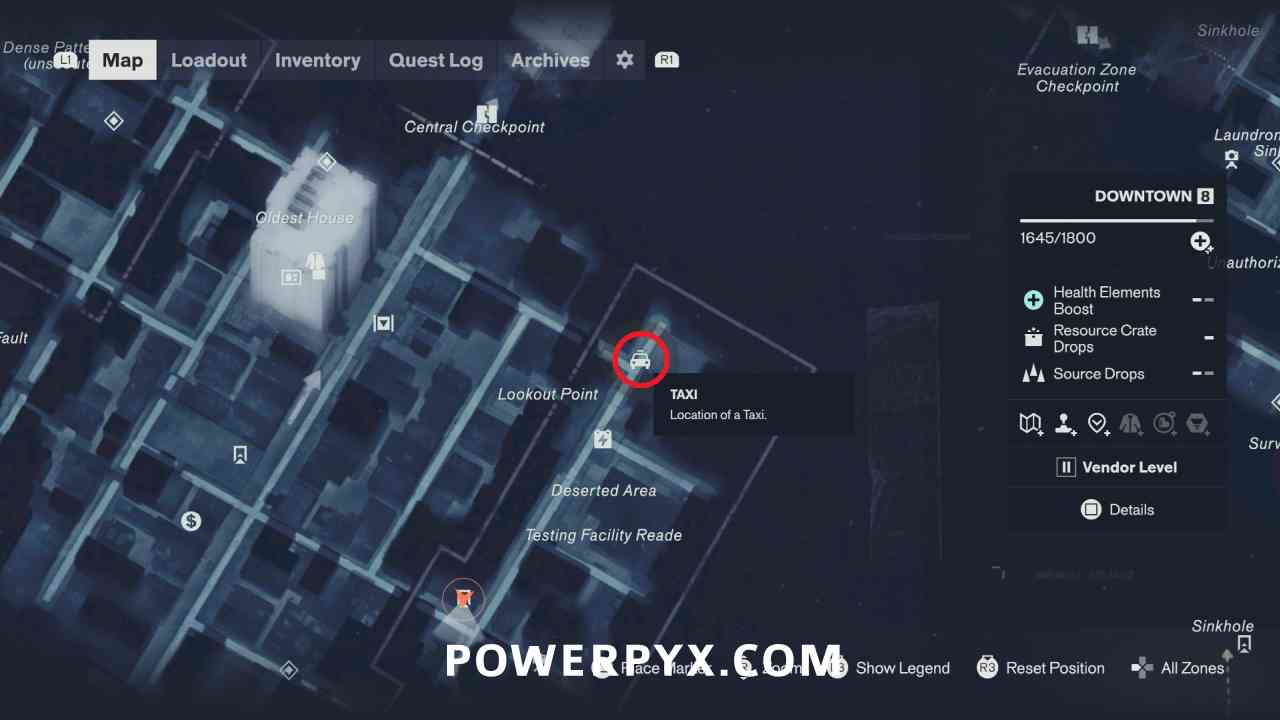
The taxi in Downtown is north of the deserted road checkpoint on the main road. Inspect it with L1/LB, then inspect the right passenger door and choose to get into the taxi.
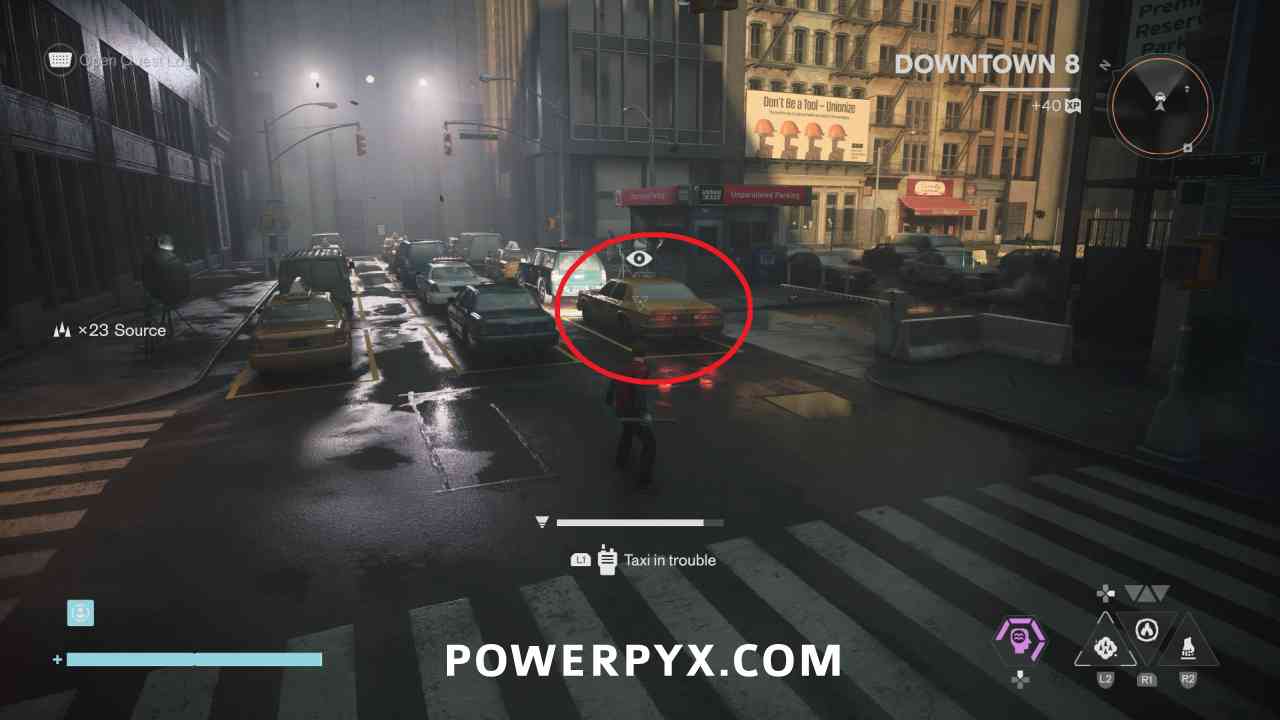
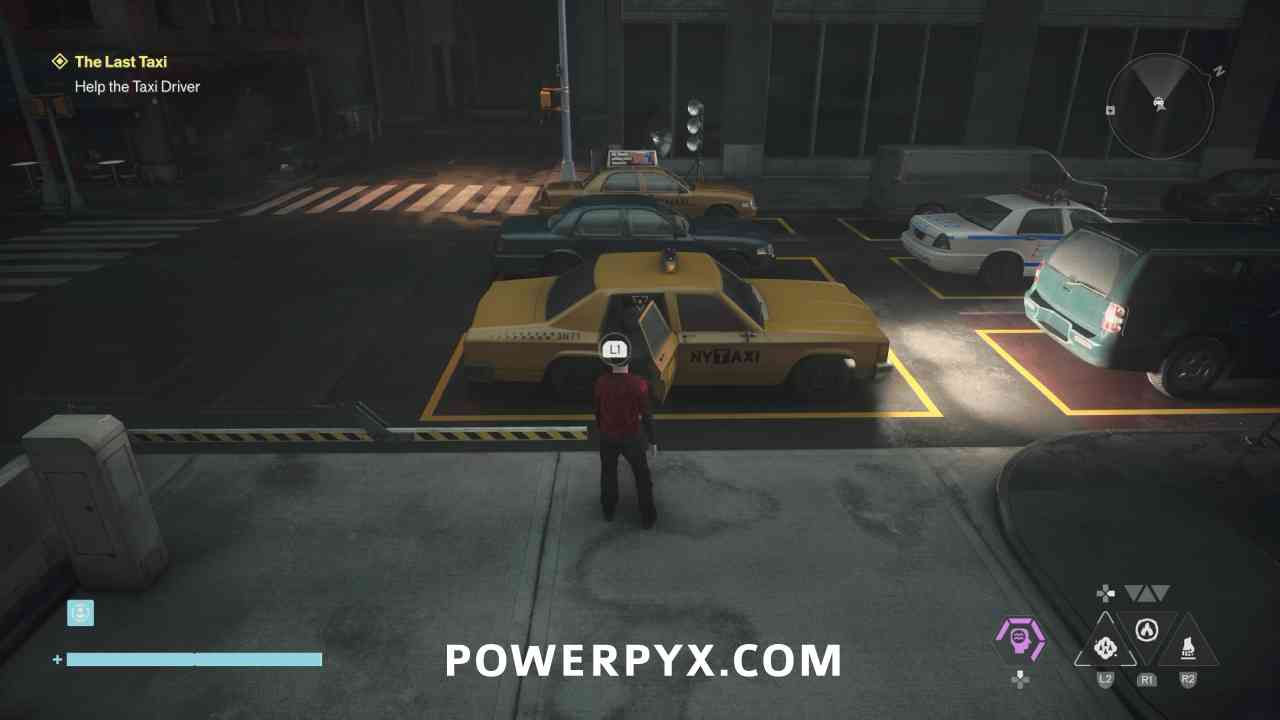
It will take you to a new area, answer the phone there. To exit this threshold, you need to take the cab that has the TAXI light on the roof turned on.
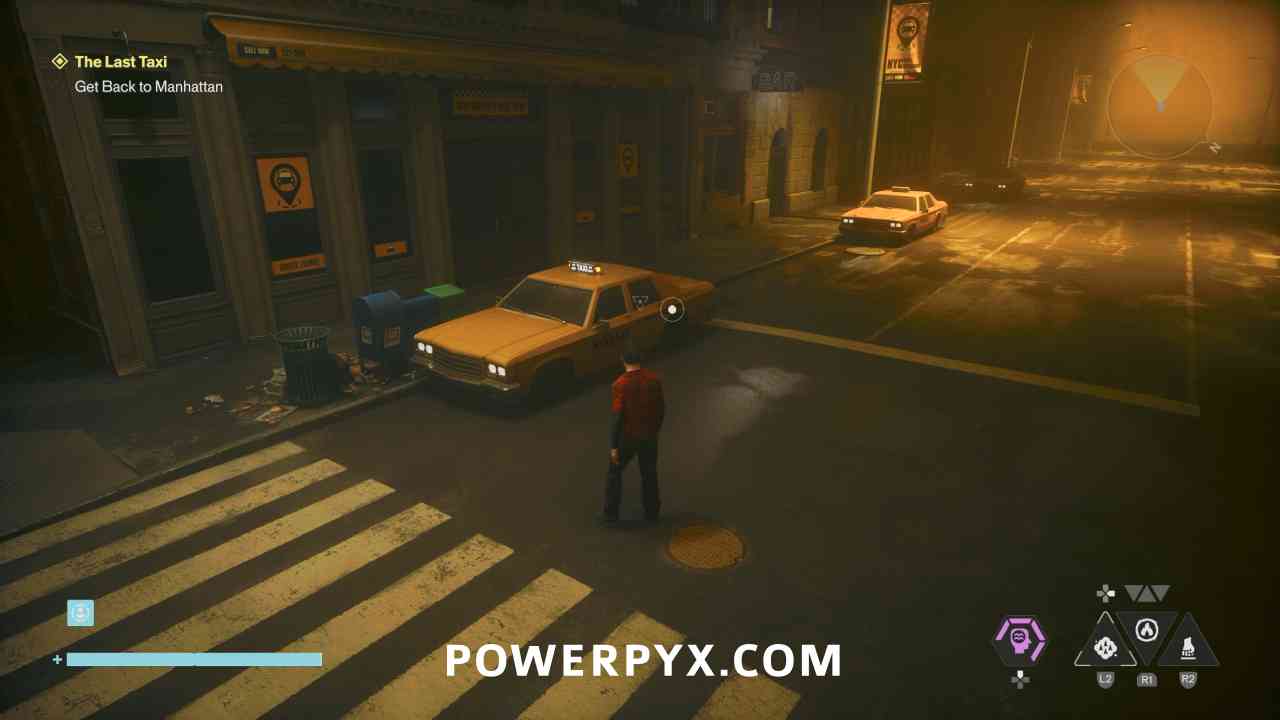
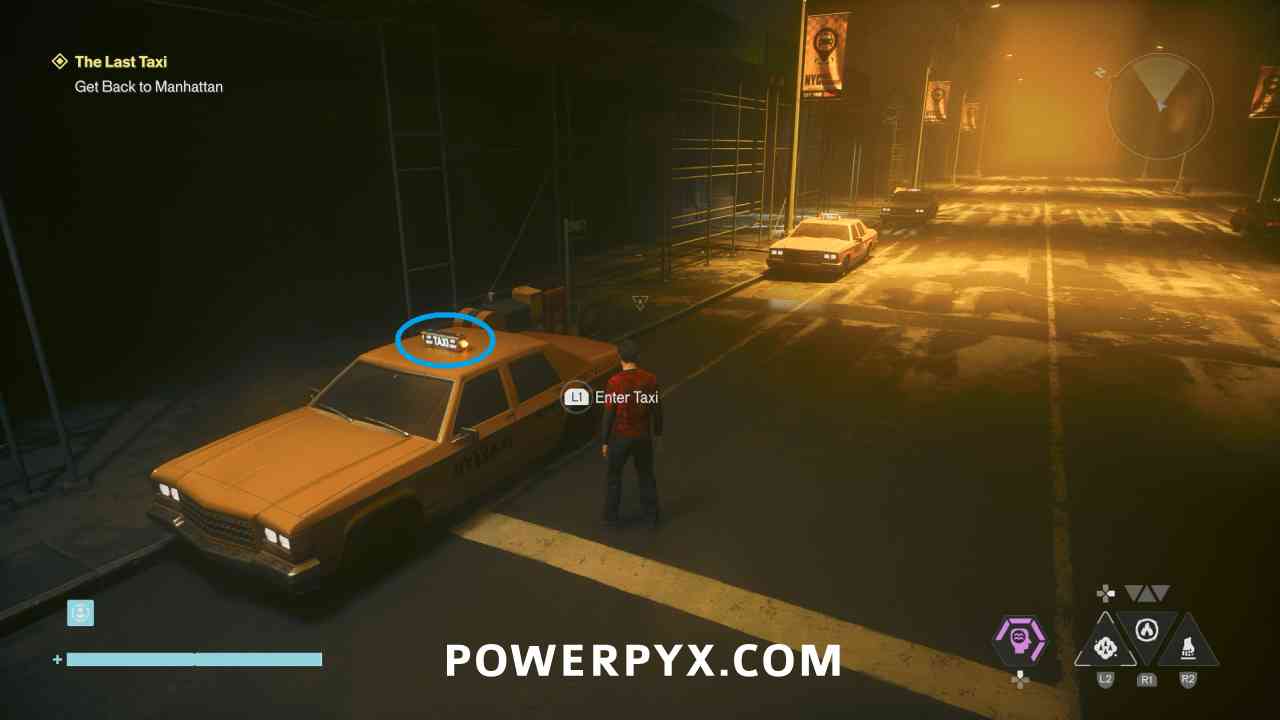
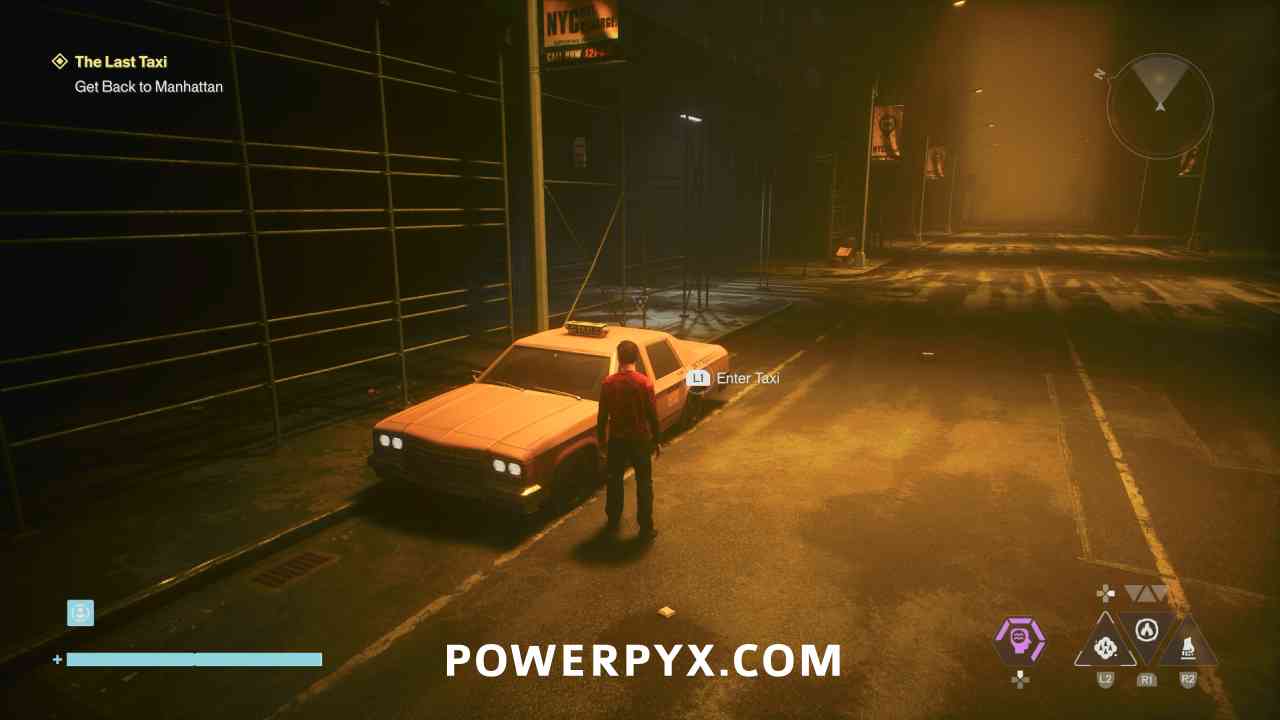
In the second cycle, interact with the taxi that doesn’t have the light on top go out when you get near.
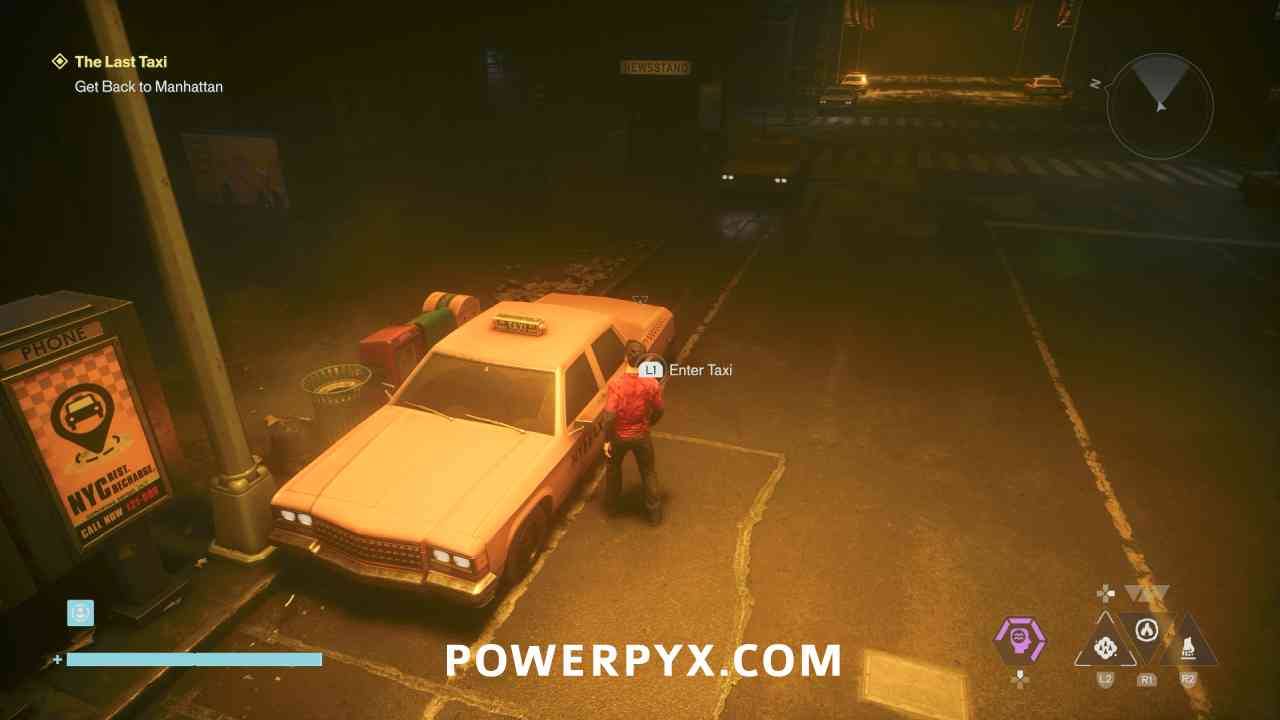
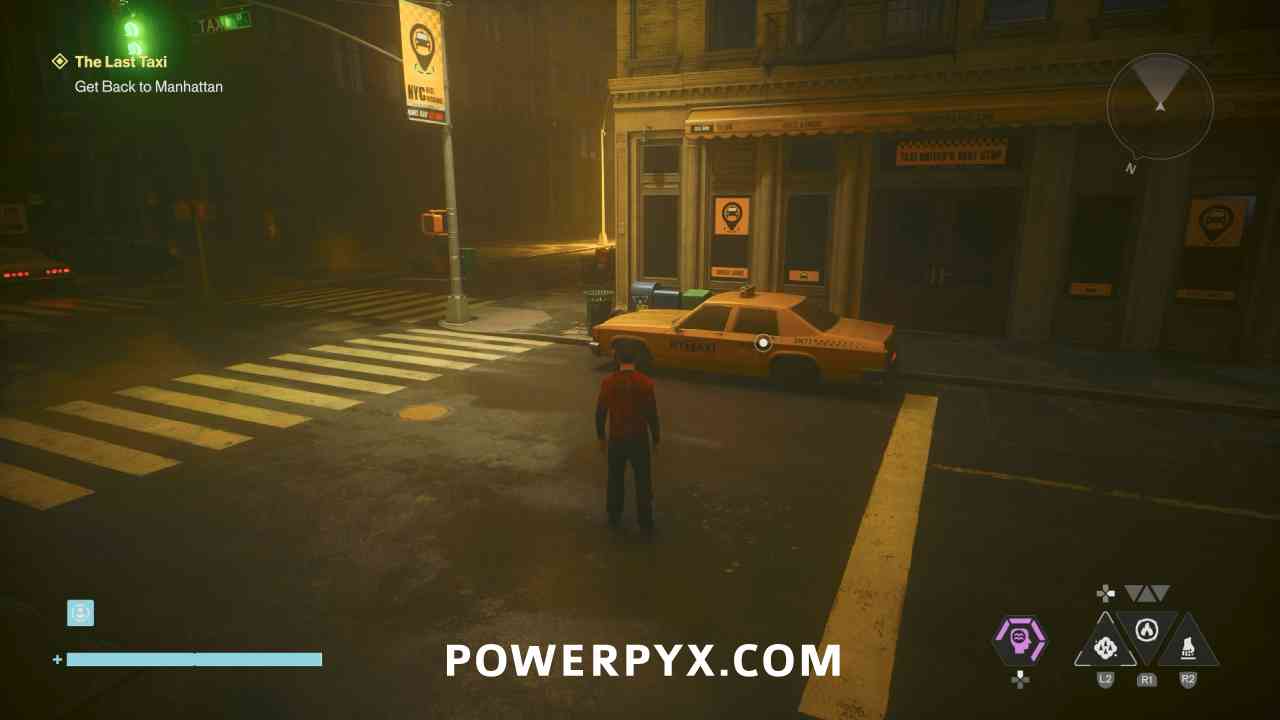
In the third cycle, find and interact with the taxi that currently has the top light lit up. The light will go on and off, so be quick to spot the correct taxi with the lit-up sign.
#9 – Camera
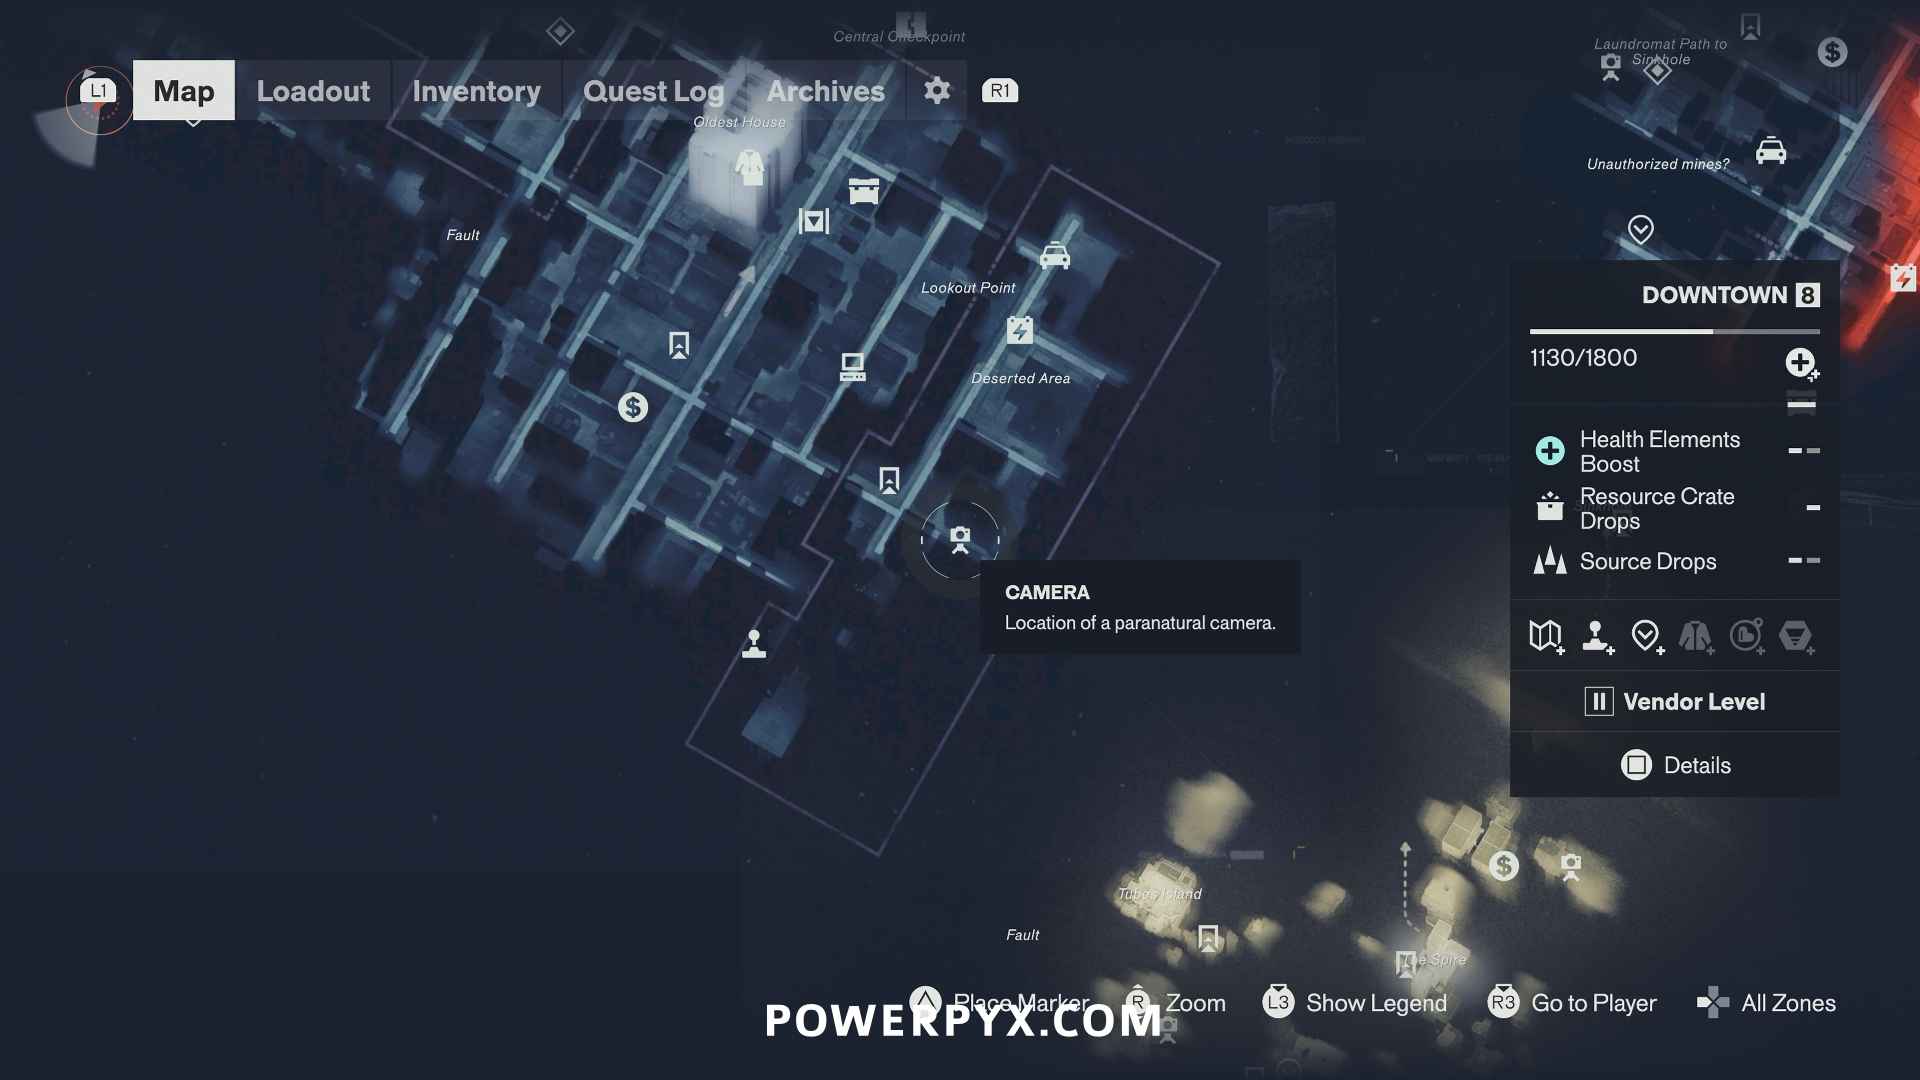
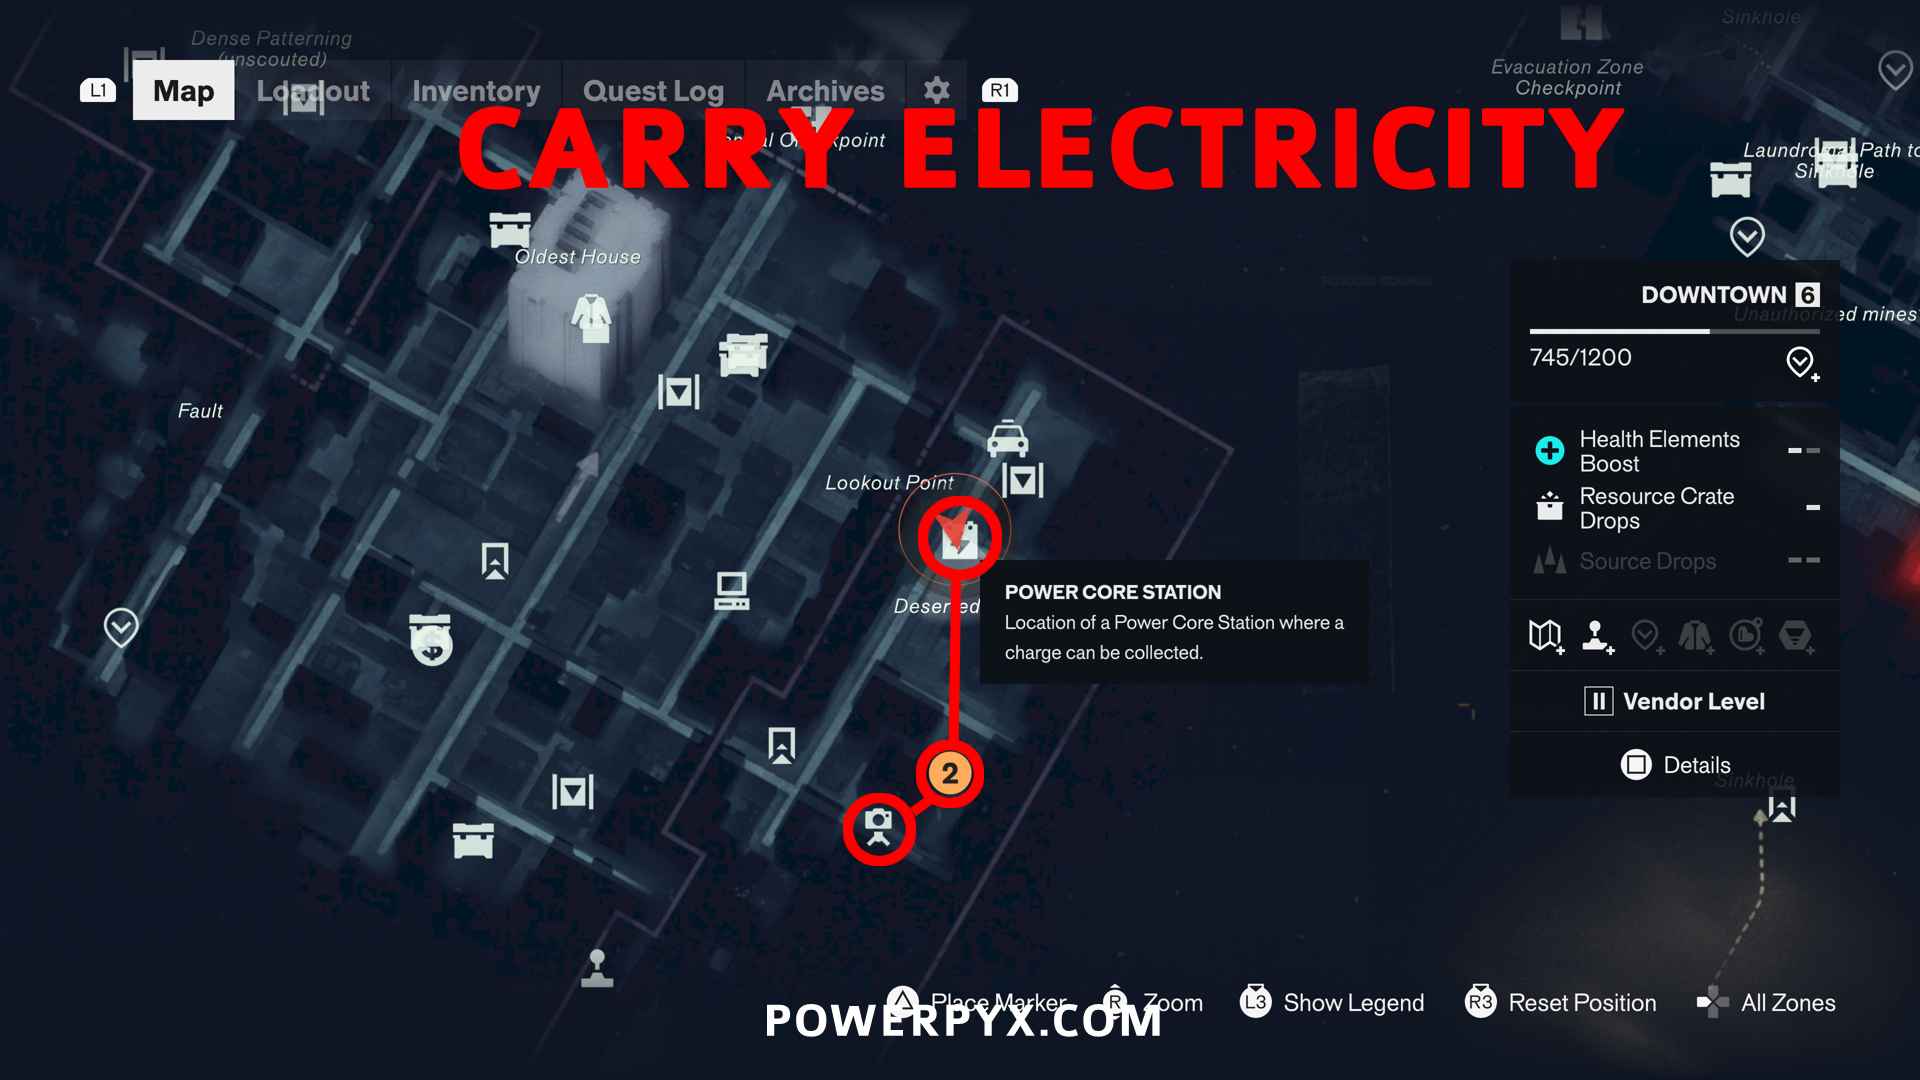
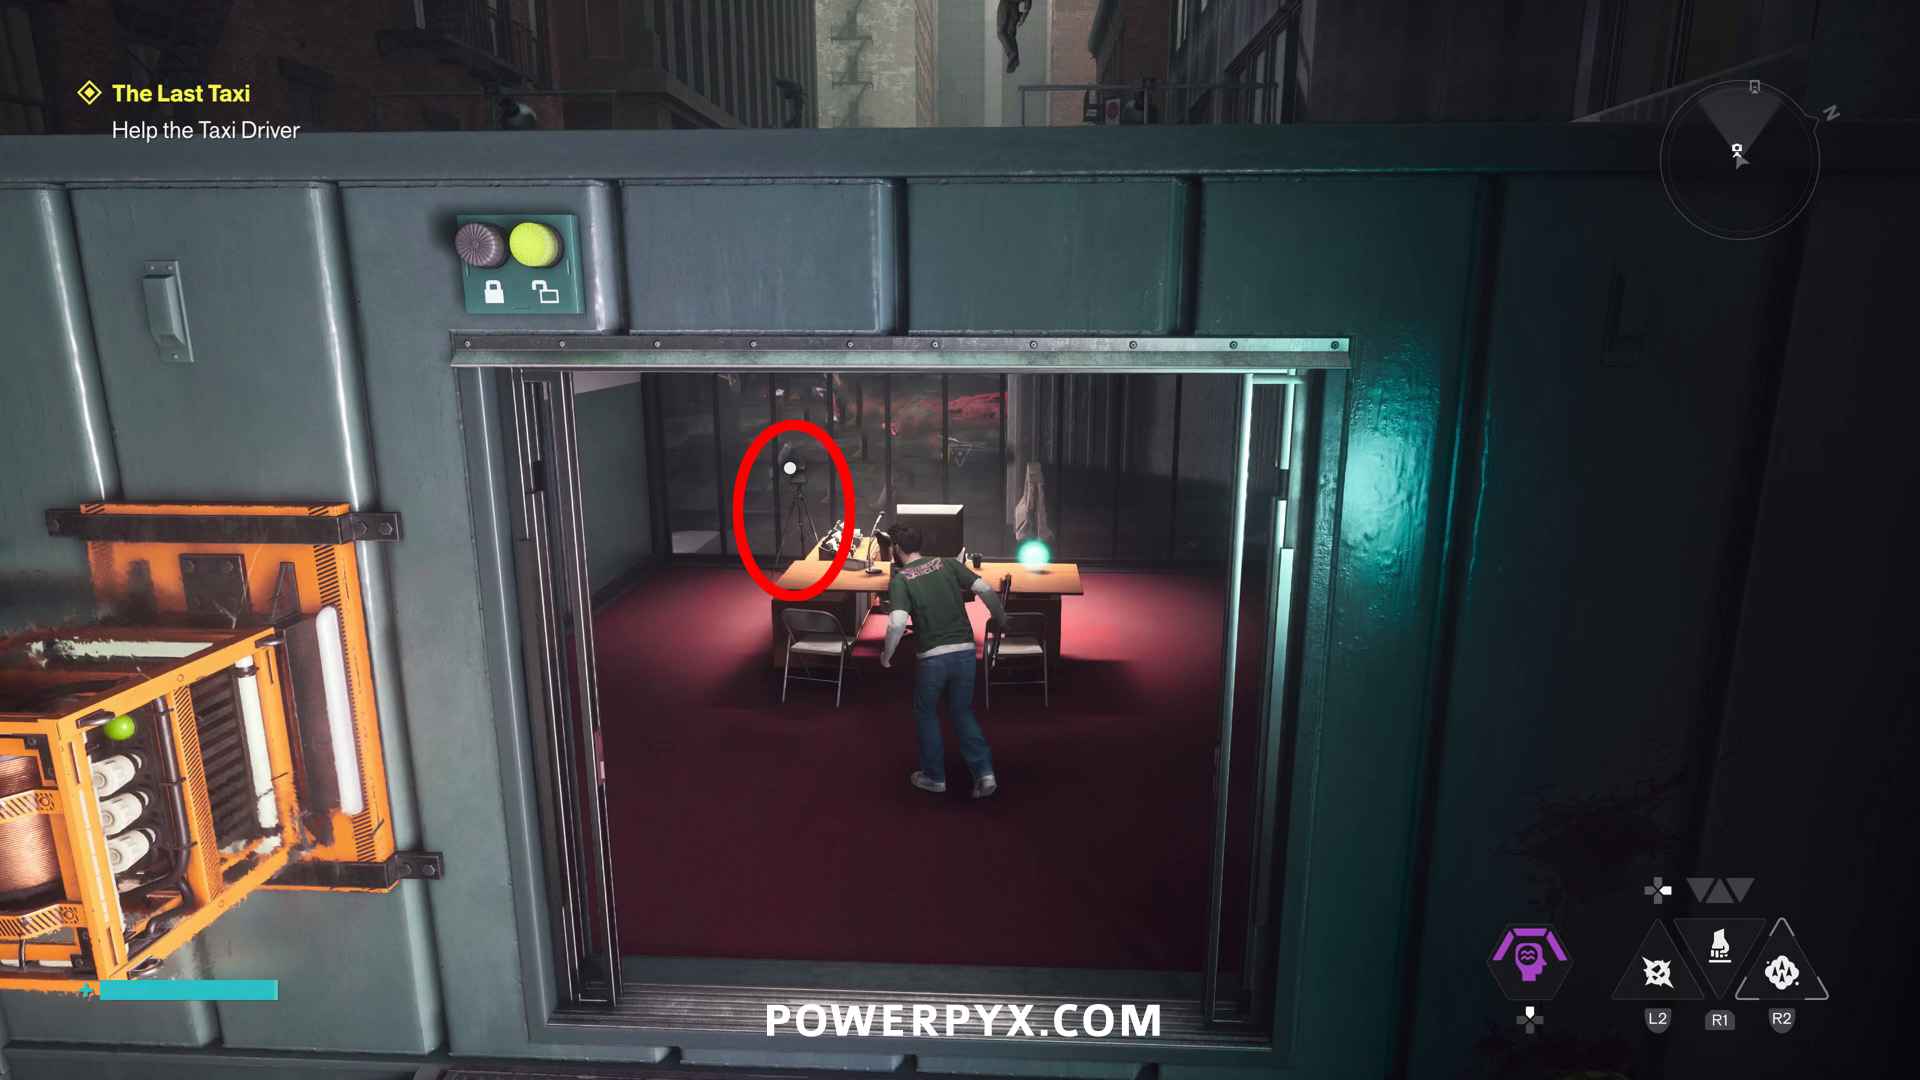
You must open the door behind the camera by bringing electricity to it. Go to the Power Core Station north of the camera, carry the electricity to the roof slightly north-east of the camera. From there you can carry it to the camera door. The pathing is outlined in red in the 2nd image below.
NEXT: Central Zone
For all other zones, check out the Control Resonant Collectible Guide.
Leave a Reply