
The Park is the 5th zone in Control Resonant and contains 8 collectible locations. This guide covers all trophy and achievement related collectibles to collect everything efficiently with minimal fast travel required (FBC Taskboards, Dylan’s Sketchbooks, Dogs, Secret Hideouts, Testing Facilities, Taxis, Cameras).
- FBC Taskboards: 1
- Dylan’s Sketchbooks: 1
- Dogs: 1
- Secret Hideouts: 1
- Testing Facilities: 1
- Taxis: 1
- Freeze Frame Cameras: 2
Collectibles Overview:
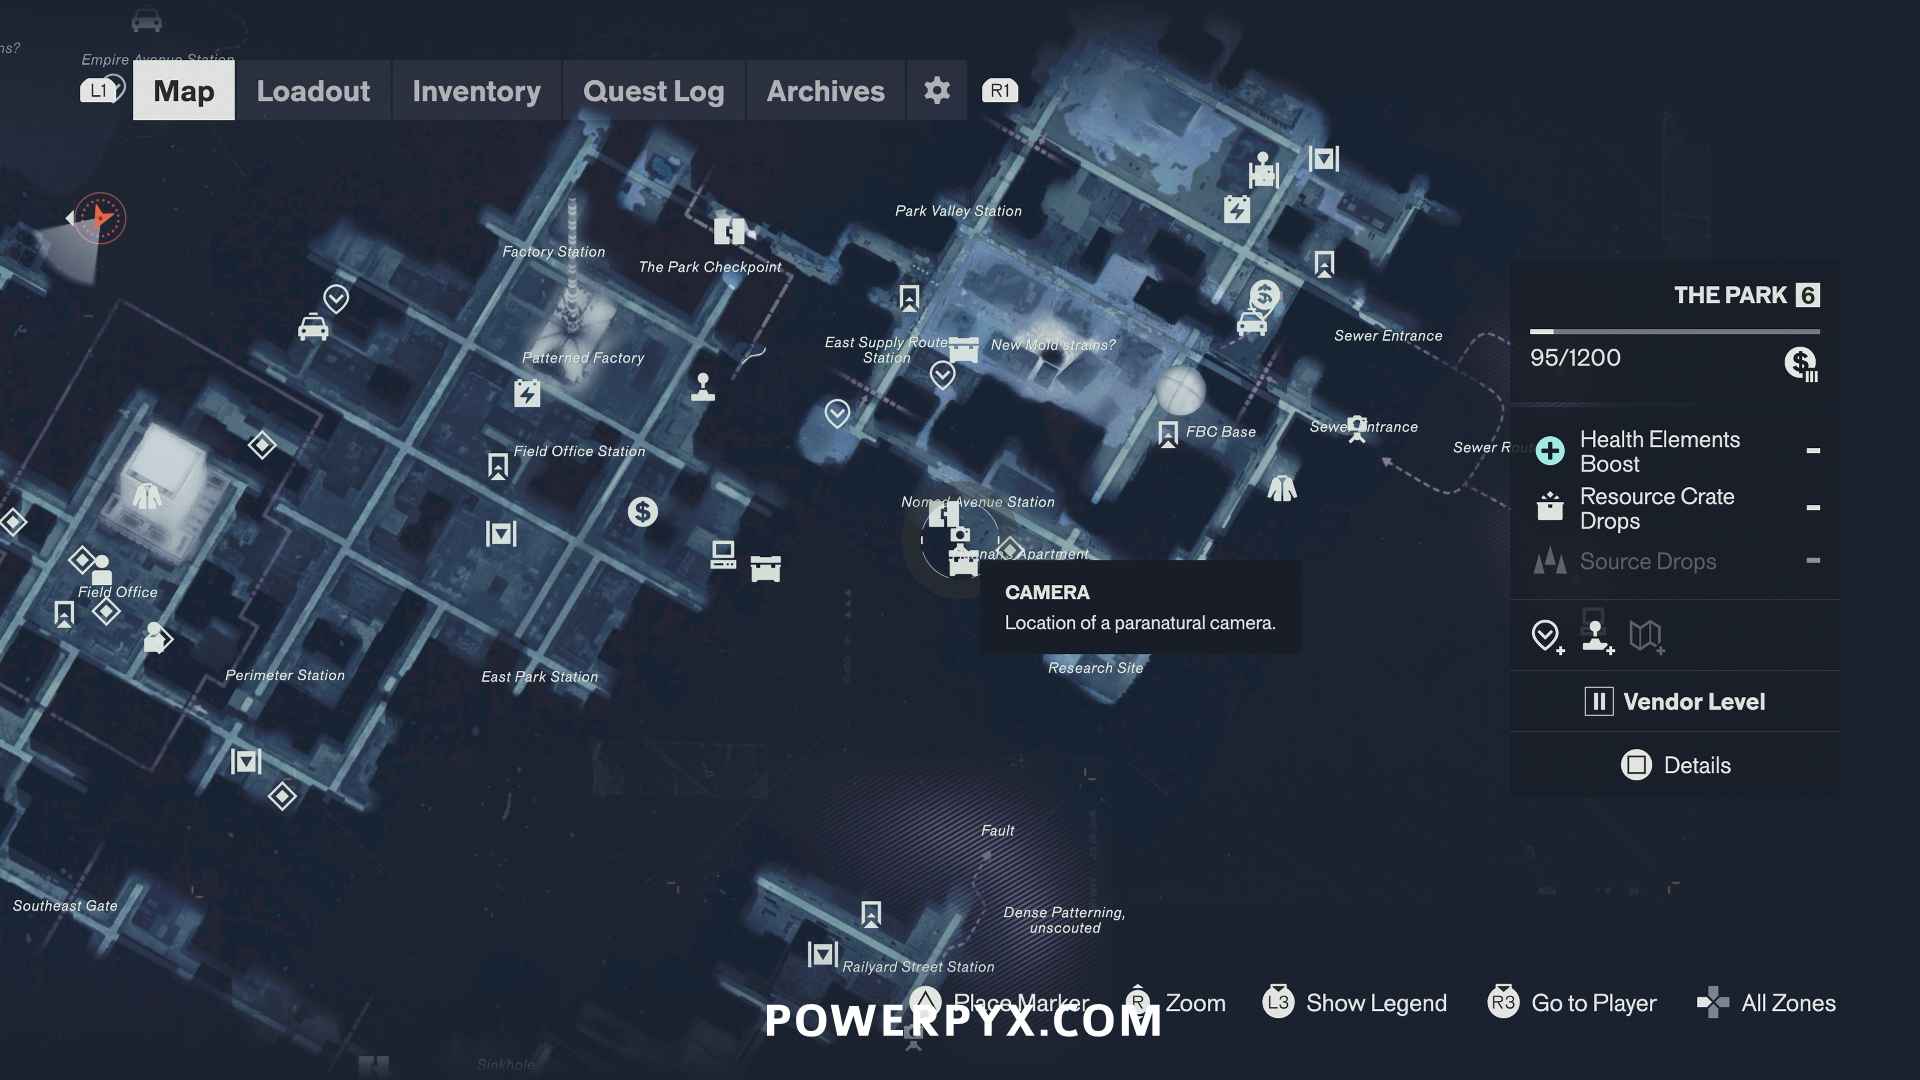
#1 – Camera
Found in the underground station (subway station). Enter the subway station from the street slightly north of the camera icon, at the white map text “Nomand Avenue Station”. The camera will automatically spot you when you enter. Take the left path, when you reach a blocked wall with webs on it, use a fire ability to burn it away (Ignite or Inferno, obtained from Central Zone Resonant). This leads you behind the camera.
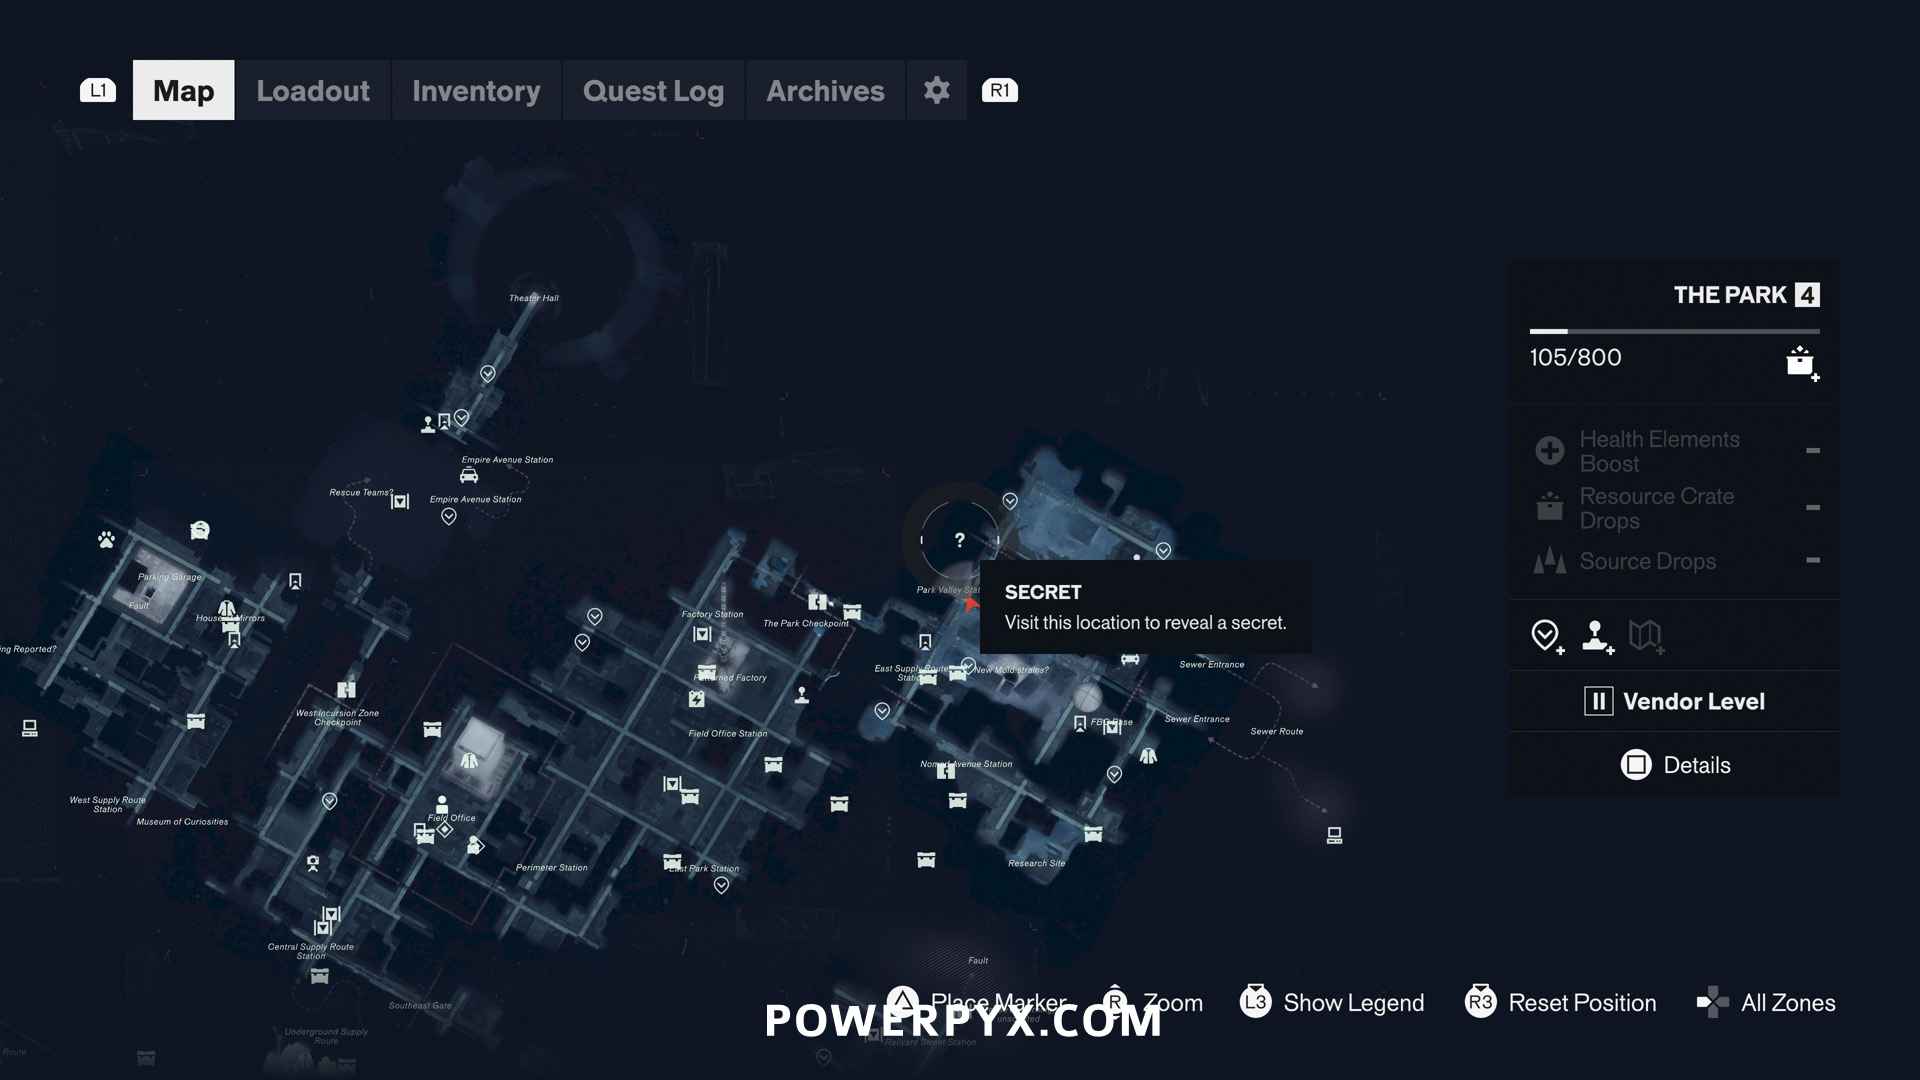
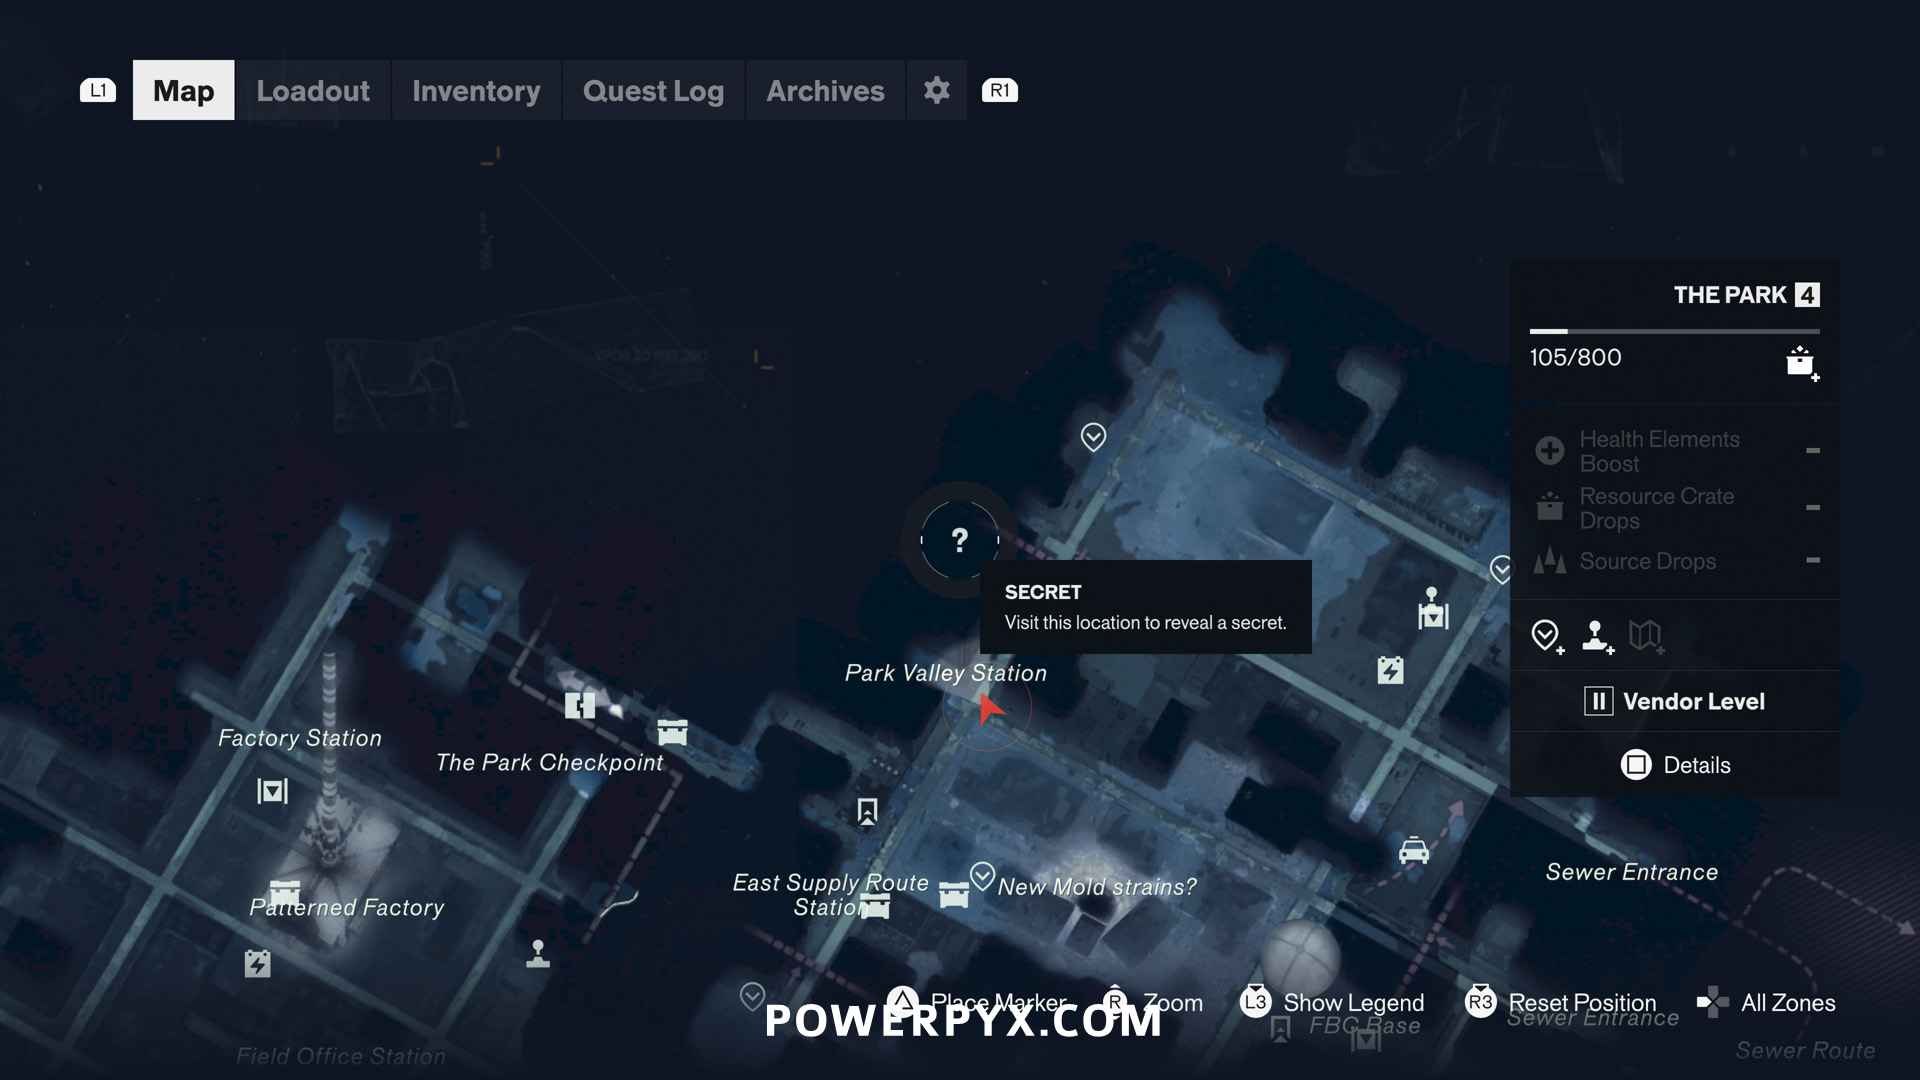
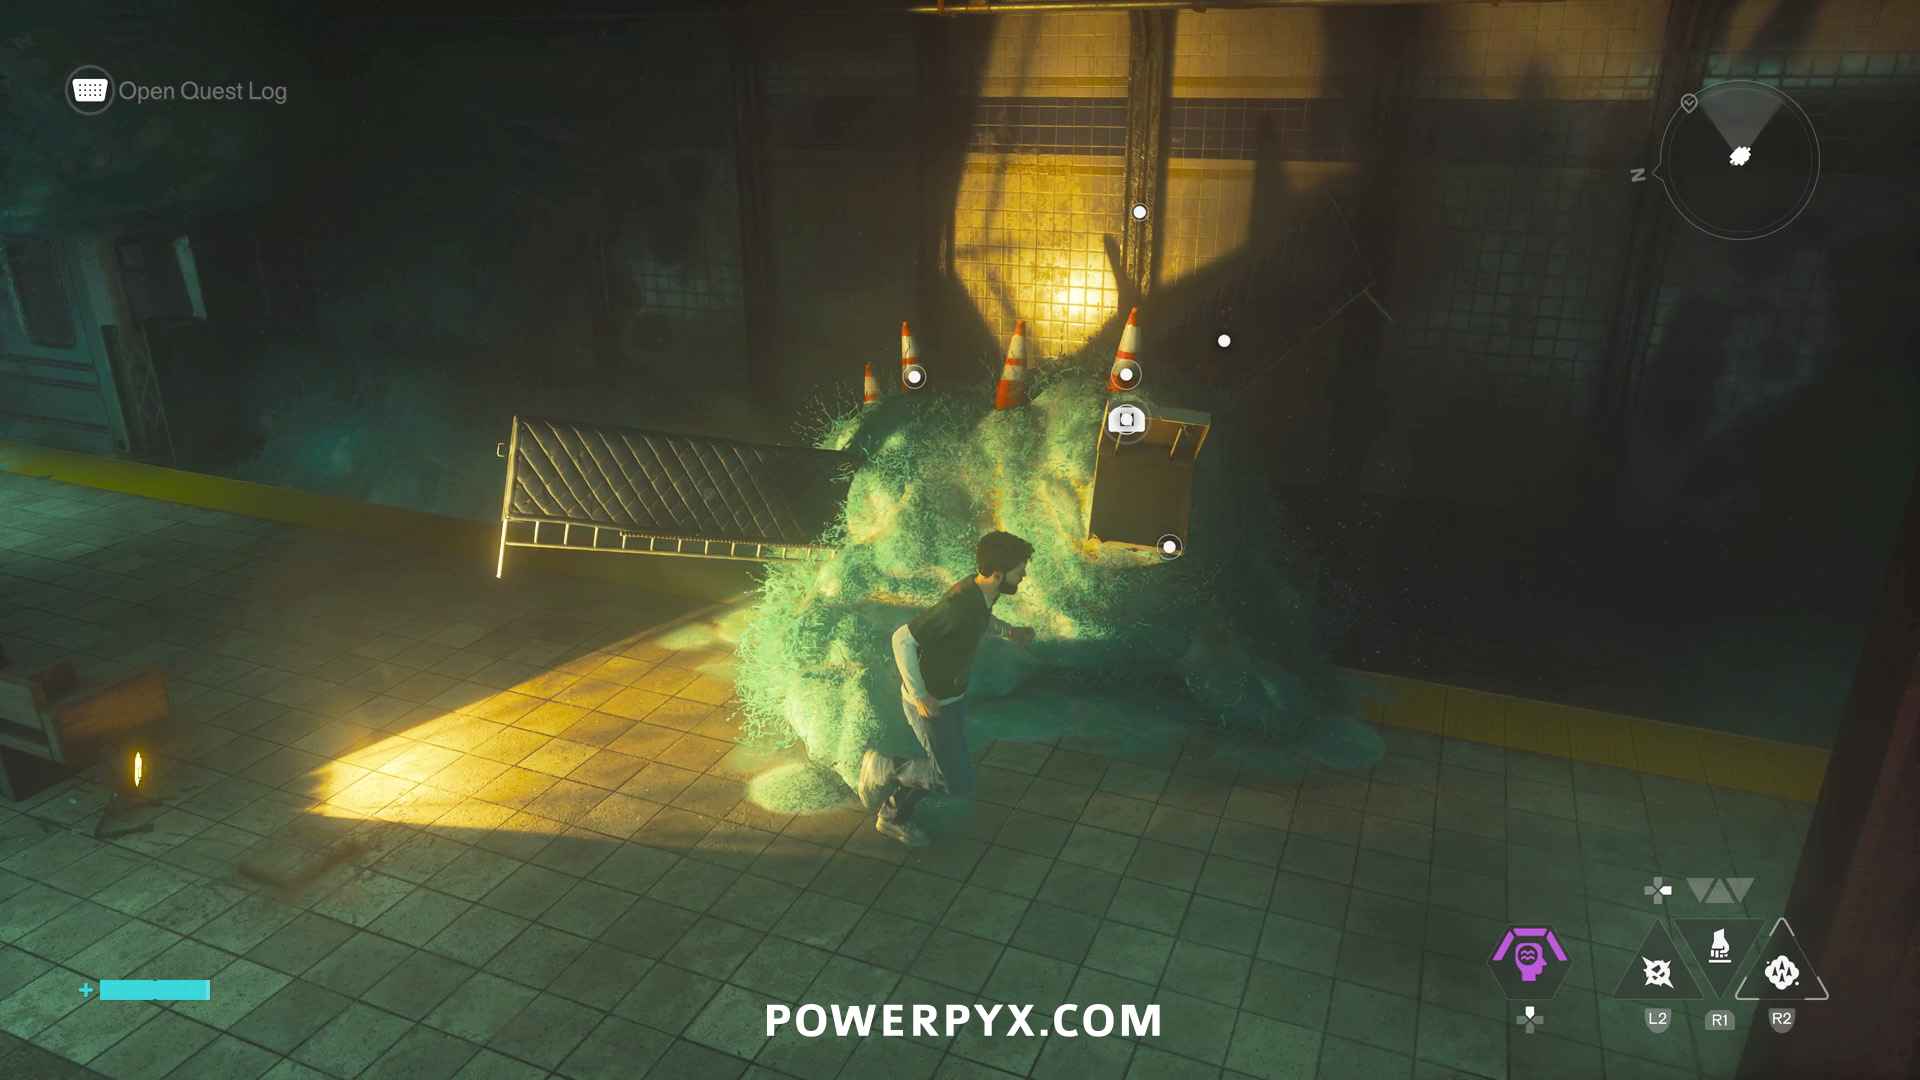
#2 – Dylan’s Sketchbook – The Dragon and the Knight Sketch
In the north-west of The Park area, underground inside the Park Valley Station (subway station). You enter the station from the street slightly south-east of the sketch location. At the end of the station inspect the mold that looks like a dragon. Then 6 objects get marked on the minimap, place them as shown below (2 tools in the mouth, 2 benches on the sides, 2 cones on the back).
#3 – Taxi
The taxi in The Park is southwest of the Mold Factory fast travel point, near the region vendor inside the parking garage.
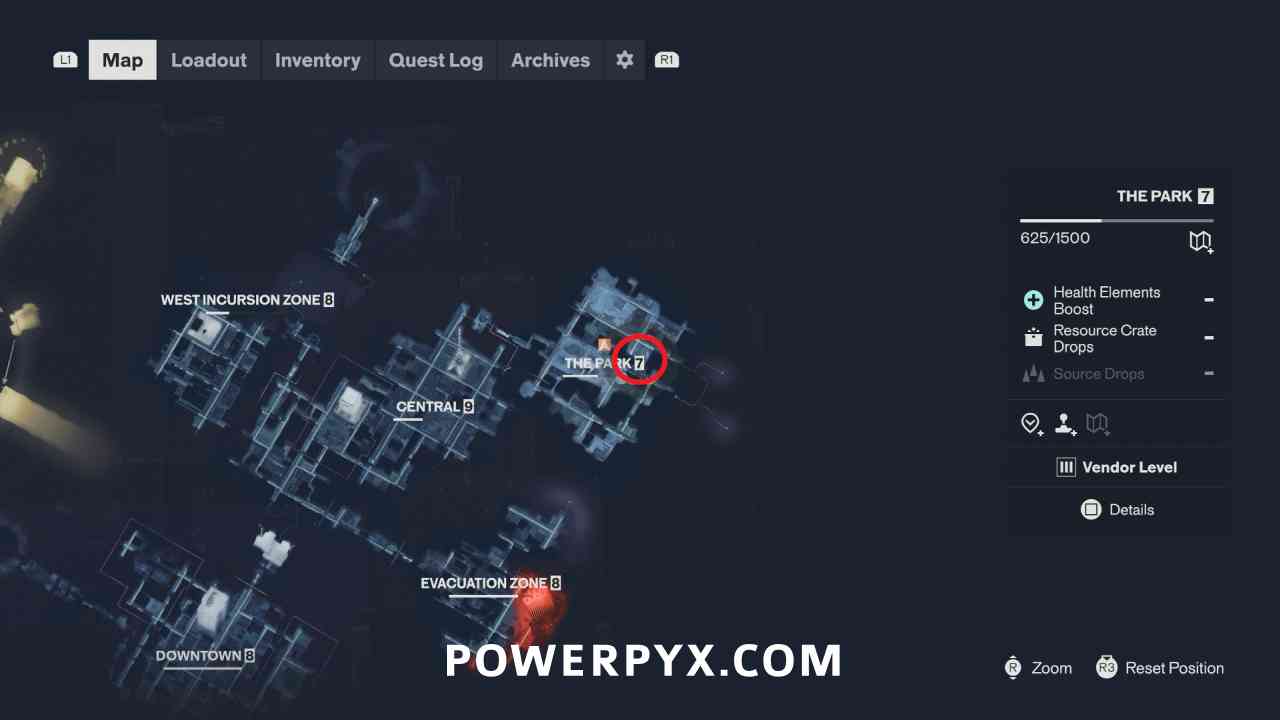
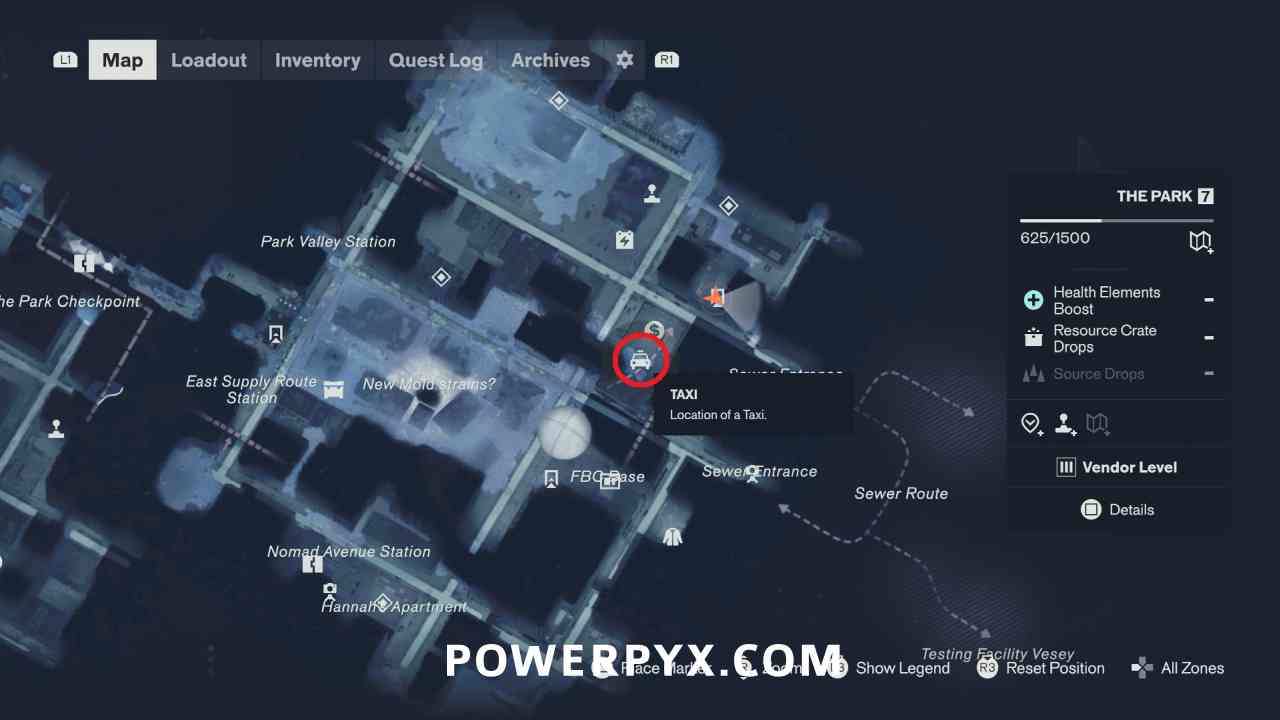
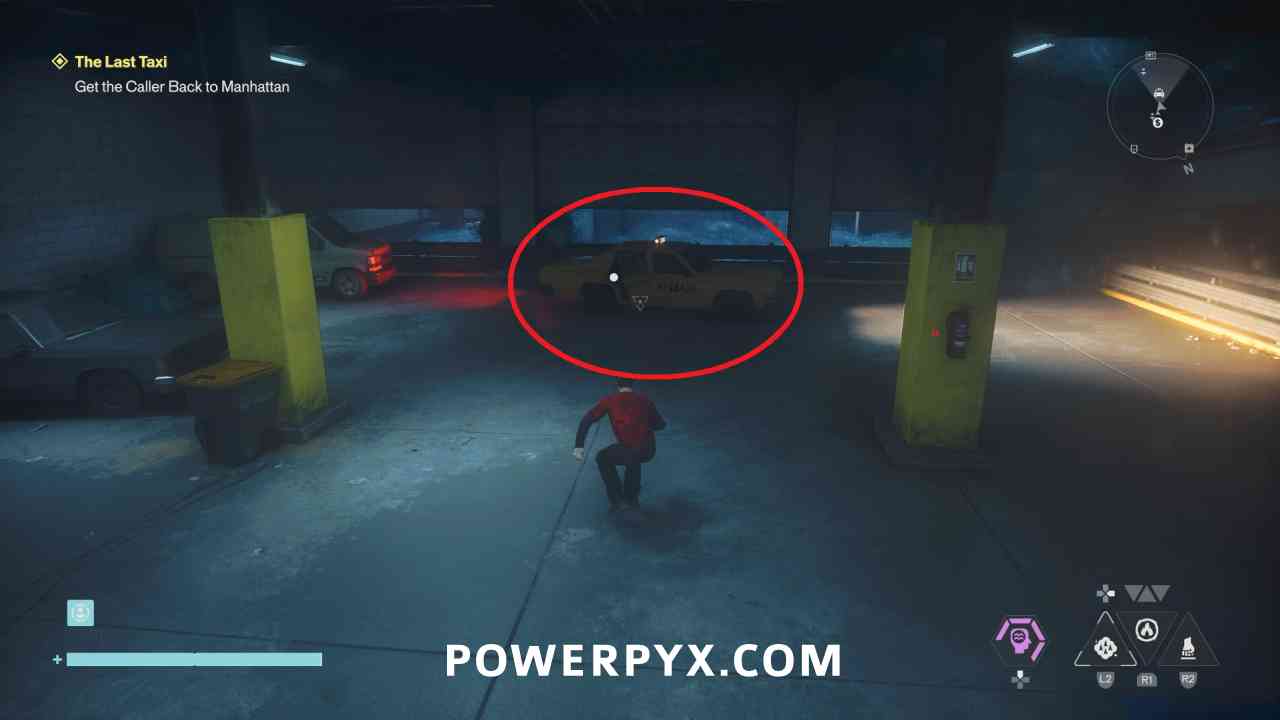
Go answer the phone in the alley, then in the first cycle you need to destroy the Mold to find the trunk and hood, then place them on the taxi.
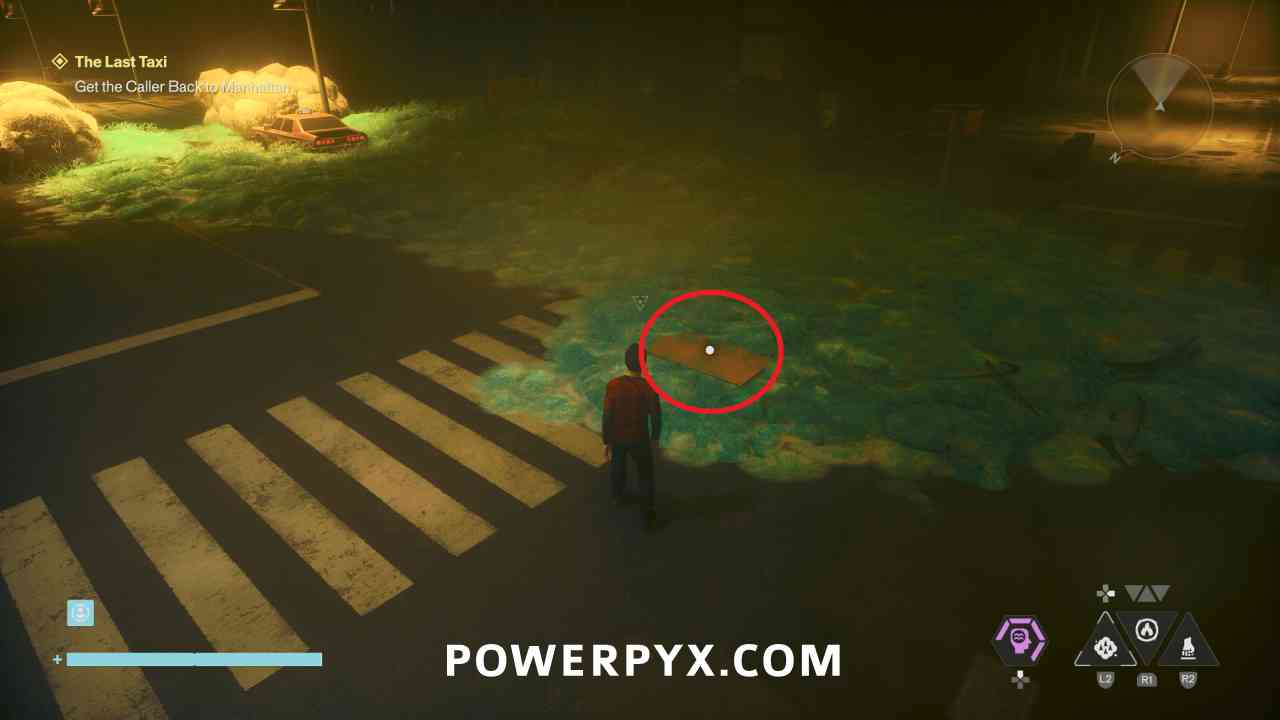
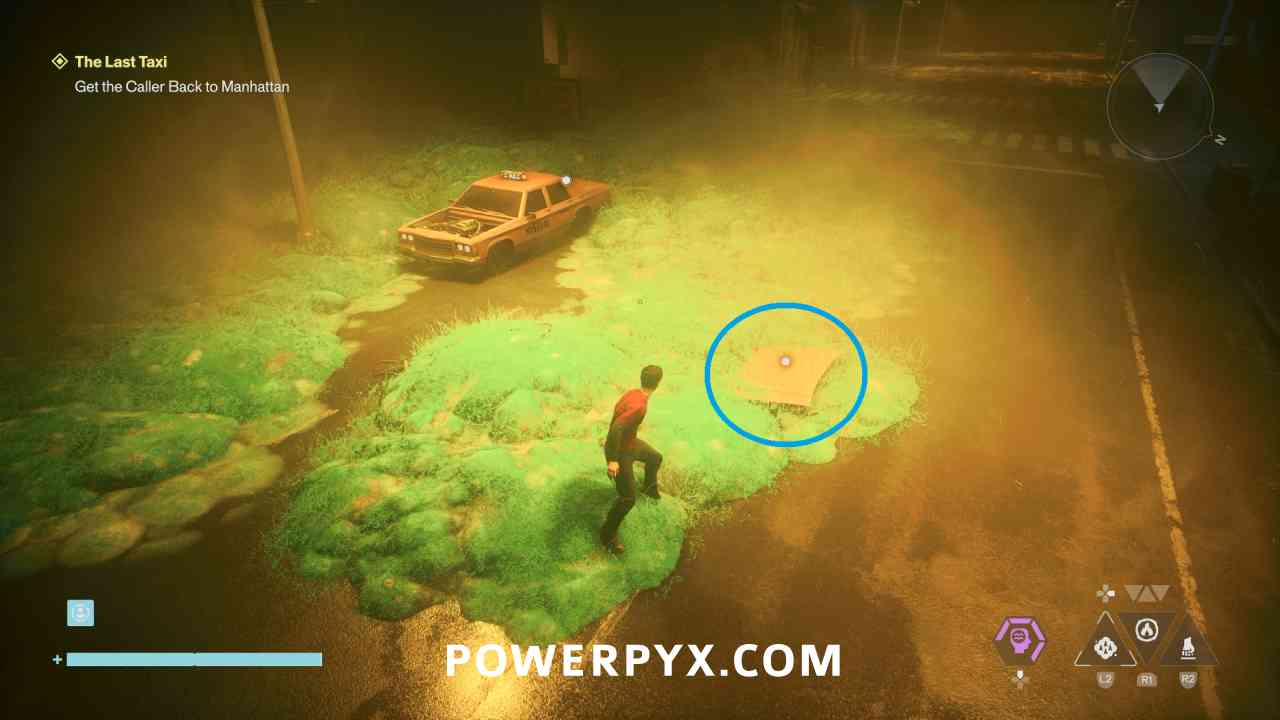
In the second cycle, pick up the hood and two wheels and place them back on the taxi. You need to grab the yellow hood farther down the road, not the blue one near the tires.
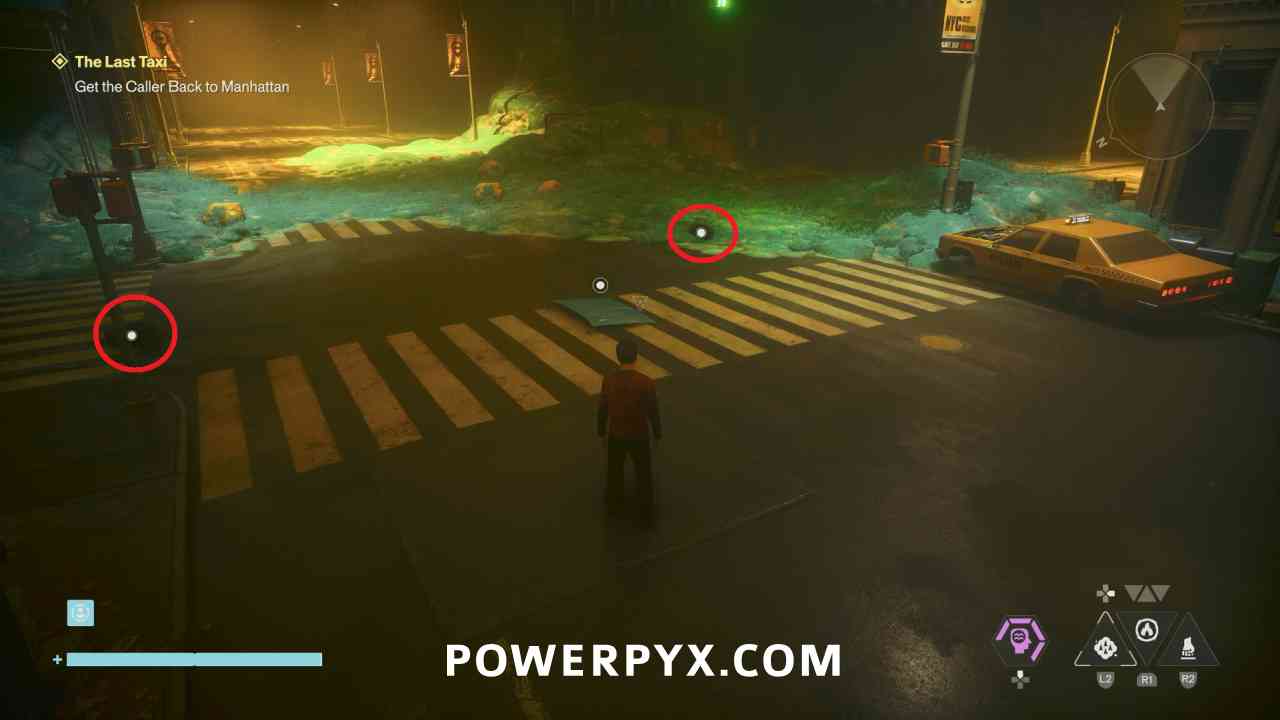
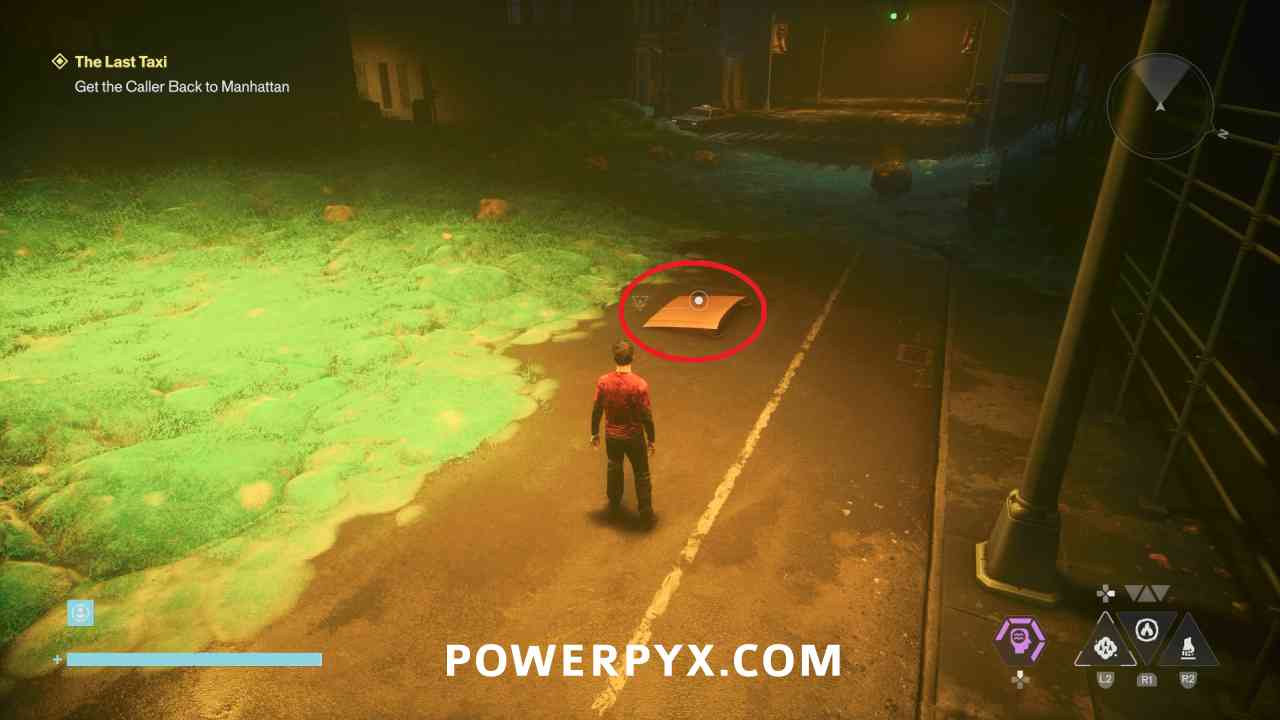
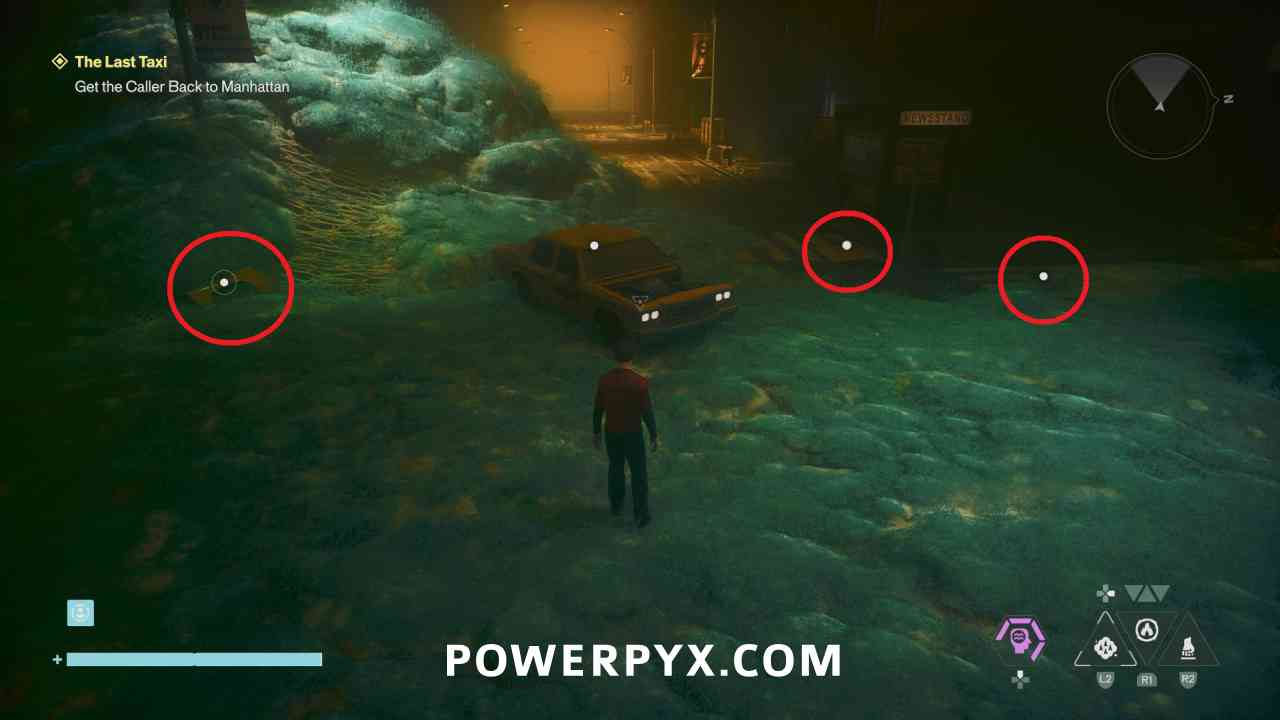
In the third cycle, you need to destroy the Mold to reveal the car, then place the correct parts onto it. The fender, hood, and top light are behind/left of the car, whereas the trunk and rear bumper are off to the right.
#4 – Dog
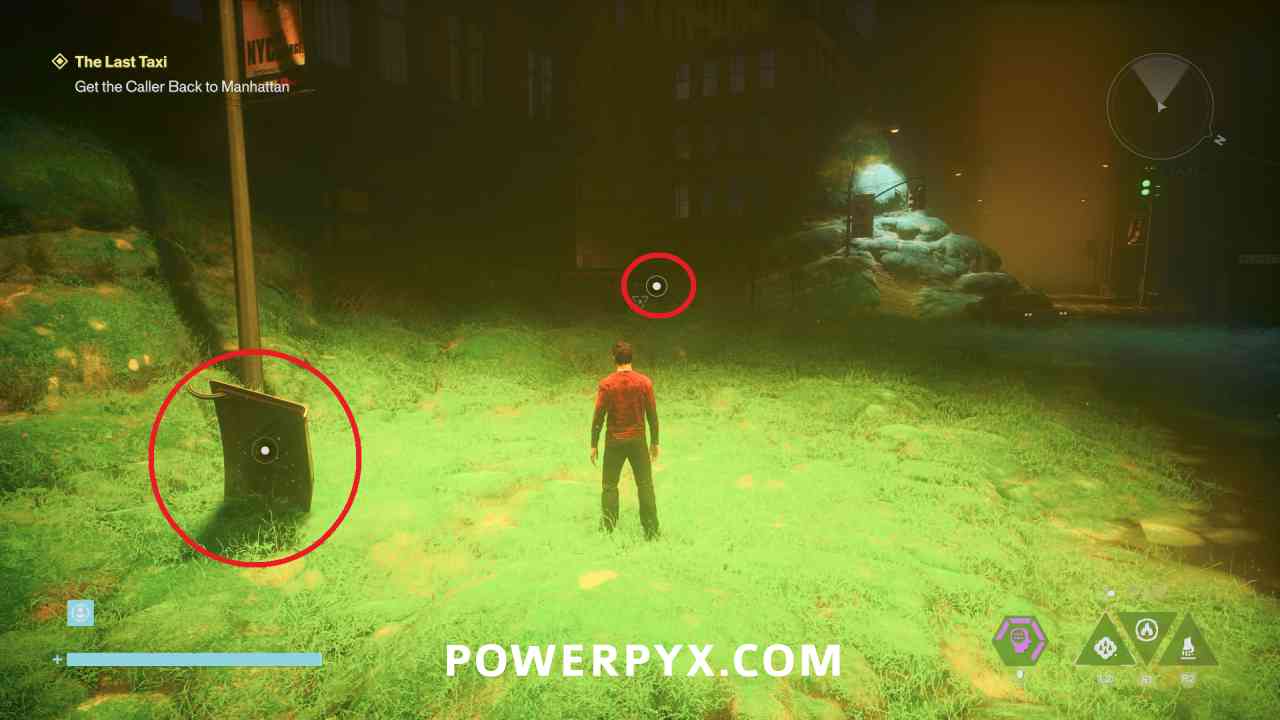
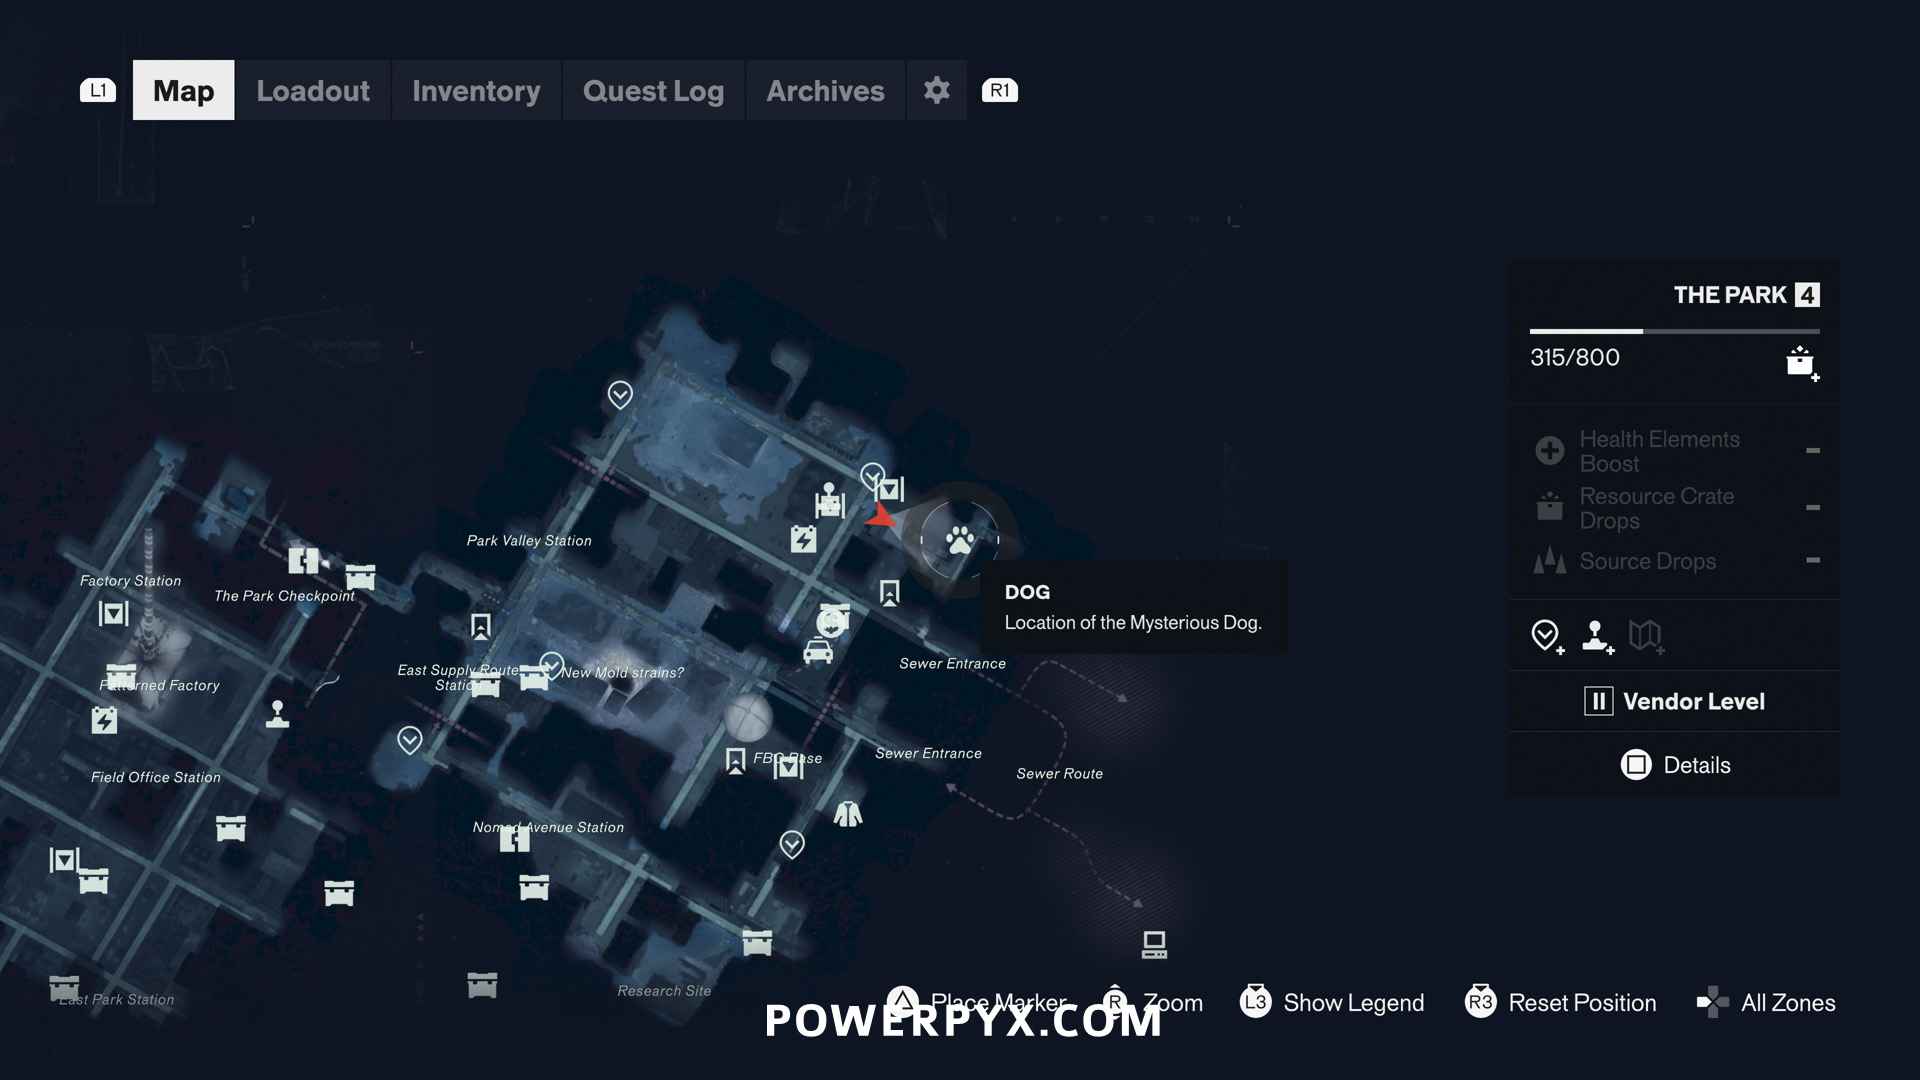
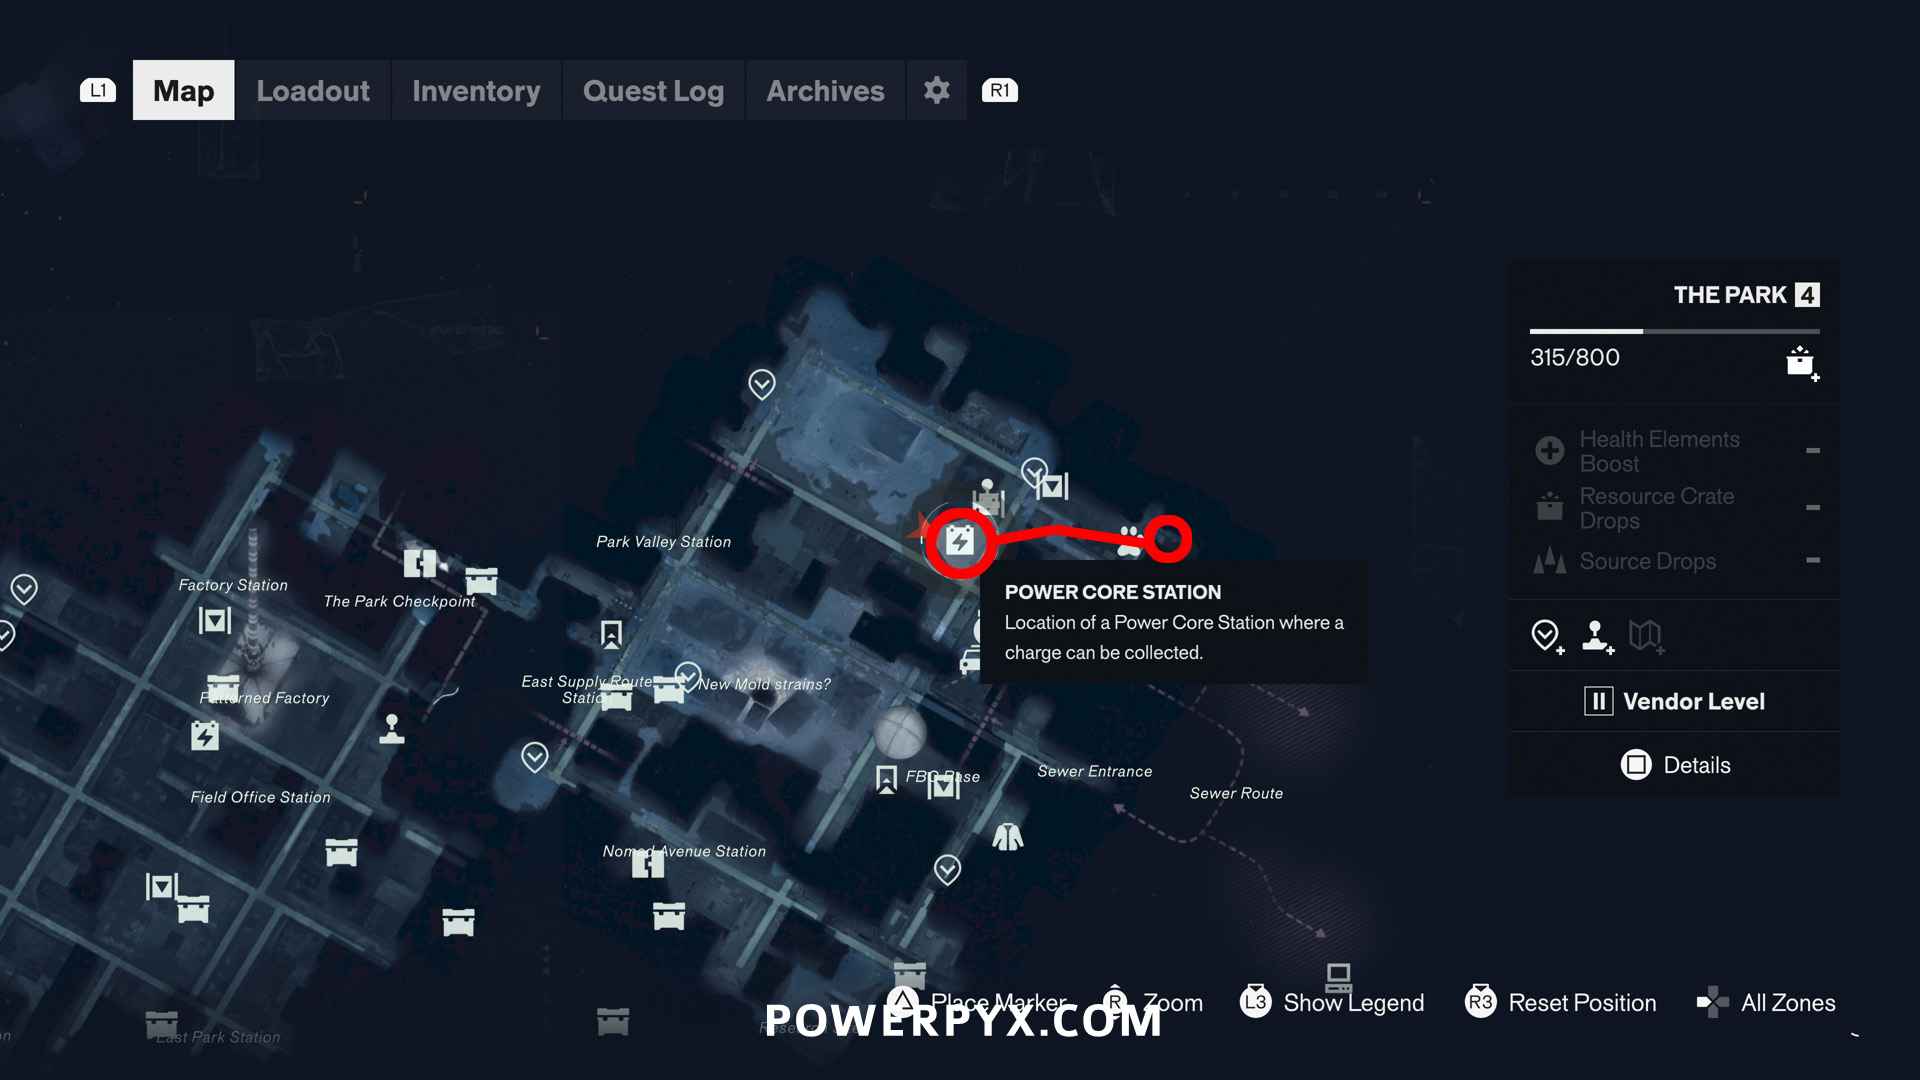
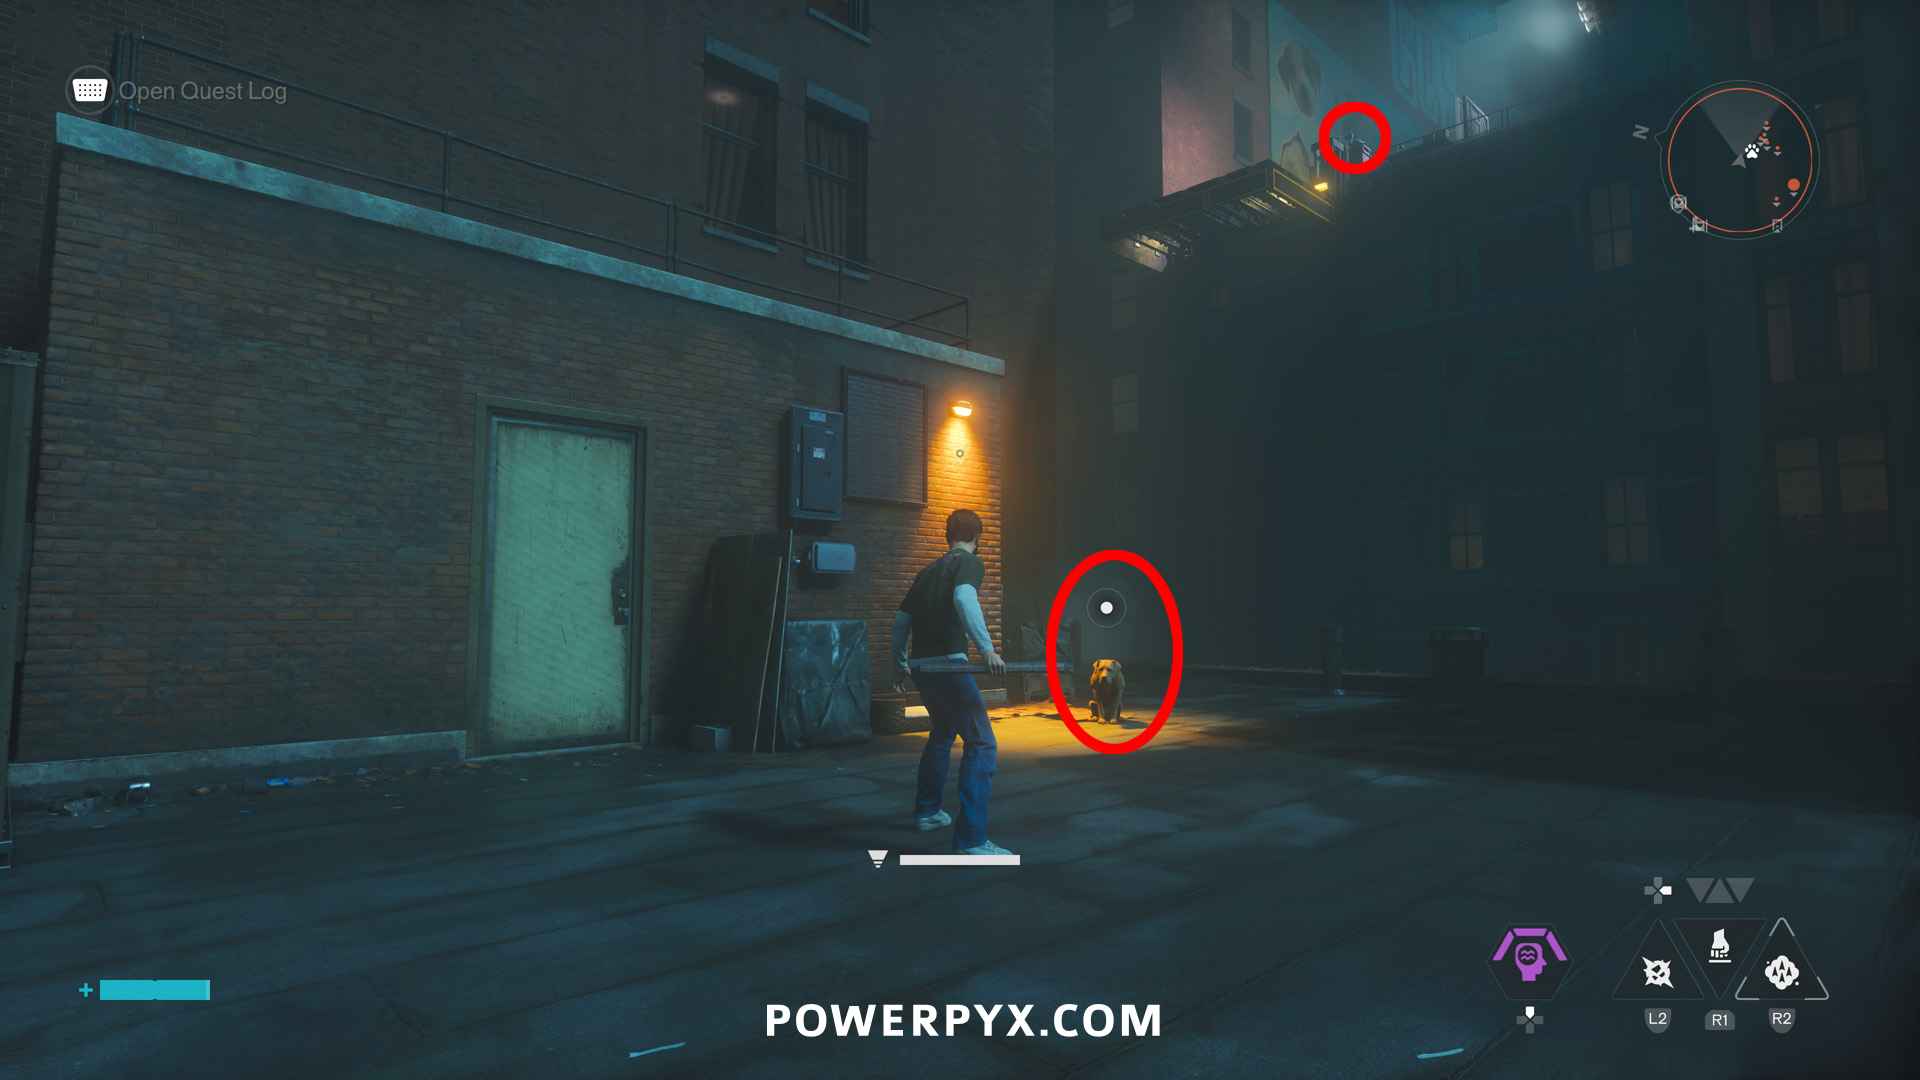
In the north-east corner of The Park. The toy is behind the dog on a roof with a yellow lift platform. To reach it, you must go to the Power Core Station and carry electricity to the lift, then the lift takes you up to the toy. The Power Core Station will be marked on the map slightly west of the dog, but you can’t run straight to the dog as the time is too short. You have to put the electricity in one of the boxes on the roof along the way, then carry it from the roof there to the lift. The roof with power boxes is directly in the middle between the Power Core Station and the dog, must go through the doors on the roof to find the power cubes. Refer to the video above for the pathing.
#5 – Testing Facility
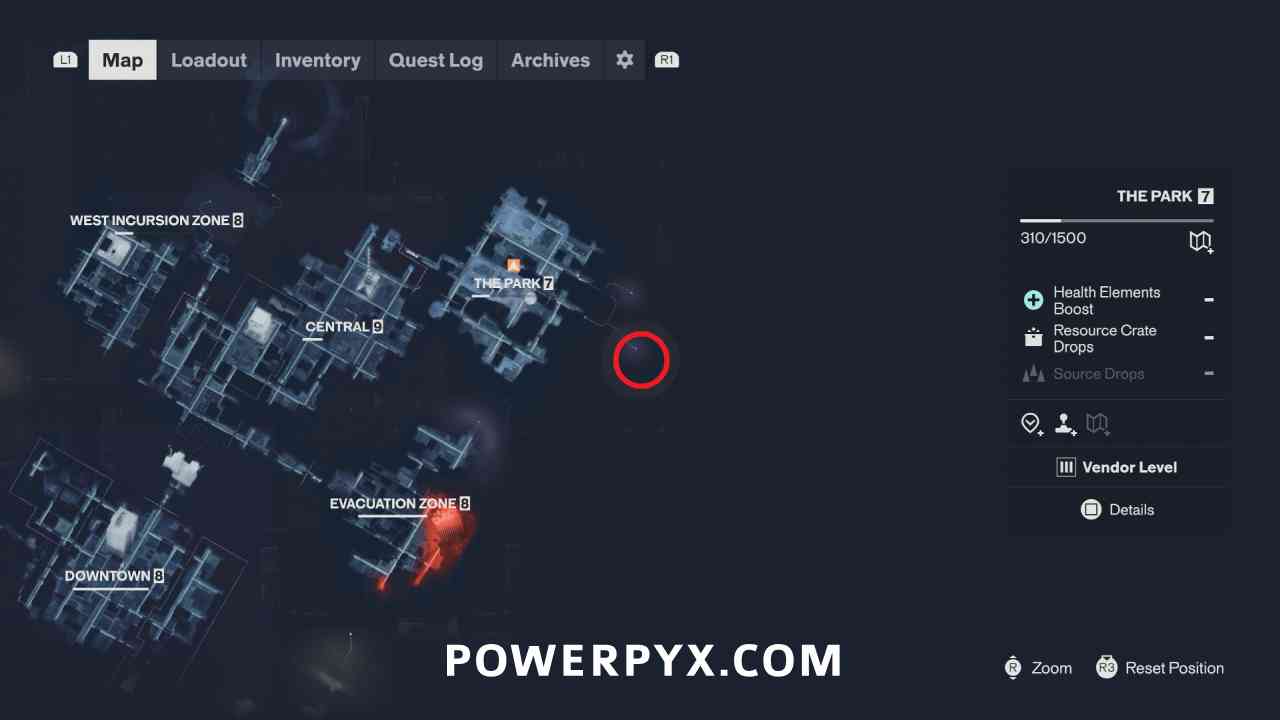
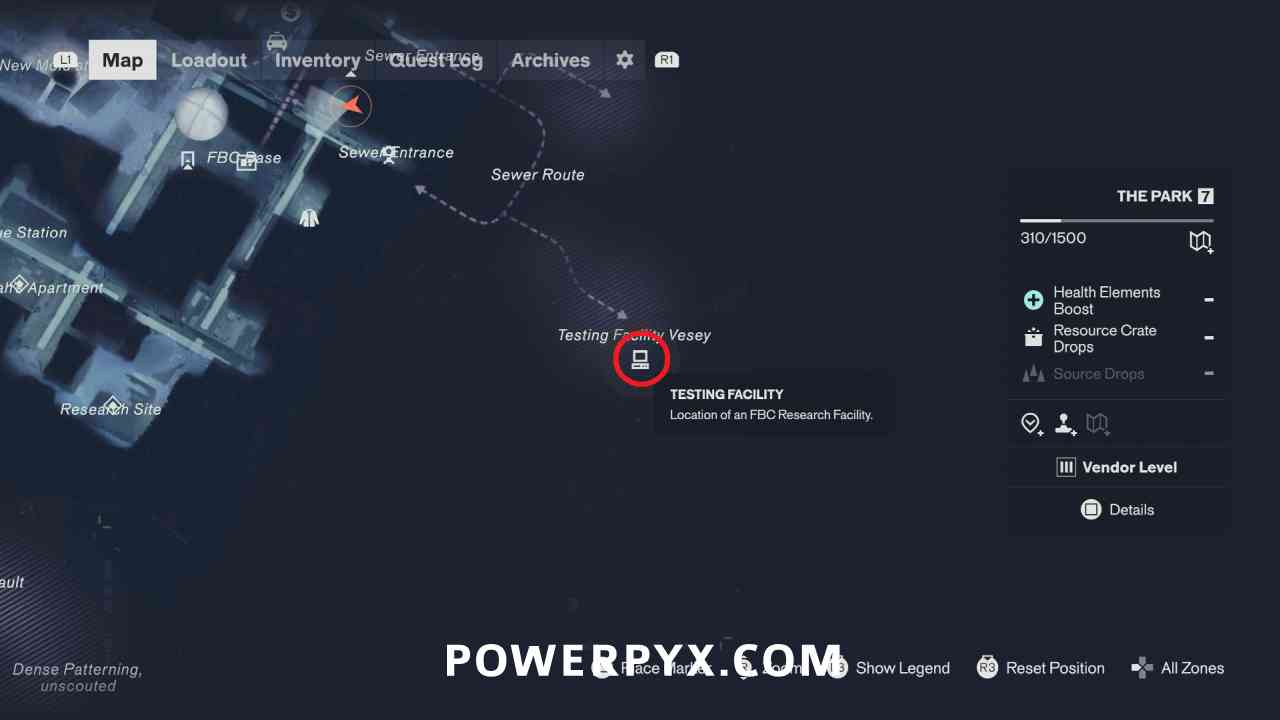
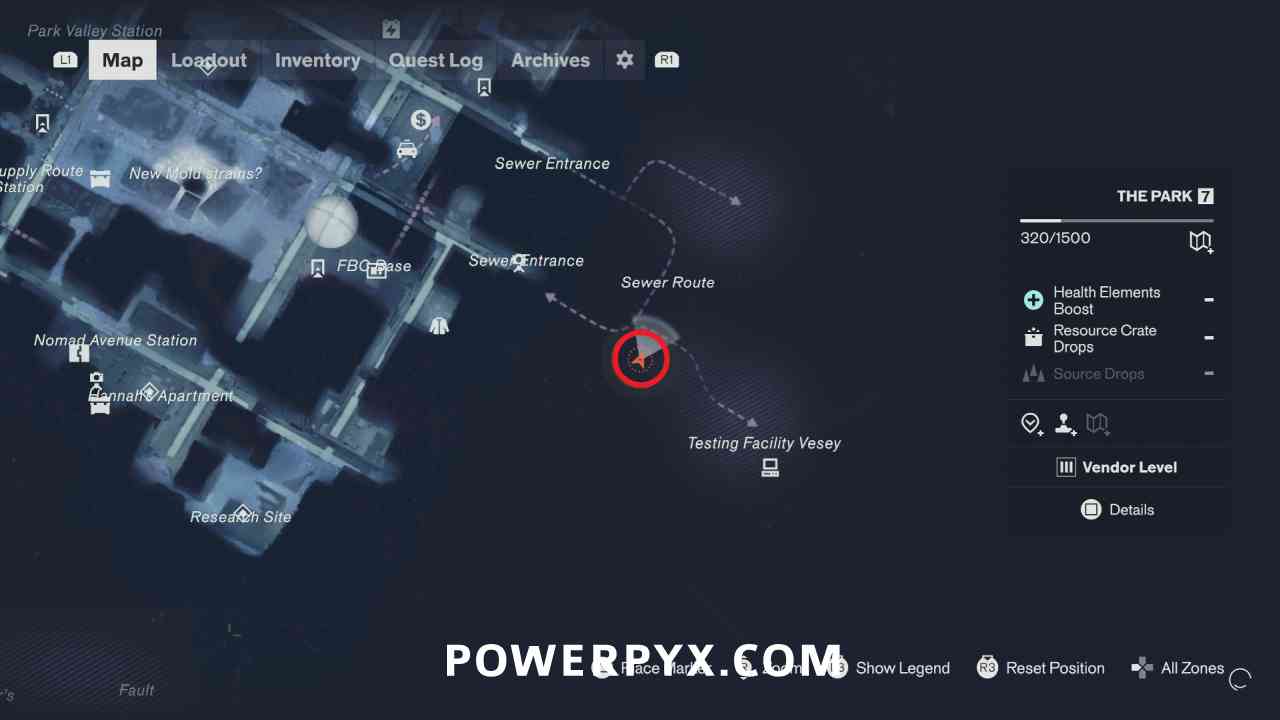
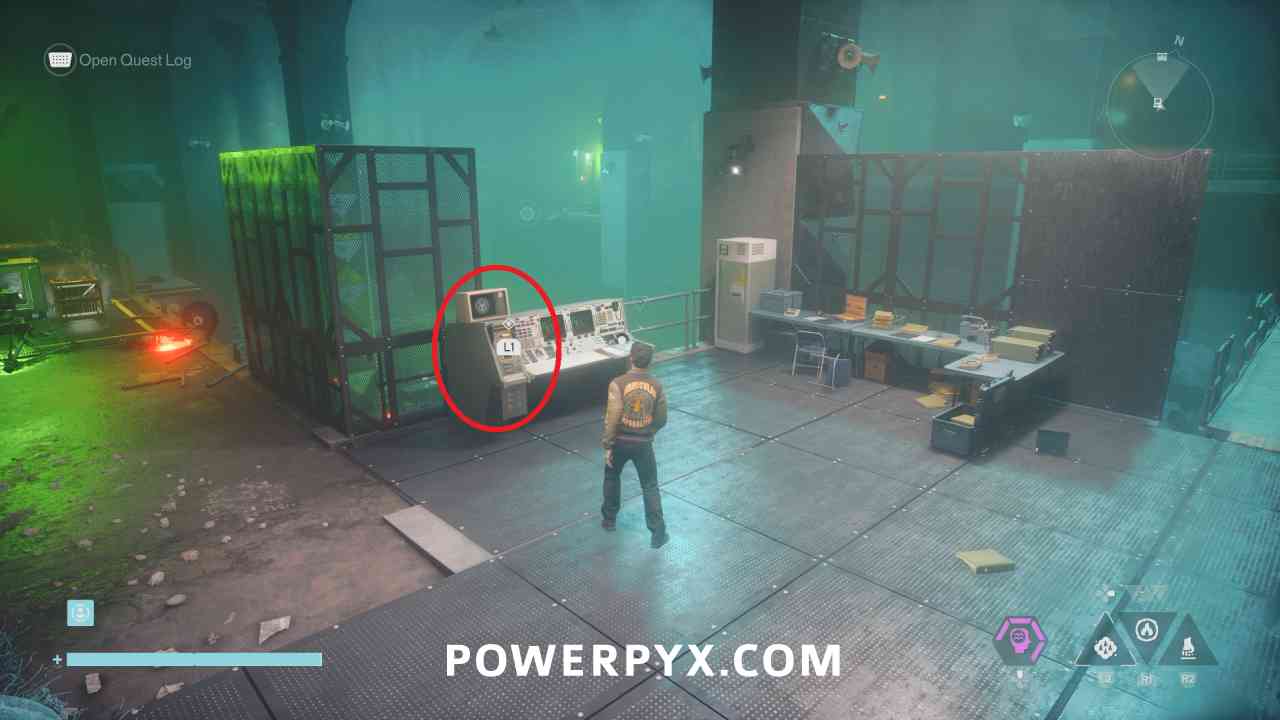
The Testing Facility in the Park is reached by going into the Sewer Route area on the east side of the Park. Follow the path to the southeast to reach the facility.
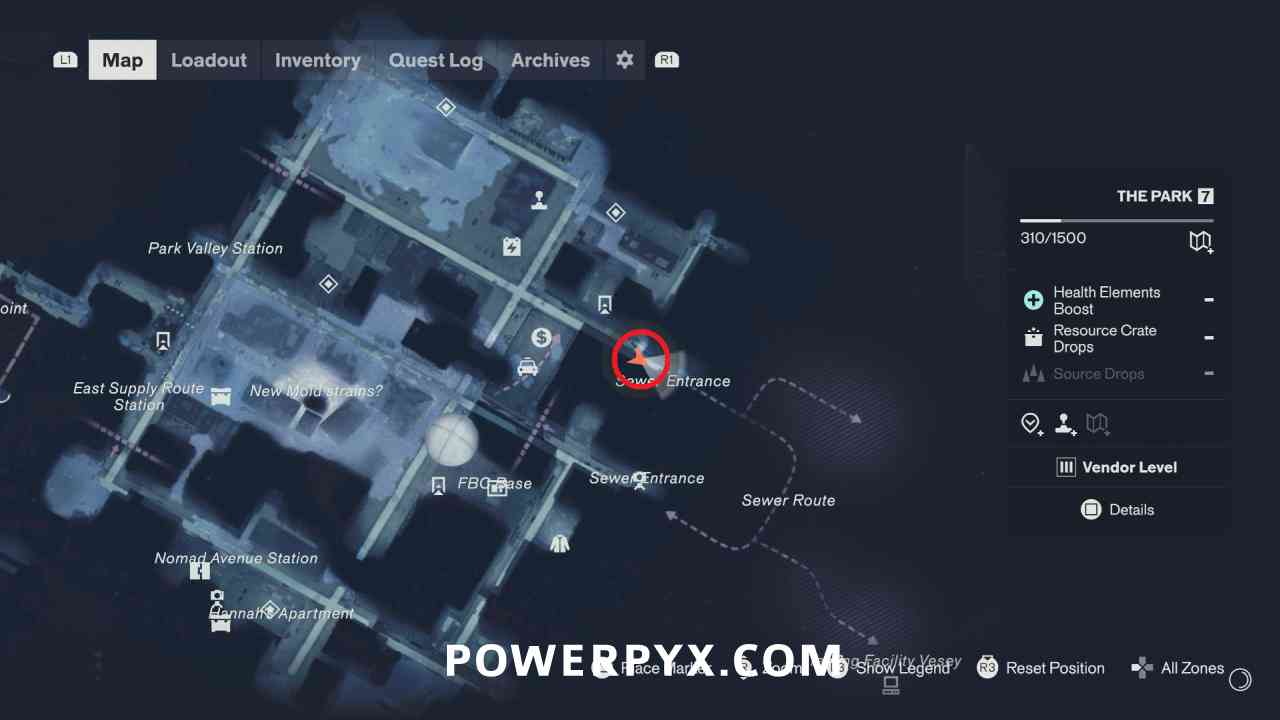
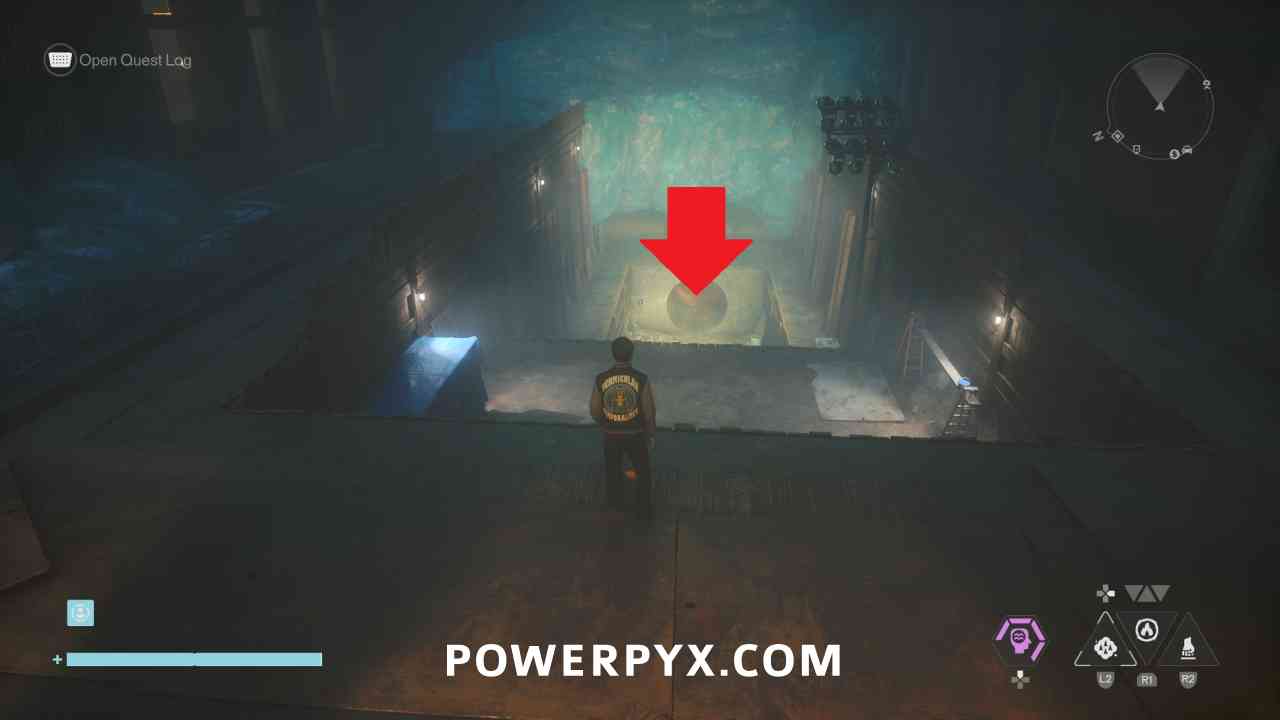
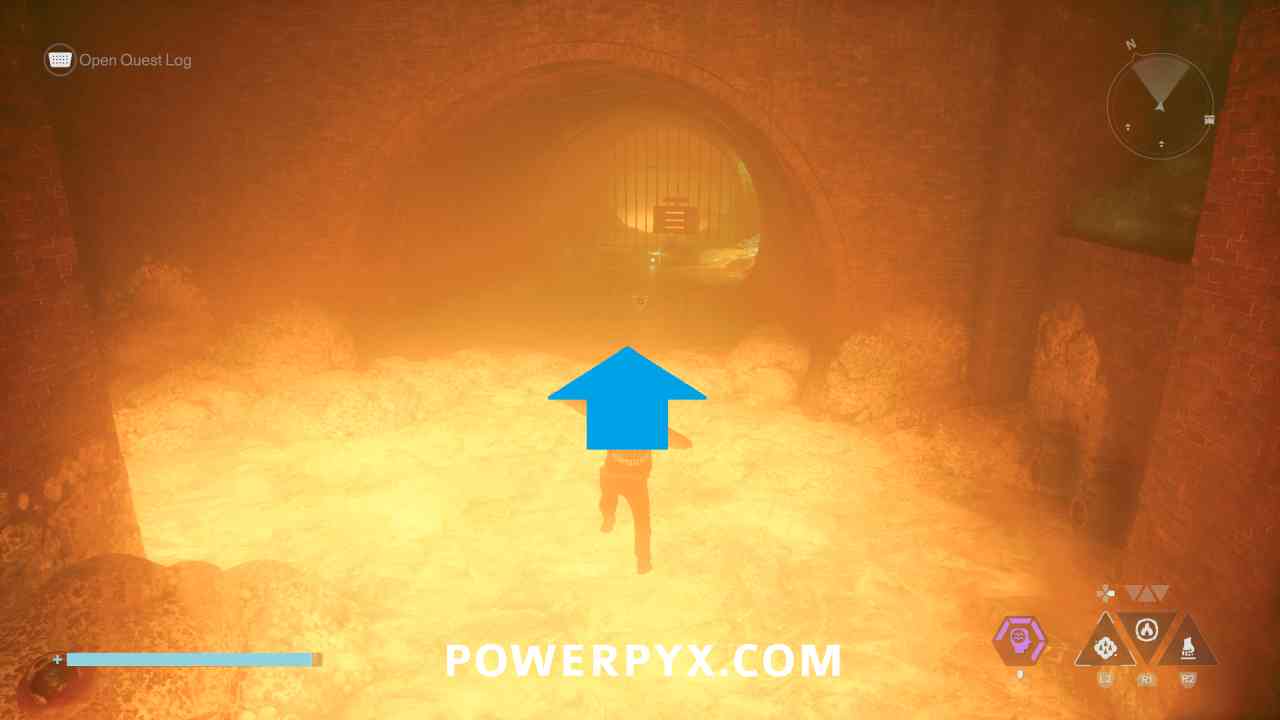
To reach the testing area progress to the “lava” room, then you need to jump to the path to the northeast that is on the same level as the lava to reach the testing area.
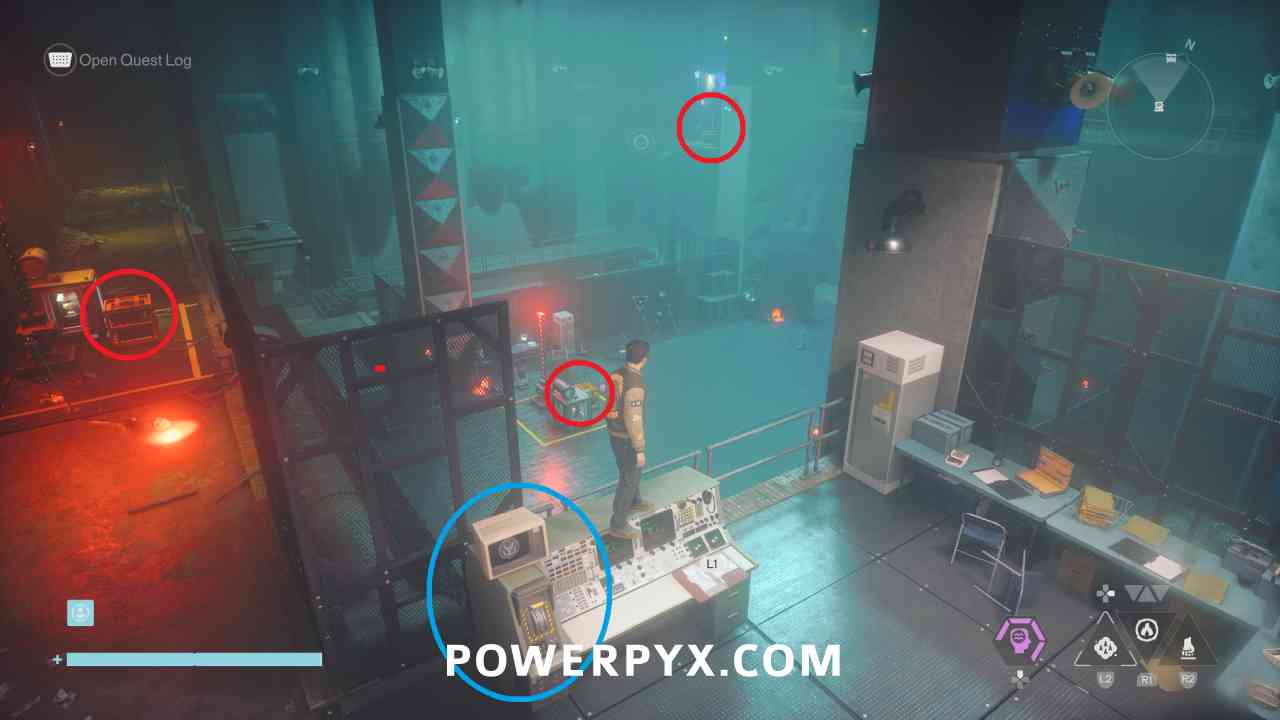
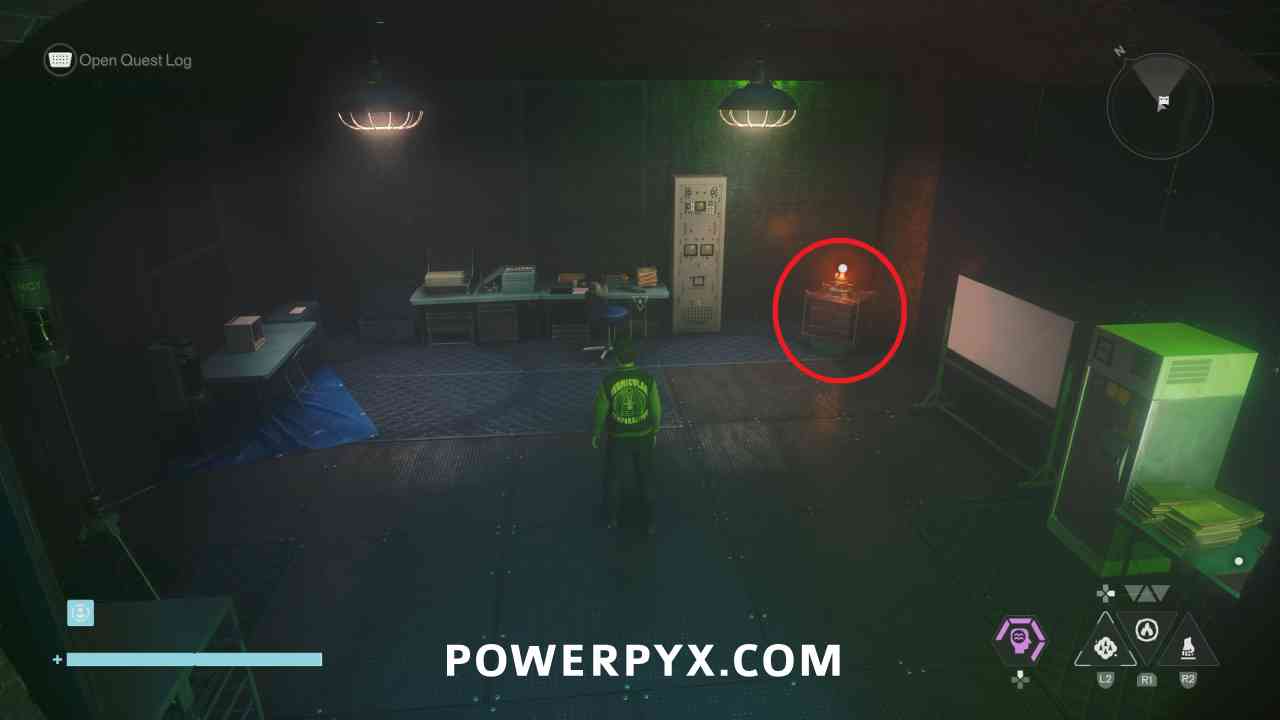
This is a charge puzzle like the area in Central, but this time there are 5 cores instead of 4. The way to solve the puzzle is the same though. You need to interact with the switch (blue circle) which starts a 60 second timer. During this time you need to keep moving the charges back and forth between the cores so that they don’t overload. The spot that currently has a charge is blue, and one that doesn’t have a charge is red. Grab the charge from a blue spot when it is blinking and put it on a red spot when it is blinking. This seems a bit random, but you have around 15 seconds of total time on each spot before it forces you to restart, so you can keep grabbing from the blue spot that you placed second last and move it to a red spot, and you should be able to get through even though it seems like all spots are blinking quite fast.
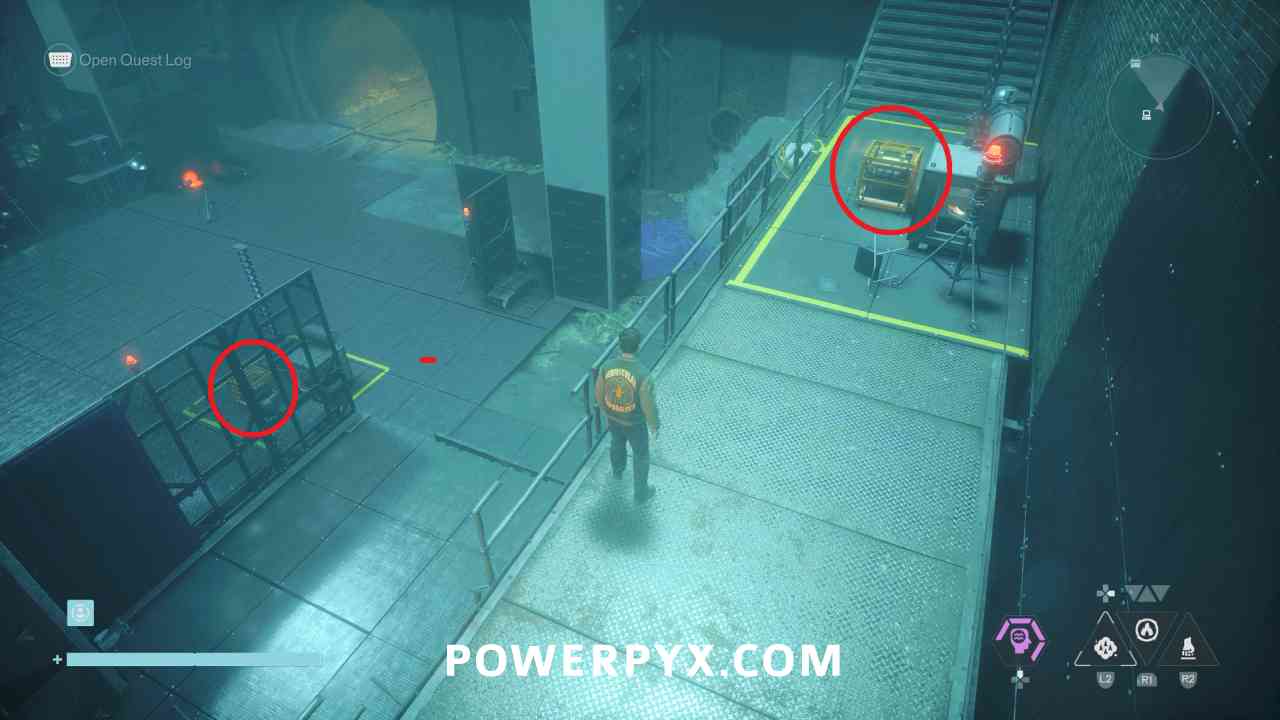
When you have correctly lasted for 60 seconds all the stations will turn green. Then go back up near the computer icon and interact with the switch. You can go to the unlocked door in the corner to collect a Power Upgrade crate.
#6 – Camera
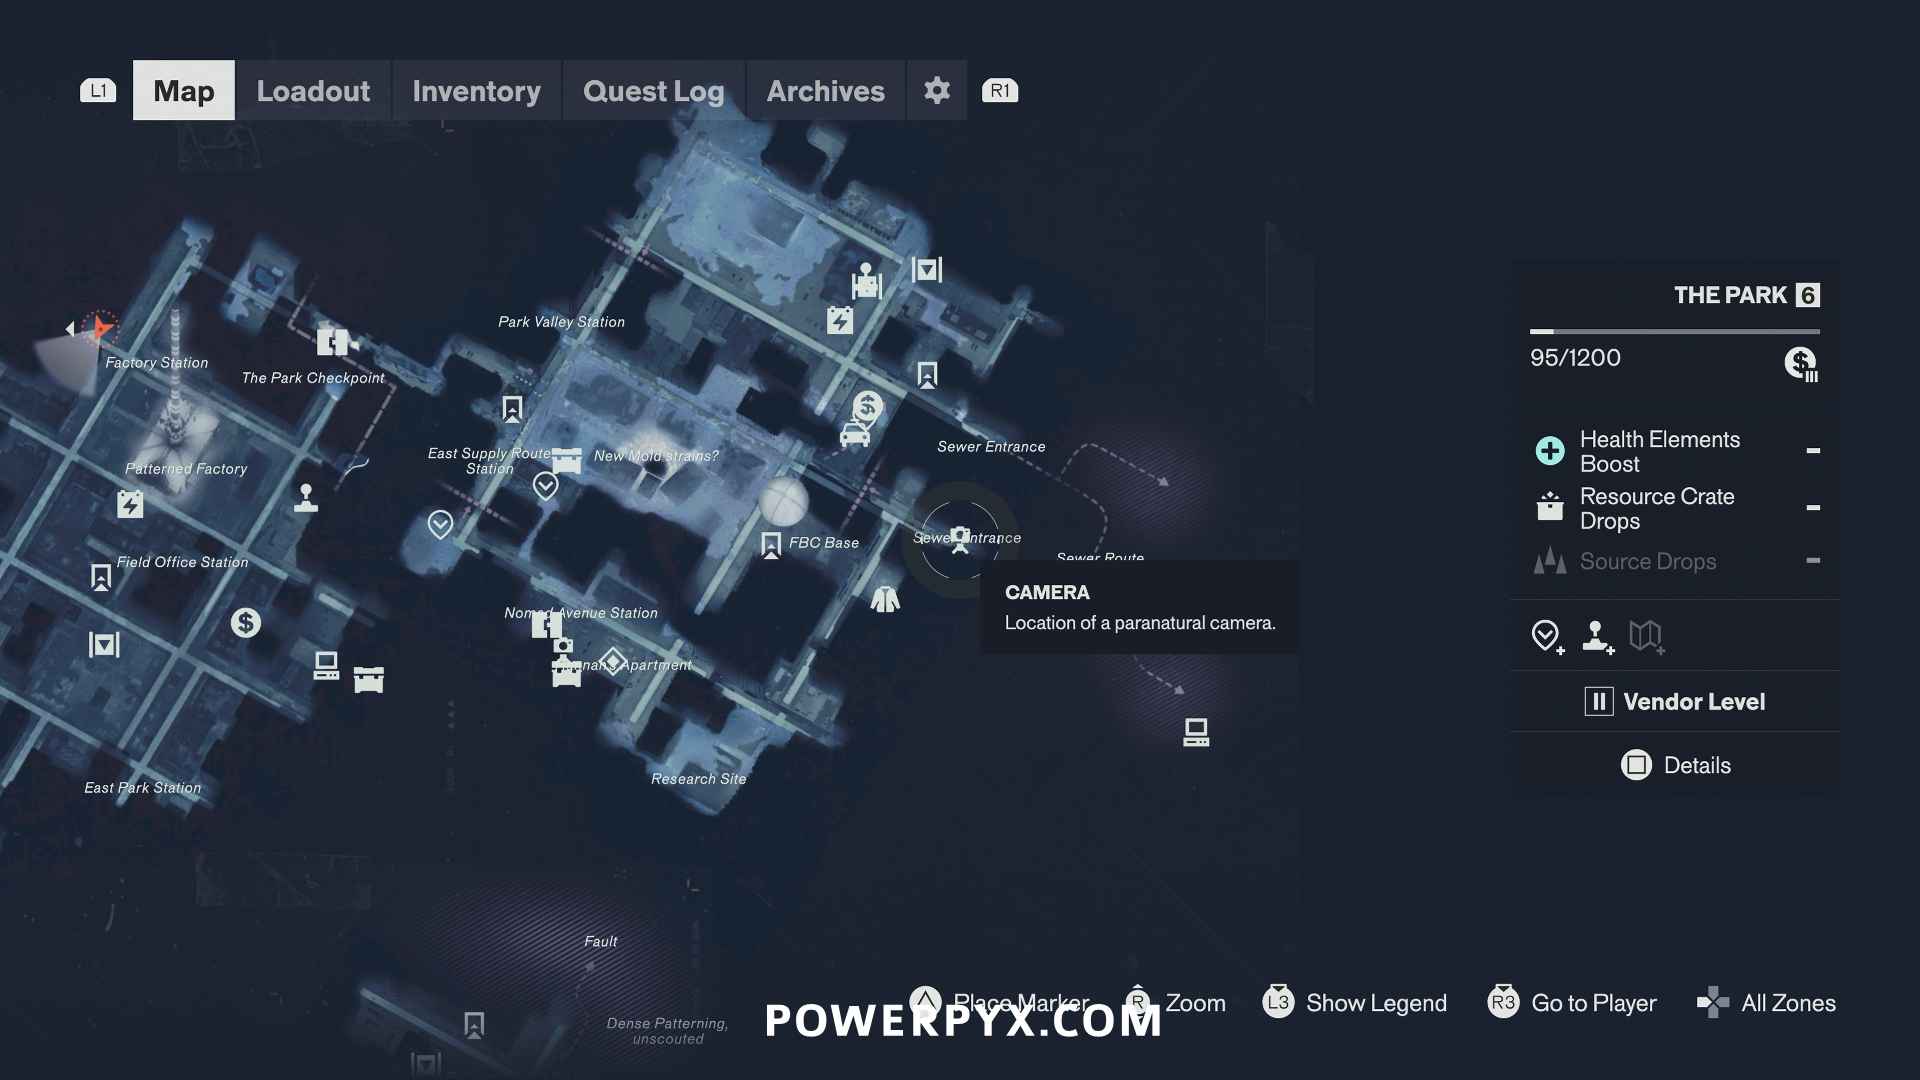
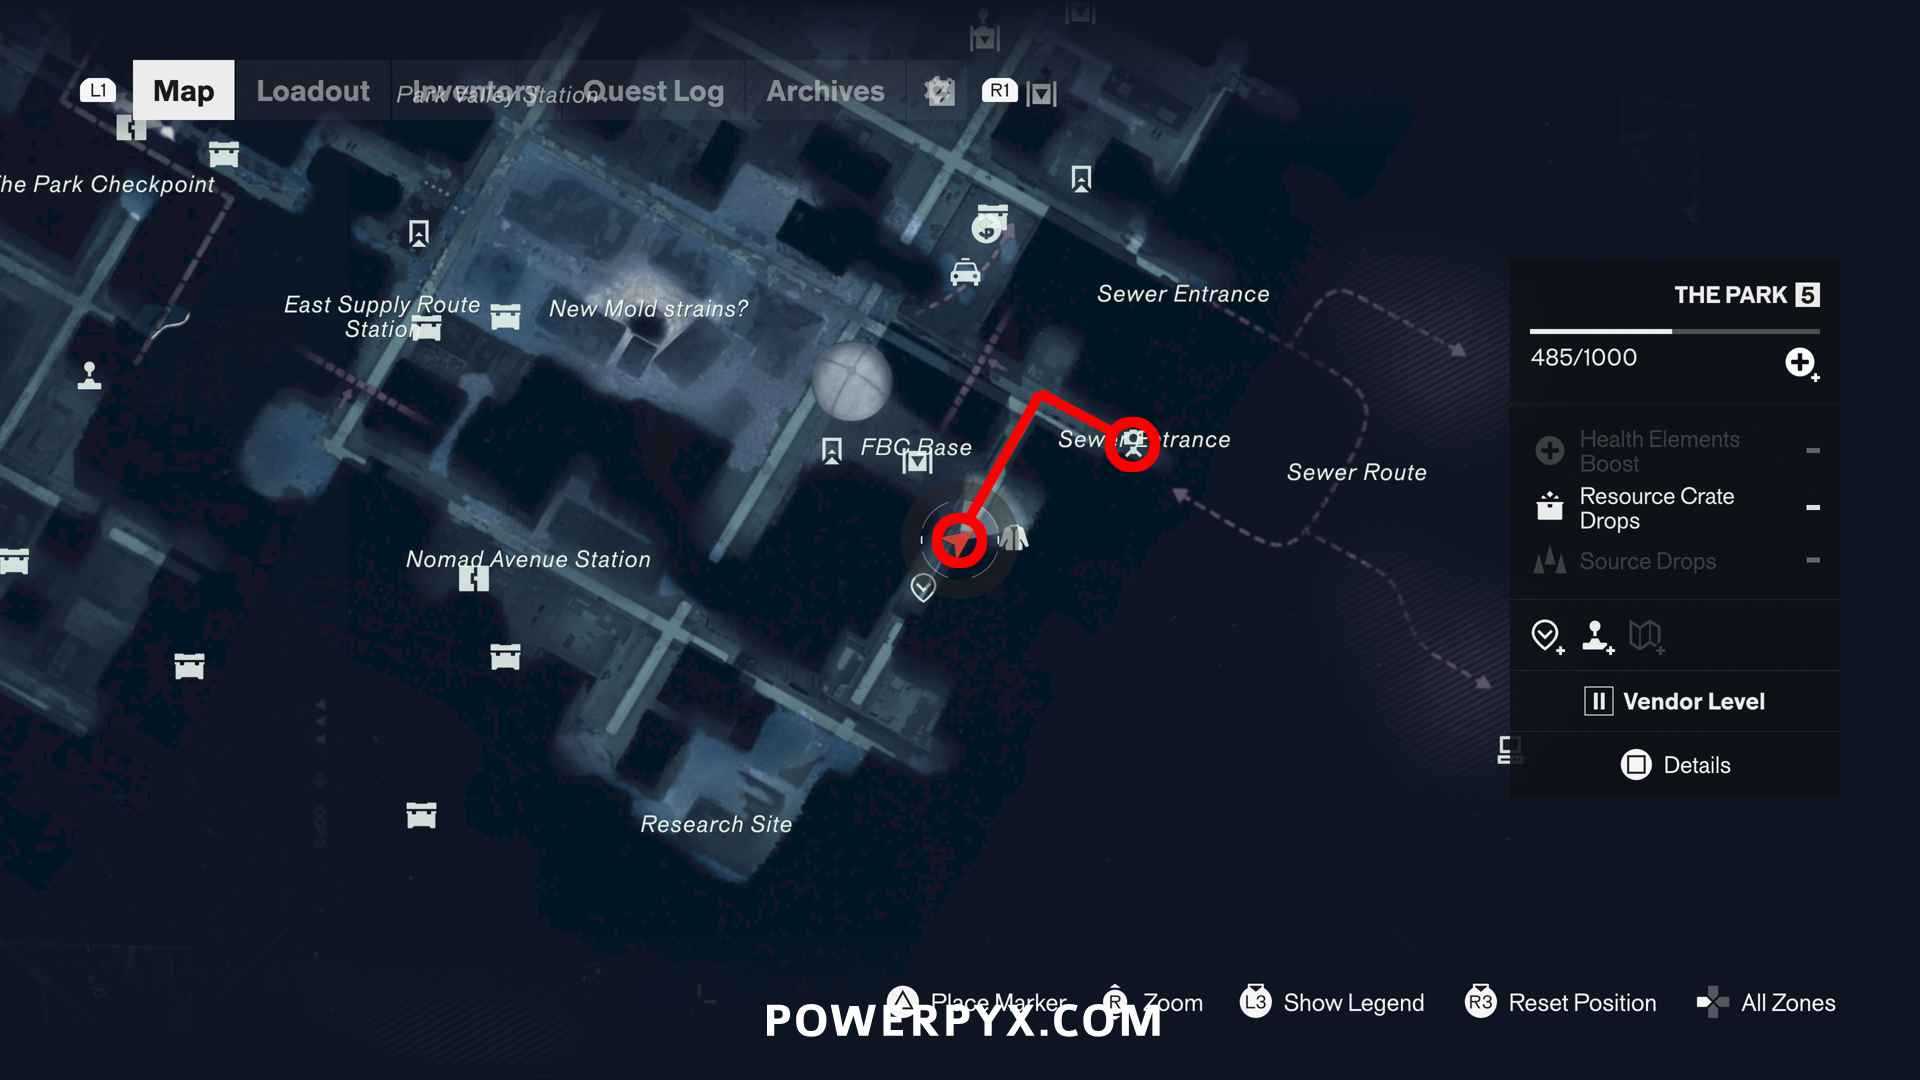
Found on a platform on the side of a building, above the sewer entrance. To reach it you must bring electricity to the elevator. The elevator is slightly west of the camera icon (same street). The electricity is found on the street going south, from an electric cube (near the jacket icon on map). After bringing electricity to the elevator, you can ride it to the top and jump over to the camera. The exact pathing is outlined in the 2nd image below, with the electricity circled red.
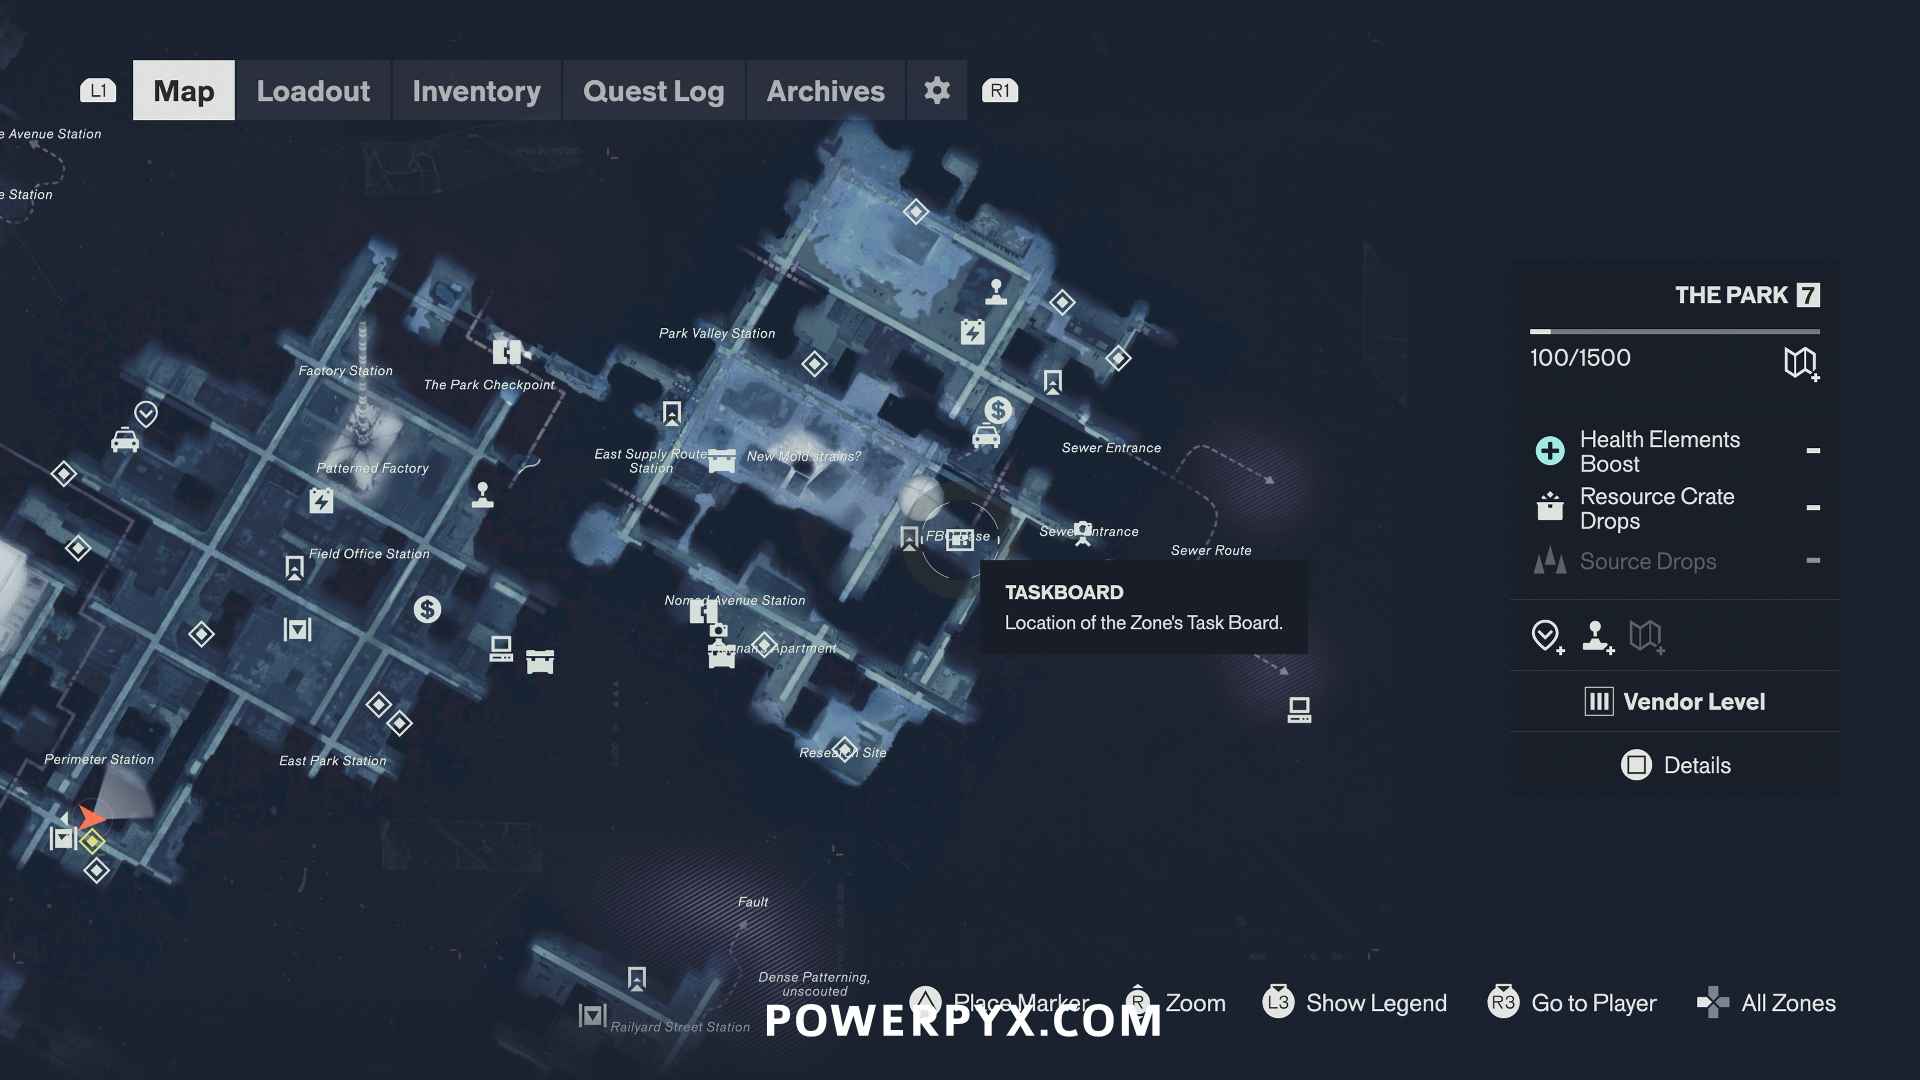
#7 – FBC Taskboard
At the FBC Base on the rooftop in the Park. Only spawns after unlocking the Central Zone Taskboard.
#8 – Secret Hideout
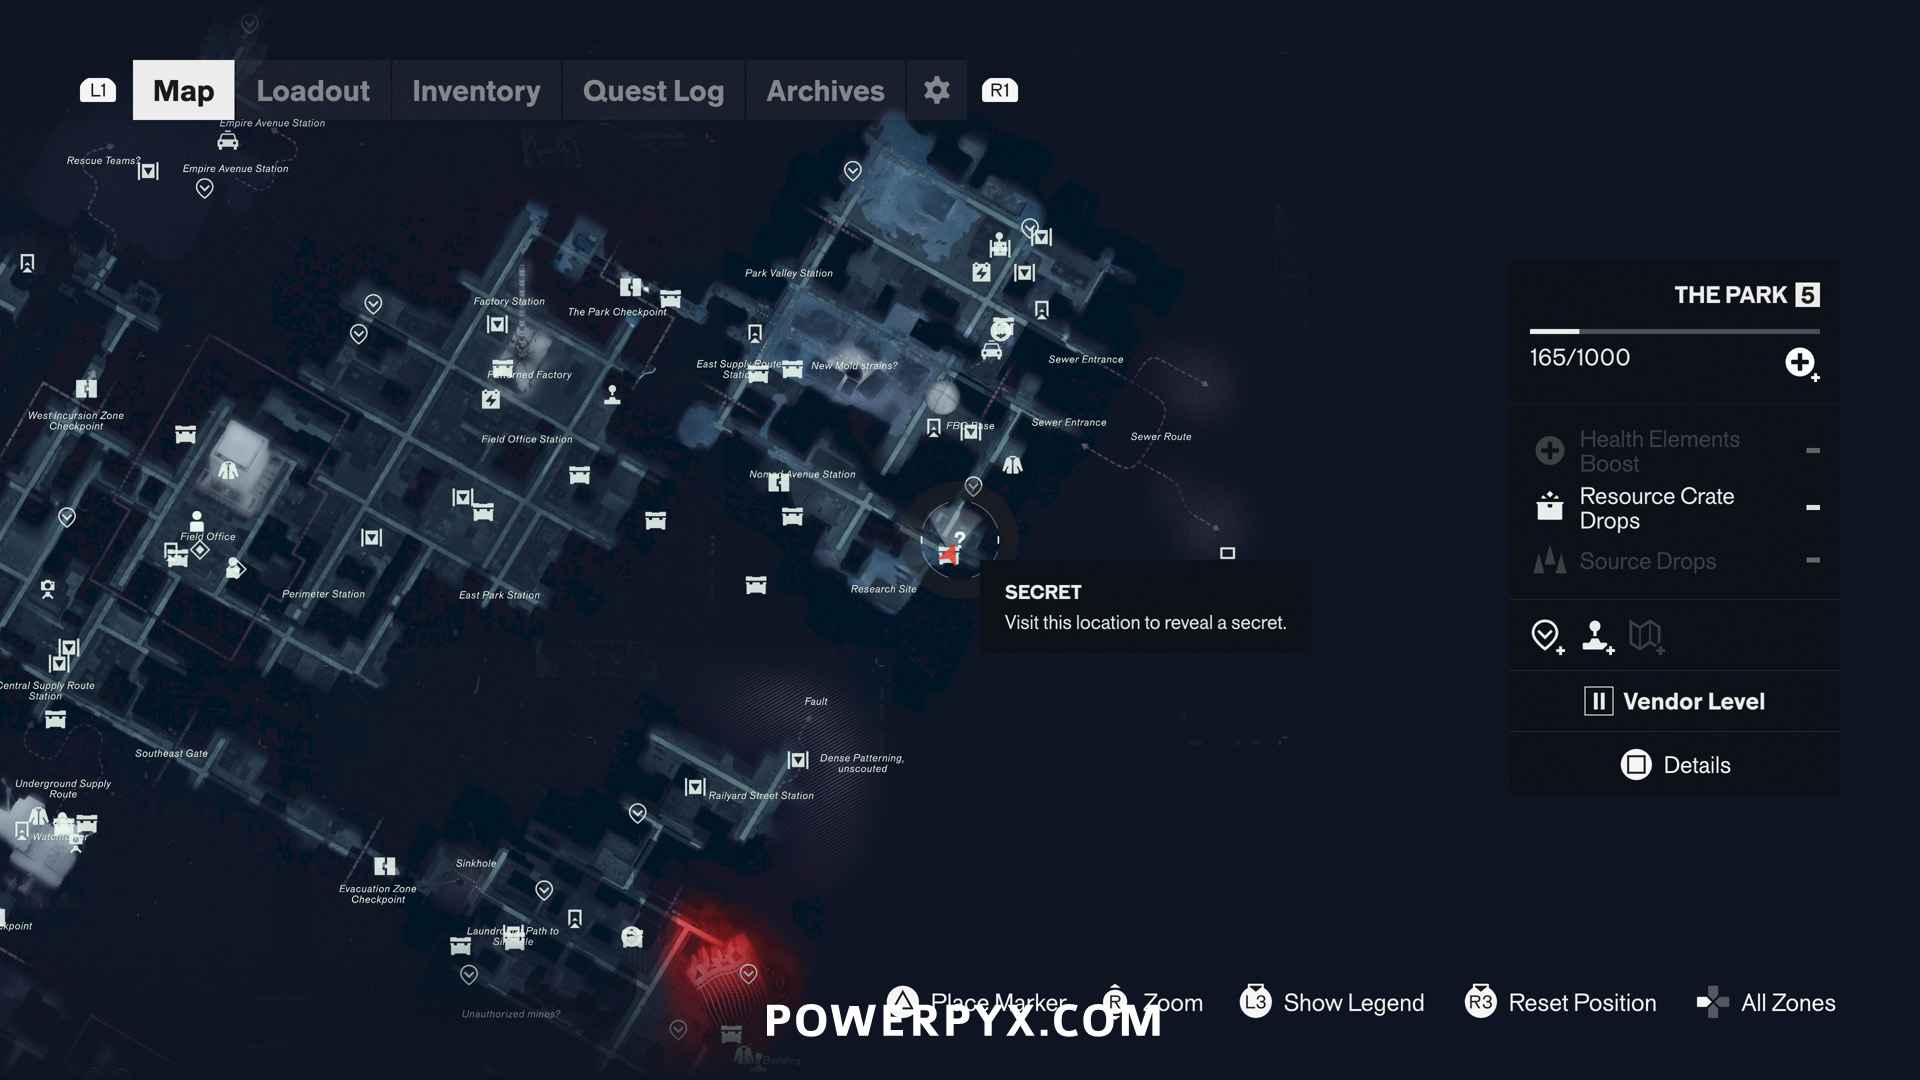
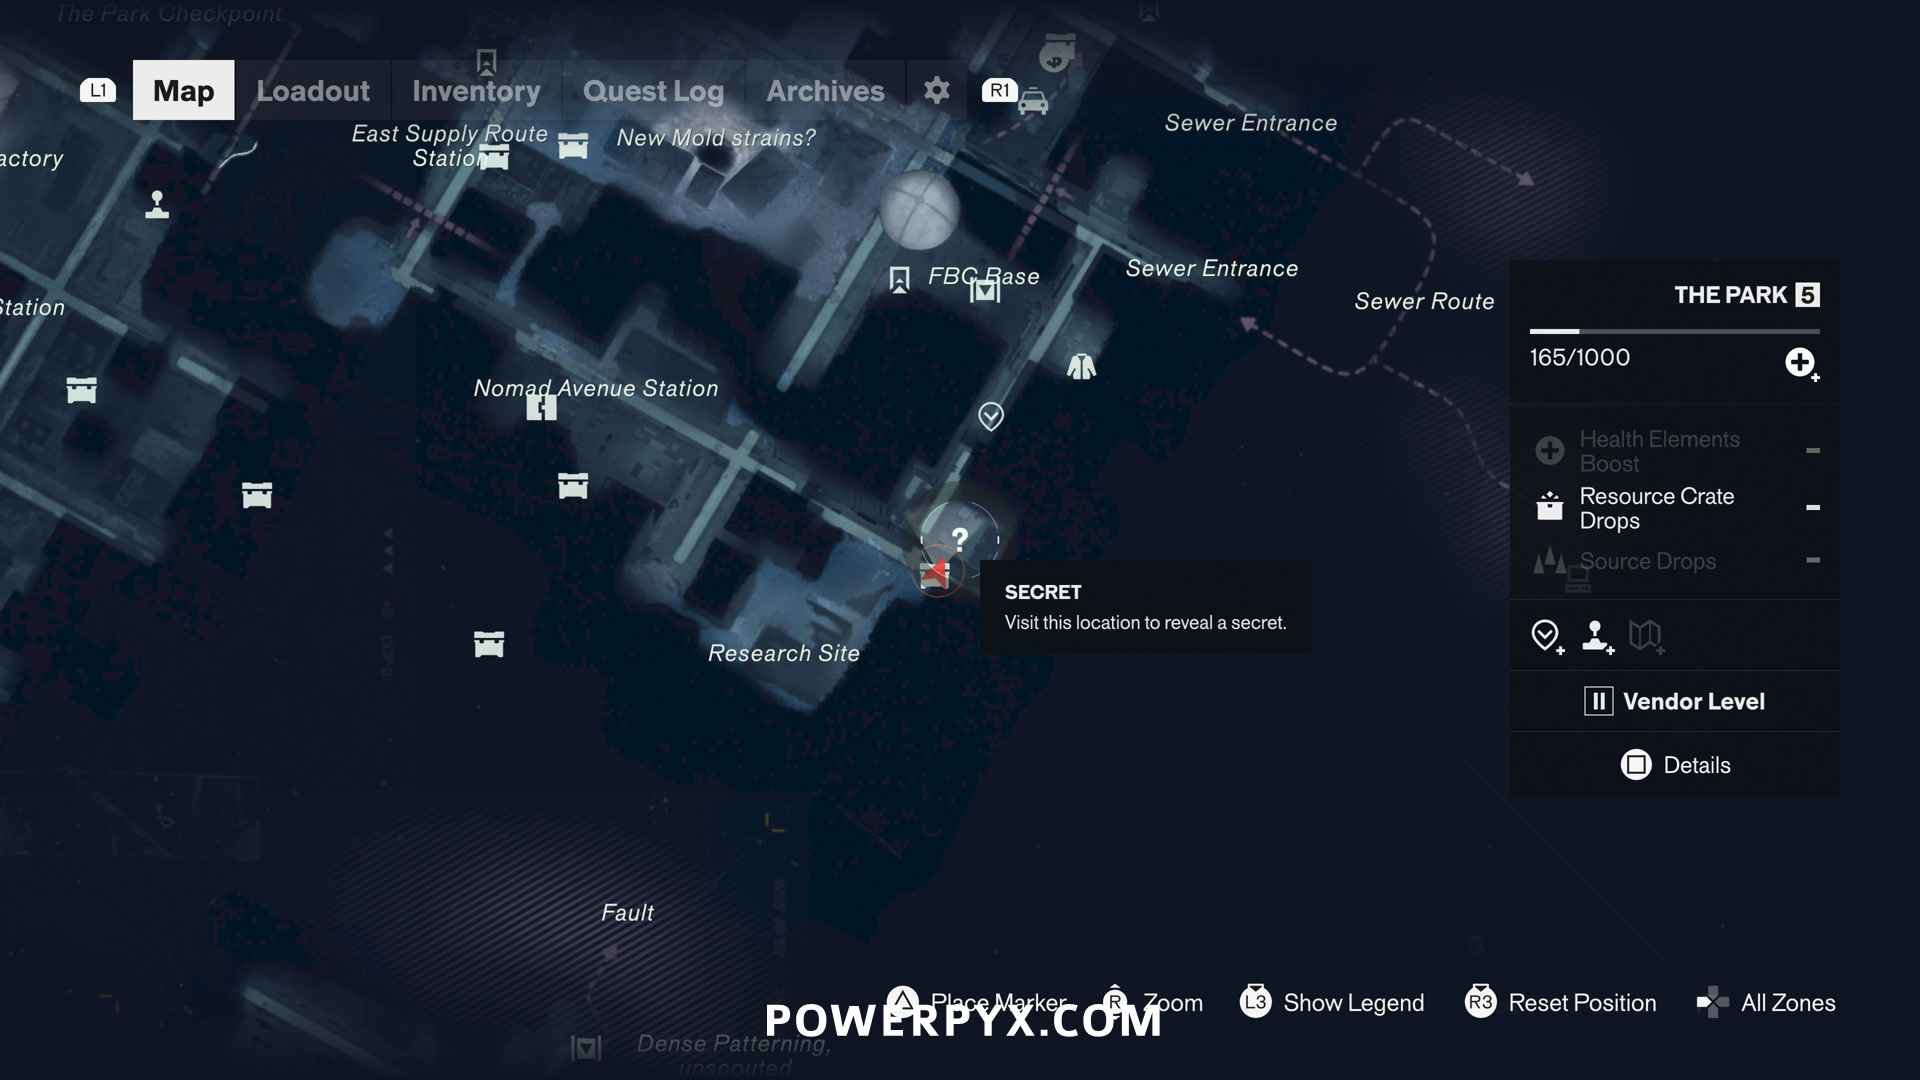
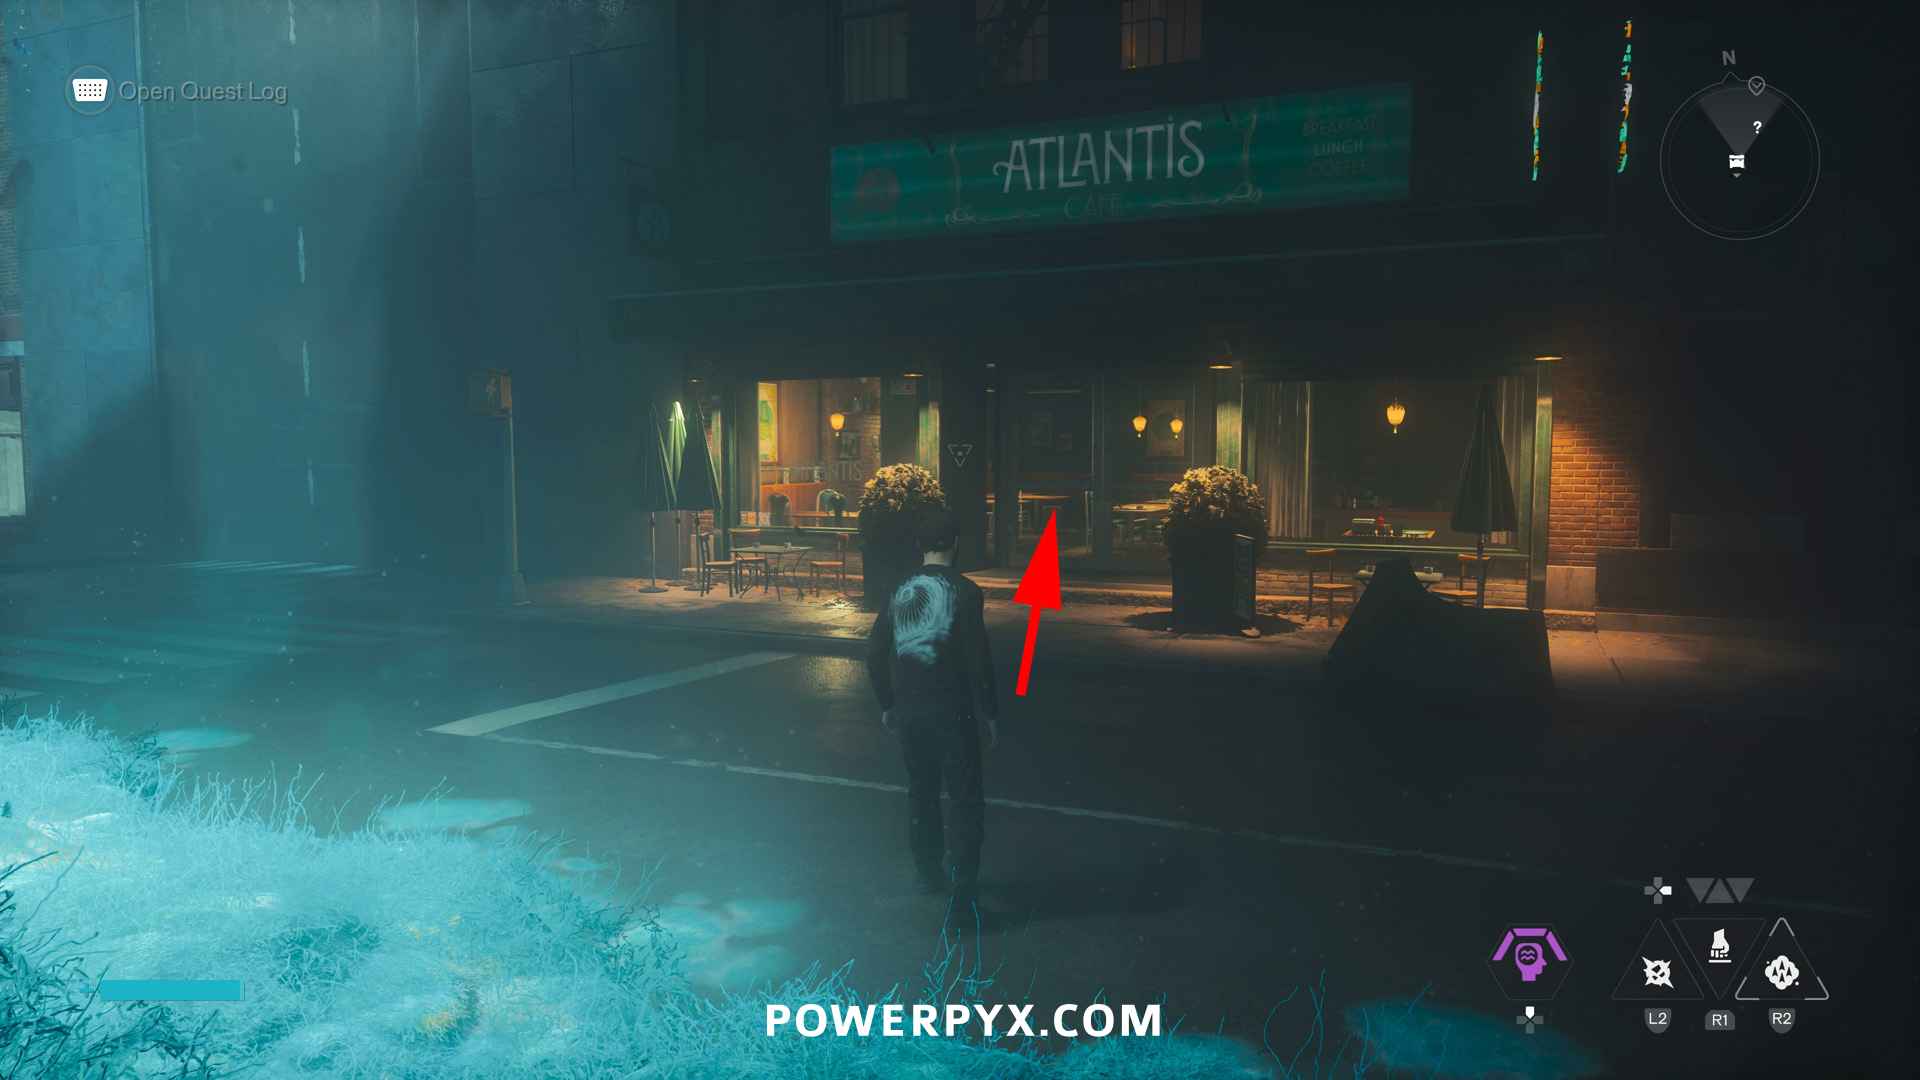
From the street enter the “Atlantis” restaurant. Enter code BDAC on the cash register.
NEXT: Underpass
For all other zones, check out the Control Resonant Collectible Guide.
Leave a Reply