
Chapter 1: Revival is the first section of Valor Mortis and occurs in The Battlefield region. This walkthrough will guide you through all collectibles available in the Revival section. Everything that’s needed for trophies and 100% completion is included, nothing is missable and you can return to all areas at any time.
Collectibles Walkthrough:
Chapter 1: Revival
The Battlefield
NOTE: You don’t gain access to the fast travel menu to see Lantern names until after the boss in Chapter 2, but they are still listed here as they would be at that point.
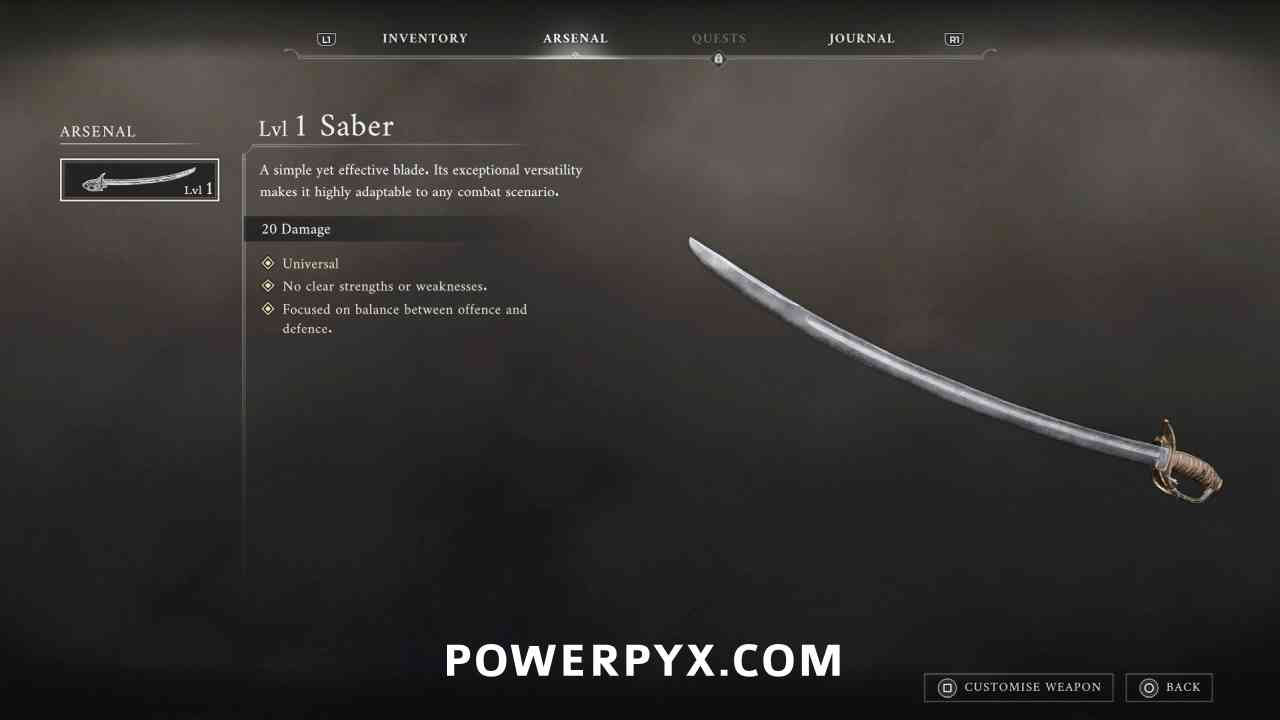
Weapon #1: Saber
Automatically obtained at the start of the game.
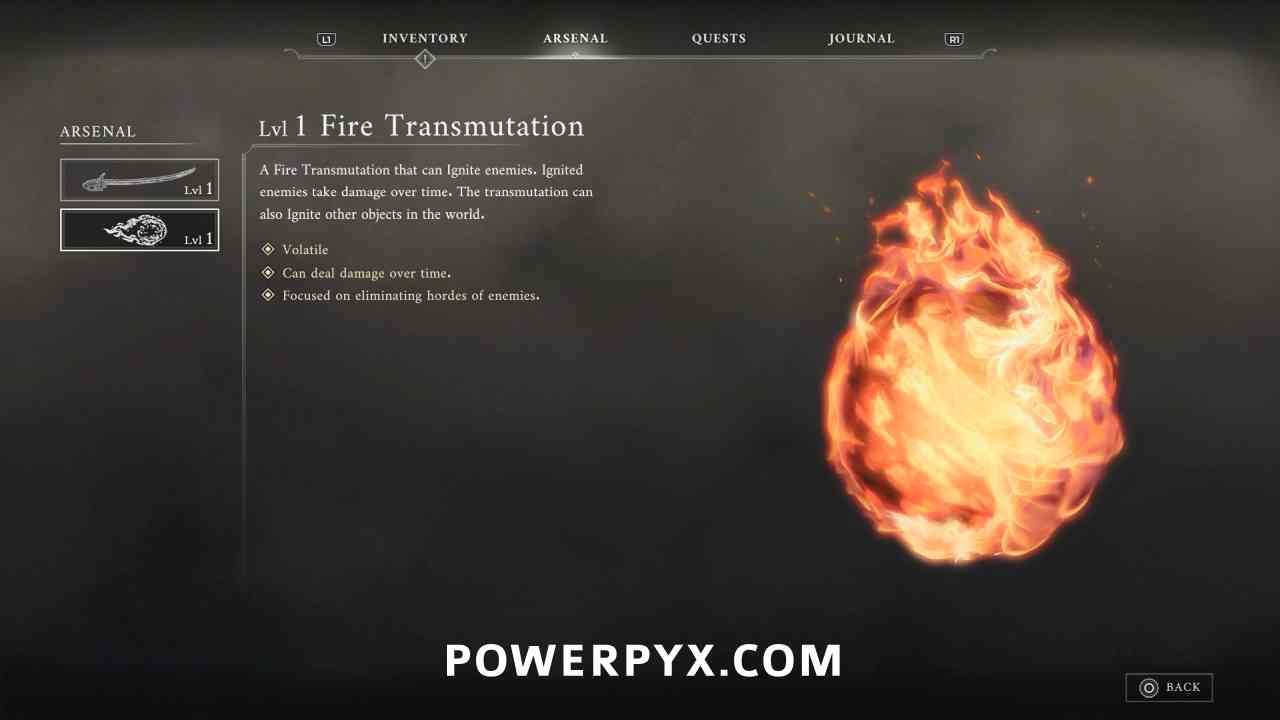
Transmutation #1: Fire
Automatically obtained in the first section of the game, used to destroy gold vines required for progression.
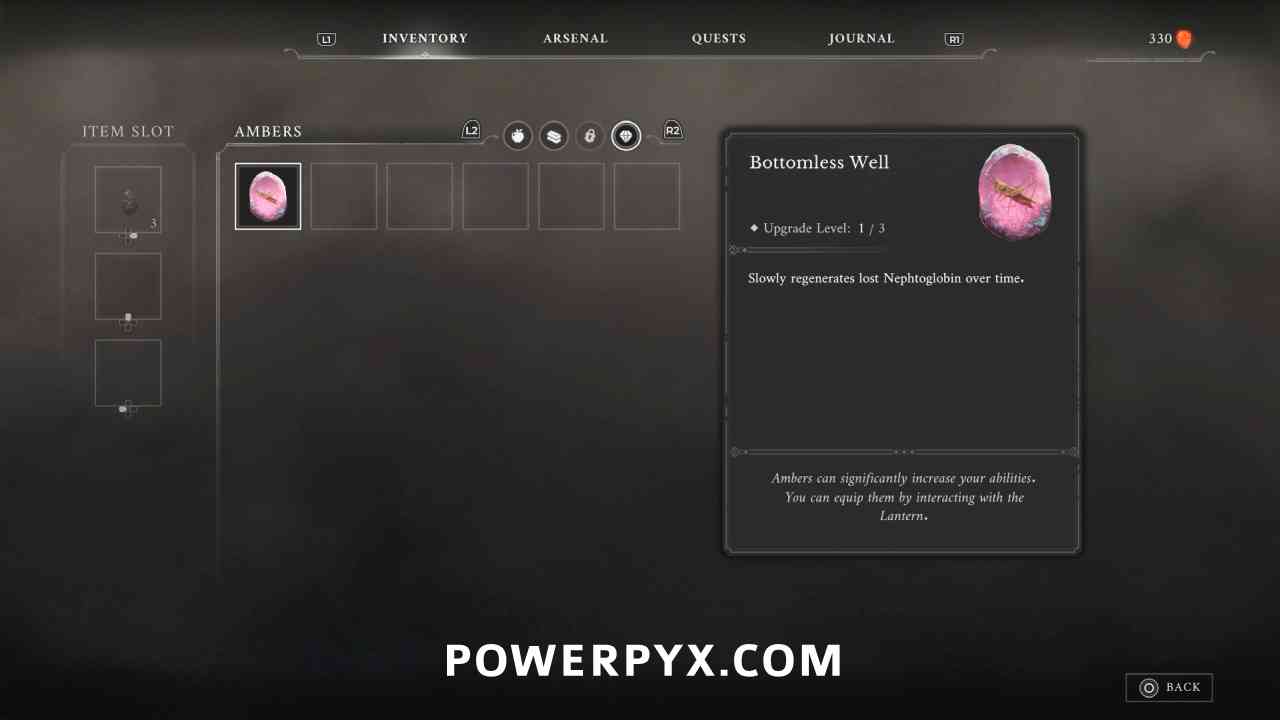
Amber #1: Bottomless Well
Lantern: The Battlefield > Onslaught Arch
From the first lantern turn around and climb back up the cliffs across the branches. To the left are some gold vines that you can burn with Fire, and behind them is a chest that contains this Amber.


Amber #2: Transmuted Persistence
Lantern: The Battlefield > Onslaught Arch
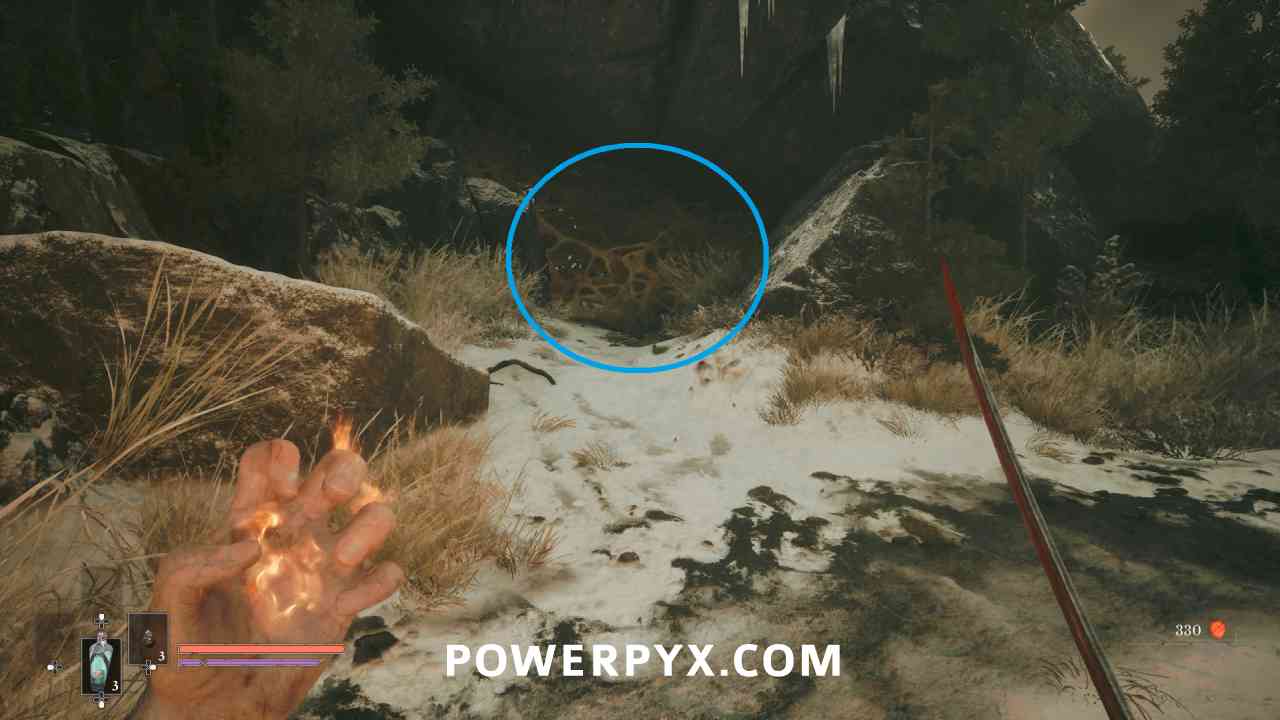
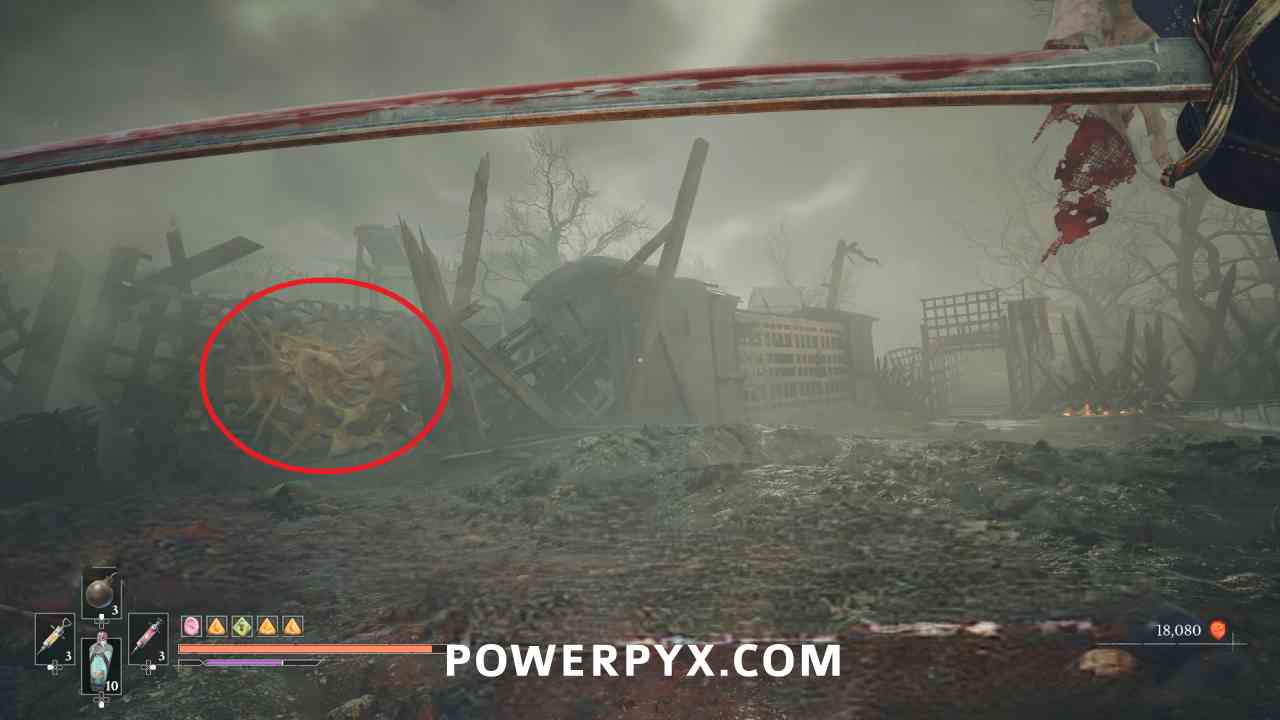
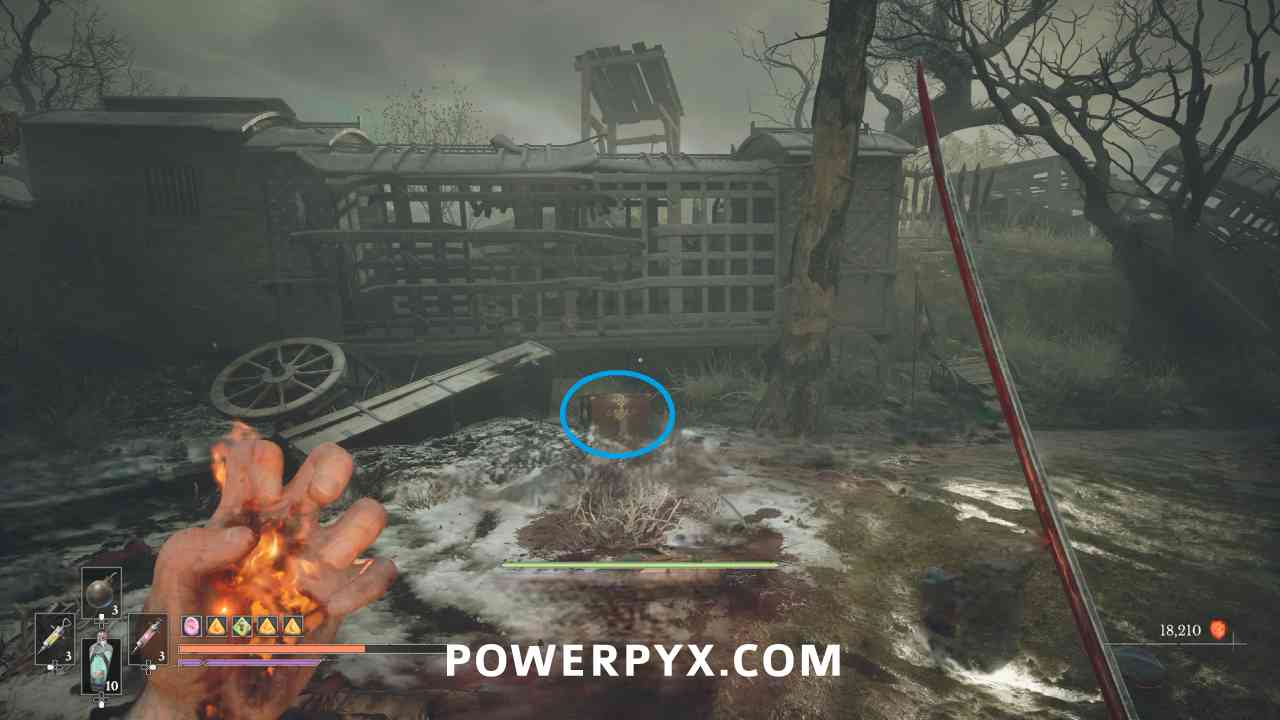
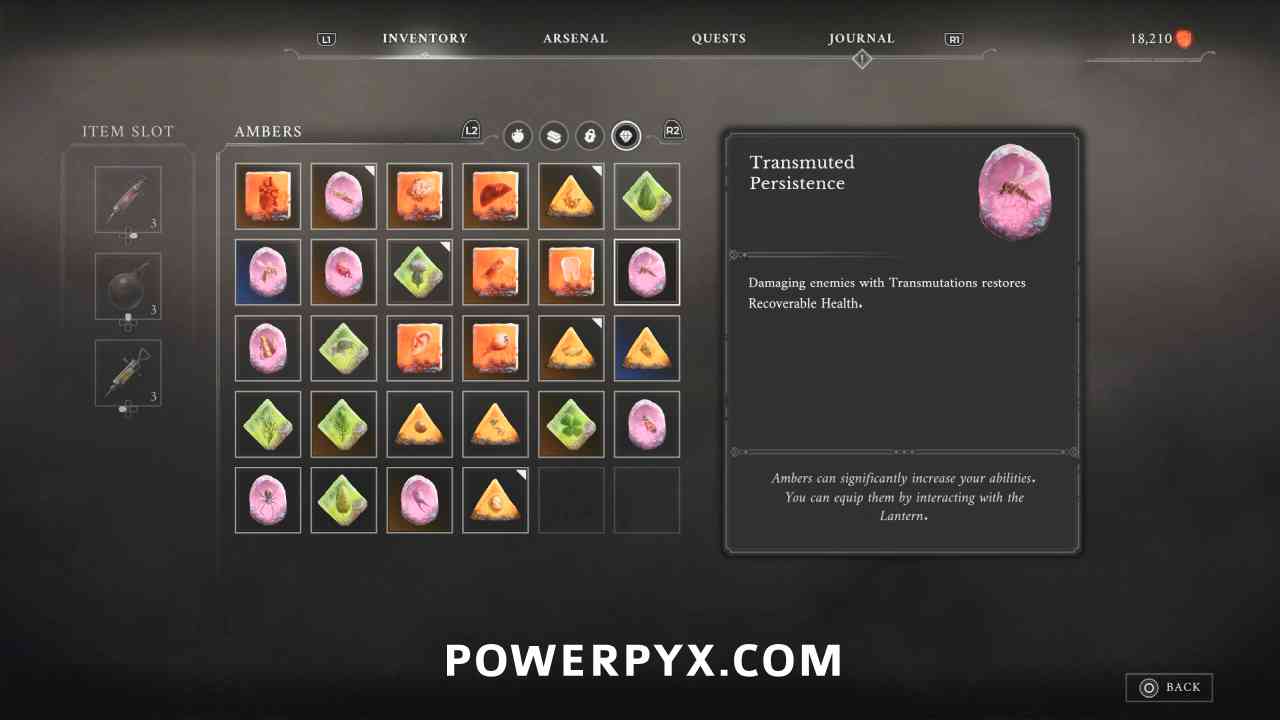
Progress into the battlefield area and stick to the left side. Before walking through a metal carriage there are gold vines you can burn on the left. Behind them is a group of enemies, along with a chest that contains this Amber.
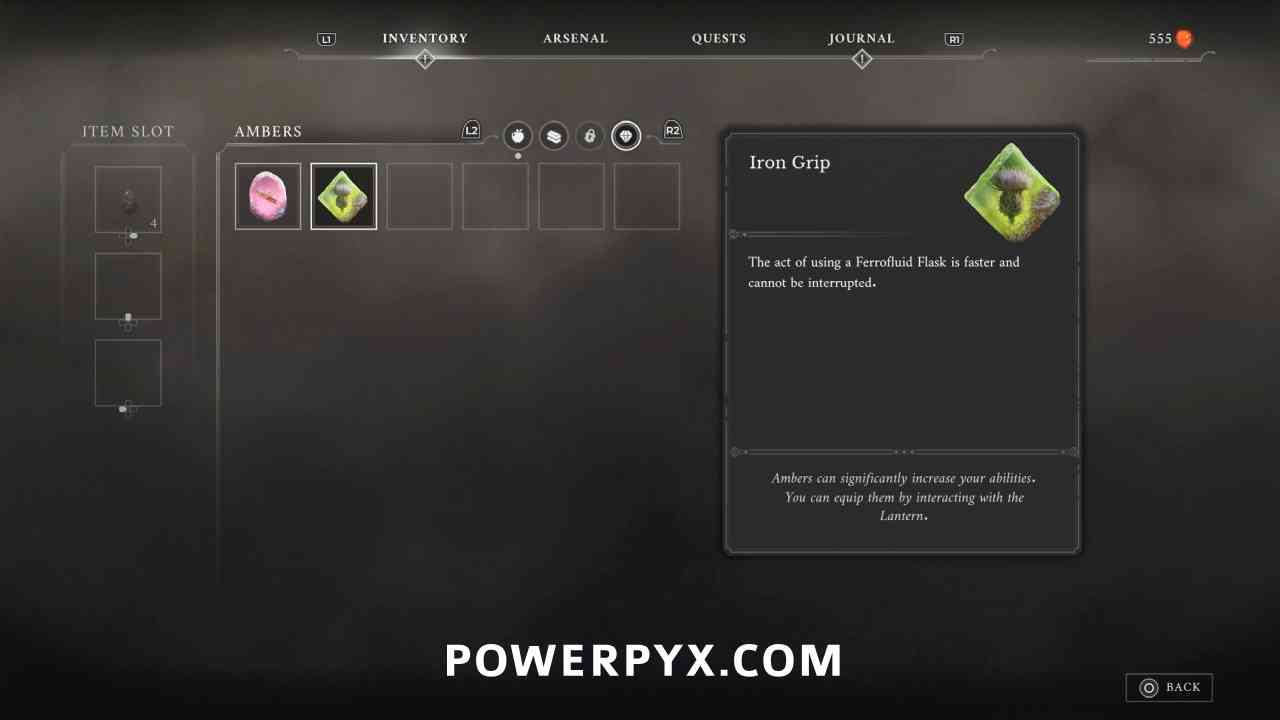
Amber #3: Iron Grip
Lantern: The Battlefield > Trenches
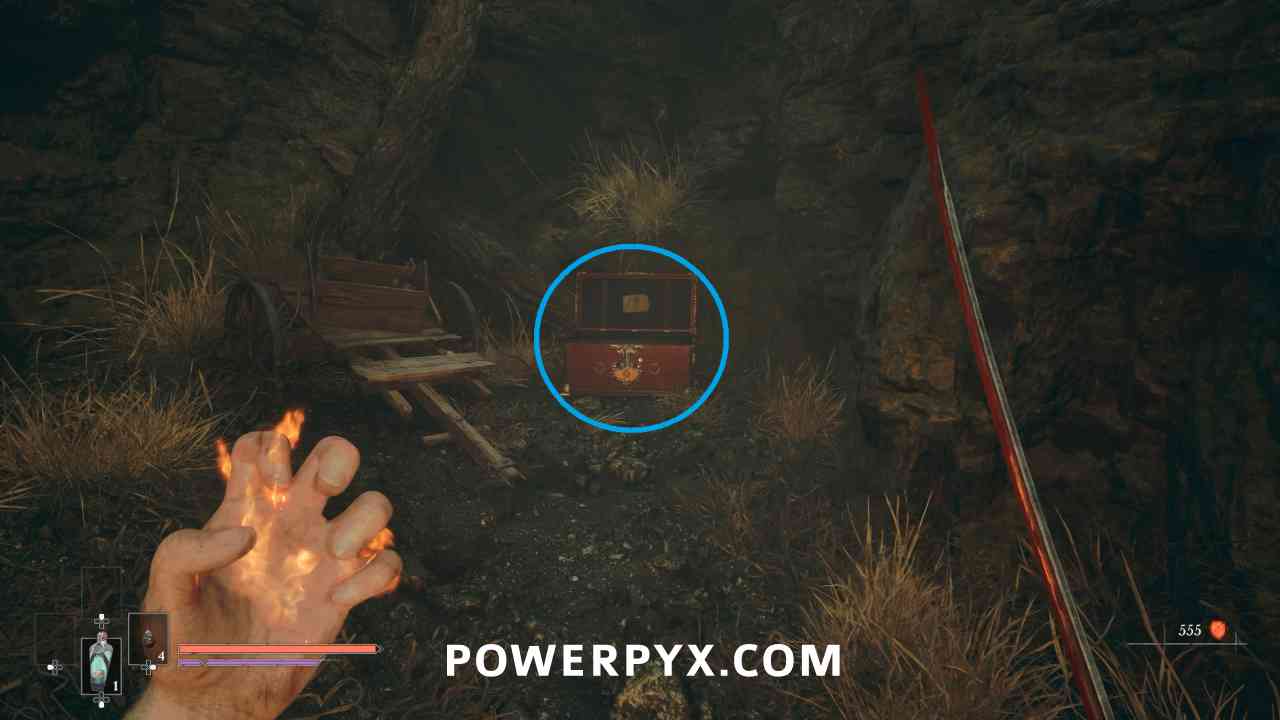
After the spot where you receive the Plunge Attack tutorial, turn right instead of climbing the wood ledge. This is in the dead end behind an enemy in a chest.

Boss: General Lothaire, the Eagle-Bearer
You are intended to die during this first boss fight, the boss is not missable.
NEXT: Chapter 2: Regroup
For all other Chapters and by-type collectibles, check out the complete Valor Mortis Collectible Guide.
Leave a Reply